Classic Italian Cookies Recipe: Easy Homemade Glazed Butter Cookies with Sprinkles
Indulge in the delightful taste of Italy right from your kitchen with this incredibly easy and utterly delicious Italian Cookies Recipe. These classic treats are renowned for their irresistibly buttery and soft texture, topped with a luscious sweet glaze and vibrant sprinkles that add a festive touch to every bite. Forget expensive bakery prices; you can now create these decadent, melt-in-your-mouth cookies at home with minimal effort and maximum flavor.

While a trip to the local bakery might tempt you with their enticing display of Italian cookies, making them yourself offers a rewarding experience that’s both economical and deeply satisfying. This recipe yields fantastic results, creating cookies that are not only a joy to bake but also a pleasure to share. If you love classic Italian baking, you might also enjoy our Italian Easter Cookies Recipe or a delightful Cannoli Cake, especially perfect for spring celebrations.
Table of Contents
- Why You’ll Adore This Recipe
- Essential Ingredients
- For the Buttery Cookies
- For the Sweet Glaze
- Delicious Variations and Customizations
- Step-by-Step: How to Make Italian Wedding Cookies
- Expert Baking Tips for Perfect Italian Cookies
- Storage Solutions
- Can You Freeze Italian Wedding Cookies?
- Explore More Easy Cookie Recipes
Why You’ll Adore This Recipe
These Italian cookies aren’t just a dessert; they’re an experience. Each bite delivers a tender, buttery crumb that truly melts in your mouth, making them utterly irresistible. The delicately flavored dough, combined with the smooth, sweet glaze, creates a harmonious blend that will have your family and friends requesting them again and again. What makes this recipe truly special is its versatility and ease.
They are simple enough to whip up for a casual weeknight treat, yet elegant and impressive enough to grace any special occasion. Imagine serving these charming cookies at holidays, bridal showers, baby celebrations, or even as delightful party favors. Their festive appearance, thanks to customizable sprinkles, adds a touch of joy to any spread, making them a beloved addition to any dessert table.
Essential Ingredients
Crafting these delectable Italian cookies requires just a few basic ingredients, most of which you likely already have in your pantry. Quality ingredients make a difference in the final taste and texture, so choose wisely!
For the Buttery Cookies
- Eggs: Crucial for structure and richness. Ensure they are at room temperature, as this allows them to combine more smoothly with other ingredients, creating a more uniform and airy dough.
- Butter: Always opt for real, unsalted butter for the best flavor and texture. Softened butter is key for proper creaming with sugar, leading to a lighter cookie.
- Granulated Sugar: Provides sweetness and helps create that tender crumb.
- Almond Extract or Vanilla Extract: These extracts lend distinct and delicious flavors. Almond extract gives a traditional, slightly nutty Italian taste, while vanilla offers a classic, comforting aroma. Feel free to use whichever you prefer, or even a combination.
- All-Purpose Flour: The foundation of our cookies. For accurate measurement, spoon the flour into your measuring cup and then level it off with a straight edge, rather than scooping directly from the bag. This prevents over-packing and ensures the correct consistency.
- Baking Powder: Our leavening agent, responsible for giving the cookies a light and slightly airy texture.
- Salt: A pinch of salt enhances the flavors of all the other ingredients and balances the sweetness.
For the Sweet Glaze
- Powdered Sugar (Confectioners’ Sugar): Forms the base of our smooth, pourable glaze. Sift it before mixing to ensure there are no lumps, resulting in a perfectly silky finish.
- Cream or Milk: Either heavy cream for a richer glaze or regular milk will work. Warm it slightly before mixing; this helps the powdered sugar dissolve more easily, creating a smoother consistency.
- Almond Extract or Vanilla Extract: A small amount in the glaze echoes the flavor of the cookies, adding another layer of deliciousness.
- Colorful Sprinkles: The fun part! Choose any colors you love to match the occasion, making these cookies truly customizable and visually appealing.
The complete, detailed list of ingredients with specific quantities can be found in the recipe card at the bottom of the page.
Delicious Variations and Customizations
One of the best things about this Italian cookie recipe is how easily it can be adapted to suit your taste or any celebration. Here are some fantastic ideas to get you started:
- Customize with Different Sprinkles: The possibilities are endless!
- For Christmas, use festive red and green sprinkles or white and blue for a winter wonderland theme.
- In spring or for Easter, pastels like light pink, blue, yellow, and green create a lovely, delicate look.
- Baby showers are perfect for pink or blue sprinkles, or a mix for gender reveal parties.
- For birthdays, use confetti sprinkles or colors that match the party theme.
- Even specific events like Halloween can be fun with orange and black, or patriotic holidays with red, white, and blue.
These colorful additions truly make the cookies extra special and a blast to prepare for any occasion throughout the year.
- Experiment with Different Flavorings: While almond and vanilla are classic choices, don’t hesitate to explore other extracts to change the cookie’s character.
- Almond: If you love a pronounced almond flavor, use almond extract in both the cookies and the glaze. It’s a very traditional Italian choice.
- Anise: For a truly authentic, old-world Italian taste, add anise extract to the cookie dough and/or glaze. Anise offers a distinct licorice-like flavor that is much loved in traditional Italian baking. Start with a smaller amount and adjust to your preference.
- Lemon or Orange Zest: Incorporate finely grated lemon or orange zest into the cookie dough for a bright, citrusy note that adds wonderful aroma and flavor.
These cookies are sure to be amazing, no matter how you decide to flavor them.
- Add a Nutty Crunch: If you enjoy a textural contrast, chopped nuts are a fantastic addition to the cookie dough.
- Fold in 1 to 2 cups of finely chopped almonds, walnuts, or pistachios into the dough mixture before rolling.
- For an even richer flavor, lightly toast the nuts before adding them to the dough. This brings out their natural oils and deepens their taste.
This variation adds a delightful crunch and an extra layer of flavor that complements the soft, buttery cookie beautifully.
- Chocolate Drizzle: For chocolate lovers, consider drizzling melted dark or white chocolate over the glazed cookies instead of, or in addition to, sprinkles. It adds a sophisticated touch and rich flavor.

Step-by-Step: How to Make Italian Wedding Cookies
Making these delightful Italian cookies is a straightforward process. Follow these steps for perfect results every time!
- Step 1: Prepare Your Workspace. First, preheat your oven to 350 degrees Fahrenheit (175°C). While the oven heats up, line your baking sheets with parchment paper or silicone baking mats. This crucial step prevents sticking and ensures even baking, making cleanup a breeze.
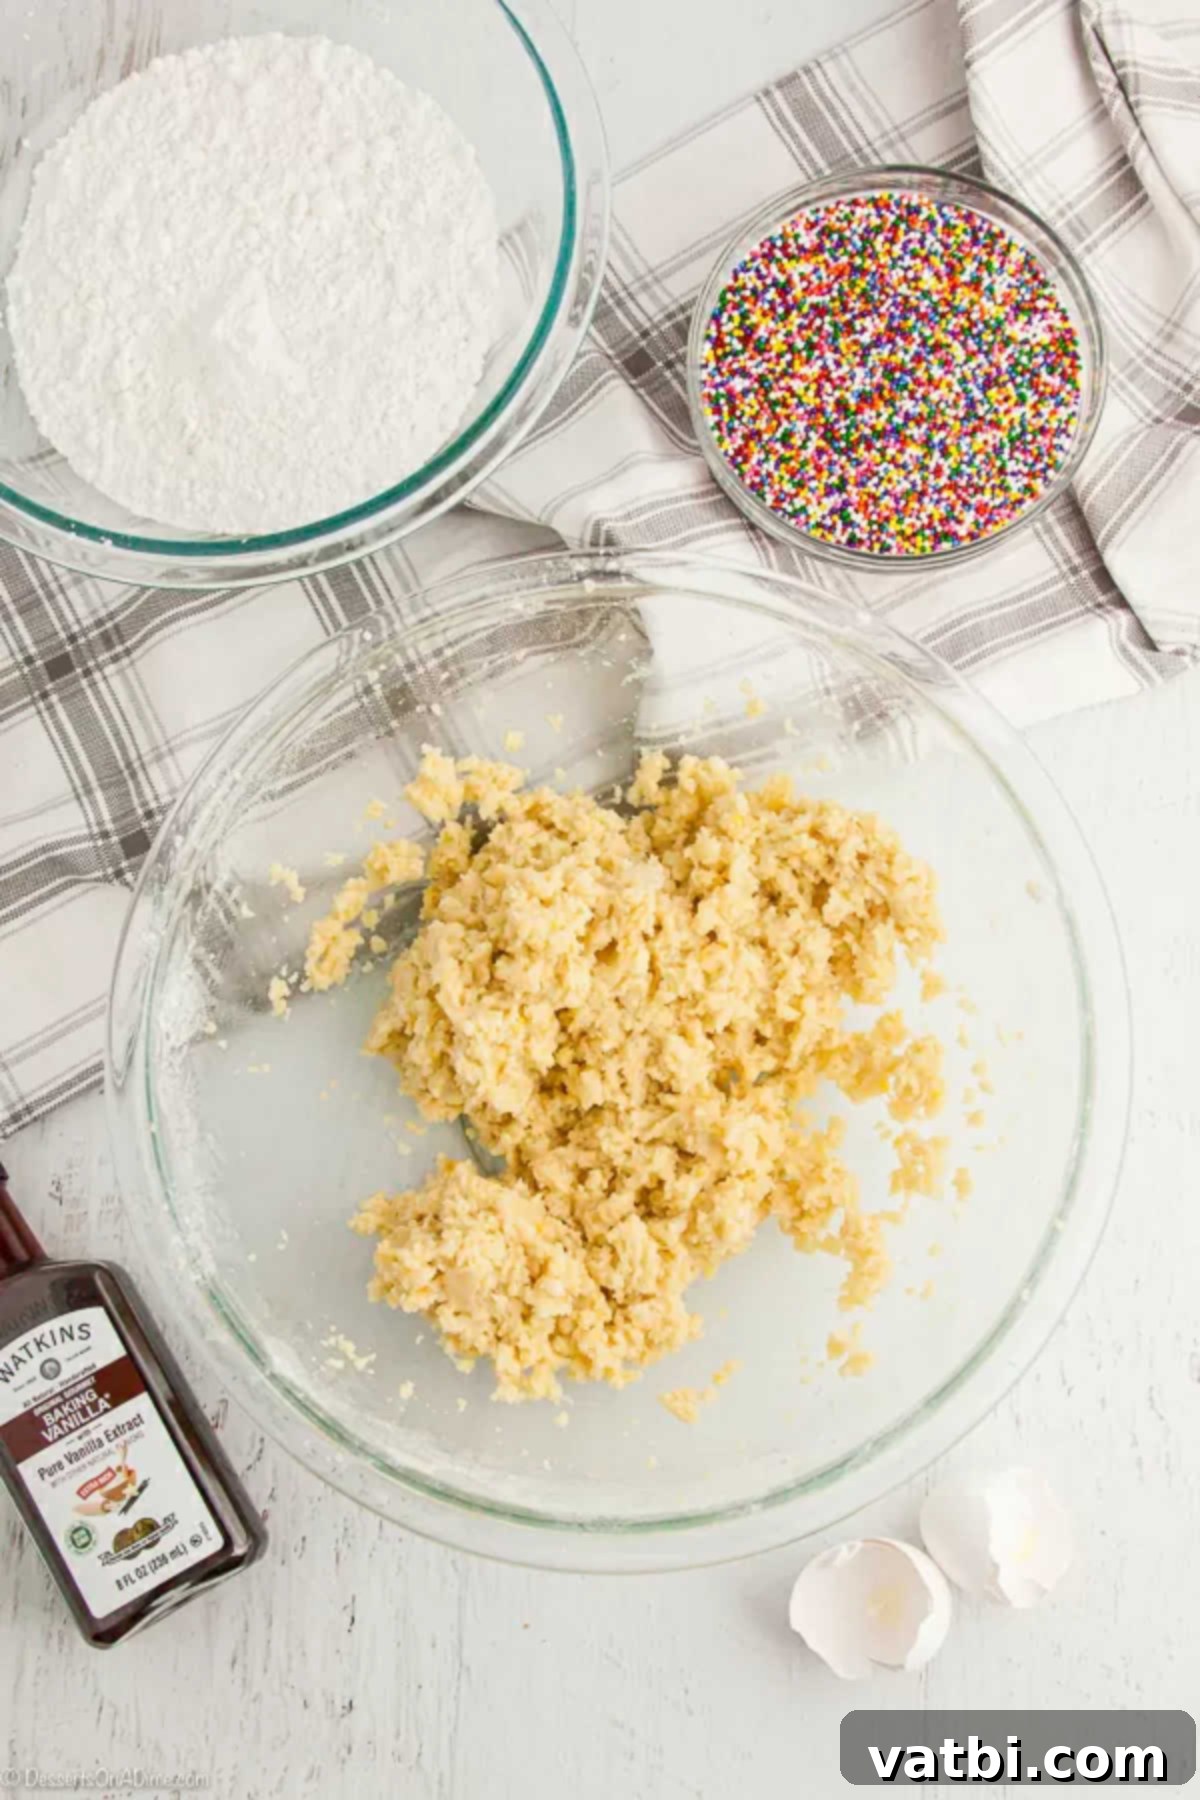
Step 2: Mix the Dough. In a large mixing bowl, combine the room-temperature eggs, softened butter, granulated sugar, and your chosen extract (almond or vanilla). Beat these wet ingredients together using an electric mixer until they are light and fluffy. This creaming process incorporates air, which contributes to the cookies’ tender texture. Next, gradually add the all-purpose flour, baking powder, and salt to the wet mixture. Mix on low speed until just combined, being careful not to overmix, as this can lead to tough cookies.
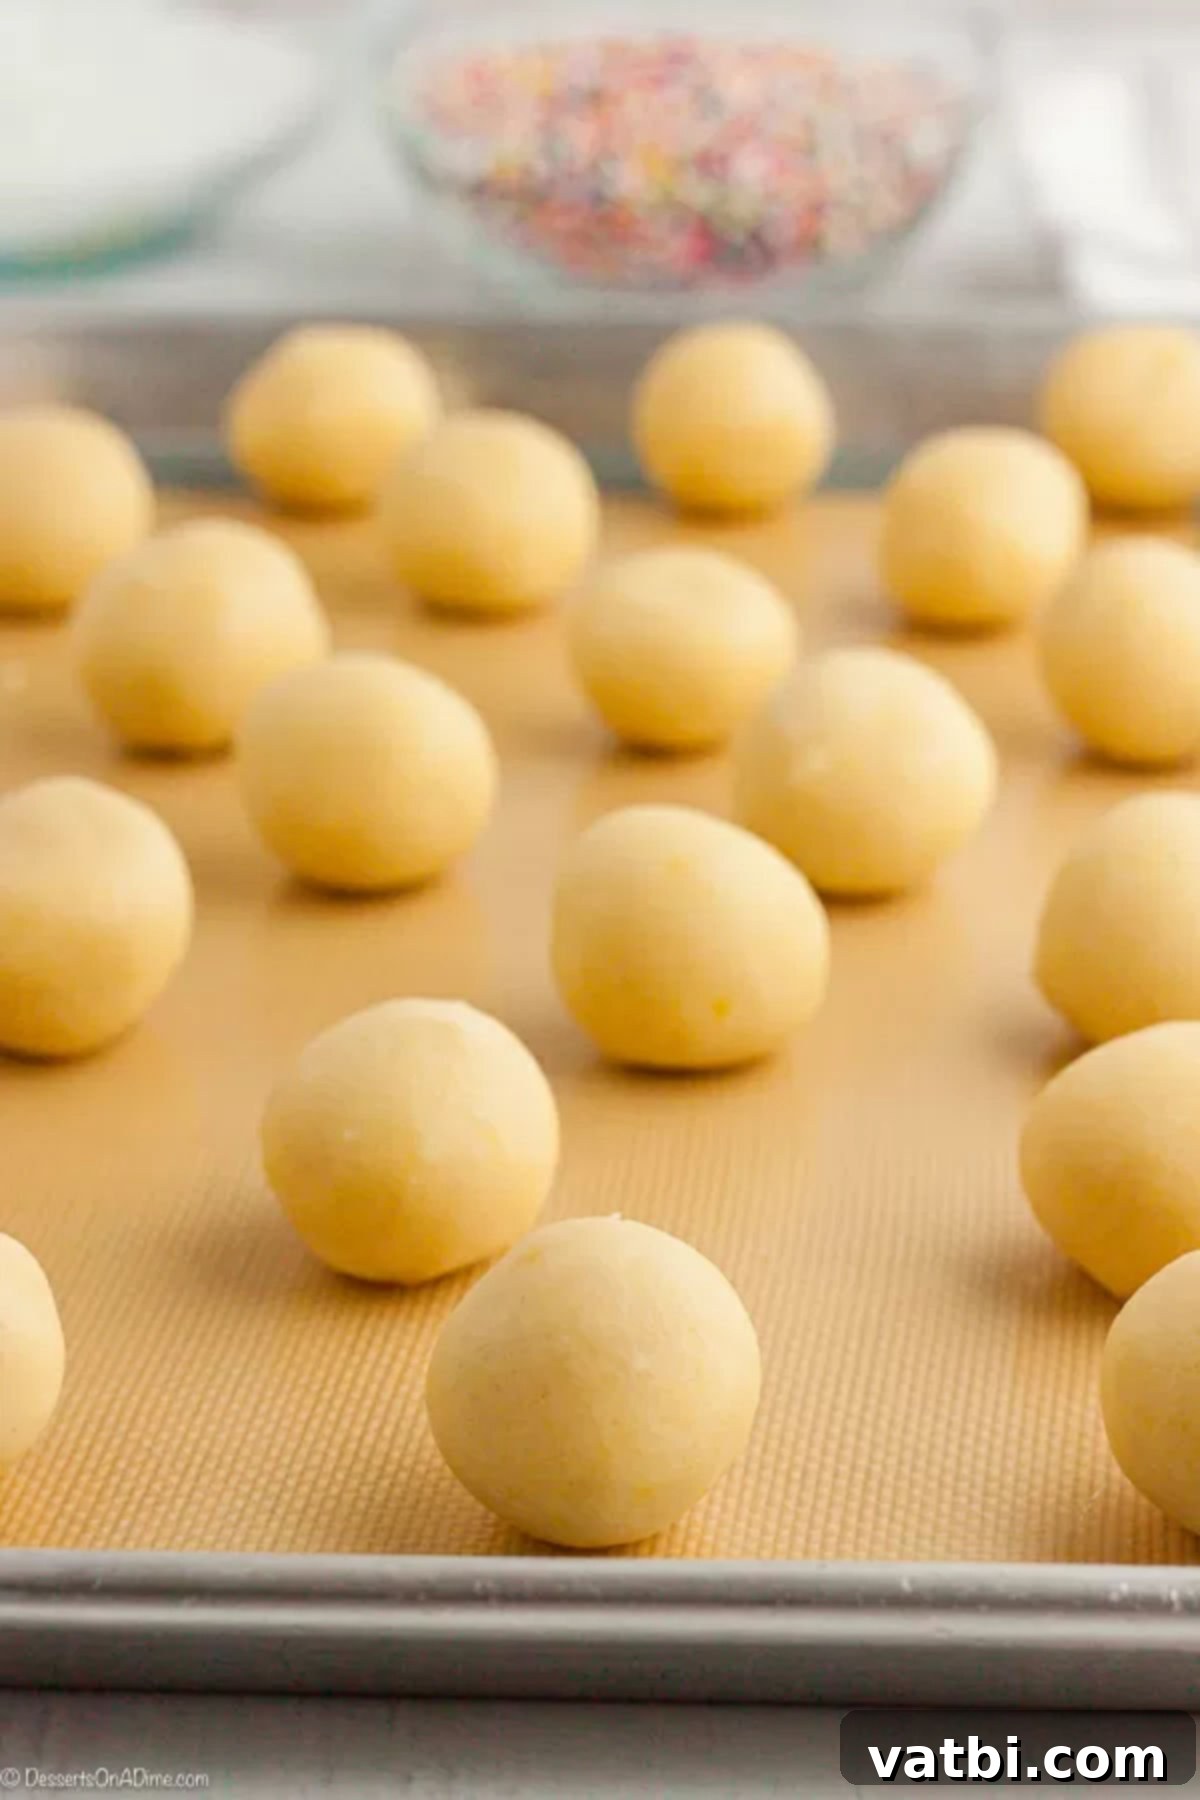
Step 3: Shape, Chill, and Bake. Roll the cookie dough by tablespoonfuls into neat, uniform balls. A cookie scoop can be very helpful here for consistency. Once shaped, place the dough balls on your prepared baking sheet. It is crucial to chill the dough balls for at least an hour in the refrigerator. This step prevents the cookies from spreading too much in the oven, helping them maintain their perfect round shape and yielding a more tender result. If you’re short on time, you can freeze them for 15 to 20 minutes to speed up the chilling process. Finally, bake the cookies for about 9 minutes, or until the tops are set and the bottoms are lightly golden. They should still be mostly white on top. Remove them from the oven and allow them to cool completely on a wire rack.
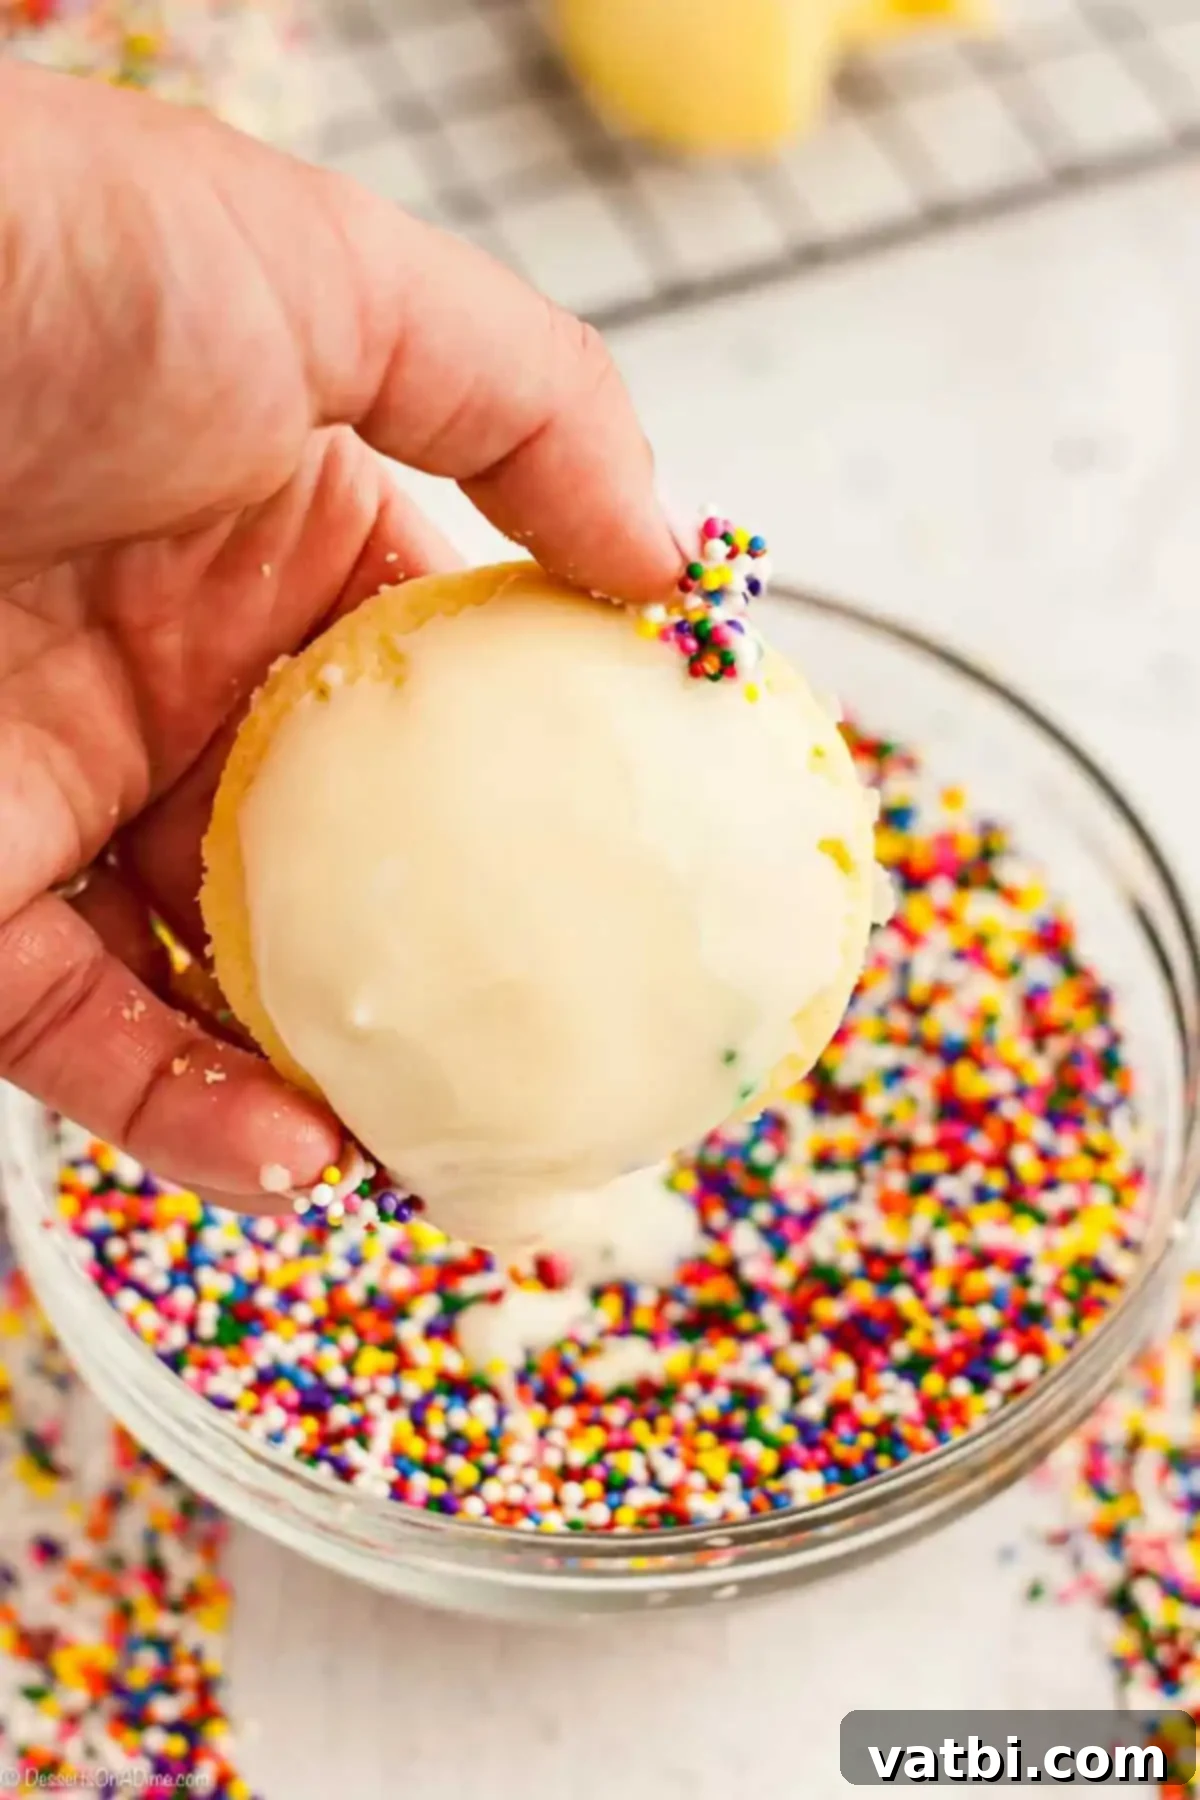
Step 4: Prepare the Glaze. While the cookies cool, prepare the irresistible glaze. In a small bowl, combine the sifted powdered sugar, your chosen extract (almond or vanilla), and 3-4 tablespoons of warmed cream or milk. Whisk all the ingredients together until completely smooth and free of any lumps. The consistency should be thin enough to easily dip the cookies but thick enough to coat them evenly without being transparent. Adjust the amount of milk or cream as needed to achieve your desired consistency.
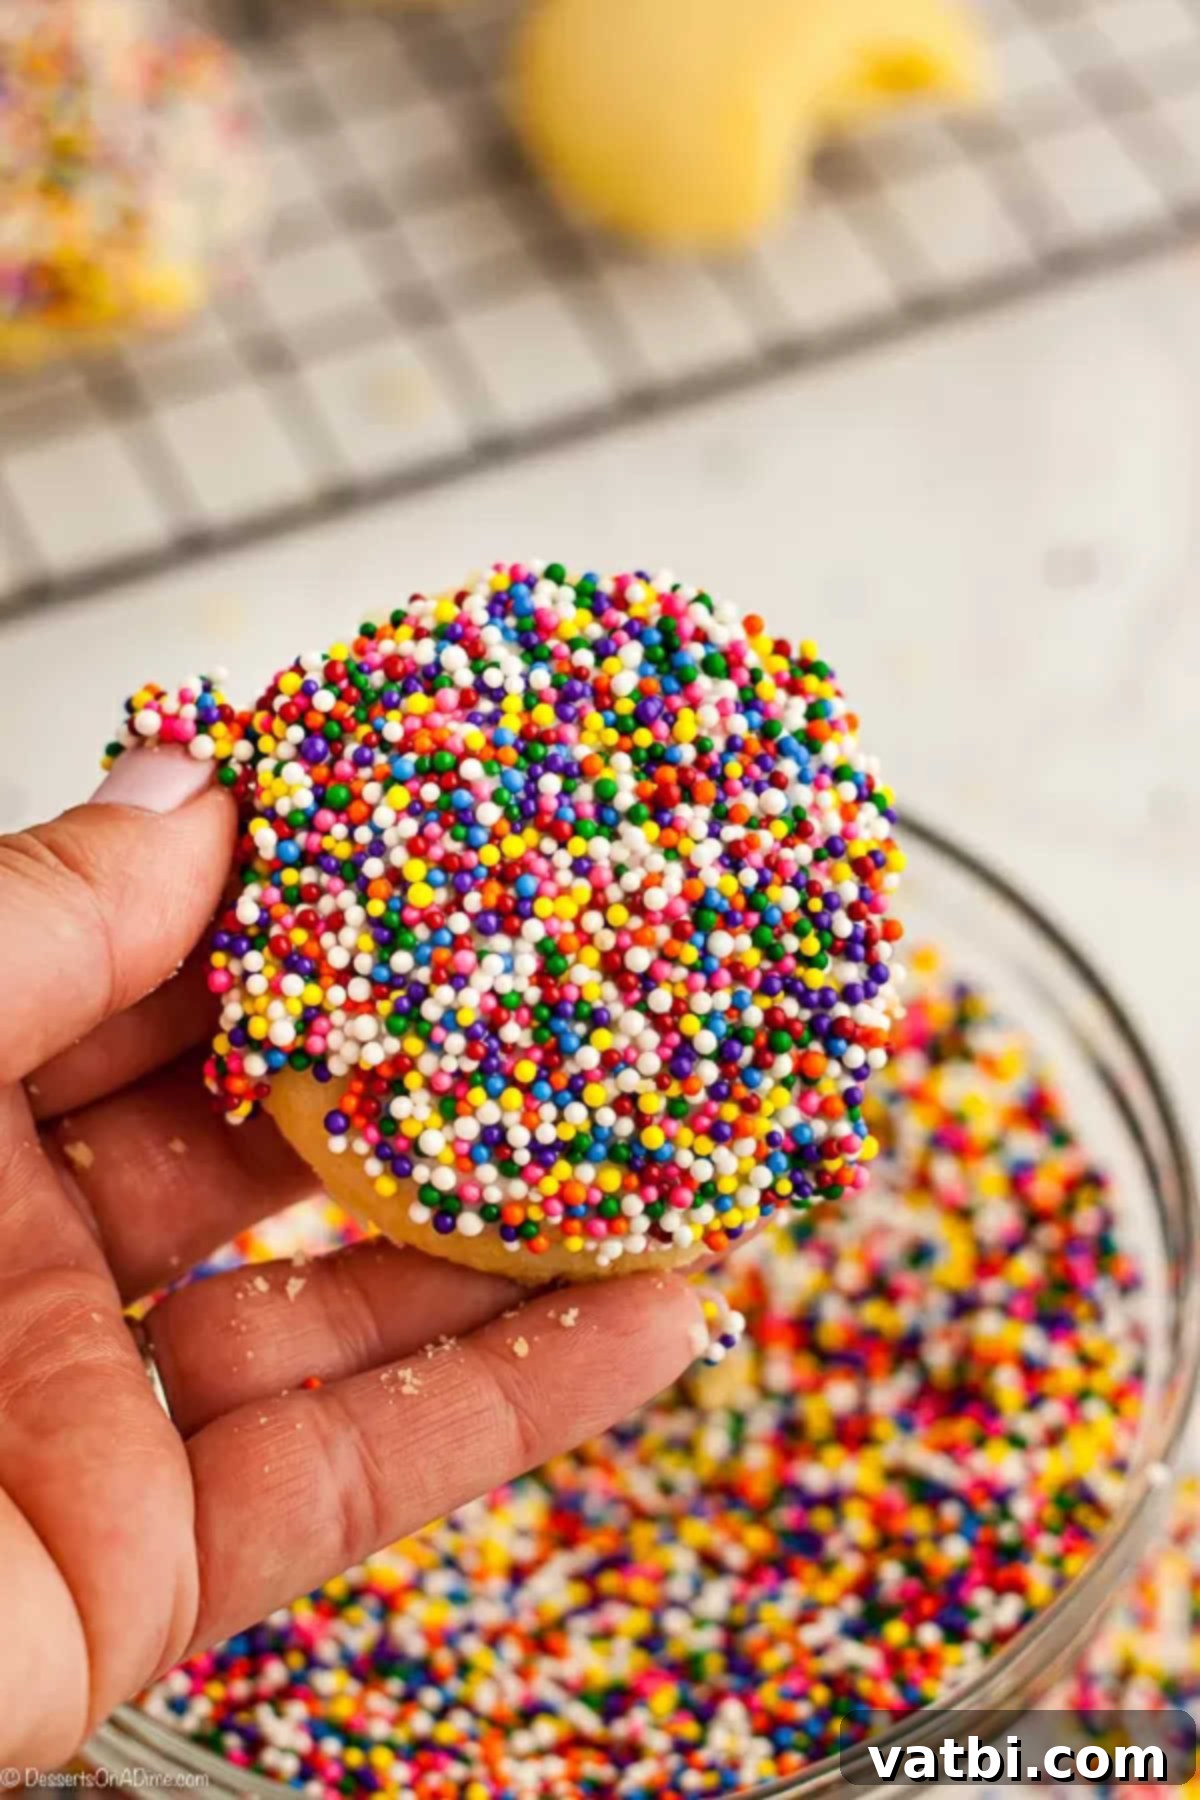
Step 5: Glaze and Decorate! Once the cookies are completely cool, dip the tops of each cookie into the prepared glaze, allowing any excess to drip off. Immediately after dipping, transfer the cookies to a wire rack and generously top them with your chosen colorful sprinkles. This is arguably the most fun part, as the sprinkles really bring the cookies to life and make them extra special and festive! Allow the glaze to set completely before stacking or storing the cookies.
Expert Baking Tips for Perfect Italian Cookies
Achieving bakery-quality Italian cookies at home is easy with a few simple tricks. Here are some pro tips to ensure your cookies turn out perfectly every time:
- Use a Cookie Scoop for Uniformity: I highly recommend using a cookie scoop (about 1 tablespoon size) to portion out your dough. This not only speeds up the rolling process but also ensures that all your cookies are the same size. Uniformly sized cookies bake more evenly and look professional, making your platter presentation even more appealing.
- Always Line Your Baking Sheets: To prevent sticking and promote even baking, always line your baking pans. Parchment paper or reusable silicone baking liners are your best friends here. They make it incredibly easy to remove the cookies once baked and significantly simplify cleanup.
- Adjust the Glaze Consistency: The perfect glaze consistency is key for a beautiful finish. If your glaze appears too thick, add a tiny bit more warm milk or cream, just half a teaspoon at a time, until it reaches a smooth, pourable consistency. If it’s too thin, sift in a little more powdered sugar until it thickens up. Remember, you want it to coat the cookie without being too runny.
- Don’t Skip Chilling the Dough: This step is non-negotiable for perfectly shaped Italian cookies. Chilling the dough solidifies the butter, which prevents the cookies from spreading too much in the oven. This results in cookies that hold their shape better and have a more tender, delicate crumb. If you’re pressed for time, a 15-20 minute stint in the freezer can serve as a quick chill.
- Avoid Overmixing the Dough: Once you add the flour, mix the dough only until the ingredients are just combined. Overmixing develops the gluten in the flour, which can lead to tough, chewy cookies instead of the desired soft and tender texture.
- Cool Completely Before Glazing: Ensure your cookies are entirely cool before you start glazing them. If they are even slightly warm, the glaze will melt and run off, resulting in a messy finish.
Storage Solutions
Proper storage will help maintain the freshness and delightful texture of your homemade Italian cookies.
Once the glaze has fully set, place the cookies in an airtight container at room temperature. These cookies do not require refrigeration, as the moisture from the fridge can sometimes soften them too much. When stored correctly, these delicious treats will last for about 3 days, remaining fresh and ready to enjoy.
Can You Freeze Italian Wedding Cookies?
Absolutely! Italian cookies freeze beautifully, making them an excellent option for meal prepping ahead of special occasions or simply keeping a stash for future cravings. Here’s how to do it effectively:
- To Freeze Glazed and Decorated Cookies: If you’ve already glazed and sprinkled your cookies, arrange them in a single layer on a baking sheet and freeze until solid (this prevents them from sticking together). Once firm, transfer them to a freezer-safe airtight container or a heavy-duty freezer bag, layering them with parchment paper between each layer to protect the glaze and sprinkles.
- To Freeze Plain Baked Cookies (before glazing): You can also bake the cookies, let them cool completely, and then freeze them without the glaze. Arrange them in a single layer on a baking sheet until frozen, then transfer to an airtight container or bag.
- Freezing Dough Balls: For ultimate convenience, you can even freeze the unbaked dough balls! Simply roll them as directed, place them on a parchment-lined baking sheet, and freeze until solid. Then transfer to a freezer-safe bag. When ready to bake, you can bake them from frozen, adding a minute or two to the baking time.
Frozen cookies (baked, glazed, or dough balls) will last for approximately 3 months in the freezer. When you’re ready to enjoy them, simply thaw the baked cookies at room temperature. If you froze them undecorated, you can then prepare the glaze and sprinkles for a fresh finish. Freezing allows you to easily make these classic Italian cookies in advance for holidays, parties, or any spontaneous gathering.
Explore More Easy Cookie Recipes
If you’ve enjoyed making these Italian cookies, you’ll love these other simple and delicious cookie recipes:
- Butter Cookies Recipe: Classic, melt-in-your-mouth Danish-style cookies.
- Funfetti Cake Mix Cookies Recipe: Quick, colorful, and fun cookies made easy with a cake mix.
- Russian Tea Cakes: Delicate, nutty, and dusted with powdered sugar.
- Cake Mix Chocolate Chip Cookie Recipe: A simple shortcut to everyone’s favorite cookie.
- Red Velvet Cookies Recipe: Rich, decadent, and beautifully vibrant cookies.
- Lemon Cool Whip Cookies: Light, airy, and bursting with zesty lemon flavor.
Give this fantastic Italian cookie recipe a try! You’ll be amazed at how easy and utterly delicious they are. Don’t forget to leave a comment and a star recipe rating once you’ve made these delightful treats. Happy baking!
Pin
Italian Cookies Recipe
Ingredients
- Cookies:
- 2 eggs
- 6 Tbsp softened butter
- 1/2 cup sugar
- 1 tsp almond extract or vanilla extract
- 2 cups flour
- 2 tsp baking powder
- 1/4 teaspoon salt
- Glaze:
- 2 cups powdered sugar
- 1 tsp almond extract or vanilla extract
- 3-4 Tbsp cream or milk warmed
- Colorful sprinkles
Instructions
-
Mix together eggs, softened butter, sugar, and extract in a mixing bowl. Stir in flour, baking powder, and salt.
-
Roll dough by tablespoonfuls into balls. Chill balls of dough for at least an hour, or freeze for 15-20 minutes. Place cold dough balls on cookie sheets lined with parchment paper.
-
Bake at 350° for about 9 minutes, or till tops are set. Bottoms will be lightly browned, but tops should still be white. Remove cookies to cooling racks and cool completely.
-
For glaze, combine all ingredients in a small bowl and whisk till smooth, adding enough warm cream to get a thin but creamy consistency.
-
Dip tops of the cookies in the glaze, then top with sprinkles.
Nutrition Facts
Carbohydrates 22g,
Protein 2g,
Fat 3g,
Saturated Fat 2g,
Cholesterol 21mg,
Sodium 56mg,
Potassium 52mg,
Fiber 1g,
Sugar 14g,
Vitamin A 110IU,
Calcium 21mg,
Iron 1mg
Pin This Now to Remember It Later
Pin Recipe
