Easy & Festive Turkey Cake: The Ultimate Thanksgiving Dessert Recipe
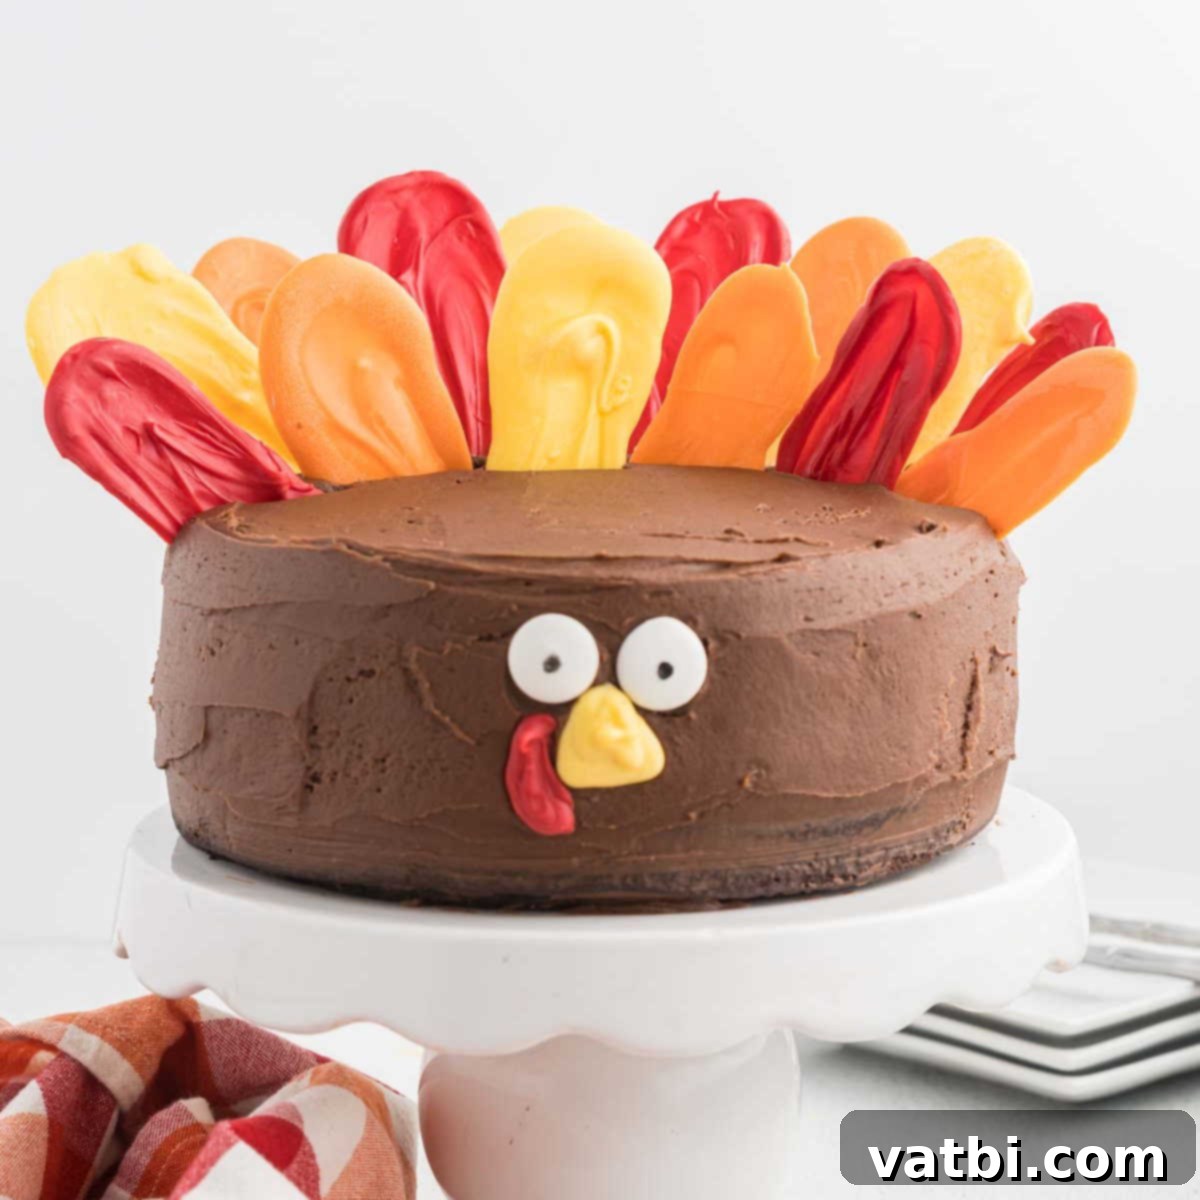
Get ready to add a burst of fun and charm to your holiday table with this incredibly easy and festive Turkey Cake! Perfect for Thanksgiving gatherings, this adorable dessert is not only a delight to look at but also a joy to make. Whether you’re a seasoned baker or just starting out, you’ll find this recipe quick, straightforward, and a blast for the whole family to create together.
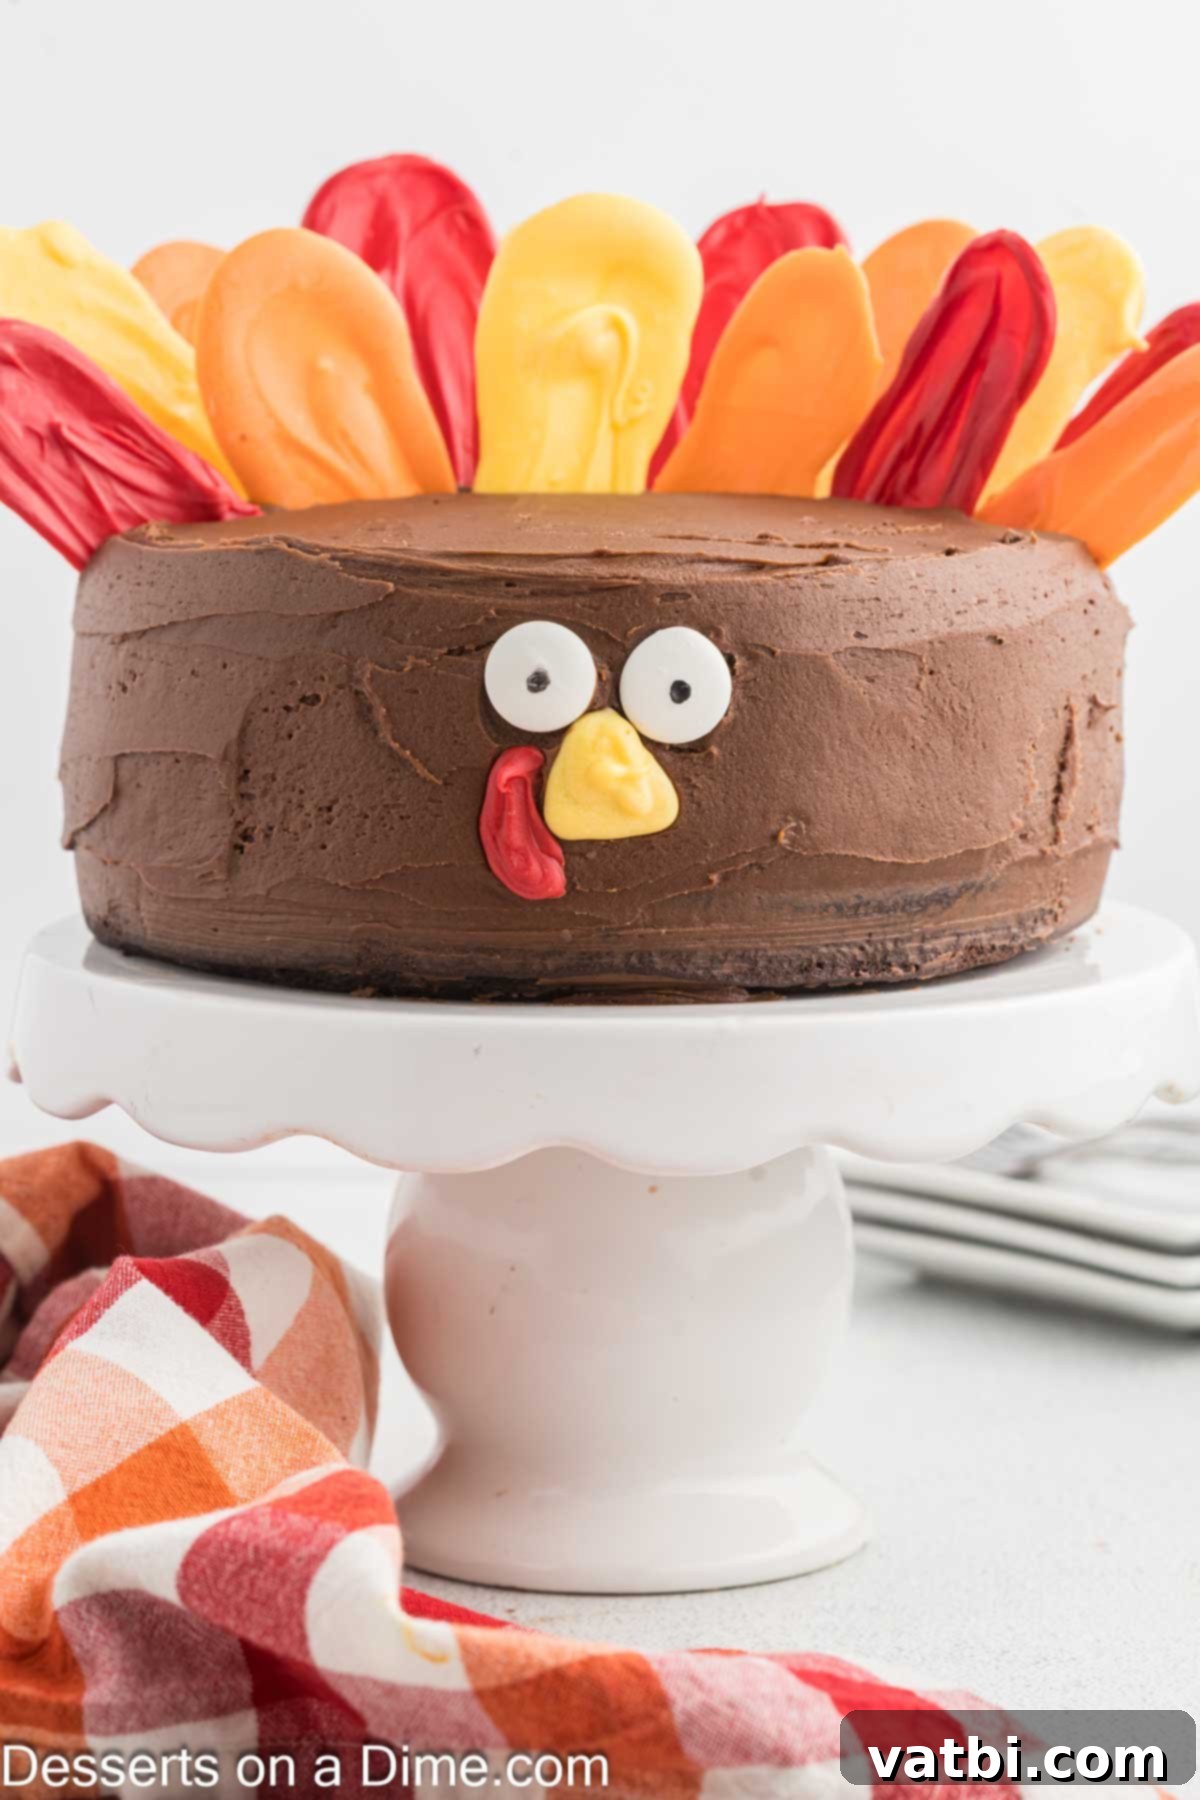
For many years, creating fun and thematic Thanksgiving desserts with my children has been a cherished tradition in our home. This delightful Turkey Cake recipe has become a much-anticipated part of our holiday festivities, right alongside other favorites like Turkey Cupcakes and Oreo Turkey Cookies. Everyone, from the youngest helpers to the adults, loves getting involved in bringing this sweet turkey to life.
While this Thanksgiving Turkey Cake looks quite impressive and intricate, it’s surprisingly simple to prepare. The secret? It starts with a convenient box cake mix, and the decorative elements are made easy with clear, step-by-step instructions. You don’t need expert baking skills or fancy tools to achieve this show-stopping dessert; just a little enthusiasm and some colorful candy melts!
Table of contents
- Why You’ll Adore This Turkey Cake
- Ingredients You’ll Need
- For the Moist Chocolate Cake
- For the Rich Chocolate Frosting
- For the Colorful Turkey Decorations
- Step-by-Step Guide to Making Your Turkey Cake
- Proper Storage for Leftovers
- Expert Tips for Success
- Frequently Asked Questions
Why You’ll Adore This Turkey Cake
Beyond its undeniably cute and festive appearance, this Turkey Cake truly delivers on taste. We elevate a simple cake mix with a few extra ingredients that transform it into an incredibly moist and flavorful chocolate cake. The depth of flavor from the dark chocolate and the added richness from sour cream and pudding mix make every bite a pure delight.
One of the best parts, especially when baking with kids, is crafting the vibrant turkey feathers. These “feathers” are made from colorful candy melts, which are not only easy and fun to shape but also incredibly tasty to eat! This recipe cleverly avoids the need for tricky fondant or intricate piping techniques. With just a few simple candy melts and an edible marker, you can create a professional-looking and deliciously charming turkey masterpiece.
This dessert isn’t just about the end result; it’s about the entire experience. It’s an opportunity to gather loved ones in the kitchen, share laughter, and create lasting holiday memories. The simple steps make it accessible for all skill levels, ensuring that everyone can contribute to making this special Thanksgiving treat. The combination of easy preparation, fantastic taste, and adorable design makes this Turkey Cake a must-have for your holiday traditions.
Ingredients You’ll Need
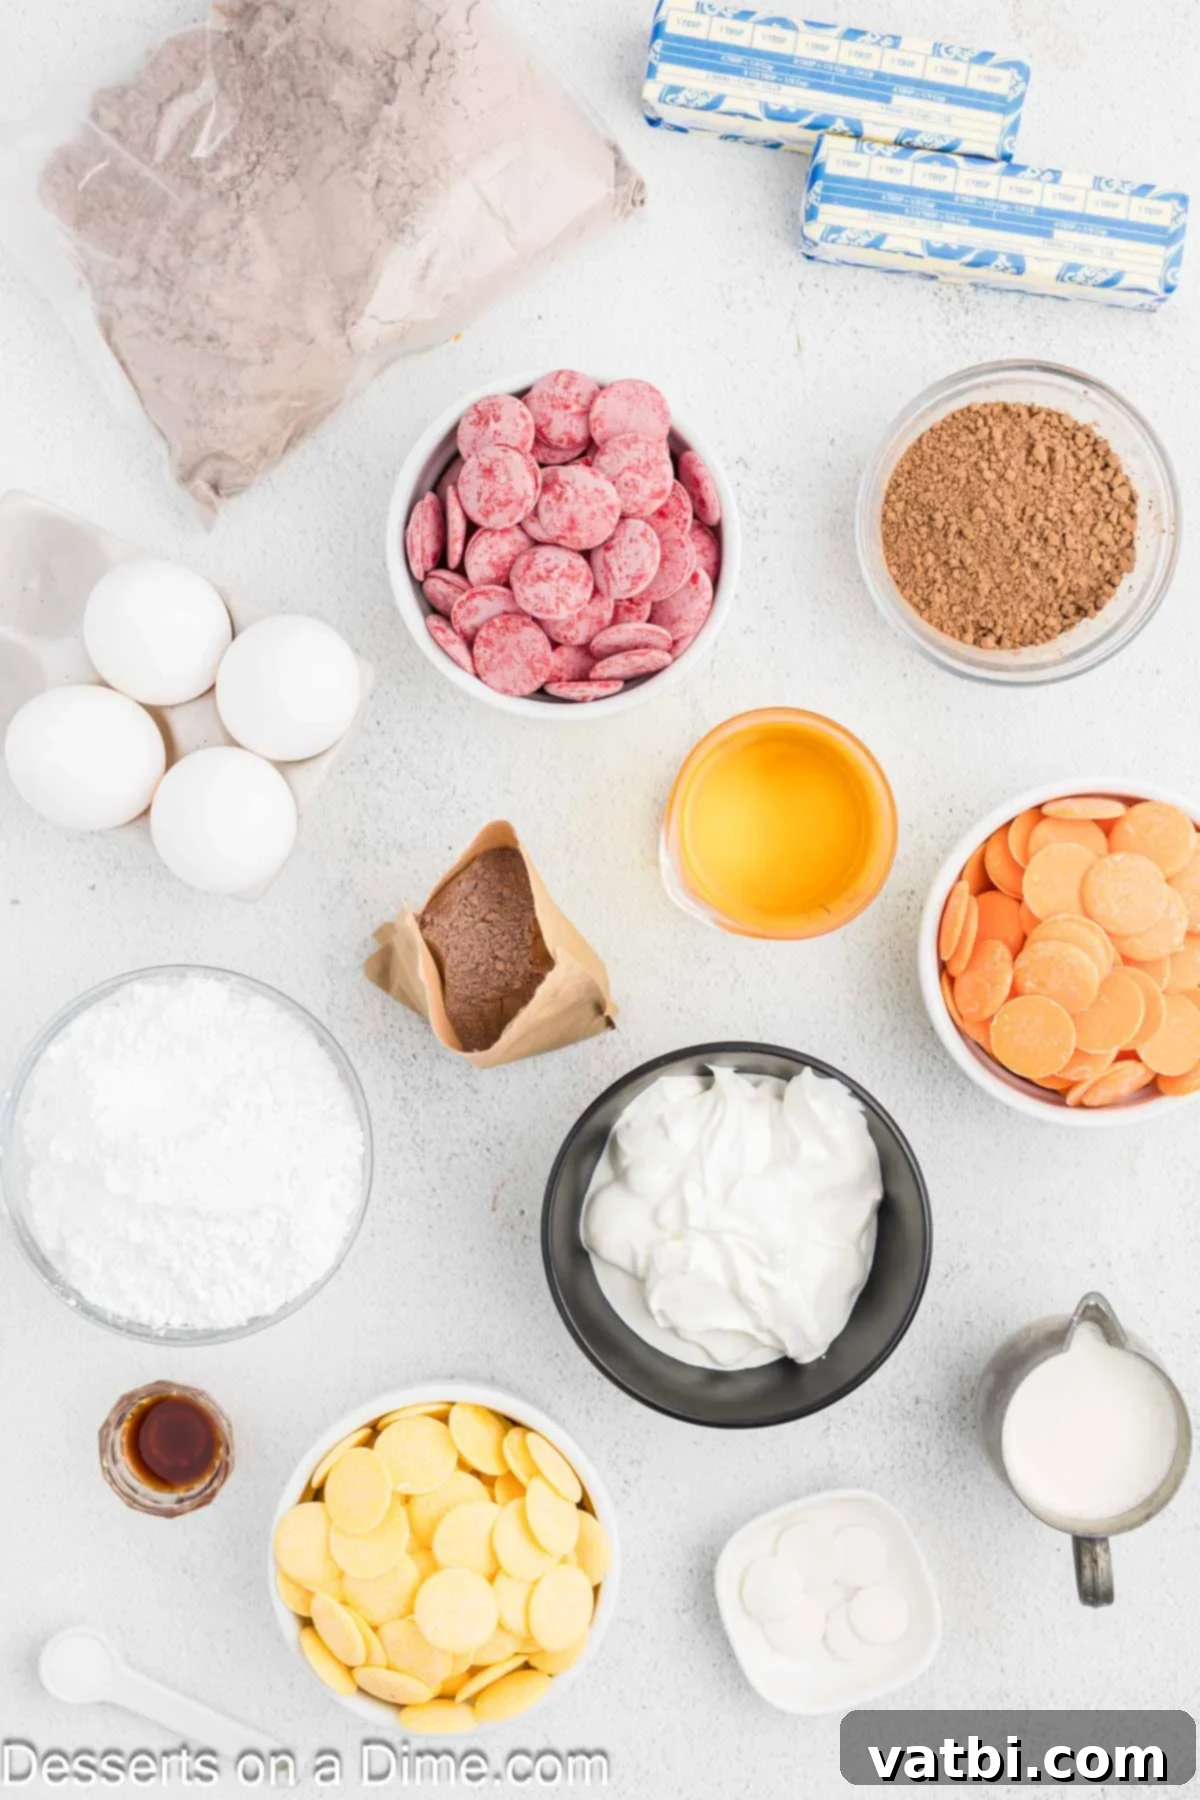
Gathering your ingredients is the first exciting step to bringing this festive Turkey Cake to life. We’ve chosen components that enhance flavor and texture while keeping the process simple. Here’s what you’ll need for the moist chocolate cake, rich frosting, and vibrant decorations.
For the Moist Chocolate Cake
- Dark Chocolate Cake Mix: This is our convenient base. Feel free to swap for a regular chocolate cake mix if you prefer a less intense chocolate flavor, but the dark chocolate adds a beautiful richness.
- Instant Chocolate Pudding Mix (3.9 ounces): Crucial for adding extra moisture and a deeper chocolate flavor to our cake. Ensure it’s the instant variety, not the cook-and-serve type.
- Large Eggs: It’s always best to use room temperature eggs as they incorporate more easily into the batter, resulting in a smoother, more uniform cake texture.
- Sour Cream: This is a secret ingredient for an incredibly moist and tender cake. Don’t skip it! It adds richness and helps create that wonderful soft crumb.
- Vegetable Oil: Contributes to the cake’s moisture and tender texture.
- Water: To bring the batter to the right consistency.
For the Rich Chocolate Frosting
- Unsalted Butter (softened): Softened butter is key for a smooth and creamy frosting. It beats up fluffy and combines beautifully with other ingredients. Using unsalted allows you to control the salt content.
- Confectioners’ Sugar: Also known as powdered sugar. I highly recommend sifting it before using to ensure your frosting is silky smooth and entirely lump-free.
- Unsweetened Cocoa Powder: For that rich chocolate flavor. Hershey’s is a classic choice and works perfectly here.
- Heavy Whipping Cream (cold): This helps achieve the perfect consistency and adds richness. Make sure it’s cold for optimal results. You’ll add it gradually until you reach your desired creaminess.
- Vanilla Extract: Enhances the chocolate flavor and adds a touch of warmth.
- Salt: A pinch of salt is vital in sweet recipes as it cuts through the sweetness and balances the flavors, making the chocolate taste even richer.
For the Colorful Turkey Decorations
- Candy Coating Disks: You’ll need red, yellow, orange, and white for the turkey’s vibrant feathers and eyes. These are much easier to melt and work with than trying to color melted white chocolate with food coloring, providing consistent, bright colors.
- Black Edible Marker: This makes drawing the turkey’s eyes on the white candy coating simple and precise. It’s a fantastic tool for adding those final adorable touches.
Step-by-Step Guide to Making Your Turkey Cake
Creating this festive Turkey Cake is a fun and rewarding process. Follow these detailed instructions to bake your moist chocolate cake, prepare the rich frosting, and assemble your adorable turkey decorations.
- Step 1: Prepare Your Pans and Preheat the Oven.
Begin by preheating your oven to 350 degrees Fahrenheit (175°C). Prepare two 8-inch round cake pans. For easy removal and to prevent sticking, line the bottoms of the pans with parchment paper. Lightly spray the parchment paper and the sides of the pans with a non-stick cooking spray. This ensures your cakes release beautifully.
Step 2: Mix the Cake Batter.
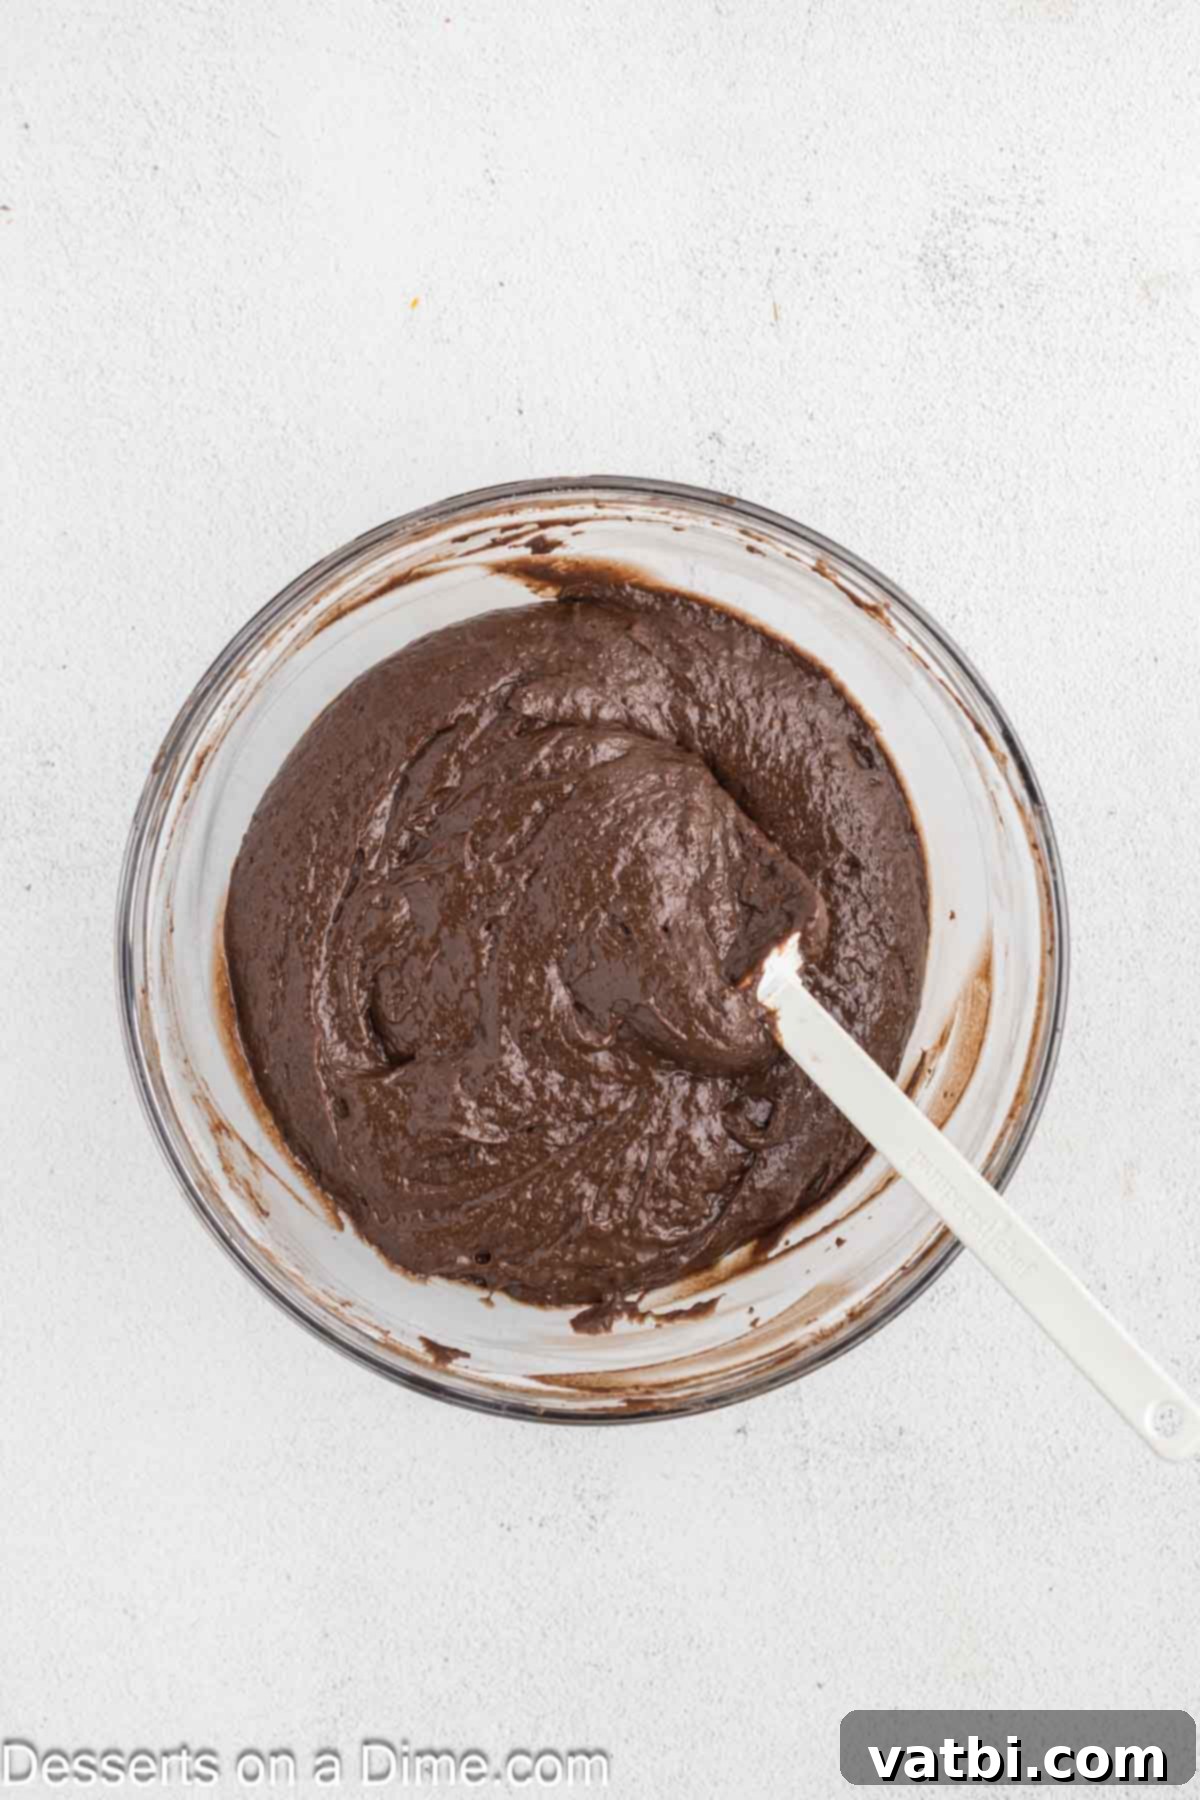
In a large mixing bowl, combine all the cake mix ingredients: the dark chocolate cake mix, instant chocolate pudding mix, large eggs, sour cream, vegetable oil, and water. Unlike typical box mix instructions, we’re adding these extra ingredients to create an exceptionally moist and flavorful cake that tastes homemade. Beat the ingredients until smooth and well combined, scraping down the sides of the bowl as needed.
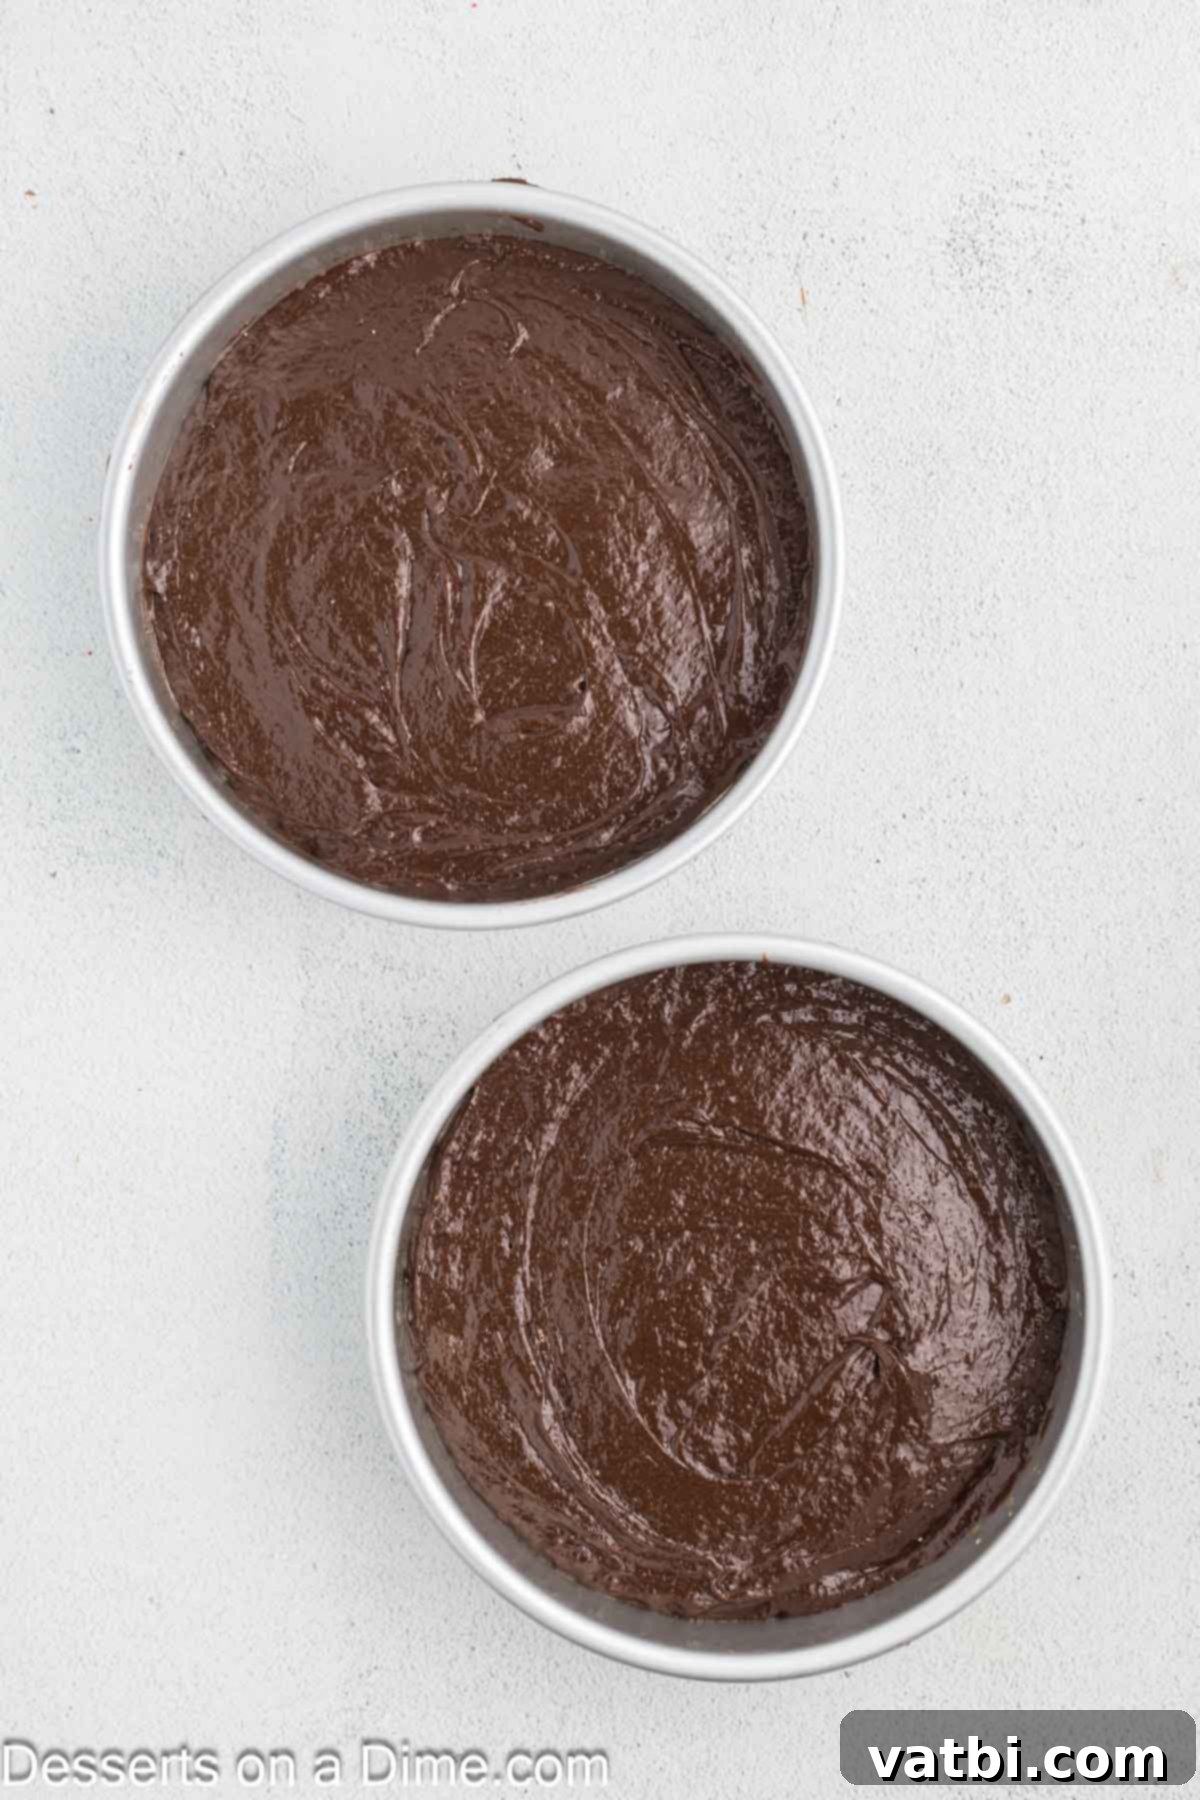
Step 3: Pour and Prepare for Baking.
Carefully pour the prepared cake batter evenly into the two round cake pans. Distributing the batter equally ensures that both cake layers bake uniformly and have a similar height, which is essential for a well-balanced cake.
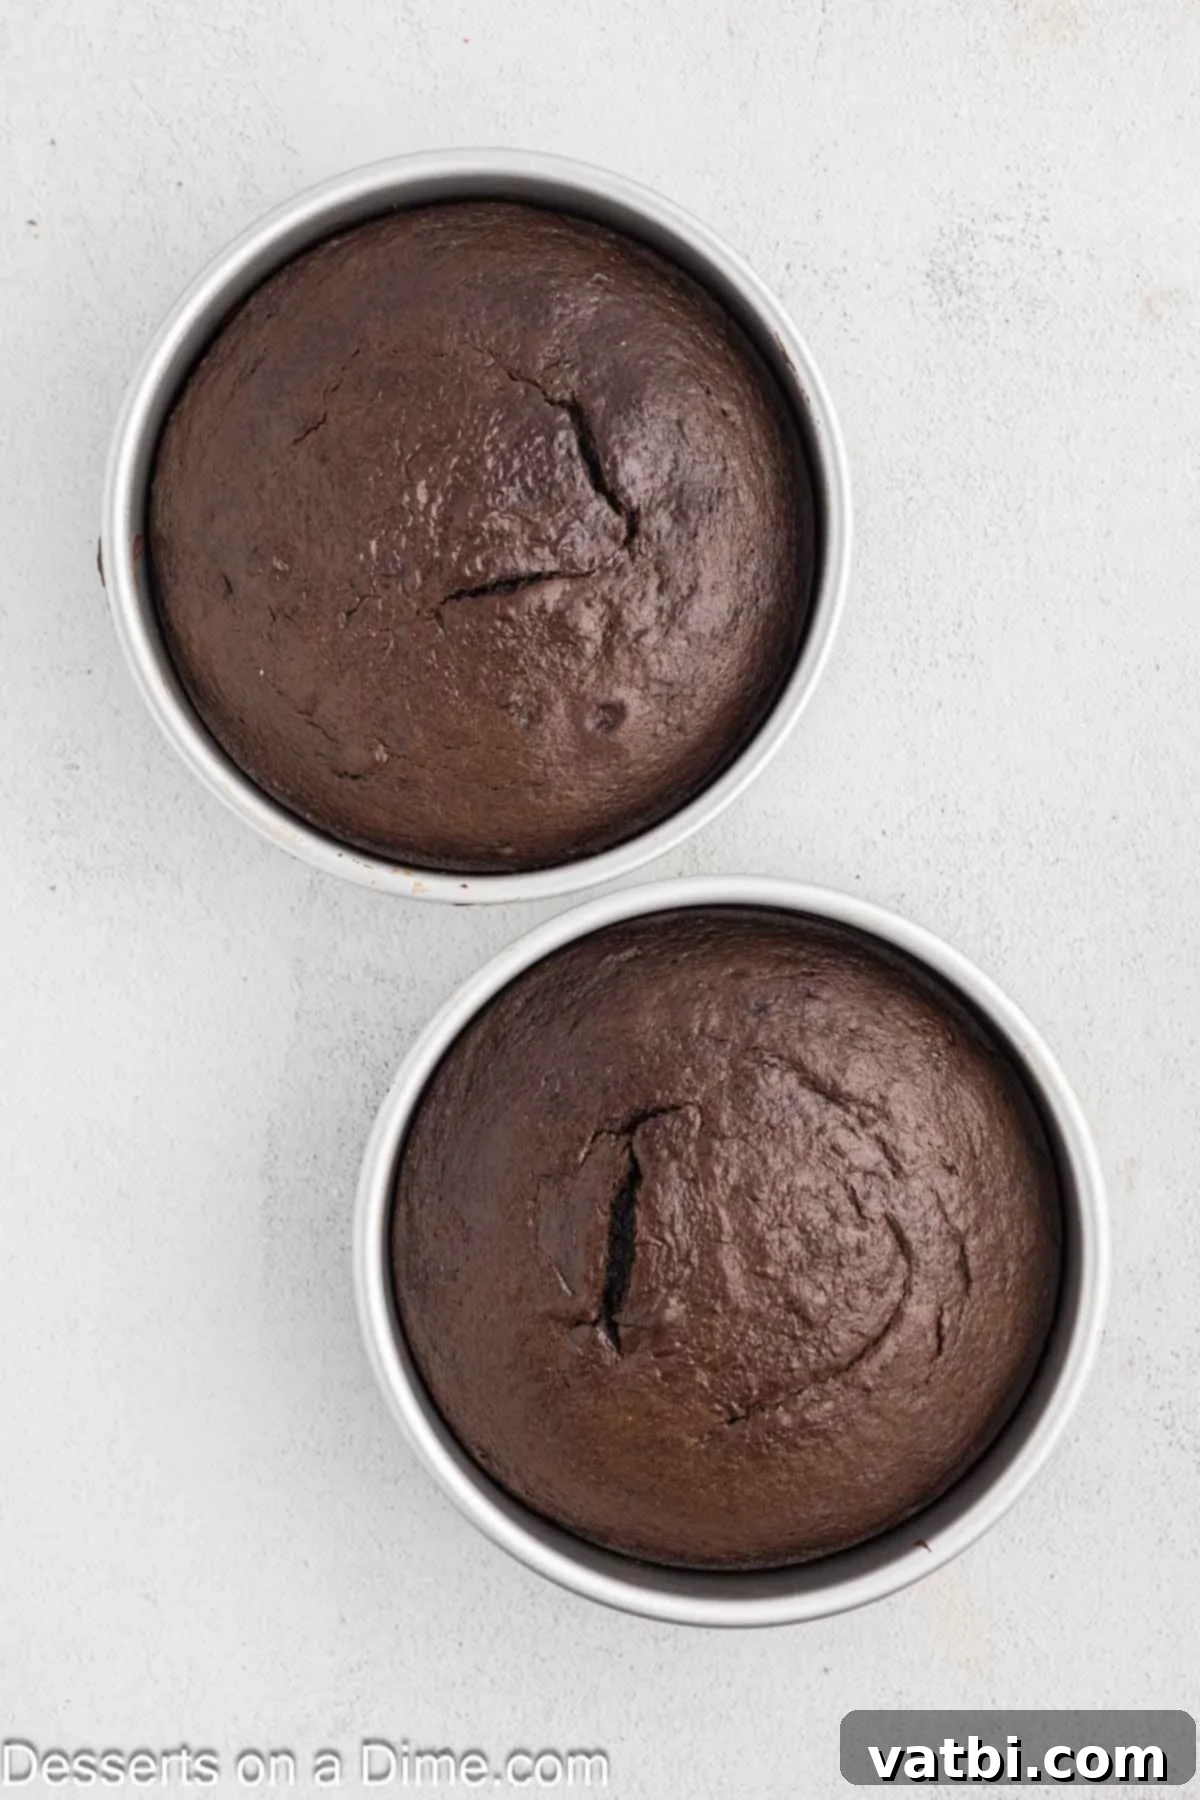
Step 4: Bake and Cool the Cakes.
Bake the cakes for 35-40 minutes. To check for doneness, insert a toothpick into the center of each cake; it should come out clean without any wet batter. Once baked, allow the cakes to cool in their pans for about 10-15 minutes before carefully inverting them onto a wire rack. Let them cool completely to room temperature on the wire rack. This step is crucial; frosting a warm cake will cause the frosting to melt.
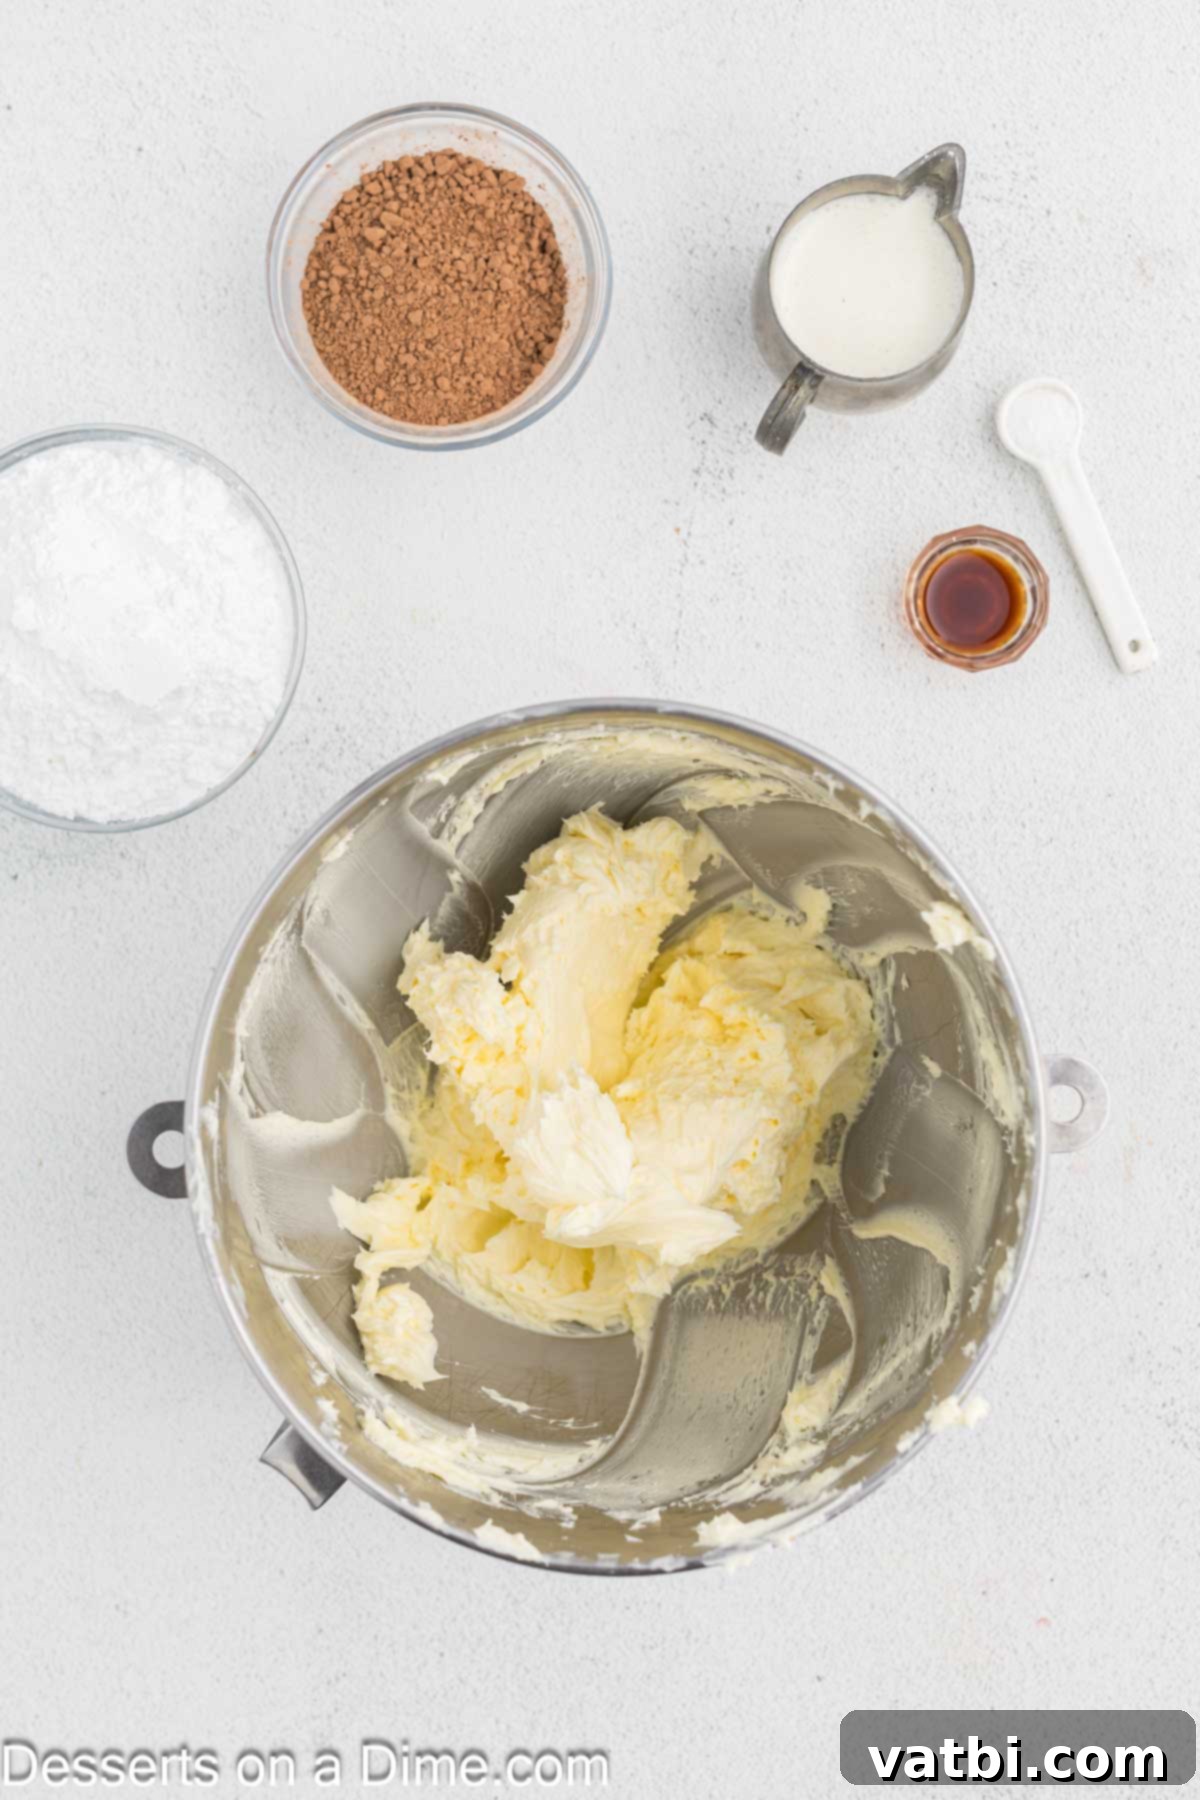
Step 5: Prepare the Butter for Frosting.
While your cakes are cooling, begin making the rich chocolate frosting. In a large mixing bowl, use a hand mixer or stand mixer to beat the softened unsalted butter on medium speed for 2-3 minutes. You want the butter to become light, fluffy, and creamy before adding the other ingredients. This aeration helps create a smooth, pipeable frosting.
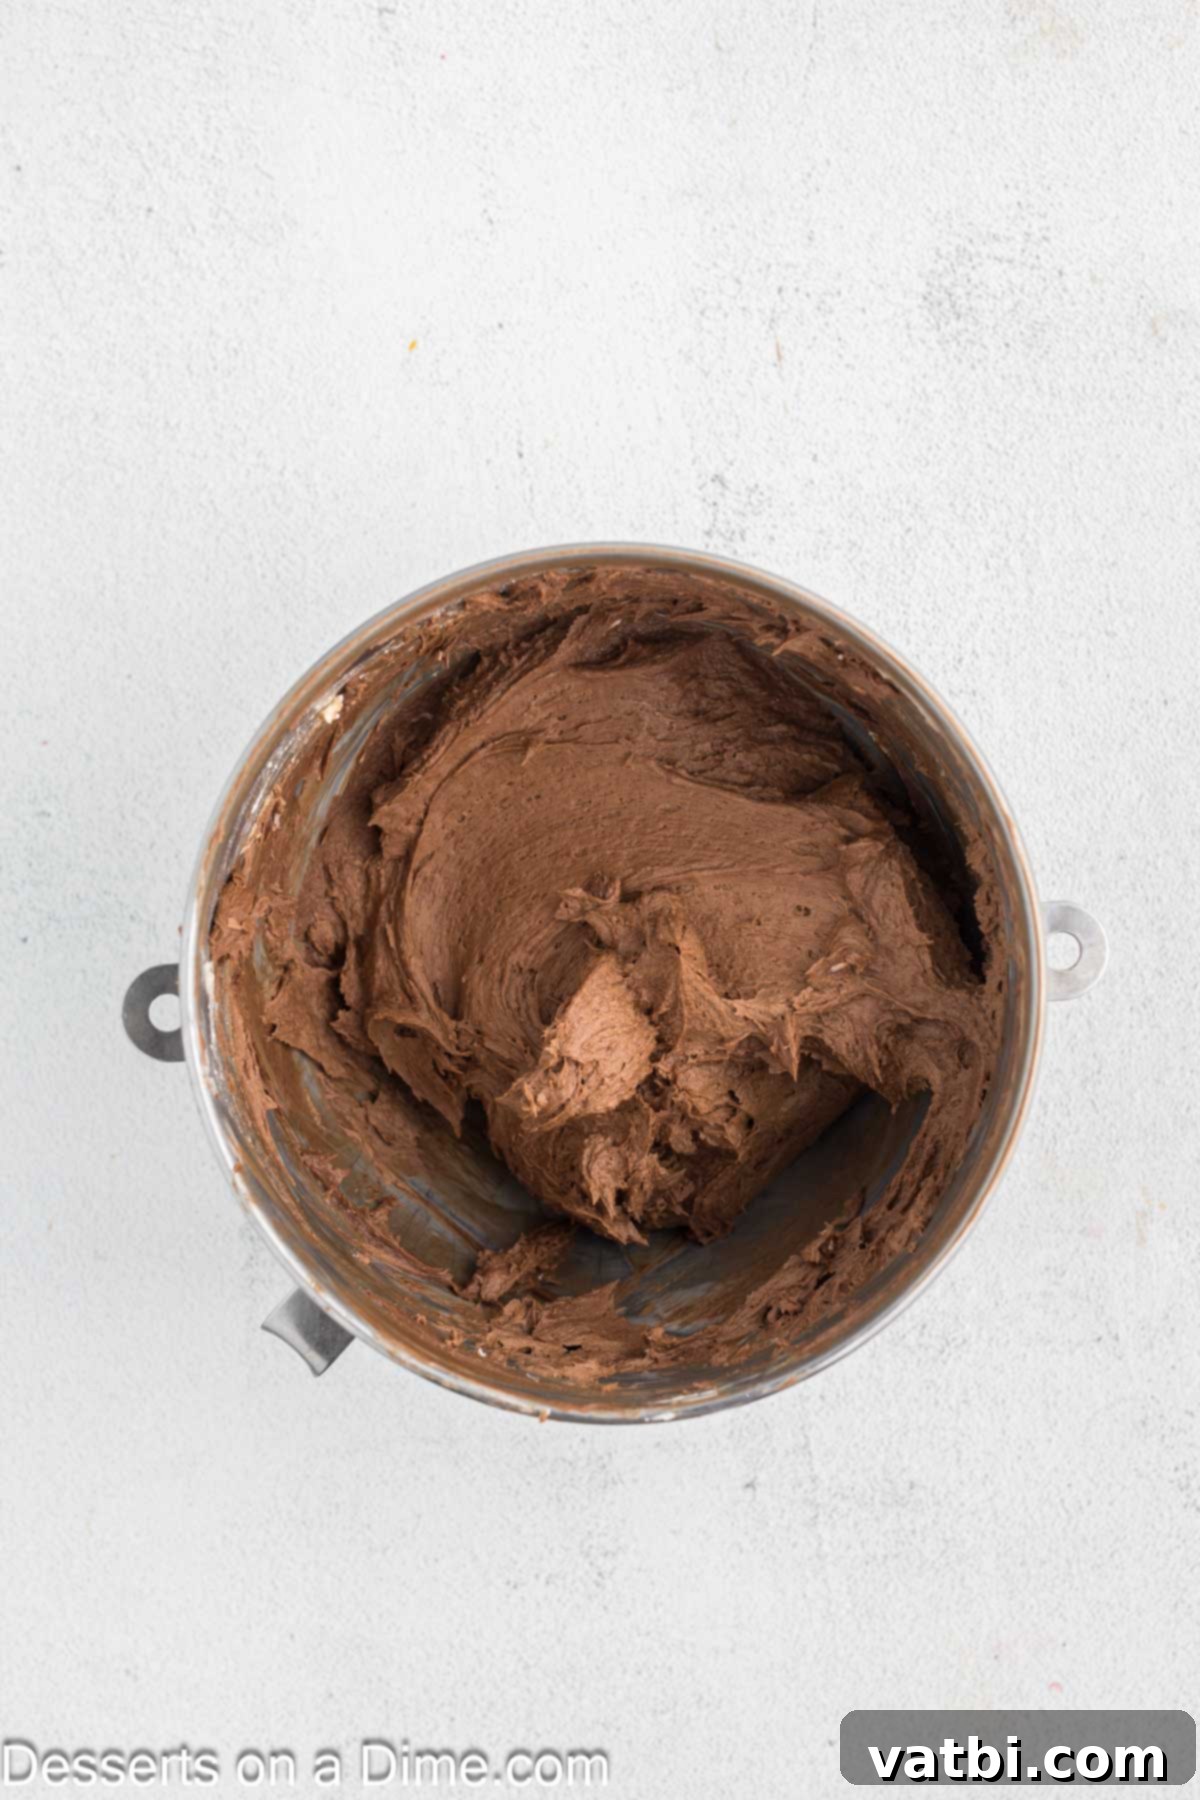
Step 6: Finish the Chocolate Frosting.
Once the butter is light and creamy, gradually add the sifted confectioners’ sugar, unsweetened cocoa powder, 3-4 tablespoons of cold heavy whipping cream, vanilla extract, and salt. Start mixing on low speed for about a minute to avoid a cloud of powdered sugar. Then, increase the speed to medium-high and beat until the frosting is smooth and fluffy. Check the consistency – if it’s too thick, add a little more heavy cream (1 tablespoon at a time) until you achieve a wonderfully creamy, spreadable chocolate frosting. Refrigerate it until you’re ready to use.
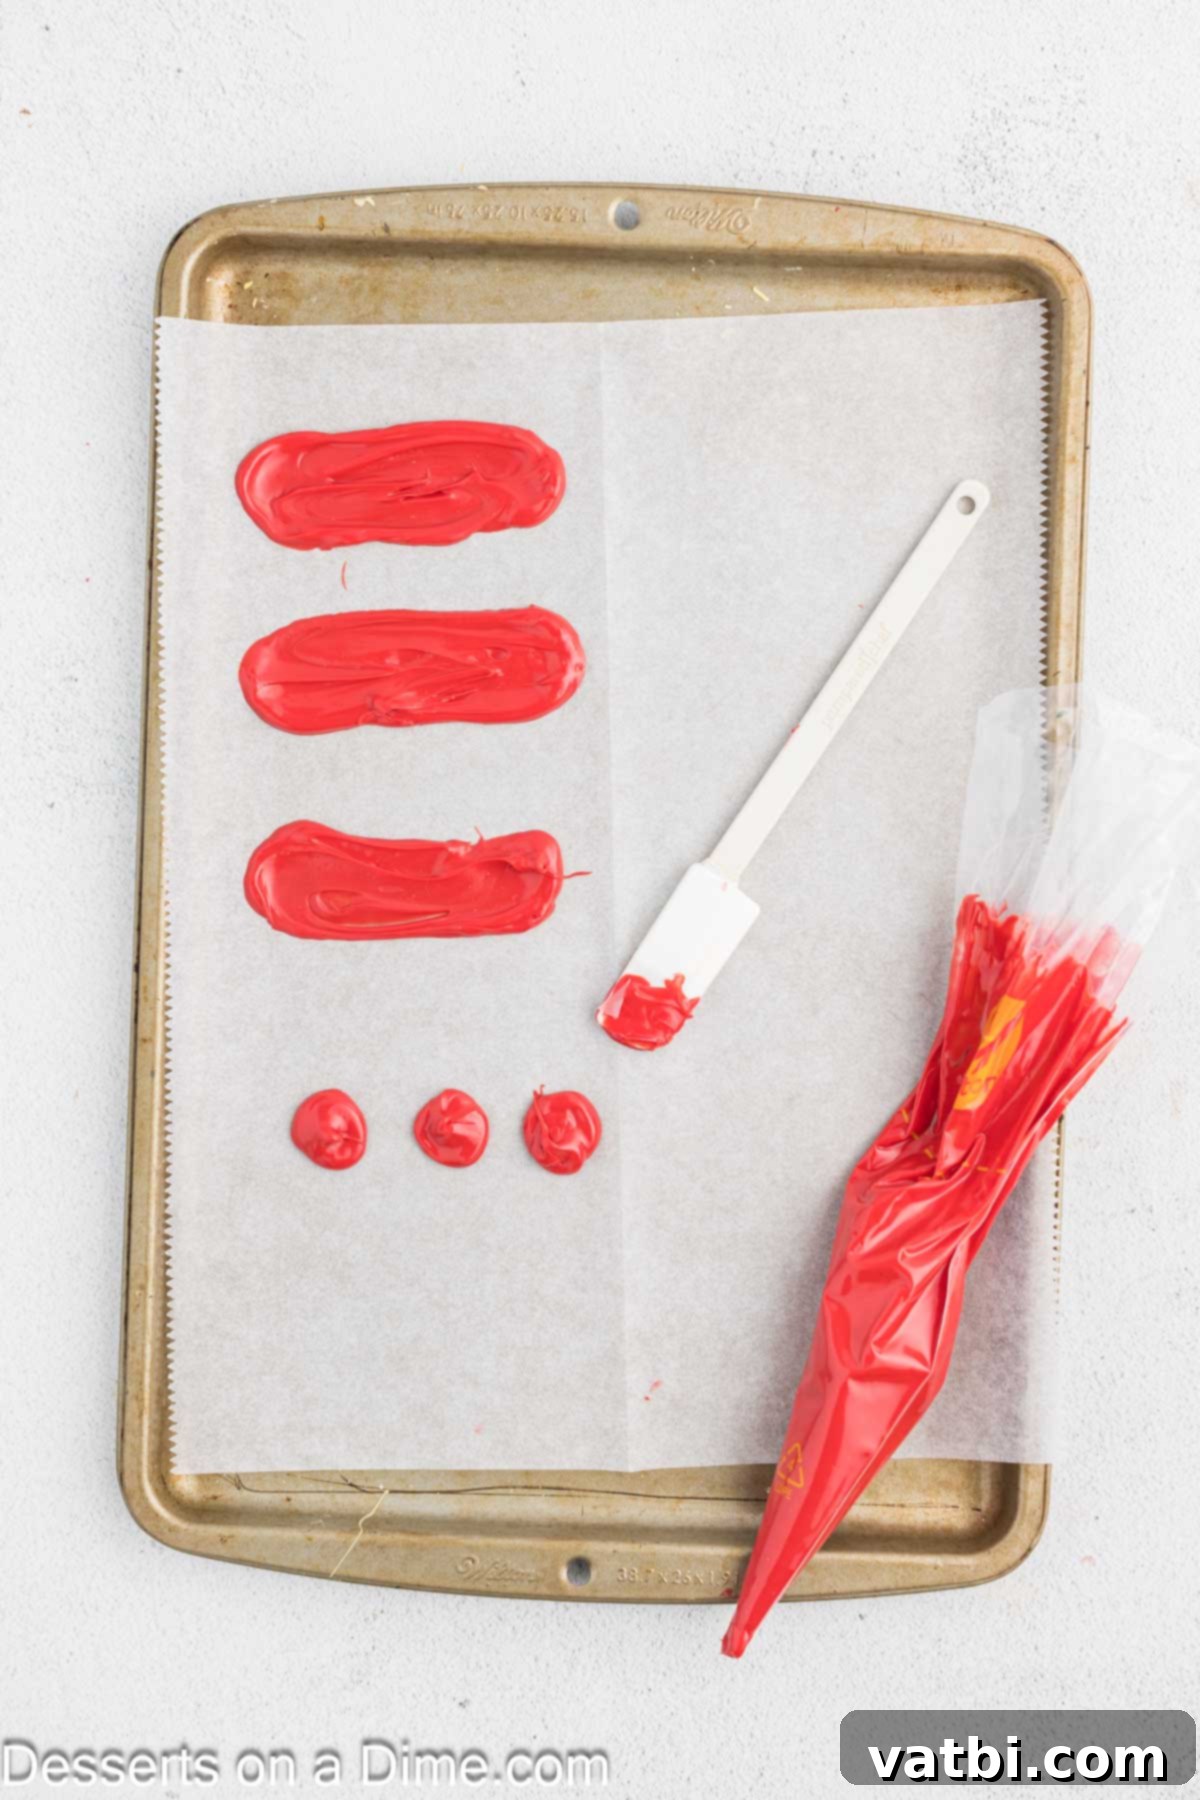
Step 7: Prepare the Candy Feathers.
Now for the fun part – creating the turkey’s vibrant feathers! Melt the red, yellow, and orange candy coating disks according to their package instructions. Once melted, carefully spoon each color into separate piping bags. Line a baking sheet with parchment paper. Using the piping bags, pipe thick dots or lines of each color onto the parchment paper. You don’t need a perfectly straight edge; the unevenness will add to the feather-like appearance.
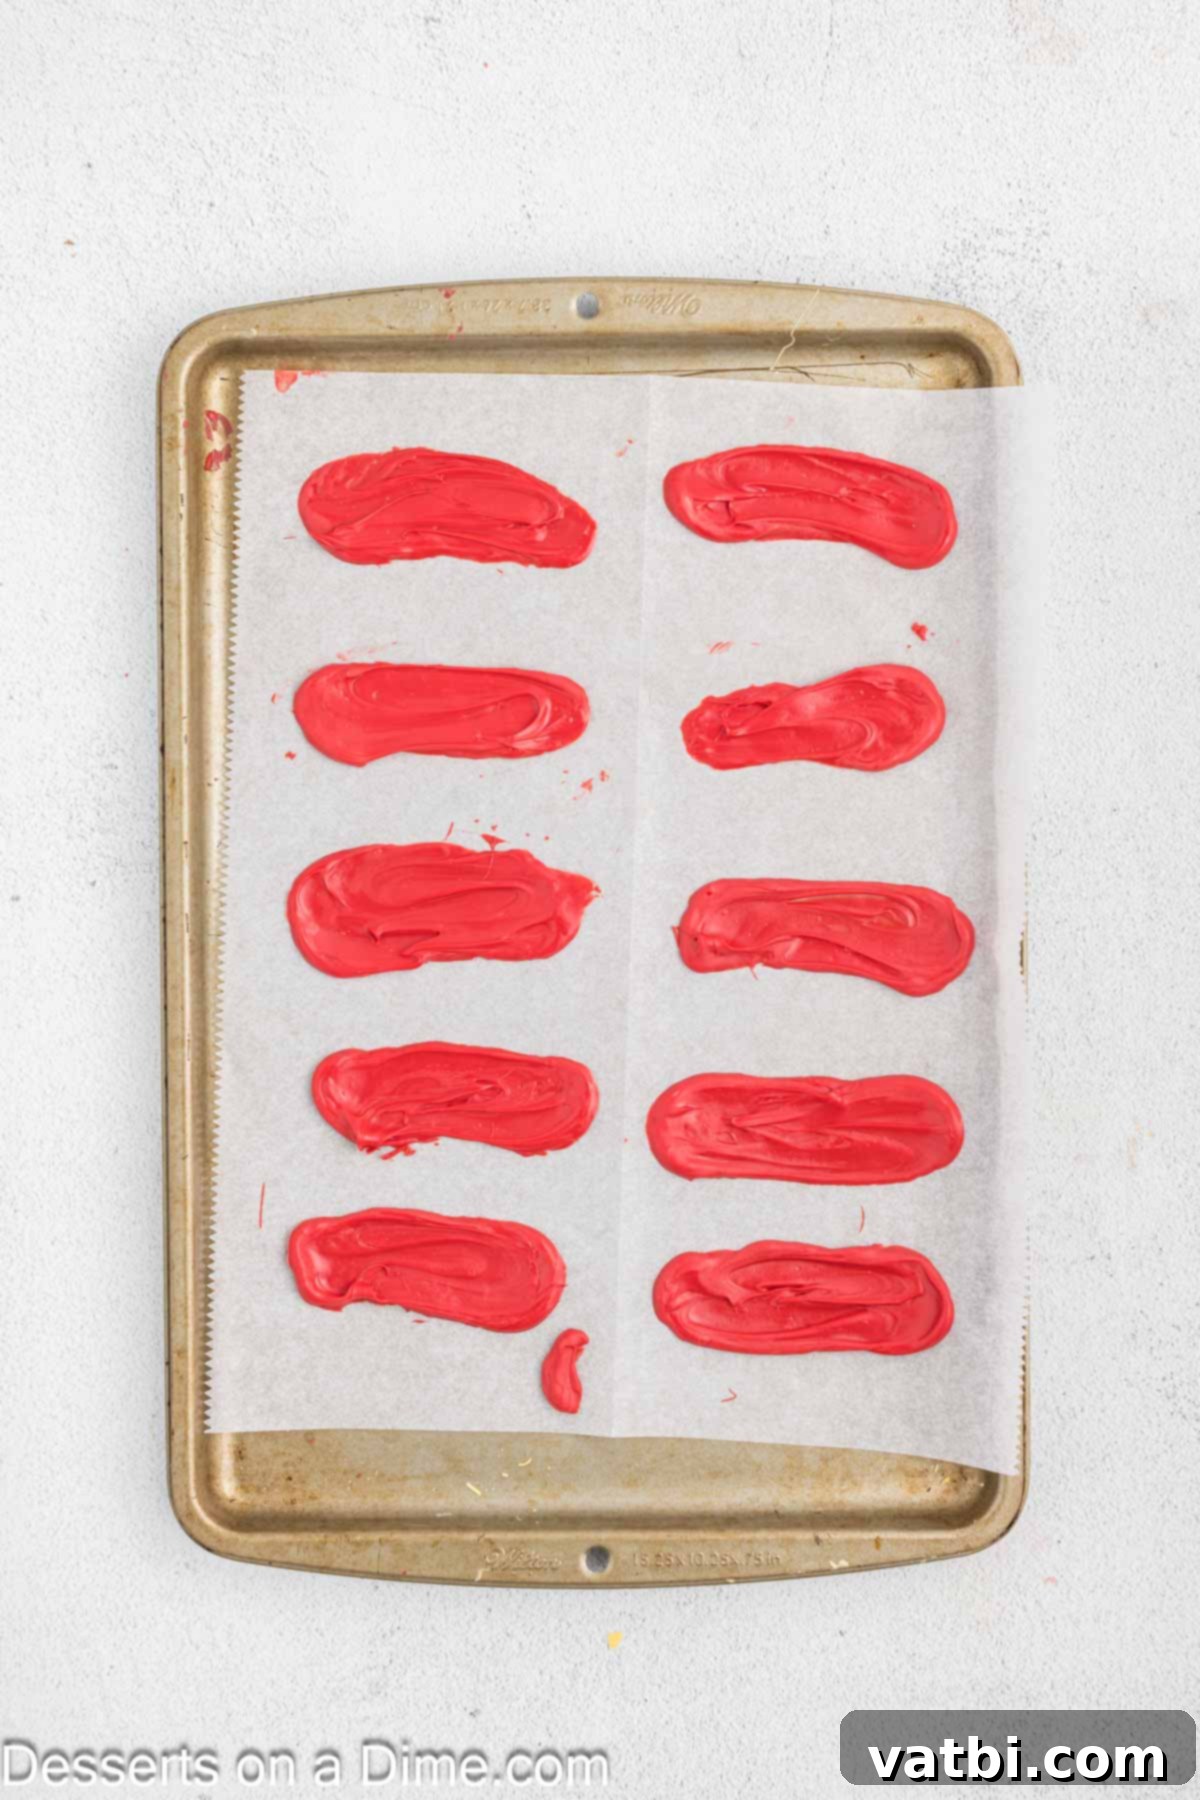
Step 8: Shape the Feathers and Facial Features.
Once you’ve piped the candy dots, use a small spatula or the back of a spoon to gently spread each dot outward, creating a feather shape on the parchment-lined baking sheet. Repeat this process with all three colors (red, yellow, and orange) to create a variety of colorful feathers. For the turkey’s face, pipe a small yellow triangle for the nose and a distinct red wattle using the respective candy coatings. Allow all the candy decorations to sit at room temperature until they are completely set and firm. This usually takes about 15-30 minutes, depending on the room temperature.
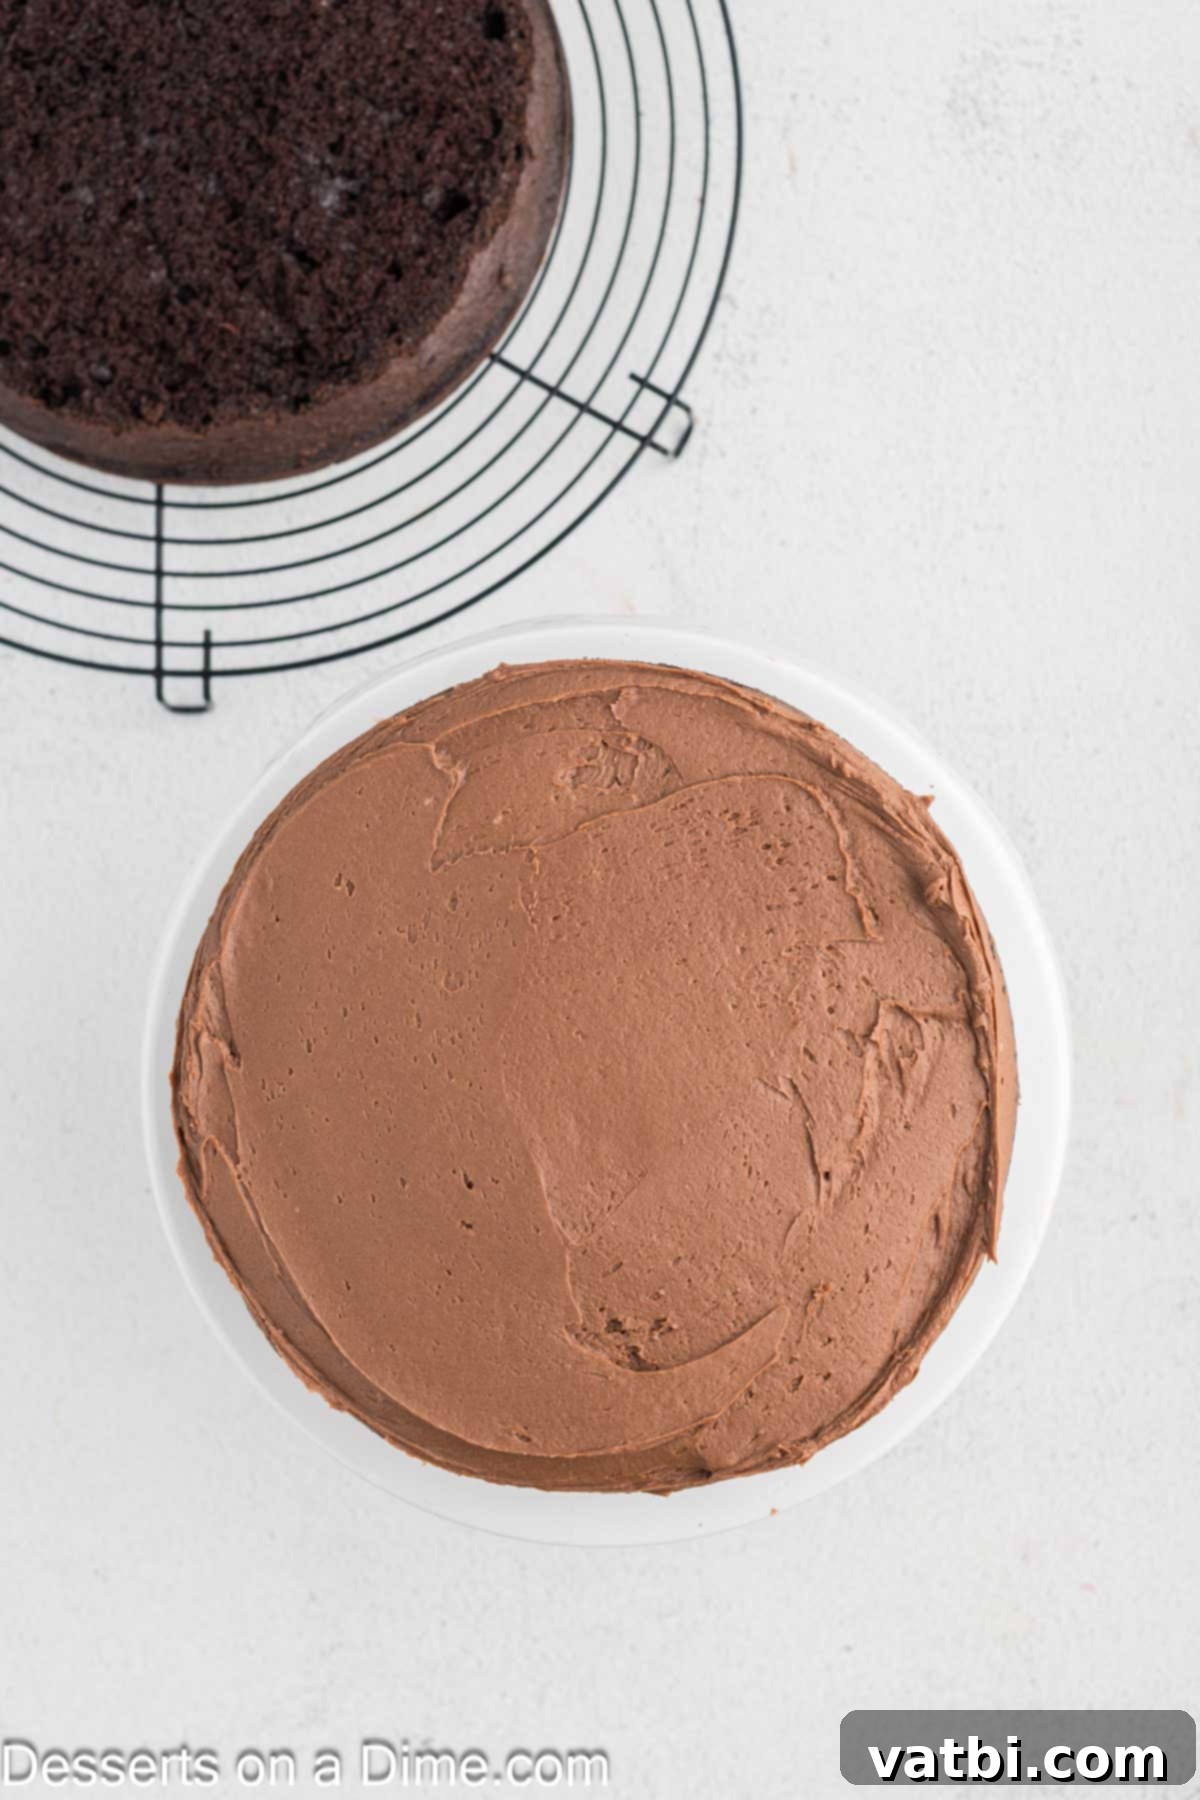
Step 9: Assemble and Crumb Coat the Cake.
Now it’s time to assemble your cake! Place one cooled cake layer on your desired serving platter. Apply a thin, even layer of your chocolate frosting over the top – this is your “crumb coat,” which traps any loose crumbs and creates a smooth base for your final frosting layer. Carefully place the second cake layer on top of the first. Cover the top and sides of the entire cake with another layer of frosting. Don’t worry about perfection at this stage; you can add more frosting if needed to ensure full coverage and a smooth finish.
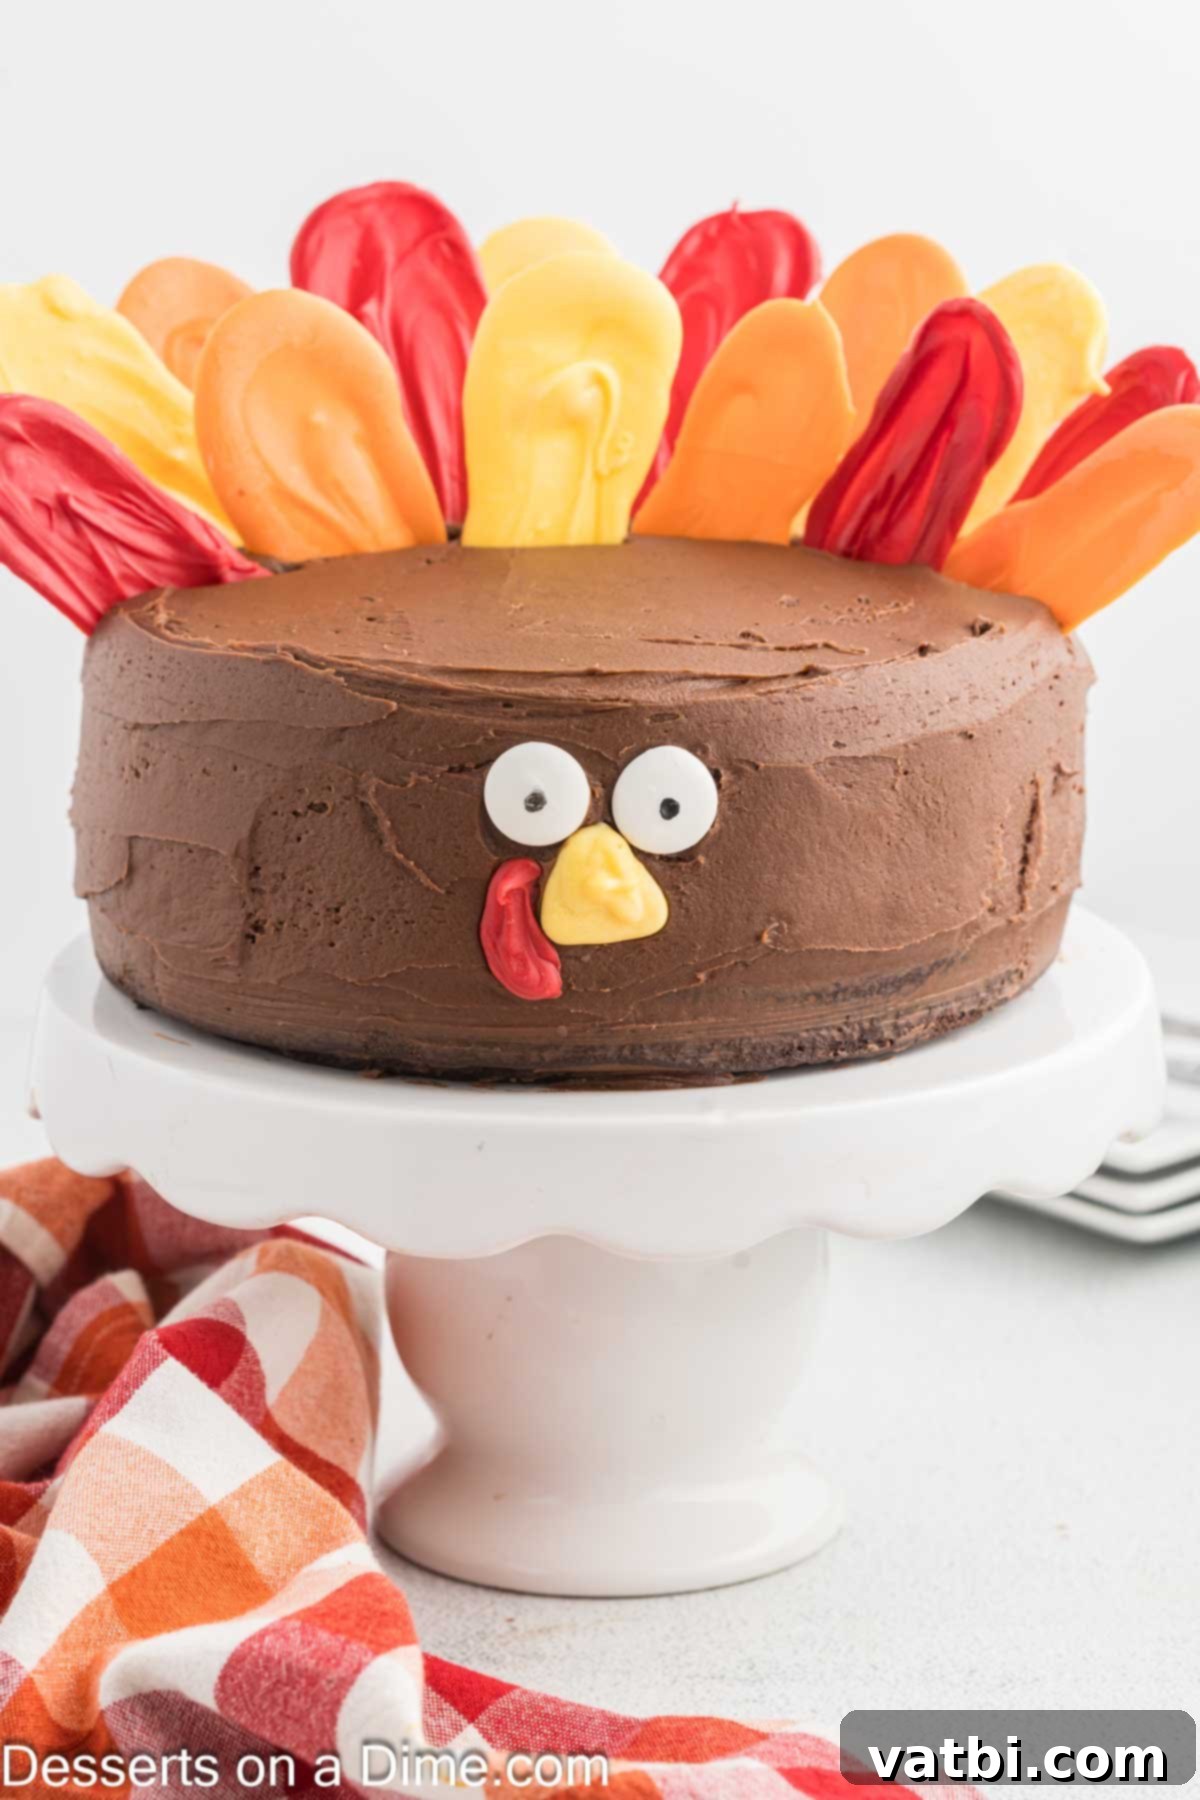
Step 10: Add the Festive Feathers and Face.
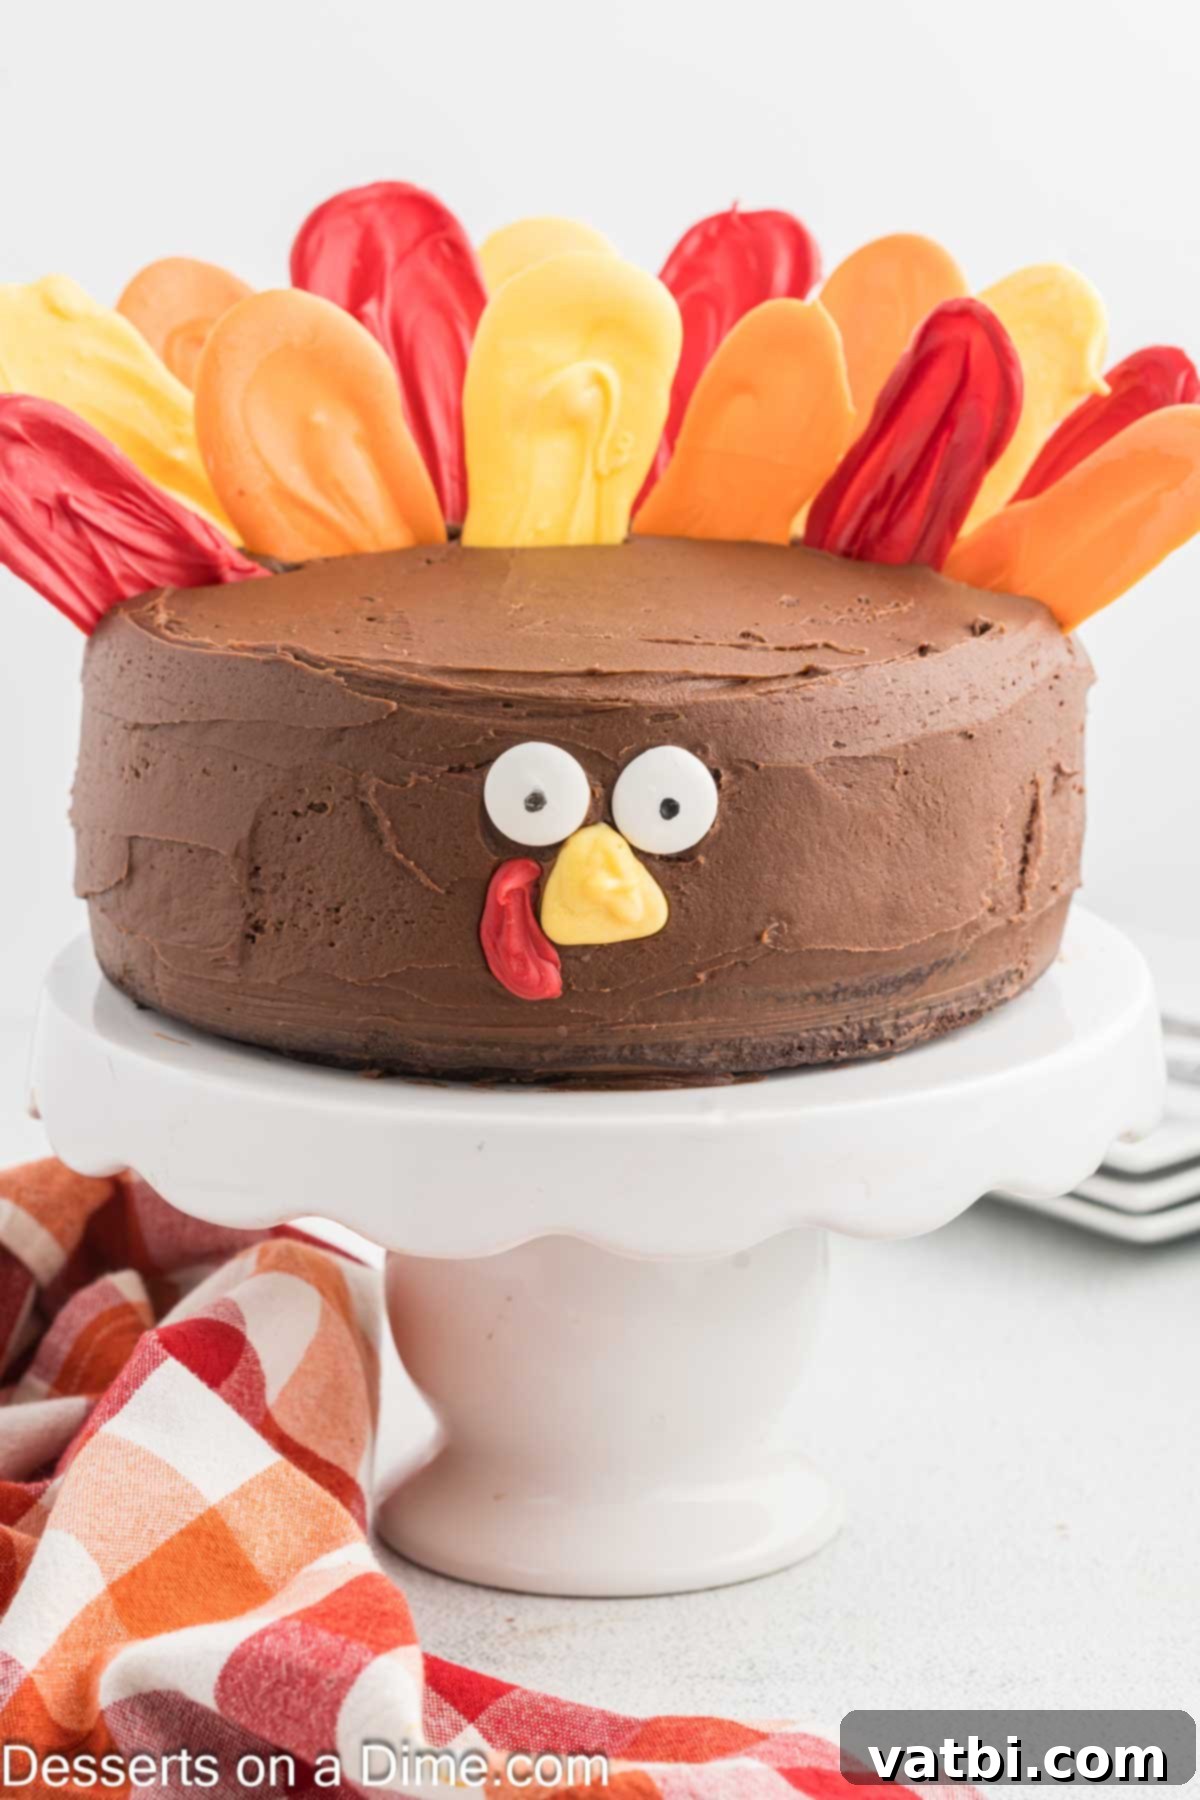
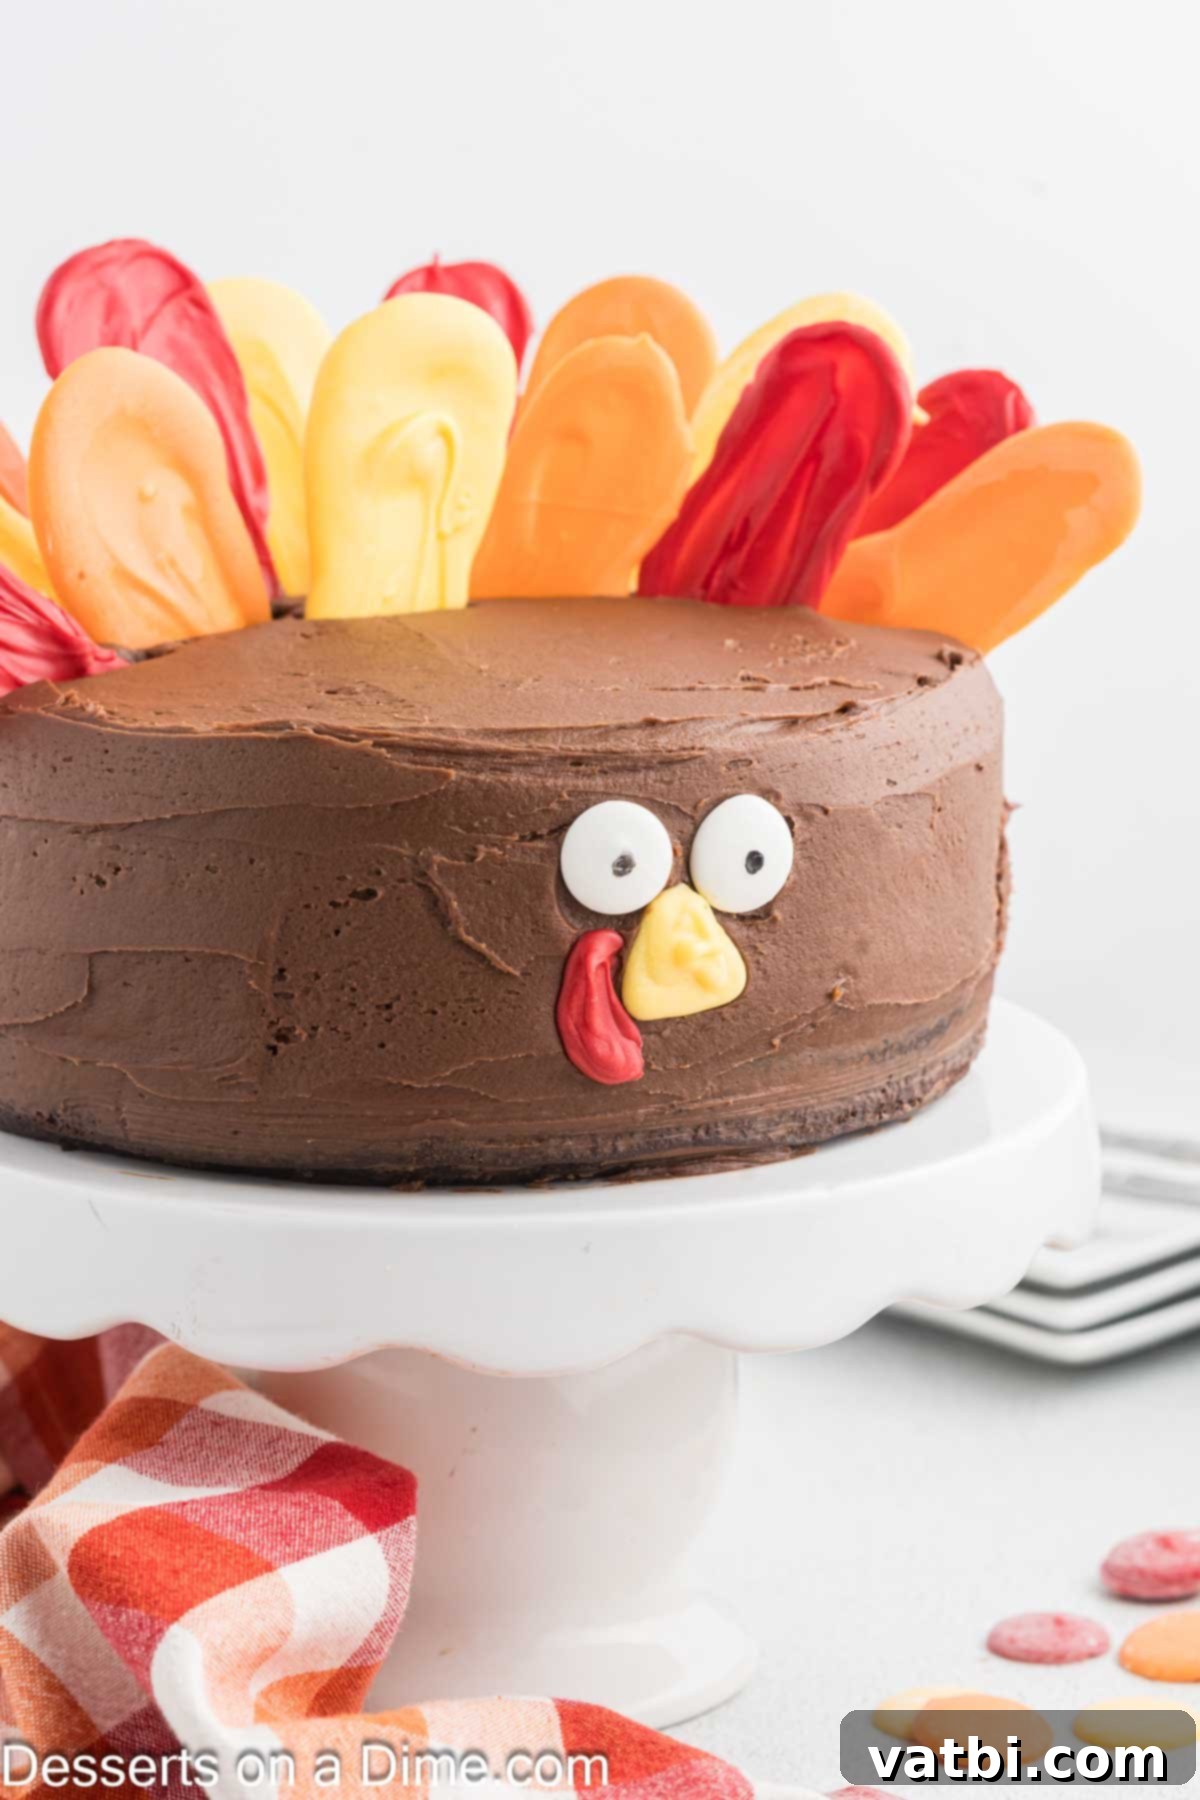
For the best presentation, add the cake decorations right before serving. Gently push the set candy feathers into the top back edge of the frosted cake, arranging them in a fan-like pattern to mimic a turkey’s tail. Continue adding feathers, alternating colors, until the back of the cake is adorned. Then, position the two white candy disks on the front of the cake for the eyes, and carefully place the yellow candy nose and red candy wattle below them to form the turkey’s face.
Step 11: Final Touches and Serve!
To complete your adorable turkey, use the black edible marker to draw a small black dot on each white candy disk for the turkey’s eyes. And just like that, your charming and delicious Turkey Cake is ready! Serve it proudly as the centerpiece of your Thanksgiving dessert spread and enjoy the delighted reactions from your guests.
Proper Storage for Leftovers
If you happen to have any slices of this delicious Turkey Cake left over (which is a big “if”!), proper storage will keep it fresh and tasty for days. Cover any leftover cake tightly with plastic wrap or place it in an airtight container. Refrigerate it for up to 1 week. Allowing it to come to room temperature for a short period before serving again can enhance the flavors and texture of the cake and frosting.
Expert Tips for Success
Achieving a perfectly delicious and beautifully decorated Turkey Cake is simple with these expert tips:
- Cool Cakes Completely: This is perhaps the most crucial tip! Ensure your cake layers are completely cooled to room temperature before you apply any frosting. Attempting to frost a warm cake will result in melted, sliding frosting and a messy situation. If time allows, you can even chill the cooled cakes in the refrigerator for 30 minutes to an hour before frosting, making them firmer and easier to handle.
- Achieve Perfect Frosting Consistency: When making your chocolate frosting, gradually add the heavy cream. Start with the recommended amount and then add small increments (like a teaspoon at a time) until the frosting reaches your desired creamy, spreadable consistency. It should be firm enough to hold its shape but soft enough to spread easily.
- Allow Candy Feathers to Set Firmly: Patience is key when making the candy decorations. The candy melts need to be completely set and firm before you attempt to remove them from the parchment paper and place them on the cake. If they are still soft, they may bend or break. Placing the baking sheet in the refrigerator for 10-15 minutes can speed up this process.
- Decorate Just Before Serving: While the cake can be frosted ahead of time, I highly recommend adding the candy feathers, eyes, nose, and wattle right before you plan to serve it. This ensures the candy decorations remain vibrant, crisp, and don’t soften or absorb moisture from the frosting.
- Alternative for Turkey Eyes: If you don’t have a black edible marker on hand, don’t worry! You can use a tiny dot of melted dark chocolate or even small chocolate chips for the turkey’s eyes. Simply dab it on with a toothpick.
- Involve the Kids: This recipe is wonderfully kid-friendly! Let them help with measuring ingredients, mixing the batter (under supervision), and especially with piping and shaping the candy feathers. It’s a fantastic way to get them excited about holiday baking.
- Plan Ahead: You can bake the cake layers a day in advance, wrap them tightly, and store them at room temperature (or freeze them). The frosting can also be made a day ahead and stored in the refrigerator; just let it come to room temperature and re-whip briefly before using. The candy decorations can also be made several days ahead and stored in an airtight container at room temperature.
Frequently Asked Questions
- Can I use a different flavor of cake mix?
- Absolutely! While we love the dark chocolate for its rich flavor, you can certainly use a classic chocolate, yellow, or even a spice cake mix for a different holiday twist. Just be sure to pair it with the instant pudding mix as specified for added moisture.
- Do I have to use sour cream?
- Sour cream is highly recommended as it adds incredible moisture and richness, making the cake taste much more decadent than a standard box mix. If you absolutely cannot use sour cream, plain Greek yogurt can be a decent substitute for moisture, though the flavor profile might differ slightly.
- How can I make the candy feathers smoother?
- For smoother candy feathers, ensure your candy melts are fully melted and fluid. If they are too thick, you can add a small amount of paramount crystals or a tiny bit of vegetable shortening (like Crisco) to thin them slightly, making them easier to pipe and spread.
- Can I make this cake gluten-free?
- Yes, you can! Use a gluten-free chocolate cake mix and ensure your instant pudding mix and candy melts are also certified gluten-free. The rest of the ingredients are naturally gluten-free.
More Fun Thanksgiving Desserts
No bake Dessert
Chocolate Acorns
Thanksgiving Desserts
Thanksgiving Sugar Cookies Recipe
Thanksgiving Desserts
Thanksgiving Cake Pops Recipe
This Thanksgiving, make your dessert table unforgettable with this easy, fun, and irresistibly adorable Turkey Cake. It’s more than just a cake; it’s an opportunity to create cherished memories and a tradition your family will look forward to year after year. Once you give this recipe a try, don’t forget to come back and share your experience by leaving a comment and a star rating. Happy baking, and Happy Thanksgiving!
Pin
Turkey Cake
Ingredients
For the Cake:
- 1 Dark Chocolate Cake Mix
- 1 pkg Instant Chocolate Pudding Mix 3.9 ounces
- 4 Large Eggs
- 1 cup Sour Cream
- 3/4 cup Vegetable Oil
- 3/4 cup Water
For the Chocolate Frosting:
- 1 cup Unsalted Butter softened
- 3 cups Confectioners Sugar
- 1/2 cup Unsweetened Cocoa Powder
- 3-4 Tablespoons Heavy Whipping Cream
- 2 teaspoon Vanilla Extract
- 1/2 teaspoon Salt
For the Decorations:
- 8 ounces Red Candy Coating Disks
- 8 ounces Yellow Candy Coating Disks
- 8 ounces Orange Candy Coating Disks
- 2 White Candy coating Disks
- Black Edible Marker
Instructions
For the Cake:
-
Preheat oven to 350 degrees F (175°C) and line 2 8-inch round pans with parchment paper. Spray the paper and sides of the pans with a non-stick cooking spray for easy cake removal.
-
In a large mixing bowl, stir together the dark chocolate cake mix, instant chocolate pudding mix, large eggs, sour cream, vegetable oil, and water until well combined and smooth. Do not follow package instructions for the cake mix as we are enhancing it.
-
Pour the batter evenly into the two prepared round cake pans, ensuring each pan has roughly the same amount for even baking.
-
Bake for 35-40 minutes, or until a wooden toothpick inserted into the centers comes out clean, indicating the cakes are fully cooked.
-
Let the cakes cool in their pans for 10-15 minutes before carefully inverting them onto wire racks to cool completely to room temperature. This prevents the cakes from breaking and ensures the frosting doesn’t melt.
For the Frosting:
-
In a large bowl, beat the softened unsalted butter on medium speed with a hand-held mixer or stand mixer until it is smooth, light, and creamy (2-3 minutes).
-
Add in the sifted confectioners’ sugar, unsweetened cocoa powder, 3 tablespoons of cold heavy cream, vanilla extract, and salt. Mix on low speed for approximately 1 minute until fully combined. Then, increase to medium-high speed and beat until fluffy. Check the frosting consistency; add more heavy cream (1 tablespoon at a time) if needed to achieve a creamy, spreadable texture.
-
Refrigerate the chocolate frosting until you are ready to use it to ensure it holds its shape during decoration.
For the Decorations:
-
Melt the red, yellow, and orange candy coating disks separately according to their package instructions. Once melted, transfer each color into individual piping bags.
-
Prepare a baking sheet by lining it with parchment paper; this will be your workspace for the candy decorations.
-
To create the turkey feathers, pipe thick dots of each color onto the parchment paper. Then, gently spread each dot outwards with a small spatula or the back of a spoon to form a feather-like shape.
-
Repeat this process with the red, yellow, and orange candy melts to create a generous assortment of colorful feathers for your turkey’s tail.
-
Pipe a small yellow triangle onto the parchment paper using the yellow candy for the turkey’s nose (beak). With the red candy coating, pipe a distinctive turkey wattle.
-
Allow all the candy decorations to sit at room temperature until they are fully set and firm before handling, or place the baking sheet in the refrigerator to speed up setting.
To Assemble the Cake:
-
Place one of the completely cooled cake layers on your chosen serving platter or cake stand.
-
Spread an even layer of your rich chocolate frosting over the top of the first cake layer.
-
Carefully place the second cake layer on top of the first. Cover the top and sides of the entire cake with the remaining chocolate frosting, smoothing it out for a neat finish.
-
For the best appearance, add the cake decorations just before serving. Chill the frosted cake in the refrigerator for at least 30 minutes to firm up the frosting, making it easier to add decorations.
-
Arrange the set candy feathers by gently pushing them into the top back edge of the cake, creating a colorful fan to mimic the turkey’s tail.
-
Create the turkey’s face by placing the two white candy disks onto the front of the cake for the eyes. Position the yellow candy triangle for the nose and the red candy wattle below the eyes.
-
Using your black edible marker, draw a small black dot onto the center of each white candy disk to complete the turkey’s eyes.
-
Your adorable and delicious Turkey Cake is now ready to serve and enjoy!
Recipe Notes
Nutrition Facts
Pin This Now to Remember It Later
Pin Recipe
