Easy & Delicious Heart Shaped Chocolate Chip Cookies: The Perfect Valentine’s Day Treat
Get ready to spread some love with these unbelievably soft, chewy, and utterly delicious Heart Shaped Chocolate Chip Cookies! Perfect for showing affection on Valentine’s Day, an anniversary, or simply to brighten someone’s day, these festive treats are designed to capture hearts. Imagine biting into a warm, gooey cookie, generously studded with melted chocolate chips, all in an adorable heart shape. It’s a delightful experience that combines the timeless comfort of a classic chocolate chip cookie with a special touch of homemade love.

This isn’t just any cookie recipe; it’s a straightforward, fun, and highly rewarding way to bake something truly special. Whether you’re a seasoned baker or just starting, you’ll find these Heart Shaped Chocolate Chip Cookies incredibly easy to make. They’re ideal for a romantic gesture, a thoughtful gift for friends, or even a delightful after-school surprise for the kids. Forget complicated desserts – this recipe brings joy with minimal fuss, making it a go-to for any occasion that calls for a little sweetness and a lot of charm.
While we all cherish a classic chocolate chip cookie recipe, this heart-shaped variation adds a charming twist that makes it irresistible. I’ve been baking for years, and recipes that combine simplicity with a “wow” factor are always favorites. Much like our popular Valentine’s Day Cake Mix Cookies, these heart cookies promise smiles and happy taste buds. They are more than just a dessert; they are a homemade expression of care, making them truly memorable for anyone who receives them.
Table of contents
- Why You’ll Love This Recipe (And Why It Works!)
- Essential Ingredients for Perfect Heart Cookies
- Creative Additions & Variations to Personalize Your Cookies
- Step-by-Step Guide to Baking Your Heart Shaped Cookies
- Expert Tips for Your Best Heart Shaped Cookies
- Storage Tips for Freshness & Longer Enjoyment
- Discover More Sweet Treats for Valentine’s Day
Why You’ll Love This Recipe (And Why It Works!)
There are countless reasons why these Heart Shaped Chocolate Chip Cookies will quickly become a favorite in your kitchen. Beyond their charming appearance, their simplicity and incredible taste make them truly stand out. Here’s why this recipe is a winner:
- Effortless Heart-Shaped Perfection: The secret to achieving those adorable heart shapes without any stress lies in a simple cookie cutter. This ingenious tool transforms regular cookie dough into perfectly sculpted hearts with minimal effort, making the baking process not only easy but also incredibly fun. No artistic skills required – just press and bake for the cutest, most festive results that will impress everyone.
- Unbeatable Homemade Flavor: While store-bought cookies have their place, nothing quite compares to the rich, comforting taste of homemade. This recipe elevates the classic chocolate chip cookie to a new level of deliciousness, far surpassing anything you can find in a package. Every ingredient is fresh, and the love put into baking them is truly tasted in every bite, offering a warmth and authenticity that store-bought simply cannot match.
- The Ideal Soft & Chewy Texture: We’ve all had dry or crumbly cookies, but that’s not what you’ll find here. This recipe is meticulously crafted to deliver that coveted soft, chewy center with slightly crisp edges. It’s the perfect balance of textures that makes these cookies utterly irresistible, ensuring that every person who tries them will be reaching for another.
- Versatile for Any Occasion: While they shine brightest on Valentine’s Day, these heart-shaped cookies are perfect for so many other moments. Think anniversaries, birthdays, bridal showers, or simply as a special “I love you” treat. Their festive shape makes them suitable for any event where a touch of warmth and sweetness is desired, bringing a smile to any face.
- A Fun Baking Project for All Ages: This recipe is wonderfully kid-friendly, making it a fantastic activity to do with your little ones. From mixing ingredients to pressing out the heart shapes, children will love getting involved in creating these delightful treats. It’s a great way to make memories in the kitchen and enjoy the fruits of your labor together, fostering a love for baking.
Essential Ingredients for Perfect Heart Cookies
Creating these heavenly Heart Shaped Chocolate Chip Cookies requires a few basic pantry staples, each playing a crucial role in achieving their irresistible flavor and texture. High-quality ingredients make a noticeable difference, so choose the best you can for truly exceptional results. Here’s what you’ll need:
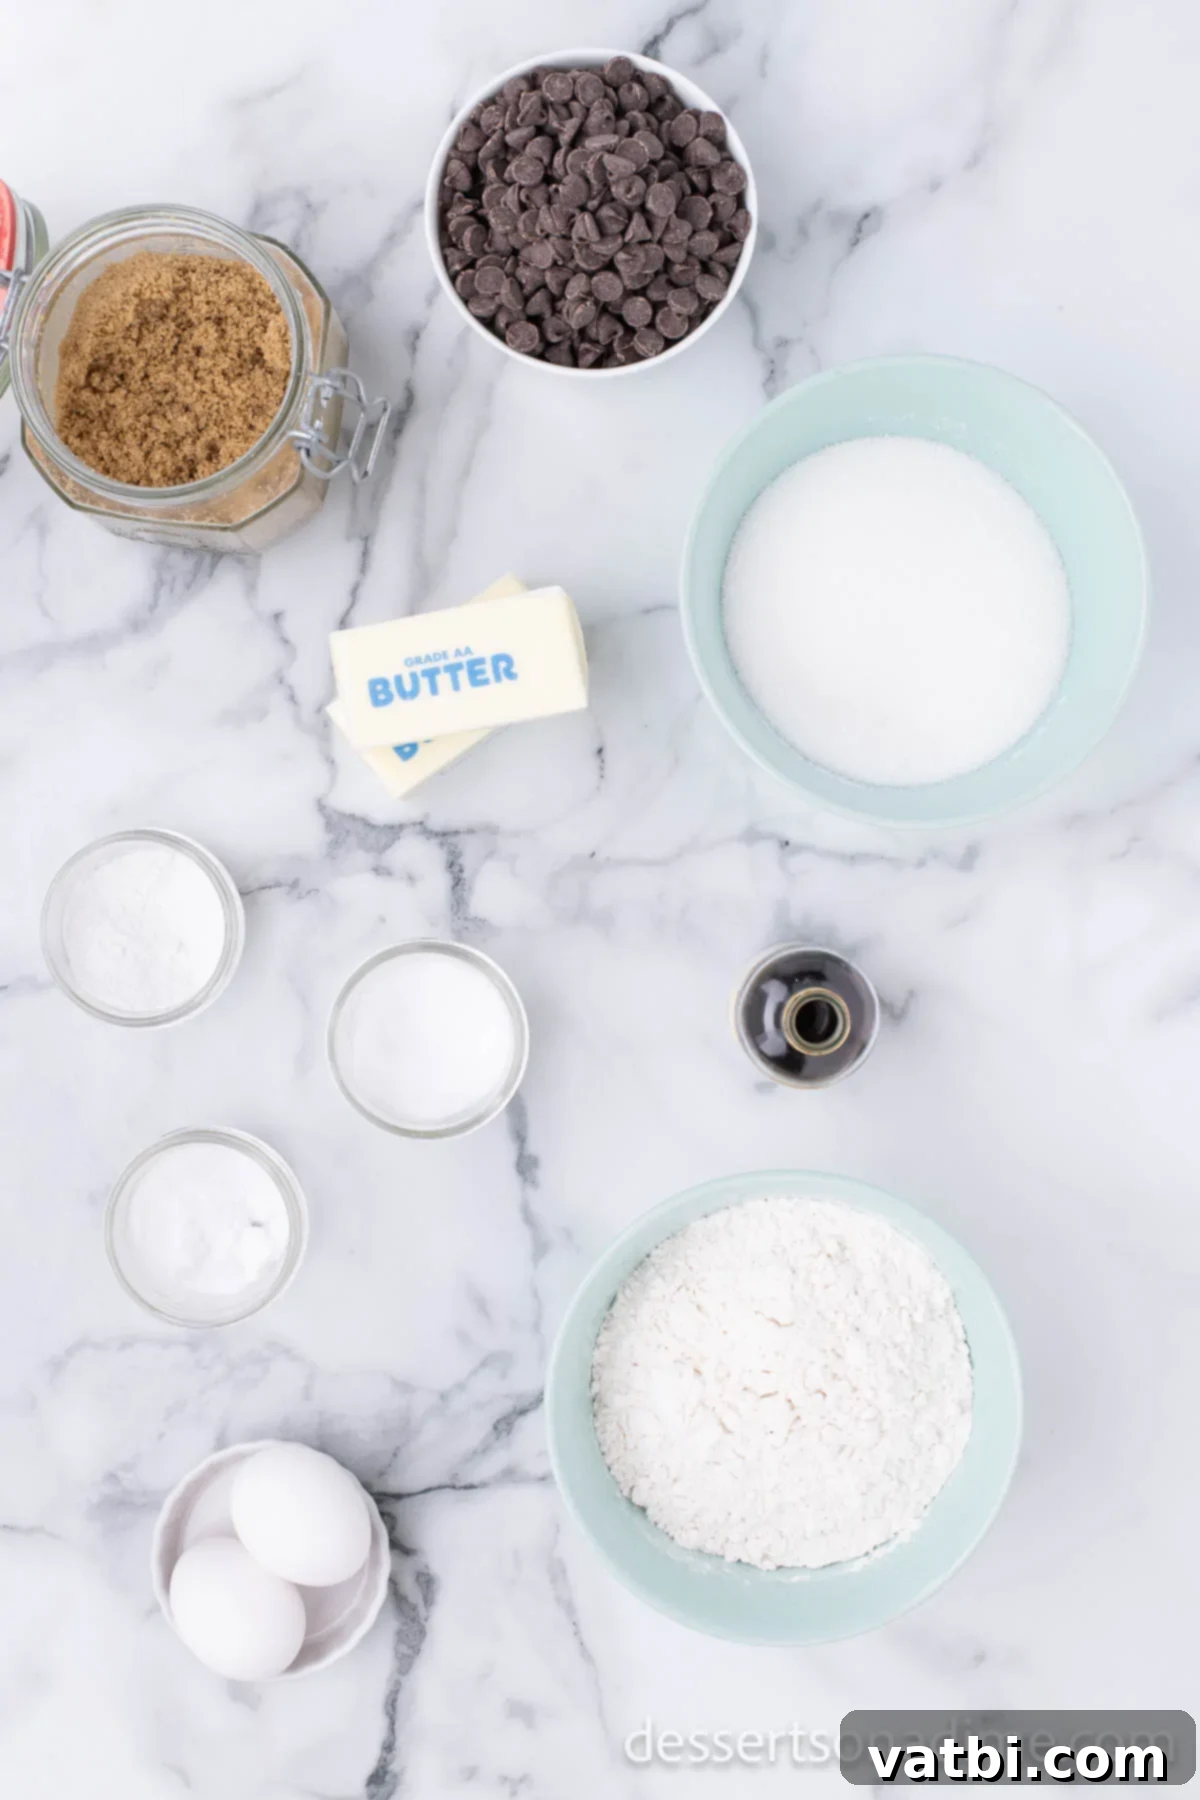
- Unsalted Butter, softened: Essential for that rich, tender crumb. Make sure it’s truly softened to room temperature for proper creaming with the sugars, which is vital for the cookie’s final texture.
- Granulated Sugar: Provides sweetness and contributes to the cookie’s spread and crispiness on the edges, giving it that classic cookie appeal.
- Brown Sugar: Adds moisture, chewiness, and a deeper, more complex caramel-like flavor that is signature to classic chocolate chip cookies. Always opt for light brown sugar for this recipe.
- Large Eggs: Act as a binder, providing structure and moisture. Using room temperature eggs ensures they incorporate smoothly and uniformly into the batter, preventing curdling.
- Vanilla Extract: A non-negotiable flavor enhancer. Pure vanilla extract will give you the best, most aromatic taste, elevating the overall cookie experience.
- All-Purpose Flour: The primary structural component of our cookies. Proper measurement is key to avoiding dense or dry cookies; always spoon and level.
- Salt: Balances the sweetness and enhances all the other flavors in the cookie dough, preventing them from tasting overly sweet.
- Baking Soda: Works with the brown sugar to create a soft, chewy texture and helps the cookies spread perfectly, giving them their characteristic shape.
- Baking Powder: Provides an extra lift, ensuring your cookies are perfectly plump and not flat, contributing to their appealing rise.
- Semi-Sweet Chocolate Chips: The star of the show! Semi-sweet offers a balanced sweetness that complements the cookie dough beautifully, providing that classic chocolate chip experience. Feel free to use your favorite brand.
Creative Additions & Variations to Personalize Your Cookies
While these Heart Shaped Chocolate Chip Cookies are absolutely delightful on their own, there’s always room to get creative and personalize them to your taste or the occasion. Here are some fantastic ideas to elevate your cookie game and make them uniquely yours:
- Festive Sprinkles: To truly lean into the Valentine’s Day theme, or any celebration for that matter, mix in or top your cookies with a generous amount of festive sprinkles. Think red, pink, and white sprinkles for Valentine’s Day, or even edible glitter for an extra magical touch. Add them to the dough with the chocolate chips, or gently press them onto the top of the formed cookie dough hearts before baking for a vibrant visual appeal that stands out.
- Different Chocolate Varieties: Don’t feel limited to semi-sweet chocolate chips! This recipe is incredibly versatile and welcomes a change in chocolate. Experiment with:
- Milk Chocolate Chips: For a sweeter, creamier flavor profile that’s often a hit with kids and those who prefer a milder chocolate taste.
- Dark Chocolate Chips or Chunks: If you prefer a richer, more intense chocolate experience with a hint of bitterness to balance the sweetness of the cookie dough. Chopped chocolate bars also work wonderfully here.
- White Chocolate Chips: To add a contrasting color and a sweet, milky flavor, especially appealing when paired with red or pink sprinkles.
- Chopped Candy Bars: Get really indulgent by folding in chopped pieces of your favorite chocolate bars or candies, such as M&M’s (Valentine’s colors!), for extra texture and a burst of varied flavor.
- Nutty Additions: For those who love a bit of crunch and a nutty undertone, consider adding finely chopped nuts like pecans, walnuts, or almonds. Toasting them lightly before adding them to the dough will bring out their flavor even more, adding depth to each bite.
- Flavorful Extracts: Beyond vanilla, you can introduce other extracts to subtly change the cookie’s character. A touch of almond extract pairs wonderfully with chocolate, creating a sophisticated flavor. Alternatively, a hint of peppermint extract could make them perfect for a winter holiday treat, or orange zest for a bright, citrusy note. Just a quarter to half a teaspoon is usually enough to impart a distinct flavor without overpowering.
- Drizzles and Frosting: Once cooled, these cookies are a blank canvas for further decoration. Drizzle them with melted white chocolate, milk chocolate, or even a simple powdered sugar glaze colored with food coloring for an extra festive touch. You could also lightly frost them with a cream cheese frosting or a simple buttercream for an even more decadent treat, making them irresistible for special occasions.
Step-by-Step Guide to Baking Your Heart Shaped Cookies
Baking these beautiful heart-shaped cookies is a straightforward and enjoyable process. Follow these detailed instructions to ensure your cookies turn out perfectly soft, chewy, and full of flavor. Remember, baking is a science, but it’s also an art, so pay attention to the little details for the best results.
- Step 1: Prepare for Baking. Start by preheating your oven to the recommended 350 degrees Fahrenheit (175°C). This ensures your oven is at the correct temperature when the cookies go in, which is crucial for even baking and proper cookie structure. While the oven preheats, line your baking sheets with parchment paper or silicone baking mats. This prevents sticking, promotes even browning, and makes cleanup a breeze, allowing your cookies to slide right off.
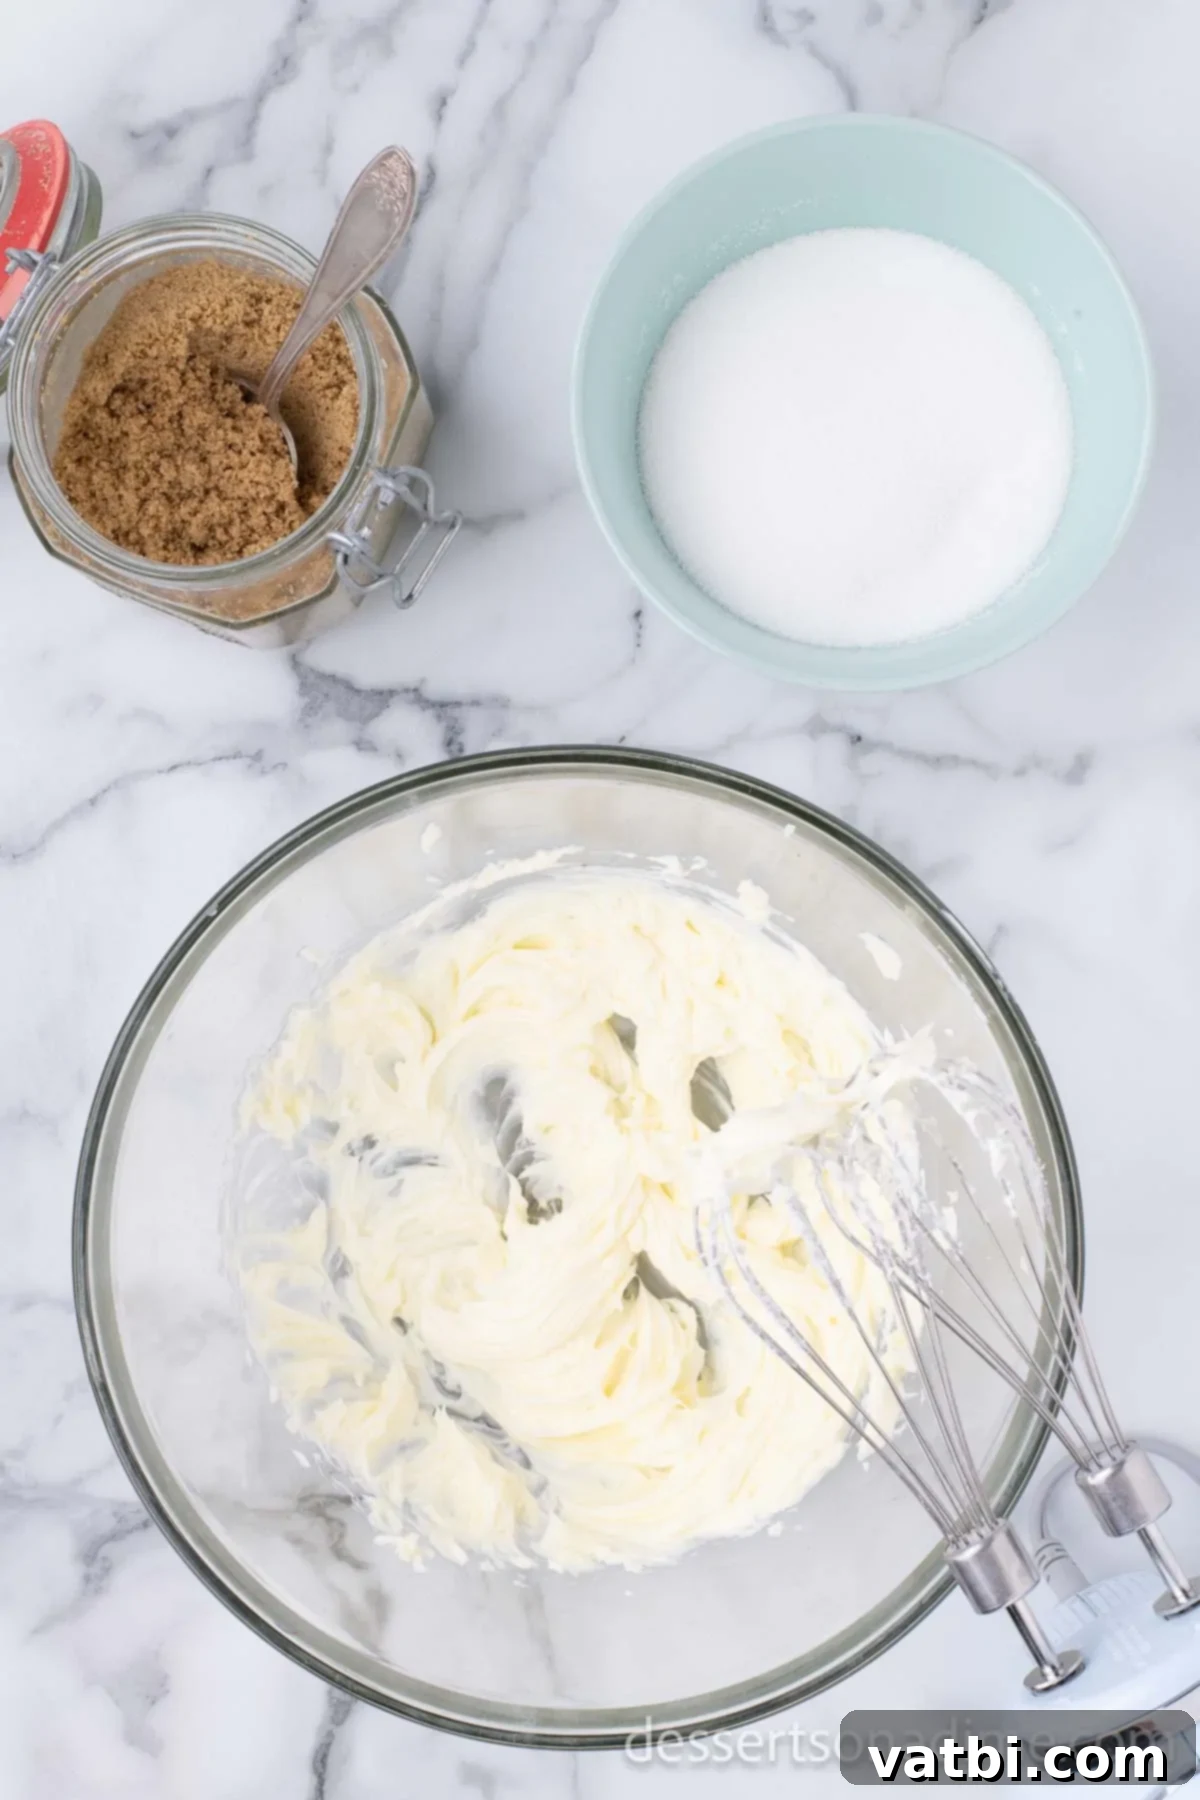
Step 2: Cream the Wet Ingredients. In a large mixing bowl, combine the softened unsalted butter, granulated sugar, and light brown sugar. Using a stand mixer with the paddle attachment or a hand mixer, beat these ingredients together on medium-high speed until the mixture is light, fluffy, and pale in color, typically 2-3 minutes. This creaming process incorporates essential air, which contributes significantly to the cookies’ soft and airy texture. Remember to scrape down the sides of the bowl as needed to ensure everything is well combined.
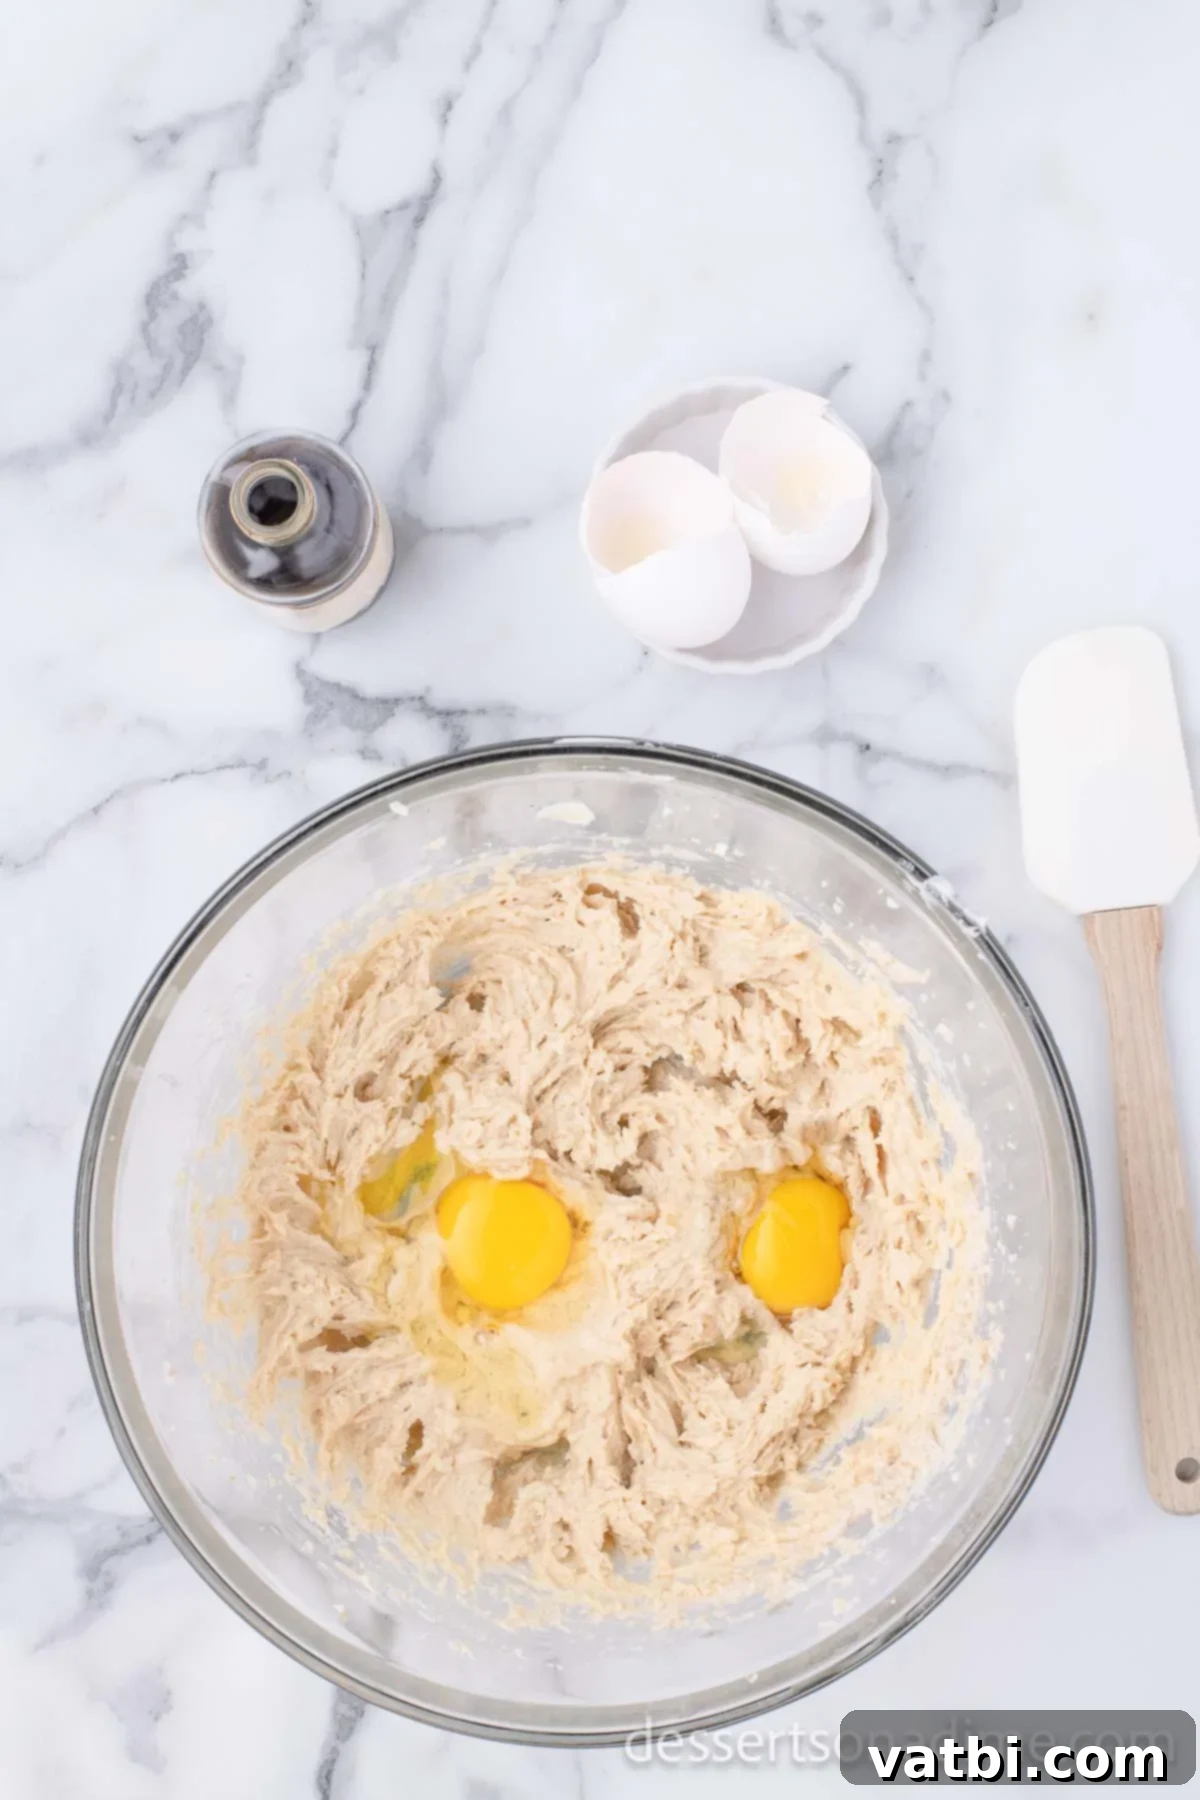
Step 3: Incorporate Eggs and Vanilla. Add the large eggs one at a time to the creamed mixture, beating well after each addition until fully incorporated. Ensure each egg is completely mixed in before adding the next. Then, stir in the vanilla extract. Continue mixing until the mixture is smooth and evenly combined, but take care to avoid overmixing at this stage, as it can lead to a tougher cookie.
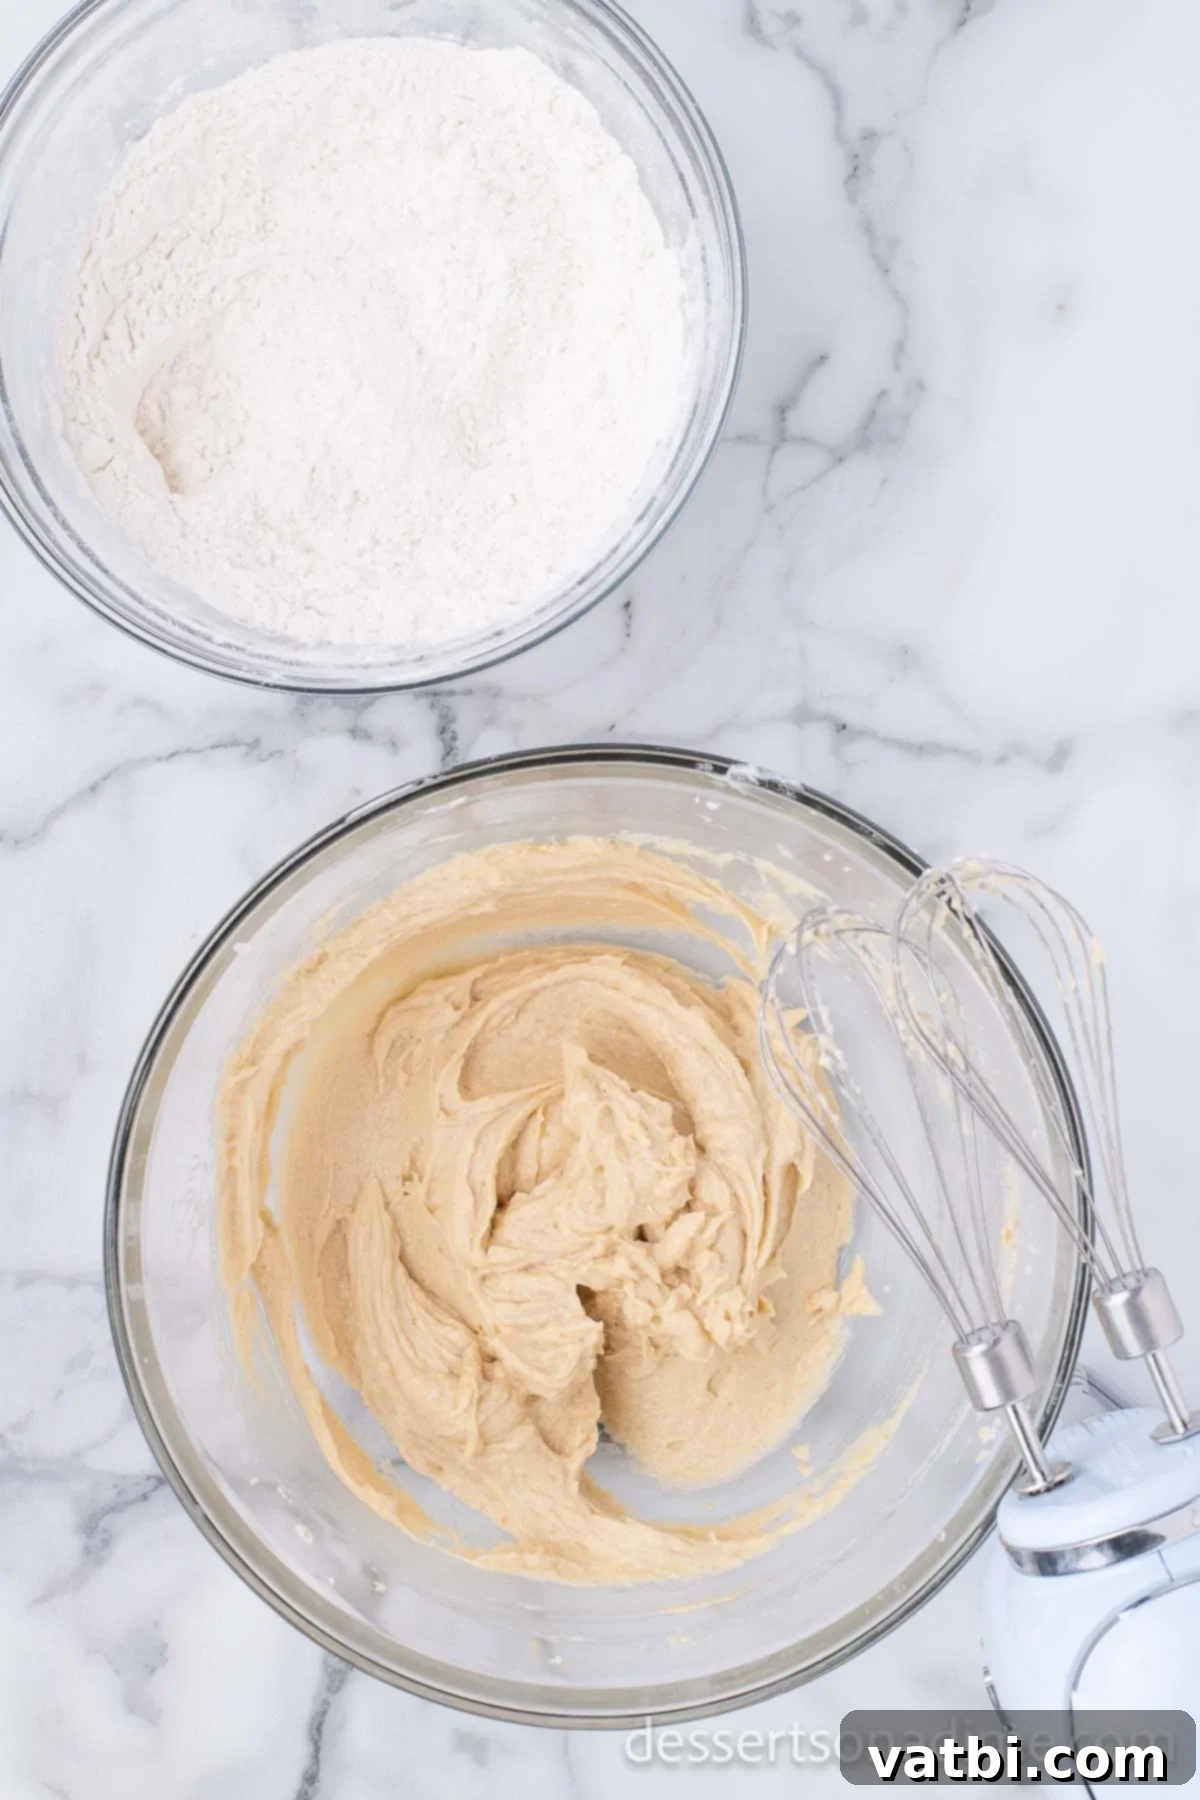
Step 4: Combine Dry Ingredients. In a separate, medium-sized bowl, whisk together the all-purpose flour, salt, baking soda, and baking powder until thoroughly combined. This ensures these dry ingredients are evenly distributed before being added to the wet mixture, which is crucial for uniform leavening and consistent cookie texture. Gradually add the dry ingredients to the wet ingredients in the large bowl, mixing on low speed until just combined. Be careful not to overmix; stop as soon as no dry streaks of flour remain, as overmixing can lead to tough, dense cookies.
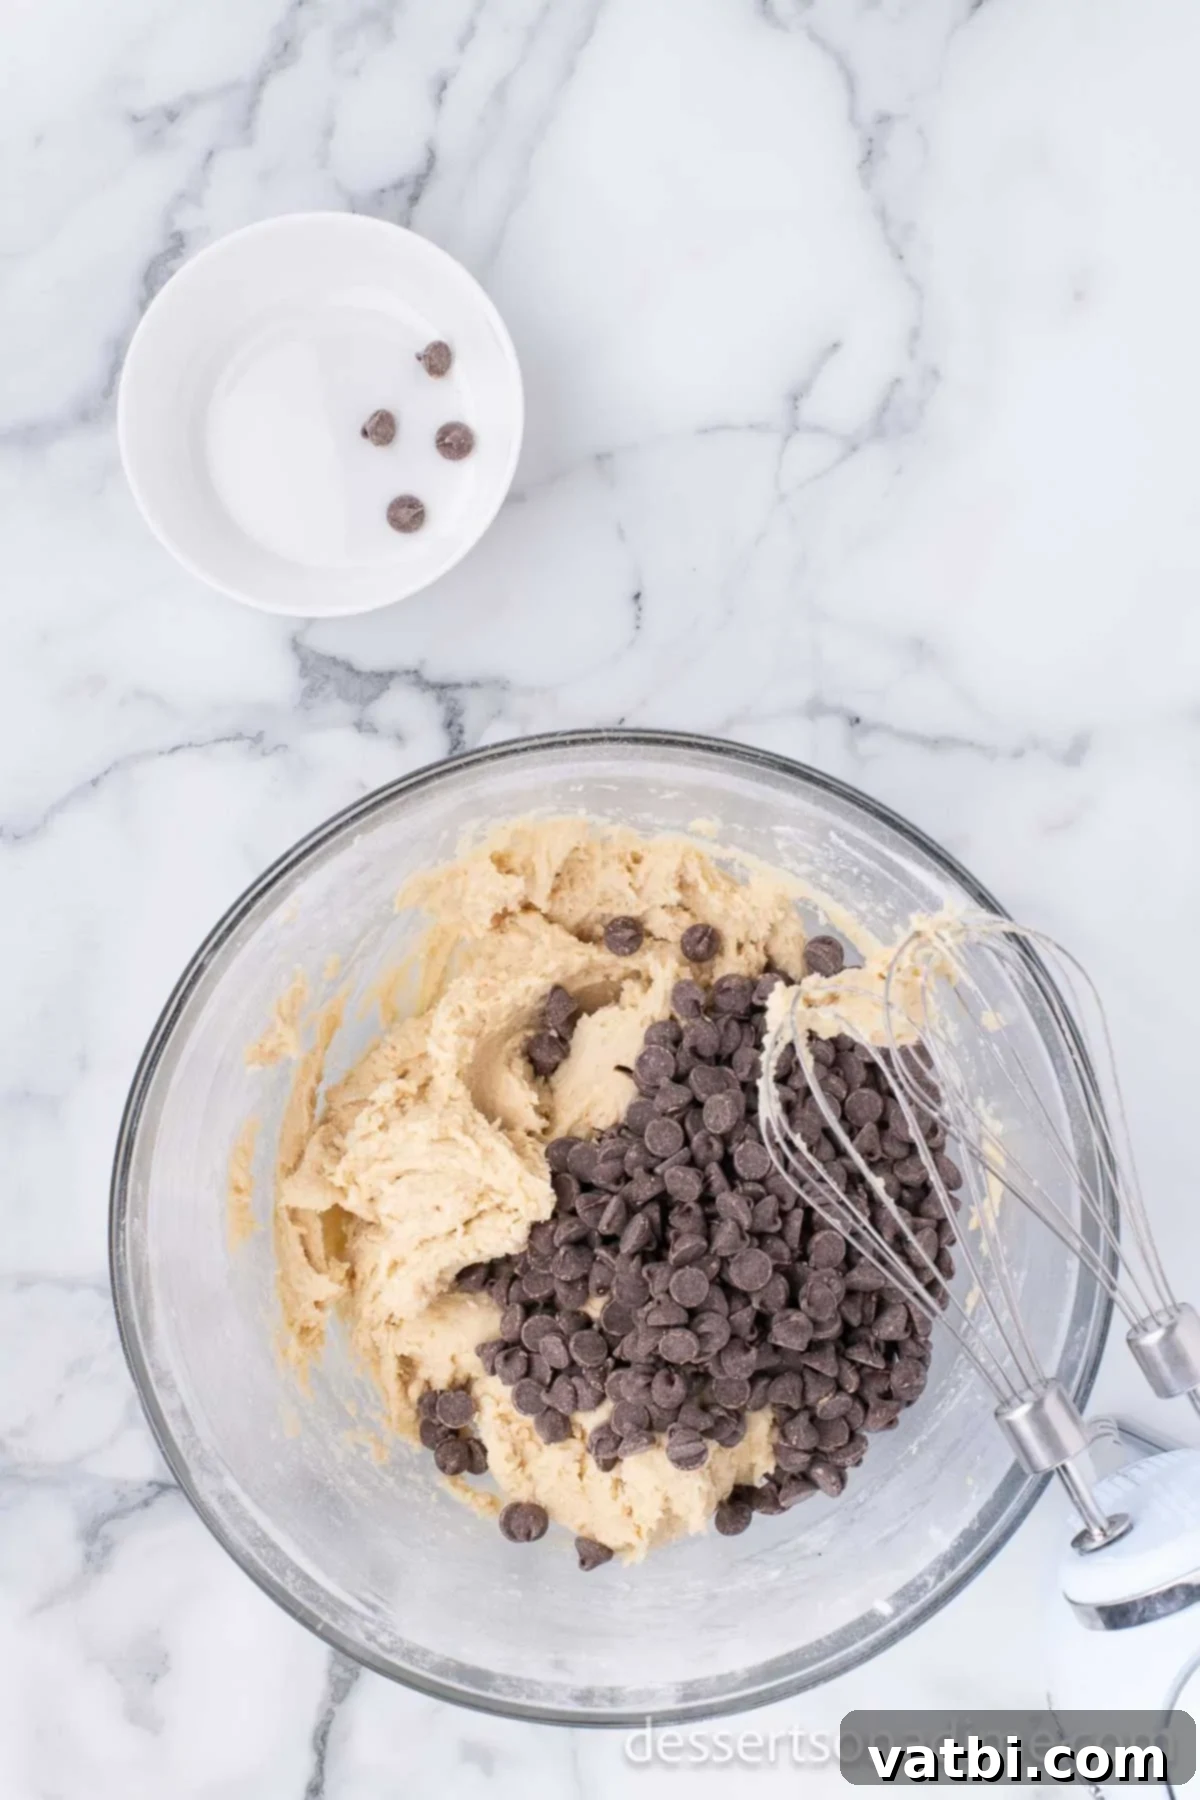
Step 5: Fold in Chocolate Chips. Using a sturdy spatula or your hands, gently fold the semi-sweet chocolate chips into the cookie dough until they are evenly distributed throughout. This manual step helps prevent overmixing the dough. For an extra aesthetic touch, you can reserve a few chocolate chips to press onto the tops of the formed cookies just before baking, giving them that classic bakery-style appearance.
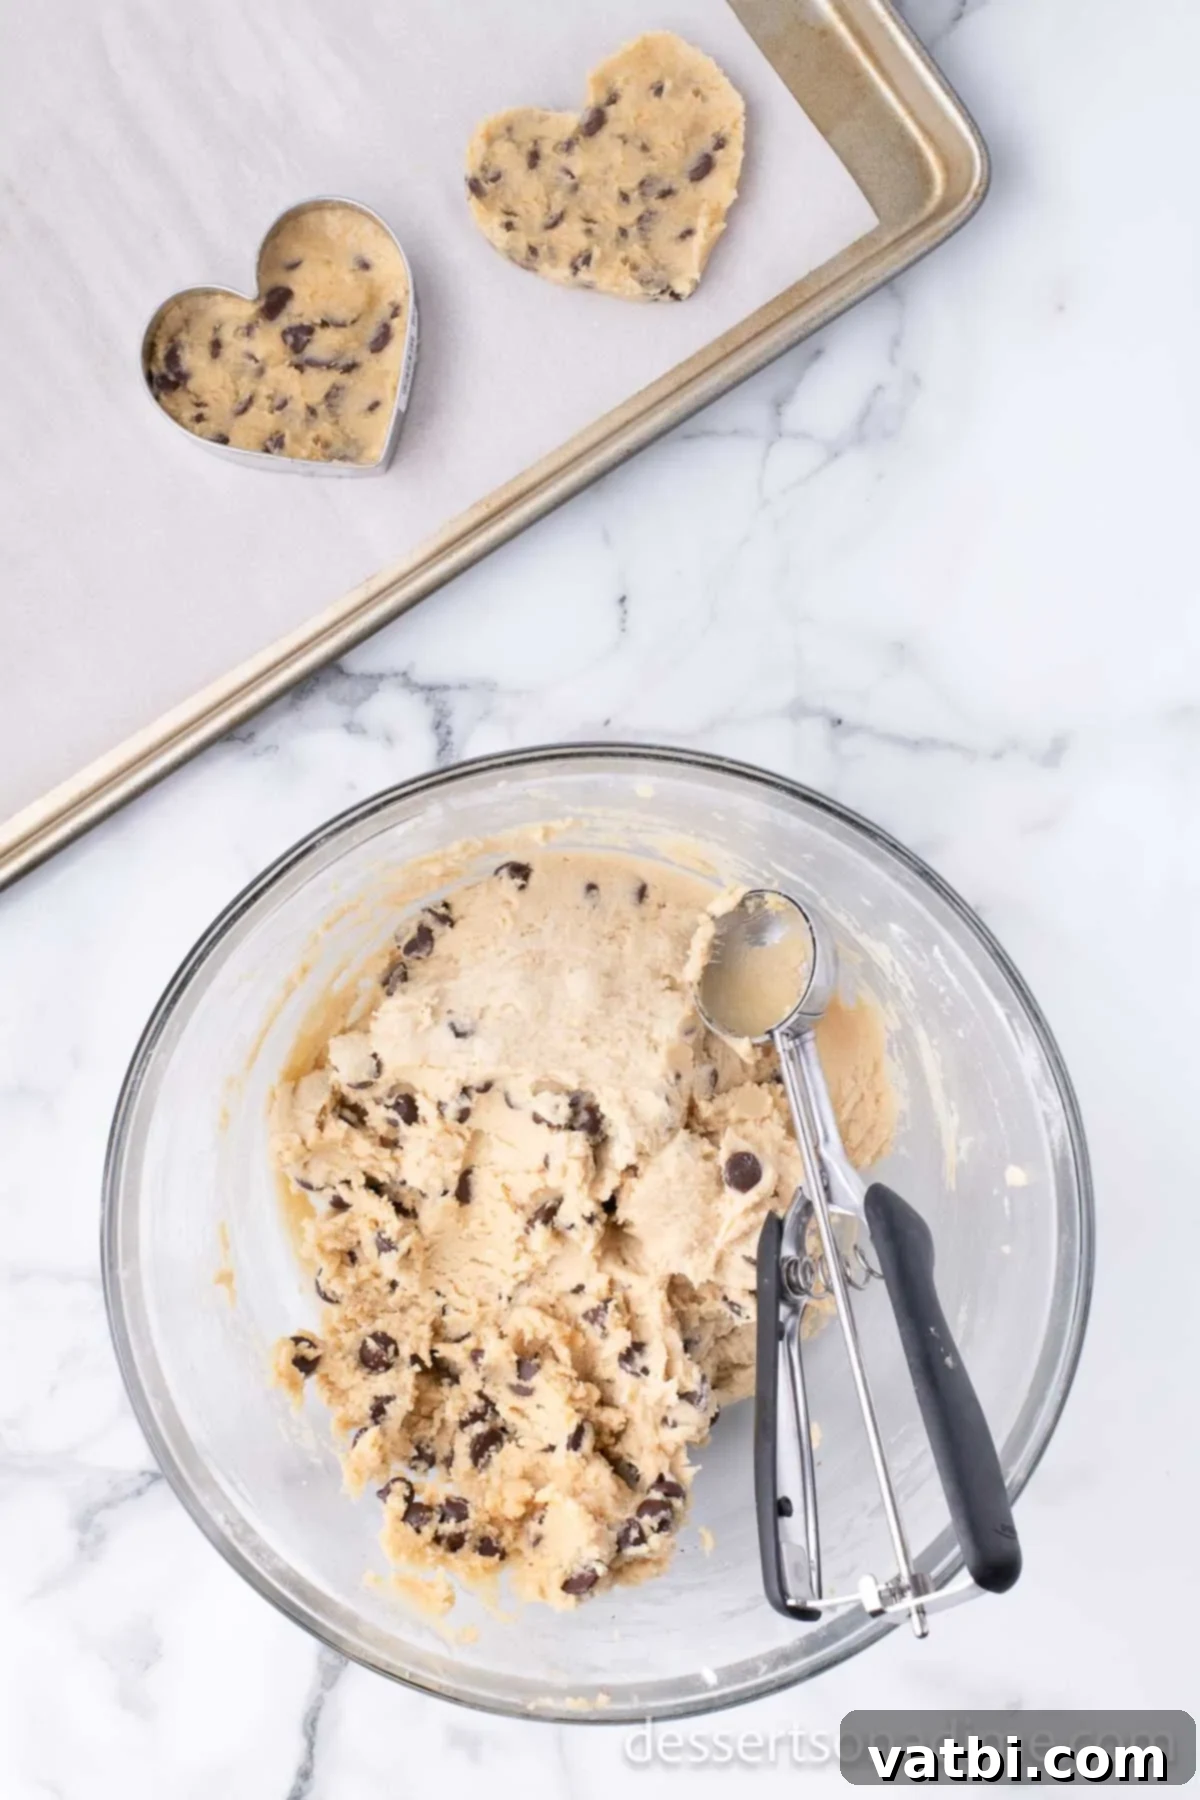
Step 6: Form and Bake the Heart Cookies. Scoop the cookie dough into approximately 1-inch balls. For perfect heart shapes, lightly spray a heart-shaped cookie cutter with non-stick cooking spray before each use (or every few uses if needed). Place the cookie cutter on your prepared baking sheet and gently press a dough ball evenly into the cutter to fill the shape, making sure it’s packed tightly. Carefully remove the cookie cutter, leaving a perfectly formed heart on the baking sheet. Repeat this process, spacing the cookie dough hearts about 2 inches apart to allow for spreading during baking. Bake for 9-11 minutes, or until the edges are golden brown and the centers are still slightly soft and appear a little underdone. This is key for a wonderfully chewy interior. Remember, baking times can vary significantly between ovens, so keep a close eye on your cookies to prevent overbaking.

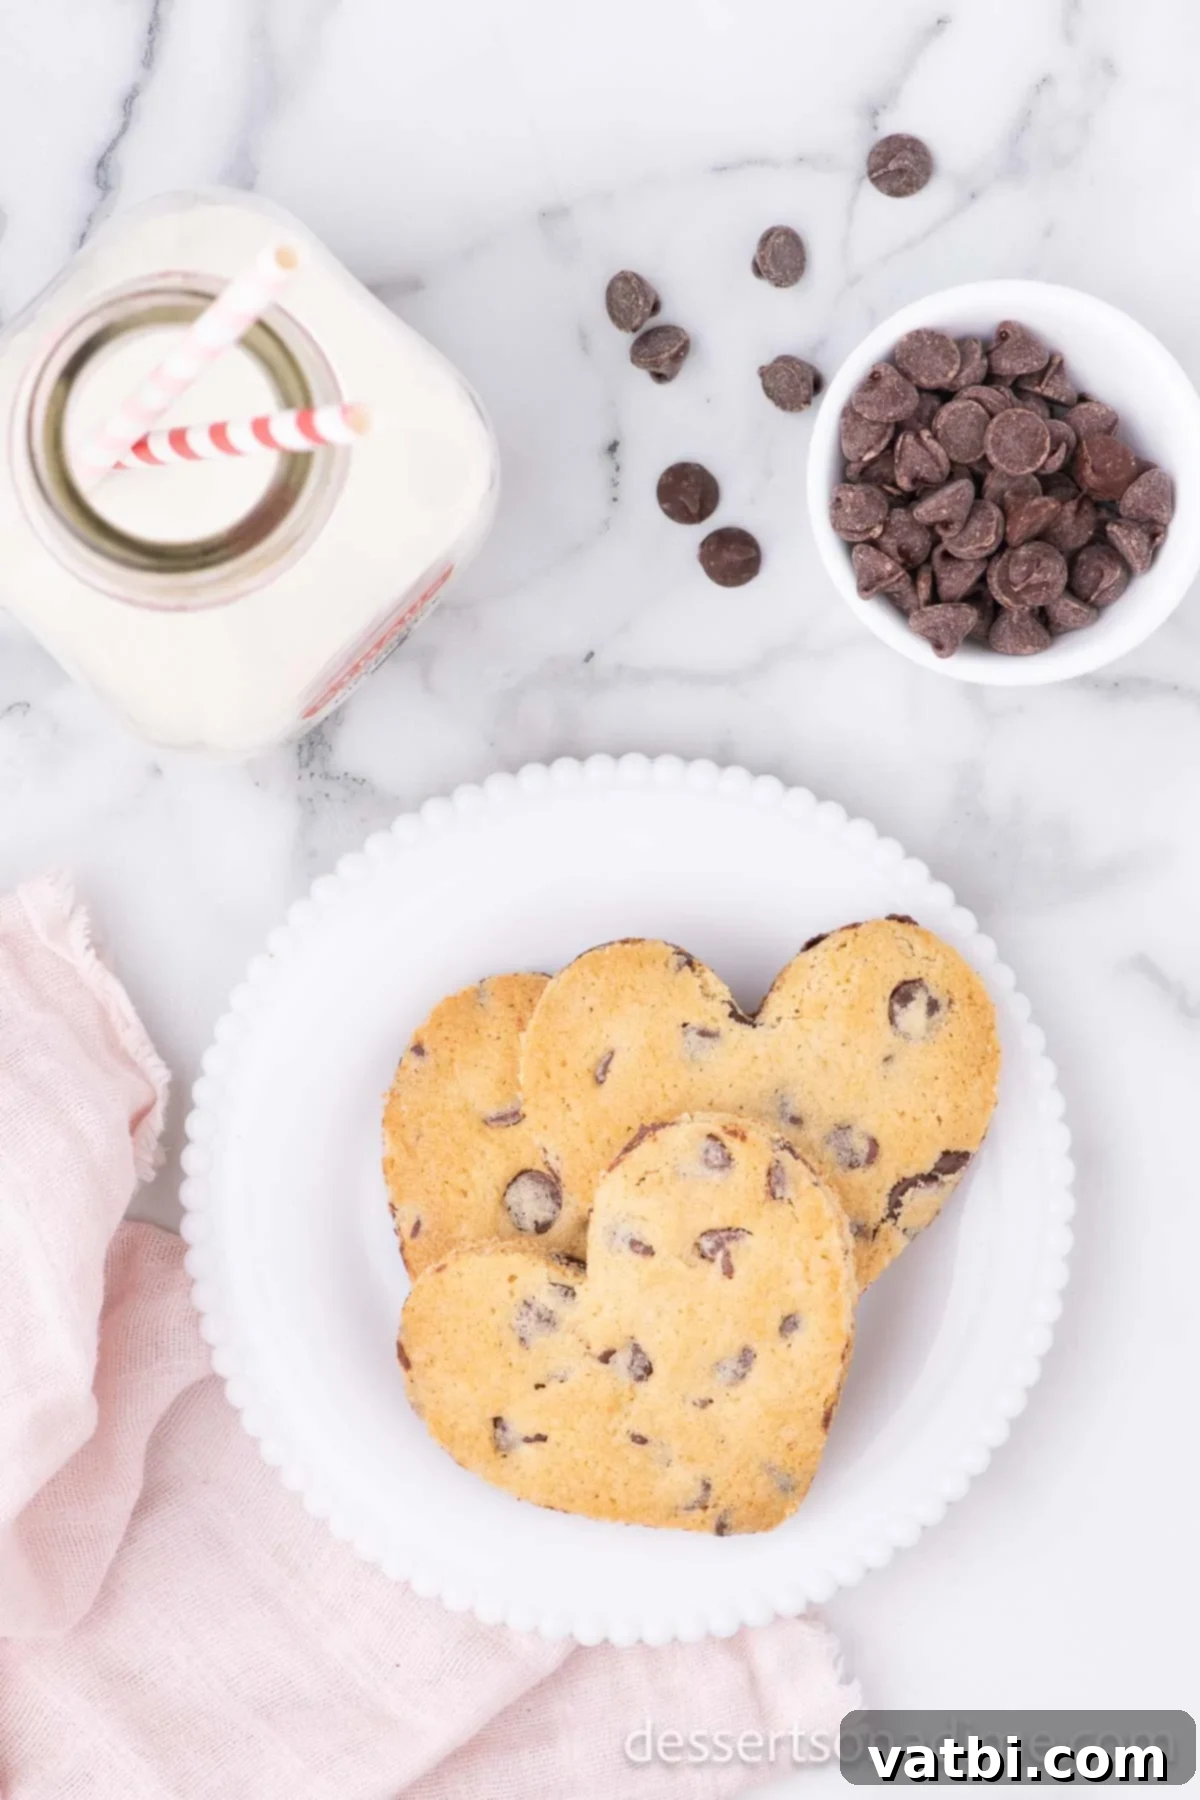
Step 7: Cool and Enjoy. Once baked, remove the cookies from the oven and let them rest on the hot baking sheet for 5 minutes. This crucial step allows them to set and continue baking slightly from residual heat without over-browning, which helps prevent them from falling apart when moved. After 5 minutes, carefully transfer the cookies to a wire rack to cool completely. Cooling on a rack allows air to circulate, preventing the bottoms from getting soggy and helping them achieve that ideal chewy texture. Once cool, they are ready to serve, share, and enjoy!

Expert Tips for Your Best Heart Shaped Cookies
Achieving bakery-quality cookies at home is easier than you think with a few simple tricks. These tips will help ensure your Heart Shaped Chocolate Chip Cookies are perfectly baked, beautifully shaped, and utterly delicious every single time, making your baking experience even more rewarding.
- Embrace Room Temperature Ingredients: This is a golden rule in baking and cannot be overstated! Softened butter and room temperature eggs cream together much more efficiently with sugar, creating a smoother, more emulsified batter. This leads to a lighter, airier, and more consistently textured cookie. Plan ahead and take your butter and eggs out of the fridge at least 30-60 minutes before you start baking for optimal results.
- Master the Art of Flour Measurement: Incorrect flour measurement is a common pitfall that can lead to dense, dry, or cake-like cookies. Avoid scooping flour directly from the bag with your measuring cup, as this packs it down. Instead, use the “spoon and level” method: gently spoon the all-purpose flour into your measuring cup until it’s overflowing, then use the back of a knife or a straight edge to level it off. This ensures you’re using the precise amount needed for that perfect chewy texture.
- Always Line Your Baking Sheets: For effortless removal, consistent baking, and easy cleanup, always line your baking sheets. Parchment paper is an excellent choice, preventing sticking and ensuring an even bake. Silicone baking mats (like Silpat) are also fantastic and reusable, providing even heat distribution and a slightly chewier cookie bottom. This small step makes a big difference.
- Avoid Overmixing the Dough: Once you add the dry ingredients to the wet, mix only until just combined. Overmixing develops the gluten in the flour too much, which can result in tough, dense, and cake-like cookies rather than the desired soft and chewy ones. Stop the mixer as soon as no dry streaks of flour are visible, and finish with a gentle hand mix if necessary.
- Don’t Overbake: For that perfectly soft and chewy center, pull your cookies out of the oven when the edges are set and golden brown, but the centers still look slightly underdone, puffed up, and a little pale. They will continue to cook on the hot baking sheet for a few minutes after removal, known as “carryover cooking.” This residual heat finishes the baking process without making them dry.
- Chill the Dough (Optional but Recommended): If you have time, chilling your cookie dough for at least 30 minutes (or even overnight) can significantly improve the flavor and texture. Chilled dough spreads less, resulting in thicker, chewier cookies, and allows the flavors to meld beautifully. If chilling overnight, you might need to let it sit at room temperature for 10-15 minutes before shaping for easier handling.
- Cookie Cutter Technique: When forming the hearts, remember to spray your cookie cutter with non-stick cooking spray regularly, especially if the dough starts to stick. Gently pressing the dough into the cutter and then carefully lifting it away creates clean, defined heart shapes. Don’t twist the cutter; a gentle press and lift is all it takes.
Storage Tips for Freshness & Longer Enjoyment
These Heart Shaped Chocolate Chip Cookies are best enjoyed fresh, but if you happen to have any delicious leftovers (a rare occurrence!), proper storage will keep them tasting great for longer. They also make fantastic make-ahead treats, perfect for busy schedules.
- Room Temperature Storage: For immediate enjoyment within a few days, store baked and completely cooled cookies in an airtight container at room temperature for up to 3-4 days. To maintain their softness, you can place a slice of plain white bread in the container; the cookies will absorb moisture from the bread, keeping them wonderfully tender.
- Refrigeration: If you need to extend their freshness a bit longer, refrigerate baked cookies in an airtight container for up to 1-2 weeks. When you’re ready to enjoy them, let them come to room temperature or warm them slightly in the microwave for a few seconds to restore their gooey, fresh-baked texture.
- Freezing Baked Cookies: These cookies freeze beautifully, making them perfect for batch baking or saving for a craving! Once completely cooled, place them in a single layer on a baking sheet and freeze until solid (about 1-2 hours). Then, transfer the frozen cookies to a freezer-safe airtight container or heavy-duty freezer bag. They can be stored for up to 3 months. Thaw them at room temperature, or warm gently in the oven at a low temperature (around 275°F/135°C) for 5-10 minutes, or microwave for 15-30 seconds.
- Freezing Cookie Dough: For future baking sessions, you can also freeze the raw cookie dough. Form the dough into heart shapes (or balls if you prefer) and place them on a parchment-lined baking sheet. Freeze until solid, then transfer to a freezer-safe bag. When ready to bake, you can bake them directly from frozen, adding a few extra minutes (usually 2-4 minutes) to the baking time. Learn more detailed tips on how to freeze cookie dough here for best practices.
Discover More Sweet Treats for Valentine’s Day
If you’re looking to expand your dessert repertoire for Valentine’s Day or any romantic occasion, we have a treasure trove of delightful recipes that are sure to impress. From elegant treats to fun, kid-friendly options, there’s something for everyone to enjoy alongside these lovely Heart Shaped Chocolate Chip Cookies. Explore these other fantastic ideas:
- Valentine’s Day Cake Pops: These charming, bite-sized delights are as fun to make as they are to eat, perfect for parties or as individual gifts.
- 45 Best Valentine’s Day Cookies: A comprehensive collection of cookie recipes, offering endless inspiration for your next baking adventure, beyond just chocolate chip.
- Valentine’s Day Sugar Cookies: Classic, customizable, and always a crowd-pleaser, these are perfect for intricate decorations and personal touches.
- Valentine’s Day Brownies: Fudgy, rich, and intensely chocolatey – a perfect indulgence for any chocolate lover, especially when cut into festive shapes.
We hope this recipe inspires you to create some magic in your kitchen. These Heart Shaped Chocolate Chip Cookies are truly a labor of love that tastes even better when shared. So, go ahead, gather your ingredients, and get ready to bake some happiness that will delight your loved ones!
We would absolutely love to hear about your baking experience! Don’t forget to come back after you’ve made these delightful Chocolate Chip Heart Cookies and leave a comment and a star rating. Your feedback helps us and other bakers in our community create and enjoy the best recipes! Happy baking!
Pin
Heart Shapes Chocolate Chip Cookies
Ingredients
- 1 cup Unsalted Butter softened
- 1/2 cup Granulated Sugar
- 1/2 cup Brown Sugar
- 2 Large Eggs
- 2 teaspoons Vanilla Extract
- 2 1/4 cups All Purpose Flour
- 1/2 teaspoon Salt
- 1 teaspoon Baking Soda
- 1 teaspoon Baking Powder
- 1 1/2 cups Semi-Sweet Chocolate Chips
Instructions
-
Preheat the oven to 350 degrees Fahrenheit.
-
In a large mixing bowl, cream together the softened butter, sugar and brown sugar until light and fluffy with an electric mixer.
-
Stir in the eggs and vanilla extract until combined.
-
In a separate bowl, whisk together the flour, salt, baking soda and baking powder.
-
On low speed, add the dry ingredients into the wet ingredients and beat together until just combined. Be careful not to over mix.
-
Mix the chocolate chips into the cookie dough.
-
Roll the cookie dough into approximately 1 inch balls.
-
Spray a heart shaped cookie cutter with non-stick cooking spray. Place the cookie cutter on a baking sheet and place the ball evenly into the cutter. Gently remove the cookie cutter.
-
Continue this process until all the cookies are formed and are on the baking sheet 2 inches apart. Spray the cookie cutter with non-stick cooking spray as needed.
-
Bake for 9-11 minutes until the edges are golden brown and the center of the cookies are slightly underdone. Be careful not to over cook. The cookies will continue to cook as they sit.
-
Remove the cookies from the oven. Let them rest on the baking sheet for 5 minutes. Then move them to wire racks to cool completely.
-
Then the cookies are ready to serve and enjoy!
Recipe Notes
Make sure that your flour is measured correctly. Do not pack the flour into your measuring cups. Make sure to use a spoon to gently spoon the flour into the measuring cup and level it off with a flat edge.
Refrigerate the leftovers in an airtight container for up to 2 weeks.
Nutrition Facts
Pin This Now to Remember It Later
Pin Recipe
