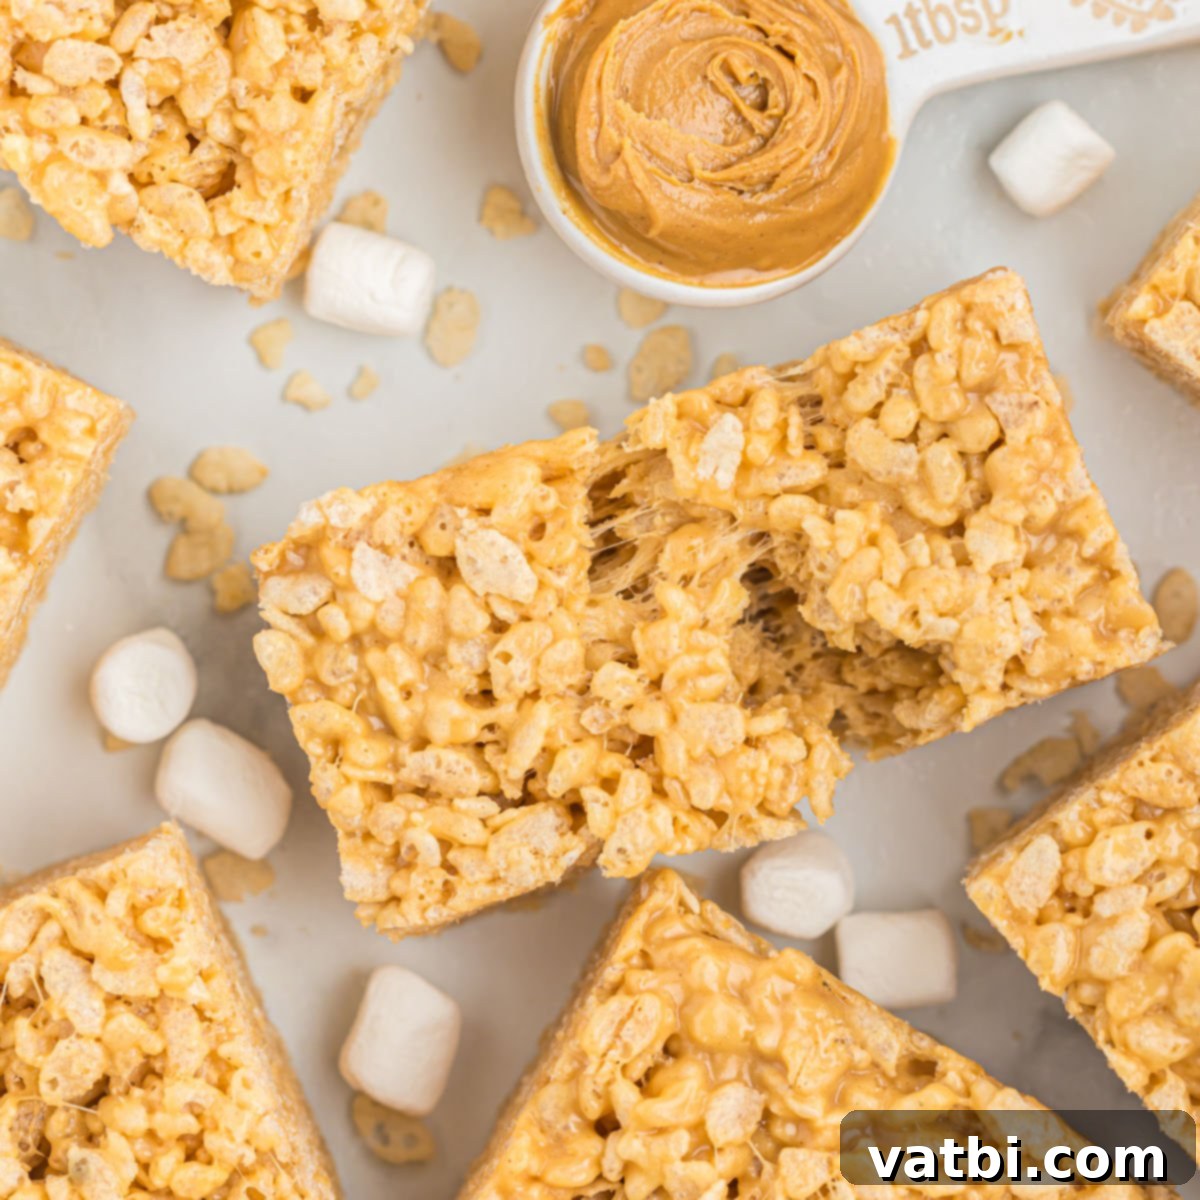
Irresistible Peanut Butter Rice Krispie Treats: Your Go-To No-Bake Recipe
Craving a quick, satisfying, and utterly delicious dessert that requires absolutely no baking? Look no further than these incredible Peanut Butter Rice Krispie Treats! This classic no-bake recipe takes the beloved crispy marshmallow treat and elevates it with the rich, creamy flavor of peanut butter. With just four simple ingredients, you can whip up a batch of gooey, chewy, and crunchy bars that are perfect for any occasion. Whether you need a last-minute party dessert, a fun snack for the kids, or just a treat to curb that sweet tooth, these peanut butter-infused delights are guaranteed to be a hit.
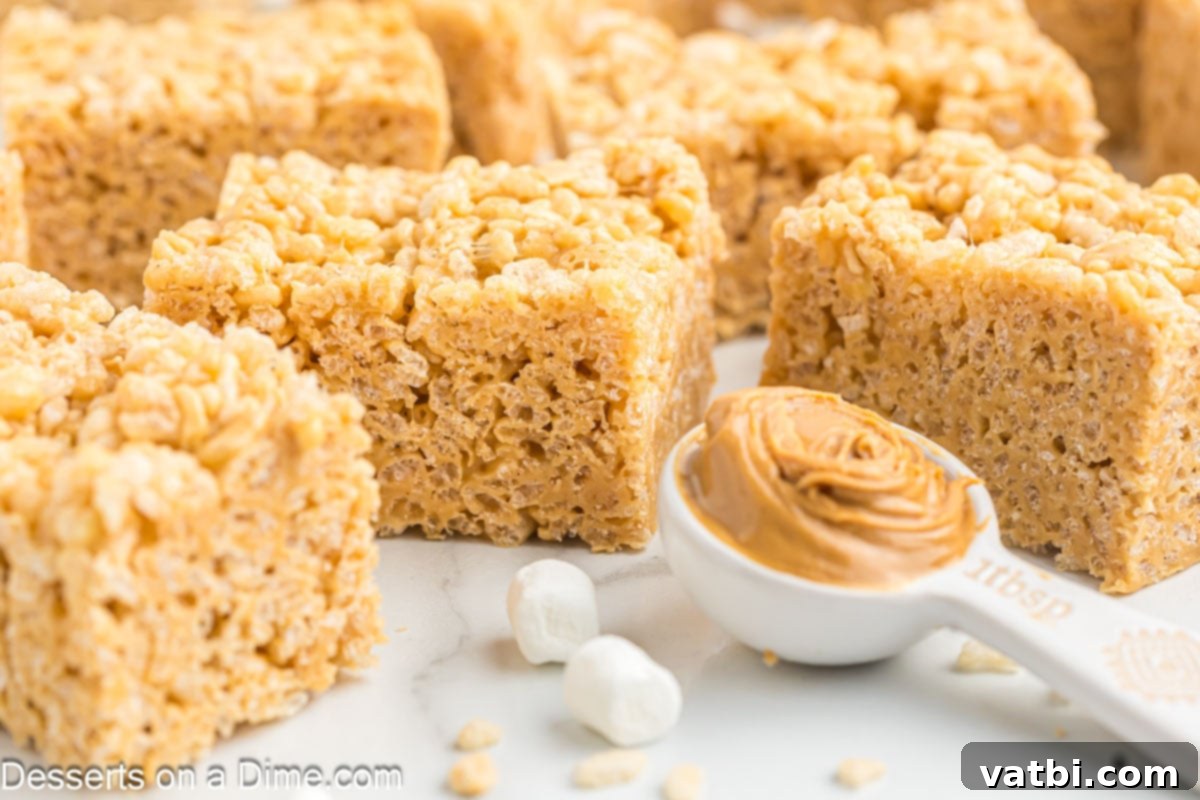
Our easy no-bake recipe for Peanut Butter Rice Krispie Treats transforms a childhood favorite into a truly amazing snack or dessert experience. It’s the ultimate indulgence for anyone who adores the nutty, savory-sweet goodness of peanut butter, making it a fantastic companion to other peanut butter delights like Peanut Butter Snowballs or even a Peanut Butter Popcorn Recipe.
The versatility of rice krispie treats is truly inspiring, and exploring new flavor combinations is always a blast. We’ve enjoyed making variations like Chocolate Coated Rice Krispie Treats and Cinnamon Roll Rice Krispie Treats for years. But for a distinctively rich and satisfying flavor, adding peanut butter creates a magical chewy and crispy bar that’s simply irresistible.
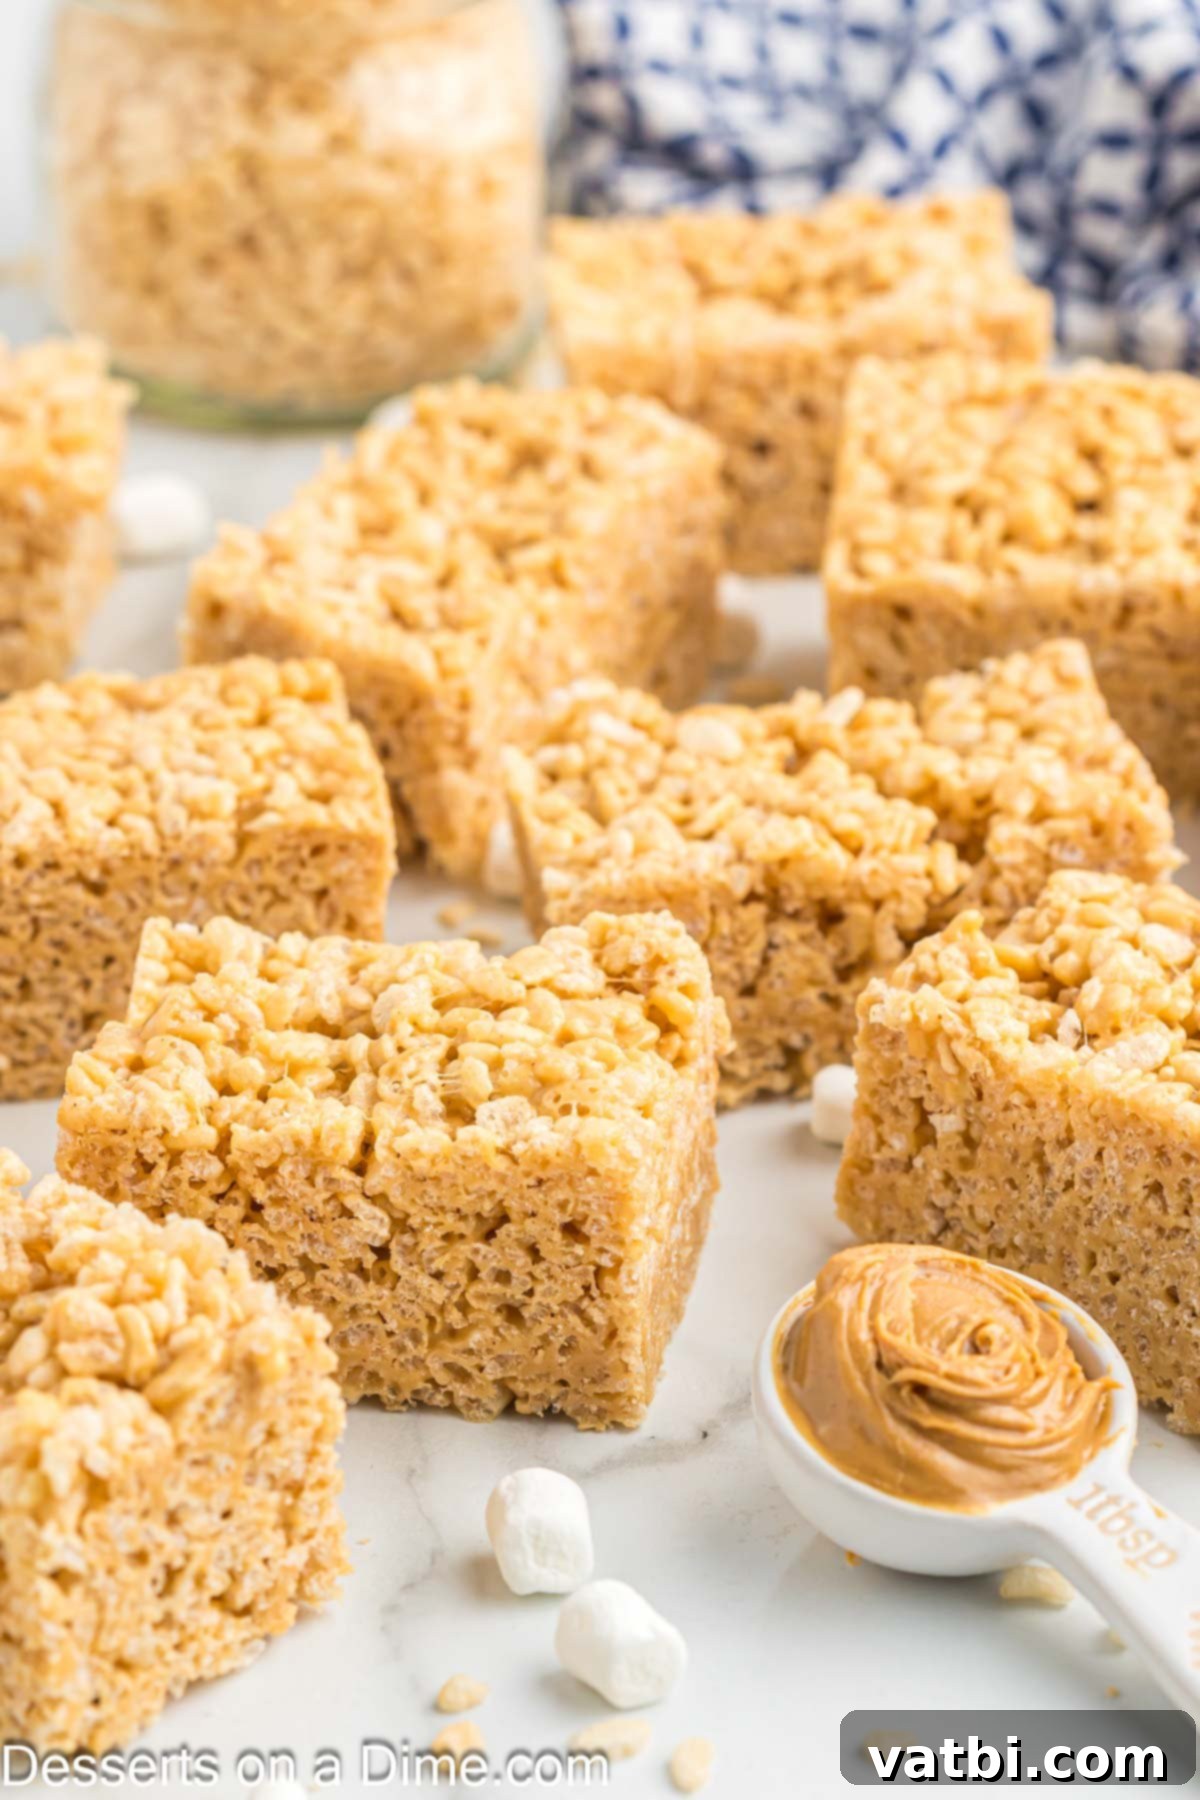
Table of Contents
- Why This Recipe Works
- Ingredients
- Variations & Customizations
- Step-by-Step Instructions
- Expert Tips for Perfection
- Frequently Asked Questions
- Serving & Storage Suggestions
- Explore More Rice Krispie Treat Recipes
- Peanut Butter Rice Krispie Treats Recipe Card
Why This Recipe Works
These peanut butter crispy treats aren’t just easy; they consistently deliver delicious results thanks to their simple yet effective approach:
- No-Bake & Quick: In today’s fast-paced world, a dessert that’s ready in minutes with minimal hands-on time is a true winner. This recipe is perfect for last-minute cravings, unexpected guests, or simply when you don’t want to turn on the oven. From start to finish, you’re looking at under an hour, including cooling time!
- Simple Ingredients: You likely already have these four core ingredients in your pantry right now! Rice Krispie cereal, butter, marshmallows, and peanut butter are kitchen staples, making this a wonderfully accessible recipe for anyone.
- Kid-Approved: The combination of sweet, gooey marshmallows and the familiar taste of peanut butter makes these bars a huge hit with children of all ages. They’re also a fun, safe activity to make with younger helpers.
- Perfect for Any Occasion: These treats are incredibly versatile. Pack them in lunchboxes, serve them at school bake sales, bring them to potlucks, offer them at birthday parties, or simply enjoy them as a satisfying after-dinner dessert or an afternoon pick-me-up.
- Highly Customizable: While delicious on their own, these treats serve as a fantastic base for customization. Easily add chocolate chips, drizzle with melted chocolate, sprinkle with sea salt, or even swap out the peanut butter for another nut butter to suit various tastes or dietary needs.
Essential Ingredients for Perfection
Gathering your ingredients is the first step to creating these delightful no-bake bars. Quality and freshness make a difference!
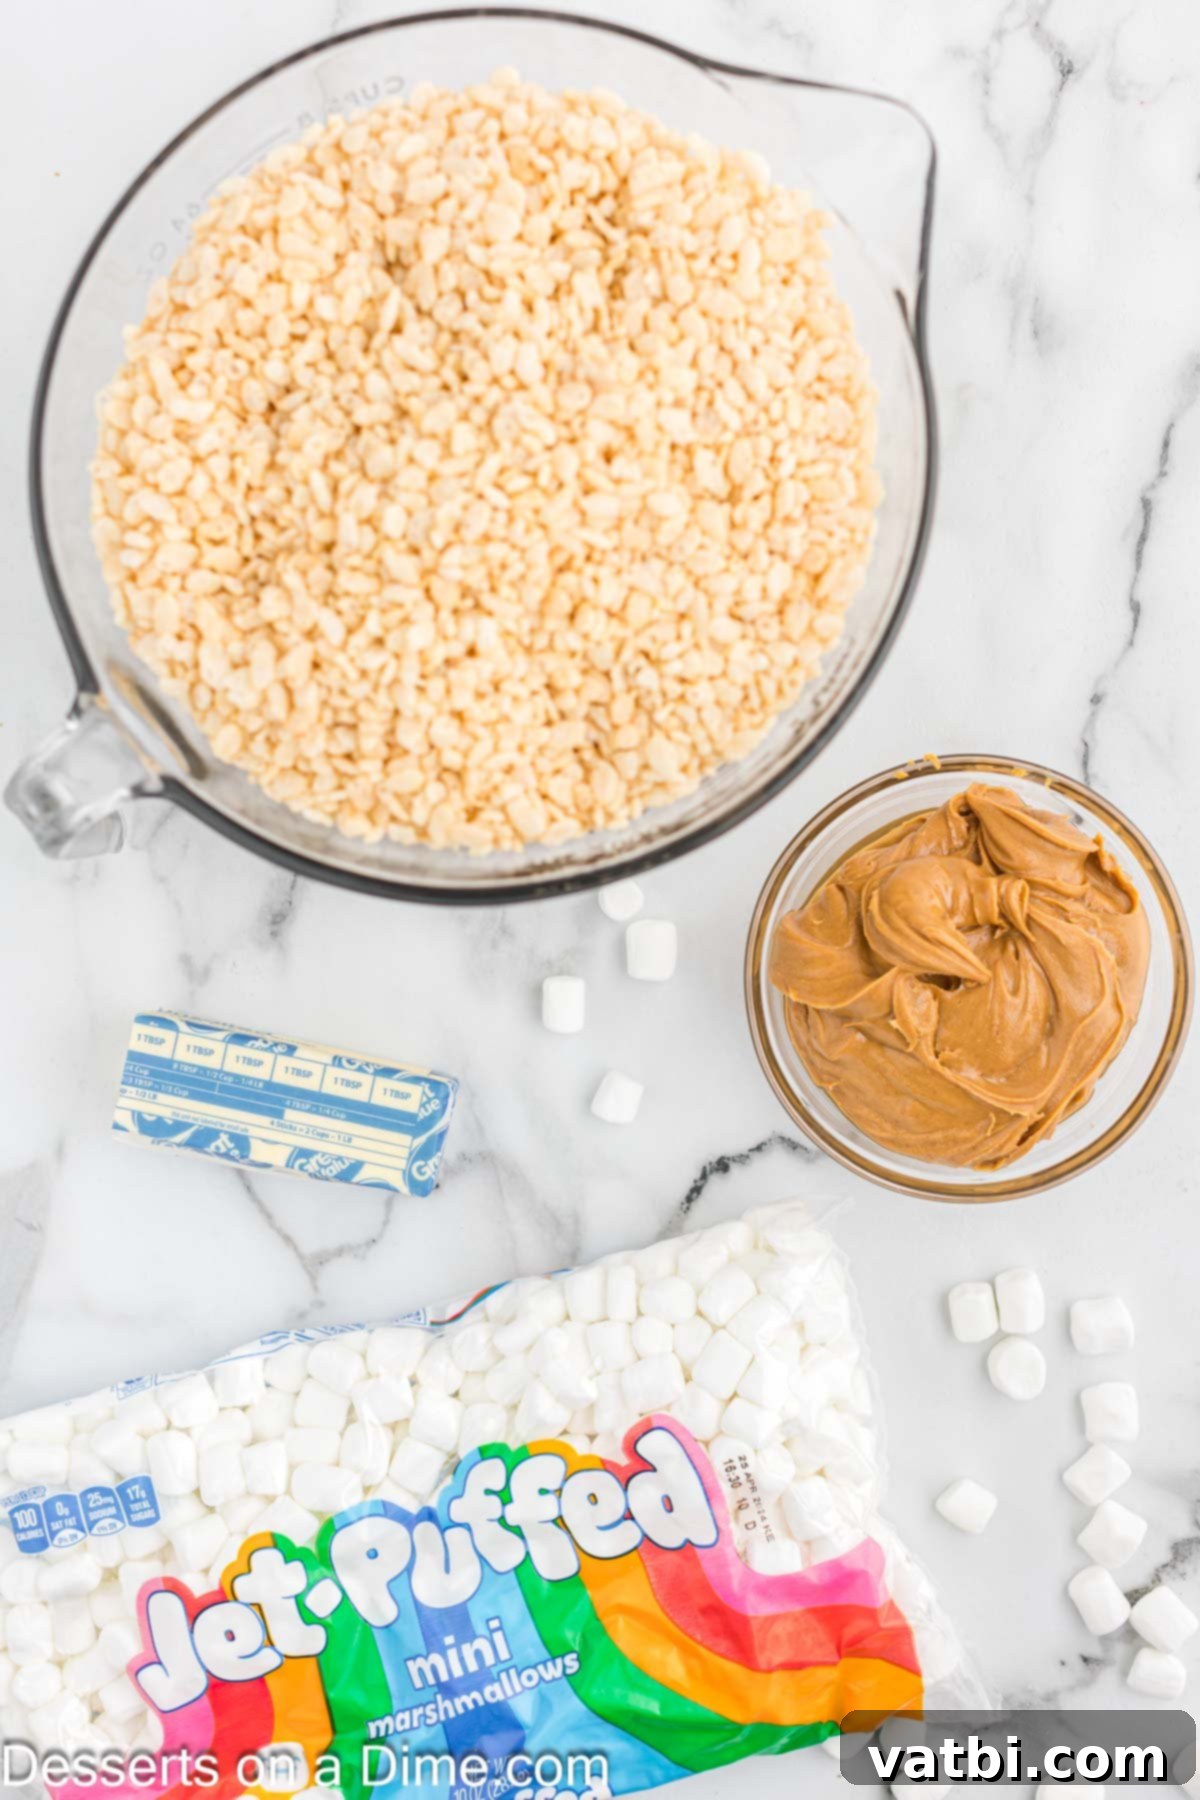
- Rice Krispie Cereal: This is the star of the show, providing that signature crispy texture. Always ensure your cereal is fresh; stale cereal will result in tough, less appealing treats. While brand-name is often recommended for consistency, store-brand crispy rice cereal works perfectly fine too.
- Butter: Real butter is crucial for flavor, richness, and helping the marshmallow mixture achieve the right consistency. You can use either unsalted or salted butter; we’ll discuss this further in the variations section.
- Mini Marshmallows: Fresh marshmallows are key to achieving that soft, gooey, and perfectly chewy texture. Mini marshmallows are generally preferred because they melt much faster and more evenly than larger ones, leading to a smoother mixture. However, larger marshmallows can be used if cut into smaller pieces.
- Creamy Peanut Butter: The defining flavor of these treats! Choose your favorite creamy peanut butter brand for the best results. Brands like Jif or Skippy are excellent for their smooth texture and consistent flavor. While natural peanut butter can be used, be aware its oil separation might slightly alter the texture; ensure it’s well-stirred before adding.
The complete recipe with precise measurements can be found in the recipe card at the bottom of this post.
Variations & Customizations: Get Creative!
One of the best things about Peanut Butter Rice Krispie Treats is how easily they can be customized to suit your preferences or what you have on hand. Here are some fantastic ideas to spark your creativity:
- Butter Choice: Both unsalted and salted butter will work beautifully. If using salted butter, you might find the treats have a slightly more balanced sweet-and-salty profile, which many people love. If you prefer less salt, stick with unsalted.
- Marshmallow Size: While mini marshmallows are recommended for their quick melting and smooth integration, large marshmallows can absolutely be used. Just be sure to cut them into smaller pieces to help them melt more evenly and prevent scorching.
- Texture Preference (Thinner or Thicker): This recipe yields wonderfully thick and substantial treats, which we adore! However, if you prefer thinner bars, simply halve the recipe ingredients or spread the full batch into a larger pan (e.g., a 10×15 inch pan) for a less dense result.
- Add Chocolate Chips: For the ultimate peanut butter chocolate experience, stir in ½ cup of chocolate chips (milk chocolate, semi-sweet, or dark chocolate) right after you’ve mixed in the cereal. The residual heat will slightly melt them, creating pockets of chocolatey goodness. Butterscotch chips or white chocolate chips are also delicious alternatives!
- Peanut Butter Type: We prefer creamy peanut butter for its smooth consistency, but crunchy peanut butter will add an extra layer of texture. If you opt for natural peanut butter, remember to stir it thoroughly before adding to ensure it’s well combined and to prevent a greasy texture.
- Alternative Nut Butters: For those with peanut allergies or simply looking for a different flavor, try substituting the peanut butter with almond butter, cashew butter, sunflower seed butter (like SunButter), or even cookie butter. Each will lend its unique taste to the treats.
- A Hint of Vanilla Extract: Enhance the overall sweetness and aroma by stirring in 1 teaspoon of vanilla extract with the peanut butter and marshmallows. It adds a lovely depth of flavor.
- Flaky Sea Salt Topping: A sprinkle of flaky sea salt over the top of the pressed treats before they cool can beautifully balance the sweetness and add a sophisticated touch.
- Melted Chocolate Drizzle: For an elegant finish, melt some chocolate (milk, dark, or white) and drizzle it artfully over the cooled and set treats. Allow the chocolate to harden before slicing.
- Extra Toppings: Get creative with additional toppings! Crushed cookies (like Oreos or Nutter Butters), sprinkles, chopped roasted peanuts, or even a dusting of cocoa powder can make these treats extra special.
Step-by-Step Instructions: Creating Your Treats
Making these Peanut Butter Rice Krispie Treats is incredibly straightforward. Follow these simple steps for perfect results every time:
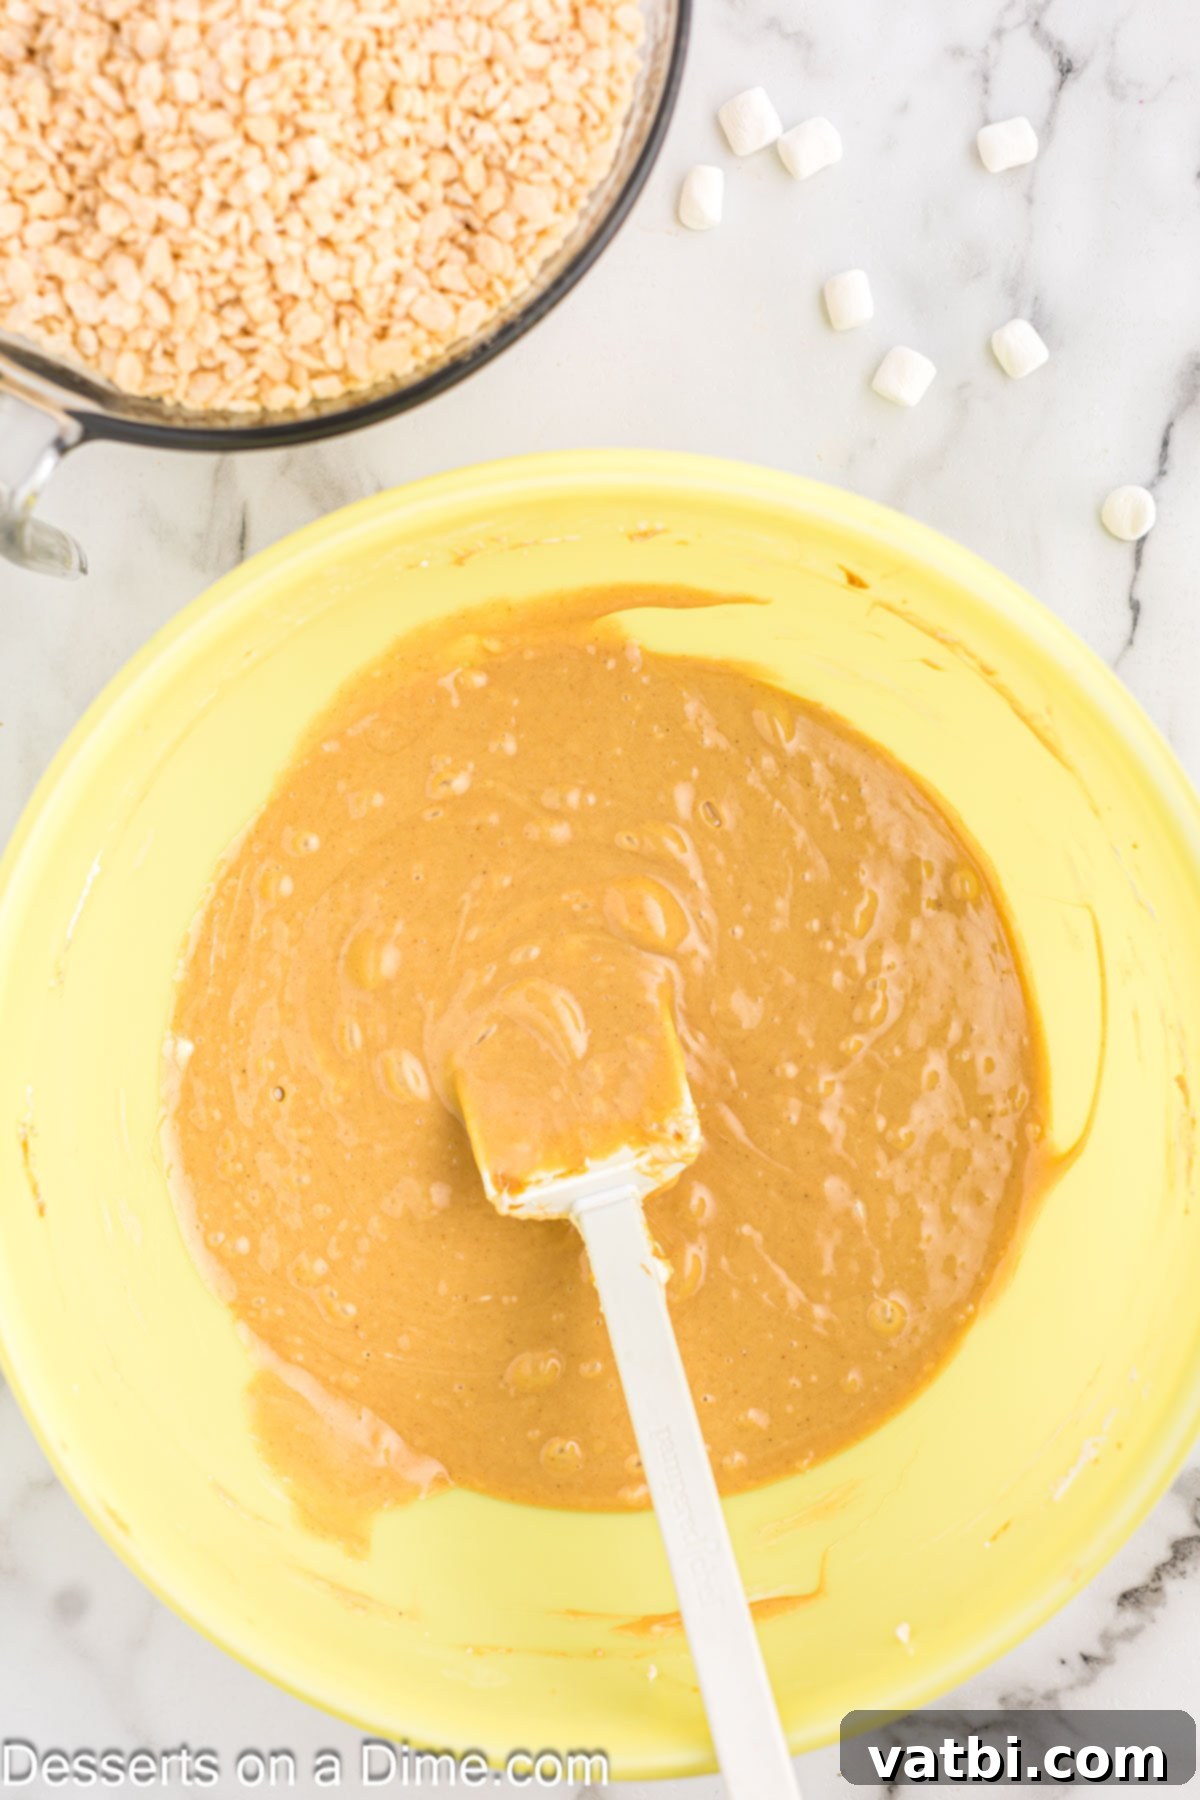
Step 1: Prepare Your Pan and Melt the Gooey Goodness. Begin by lightly coating a 9×13 inch baking pan with non-stick cooking spray. This crucial step will ensure your treats don’t stick and are easy to remove later. In a large microwave-safe bowl, combine the butter, mini marshmallows, and creamy peanut butter. You can optionally add a tablespoon of honey or maple syrup here for an extra touch of sweetness and binding, if desired. Microwave the mixture in 30-second intervals, stirring thoroughly after each interval, until it’s completely melted and smooth. Be patient and stir well to prevent scorching the marshmallows.
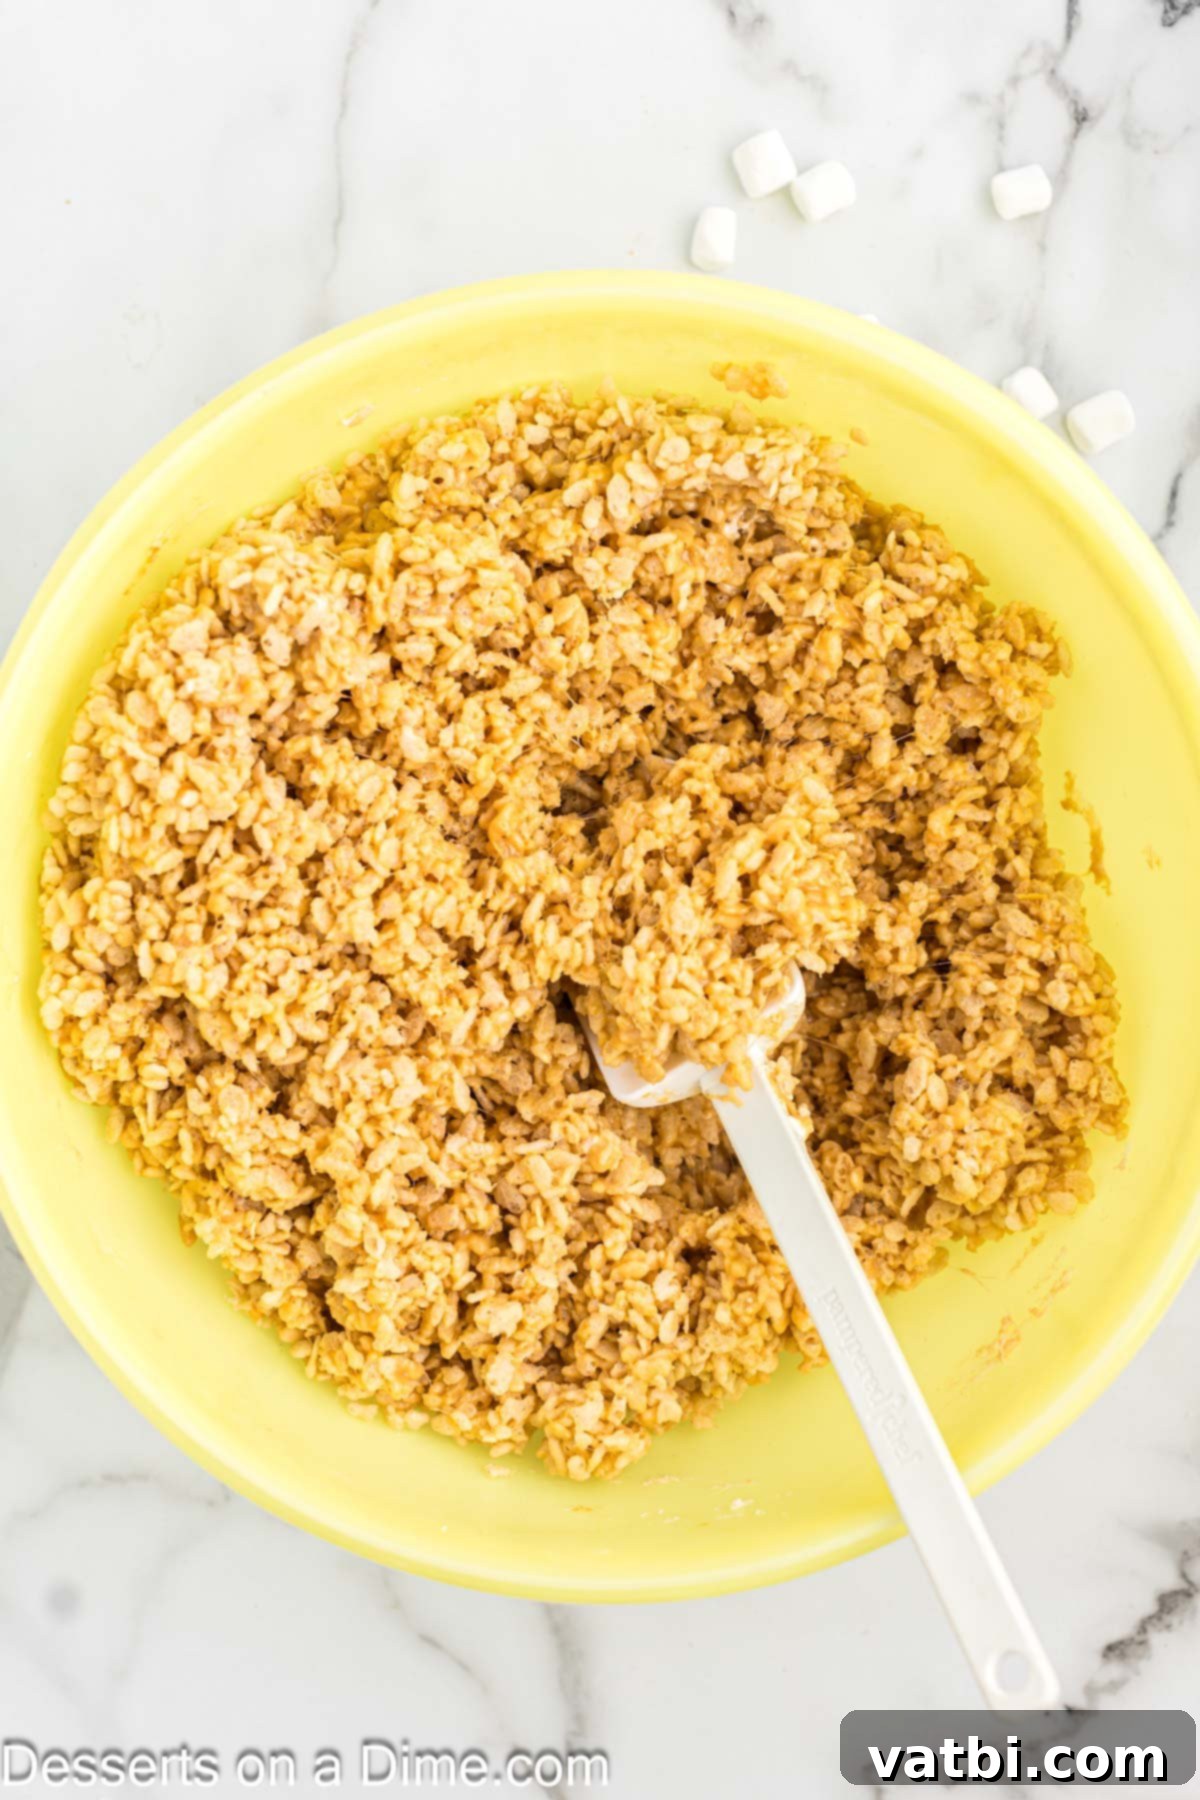
Step 2: Fold in the Crispy Cereal. Once your marshmallow-peanut butter mixture is perfectly smooth and glossy, it’s time to add the crispy rice cereal. Pour all the cereal into the bowl and, working quickly, use a spatula to gently fold and stir until every single piece of cereal is evenly coated with the delicious, sticky mixture. Ensure there are no dry spots for consistent texture and flavor.
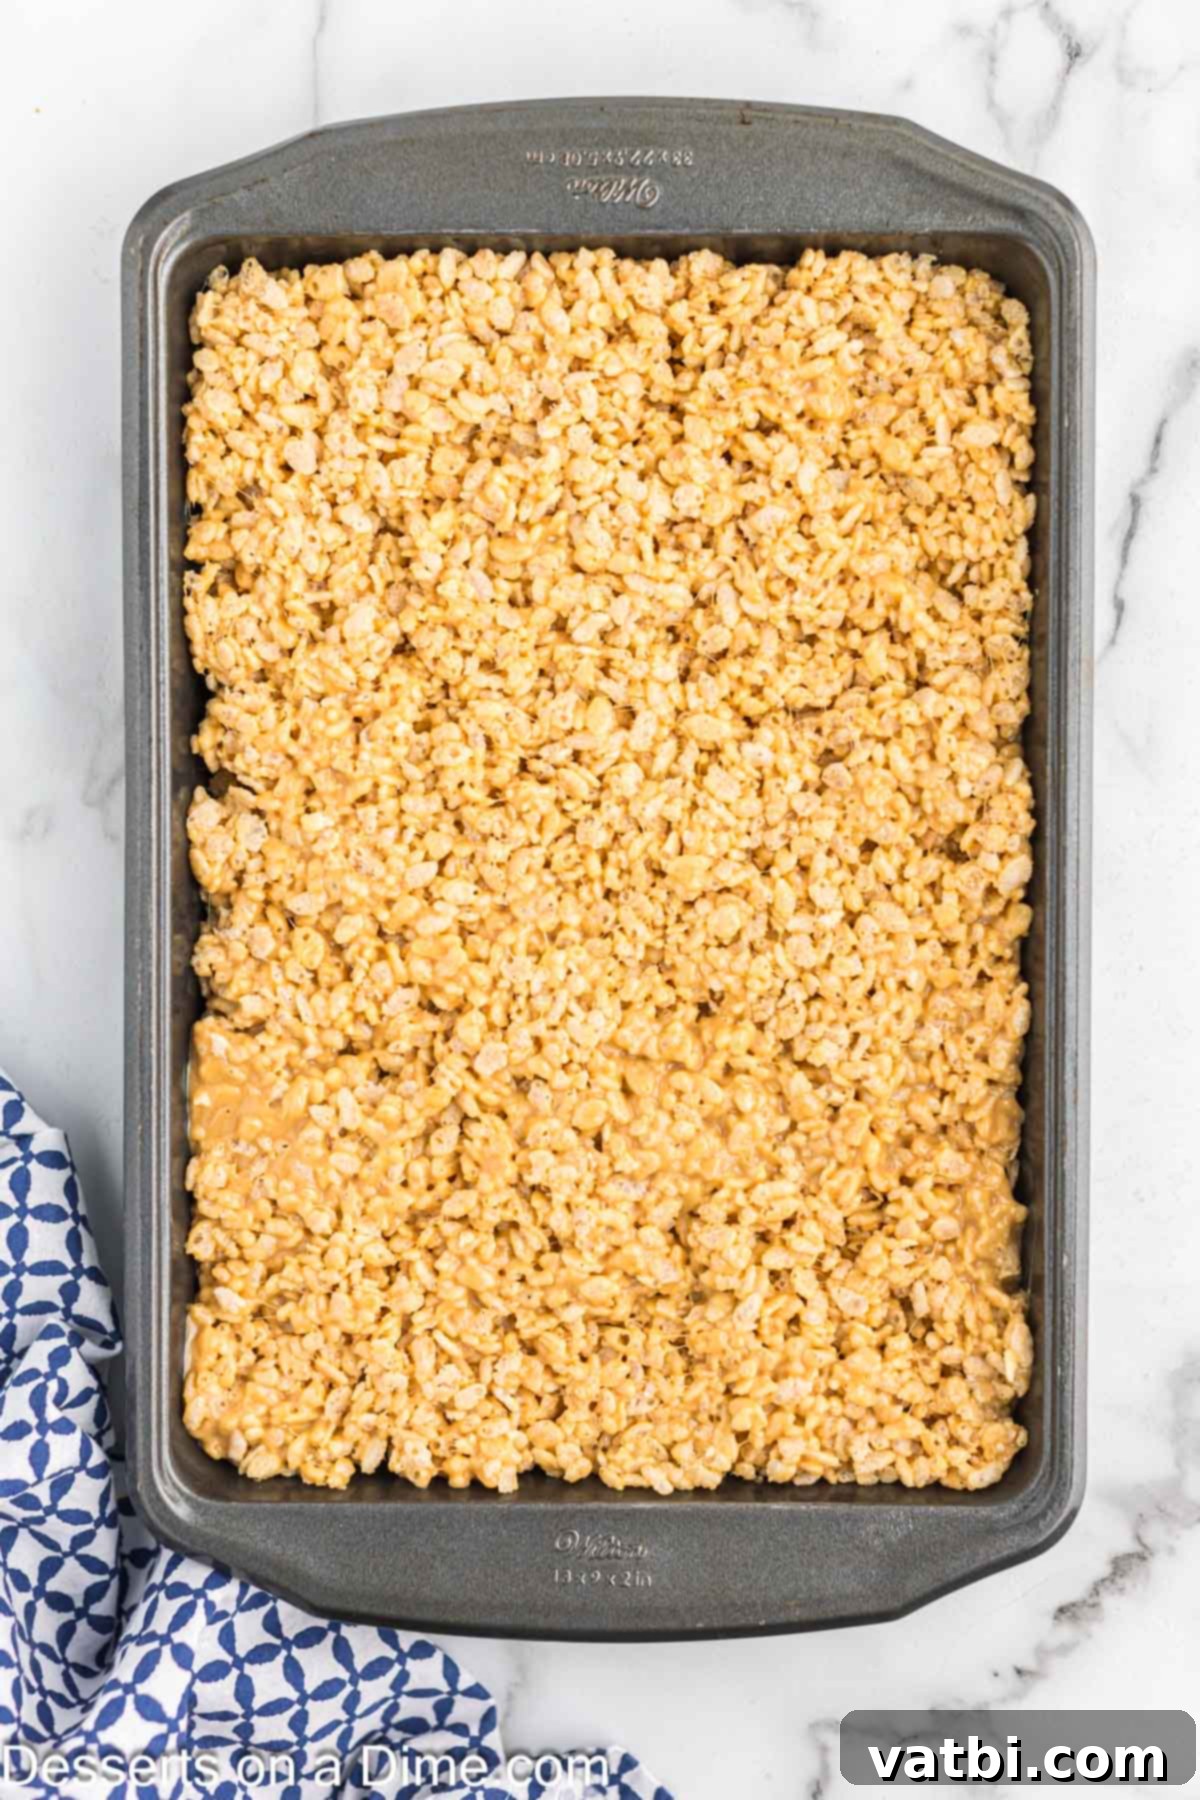
Step 3: Press into the Pan. Transfer the entire cereal mixture into your prepared 9×13 inch baking dish. For easy and mess-free pressing, grab a piece of wax paper or parchment paper and lightly spray one side with non-stick cooking spray. Use this greased side to gently but firmly press the Rice Krispie mixture evenly into the bottom of the pan. The key is to press firmly enough so the treats hold together, but not so hard that you crush the cereal and make them too dense.
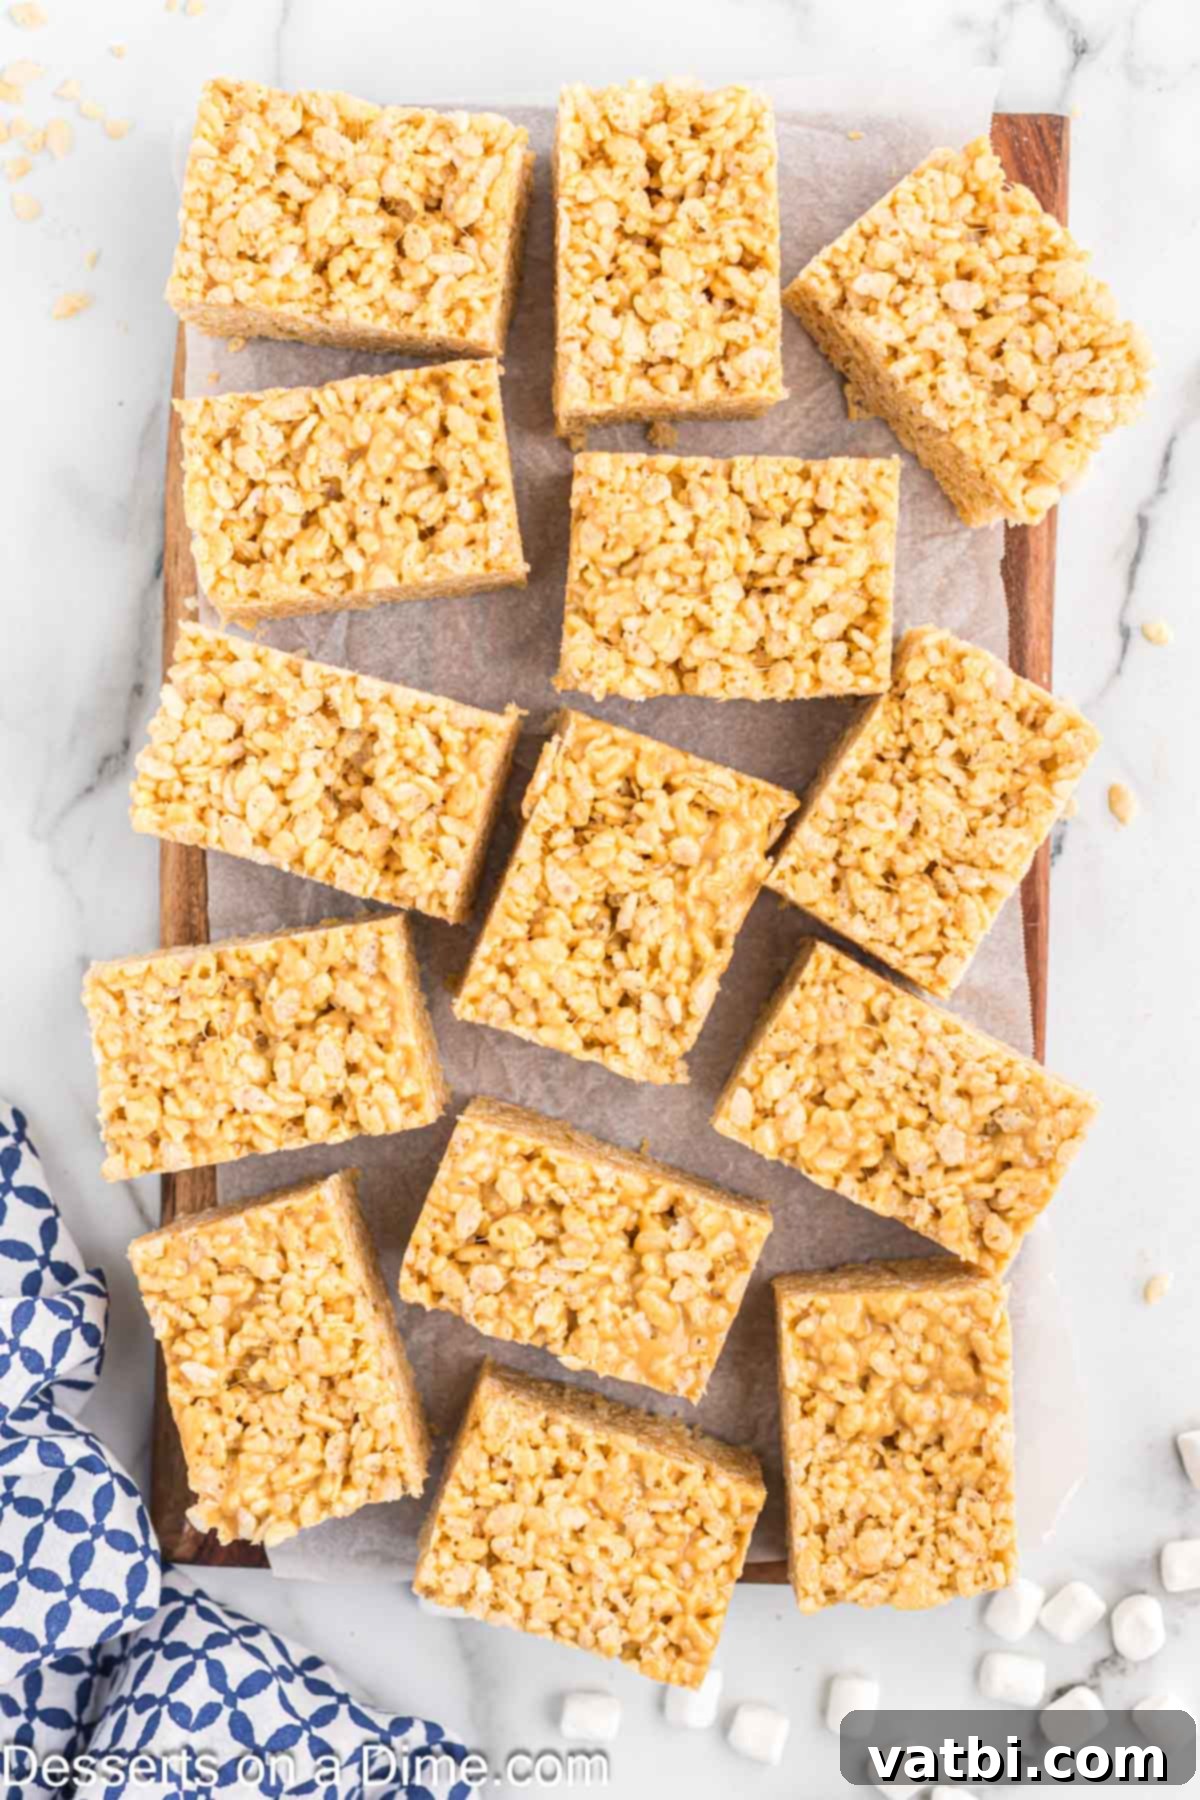
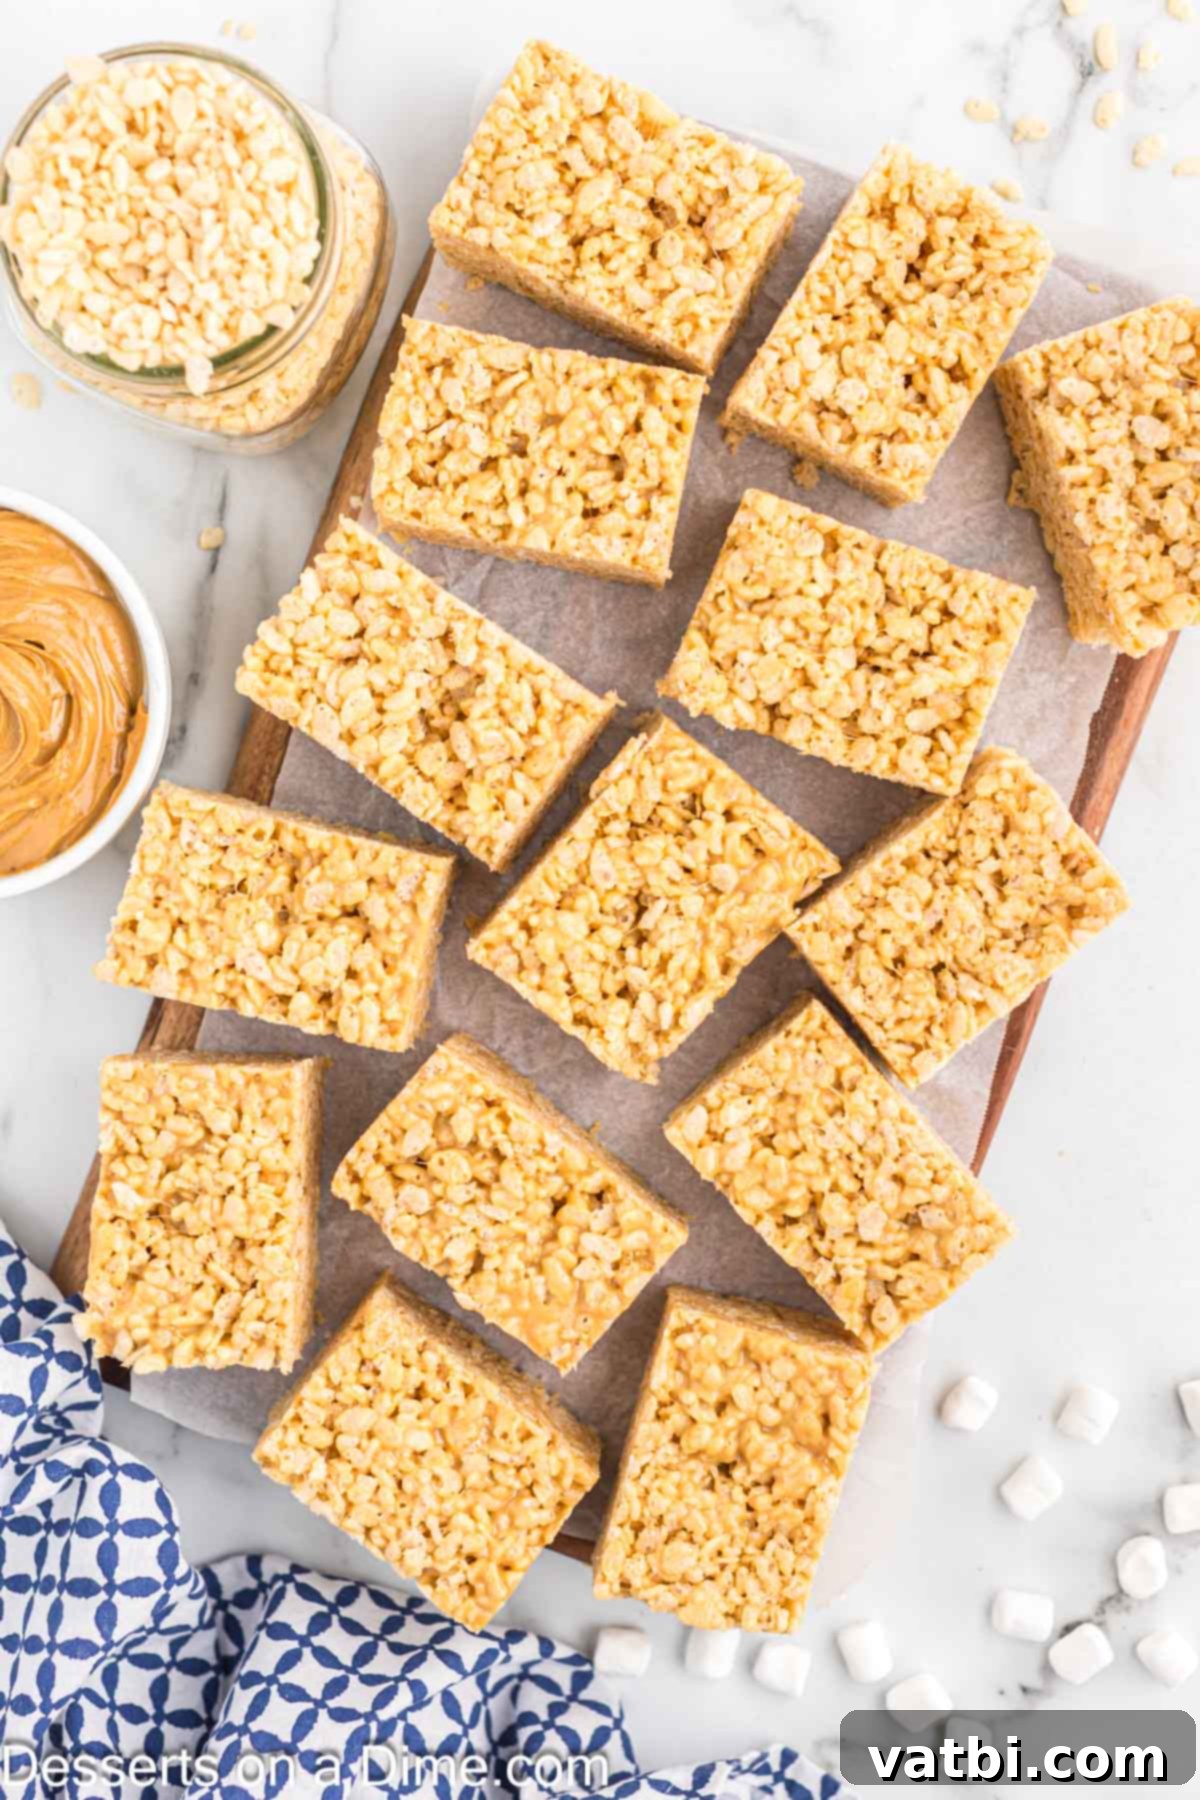
Step 4: Cool, Slice, and Enjoy! Allow the treats to cool completely at room temperature for at least 30 minutes, or until fully set. Resist the urge to refrigerate them, as this can make them hard and dry. Once cool, use a sharp, greased knife to slice them into your desired bar size. Serve immediately and savor every chewy, crispy, peanut buttery bite!
Expert Tips for Perfection
Achieving perfectly gooey and delicious Peanut Butter Rice Krispie Treats is easy with a few insider tricks:
- Say No to the Fridge: This is perhaps the most important tip! These treats are at their best when cooled and stored at room temperature. Refrigerating them causes the butter and marshmallows to firm up too much, leading to hard, dry, and less enjoyable bars.
- Quick Refresh Magic: If your treats start to lose their chewiness after a few days, a short stint in the microwave can work wonders. Heat a single square for just 5-10 seconds to bring back that delightful soft, gooey, and melty texture.
- Beat the Stickiness: The marshmallow mixture can be incredibly sticky! To make mixing the cereal and pressing the mixture into the pan much easier, lightly spray your hands, a spoon, or your spatula with non-stick cooking spray. A piece of wax paper (also sprayed) is invaluable for pressing.
- Prepare Your Pan Properly: Don’t skip greasing your baking dish! For even easier removal and clean-up, consider lining your pan with parchment paper or wax paper, leaving an overhang on the sides. This creates “handles” to lift the entire batch out before slicing.
- Press Gently, But Firmly: When pressing the mixture into the pan, apply gentle but even pressure. You want them to be compact enough to hold their shape, but not so dense that the cereal loses its airy crispness. Over-compressing can make them hard.
- Low and Slow Melting: Whether using a microwave or stovetop, melt the butter, marshmallows, and peanut butter over low heat. High heat can cause the marshmallows to caramelize too quickly or become tough, leading to rock-hard treats once cooled. Consistent stirring helps.
- Clean Cuts Every Time: For perfectly neat squares, lightly grease your knife with non-stick spray or butter before slicing. Re-grease as needed to prevent sticking. A sharp knife also helps achieve clean edges.
Frequently Asked Questions
Absolutely! Making these Peanut Butter Rice Krispie Treats on the stovetop is a classic method and works wonderfully. To do so, combine the butter, creamy peanut butter, and marshmallows in a large saucepan or pot. Heat over low heat, stirring constantly, until the mixture is completely melted and smooth. Once melted, remove from the heat immediately, stir in the crispy rice cereal until well coated, and then press the mixture into your prepared pan.
The most common reasons for hard rice crispy treats are either overcooking the marshmallow mixture or refrigerating them. Ensure you melt the butter, peanut butter, and marshmallows over low heat and only until just smooth, avoiding vigorous boiling or extended cooking. High heat can cause the sugar in the marshmallows to become brittle. Additionally, storing these treats in the refrigerator can cause them to dry out and become overly firm. For the best gooey and chewy texture, always store them at room temperature.
While classic crispy rice cereal is traditional, you can certainly experiment with other cereals! Many people enjoy making these treats with Cocoa Krispies for a chocolate-peanut butter twist, or even Chex cereal for a different kind of crunch. Just ensure the cereal is relatively light and crisp so it doesn’t make the treats too heavy or hard. Off-brand crispy rice cereal also works perfectly well and is often a budget-friendly option.
Yes, Peanut Butter Rice Krispie Treats can be frozen! To freeze them, first ensure they are completely cooled and set. Slice them into individual bars, then wrap each bar tightly in plastic wrap or parchment paper. Place the wrapped bars in an airtight freezer-safe bag or container, with layers separated by parchment or wax paper to prevent sticking. They can be stored in the freezer for up to 6 weeks. When you’re ready to enjoy them, thaw them overnight in the refrigerator, then let them come to room temperature for the best texture.
When stored properly in an airtight container at room temperature, Peanut Butter Rice Krispie Treats will stay fresh, soft, and delicious for up to 3-4 days. After that, they may start to become a bit firmer, though still edible. Remember, refrigeration is not recommended for storage as it drastically changes their texture.
Yes, these treats can easily be made gluten-free! Many brands of crispy rice cereal are naturally gluten-free (always check the label). Butter and marshmallows are typically gluten-free, but always double-check your specific brands of peanut butter and marshmallows to ensure they don’t contain any hidden gluten-containing ingredients.
Serving & Storage Suggestions
These Peanut Butter Rice Krispie Treats are wonderful on their own, but here are some ideas to make them even better:
- Classic Squares: Simply slice into squares and serve! They’re perfect for school lunches, after-school snacks, or a quick dessert.
- Dessert Platter Addition: Arrange them alongside other cookies, brownies, and candies for an impressive dessert spread at parties or gatherings.
- With Ice Cream: Serve a warm, slightly microwaved square with a scoop of vanilla or chocolate ice cream for a delightful à la mode experience.
- Dipped or Drizzled: For an extra layer of decadence, dip half of each cooled treat into melted chocolate or drizzle generously with melted white chocolate.
Storage: Always store your cooled Peanut Butter Rice Krispie Treats in an airtight container at room temperature. This will keep them soft, gooey, and fresh for 3-4 days. Avoid storing them in the refrigerator, as this will cause them to harden significantly.
Explore More Rice Krispie Treat Recipes
If you love the versatility and ease of these crispy cereal treats, you’ll definitely want to try some of our other favorite variations:
- Neapolitan Rice Krispie Treats
- Salted Caramel Rice Krispie Treats
- Chocolate Rice Krispie Treats
- Brown Butter Rice Krispie Treats
- Rice Krispie Treats with Marshmallow Fluff
We hope you enjoy making and devouring these luscious Peanut Butter Rice Krispie Treats! They are truly a testament to how simple ingredients can create something extraordinary. After you whip up a batch, please come back and leave a comment to let us know what you think!
Pin
Peanut Butter Rice Krispie Treats
15 minutes
30 minutes
45 minutes
16
American
Dessert
325
Carrie Barnard
Ingredients
- 12 cups Rice Krispie Cereal
- 6 Tablespoons Butter
- (2) 10 oz. package of Marshmallows
- 1 cup Creamy Peanut Butter
Instructions
-
Spray a 9X13 pan with a non-stick cooking spray.
-
Melt the butter, marshmallows and peanut butter in a large microwave safe bowl. Heat it in 30 second increments and stir between each one until fully meted.
-
Once it’s melted, mix in the Rice Krispie cereal until completely coated.
-
Spread evenly into the prepared pan. Use a piece of wax to press the Rice Krispies into the bottom of the pan. I spray the wax paper with a non-stick spray so that it doesn’t stick to the wax paper.
-
Allow to cool completely before serving. Slice, serve and enjoy!
-
*You can make half of this batch for thinner rice krispie treats. We love thick rice krispie treats!
-
*Do not store in the refrigerator. They are best left to cool at room temperature so that the remain gooey and delicious!
Nutrition Facts
Pin This Now to Remember It Later
Pin Recipe
