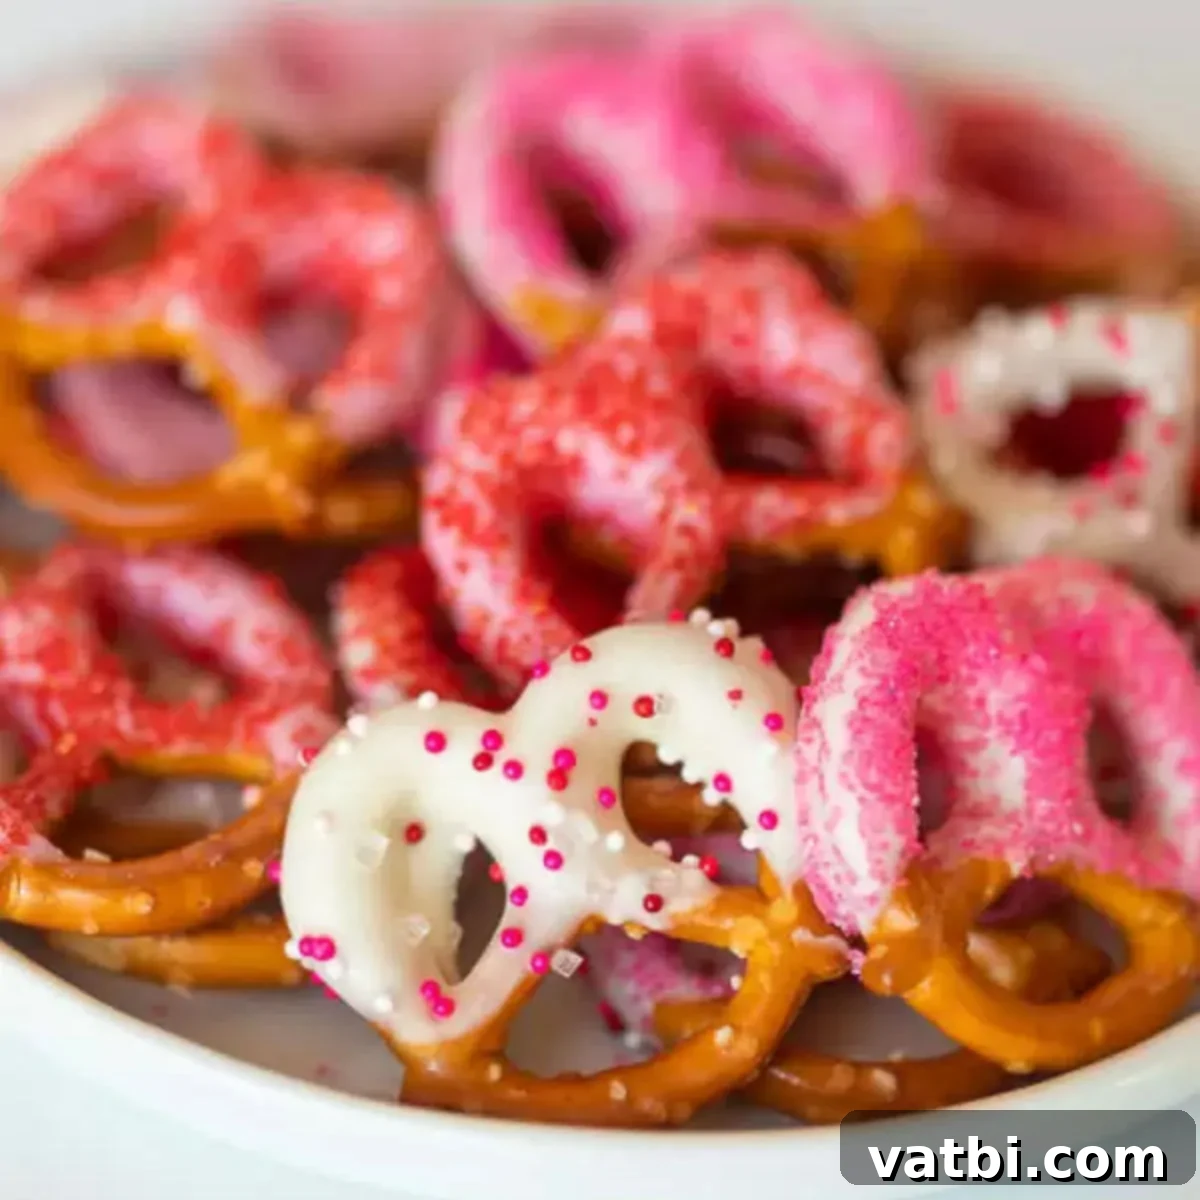
Easy Valentine’s Day Chocolate Covered Pretzels: Sweet & Salty Love Treats
Prepare to fall in love with these delightful Valentine Chocolate Covered Pretzels! They offer a truly irresistible sweet and salty combination that makes them a perfect bite-sized treat for the most romantic day of the year. This recipe is incredibly simple, requiring minimal effort and no baking, yet delivers a festive and delicious result that’s guaranteed to be a hit with everyone. Whether you’re making them for a special someone, a classroom party, or just to enjoy at home, these pretzels are a fun and easy way to spread some love.
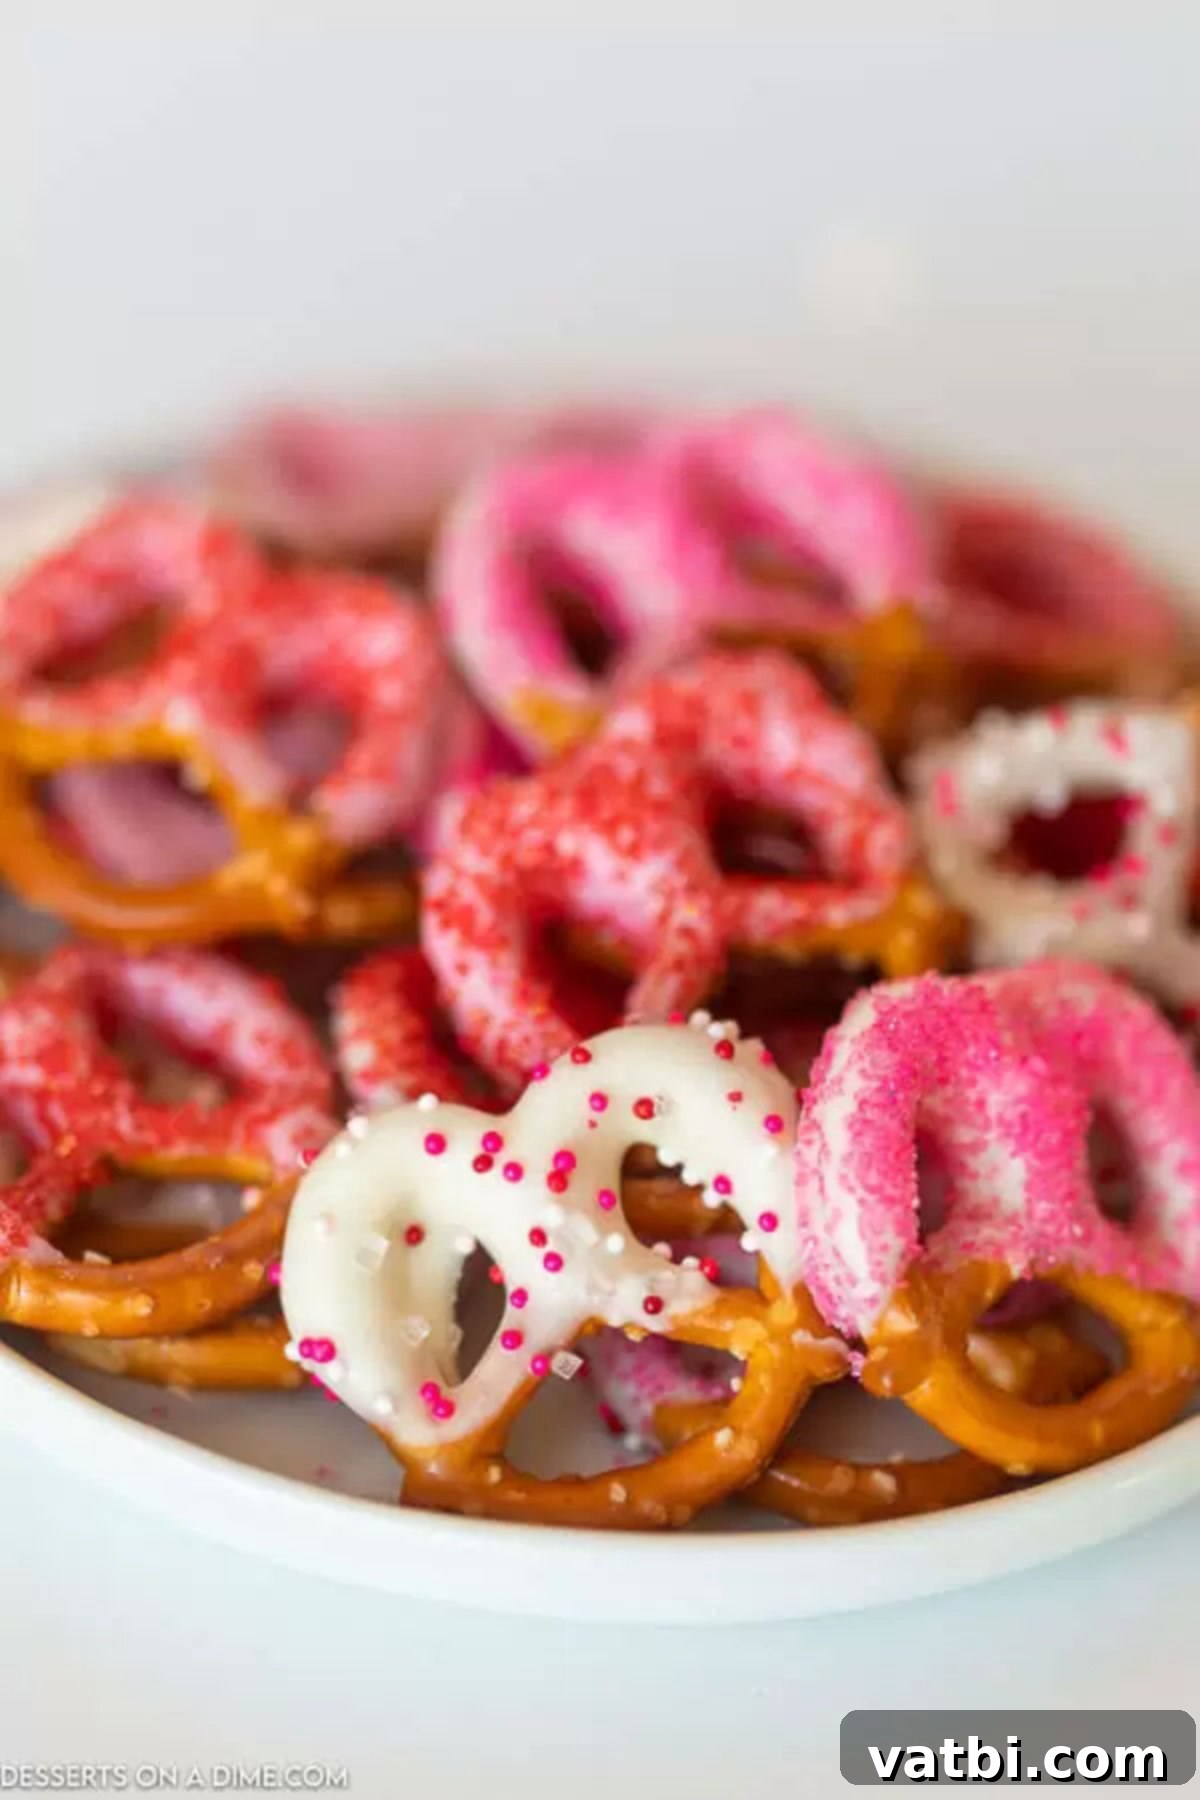
I absolutely adore creating Valentine’s Day Desserts, and this no-bake recipe for Valentine’s Day pretzels truly shines. It’s not just effortlessly easy to make, but its vibrant colors and delicious taste perfectly capture the festive spirit of the holiday. The classic sweet and salty pairing is universally loved, making these treats a crowd-pleaser for any occasion. Because they require only a few simple ingredients and come together quickly, we often find ourselves making large batches for all major holidays, adapting the colors and sprinkles to suit the theme.
For those looking to master the art of chocolate-covered pretzels beyond Valentine’s Day, explore our comprehensive guide on how to make chocolate covered pretzels with just two ingredients – perfect for any day of the year! My children especially love getting involved in decorating these fun treats. Beyond pretzels, we also enjoy crafting other holiday favorites like heart-shaped cupcakes, festive Valentine Rice Krispie Treats, a variety of heart-shaped desserts, and charming pink desserts to celebrate love and friendship.
Table of contents
- Why We Love This Recipe
- Ingredients for Valentine Pretzels
- Creative Variations
- Step-by-Step Instructions
- Gifting & Serving Ideas
- Frequently Asked Questions
- Pro Tips for Perfect Pretzels
- More Easy Valentine’s Day Desserts
- More Chocolate Covered Desserts
Why We Love This Easy No-Bake Recipe
There are so many reasons to adore this recipe, making it a staple in our household for Valentine’s Day and beyond. Firstly, its incredible ease of preparation means anyone, regardless of their baking experience, can create beautiful and delicious treats. It’s a fantastic entry-level recipe for aspiring young bakers to join in the kitchen fun!
- Effortlessly Simple: This no-bake recipe is perfect for busy schedules. With just a few ingredients and straightforward steps, you can have a batch of these festive pretzels ready in under an hour, including cooling time.
- Sweet & Salty Perfection: The classic combination of salty pretzels and sweet chocolate is simply divine, creating a satisfying flavor profile that keeps everyone coming back for more.
- Highly Versatile: While perfect for Valentine’s Day, this recipe is incredibly adaptable. You can easily modify the type of pretzels, chocolate, and toppings to suit any holiday or special occasion, using whatever ingredients you have on hand or can find at the store.
- Kid-Friendly Activity: This is a wonderful recipe to make with kids. They love dipping the pretzels and, most of all, decorating them with colorful sprinkles! It’s a fun and engaging activity that creates lasting memories.
- Perfect for Gifting: Homemade treats always make the best gifts. These heart-shaped (or regular twist) chocolate-covered pretzels are ideal for packaging in small bags or boxes for friends, teachers, or loved ones. Making a big batch is easy, so you’ll have plenty to share.
- No Special Equipment Needed: You don’t need fancy tools or gadgets for this recipe, just a microwave, bowls, and a baking sheet.
We often use the classic pretzel twists for their perfect bite-sized nature and excellent dipping surface. However, feel free to experiment with pretzel rods for a more elegant look or mini pretzel sticks for a smaller, snackable option. The beauty of this recipe lies in its flexibility – use what you have or what catches your eye at the grocery store!
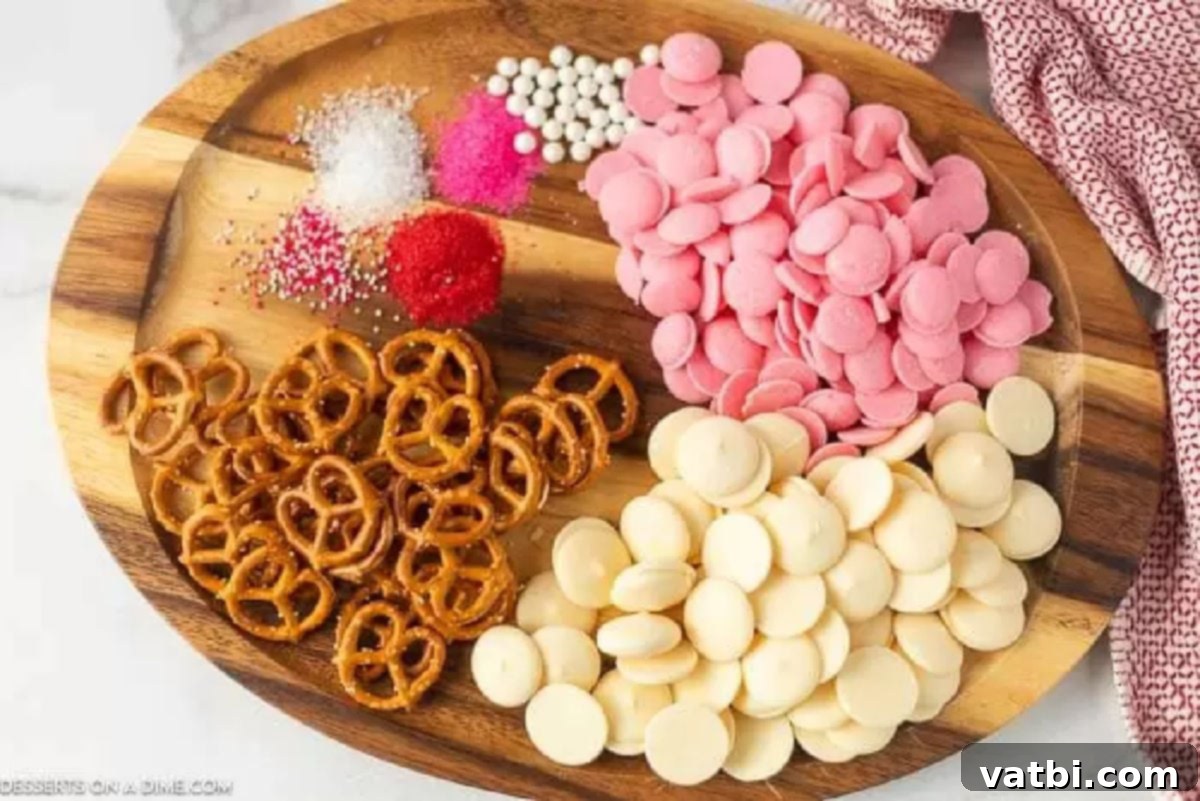
Ingredients for Valentine Pretzels
Gathering your ingredients for these festive pretzels is straightforward. You’ll only need a few key items to create these delightful treats:
- Miniature Pretzel Twists: These are ideal for dipping and provide that perfect crunch and salty contrast. Their classic shape makes them easy to hold and coat. While twists are recommended, feel free to use other pretzel shapes like rods or sticks if preferred.
- Candy Melts: For Valentine’s Day, we typically use white and pink candy melts to achieve those vibrant, romantic colors. Candy melts are formulated to melt smoothly and harden quickly, providing a beautiful, glossy finish. They are easier to work with than traditional chocolate chips for dipping as they require less tempering. You can often find them in various colors in the baking aisle of most grocery stores or craft stores.
- Valentine Sprinkles: This is where you can truly let your creativity shine! Choose any festive Valentine-themed sprinkles you love – think hearts, reds, pinks, whites, and iridescent options. Sprinkles add both visual appeal and a fun texture.
You can find the exact measurements and a printable version of the full recipe at the bottom of this page, complete with detailed instructions for your convenience.
Creative Variations for Any Occasion
One of the best aspects of this chocolate-covered pretzel recipe is its incredible versatility. Don’t limit yourself to just pink and white for Valentine’s Day! Here are some fantastic ways to customize your treats:
- Change Chocolate Types: While candy melts are excellent for color and ease, don’t hesitate to experiment with different types of chocolate for unique flavor profiles.
- Dark Chocolate: Offers a rich, slightly bitter contrast to the salty pretzels.
- Milk Chocolate: A classic, creamy choice that’s always a crowd-pleaser.
- White Chocolate: Provides a sweet, mild flavor base, perfect for adding food coloring if you can’t find specific candy melt colors.
- Peanut Butter Chips or Butterscotch Chips: Melt these for entirely different flavor experiences.
- Add Different Sprinkles: Sprinkles are your artistic tool! Beyond Valentine’s Day themes, choose sprinkles for:
- Christmas: Red, green, and white sprinkles, or festive shapes like stars and trees.
- Halloween: Orange, black, and purple sprinkles, or spooky ghost and pumpkin shapes.
- Birthdays: Rainbow sprinkles or colors that match the birthday person’s favorite theme.
- Game Day: Team colors for a spirited snack.
- Vary Pretzel Shapes: The world of pretzels is vast!
- Pretzel Rods: Great for dipping more chocolate and creating a long, elegant treat. They are also easier for younger kids to hold while decorating.
- Large Pretzels: Make a statement with bigger pretzels, perfect for a more substantial snack.
- Gluten-Free Pretzels: Easily adapt the recipe for dietary needs.
- Incorporate Crushed Candy or Cookies: This is a fantastic way to use up leftover Halloween candy or pantry items, adding extra flavor and texture.
- M&M’s: Especially festive when using Valentine’s colors, or any holiday-themed M&M’s.
- Crushed Oreo Cookies: Provides a delightful cookies-and-cream crunch.
- Butterfingers or Heath Bars: For a buttery, toffee-like addition.
- Nutter Butter Cookies: For peanut butter lovers, offering a double dose of nutty goodness when crushed and sprinkled.
- Mini Chocolate Chips: A simple yet effective topping for any chocolate lover.
- Drizzle, Don’t Dip: If dipping seems too messy or you want a different aesthetic, melt your candy melts and drizzle them over the pretzels using a fork or a piping bag with a tiny hole. This creates beautiful artistic patterns with less effort. You can even dip one portion and drizzle with a contrasting color for an extra fancy look.
Step-by-Step Instructions for Perfect Pretzels
Creating these festive Valentine’s Day pretzels is incredibly simple. Follow these steps for a smooth and enjoyable process:
- Step 1 – Prepare Your Candy Melts: Place your candy melts (white and pink for Valentine’s Day) into separate microwave-safe bowls. Keeping them separate ensures the colors remain distinct and vibrant, preventing any accidental mixing. Make sure your bowls are dry to prevent the chocolate from seizing.
- Step 2 – Melt the Chocolate: Microwave each bowl of candy melts in 30-second increments. After each interval, stir the melts thoroughly, even if they don’t look fully melted. This helps to distribute the heat evenly and prevent scorching. Continue this process until the candy melts are completely smooth and liquid, with no lumps remaining. Be patient and stir well!
- Step 3 – Dip the Pretzels: Carefully dip each miniature pretzel twist into the melted chocolate. You can dip the entire pretzel or just the top portion, leaving some of the pretzel exposed for a two-toned effect or easier handling. Use a fork or a dipping tool to submerge the pretzel.
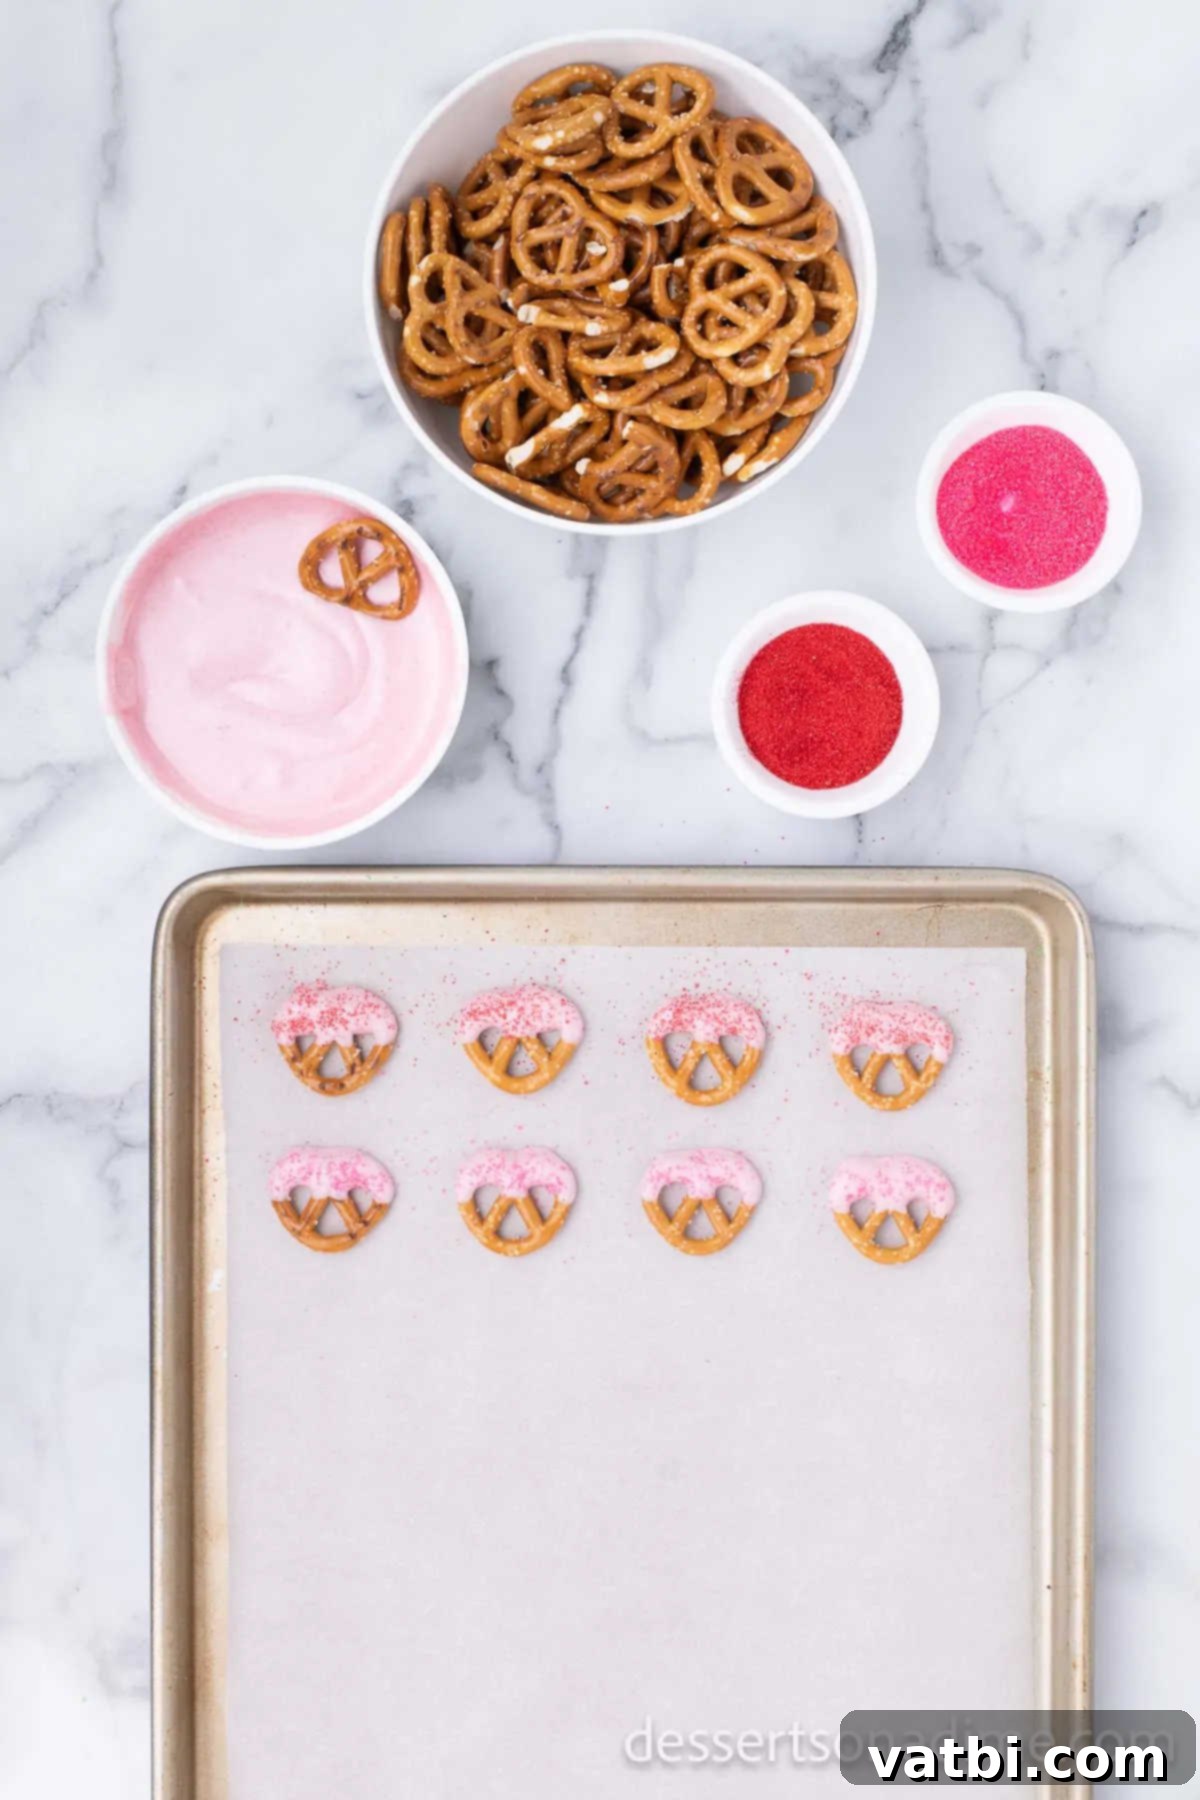
Step 4: Remove Excess Chocolate. After dipping, gently tap the pretzel on the side of the bowl or against the edge of your parchment-lined baking sheet. This helps to remove any excess chocolate, ensuring a smooth, even coating and preventing puddles. Place the chocolate-covered pretzels on a baking tray lined with parchment paper, wax paper, or aluminum foil. This prevents them from sticking as they set.
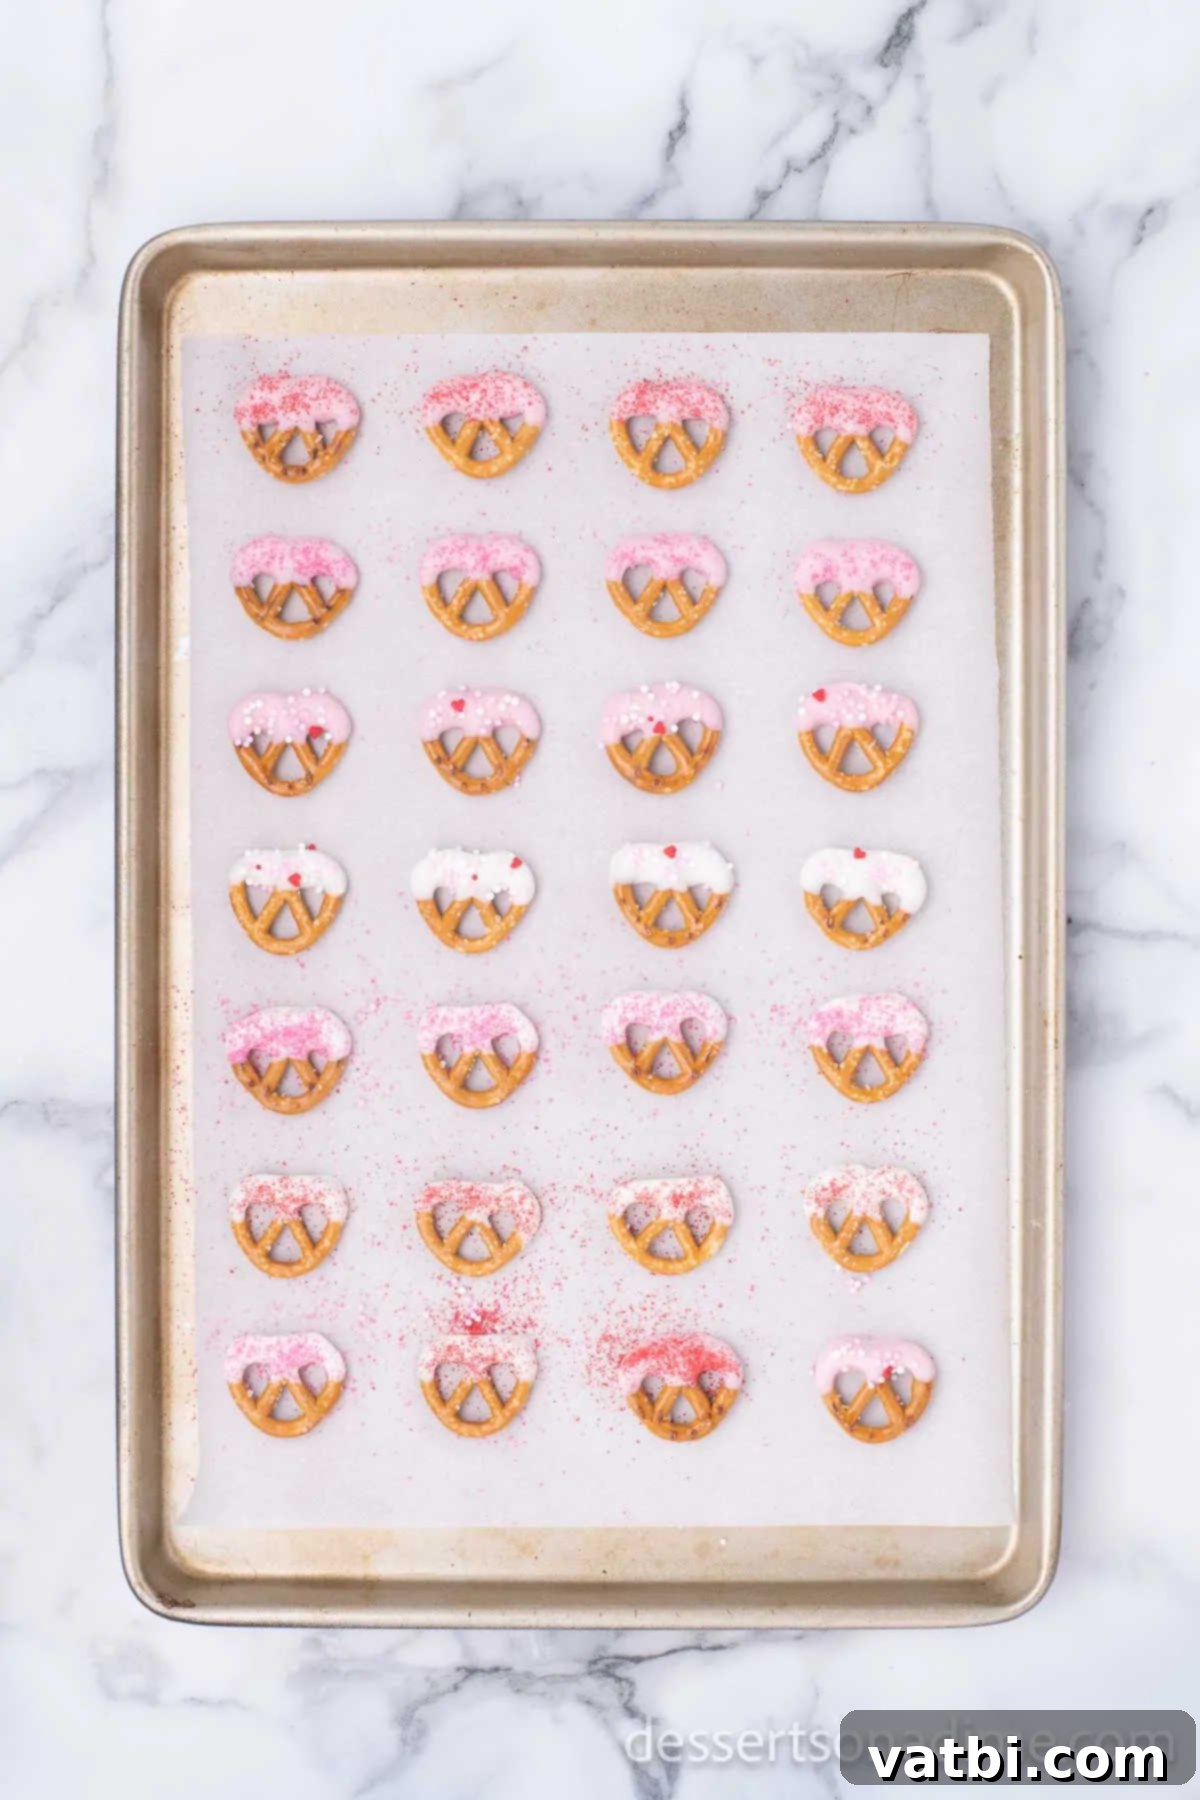
Step 5: Decorate and Set. Immediately after placing the dipped pretzels on the lined tray, sprinkle them generously with your chosen Valentine’s Day sprinkles. It’s crucial to do this before the candy melts begin to harden, as the sprinkles won’t adhere properly once the chocolate sets. Once decorated, allow the pretzels to sit undisturbed at room temperature until completely dry and firm, which usually takes about an hour, or speed up the process by placing them in the refrigerator for about 30 minutes.
Gifting & Serving Ideas
These Valentine Chocolate Covered Pretzels are not only delicious but also incredibly versatile for presentation. For gifting, consider small cellophane bags tied with a festive ribbon, or elegant gift boxes filled with a mix of pink and white pretzels. You can even layer them in a decorative jar for a charming homemade present. For serving at parties or gatherings, arrange them on a pretty platter or tiered stand. They make a fantastic addition to any dessert table, adding a pop of color and that irresistible sweet and salty crunch. Pair them with other Valentine’s Day treats for a truly memorable spread!
Frequently Asked Questions
It is generally not necessary to refrigerate chocolate-covered pretzels. They can be stored in an airtight container at room temperature for up to two weeks, maintaining their freshness and crispness. However, if you live in a particularly warm and humid climate, or if your chocolate coating contains ingredients that might melt at room temperature (like certain types of candy melts or a very soft chocolate), then refrigerating them is a good option to prevent melting and maintain their shape. Just ensure they are in an airtight container to avoid condensation and preserve texture.
These pretzels are an excellent make-ahead treat! When stored properly in an airtight container at room temperature, they typically stay fresh and delicious for up to three weeks. This makes them perfect for preparing well in advance for parties, school events, or as thoughtful gifts, saving you precious time closer to the holiday. Just ensure they are completely dry before storing to prevent sticking.
To ensure your chocolate-covered pretzels remain fresh and crunchy, store them in an airtight container. At room temperature, they will last about 2 weeks. For longer storage, you can freeze them for up to 4 months. When you’re ready to enjoy them, simply remove them from the freezer and allow them to thaw at room temperature for a delicious, ready-to-eat treat. Make sure the container is tightly sealed to prevent moisture from affecting their texture.
Yes, you can use regular chocolate chips (milk, dark, or white chocolate) instead of candy melts. However, be aware that chocolate chips may require tempering to achieve a smooth, shiny finish and prevent blooming (white streaks). If not tempered correctly, they might also be softer at room temperature compared to candy melts. For ease, especially for beginners, candy melts are often preferred as they melt and set more reliably without tempering.
Chocolate seizes when even a tiny amount of water or steam comes into contact with it during melting. This causes the chocolate to instantly clump up and become thick and grainy. Ensure all your bowls, spatulas, and utensils are completely dry. Also, avoid covering the chocolate while melting in the microwave, as condensation can drip back into the chocolate. Overheating can also make chocolate thick; melt in short intervals and stir frequently.
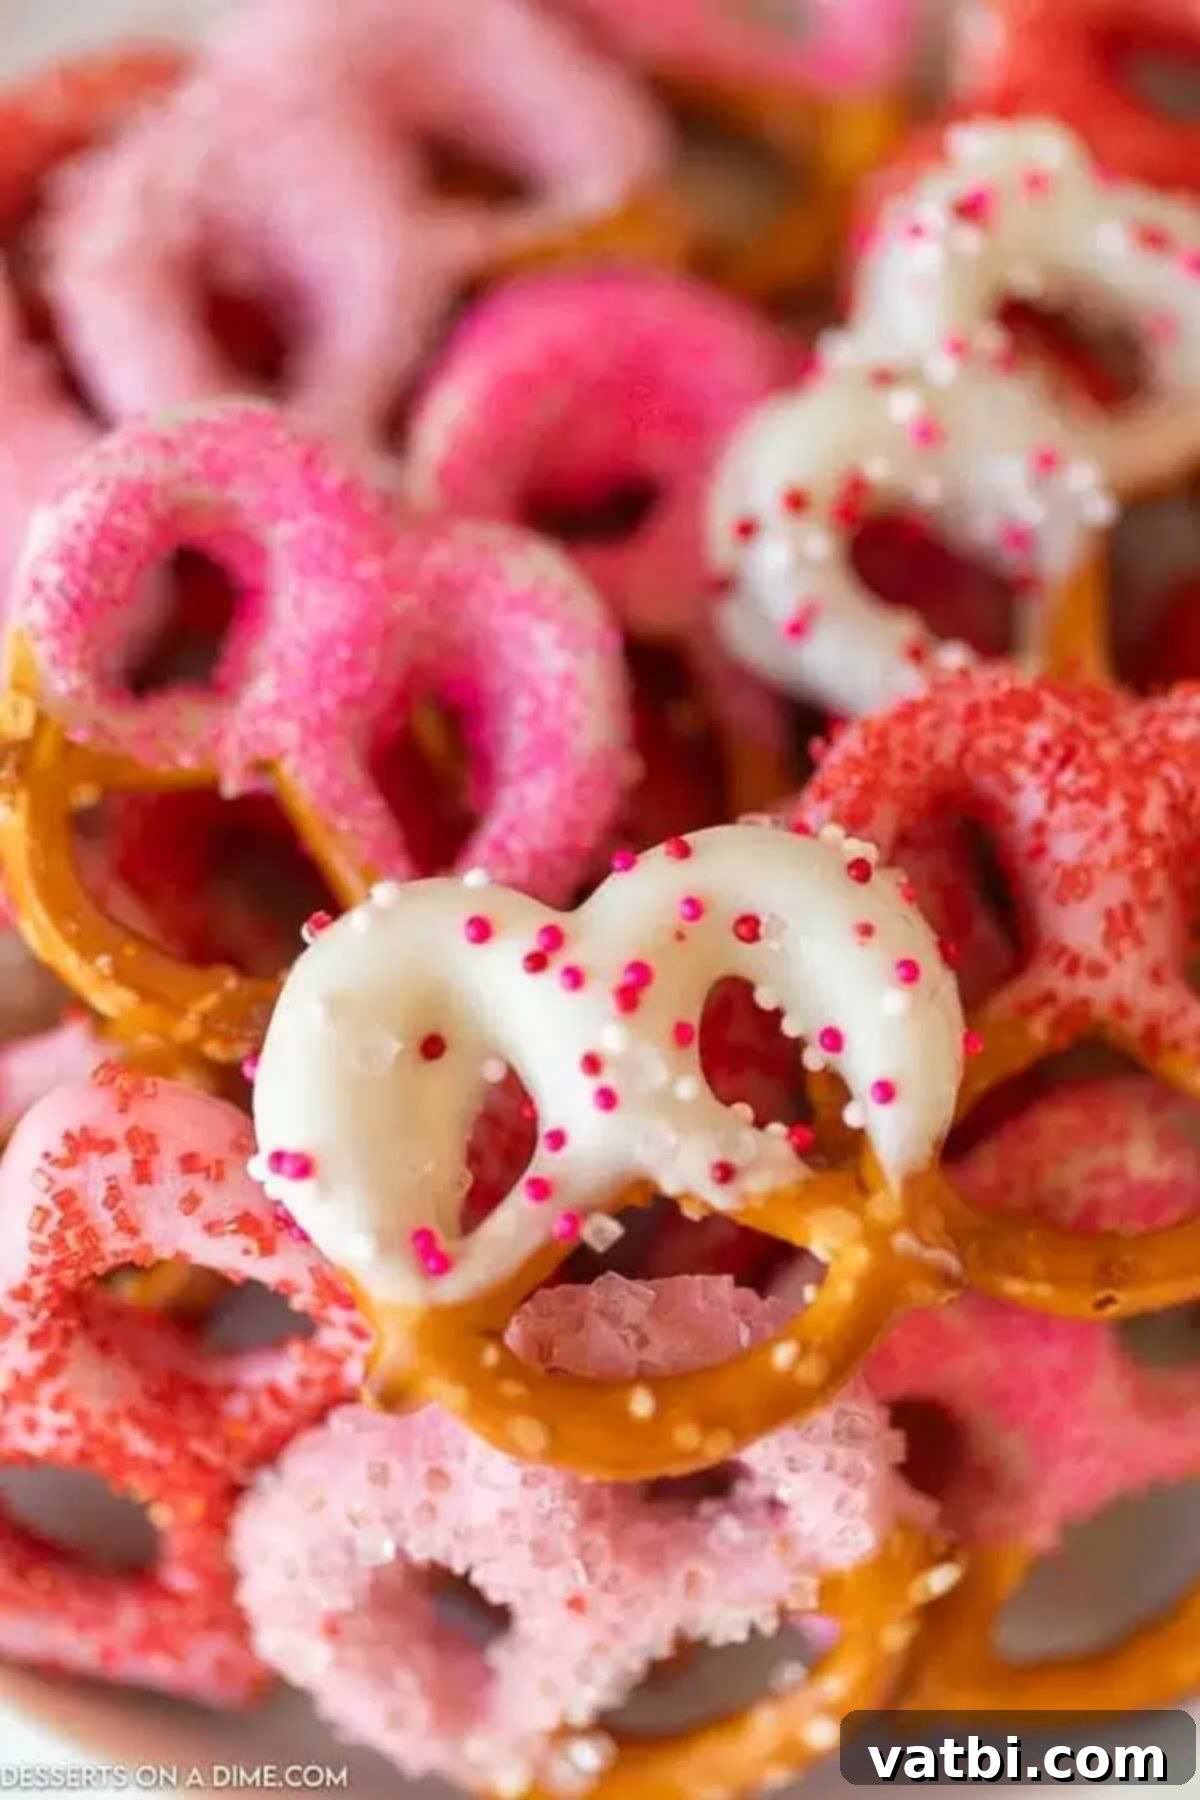
Pro Tips for Perfect Pretzels Every Time
Achieving perfectly coated and beautifully decorated chocolate pretzels is easier than you think with these expert tips:
- Ensure Complete Melting: For the best results, make sure your chocolate or candy melts are entirely smooth and free of lumps before you begin dipping. Any unmelted bits can cause a lumpy coating. Stir continuously during melting to aid this process.
- Adjust Texture for Smooth Dipping: If your melted candy or chocolate appears too thick or not smooth enough for easy dipping, add about ½ teaspoon of vegetable oil, coconut oil, or shortening. Stir it in thoroughly. This will thin the chocolate slightly, making it much smoother and allowing it to coat the pretzels more evenly and without clumping.
- Avoid Overheating: Be very cautious not to overheat your chocolate or candy melts. Overheated chocolate can become grainy, difficult to work with, and may even seize (become stiff and lumpy). Always melt in short, 30-second intervals in the microwave, stirring well after each. Alternatively, a double boiler is an excellent method for gentle, controlled melting, especially for larger quantities.
- Use Melted Chocolate Immediately: Once your chocolate or candy melts are perfectly smooth, use them right away. They will begin to harden as they cool, so have your pretzels ready for dipping as soon as the chocolate is ready. If it starts to thicken, a quick 10-15 second zap in the microwave (with stirring) can bring it back to the right consistency.
- Mastering Excess Chocolate Removal: When dipping, using a fork (or a dedicated chocolate dipping tool) is highly recommended over a spoon. After dipping, gently tap the fork against the side of the bowl. The prongs of the fork allow excess chocolate to drip off easily, resulting in a cleaner, less messy coating on your pretzel. This prevents thick puddles of chocolate from forming around the base of your pretzels.
- Prepare Your Drying Surface: Always line your cookie sheet or baking pan with parchment paper, wax paper, or aluminum foil. This crucial step prevents the chocolate-covered pretzels from sticking to the pan as they cool and harden, making them easy to remove without breakage.
- Allow for Proper Setting Time: If you plan to drizzle your pretzels with a second color of chocolate or add multiple layers of decoration, allow the first layer to set for at least 15 minutes. This ensures the colors won’t mix or bleed together, creating clean, distinct lines and patterns.
- Complete Drying Before Storage: Before moving or storing your decorated pretzels, make absolutely sure they are completely dry and hardened. Storing them before they are fully set can lead to them sticking together, smudging, or losing their crisp texture.
Try More Easy Valentine’s Day Desserts
If you’re looking for more simple and delicious treats to celebrate Valentine’s Day, explore some of our other favorite recipes:
- Valentine’s Day Cake Mix Cookies: Super easy cookies made from a cake mix, perfect for last-minute baking.
- Valentine’s Day Rolo Pretzel Turtles: A delightful combination of sweet, salty, and chewy.
- Kid-Friendly Cotton Candy Drink Recipe: A whimsical and fun beverage for all ages.
- Valentine’s Day Chocolate Covered Oreos: Another no-bake classic, easy to customize with different colors and sprinkles.
- Valentine’s Day Cake Balls Recipe: Moist, flavorful cake bites dipped in chocolate.
- Heart Shaped Brownies: A classic dessert made festive with a simple cookie cutter.
More Delicious Chocolate Covered Desserts
Chocolate makes everything better! If you enjoyed making these pretzels, you’ll love these other chocolate-covered delights:
- Football Chocolate Covered Strawberries: Perfect for game day or any sporty occasion.
- Chocolate Covered Peanut Butter Balls: A timeless combination that’s always a hit.
- Valentine’s Day Rolo Pretzel Turtles. (Repeated, but keeping for structure. I’ll make sure the description is unique in thought process, though the link is identical.)
I am so excited for you to make these wonderful Valentine’s Day chocolate covered pretzels! They are truly a labor of love that tastes incredible. Don’t forget to leave a comment and share your creations once you do – I’d love to hear how they turned out!
Pin
Valentine Chocolate Covered Pretzels
Ingredients
- 50 miniature pretzel twists
- 8 ounces white candy melts
- 8 ounces pink candy melts
- Valentine’s Day Sprinkles
Instructions
-
Place the candy melts in a microwave safe bowl. Use 2 different bowls so that the colors do not mix together.
-
Microwave in 30 second increments, stirring between each interval until the chocolate is fully melted.
-
Dip the pretzels into the melted chocolate. Just dip the top portion of the pretzel. Tap the pretzels on the side of the bowl until all of the excess chocolate is removed from the pretzel.
-
Place the pretzels on a cookie sheet lined with parchment paper or wax paper.
-
Decorate the pretzels with the sprinkles before the candy melts can harden.
-
Let the pretzels sit until dry. This will take approximately 1 hour at room temperature or 30 minutes in a refrigerator.
-
Serve, or store in an airtight container for up to 2 weeks.
Nutrition Facts
Pin This Now to Remember It Later
Pin Recipe
