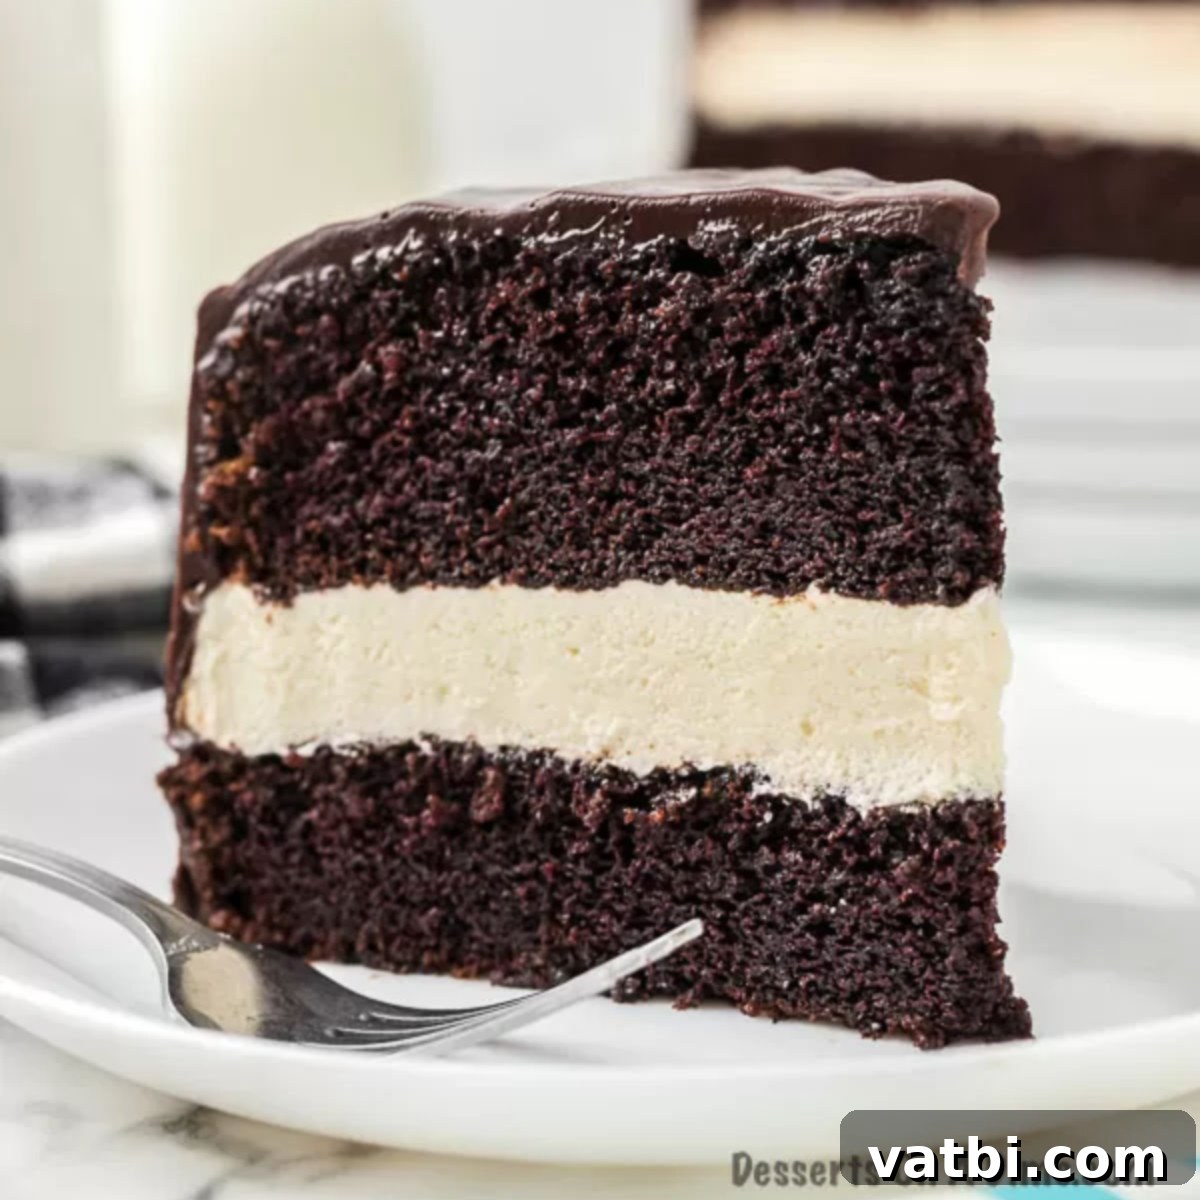
Indulge in Nostalgia: The Ultimate Homemade Copycat Ding Dong Cake Recipe
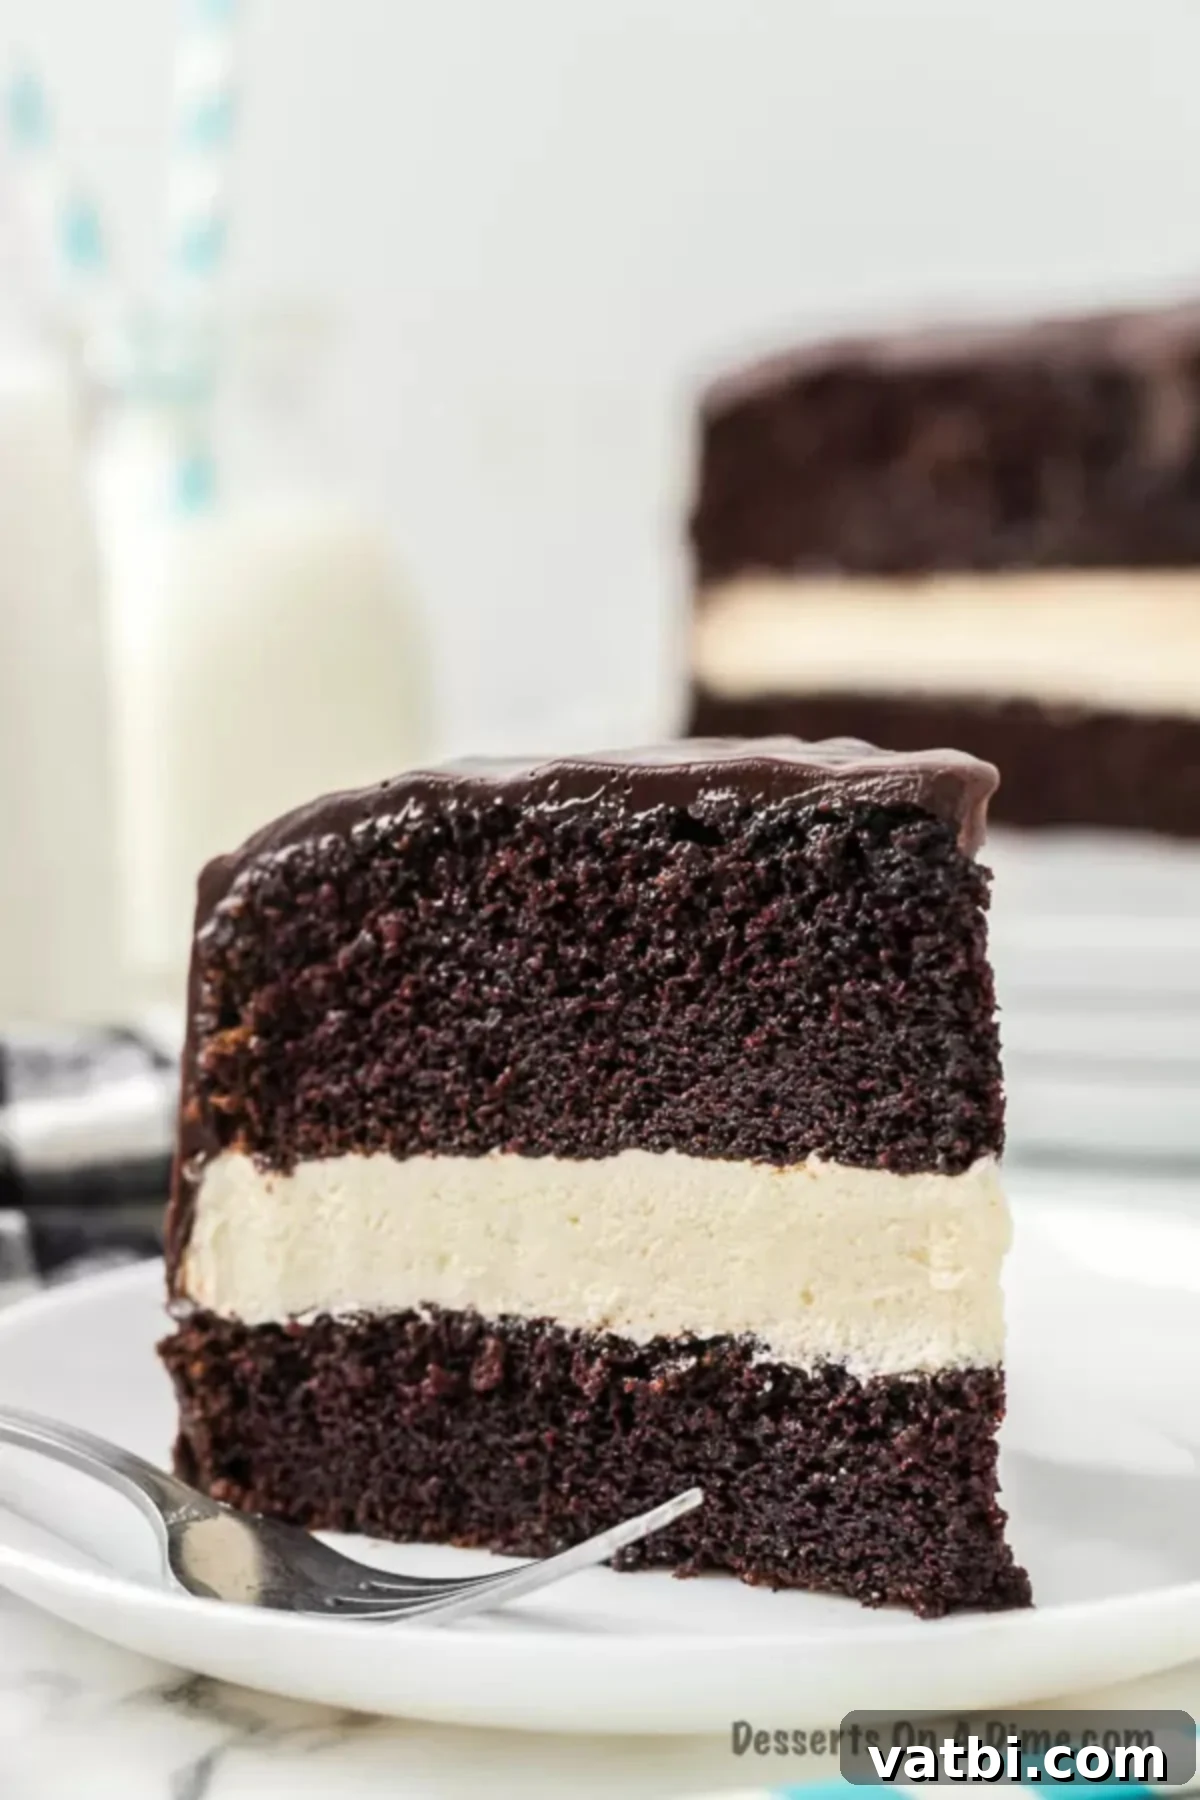
There are some desserts that instantly transport you back to childhood, and the iconic Hostess Ding Dong is undoubtedly one of them. Imagine that classic, beloved snack cake transformed into a magnificent, shareable layer cake – that’s precisely what our Homemade Copycat Ding Dong Cake offers. This recipe features luxurious, rich layers of moist chocolate cake, generously filled with a velvety cream, and finished with a shimmering, glossy chocolate ganache topping. It’s a dessert that not only tastes incredible but also makes a stunning presentation when sliced, revealing its delightful layers. Prepare to impress your family and friends with this decadent creation that perfectly captures the essence of the original, but in a grander, homemade fashion.
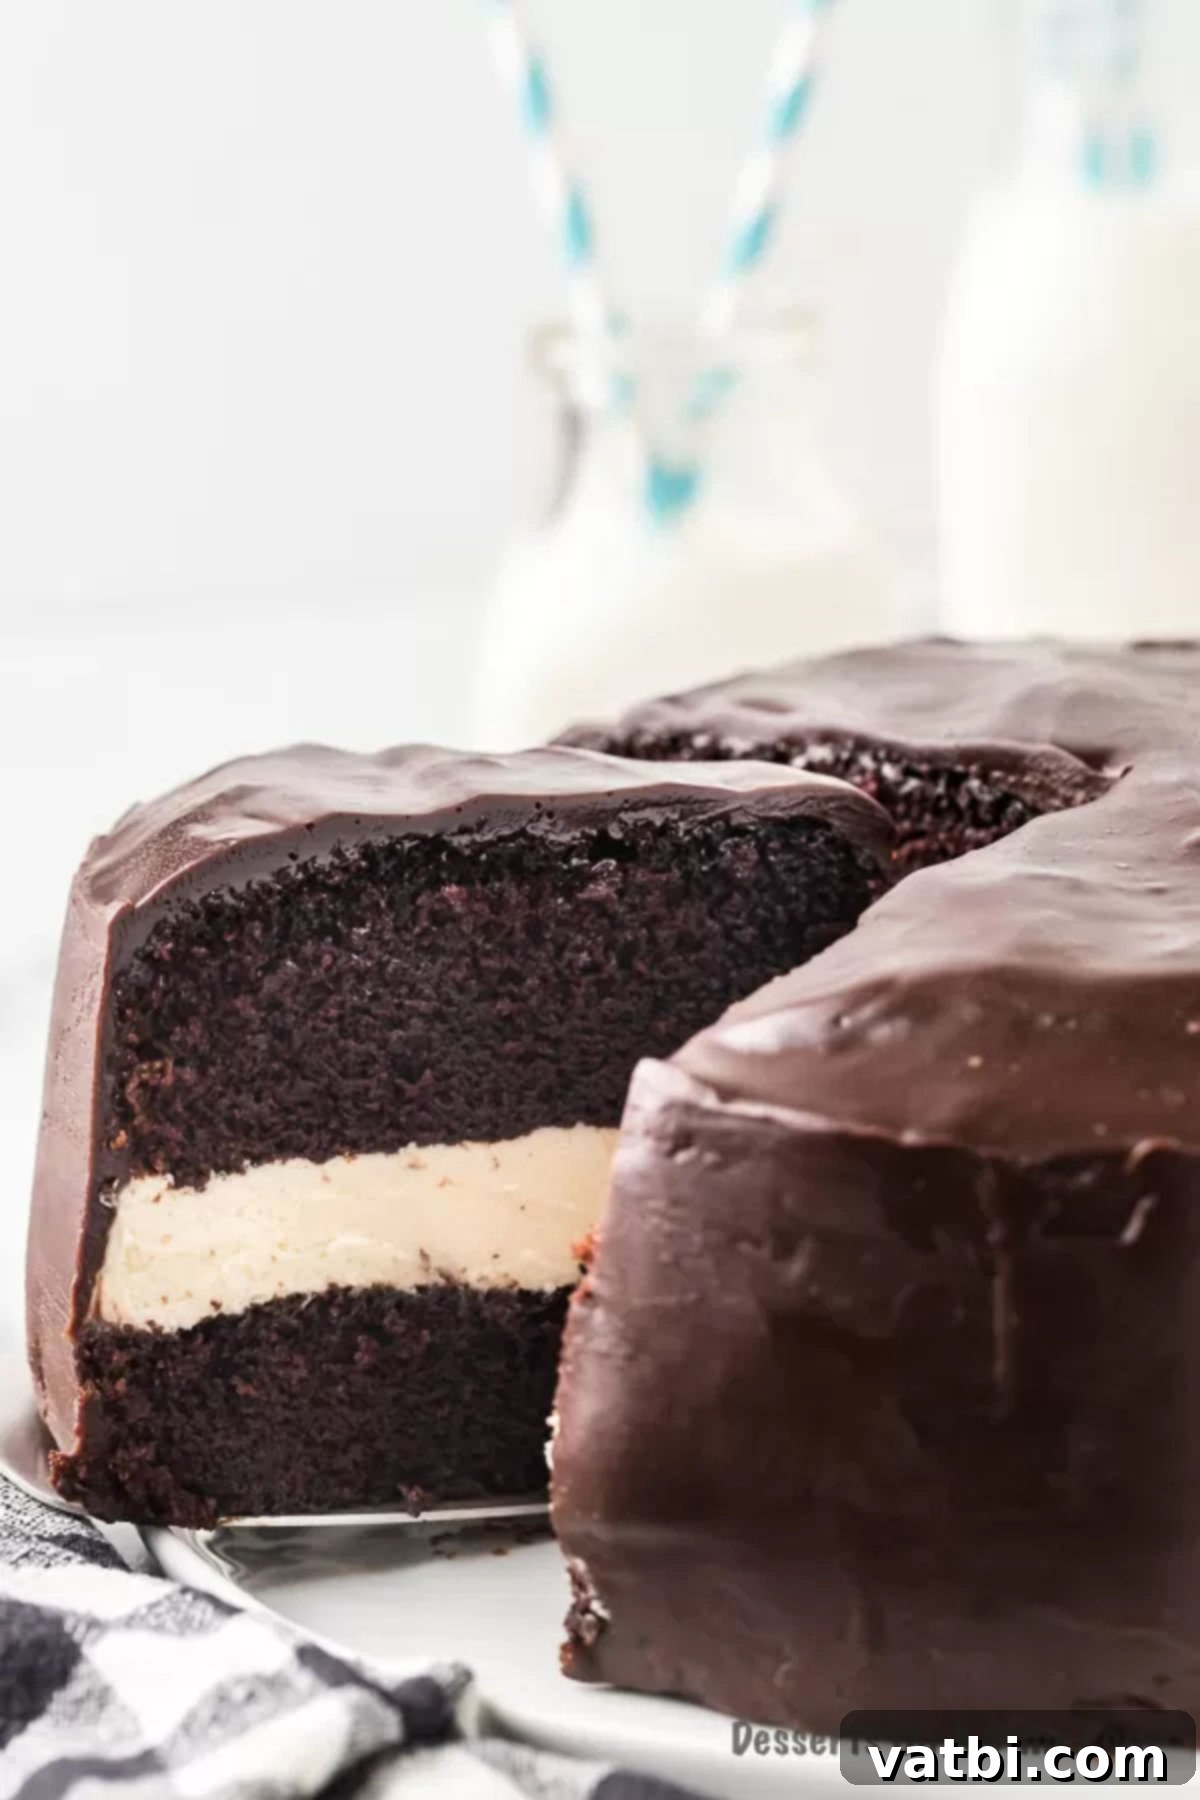
This Ding Dong Cake is truly a perfect replica of the Hostess snack cake, elevated into a sophisticated and luscious layer cake recipe. For years, I’ve enjoyed creating copycat recipes that bring favorite commercial treats to the home kitchen, offering superior flavor and freshness. Much like my popular Copycat Swiss Roll Cake Recipe, this Ding Dong cake is a testament to how satisfying it is to recreate classic flavors from scratch. If you’re a fan of delightful desserts, be sure to explore more options like our diverse Dump Cake Recipes.
Table of contents
- Why is it called Ding Dong cake?
- Ingredients for the Ultimate Ding Dong Cake
- How to Make a Homemade Ding Dong Cake: Step-by-Step Guide
- Frequently Asked Questions About Ding Dong Cake
- Recipe Tips for Success
- More Decadent Chocolate Cake Recipes
- Explore More Copycat Recipes
Why is it called Ding Dong cake?
The name “Ding Dong cake” is directly inspired by the iconic Hostess snack cakes, which have been a beloved treat for generations. This homemade version pays homage to that classic by replicating its signature rich, decadent chocolate cake, creamy filling, and delicious frosting. It’s truly my favorite way to enjoy a copycat cake, bringing that nostalgic flavor to a grander scale.
The original Hostess Ding Dong snack cakes were first introduced in 1967. They were initially named Ding Dongs because they were produced at the same time as an ad campaign featuring ringing bells. Interestingly, in some regions, particularly on the East Coast of the United States, they were known as “King Dons” for a period to avoid conflict with another brand, but eventually, the original name prevailed across the country. Regardless of the name, these chocolate-covered, cream-filled cakes have remained timeless, a treat everyone loves, embodying a sense of comfort and simple joy that continues to captivate palates to this day. Our recipe aims to capture that same cherished taste, but with the superior quality and freshness that only a homemade cake can provide.
Ingredients for the Ultimate Ding Dong Cake
Crafting this incredible Ding Dong Cake requires a few key components for each layer: the rich chocolate cake, the smooth cream filling, and the luscious chocolate ganache. Using high-quality ingredients and ensuring they are at the correct temperature will make a significant difference in the final texture and flavor of your cake. Here’s a breakdown of what you’ll need:
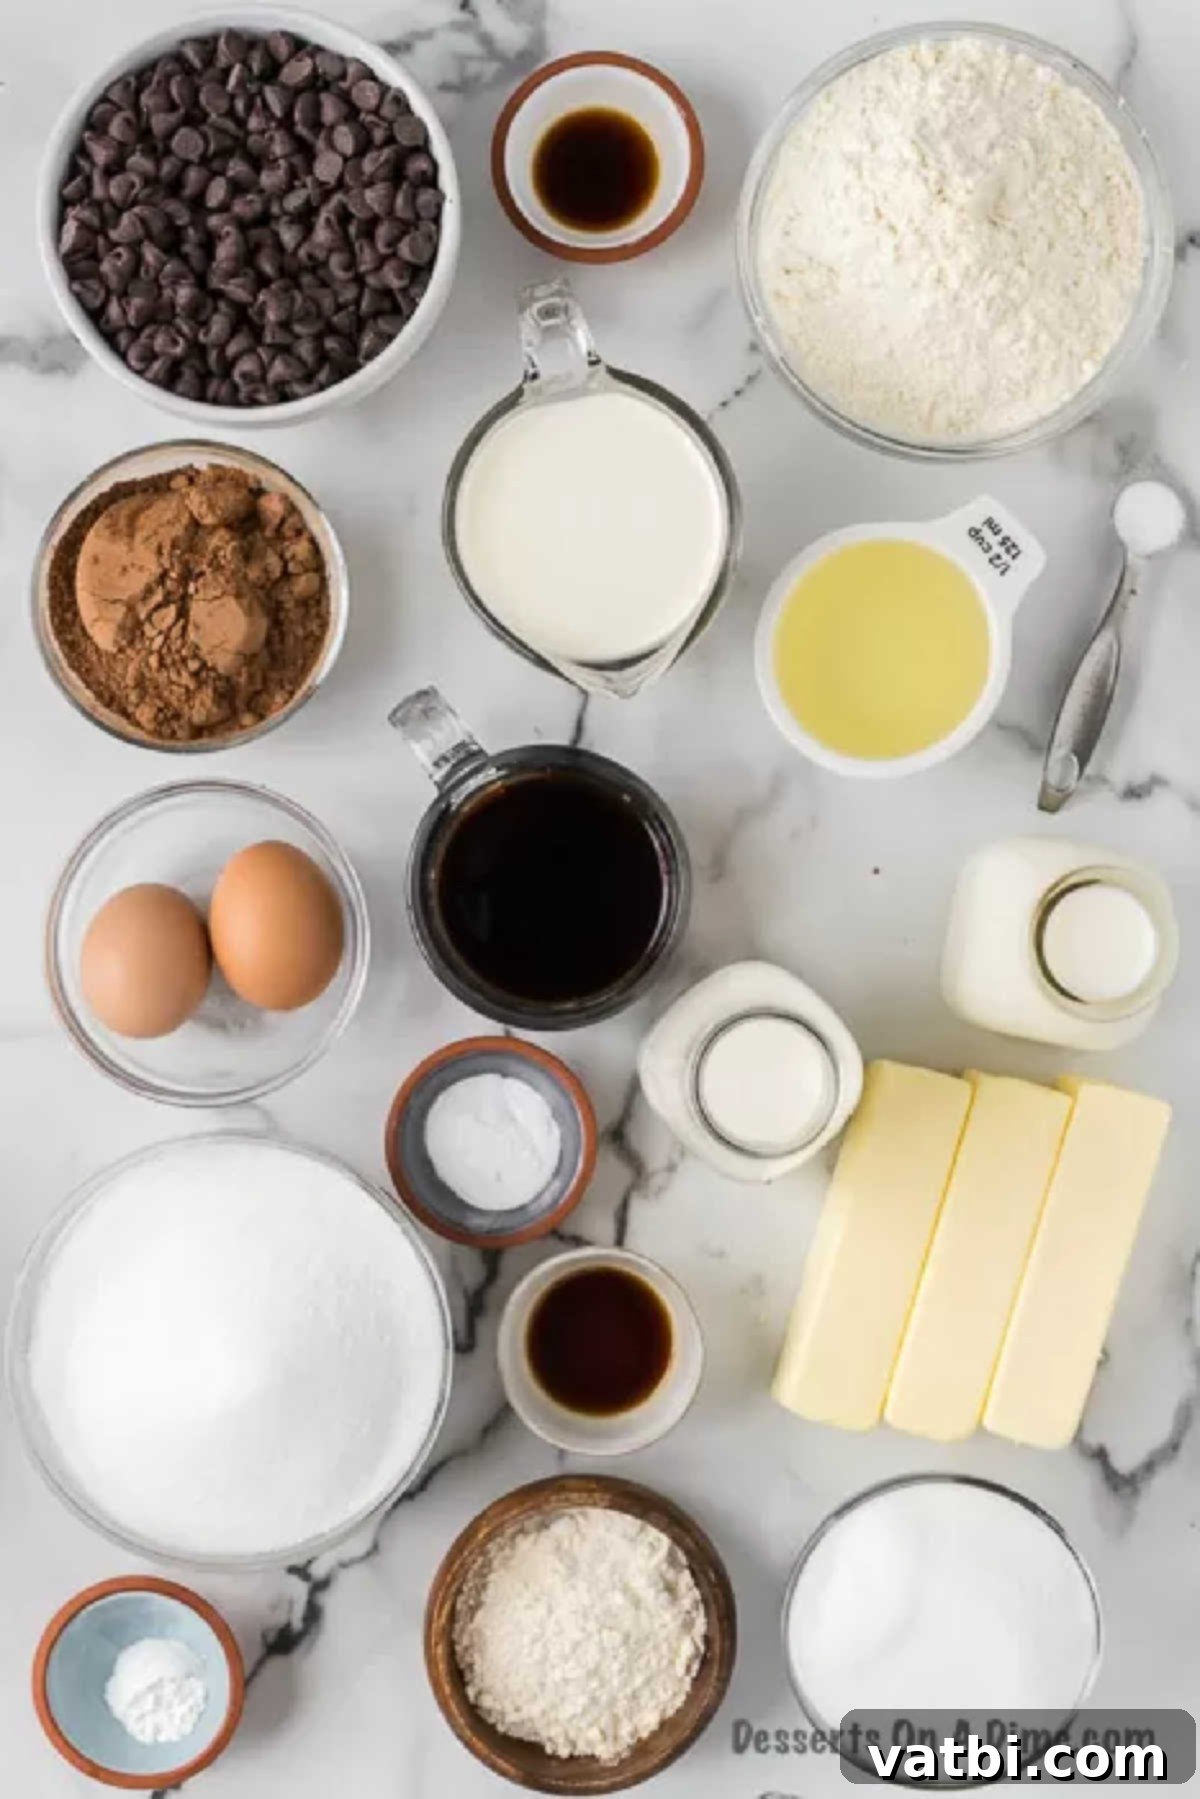
For the Cake
- Unsalted Butter: Ensure this is softened at room temperature. Room temperature butter creams beautifully with sugar, creating a light and airy base for your cake.
- Sugar: Provides sweetness and moisture, contributing to the cake’s tender crumb.
- Eggs: Large eggs, also at room temperature, help emulsify the batter, leading to a smoother texture and better rise.
- Flour: All-purpose flour is perfect for this recipe, providing structure to the cake.
- Unsweetened Cocoa Powder: The star of the show for that deep chocolate flavor. Use a good quality cocoa for the best results.
- Baking Soda & Baking Powder: These leavening agents work together to give the cake its lift and tender texture.
- Salt: Balances the sweetness and enhances the chocolate flavor.
- Vegetable Oil: Adds extra moisture and helps keep the cake incredibly tender and rich.
- Vanilla Extract: A crucial flavor enhancer for both the chocolate cake and the cream filling.
- Brewed Coffee: Make sure the hot coffee has completely cooled before incorporating it into the cake batter. Coffee doesn’t make the cake taste like coffee; instead, it deeply enhances and intensifies the chocolate flavor, making it even more decadent.
- Whole Milk: Contributes to the richness and moisture of the cake batter.
For the Cream Filling
- Flour: Used to create a roux with the milk, which forms the base of this unique, fluffy filling.
- Whole Milk: Crucial for the creamy texture. I highly recommend using whole milk as skim or reduced-fat alternatives will not yield the same rich, luscious consistency.
- Vanilla Extract: Essential for that classic sweet cream flavor.
- Unsalted Butter: Softened at room temperature, it’s creamed with sugar to create the light and fluffy filling.
- Sugar: Sweetens the cream filling to perfection.
For the Ganache Topping
- Semi-sweet Chocolate Chips: These melt into a smooth, shiny ganache. You can also use good quality semi-sweet chocolate bars, finely chopped.
- Heavy Cream: Provides the necessary richness and consistency for a perfectly pourable and glossy ganache.
How to Make a Homemade Ding Dong Cake: Step-by-Step Guide
Creating this stunning Ding Dong Cake is a rewarding process that breaks down into making the cake layers, the cream filling, and finally the luscious ganache. Follow these steps carefully for a truly spectacular result.
Part 1: Preparing the Chocolate Cake Layers
- Step 1 – Prepare Oven and Pans: Begin by preheating your oven to 350 degrees Fahrenheit (175 degrees Celsius). As the oven warms, take out two 9-inch round cake pans. Lightly spray the inside of each pan with a non-stick cooking spray, or grease and flour them, ensuring your cakes won’t stick. This crucial step guarantees easy release and perfect cake layers.
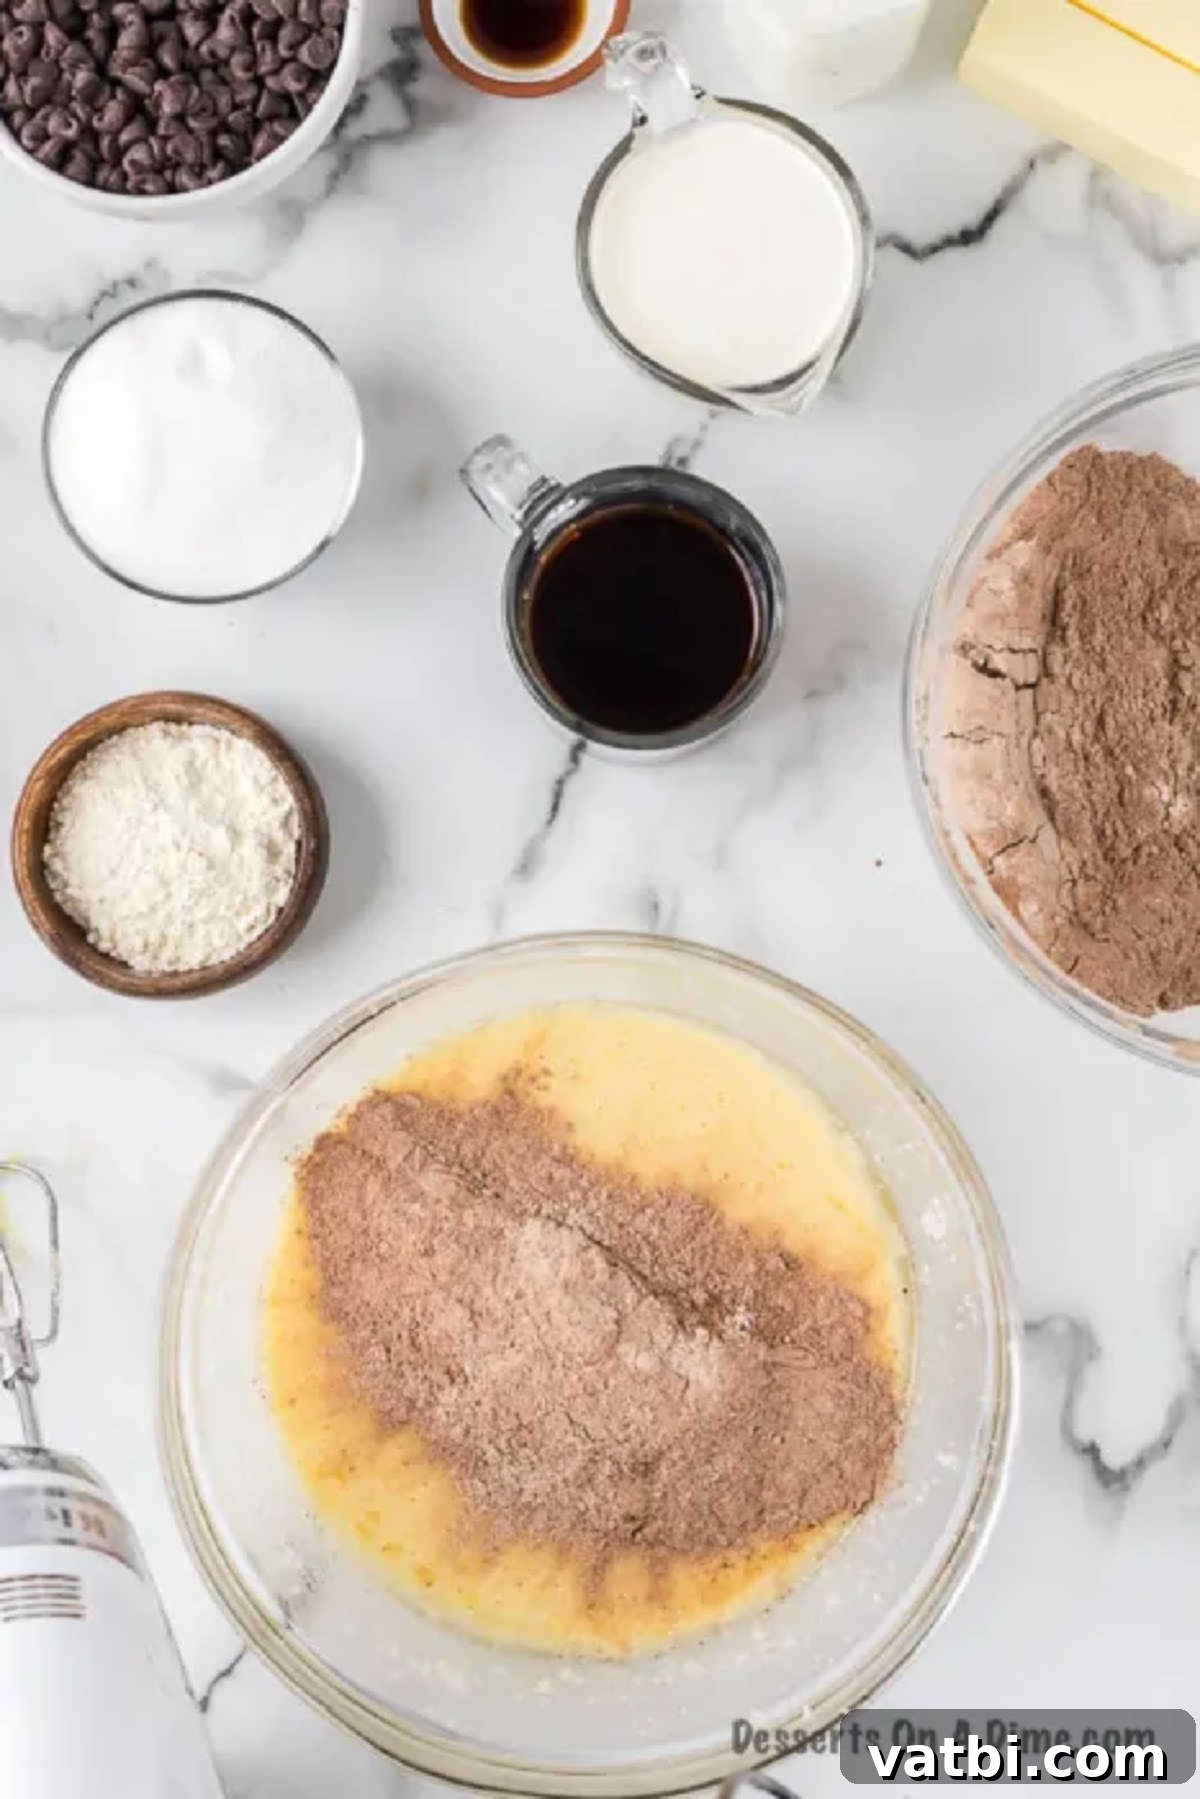
Step 2. Combine Dry Ingredients: In a medium-sized mixing bowl, whisk together the flour, unsweetened cocoa powder, baking soda, baking powder, and salt. Make sure these dry ingredients are thoroughly combined to ensure even leavening throughout the cake.
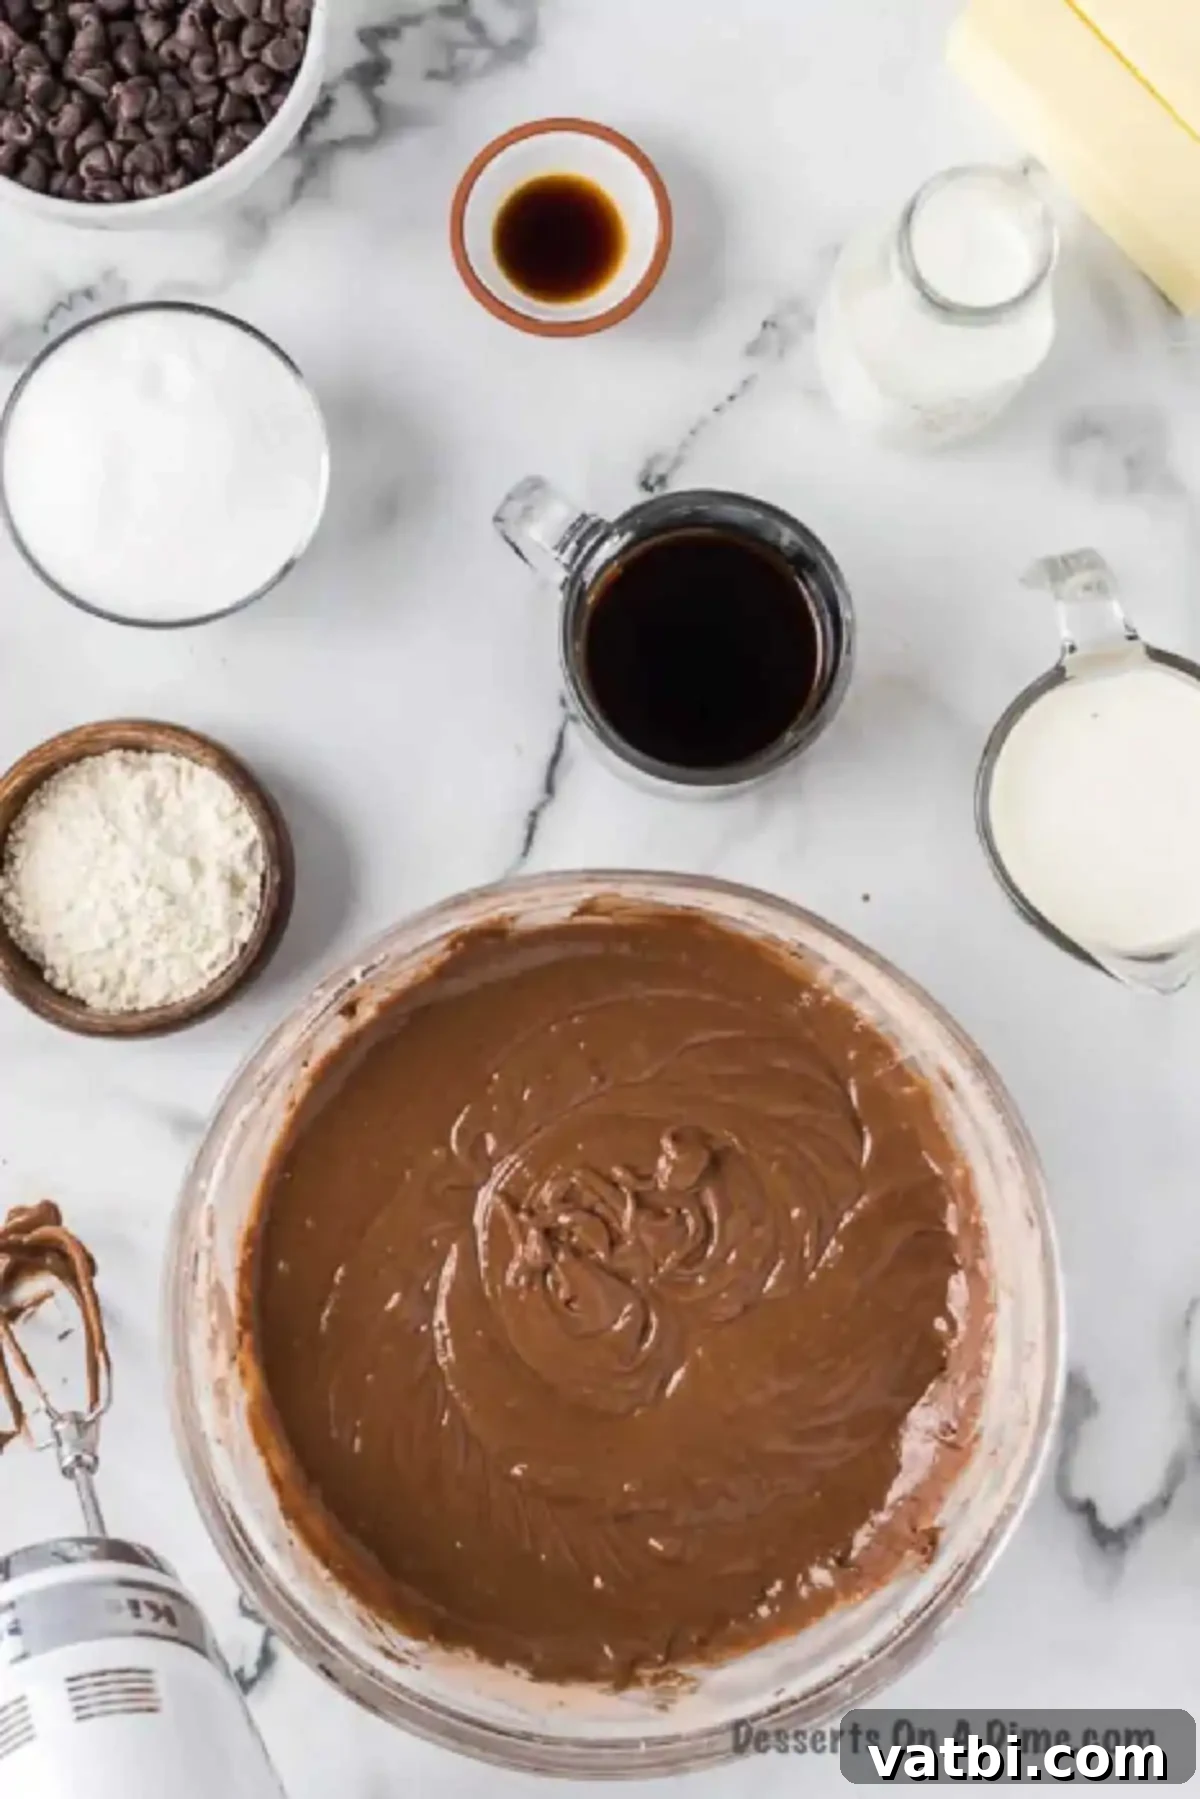
Step 3. Mix Wet and Dry: In a separate, large mixing bowl, beat the softened butter and sugar together until light and fluffy. This should take 1-2 minutes with an electric mixer. Then, gradually add the milk, vegetable oil, room temperature eggs, and vanilla extract, mixing until just combined. Next, slowly add the dry ingredients mixture into the wet ingredients, mixing on low speed until the batter is almost smooth.
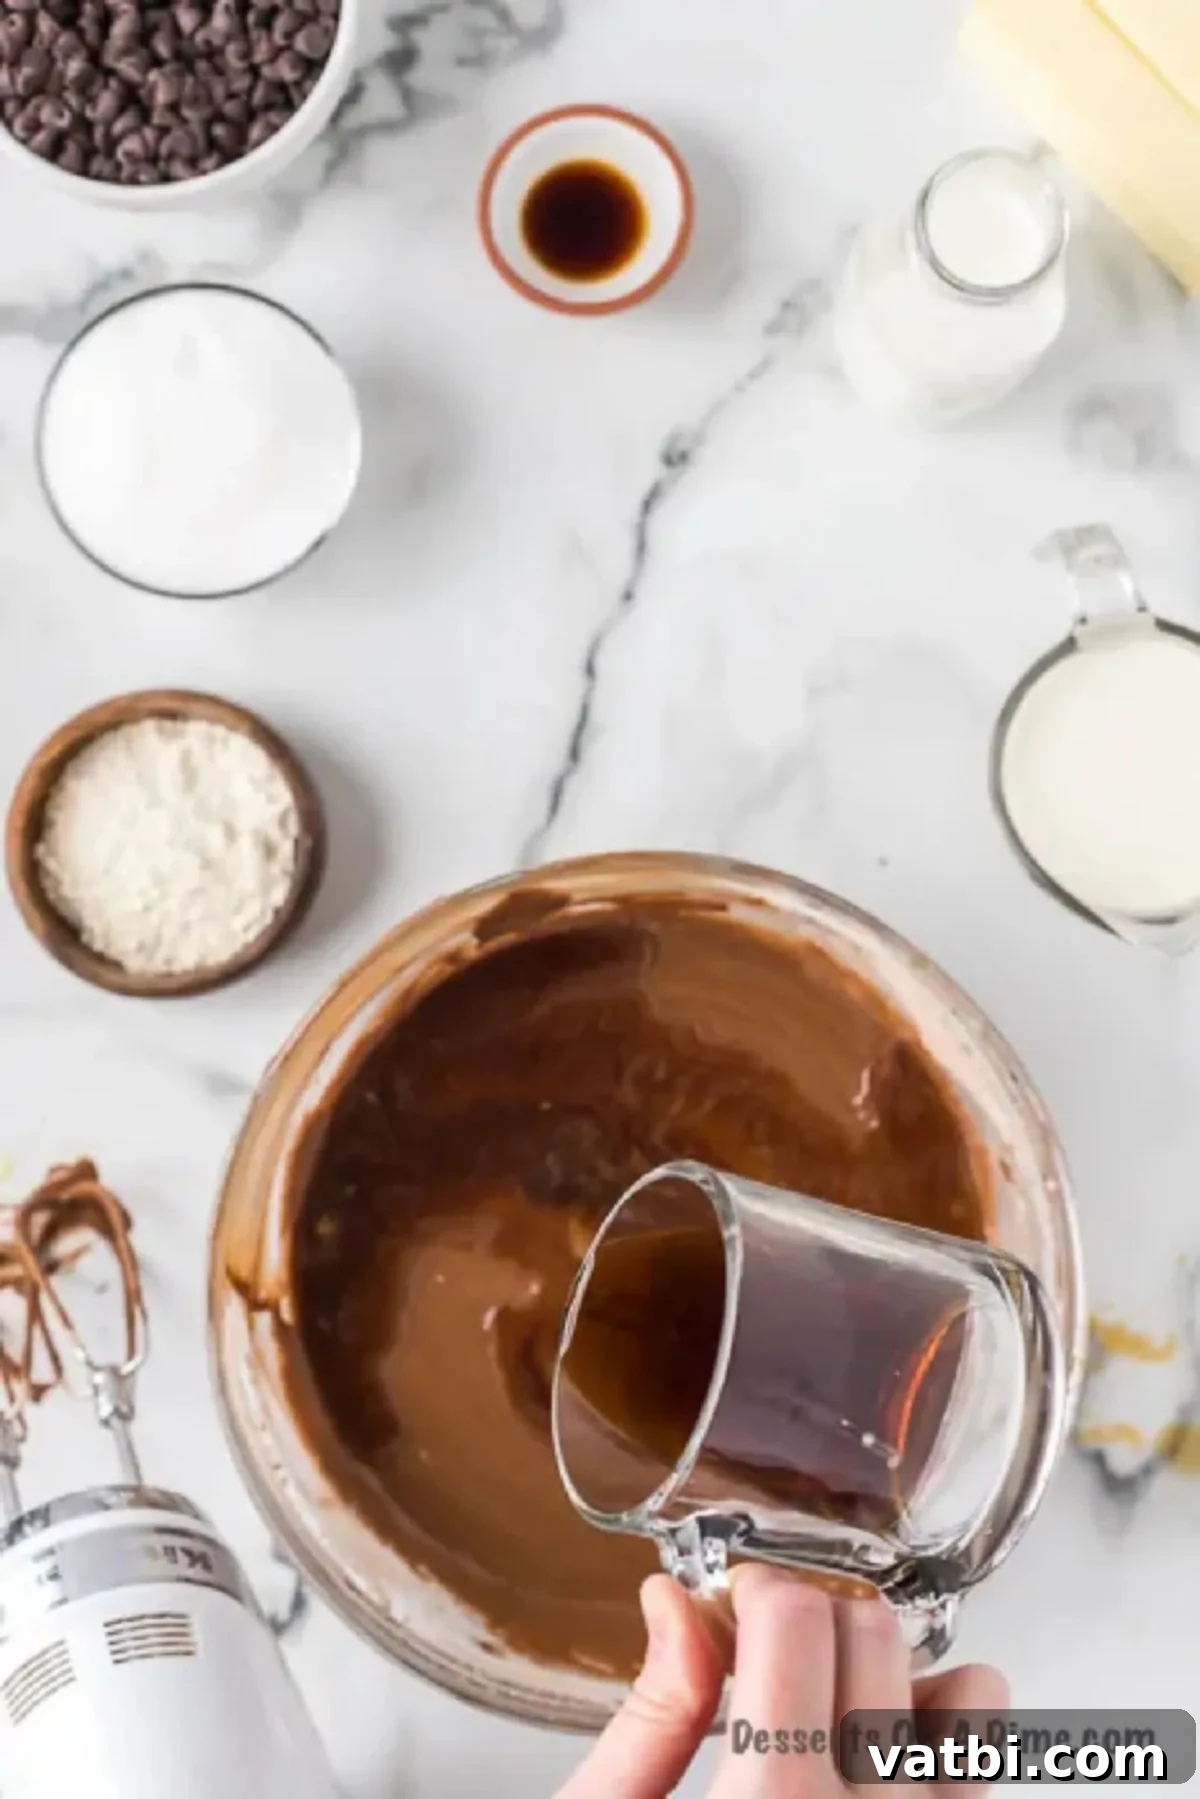
Step 4. Incorporate Coffee: With the mixer still on a low setting, slowly pour in the cooled brewed coffee. This ingredient is key to deepening the chocolate flavor without adding a coffee taste.
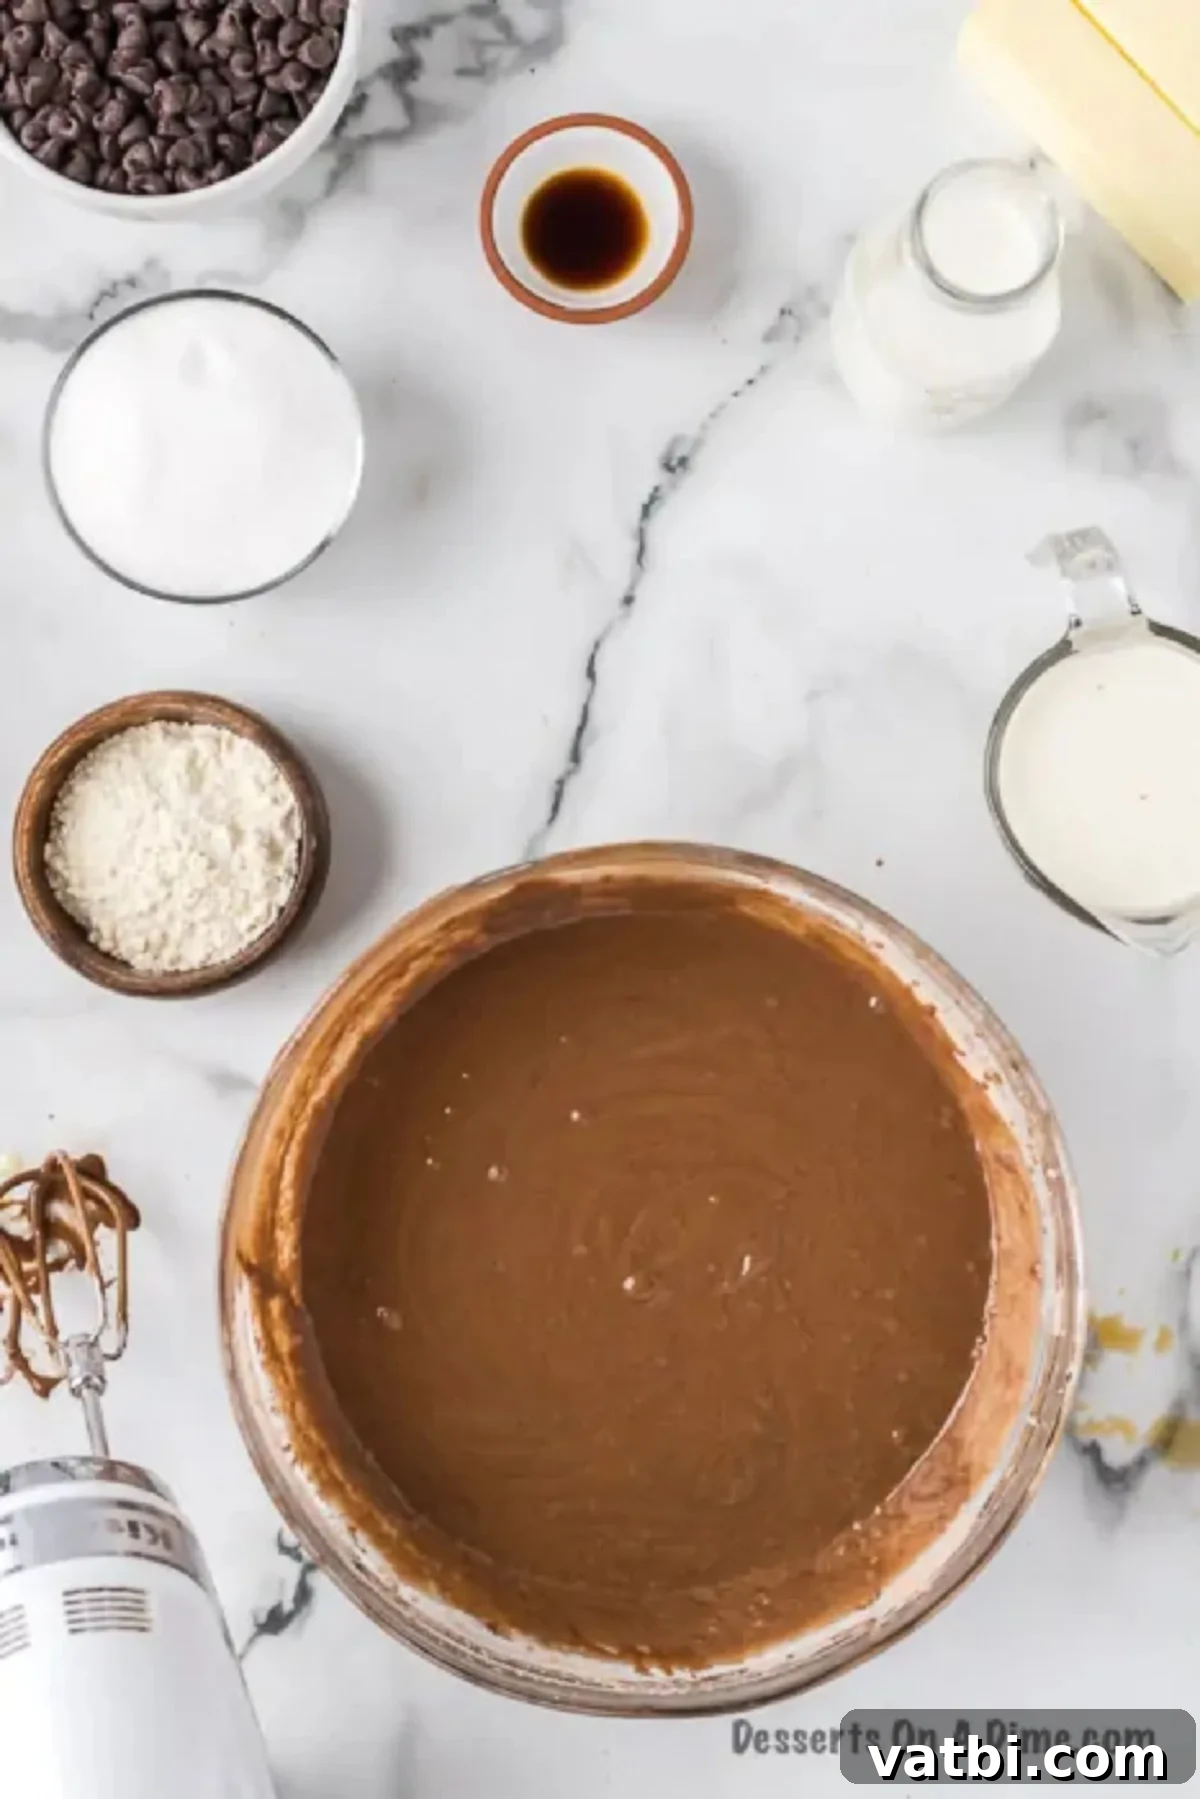
Step 5. Final Mix: Continue to mix on a low setting until all ingredients are just combined and the batter is smooth. Be careful not to overmix, as this can lead to a dry cake.
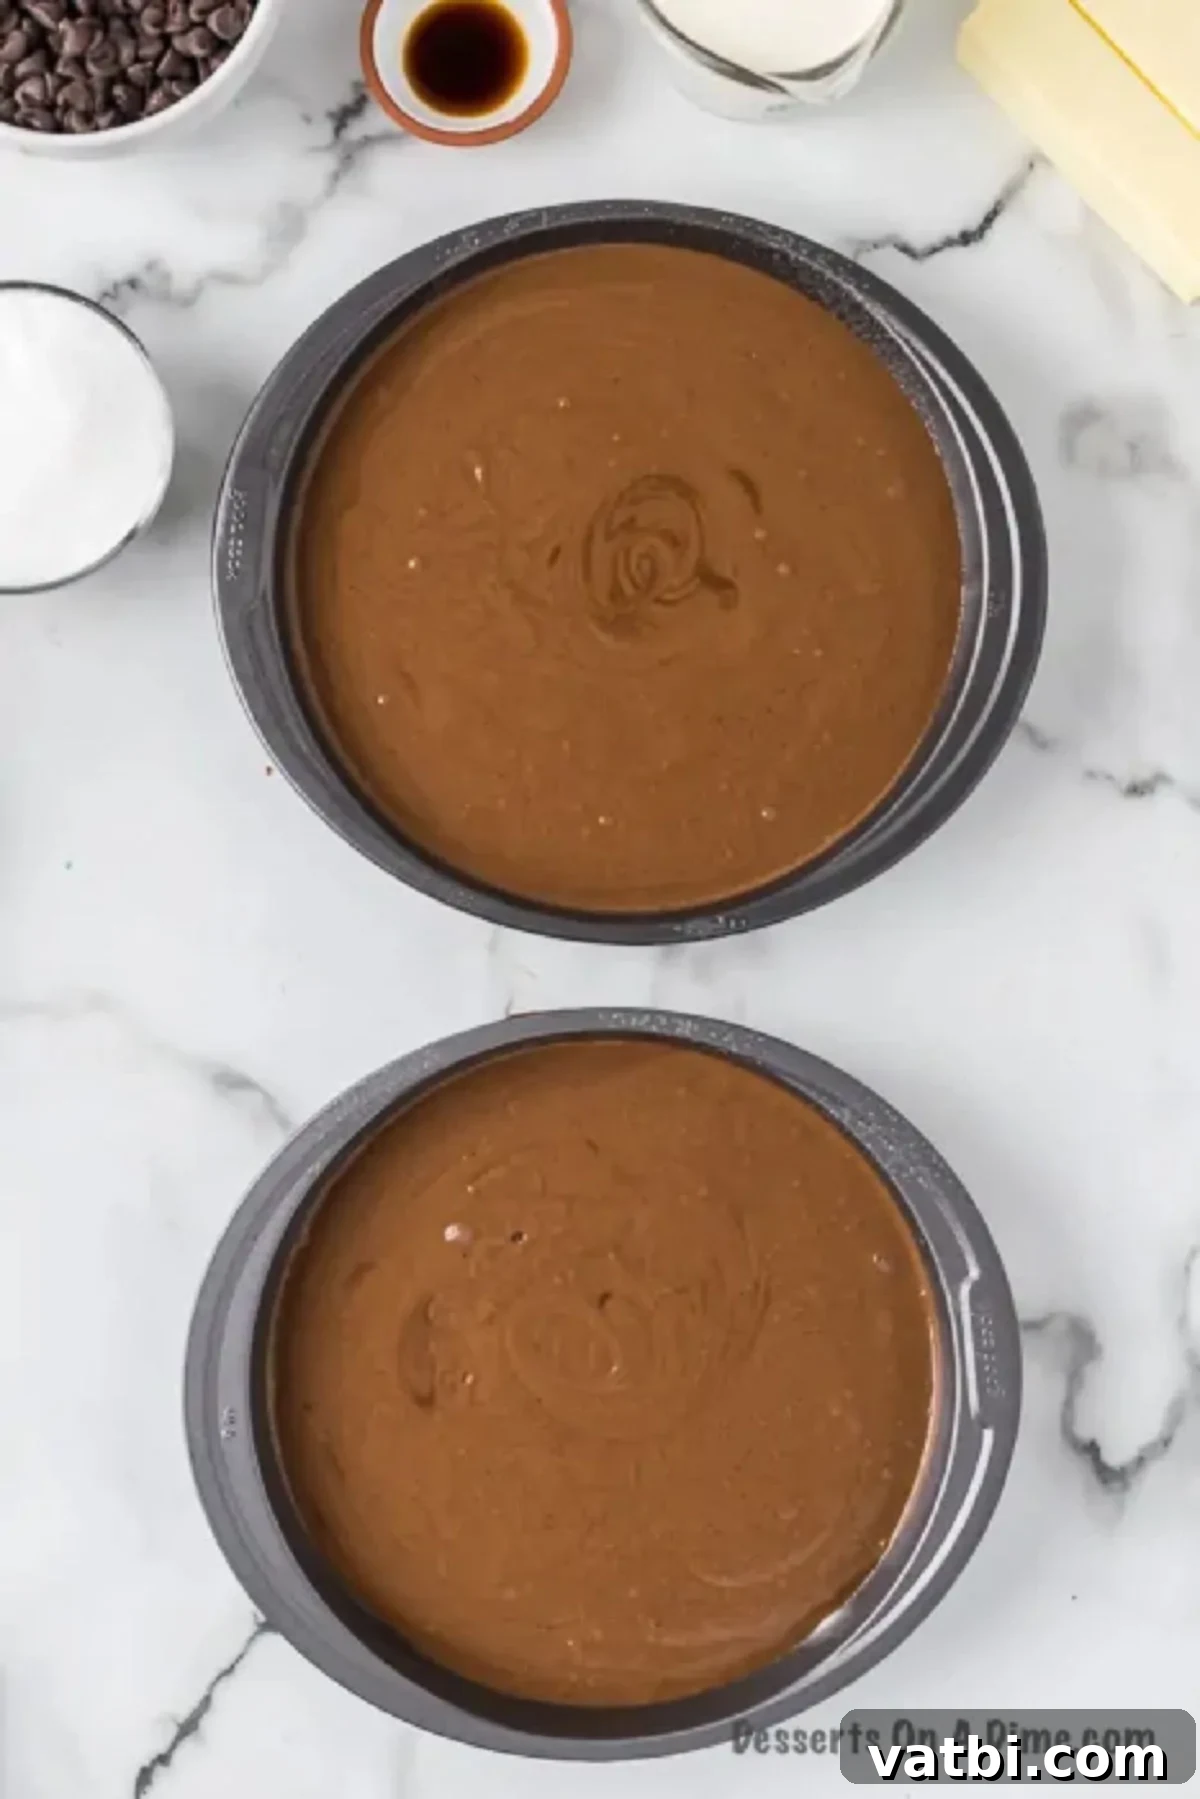
Step 6. Bake the Cakes: Divide the cake batter evenly between the two prepared round cake pans. Gently tap the pans on the counter a few times to release any air bubbles.
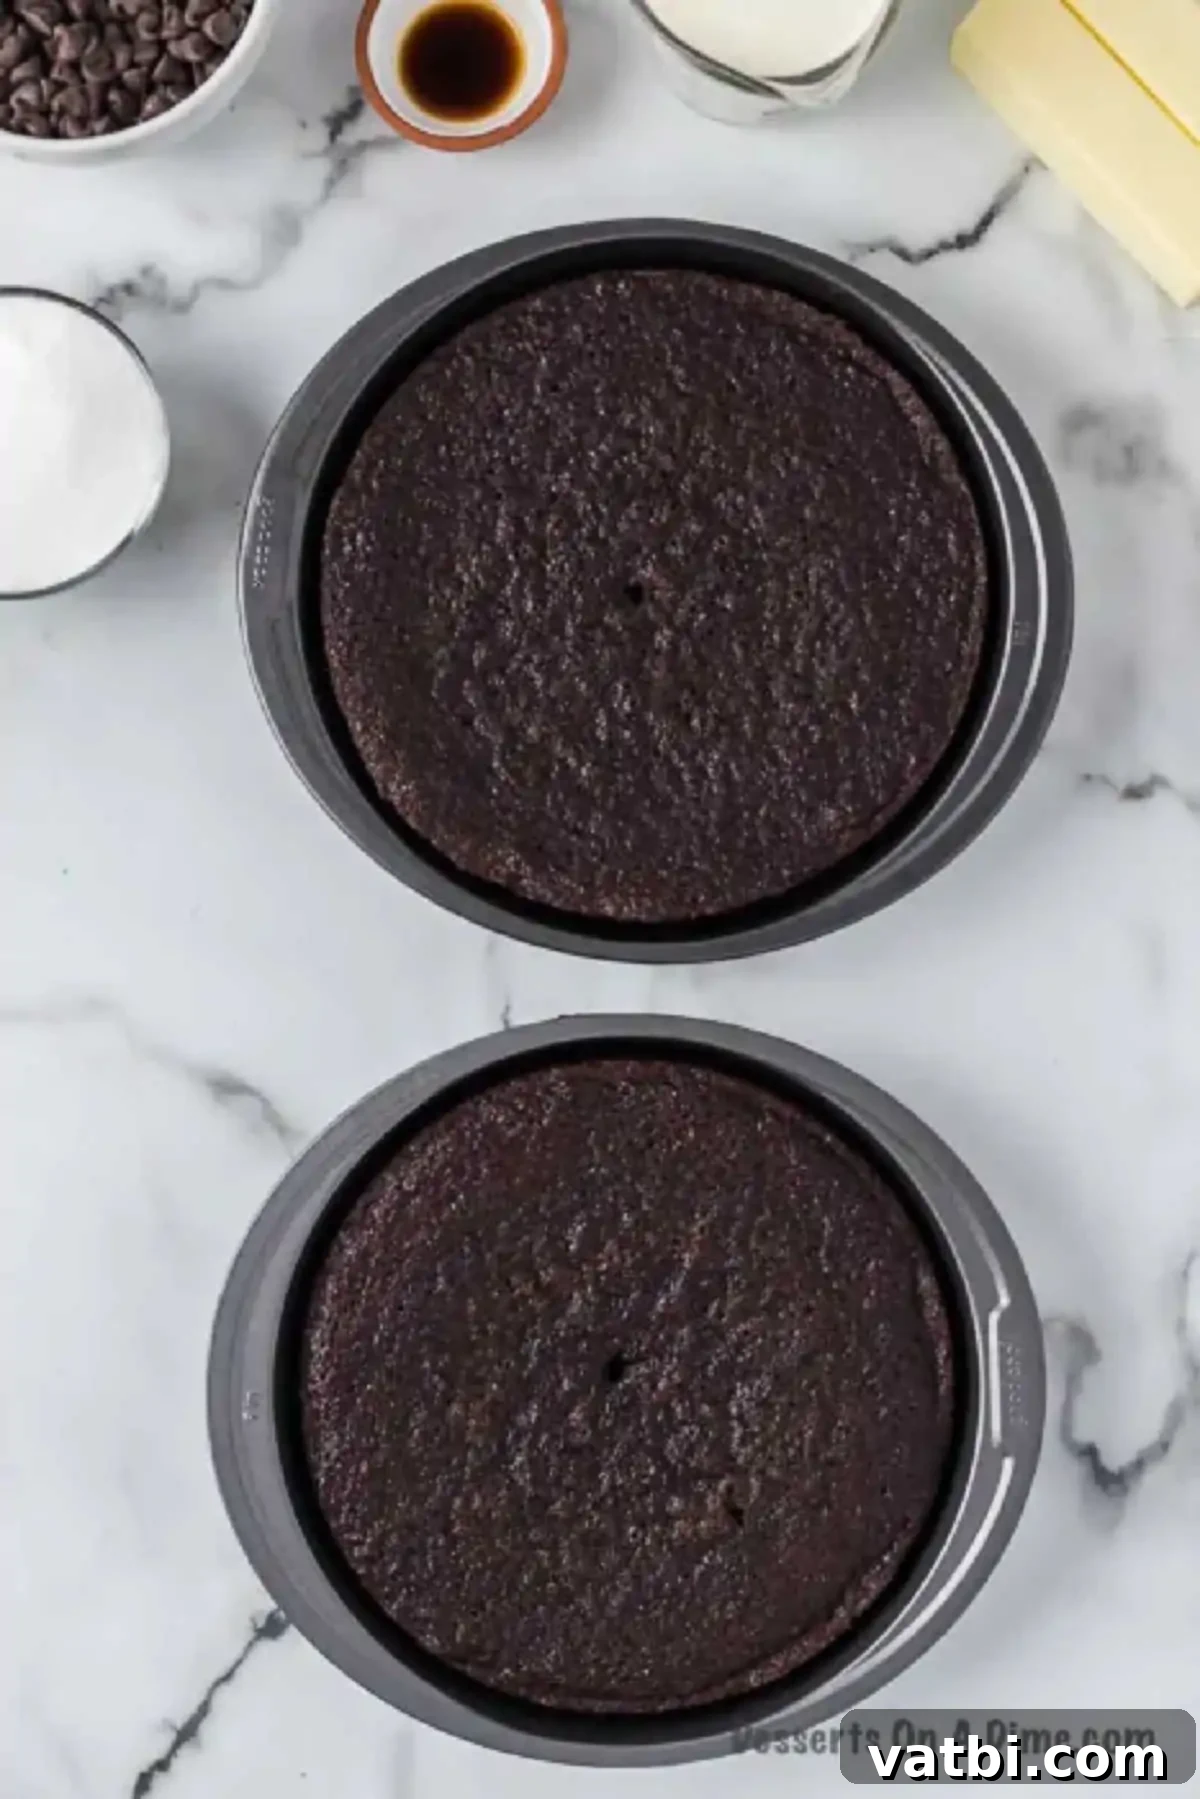
Step 7. Cool Cake Layers: Bake for approximately 25 to 35 minutes, or until a toothpick inserted into the center of the cake comes out clean. Once baked, allow the chocolate cake layers to cool in their pans for about 10 minutes. This helps them firm up slightly. Then, carefully invert them onto a wire rack to cool completely. It’s crucial for the cakes to be entirely cool before frosting to prevent the filling and ganache from melting.
Part 2: Crafting the Cream Filling
- This unique cream filling, often referred to as a “cooked flour frosting” or “ermine frosting,” is incredibly light, not overly sweet, and perfectly mimics the Hostess original.
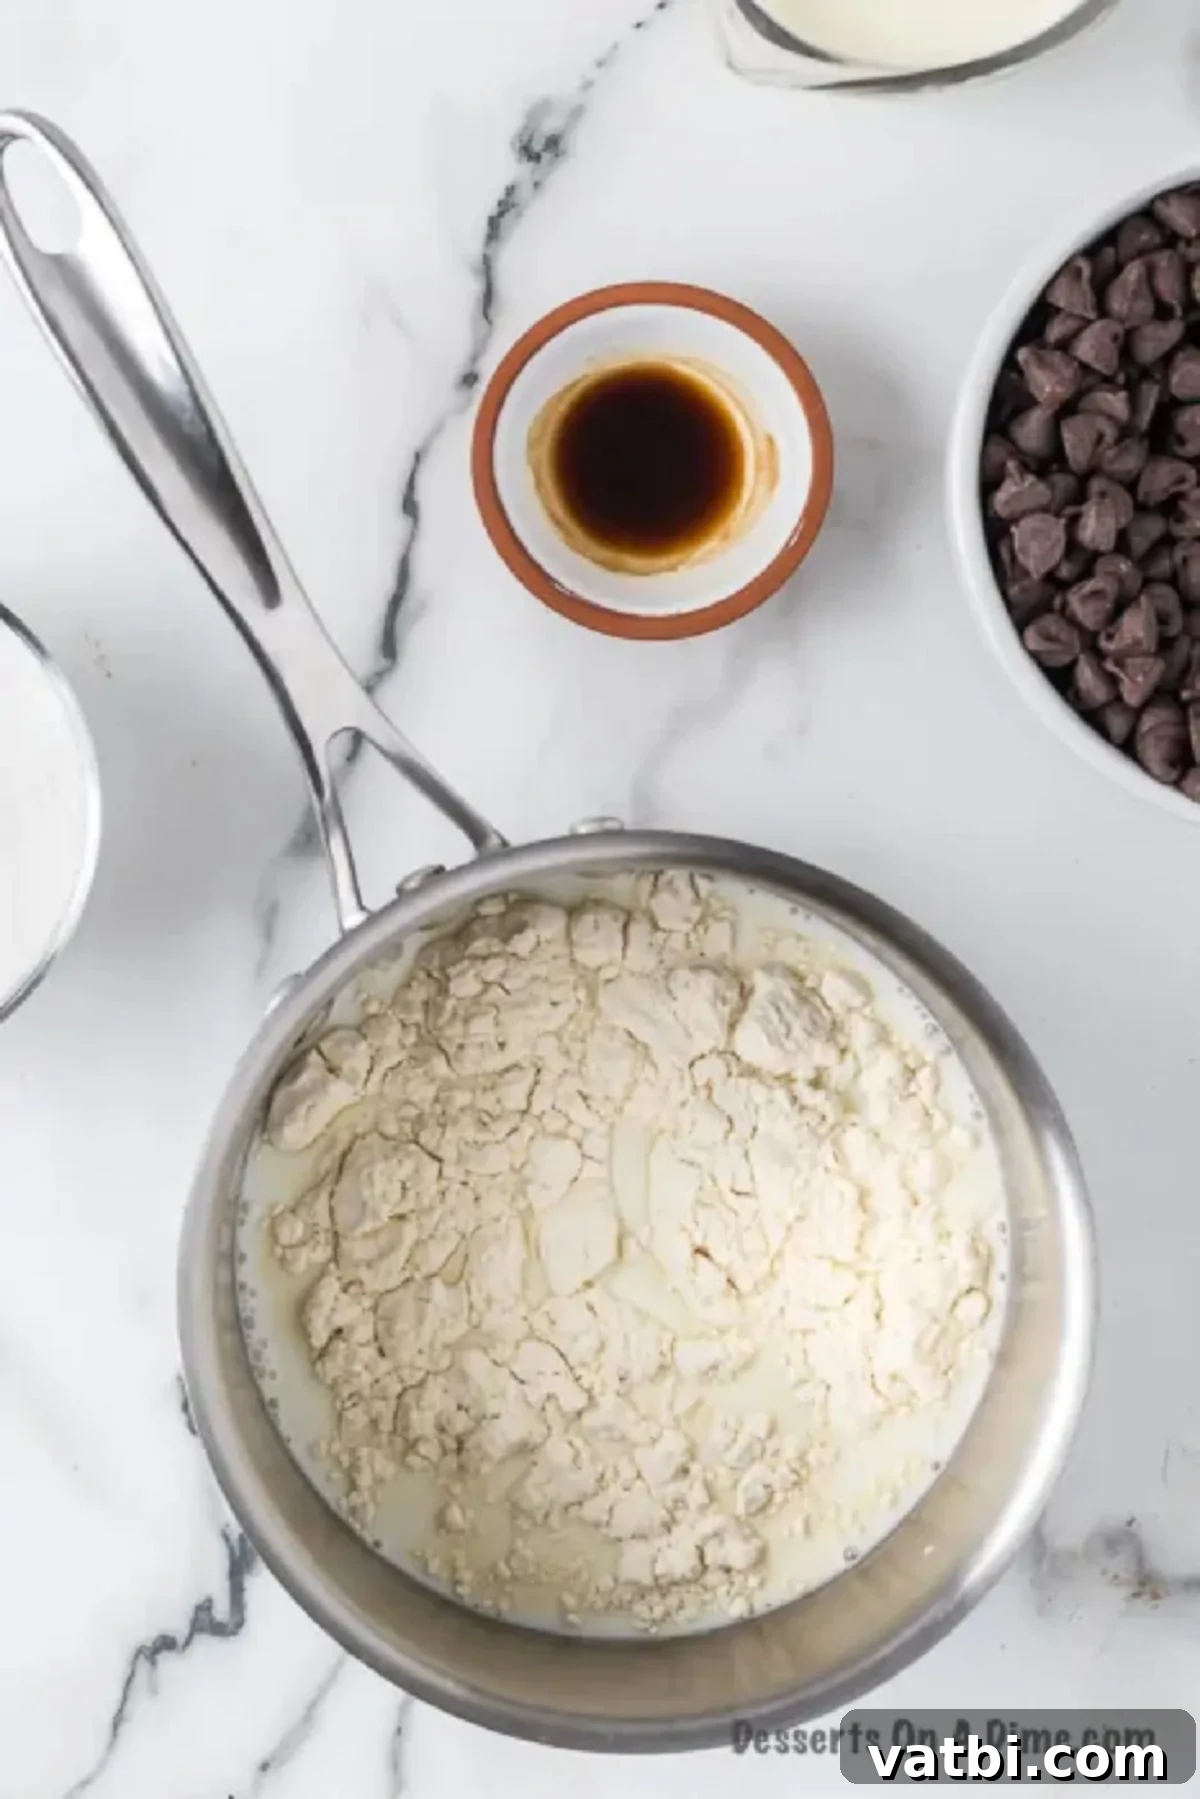
Step 8. Create Flour Paste: In a small saucepan, pour the whole milk and heat it over low-medium heat. Gradually whisk in the flour until completely smooth and no lumps remain. This creates a paste that will thicken the filling.
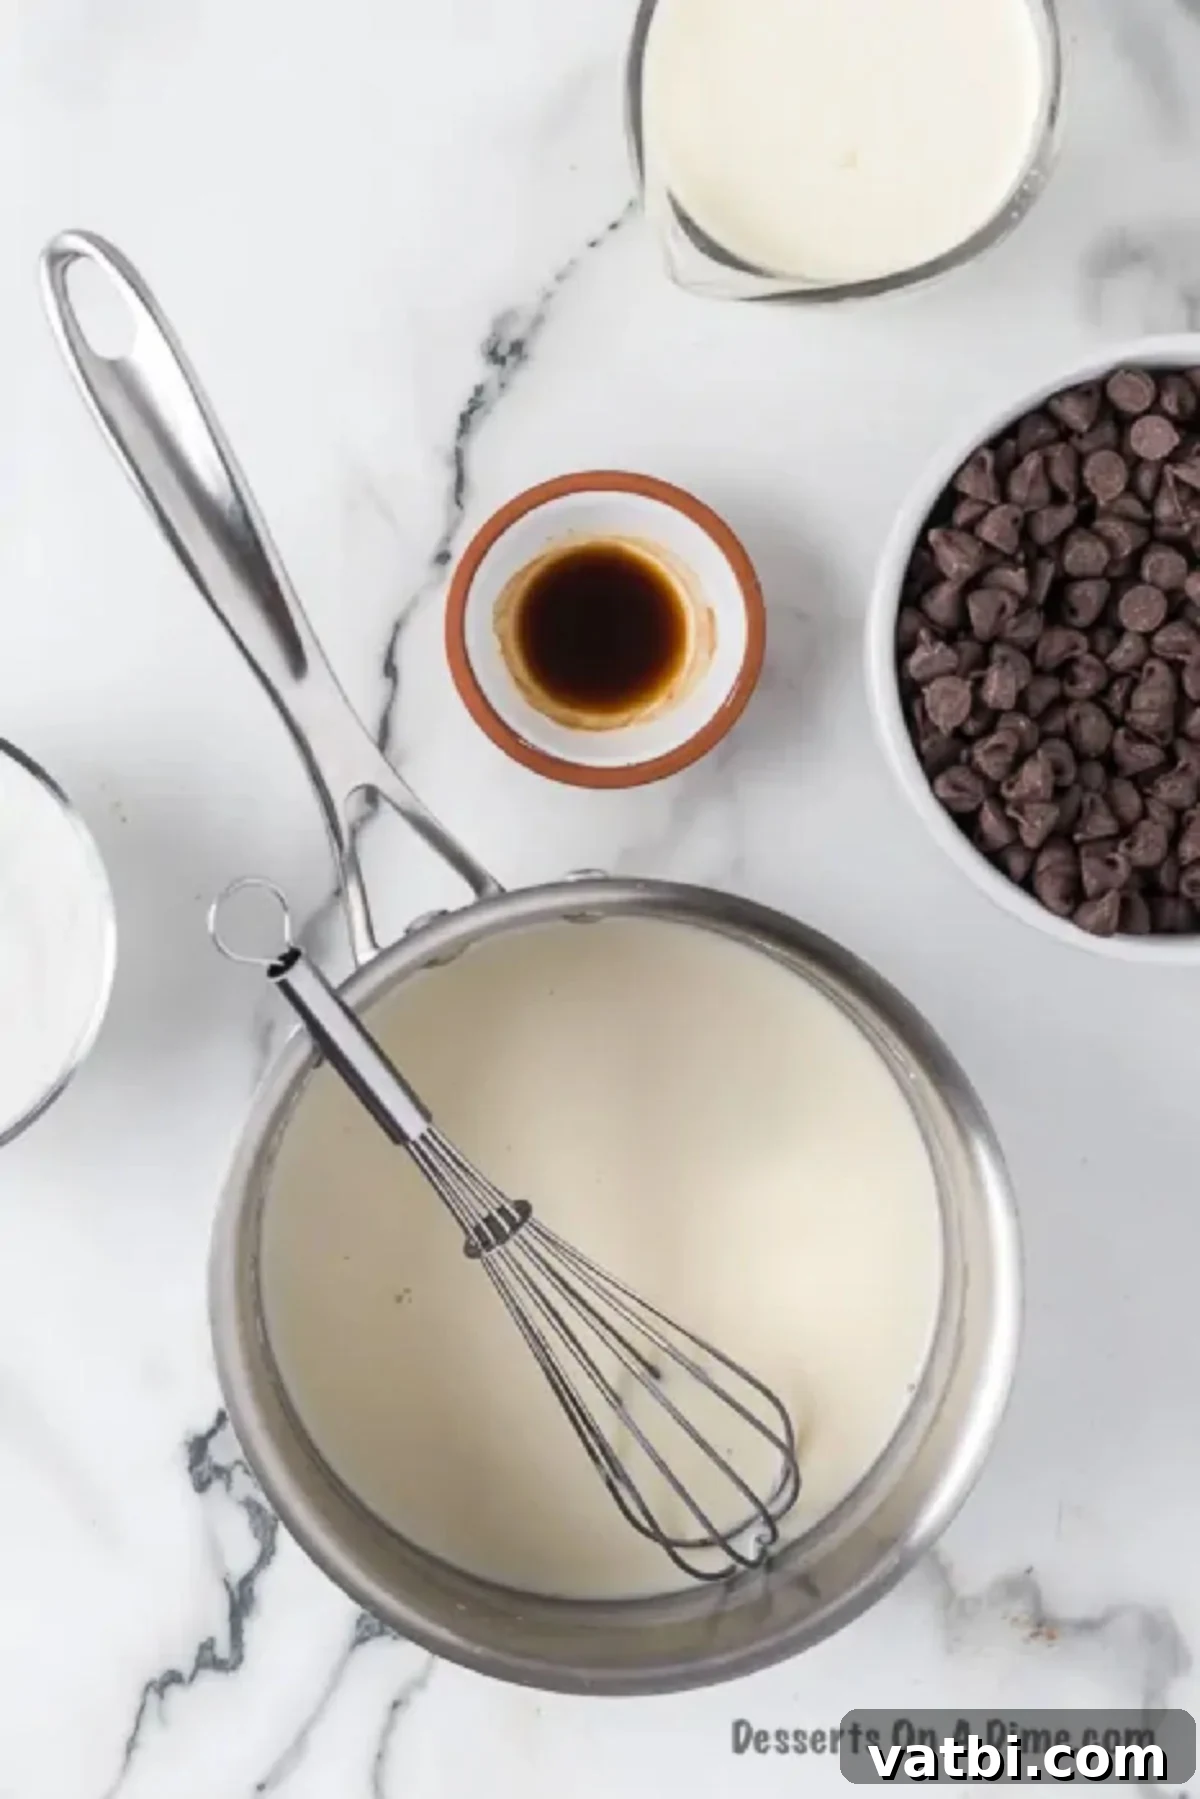
Step 9. Thicken and Cool: Increase the heat slightly to medium-low and continue to cook the mixture, uncovered, stirring constantly to prevent scorching. It will thicken considerably, resembling a pudding or thick paste. Once thickened, remove from heat and stir in the vanilla extract. Transfer the mixture to a separate bowl, cover it with plastic wrap pressed directly onto the surface (to prevent a skin from forming), and let it cool completely to room temperature. This step is critical; if the paste is warm, it will melt the butter in the next step.
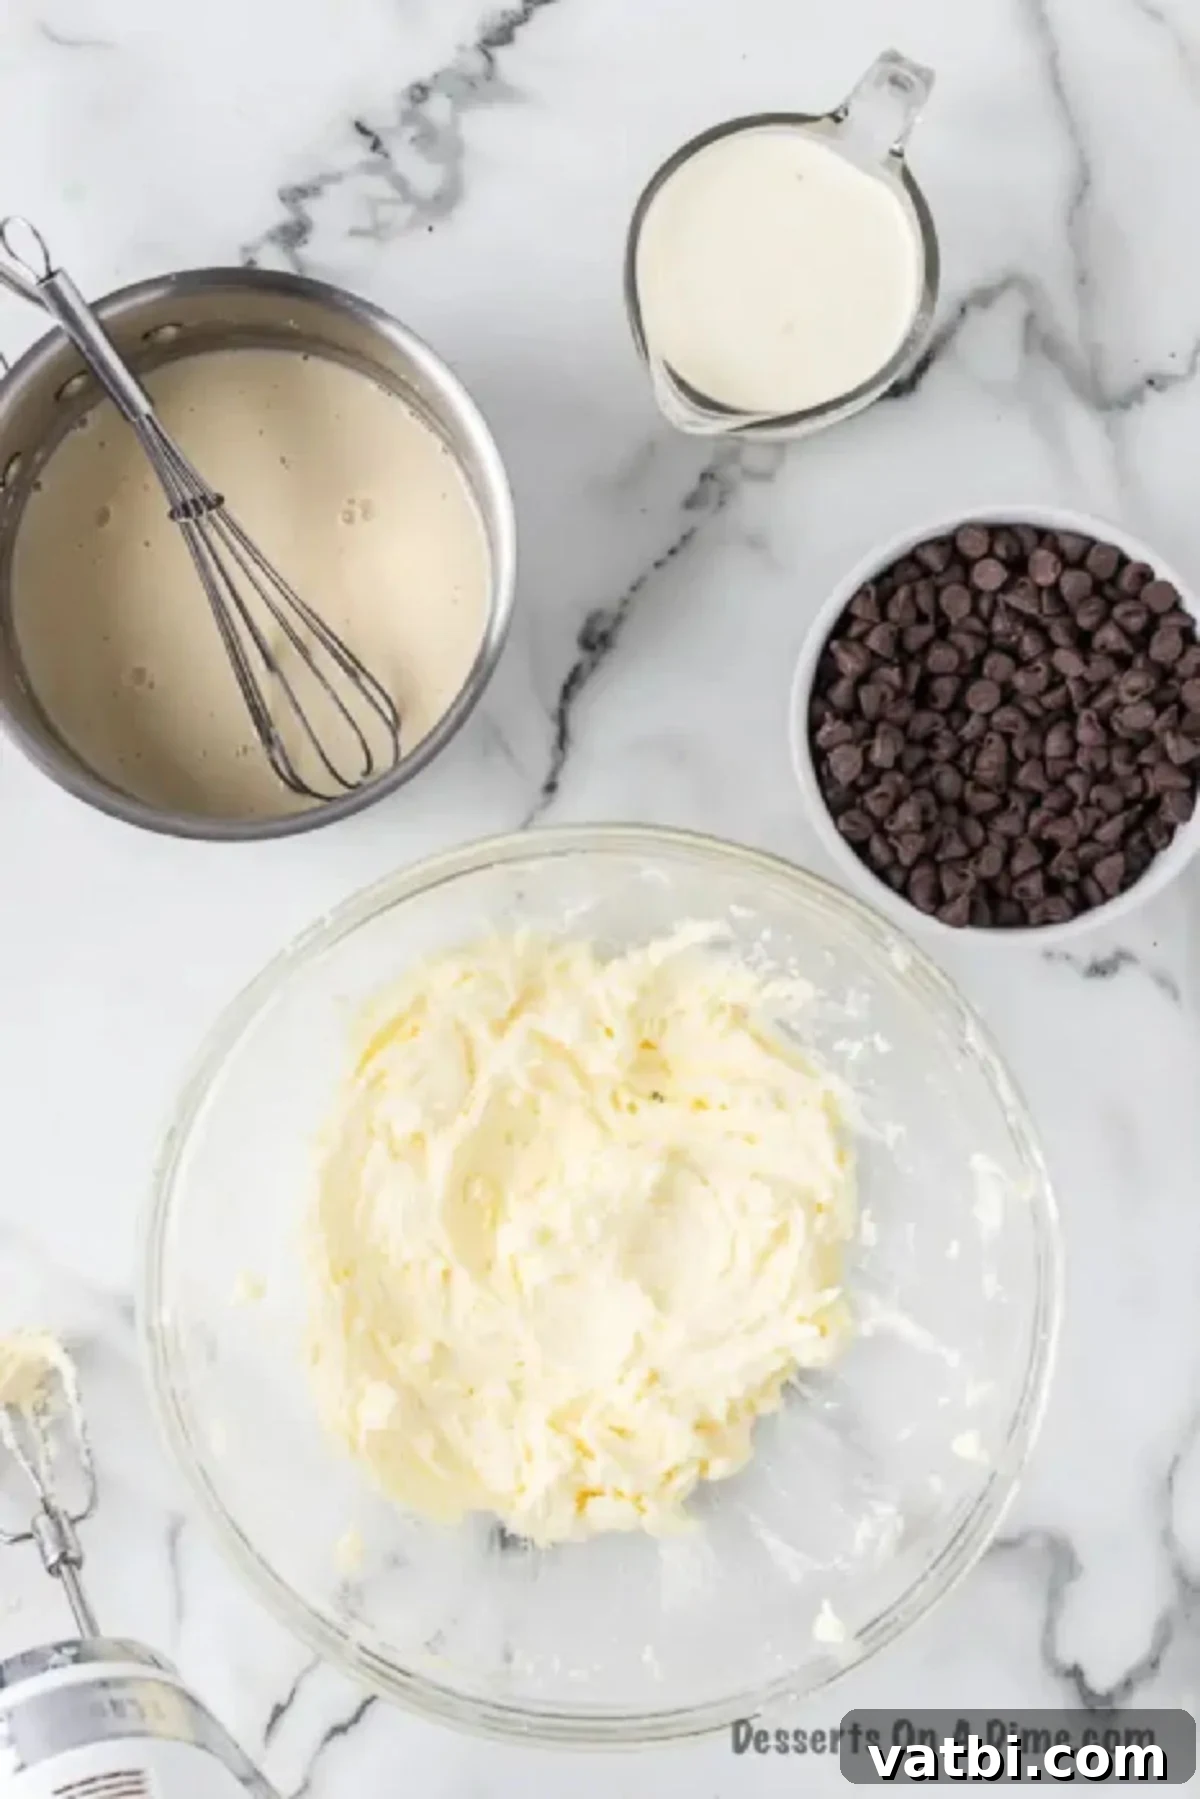
Step 10. Cream Butter and Sugar: In a large mixing bowl (preferably using a stand mixer with a paddle attachment or a hand mixer), cream together the softened unsalted butter and sugar until the mixture is very light, pale, and fluffy. This can take 3-5 minutes, allowing plenty of air to be incorporated.
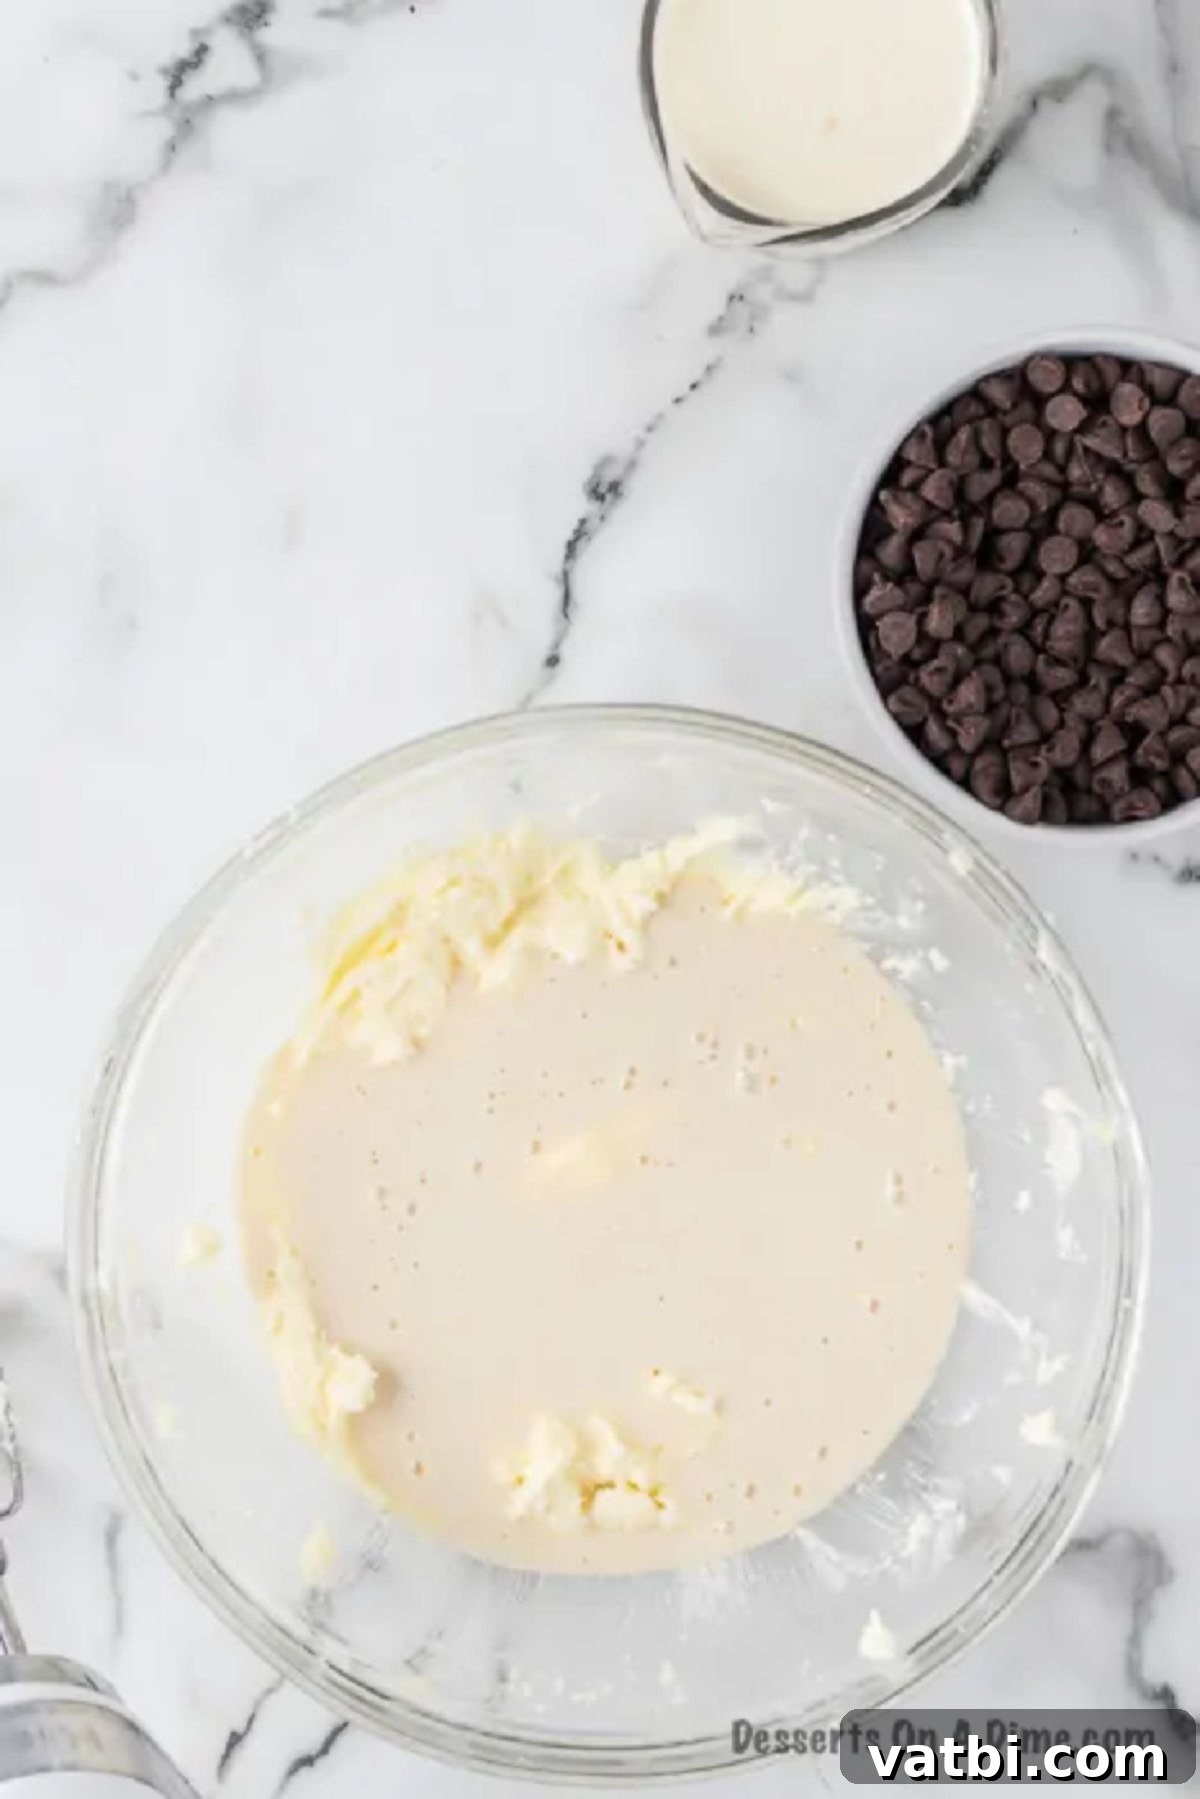
Step 11. Combine for Filling: Once the flour paste from Step 9 is completely cooled, gradually add it to the creamed butter and sugar mixture. Beat on medium-high speed until the filling becomes light, airy, and resembles whipped cream. It should be perfectly smooth and fluffy.
Part 3: Assembling the Cake with Ganache
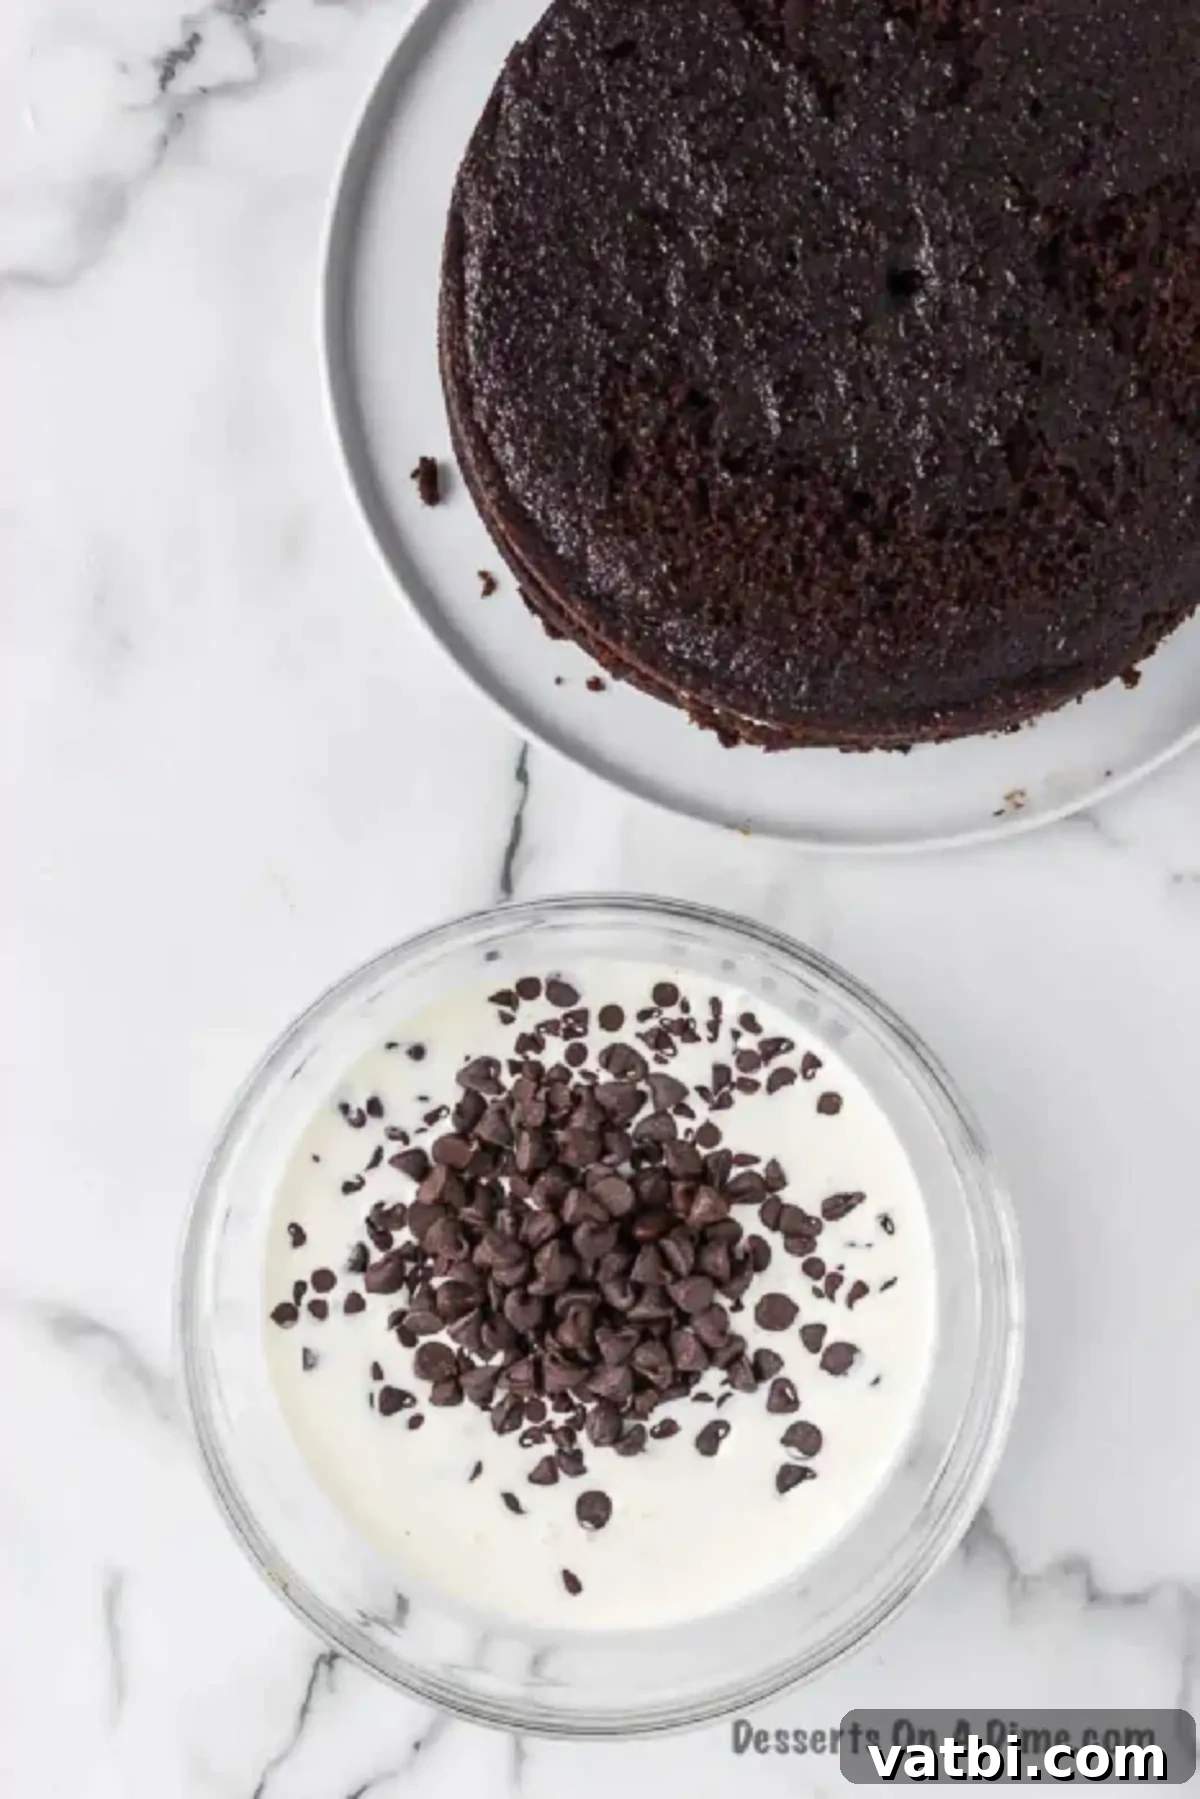
Step 12. Make the Ganache: Place the semi-sweet chocolate chips and heavy whipping cream in a microwave-safe bowl. Microwave for 1 minute, then stir gently. Continue to microwave in 30-second intervals, stirring thoroughly after each, until the chocolate is fully melted and the mixture is smooth and glossy. Be careful not to overheat the chocolate, as it can seize. Set aside to cool slightly, allowing it to thicken to a pourable consistency.
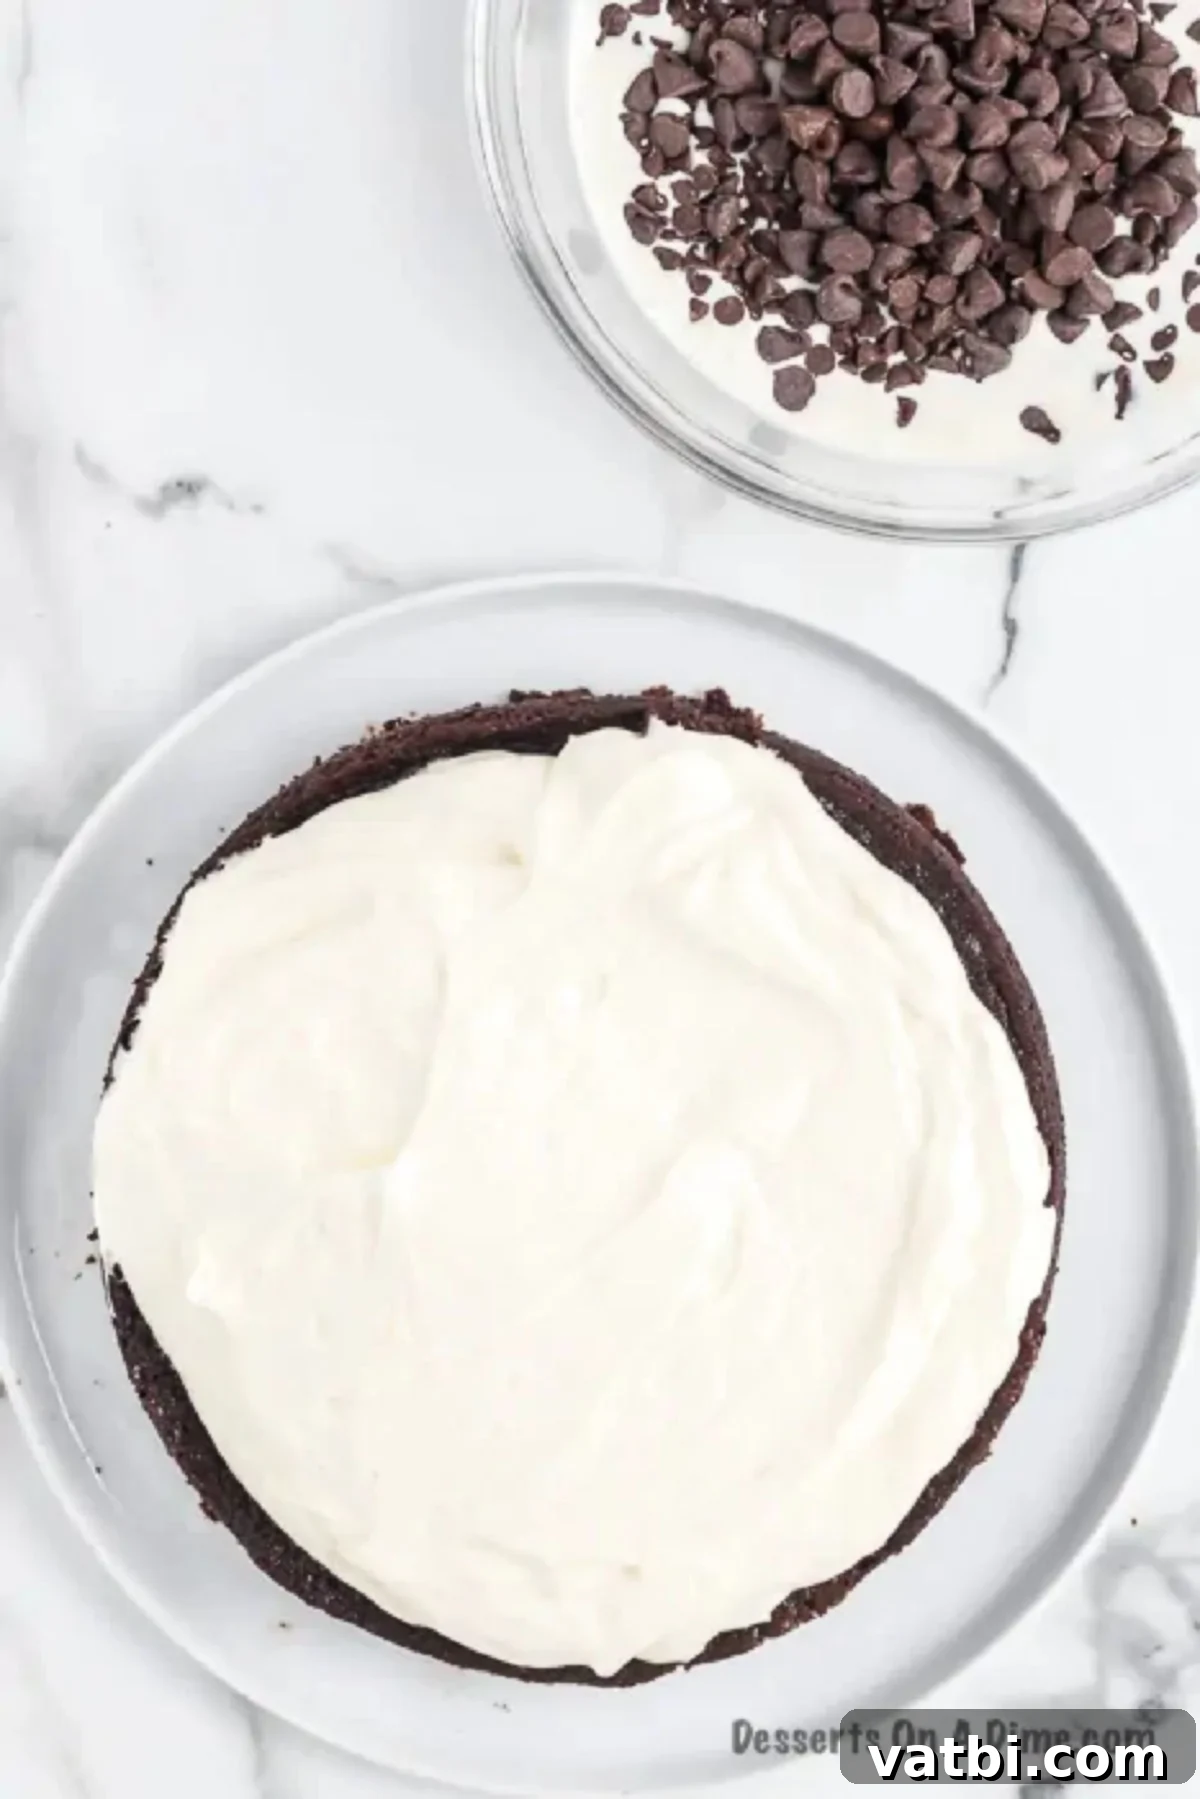
Step 13. First Layer of Filling: Place one completely cooled cake layer on your serving platter or cake stand. Evenly spread all of the prepared cream filling over the top of this cake layer. Use an offset spatula to create a smooth, even layer of cream, extending almost to the edges.
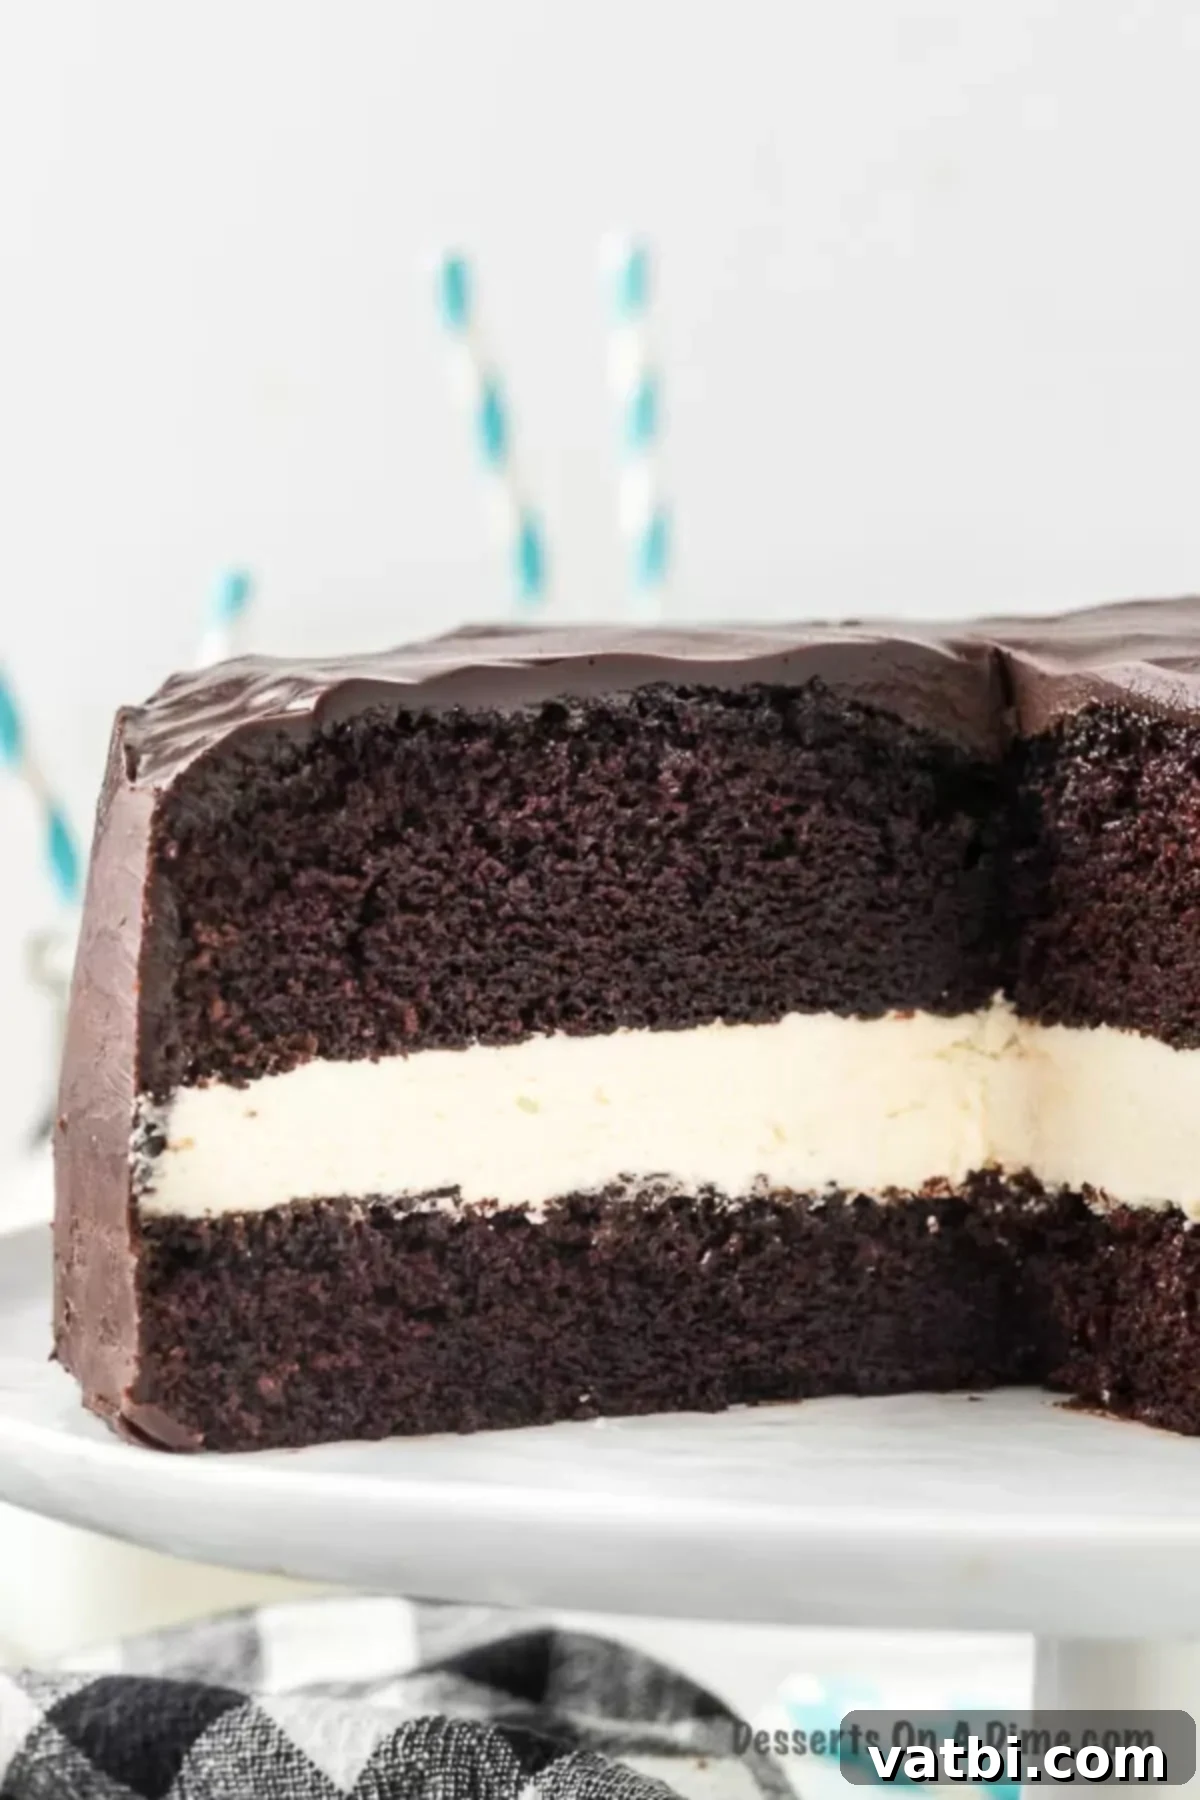
Step 14. Add Second Layer and Ganache: Carefully place the second cake layer on top of the creamy filling. Gently press down to secure it. Then, slowly pour the slightly cooled (but still pourable) chocolate ganache over the top center of the cake. Use a spatula to gently guide the ganache, allowing it to naturally drip down the sides for a beautiful, rustic look, or spread it evenly to cover both the top and sides of the cake for a cleaner finish.
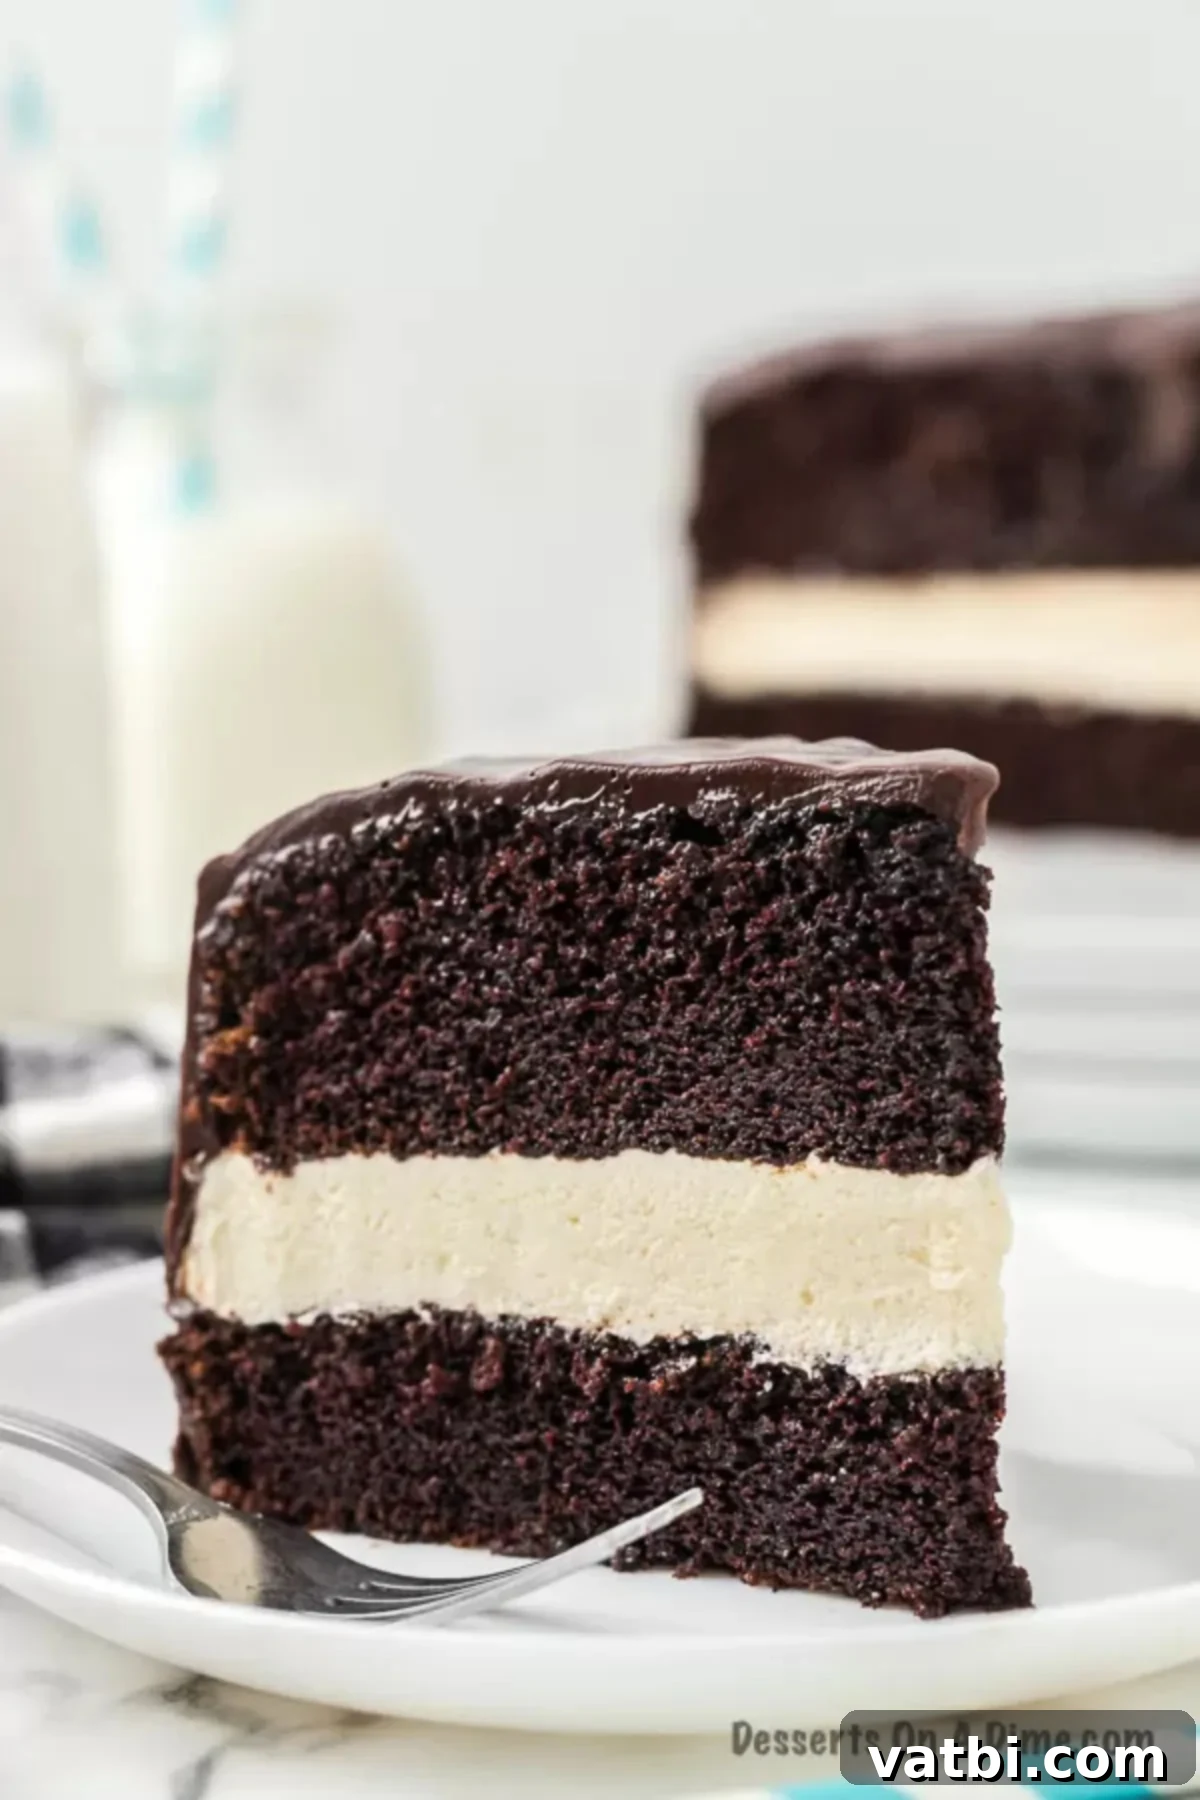
Step 15. Set and Serve: Allow the cake to sit for 10 to 15 minutes at room temperature, giving the ganache a chance to set slightly. This also allows the flavors to meld beautifully. Once set, your magnificent Ding Dong Cake is ready to slice and serve!
Frequently Asked Questions About Ding Dong Cake
To maintain its freshness and delightful texture, the Ding Dong Cake should be stored in the refrigerator. Place it in an airtight container or cover it tightly with plastic wrap to prevent it from drying out or absorbing other odors from the fridge. When properly stored, it will last for up to 5 days, making it a perfect make-ahead dessert.
Absolutely! Ding Dong Cake freezes beautifully, allowing you to enjoy a slice whenever a craving strikes. For best results, it is ideal to freeze the cake in individual slices. Slice the cake, then tightly wrap each slice in plastic wrap, followed by a layer of aluminum foil or parchment paper to prevent freezer burn. Place these wrapped slices into a freezer-safe bag or an airtight container.
The cake slices will maintain their quality in the freezer for up to 3 months. When you’re ready to indulge, simply remove a slice from the freezer and let it thaw at room temperature for about 30 minutes. This allows the cake layers and filling to soften to their original delectable consistency, bringing you a perfect treat any time.
This is a fantastic baking secret! Adding brewed coffee to chocolate cake batter doesn’t make the cake taste like coffee. Instead, it significantly enhances and deepens the natural cocoa flavor, making the chocolate taste richer, more complex, and truly decadent. The coffee really takes this cake up a level, creating a more intense chocolate experience that you’ll absolutely love.
When properly stored in an airtight container in the refrigerator, your homemade Ding Dong Cake will remain fresh and delicious for up to 5 days. Be sure to keep it covered to maintain its moisture and prevent it from drying out.
Recipe Tips for Success
Achieving a perfect Ding Dong Cake requires attention to a few key details. These tips will help ensure your cake is moist, your filling is creamy, and your ganache is glossy, just like the classic snack you remember:
- Cooling Coffee is Essential: Do not overlook the critical step of cooling the brewed coffee completely before adding it to the cake batter. Hot coffee can start to cook the eggs in the batter or melt the butter, resulting in a compromised cake texture. Patience here pays off in a perfectly moist crumb.
- Gradual Melting for Ganache: When preparing the chocolate ganache, always melt the chocolate chips and heavy cream in short increments in the microwave. Heating it for too long or too quickly can scorch the chocolate, leading to a grainy texture and a bitter taste. Gentle, incremental heating and stirring will yield a smooth, shiny, and irresistible ganache.
- Consider Using a Cake Mix for Speed: If you’re short on time but still want to enjoy the homemade goodness of this cake, you can absolutely use a good quality boxed chocolate cake mix for the cake layers. Just prepare the cake mix according to package directions, then focus your efforts on the scratch-made cream filling and ganache for that signature Ding Dong flavor.
- Achieve Optimal Mixing: For the best results, whether combining cake batter ingredients or whipping the cream filling, use either a stand mixer with a paddle attachment or a powerful hand-held mixer. This ensures ingredients are thoroughly combined and aerated, leading to light and fluffy results for both the cake and the filling.
- Proper Pan Preparation: Before pouring in your cake batter, always prepare your baking pans thoroughly. Greasing and flouring the pans, or using a non-stick cooking spray, creates a barrier that prevents the cakes from sticking. This makes for easy removal and prevents frustrating crumbling, ensuring beautifully intact cake layers.
- Serving Suggestions for an Elevated Experience: Because this cake is incredibly rich and intensely chocolatey, it pairs wonderfully with a scoop of light vanilla ice cream or a dollop of freshly whipped cream. For an extra touch of indulgence and visual appeal, save a small amount of extra ganache frosting and drizzle it artfully over each slice just before serving.
- Leveling the Cake Layers: To create a professional-looking, evenly layered cake, you may need to level your cake tops. After the cakes have cooled completely, if they have rounded domes, simply place each cake on your cake pan or a flat surface and use a long, serrated knife to carefully slice off the rounded top. This creates flat surfaces that stack perfectly, ensuring a stable and beautiful cake.
- Room Temperature Ingredients: Beyond just butter and eggs, aim to have all your dairy and wet ingredients at room temperature. This allows them to emulsify properly, creating a smooth, uniform batter and a much better texture in your final cake and filling.
More Decadent Chocolate Cake Recipes
If you have a passion for rich, chocolatey desserts, you’re in the right place! Here are some other fantastic chocolate cake recipes you might love to try:
- Chocolate Caramel Poke Cake Recipe: A delightful combination of chocolate and gooey caramel.
- Easy Chocolate Cherry Cake Recipe: Sweet cherries meet rich chocolate in this simple yet elegant cake.
- Easy Chocolate Depression Cake Recipe: A classic, moist chocolate cake made without eggs or dairy, proving deliciousness can be simple.
- Butterfinger Cake: Crushed Butterfinger candy takes this chocolate cake to a crunchy, sweet new level.
Explore More Copycat Recipes
Love recreating your favorite treats at home? Dive into these other popular copycat recipes that bring iconic flavors right to your kitchen:
- Copycat Little Debbie Brownies Recipe: Recreate the fudgy, frosted goodness of a childhood favorite.
- How to make Ice Cream Cake (Copycat Dairy Queen cake): Learn how to make your own impressive ice cream cake, just like the store-bought classic.
- Copycat Disney Churro Recipe: Bring the magic of Disney theme parks home with these crispy, cinnamon-sugar delights.
I genuinely believe you will adore this rich, satisfying chocolate cake. Once you’ve made it, please leave a comment and a star rating below. I always love hearing from you, and I’m confident that this Homemade Copycat Ding Dong Cake recipe will become a cherished favorite in your recipe collection!
Pin
Ding Dong Cake Recipe
Ingredients
For the Cake:
- ½ cup Unsalted Butter softened at room temperature
- 2 cups Sugar
- 2 large Eggs
- 1 ¾ cups Flour
- ¾ cup unsweetened cocoa powder
- ½ tsp Salt
- 2 tsp Baking Soda
- 1 tsp Baking powder
- ½ cup Vegetable Oil
- 1 tsp Vanilla Extract
- 1 cup Brewed Coffee cooled
- 1 cup Whole Milk
For the Cream Filling:
- 5 Tbsp Flour
- 1 cup Whole Milk
- 1 tsp Vanilla Extract
- 1 cup unsalted Butter softened at room temperature
- 1 cup sugar
For the Ganache:
- 12 oz Semi-sweet Chocolate Chips
- 1 cup Heavy Whipping Cream
Instructions
For the Cake:
-
Preheat the oven to 350 degrees F and spray 2 9 inch round pans with a non stick cooking spray.
-
In a medium size bowl, combine the flour, cocoa, baking soda, baking powder and salt in a large bowl.
-
Then in a separate bowl, beat the butter and sugar together for 1-2 minutes until combined. Then add in the milk, oil, eggs and vanilla extract with a hand held mixer or a stand up mixer.
-
Then gradually add in the dry ingredients into the wet ingredients. Then add in the coffee slowly while the mixer is on a low setting.
-
Pour the batter evenly into the 2 9 inch round pans.
-
Bake for 25-35 minutes until a toothpick inserted into the middle of the cake comes out clean.
-
Cool the cakes in a pan for 10 minutes and then carefully remove them from the pans to cool completely on a rack.
For the Cream Filling:
-
Pour the milk in a small saucepan and heat over low medium heat. Then whisk in the flour.
-
Turn the heat to medium low and let the mixture heat uncovered until it has thickened. Make sure to stir constantly. Remove from the heat and stir in the vanilla extract.
-
Then get out a separate large mixing bowl. Cream together the butter and the sugar with a mixer until it is light and fluffy.
-
Combine the milk and butter mixture until it looks like whipped cream.
-
Place the cake layer on the platter. Then top this cake with all of the filling mixture. Spread with an offset spatula.
-
Add the second cake layer of the cake on top of the creamy filling mixture.
For the Ganache Topping:
-
Place the chocolate chips and heavy whipping cream in a bowl to make the ganache. Then microwave for 1 minute and stir. Keep microwaving in 30-second intervals until the chocolate mixture is combined.
-
Slowly pour the chocolate ganache over the cake. Use a spatula to gently spread it out to make sure the ganache covers the top and the sides of the cake.
-
The cake needs to sit for 10 to 15 minutes and then it’s ready to serve.
Recipe Notes
For the very best results in this Ding Dong Cake recipe, ensure all ingredients are at room temperature before you begin. This allows for proper emulsion and a superior texture.
Nutrition Facts
Pin This Now to Remember It Later
Pin Recipe
