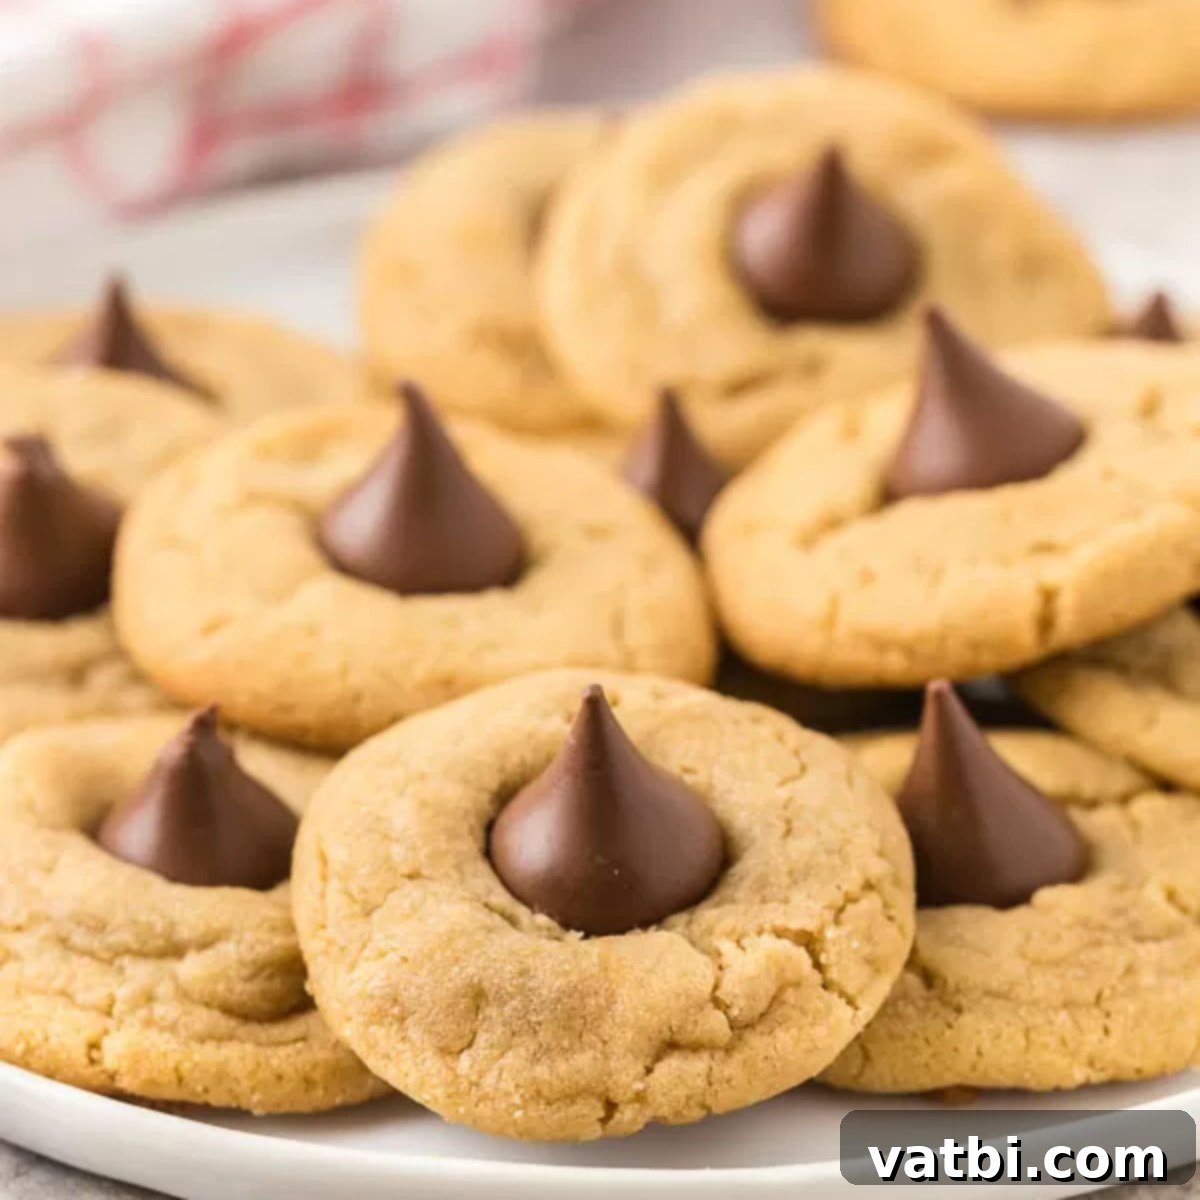
The Ultimate Guide to Baking Irresistible Homemade Peanut Butter Hershey Kiss Cookies
Indulge in the nostalgic delight of homemade Peanut Butter Hershey Kiss Cookies, a timeless classic that perfectly marries the rich, nutty flavor of peanut butter with the sweet, smooth creaminess of chocolate. Often affectionately known as “Peanut Butter Blossoms,” these cookies are more than just a treat; they’re a comforting hug in edible form, renowned for their incredibly soft, melt-in-your-mouth texture and the iconic chocolate kiss nestled right in the center. Get ready to bake a family favorite that will disappear from the cookie jar almost as fast as you can make them!
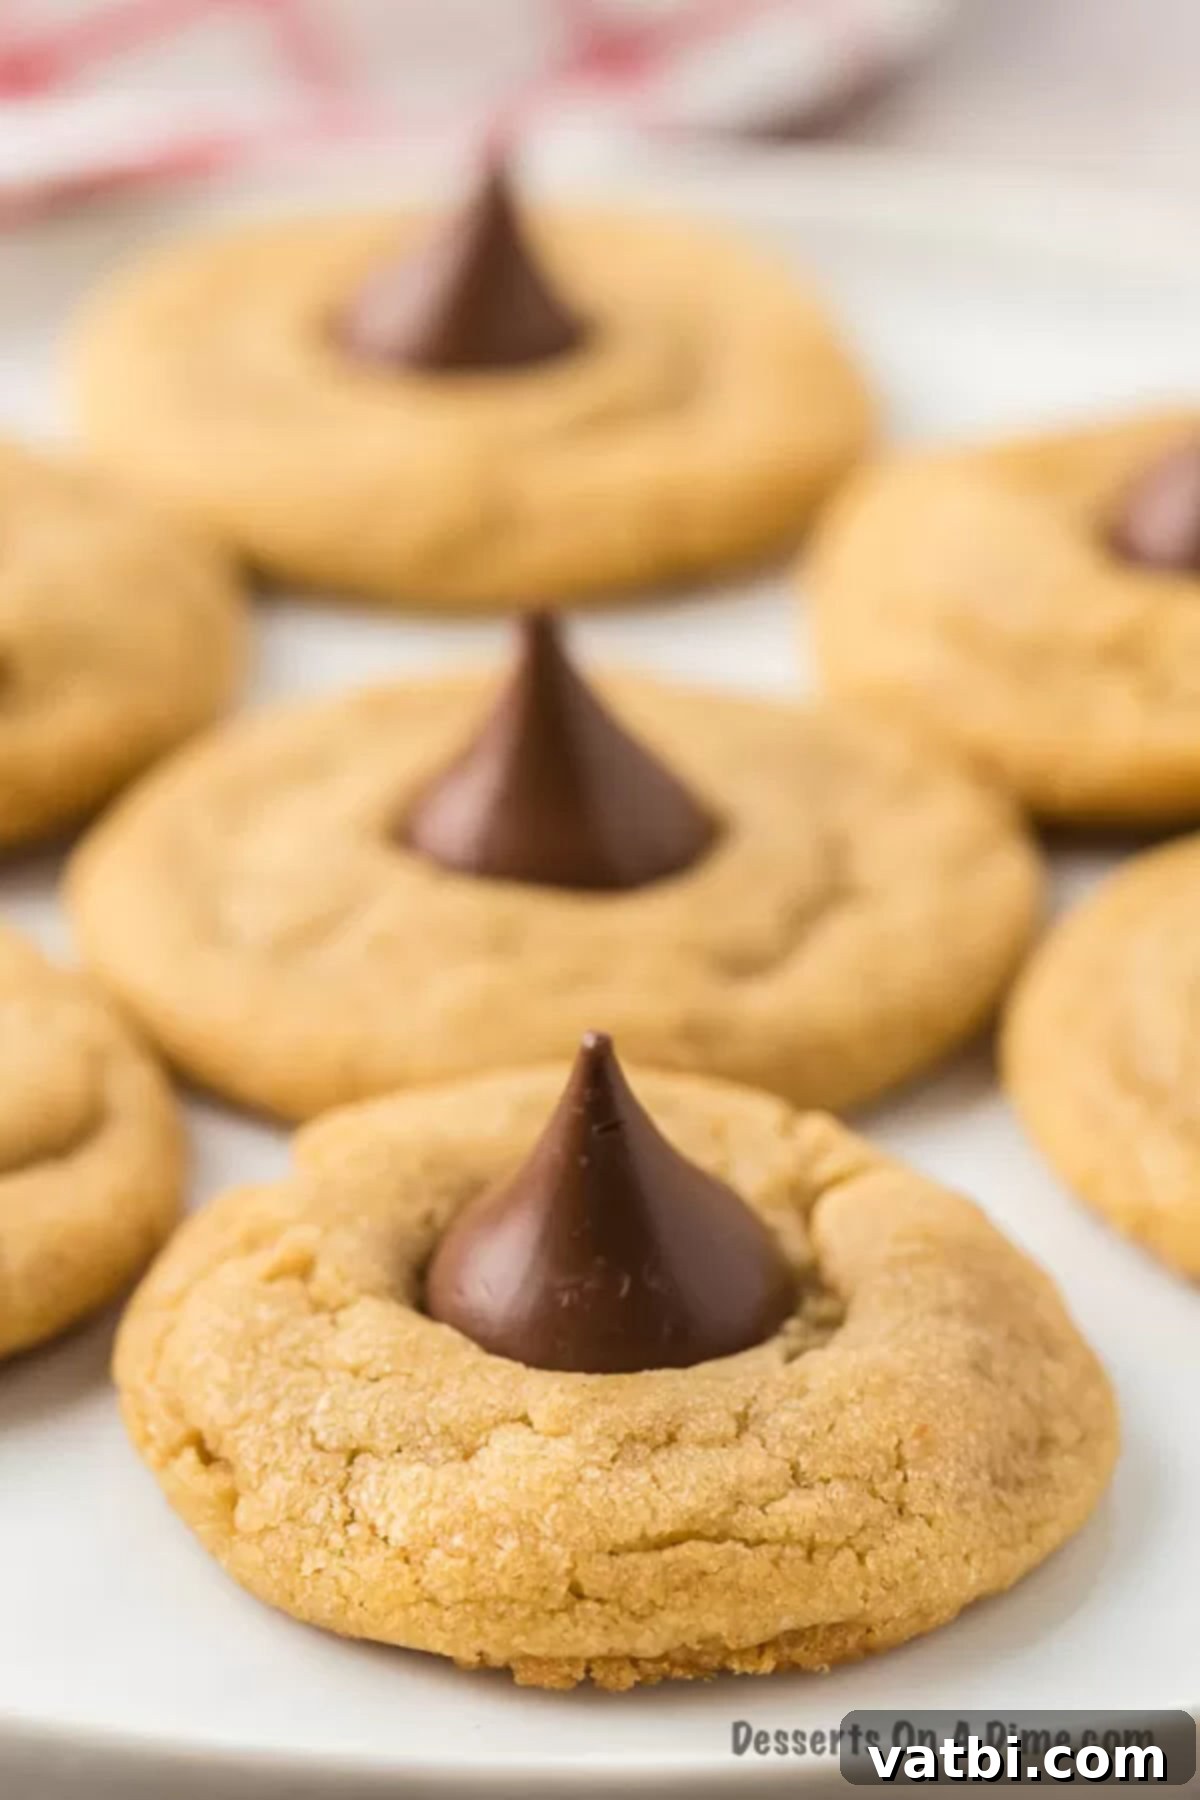
The decadent combination of peanut butter and chocolate has an undeniable charm, consistently ranking as a top flavor pairing. There’s an irresistible magic that happens when these two distinct flavors come together, creating a symphony for your taste buds. This recipe for peanut butter kiss cookies is not only incredibly easy to follow but also guaranteed to satisfy even the most persistent sweet cravings. If you’re a fan of this delightful duo, don’t forget to explore more of our Peanut Butter Desserts. We absolutely love crafting delicious Cookie Recipes for every occasion, and these classic peanut butter blossom cookies consistently top the list as a beloved family tradition.
For another unique peanut butter snack, you might also want to try our Peanut Butter Popcorn Recipe.
What’s in this post: The Ultimate Peanut Butter Hershey Kiss Cookies
- Why We Absolutely Love These Cookies
- Essential Ingredients for Perfect Peanut Butter Kiss Cookies
- Creative Additions and Delicious Substitutions
- Step-By-Step Instructions for Baking Success
- Pro Baking Tips for the Best Results
- Proper Storage for Lasting Freshness
- Freezing Instructions: Baked Cookies & Dough
- More Festive Christmas Cookie Ideas
- More Irresistible Peanut Butter Desserts
- Homemade Peanut Butter Hershey Kiss Cookies Recipe Card
Why We Absolutely Love These Peanut Butter Kiss Cookies
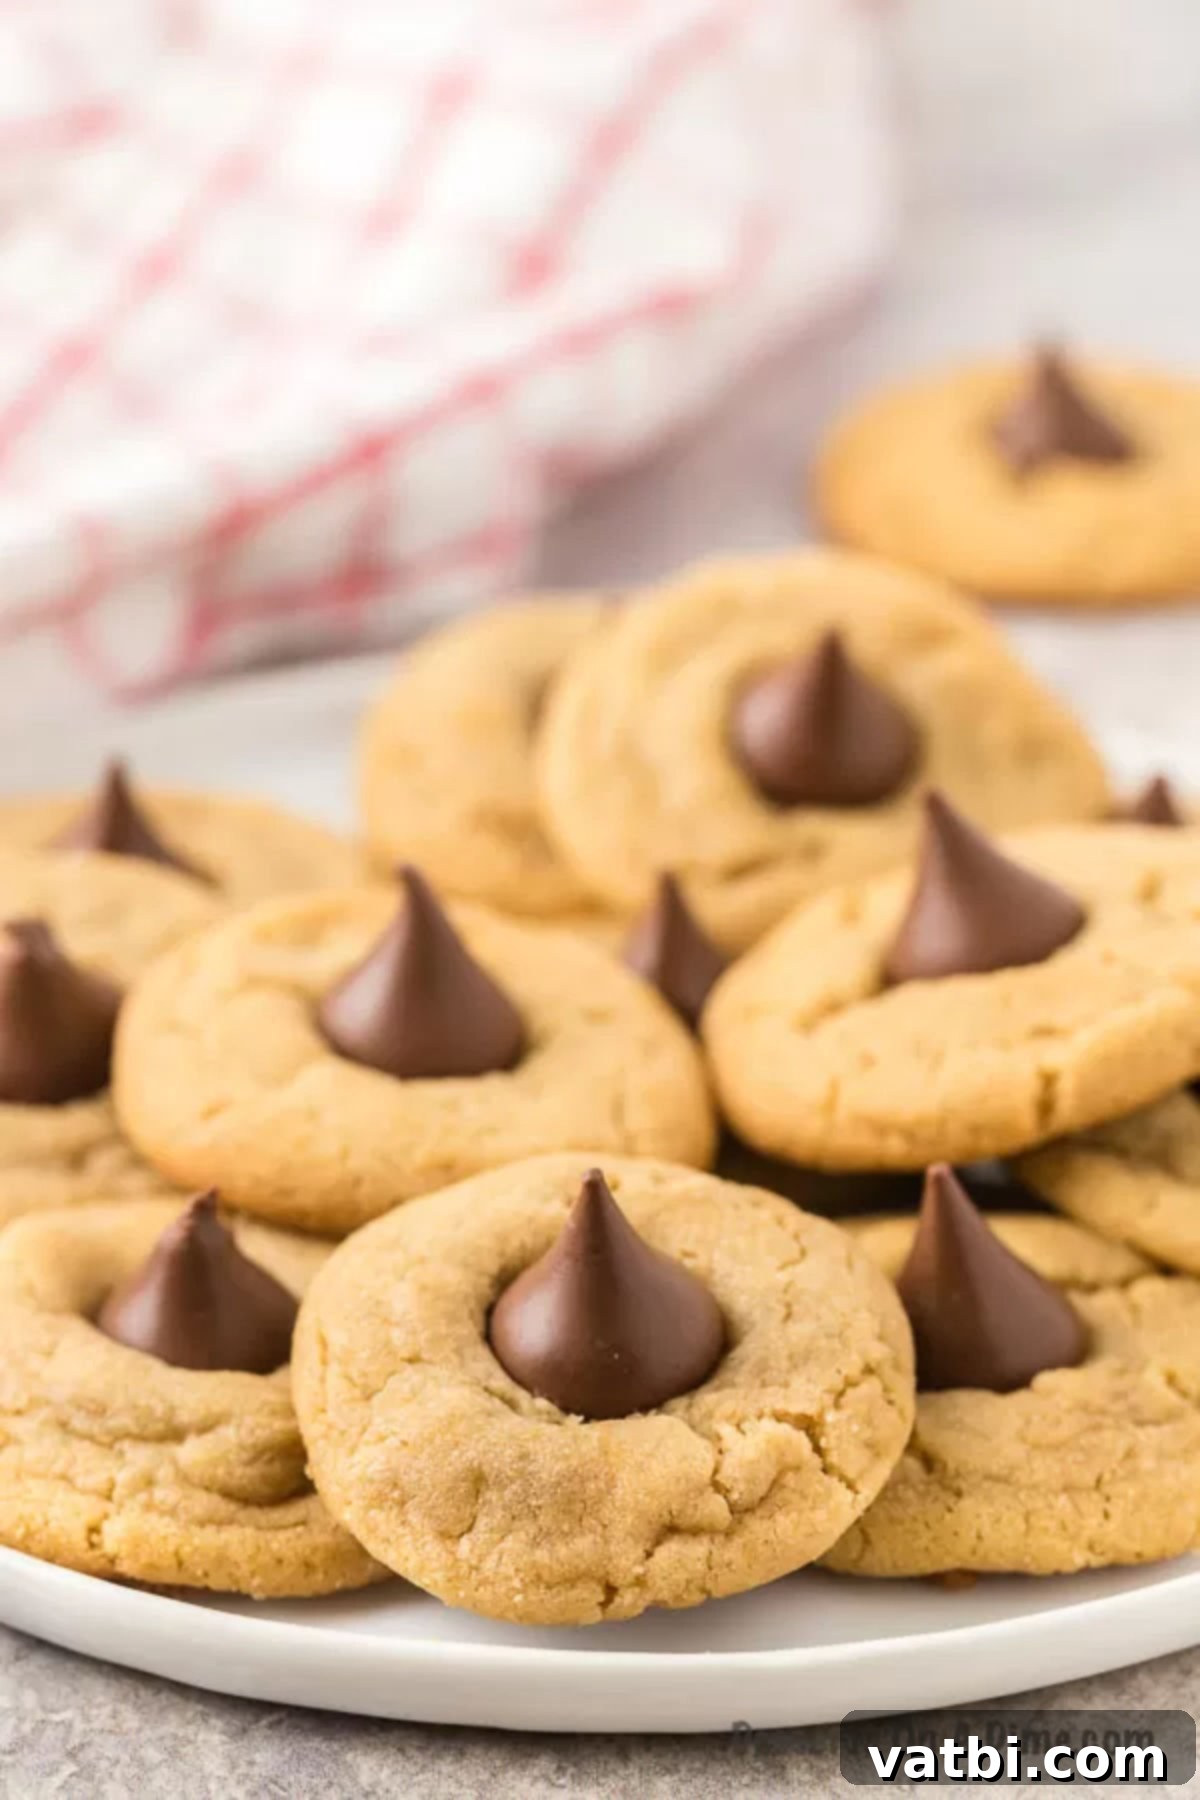
There’s just something inherently special about these cookies. They aren’t merely peanut butter cookies with a Hershey Kiss on top; they are a delightful experience from start to finish. Visually, they are incredibly charming and festive, making them a beautiful addition to any dessert platter, especially during the holiday season. Their distinctive look, with the shiny chocolate kiss peeking out from the soft, crinkly cookie, always draws compliments.
But beyond their appearance, the taste is truly what sets them apart. The rich, moist peanut butter cookie base provides the perfect foundation, offering a chewy yet tender bite. Then, as you take a mouthful, the warm, melting chocolate kiss introduces a wave of sweet, creamy goodness that perfectly complements the nutty flavor. It’s this harmonious balance that makes them so addictive.
I’ve personally made these Peanut Butter Chocolate Kiss Cookies every holiday season for years, and they’ve become an indispensable part of our family traditions. They’re simple enough for beginner bakers but yield results that impress everyone, creating cherished memories and satisfying sweet cravings with every bite. Whether it’s for a festive gathering, a bake sale, or just a cozy evening treat, these cookies always hit the spot.
Essential Ingredients for Perfect Peanut Butter Kiss Cookies
Creating these delightful cookies requires a handful of common pantry staples. The quality of your ingredients can truly elevate the final product, so choose wisely!
- Peanut Butter: For the smoothest, creamiest cookie texture, opt for creamy peanut butter. While natural peanut butter can be used, ensure it’s well-stirred to prevent a dry or crumbly dough. Any brand you love will work wonderfully.
- Butter: Real, unsalted butter is highly suggested for the best and richest flavor. It contributes significantly to the tender texture and overall taste of the cookies. Make sure it’s at room temperature for optimal creaming.
- Brown Sugar: This ingredient is key to the cookies’ signature chewiness and adds a deeper, molasses-like flavor. If you find yourself without any store-bought brown sugar, you can easily make Homemade Brown Sugar by combining granulated sugar with a touch of molasses.
- Granulated Sugar: Along with brown sugar, granulated sugar contributes to the sweetness and helps create that classic crinkly cookie edge.
- Vanilla Extract: Pure vanilla extract is always best for enhancing the flavors in your baking. It adds a warm, aromatic depth that rounds out the peanut butter and chocolate notes.
- Egg: A single large egg acts as a binder, providing structure and moisture to the cookie dough. For best results, use a room temperature egg, as it emulsifies better with other ingredients, leading to a more uniform dough and better-textured cookies.
- All-Purpose Flour: The foundation of our cookie. A crucial tip for measuring flour: always spoon the flour into your measuring cup and then level it off with a straight edge. This prevents packing too much flour into the cup, which can result in dry, dense cookies.
- Baking Soda: This leavening agent helps the cookies rise slightly and contributes to their tender crumb. If you’re ever in a pinch, check out some of the Best Baking Soda Substitutes.
- Salt: A pinch of salt balances the sweetness and enhances the overall flavor profile of both the peanut butter and chocolate.
- Hershey Kisses: The iconic topping! For convenience, make sure to unwrap these delightful chocolate candies while your cookies are baking so they’re ready to be pressed into the warm cookies immediately after they come out of the oven. This ensures they melt perfectly and adhere to the cookie.
You can find the precise measurements for all these ingredients in the detailed recipe card located at the bottom of this post.
Creative Additions and Delicious Substitutions
While the classic Peanut Butter Hershey Kiss Cookie is perfect as is, there are many fun ways to customize this recipe to suit your taste or occasion. Don’t be afraid to experiment and make them uniquely yours!
- Experiment with Different Types of Hershey Kisses: The possibilities are truly endless with the variety of Hershey’s Kisses available today. Beyond the traditional milk chocolate, try:
- White Chocolate Kisses: For a sweeter, creamier twist.
- Dark Chocolate Kisses: If you prefer a richer, less sweet chocolate flavor.
- Caramel Kisses: Adding a gooey, buttery caramel center for an extra layer of indulgence.
- Mint Kisses: Perfect for a refreshing holiday touch.
- Seasonal or Birthday Kisses: Look for limited edition flavors or colors to match any celebration, like Birthday Cake Kisses with sprinkles, or peppermint Kisses for Christmas.
- Explore Other Chocolate Options: Don’t limit yourself to Kisses! This recipe is incredibly versatile.
- Mini Reese’s Peanut Butter Cups: For an ultimate peanut butter and chocolate explosion, press a mini Reese’s cup into the warm cookie. This is a game-changer for serious peanut butter lovers!
- Chocolate Chunks or Squares: If you don’t have Kisses, you can gently press a square of your favorite chocolate bar or a chocolate chunk into the warm cookie.
- White Chocolate or Milk Chocolate Chips: While not the same iconic shape, a handful of chips pressed into the center works in a pinch.
- Roll in Sanding Sugar or Other Toppings: Add a festive visual appeal or an extra layer of texture by rolling the dough balls before baking.
- Sanding Sugar: For Christmas, rolling the dough balls in red and green sanding sugar before baking creates a stunning holiday cookie. You can choose any color to match specific occasions, from vibrant blues for a baby shower to team colors for a game day treat.
- Finely Chopped Nuts: Roll the dough in finely chopped peanuts for an extra nutty crunch.
- Cocoa Powder: A light dusting of cocoa powder mixed with a little sugar can add a sophisticated touch and a deeper chocolate hint.
- Sprinkles: For a fun, playful cookie, especially for birthdays or kid-friendly events, roll the dough in colorful sprinkles.
- Additions to the Cookie Dough:
- Mini Chocolate Chips: Fold a half-cup of mini chocolate chips into the cookie dough before rolling for an extra chocolatey experience.
- Peanut Butter Chips: Double down on the peanut butter flavor by adding peanut butter chips to the dough.
Step-By-Step Instructions for Baking Perfect Peanut Butter Hershey Kiss Cookies
Baking these classic cookies is a straightforward process that yields incredibly rewarding results. Follow these steps for the ultimate chewy, chocolatey, and peanut buttery treat:
- Step 1 – Prepare Your Oven: Begin by preheating your oven to 350°F (175°C). While some recipes suggest 375°F, I’ve found that 350°F allows for a more even bake and helps prevent the edges from crisping too quickly, resulting in a softer, chewier cookie. Feel free to adjust slightly based on your oven’s specific characteristics.
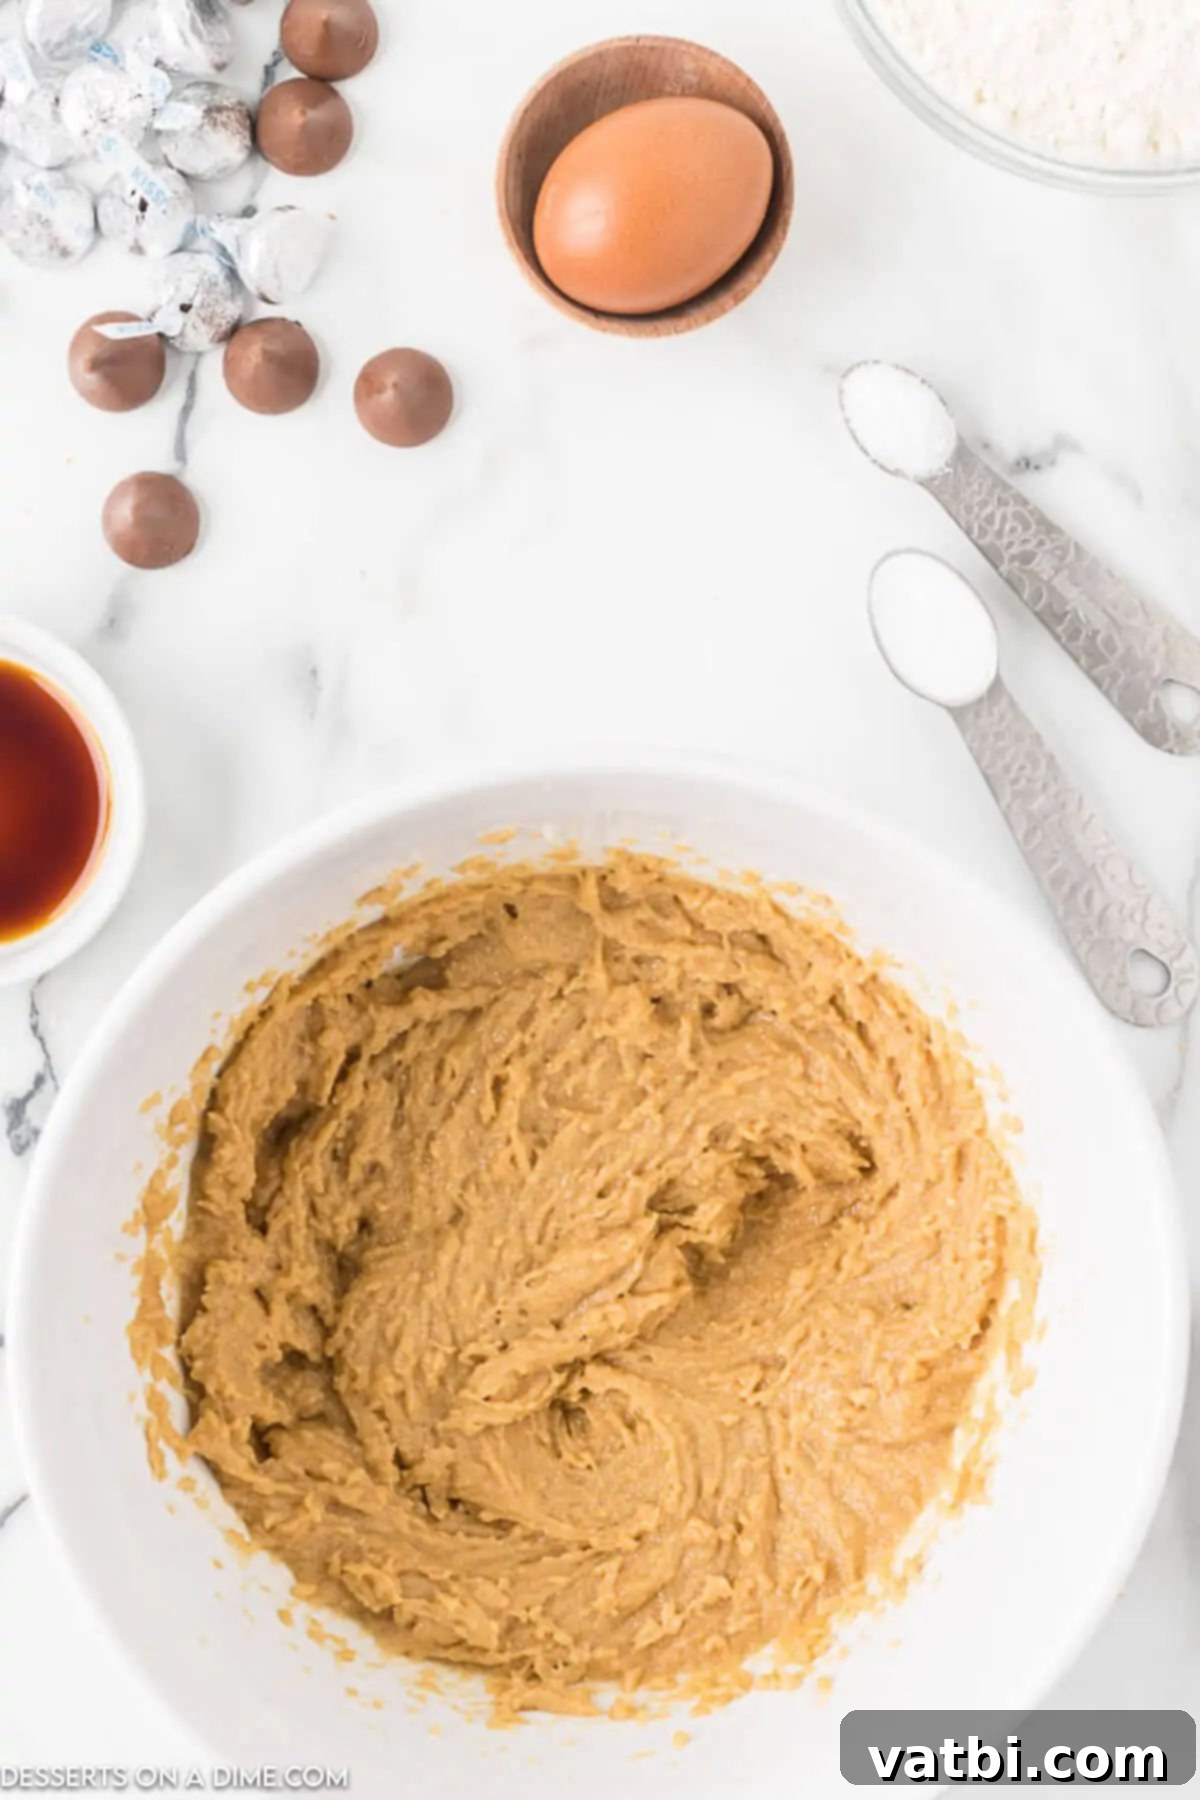
Step 2 – Cream Wet Ingredients: In a large mixing bowl, combine the ½ cup creamy peanut butter, ½ cup softened butter, ½ cup granulated sugar, and ½ cup brown sugar. Use an electric mixer to cream these ingredients together until the mixture is light, fluffy, and well combined. This process incorporates air, contributing to the cookies’ tender texture.
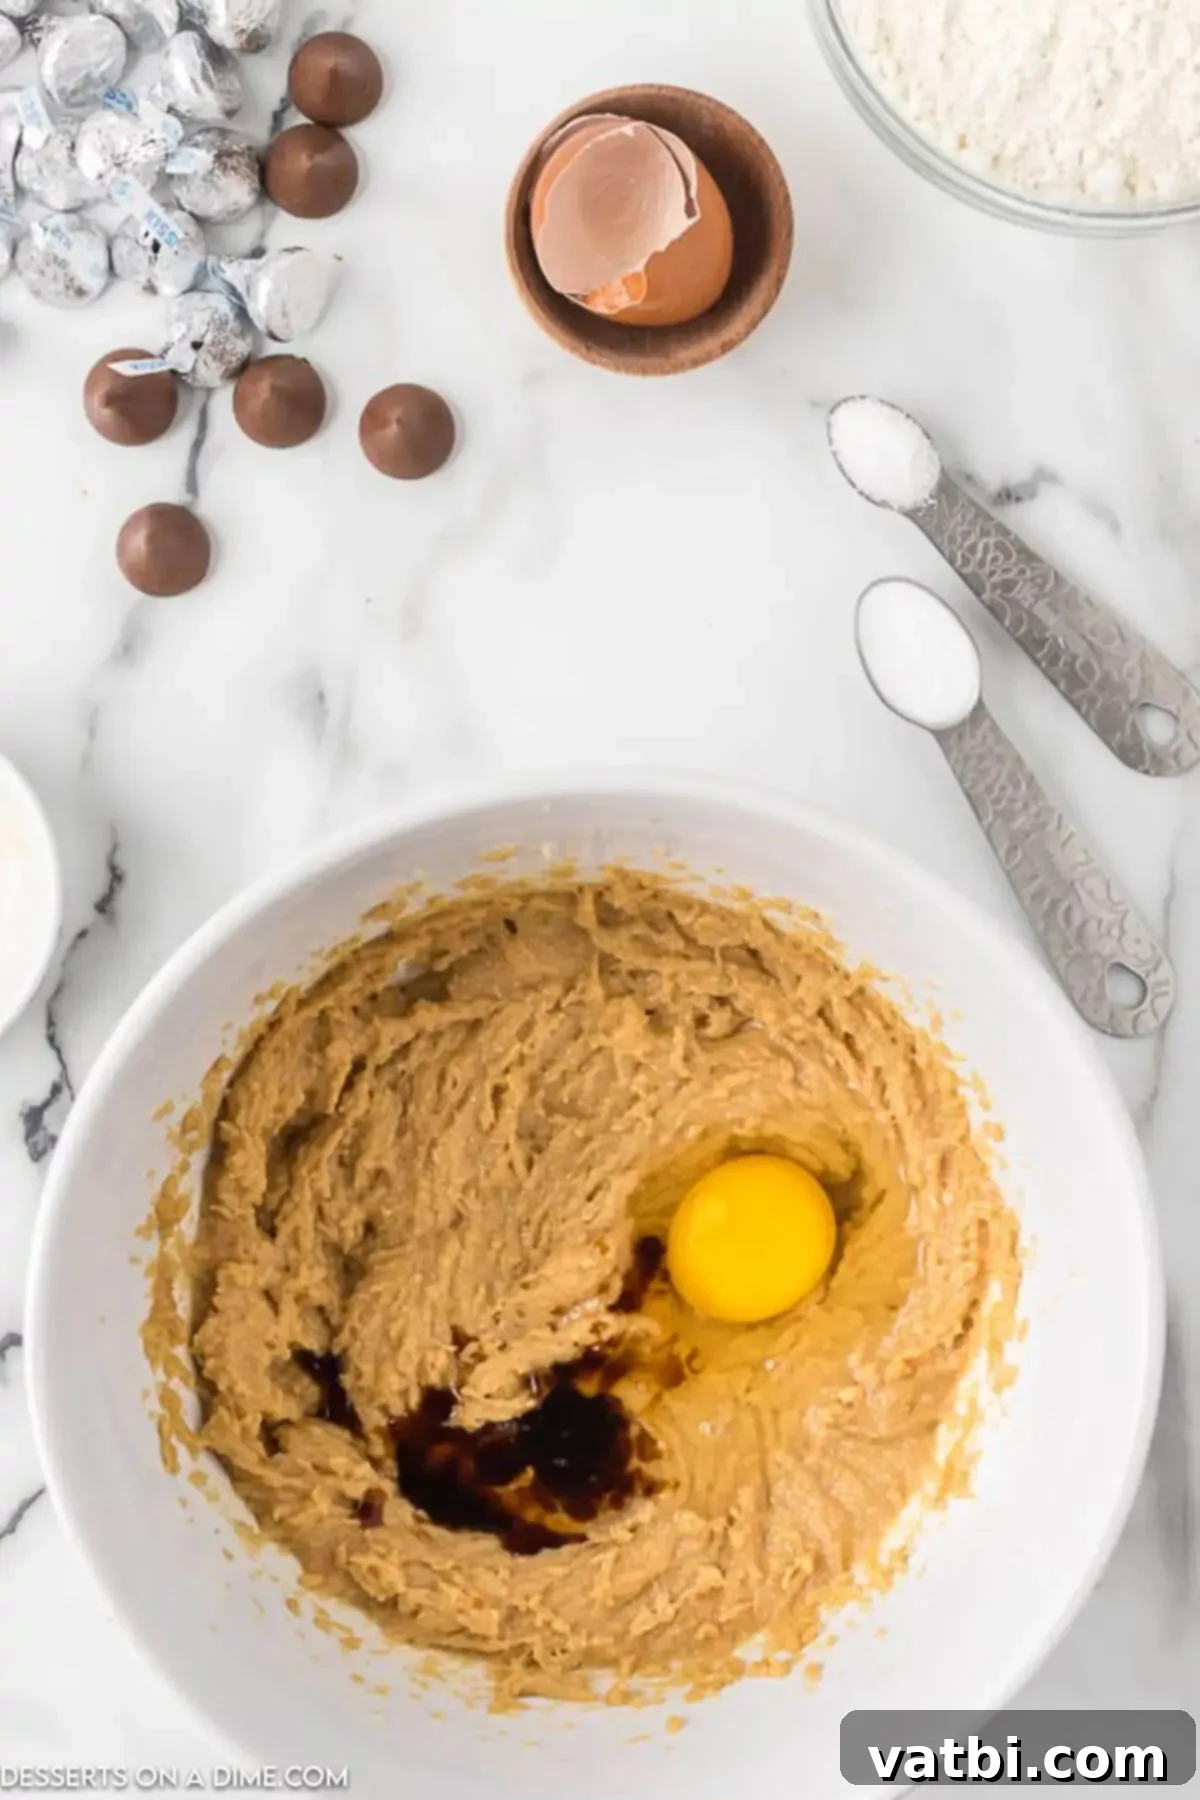
Step 3 – Incorporate Egg & Vanilla: Next, add the room temperature egg and 1 teaspoon of vanilla extract to the creamed peanut butter mixture. Beat thoroughly until fully incorporated, ensuring the mixture is smooth and uniform. Scrape down the sides of the bowl as needed to ensure everything is well combined.
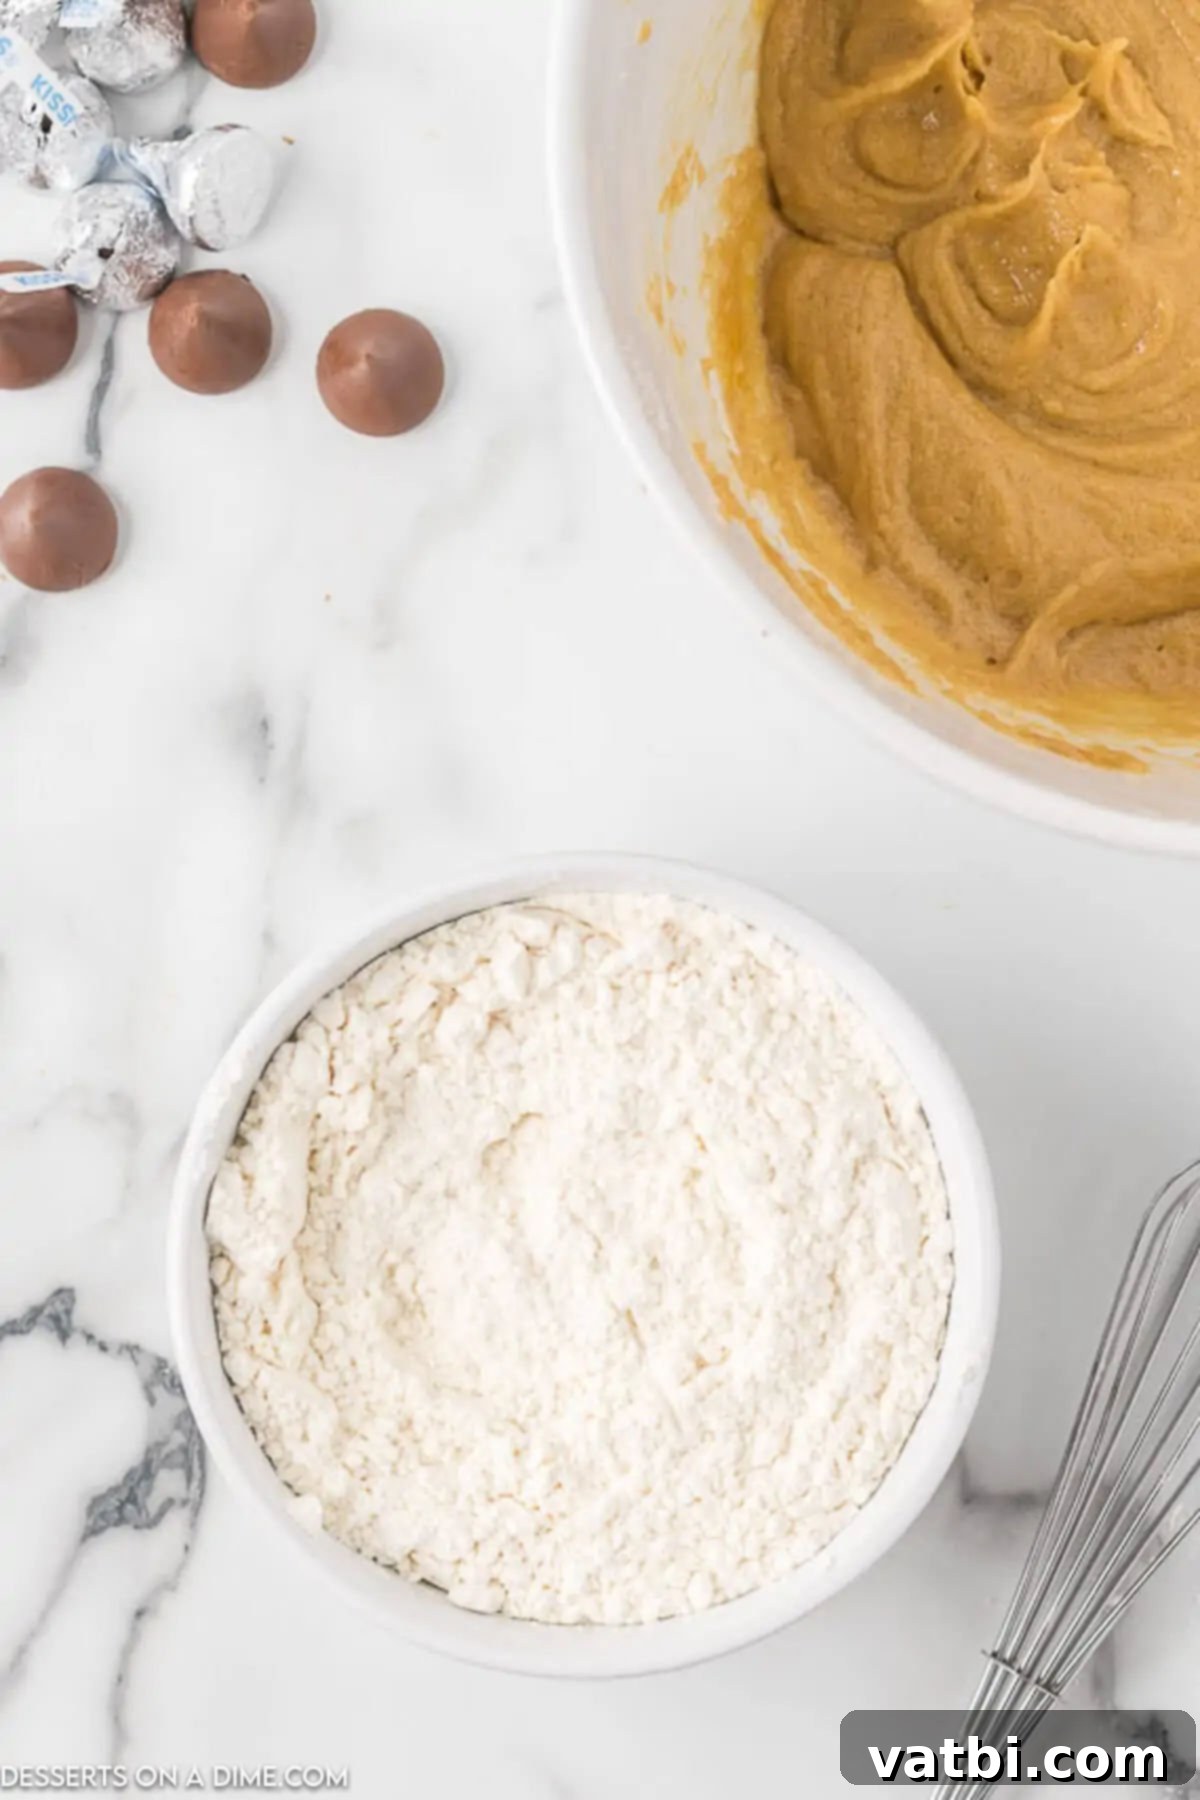
Step 4 – Prepare Dry Ingredients: In a separate medium-sized bowl, whisk together the 1 ⅓ cup all-purpose flour, 1 teaspoon baking soda, and ½ teaspoon salt. Whisking ensures these ingredients are evenly distributed, which is crucial for consistent cookie texture and rise.
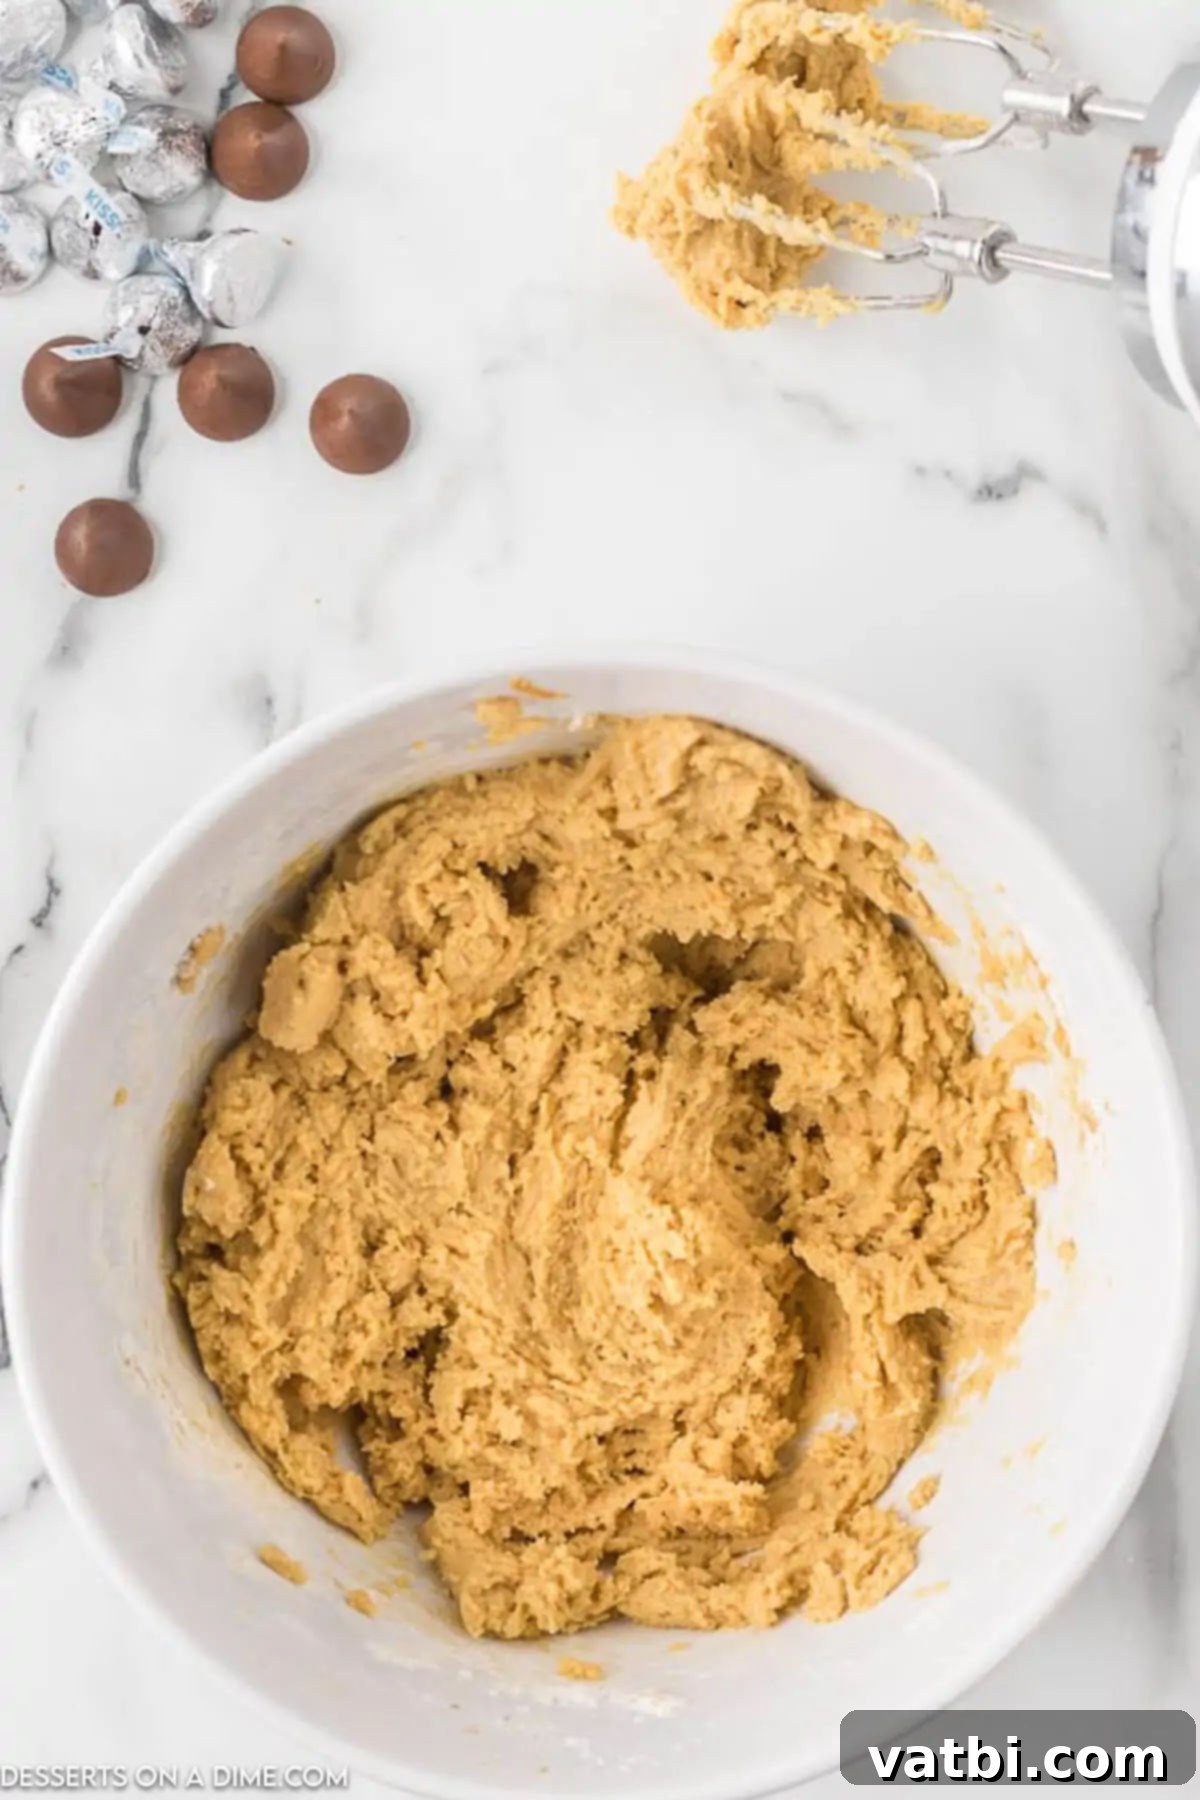
Step 5 – Combine Wet & Dry: Gradually add the dry ingredients to the creamed wet mixture. Do this slowly, mixing on medium speed with a paddle attachment (or by hand with a sturdy spoon) until a cohesive cookie dough forms. Be careful not to overmix, as this can lead to tough cookies.
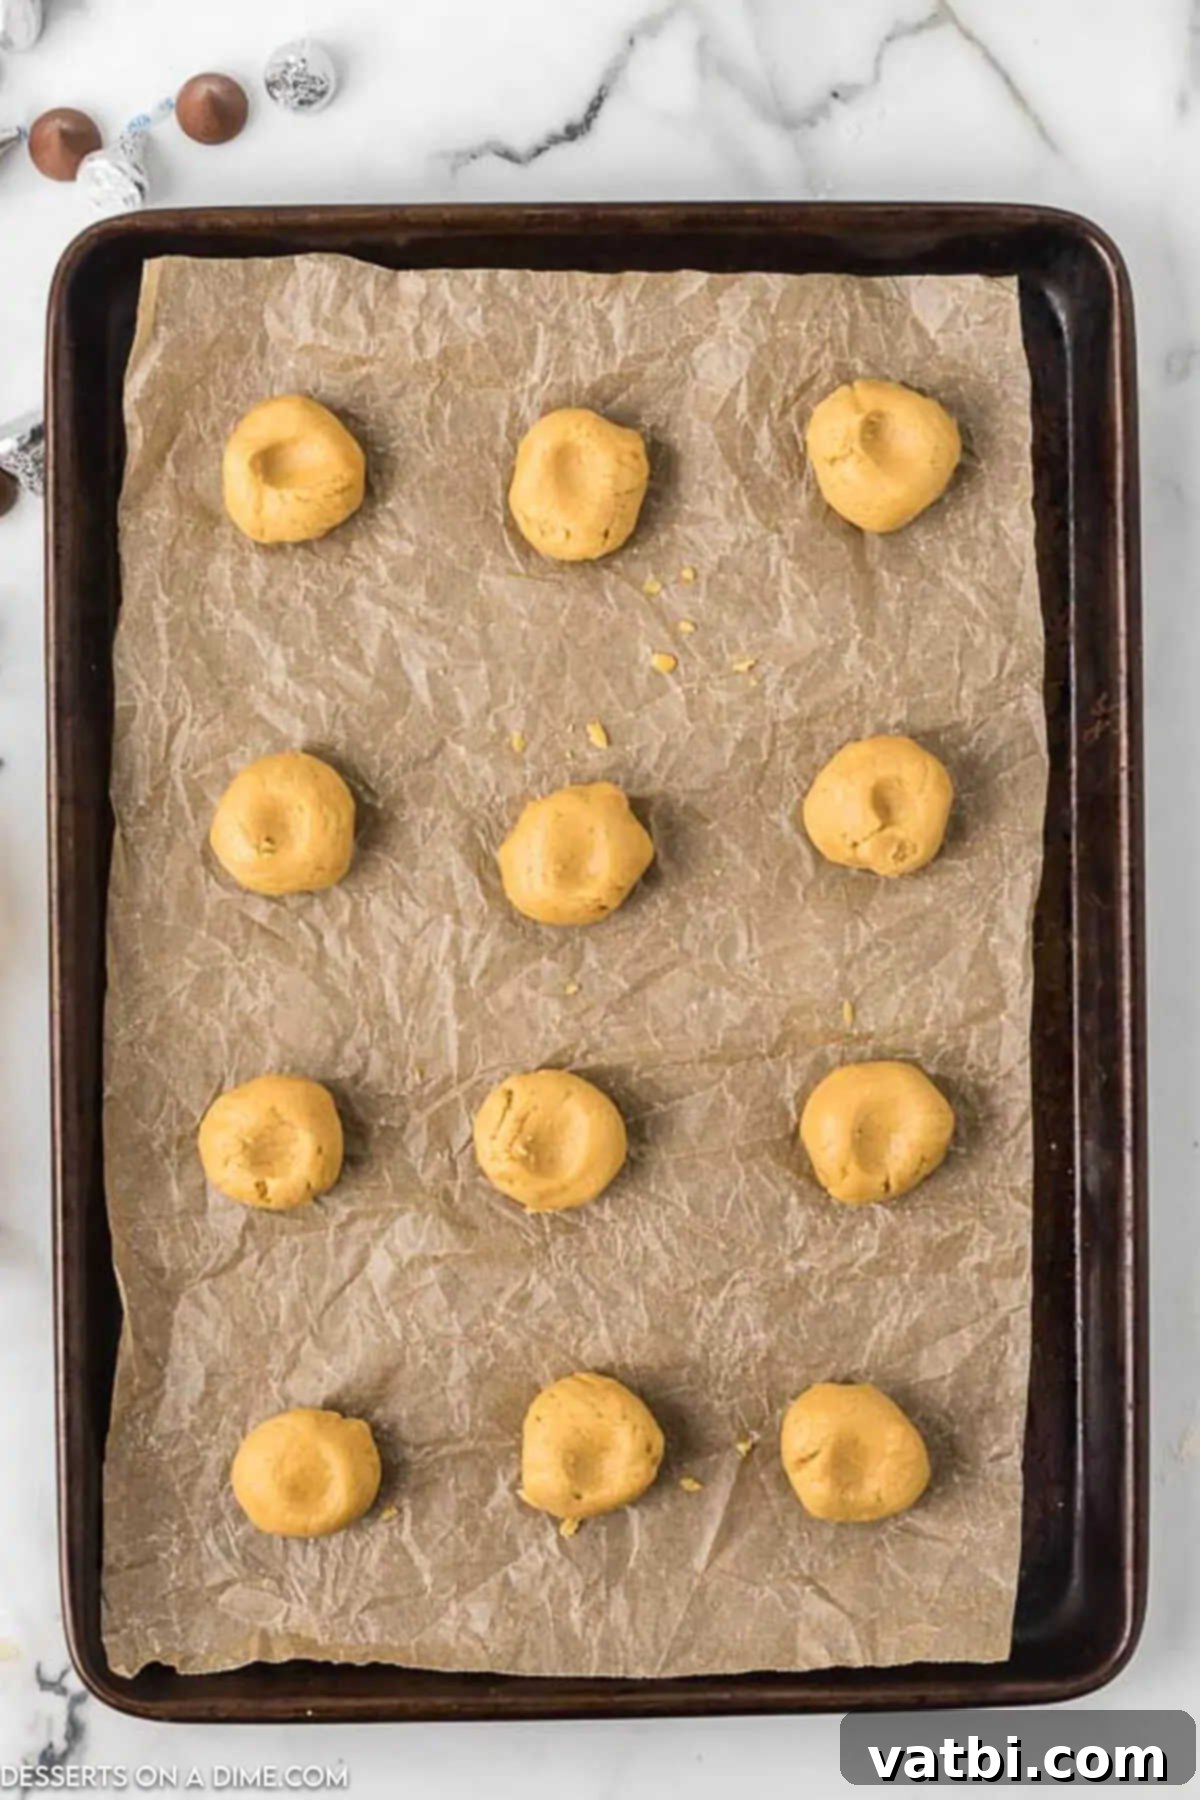
Step 6 – Shape and Indent: It’s time to shape your cookies! Roll the dough into 1-inch balls. For best results and consistent size, use a cookie scoop. Place the dough balls several inches apart on an ungreased cookie sheet (or one lined with parchment paper or a silicone mat). Using your thumb or the back of a small spoon, gently make an indentation in the center of each cookie dough ball. This creates the perfect spot for the Hershey Kiss. Now, your cookies are ready to bake!

Step 7 – Bake and Add Kisses: Bake the cookies for 12-14 minutes, or until the edges are lightly golden and the centers appear set. They might look slightly underdone in the middle, but they will continue to set as they cool. As soon as you remove the cookies from the oven, immediately place an unwrapped Hershey Kiss candy firmly into the indentation of each warm cookie. The residual heat will slightly melt the chocolate, allowing it to adhere perfectly. Let the cookies cool on the baking sheet for a few minutes before transferring them to a wire cooling rack to cool completely. This helps them firm up and prevents breakage.
Pro Baking Tips for the Best Peanut Butter Hershey Kiss Cookies
Achieving bakery-quality Peanut Butter Hershey Kiss Cookies is easier than you think with these expert tips:
- Choose Creamy Peanut Butter Wisely: Stick to creamy, shelf-stable peanut butter (like Jif or Skippy) for this recipe. Natural peanut butter, which often separates, can result in a drier, more crumbly cookie texture that won’t hold its shape as well. The consistent emulsification of creamy peanut butter is key for a smooth dough.
- Invest in a Cookie Scoop: A cookie scoop is your secret weapon for uniform cookies. Not only does it make portioning dough quick and mess-free, but it also ensures that all your cookies are the same size, leading to even baking and a professional appearance. For 1-inch balls, a 1-tablespoon scoop works perfectly.
- Only Use Real Butter: Margarine or butter substitutes simply won’t yield the same rich flavor and tender texture. Real butter contributes essential fats that keep the cookies moist and delicious. Ensure your butter is softened to room temperature for optimal creaming.
- Room Temperature Ingredients are Non-Negotiable: This is a crucial tip! Allow your butter and eggs to come to room temperature before you start mixing. Room temperature butter creams more easily with sugar, creating a light and airy base. Room temperature eggs emulsify better with the fat, resulting in a smoother, more consistent dough and a better overall cookie texture that won’t crumble once baked.
- Adjust Dough Consistency if Needed: If your cookie dough feels too firm or crumbly to roll into balls, don’t panic! Add a tiny bit (half a teaspoon at a time) of milk or cream to the dough and mix until it reaches a workable consistency. Conversely, if it’s too sticky, a tablespoon of extra flour can help.
- Prepare Your Baking Sheets: While the recipe calls for an ungreased cookie sheet, lining your pan with silicone baking mats or parchment paper is highly recommended. This prevents sticking, ensures even heat distribution, and makes for super easy cleanup.
- Don’t Overbake: Peanut butter cookies are best when they are slightly soft and chewy. Bake just until the edges are lightly golden and the centers look set but still slightly soft. Overbaking will result in dry, hard cookies. Remember, they will continue to cook slightly from residual heat once removed from the oven.
- Work Quickly with Hershey Kisses: As soon as the cookies exit the oven, press those unwrapped Kisses into the center. The warmth of the cookie is what allows the chocolate to soften and adhere perfectly. If you wait too long, the cookies will cool and the Kisses won’t stick or melt as nicely.
Proper Storage for Lasting Freshness
To keep your Peanut Butter Hershey Kiss Cookies fresh and delicious for as long as possible, proper storage is key.
Once completely cooled, store the cookies in an airtight container at room temperature. To prevent them from sticking together and to maintain their shape, especially with the soft chocolate kisses, I like to use parchment paper or wax paper in between the cookie layers. Ensure the cookies are absolutely cool before storing; otherwise, condensation can form, leading to soggy cookies.
Stored correctly, these delightful cookies will maintain their freshness and tender texture for 3 to 5 days at room temperature.
Freezing Instructions: Baked Cookies & Uncooked Dough
Yes, these Peanut Butter Hershey Kiss Cookies are excellent for freezing, making them a perfect make-ahead treat for future cravings or unexpected guests. You have two convenient options for freezing:
Freezing Baked Cookies:
Once the cookies have completely cooled and the Hershey Kisses have set, place them in an airtight freezer-safe container. To prevent them from sticking, you can layer them with parchment paper. They will keep well in the freezer for up to 3 months. When you’re ready to enjoy them, simply remove the desired number of cookies from the freezer and allow them to thaw at room temperature for an hour or two. They’ll taste just as fresh as the day you baked them!
Freezing Uncooked Dough:
If you prefer to bake fresh cookies on demand, you can freeze the uncooked dough. Roll the dough into individual 1-inch balls as instructed in the recipe. Place the dough balls on a baking sheet lined with parchment paper and flash freeze them for about 30-60 minutes until they are firm. Once firm, transfer the frozen dough balls to freezer bags or airtight containers. This method prevents them from sticking together. The uncooked dough can be stored in the freezer for up to 3 months.
When you’re ready to bake from frozen dough, simply place the frozen dough balls on a prepared cookie sheet and bake as normal. Note that the cooking time may need to be increased by a few minutes (typically 2-4 minutes) since they are going into the oven from a frozen state. Keep an eye on them for those tell-tale golden edges!
More Festive Christmas Cookie Ideas
If you’re gearing up for holiday baking or simply love a good festive cookie, these recipes are sure to bring cheer:
- Easy Christmas Cake Mix Cookies Recipe: Quick, colorful, and perfect for last-minute holiday treats.
- Spiced Gingerbread Kiss Cookies Recipe: A classic holiday flavor, beautifully topped with a chocolate kiss.
- Rich Chocolate Kiss Cookies Recipe: For the ultimate chocolate lover, these are fudgy and irresistible.
More Irresistible Peanut Butter Desserts
Can’t get enough peanut butter? Neither can we! Here are some other fantastic recipes featuring this beloved ingredient:
- Creamy Peanut Butter Fluff Recipe: A light and airy no-bake dessert.
- Crunchy Peanut Butter Balls with Rice Krispies: A delightful no-bake treat with a satisfying crunch.
- Classic Chocolate Peanut Butter Cookies: A simple yet profound combination in cookie form.
- Fun Peanut Butter & Jelly Cookies Recipe: A nostalgic twist on a childhood favorite.
- Quick Peanut Butter Cake Mix Cookies Recipe: An incredibly easy way to get delicious peanut butter cookies on the table.
We hope you enjoy baking and sharing these incredible Peanut Butter Hershey Kiss Cookies! This recipe is a true testament to how simple ingredients can create something truly magical. The combination of chewy peanut butter and melting chocolate is a treat that never disappoints.
If you make this peanut butter kiss cookies recipe, please do us a favor and leave a comment below with your feedback and a star review. We absolutely love hearing from you and seeing your delicious creations! Happy baking!
Pin
Homemade Peanut Butter Hershey Kiss Cookies
Ingredients
- 1/2 cup Peanut Butter
- 1/2 cup Butter
- 1/2 cup Granulated Sugar
- 1/2 cup Brown Sugar
- 1 tsp Vanilla
- 1 Egg
- 1 1/3 cup Flour
- 1 tsp Baking Soda
- 1/2 tsp Salt
- 24 Hershey Kisses unwrapped
Instructions
-
Preheat oven to 350°F (175°C).
-
Cream together peanut butter, butter, granulated sugar, and brown sugar until smooth and fluffy.
-
Add the room temperature egg and vanilla extract, beating until fully combined.
-
In a separate bowl, whisk together all-purpose flour, baking soda, and salt.
-
Slowly add the dry ingredients to the creamed mixture, beating on medium speed with a paddle attachment until a cohesive dough forms. Avoid overmixing.
-
Roll the dough into 24 1-inch balls and place them several inches apart on a prepared cookie sheet.
-
Gently make an indentation in the center of each cookie dough ball using your thumb or a small spoon.
-
Bake for 12-14 minutes, until edges are lightly golden and centers are set.
-
Immediately after removing from the oven, press one unwrapped Hershey Kiss firmly into the center of each warm cookie. Allow to cool on the baking sheet for a few minutes before transferring to a wire rack to cool completely.
Nutrition Facts
Carbohydrates 18g,
Protein 3g,
Fat 8g,
Saturated Fat 4g,
Polyunsaturated Fat 1g,
Monounsaturated Fat 2g,
Trans Fat 1g,
Cholesterol 18mg,
Sodium 160mg,
Potassium 52mg,
Fiber 1g,
Sugar 12g,
Vitamin A 128IU,
Calcium 18mg,
Iron 1mg
Pin This Now to Remember It Later
Pin Recipe
