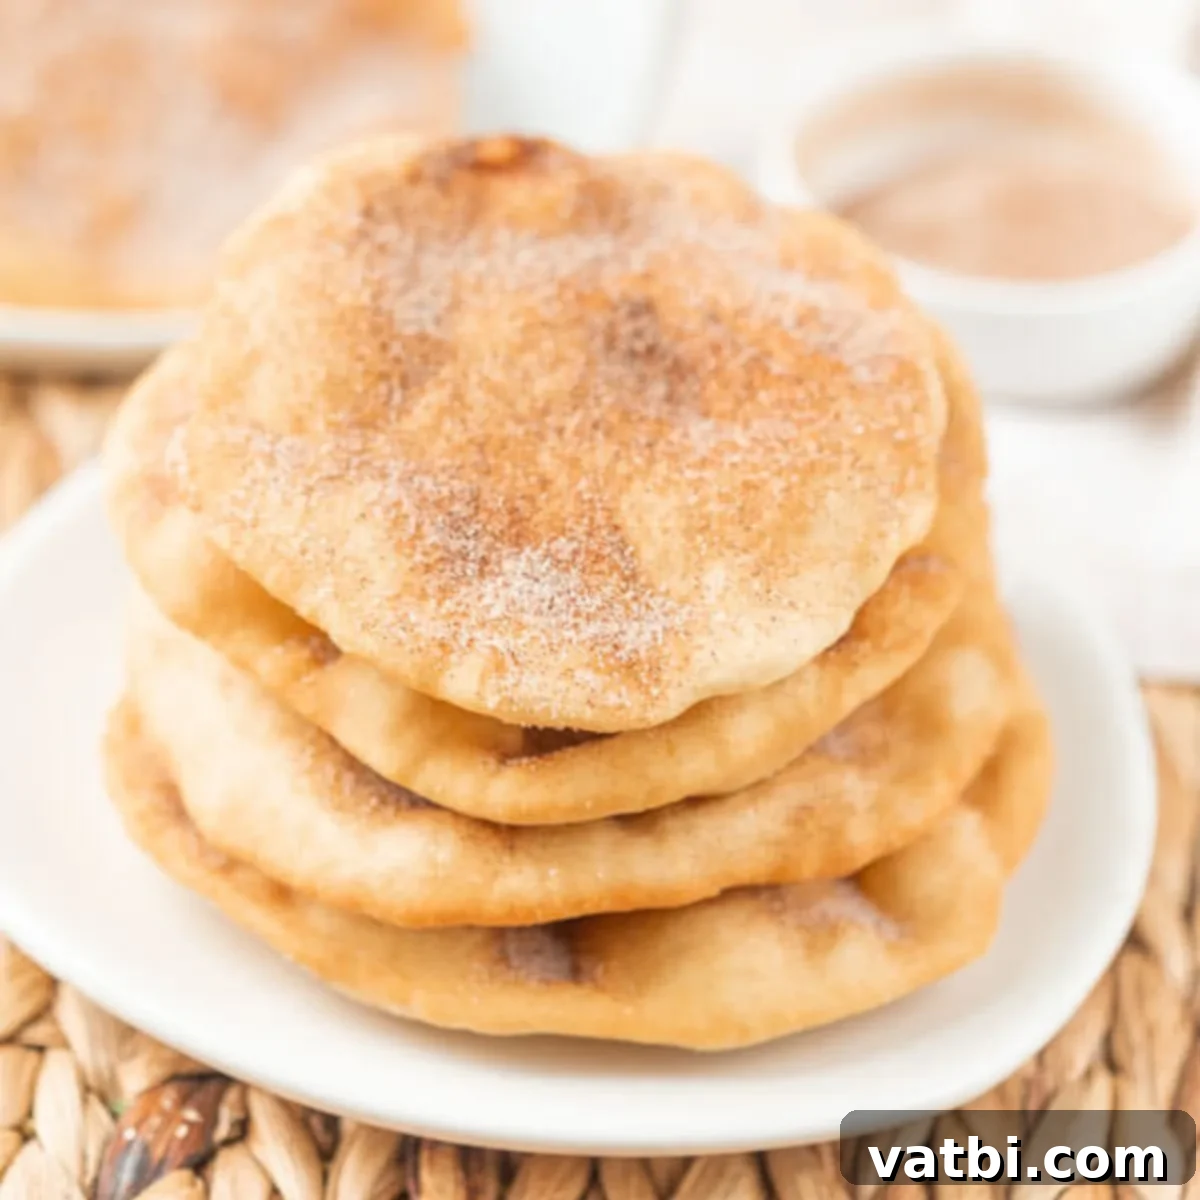
The Best Homemade Elephant Ears Recipe: Sweet, Crispy Carnival Fun at Home
Step right up and prepare to indulge in a classic carnival treat, right in the comfort of your own kitchen! This isn’t just an Elephant Ears Recipe; it’s your ticket to recreating those cherished memories of fairgrounds and food trucks, without the wait or the crowds. Imagine biting into warm, wonderfully crispy sweet pastry dough, perfectly fried to a golden perfection, and generously dusted with a delightful blend of cinnamon and sugar. Each bite offers a satisfying crunch followed by a soft, airy interior – a truly irresistible experience.
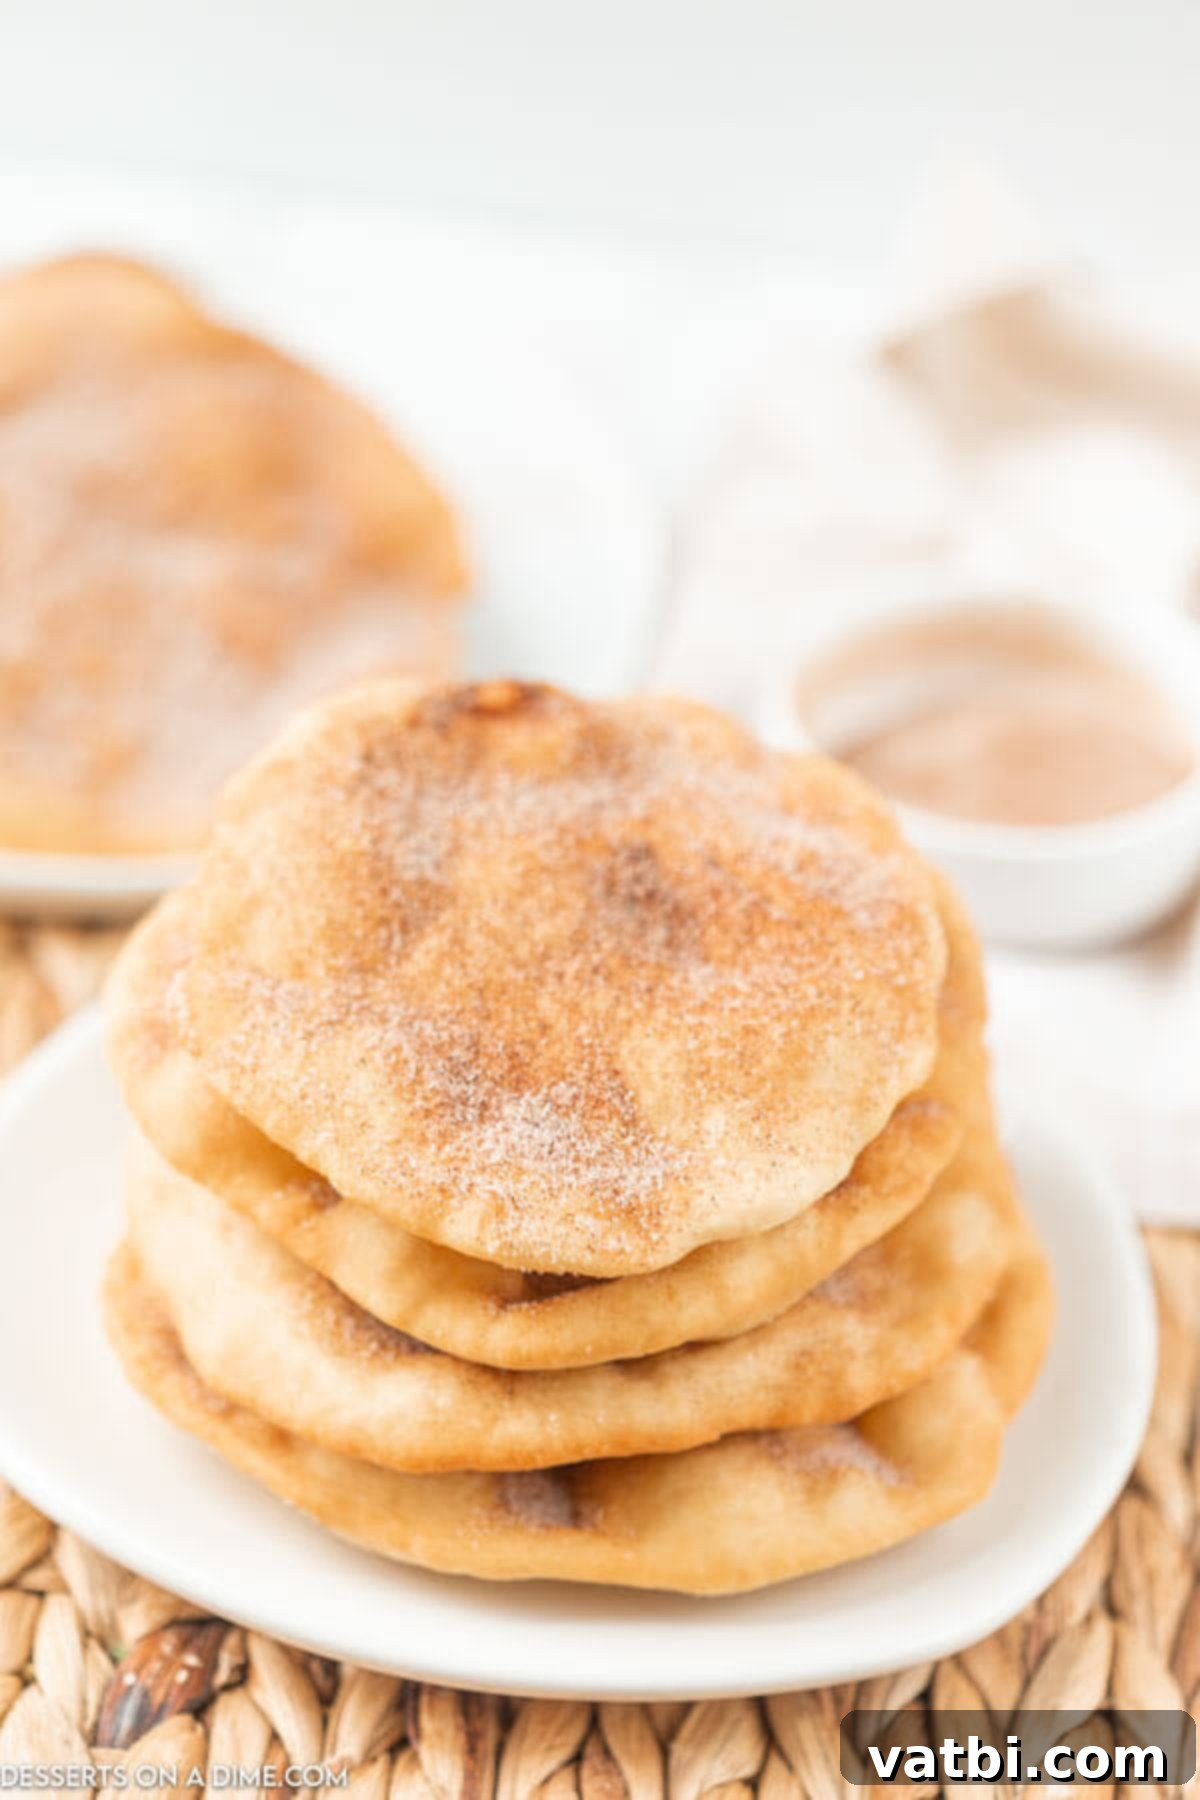
If your heart beats for irresistible fried treats, then this homemade elephant ears recipe is an absolute must-try. You no longer have to patiently await the next carnival season or hope a food truck rolls into town to savor these iconic desserts. Our recipe simplifies the process, making it incredibly quick and straightforward to prepare these delicious treats from scratch. I’ve been making these delightful fried dough pastries for my family since my kids were small, and they never fail to bring smiles and shouts of joy!
Our household absolutely adores carnival-style desserts. Alongside these fantastic elephant ears, we also have an incredibly easy funnel cake recipe that’s a huge hit. It’s safe to say we embrace all the fun and flavor of the fair right here at home! Be sure to explore our full collection of Quick Bread Recipes for more simple baking ideas. You might also fall in love with our Cinnamon Chips Recipe or the comforting Cinnamon Swirl Bread Recipe.
What’s in this post: Best Elephant Ears Recipe
- Why This Recipe Works
- Ingredients You’ll Need
- Step by Step Instructions for Perfect Elephant Ears
- Expert Tips for Frying and Serving
- What is the Difference Between a Funnel Cake and an Elephant Ear?
- Creative Topping Ideas
- Frequently Asked Questions
- More Fried Dessert Recipes to Love
- Elephant Ears Recipe Card
Why This Recipe Works
- Simple Pantry Ingredients – One of the greatest advantages of this recipe is how accessible the ingredients are. If you enjoy baking and keep your pantry reasonably stocked, chances are you already have everything required to whip up a batch of these delicious elephant ears. No special trips to a gourmet store needed – just basic staples.
- A True Family Favorite – My kids, like many, absolutely adore getting fry bread at our local fairs and festivals. The joy on their faces is priceless! By making these at home, I not only create wonderful memories but also save a significant amount of time and money compared to buying them out. It’s a treat everyone eagerly anticipates.
- Quick, Easy, and Rewarding – Don’t let the “fried dough” aspect intimidate you. This delightful dessert is surprisingly simple to prepare, requiring minimal fuss for maximum flavor payoff. It’s a fantastic recipe for various occasions, from a spontaneous weekend treat to a fun activity for a party. The entire process, from mixing to frying, is incredibly straightforward.
- Authentic Carnival Flavor, Guaranteed – This recipe delivers that unmistakable taste and texture you associate with the best carnival elephant ears. The golden, crispy exterior and soft, slightly chewy interior, combined with the classic cinnamon sugar, will transport you straight to the fairgrounds.
- Versatile for Any Craving – While the traditional cinnamon and sugar topping is beloved, this recipe serves as a perfect canvas for countless other toppings. Whether you prefer a drizzle of chocolate, fresh fruit, or powdered sugar, these elephant ears adapt beautifully to your sweet desires.
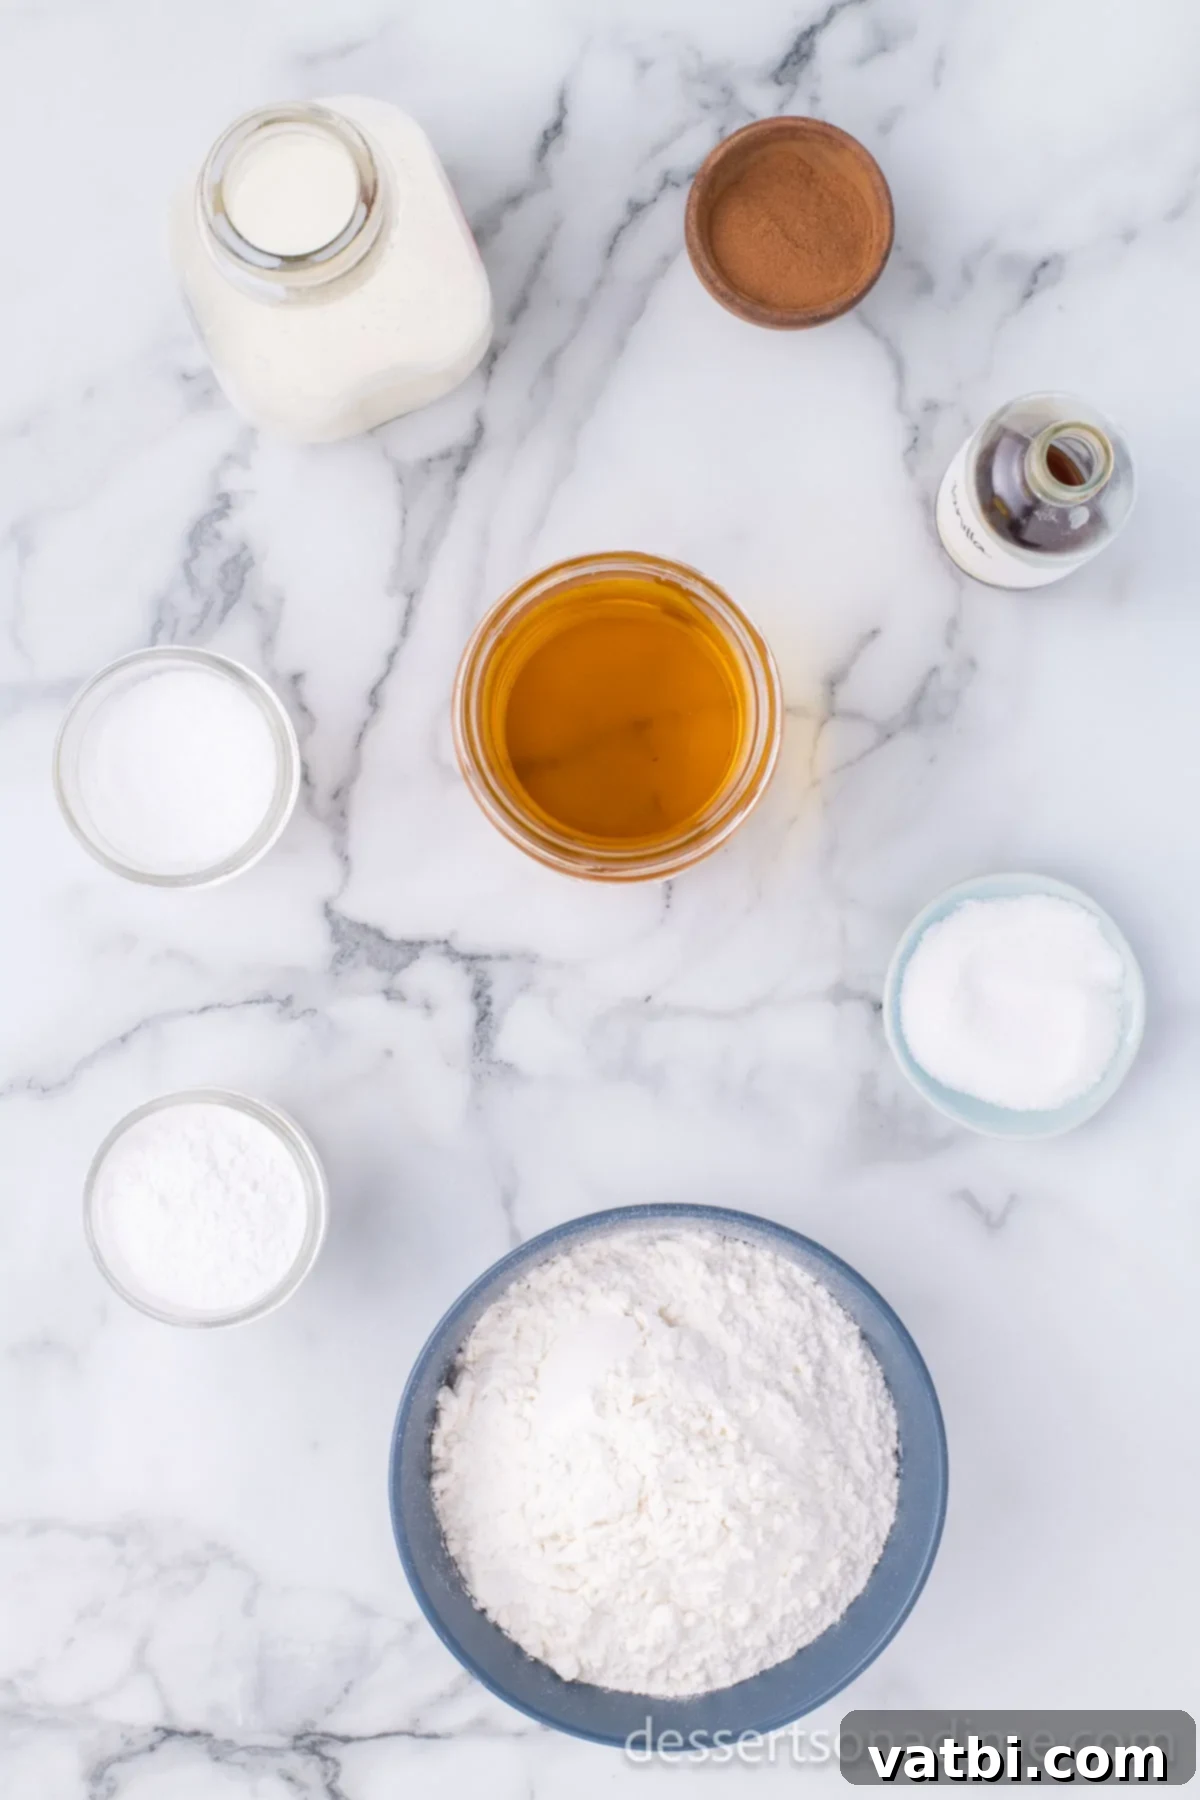
Ingredients You’ll Need
Gathering your ingredients is the first step to creating these delightful treats. You’ll notice that most are likely already in your pantry!
- All-Purpose Flour: The foundation of our pastry dough. It’s crucial to measure flour correctly. Avoid scooping directly with your measuring cup, as this can compact the flour and lead to a dense, tough dough. Instead, spoon the flour lightly into the measuring cup and then level it off with the back of a knife. This ensures a lighter, airier result.
- Whole Milk: For the richest flavor and best texture, whole milk is highly recommended. Its higher fat content contributes to a tenderer dough and a more satisfying mouthfeel compared to reduced-fat alternatives.
- Oil for Frying: The type of oil you choose is critical for successful deep frying. You need an oil with a high smoke point that can withstand high temperatures without burning or imparting off-flavors. Excellent choices include canola oil, vegetable oil, peanut oil, or even sunflower oil. Using enough oil to submerge the dough is key for even cooking.
- Granulated Sugar: Simple, plain white granulated sugar is what we’ll use for that classic sweet coating. It pairs perfectly with cinnamon to create the signature flavor of elephant ears.
- Cinnamon: Freshly ground cinnamon will elevate the flavor of your topping. You can adjust the amount to your personal preference – some like a generous dusting, while others prefer a lighter touch. Feel free to experiment with more or less cinnamon to find your perfect balance.
- Salt: A small amount of salt in the dough enhances all the other flavors, balancing the sweetness and bringing depth to the pastry.
- Baking Powder: This leavening agent helps the dough puff up beautifully when fried, creating those delightful airy pockets that make elephant ears so enjoyable.
Scroll to the bottom of the page to find the comprehensive recipe card for precise measurements and a detailed ingredient list.
Step by Step Instructions for Perfect Elephant Ears
Follow these easy steps to create delicious, homemade elephant ears that taste just like the ones from the fair!
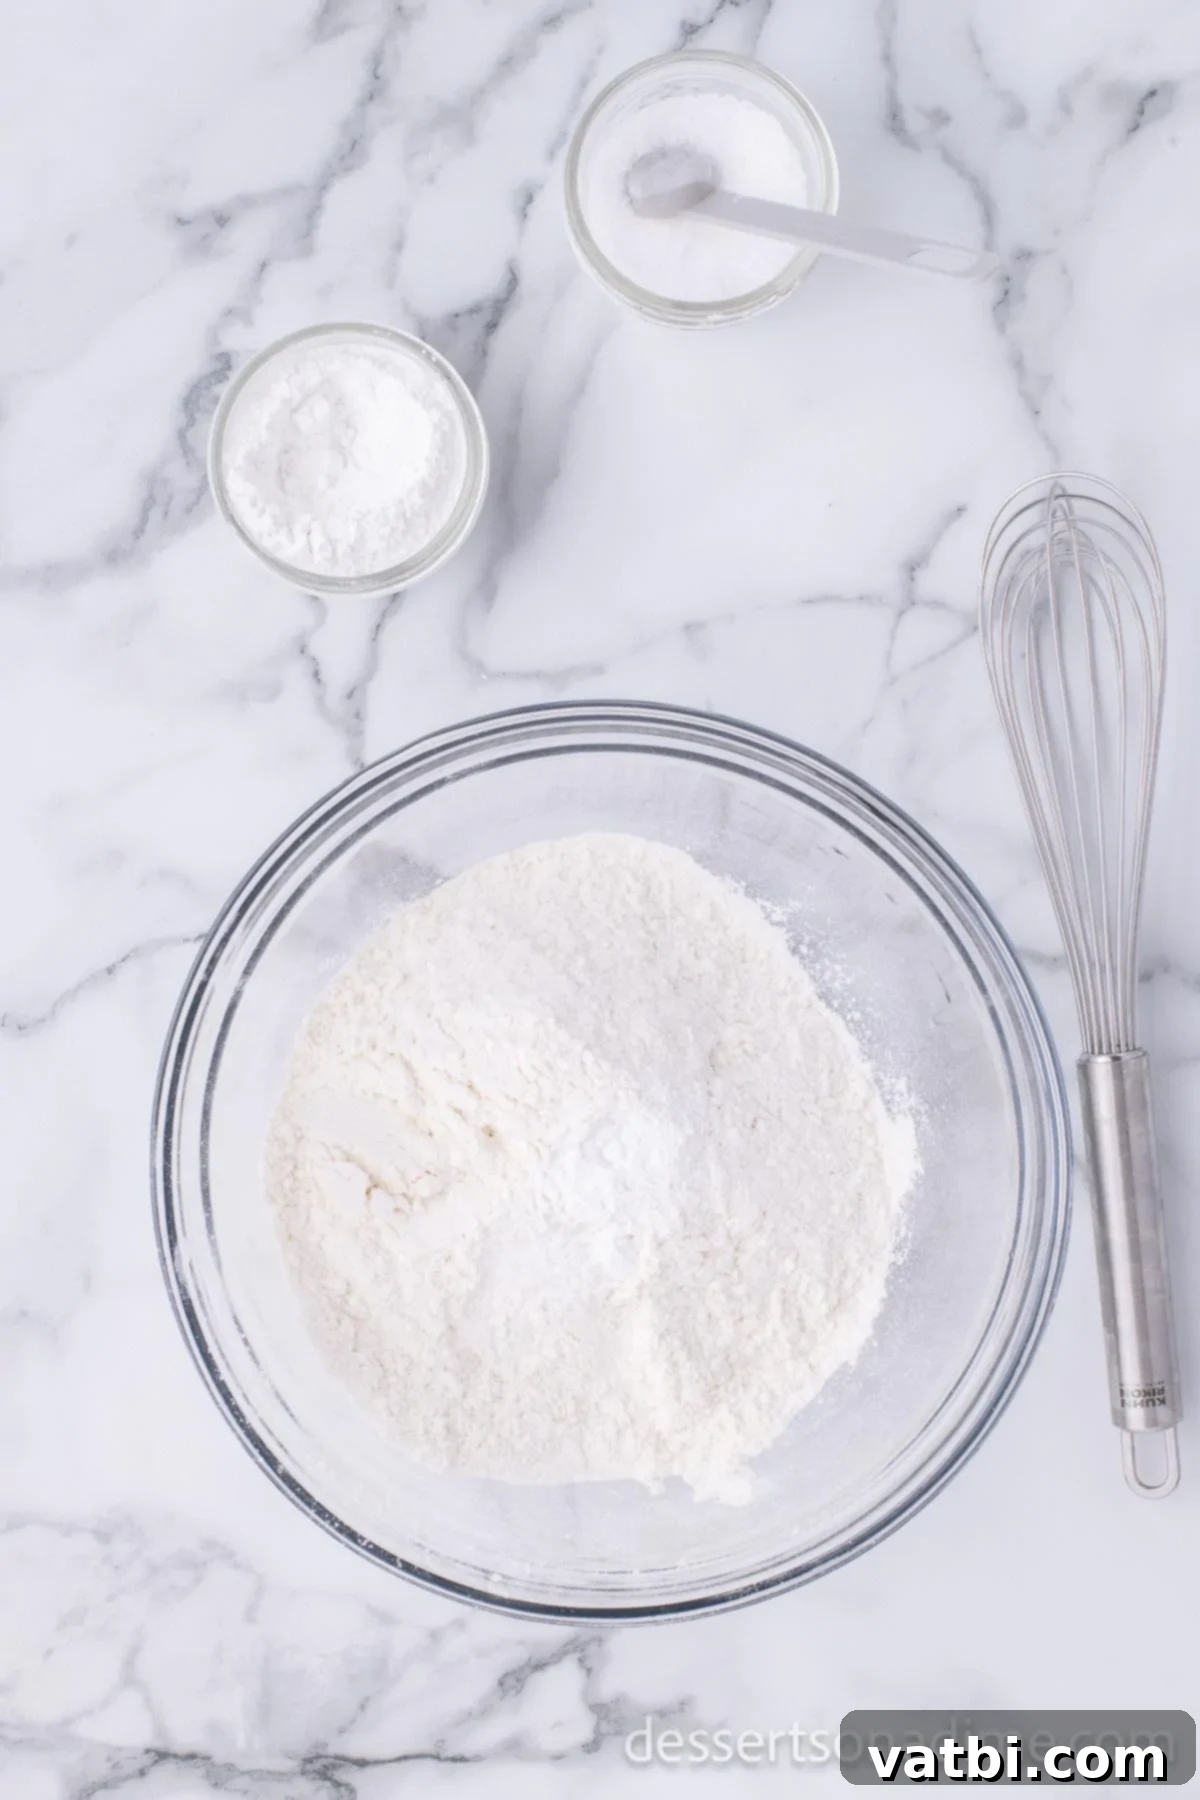
Step 1 – Combine Dry Ingredients: In a medium-sized mixing bowl, add your measured all-purpose flour, salt, and baking powder. Use a whisk or a spoon to thoroughly combine these dry ingredients, ensuring they are evenly distributed. This helps with the consistent rise of your dough.
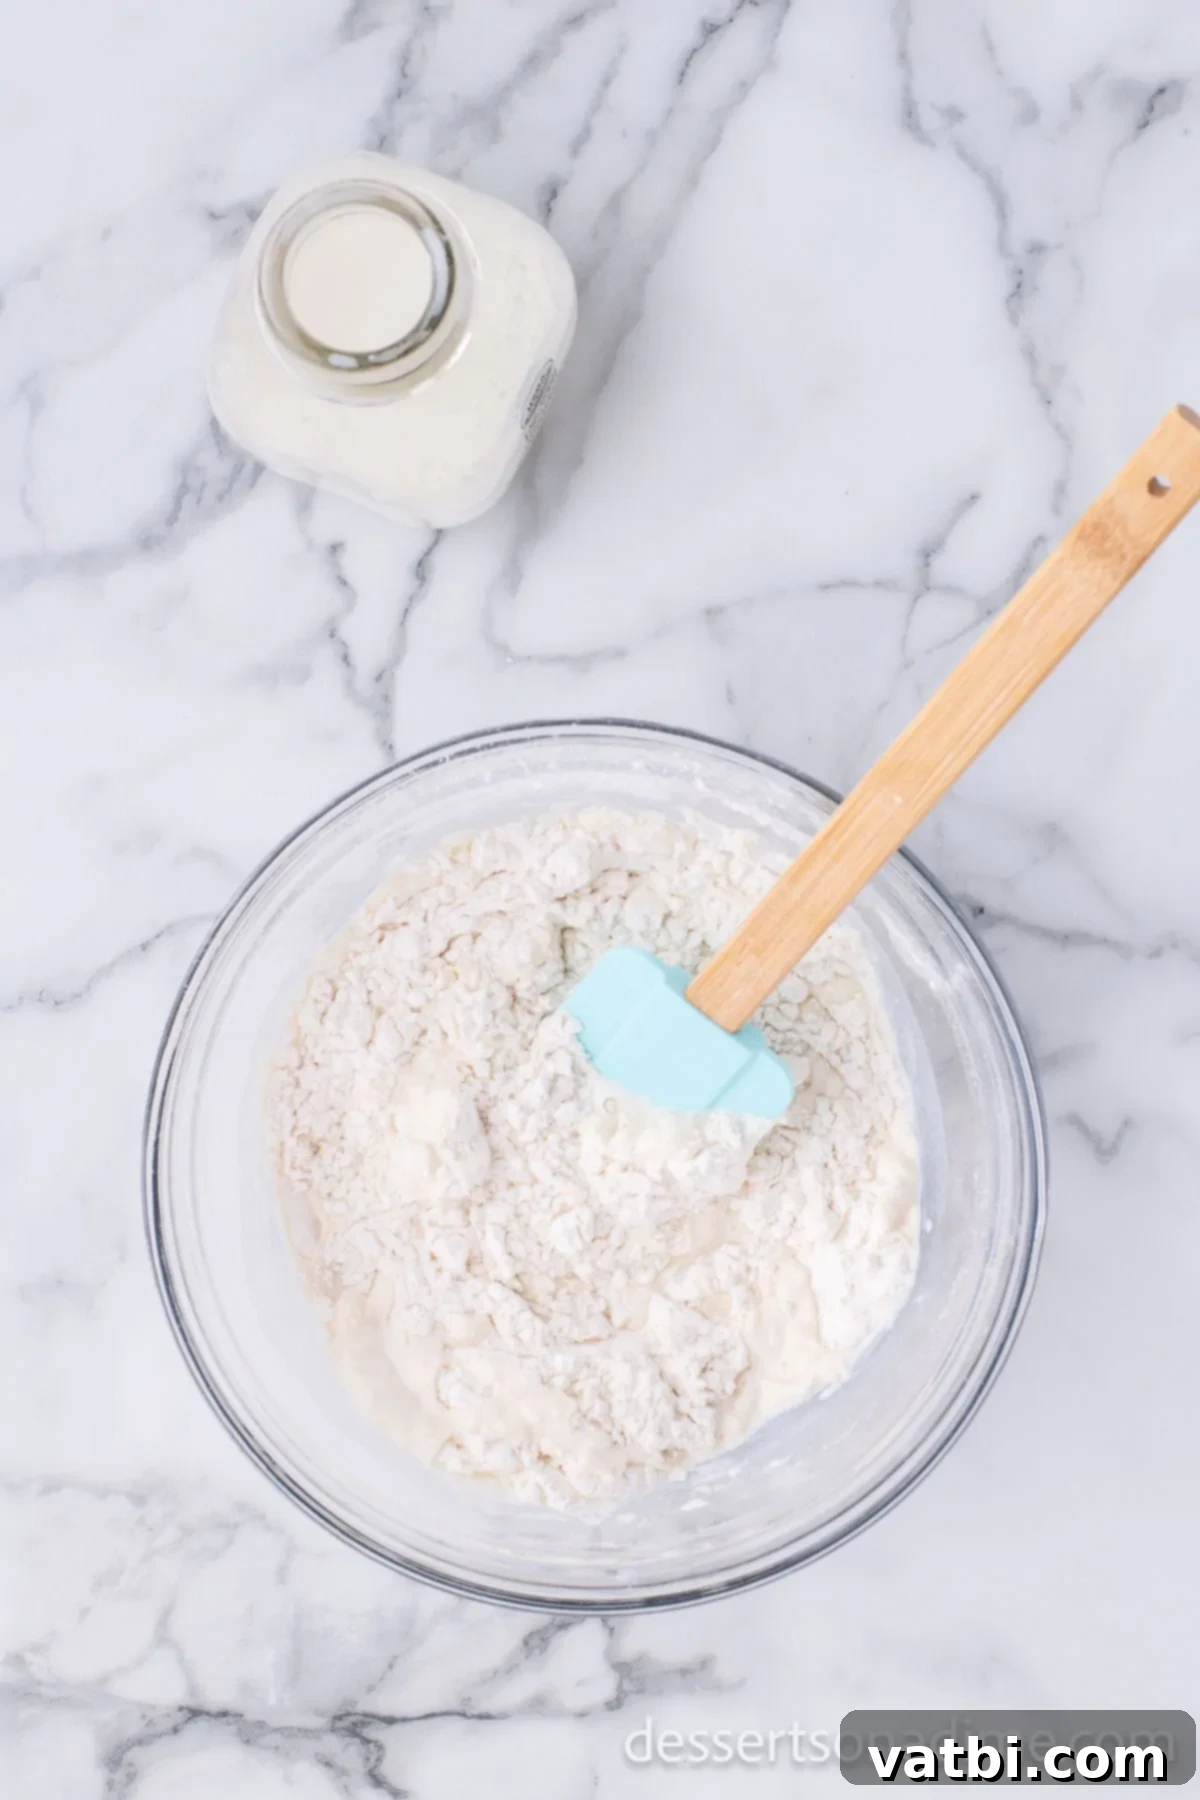
Step 2 – Form the Dough: Gradually pour in the whole milk, starting with about three-quarters of the recommended amount. Stir the mixture with a spatula or your hands until a soft, shaggy dough begins to form. Add more milk, a tablespoon at a time, if needed, until the dough comes together and is no longer excessively sticky. Avoid over-mixing.
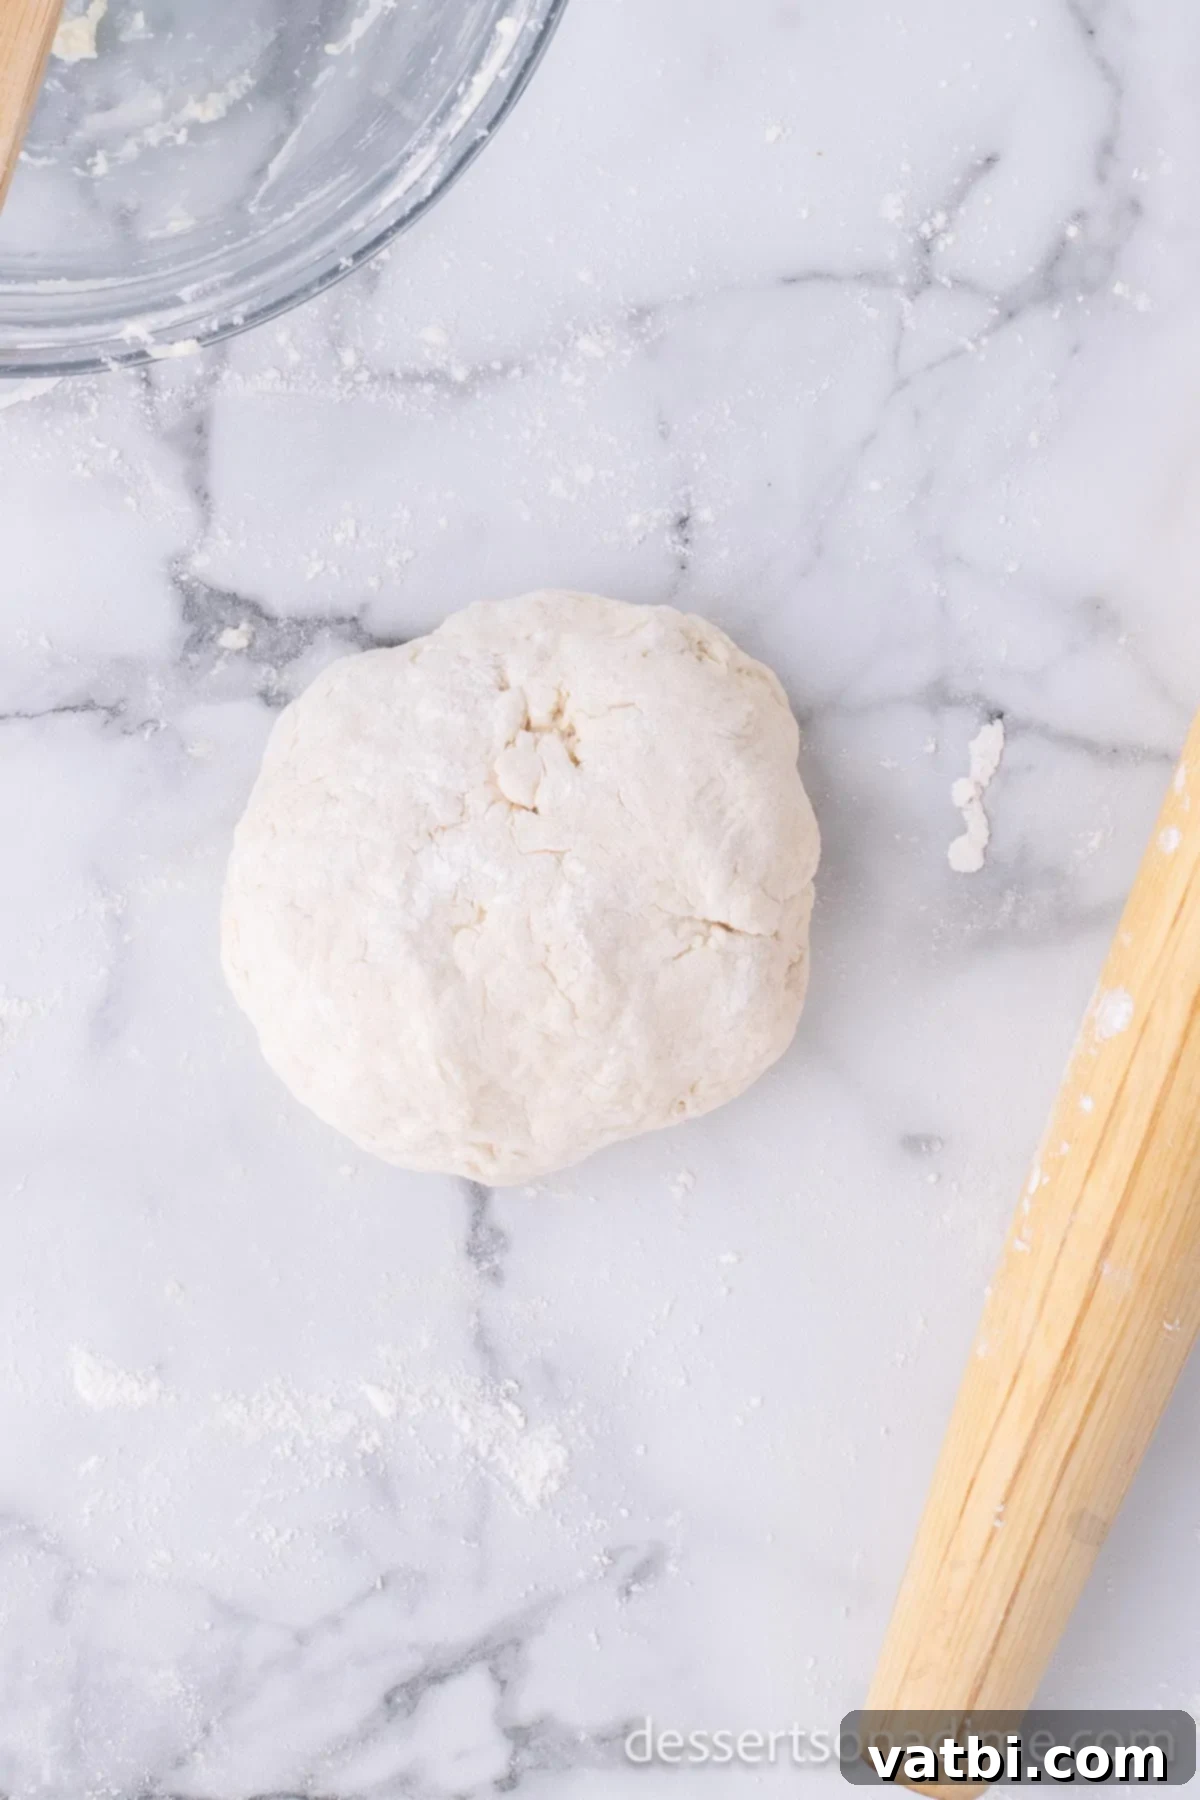
Step 3 – Rest the Dough: Once your dough has formed into a cohesive ball, place it back into the mixing bowl. Cover the bowl tightly with plastic wrap and let the dough rest for at least 5 minutes at room temperature. This brief rest allows the gluten to relax, making the dough easier to roll out.
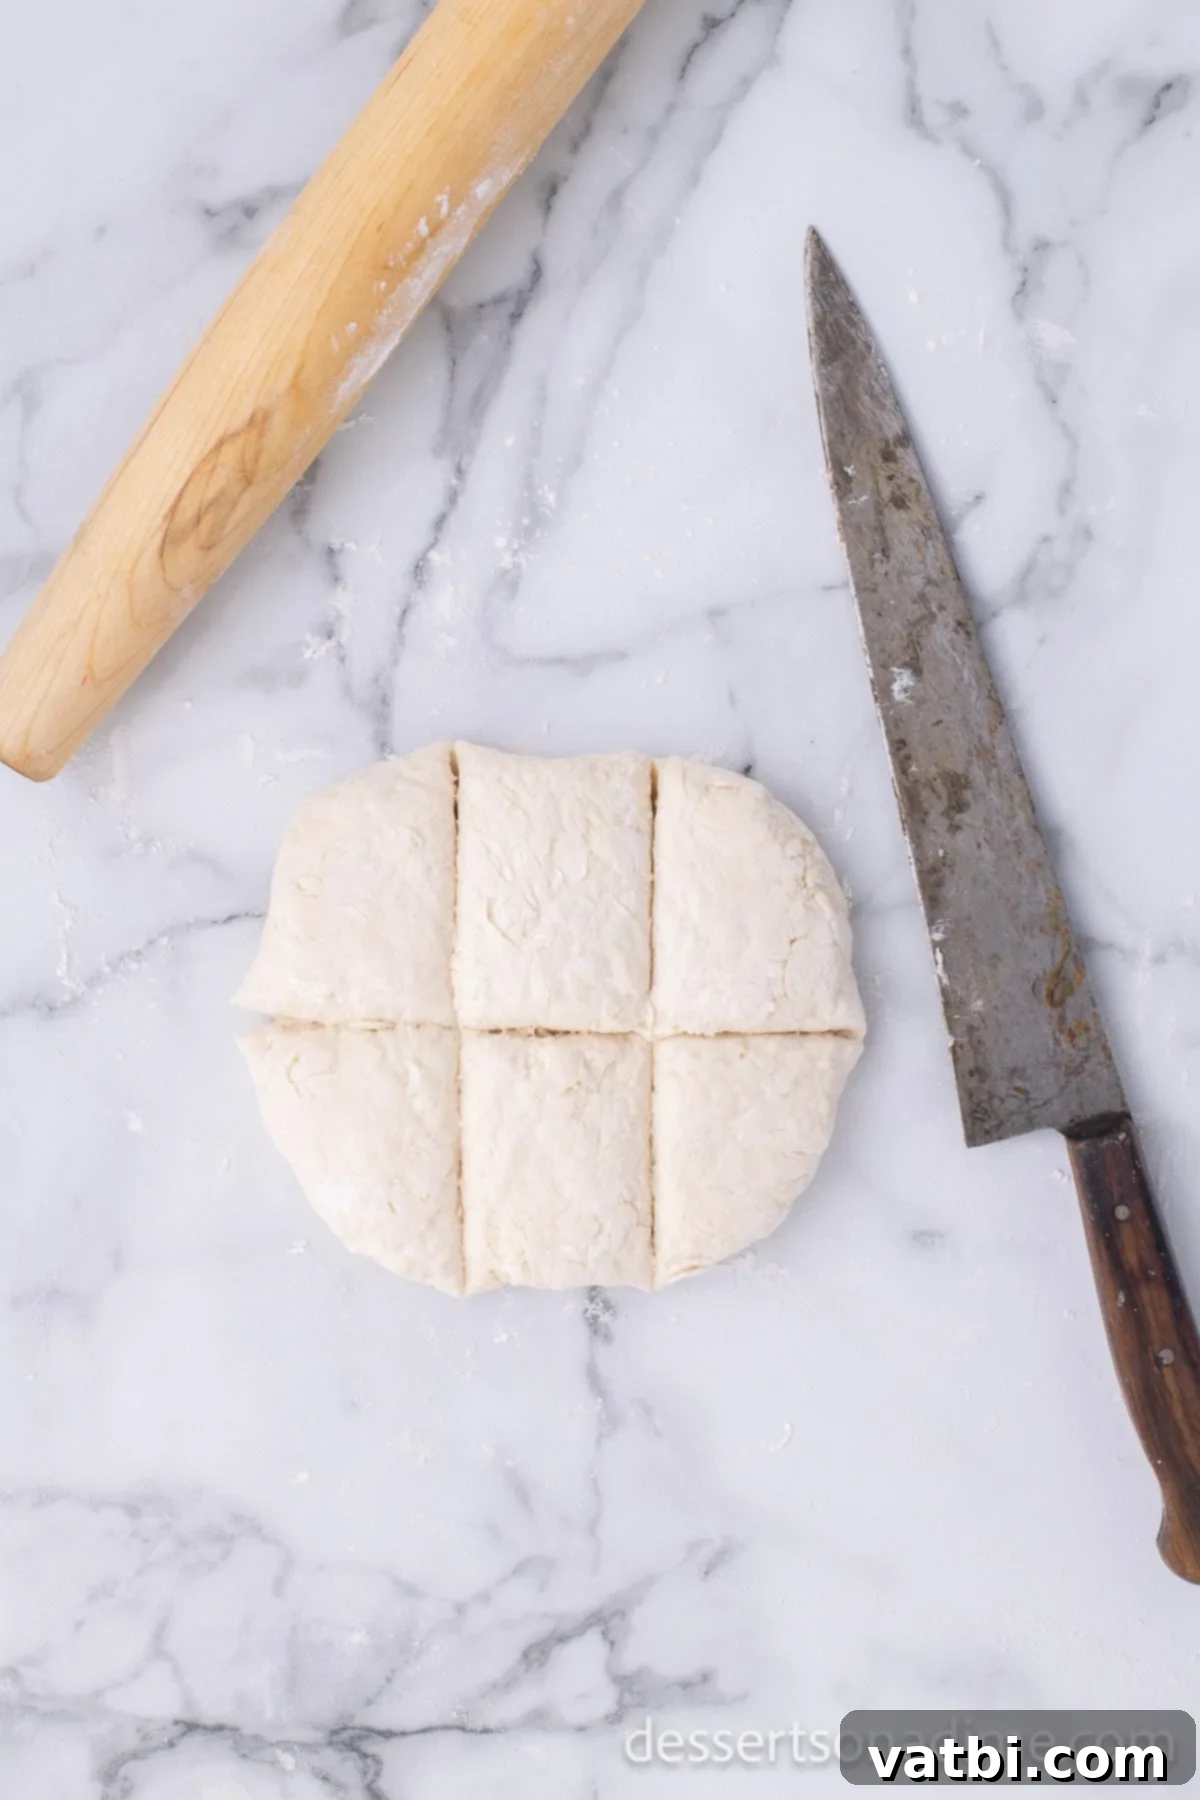
Step 4 – Divide the Dough: Lightly flour a clean work surface or a wooden board. Transfer the rested dough onto it. Use a rolling pin to slightly flatten the dough, then cut it into 6 relatively equal pieces. You can use a knife or a bench scraper for this.
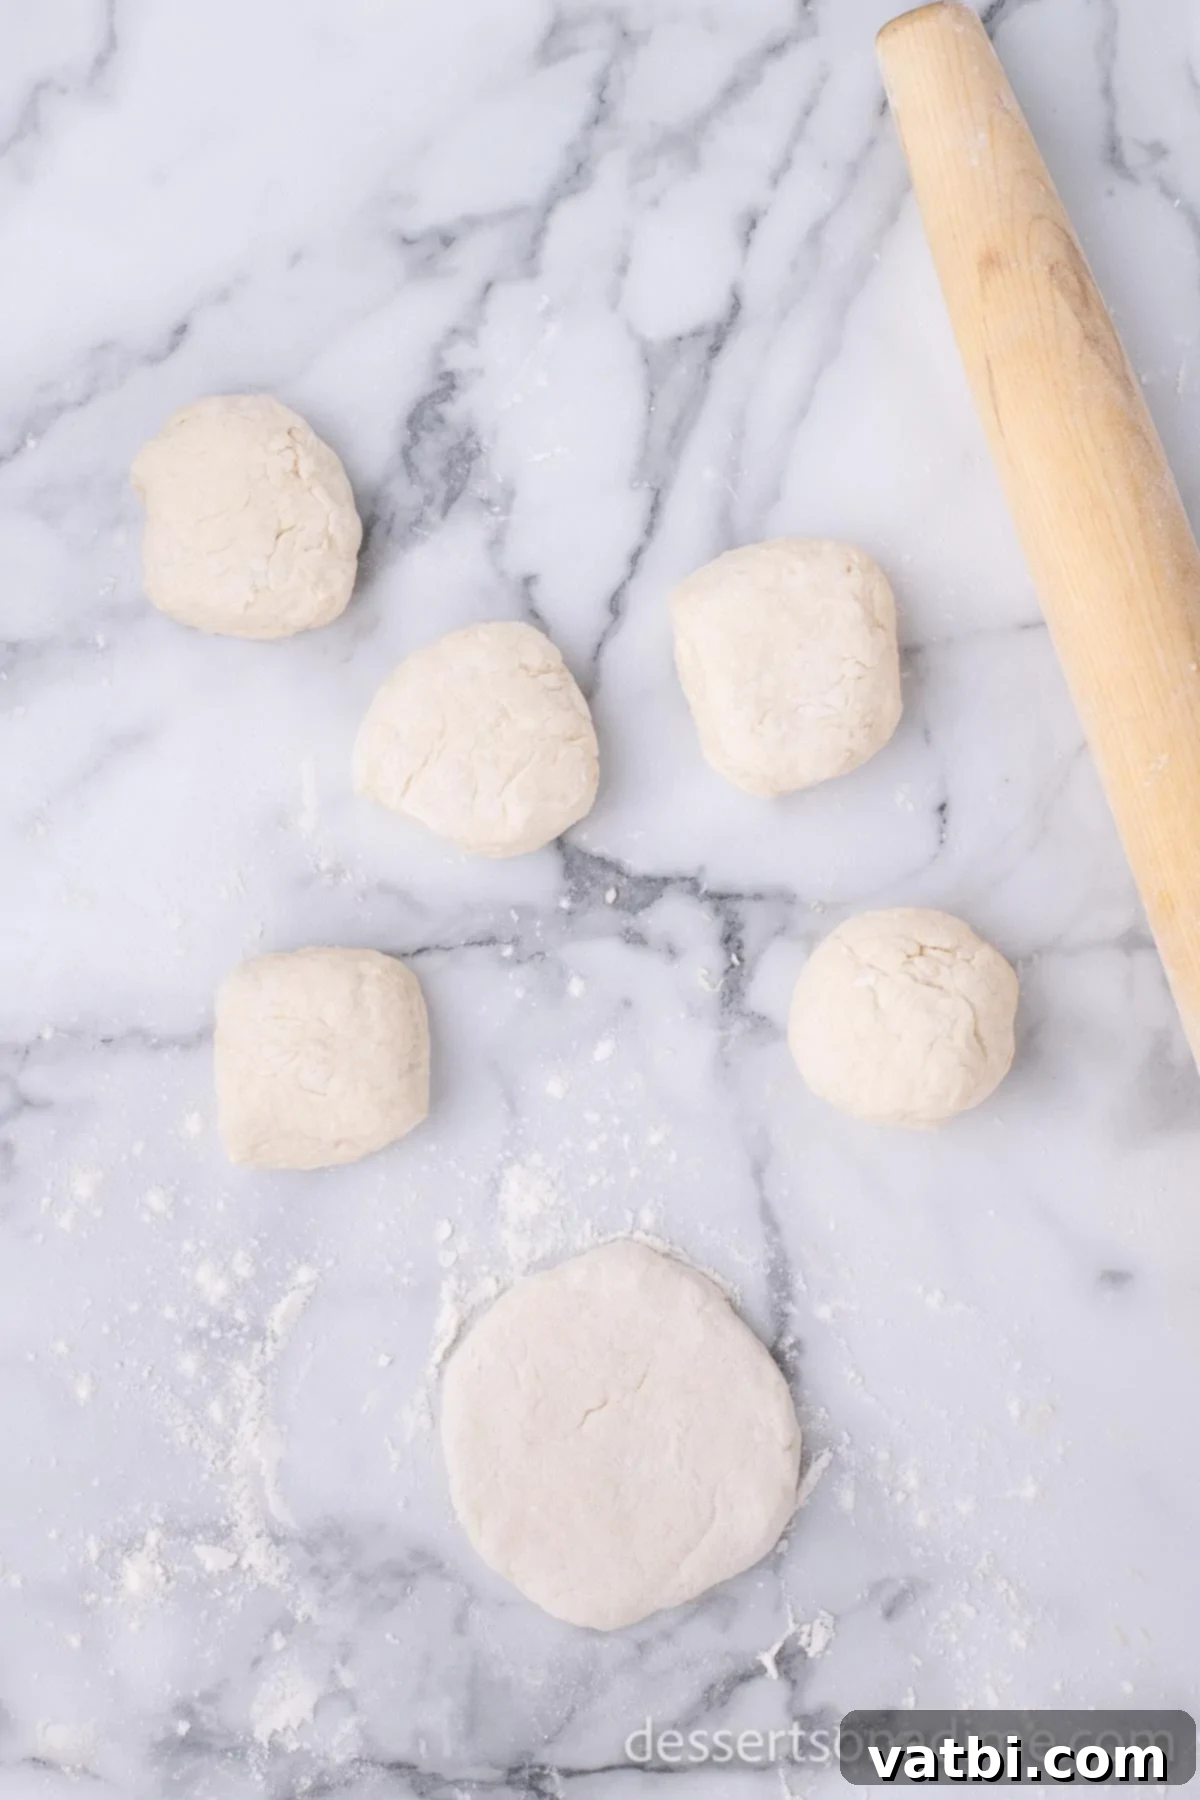
Step 5 – Roll Each Piece: Take each of the 6 dough pieces and roll it into a small, smooth ball. Then, on a lightly floured flat surface, use your rolling pin to flatten each ball into a circular disc, approximately ½ inch thick. Aim for a shape that resembles an “elephant ear.” The thinner the dough, the crispier your final product will be.
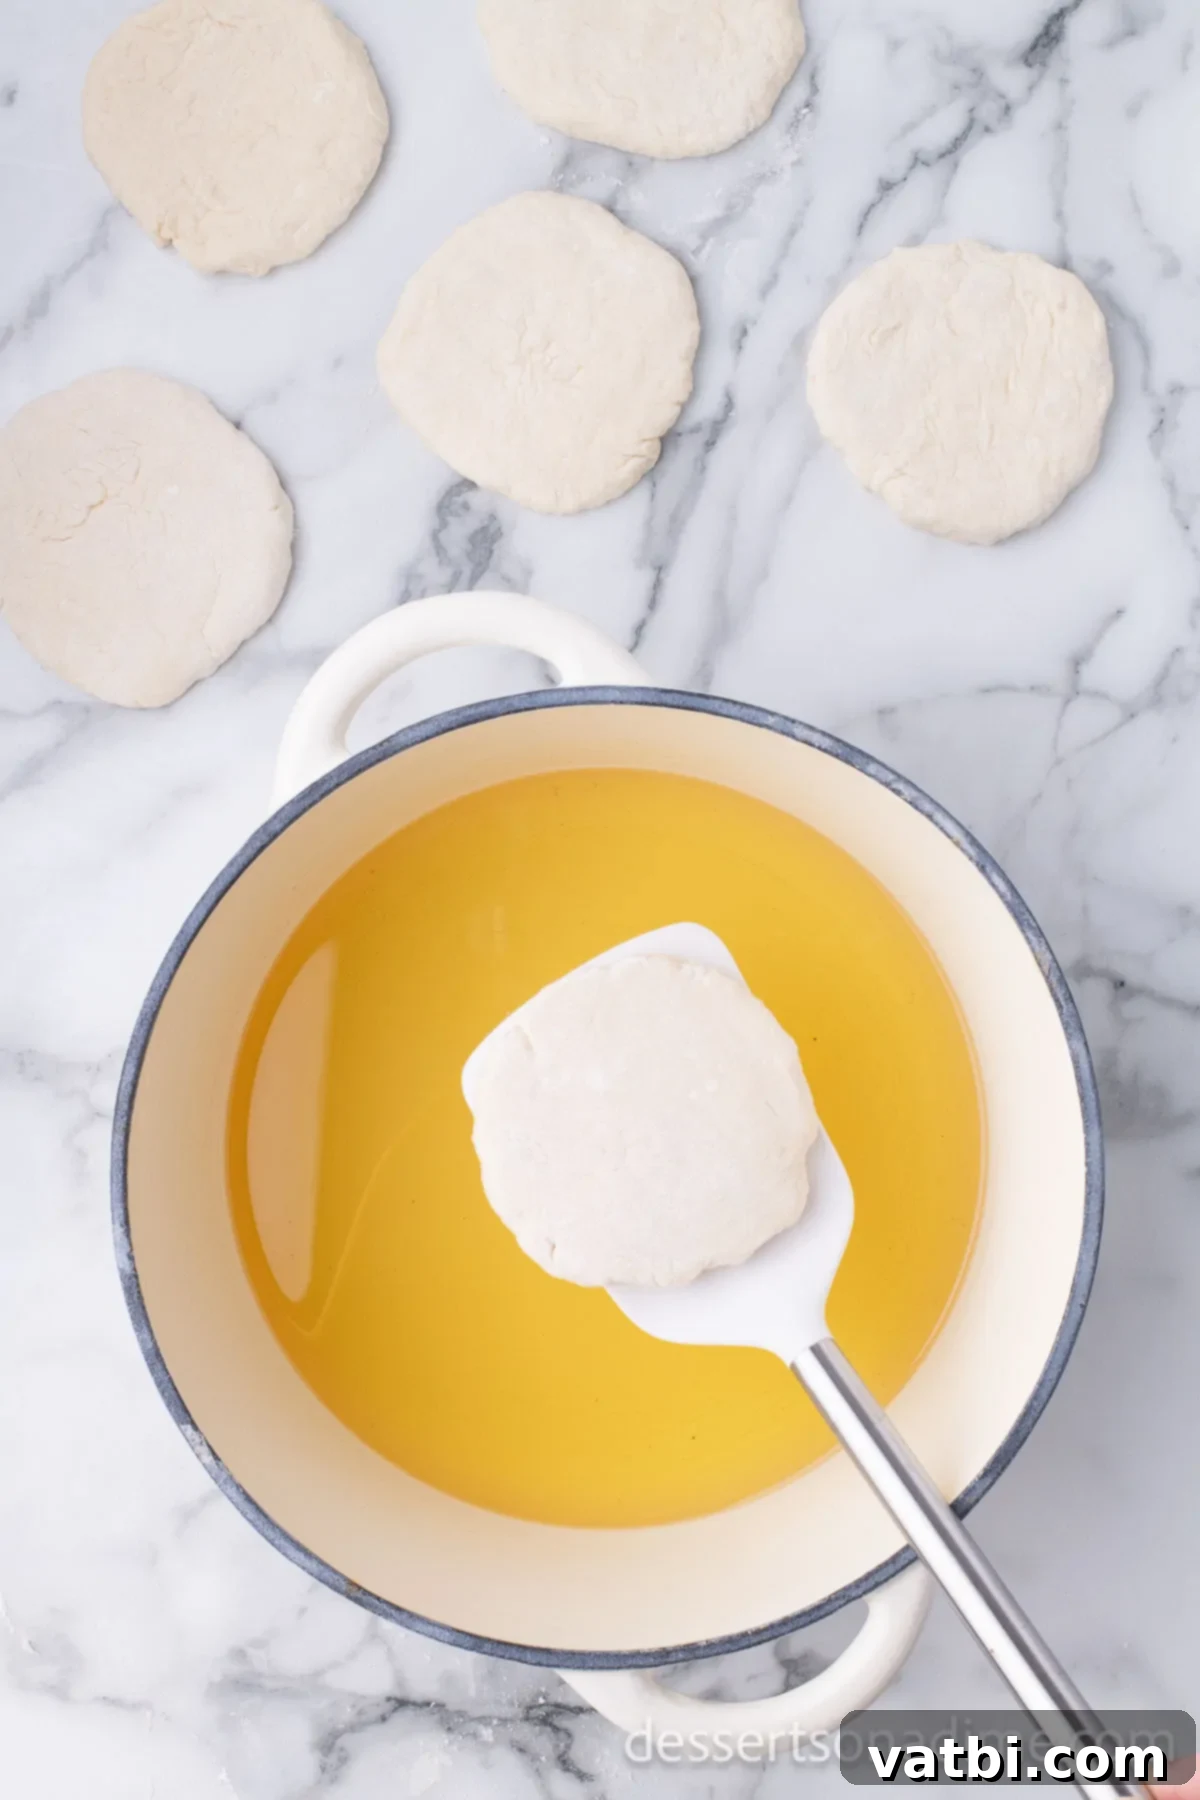
Step 6 – Heat the Oil: Pour about 3 inches of your chosen frying oil (like canola or vegetable oil) into a large, deep pot or Dutch oven. Place the pot over medium-high heat. Use a kitchen thermometer to heat the oil to a consistent 375°F (190°C). Maintaining the correct oil temperature is crucial for perfectly crispy, non-greasy elephant ears.
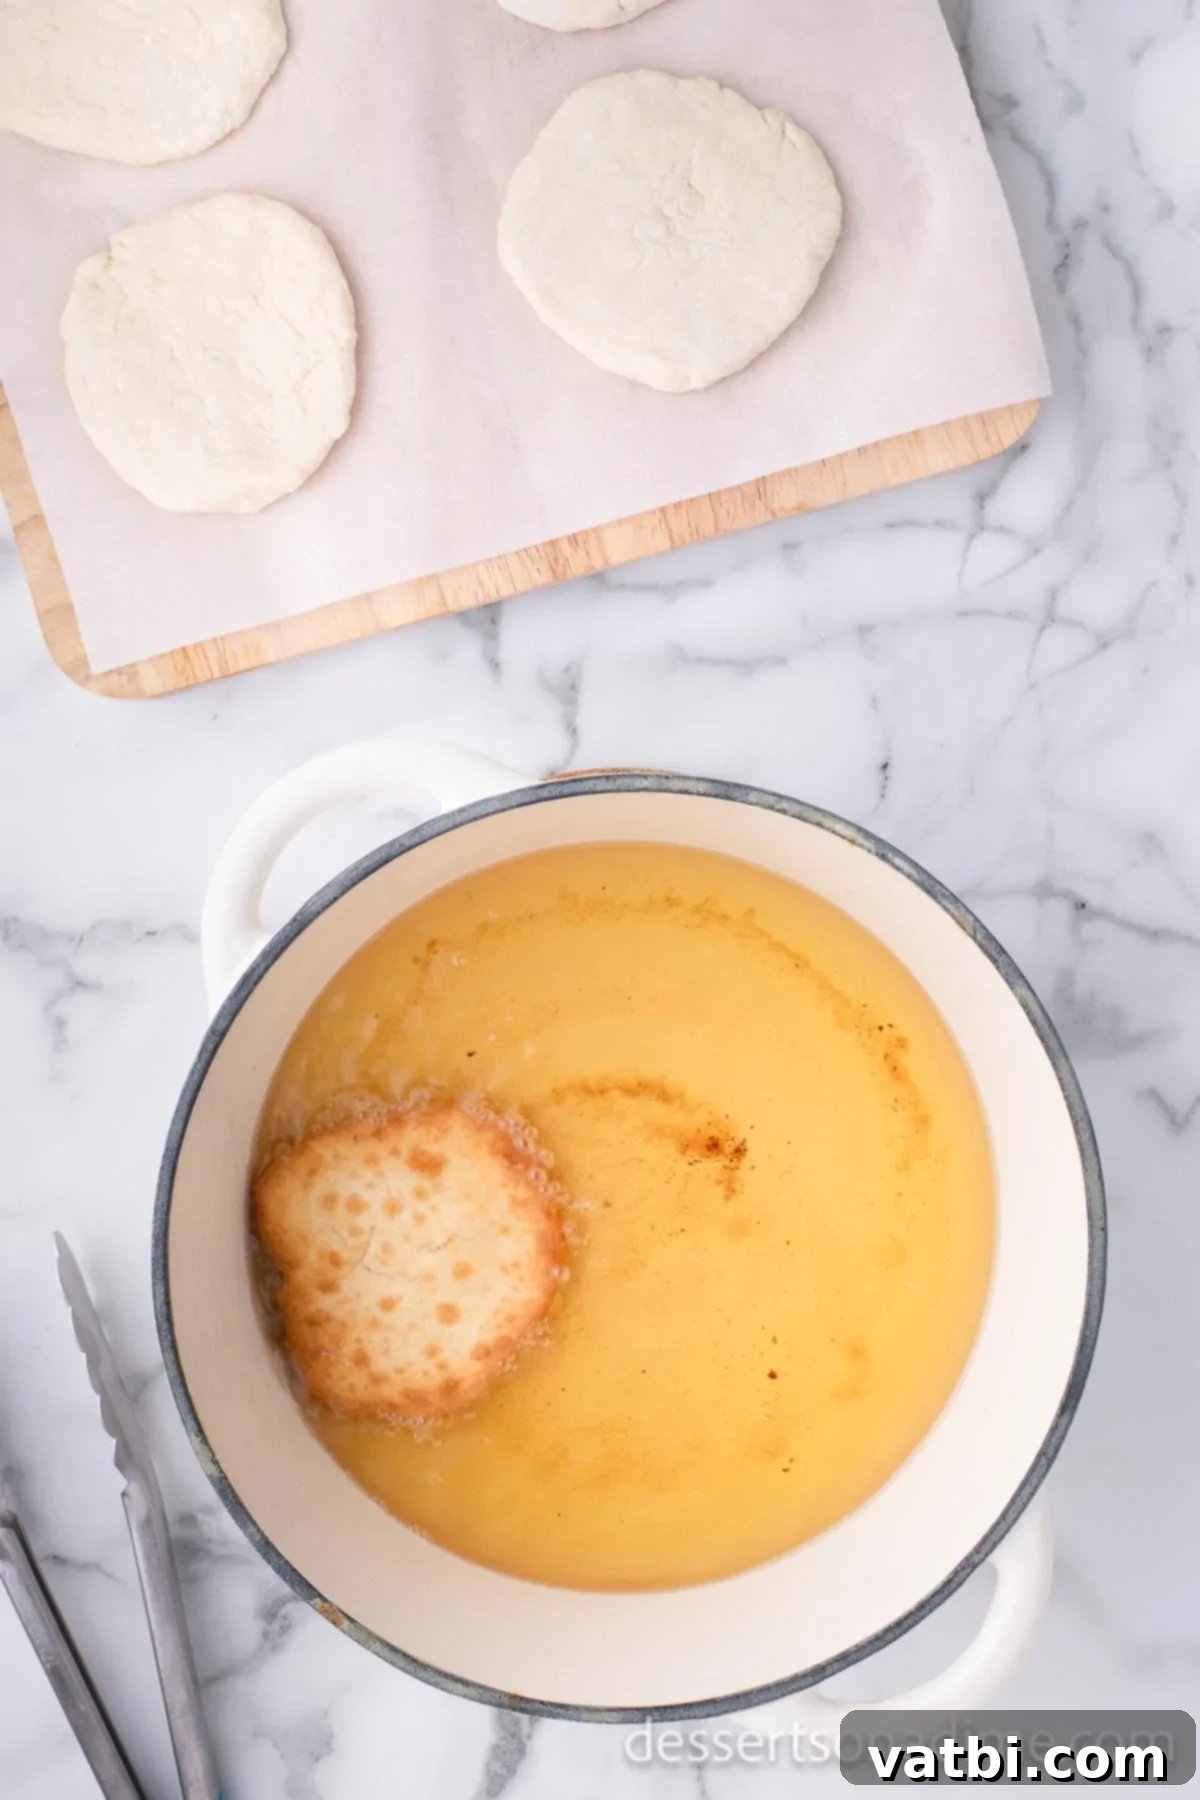
Step 7 – Fry the First Side: Carefully place one or two (do not crowd the pan) of the flattened dough circles into the hot oil. Fry for about 1-2 minutes until the dough puffs up slightly and turns a beautiful golden brown on the underside. Keep a close eye on it, as cooking time can vary rapidly.

Step 8 – Fry the Second Side and Drain: Using tongs, carefully flip the dough over and fry the other side for another 1-2 minutes, or until it’s also puffed and golden. Once perfectly fried, remove the elephant ear from the oil and immediately place it on a plate lined with paper towels to drain any excess grease. You can also use a wire rack set over a baking sheet for draining.
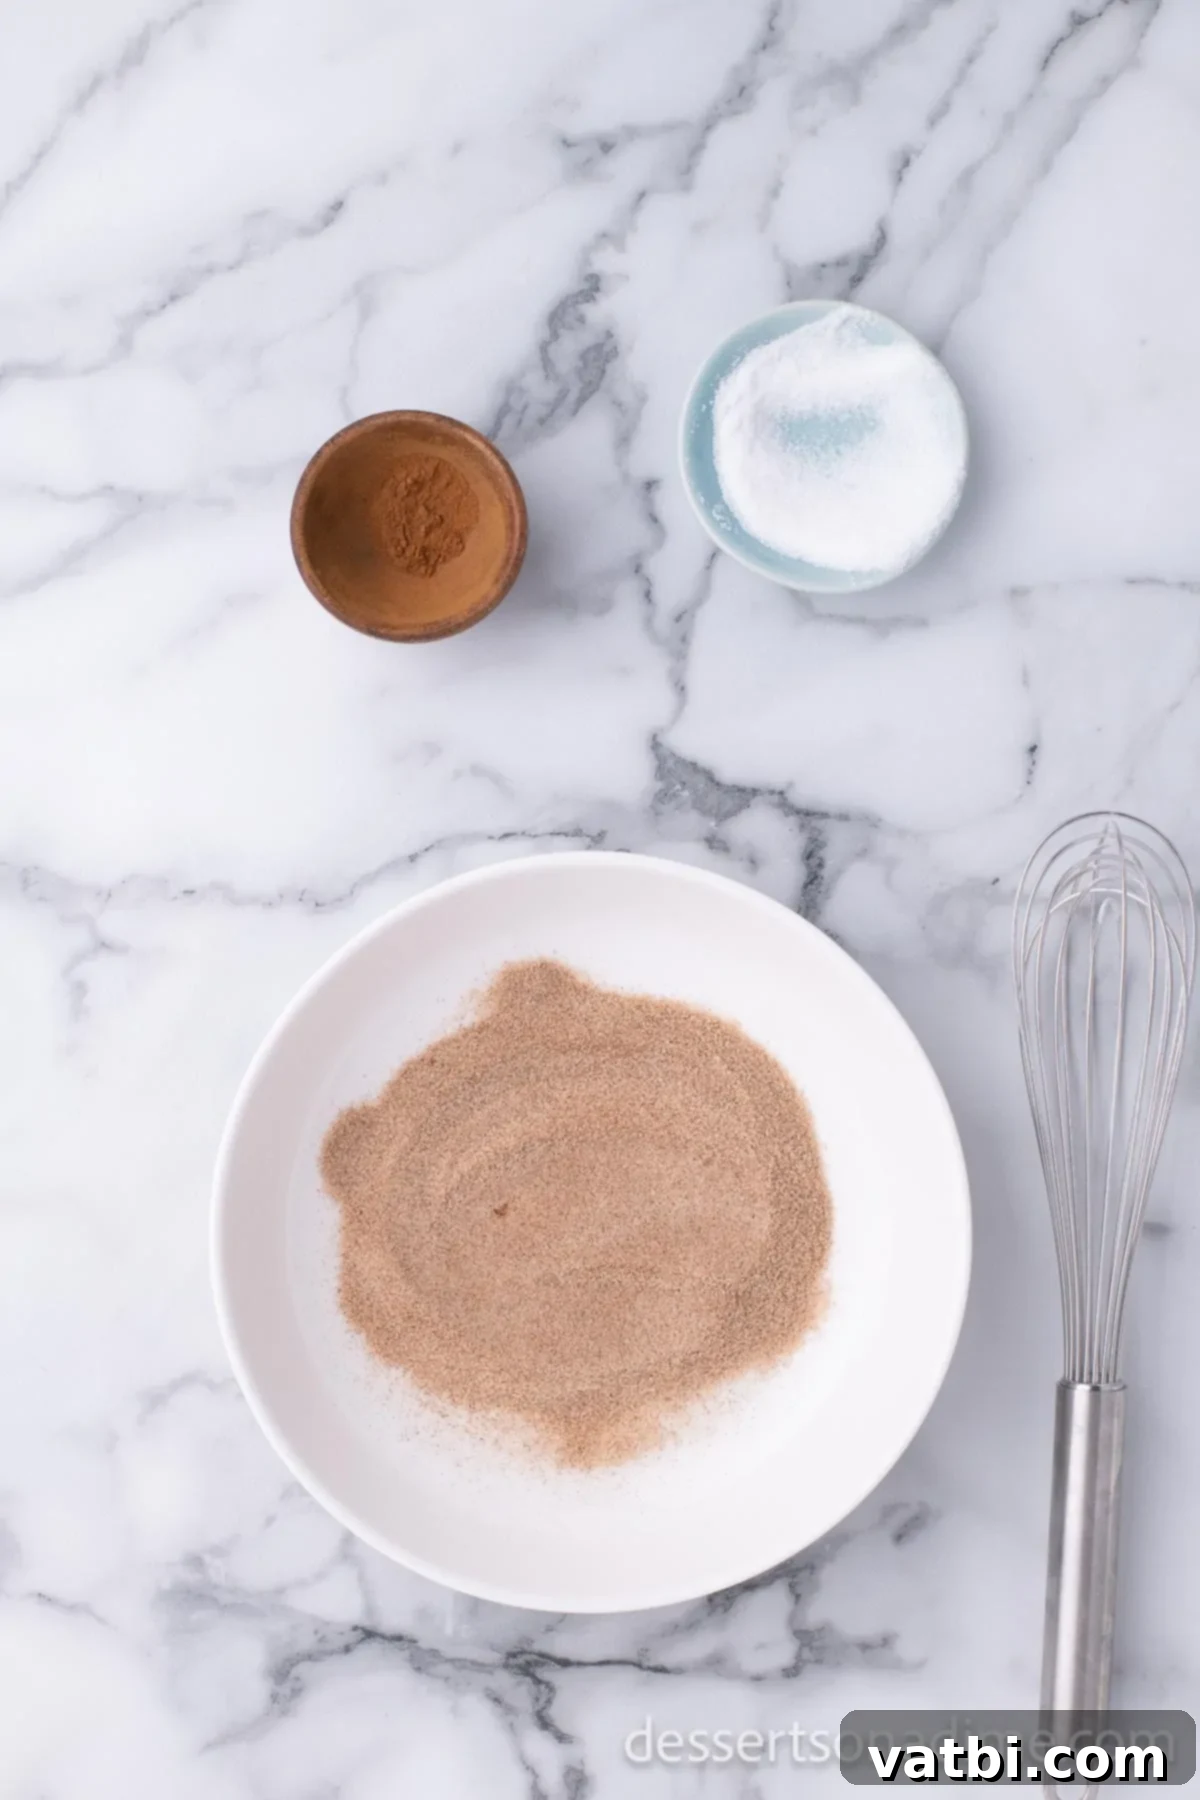
Step 9 – Prepare Cinnamon Sugar: In a small bowl, combine the granulated sugar and ground cinnamon. Stir well with a spoon or whisk until the two are completely blended. This mixture is essential for that iconic elephant ear flavor.

Step 10 – Top and Serve: While the fried elephant ears are still warm – this is crucial for the cinnamon sugar to adhere properly – generously sprinkle the mixture over both sides. Don’t be shy! Serve immediately and savor every sweet, crispy bite!
Expert Tips for Frying and Serving
- Serving Temperature is Key – Elephant ears are truly at their best when served immediately and warm. The heat enhances their crispy texture and makes the cinnamon sugar coating melt just slightly, creating an irresistible aroma and taste.
- Choose the Right Oil for Frying – For optimal results, select an oil with a high smoke point. Good choices include peanut oil, vegetable oil, canola oil, or sunflower oil. These oils can reach the necessary high temperatures without breaking down or imparting an unpleasant flavor. Ensure you have enough oil (at least 3 inches deep) for proper submersion.
- Maintain Optimal Oil Heat – Cooking elephant ears in hot oil is vital for achieving that desired crispy texture without making them greasy. Aim for a consistent temperature of 375°F (190°C). Use a deep-fry thermometer to monitor the temperature accurately. If the oil is too cool, the dough will absorb too much oil and become soggy; if it’s too hot, the outside will burn before the inside cooks through.
- Precise Cooking Time – Typically, elephant ears cook quickly, about 2 to 3 minutes per side until they turn a beautiful golden brown. However, cooking times can vary depending on your stove, the exact oil temperature, and the thickness of your dough. Watch them closely – a few seconds can make a big difference between perfectly golden and overly dark.
- Proper Draining and Topping – Immediately after removing the fried dough from the hot oil, place them on a plate lined with several layers of paper towels or on a wire rack set over a baking sheet. This allows any excess grease to drain off, keeping them light and crispy. Most importantly, sprinkle them with the cinnamon and sugar mixture while they are still piping hot; this ensures the sugar melts slightly and adheres perfectly to the surface.
- Avoid Crowding the Pan – When frying, it’s tempting to cook multiple elephant ears at once. However, crowding the pan will significantly drop the oil’s temperature, leading to undercooked, greasy, and less crispy results. It’s better to fry one or two at a time, allowing the oil temperature to recover between batches. Patience will be rewarded with superior elephant ears.
- Dough Consistency Matters – Your dough should be soft and pliable, but not overly sticky. If it’s too sticky, add a tiny bit more flour; if too dry, a few drops of milk. The right consistency makes it easy to roll and ensures a tender interior.
- Rolling Technique – Roll the dough as thinly as you can without tearing it, aiming for about 1/8 to 1/4 inch thick. Thinner dough results in a crispier “ear,” while thicker dough will be chewier. Practice makes perfect for that distinctive irregular, flat shape.
- Safety First When Frying – Always be cautious when working with hot oil. Use a deep pot to prevent splattering, and use tongs to gently place and remove the dough. Keep children and pets away from the cooking area.
What is the Difference Between a Funnel Cake and an Elephant Ear?
While both funnel cakes and elephant ears are beloved fried dough treats often found at fairs and carnivals, they possess distinct characteristics that set them apart, primarily in their preparation and appearance, though their delicious sweet flavors can be quite similar.
Funnel cakes are made by pouring a relatively thin batter through a funnel directly into hot oil, creating a captivating, intricate zig-zag pattern or a lacy, intertwined fritter shape. This method results in a dessert that is typically lighter, airier, and crispier all over, with many nooks and crannies. Funnel cakes are known for their somewhat messy but utterly delightful nature, often topped with a generous dusting of powdered sugar, fruit toppings, or whipped cream. Their irregular, “pile-of-noodles” look is instantly recognizable.
Elephant ears, on the other hand, begin with a slightly different type of dough – a sweet, yeasted or baking powder-leavened pastry dough, much like what you’d use for donuts or fry bread. This dough is rolled out very thin into a large, flat, irregular oval or round shape, which then resembles an elephant’s ear (hence the name). When fried, these flat dough pieces puff up slightly, creating a wonderfully chewy yet crispy texture. They are typically much easier to eat by hand due to their flatter, more cohesive structure and are most famously adorned with a simple, yet perfect, mixture of cinnamon and granulated sugar. The focus is on the chewy-crispy contrast and the classic spice-sweet topping.
As you can see, both offer an equally delicious sweet indulgence, but their unique shapes and preparation methods provide distinct culinary experiences. Whether you prefer the lacy texture of a funnel cake or the satisfying chew of an elephant ear, both are quintessential fairground delights!
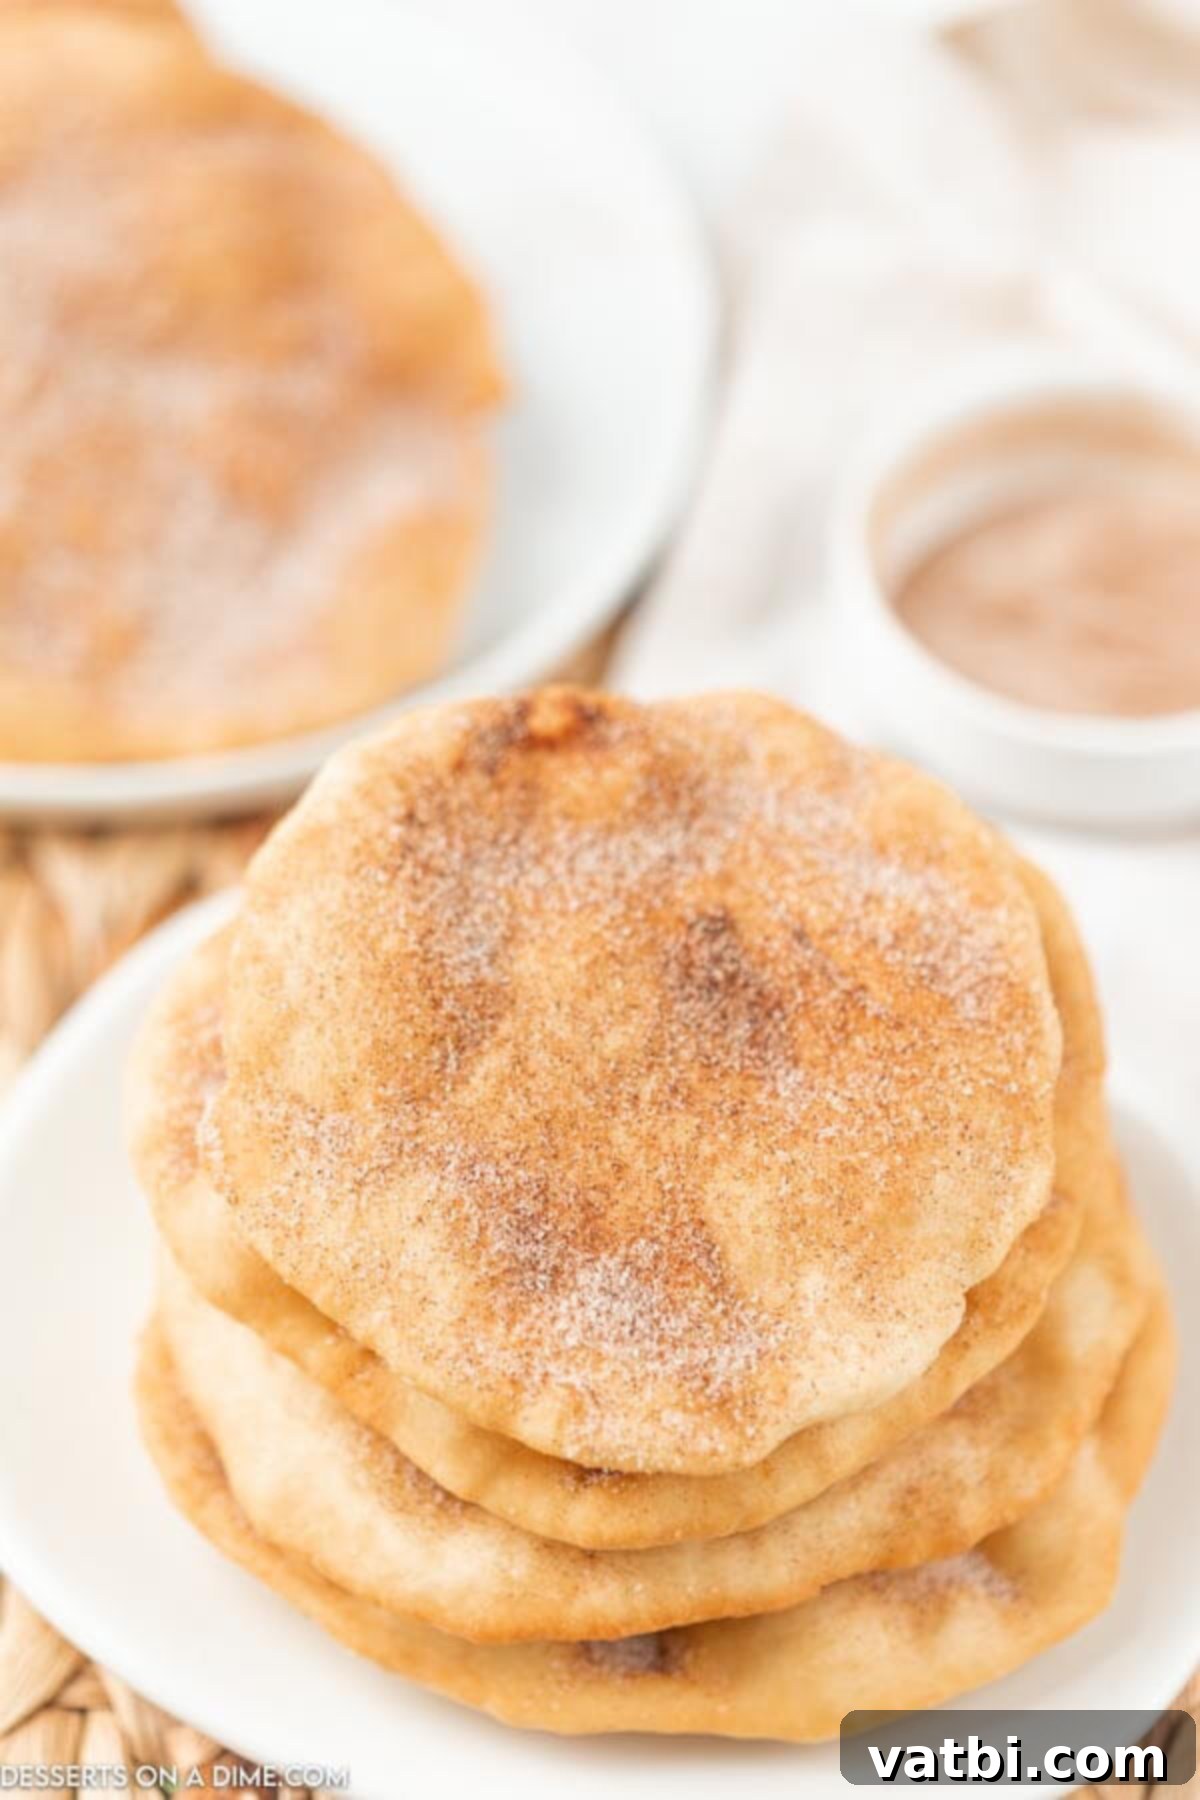
Creative Topping Ideas
While the classic cinnamon and sugar combination is undeniably perfect for elephant ears, these versatile fried pastries serve as an excellent canvas for a wide array of delicious toppings. Don’t limit yourself – explore these other favorites to elevate your homemade treat!
- Powdered Sugar: For a simple yet elegant touch, a generous dusting of powdered sugar offers a delicate sweetness that melts beautifully on the warm dough. It’s a classic for a reason!
- Homemade Frosting: Elevate your elephant ears with a creamy topping. A simple vanilla glaze (powdered sugar, milk, and vanilla) or a decadent Cool Whip Cream Cheese Frosting can transform them into an even richer dessert.
- Caramel or Chocolate Sauce: Drizzle warm caramel sauce, rich chocolate syrup, or a combination of both for a truly indulgent experience. A little flaky sea salt sprinkled on top can perfectly cut through the sweetness.
- Melted Butter: Before adding any dry toppings, brush the warm elephant ear with a thin layer of melted butter. This adds a lovely richness and helps any powdered sugar or cinnamon sugar adhere even better.
- Fruit Toppings: Fresh berries (strawberries, blueberries, raspberries) or sliced bananas can add a wonderful fresh and slightly tart contrast. A quick berry compote or a spoon of apple pie filling would also be delicious.
- Whipped Cream: A dollop of freshly whipped cream can lighten the dessert and add a luxurious texture. Combine it with fruit or a drizzle of sauce for extra flair.
- Nutella or Peanut Butter: Spread a thin layer of warm Nutella or creamy peanut butter for a nutty, chocolatey, or savory-sweet twist.
- Ice Cream: Turn your elephant ear into an epic dessert by serving it warm with a scoop of your favorite vanilla or cinnamon ice cream. The contrast of warm and cold is simply divine.
Frequently Asked Questions
For the absolute best taste and texture, elephant ears are genuinely best served fresh and warm, right after they come out of the oil. That’s when they are wonderfully crispy and airy. While you can make the dough ahead of time and store it in the refrigerator for up to 24 hours, the fried pastries themselves lose their crispness over time. If you absolutely must make them ahead, consider preparing the dough, frying them just before serving, and then quickly warming them in an oven or air fryer if needed.
If you happen to have any leftovers (a rare occurrence!), store them in an airtight container at room temperature. They are best consumed within 1-2 days. While they won’t be as crispy as fresh, they’ll still be a delicious treat. For longer storage, you can freeze the unfrosted (without cinnamon sugar) elephant ears in a single layer in a freezer-safe bag or container for up to 3 months. Thaw them at room temperature before reheating.
To bring leftover elephant ears back to life, you have a couple of options. You can gently reheat them in the microwave for 15-30 seconds, though this might make them a little softer. For a crisper result, reheat them in an oven preheated to 300°F (150°C) for about 5-7 minutes, or until warmed through. An air fryer at 350°F (175°C) for 2-3 minutes also works wonderfully to restore crispness. If you stored them without the cinnamon sugar, brush them with a little melted butter after reheating and then generously sprinkle with fresh cinnamon sugar.
More Fried Dessert Recipes to Love
If you’re a fan of fried treats, be sure to check out some of our other fantastic recipes that bring the joy of the carnival right to your home:
- Deep Fried Oreos
- Funnel Cake Bites
- Deep Fried Cookie Dough
- Fried Bananas Recipe
We absolutely love hearing from you! If you try this easy elephant ears recipe, please do us a favor and leave a star review and a comment. Your feedback helps us and other home cooks.
Pin
Elephant Ears
10 minutes
5 minutes
15 minutes
6
American
Dessert
194
Carrie Barnard
Ingredients
- 2 cups All-Purpose Flour
- ½ tsp Salt
- ½ tsp Baking Powder
- 1 cup Whole Milk
- Oil for Frying (e.g., Canola, Vegetable)
- 2 Tbsp Granulated Sugar (for topping)
- 2 tsp Ground Cinnamon (for topping)
Instructions
-
In a medium-sized mixing bowl, combine the all-purpose flour, salt, and baking powder. Stir these dry ingredients together thoroughly. Gradually add the whole milk, stirring until a soft, shaggy dough begins to form. Continue adding milk, a tablespoon at a time, until the dough comes together and is no longer excessively sticky. You may not need all of the milk.
-
Place the dough back into the bowl, cover with plastic wrap, and let it rest for at least 5 minutes to allow the gluten to relax.
-
Lightly flour a clean work surface. Transfer the rested dough onto it and roll it out slightly. Divide the dough into 6 relatively equal pieces using a knife or bench scraper.
-
Roll each piece of dough into a smooth ball, then flatten each one into a circular disc, approximately ½ inch thick, aiming for that distinctive “elephant ear” shape.
-
Heat about 3 inches of frying oil in a deep pot over medium-high heat until it reaches 375°F (190°C). Carefully place one or two dough circles into the hot oil (do not crowd the pan). Fry for 1-2 minutes until the dough puffs up and turns golden brown on the underside. Flip the dough with tongs and fry the other side for another 1-2 minutes, until puffed and golden.
-
Once fried, remove the elephant ears from the oil and immediately place them on a plate lined with paper towels or on a wire rack to drain any excess grease.
-
In a small bowl, stir together the 2 tablespoons of granulated sugar and 2 teaspoons of ground cinnamon until well combined. Generously sprinkle this cinnamon sugar mixture onto the fried dough while it is still warm; this ensures the topping adheres perfectly.
-
Serve your homemade elephant ears immediately while they are warm and enjoy every crispy, sweet bite!
Nutrition Facts
Pin This Now to Remember It Later
Pin Recipe
