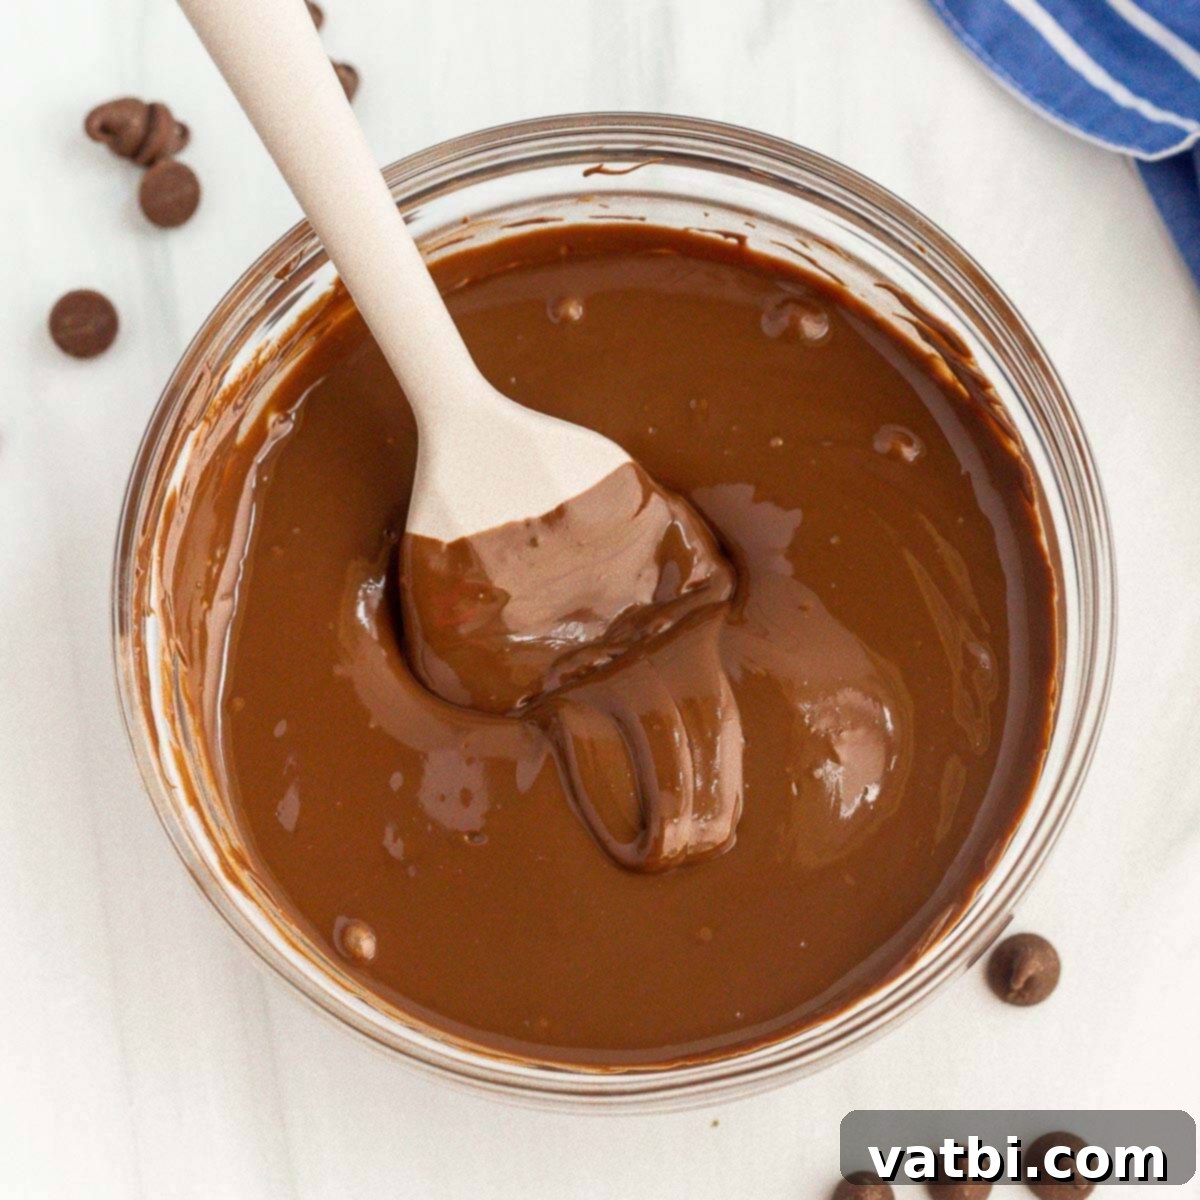
The Ultimate Guide to Melting Chocolate Chips: Microwave & Stovetop Techniques for Smooth, Burn-Free Chocolate
Are you ready to elevate your baking and dessert game? Learning how to melt chocolate chips perfectly is a fundamental skill for any home cook or baker. Whether you’re drizzling it over your favorite treats, creating luscious fudge, or dipping fresh fruit, achieving a smooth, silky consistency is key. This comprehensive guide will walk you through the easiest and most effective methods for melting chocolate chips in the microwave or on the stovetop, ensuring you get perfect results every single time, without the frustration of burning or seizing.
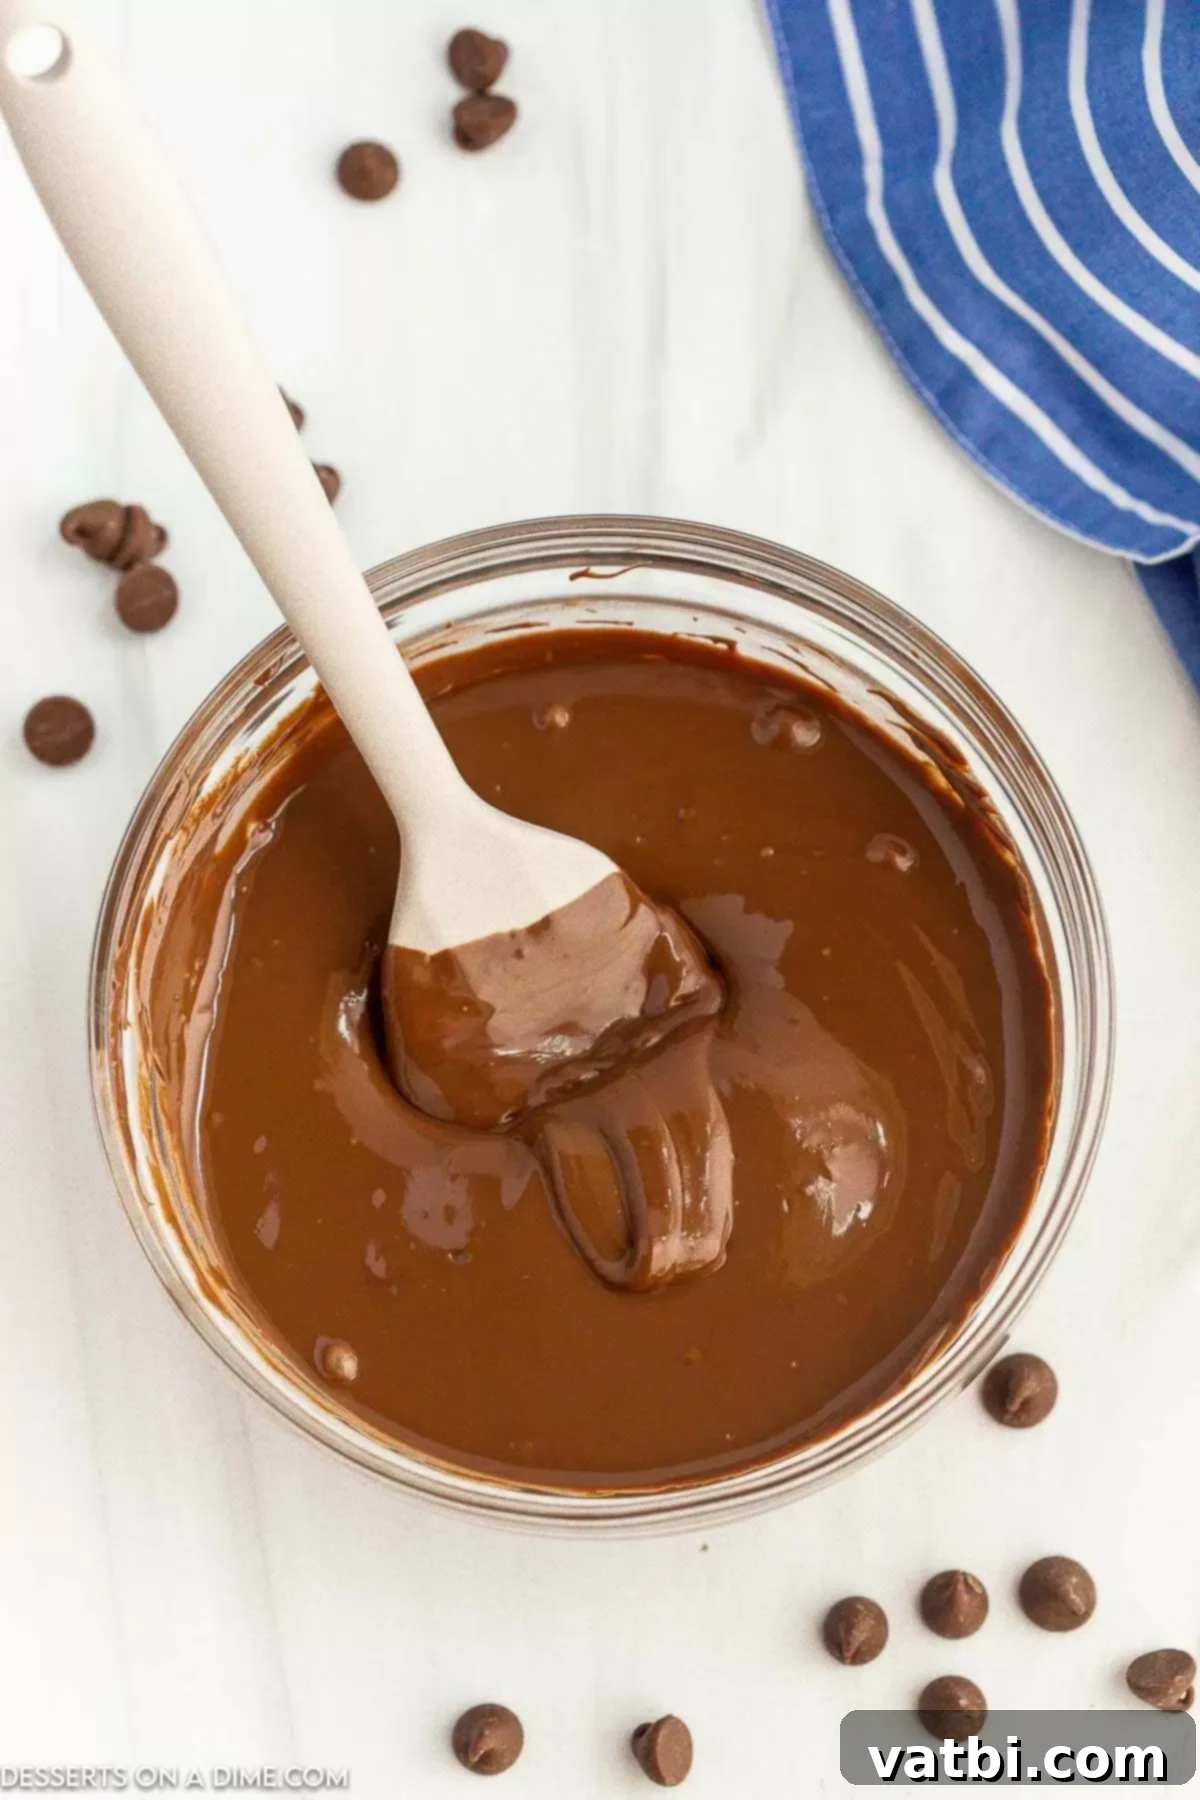
Melted chocolate is incredibly versatile and forms the base for countless baking recipes. From decadent fudge recipes to homemade candy coatings, a smooth, creamy texture is paramount. This guide provides essential tips and tricks to maintain the chocolate’s rich flavor and desirable consistency, making your dessert creations shine.
Table of contents
- Why Master Chocolate Melting?
- The Science Behind Melting Chocolate
- Choosing the Right Chocolate Chips
- Essential Supplies
- How to Melt Chocolate Chips in the Microwave
- How to Melt Chocolate Chips on the Stovetop (Double Boiler Method)
- Common Melting Mistakes and How to Avoid Them
- Can You Fix Overheated or Seized Chocolate?
- How To Thin Chocolate That is Too Thick?
- Delicious Variation Ideas
- Storage and Reheating Tips
- More Easy Baking Tips
Why Master Chocolate Melting?
Melting chocolate might seem like a simple task, but it’s surprisingly easy to get it wrong. Overheating can lead to a grainy, clumpy mess, while underheating leaves you with stubborn lumps. By following these tried-and-true methods, you’ll confidently achieve smooth, glossy melted chocolate perfect for any application. Imagine effortlessly dipping fresh strawberries, creating intricate chocolate garnishes, or incorporating it into a rich ganache. Regardless of your chosen heating method, these steps guarantee a delicious, perfectly melted chocolate outcome that will impress every time.
The Science Behind Melting Chocolate
Understanding a little bit about what happens when chocolate melts can help you avoid common pitfalls. Chocolate is a delicate emulsion of cocoa solids, cocoa butter (fat), and sugar. Cocoa butter has a specific melting point, and when heated too quickly or unevenly, the fat can separate from the cocoa solids. This separation leads to the dreaded “seizing,” where the chocolate becomes thick, clumpy, and grainy. The goal is to melt the cocoa butter gently and evenly, allowing it to re-emulsify with the solids and sugar, resulting in a smooth, fluid consistency. Gentle heat and constant stirring are your best friends in this process.
Choosing the Right Chocolate Chips
The quality of your chocolate chips truly makes a difference in the final result. Higher quality chocolate often contains more cocoa butter, which contributes to a smoother melt and richer flavor. While standard chocolate chips work perfectly well for most applications, consider using gourmet baking chocolate if you’re making something truly special, like a delicate ganache or a fine chocolate coating. Different types of chocolate chips also melt at slightly different rates due to their varying cocoa and sugar content, but the methods described here are suitable for most common varieties.
- Semisweet Chocolate Chips: A versatile choice, perfect for a balanced sweetness.
- Dark Chocolate Chips: Offers a more intense chocolate flavor, ideal for pairing with fruits or in richer desserts.
- Milk Chocolate Chips: Sweeter and creamier, often preferred for a classic, milder chocolate taste.
- White Chocolate Chips: Technically not chocolate (as it contains no cocoa solids), white chocolate melts a bit differently due to its higher sugar and milk fat content. It requires even more gentle heating to prevent scorching.
Essential Supplies
Gathering the right tools before you start will make the melting process smooth and stress-free. Here’s what you’ll need for each method:
For Microwave Melting:
- Microwave-Safe Bowl: Choose a glass or ceramic bowl. The size should be appropriate for the amount of chocolate you’re melting, leaving enough room for stirring without spills. Avoid plastic bowls if possible, as they can sometimes retain heat unevenly.
- Heat-Resistant Spatula or Wooden Spoon: A silicone spatula or wooden spoon is ideal for stirring. They won’t scratch your bowl and are excellent at scraping down the sides to ensure even melting and prevent scorching.
For Stovetop Melting (Double Boiler):
- Double Boiler Setup: You can purchase a dedicated double boiler, or easily create one at home. You’ll need a saucepan (the bottom pot) and a heatproof bowl (glass or stainless steel) that fits snugly over the saucepan without touching the water at the bottom. The snug fit is important to trap steam, ensuring gentle, indirect heat.
- Small Amount of Water: About an inch of water in the bottom saucepan is usually sufficient. The key is that the water should simmer gently, and the bottom of your chocolate-holding bowl should not touch the water.
- Heat-Resistant Spatula or Wooden Spoon: Again, a good quality spatula or wooden spoon is essential for consistent stirring.
How to Melt Chocolate Chips in the Microwave
The microwave is a quick and convenient option for melting chocolate, but it requires a careful approach to prevent burning. The secret lies in using short intervals and frequent stirring to allow residual heat to do most of the work.
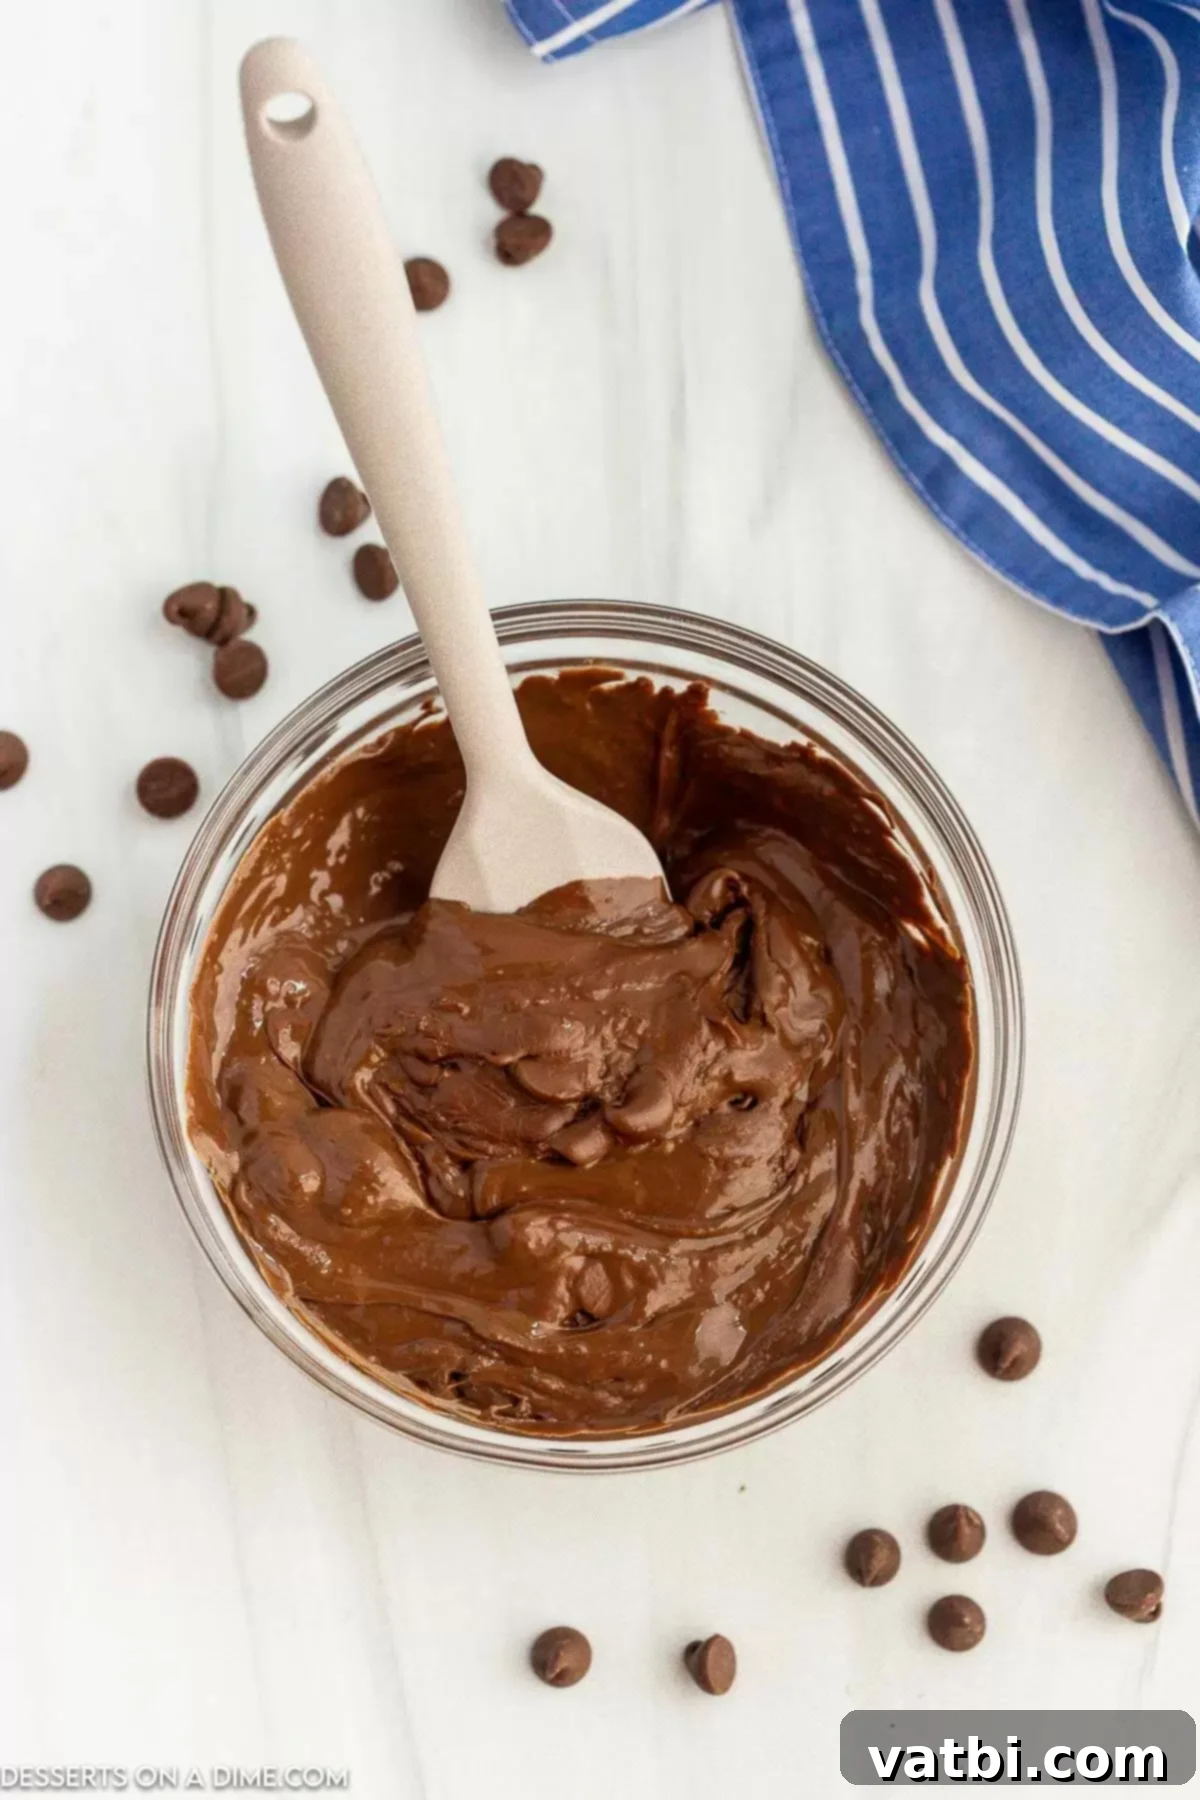
Step 1. Place the desired amount of chocolate chips in a clean, dry, microwave-safe bowl. Begin by microwaving on 50% power for 30 seconds. Using a lower power setting helps prevent scorching.
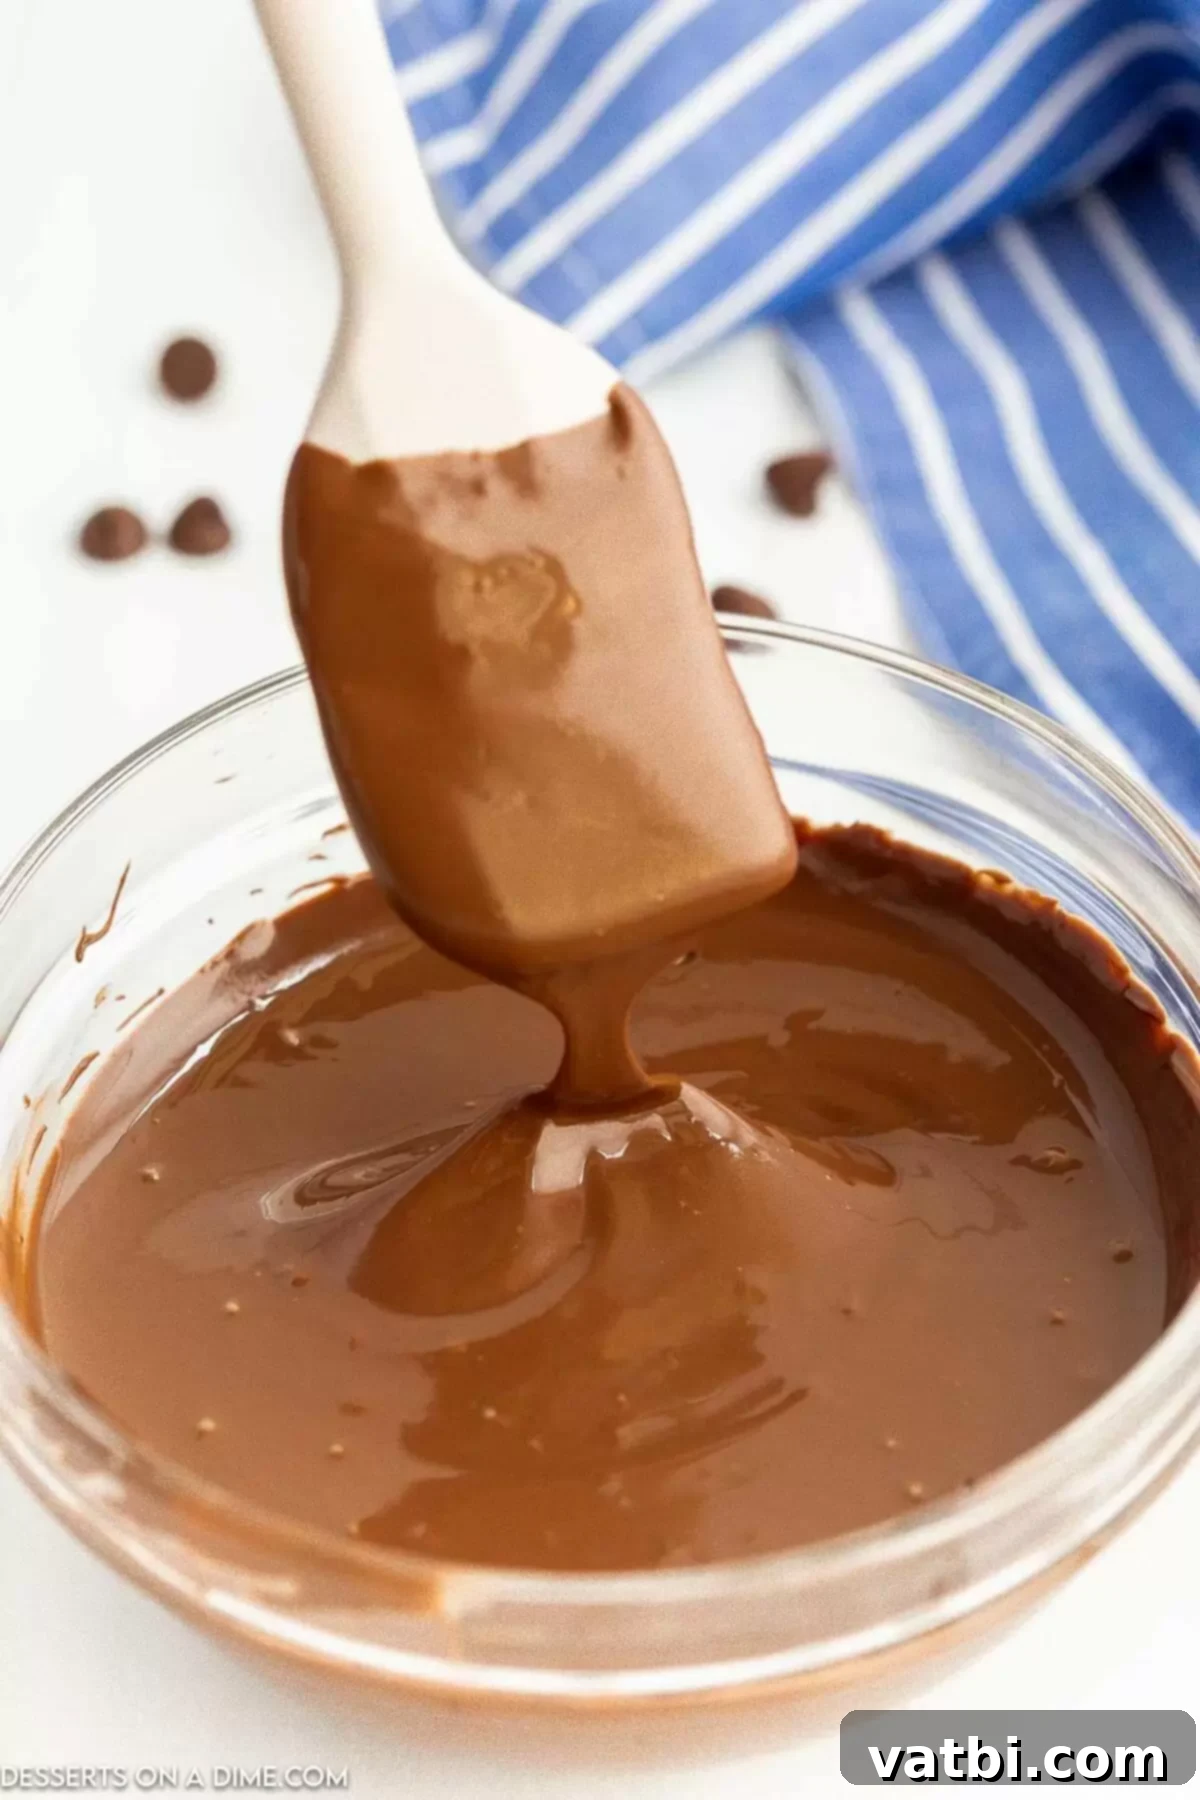
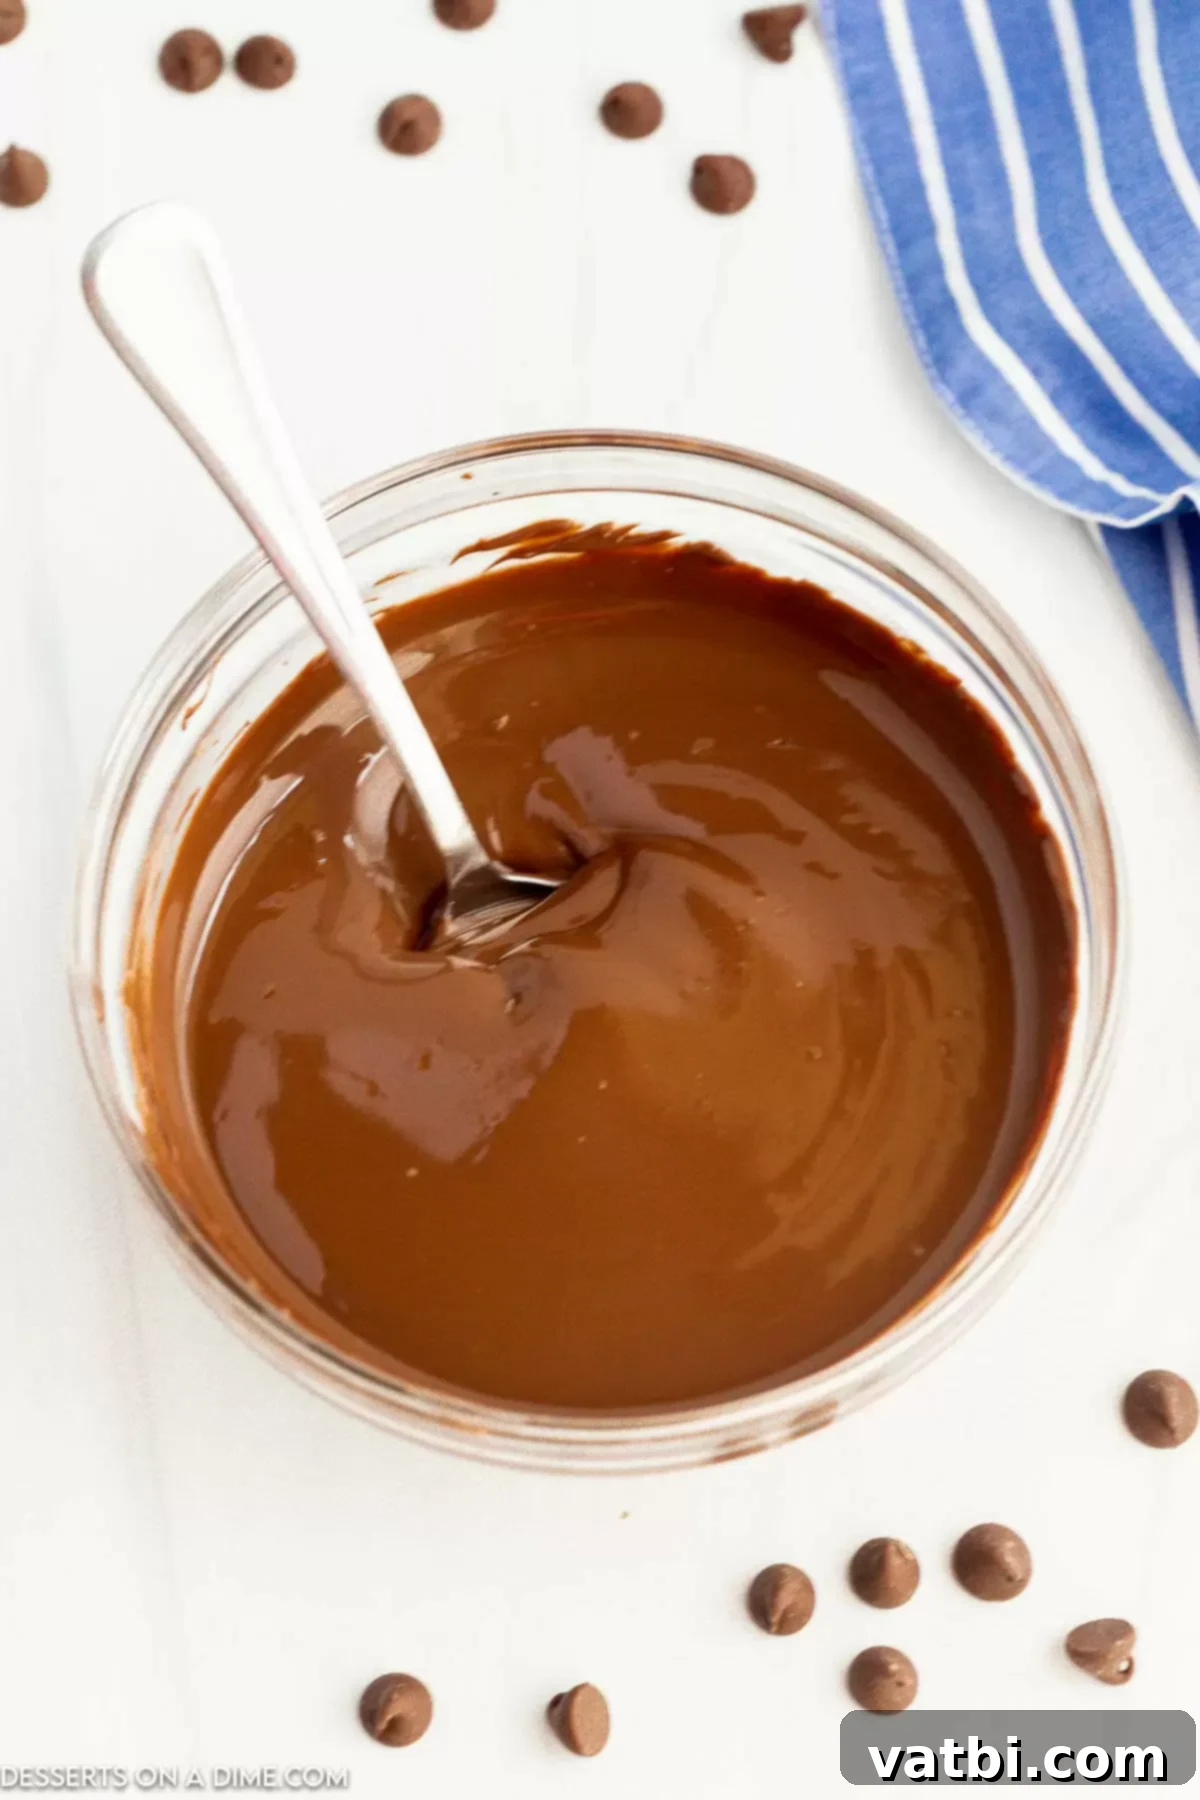
Step 2. Remove the bowl from the microwave and stir the chocolate chips thoroughly. Even if they don’t look melted, the residual heat will start to work its magic. Continue to microwave in 15-20 second intervals (still at 50% power), stirring vigorously after each interval, until the chocolate chips are fully melted and smooth. The last few lumps will often melt just from stirring. Stop heating when only a few small lumps remain, and continue stirring until completely smooth.
How to Melt Chocolate Chips on the Stovetop (Double Boiler Method)
While the microwave offers speed, the stovetop double boiler method provides the most controlled and gentle heat, making it an excellent choice for delicate chocolates or larger batches. This indirect heating method significantly reduces the risk of burning.
- Step 1 – Set Up Your Double Boiler: Begin by creating your double boiler. Place about an inch of water in the bottom of a saucepan. Select a heatproof bowl (glass or stainless steel) that fits securely over the top of the saucepan, ensuring the bottom of the bowl does not touch the water. This is crucial for indirect heat application.
- Step 2 – Bring Water to a Simmer: Place the saucepan with water on the stovetop and bring the water to a gentle simmer over medium-low heat. You should see small bubbles, but not a rolling boil.
- Step 3 – Add Chocolate and Place Bowl: Once the water is simmering, reduce the heat to low. Place your bowl with chocolate chips over the simmering water. The steam from the water will gently heat the bottom of the bowl.
- Step 4 – Stir Constantly: Stir the chocolate continuously with a heat-resistant spatula or wooden spoon. The chocolate will gradually begin to melt from the edges inward. Keep stirring until it’s completely smooth and free of lumps.
- Step 5 – Watch Closely: Be vigilant to prevent any water or steam from getting into the chocolate, as even a tiny drop can cause it to seize. Remove the bowl from the heat as soon as the chocolate is mostly melted, and continue stirring until completely smooth, using the residual heat.
Common Melting Mistakes and How to Avoid Them
Even with the best instructions, chocolate can be finicky. Here are crucial tips to help you avoid common mishaps:
- Overheating Chocolate: This is the most common mistake. Chocolate burns easily, especially in the microwave. Always heat in short intervals (30 seconds, then 15-20 seconds) and stir frequently. The residual heat is powerful – it will continue to melt the chocolate even after it’s off the heat source. This slow and steady approach ensures a smooth, unburnt result.
- The Dreaded Seizing: If chocolate is overheated, or if even a tiny drop of water gets into it, it will “seize up,” becoming a grainy, thick, and unusable mess. This happens because the cocoa solids clump together when exposed to too much heat or moisture. Prevention is key: use dry, clean utensils and bowls, and avoid rapid temperature changes.
- Dirty or Wet Bowl/Utensils: Any moisture, even a single drop of water, can cause chocolate to seize. Always start with impeccably clean and completely dry bowls and spatulas. This is paramount, especially with the stovetop double boiler method, where steam can be a hidden enemy.
- Confusing Melting with Tempering: Melting chocolate chips, as described here, is a straightforward process to get a pourable consistency. Tempered chocolate, on the other hand, involves a more precise heating and cooling curve to stabilize the cocoa butter crystals. This results in a shiny finish, a crisp snap, and prevents “bloom” (white streaks) when chocolate cools. While important for candy making and enrobing, tempering is a more advanced technique and not necessary for most baking applications. Don’t worry if your melted chocolate doesn’t have a perfect “snap” – it’s still perfect for your recipes!
Can You Fix Overheated or Seized Chocolate?
Discovering your beautiful melted chocolate has turned into a grainy, lumpy mess can be disheartening. This typically occurs due to overheating or, more commonly, water exposure. While sometimes irreversible, there are a few techniques you can try to rescue seized chocolate before starting over:
- Add Boiling Water: This sounds counterintuitive, but adding a small amount of boiling water (1 teaspoon at a time) while stirring vigorously can sometimes bring seized chocolate back to life. The hot water helps re-emulsify the cocoa solids and fat. Continue adding and stirring until the chocolate becomes smooth again.
- Introduce a Neutral Oil: Similar to thinning, adding a teaspoon of vegetable oil, coconut oil, or even melted butter can help smooth out seized chocolate by introducing more fat and lubricating the cocoa solids. Stir continuously after each addition.
- Add More Chocolate: If you have extra chocolate chips on hand, adding a small amount of unmelted chocolate to the seized batch and gently heating it while stirring can sometimes “reset” the melting process and smooth out the mixture.
However, despite these tips, if the chocolate is severely burnt or seized, it might be beyond repair. It’s always a good idea to have extra chocolate chips on hand for such emergencies. Often, the easiest and most reliable solution is to discard the seized batch and start fresh, ensuring you follow the slow and low heating method.
How To Thin Chocolate That is Too Thick?
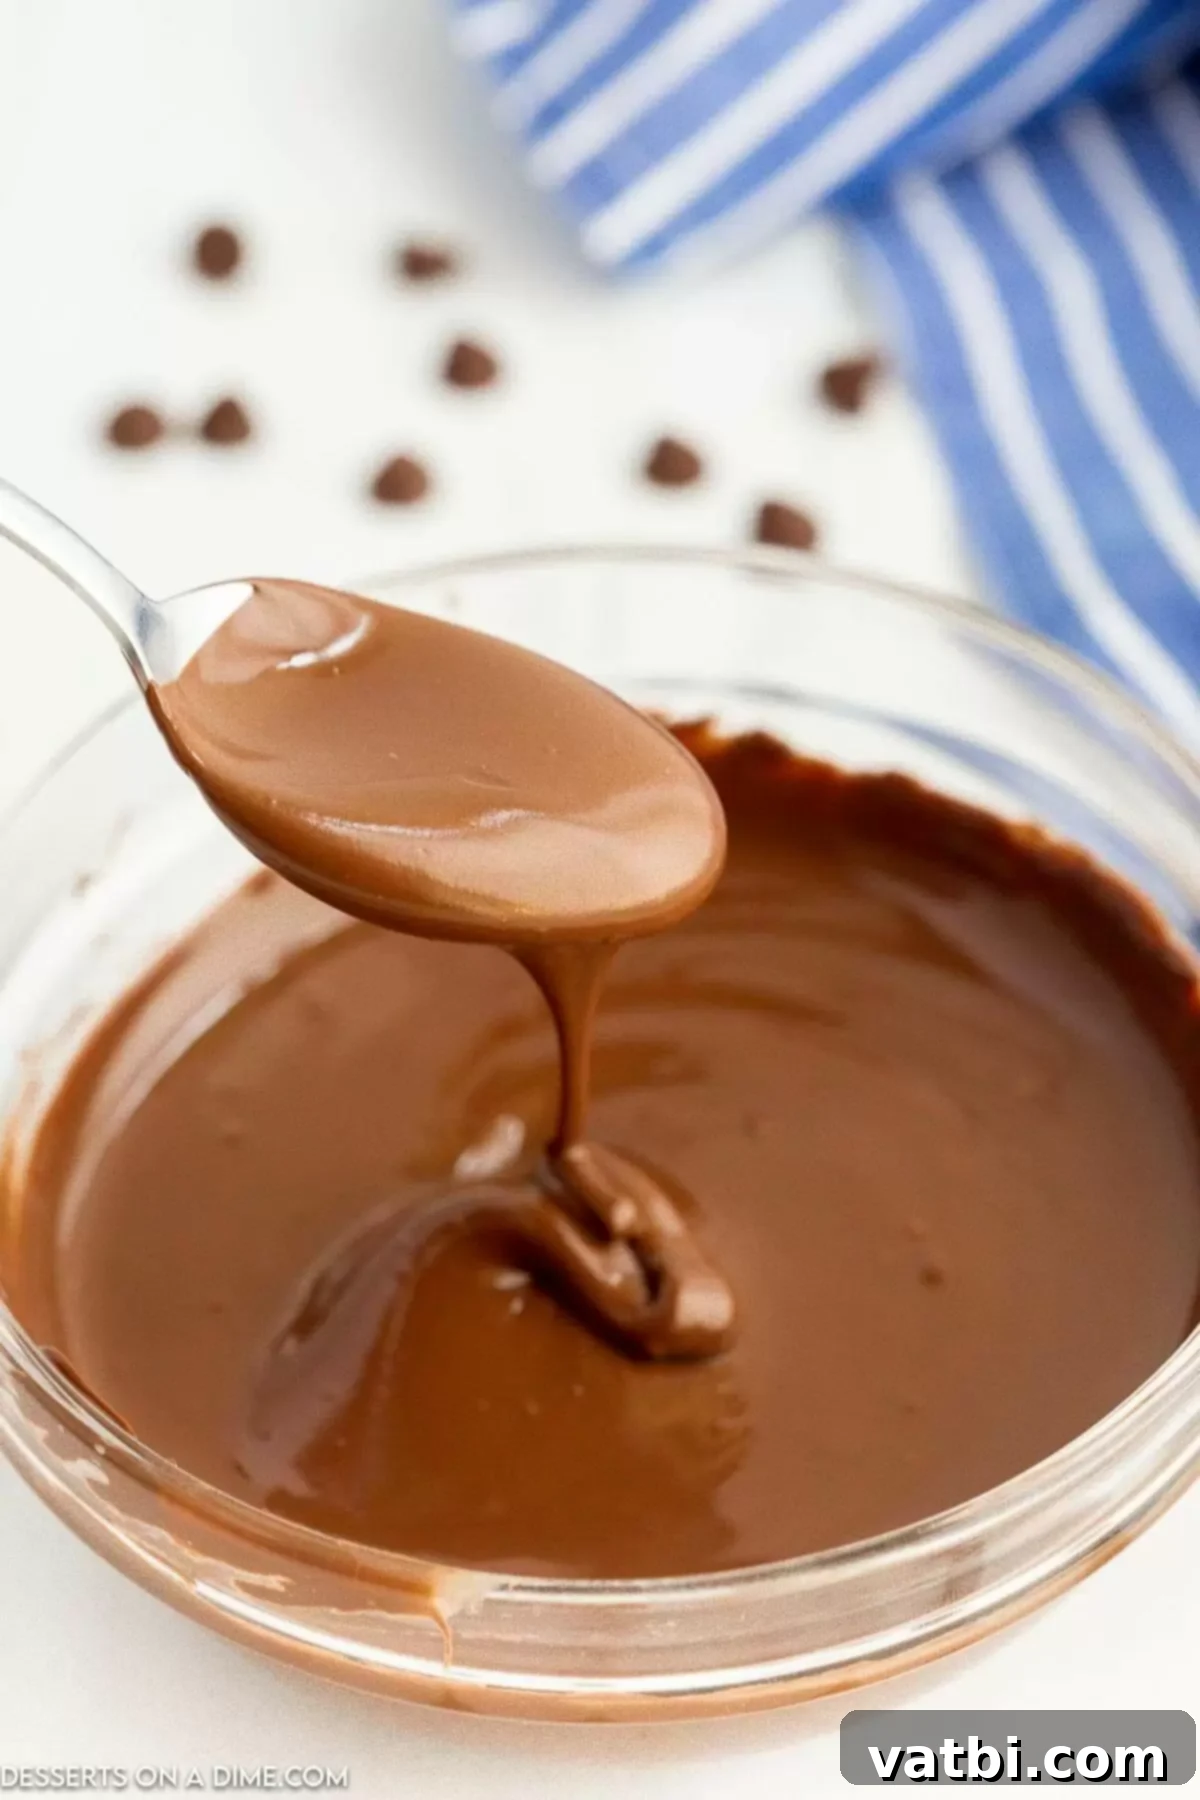
Sometimes, even perfectly melted chocolate can be a bit too thick for certain applications, like drizzling or a thin coating. This can happen if it cools slightly or if the type of chocolate naturally has a higher viscosity. Here are effective ways to thin it out:
- Stir in Vegetable Oil or Coconut Oil: Adding a teaspoon of neutral-flavored vegetable oil, canola oil, or melted coconut oil (refined if you don’t want a coconut flavor) can significantly thin out chocolate. Add a small amount at a time and stir until you reach the desired consistency. You can even add a little coconut oil before melting the chocolate for a naturally thinner consistency.
- Add Shortening: A small amount of solid vegetable shortening (like Crisco) can also be stirred into melted chocolate to thin it out without adding extra flavor or affecting the setting time too much.
- Melted Butter (Use with Caution): While melted butter can thin chocolate, it also introduces water content, which can potentially cause seizing if added improperly or in large quantities. If using butter, add it warm and slowly, stirring constantly.
Delicious Variation Ideas
These melting techniques are not just for standard chocolate chips! You can apply these same steps to a variety of confectionery components to create stunning desserts. Experiment with different types and flavors to suit your creative baking needs for chocolate bars, cakes, cookies, brownies, and more.
- Milk Chocolate Chips: Perfect for a sweeter, creamier base for candies or hot chocolate bombs.
- Peanut Butter Chips: Melt these for a fantastic drizzle over brownies, cookies, or to make peanut butter fudge.
- Dark Chocolate Chips: Ideal for a rich, intense flavor, great for dipping fruits, making truffles, or as a sophisticated drizzle.
- Semi-Sweet Chocolate: A classic all-rounder, excellent for most baking and decorating tasks, offering a balanced sweetness.
- White Chocolate Chips: Use these to create colorful drizzles (by adding food coloring), white chocolate ganache, or for dipping items where a contrasting color is desired. Remember to heat white chocolate even more gently due to its higher sugar content.
- Butterscotch Chips: Another fun variation for unique flavor combinations in cookies or dessert bars.
Storage and Reheating Tips
If you have leftover melted chocolate, don’t let it go to waste! Proper storage ensures you can enjoy it later. Once your melted chocolate has cooled completely, transfer it to an airtight container. You can store it at room temperature for a few days or in the fridge for up to a few weeks. Keep in mind that condensation may appear on the surface if refrigerated, but this usually doesn’t affect quality.
To reheat previously melted chocolate, you can use the same gentle methods: microwave in short bursts (15-20 seconds) with frequent stirring, or set it over a double boiler. Be sure to stir thoroughly to re-emulsify any separated fats and achieve that smooth consistency once more.
Pin
How to Melt Chocolate Chips
Ingredients
- 2 cups Chocolate Chips
Instructions
-
Place the chocolate chips in a microwave safe bowl.
-
Microwave for 30 seconds. Then stir the chocolate chips.
-
Then continue to microwave in 20 second intervals, stirring after each interval, until the chocolate chips are fully melted and smooth.
Recipe Notes
Nutrition Facts
Pin This Now to Remember It Later
Pin Recipe
More Easy Baking Tips
Continue your baking journey with these helpful guides:
- How to Tell if Brownies are Done
- How to Make Cake Flour
- Easy Tips on Freezing Cookie Dough
Mastering the art of melting chocolate chips is a skill that will enhance all your dessert creations. By using these simple yet effective microwave and stovetop methods, you can achieve perfectly smooth, burn-free chocolate every time. Don’t be intimidated by this delicate ingredient; with a little patience and these expert tips, you’ll be melting like a pro!
We hope these easy methods for melting chocolate transform your baking! Please come back and leave a comment once you try it. Your feedback is always appreciated!
