St. Patrick’s Day Cake Pops: Your Ultimate Guide to Festive Shamrock Treats
Get ready to infuse some vibrant green magic into your St. Patrick’s Day celebration with these incredibly fun and festive St. Patrick’s Day Cake Pops! These delightful little spheres of cake on a stick are more than just a dessert; they’re a miniature celebration in themselves. Perfectly sized for little hands and big smiles, they are the ultimate St. Patrick’s Day treat that promises to be a hit at any gathering or a delightful surprise for your family.

This cake recipe for shamrock cake pops is not only irresistibly delicious but also remarkably simple to make, even if you’re new to the world of cake pop crafting. We’ve designed this guide to ensure your journey to creating these colorful treats is smooth, enjoyable, and results in perfectly festive St. Patrick’s Day goodies. The addition of charming white heart sprinkles transforms each cake pop into a whimsical four-leaf clover, adding that extra touch of luck and fun that St. Patrick’s Day demands. Imagine the joy on your children’s faces when they bite into these moist, flavorful, and beautifully decorated treats!
Having created countless easy and enjoyable holiday treats over the years, we know a winner when we taste one, and these cake pops are certainly a family favorite. They are just as straightforward to prepare as our popular St. Patrick’s Day Lime Jell-O Poke Cake and the ever-popular St. Patrick’s Day Rice Krispie Treats. While you’re in the spirit of festive baking, you might also enjoy whipping up some rich Guinness Brownies or delightful St. Patrick’s Day Chocolate Covered Oreos. And for those who love cake pops all year round, our Starbucks Cake Pops Recipe is always a hit!
Table of contents
- Why We Love This Recipe
- Ingredients for St. Patrick’s Day Cake Pops
- Fun Variations to Try
- How to Make Shamrock Cake Pops: A Step-by-Step Guide
- Pro Tips for Perfect Cake Pops
- Storage & Make-Ahead Tips
- More St. Patrick’s Day Desserts
Why We Love This St. Patrick’s Day Cake Pop Recipe
There are so many reasons to adore this recipe, making it a perfect addition to your St. Patrick’s Day festivities. First and foremost, it’s incredibly adaptable! You can effortlessly transform your favorite cake mix into a holiday masterpiece. The process is simple: just bake your chosen cake, infuse it with vibrant green food coloring, then crumble it into a delightful texture. This cake “dough” is then mixed with rich, creamy frosting to form perfectly bite-sized balls.
It’s also a fantastic activity for the entire family. Kids especially love getting involved in the fun, from mixing the green batter to shaping the cake balls. The most exciting part for them is often dipping the cake balls into the luscious green candy melts, creating a dazzling, smooth exterior. This hands-on experience makes these delicious treats even more special, fostering cherished memories along with delightful desserts. Plus, the individual portion sizes make them ideal for parties and easy snacking without any mess!
Ingredients for St. Patrick’s Day Cake Pops
Creating these festive St. Patrick’s Day Cake Pops requires only a handful of readily available ingredients. The beauty of this recipe lies in its simplicity and the vibrant results it produces.
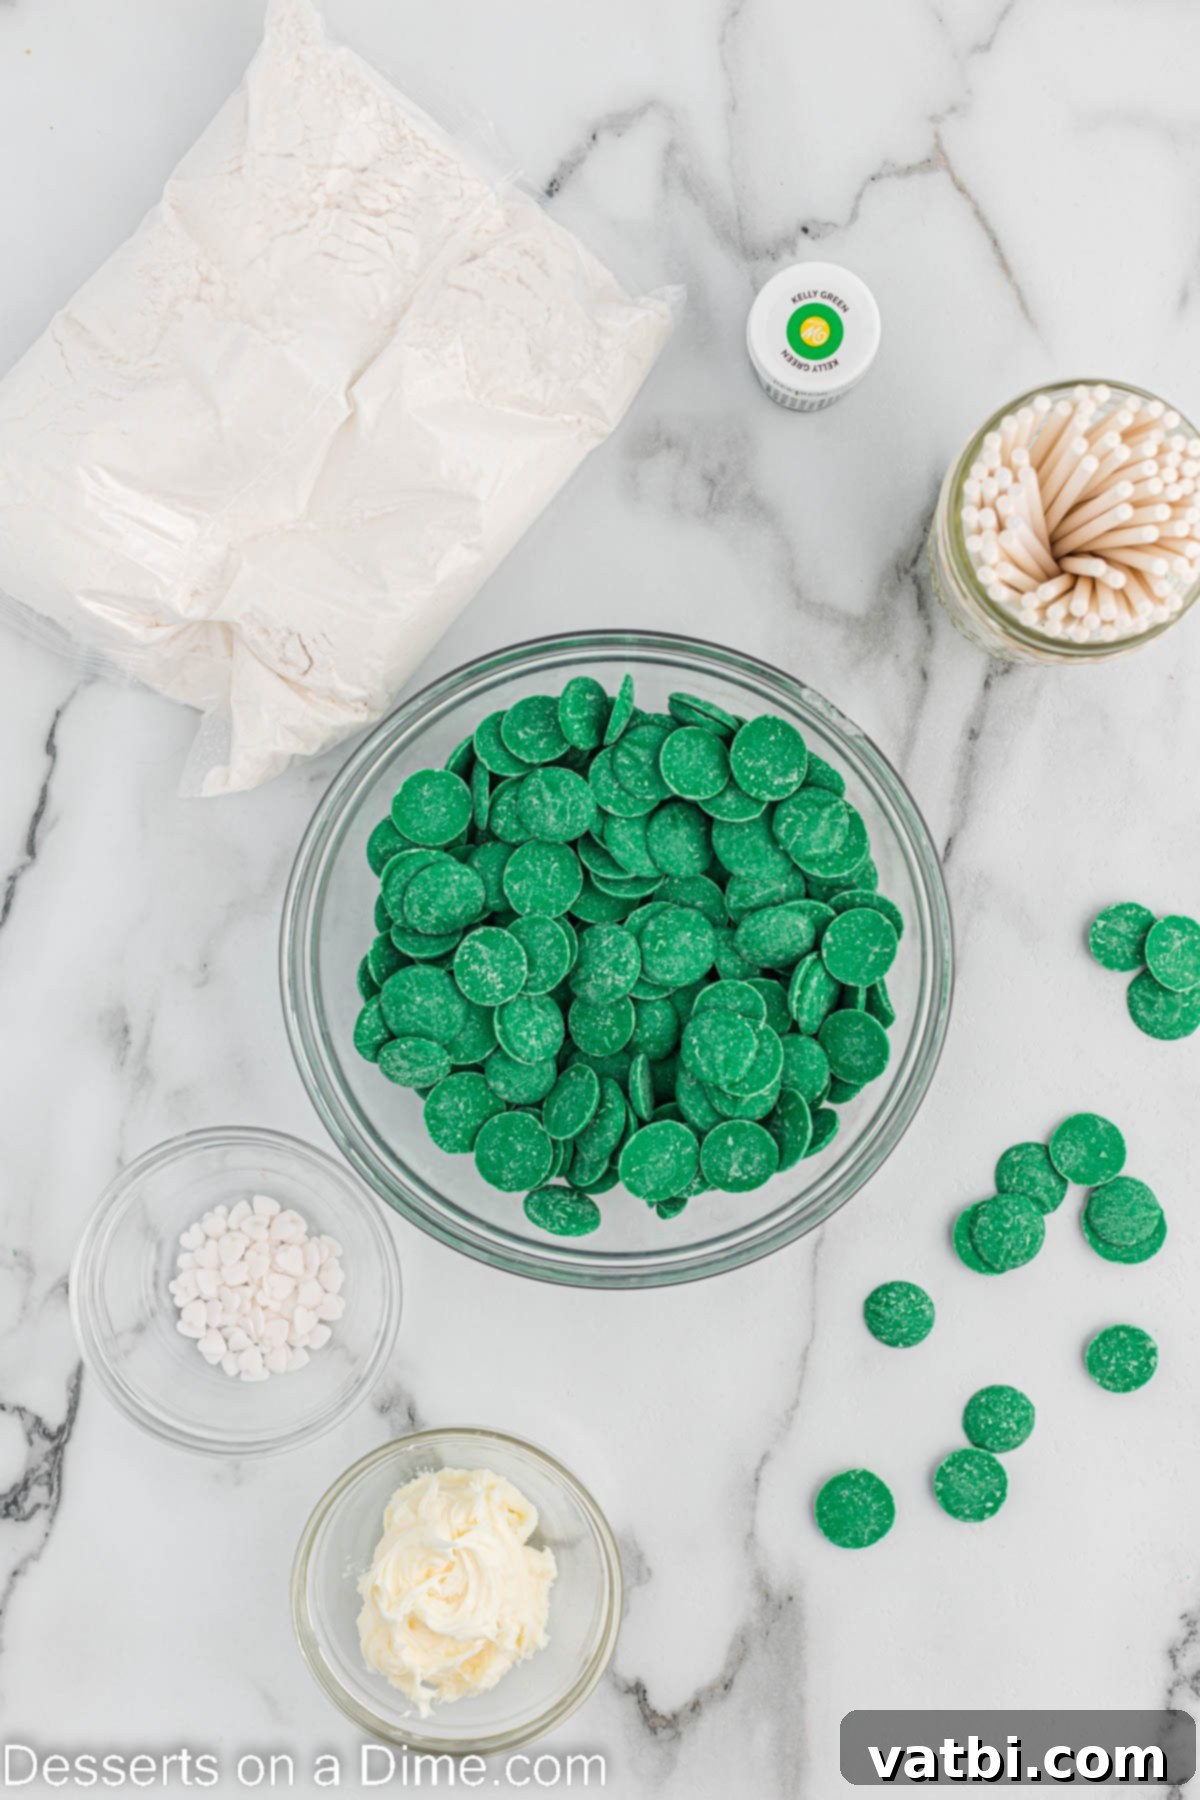
- Classic Boxed Cake Mix. For the best vibrant green color, a white cake mix is highly recommended as it provides a neutral base. However, feel free to experiment with any flavor you love, such as vanilla, lemon, or even a funfetti mix for an extra pop of color! Remember to gather all the ingredients specified on your cake mix box (usually eggs, oil, and water).
- Green Gel Food Coloring. This is crucial for achieving that striking, deep green hue characteristic of St. Patrick’s Day. Gel food coloring is superior to liquid versions because it offers intense color without adding excess liquid to your batter or frosting, which can affect the cake’s consistency.
- Cream Cheese Frosting. The frosting acts as the “glue” that binds your crumbled cake together into perfectly moldable balls. You can opt for the convenience of store-bought cream cheese frosting, or elevate your cake pops with a rich and creamy Homemade Cream Cheese Frosting Recipe.
- Cake Pop Sticks or Lollipop Sticks. These essential tools transform your cake balls into convenient, hand-held treats. You can typically find them in the baking or craft section of most supermarkets or craft stores.
- Green Candy Melts. For that smooth, festive coating, green candy melts are ideal. Brands like Wilton’s offer a fantastic range of vibrant colors and melt beautifully for easy dipping. Ensure you have enough for a generous coating.
- White Heart Sprinkles. These aren’t just for decoration; they are the secret to creating the adorable shamrock design on your cake pops. Look for small, flat heart-shaped sprinkles to make perfect little clovers.
You can find the exact quantities and detailed instructions for these ingredients at the bottom of the page in the full recipe card.
Fun Variations to Try for Your Shamrock Cake Pops
While the classic green shamrock cake pop is charming, don’t hesitate to get creative! Here are a few ways you can customize your St. Patrick’s Day treats:
- Change the Sprinkles or Candy – Instead of white heart sprinkles, you can easily use other small candy hearts or even miniature green sprinkles to create a different look for your shamrock design. For an extra touch of St. Patrick’s Day magic, consider adding a small edible gold coin to the side of each cake pop or using edible gold glitter for a shimmering finish.
- Experiment with Cake Mix Flavors – While white cake mix is fantastic for achieving a vibrant green, feel free to try other flavors. A chocolate cake mix could create a “hidden shamrock” effect, or a lemon cake mix could add a zesty twist. If you’re feeling adventurous and prefer a completely homemade touch, you can certainly bake a cake from scratch instead of using a boxed mix. Just ensure the cake is completely cooled before crumbling.
- Alternative Melting Chocolate Options – While green candy melts provide a vivid color and smooth finish, you can also use white chocolate chips as your base. Simply melt the white chocolate chips and then mix in your green gel food coloring to achieve the desired shade. For a richer flavor, you could even try milk chocolate and drizzle a contrasting green coating over it. Remember that regular chocolate might require a touch of vegetable or coconut oil to achieve a smooth, dippable consistency.
- Add a Boozy Twist: For an adult-friendly version, consider adding a tablespoon or two of Irish cream liqueur or whiskey to your cream cheese frosting. This adds a subtle, sophisticated flavor that complements the festive theme.
How to Make Shamrock Cake Pops: A Step-by-Step Guide
Follow these easy steps to create your own batch of delightful St. Patrick’s Day Cake Pops. The process is divided into manageable stages, ensuring a fun and successful baking experience.
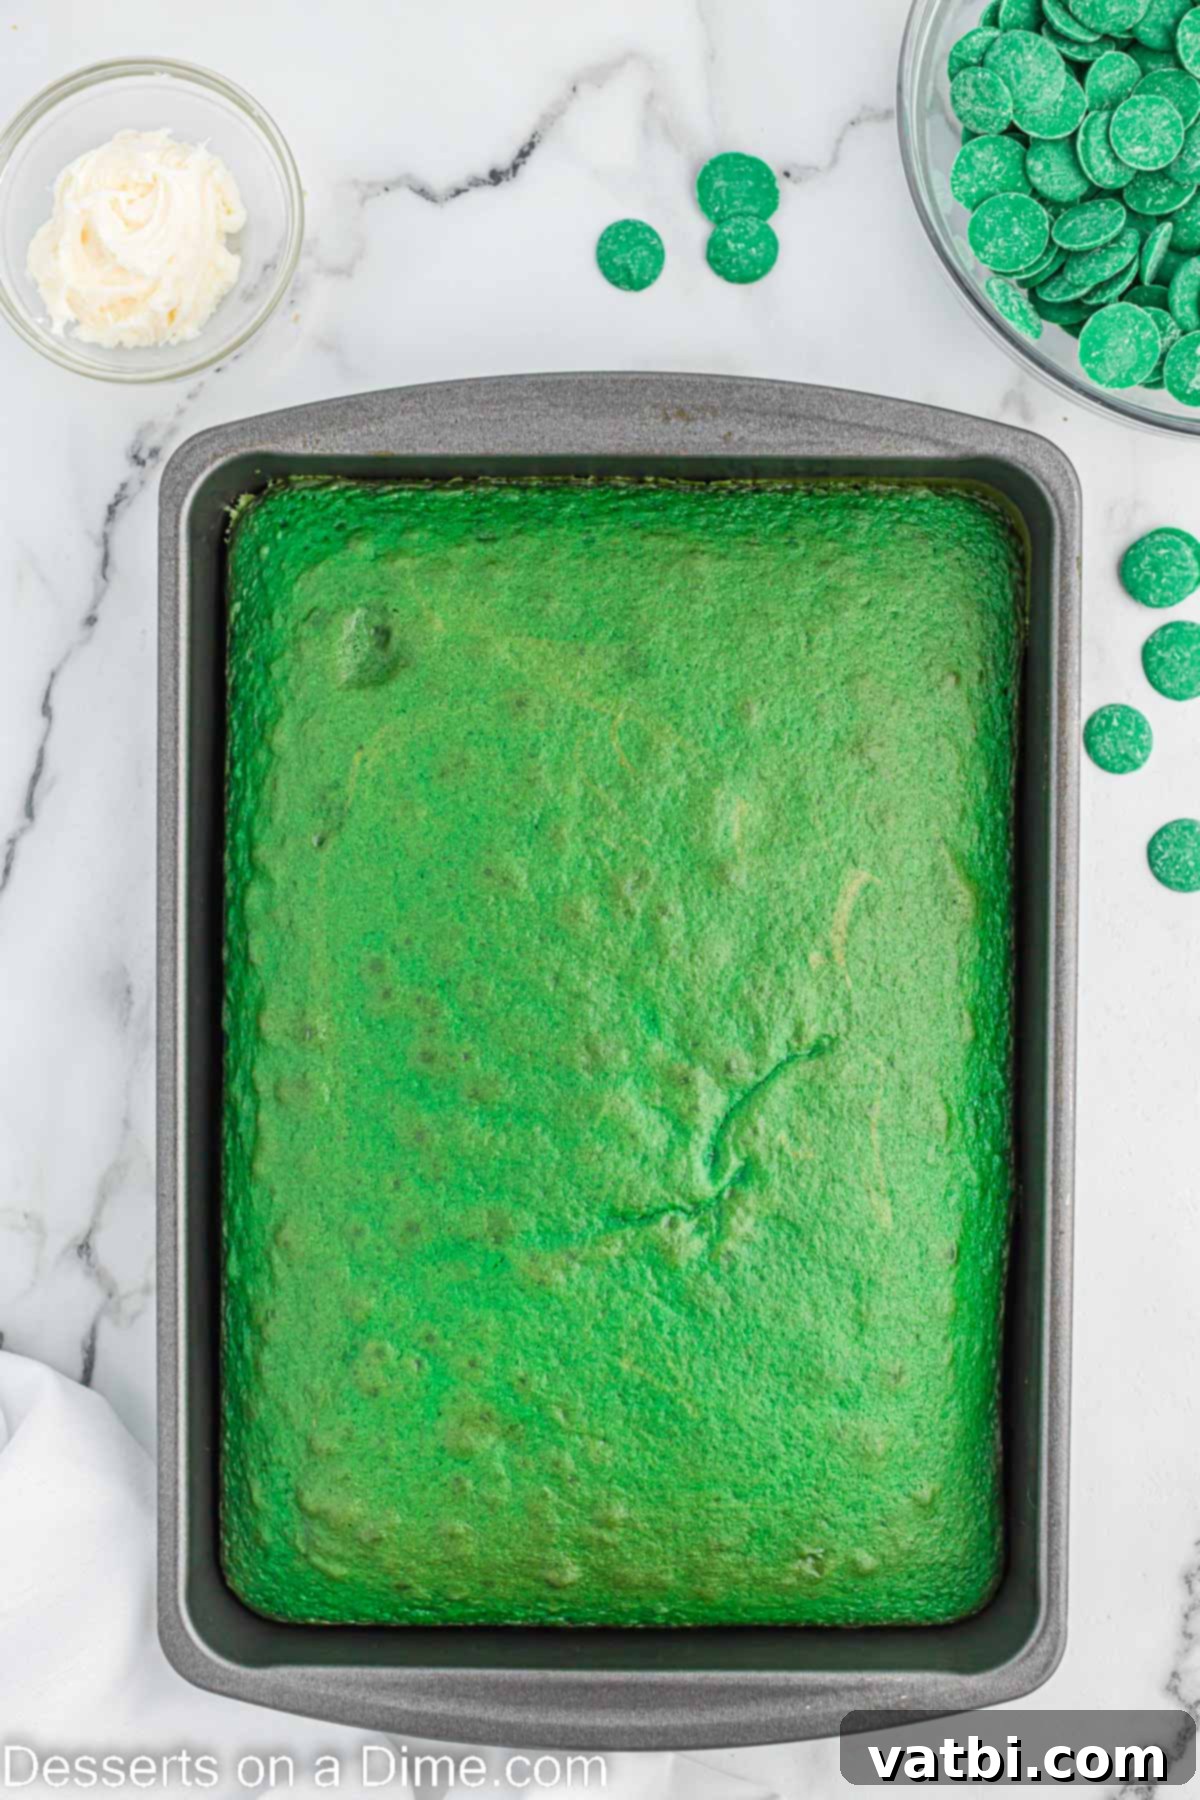
Step 1: Prepare and Bake the Cake. First, prepare your chosen cake batter (from the boxed mix) according to the package instructions. Using a hand mixer will help achieve a smooth consistency. Now for the fun part: add your green gel food coloring to the batter until it reaches a bright, festive green color. Bake the cake in your oven as directed on the box. Once baked, allow the cake to cool completely in the pan on a wire rack. Once cool, remove the cake from the pan, gently trim off and discard the slightly browned outside layer (this ensures a consistently moist and colorful cake pop interior). Finally, crumble the remaining green cake into fine pieces in a large bowl. Ensure there are no large lumps.
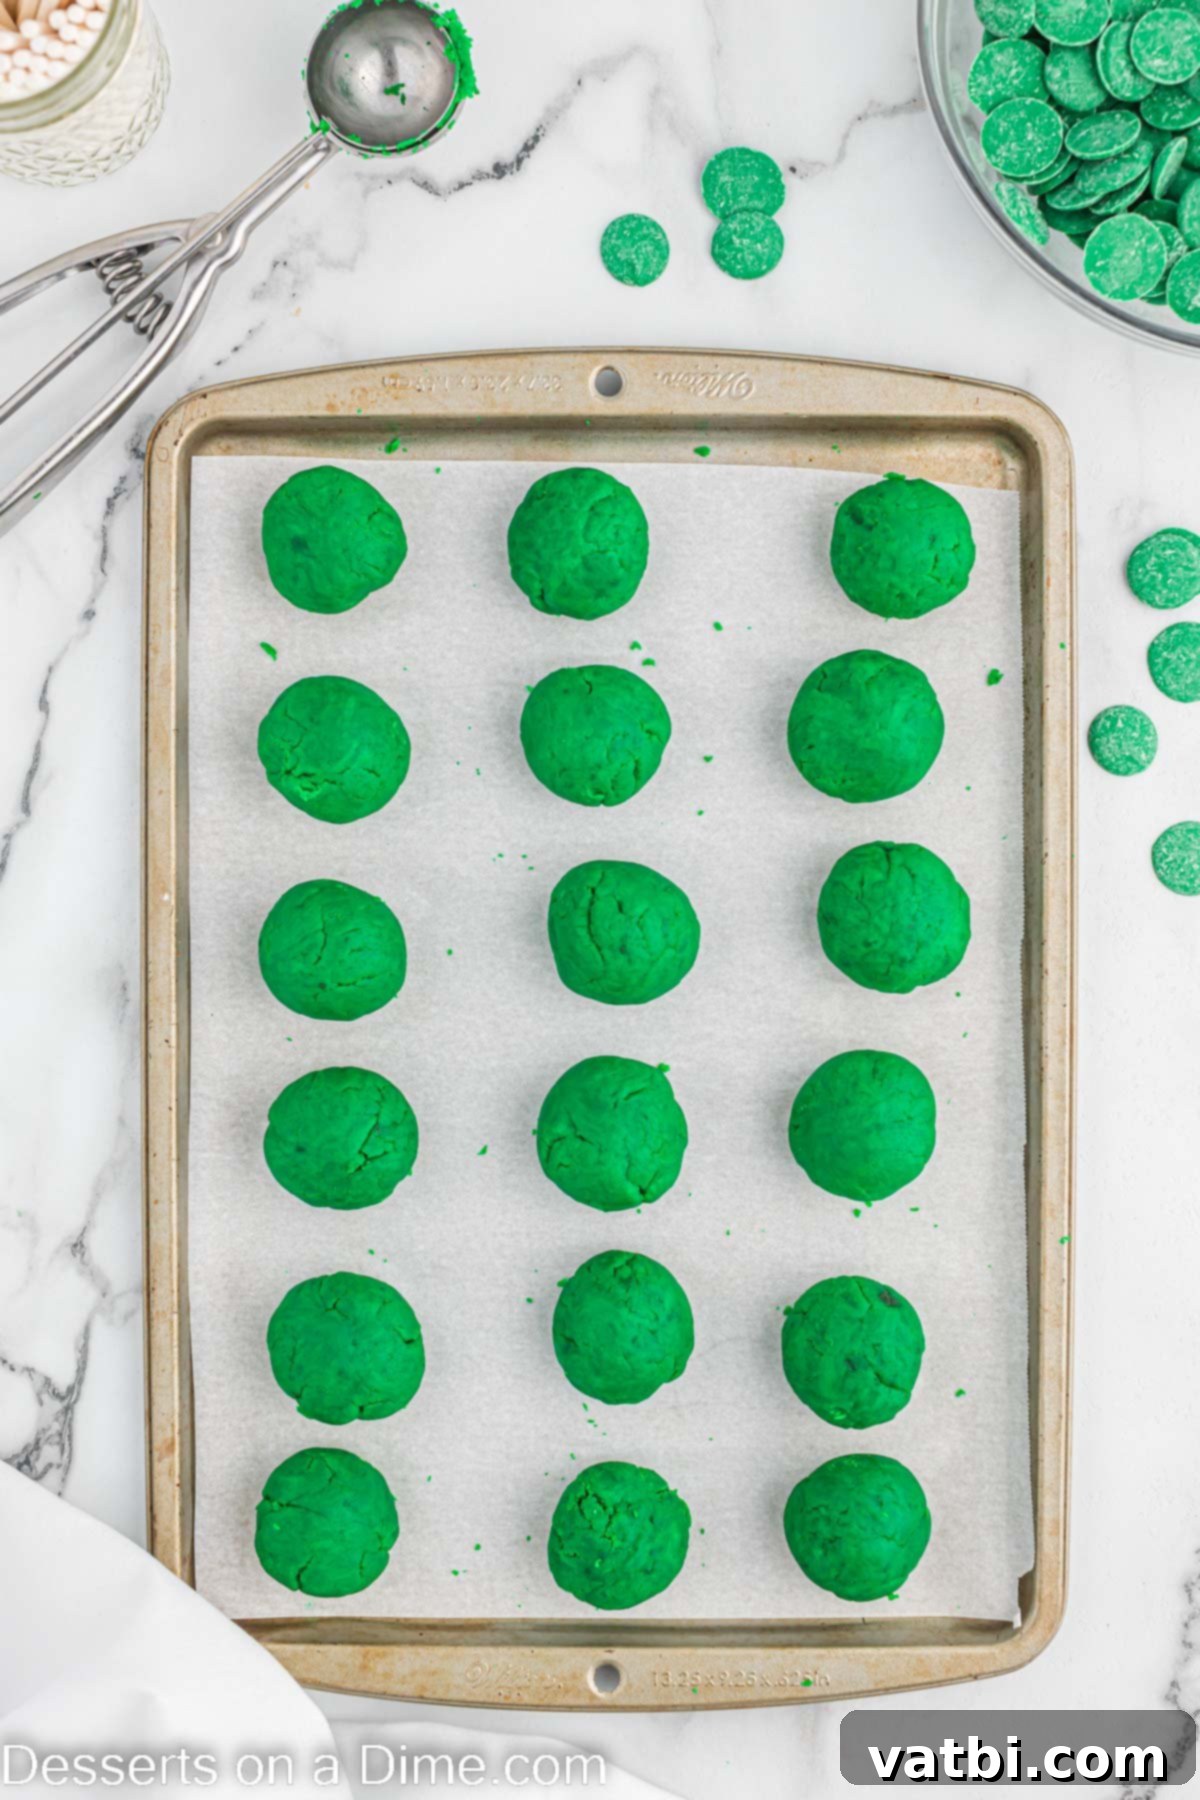
Step 2: Form the Cake Balls. To your bowl of crumbled cake, add the cream cheese frosting. Start with the recommended amount and stir everything together thoroughly using a sturdy spoon or even your hands (wearing gloves is recommended for this step!). Continue mixing until the “dough” is well combined and firm enough to hold its shape when rolled – it shouldn’t be too sticky or too dry. Roll portions of this mixture into uniform cake balls. You should get approximately 24-36 cake balls, depending on your desired size. A cookie scoop is excellent for ensuring consistent sizing. Place all the shaped cake balls onto a baking sheet lined with parchment paper or wax paper.
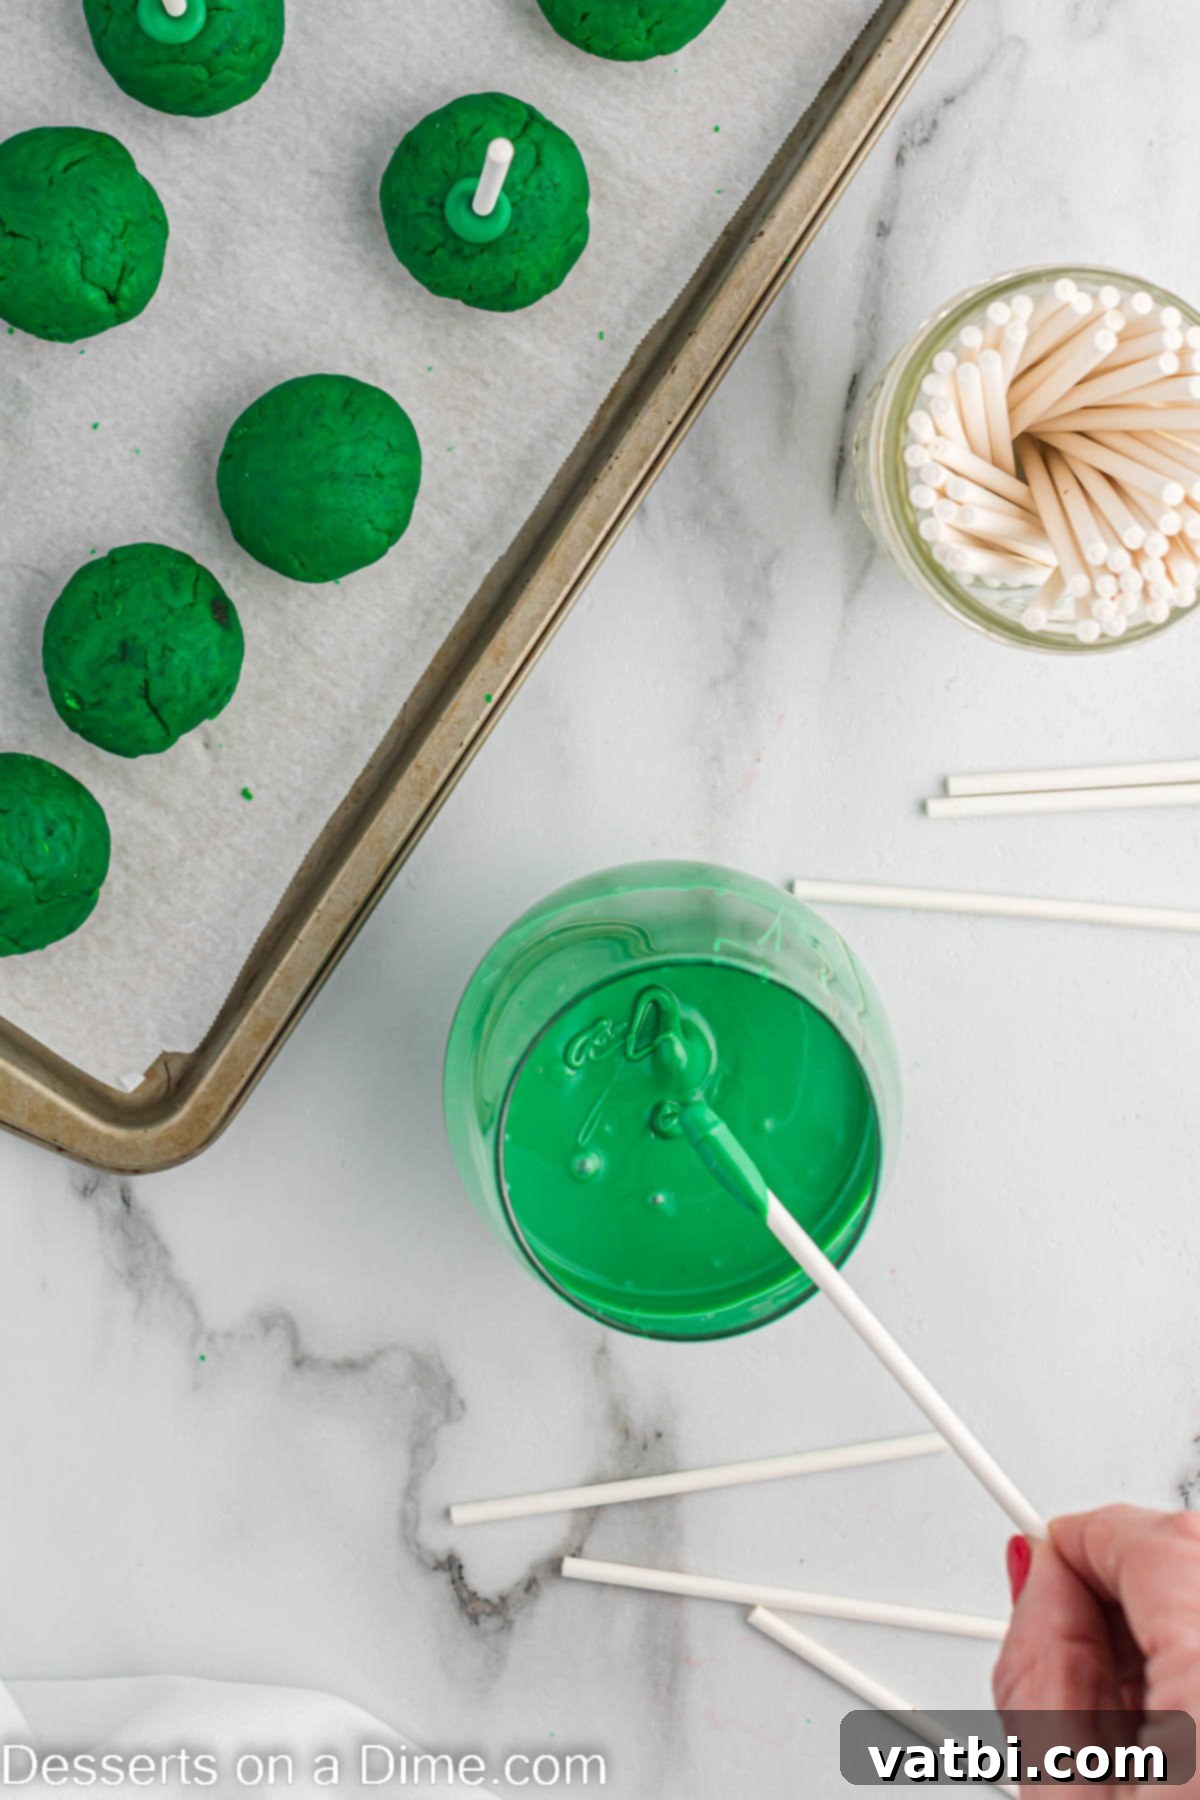
Step 3: Prepare and Insert the Sticks. Place your green candy melts in a small, microwave-safe bowl. Microwave them in 30-second intervals, stirring well after each interval, until the candy is fully melted and has a smooth, creamy consistency. Be careful not to overheat. Dip the tip of each cake pop stick (about half an inch) into the melted green candy, then carefully insert the candy-coated end into the center of each cake ball, going about halfway through. The melted candy acts as an adhesive, securing the stick in place. Once all sticks are inserted, place the entire baking sheet with the cake balls into the freezer for 10-15 minutes. This chilling step is crucial for preventing the cake balls from falling off the sticks during dipping.
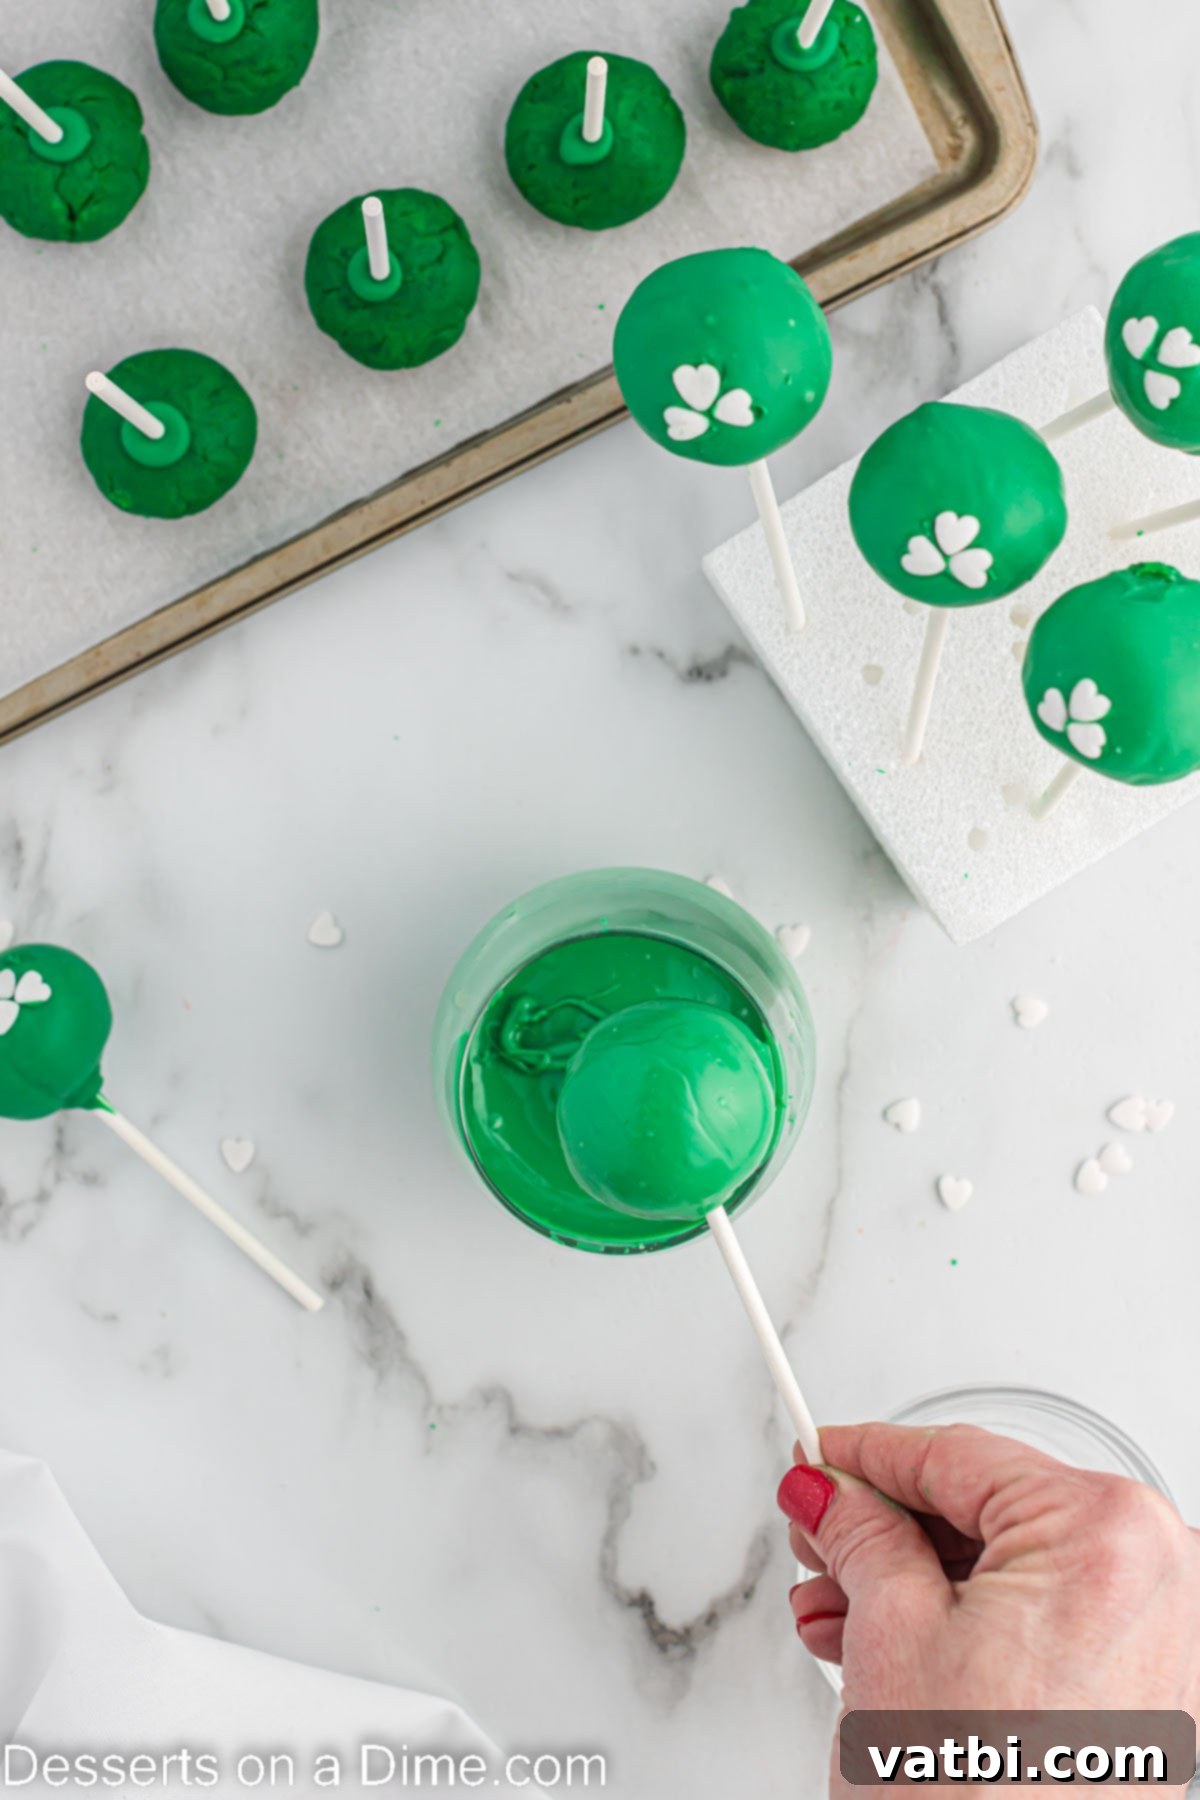
Step 4: Dip the Cake Pops. After the cake pops have sufficiently chilled in the freezer, it’s time for their glorious green coating! If your candy melts have started to solidify, re-melt them briefly until smooth again. Carefully dip each cake pop into the melted candy melts (or melted chocolate, if using). Submerge the entire cake ball. Gently tap the stick on the side of the bowl to allow any excess melted candy to drip back into the bowl. This ensures a smooth, even finish and prevents a thick, clumpy coating. Work efficiently but carefully to maintain an even coat.
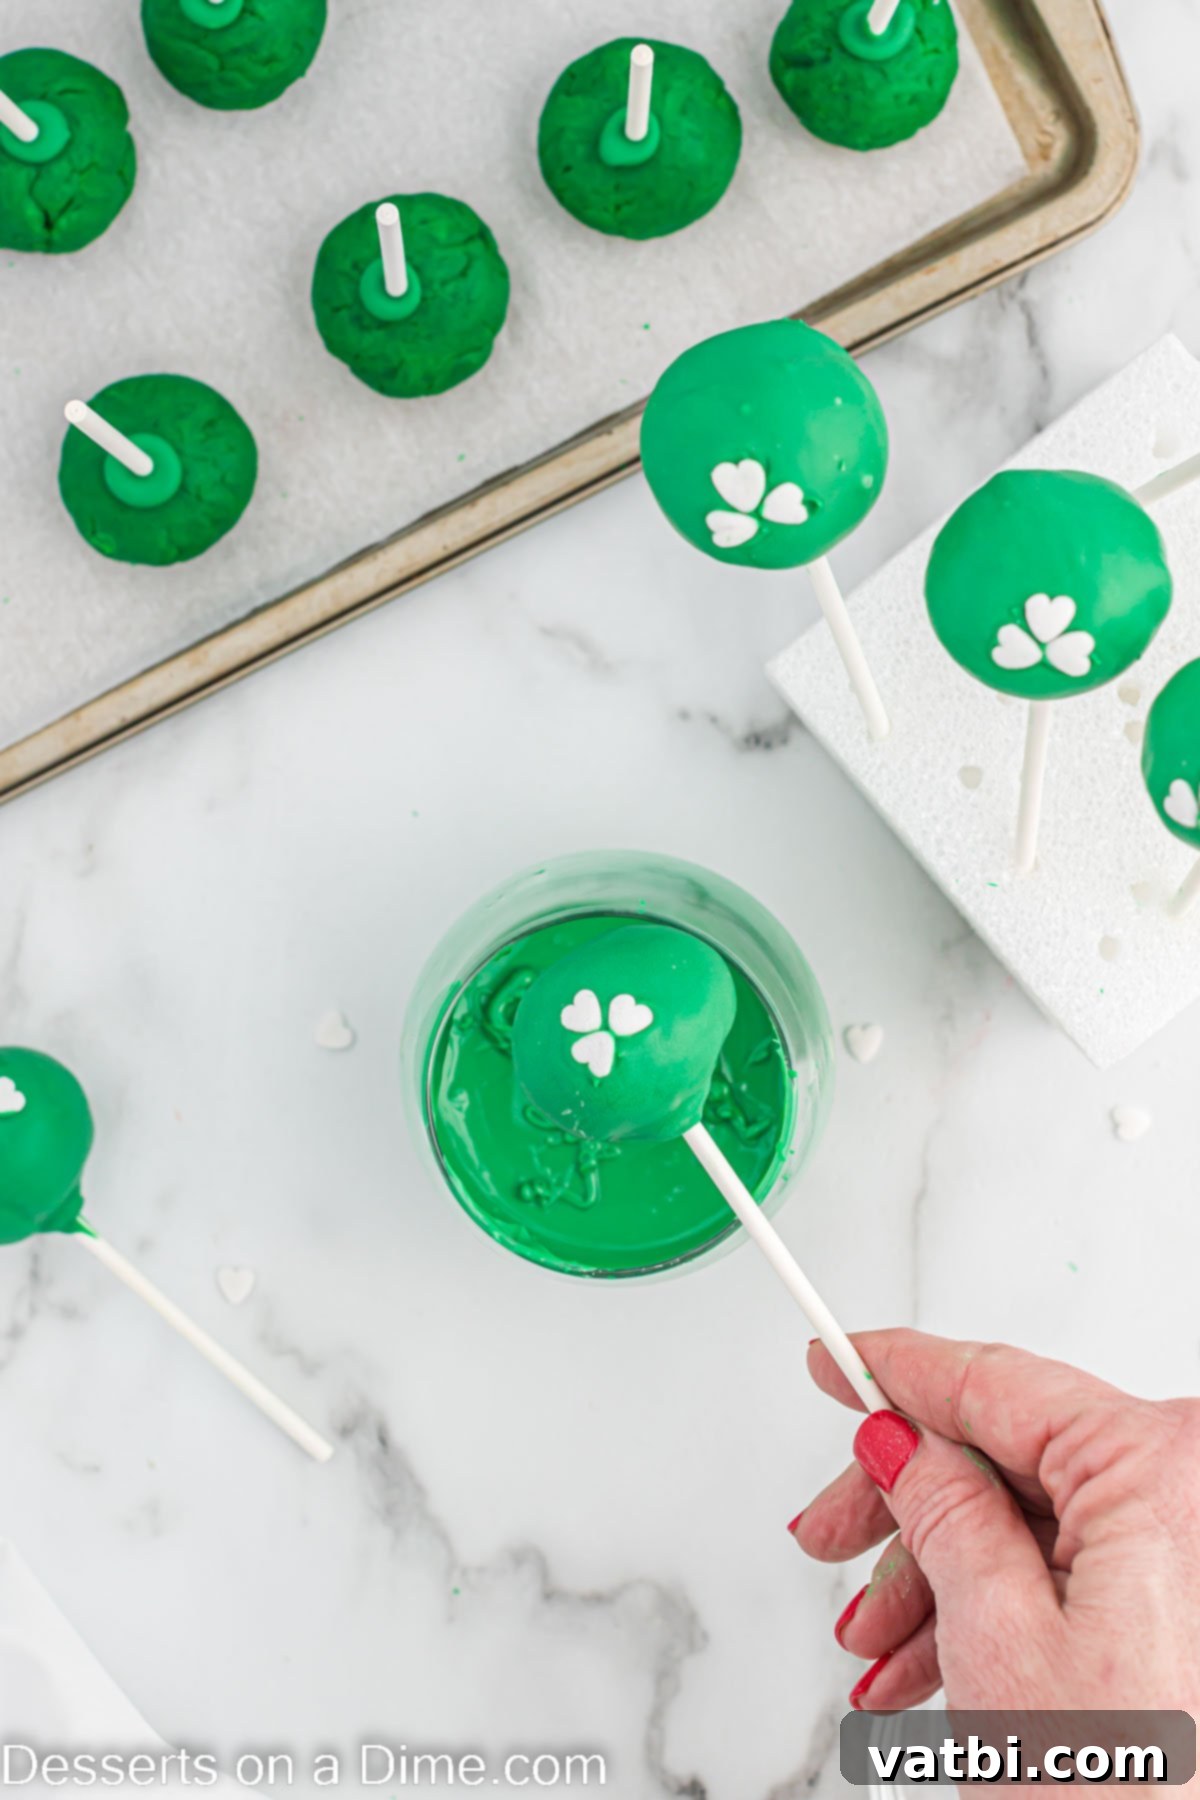
Step 5: Decorate with Shamrocks. This is where the magic happens! Immediately after dipping a cake pop and before the candy melts dry, carefully place three white heart sprinkles onto the front of the cake pop. Arrange them to form the shape of a clover. The melted candy will act as an adhesive, securing the sprinkles in place as it sets. These simple yet elegant decorations instantly transform your green treats into festive shamrock cake pops, ready to celebrate St. Patrick’s Day!

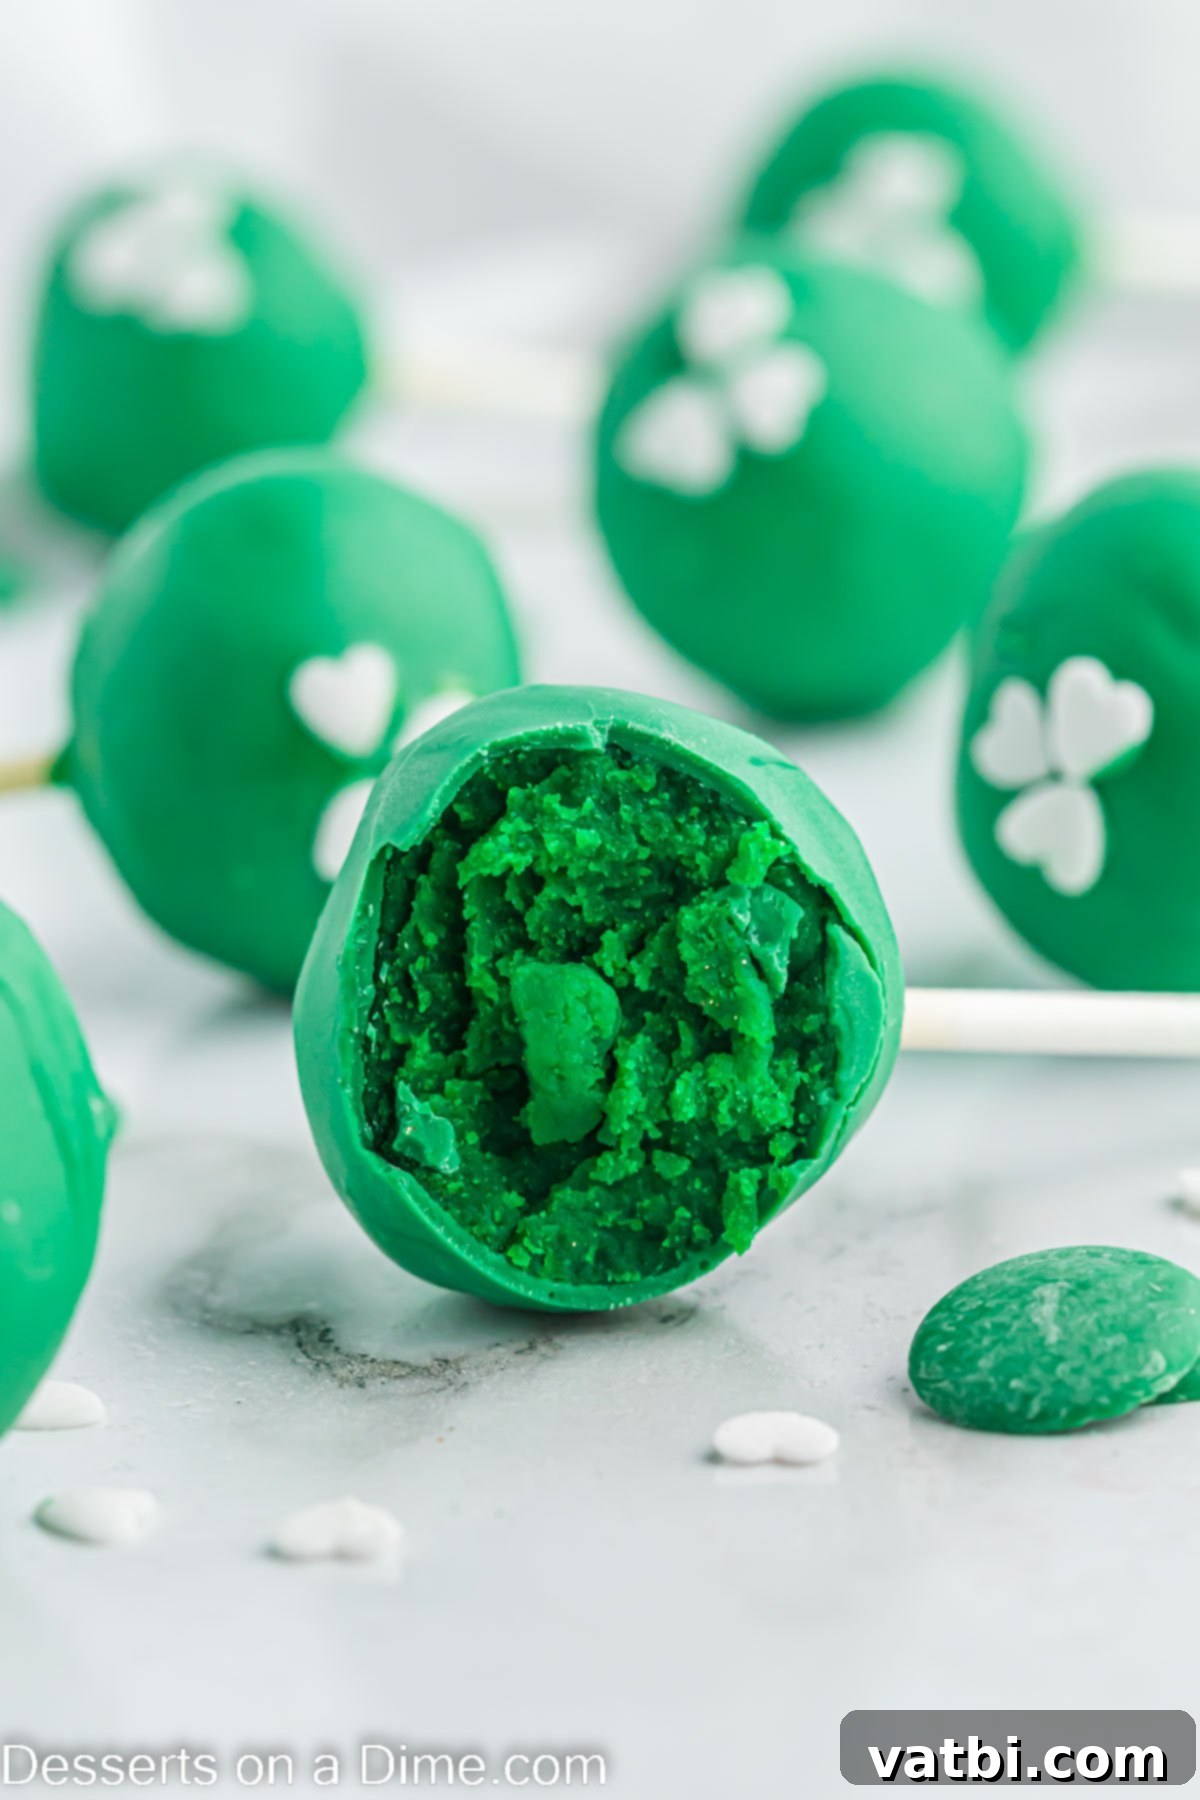
Step 6: Allow to Dry and Enjoy. Once decorated, you’ll need a place for your cake pops to dry upright without touching anything that could smudge their beautiful coating. A block of Styrofoam is perfect for this—simply poke the sticks into the block. Continue this process until all your cake pops have been covered, decorated, and allowed to fully dry and solidify. Once the green candy coating is completely set and firm, your festive St. Patrick’s Day Cake Pops are ready to serve and enjoy! Get ready for compliments!
Pro Tips for Perfect St. Patrick’s Day Cake Pops
Achieving bakery-quality cake pops at home is totally possible with a few insider tricks. Here are some pro tips to help you perfect your St. Patrick’s Day Cake Pops:
- Pre-Dip Cake Pop Sticks for Stability – Always remember to dip the end of your cake pop stick into the melted candy *before* inserting it into the cake ball. This thin layer of candy acts as a powerful adhesive, creating a strong bond between the stick and the cake. This extra step significantly reduces the chances of your cake ball falling off the stick during the dipping process, especially when working with slightly warmer candy melts.
- Mastering Candy Melt Temperature – When melting your candy, always do so in short intervals (e.g., 30 seconds at a time) in a medium microwave-safe bowl. Stir thoroughly after each interval, even if it doesn’t look fully melted. This prevents overheating, which can cause the candy melts to seize up, become too thick, or burn. If your candy melts become too thick, you can thin them slightly with a teaspoon of vegetable oil or paramount crystals.
- Chill for Success: Freeze Cake Pops Thoroughly – After forming your cake balls and inserting the sticks, freezing them for at least 10-15 minutes is a critical step. This ensures the cake balls are firm and cold, which helps them retain their shape and prevents crumbling when dipped. A chilled cake ball also helps the warm candy coating set more quickly and smoothly, creating a cleaner finish.
- Prepare Your Drying Station – Before you even start dipping, set up your drying station. A large sheet pan lined with parchment paper is good for initial placement, but for drying upright, a block of Styrofoam is your best friend. Alternatively, you can use a cardboard box with small holes poked in it, or even a tall glass filled with rice or sugar to hold the sticks.
- Choose the Right Coating for a Smooth Finish – While candy melts are typically recommended for their vibrant colors and smooth finish, you can also use white chocolate or milk chocolate. If using chocolate, you might need to thin it slightly. Adding a small amount (about 1-2 teaspoons per cup of chocolate) of vegetable oil or coconut oil to melted chocolate can help achieve that perfectly fluid, dippable consistency, ensuring a beautiful, smooth coating on your cake pops.
- Don’t Overmix the Cake Crumbles: When combining the cake crumbles with frosting, mix just until combined and moldable. Overmixing can lead to a dense, gummy texture. The goal is moist and tender cake pops.
- Decorate Quickly: Once dipped, the candy coating sets relatively fast. Have your sprinkles ready and apply them immediately after dipping each cake pop to ensure they adhere properly before the coating hardens.
Storage & Make-Ahead Tips for St. Patrick’s Day Cake Pops
These delightful St. Patrick’s Day Cake Pops are wonderful for making in advance, which can save you time and stress when preparing for your celebrations. To keep your leftovers fresh or to store a batch you’ve made ahead, simply refrigerate them in an airtight container. When stored properly in the refrigerator, these cake pops will maintain their delicious taste and moist texture for about 1 week. If you need to store them for longer, they can be frozen for up to 1 month in an airtight container. Just be sure to let them thaw in the refrigerator before serving for the best experience.
More St. Patrick’s Day Desserts You’ll Love
Looking for more delicious ways to celebrate St. Patrick’s Day? We’ve got you covered with a variety of festive and easy-to-make dessert recipes:
- St Patrick’s Day Puppy Chow Recipe: A fun, snackable, and colorful treat perfect for sharing.
- St Patrick’s Day Cake Mix Cookies: Simple cookies that use a cake mix for a quick and easy dessert.
- Lime Jell-O Poke Cake Recipe: A refreshing and vibrant green cake that’s always a crowd-pleaser.
- Shamrock Cookies: Classic holiday cookies shaped and decorated to perfection.
- Shamrock Pretzels: Sweet and salty, these decorated pretzels are a delightful bite.
- St. Patrick’s Day Cupcakes: Individual treats with festive frosting and sprinkles.
- Leprechaun Bait: A magical mix of snacks that’s as fun to make as it is to eat.
Making these St. Patrick’s Day Cake Pops is a fantastic way to celebrate the holiday, bringing joy and a touch of Irish charm to your table. They are sure to impress both the kiddos and adults with their festive look and delightful taste. We hope you have a wonderful time baking and celebrating! Don’t forget to come back and leave a star rating and comment on the recipe to share your experience!
Pin
St. Patrick’s Day Cake Pops
Ingredients
- 1 box classic cake mix ( and ingredients called for on box to make the cake)
- Green Gel Food Coloring
- 3 Tbsp Cream Cheese Frosting I used pre-made
- 24-36 Cake Pop Sticks or Lollipop Sticks
- 12 oz Green Candy Melts
- 36 White Heart Sprinkles
Instructions
-
Prepare the cake batter based on the package instructions. Dye the batter a bright green color with the food coloring. Bake according to box instructions. Then let the cake cool at room temperature.
-
Remove the cake from the pan. Remove the brown outside layer from the cake and throw it away. Crumble up the remaining cake into a large bowl.
-
Add the frosting to your crumbled cake and stir everything together until well combined.
-
Shape mixture into about 24-36 cake balls (depending on their size) and place on a lined cookie sheet. I used a cookie scoop to ensure that each one is approximately the same size.
-
Put the green candy melts in a small microwave safe bowl and microwave for 30 seconds, then stir. Then continue to heat in 30 second intervals stirring between each one until the candy melts are fully melted and creamy.
-
Dip each cake pop stick into the green melted candy and then place them into the cake balls about halfway through the balls. Then place in the freezer for 10-15 minutes.
-
After the cake pops have been in the freezer, dip each cake pop into the melted candy melts (you may need to re-melt the candy melt if it has solidified some). Make sure that the candy covers the cake pop completely. Allow the excess melted candy to drip off back into the bowl.
-
Then place the stick of cake pops in a block of styrofoam while the candy dries and solidifies. Before the candy melts dry, add 3 white sprinkles to each cake pop to form a shape of a clover on the front of the cake pop.
-
Continue until all the cake pops have been covered and decorated. Once all the cake pops are dry, they are ready to serve and enjoy!
Recipe Notes
You can easily use any candy hearts instead of sprinkles if you prefer to make the shamrock design on the front of the cake pop.
Nutrition Facts
Pin This Now to Remember It Later
Pin Recipe
