Festive & Fun Grinch Cake Pops: An Easy Christmas Recipe Guide
Get ready to make your heart grow three sizes this holiday season with these utterly adorable Grinch Cake Pops! Combining the rich, moist texture of red velvet cake with a sweet, tangy cream cheese frosting, these delightful treats are then dipped in a vibrant green candy coating. Each pop is finished with a tiny, iconic red candy heart, perfectly capturing the spirit of everyone’s favorite Christmas curmudgeon. They’re not just a dessert; they’re a festive craft that promises to bring joy and a touch of Whoville magic to your holiday gatherings.

These charming cake pops are surprisingly easy to make, thanks to a simple boxed cake mix. It’s the perfect activity to do with the kids, creating sweet memories along with sweet treats. Imagine the smiles when these bright green, heart-adorned pops appear on your dessert table! They are an absolute showstopper and a fantastic addition to any Christmas party or holiday cookie platter. Serve them alongside other festive favorites like Grinch Fudge or warm up with a mug of Grinch Hot Chocolate for the ultimate themed celebration. Their unique look and delicious taste make them a memorable holiday dessert that guests of all ages will adore.
What’s in this Post: Your Grinch Cake Pop Journey
- Why You’ll Love These Grinch Cake Pops
- Essential Ingredients for Grinch Cake Pops
- Variations & Creative Customizations
- How to Make Grinch Cake Pops: A Detailed Step-by-Step Guide
- Expert Recipe Tips for Perfect Grinch Cake Pops
- How to Store Grinch Cake Pops
- Make Ahead Instructions for Stress-Free Holidays
- Can You Freeze Grinch Cake Pops?
- Frequently Asked Questions (FAQs)
- Serving Suggestions for Grinch Cake Pops
- More Easy Grinch Recipes to Try
- Grinch Cake Pops Recipe Card
Why You’ll Love These Grinch Cake Pops
There are countless reasons why these Grinch Cake Pops will become a cherished part of your holiday traditions. First and foremost, their vibrant green hue and signature red heart instantly evoke the whimsical world of Dr. Seuss’s Grinch. They are incredibly appealing, especially for children, making them a fantastic focal point for any Christmas gathering or school event. Beyond their charming appearance, these cake pops offer a delightful textural experience: a moist, rich red velvet interior beautifully contrasted with a sweet, crisp candy shell. The combination of flavors and textures is simply irresistible. They’re also portion-controlled, making them an ideal dessert for parties, reducing waste and allowing guests to enjoy just the right amount of sweetness without overindulging. Plus, the process of making them is a joyous, hands-on activity that encourages creativity and family bonding during the most wonderful time of the year. From crumbling the cake to carefully dipping and decorating, each step is a chance to create lasting holiday memories.
Essential Ingredients for Grinch Cake Pops
Crafting these festive treats requires a few key ingredients, most of which you likely have in your pantry or can easily find at any grocery store. The beauty of this recipe lies in its simplicity, starting with a humble cake mix to ensure consistent results every time. Here’s what you’ll need to gather:
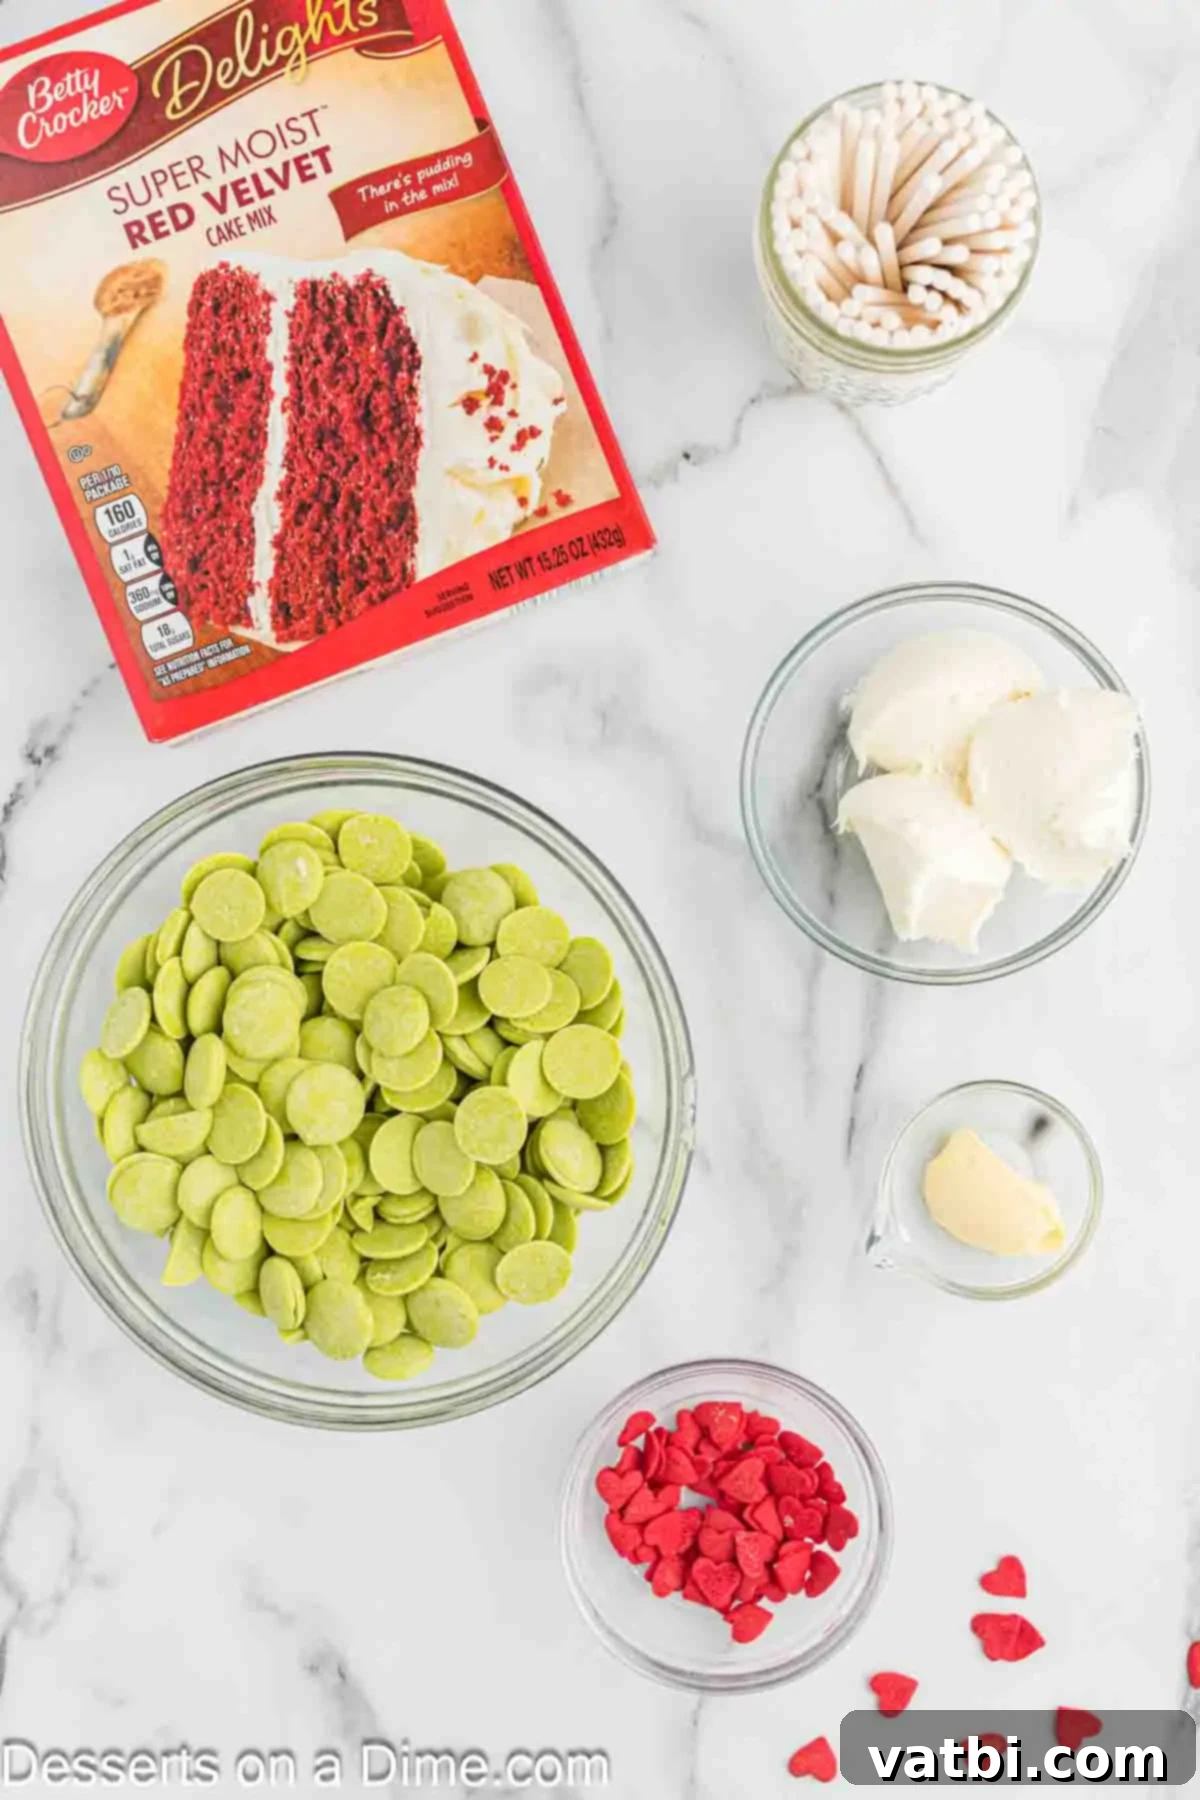
- Red Velvet Cake Mix: This is the foundation of our Grinch Cake Pops, providing the iconic red color and rich flavor. Be sure to also gather any additional ingredients specified on the box to prepare the cake, which typically includes eggs, oil, and water.
- Cream Cheese Frosting: You’ll need about 3 tablespoons. Using a pre-made frosting greatly saves time and effort, seamlessly blending with the crumbled cake to create that perfect moist interior.
- Cake Pop Sticks or Lollipop Sticks: Prepare 24-36 sticks, depending on the desired size of your cake balls. These are essential for the classic “pop” presentation and easy handling.
- Vibrant Green Candy Melts: Approximately 12 ounces will be needed. These are crucial for giving your Grinch Cake Pops their instantly recognizable and bright green outer coating.
- Vegetable Shortening: Just 1 teaspoon. A small amount of shortening is a secret weapon here, as it helps to thin the candy melts slightly, making them smoother and much easier to dip for a flawless finish.
- Red Candy Hearts or Red Candy Sprinkles: Approximately 36 pieces. These are the adorable and essential finishing touch that transforms your green pops into genuine Grinch masterpieces, representing his growing heart.
For exact measurements and detailed instructions, be sure to check the comprehensive recipe card located further down this page, which provides a convenient breakdown of everything you need.
Variations & Creative Customizations
While the classic Grinch Cake Pop recipe is undeniably perfect for holiday cheer, there’s always room to get creative and tailor these festive treats to your personal taste, theme, or even dietary needs. Don’t hesitate to experiment with these fun variations to make them uniquely yours:
- Explore Different Cake Mix Flavors: While red velvet offers that beautiful, striking contrast against the green coating, other cake mix flavors can be just as delicious. Imagine rich chocolate cake balls for a darker, perhaps more “mean one” Grinch, or a classic vanilla or yellow cake mix for a lighter base. Even a spice cake could add a warm, cozy twist, perfectly complementing the holiday season.
- White Chocolate Coating Alternative: If you prefer the taste or texture of white chocolate over traditional candy melts, you can absolutely use it as a base. Simply melt high-quality white chocolate in the microwave in short intervals (15-30 seconds), stirring frequently, until it’s completely smooth and fluid. Then, add a few drops of vibrant green food coloring. Gel food coloring works best for intense colors without thinning the chocolate too much, ensuring you achieve that perfect Grinch green hue.
- Different Toppings and Decorations: Instead of, or in addition to, the iconic red candy hearts, consider other festive sprinkles and edible decorations. Green and red nonpareils, edible glitter, or even a light dusting of powdered sugar (like freshly fallen snow!) could add unique touches. For a truly whimsical look, small edible candy eyeballs could transform your pops into mischievous Grinch faces!
- Make Cake Balls (No Sticks!): If you’re short on lollipop sticks, or simply prefer a bite-sized treat that’s easier to transport, store, or serve to very young children, skip the sticks entirely. Just form the cake mixture into balls, chill them thoroughly, and then dip them in the green candy coating. They’ll be just as delicious and festive as “Grinch Cake Bites,” perfect for a casual snack or a party platter.
- Infuse Flavor Extracts: For an extra layer of aromatic flavor, consider adding a few drops of peppermint extract to your red velvet cake mixture. This adds a refreshing, holiday-appropriate zing. You can also add a tiny amount of oil-based peppermint extract to your green candy melts (ensure it’s oil-based to prevent the chocolate from seizing). Vanilla or almond extract can also be added to either the cake mix or the frosting to enhance the overall taste profile.
- Gluten-Free Option: To make these Grinch Cake Pops suitable for guests with gluten sensitivities, simply swap out the standard red velvet cake mix for your favorite gluten-free red velvet cake mix. Always ensure that any pre-made frosting and candy melts you use are certified gluten-free to avoid cross-contamination.
- Dairy-Free Option: For those avoiding dairy, look for dairy-free cake mix varieties and pair them with a dairy-free frosting alternative. Carefully check the labels of your candy melts as well, as some brands offer dairy-free options that will work perfectly for these festive treats.
How to Make Grinch Cake Pops: A Detailed Step-by-Step Guide
Creating these delightful Grinch Cake Pops is a fun and rewarding process, perfect for getting into the holiday spirit. Follow these detailed steps to ensure perfectly formed, beautifully coated, and utterly delicious treats that will impress everyone on your nice list!
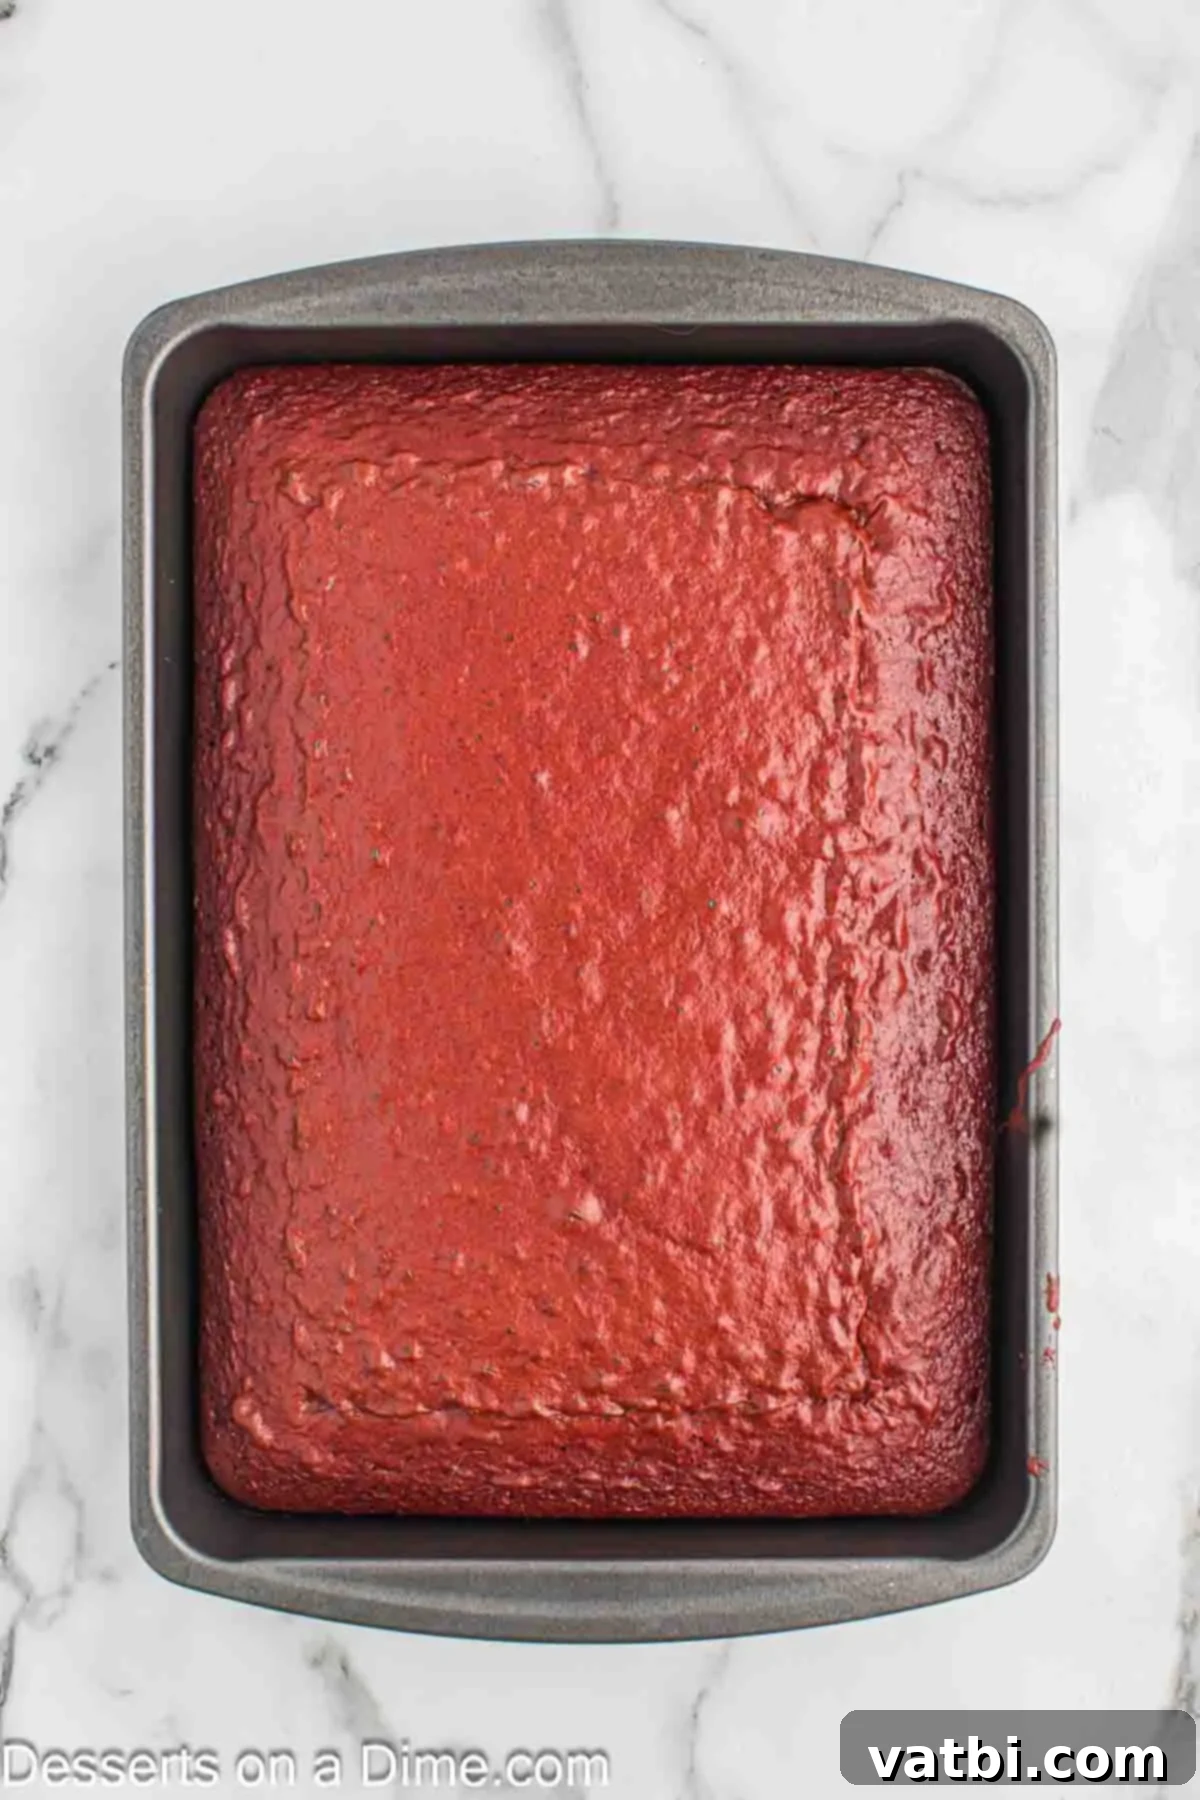
Step 1: Prepare and Cool the Cake. Begin by preparing your chosen red velvet cake mix according to the instructions provided on the package. This typically involves combining the cake mix with eggs, oil, and water. Once the batter is ready, pour it into your prepared baking pan and bake for the recommended time. After baking, remove the cake from the oven and allow it to cool completely at room temperature. This step is crucial; a warm cake will not crumble or mix properly with the frosting, leading to a sticky mess.
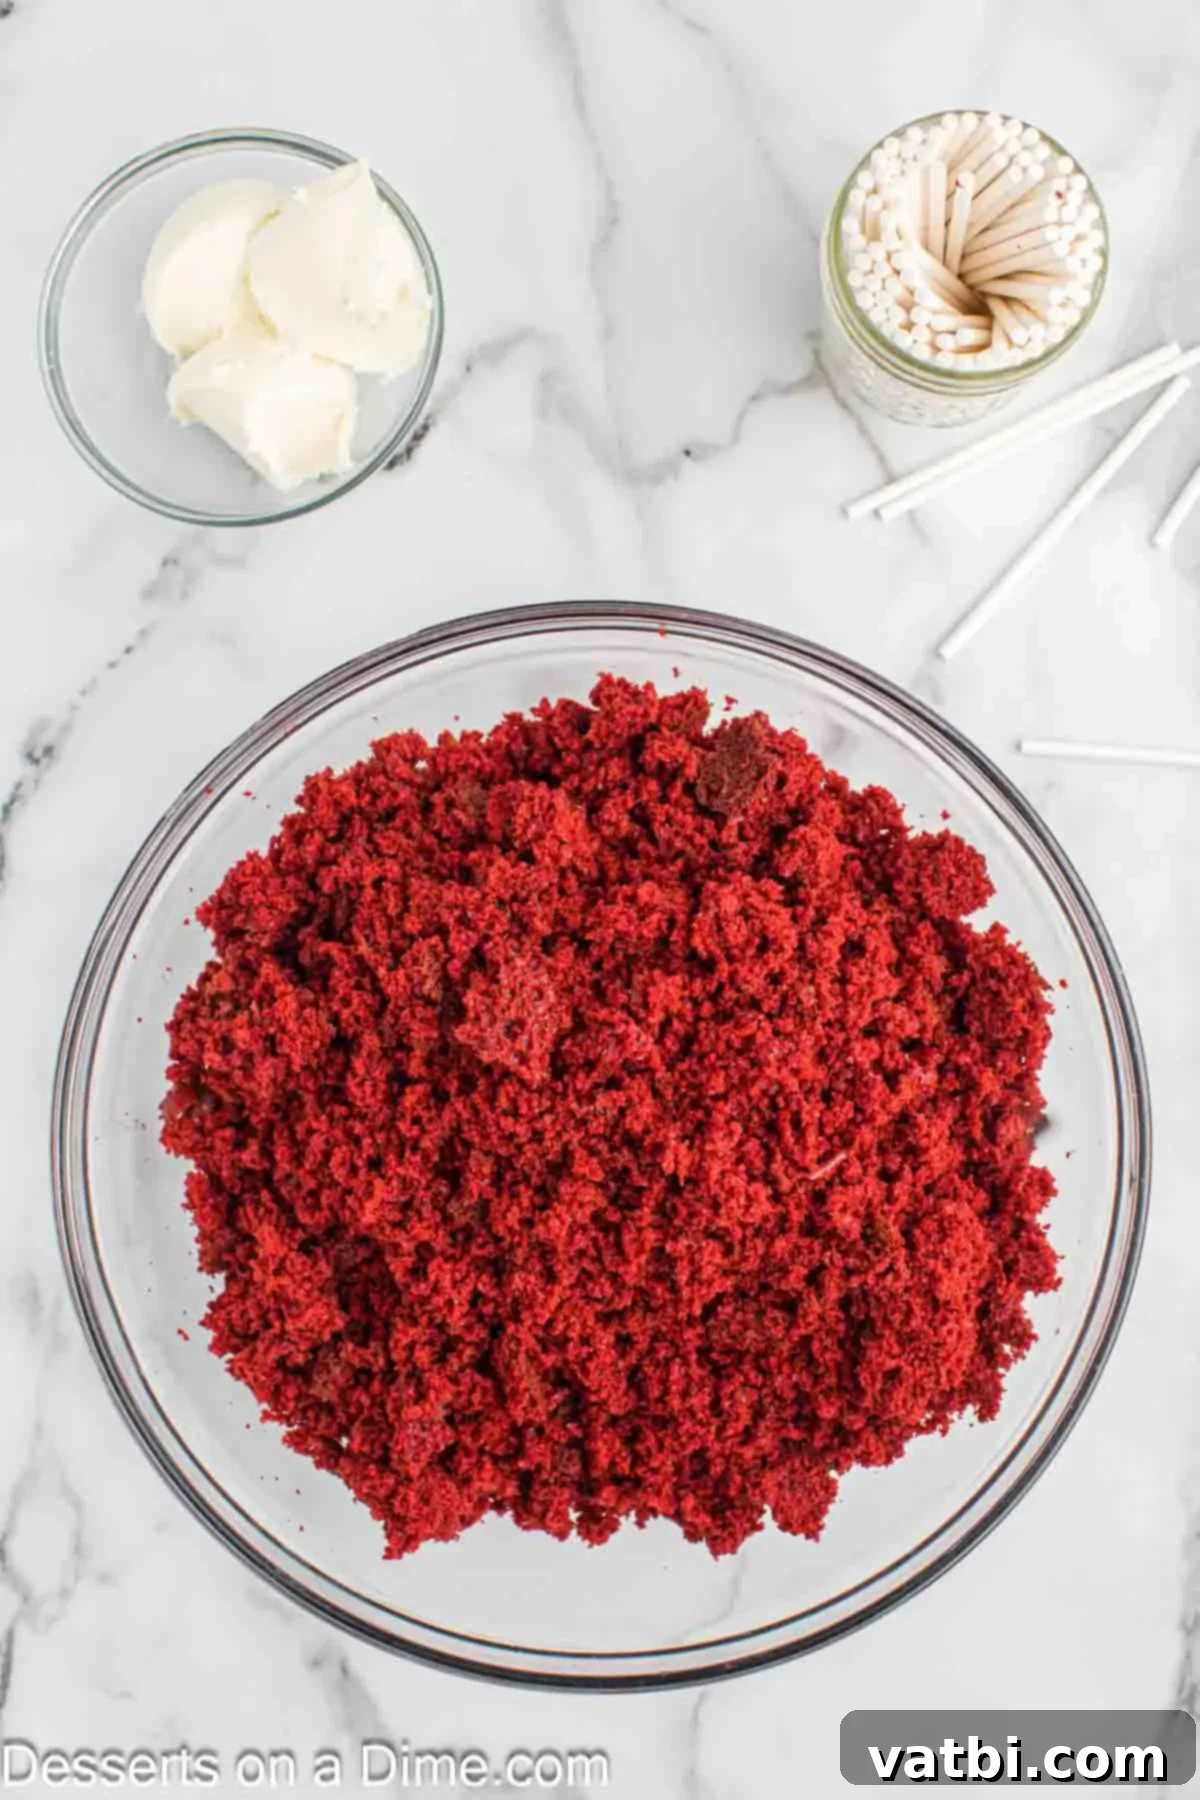
Step 2: Crumble the Cake. Once the cake is fully cooled, gently remove it from the baking pan. You’ll want to remove and discard any excessively brown or hard outside layers from the cake, as these can affect the smooth texture of your cake pops. Then, crumble the remaining soft, moist cake into a large mixing bowl. Use your hands or a sturdy fork to break it down into fine, even crumbs, ensuring no large lumps remain. The finer the crumbs, the smoother your cake pops will be.
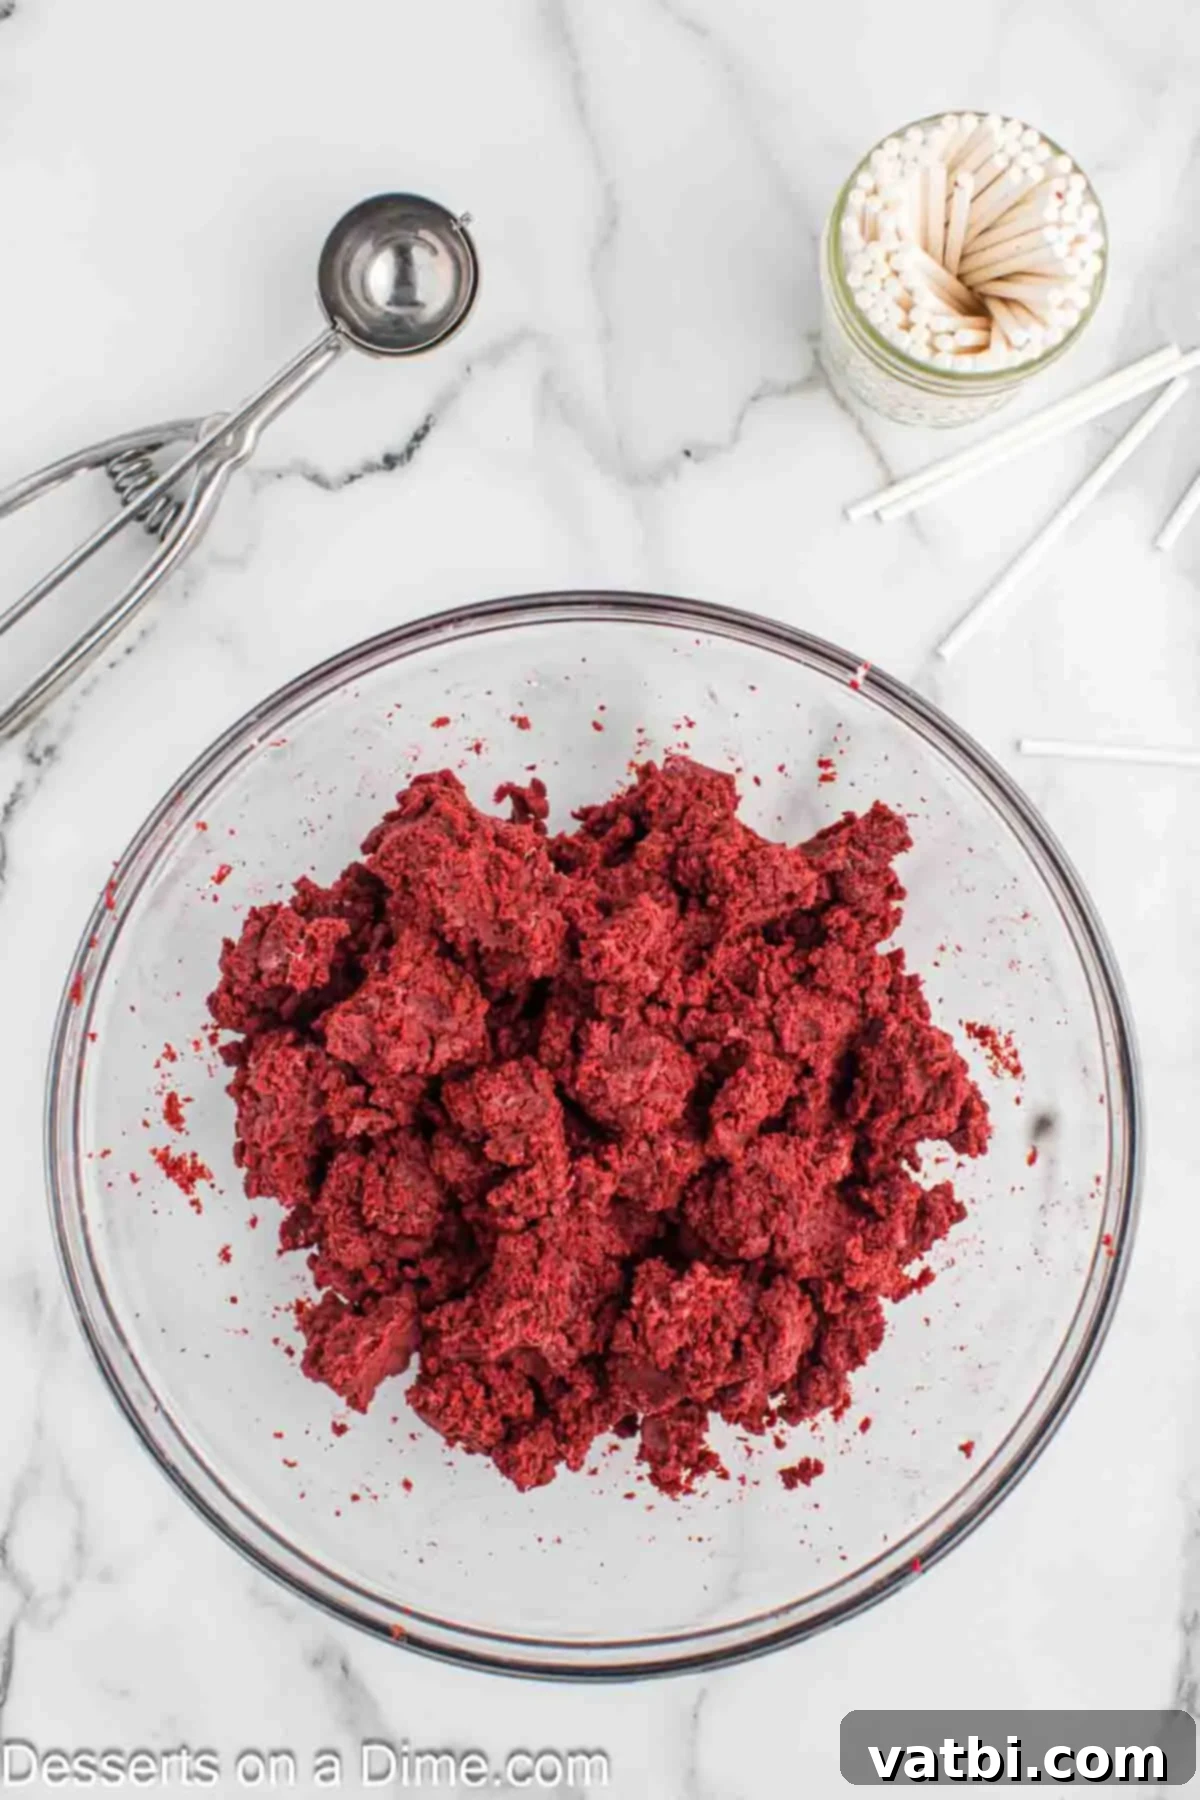
Step 3: Combine with Frosting. Now, add the cream cheese frosting to your bowl of finely crumbled cake. Begin with the recommended 3 tablespoons and mix everything together thoroughly until it’s well combined and the mixture starts to come together. The goal is a consistency that is moist enough to hold its shape firmly when pressed, but not overly sticky or greasy. If the mixture seems too dry, add a tiny bit more frosting, a teaspoon at a time, until the desired rollable consistency is reached.
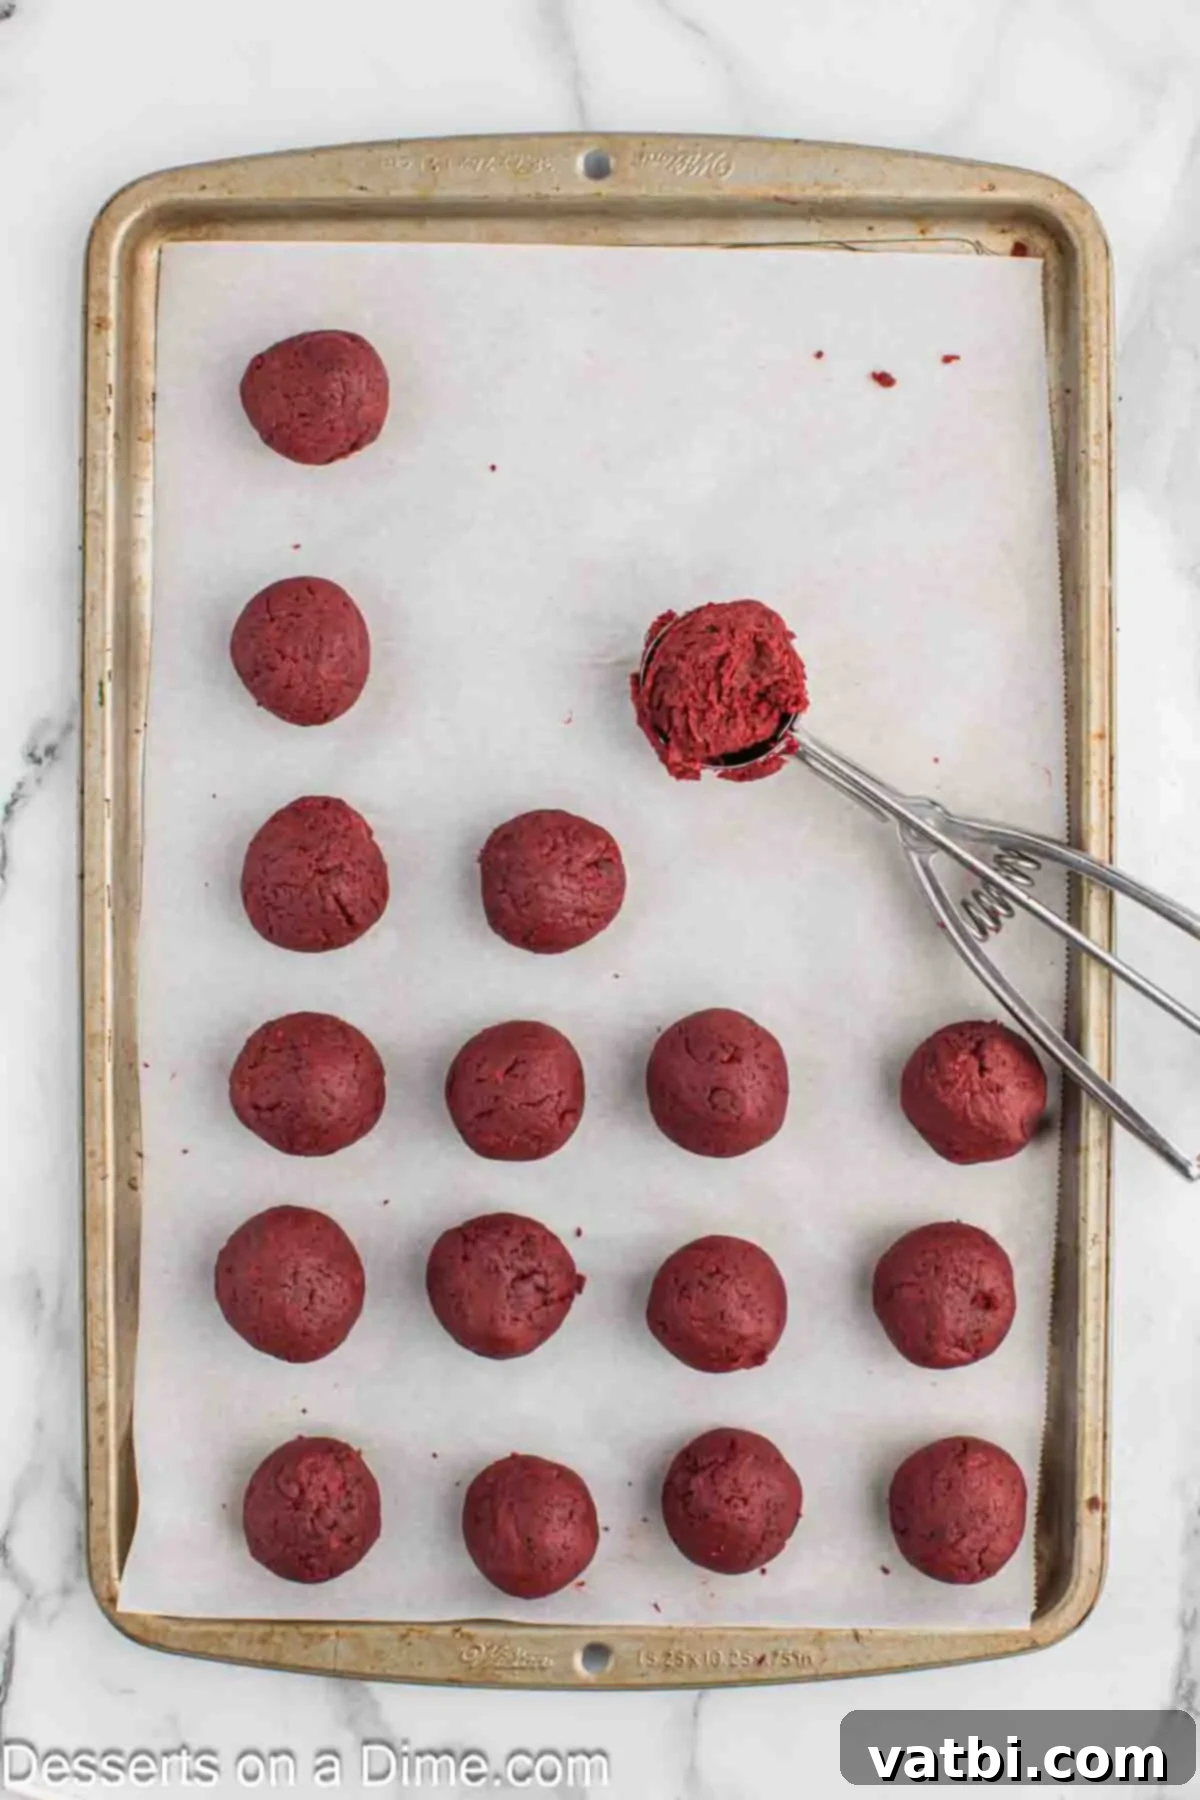
Step 4: Form Cake Balls. Using a cookie scoop (this is a fantastic tool for ensuring consistent sizing!) or your hands, shape the cake mixture into approximately 24-36 uniform cake balls. The exact number will depend on your desired size. Roll them gently and firmly between your palms until they are smooth, round, and compact. Place these perfectly formed cake balls onto a baking sheet that has been lined with parchment paper or wax paper. This prevents sticking and makes transfer easy later on.
- Step 5: Chill the Cake Balls. Once all your cake balls are formed and neatly arranged on the lined baking sheet, it’s time to chill them. Place the entire tray in the freezer for about 15-20 minutes, or in the refrigerator for at least 30 minutes. Chilling them thoroughly is absolutely crucial as it helps them firm up, making them much easier to handle, preventing them from falling apart, and ensuring a smooth coating during the dipping process.
- Step 6: Melt the Candy Coating. In a small, microwave-safe bowl, combine the vibrant green candy melts and the vegetable shortening. Microwave the mixture in 30-second intervals, stirring thoroughly after each interval, until the candy melts are completely smooth, fluid, and creamy. The vegetable shortening is key here, as it helps achieve a thinner, more pourable consistency for dipping, making the process much easier. Be careful not to overheat the candy melts, as this can cause them to seize or burn.
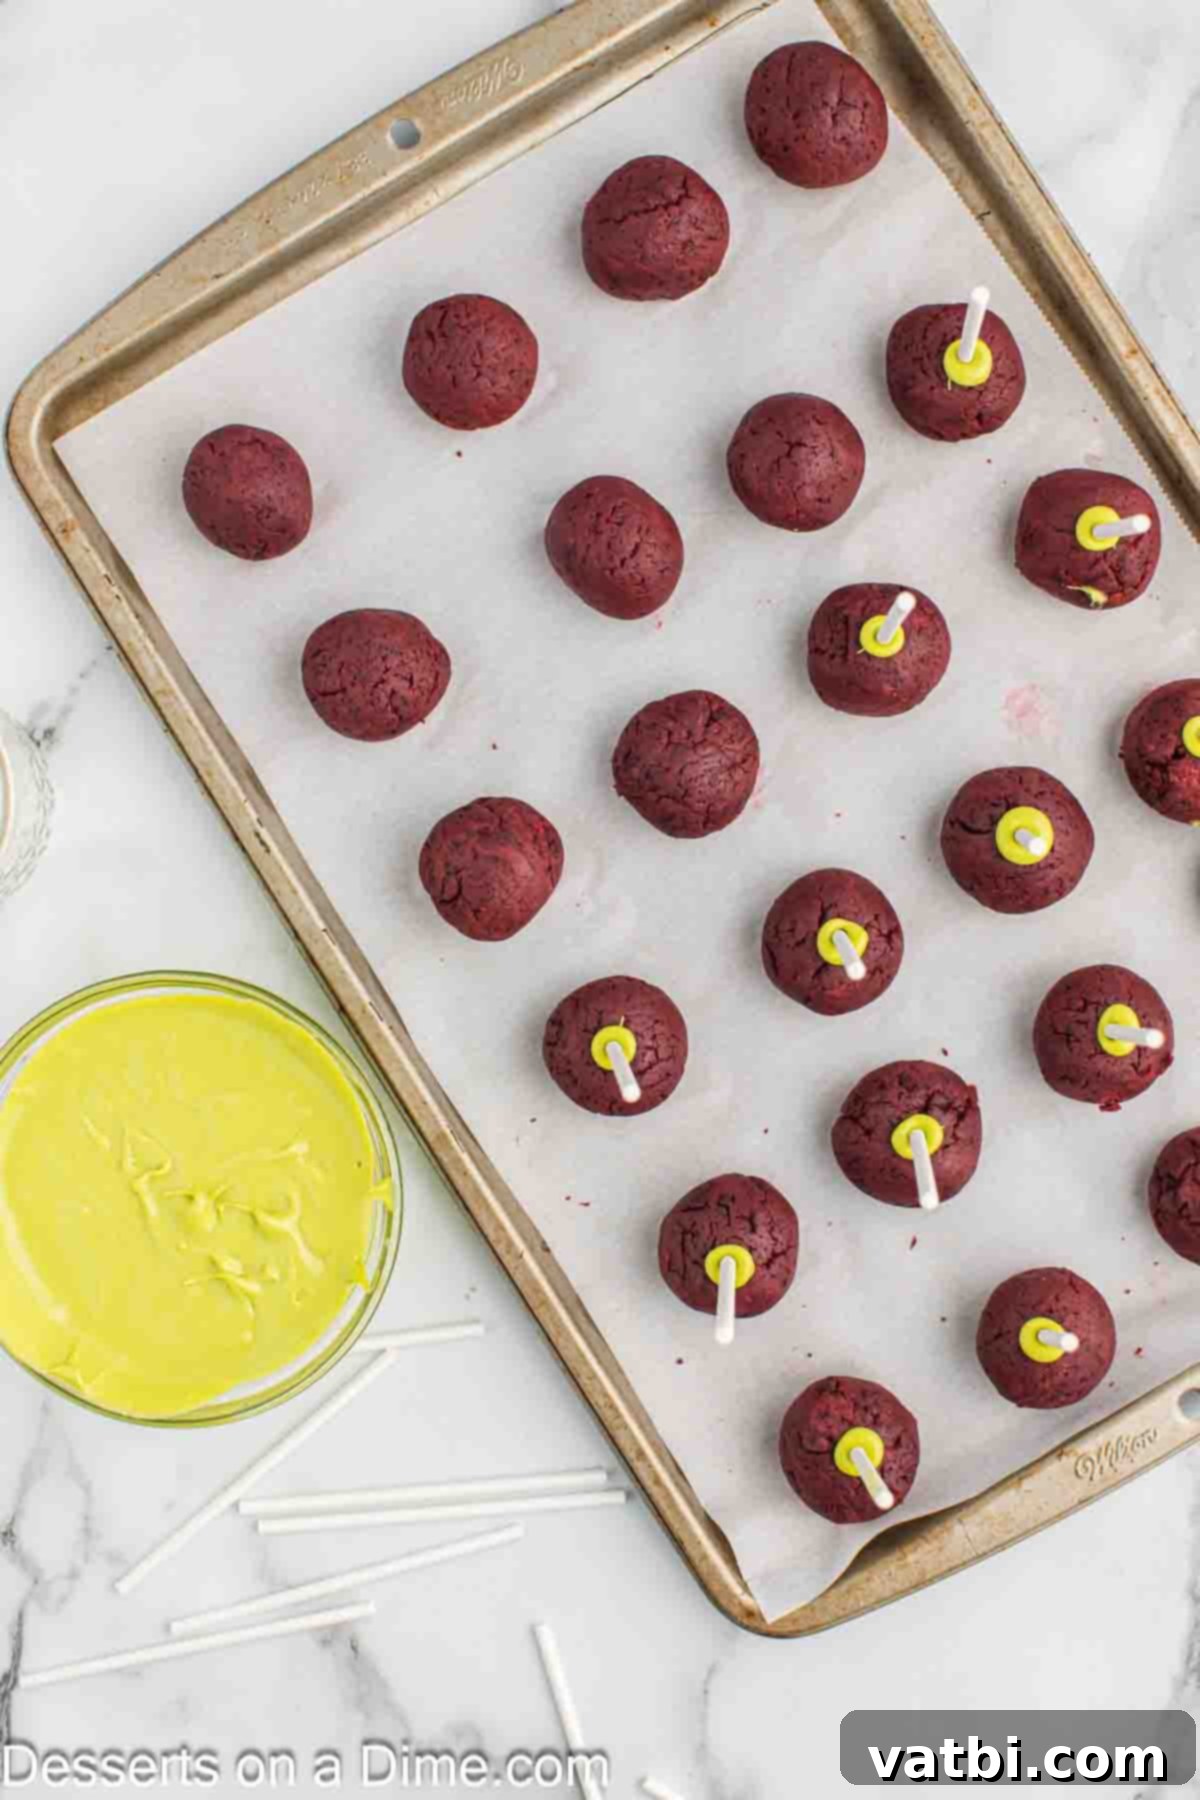
Step 7: Attach Sticks. Take a cake pop stick and dip about ¼ to ½ inch of its tip into the melted green candy coating. Immediately insert this candy-coated tip directly into the center of a thoroughly chilled cake ball, pushing it about halfway through the ball. The melted candy acts as a powerful “glue” to secure the cake ball firmly to the stick, preventing it from slipping off later. Repeat this process for all cake balls, then place them back in the freezer for another 10-15 minutes to allow the candy glue to set completely and firmly.

Step 8: Dip the Cake Pops. Once the cake pops are securely attached to their sticks and thoroughly chilled, it’s time for the main dipping! Hold a cake pop by its stick and submerge it completely into the melted green candy coating. You might need to tilt the bowl slightly to ensure full, even coverage. If the candy coating has solidified or thickened, simply re-melt it in short intervals as before. Carefully tap off any excess candy coating by gently rotating the stick and tapping it against the side of the bowl until all drips stop. This ensures a clean, smooth finish.

Step 9: Allow to Dry. Immediately after dipping and tapping off excess coating, place the stick of the cake pop into a block of styrofoam or a dedicated cake pop stand. This crucial step allows the candy coating to dry evenly around the entire surface without creating a flat bottom or messy pooling. Repeat the dipping process for all remaining cake pops. Work relatively quickly, as the candy melts will begin to set relatively fast, especially if the cake balls are still very cold.
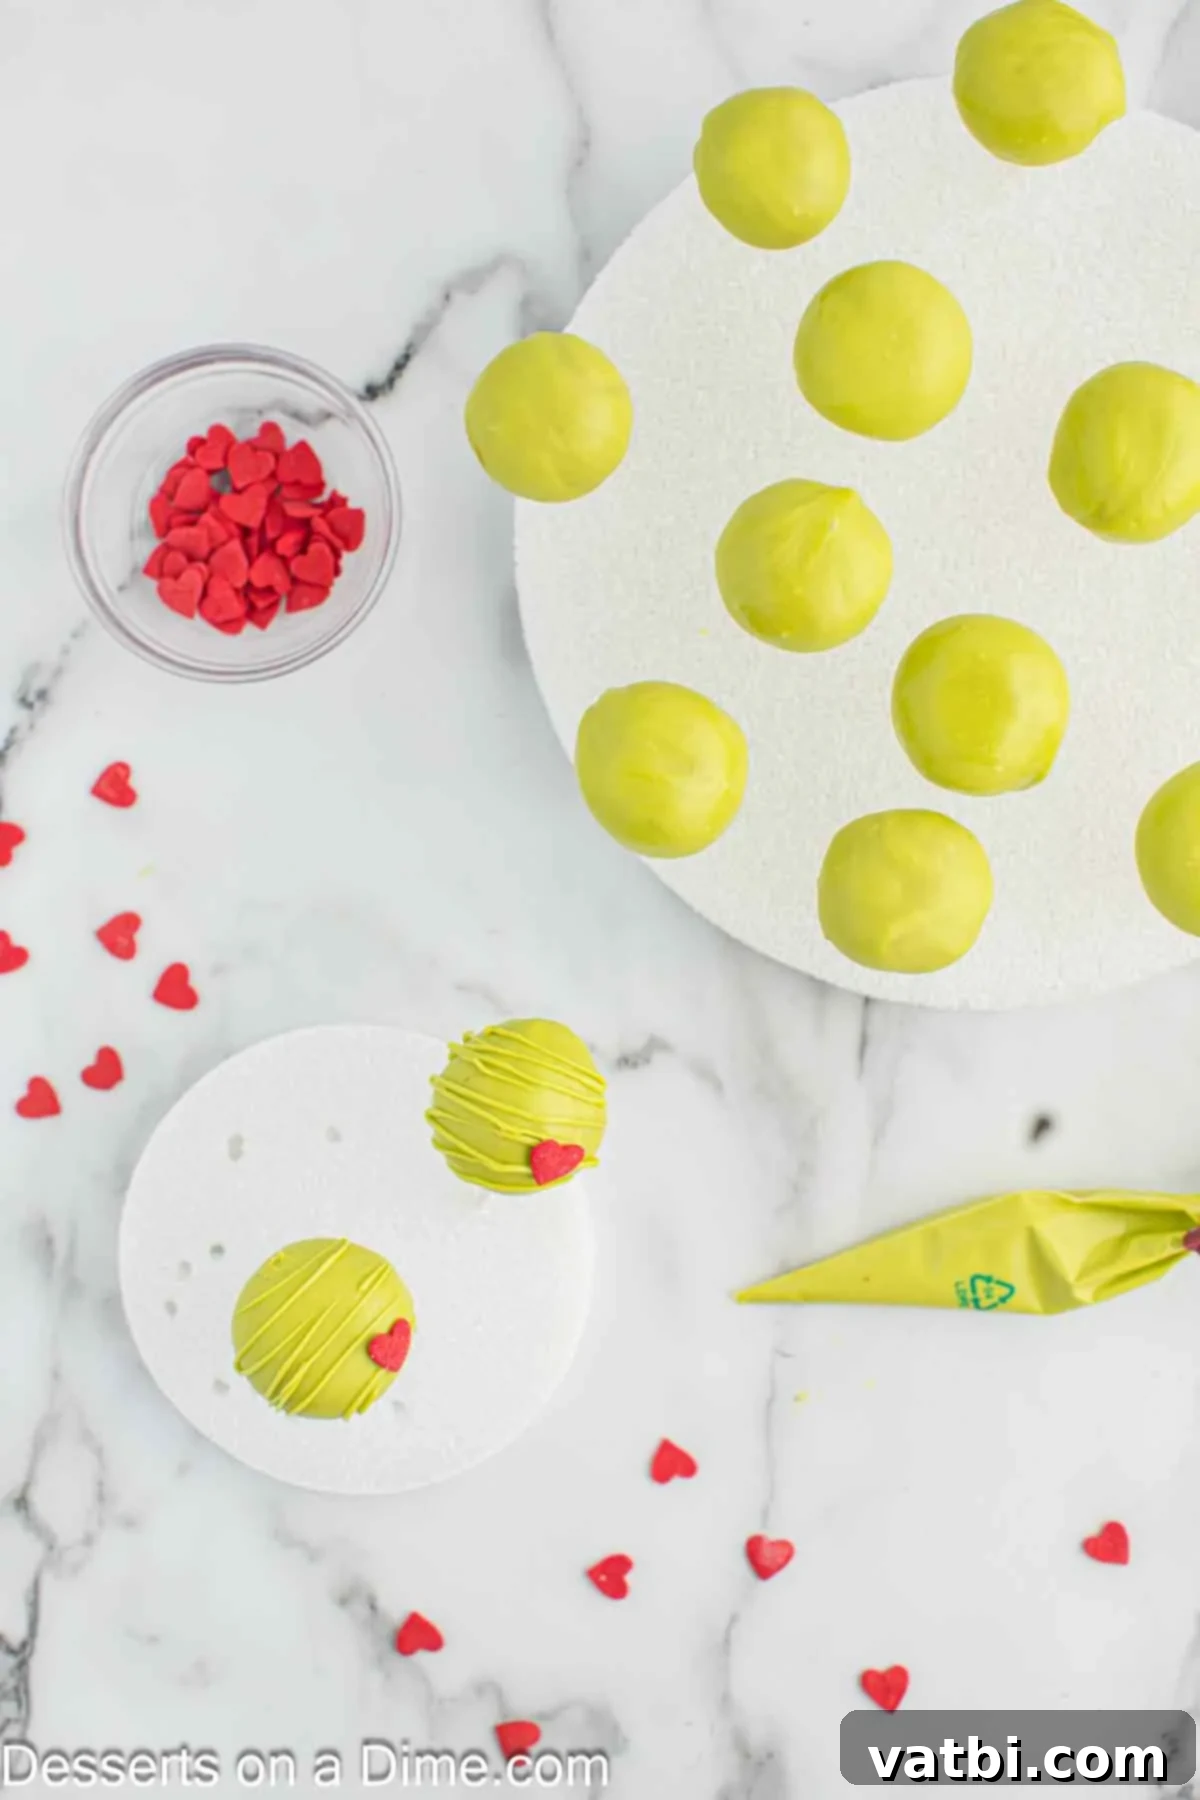
Step 10: Decorate with Red Hearts. This is where the Grinch truly comes to life! While the green candy coating is still wet and pliable on each cake pop, carefully place a single red candy heart (or a small pinch of red candy sprinkles) onto the front of each pop. The wet candy coating will act as a natural adhesive, securing the heart in place as it dries. This step is critical for achieving the iconic Grinch look, so make sure to have your red hearts ready for immediate application after dipping each pop.
- Step 11: Final Drizzle (Optional but Fun!). For an extra decorative flourish, gather any remaining melted green candy coating. If it has thickened, re-melt it briefly until it’s again fluid. Transfer the melted candy to a decorator’s piping bag or a small Ziploc bag with a tiny corner snipped off. Drizzle thin, artistic lines or swirls over the top of the set cake pops. This adds an elegant texture and additional visual appeal, making your Grinch Cake Pops even more captivating.
- Step 12: Set and Serve. Allow all the decorated Grinch Cake Pops to dry completely. This usually takes about 15-30 minutes at room temperature, or it can be accelerated by placing them in the refrigerator for a few minutes. Once the candy coating is firm and hard to the touch, your festive Grinch Cake Pops are fully set and ready to be served! Arrange them on a platter and enjoy the smiles they bring.
Expert Recipe Tips for Perfect Grinch Cake Pops
Achieving perfectly smooth, delightful cake pops can sometimes feel like an art, but with these expert tips, you’ll master the technique and create flawless Grinch Cake Pops every time:
- Roll for Ultimate Smoothness: The effort you put into rolling your cake balls pays off! The smoother and more uniform you roll each cake ball in Step 4, the smoother and more professional your final cake pops will look after dipping. Take a little extra time here to eliminate any cracks or bumps.
- Embrace the Cookie Scoop for Uniformity: For consistently sized cake pops that bake, cool, and dip evenly, a cookie scoop (or an ice cream scoop) is your best friend. This ensures that each pop receives a similar amount of coating and looks cohesive on your display.
- Always Coat the Lollipop Stick: This is a critical step often overlooked! Never skip dipping the tip of your lollipop stick into the melted candy coating before inserting it into the cake ball (Step 7). This creates a strong adhesive bond that acts like “glue,” securely preventing your cake pop from slipping off the stick during the dipping process.
- Chill, Chill, Chill: The colder your cake balls are, the better! Ensure they are thoroughly chilled (even slightly frozen) before you begin the dipping process. Cold cake balls help the candy coating set quickly and smoothly upon contact, minimizing cracking, excess dripping, and the risk of your cake pops falling apart.
- Maintain Ideal Candy Melt Consistency: The key to a smooth coating is the right consistency of your candy melts. Keep them at the ideal temperature and fluidity. If they start to thicken, microwave them for another 10-15 seconds, stirring well. If they are still too thick, add a tiny bit more vegetable shortening (a quarter teaspoon at a time) to thin them, but never use water or milk as it will cause them to seize.
- Master the Tap for Excess Coating: After dipping each cake pop, gently tap the stick against the edge of the bowl. This crucial technique allows any excess candy coating to drip off, preventing thick, lumpy layers and ensuring a clean, even, and thin finish that highlights the cake pop’s shape.
- Work Smart in Batches: If you’re making a large quantity of Grinch Cake Pops, consider working in smaller batches. Keep the undipped cake balls in the freezer while you dip others, ensuring they remain perfectly cold and firm for dipping.
- Consider Cake Balls if Sticks Aren’t Your Thing: As mentioned in our variations, if you’re not keen on using sticks, simply make cake balls. They’re just as delicious and often easier for younger children (or anyone!) to eat.
- Utilize Styrofoam or a Cake Pop Stand: A block of styrofoam or a dedicated cake pop stand is an invaluable tool for drying your pops. It keeps them upright, preventing unsightly flat spots on the bottom and ensuring the coating sets perfectly round and smooth.
How to Store Grinch Cake Pops
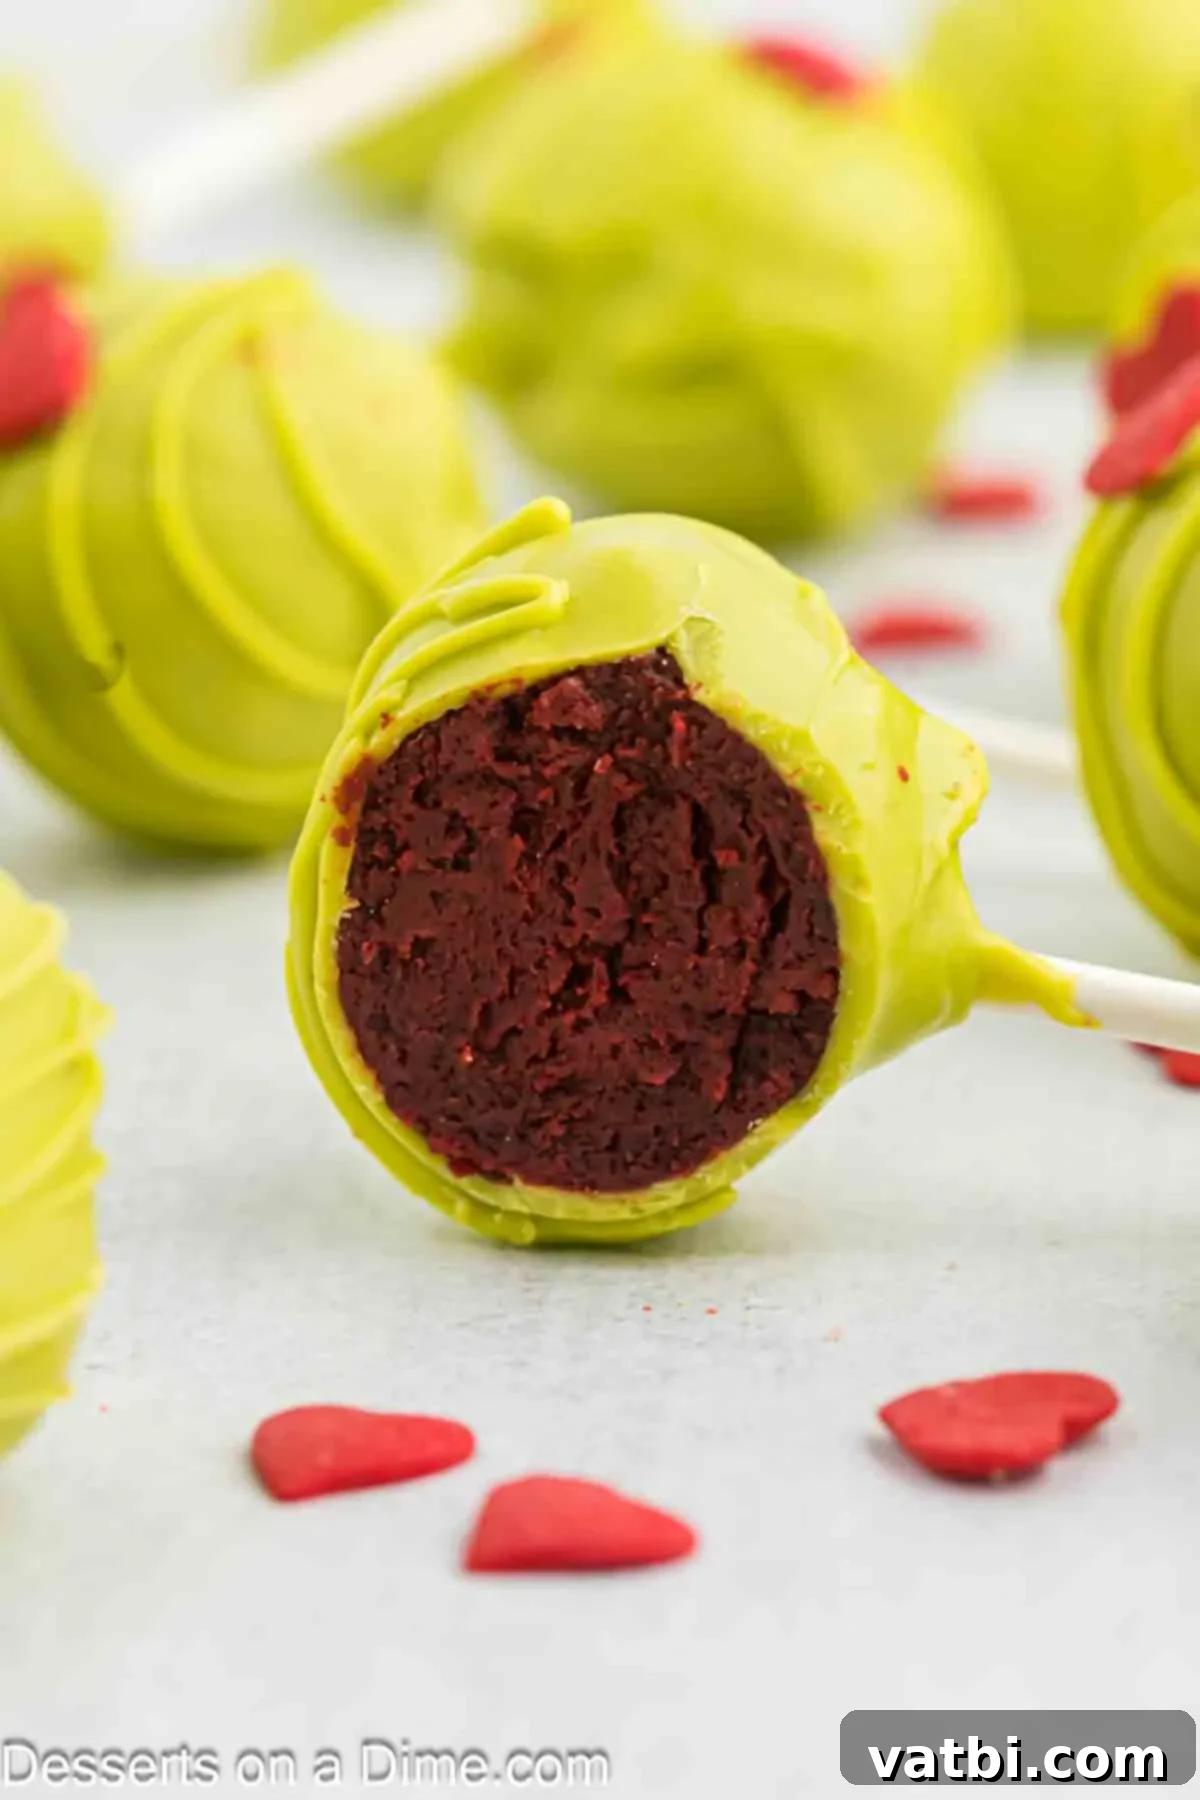
To keep your festive Grinch Cake Pops fresh, moist, and delicious for as long as possible, proper storage is absolutely key. Once the vibrant green candy coating has fully set and hardened (which you can test by gently touching it), carefully transfer the cake pops to an airtight container. If you need to stack them, arrange them in a single layer if space allows, or separate layers with sheets of parchment paper or wax paper to prevent them from sticking together or getting damaged. Store them in the refrigerator for up to 1 week. The cool, stable environment of the fridge helps maintain their perfect shape, delightful texture, and overall freshness, making them an excellent make-ahead dessert for any holiday party or gathering.
Make Ahead Instructions for Stress-Free Holidays
These Grinch Cake Pops are an exceptionally good choice for making in advance, which can significantly reduce stress during the busy holiday season. You can prepare various components or even the entire batch ahead of time:
- Cake Balls: Prepare the cake mixture and roll the cake balls (Steps 1-4) up to 2-3 days in advance. Store the plain cake balls in an airtight container in the refrigerator.
- Assembled & Dipped Pops: You can completely prepare, dip, and decorate the Grinch Cake Pops (Steps 1-10) a day or two before your event. Once they are fully set, store them in an airtight container in the refrigerator. This allows you to tackle other holiday preparations closer to the event, making your entertaining much more enjoyable and less rushed.

Can You Freeze Grinch Cake Pops?
Yes, you can absolutely freeze cake pops, which is a fantastic way to extend their shelf life and conveniently prepare for future events or batch cooking! For optimal results and to maintain quality, it is highly recommended to freeze the cake balls *before* dipping and decorating them. Here’s how to do it effectively:
- Prepare and Freeze Plain Cake Balls: After forming your cake mixture into uniform balls (following Step 4 of the instructions), place them neatly on a baking sheet lined with parchment paper. Ensure they are not touching each other to prevent them from freezing together. Place the baking sheet in the freezer and allow the cake balls to freeze solid for approximately 1 to 2 hours.
- Transfer for Long-Term Storage: Once the cake balls are completely frozen solid, transfer them from the baking sheet into a freezer-safe zip-top bag or an airtight freezer-safe container. This step is crucial to prevent freezer burn and to make them easy to store compactly in your freezer. Label the bag or container with the date.
- Storage Duration: Frozen plain cake balls can be kept in the freezer for up to 2 months without a significant loss in quality or flavor.
- Thawing and Decorating: When you’re ready to transform your frozen cake balls into festive Grinch Cake Pops, simply transfer the desired number of frozen cake balls to the refrigerator and let them thaw overnight, or for a few hours, until they are soft enough to easily insert the sticks. Once thawed and chilled, proceed with attaching the sticks, dipping them in the vibrant green candy melts, and decorating them with the red candy hearts as normal (following Steps 7-12 of the recipe). This method ensures that your Grinch Cake Pops are always fresh and delicious when served, even if prepared weeks in advance.
Frequently Asked Questions (FAQs)
Here are some common questions you might have about making Grinch Cake Pops, along with helpful answers to ensure your success:
- Why are my candy melts seizing or becoming too thick? Candy melts can seize if they get too hot, if even a tiny drop of water gets into them, or if they are old and past their prime. To prevent seizing, always microwave them in short bursts (30 seconds at a time) and stir thoroughly after each interval. To thin them if they become too thick, use a small amount of vegetable shortening or a specialized candy melt thinning agent, but absolutely avoid using water or milk, as these will cause the chocolate to seize instantly.
- My cake pops are falling off the stick! What went wrong? This common issue usually occurs if the cake balls weren’t sufficiently chilled, or if the stick wasn’t properly “glued” with melted candy before insertion. Ensure your cake balls are very cold (preferably straight from the freezer for a few minutes) and that the small amount of melted candy on the stick has set and hardened before you attempt to dip the entire cake pop.
- How can I achieve a perfectly smooth coating on my cake pops? Several factors contribute to a smooth coating: start with very cold, well-rolled cake balls; use properly thinned candy melts (with vegetable shortening); and after dipping, gently tap off excess coating thoroughly. Working quickly also helps, as the coating sets best when the cake ball is cold.
- Can I use homemade red velvet cake instead of a boxed mix? Absolutely! While a boxed mix offers convenience and consistent results, a homemade red velvet cake will work beautifully and often provides an even richer flavor. Just ensure the homemade cake is completely cooled and then crumbled as per the instructions. You might need to adjust the amount of frosting slightly to achieve the perfect consistency for rolling your cake balls.
- What if I don’t have red candy hearts for decoration? No problem! You can easily substitute the red candy hearts with other festive decorations. Small red candy sprinkles, tiny red sugar pearls, or even a small dot of red icing (applied carefully with a toothpick or a small piping bag) can serve as a charming alternative for the Grinch’s iconic heart.
Serving Suggestions for Grinch Cake Pops
These festive Grinch Cake Pops are delightful on their own, but here are some creative ideas to make them an even more special part of your holiday celebrations:
- Create a Holiday Dessert Platter: Arrange them artfully on a large holiday platter alongside other Christmas cookies, festive brownies, and colorful candies for an impressive and visually appealing dessert spread.
- Wonderful Party Favors: Individually wrap each Grinch Cake Pop in a small cellophane bag, tie it with a festive ribbon, and perhaps add a small custom tag. They make perfect, memorable take-home treats for your holiday party guests.
- Stunning Centerpiece Display: Use a block of styrofoam covered with festive wrapping paper or a dedicated cake pop stand to create a visually striking centerpiece for your holiday table. The vibrant green and red will pop!
- Thoughtful Homemade Gifts: Package a few Grinch Cake Pops in a decorative box or tin as a heartfelt homemade gift for friends, neighbors, teachers, or colleagues. It’s a sweet gesture that shows you care.
- Pair with Hot Beverages: Serve them alongside a warm mug of homemade hot chocolate, spiced coffee, or creamy eggnog for a cozy and indulgent holiday treat that everyone will love.
More Easy Grinch Recipes to Try
If you’re a true fan of the Grinch and his mischievous charm, you’ll adore these other simple and festive recipes that perfectly capture his holiday spirit:
- Grinch Fudge
- No Bake Grinch Pie
- Festive Grinch Desserts (Collection)
- Grinch Hot Chocolate Bombs
- Grinch Fruit Kabobs
We absolutely love hearing from you and seeing your wonderful creations! If you decide to make these delightful Easy Grinch Cake Pops, please share your experience by leaving us a comment or a review below. Your feedback and festive pictures truly inspire us to keep creating more fun, easy, and delicious holiday recipes for everyone to enjoy!
Grinch Cake Pops
Rated 5 out of 5 stars by 2 votes.
Grinch Cake Pops are made with rich red velvet cake and then dipped in a vibrant green candy coating. These whimsical Grinch-themed treats are perfectly topped with small red candy hearts for that iconic touch, making them an irresistible and fun addition to any holiday celebration.
Ingredients
- 1 box Red Velvet Cake Mix (and ingredients called for on box to make the cake, e.g., eggs, oil, water)
- 3 Tbsp Cream Cheese Frosting (pre-made recommended)
- 24-36 Cake Pop Sticks or Lollipop Sticks
- 12 oz Vibrant Green Candy Melts
- 1 teaspoon Vegetable Shortening
- 36 Red Candy Hearts or Red Candy Sprinkles
Instructions
- Prepare Cake: Bake the red velvet cake according to the package instructions. Allow the cake to cool completely at room temperature.
- Crumble Cake: Remove the cooled cake from the pan. Discard any excessively browned outside layers. Crumble the remaining cake finely into a large bowl.
- Mix with Frosting: Add the cream cheese frosting to your crumbled cake and stir everything together until it’s well combined and holds its shape.
- Form Cake Balls: Shape the mixture into approximately 24-36 smooth, uniform cake balls (depending on size). Place them on a parchment-lined baking sheet.
- Chill Cake Balls: Place the baking sheet with cake balls in the freezer for 15-20 minutes (or refrigerator for 30 minutes) until firm.
- Melt Candy Melts: In a microwave-safe bowl, combine green candy melts and vegetable shortening. Microwave in 30-second intervals, stirring until completely smooth and creamy.
- Attach Sticks: Dip the tip of each cake pop stick into the melted candy, then insert it halfway into a chilled cake ball. Return to the freezer for 10-15 minutes to set.
- Dip Cake Pops: Dip each cake pop into the melted green candy, ensuring full coverage. Gently tap off any excess candy coating. Re-melt candy as needed if it thickens.
- Allow to Dry: Place the dipped cake pops in a block of styrofoam or a cake pop stand to dry and solidify evenly.
- Decorate: While the green candy coating is still wet, carefully place a red candy heart (or sprinkles) onto the front of each cake pop.
- Serve & Enjoy: Once all the cake pops are dry and the candy is fully set, they are ready to serve and enjoy your festive Grinch-themed treat!
Recipe Video
Recipe Notes
Refrigerate any leftover Grinch Cake Pops in an airtight container for up to 1 week to maintain their freshness and delightful texture.
Nutrition Facts
Calories: 148 kcal, Carbohydrates: 18g, Protein: 2g, Fat: 8g, Saturated Fat: 3g, Polyunsaturated Fat: 2g, Monounsaturated Fat: 3g, Trans Fat: 0.04g, Cholesterol: 20mg, Sodium: 167mg, Potassium: 68mg, Fiber: 0.4g, Sugar: 12g, Vitamin A: 30IU, Calcium: 30mg, Iron: 1mg
Pin This Now to Remember It Later
Pin Recipe
