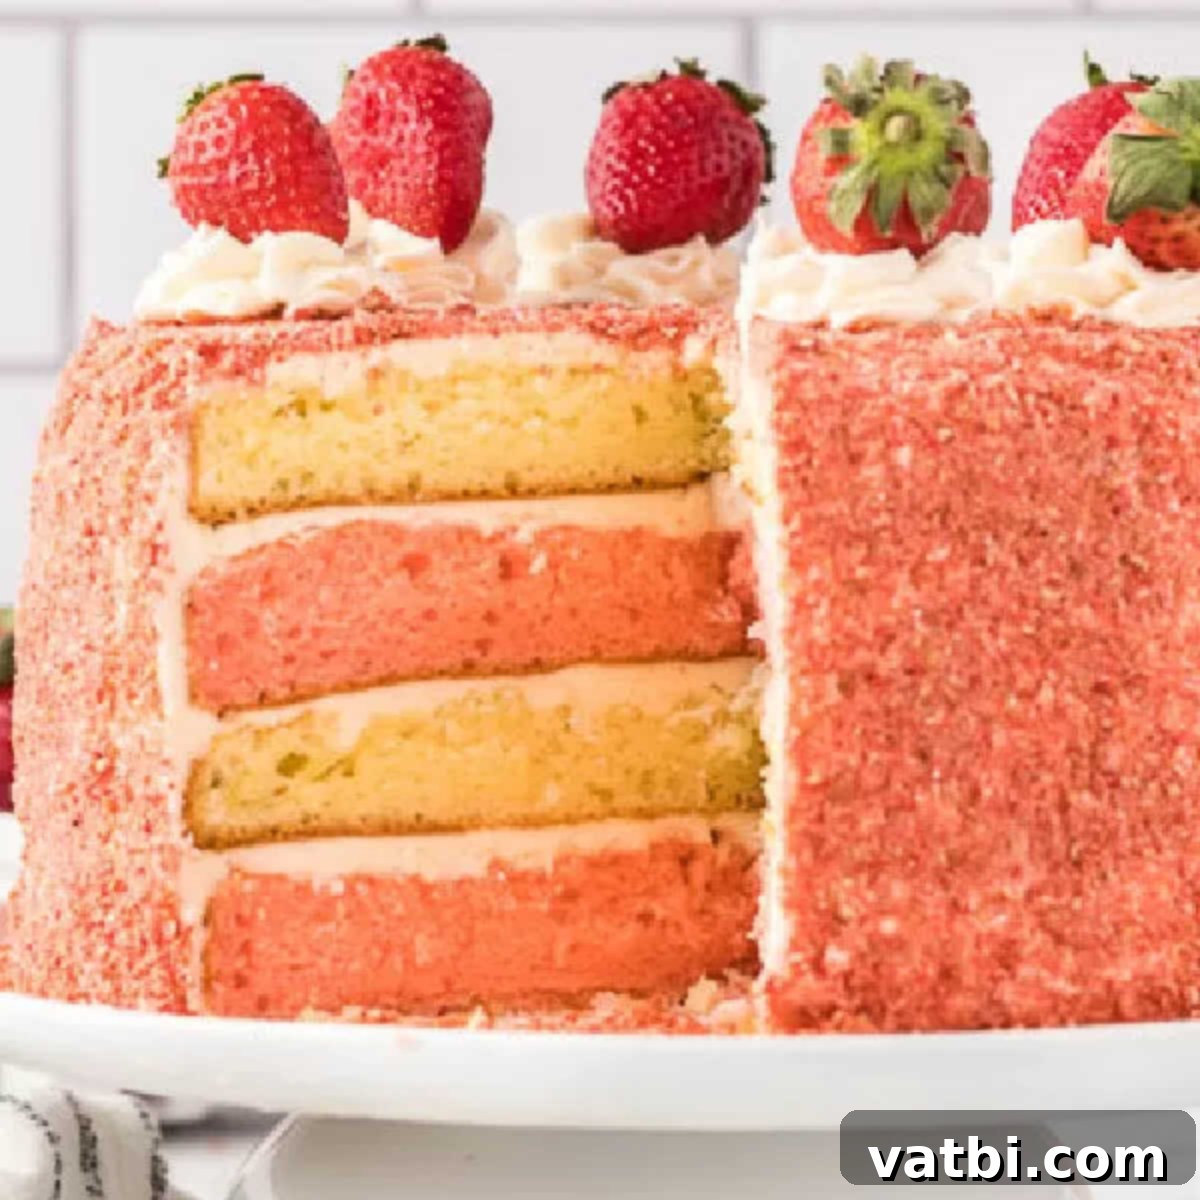
Irresistible Homemade Strawberry Crunch Cake Recipe: Layers of Delight
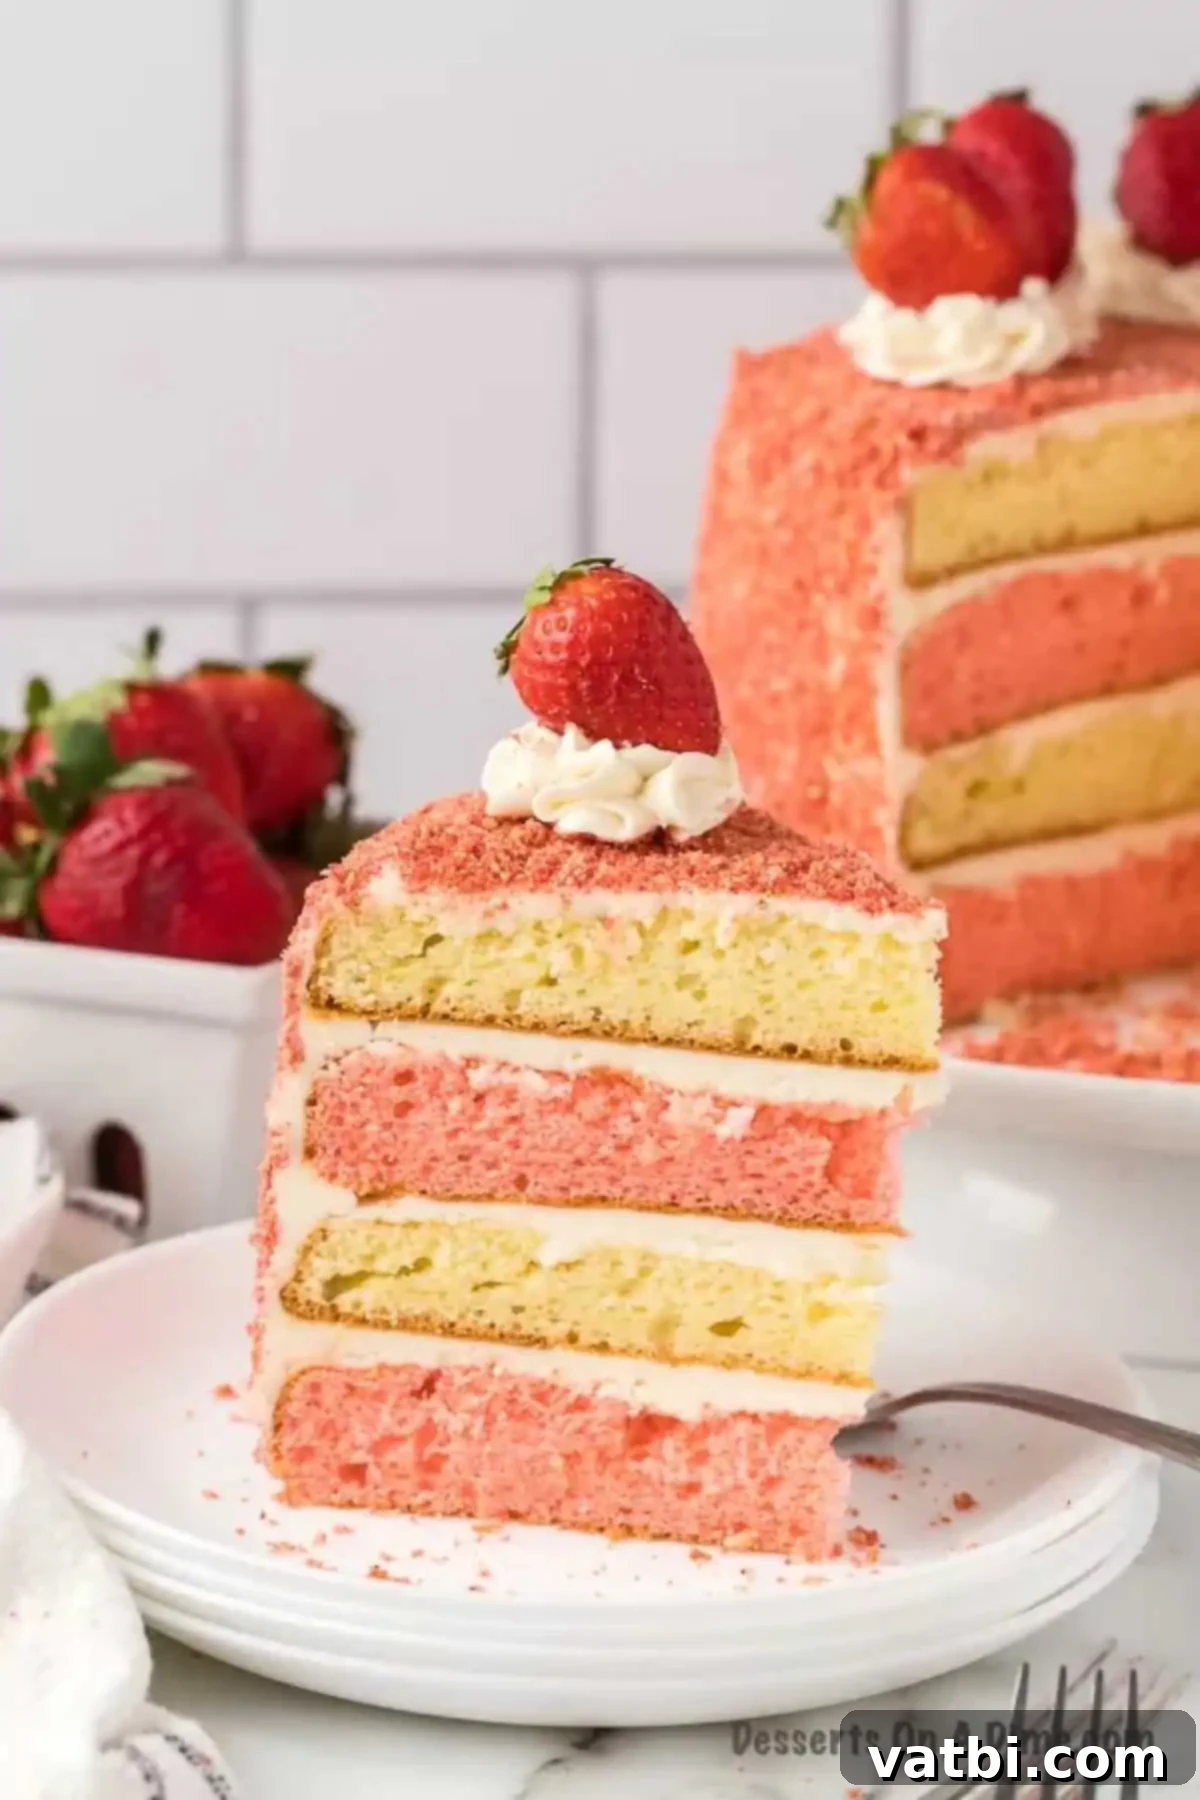
Indulge in the ultimate nostalgic treat with our incredible Strawberry Crunch Cake recipe! This stunning layer cake features a perfectly moist and flavorful strawberry cake base, generously adorned with a delightful, crunchy topping. Each bite delivers a harmonious blend of tender cake, creamy buttercream icing, and the irresistible texture of sweet strawberry crunch. It’s a dessert that not only tastes amazing but also looks absolutely gorgeous, making it ideal for any celebration or a special everyday treat.
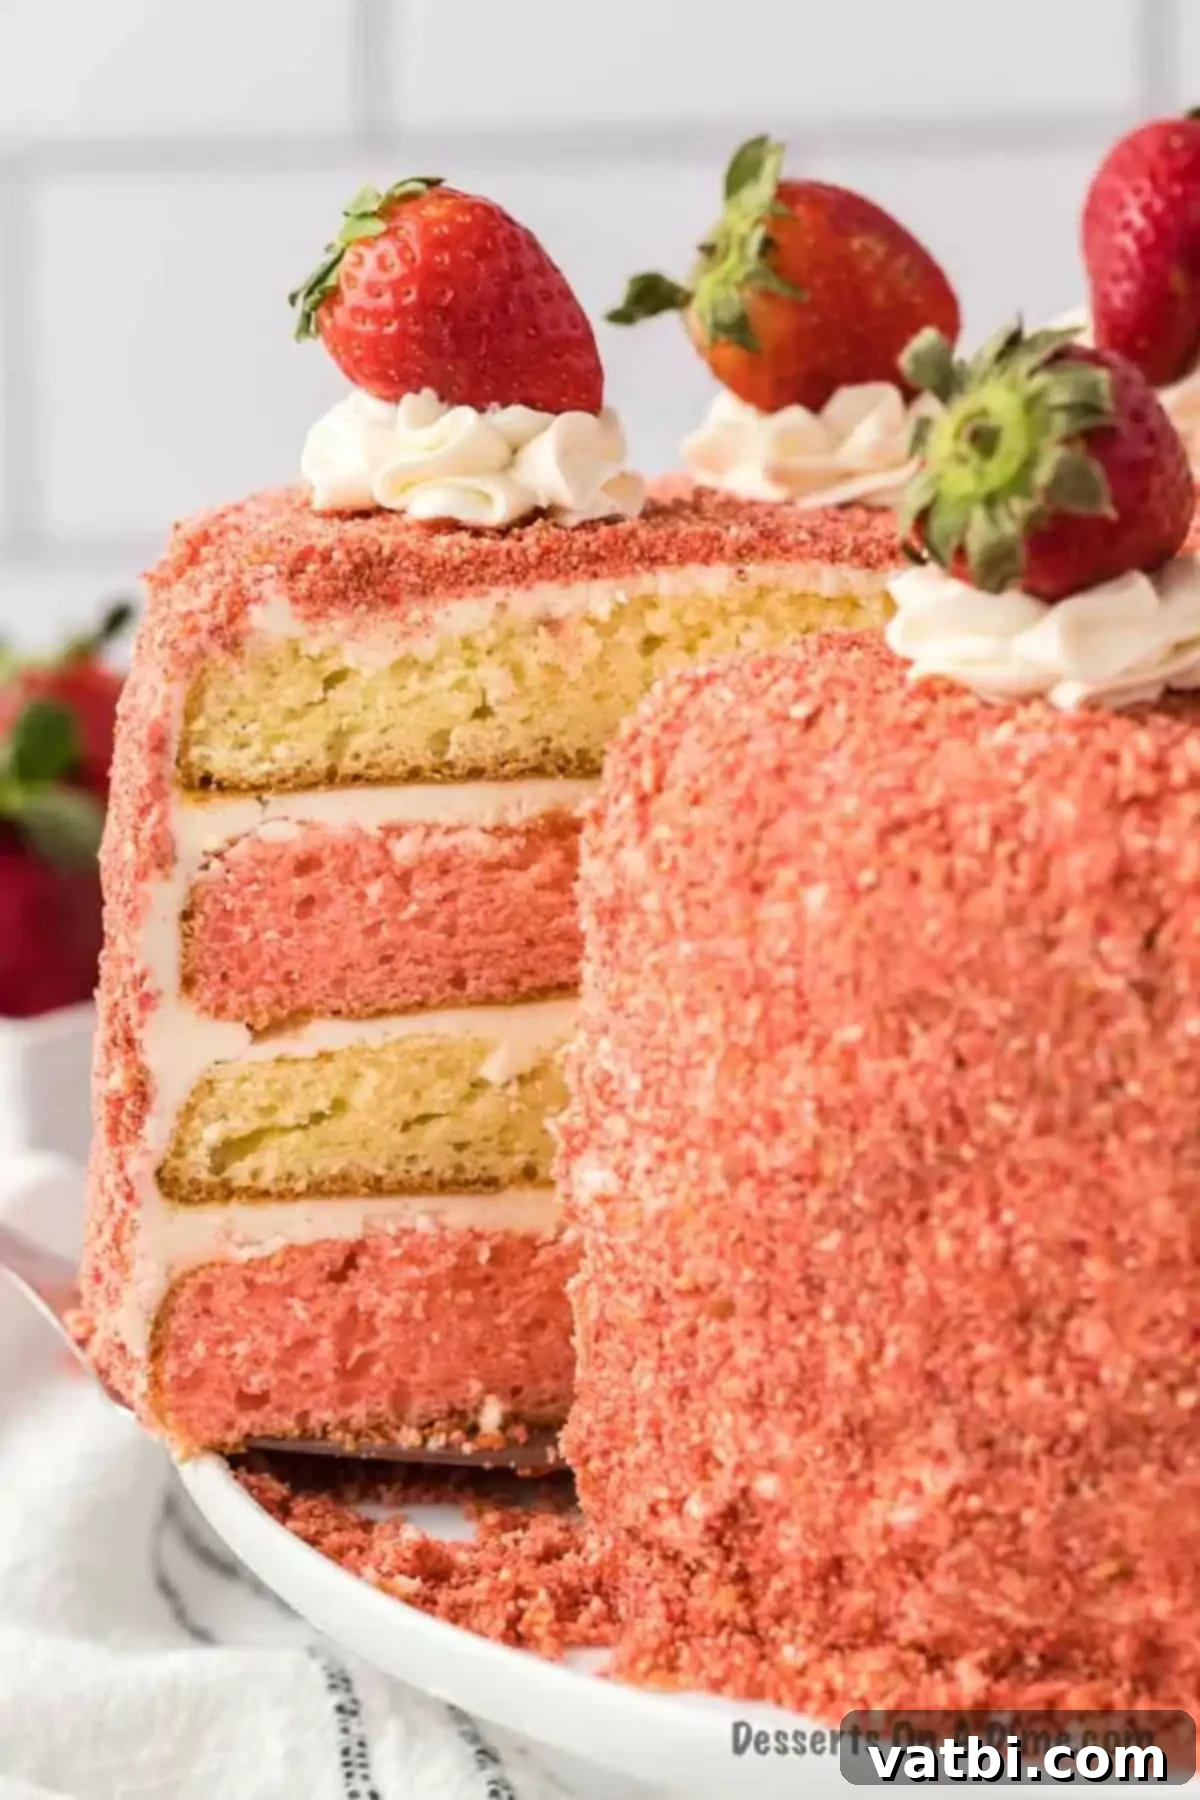
If you have fond memories of enjoying Strawberry Shortcake Ice Cream Bars as a child, then prepare to fall in love with this cake. We’ve captured that iconic flavor profile and transformed it into a show-stopping layer cake that will impress everyone. Our family adores strawberry desserts, and while classics like our Strawberry Poke Cake, Strawberry Shortcake Cheesecake, and Strawberry Honey Bun Cake are always hits, this new Strawberry Crunch Cake has quickly become a top favorite. Its vibrant color and delightful textures make it a true standout among strawberry desserts.
This recipe builds on our love for impressive layer cakes, much like our popular Mango Cake, by offering a unique textural experience that sets it apart. The combination of moist cake and crispy topping is simply divine.
Table of Contents
- What is a Crunch Cake?
- What is Strawberry Crunch Made Of?
- Key Ingredients for this Irresistible Cake
- How to Make Strawberry Crunch Cake: Step-by-Step
- Frequently Asked Questions About Strawberry Crunch Cake
- Expert Tips for the Best Strawberry Crunch Cake
- More Delicious Strawberry Desserts to Try
What is a Crunch Cake?
A crunch cake is a delightful dessert characterized by a distinctive, crispy topping that provides a wonderful textural contrast to the soft cake and creamy frosting underneath. While the exact ingredients for the “crunch” can vary depending on the flavor profile of the cake, it typically involves crushed cookies, sometimes combined with other ingredients like freeze-dried fruits and butter, to create a crumbly, flavorful coating.
Think back to those beloved ice cream treats from your childhood – the ones with the crumbly, sweet topping that made every bite extra special. This cake captures that same magical essence. The crumbly, crunchy topping adds an exciting dimension that pairs perfectly with the smooth buttercream and fluffy cake layers. It’s this unique combination of textures and flavors that makes a crunch cake, especially our strawberry version, an instant crowd-pleaser and a truly decadent dessert experience. Each forkful is a luscious journey of sweet, creamy, and crunchy goodness that will leave everyone wanting more.
What is Strawberry Crunch Made Of?
The star of this cake, the irresistible strawberry crunch, is a simple yet incredibly flavorful mixture. It’s primarily composed of crushed vanilla wafers and vibrant freeze-dried strawberries, all bound together with a touch of melted unsalted butter. These ingredients are processed in a food processor until they form perfect fine crumbs, creating a sweet and subtly tart topping that truly elevates the cake.
The vanilla wafers provide a classic sweet and crunchy base, while the freeze-dried strawberries infuse the crunch with an intense, natural strawberry flavor and a beautiful pink hue. The melted butter helps to bring everything together, ensuring the crumbs are just the right consistency to adhere to the frosting and deliver that satisfying crunch. This homemade crunch topping is what makes this cake so special and unique. If you enjoy beautifully layered cakes with interesting textures, you might also love our Atomic Cake or the colorful Rainbow Cake.
Key Ingredients for this Irresistible Cake
Creating this stunning Strawberry Crunch Cake is surprisingly straightforward, thanks to a few key ingredients that deliver maximum flavor and texture. Here’s a breakdown of what you’ll need:
For the Cake Layers
- Strawberry Cake Mix: Using a boxed strawberry cake mix is a fantastic shortcut that ensures a consistently moist and flavorful base for your cake. Remember to also gather the additional ingredients required by the box instructions, typically eggs, water, and vegetable oil.
- White Cake Mix: To create those beautiful contrasting layers, we also use a boxed white cake mix. As with the strawberry mix, prepare it according to the package directions, which usually include eggs, water, and vegetable oil. The white cake provides a subtle vanilla counterpoint and enhances the visual appeal.
For the Dreamy Buttercream Icing
- Unsalted Butter (Softened): Softened butter is crucial for a smooth, creamy buttercream. It allows the butter to whip up light and airy, incorporating the other ingredients effortlessly.
- Vanilla Extract: A good quality vanilla extract enhances the overall sweetness and provides a warm, classic flavor to the buttercream.
- Powdered Sugar: Also known as confectioners’ sugar, this fine sugar dissolves easily, ensuring a smooth and lump-free frosting.
- Milk: A small amount of milk helps achieve the perfect consistency for the buttercream, allowing it to be spreadable yet firm enough to hold its shape.
For the Signature Crunch Topping
- Freeze Dried Strawberries: These are the secret to the vibrant strawberry flavor and beautiful pink color in the crunch. They’re intensely flavorful and provide a crisp texture when crushed.
- Vanilla Wafers: These classic cookies are the ideal base for our crunch. They crush easily and have a mild vanilla flavor that complements the strawberry perfectly.
- Unsalted Butter (Melted): Melted butter helps bind the crushed wafers and freeze-dried strawberries together, giving the crunch its signature texture and allowing it to adhere to the cake.
For a Gorgeous Garnish
- Fresh Strawberries: About 6 or 7 fresh strawberries, sliced or halved, add a touch of elegance, freshness, and vibrant color to the top of the finished cake. While optional, they truly elevate the presentation.
The full, detailed ingredient list with precise measurements can be found at the bottom of this page in the convenient recipe card.
How to Make Strawberry Crunch Cake: Step-by-Step
Follow these easy steps to create your own magnificent Strawberry Crunch Cake, complete with moist layers, creamy frosting, and that irresistible crunch!
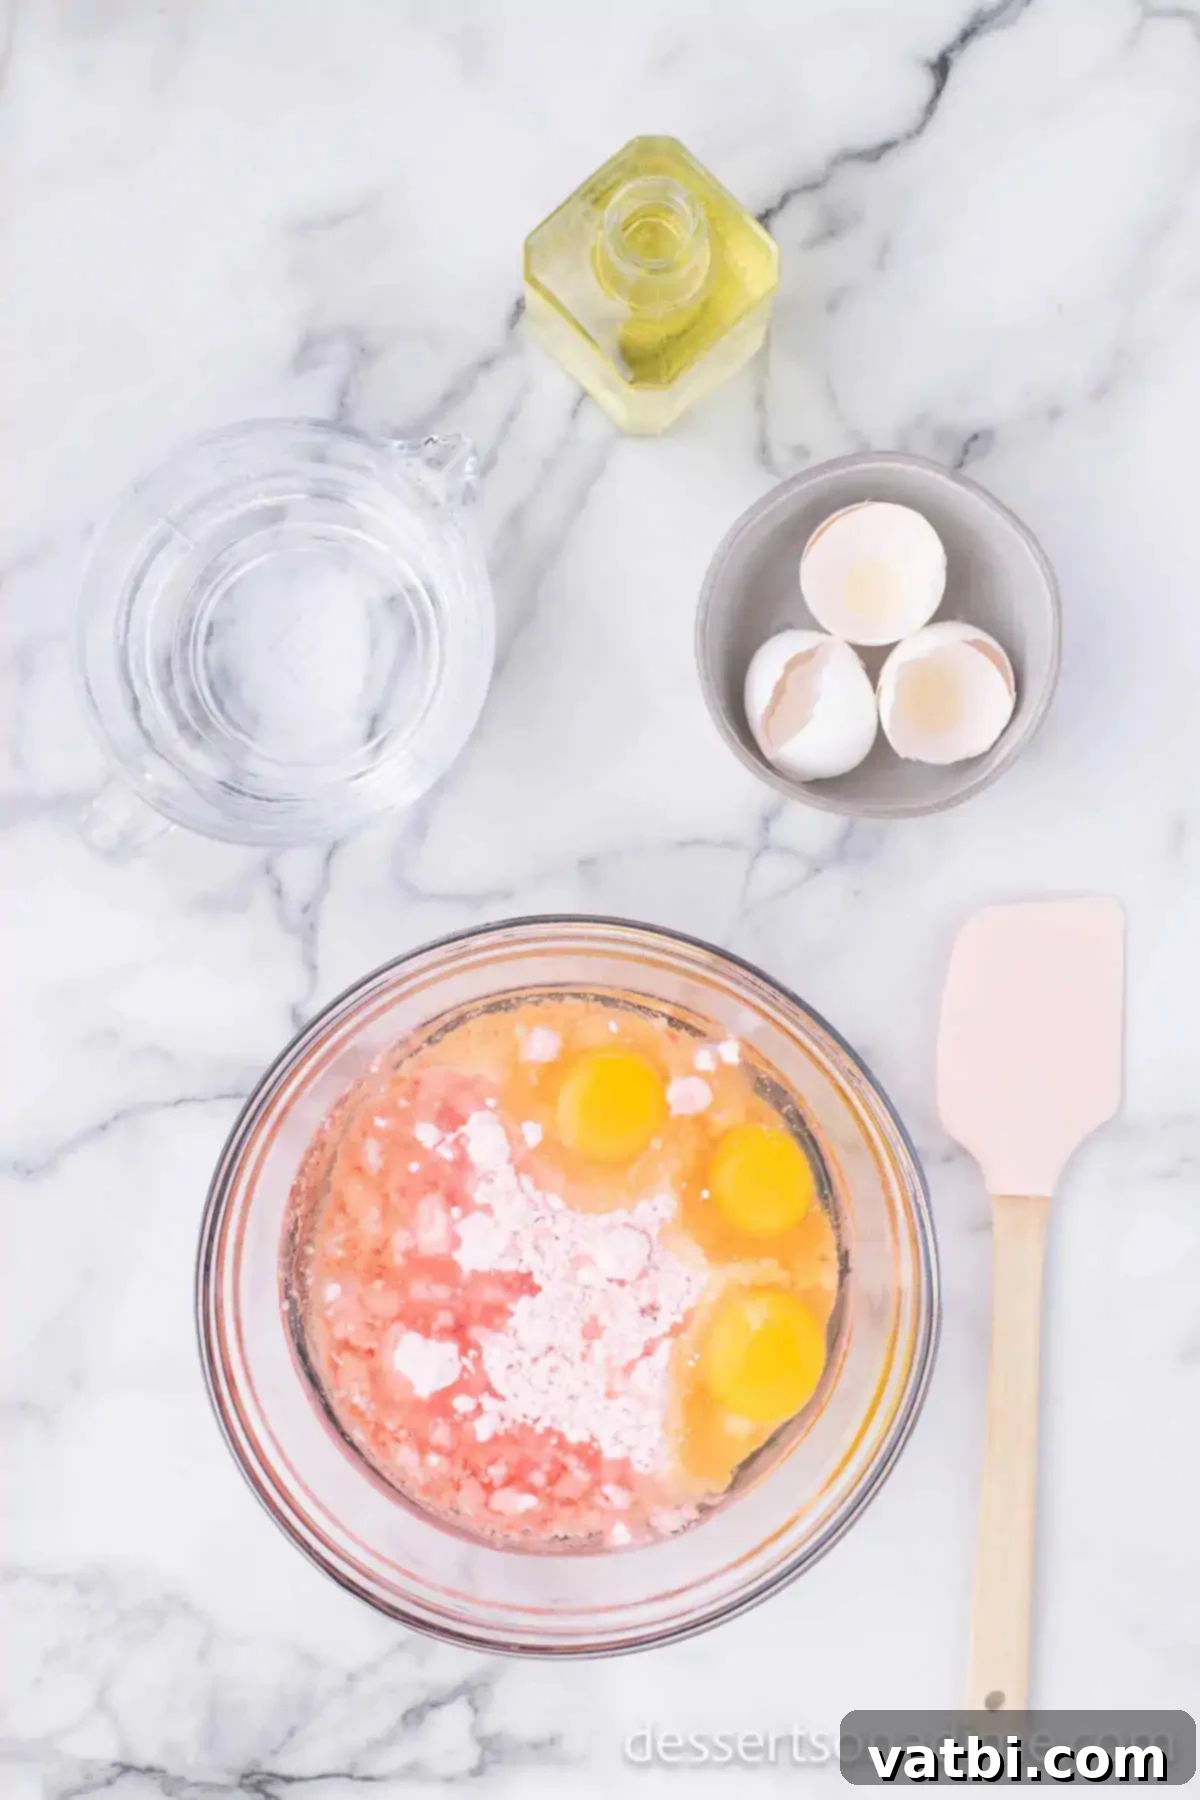
Step 1: Prepare the Strawberry Cake Layers. Begin by preheating your oven to 350°F (175°C), or the temperature specified on your strawberry cake mix box. In a large mixing bowl, combine the strawberry cake mix with the required ingredients (usually water, vegetable oil, and eggs) according to the package directions. Use an electric mixer on medium speed until the batter is smooth and well combined.
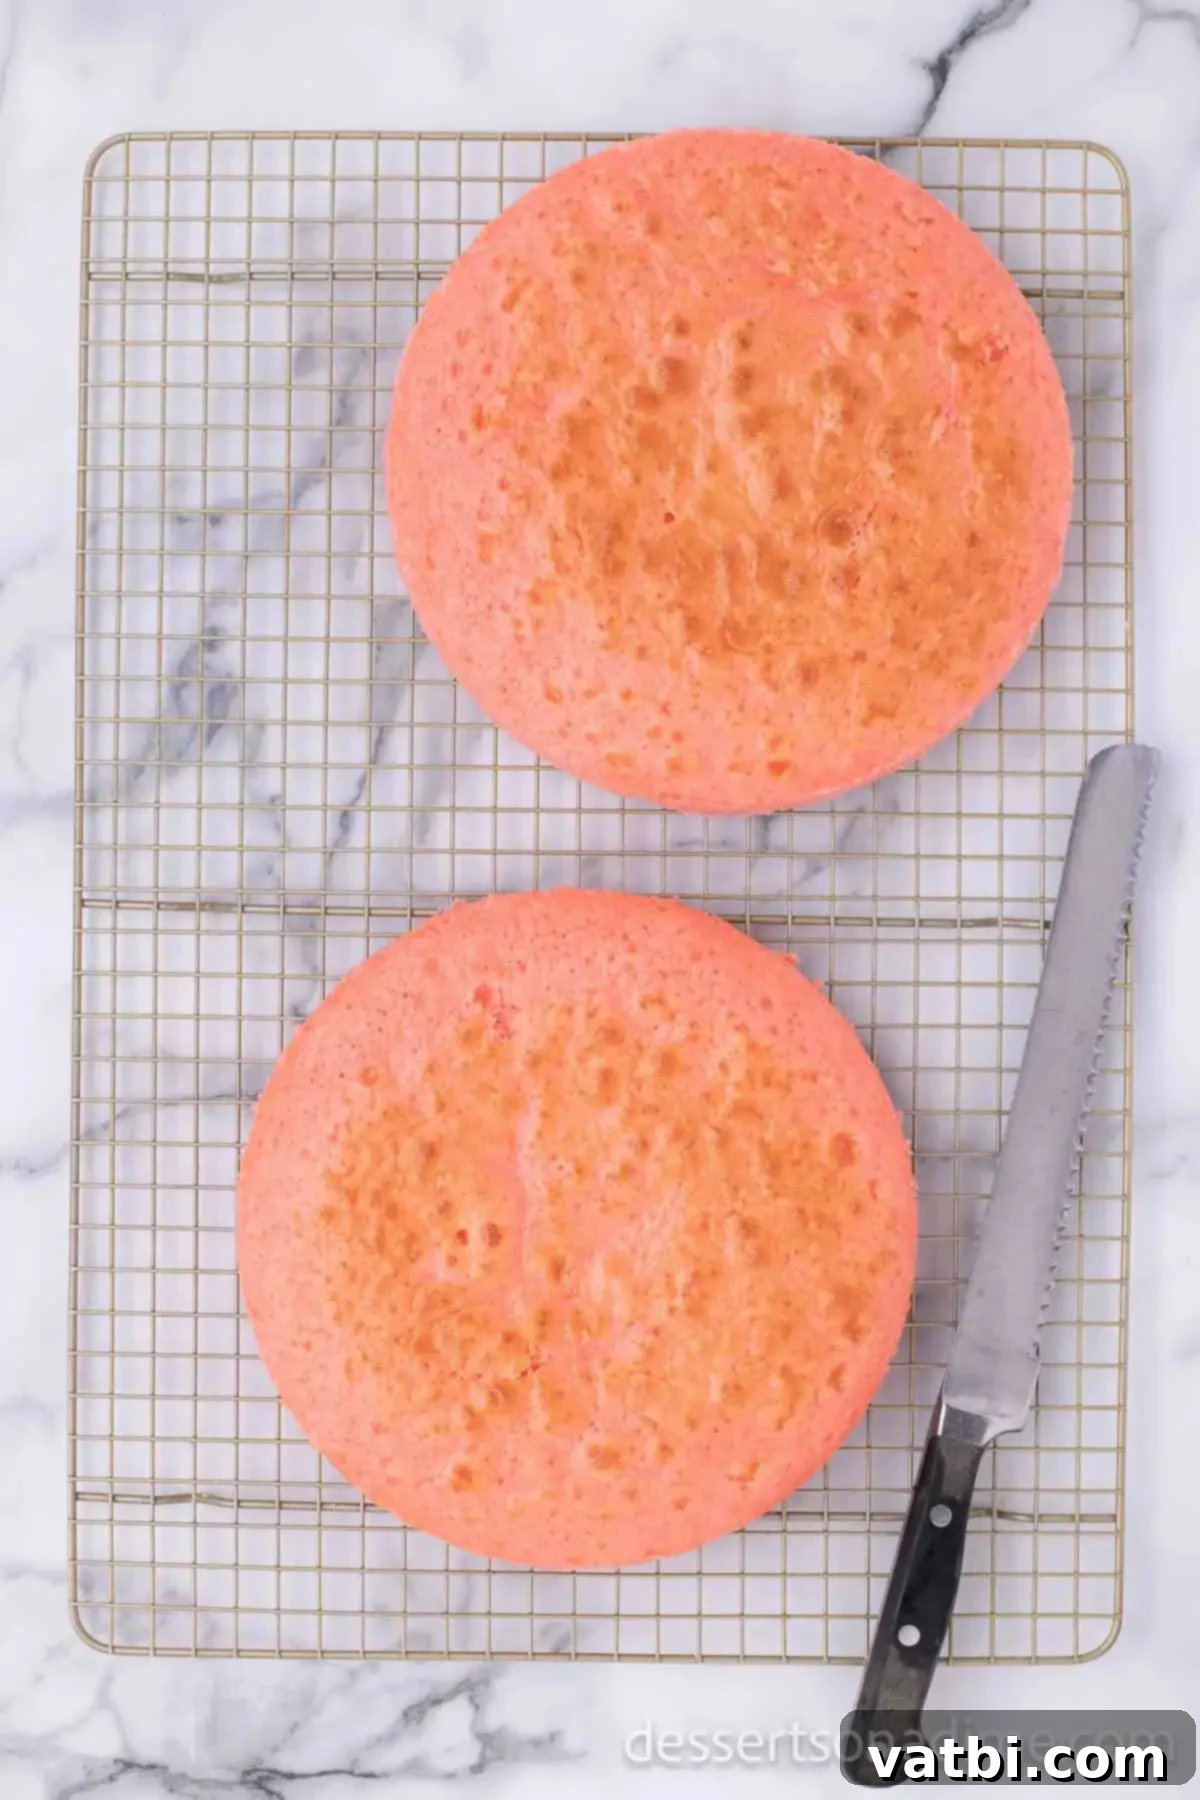
Step 2: Bake the Strawberry Cake. Grease and flour two 9-inch round cake pans. Divide the strawberry cake batter evenly between the prepared pans. Bake for approximately 25 to 30 minutes, or until a toothpick inserted into the center of the cakes comes out clean. Let the cakes cool in the pans for about 10 minutes before carefully inverting them onto a wire cooling rack to cool completely. This step is crucial for easy handling.
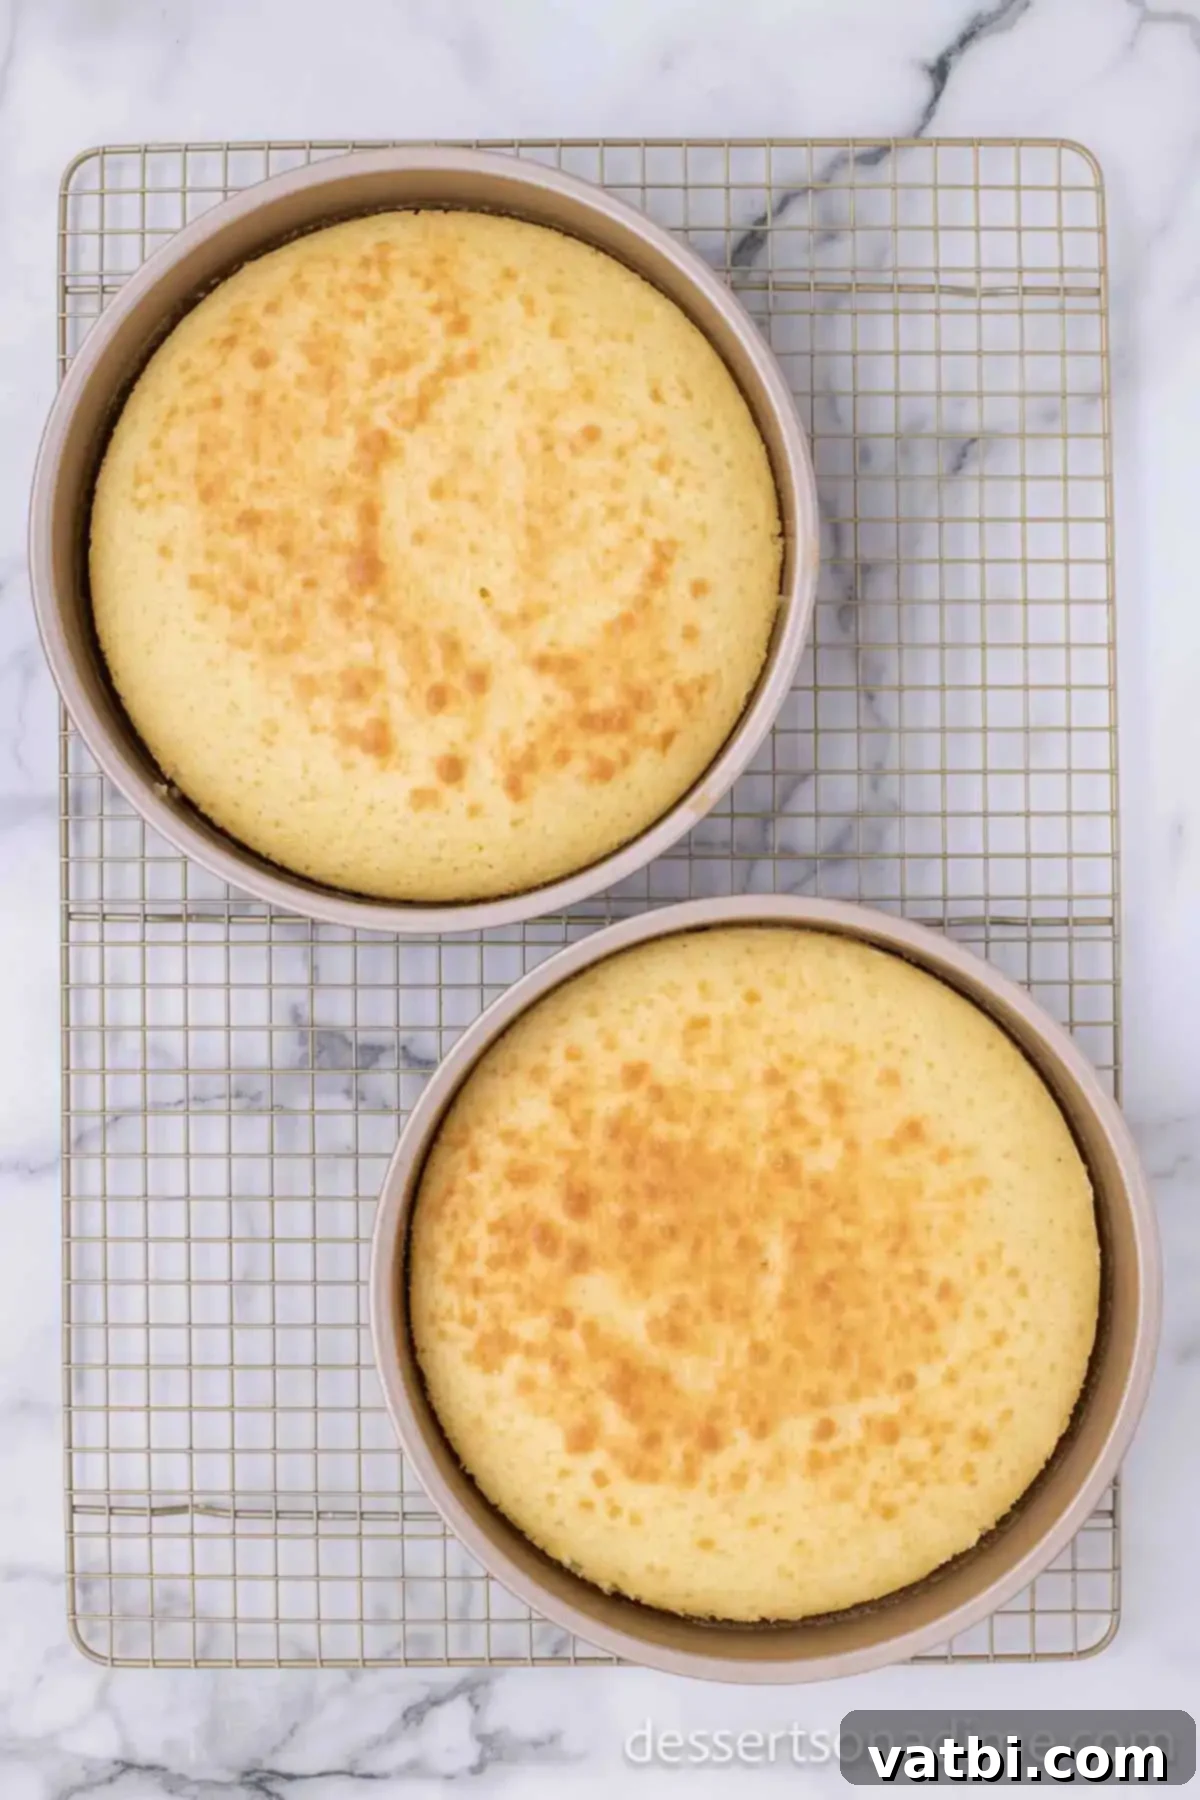
Step 3: Prepare and Bake the White Cake Layers. While your strawberry cakes are cooling, mix the white cake batter according to its box instructions (water, vegetable oil, and eggs). Pour the batter into two freshly greased and floured 9-inch round cake pans (you may need to wash and reuse your pans from the strawberry cake). Bake for the recommended time, usually 25-30 minutes, until a toothpick comes out clean. Allow them to cool in the pans for 10 minutes, then transfer them to a wire rack to cool completely.
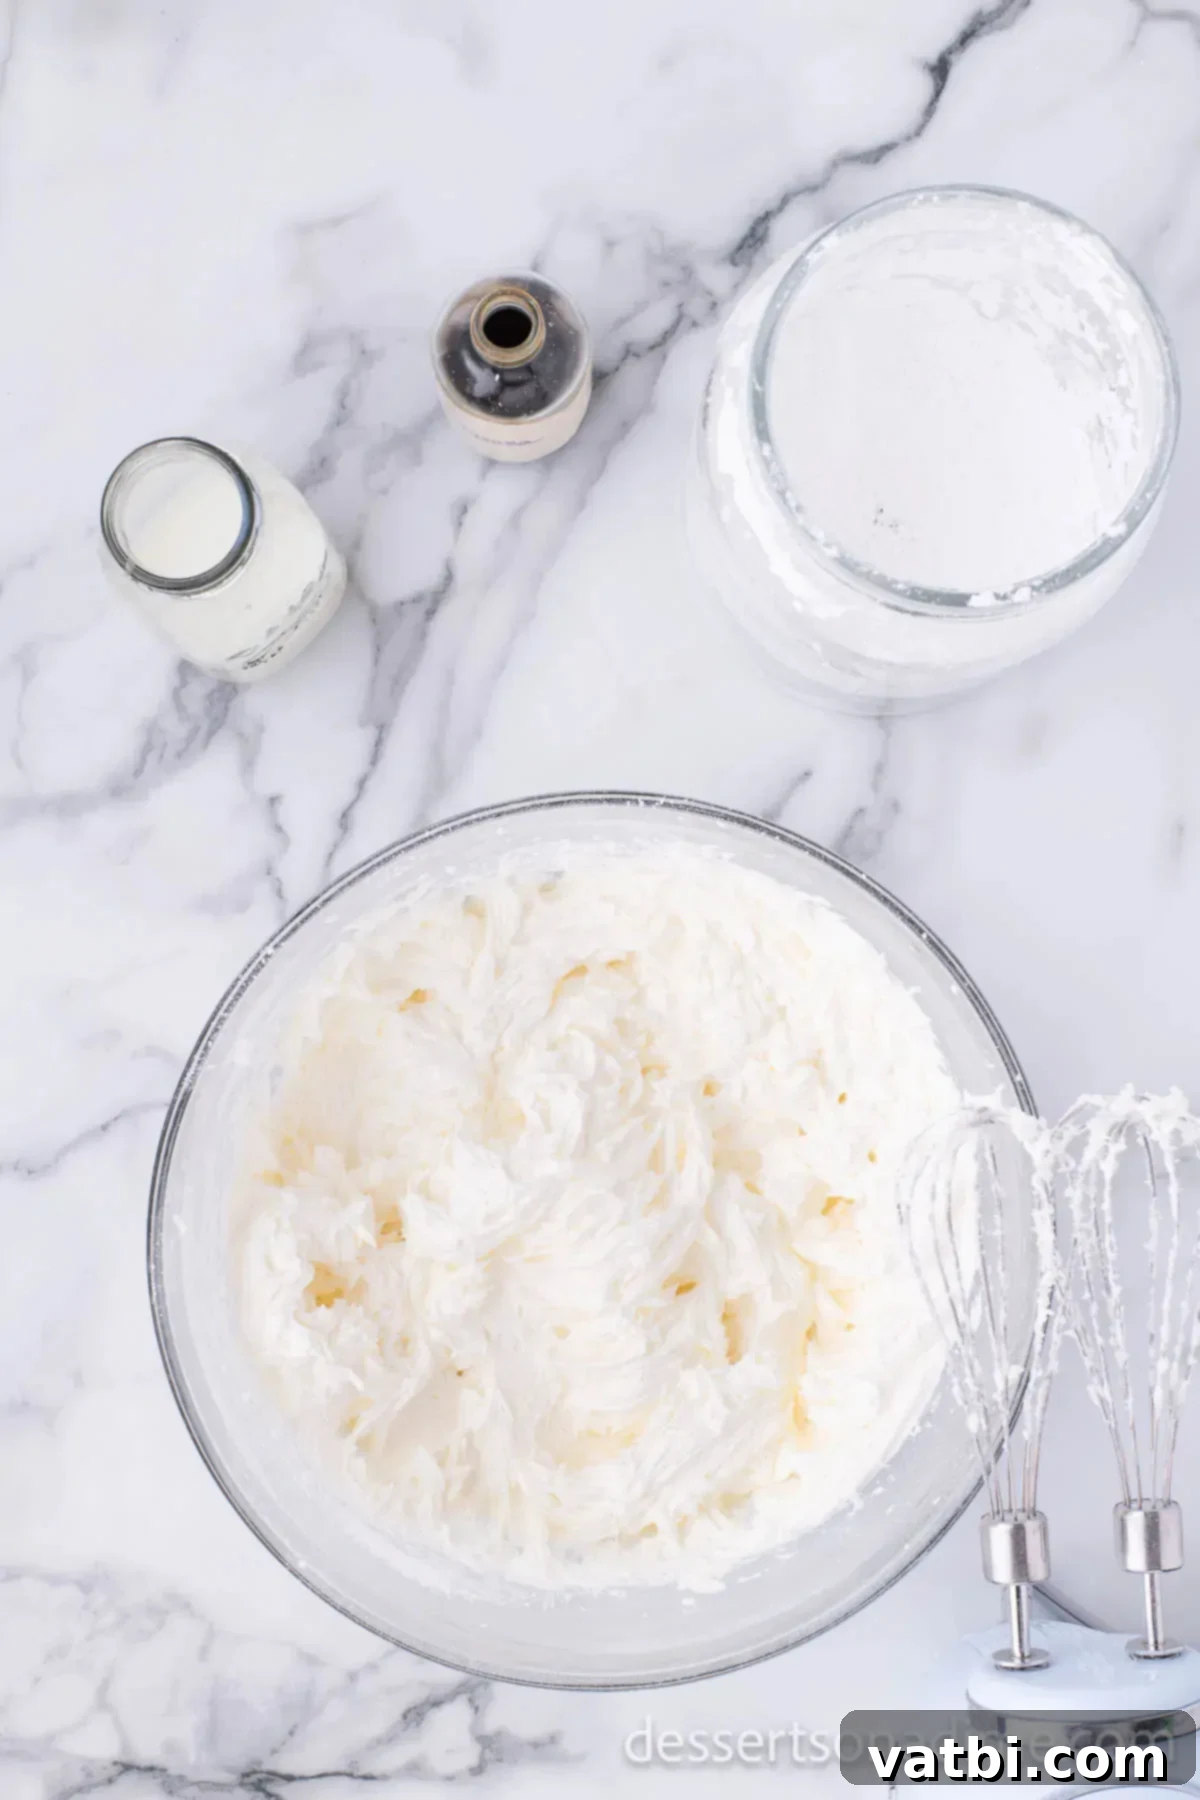
Step 4: Make the Smooth Buttercream Icing. As the cake layers cool, begin preparing your delicious buttercream. In a large bowl of a stand mixer fitted with a paddle attachment (or using a hand mixer), cream the softened unsalted butter until light and fluffy. Gradually add the powdered sugar, about 1 cup at a time, on low speed to avoid a sugary cloud. Once combined, stir in the vanilla extract. Then, gradually add the milk on medium-high speed until the icing reaches a smooth, spreadable consistency.
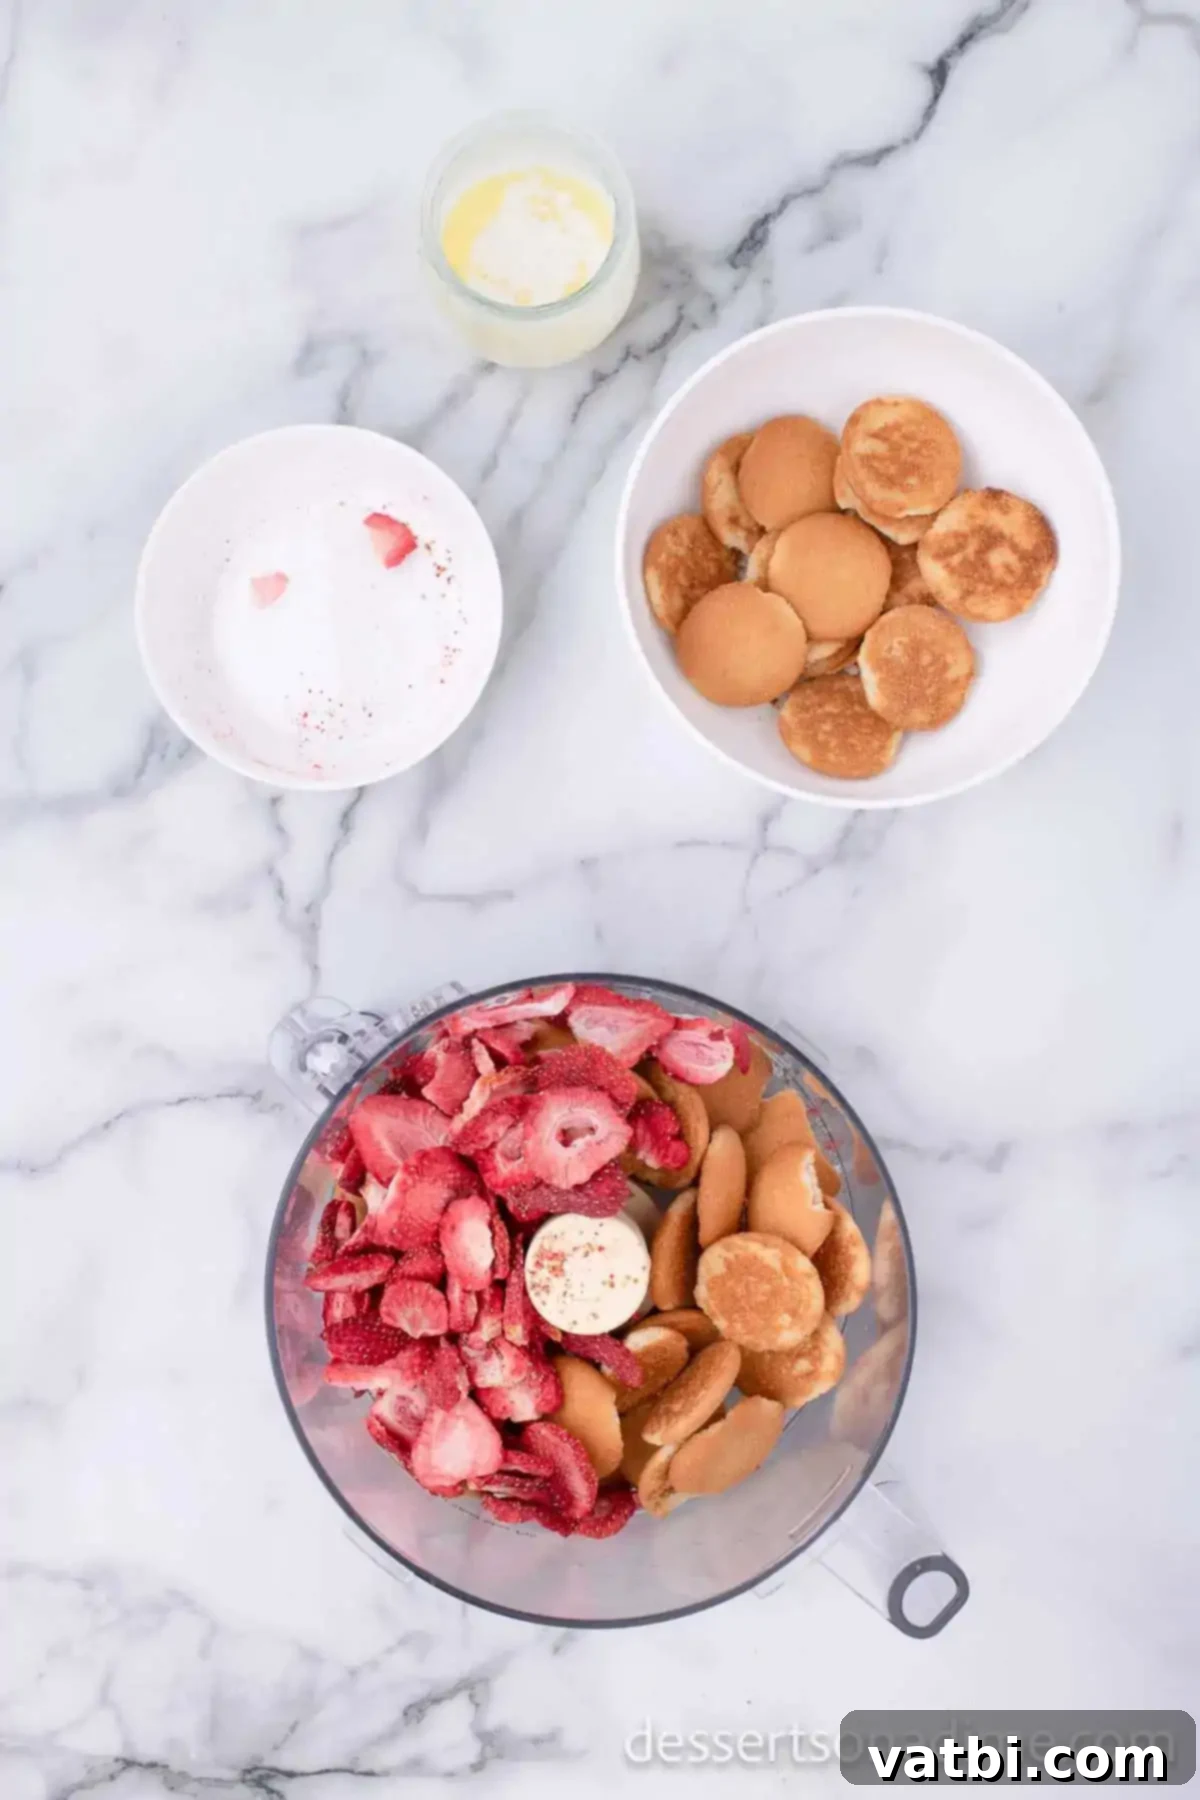
Step 5: Create the Signature Strawberry Crunch Topping. In a food processor, combine the freeze-dried strawberries and vanilla wafers. Pulse on high speed until the mixture forms fine, even crumbs. Once fully crushed, add the melted unsalted butter and continue to pulse until the butter is thoroughly combined with the crumbs. The mixture should be moist but still crumbly.
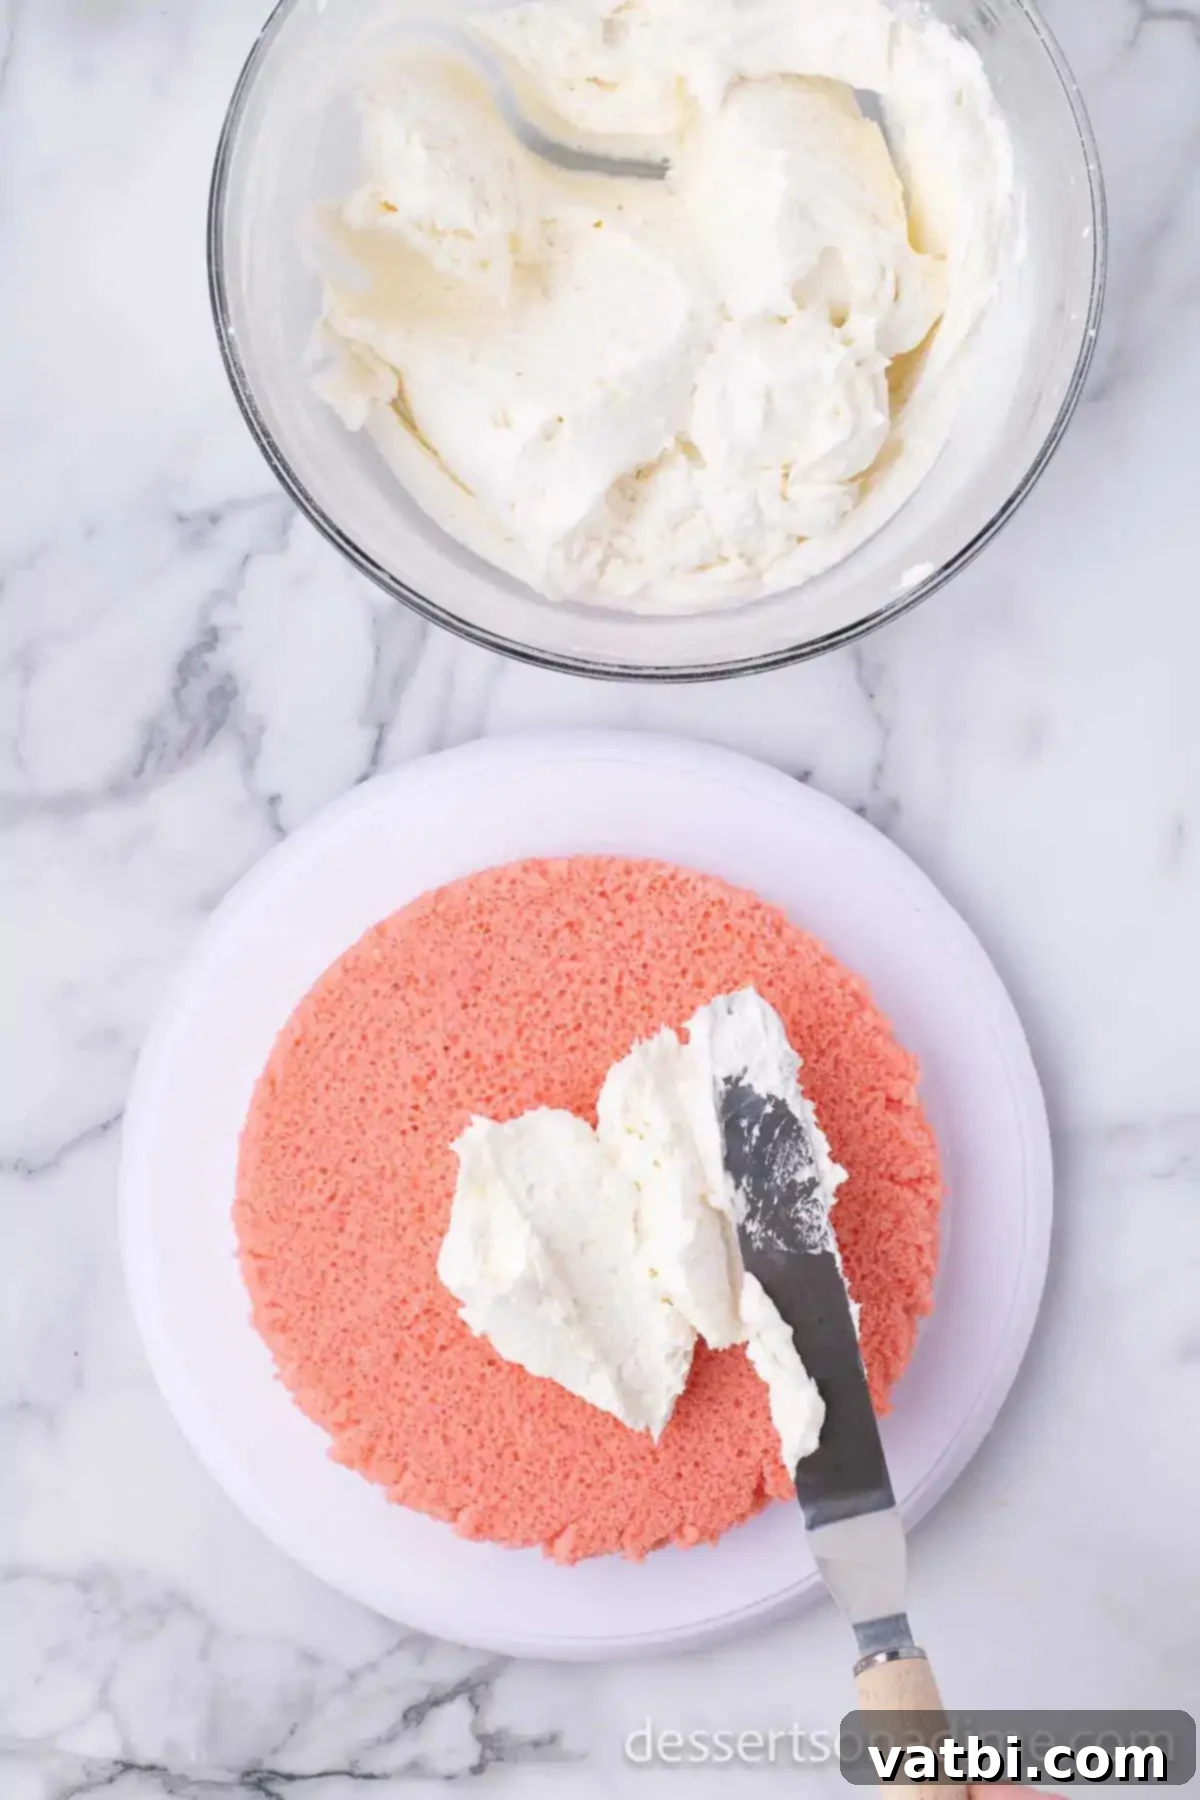
Step 6: Assemble the First Layers. Once all cake layers are completely cool, use a serrated knife to carefully level the tops of each cake, removing any domed portions to create flat surfaces. Place one of the strawberry cake layers on your chosen serving platter or cake stand. Spread an even layer of buttercream icing generously over the top of this strawberry cake.
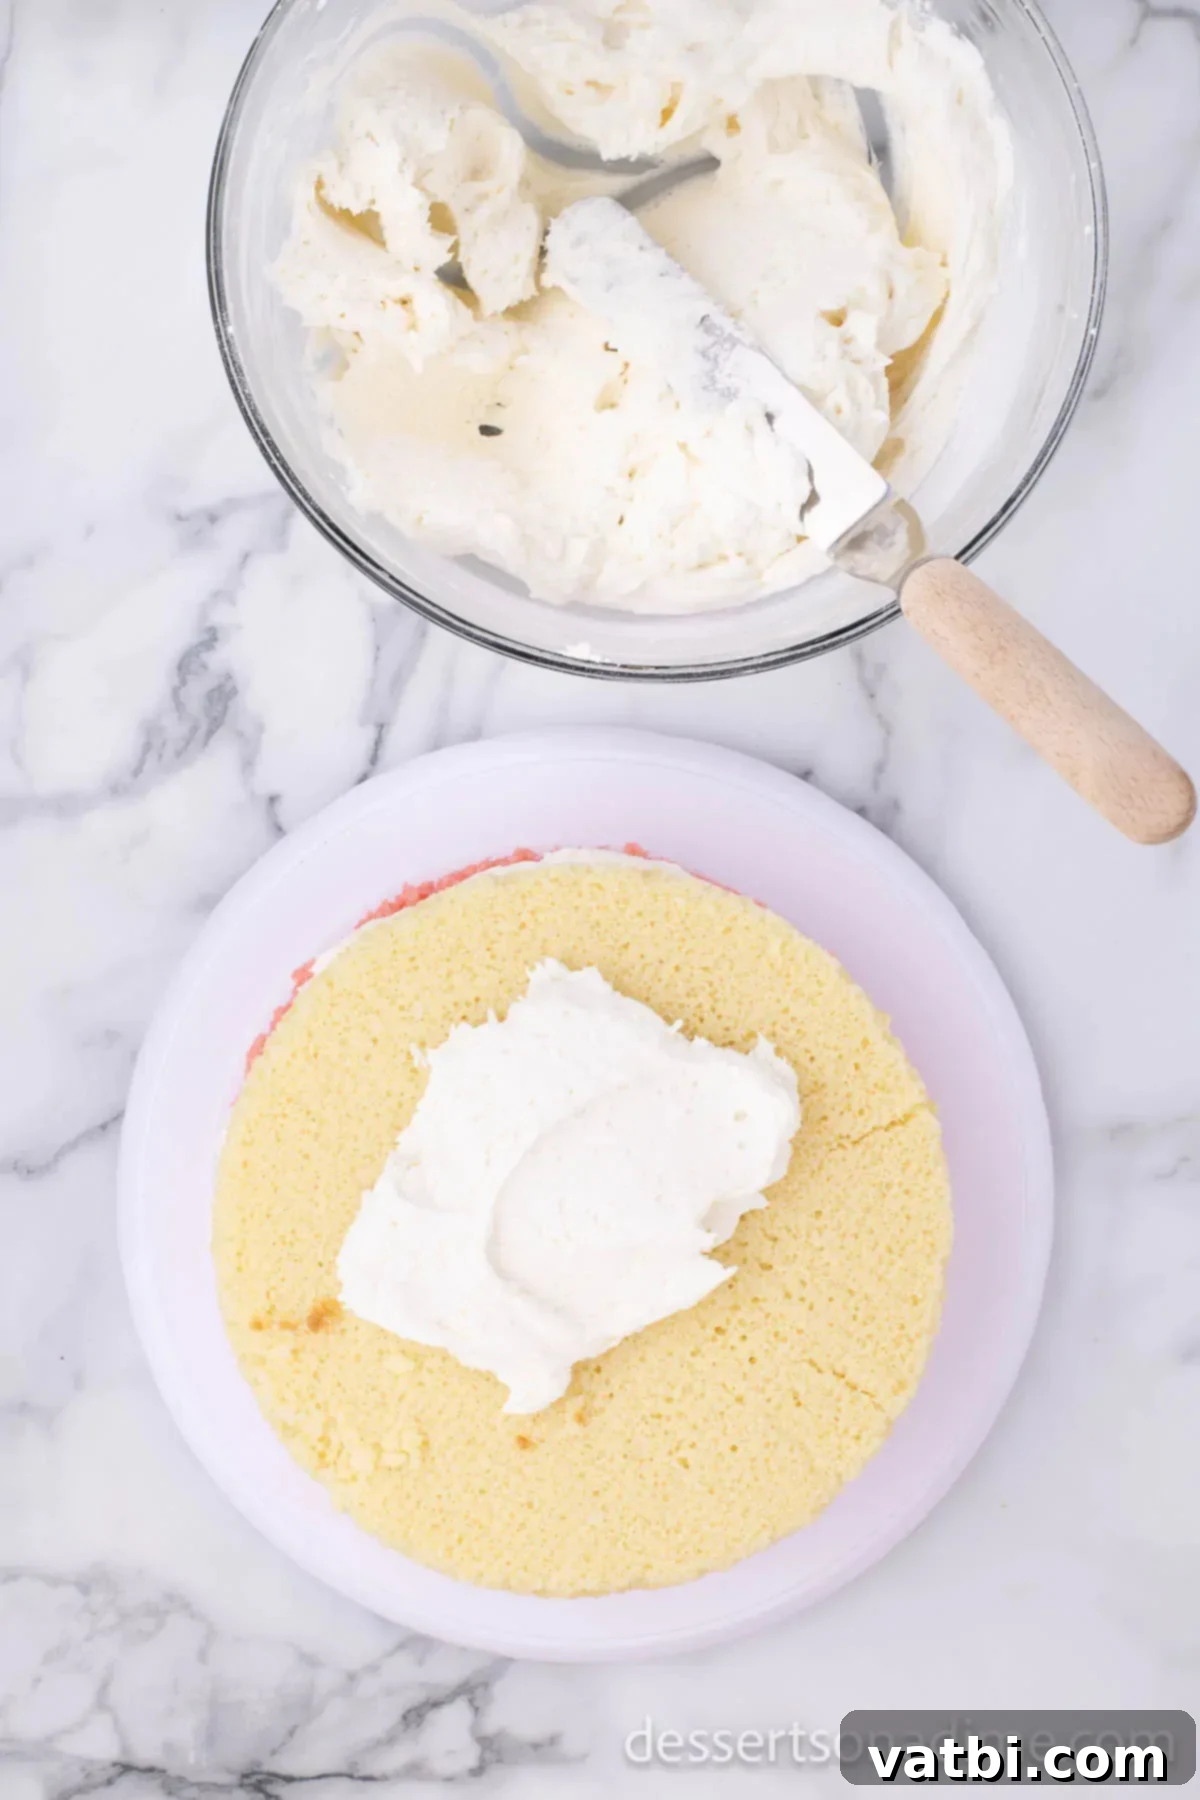
Step 7: Stack the White Layer. Gently place one of the white cake layers directly on top of the frosted strawberry layer. Press down lightly to secure it. Then, spread another generous layer of buttercream icing over the top of this white cake layer. The contrasting colors of the cake and white frosting create a visually appealing stack.
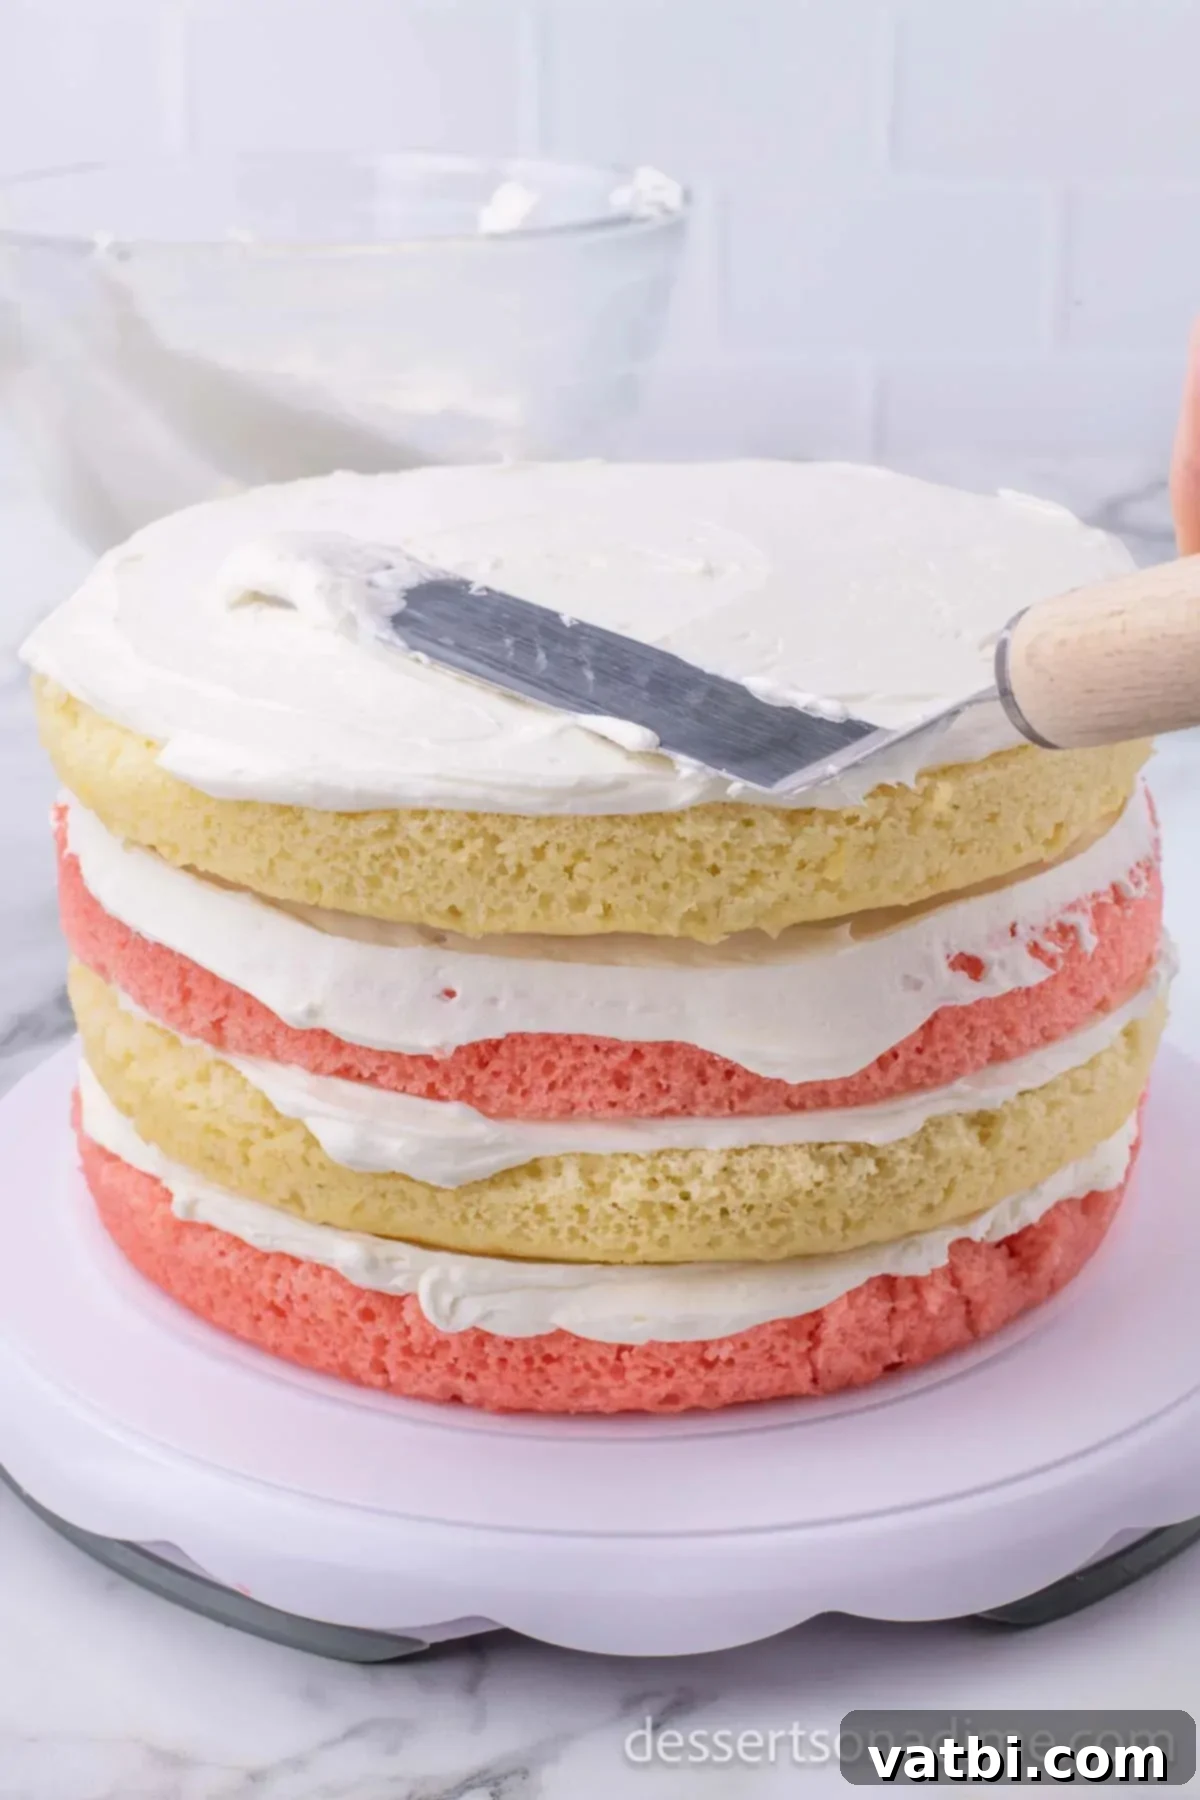
Step 8: Continue Layering. Repeat the layering process with the remaining strawberry cake layer, topping it with buttercream. Finally, place the last white cake layer on top. You should now have a beautiful four-layer cake, alternating strawberry and white cake with layers of luscious buttercream in between.
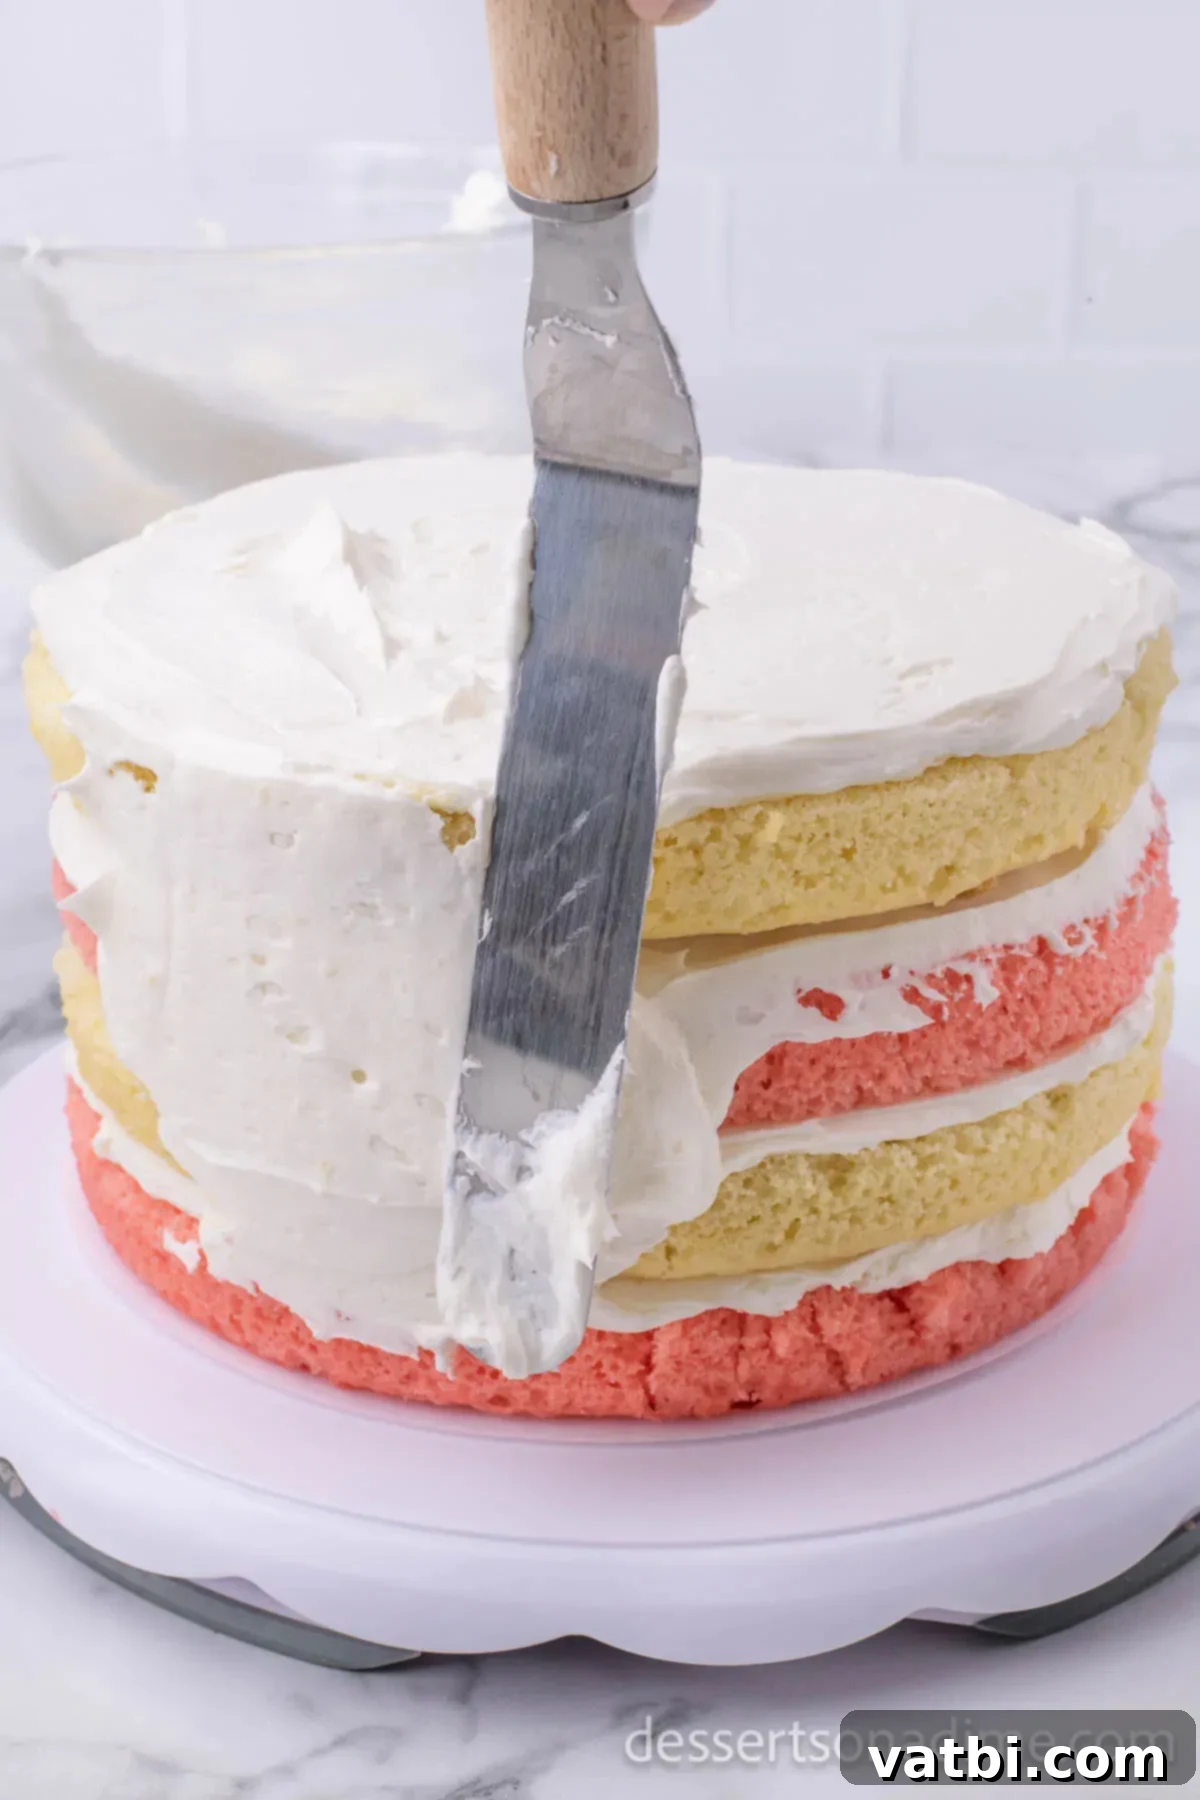
Step 9: Crumb Coat and Final Frosting. Using an offset spatula or a bench scraper, apply a thin “crumb coat” of buttercream all over the top and sides of the stacked cake. This traps any loose crumbs. Chill for 15-20 minutes. Then, use the remaining buttercream (reserving a small amount for piping decor) to generously frost the entire cake, smoothing the top and sides for a clean finish.
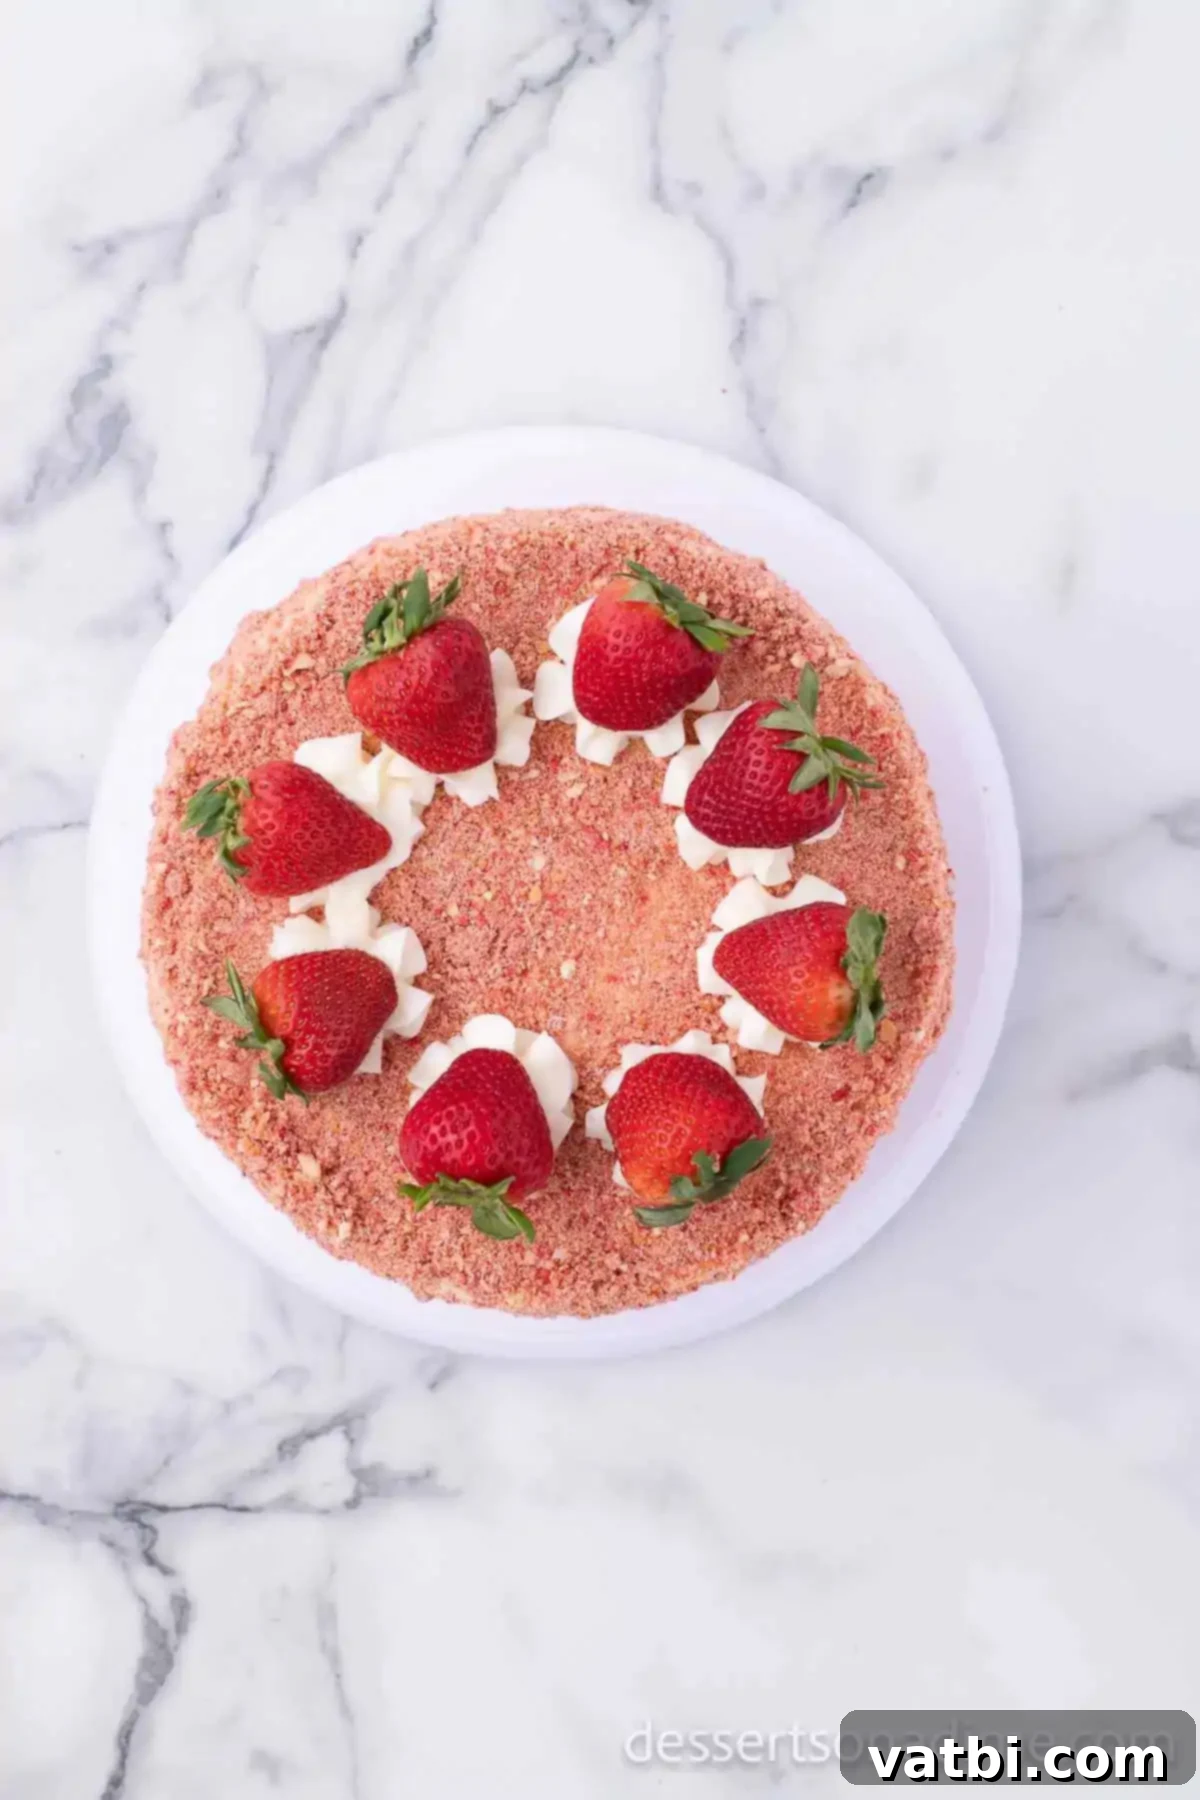
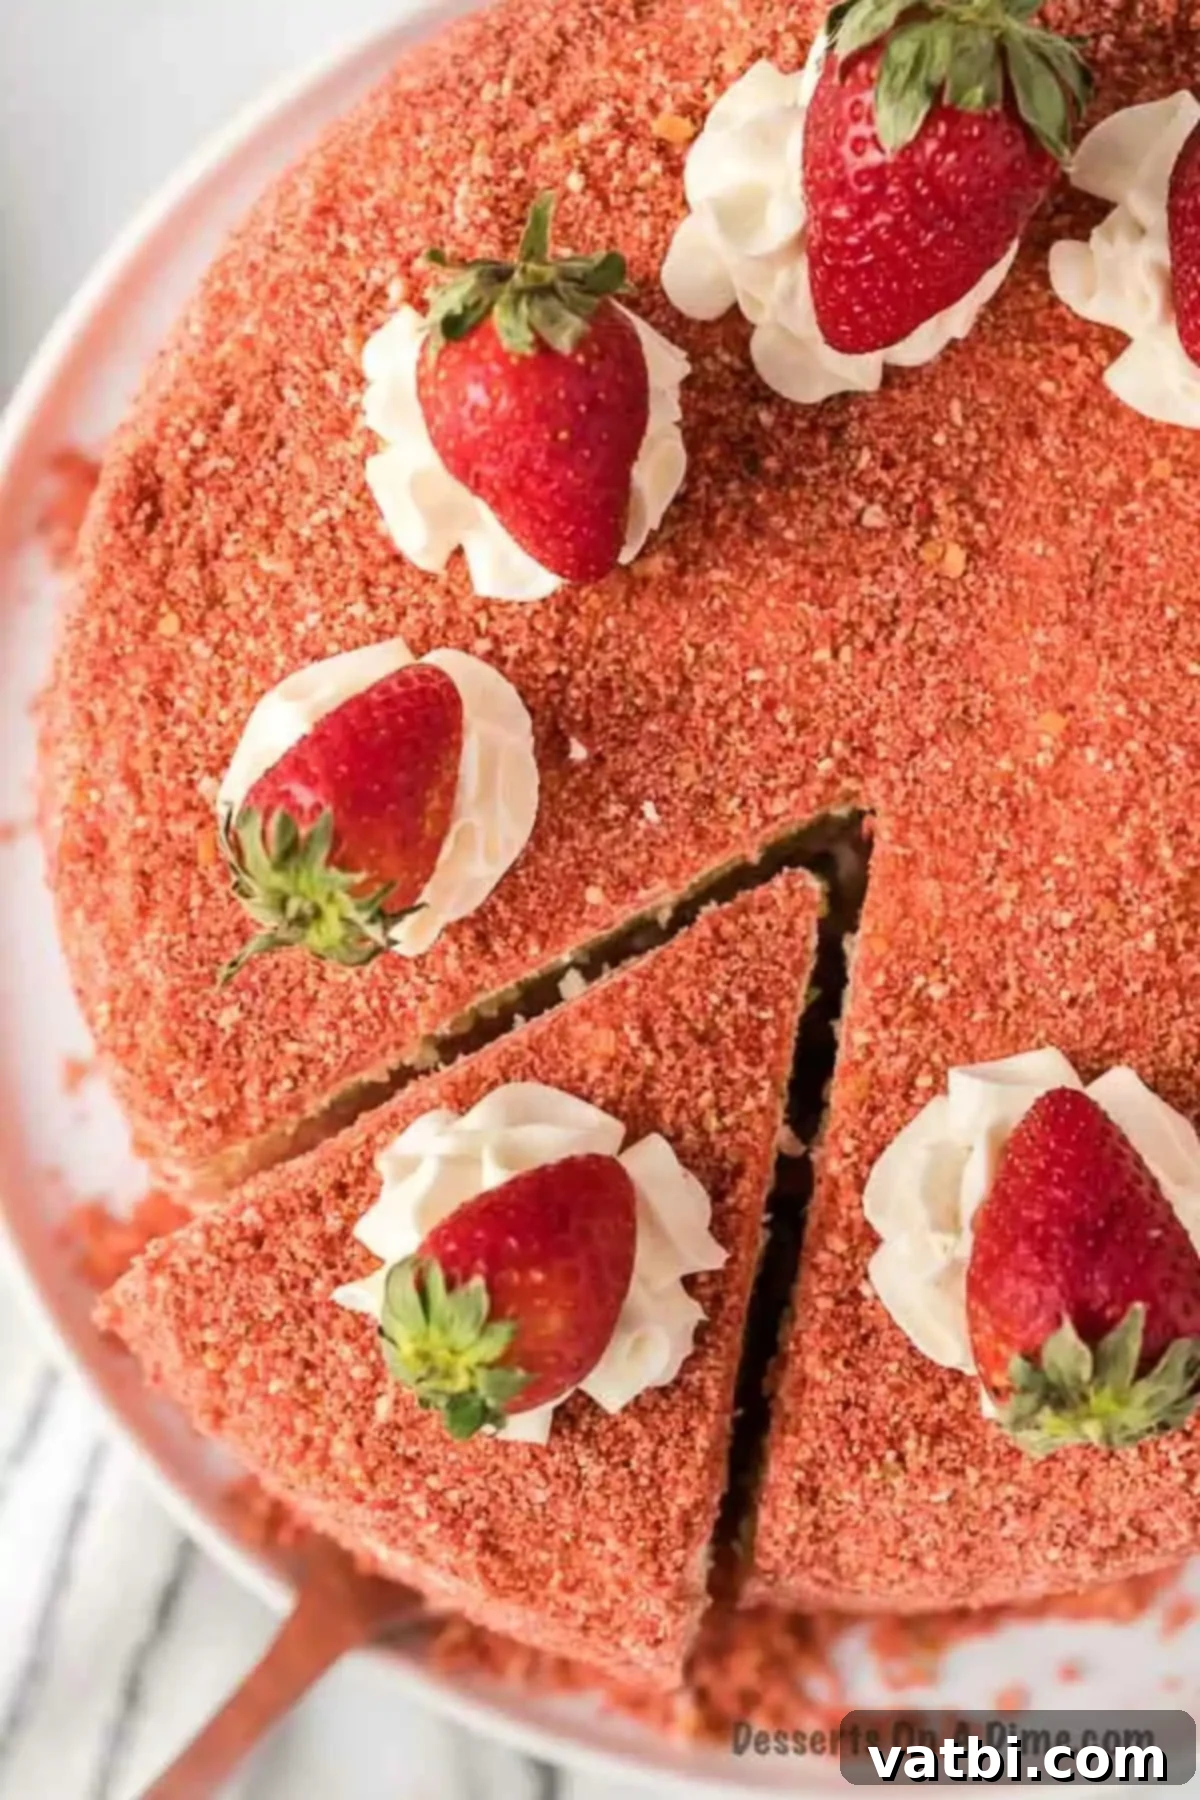
Step 10: Apply the Crunch Topping and Garnish. This is the fun part! Immediately after frosting (while the buttercream is still soft), carefully cover the entire cake with the strawberry crunch topping. Gently press the crumbs into the frosting on the sides and top of the cake to ensure they adhere well. Using your reserved buttercream, pipe a few decorative swirls around the top edge of the cake. Finally, arrange fresh strawberry slices or halves on top of these swirls for a beautiful and fresh finish.
Frequently Asked Questions About Strawberry Crunch Cake
The easiest and most efficient way to crush vanilla wafers (or other cookies) for the crunch topping is to use a food processor. Simply place the cookies in the food processor and pulse a few times until they reach your desired consistency – generally fine, even crumbs. If you don’t have a food processor, you can place the cookies in a Ziploc bag, remove excess air, and crush them with a rolling pin or the bottom of a heavy glass until fine.
For optimal freshness and to maintain its beautiful appearance, cover the cake and chill it in the refrigerator until you are ready to serve. While the cake can be left at room temperature for up to 1 day, it is best to refrigerate it after that. When properly covered and refrigerated, the Strawberry Crunch Cake will remain fresh and delicious for 3 to 4 days.
Yes, this cake freezes beautifully and will last up to 4 months in the freezer. For best results, it’s recommended to freeze individual slices rather than the entire cake. To do this, ensure each slice is well-chilled and then wrap it tightly in plastic wrap, followed by a layer of aluminum foil. You can also separate slices with wax paper or parchment paper before placing them in an airtight freezer-safe container. Thaw individual slices in the refrigerator overnight before serving.
We highly recommend using freeze-dried strawberries for the crunch topping. Fresh strawberries contain too much moisture, which would make the crunch soggy and prevent it from becoming crispy. Freeze-dried strawberries offer an intense flavor and the perfect texture for the crunch without adding unwanted moisture.
To make this cake, you’ll need standard baking equipment: two 9-inch round cake pans, a large mixing bowl, an electric mixer (stand mixer or hand mixer), a food processor for the crunch topping, a serrated knife for leveling cakes, an offset spatula or bench scraper for frosting, and a wire cooling rack.
Expert Tips for the Best Strawberry Crunch Cake
Achieving a perfect Strawberry Crunch Cake is easy with these helpful tips and tricks:
- Add Fresh Strawberries Just Before Serving: To prevent the fresh strawberries used for garnish from making the top of the cake soggy, it’s best to place them on the cake right before you plan to serve it. This keeps them looking and tasting their best.
- Apply Crunch Topping Immediately: As soon as you finish frosting the cake, apply the crunch topping. The buttercream needs to be soft and tacky for the crumbs to adhere properly. If the icing dries out, the crunch won’t stick, and you’ll end up with a less impressive result.
- Cookie Substitutions for the Crunch: While vanilla wafers are traditional, feel free to get creative! Golden Oreo cookies make an excellent substitute, offering a similar flavor profile and satisfying crunch. You could also experiment with shortbread cookies for a slightly different taste.
- Cool Cakes Completely: This is a non-negotiable step! Ensure your cake layers are completely cooled before attempting to frost them. Frosting warm cakes will cause the buttercream to melt, slide off, and create a messy, unstable cake. Patience is key here.
- Alternative Frosting Ideas: If you’re a fan of tangy flavors, consider using a cream cheese icing instead of traditional buttercream frosting. The slight tang of cream cheese would beautifully complement the sweet strawberry and vanilla notes of the cake.
- Cake Mix Variations: While our recipe uses strawberry and white cake mixes for a lovely contrast, you can certainly experiment. A vanilla cake mix or even a yellow cake mix would also be delicious alternatives to the white cake layer, providing a rich flavor profile. The white cake simply offers a very pretty visual contrast with the pink strawberry layers.
- Only Two Cake Pans? No Problem!: Don’t worry if you only own two 9-inch round cake pans. Simply bake the strawberry cake layers first, allow them to cool slightly, remove them from the pans, wash and dry the pans thoroughly, and then use them for the white cake layers. Ensure the pans are completely cool before adding the second batch of batter to prevent uneven baking.
More Delicious Strawberry Desserts to Try
If you can’t get enough of strawberry goodness, explore these other fantastic recipes from our collection:
- Easy Strawberry Trifle Recipe
- Simple & Irresistible Strawberry Crunch Bars
- Creamy Strawberry Lasagna Dessert
- 2-Ingredient Strawberry Angel Food Cake
We hope you give this amazing Strawberry Crunch Cake a try! Its unique combination of flavors and textures is sure to become a cherished recipe in your home. Don’t forget to come back and leave a star rating and comment to let us know how much you loved it!
Pin
Strawberry Crunch Cake Recipe
Ingredients
- For the Cake:
- 1 box Strawberry Cake Mix *plus ingredients to make the cake based on the instructions (e.g., eggs, oil, water).
- 1 box White Cake Mix *plus ingredients to make the cake based on the instructions (e.g., eggs, oil, water).
- For the Buttercream Icing:
- 2 cups Unsalted Butter softened
- 2 tsp Vanilla Extract
- 8 cups Powdered Sugar
- 4 Tbsp Milk
- For the Crunch Topping:
- 2 cups Freeze Dried Strawberries
- 2 cups Vanilla Wafers
- ¼ cup Unsalted Butter melted
- For the Top of the Cake:
- 6-7 Fresh Strawberries (for garnish)
- 3 eggs (typically needed for cake mixes)
- 1/2 cup vegetable oil (typically needed for cake mixes)
Instructions
-
1. Prepare Strawberry Cake: Prepare the Strawberry Cake mix according to the instructions on the back of the box. Pour the batter evenly into two greased and floured 9-inch pans. Bake for 25-30 minutes, or until a toothpick inserted into the center comes out clean. Let cool in pans for 10 minutes, then transfer to a wire rack to cool completely.
-
2. Prepare White Cake: Prepare the White Cake mix according to the instructions on the back of the box. Pour the batter evenly into two additional greased and floured 9-inch pans (or clean and reuse the first two). Bake for 25-30 minutes, or until a toothpick inserted into the center comes out clean. Let cool in pans for 10 minutes, then transfer to a wire rack to cool completely.
-
3. Make Buttercream Icing: While cakes cool, prepare the buttercream. In a large mixing bowl (using a stand mixer or hand mixer), cream the softened unsalted butter until light and fluffy. Gradually beat in the powdered sugar, one cup at a time, on low speed until well combined and smooth. Stir in the vanilla extract, then gradually add the milk on medium-high speed until the icing reaches a smooth, spreadable consistency.
-
4. Prepare Crunch Topping: Place the freeze-dried strawberries and vanilla wafers in a food processor. Pulse on high until the mixture forms fine crumbs. Add the melted unsalted butter and continue to pulse until the mixture is well combined and moist.
-
5. Assemble Cake Layers: Once all cakes are completely cool, use a serrated knife to level the tops of each cake layer. Place one strawberry cake layer on your serving platter. Spread a generous layer of buttercream over it. Stack one white cake layer on top and spread with buttercream. Repeat with the remaining strawberry cake and then the final white cake layer, frosting each layer as you go.
-
6. Frost and Apply Crunch: Apply a thin crumb coat of buttercream to the entire cake and chill for 15-20 minutes. Then, using the remaining buttercream (reserve a small amount for piping), generously frost the top and sides of the cake until smooth. Immediately cover the entire cake with the strawberry crunch topping, gently pressing it into the frosting on the sides and top to ensure it adheres.
-
7. Garnish and Chill: Use the reserved buttercream to pipe decorative swirls or borders on top of the cake. Arrange fresh strawberry slices or halves on top of these swirls. Chill the assembled cake in the refrigerator for at least 30 minutes before serving to allow the frosting to set and flavors to meld.
Nutrition Facts
Pin This Now to Remember It Later
Pin Recipe
