The Ultimate Guide to Baking Perfect Christmas Cut Out Sugar Cookies
Dive into the festive spirit of holiday baking with our ultimate guide to creating gorgeous and utterly delicious Christmas Cut Out Sugar Cookies. This isn’t just any sugar cookie recipe; it’s the one you’ll come back to year after year for perfectly soft, delightfully chewy, and beautifully decorated festive treats. Whether you’re a seasoned baker or just starting your holiday baking traditions, this recipe promises success and smiles.

Sugar cookies are synonymous with Christmas Desserts, and for good reason! They offer a blank canvas for creativity and a delightful treat for everyone. Our family has cherished this particular recipe for years, making it a beloved holiday tradition. From classic Christmas tree shapes to whimsical snowflakes and festive stars, these cookies are endlessly customizable.
Beyond the classic shapes, you can also explore other fun designs like our Christmas Tree Sugar Cookies, all brought to life with vibrant sugar cookie frosting. These delicious cookies are the star of any Christmas party, cookie exchange, or cozy family gathering. Guests will marvel at their professional appearance and rich, buttery flavor, thinking they came straight from a gourmet bakery!
What’s in this post: Christmas Cut Out Sugar Cookie Recipe
- Why We Love This Recipe
- Essential Ingredients for Perfect Sugar Cookies
- Step-By-Step Baking Instructions
- Mastering Sugar Cookie Decoration
- Expert Tips for Flawless Holiday Sugar Cookies
- Can You Freeze Christmas Cookie Dough?
- Frequently Asked Questions About Christmas Sugar Cookies
- More Festive Christmas Cookie Recipes
- Christmas Cut Out Sugar Cookies Recipe Card
Why We Love This Recipe
There are countless reasons why this particular cut out sugar cookie recipe has become a treasured staple in our holiday baking repertoire. It consistently delivers results that are both impressive and incredibly satisfying.
- Delicious Cookies: The magic truly lies in the balance of texture and flavor. These cookies are not too thin, not too thick, but perfectly soft and delightfully chewy. Each bite offers a rich, buttery taste complemented by a hint of vanilla, making them irresistible even before decoration.
- Easy to Make: Despite their professional appearance, these cookies are surprisingly simple to prepare. The dough comes together quickly, and with a few key chilling steps, it’s a dream to roll out and cut. This versatility also means you can easily adapt the recipe for other holidays, transforming them into charming Valentine’s Day hearts or Easter bunnies.
- So Much Fun to Decorate: This is where the holiday spirit truly shines! Decorating these cookies is a joyous activity for all ages. Gather your family and friends, unleash your creativity with various colors and designs, and watch as each cookie transforms into a miniature work of art. The royal icing recipe provided is perfect for both outlining and flooding, giving you smooth, vibrant results.
Essential Ingredients for Perfect Sugar Cookies
Crafting the perfect Christmas cut out sugar cookie starts with quality ingredients. Here’s a breakdown of what you’ll need and why each component is crucial for achieving that irresistible flavor and texture.
- All-Purpose Flour: The foundation of our cookies. Always use plain all-purpose flour for consistent results. For accurate measurement, it’s best to spoon the flour into the measuring cup and level it off rather than scooping directly from the bag, which can compact the flour and lead to a denser cookie.
- Unsalted Butter: This is key to controlling the salt content in your dough. Using unsalted butter allows you to add precisely the right amount of salt, ensuring a balanced flavor without being overly salty. Make sure it’s at room temperature for proper creaming.
- Granulated Sugar: Regular white granulated sugar provides the sweetness and contributes to the cookie’s tender texture. When creamed with butter, it creates tiny air pockets that help the cookies rise slightly and achieve a light, crumbly consistency.
- Eggs: Our recipe calls for four eggs, which add richness, moisture, and act as a binder, holding all the ingredients together. They also contribute to the cookie’s soft and slightly chewy texture.
- Vanilla Extract: A crucial flavor enhancer. Use good quality pure vanilla extract for the best taste. It complements the buttery flavor beautifully.
- Baking Powder & Salt: These leavening agents and flavor enhancers are essential. Baking powder helps the cookies maintain their shape while baking without spreading too much, ensuring your cut-out designs stay crisp. Salt balances the sweetness and brings out the other flavors.
Icing Ingredients for Vibrant Decorations
Our royal icing recipe provides a smooth, quick-drying finish that’s perfect for detailed decorating.
- Egg Whites: These are the base of our royal icing, providing structure and a crisp finish. Ensure they are free of any yolk, as even a speck of fat can prevent the whites from whipping properly.
- Confectioner’s Sugar (Powdered Sugar): The main sweetening agent and thickener for the icing. Sifting the powdered sugar is an absolute must to remove any lumps, ensuring your icing is silky smooth and flows perfectly through your piping bag.
- Cream of Tartar: A common stabilizer for egg whites, cream of tartar helps the icing achieve a consistent texture and maintain its stiffness.
- Gel Food Coloring: For vibrant and beautiful colors, we highly recommend using gel food coloring over liquid food coloring. Gel colors are highly concentrated, meaning you need only a tiny amount to achieve bright hues without adding excess liquid that could thin out your icing.
You’ll find the complete ingredient list with precise measurements and detailed instructions in the recipe card at the bottom of this post.
Step-By-Step Baking Instructions
Follow these detailed steps to bake perfect Christmas cut out sugar cookies that are ready for your creative decorating touch.
- Step 1: Prepare Oven – Begin by preheating your oven to 325 degrees Fahrenheit (160 degrees Celsius). This ensures the oven is at the correct temperature when your cookies are ready to bake, promoting even cooking.
- Step 2: Cream Butter, Sugar, and Eggs – In a large mixing bowl (preferably using a stand mixer with a paddle attachment or a hand mixer), cream together the room temperature unsalted butter and granulated sugar until the mixture is light, fluffy, and smooth, with no grainy texture when you rub a small amount between your fingers. This process incorporates air, contributing to the cookies’ light texture. Add all four eggs one at a time, beating well after each addition until fully incorporated.
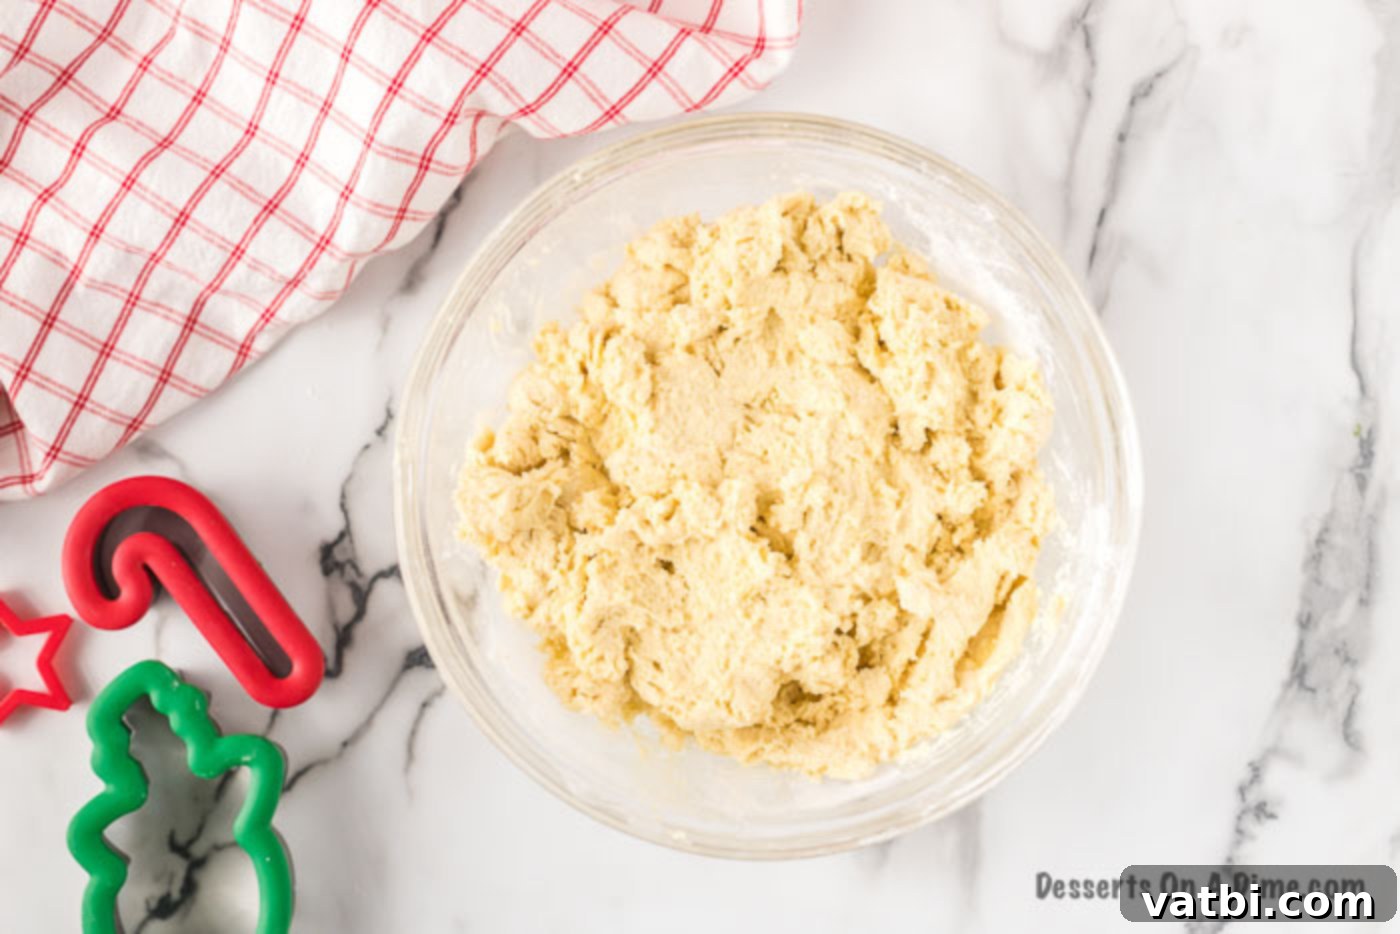
Step 3: Add Vanilla and Dry Ingredients – Once the butter, sugar, and eggs are well combined, add the vanilla extract and mix thoroughly. In a separate bowl, whisk together the sifted all-purpose flour, baking powder, and salt. Gradually add this dry mixture to the wet mixture, mixing on low speed until all ingredients are just combined. Be careful not to overmix, as this can lead to tough cookies.
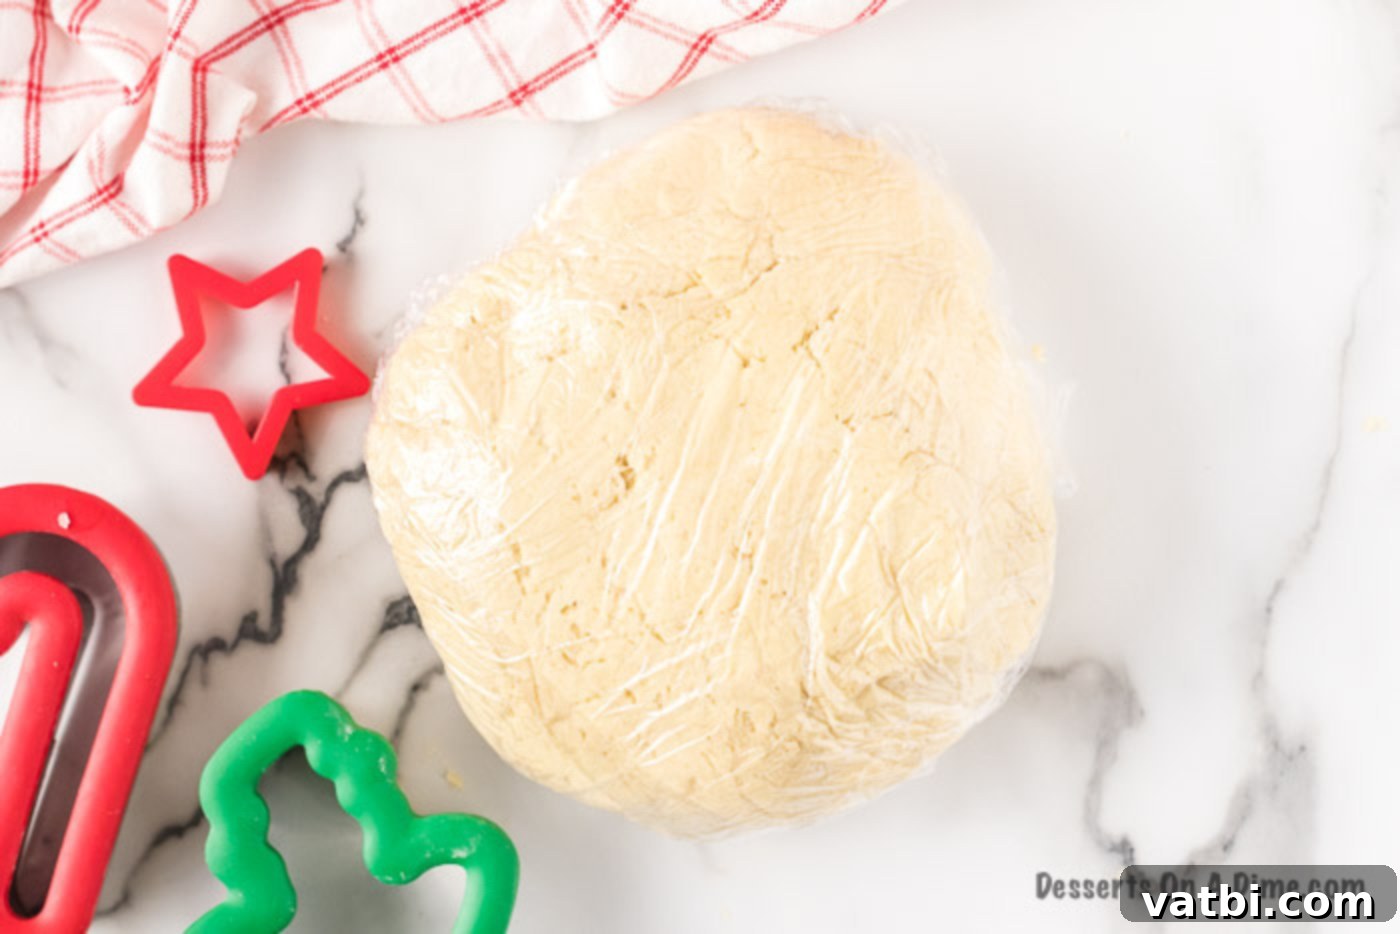
Step 4: Form and Chill Dough – Gather the dough into a cohesive ball. Tightly wrap the entire dough ball in plastic wrap, ensuring no air can reach it. This prevents it from drying out in the refrigerator.
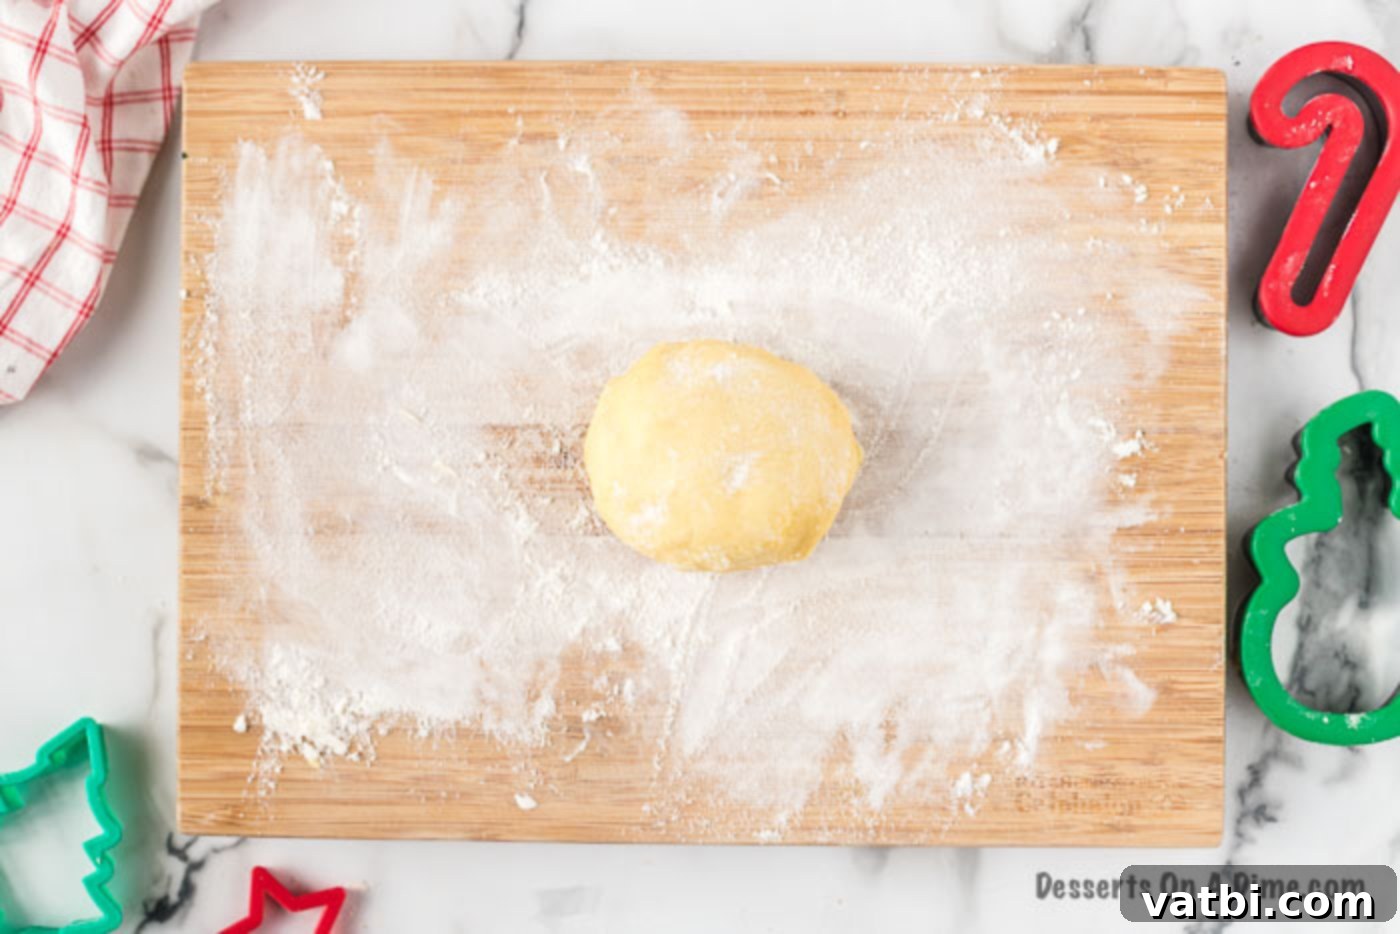
Step 5: Chill and Prepare Rolling Area – Place the wrapped dough in the refrigerator for at least 6 hours, or ideally overnight. Chilling is crucial as it firms up the butter, preventing the cookies from spreading excessively in the oven and helping them maintain their intricate shapes. Before rolling, lightly flour your work surface (a wooden cutting board works great!) and your rolling pin. If the dough feels a little sticky after chilling, work a small amount of flour into it.
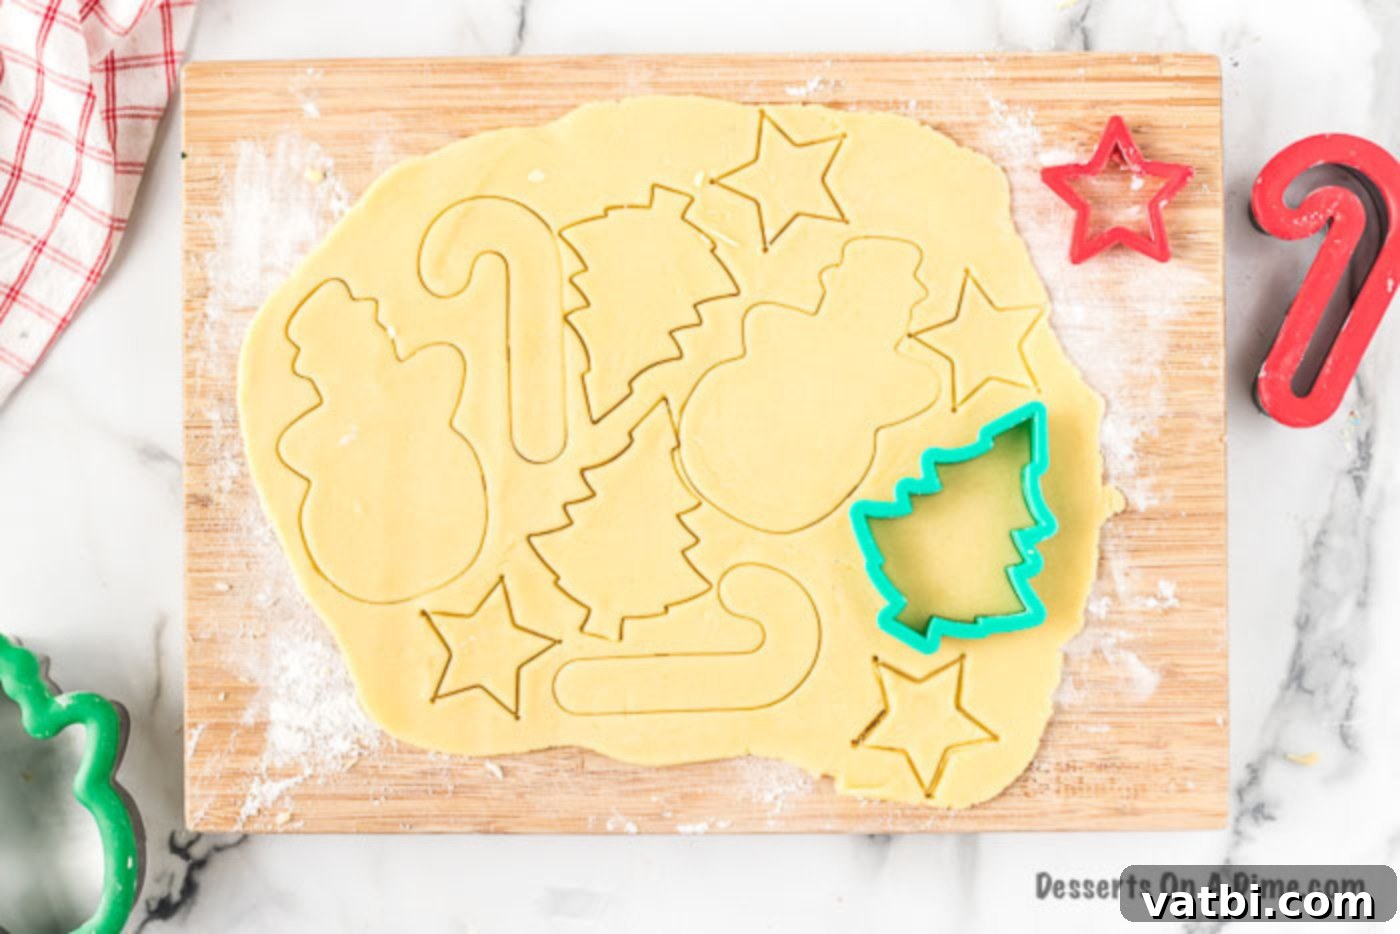
Step 6: Roll and Cut Cookies – On your floured surface, roll out the chilled dough to your desired thickness (typically about 1/4 inch for sturdy cookies). Use your favorite Christmas cookie cutters to press out festive shapes. Dip cookie cutters in flour before each use to prevent sticking.
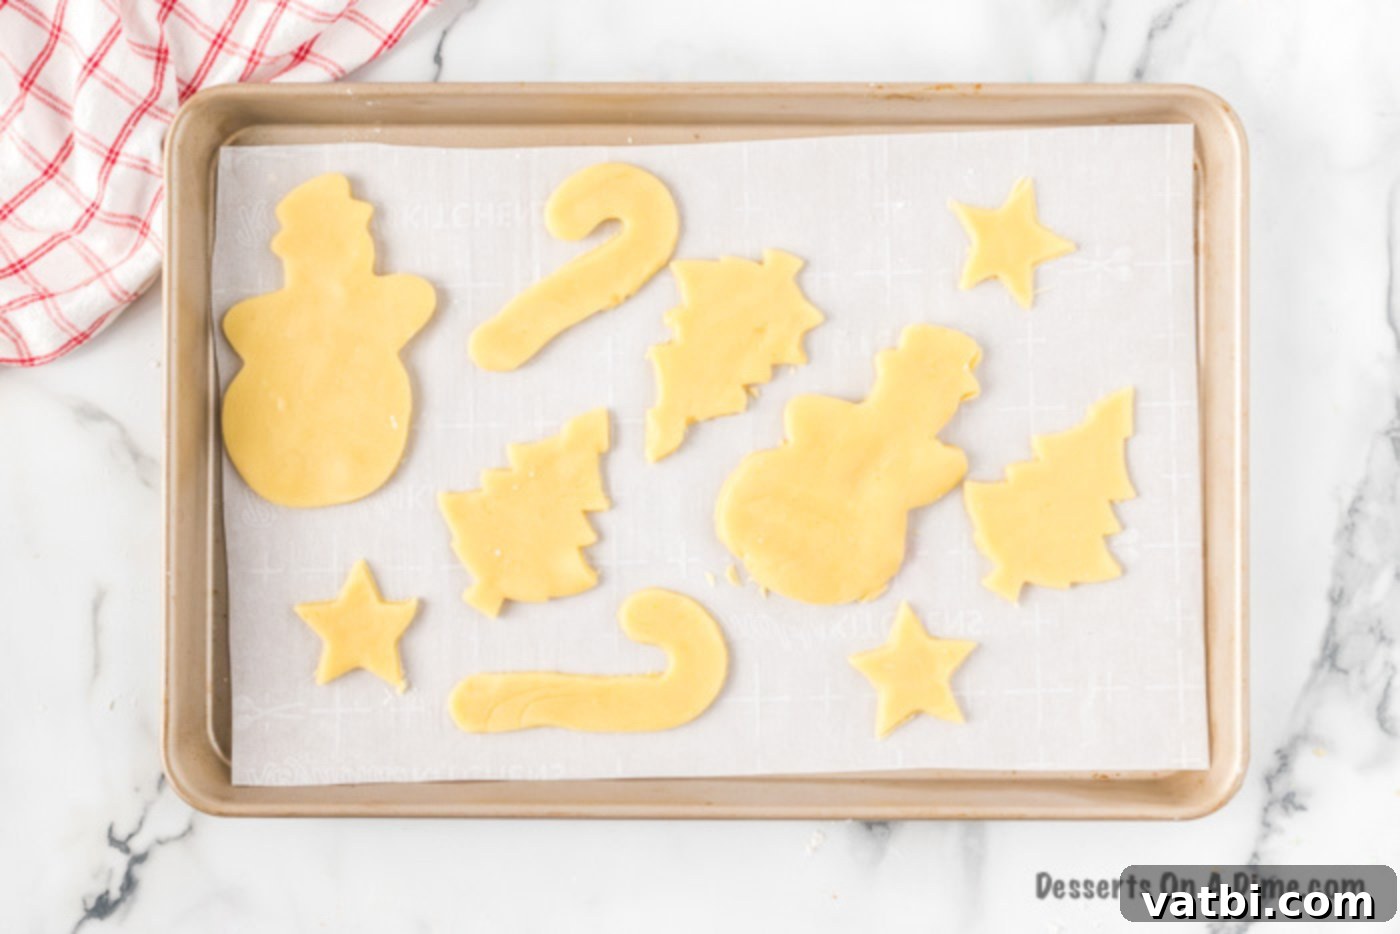
Step 7: Bake and Cool – Line your cookie sheets with parchment paper or a silicone baking mat. Carefully transfer the cut cookies to the prepared baking sheets, leaving a little space between each. Bake in the preheated oven for approximately 8 minutes, or until the edges are barely set and the cookies are lightly golden. Avoid overbaking if you prefer a soft cookie. Once baked, let them cool on the baking sheet for a few minutes before transferring them to a wire rack to cool completely.
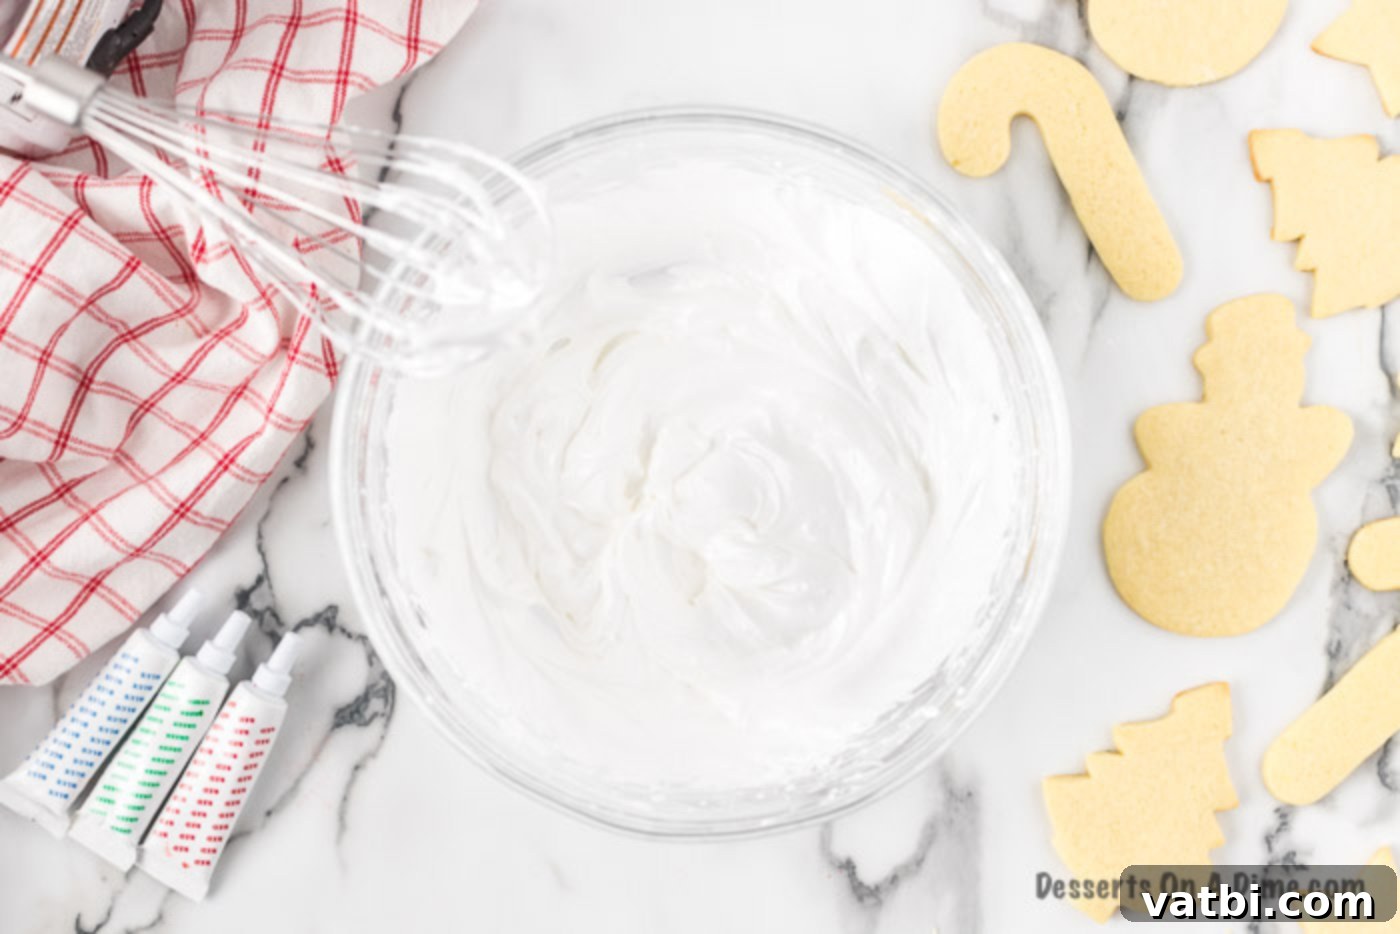
Step 8: Prepare the Icing – In a clean mixing bowl, combine the egg whites, confectioner’s sugar, and cream of tartar. Beat on medium speed for about 4 minutes until the icing is smooth and glossy. You’re looking for a “15-second consistency” – when you run a knife through the icing, it should take about 15 seconds for the line to disappear. If the icing is too thin, add more sifted confectioner’s sugar, a tablespoon at a time, until it reaches the desired consistency. If it’s too thick, add a tiny bit of water (1/4 teaspoon at a time).
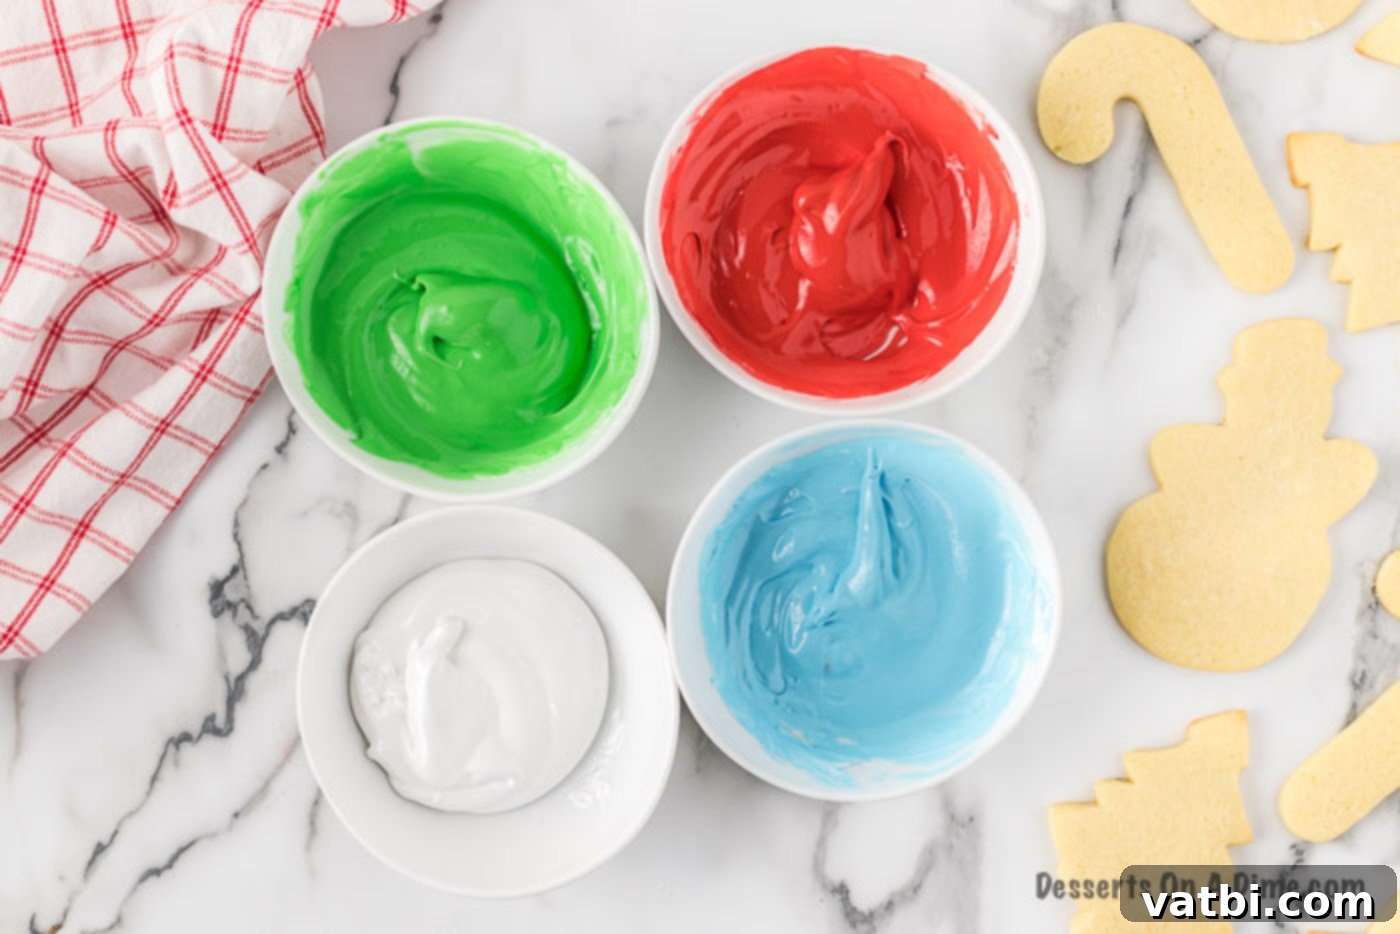
Step 9: Color the Icing – Divide the prepared royal icing into separate bowls for each color you wish to use. Add your desired gel food coloring to each bowl, starting with a tiny drop and mixing thoroughly until you achieve the desired vibrant hue. Remember, gel colors are highly concentrated!
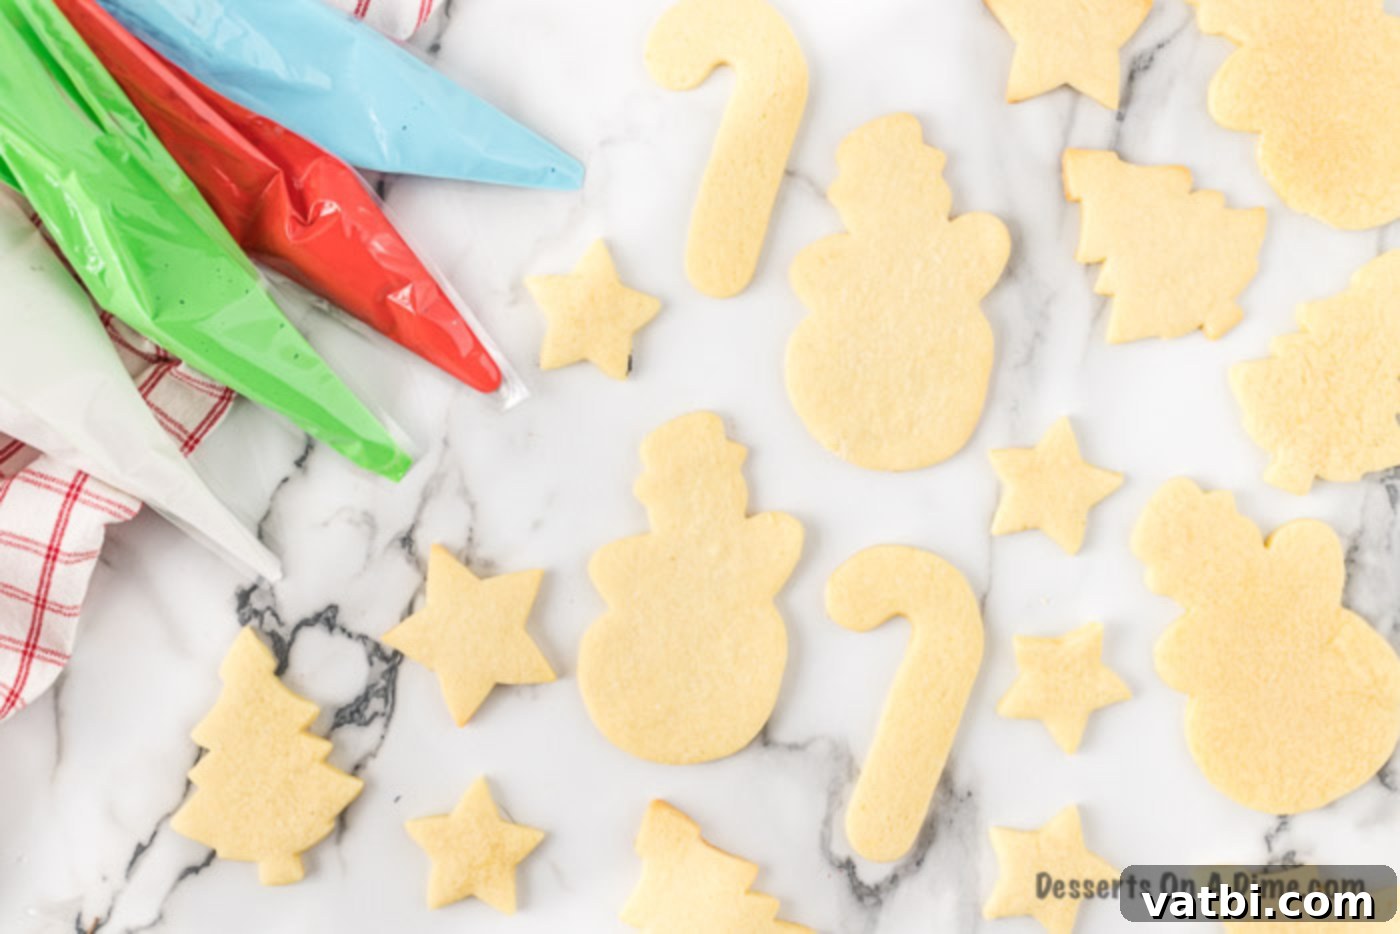
Step 10: Decorate and Dry – Transfer the colored royal icing into piping bags fitted with small tips (or snip a tiny corner off the bag). Now, the fun begins! Decorate your completely cooled cookies with your chosen colors and designs. Once decorated, place the cookies on a wire rack and allow the icing to dry and harden completely, which typically takes between 2-3 hours, or even overnight for best results.

Mastering Sugar Cookie Decoration
Decorating Christmas cut out sugar cookies is arguably the most exciting part! Royal icing offers endless possibilities for intricate and beautiful designs. Here are some techniques and tips to help you create stunning cookies:
- Outline the Cookie: Begin by outlining the perimeter of each cookie with a stiffer consistency of royal icing. This creates a barrier for your “flood” icing. For younger decorators, you might want to assist with this step, but also encourage their own unique expressions!
- Fill in the Cookie (Flooding): Once the outline has set for a few minutes (to prevent bleeding), use a slightly thinner consistency of icing to “flood” the inside of the outlined area. Use a small spoon or a toothpick to gently spread the icing to the edges. Choose your favorite festive colors to make each cookie pop.
- Use Specialized Tips for Details: For precise lines, dots, or intricate patterns, invest in a set of small piping tips (e.g., Wilton 1, 2, or 3). These are excellent for adding fine details like ornaments on a Christmas tree, outlines on a snowflake, or lettering.
- Add Sprinkles Before Icing Sets: If you plan to use sprinkles, sanding sugar, or mini chocolate chips, apply them immediately after flooding an area or before your outline completely dries. This allows them to adhere directly to the wet icing, preventing them from falling off later.
- Allow Decorated Cookies to Rest: Patience is key! After all the decorating is done, gently place the cookies on a wire rack or a flat surface lined with parchment paper. Allow the frosting and sprinkles to fully set and harden for at least 2-3 hours, or preferably overnight. This prevents smudging and ensures your beautiful designs remain intact, especially if you plan to stack them or package them as gifts.
Expert Tips for Flawless Holiday Sugar Cookies
Achieving bakery-quality Christmas sugar cookies is easier than you think with these professional tips:
- Chill Dough Thoroughly: This is perhaps the most important tip for cut-out cookies. Proper chilling (at least 6 hours, ideally overnight) firms up the butter in the dough, which prevents the cookies from spreading excessively in the oven. This ensures your intricate cookie cutter shapes remain crisp and defined.
- Line Baking Sheets: Always line your baking sheets with parchment paper or a silicone baking mat. This not only prevents sticking but also promotes even baking and easy cleanup. It also helps prevent the cookies from spreading too much by providing a stable, non-greased surface.
- Keep Dough Cool: If you’re working with multiple batches or your kitchen is warm, it’s crucial to keep the dough cool. If you notice your dough becoming too soft or sticky while rolling, simply place it back in the refrigerator for 10-15 minutes to firm up again. Work in smaller batches if needed.
- Avoid Overmixing the Dough: Overmixing the dough develops the gluten in the flour, which can lead to tough, dense cookies. Mix only until the ingredients are just combined. A slightly crumbly dough is better than an overmixed one.
- Use Fresh Ingredients: The quality of your ingredients directly impacts the flavor and texture of your cookies. Ensure your butter is fresh, your flour hasn’t expired, and your baking powder is active for the best possible results.
- Choose the Right Mixer: While a stand mixer with a paddle attachment makes quick work of creaming butter and sugar, a good quality hand mixer can also achieve excellent results. Ensure you scrape down the sides of the bowl frequently to incorporate all ingredients evenly.
- Opt for Gel Food Coloring: As mentioned, gel food coloring is superior for royal icing. Its concentrated nature means you use less, avoiding the dilution of your icing’s consistency that liquid food colorings can cause. It also delivers much more vibrant and intense colors.
- Prepare Piping Bags for Ease: For a smooth decorating process, prepare individual piping bags for each color of icing you plan to use. This allows for quick color changes and precise application, ensuring your outlines are clean and your flood fills are even.
- Bake Just Until Set: For perfectly soft and chewy sugar cookies, bake them until they are just barely set around the edges and still look pale in the center. If you wait until they turn golden brown, they will be crisp and crunchy, which is not the desired texture for a traditional cut-out sugar cookie.
Can You Freeze Christmas Cookie Dough?
Yes, freezing sugar cookie dough is an excellent way to prepare ahead for the busy holiday season or to enjoy fresh-baked cookies any time of year. There are several convenient options for freezing:
- Freeze the Dough Uncut: After mixing the dough according to the recipe, gather it into a disc or log. Wrap it tightly in several layers of plastic wrap, then place it in a freezer-safe, airtight container or a heavy-duty freezer bag. This prevents freezer burn and keeps the dough fresh. When you’re ready to bake, transfer the dough to the refrigerator overnight to thaw. Once thawed, you can roll it out and cut your cookies as usual. This method is great for flexibility in choosing shapes later.
- Freeze Cutout Cookies (Unbaked): If you know exactly what shapes you want, you can cut the cookie dough into your desired festive forms before freezing. Place the unbaked cookie cutouts in a single layer on a parchment-lined baking sheet and freeze until solid (about 30-60 minutes). Once solid, transfer the frozen cutouts to an airtight freezer bag or container, separating layers with parchment paper to prevent sticking. When baking, you can often bake them directly from frozen, adding a minute or two to the baking time.
- Freeze Baked and Decorated Cookies: For maximum convenience, you can even freeze fully baked and decorated cookies. Ensure the royal icing is completely dry and hardened before freezing. Place cookies in an airtight freezer container, separating layers with parchment or wax paper. Thaw at room temperature when ready to serve. The quality of the icing might slightly change in texture upon thawing, but the cookies will still be delicious. They generally keep well for up to 3 months in the freezer.
Frequently Asked Questions About Christmas Sugar Cookies
The sugar cookie dough requires a minimum of 6 hours of chilling. For the best results and easiest handling, we highly recommend chilling it overnight in the refrigerator. This extended chilling time allows the butter to solidify properly, which is essential for preventing the cookies from spreading during baking and helps them hold their intricate cut-out shapes. Always ensure the dough is wrapped completely in plastic wrap to prevent it from drying out.
Once baked and decorated, these cut out sugar cookies will remain fresh and delicious for about a week when stored in an airtight container at room temperature. After a week, you might notice a slight change in the appearance or texture of the icing, and the cookies may begin to dry out. If you have a heat sealer, individually sealing each cookie can extend their freshness and preserve the icing’s quality for several weeks.
It is crucial to allow the royal icing to harden completely after decorating. This prevents colors from bleeding into one another, keeps designs sharp, and makes the cookies easier to handle and stack. We recommend letting the icing harden for at least 3 hours at room temperature, but for intricate designs or if you plan to package them, allowing them to dry overnight (8-12 hours) is ideal.
Once the royal icing has fully hardened, store your decorated sugar cookies in an airtight container. If you need to stack layers of cookies, place a piece of parchment paper or wax paper between each layer to protect the delicate decorations. If displaying them on a cookie tray, ensure the entire tray is tightly wrapped with plastic wrap or covered with a dome to maintain freshness.
To freeze decorated Christmas cutout cookies, ensure the icing is completely set and dry. Place the cookies in a single layer on a baking sheet and freeze until solid. Then, transfer them to a freezer-safe, airtight container, layering them with parchment paper to protect their appearance. They will keep well in the freezer for up to 3 months. Thaw them at room temperature when you’re ready to enjoy them.

More Festive Christmas Cookie Recipes
Looking for more holiday baking inspiration? Here are some other fantastic Christmas cookie recipes to add to your festive repertoire:
- Easy Christmas Wreath Cookies Recipe
- Christmas Cake Mix Cookies Recipe
- Christmas Pinwheel Cookies Recipe
- Easy Grinch Cookies Recipe
- Christmas Light Cookies
We hope this comprehensive guide inspires you to create your own cherished holiday memories with these perfect Christmas Cut Out Sugar Cookies. Don’t forget to leave a comment below once you’ve tried the recipe – we’d love to hear about your baking success!
Pin
Christmas Cut Out Sugar Cookies
Ingredients
- Cookie Ingredients:
- 5 C all-purpose flour
- 2 tsp baking powder
- 1 tsp salt
- 1 1/2 C soft unsalted butter, room temperature
- 2 C granulated sugar
- 4 large eggs
- Icing Ingredients:
- 2 large egg whites
- 1 C powdered sugar, sifted
- 1/2 tsp cream of tartar
- Gel Food Coloring, various colors
Instructions
-
Preheat oven to 325 degrees F (160 degrees C).
-
In a large mixing bowl, cream the soft unsalted butter with the granulated sugar until the combination is light, fluffy, and smooth.
-
Add all 4 eggs at one time, beating well until fully incorporated. Continue to mix until smooth.
-
Stir in the vanilla extract.
-
In a separate bowl, sift together the all-purpose flour, baking powder, and salt.
-
Gradually add the dry mixture to the wet mixture, mixing on low speed until just combined. Do not overmix.
-
Form the dough into a ball and wrap it tightly in plastic cling wrap, ensuring it’s completely covered.
-
Refrigerate the dough for at least 6 hours, or ideally overnight, until firm.
-
Once chilled, remove the cookie dough from the refrigerator and let it sit at room temperature for about 10-15 minutes to soften slightly, making it easier to roll.
-
Lightly flour your work surface and rolling pin. Roll out the dough to your desired thickness (about 1/4 inch). If the dough becomes sticky, lightly flour it as needed.
-
Use your favorite Christmas cookie cutters to cut out shapes.
-
Line cookie sheets with parchment paper or a silicone mat. Carefully transfer the cut cookies to the prepared baking sheets using a metal spatula.
-
Bake for 8-10 minutes at 325 degrees F (160 degrees C), or until the edges are just barely set and the cookies are lightly golden.
-
Let the cookies cool on the baking sheet for a few minutes before transferring them to a wire rack to cool completely (approximately 10 minutes).
-
Icing Directions:
-
In a clean mixing bowl, combine egg whites, sifted powdered sugar, and cream of tartar. Beat on medium speed for 4 minutes until smooth and glossy. For a “15-second consistency” (where a line drawn with a spatula disappears in 15 seconds), add a little more powdered sugar if too thin, or a tiny bit of water if too thick.
-
Divide the icing into separate bowls. Mix each bowl with your desired gel food coloring.
-
Transfer the colored icing to piping bags and decorate the completely cooled cookies as desired.
-
Allow the decorated cookies to dry and harden for 2-3 hours, or overnight, on a wire rack before stacking or storing.
Nutrition Facts
Pin This Now to Remember It Later
Pin Recipe
