Decadent Homemade Chipwich Recipe: Craft the Ultimate Chocolate Chip Cookie Ice Cream Sandwich
Prepare to delight your taste buds with this utterly decadent Homemade Chipwich recipe. Forget store-bought; creating your own allows for a customizable, fresh, and irresistibly delicious treat that everyone will adore. Imagine two perfectly baked, chewy chocolate chip cookies cradling a generous scoop of creamy ice cream, all rolled in extra chocolate chips for that ultimate crunch and flavor burst. This isn’t just an ice cream sandwich; it’s an experience, a delightful fusion of warm, soft cookies and cold, rich ice cream that promises to be the highlight of any dessert spread or a perfect personal indulgence.

While Chipwich Ice Cream Sandwiches are undeniably a classic, making them at home takes this beloved dessert to an entirely new level. The simplicity of assembly combined with the superior taste of fresh-baked cookies makes this one of the best ice cream recipes you’ll ever try. While our recipe features classic Vanilla Ice Cream, feel free to get creative with your favorite flavors. From creamy to fruity, the possibilities are endless. If you enjoy wholesome, homemade desserts, you might also love our Homemade Whoopie Pies.
Table of Contents
- What is a Chipwich?
- Is a Chipwich an Ice Cream Sandwich?
- Why Homemade Chipwich Is Best
- Ingredients You’ll Need
- For the Chewy Chocolate Chip Cookies
- For the Ice Cream Sandwiches
- Step-by-Step: How to Make a Homemade Chipwich
- Frequently Asked Questions (FAQs)
- Expert Tips for the Perfect Chipwich
- More Easy & Delicious Ice Cream Recipes
What is a Chipwich?
At its core, a Chipwich is a supremely indulgent dessert that pairs cool, creamy ice cream with two soft, warm (or perfectly chilled) chocolate chip cookies. What truly sets the “Chipwich” apart and makes it so distinctly recognizable is its generous coating of extra chocolate chips around the sides of the ice cream filling. This adds an incredible texture and an extra layer of rich chocolate flavor that takes it beyond a simple ice cream sandwich. It’s a symphony of textures and temperatures – the chewiness of the cookie, the melt-in-your-mouth creaminess of the ice cream, and the delightful crunch of the mini chocolate chips.
The original Chipwich concept, as many know it, is a trademark of Crave Better Foods LLC. It captured hearts with its iconic combination, proving that sometimes, the simplest ideas are the best. Our homemade version pays homage to this classic while giving you the freedom to customize every aspect, ensuring a truly personalized and unforgettable dessert experience right from your kitchen.
Is a Chipwich an Ice Cream Sandwich?
Yes, absolutely! A Chipwich is a type of ice cream sandwich, specifically a chocolate chip cookie ice cream sandwich. The beauty of this dessert lies in its perfect balance: the structural integrity of two cookies holding a generous layer of ice cream, creating a portable and deeply satisfying treat. While traditional ice cream sandwiches often use thin, cake-like wafers, a Chipwich elevates the concept by utilizing substantial, flavorful chocolate chip cookies. This distinction is key to its appeal, offering a more robust and satisfying bite that combines the best of a classic cookie with the refreshing coolness of ice cream.
When you craft these at home, you unlock an entirely new dimension of flavor and texture. Using freshly baked chocolate chip cookies makes all the difference, providing a soft, chewy texture and a rich, buttery flavor that simply can’t be matched by pre-packaged alternatives. This homemade touch truly transforms a simple frozen treat into an extraordinary dessert.
Why Homemade Chipwich Is Best
Opting for a homemade Chipwich over a store-bought version offers numerous advantages, ensuring a superior dessert experience:
- Unmatched Freshness: Nothing compares to the aroma and taste of freshly baked cookies. When you make them at home, they’re soft, chewy, and bursting with flavor, providing the perfect contrast to the cold ice cream. Store-bought cookies, while convenient, often lack this depth and texture.
- Customization Galore: This recipe is your canvas! You’re not limited to just vanilla ice cream. Experiment with chocolate, mint chip, strawberry, coffee, or even swirl flavors. You can also vary the chocolate chips in your cookies (milk, dark, white) and the outer coating (mini chips, sprinkles, chopped nuts, or even crushed candies).
- Quality Ingredients: You control what goes into your dessert. Using high-quality butter, real vanilla extract, and your favorite brand of chocolate chips makes a noticeable difference in the final taste.
- No Artificial Flavors or Preservatives: Enjoy a pure, wholesome treat free from any additives found in many commercial products.
- A Fun Activity: Making Chipwiches can be a delightful activity for families or friends. The process, from baking cookies to assembling the sandwiches, is enjoyable and rewarding.
- Perfect for Any Occasion: Whether it’s a summer barbecue, a birthday party, or just a cozy night in, homemade Chipwiches are always a crowd-pleaser.
Ingredients You’ll Need
Crafting these sensational homemade Chipwiches requires a few basic baking staples and, of course, your favorite ice cream. The beauty of this recipe lies in its simplicity, using ingredients you likely already have on hand to create something truly special. Remember, quality ingredients will always yield the best results!
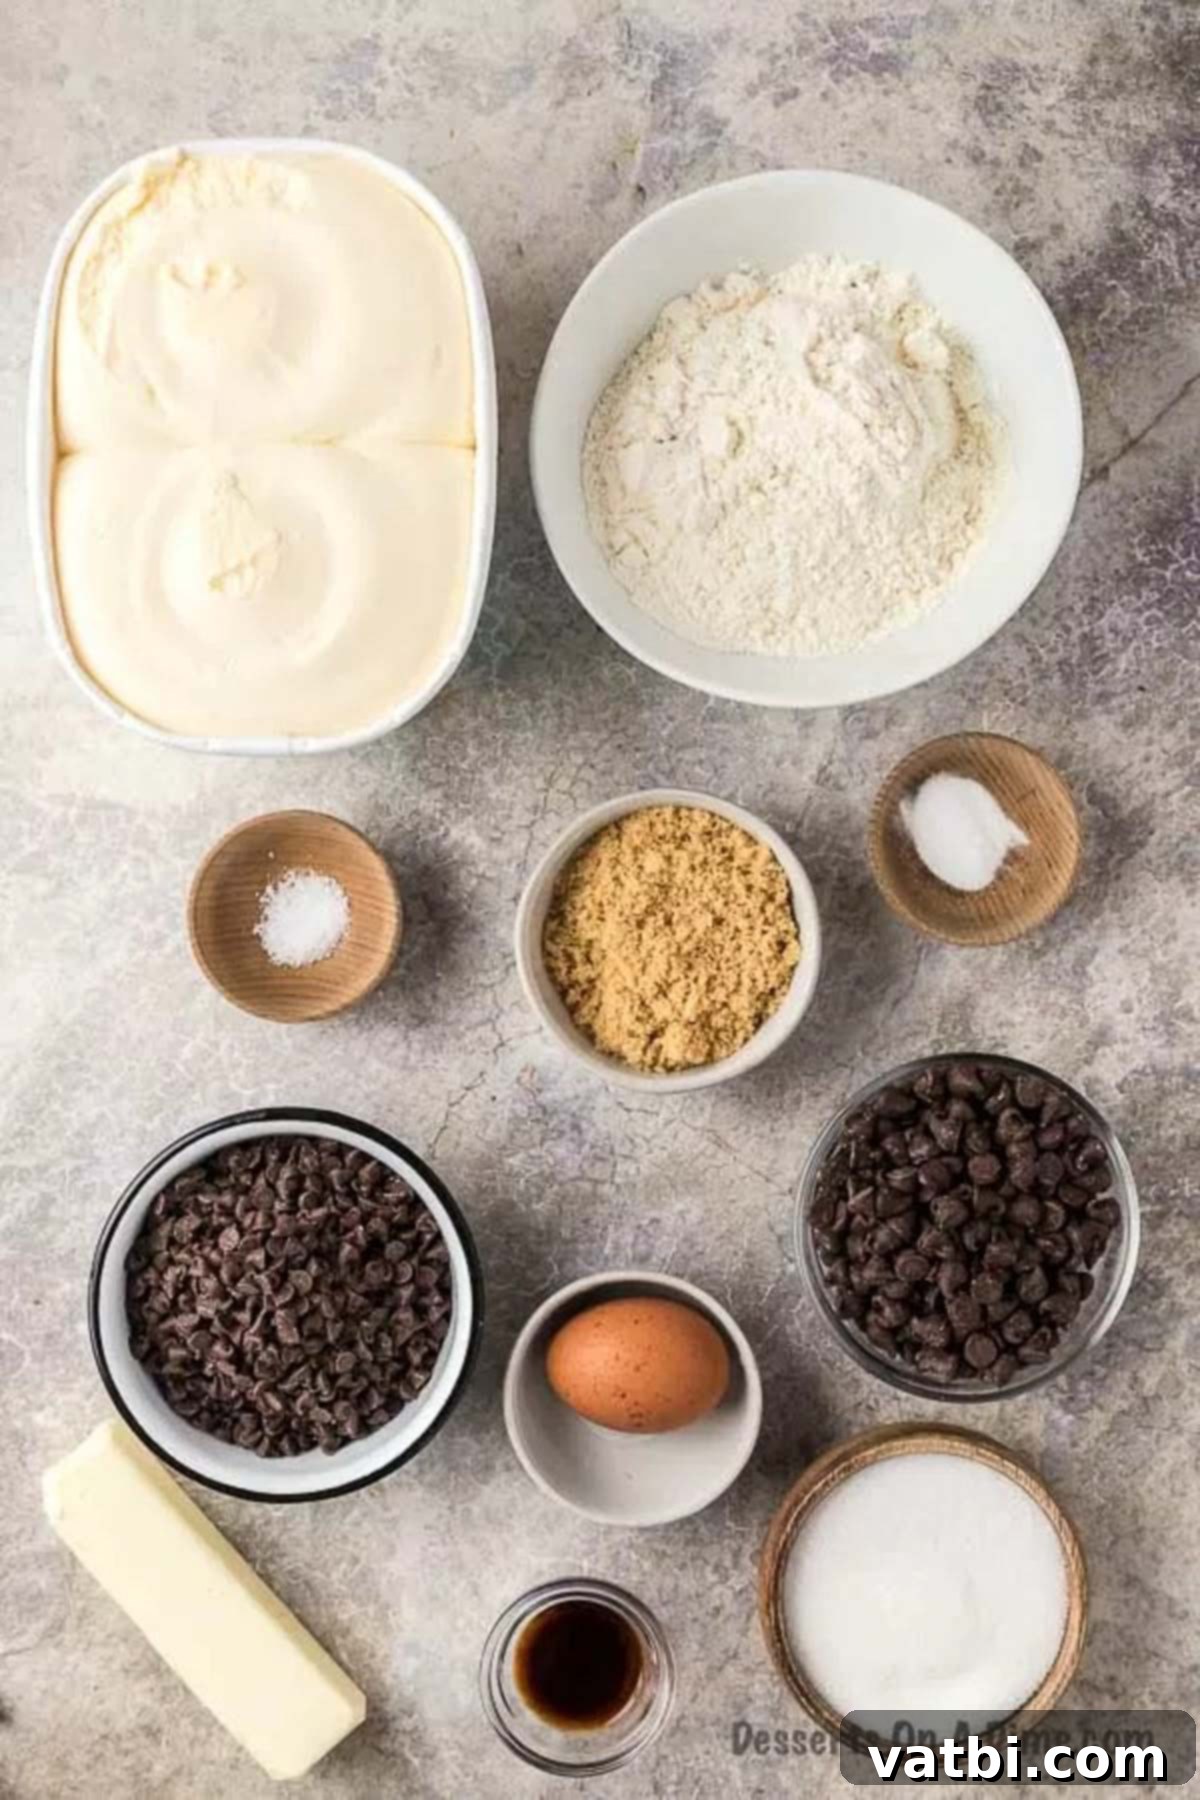
For the Chewy Chocolate Chip Cookies
The foundation of a great Chipwich is a great chocolate chip cookie. This recipe ensures a soft, chewy, and flavorful cookie that holds up perfectly to the ice cream filling.
- Unsalted Butter: Softened at room temperature. This is crucial for proper creaming with the sugars, creating an airy, light cookie dough.
- Granulated Sugar: Provides sweetness and contributes to the crispness around the edges.
- Brown Sugar: Adds moisture, chewiness, and a subtle caramel note to the cookies. Using both white and brown sugar gives the perfect balance of texture and flavor.
- Large Eggs: Act as a binder, adding richness and helping the cookies rise. Ensure they are at room temperature for better emulsion.
- Vanilla Extract: A key flavor enhancer for any chocolate chip cookie. Use pure vanilla for the best taste.
- All-Purpose Flour: The structural base of our cookies. Measure correctly to avoid dense or dry cookies.
- Baking Soda: A leavening agent that helps the cookies spread and become tender.
- Salt: Balances the sweetness and enhances all the other flavors. Don’t skip it!
- Semi-Sweet Chocolate Chips: The stars of the cookie! Semi-sweet offers a perfect balance that isn’t overly sweet.
For the Ice Cream Sandwiches
Once your cookies are ready, the assembly is quick and fun!
- Vanilla Ice Cream: Our classic choice, offering a perfect complement to the chocolate chip cookies. Feel free to use your favorite flavor to personalize your Chipwich.
- Mini Chocolate Chips: Essential for rolling the edges of the sandwiches, providing that signature Chipwich look and an extra chocolatey crunch.
You can find the exact measurements and full recipe details in the complete recipe card at the bottom of the page!
Step-by-Step: How to Make a Homemade Chipwich
Creating your own homemade Chipwich ice cream sandwiches is a rewarding process that’s easier than you might think. Follow these simple steps for a truly incredible dessert:
- Step 1. Prepare Your Oven: Start by preheating your oven to 350 degrees Fahrenheit (175 degrees Celsius). This ensures the oven is at a consistent temperature when your cookies go in, promoting even baking.
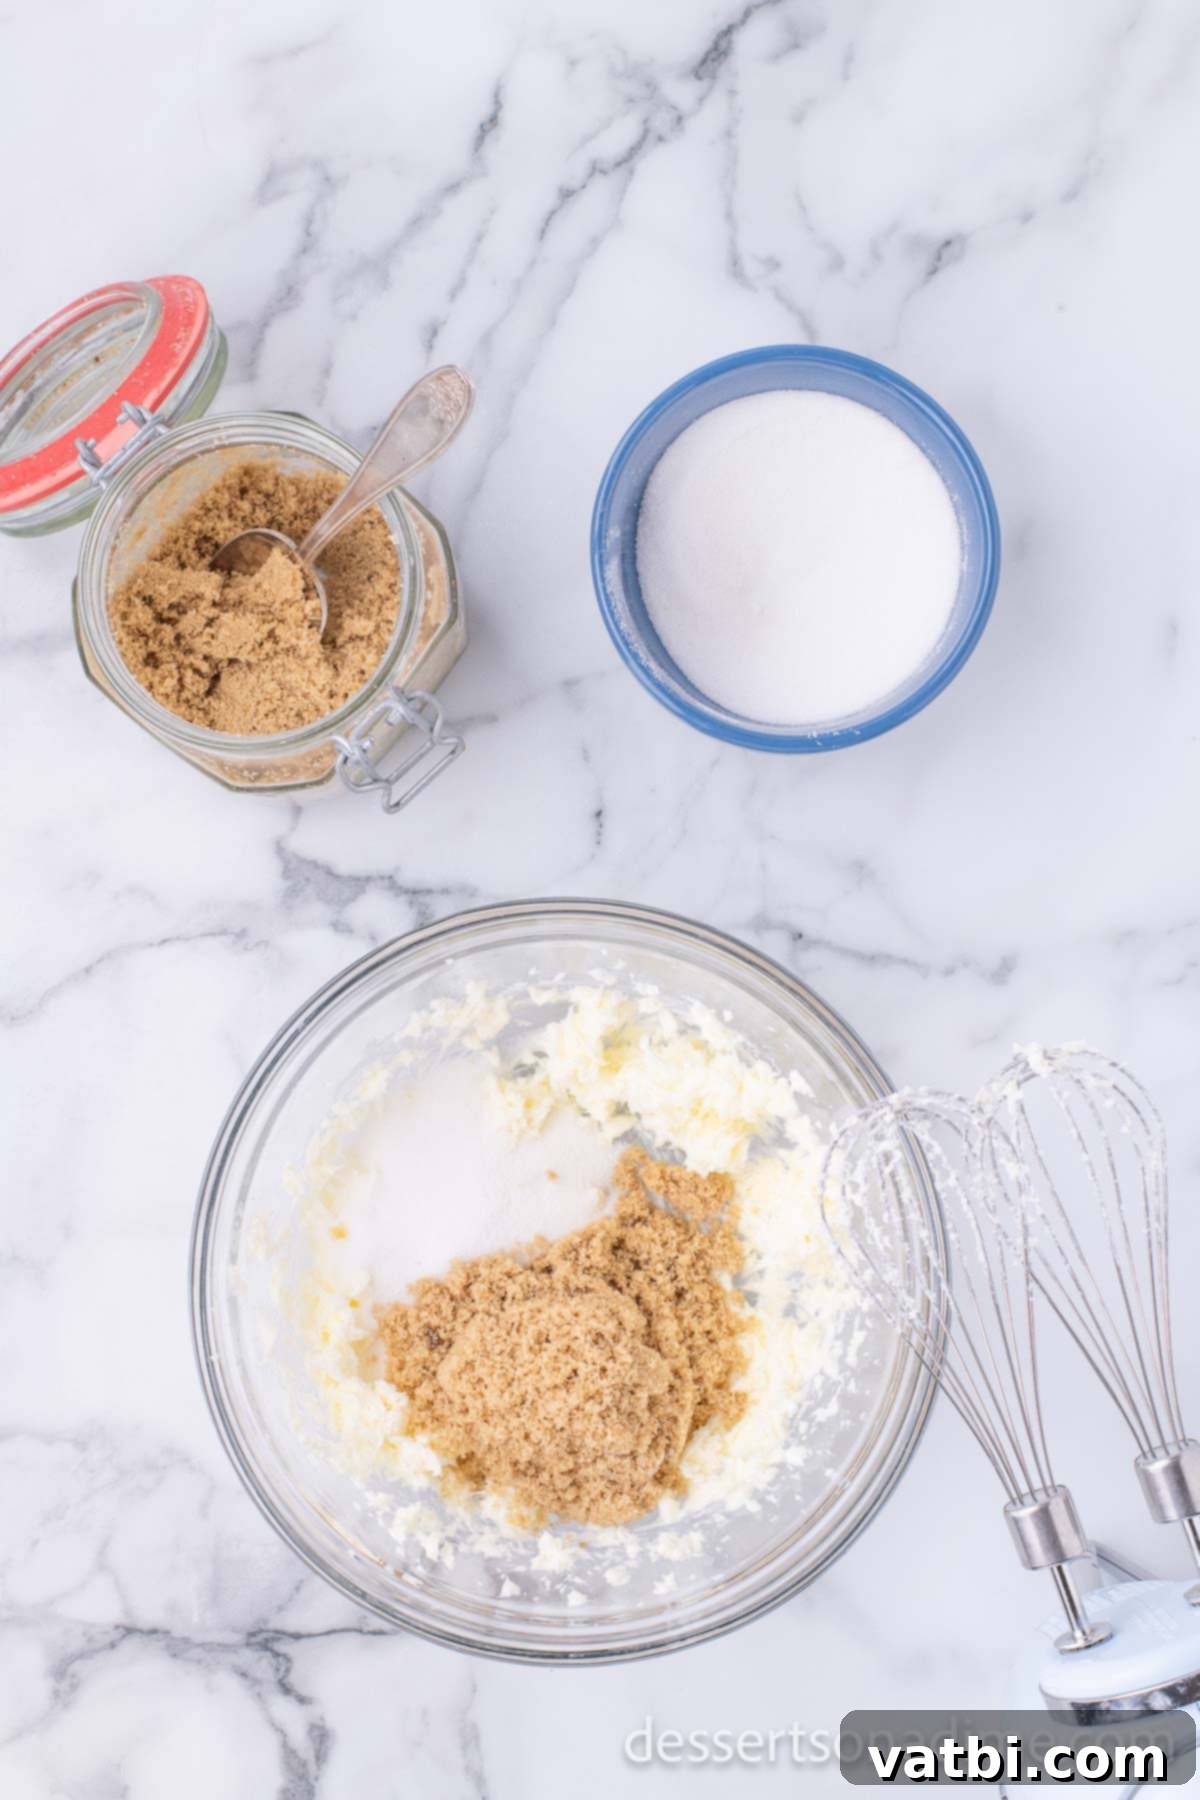
Step 2. Cream Butter and Sugars: While the oven heats, grab a large mixing bowl or the bowl of a stand mixer. Add your softened unsalted butter, granulated sugar, and brown sugar. Beat these together on medium speed for about 2 to 3 minutes until the mixture becomes light, fluffy, and creamy. This creaming process incorporates air, which is vital for soft, chewy cookies.
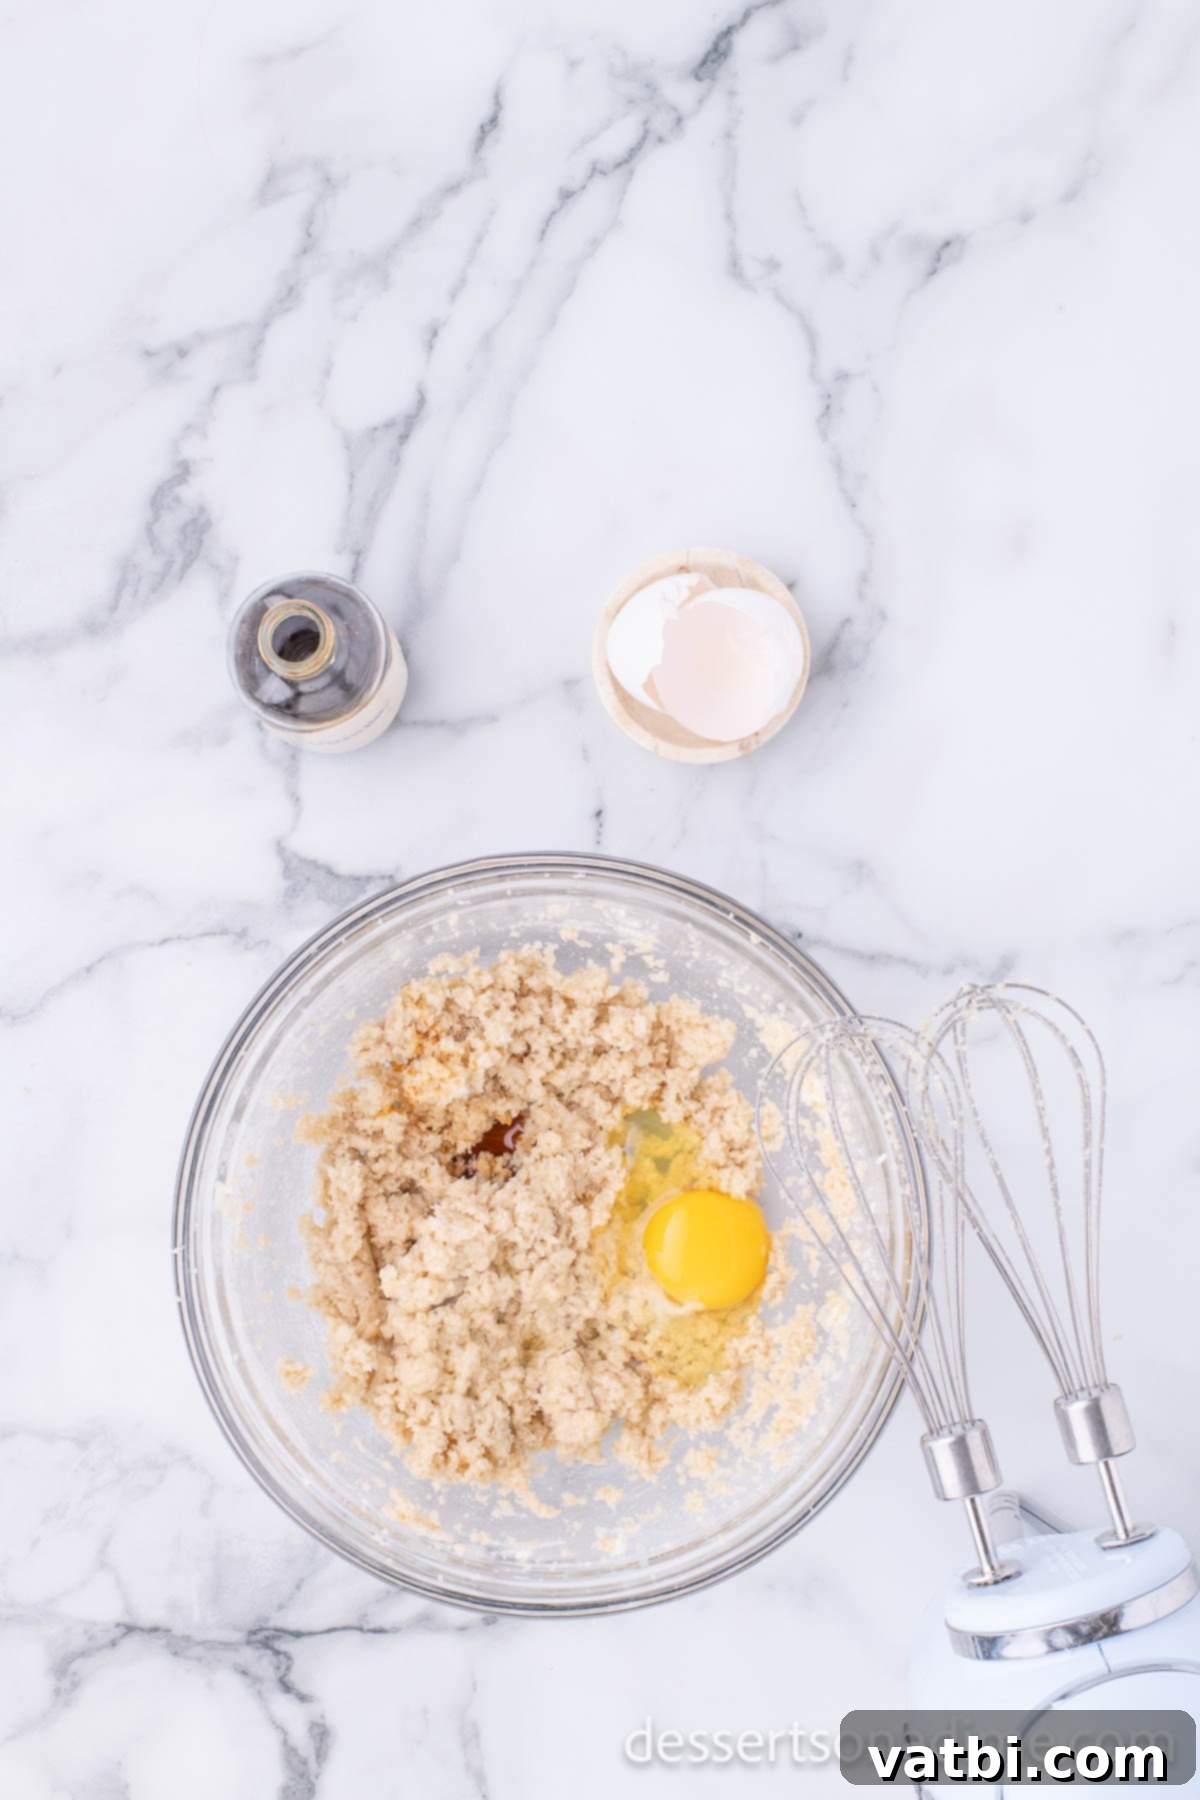
Step 3. Incorporate Wet Ingredients: After creaming, stop the mixer and scrape down the sides of the bowl to ensure everything is evenly mixed. Now, add the large egg and vanilla extract to the butter mixture. Continue mixing until these ingredients are thoroughly combined and the mixture is smooth. Avoid overmixing at this stage.
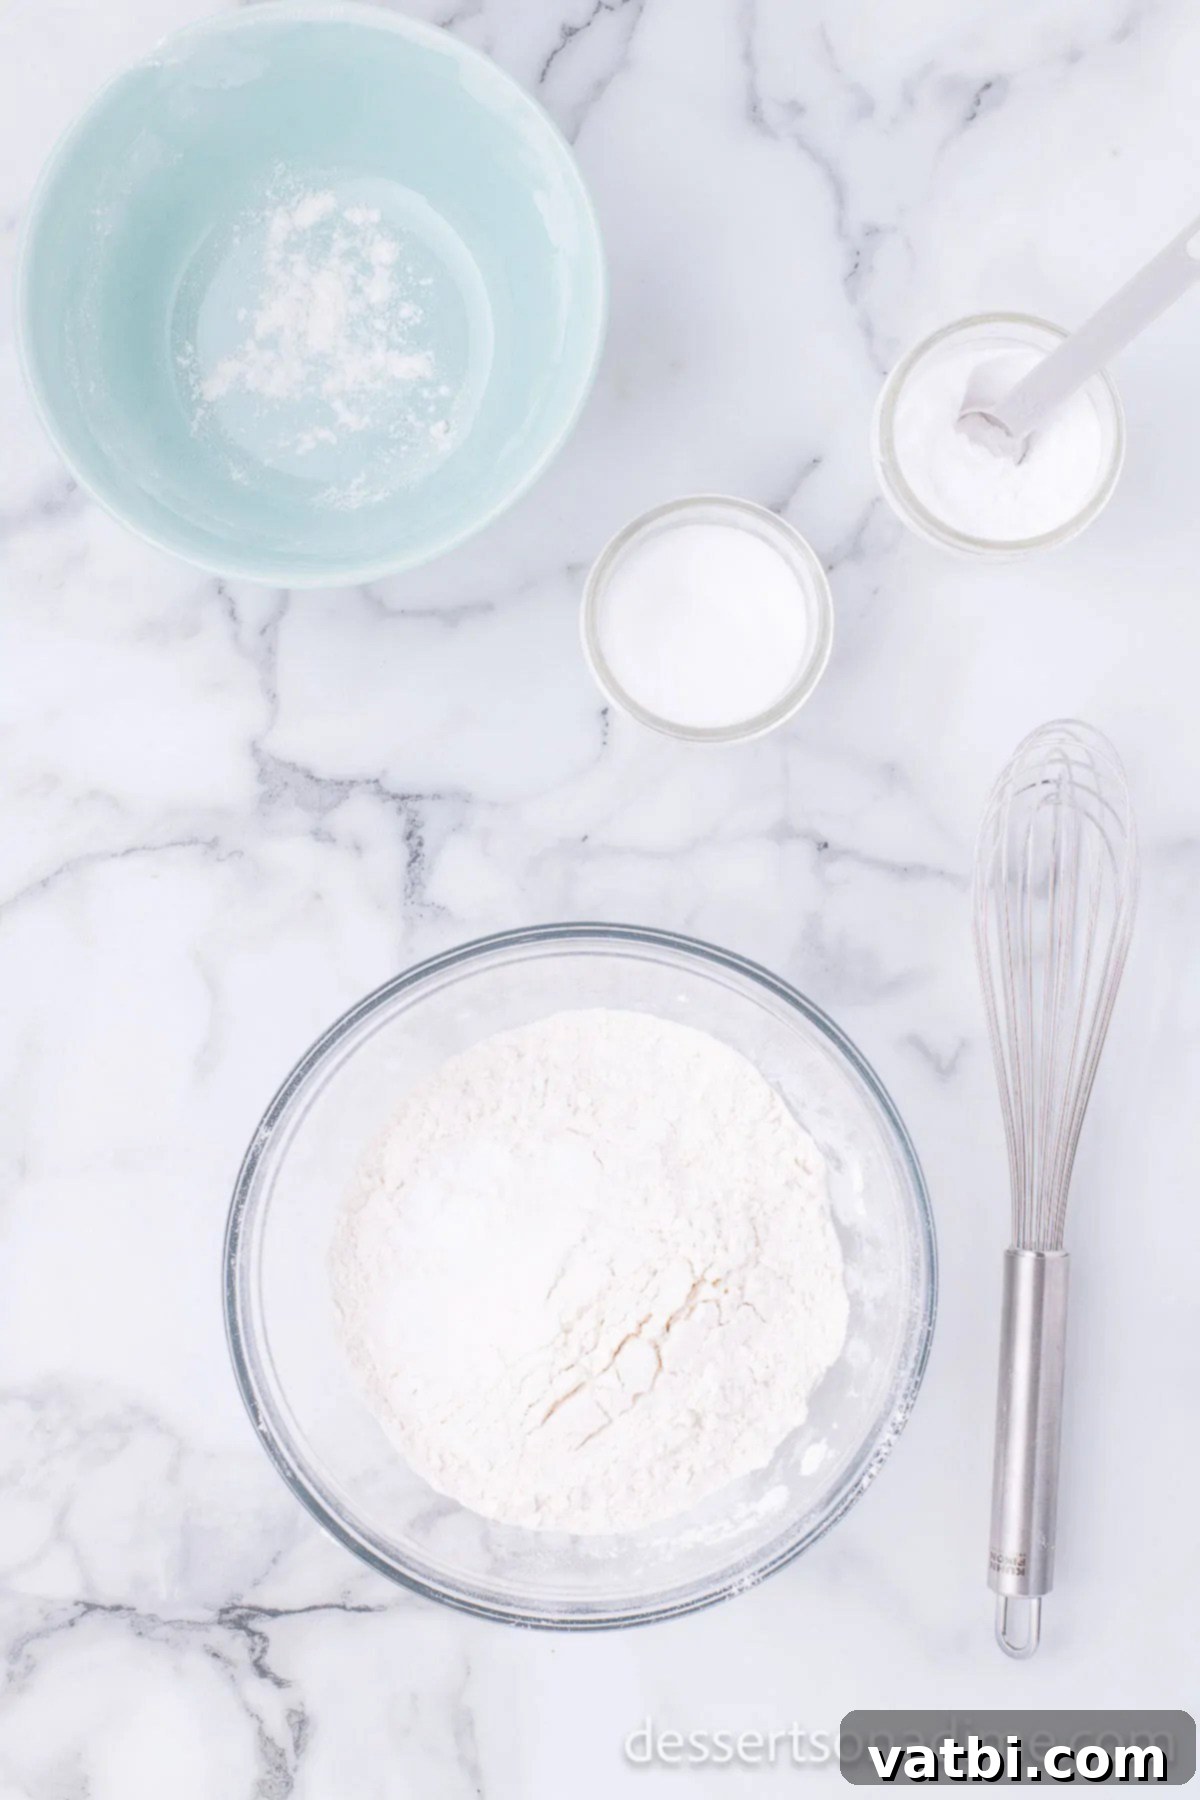
Step 4. Prepare Dry Ingredients: In a separate, medium-sized bowl, whisk together the all-purpose flour, baking soda, and salt. This step ensures that the leavening agent and salt are evenly distributed throughout the flour, preventing pockets of unmixed ingredients in your cookies.
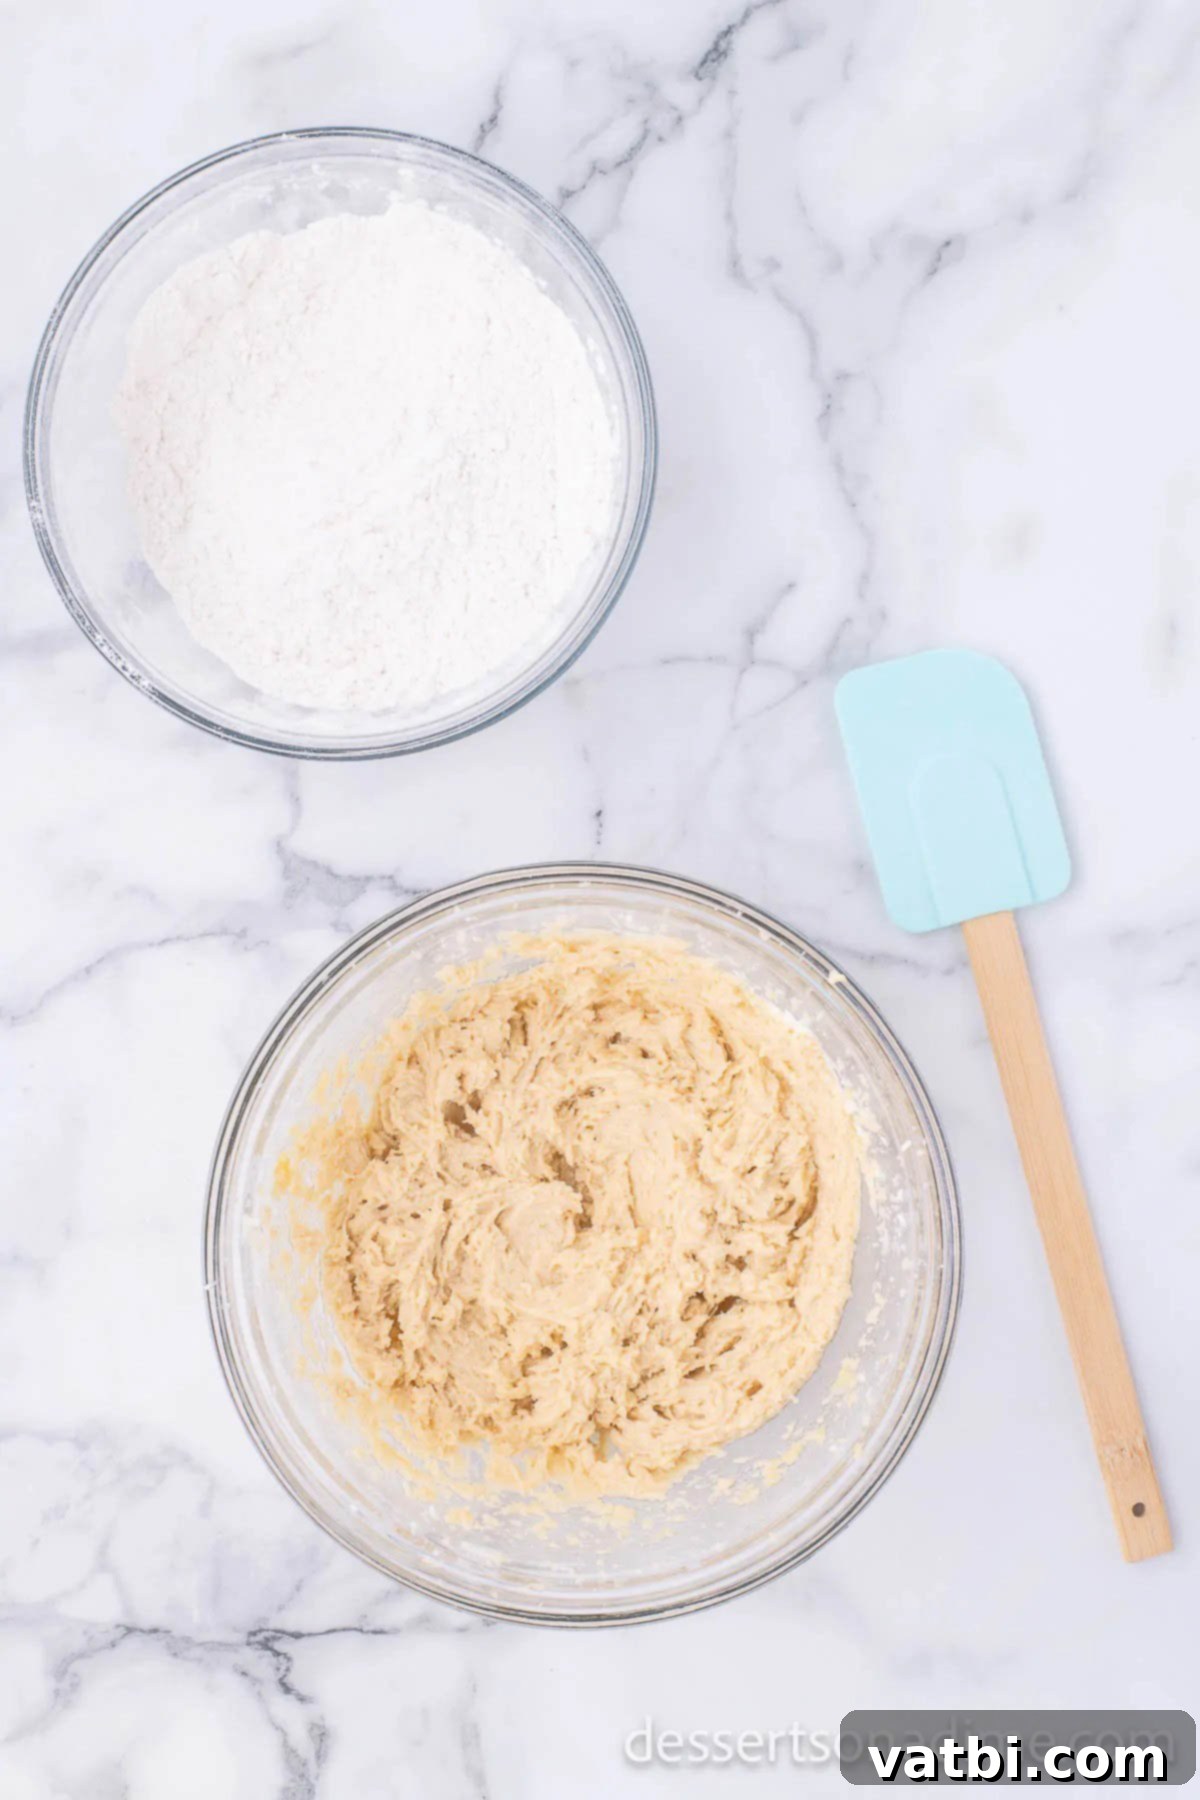
Step 5. Combine Wet and Dry: Gradually add the bowl of dry ingredients into the wet ingredients. At this point, it’s best to mix by hand using a spatula or wooden spoon. Stir gently until the ingredients are just combined and no dry streaks of flour remain. Be careful not to overmix, as this can develop the gluten too much, resulting in tough cookies.
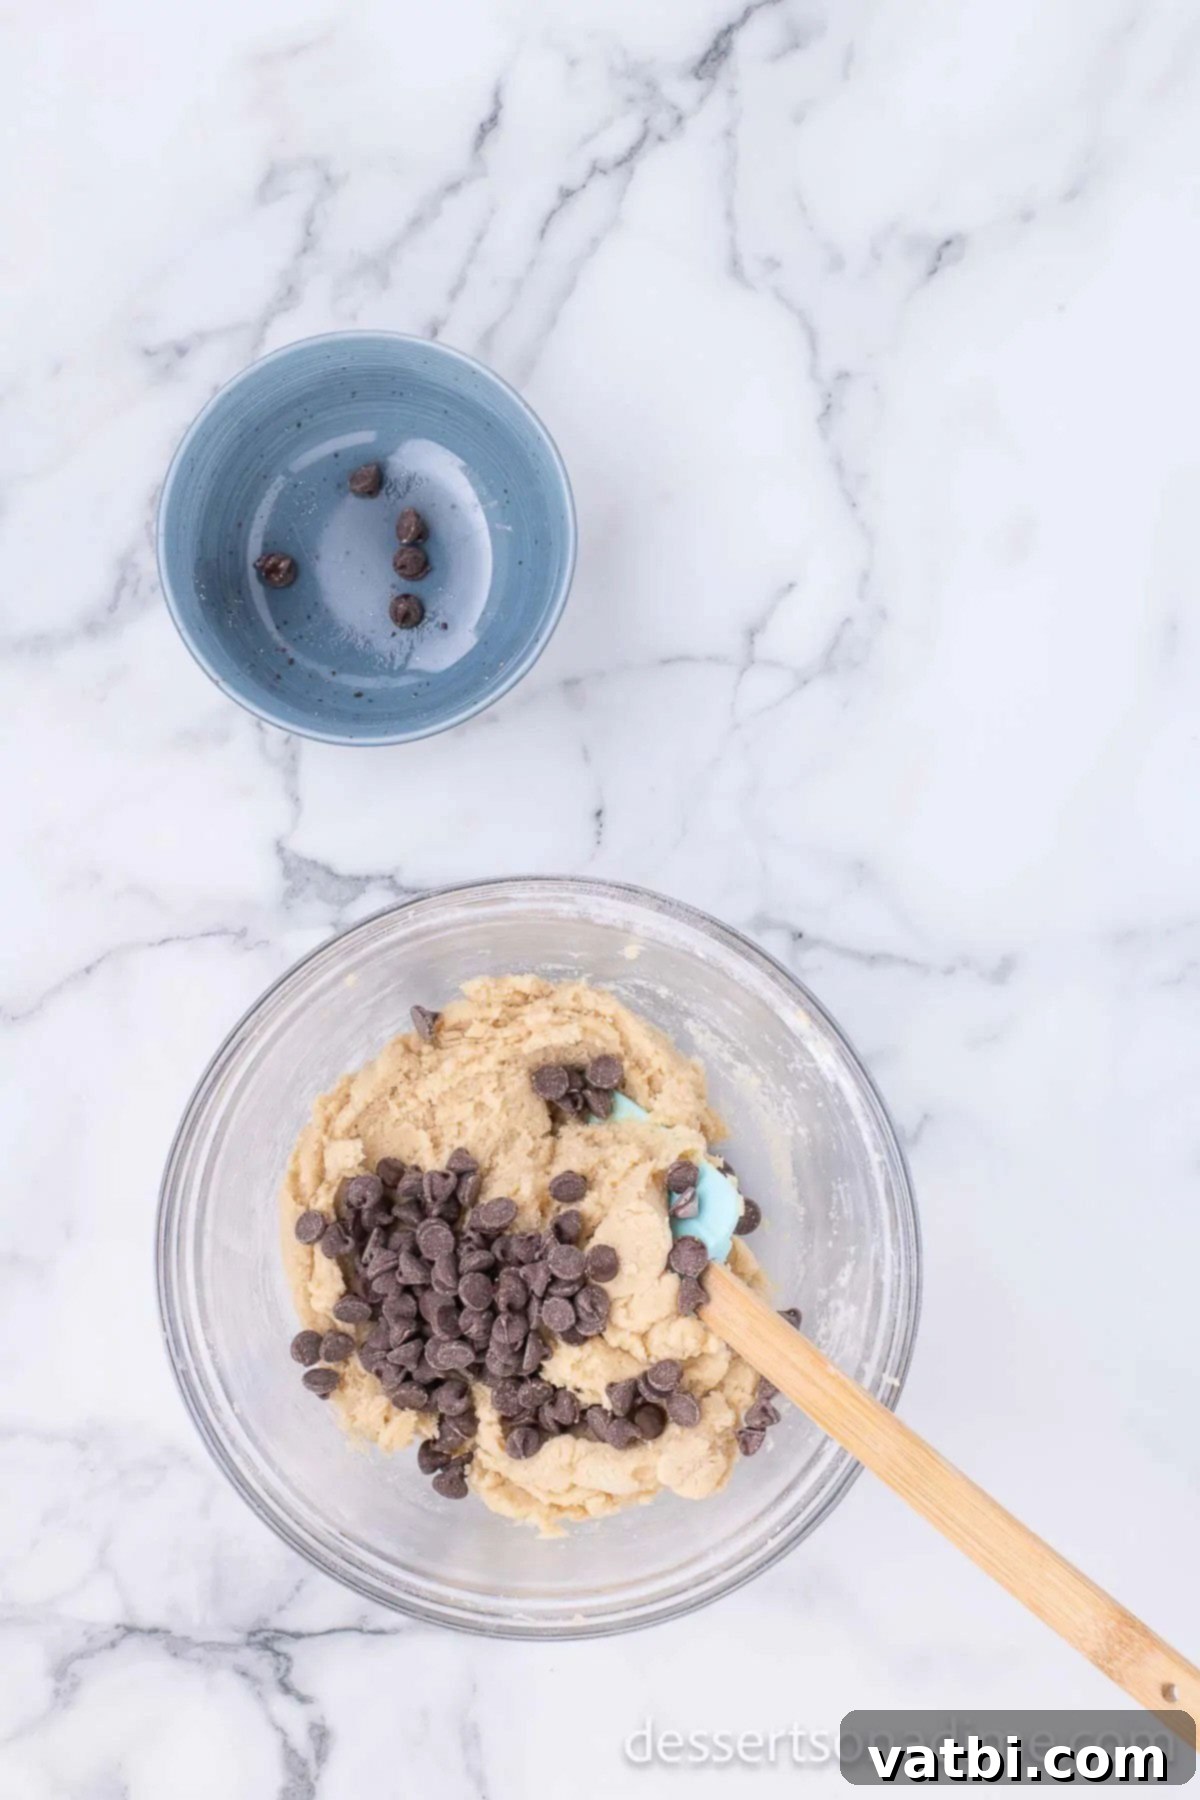
Step 6. Fold in Chocolate Chips: With the dough just combined, gently fold in the semi-sweet chocolate chips by hand. Stir until they are evenly distributed throughout the dough. Again, avoid overmixing to maintain the cookies’ tender texture.
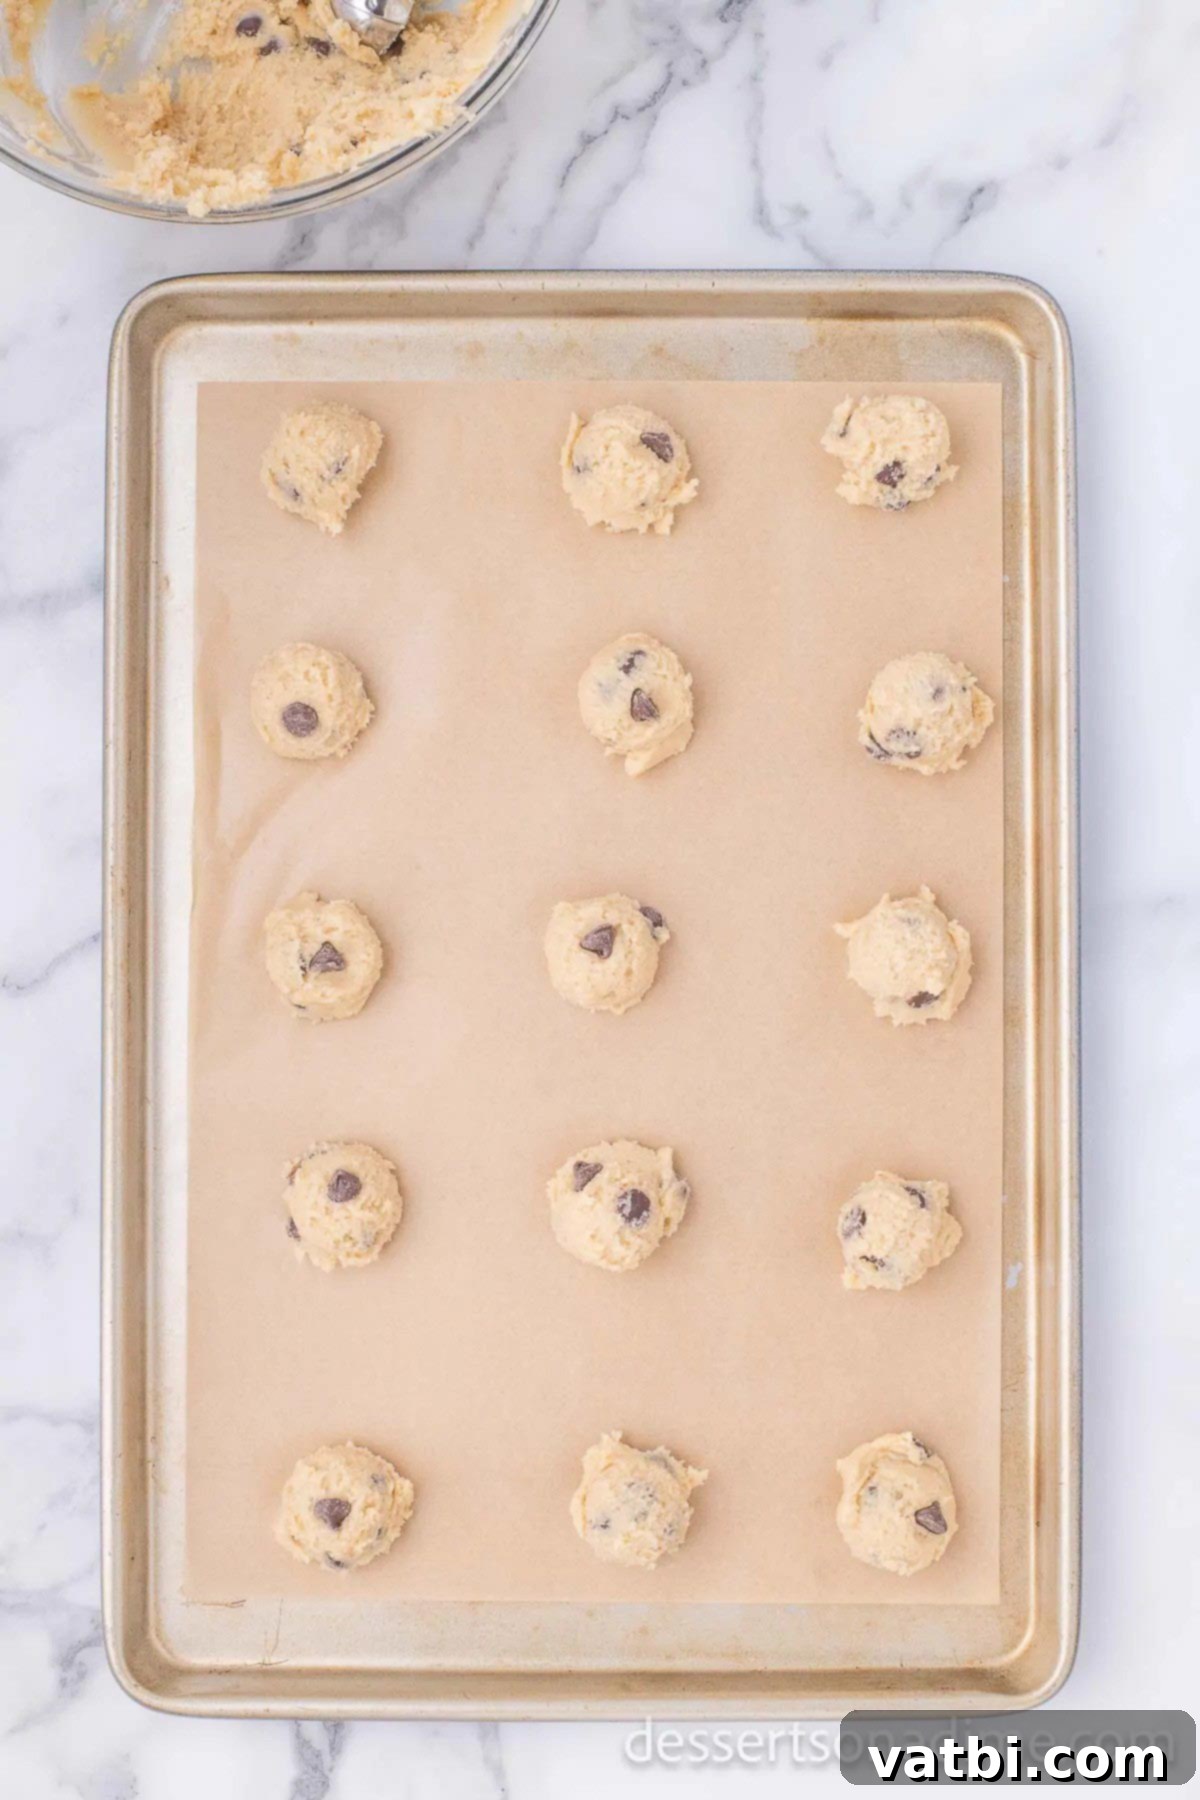
Step 7. Scoop and Bake Cookies: Drop the cookie dough onto baking sheets lined with parchment paper, spacing them about 2 inches apart. Use approximately 1.5 tablespoon amounts for each cookie; a cookie scoop is excellent for ensuring uniform size and even baking. Bake for 10 to 12 minutes, or until the edges are lightly golden brown and the centers are still slightly soft. This ensures a chewy cookie perfect for sandwiches.

Step 8. Cool Cookies Completely: Once baked, let the cookies cool on the baking sheet for 5 minutes. This allows them to set slightly before transferring. Then, carefully move them to a wire rack to cool completely. It’s crucial that the cookies are fully cooled before proceeding, otherwise, your ice cream will melt.
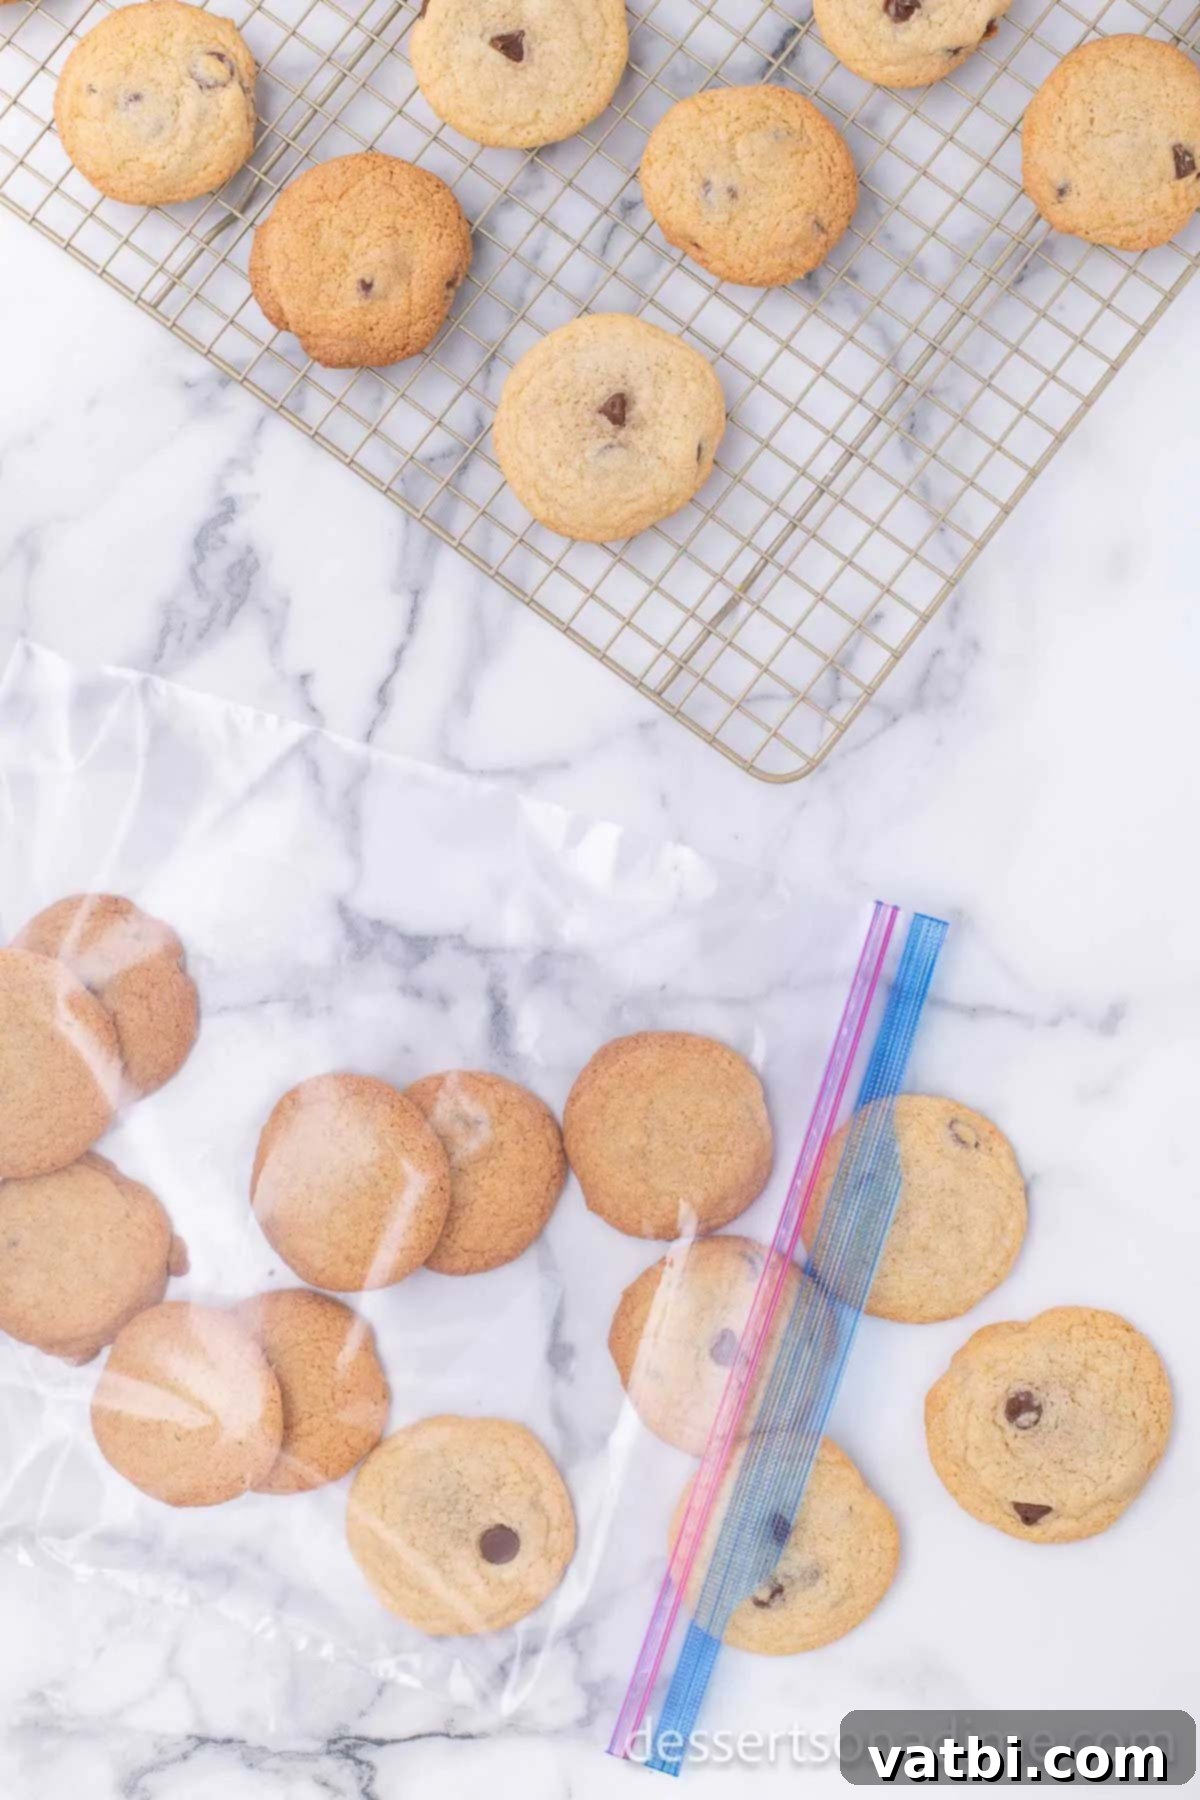
Step 9. Chill the Cookies: Once the cookies are completely cool, place them in a freezer bag or airtight container. Pop them into the freezer for 20 to 30 minutes. This step is essential! Chilled cookies will be firm enough to handle and won’t crumble or melt the ice cream during assembly.

Step 10. Scoop Ice Cream onto Cookies: Remove the chilled cookies from the freezer. Take one cookie and, using an ice cream scoop, place a generous scoop of your chosen ice cream flavor onto the flat side of the cookie. Work quickly to prevent the ice cream from melting.
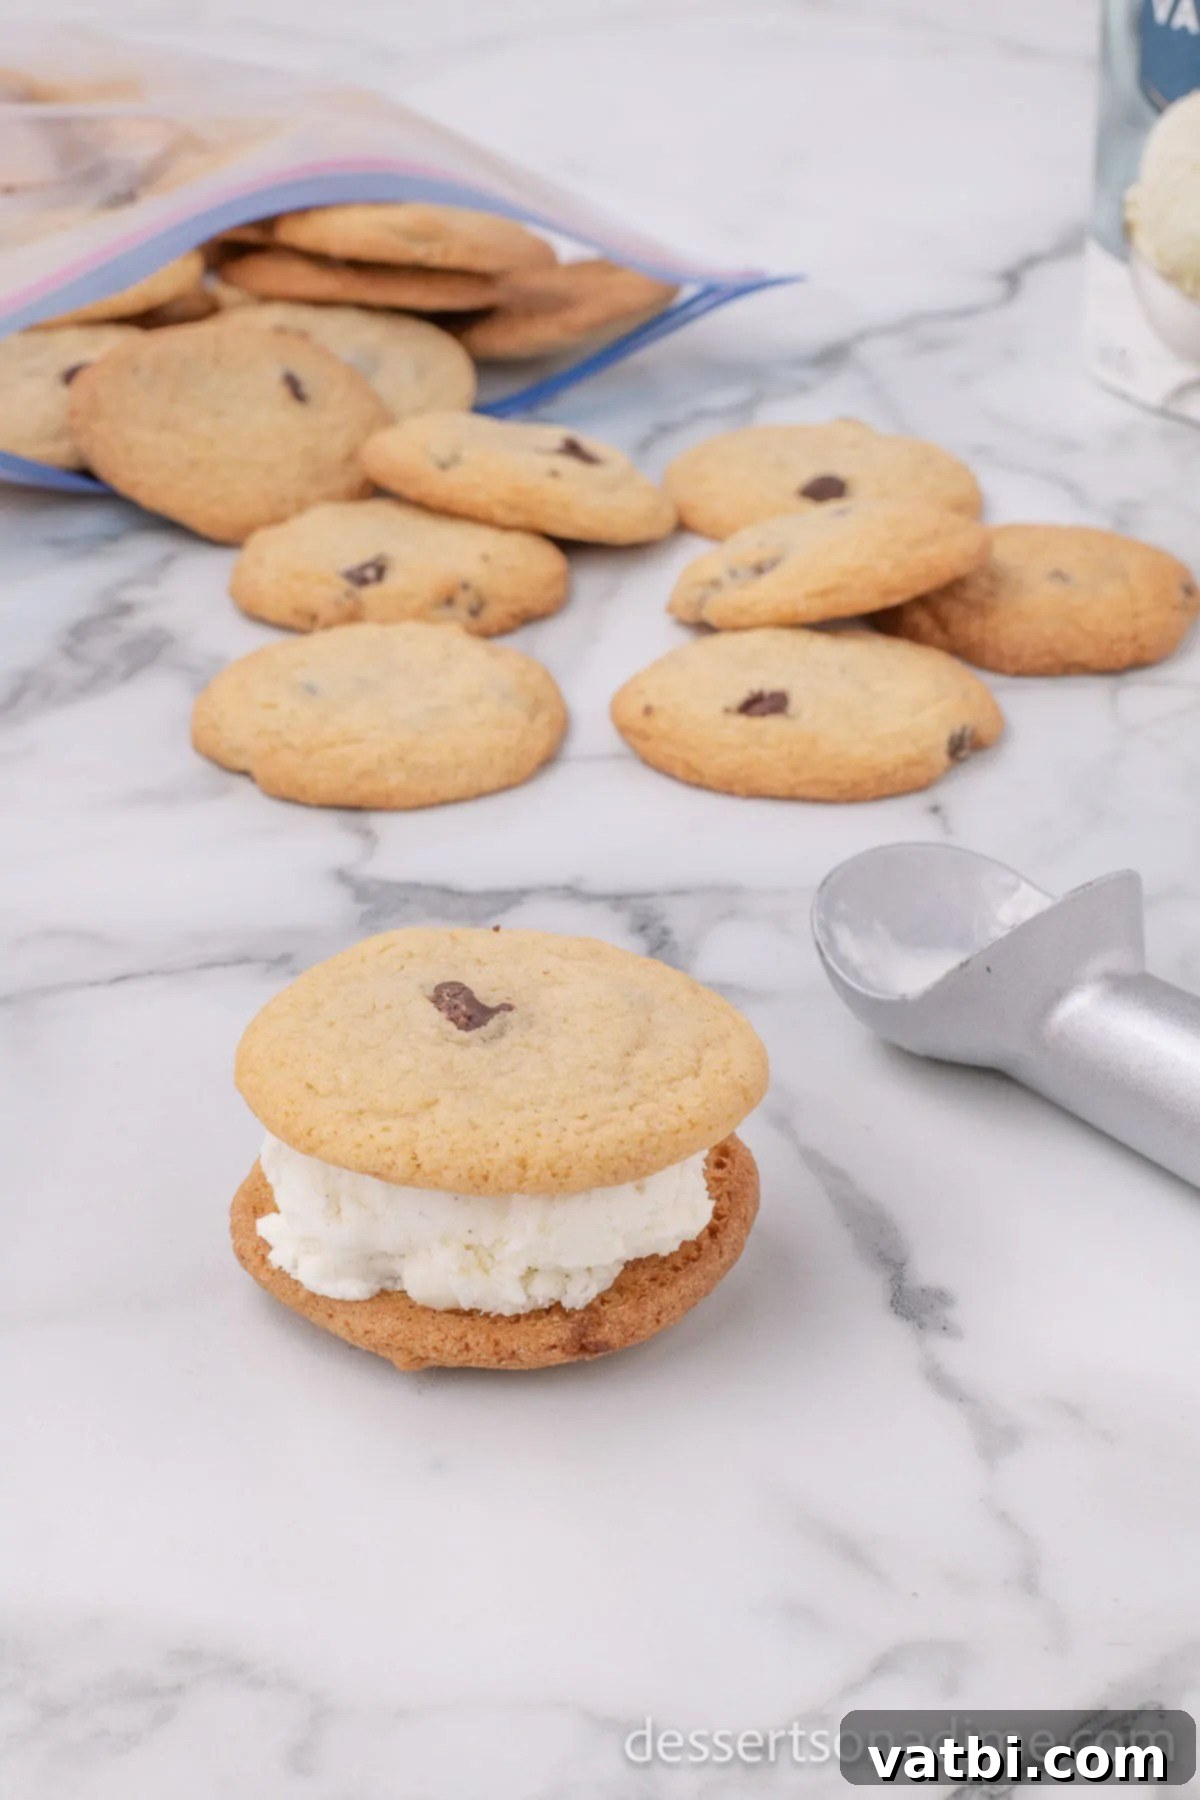
Step 11. Top with Second Cookie: Gently place a second cookie on top of the ice cream, pressing down slightly to form a sandwich. Be careful not to press too hard, or the ice cream will squeeze out too much. You want a good, even layer of ice cream between the cookies.

Step 12. Roll in Mini Chocolate Chips: Pour your mini chocolate chips into a wide-mouthed bowl or shallow dish. Immediately after assembling, roll the edges of each Chipwich in the mini chocolate chips. The slightly soft ice cream will act as an adhesive, allowing the chocolate chips to stick in an even, delightful layer around the entire circumference of the sandwich.

Step 13. Serve or Store: Your homemade Chipwiches are now ready to be enjoyed! Serve them immediately for the freshest experience, or wrap them individually in plastic wrap and freeze for later. See our FAQ section for detailed storage instructions.
With these steps, you’ll create perfect Chipwiches every time, combining the nostalgic charm of a classic treat with the superior taste of homemade goodness. Enjoy the process and the delicious results!

Frequently Asked Questions (FAQs)
Here are some common questions to help you perfect your homemade Chipwiches:
To keep your homemade Chipwiches fresh and prevent freezer burn, it’s crucial to wrap them properly. First, wrap each individual ice cream sandwich tightly in plastic wrap. Then, place the wrapped sandwiches in a freezer-safe bag or an airtight container. This double layer of protection ensures they stay delicious for weeks. Wrapping them separately also makes it incredibly easy to grab one whenever a craving strikes!
When stored correctly (individually wrapped and in an airtight container), your homemade Chipwiches can be frozen and enjoyed for up to 2 to 3 months. Beyond that, they might start to develop ice crystals or lose some of their fresh texture, though they would still likely be safe to eat.
Absolutely! While vanilla is a classic choice, don’t hesitate to get creative. Chocolate, mint chocolate chip, strawberry, coffee, or even cookie dough ice cream would all make fantastic fillings for your homemade Chipwiches. Choose your family’s favorite, or try a variety!
Yes, you can! You can bake the chocolate chip cookies a day or two in advance. Once completely cooled, store them in an airtight container at room temperature. For longer storage, you can freeze baked cookies for up to 2-3 months. Just thaw them slightly before assembling your Chipwiches.
If your ice cream is rock solid, let it sit out on the counter for 5-10 minutes to soften slightly. It should be firm enough to scoop cleanly but soft enough to press slightly between the cookies without them breaking. Too soft, and it will melt too quickly; too hard, and you’ll struggle to scoop.
Using a cookie scoop (or disher) is the best way to ensure uniform cookie size, which is key for perfectly matching ice cream sandwiches. A 1.5-tablespoon scoop works wonderfully for this recipe.
Expert Tips for the Perfect Chipwich
Achieving Chipwich perfection is all about a few key techniques and considerations. Here are some expert tips to ensure your homemade ice cream sandwiches are nothing short of amazing:
- Don’t Skip the Freezer Step for Cookies: It is critically important to allow your baked cookies ample time in the freezer (20-30 minutes) before assembling each Chipwich. Warm or even room-temperature cookies will quickly melt the ice cream, making assembly messy and resulting in a soggy sandwich. This chilling step prevents the cookies from crumbling, helps them hold their shape, and ensures a clean, firm foundation for your ice cream.
- Choose Quality Ice Cream: Since the ice cream is a major component of this treat, the quality really shines through. Invest in a good quality, full-fat ice cream for the creamiest texture and best flavor. Avoid “light” or “fat-free” varieties, as they often contain more water and can become icy when refrozen.
- Optimal Ice Cream Temperature: For easy scooping and assembly, your ice cream should be slightly softened, but not melted. Take it out of the freezer about 5-10 minutes before you plan to assemble. It should be scoopable but still hold its shape well.
- Uniform Cookie Size: For aesthetically pleasing and easy-to-eat Chipwiches, try to make your cookies as uniform in size as possible. Using a cookie scoop (a 1.5-tablespoon size is ideal) will greatly assist with this. When pairing, try to match cookies of similar size.
- Work Quickly During Assembly: Ice cream melts fast! Have all your components ready—chilled cookies, slightly softened ice cream, and a bowl of mini chocolate chips. Assemble one Chipwich at a time, roll it, and then place it back in the freezer immediately before starting the next.
- Wrap Individually for Freshness: After assembling, I highly recommend wrapping each ice cream sandwich individually in plastic wrap, or even parchment paper, before placing them in a freezer bag or airtight container. This prevents freezer burn, keeps them from sticking together, and helps them stay perfectly fresh for longer.
- Experiment with Cookie Textures: While this recipe aims for a chewy cookie, some prefer a slightly crispier edge. You can achieve this by baking for an extra minute or two, but be mindful not to overbake, as overly hard cookies can be difficult to bite through when frozen.
- Get Creative with the Coating: Mini chocolate chips are classic, but why stop there? Consider rolling the edges in finely chopped nuts (pecans, walnuts), sprinkles, crushed candy pieces (like M&M’s or Heath bars), or even shredded coconut for different flavors and textures.
- Chill Assembled Chipwiches: Once all your Chipwiches are assembled and coated, place them back in the freezer for at least 30-60 minutes before serving. This allows the ice cream to firm up again and the cookies to meld with the filling, creating a stable and perfectly chilled dessert.
More Easy & Delicious Ice Cream Recipes
If you’re a fan of ice cream and delightful frozen desserts, you’re in luck! Here are some other fantastic and easy recipes to try:
- Ice Cream Charcuterie Board: A fun and interactive way to serve ice cream, perfect for parties.
- Homemade Rolled Ice Cream Recipe: Impress your guests with this trendy dessert made right at home.
- Melted Ice Cream Cake: An unbelievably easy and delicious cake that starts with melted ice cream.
- No Churn Peach Ice Cream: Enjoy the fresh taste of summer with this simple, no-fuss recipe.
- Copycat Dairy Queen Cake: Recreate a beloved classic with this easy step-by-step guide.
Go ahead and make this delightful homemade Chipwich today! Your taste buds (and your family) will thank you. Then, please leave a comment and a star rating to let us know how much you loved it!
Pin
Homemade Chipwich
Ingredients
- FOR THE COOKIES:
- 1/2 cup Butter softened at room temperature
- 1/2 cup Granulated Sugar
- 1/2 cup Brown Sugar
- 1 Large Eggs
- 1 tsp Vanilla Extract
- 1 1/2 cups All Purpose Flour
- 1/2 tsp Baking Soda
- 1/4 tsp Salt
- 1/2 cup Semi-Sweet Chocolate Chips
- FOR THE SANDWICHES:
- 1/2 Gallon Vanilla Ice Cream
- 1 cup Mini Chocolate Chips for rolling the sandwiches in
Instructions
-
Preheat the oven to 350 degrees F.
-
In a large bowl beat (with a stand up mixer or hand mixer), beat together the butter and both sugars.
-
Mix on medium speed for 2-3 minutes until the mixture is creamy. Scrape down the sides of the bowl and then add in the eggs and vanilla. Continue mixing until thoroughly combined.
-
In a separate bowl, stir together the flour, baking soda and salt. Then mix the bowl of dry ingredients into the wet ingredients.
-
We recommend mixing this by hand so that the mixture does not get over mixed.
-
Stir until just combined.
-
Next gently stir in the chocolate chips. Then drop the cookie dough onto baking sheets 2 inches apart in approximately 1.5 tablespoon amounts.
-
Bake for 10-12 minutes until the edges are slightly browned.
-
Cool on the baking sheet for 5 minutes and then move the cookies to a wire rack to cool completely. Then place the cookies in a freezer bag and place them in the freezer for 20-30 minutes.
-
Then take one cookie and place a scoop of the ice cream on the cookies then top the ice cream with the 2nd cookie.
-
Place the mini chocolate chips in a large wide mouth bowl. Immediately roll the edges of the sandwiches in the mini chocolate chips so that they chocolate chips stick to the ice cream.
-
Serve immediately or wrap them individually in plastic wrap, place in a freezer bag and freeze for up to 2-3 months.
Nutrition Facts
Pin This Now to Remember It Later
Pin Recipe
