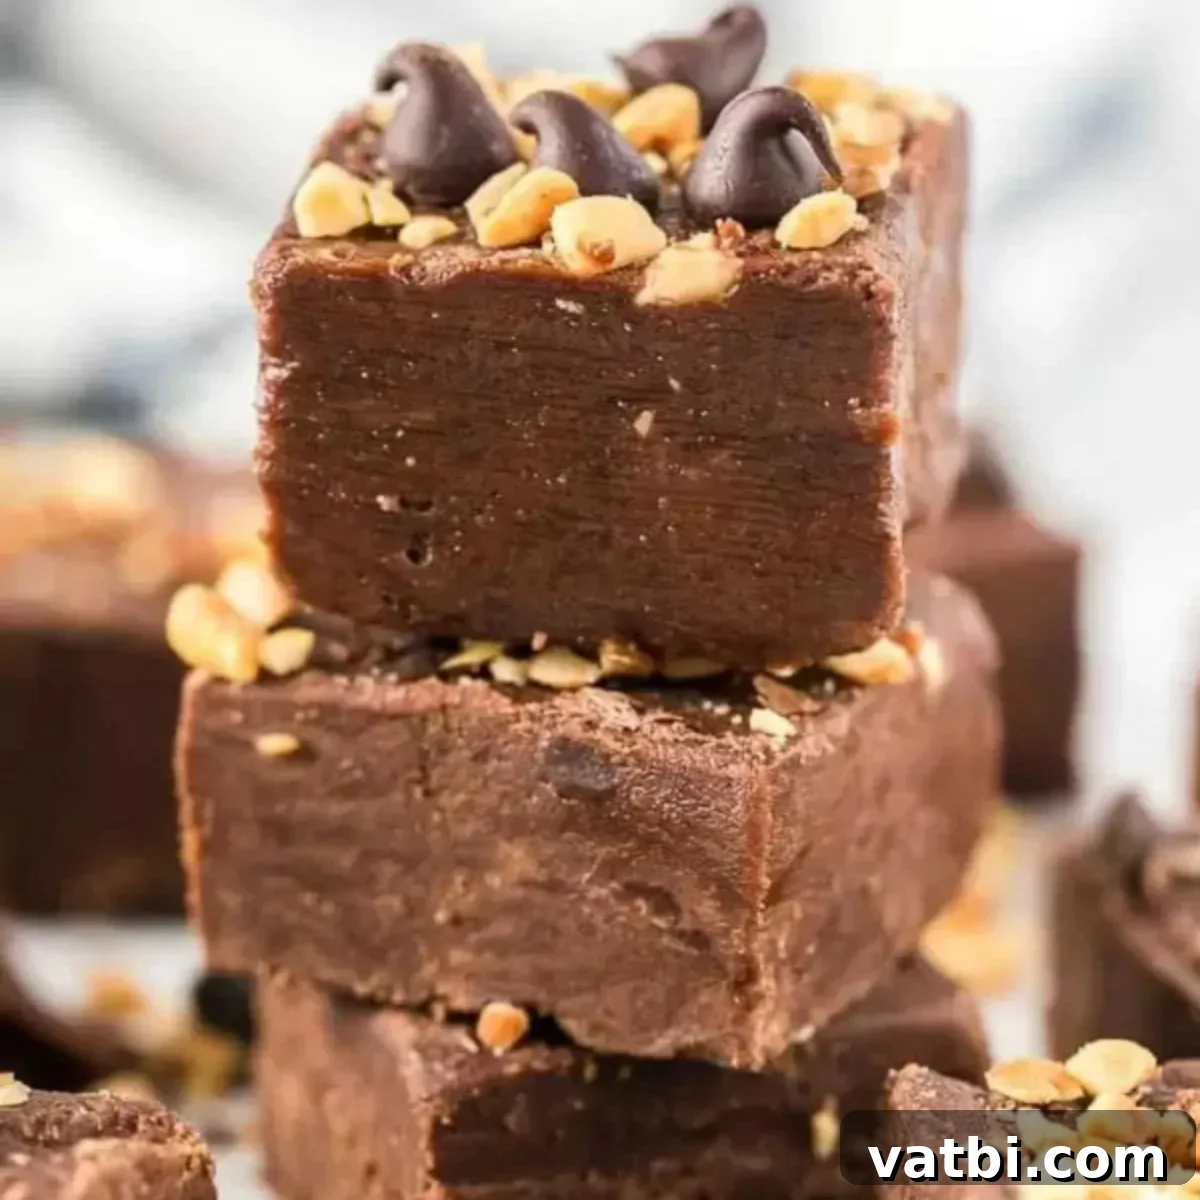
Easy 5-Ingredient Microwave Chocolate Peanut Butter Fudge (No-Bake Recipe!)
Prepare to be amazed by the ultimate shortcut to a classic confection: our Easy 5-Ingredient Microwave Chocolate Peanut Butter Fudge. This isn’t just a recipe; it’s a revelation for anyone craving a rich, creamy, and utterly irresistible dessert without the fuss. Imagine a luscious, melt-in-your-mouth fudge that comes together in mere minutes, requiring absolutely no baking and only a handful of pantry staples. Yes, it’s true! This simple recipe proves that homemade treats can be both spectacular and incredibly convenient.
For over a decade, I’ve been perfecting simple fudge recipes that consistently deliver amazing results, and this one stands out as a true winner. The magic truly lies in its simplicity. With just five core ingredients and the humble microwave, you can whip up a batch of velvety smooth chocolate peanut butter fudge that tastes like it came straight from a gourmet candy shop. It’s the perfect harmony of sweet chocolate and savory peanut butter, a flavor combination beloved by many, now made effortlessly accessible.
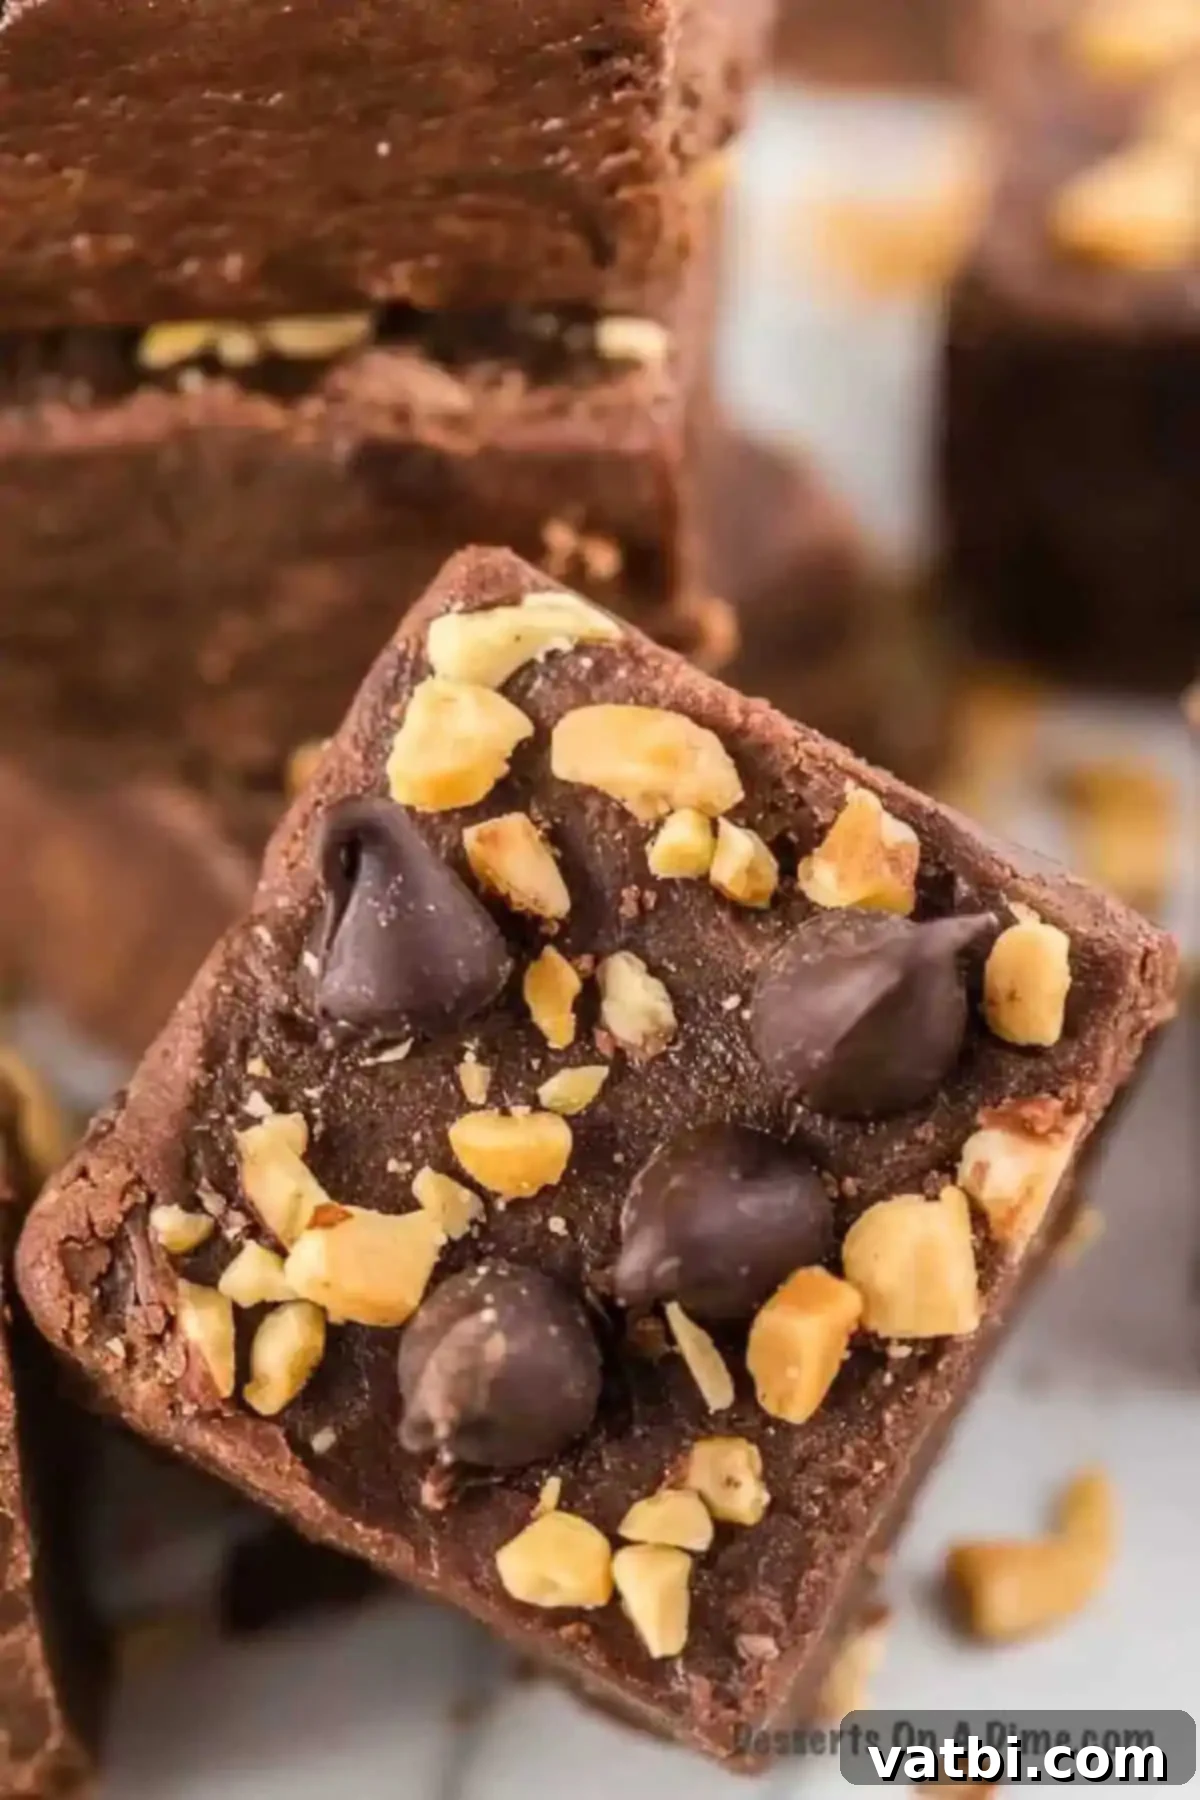
Making homemade fudge should be a joyous experience, not a daunting task. This recipe embodies that philosophy. Its straightforward nature makes it a fantastic project for beginner bakers or a quick go-to for seasoned dessert makers. Once you experience how easy it is to create such a decadent treat, you’ll want to add it to your regular rotation. Don’t stop here – you might also love trying our Easy Rocky Road Fudge Recipe and Easy Vanilla Fudge Recipe for more delightful variations!
Table of contents
- Why This Recipe Works
- Essential Ingredients for Microwave Fudge
- How to Make Easy Chocolate Peanut Butter Fudge
- Perfectly Cutting Your Homemade Fudge
- Expert Tips for Foolproof Fudge
- Delicious Substitutions and Additions
- Frequently Asked Questions About Fudge
- More Chocolate Peanut Butter Desserts
Why This Recipe Works for Busy Bakers
Fudge holds a special place in our hearts, especially during the holidays. It’s a cherished treat that brings smiles to faces and sweetens any occasion. This particular chocolate peanut butter fudge recipe has become a staple for countless reasons, making it an absolute must-try for everyone from novice cooks to experienced dessert enthusiasts.
Firstly, its incredible simplicity is unmatched. The minimal ingredient list and the microwave-only preparation mean you don’t need fancy equipment, a candy thermometer, or hours slaving over a hot stove. This makes it a truly no-bake marvel, perfect for when oven space is limited or when you just want a quick, delicious result without the fuss of traditional candy making. Forget about complex boiling temperatures or finicky stirring; this recipe takes all the guesswork out of making homemade fudge.
Beyond its ease, this recipe delivers on flavor and texture. The combination of creamy peanut butter and rich chocolate is a classic for a reason, and this fudge captures it perfectly. It’s smooth, decadent, and melts in your mouth, offering a delightful contrast between the two iconic flavors. This robust flavor profile ensures it’s a hit with everyone who tries it.
Whenever a last-minute gathering pops up, or I need a quick yet impressive dessert to share, this peanut butter fudge is my go-to. I always make sure to keep these simple, affordable ingredients stocked in my pantry, so I’m never more than a few minutes away from a delightful dessert. It’s incredibly versatile, making it ideal for holiday cookie trays, thoughtful homemade gifts for neighbors and friends, or simply a sweet indulgence for your family on a quiet evening. Its firm yet creamy consistency also makes it easy to transport and share, making it perfect for potlucks and parties.
Essential Ingredients for Microwave Fudge
One of the most appealing aspects of this chocolate peanut butter fudge recipe is its short and sweet ingredient list. You only need five basic items, most of which you probably already have on hand. Each ingredient plays a crucial role in creating the perfect creamy texture and balanced flavor profile that makes this fudge so popular.
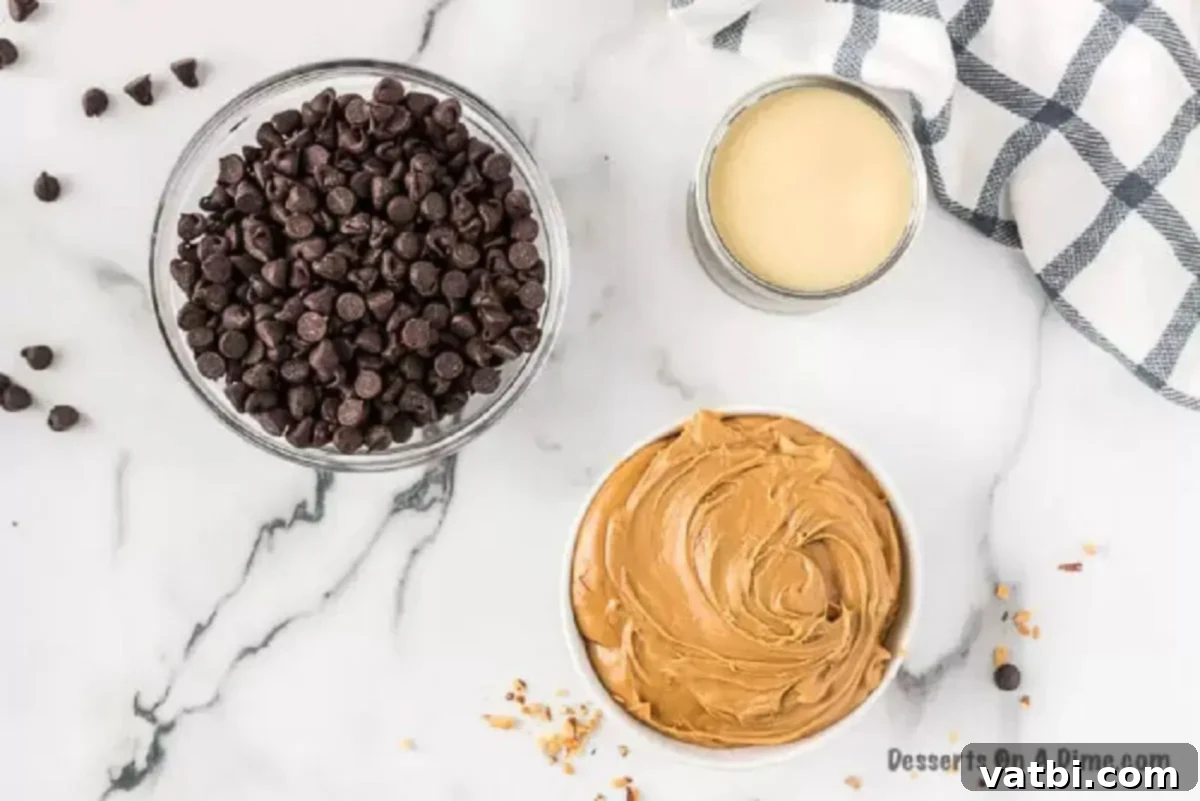
- Semi-Sweet Chocolate Chips: These are the backbone of our chocolate layer. Semi-sweet chocolate chips are ideal because they provide a rich chocolate flavor without being overly sweet, helping to balance the sweetness from the condensed milk and peanut butter. You can also use milk chocolate for a sweeter fudge, or dark chocolate for a more intense, less sweet profile.
- Sweetened Condensed Milk: This is the secret to our fudge’s incredibly creamy texture and serves as both a sweetener and a binder. It’s crucial to use sweetened condensed milk, not evaporated milk, as they are very different products and will not yield the same results. The high sugar content and thick consistency of sweetened condensed milk are what allow the fudge to set beautifully without needing a stovetop boil.
- Creamy Peanut Butter: For the smoothest and most uniform fudge, creamy peanut butter is highly recommended. It blends seamlessly with the other ingredients, creating that luscious, velvety consistency we all love. While natural peanut butter can be used, it might result in a slightly oilier texture due to oil separation, so be sure to stir it very well before adding. For a fun twist, see our substitution section for crunchy peanut butter ideas!
- Peanuts and Chocolate Chips for Topping (Optional): While the fudge is delicious on its own, adding a sprinkle of chopped peanuts and extra chocolate chips on top provides an appealing visual contrast and a delightful textural crunch. These optional toppings elevate the presentation and add another layer of flavor and texture to your homemade fudge.
You’ll find the complete, detailed list of ingredients with precise measurements in the printable recipe card at the bottom of this article. Gather your ingredients, and let’s get started on this incredibly simple yet satisfying dessert!
How to Make Easy Chocolate Peanut Butter Fudge in the Microwave
Making this chocolate peanut butter fudge is incredibly straightforward, largely thanks to the microwave method. You’ll be amazed at how quickly you can go from basic ingredients to a pan of delicious, setting fudge. Just follow these simple steps:
- Step 1: Melt the Chocolate Chips. Begin by placing your semi-sweet chocolate chips in a large, microwave-safe bowl. It’s essential to melt chocolate slowly and carefully to prevent it from burning or becoming grainy. Microwave the chips in short 30-second intervals, stirring thoroughly between each interval. This even heating and stirring ensures that the chocolate melts smoothly and evenly, becoming a glossy, liquid consistency. Continue until all the chips are melted and no lumps remain.
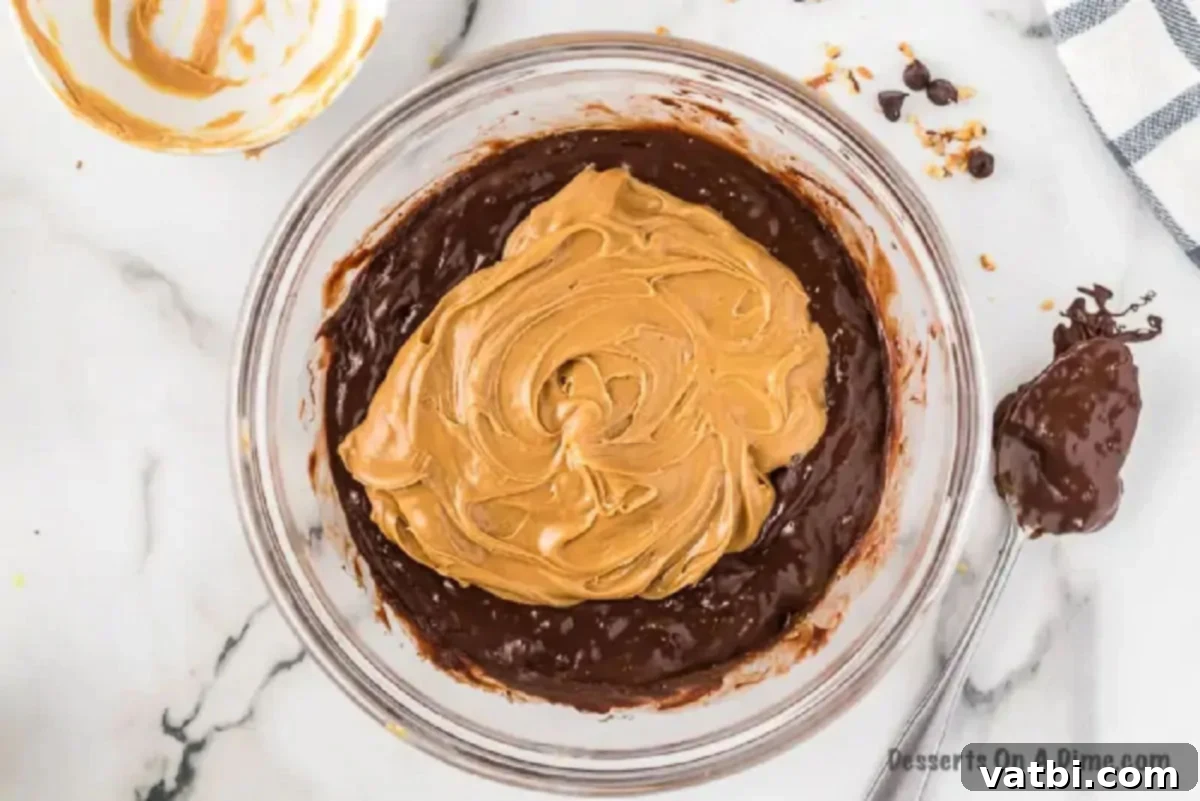
Step 2: Incorporate Sweetened Condensed Milk and Peanut Butter. Once your chocolate is perfectly melted and smooth, add the sweetened condensed milk and creamy peanut butter to the same bowl. Stir these ingredients vigorously until the mixture is completely combined and forms a uniform, smooth, and glossy fudge batter. Ensure there are no streaks of unmixed peanut butter or condensed milk. The warmth of the melted chocolate will help everything blend beautifully.
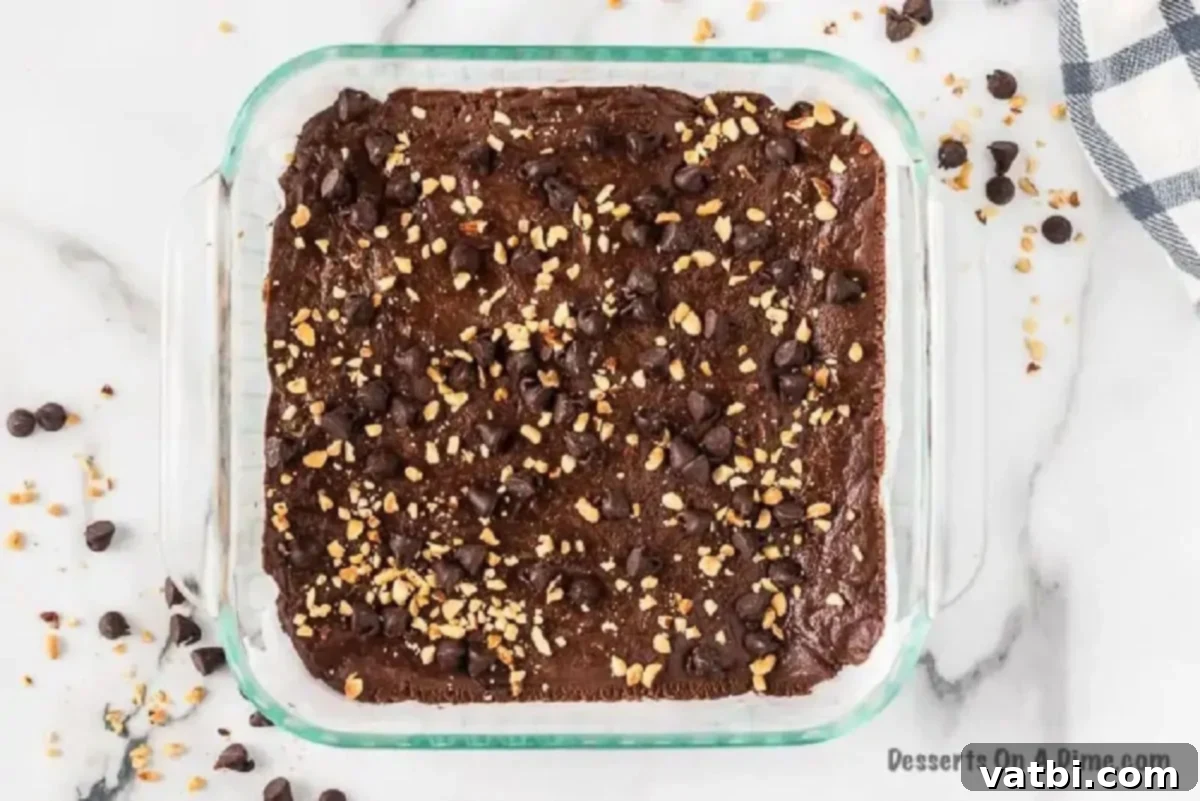
Step 3: Prepare and Set the Fudge. Line an 8×8 inch square baking pan with aluminum foil or parchment paper, leaving an overhang on the sides. This overhang will act as “handles” later, making it incredibly easy to lift the entire slab of fudge out of the pan for clean cutting. Pour the creamy fudge mixture into the prepared pan and spread it evenly using a spatula. Immediately sprinkle the optional chocolate chips and chopped peanuts over the top for an extra layer of flavor and crunch. Allow the fudge to cool at room temperature for a short while, then transfer it to the refrigerator to set completely. This usually takes about 1 hour, but you can leave it longer if needed. Once firm, lift the fudge out using the foil/parchment overhang, slice it into squares, and serve! Enjoy your irresistible homemade treat!
Perfectly Cutting Your Homemade Fudge
Achieving clean, uniform squares of fudge is just as satisfying as making the fudge itself. With a few simple tricks, you can ensure your chocolate peanut butter fudge looks as professional as it tastes. Here are our recommendations for perfectly cutting your delicious homemade fudge:
- Remove Fudge from the Pan: The first step to neat cuts is to remove the entire slab of fudge from its baking dish. This is where lining your pan with parchment paper or aluminum foil (with an overhang) truly pays off. Simply lift the edges of the liner, and the fudge should pop right out, ready for your cutting board. This prevents you from scratching your pan and allows for a flat, stable surface for cutting.
- Warm Your Knife: This is a game-changer! Before each cut, run a sharp knife under very hot water, then quickly wipe it dry with a towel. The warmth from the blade will glide through the cold fudge with ease, creating incredibly clean edges and preventing sticking. For the best results, wipe and reheat your knife before each new cut.
- Use a Sharp Knife: A good quality, sharp knife is essential. A dull knife will drag and tear the fudge, resulting in messy, uneven pieces. A long, thin-bladed knife, like a chef’s knife or a slicing knife, works best for making straight, precise cuts.
- Cut Cold Fudge: Resist the urge to cut your fudge at room temperature. Fudge that is well-chilled and firm will hold its shape much better and cut far more cleanly. If your fudge has been sitting out, pop it back into the refrigerator or freezer for 15-20 minutes before attempting to cut it. This ensures it’s firm enough to yield those perfect squares.
By following these simple steps, you’ll be able to present your beautiful chocolate peanut butter fudge squares with pride, ready to impress family and friends.
Expert Tips for Foolproof Microwave Fudge
While this 5-ingredient chocolate peanut butter fudge recipe is incredibly easy, a few expert tips can elevate your results from good to absolutely perfect. These little insights will help ensure your fudge is smooth, creamy, and sets just right every single time.
- Line Your Baking Dish Thoroughly: Always line your 8×8 inch baking dish with parchment paper or aluminum foil, ensuring you leave a generous overhang on all sides. This isn’t just for easy cleanup; it’s crucial for effortlessly removing the entire slab of fudge from the pan once it’s set. Parchment paper often provides a slightly cleaner release than foil.
- Melt Chocolate Slowly and Carefully: The key to perfectly smooth fudge starts with perfectly melted chocolate. Microwave the chocolate chips in 30-second intervals, stirring diligently after each. Chocolate can go from melted to burned in a flash, so patience is paramount here. If you prefer, a double boiler method on the stovetop can also be used for a more controlled melt.
- Mix in Condensed Milk and Peanut Butter Promptly: Once your chocolate is melted, quickly stir in the sweetened condensed milk and creamy peanut butter. The residual heat from the melted chocolate will help these ingredients combine into a smooth, homogeneous mixture. Don’t overmix, but ensure all ingredients are fully incorporated until glossy.
- Don’t Overcook the Fudge: Because this is a microwave fudge recipe, there’s no “cooking” in the traditional sense. However, ensure you don’t overheat the chocolate or microwave the mixture after adding the condensed milk and peanut butter, as this can affect the fudge’s final texture and cause it to become grainy or crumbly.
- Use a Microwave-Safe Bowl: Always ensure you are using a bowl explicitly labeled as microwave-safe. This prevents any accidents or damage to your kitchenware and ensures safe food preparation.
- Allow Ample Setting Time: Patience is a virtue when it comes to fudge. While it may seem firm after an hour in the refrigerator, allowing it to chill for at least 2-3 hours, or even overnight, will ensure it is fully set and firm enough for clean, precise cuts.
- Consider a Pinch of Salt: A tiny pinch (about ¼ teaspoon) of fine sea salt added to the chocolate mixture can surprisingly enhance both the chocolate and peanut butter flavors, creating a more complex and satisfying taste profile.
- Read Our “Perfect Fudge” Tips: For more in-depth advice on achieving flawless fudge, we highly recommend checking out our comprehensive 5 Tips to Make the Perfect Fudge Recipe. Following these fundamental guidelines will guarantee a batch of fudge that will keep everyone coming back for more!
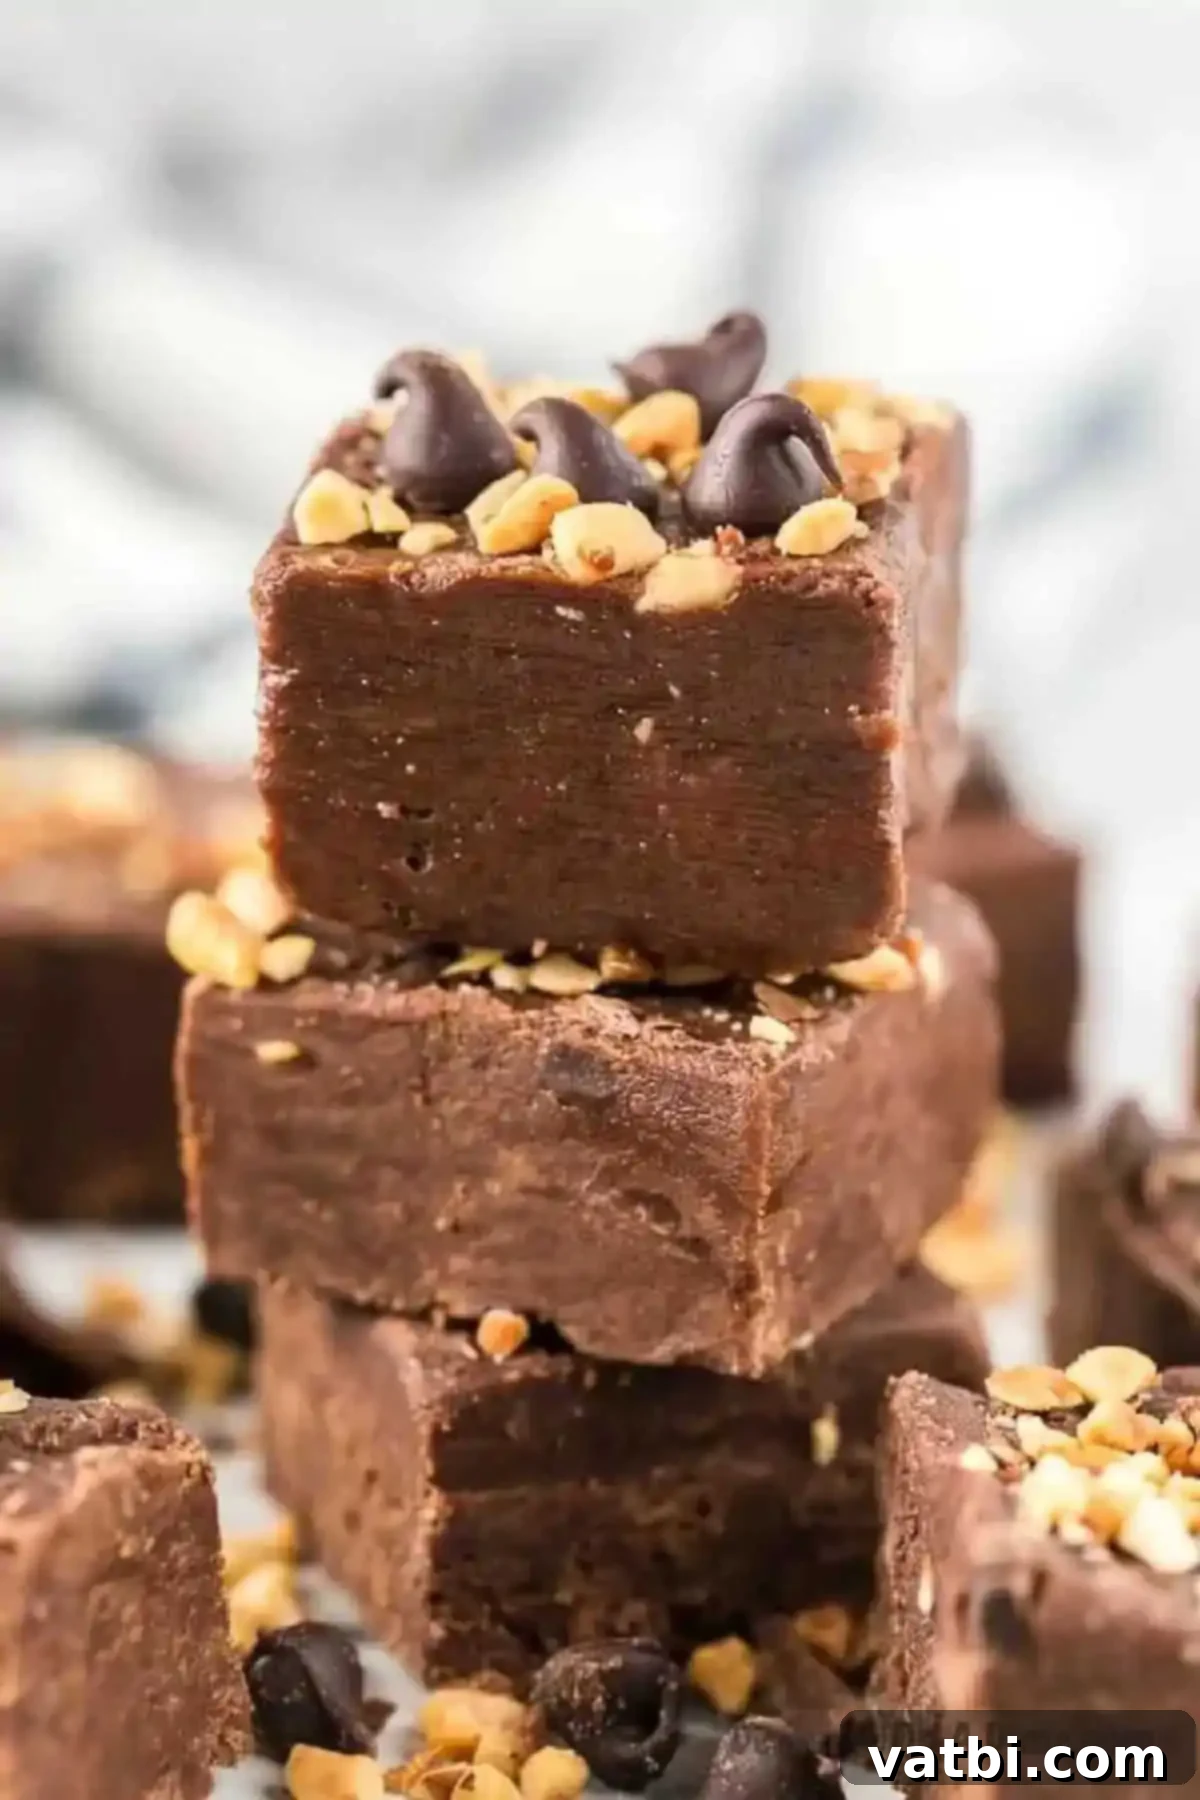
Delicious Substitutions and Additions to Customize Your Fudge
One of the joys of making homemade fudge is the ability to customize it to your heart’s content. This chocolate peanut butter fudge recipe is incredibly versatile, offering plenty of room for creative substitutions and exciting additions. Here are some ideas to make this already delicious fudge uniquely yours:
- Vanilla Extract: While not strictly necessary, adding a teaspoon of pure vanilla extract to the melted chocolate and peanut butter mixture can significantly enhance and deepen the overall flavor profile. The rich chocolate, creamy peanut butter, and aromatic vanilla create a truly classic and irresistible combination.
- Vary Your Chocolate Chips: Don’t feel limited to just semi-sweet. You can easily substitute with milk chocolate chips for a sweeter, more classic candy bar flavor, or use dark chocolate chips for a more intense and slightly less sweet fudge. White chocolate chips or even a mix of different chocolate varieties can also create interesting flavor dynamics.
- Experiment with Peanut Butter Types:
- Natural Peanut Butter: If you prefer natural peanut butter, you can use it, but be sure to stir it extremely well to incorporate any separated oils before adding it to the mixture. This may result in a slightly different texture, perhaps a bit richer.
- Crunchy Peanut Butter: For an added textural contrast and a delightful surprise in every bite, swap out creamy peanut butter for crunchy peanut butter. The small bits of peanuts will provide a satisfying chewiness and an intensified peanut flavor within the smooth fudge.
- Other Nut Butters: For those with peanut allergies or who simply want to try something new, almond butter, cashew butter, or even sunflower seed butter (SunButter) can be excellent substitutes. Be aware that the flavor profile will change, but the creamy texture can still be achieved.
- Mix in Your Favorite Candy and Add-ins: This is where you can truly get creative! Stir in a variety of delightful additions after combining the main fudge mixture:
- Mini M&M’s or Reese’s Pieces: Add a pop of color and extra candy goodness.
- Mini Marshmallows: For a softer, slightly chewy texture reminiscent of rocky road.
- Peanut Butter Chips: To double down on the peanut butter flavor!
- Crushed Pretzels: A fantastic addition for a salty-sweet crunch that pairs wonderfully with chocolate and peanut butter.
- Toffee Bits: For a buttery, caramel-like flavor and a subtle crunch.
- Chopped Nuts: Beyond just peanuts, consider chopped walnuts, pecans, or almonds for different nutty flavors and textures.
- Decorative Sprinkles: Instead of or in addition to peanuts and chocolate chips, sprinkle the top of the fudge with festive sprinkles. This is a fantastic way to customize your fudge for holidays, birthday parties, or any special occasion throughout the year. Think red and green for Christmas, pastels for Easter, or school colors for a graduation celebration.
- Cut into Fun Shapes: While squares are classic, why not make your fudge even more special by using cookie cutters? Once the fudge is set but before it’s too hard, use your favorite cookie cutters (hearts, stars, Christmas trees, etc.) to create whimsical shapes. This is especially fun for themed parties or holiday treat plates.
- A Dash of Espresso Powder: A tiny bit of instant espresso powder (¼-½ teaspoon) can deepen the chocolate flavor without making the fudge taste like coffee. It simply amplifies the richness of the chocolate.
Frequently Asked Questions About Homemade Fudge
Here are some common questions about making and storing fudge, with detailed answers to help you achieve the best results with your delicious chocolate peanut butter fudge.
Proper storage is key to extending the freshness of your homemade chocolate peanut butter fudge. If stored correctly, this microwave fudge can last for about 1 to 2 weeks at room temperature. For best results, place the fudge in an airtight container with a tight-fitting lid. If you’re layering multiple pieces, it’s a good idea to place wax paper or parchment paper between the layers to prevent them from sticking together. This helps maintain its delightful texture and prevents it from drying out.
While fudge can be stored in the refrigerator, many find that refrigeration can alter the texture, making it firmer and sometimes less creamy. If you do choose to refrigerate it for longer shelf life (up to 3-4 weeks), ensure it’s still in an airtight container, and consider letting it come to room temperature for a few minutes before serving for optimal texture.
Absolutely! Freezing fudge is an excellent way to prepare it in advance for holidays or to save leftovers for an extended period. This easy microwave fudge freezes beautifully. To freeze, ensure the fudge is completely cooled and set. Cut it into individual pieces, then wrap each piece tightly in plastic wrap. Next, place the wrapped pieces in a freezer-safe, airtight container or a heavy-duty freezer bag. This double-layer protection helps prevent freezer burn.
Frozen fudge can last for up to 3 months without significant loss of quality. When you’re ready to enjoy it, simply transfer the desired amount from the freezer to the refrigerator overnight, or let it thaw at room temperature for a few hours. For more detailed tips and tricks on preserving your homemade treats, be sure to check out our comprehensive guide on Can You Freeze Fudge.
For optimal flavor and texture, it is generally recommended to store fudge at room temperature. Place the fudge in an airtight container with a lid. This will keep it fresh and delicious for up to 7 days. If you’re arranging it on a cookie tray for a party or gift, make sure to cover the entire tray tightly with plastic wrap to prevent the fudge from drying out or absorbing other odors. Placing wax paper or parchment paper between layers of fudge in the container is also a great tip to prevent pieces from sticking together and making them easier to grab.
If your kitchen is particularly warm or humid, or if you prefer a firmer fudge, you can store it in the refrigerator. Again, an airtight container is crucial. However, allow it to sit at room temperature for about 15-20 minutes before serving, as this will restore some of its creamy texture.
More Irresistible Chocolate Peanut Butter Desserts
If you’re a fan of the classic chocolate and peanut butter combination, you’re in for a treat! This dynamic duo makes for some of the most beloved and decadent desserts. After you’ve mastered this easy fudge, be sure to explore these other fantastic recipes that celebrate this iconic pairing:
- No-Bake Chocolate Peanut Butter Bars: Another incredibly easy, no-bake option that delivers big on flavor with a delightful crumbly crust and creamy topping.
- Easy Chocolate Peanut Butter Cookies: Soft, chewy, and bursting with the perfect blend of chocolate and peanut butter in cookie form.
- 2-Ingredient Chocolate Peanut Butter Fudge: If you thought 5 ingredients was easy, wait until you try our even simpler 2-ingredient version!
We hope you enjoy trying this incredibly easy and delicious microwave chocolate peanut butter fudge recipe. It’s a perfect treat for any occasion, simple enough for beginners, and always a crowd-pleaser. Once you’ve made it, please come back and leave a comment and a star rating to let us know what you think!
Pin
Chocolate Peanut Butter Fudge Recipe
Ingredients
- 12 oz Semi-Sweet Chocolate Chips
- 14 oz Sweetened Condensed Milk
- 1 1/2 cup Creamy Peanut Butter
- Peanuts and Chocolate Chips for topping – Optional
Instructions
-
Place the chocolate chips in a microwave-safe dish. Microwave the chips in 30-second intervals, stirring between each interval until they are completely melted and smooth. Be careful not to burn the chocolate.
-
Add the sweetened condensed milk and creamy peanut butter to the melted chocolate. Stir thoroughly until the mixture is entirely smooth and glossy, with no streaks of unmixed ingredients.
-
Line an 8×8 inch baking dish with aluminum foil or parchment paper, ensuring there’s an overhang on all sides for easy removal. Pour the fudge mixture into the prepared pan and spread it evenly with a spatula. Immediately top with the optional extra chocolate chips and peanuts.
-
Allow the fudge to cool at room temperature for about 15-20 minutes, then transfer the pan to the refrigerator to set completely. This will typically take at least 1 hour, but leaving it for 2-3 hours or overnight ensures the best firm texture. Once set, lift the fudge from the pan using the overhang, cut into squares using a warm, sharp knife, and serve. Enjoy your homemade, no-bake chocolate peanut butter fudge!
Nutrition Facts
Pin This Now to Remember It Later
Pin Recipe
