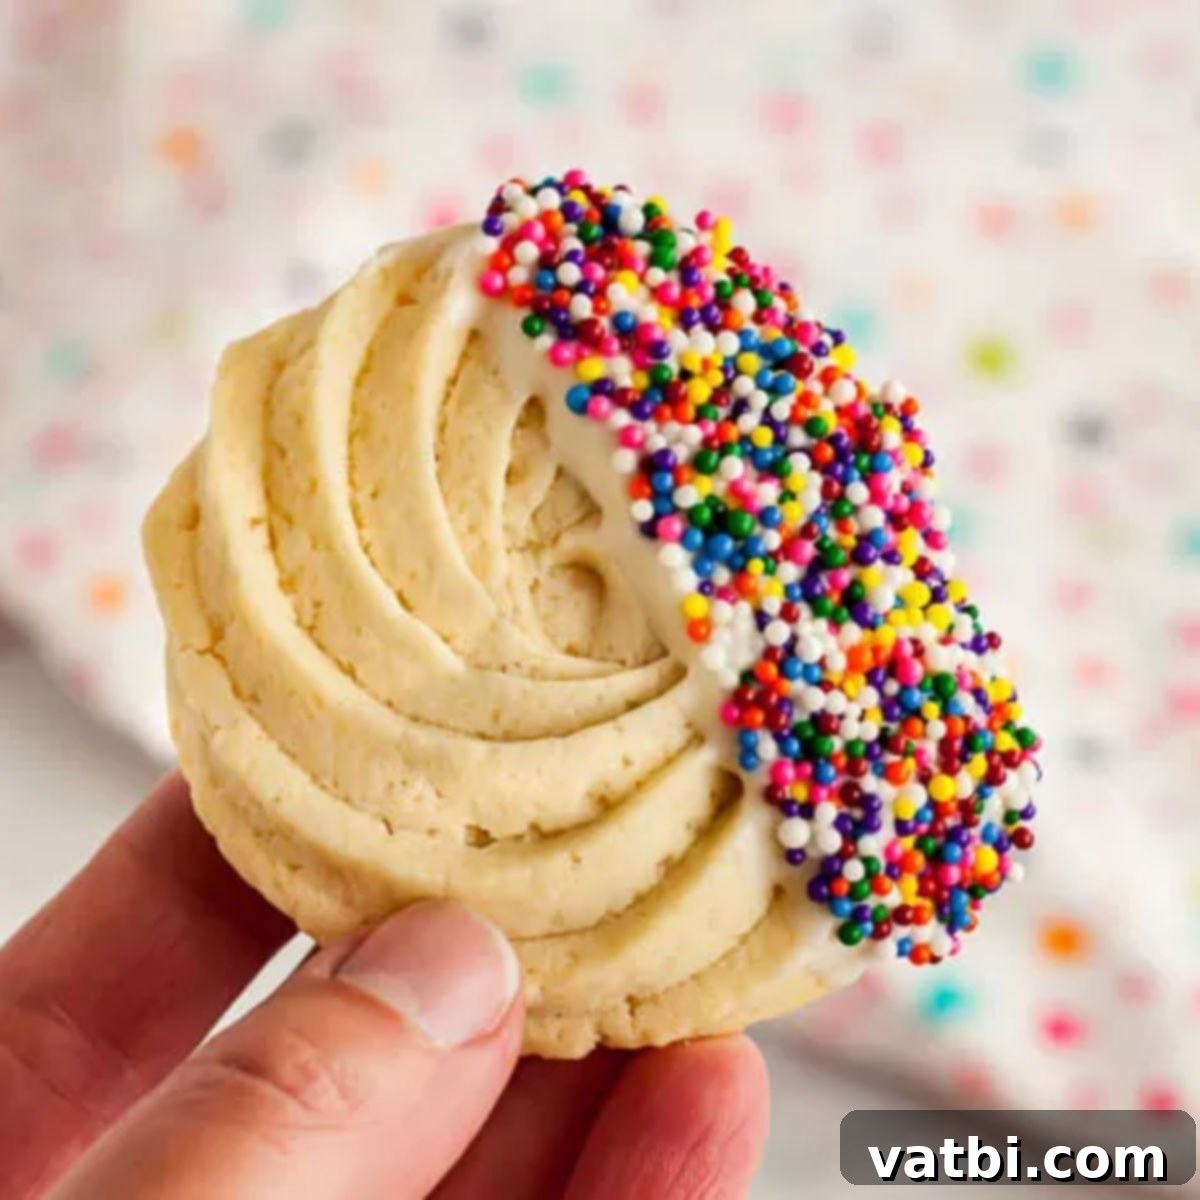
Easy Melt-in-Your-Mouth Butter Cookies Recipe: A Classic Treat for Any Occasion
Discover the delightful simplicity of baking homemade **Butter Cookies** with this incredibly easy recipe. Requiring just a few staple ingredients, these classic cookies come together quickly to create a **tasty, gorgeous, and utterly irresistible treat**. Perfect for a festive cookie exchange, an elegant dessert platter, or simply a comforting snack any day of the week, these butter cookies are sure to impress with their delicate texture and rich flavor.
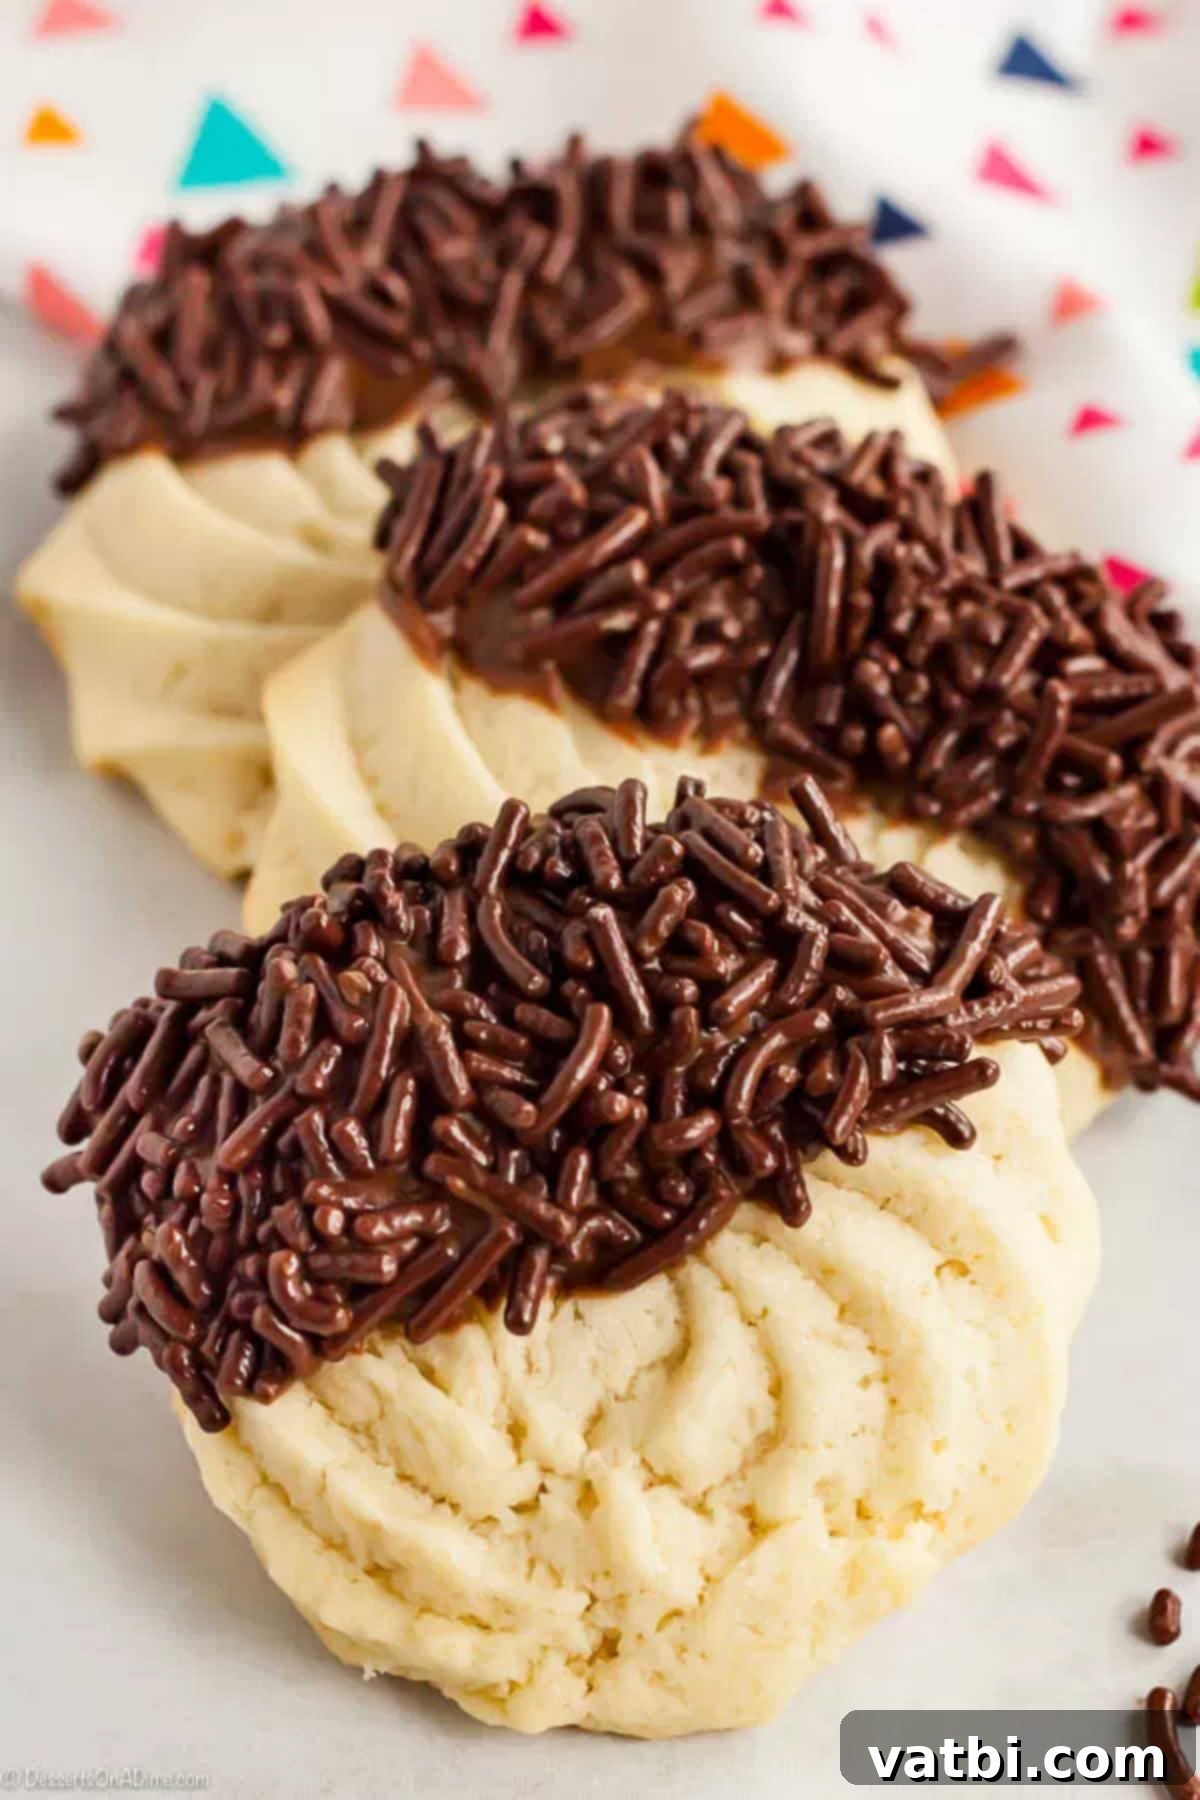
These butter cookies are renowned for their incredible ability to **melt in your mouth**, offering a buttery richness that is simply divine. Their dough is wonderfully versatile, making it easy to create beautiful designs and shapes, especially when piped. Despite their elegant appearance, everyone will be surprised to learn how effortless this cookie recipe truly is!
Whether you prefer them plain, showcasing their pure, buttery essence, or jazzed up with a sweet icing and colorful sprinkles, these cookies are a guaranteed hit. They are fantastic for gifting, sharing, or enjoying as a special moment of indulgence. No matter how you choose to personalize them, these homemade butter cookies will undoubtedly become a family favorite.
If you’re a fan of delicious desserts, you might also enjoy my Cookie Butter Cheesecake, Strawberry Chocolate Chip Cookies, and Coffee Cake Cookies.
Table of contents
- Why We Love This Recipe
- Key Ingredients for Perfect Butter Cookies
- How to Make Butter Cookies Step-by-Step
- Storage & Freezing Tips
- Variations and Customizations
- FAQs About Butter Cookies
- Pro Tips for Baking Success
- More Easy Cookie Recipes
Why We Love This Easy Butter Cookie Recipe
There are countless reasons to adore this butter cookie recipe. It effortlessly brings the quality of a professional bakery right into your kitchen. With minimal steps and a straightforward list of ingredients, even novice bakers can achieve perfectly golden, tender butter cookies. You’ll be captivated by their delightful taste and exquisite texture – a truly irresistible combination.
These cookies aren’t just delicious; they’re also incredibly versatile and visually appealing. Their elegant simplicity makes them suitable for any occasion, from a casual afternoon tea to a fancy holiday gathering. They’re a wonderful way to introduce children to the joys of baking, as they are one of the Easiest Cookie Recipes for Kids to help with. The joy of creating something so beautiful and tasty from scratch is a reward in itself.
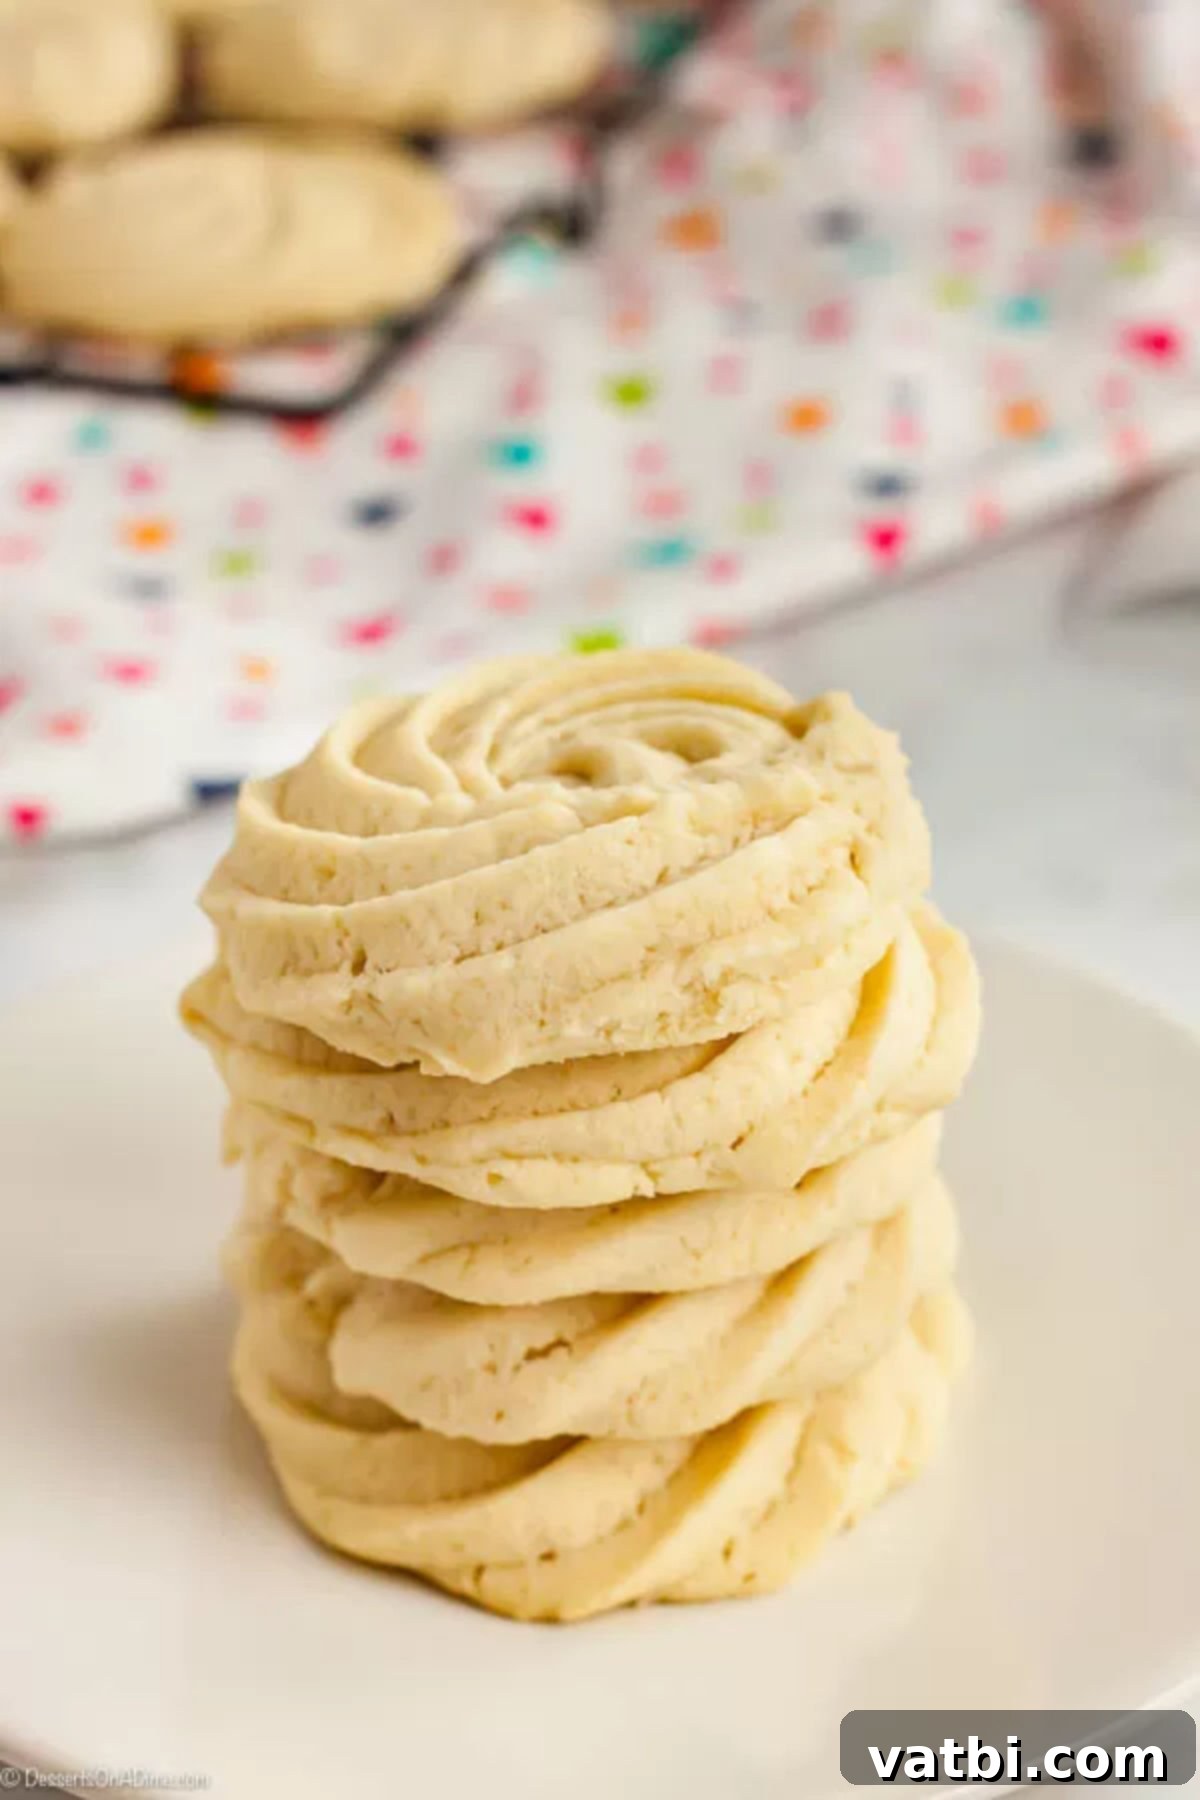
Key Ingredients for Perfect Butter Cookies
The secret to incredible butter cookies lies in high-quality ingredients and proper preparation. Here’s a closer look at what you’ll need and why each component is vital:
- Unsalted Butter: This is the star of the show! Always use unsalted butter to control the overall saltiness of your cookies. It’s crucial that the butter is softened to room temperature, which allows it to cream properly with the sugar, creating a light and airy base for your dough. Forgetting to soften butter is a common mistake, so plan ahead or use a quick softening trick (see FAQs!).
- Granulated Sugar: Provides sweetness and contributes to the crisp-yet-tender texture of the cookies. It also helps in the creaming process, working with the butter to incorporate air.
- Salt: A small amount of salt is essential to balance the sweetness and enhance the rich buttery flavor of the cookies. Don’t skip it!
- Egg Yolks: This recipe specifically calls for egg yolks, not whole eggs. The yolks add richness, tenderness, and a beautiful golden color to the cookies, without adding extra moisture from the whites that could make them spread too much.
- Vanilla Extract: A classic flavor enhancer that complements the butter perfectly. For a slight variation, you could experiment with almond extract for a different, equally delicious profile. Make sure to use good quality vanilla for the best flavor.
- All-Purpose Flour: The structural backbone of the cookie. When measuring flour, it’s best to spoon it into the measuring cup and then level it off, rather than scooping directly from the bag. This prevents compacting the flour, which can lead to a dense, dry cookie.
- Milk: A small amount of milk helps achieve the perfect consistency for piping. Start with the recommended amount and add a tiny bit more only if the dough is too stiff. Too much milk can cause the cookies to spread excessively during baking. Whole milk is often preferred for its richness, but any milk you have on hand will work.
You can find the complete list of ingredients with exact measurements at the bottom of this page in the recipe card.
How to Make Butter Cookies Step-by-Step
Crafting these delectable butter cookies is a straightforward process. Follow these simple steps for perfectly baked treats every time:
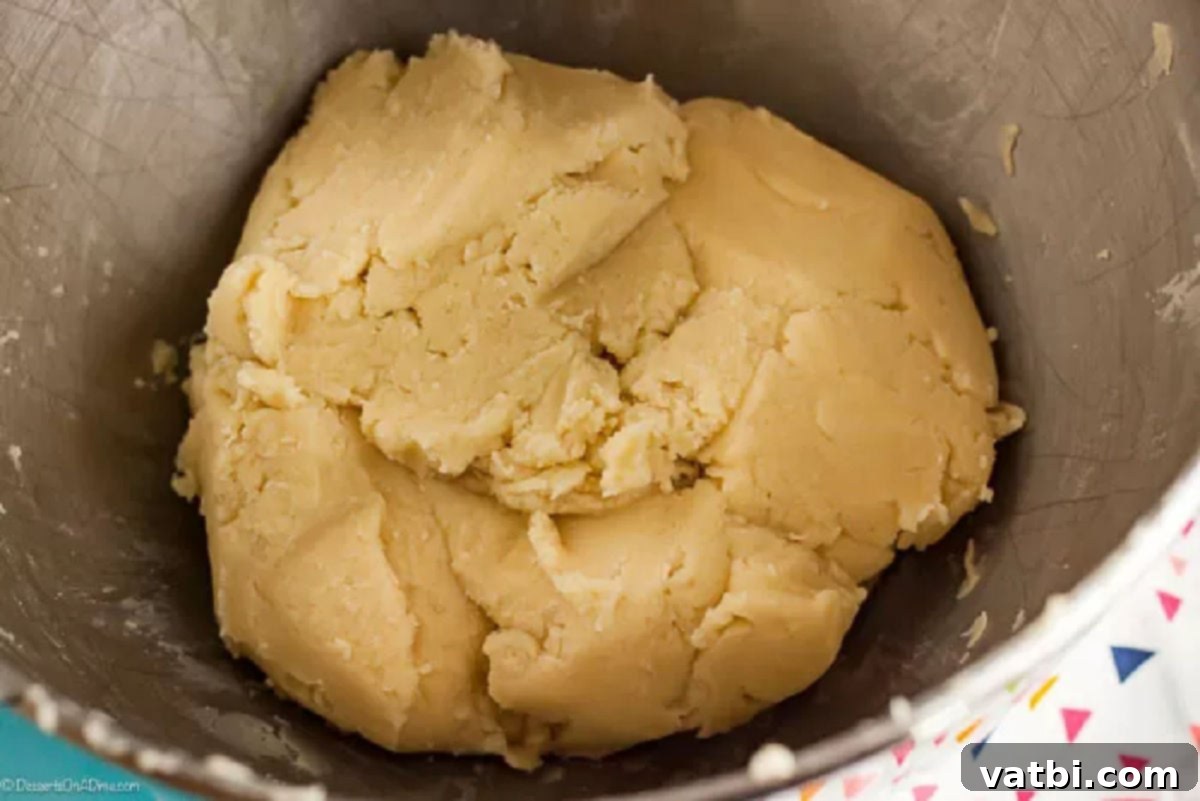
Step 1: Cream the Wet Ingredients. Begin by preheating your oven to 350°F (175°C). In the bowl of a stand mixer fitted with the paddle attachment (or using a hand mixer), cream together the softened unsalted butter, granulated sugar, and salt until the mixture is light, fluffy, and pale in color. This creaming process incorporates air, which contributes to the cookies’ tender texture. Next, beat in the egg yolks one at a time, followed by the vanilla extract, ensuring everything is well combined.
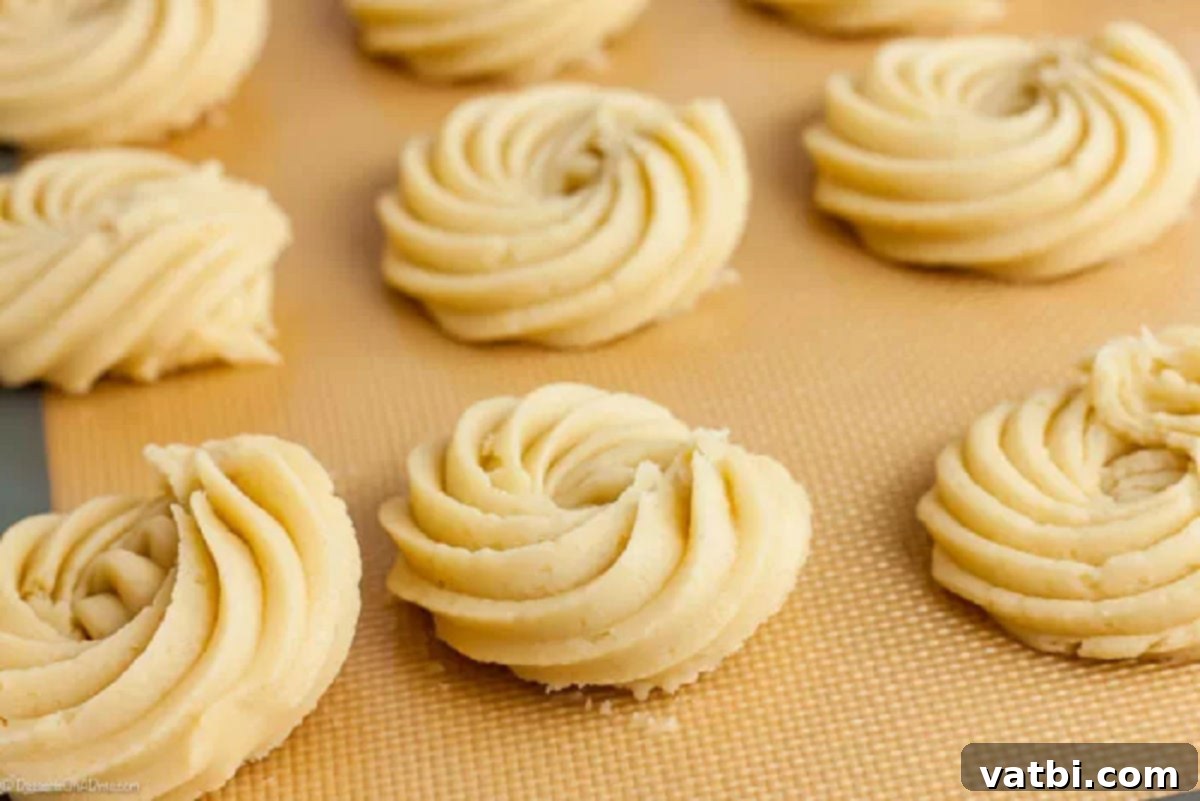
Step 2: Combine with Dry Ingredients and Pipe. Gradually add the all-purpose flour to the wet mixture, mixing on low speed until the dough just comes together and appears crumbly. At this point, add the milk, mixing until a soft, pipe-able dough forms. Be careful not to overmix, as this can develop the gluten too much, resulting in tough cookies. If the dough seems too thick, add an additional 1-2 teaspoons of milk, but always aim to use as little as possible to prevent excessive spreading during baking. Once the dough is ready, transfer it to a large piping bag fitted with a large open star tip (or a round tip, if you prefer). Pipe desired shapes onto two ungreased baking sheets. If you often find your cookies spread, consider chilling the piped dough on the baking sheets for 30 minutes before baking.
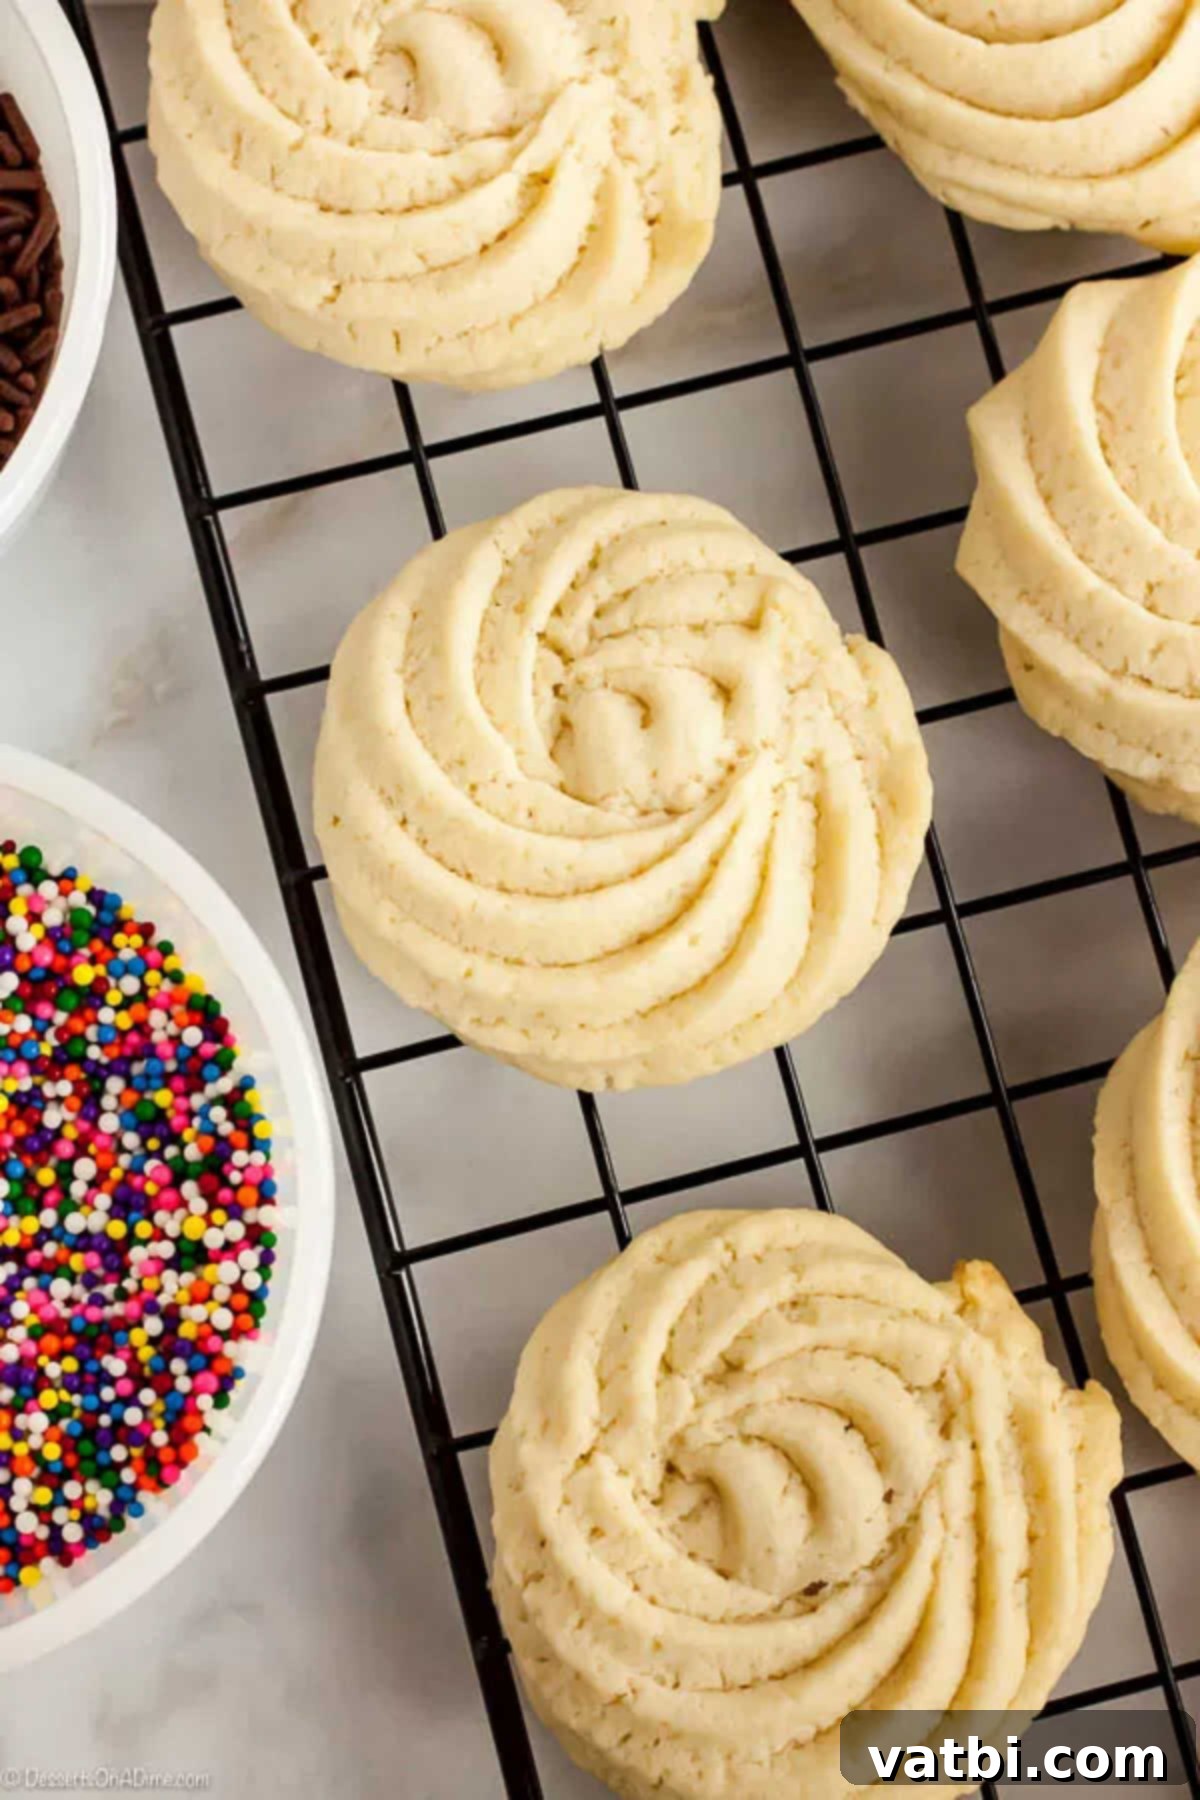
- Step 3: Bake and Cool. Bake the cookies one sheet at a time in your preheated oven for about 12-16 minutes, or until the edges are lightly golden brown. The baking time can vary depending on your oven and the size of your cookies, so keep a close eye on them. Once baked, allow the cookies to cool on the baking sheet for about 5 minutes. This helps them firm up and prevents breakage. After 5 minutes, carefully transfer them to a wire rack to cool completely.
Storage & Freezing Tips for Butter Cookies
Proper storage is key to keeping your butter cookies fresh and delicious. Once completely cooled, store these cookies at room temperature in an airtight container. They will maintain their quality and delightful texture for up to 5-7 days. For an extra tip to keep them exceptionally soft, place a slice of plain white bread in the container with the cookies. The cookies will absorb moisture from the bread, helping them stay tender.
Butter cookies also freeze beautifully, allowing you to enjoy them long after baking. To freeze baked cookies, ensure they are completely cool, then place them in a single layer on a baking sheet to flash freeze for about an hour. Once solid, transfer them to a freezer-safe bag or airtight container, separated by parchment paper, and store them for up to 2-3 months. Thaw at room temperature before serving.
You can also freeze the cookie dough itself! Learn more about How to Freeze Cookie Dough for future baking. If freezing the dough, it’s best to pipe the shapes onto parchment-lined baking sheets, flash freeze, and then transfer the solid shapes to a freezer bag. When ready to bake, you can often bake them directly from frozen, adding a few extra minutes to the baking time.
Variations and Customizations for Your Butter Cookies
While classic butter cookies are perfect on their own, their simple flavor profile makes them an excellent canvas for customization. Get creative and make them your own!
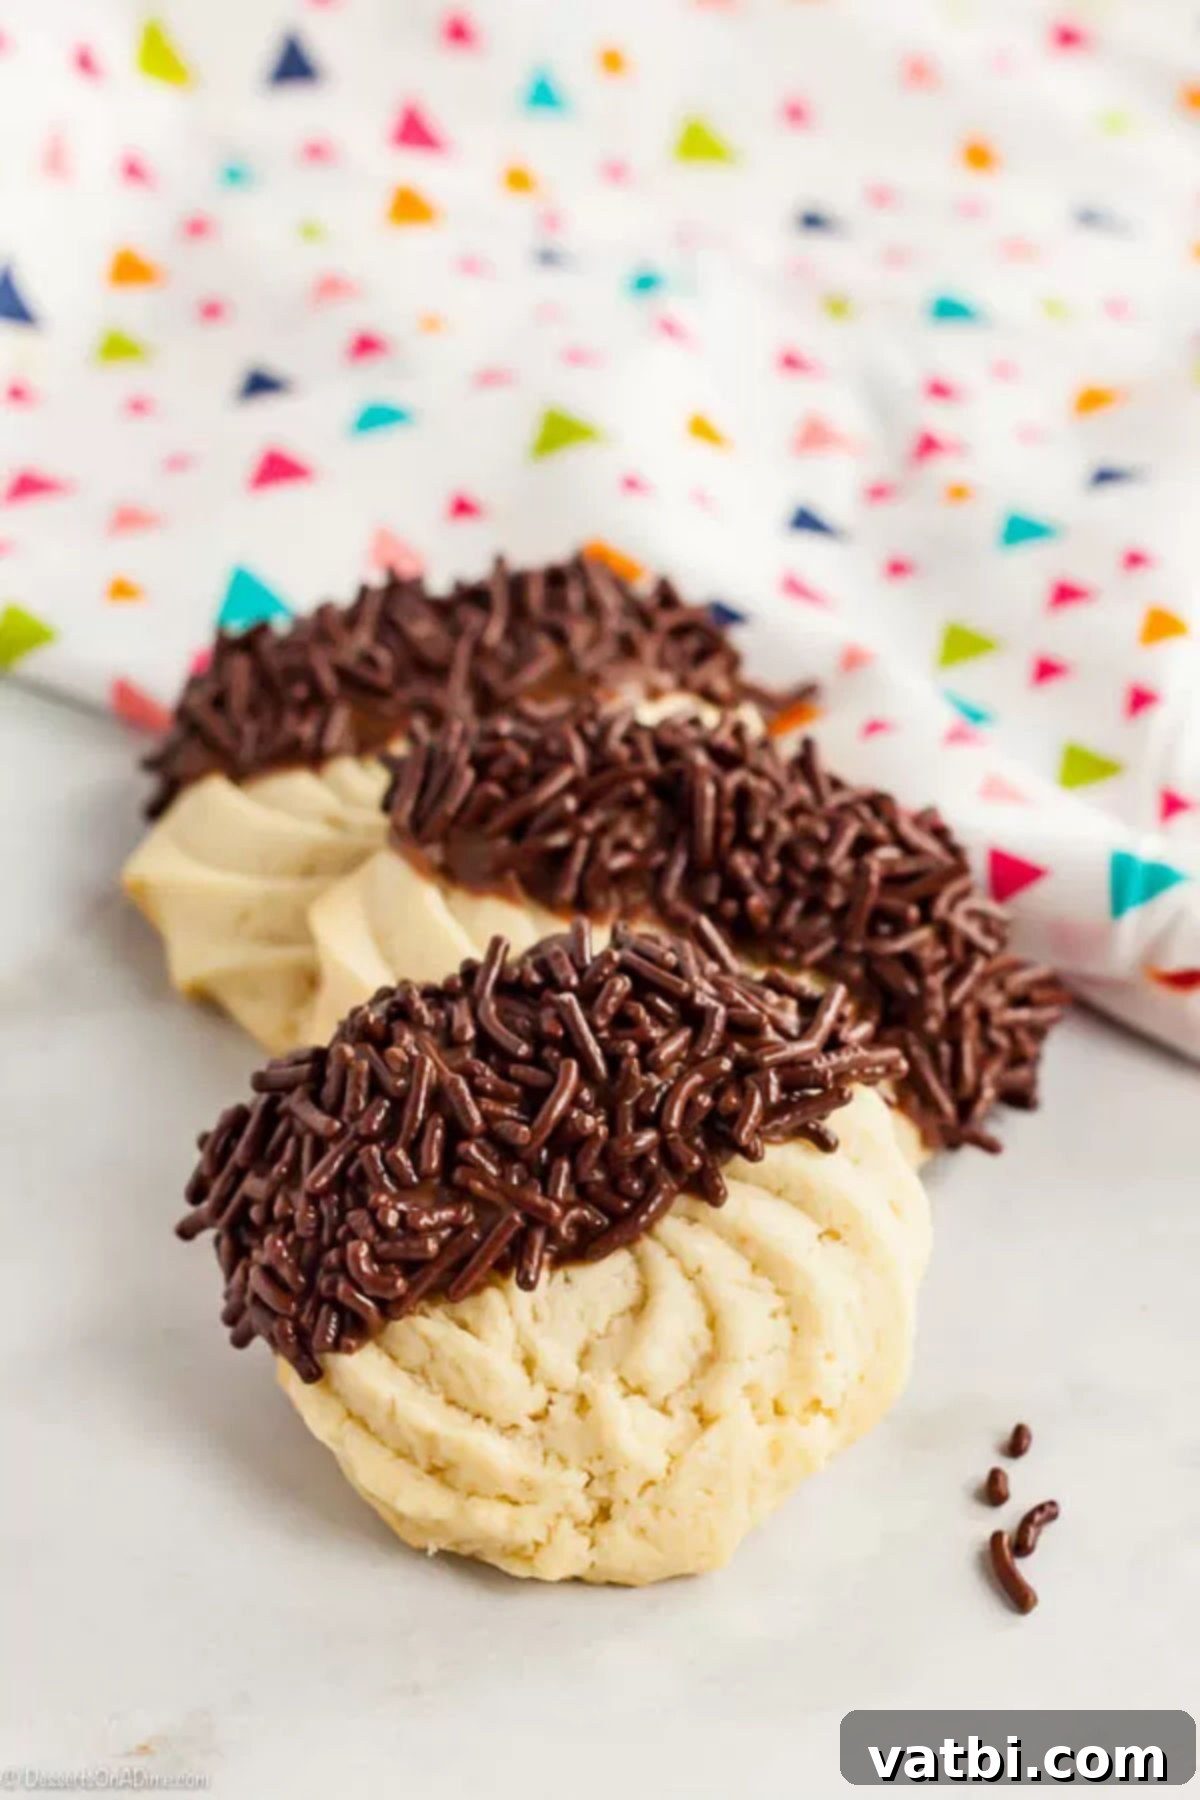
- **Chocolate Dipped:** A fan favorite! Once cooled, dip half of each cookie into melted milk, dark, or white chocolate. You can then add sprinkles for extra flair.
- **Sprinkles:** Add sprinkles immediately after piping the dough onto the baking sheet (before baking) for a festive look, or sprinkle them over chocolate-dipped cookies.
- **Simple Glaze:** A basic glaze made from powdered sugar, a touch of milk, and vanilla extract can elevate these cookies. Drizzle or dip for a sweet, shiny finish.
- **Citrus Zest:** For a brighter flavor, add 1-2 teaspoons of finely grated lemon or orange zest to the butter and sugar mixture.
- **Other Extracts:** Replace or combine vanilla extract with almond, peppermint, or even a hint of rum extract for different flavor profiles.
- **Thumbprint Cookies:** Make a small indentation in the center of each piped cookie before baking and fill with your favorite jam or fruit preserve after they’ve cooled.
- **Chocolate Chips/Mini Candies:** Fold in mini chocolate chips or finely chopped candies into the dough for added texture and flavor.
FAQs About Butter Cookies
While not always strictly necessary, chilling the dough can be very beneficial. If you normally have issues with cookies spreading too much during baking, chilling the dough for at least 30 minutes before baking helps to solidify the butter, preventing the cookies from losing their shape. It’s an easy step that can make a big difference, especially for piped designs.
No, butter cookies are not the same as shortbread cookies, though they share a buttery foundation. The main differences lie in the ingredients and baking process. Butter cookies typically have more sugar and may include egg yolks and a small amount of milk, leading to a slightly softer, often pipe-able dough. Shortbread, on the other hand, is traditionally made with just three ingredients: butter, sugar, and flour, and bakes at a lower temperature, resulting in a dense, crumbly, and crisp texture.
For baking cookies, **unsalted butter is always best**. This allows you, the baker, to have precise control over the amount of salt in your recipe. Different brands of salted butter can have varying salt levels, which can lead to unpredictable results. It’s easy to grab the wrong one at the store, so make sure to double-check for the “unsalted” label!
Most cookie recipes call for softened butter, and it’s easy to forget to set it out in advance. If you need to soften butter quickly, here’s a handy trick: Place water in a microwave-safe bowl that is large enough to fit over your stick of butter. Microwave the water for about 2 minutes, or until it’s very hot and steaming. Carefully pour out the hot water, then immediately invert the warm bowl over the butter stick on your counter or cutting board. The residual heat in the bowl will gently and quickly soften the butter to the perfect consistency in just a few minutes, without melting it.
Butter cookies, sometimes known as Danish biscuits, originate from Denmark. They are a beloved classic cookie primarily made from butter, flour, and sugar, often with the addition of egg yolks and a hint of vanilla or other flavorings. Characterized by their rich, melt-in-your-mouth texture and beautiful piped shapes, they are soft, delicate, and deliciously simple, making them a timeless favorite.
While both are popular, there are several key differences between sugar and butter cookies. The main distinction is often the amount of sugar; butter cookies generally call for more sugar than traditional sugar cookies. Additionally, they often have different fat-to-flour ratios, and the baking temperatures can vary. Sugar cookies typically have a sturdier dough, making them ideal for rolling out and cutting into shapes, and result in a firmer, often crispier cookie. Butter cookies, on the other hand, usually yield a softer, more tender, and crumbly texture, perfect for piping or a classic drop shape.
Yes, these butter cookies freeze exceptionally well! To freeze, ensure they are completely cooled. Place them in a single layer on a baking sheet and flash freeze for about an hour until solid. Then, transfer them to a freezer bag or an airtight freezer-safe container, using parchment paper between layers to prevent sticking. They can be stored in the freezer for up to 2-3 months. When you’re ready to enjoy them, simply defrost them at room temperature. For best results, I recommend freezing them before adding any frosting or sprinkles; you can then easily decorate them once thawed.
Pro Tips for Baking Success
Achieving bakery-perfect butter cookies is easy with these insider tips:
- Use Baking Liners or Parchment Paper: Always line your baking sheets with silicone baking mats or parchment paper. This ensures easy cleanup and helps the cookies bake evenly without sticking. Your cookies will turn out perfectly shaped every time!
- Chill the Dough: As mentioned in the FAQs, if your kitchen is warm or if you find your dough too sticky to work with, a quick chill in the refrigerator (30 minutes to an hour) can make a huge difference. Chilled dough holds its shape better and prevents excessive spreading.
- Room Temperature Ingredients are Key: This cannot be stressed enough! Softened butter, but not melted, creams much better with sugar, creating a smooth, emulsified mixture that traps air. Room temperature eggs (specifically the yolks in this recipe) also blend more uniformly into the batter, preventing curdling and resulting in a smoother, more consistent dough and a better final texture.
- Don’t Overmix: Once you add the flour, mix only until the ingredients are just combined. Overmixing develops the gluten in the flour, which can lead to tough, chewy cookies instead of the desired tender, melt-in-your-mouth texture.
- Accurate Oven Temperature: An accurately calibrated oven is crucial for consistent baking results. Consider using an oven thermometer to ensure your oven is preheating to the correct temperature.
- Don’t Overcrowd the Baking Sheet: Give your cookies enough space to bake evenly. Placing too many cookies on one sheet can inhibit air circulation, leading to uneven baking and potentially sticking together.
- Quality Ingredients Matter: Since butter is the star ingredient, using high-quality butter will significantly impact the flavor of your cookies. Choose a good brand for the best taste.
More Easy Cookie Recipes to Try
If you’ve enjoyed making these delicious butter cookies, you’ll love exploring more easy and delightful cookie recipes:
- Cake Mix Chocolate Chip Cookie Recipe
- Chocolate Dipped Sugar Cookies Recipe
- Lemon Cool Whip Cookies
- Chocolate Crinkle Cookie Recipe
- Italian Cookies Recipe
- Funfetti Cookies Recipe
Go ahead and make this simple, yet fabulous, butter cookie recipe today. You’ll be amazed at how quickly these bakery-quality treats come together in your own kitchen. Please leave a comment once you do – I’d love to hear how they turn out!
Pin
Butter Cookies
Ingredients
- 1 cup unsalted butter softened
- 2/3 cup granulated sugar
- 1/4 tsp salt
- 2 large egg yolks
- 1 tsp vanilla extract
- 2 cups all-purpose flour
- 2 tsp milk
Instructions
-
Preheat oven to 350 degrees F (175 C).
-
In the bowl of an electric stand mixer cream together butter, sugar and salt until light and fluffy.
-
Mix in egg yolks and vanilla extract until well combined.
-
Gradually add flour and mix until crumbly. Then, add in milk, mixing until the dough is smooth and pipe-able (if needed, add another 1-2 tsp milk for a softer consistency, but add as little as possible for less spreading).
-
Transfer the dough to a 16-inch piping bag fitted with a large open star tip (I like this tip https://amzn.to/31kK3rU).
-
Pipe dough into desired shapes (rounds, rosettes, etc.) onto two ungreased baking sheets (if you normally have issues with cookies spreading, chill the piped dough for 30 minutes on baking sheet before baking).
-
Bake one sheet at a time in the preheated oven until golden brown on the bottom, about 12-16 minutes.
-
Let cool on the baking sheet for 5 minutes, then transfer to a wire rack to cool completely. Store in an airtight container once fully cooled.
Recipe Notes
Nutrition Facts
Pin This Now to Remember It Later
Pin Recipe
