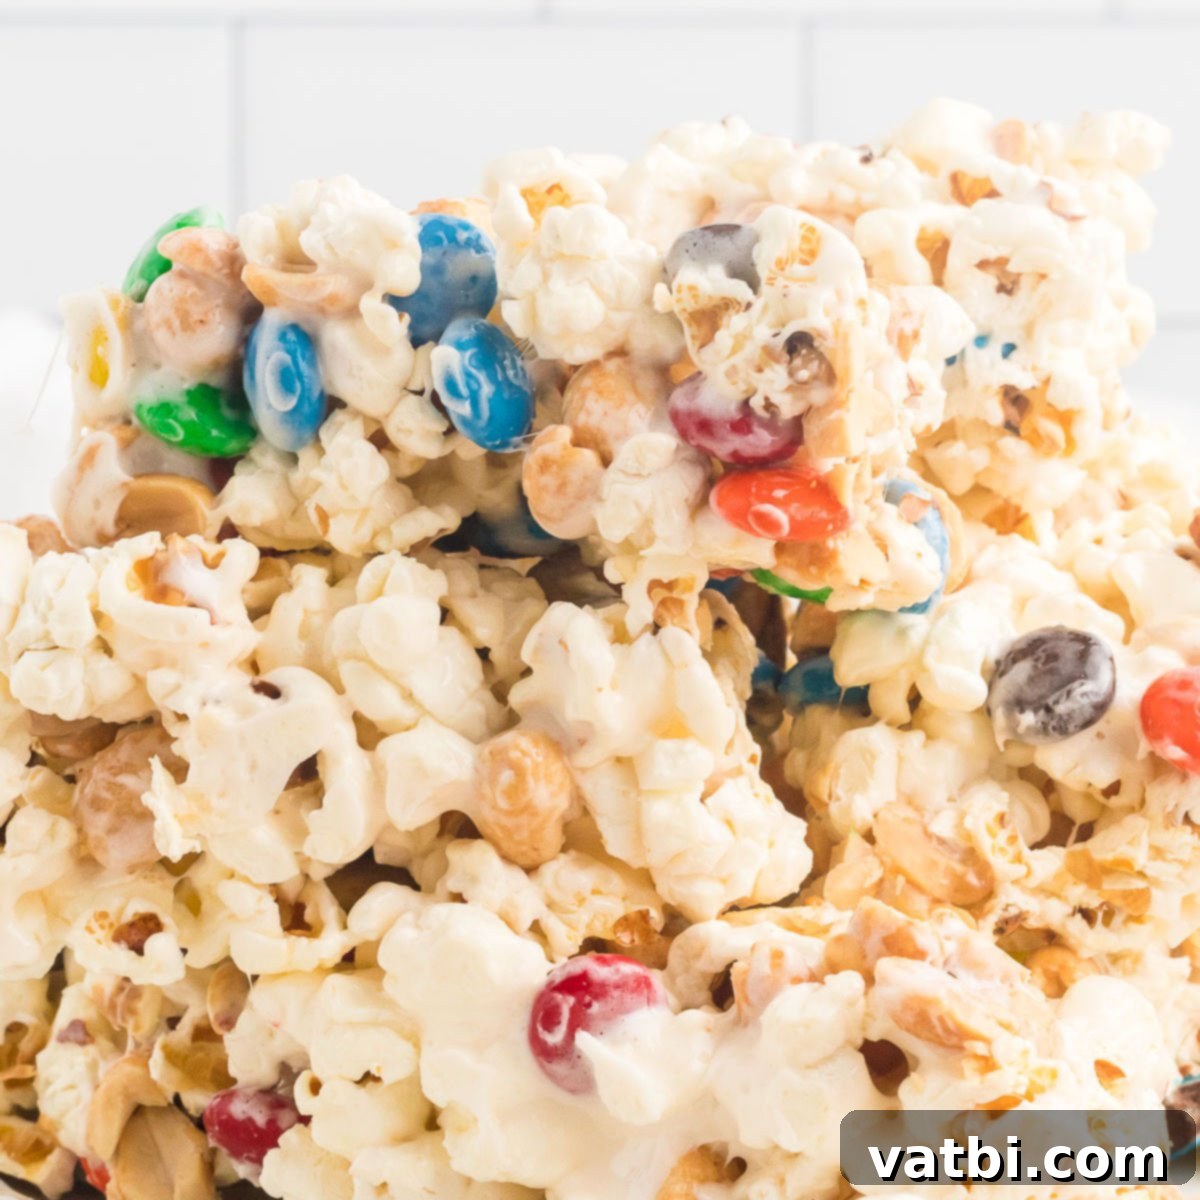
Easy No-Bake Popcorn Bars: The Ultimate Sweet & Salty Treat for Any Occasion
There are some desserts that just hit differently, combining simplicity with an explosion of flavor and texture. Popcorn Bars are precisely that kind of magical creation. Imagine combining the irresistible chewiness of gooey marshmallows with the satisfying crunch of freshly popped popcorn, enhanced by the salty kick of peanuts and the colorful sweetness of M&M’s. This isn’t just a treat; it’s an experience that captivates taste buds of all ages!
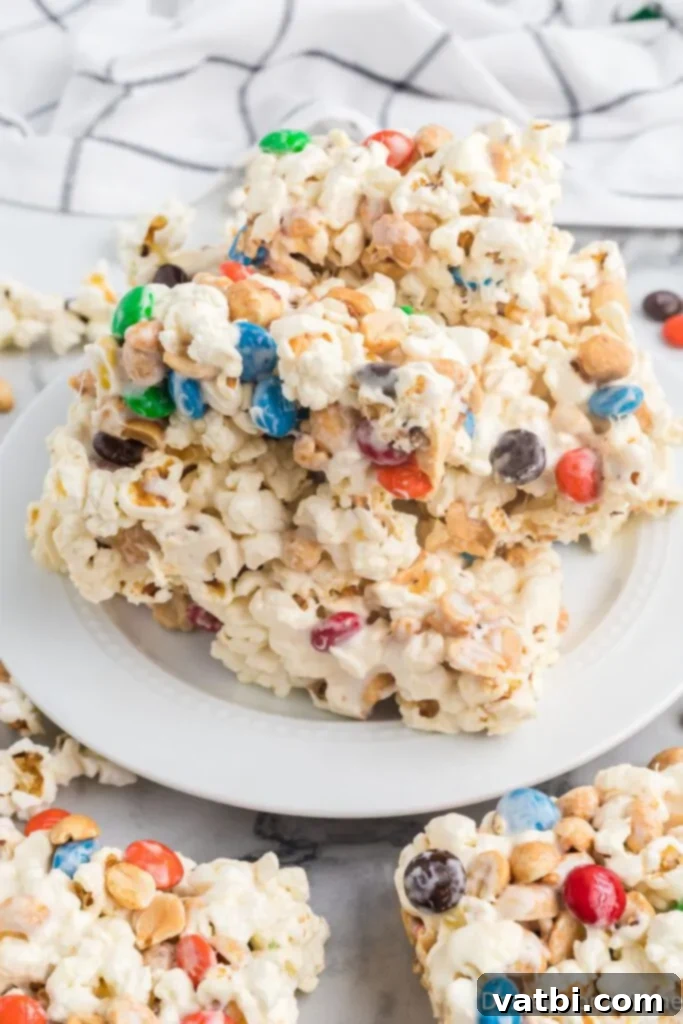
I’ve been whipping up these delightful Popcorn Bars for over a decade, and without fail, they are always a crowd-pleaser. Whether it’s a school bake sale, a family gathering, a movie night, or just a simple craving for something sweet and satisfying, these bars are guaranteed to bring smiles. Their charm lies not only in their incredible taste but also in their effortless preparation. You might think of them as a sophisticated, more textured cousin to classic Rice Krispie Treats, offering a delightful twist with the airy crunch of popcorn and a host of other exciting mix-ins.
These no-bake wonders are incredibly versatile, making them perfect for any event. From customizing them for holiday themes to simply using whatever candies you have on hand, the possibilities are endless. Plus, they come together so quickly, minimizing your time in the kitchen and maximizing your time enjoying this irresistible snack. If you love easy, fun, and flavorful desserts, this popcorn bars recipe is about to become your new favorite!
If you love no-bake delights, you’ll also adore our Popcorn Ball Recipes, perfect for parties and special events. The world of No Bake Desserts is incredibly fun and full of possibilities! Don’t forget to explore other popcorn creations like Red Hot Cinnamon Popcorn and Glazed Donut Popcorn for more exciting flavors that will keep your snack game strong.
What’s in this post: Popcorn Bars Recipe
- Why These Popcorn Bars are Absolutely Amazing
- Essential Ingredients for Perfect Popcorn Bars
- Creative Substitutions and Delicious Additions
- Step by Step Instructions for Irresistible Popcorn Bars
- Pro Tips for Perfect Popcorn Bars Every Time
- Storage Best Practices for Fresh Popcorn Bars
- Frequently Asked Questions About Popcorn Bars
- More Easy No Bake Bars You’ll Love
- Popcorn Bars Recipe
Why These Popcorn Bars are Absolutely Amazing
- Unbelievably Inexpensive Ingredients. One of the best aspects of these popcorn bars is how incredibly budget-friendly they are. You likely already have many of the core ingredients like popcorn, butter, and marshmallows in your pantry, making them an economical choice for feeding a crowd or simply satisfying a sweet craving without breaking the bank. Simple, readily available items transform into an impressive and delicious treat that everyone will love.
- Effortless No-Bake Recipe. Say goodbye to heating up your kitchen, especially on warm days! This recipe requires absolutely no baking, making it incredibly easy and convenient. It’s the perfect solution when you need a quick dessert for a party, a last-minute snack for unexpected guests, or just want to avoid turning on the oven. The simplicity of assembly also makes it a fantastic recipe for getting kids involved in the kitchen, fostering a love for cooking and creating delicious memories.
- Irresistibly Tasty Bars with Perfect Texture. Each bite of these popcorn bars is a delightful medley of textures and flavors that will have you reaching for another. You get the soft, chewy goodness of melted marshmallows, the satisfying light crunch of popcorn, the nutty depth of salted peanuts, and the colorful, melt-in-your-mouth chocolatey bits of M&M’s. It’s a harmonious blend of sweet and salty, chewy and crispy, making them truly addictive and a standout dessert. They offer a unique eating experience that stands out from typical bar cookies, making them a memorable treat.
- Highly Customizable. This recipe is a blank canvas for your creativity! Easily swap out candies, add different nuts, drizzle with chocolate, or incorporate sprinkles to match any holiday, event, or personal preference. It’s a versatile treat that can be adapted endless ways, ensuring you never get bored and can always surprise your guests with new flavor combinations.
- Quick to Prepare. From start to finish, the active preparation time for these bars is minimal. You can have the mixture ready and pressed into the pan in a matter of minutes, leaving only the setting time before you’re ready to slice and serve. This makes them ideal for busy schedules when you need a delicious treat without a lot of fuss or lengthy baking processes.
Essential Ingredients for Perfect Popcorn Bars
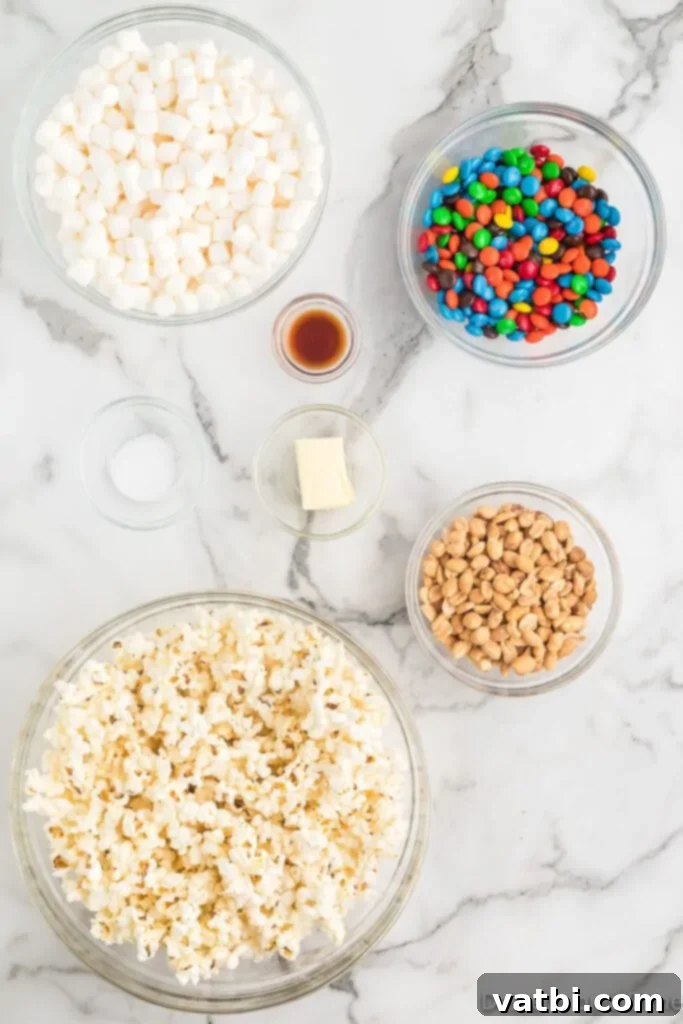
The beauty of this recipe lies in its simplicity and the readily available nature of its core components. Here’s what you’ll need to create these scrumptious and easy-to-make popcorn bars:
- Popped Popcorn: The fluffy, light base of our bars! Aim for about 10 cups of popped popcorn, which usually comes from about 1/2 cup of unpopped kernels. It’s crucial to remove any unpopped kernels before mixing to ensure a smooth, enjoyable texture and avoid any hard surprises. You can use air-popped, stovetop-popped, or even plain microwave popcorn.
- Mini Marshmallows: These are the magic behind the gooey, chewy texture. Mini marshmallows melt more quickly and evenly than larger ones, making the marshmallow mixture smoother and easier to work with. A 10.5 oz bag is typically the perfect amount.
- Unsalted Butter: Butter is essential for creating a rich, smooth, and pliable marshmallow mixture. Using unsalted butter allows you to control the overall saltiness of the bars, especially since we’re adding salted peanuts.
- Vanilla Extract: A touch of pure vanilla extract elevates the flavor profile, adding warmth and a hint of sophisticated sweetness that beautifully complements the other ingredients. Don’t skip this for a truly gourmet taste.
- Salt: A pinch of salt is vital for balancing the sweetness of the marshmallows and M&M’s, enhancing all the flavors and creating that irresistible sweet and salty contrast. If you’re using particularly salty popcorn or very salted peanuts, you might reduce this slightly.
- Salted Peanuts: These provide a fantastic savory crunch and an essential salty element that perfectly contrasts the sweet marshmallow base. Roasted, salted peanuts are highly recommended for the best flavor and texture.
- M&M’s: These colorful chocolate candies add a delightful pop of color, a satisfying chocolatey flavor, and an extra layer of sweetness and crunch. Regular milk chocolate M&M’s work perfectly, but feel free to experiment with different varieties for unique twists.
Find the exact measurements and the complete, printable recipe card at the very bottom of this post, making it super easy to follow along!
Creative Substitutions and Delicious Additions
This Popcorn Bars recipe is incredibly versatile, allowing you to easily customize it to your personal preferences, dietary needs, or even seasonal themes. Don’t be afraid to get creative and make these no-bake treats truly your own!
- Different Nuts. If peanuts aren’t your favorite, or if you want to elevate the flavor, consider substituting them with other nuts. Cashews offer a creamy, buttery taste, while macadamia nuts bring a rich, tropical note. Almonds or pecans would also provide a lovely crunch and different flavor profiles. For a nut-free option, try sunflower seeds or pumpkin seeds for a similar textural element.
- M&M’s Varieties. The possibilities with M&M’s are endless and can drastically change the flavor profile! Beyond the classic milk chocolate, try peanut butter M&M’s for an extra nutty kick, caramel M&M’s for gooey centers, or even seasonal M&M’s to match holidays like vibrant red and green for Christmas, soft pastels for Easter, or spooky orange and black for Halloween.
- Other Candy Mix-Ins. This is where the fun truly begins! Roughly chopped Heath bars add a delightful toffee crunch, Butterfinger pieces contribute a unique peanut butter crispiness, and Snickers or Twix chunks can turn these into a truly decadent, candy-bar-inspired dessert. Almost any chocolate-covered candy or bite-sized sweet can be a fantastic addition.
- Chocolate Chips. For an extra layer of chocolatey goodness, sprinkle in some chocolate chips along with the M&M’s, or even use them as a standalone mix-in. Semi-sweet, milk chocolate, or even rich dark chocolate chips would be delicious. White chocolate chips also offer a creamy contrast.
- Peanut Butter Chips. If you’re a true peanut butter lover, tossing in a cup of peanut butter chips is a must! They melt beautifully into the mixture, creating an even richer, more intense peanut butter flavor throughout the bars, perfectly complementing the peanuts.
- Drizzle Chocolate. Once the bars are pressed into the pan and slightly cooled but not fully set, melt some extra chocolate (milk, dark, or white) and drizzle it decoratively over the top. This adds a beautiful, professional-looking finish and an extra layer of chocolate flavor. A sprinkle of flaky sea salt over the chocolate drizzle before it sets takes it to an entirely new level of gourmet.
- Sprinkles. For a festive and fun touch, mix colorful sprinkles directly into the popcorn mixture before adding the marshmallow, or generously scatter them over the top of the bars while the marshmallow is still tacky. This is perfect for birthdays, graduations, holidays, or any celebration where a pop of color is desired.
- Holiday and Seasonal Customization. As mentioned, seasonal M&M’s are an incredibly easy way to adapt these bars for any holiday. You can also use food coloring to tint the marshmallow mixture to match a specific holiday theme – think vibrant green for St. Patrick’s Day, romantic red for Valentine’s Day, or earthy tones for Thanksgiving. Add themed sprinkles, or incorporate relevant candy pieces (e.g., candy corn for Halloween, crushed candy canes for Christmas).
Step by Step Instructions for Irresistible Popcorn Bars
Making these delightful no-bake popcorn bars is incredibly straightforward and doesn’t require any fancy equipment. Just follow these simple steps for a perfect batch every single time!
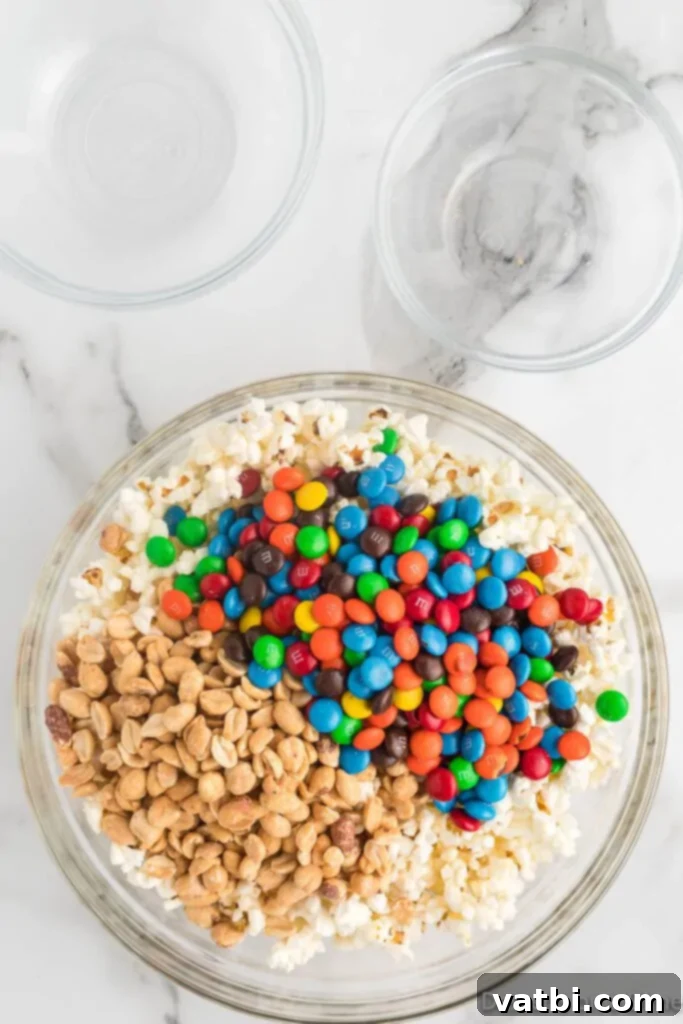
Step 1. Prepare Your Dry Ingredients. In a very large mixing bowl, combine your freshly popped popcorn (making sure to remove any unpopped kernels for a better experience), salted peanuts, and M&M’s. Gently toss them together using a large spoon or your hands, ensuring all the ingredients are well distributed. This pre-mixing step helps ensure all the goodies are spread throughout the bars when the marshmallow is added.
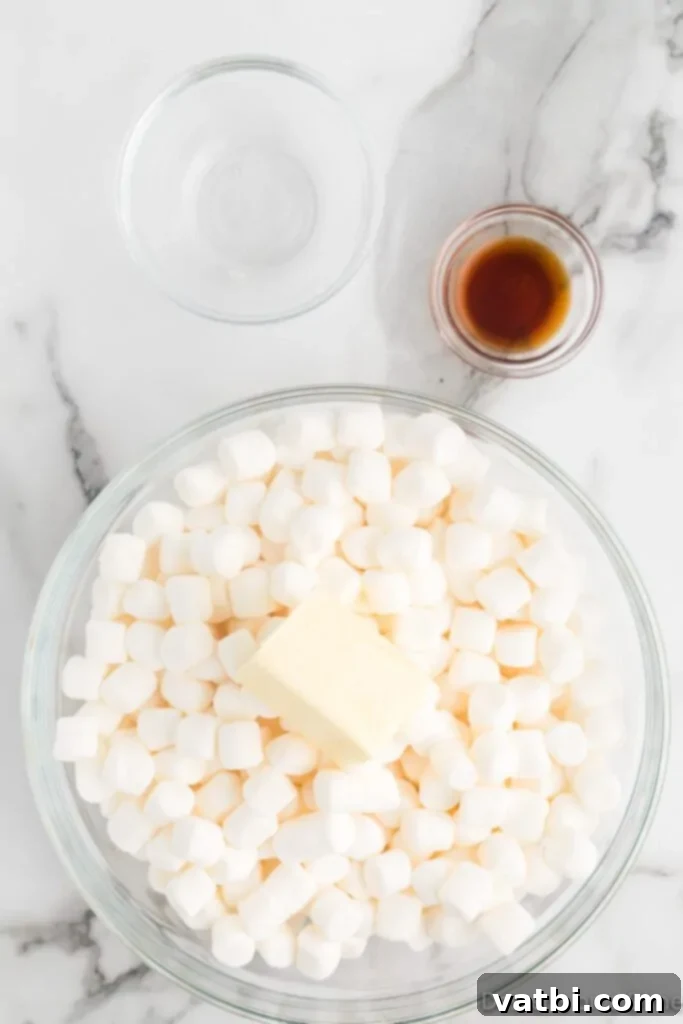
Step 2. Create the Gooey Marshmallow Mixture. In a separate large, microwave-safe bowl, combine the mini marshmallows and unsalted butter. Heat this mixture in the microwave in 30-second intervals on high power, stirring thoroughly after each interval. Continue this process until the mixture is completely melted and smooth, which usually takes about 1.5 to 2 minutes total. Once melted, stir in the vanilla extract and salt until fully incorporated. The vanilla adds a lovely aroma and flavor, while the salt perfectly balances the sweetness.
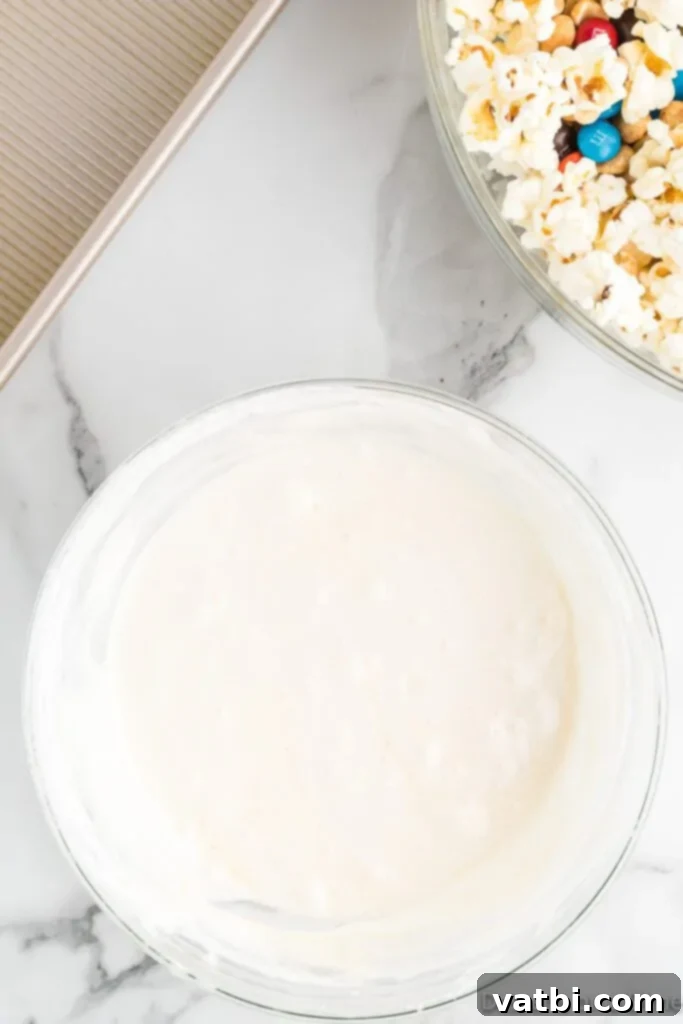
Step 3. Combine Wet and Dry Ingredients. Immediately and carefully pour the warm, melted marshmallow mixture over the popcorn, peanut, and M&M combination in the large bowl. Using a sturdy spatula or large spoon that you’ve sprayed with non-stick cooking spray (this helps immensely to prevent sticking!), gently but quickly fold and stir everything together. Ensure all the popcorn and mix-ins are thoroughly coated with the gooey marshmallow mixture, working quickly before it begins to set.
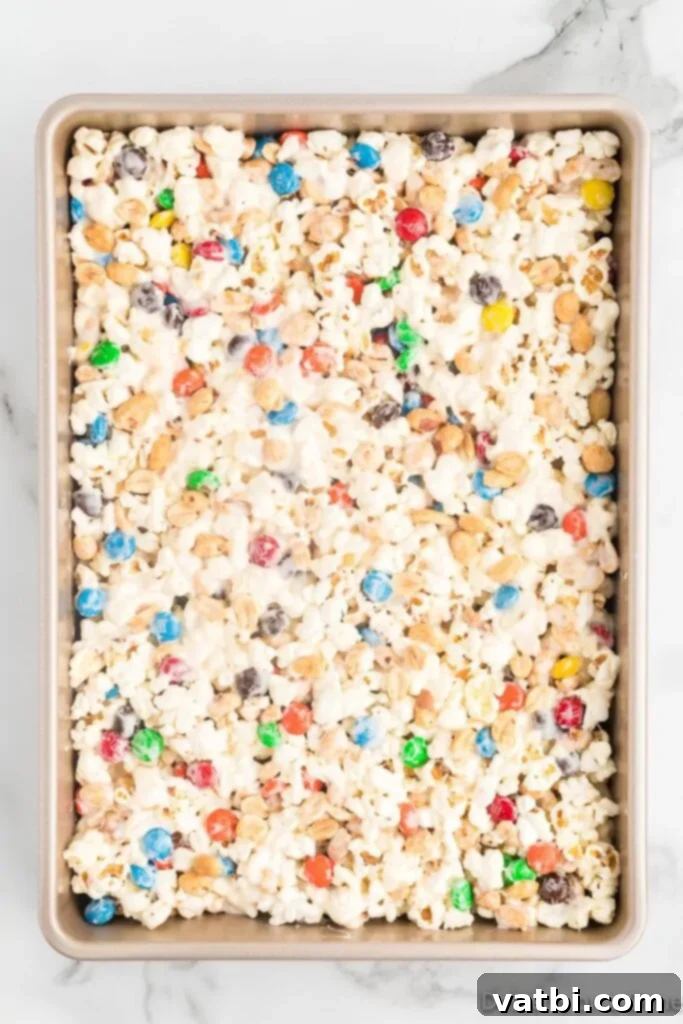
Step 4. Press and Set. Transfer the entire coated mixture into your prepared 9×13 inch baking dish. Using a piece of wax paper or parchment paper (or even a buttered spatula/hands), gently press the mixture down evenly into the bottom of the pan. Avoid pressing too firmly, as this can compress the popcorn and make the bars too dense and hard. Allow the bars to sit at room temperature for 1 to 2 hours, or until they are completely set and firm enough to slice easily. Once set, cut into squares using a serrated knife and serve your delicious Popcorn Bars!
Pro Tips for Perfect Popcorn Bars Every Time
Achieving perfectly gooey, chewy, and delicious popcorn bars is easy with a few simple tricks. Keep these pro tips in mind to ensure your treats are a resounding success!
- Prepare Your Pan Properly. Before you even start melting marshmallows, generously spray your 9×13 inch baking pan with a non-stick cooking spray. For even easier removal and clean-up, consider lining the pan with parchment paper, leaving a slight overhang on the sides. This crucial step will prevent the sticky marshmallow mixture from adhering to the pan, ensuring you can easily lift out and slice the finished bars.
- Melting Marshmallows on the Stovetop. While the microwave method is quick and convenient, you can also melt the butter and marshmallows in a large saucepan on the stovetop. Use low or medium-low heat and stir constantly with a rubber spatula until the mixture is fully melted and smooth. This method offers a bit more control and can prevent scorching, especially if you’re making a larger batch. Just be careful not to overheat the marshmallows, as this can make them tough.
- Don’t Press Too Firmly. When transferring and pressing the popcorn mixture into the prepared pan, remember to do so gently. The goal is to bind the ingredients together, not to compact them tightly. If you press too firmly, your popcorn bars will become overly dense and hard, losing that delightful light and chewy texture. A light, even pressure is all that’s needed to hold them together beautifully.
- Grease Your Utensils. Marshmallow mixture is notoriously sticky! To prevent a messy situation, lightly spray your spatula, large spoon, or even your hands (if you’re using them for pressing) with non-stick cooking spray or lightly butter them. This will create a non-stick barrier, making the mixing and pressing process much cleaner and easier.
- Remove Unpopped Kernels. Before combining your popcorn with other ingredients, take a moment to carefully sift through it and remove any unpopped or partially popped kernels. Biting into a hard kernel can be an unpleasant surprise and detract significantly from the enjoyment of your soft, chewy bars.
- Evenly Distribute Mix-ins. When adding your peanuts and M&M’s (or any other delicious additions), ensure they are thoroughly mixed with the popcorn before you pour in the marshmallow mixture. This helps guarantee that every single bar has a good amount of all the delicious components, providing a balanced flavor and texture in every bite.
- Cool Completely. Patience is a virtue, especially with no-bake treats! Resist the urge to cut into the bars too soon. Allowing them to set at room temperature for the recommended 1-2 hours (or even longer if your kitchen is warm) is key. This ensures they firm up properly, making them much easier to cut into clean squares and preventing them from falling apart or being overly sticky.
Storage Best Practices for Fresh Popcorn Bars
To keep your homemade Popcorn Bars fresh, delightfully soft, and perfectly chewy for as long as possible, proper storage is essential. They are best enjoyed within a few days of making them, but can be kept longer with the right methods.
- Room Temperature Storage. The ideal way to store your finished popcorn bars is in an airtight container at room temperature. They will maintain their best quality, softness, and chewiness for up to 3-4 days. To prevent them from sticking together, you can place a piece of wax paper or parchment paper between layers of bars.
- Avoid the Refrigerator. It might be tempting to refrigerate these bars, especially if you live in a warm climate or want them to set faster, but I strongly advise against it. Refrigerating popcorn bars will cause them to harden significantly, making them less enjoyable to eat and losing that signature gooey, chewy texture that makes them so delicious.
- Special Trick for Softness. To help maintain their incredible softness and prevent them from drying out, try placing a slice of fresh bread in the airtight container along with your popcorn bars. The bread will absorb any excess moisture and help keep the bars perfectly tender. Just remember to replace the bread slice every day or two if it becomes dry or hard.
- Freezing for Longer Storage. If you need to store these delightful treats for a longer period, popcorn bars can be frozen successfully! Individually wrap each bar tightly in plastic wrap, then place the wrapped bars in a freezer-safe airtight container or a heavy-duty freezer bag. They can be frozen for up to 2 weeks. To thaw, simply unwrap the desired number of bars and let them come to room temperature for a few hours before serving. This method is fantastic for meal prepping snacks or desserts!
Frequently Asked Questions About Popcorn Bars
For clean and easy cuts, I highly recommend using a sharp, serrated knife. Lightly spray the knife with non-stick cooking spray before cutting, and wipe it clean after every few cuts to prevent sticking and ensure smooth, even squares. This technique helps the knife glide through the sticky marshmallow mixture without tearing the bars, giving you perfectly presentable portions.
The best way to maintain their soft and chewy texture is to store them in an airtight container at room temperature. A fantastic little trick to ensure they stay exceptionally soft is to place a slice of fresh bread in the container along with the bars. The bread will absorb moisture and help keep the bars from hardening. Just be sure to replace the bread slice every day or two if it becomes dry.
You can use almost any kind of popped popcorn, but for the best results, use a plain, lightly salted variety. Air-popped or stovetop-popped popcorn is ideal because it has fewer additives and allows you to control the seasoning precisely. If you use microwave popcorn, opt for a plain or butter-free variety to avoid overpowering the other flavors, and adjust the added salt in the marshmallow mixture accordingly.
Absolutely! Popcorn bars are an excellent make-ahead treat, making party planning so much easier. You can prepare them up to 2-3 days in advance. Just be sure to store them properly in an airtight container at room temperature (with a slice of bread if desired, for extra freshness) to maintain their optimal freshness and texture until your event. This allows you to focus on other party preparations without last-minute dessert stress.
Several factors can contribute to hard popcorn bars, but they are all easily avoidable. The most common reasons include overcooking the marshmallow mixture (which causes it to become brittle), pressing the mixture too firmly into the pan (which compacts the popcorn), or, crucially, refrigerating the finished bars. To ensure soft, chewy bars every time, melt marshmallows just until smooth, press very gently, and always store them at room temperature in an airtight container.
More Easy No Bake Bars You’ll Love
If you enjoyed the simplicity and deliciousness of these no-bake popcorn bars, you’re in for a treat! We have a whole collection of easy, fuss-free bar recipes that require no oven. Perfect for quick desserts, school snacks, or party platters, these recipes are guaranteed crowd-pleasers. Explore these other fantastic no-bake options:
- No Bake Chocolate Peanut Butter Bars: A classic combination that never disappoints.
- Easy No Bake Peanut Butter Oatmeal Bars: A wholesome yet indulgent treat.
- Cookie Dough Bars: All the flavor of cookie dough, without the raw egg worry!
- Lucky Charms Treats: A fun, colorful, and magically delicious twist on a classic.
After you make this incredibly easy and delicious Popcorn Bars recipe, please do me a favor and leave a comment below with your thoughts, and don’t forget to add a star recipe rating! It truly brightens my day to hear about your experience and how much you enjoyed making (and eating!) these delightful treats. Your feedback not only makes my day but also helps other home cooks discover this amazing, simple dessert too. Happy cooking!
Pin
Popcorn Bars
Ingredients
- 10 cups Popped Popcorn (about 1/2 cup unpopped kernels, remove unpopped kernels)
- 3 tbsp Unsalted Butter
- 10.5 oz Mini Marshmallows
- 1 teaspoon Vanilla Extract
- 1/2 teaspoon Salt (adjust if using salted popcorn)
- 1 cup Salted Peanuts
- 1 1/2 cups M&M’s
Instructions
-
First, prepare your baking dish. Spray a 9X13 inch baking pan generously with a non-stick cooking spray, or line it with parchment paper, leaving an overhang on the sides for easy removal later. This crucial step prevents sticking.
-
Next, prepare the popcorn. Place the popped popcorn in a very large mixing bowl. Carefully remove any unpopped kernels to ensure a pleasant and safe eating experience.
-
Add your mix-ins. Stir in the salted peanuts and M&M’s into the bowl with the popcorn. Toss gently to ensure they are evenly distributed throughout the popcorn. Set this bowl aside for a moment.
-
Melt the marshmallow mixture. In a separate large, microwave-safe bowl, combine the mini marshmallows and unsalted butter. Heat in the microwave on high in 30-second intervals, stirring thoroughly with a buttered spatula after each interval. Continue this process until the mixture is fully melted and beautifully smooth, which typically takes about 1.5 to 2 minutes total.
-
Flavor the marshmallow. Once melted, stir in the vanilla extract and salt until they are fully incorporated into the warm, gooey marshmallow mixture. This enhances the overall flavor.
-
Combine the mixtures. Immediately pour the warm marshmallow mixture over the prepared popcorn, peanut, and M&M mixture in the large mixing bowl. Using a spatula (greased with non-stick spray for best results), gently but quickly fold and stir until all the popcorn and mix-ins are thoroughly coated with the gooey marshmallow. Work swiftly as the mixture will begin to set.
-
Press into the pan. Transfer the entire coated mixture into your prepared 9×13 inch baking pan. Using a piece of wax paper or parchment paper, or a lightly buttered spatula, gently press the mixture down evenly into the bottom of the pan. Remember, do not press too firmly to maintain a soft and chewy texture.
-
Allow to set. Let the popcorn bars sit undisturbed at room temperature for 1-2 hours, or until they are completely set and firm enough to easily cut. This patience ensures a perfect final product.
-
Cut, serve, and enjoy! Once fully set, use a serrated knife (lightly sprayed with cooking spray) to cut the large block into 24 delicious bars. They are now ready to be served and enjoyed by everyone!
Recipe Notes
Nutrition Facts
Pin This Now to Remember It Later
Pin Recipe
