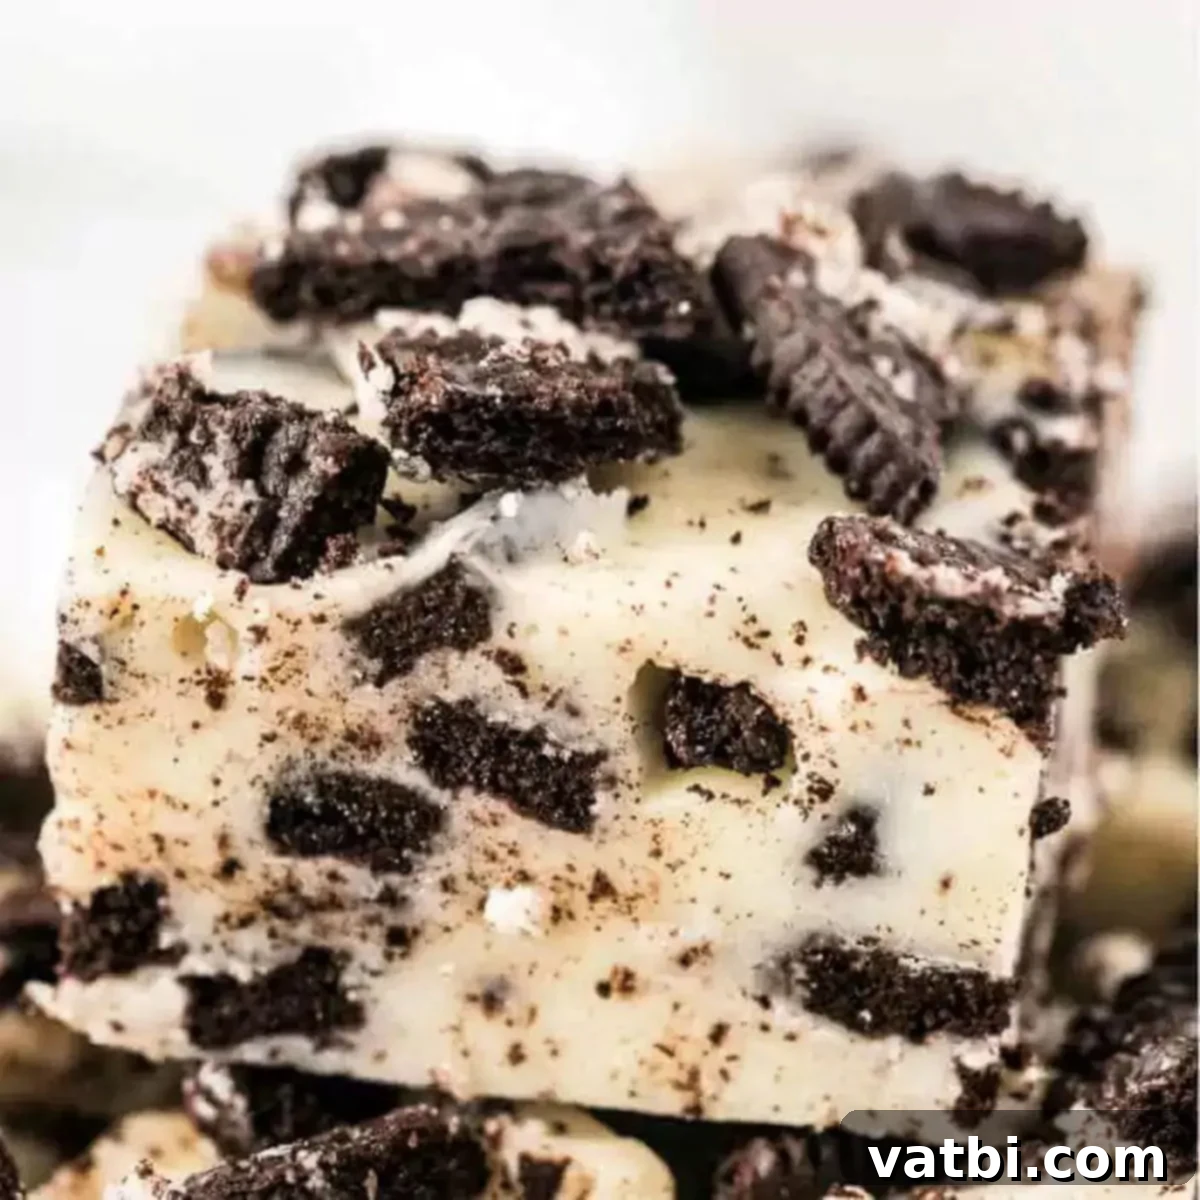
Irresistible 3-Ingredient Oreo Fudge: Your Easiest No-Bake Dessert!
Oreo fans, prepare to be amazed! This incredibly easy and utterly delicious 3-Ingredient Oreo Fudge recipe is a dream come true for anyone craving a quick, satisfying dessert. It’s so simple to whip up, requiring minimal effort and no baking, yet it delivers a rich, creamy, and wonderfully decadent treat that tastes absolutely gourmet. Perfect for last-minute gatherings, holiday gift-giving, or simply indulging your sweet tooth, this fudge is guaranteed to be a hit with everyone. Get ready to discover your new favorite no-bake delight!
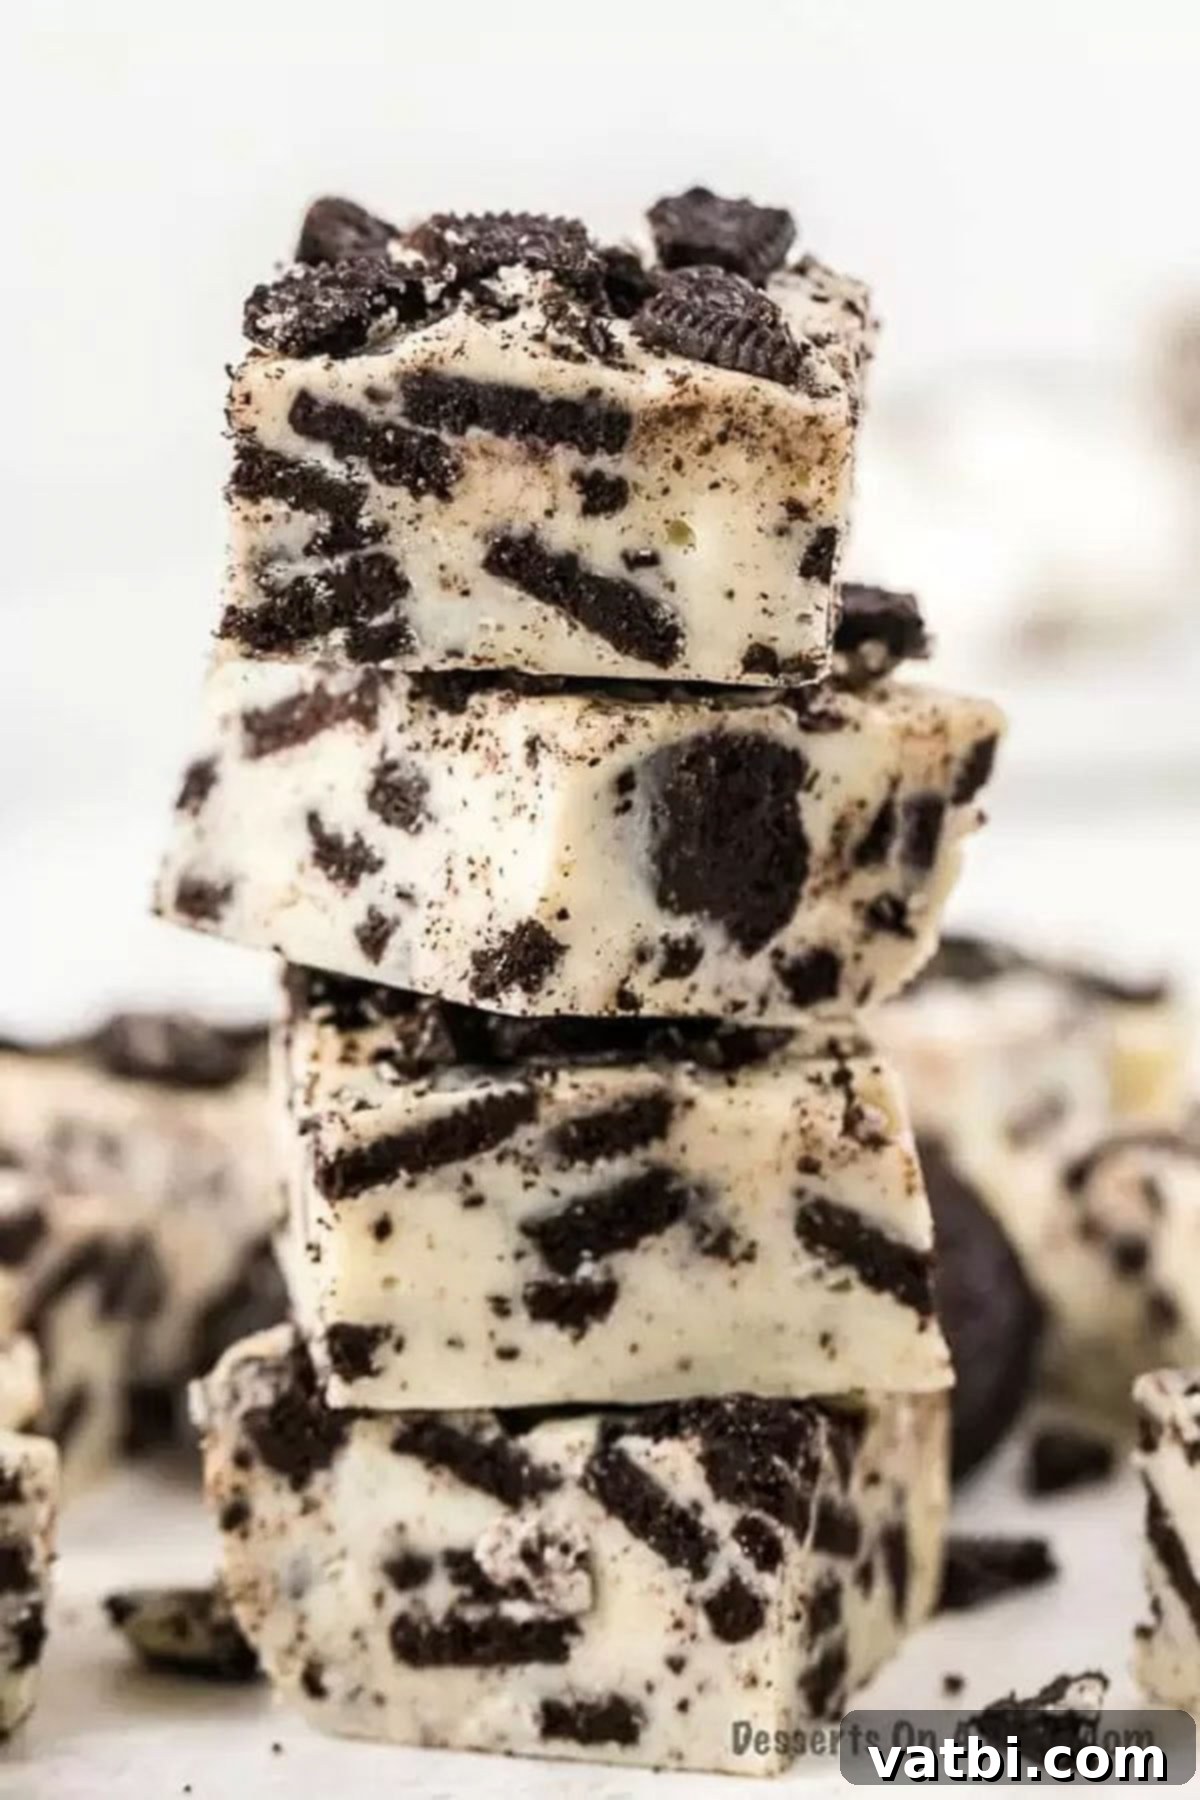
We absolutely adore No-Bake Oreo Desserts, and this homemade Oreo fudge recipe is truly a standout. Every single bite is a delightful combination of smooth, creamy sweetness and crunchy Oreo goodness. You won’t believe how incredible it tastes, especially considering how effortlessly it comes together with just three simple ingredients. This is truly a must-try recipe that will have everyone asking for more!
Whether you’re celebrating a holiday, hosting a birthday party, or just want a special treat for a regular weeknight, this Oreo fudge is absolutely perfect. Its elegant taste makes it suitable for special occasions, yet its straightforward preparation means you can enjoy it any day of the week. For years, I’ve enjoyed making classic sweets like our Homemade Chocolate Fudge Recipe and Easy Rocky Road Fudge Recipe, but this Oreo variation has quickly become a new favorite in our kitchen.
Table of contents
- Why This Recipe Works
- Ingredients
- Variations
- Step By Step Instructions
- Pro Tips
- Frequently Asked Questions
- More Easy Oreo Desserts
- More Delicious Fudge Recipes
Why This Easy Oreo Fudge Recipe Works
Many fudge recipes can be intimidating, involving candy thermometers, precise temperatures, and a lot of stirring. However, this no-fail microwave fudge method simplifies the entire process without sacrificing flavor or texture. By leveraging the microwave, we create a perfectly smooth, rich white chocolate base that beautifully complements the crunchy Oreo pieces. This technique is not only fast but also incredibly forgiving, making it ideal for beginners and experienced home cooks alike. We’ve refined this recipe to ensure that even with just three main ingredients, you achieve a consistently creamy and delightful fudge every single time.
The beauty of this recipe lies in its simplicity and the way the ingredients interact to create a luxurious texture. White chocolate chips melt down to form a rich base, while sweetened condensed milk adds a perfect level of sweetness and an unbeatable creaminess. The crushed Oreos are then folded in, providing a fantastic contrast in texture and that iconic cookie flavor. For general fudge-making success, always remember to use high-quality ingredients, melt your chocolate gradually, and allow ample time for the fudge to set properly. These fundamental tips will ensure your fudge is always a crowd-pleaser that keeps everyone coming back for more. To ensure your fudge turns out perfectly, we highly recommend reading our 5 Tips to Make the Perfect Fudge Recipe before you begin. Following these basic guidelines will guarantee a smooth, creamy, and irresistible batch of fudge!
Only 3 Simple Ingredients Needed
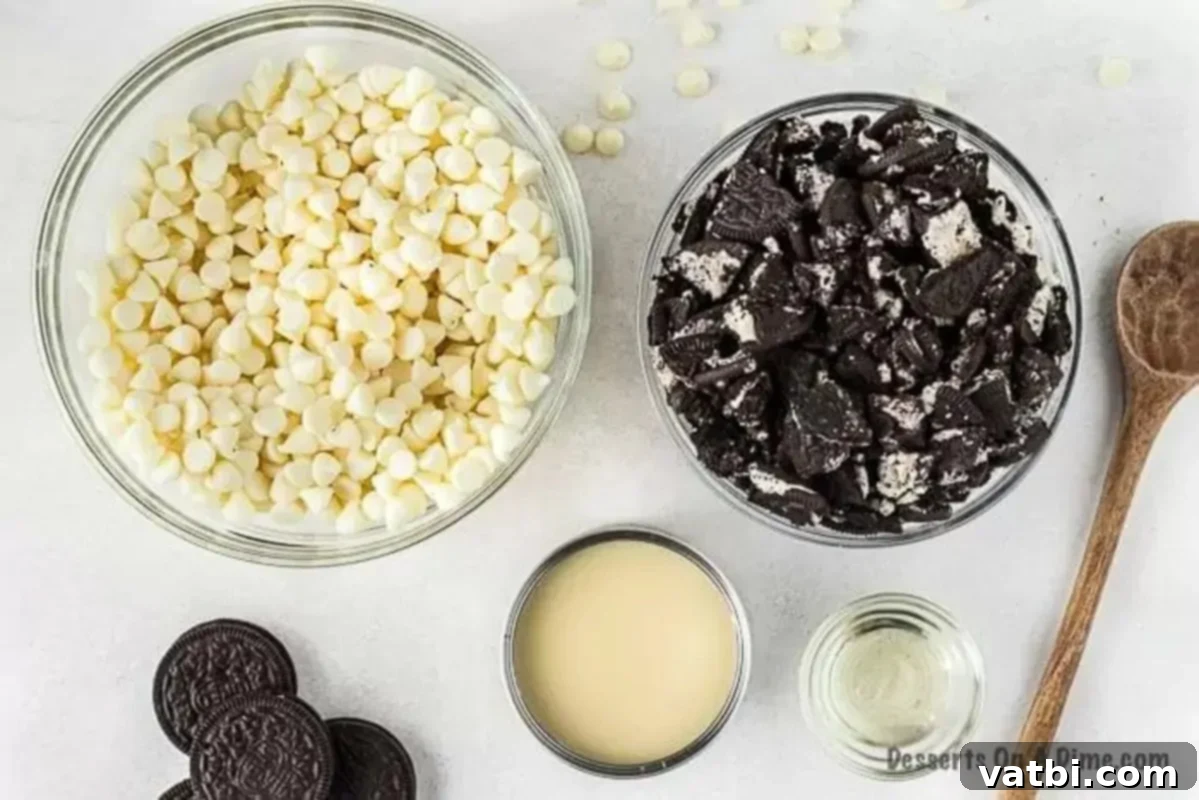
Success in fudge making often starts with quality ingredients. For this simple recipe, each component plays a crucial role in achieving that perfect taste and texture. You’ll be amazed at the deliciousness these three ingredients create!
- White Chocolate Chips: The foundation of our creamy fudge! Using a good quality white chocolate is paramount here, as it forms the base flavor and dictates the creaminess. Opt for brands known for good melting properties, as this will prevent a grainy or clumpy texture. White chocolate chips provide a smooth, sweet canvas for the robust flavor and crunch of the Oreos, making for a truly irresistible combination.
- Sweetened Condensed Milk: This magical ingredient is what gives the fudge its signature creamy consistency and rich sweetness. It’s important to note that this is NOT the same as evaporated milk, so make sure to grab the correct can! You can even try our Homemade Sweetened Condensed Milk Recipe if you’re feeling ambitious, but store-bought works perfectly and saves time. Its thickness and high sugar content are essential for the fudge to set correctly and achieve its velvety texture.
- Crushed Oreos: The star of the show and the reason for that classic cookies and cream flavor! For the best results, use classic chocolate Oreo cookies. Avoid “Double Stuffed” or overly flavored varieties unless you are purposefully experimenting with specific variations. The classic chocolate-and-cream combination provides the ideal balance of crunch and flavor against the sweet fudge. We aim for a mix of fine crumbs and larger chunks for varying texture in each bite.
You can find the full ingredient quantities and detailed instructions in the recipe card at the bottom of this page.
Delicious Variations to Try
While the classic 3-ingredient Oreo fudge is undeniably delicious, there are many ways to customize it to your liking. Feel free to get creative with these suggestions to make your own unique fudge creations!
- Chocolate Fudge Base: Instead of white chocolate chips, you can easily swap them for semi-sweet chocolate chips, milk chocolate chips, or even dark chocolate chips for a richer, more traditional chocolate fudge. This variation offers a deeper chocolate flavor, still beautifully complemented by the Oreo crunch.
- Different Oreo Flavors: Don’t limit yourself to classic Oreos! Explore various Oreo flavors for unique fudge creations. Lemon Oreos can be fantastic, especially if you add a tiny hint of lemon extract to the melted white chocolate. Mint Oreos or Peanut Butter Oreos are other popular choices that lend themselves well to this fudge, creating exciting new flavor profiles.
- Peanut Butter Swirl: For peanut butter lovers, gently fold in a tablespoon or two of creamy peanut butter into the melted chocolate and condensed milk mixture. This adds a delightful nutty depth and can create a lovely marbled swirl effect if not fully mixed in.
- A Hint of Vanilla: While not strictly necessary, a splash of pure vanilla extract (about ½ to 1 teaspoon) can enhance the overall flavor, especially when using white chocolate. Add it along with the sweetened condensed milk for a subtle aromatic boost that rounds out the sweetness.
- Nutty Additions: Beyond Oreos, consider mixing in chopped nuts like walnuts, pecans, or almonds for extra crunch and a contrasting flavor. Add them along with the crushed Oreos to distribute them throughout the fudge.
- Festive Sprinkles: For holidays or special events, stir in some festive sprinkles or colored candies along with the Oreos. This makes your fudge even more visually appealing and adds a touch of celebratory fun.
Easy Step-By-Step Instructions
Making this incredible Oreo fudge is surprisingly simple. Just follow these easy steps for a perfect batch every time!
- Step 1. Prepare Your Chocolate: Begin by placing your chosen white chocolate chips in a large, microwave-safe bowl. If you’ve found in the past that white chocolate can be finicky or tends to seize, add a very small amount (about ½ teaspoon) of vegetable oil or shortening to the chips before melting. This can help ensure a smoother, creamier melt.
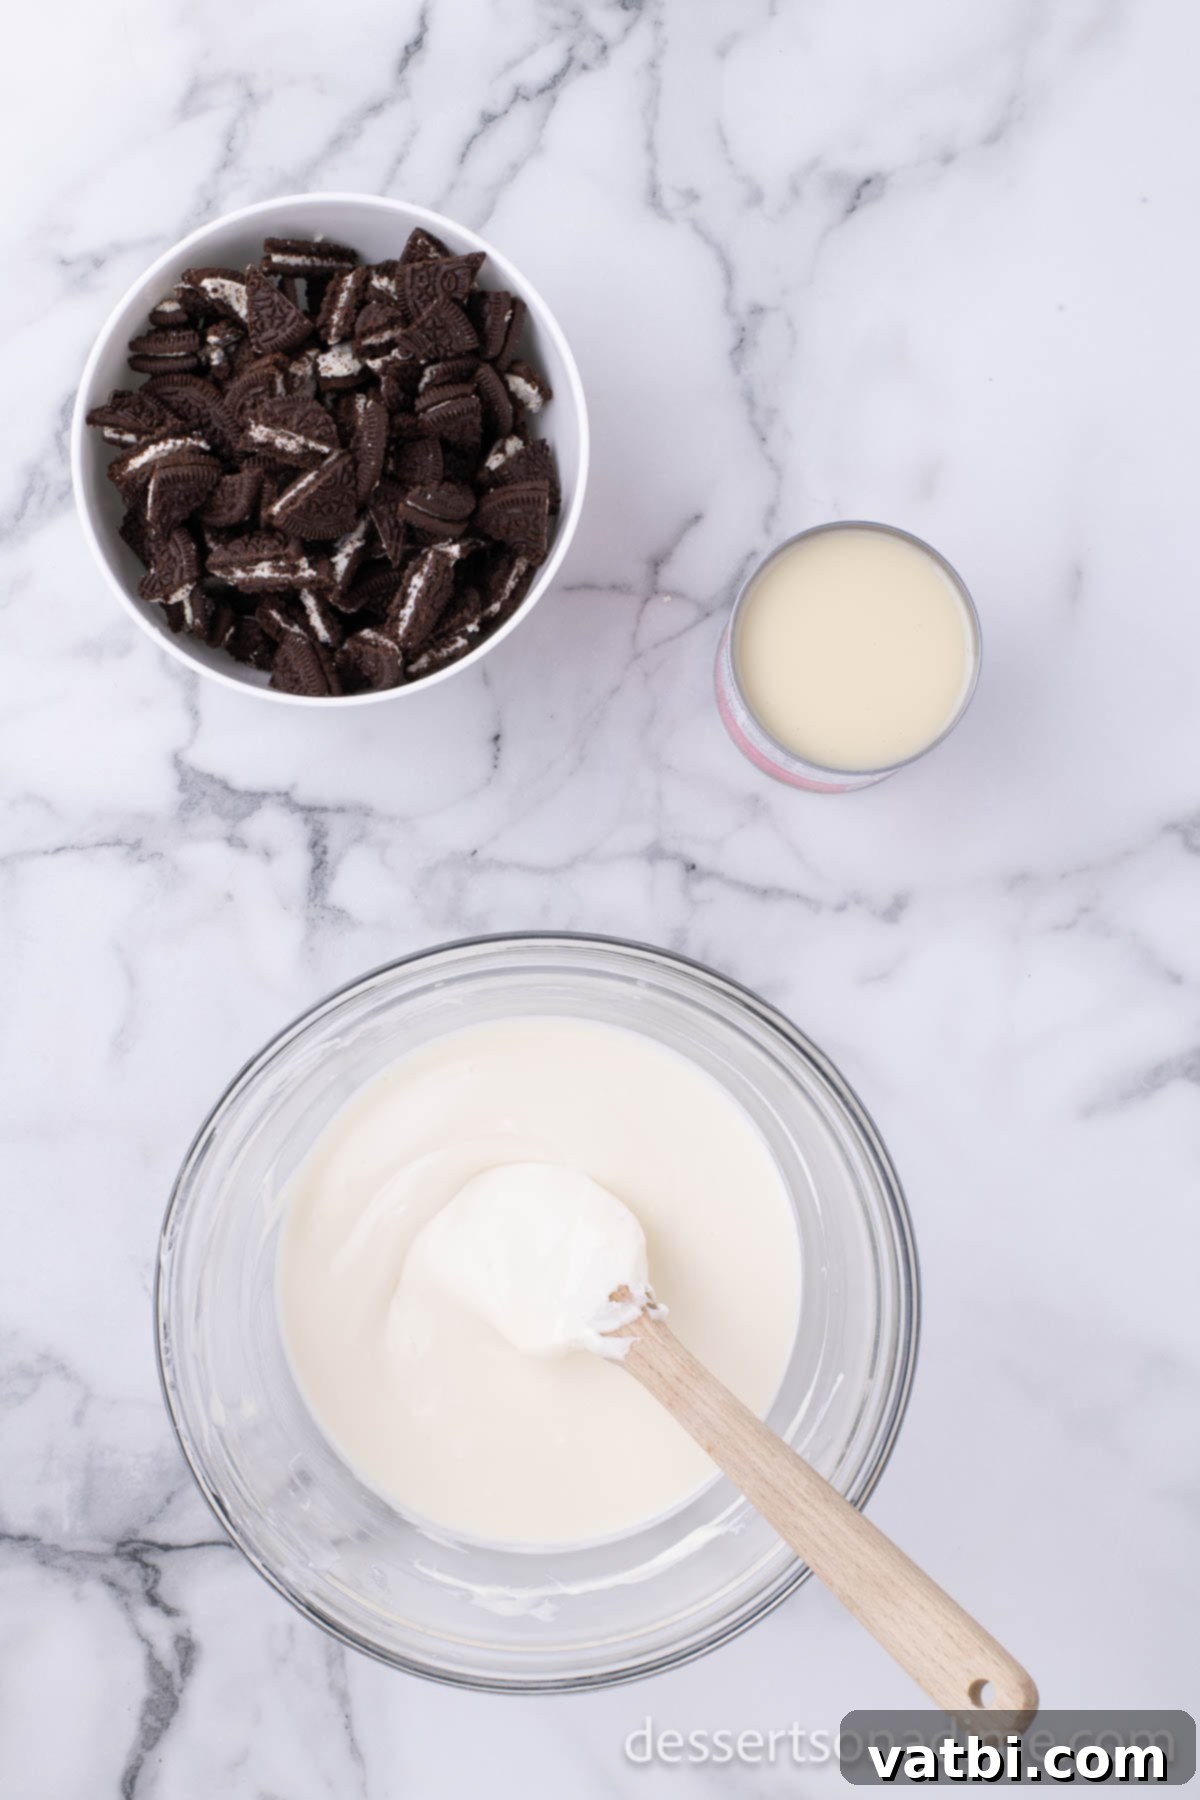
Step 2. Melt Gradually: Next, place the white chocolate in a microwave-safe bowl and microwave in 30-second intervals. After each interval, remove the bowl and stir thoroughly with a rubber spatula. This gradual melting and stirring are crucial to prevent the chocolate from burning or overheating. Continue until the chocolate is completely melted and beautifully smooth, with no lumps remaining.
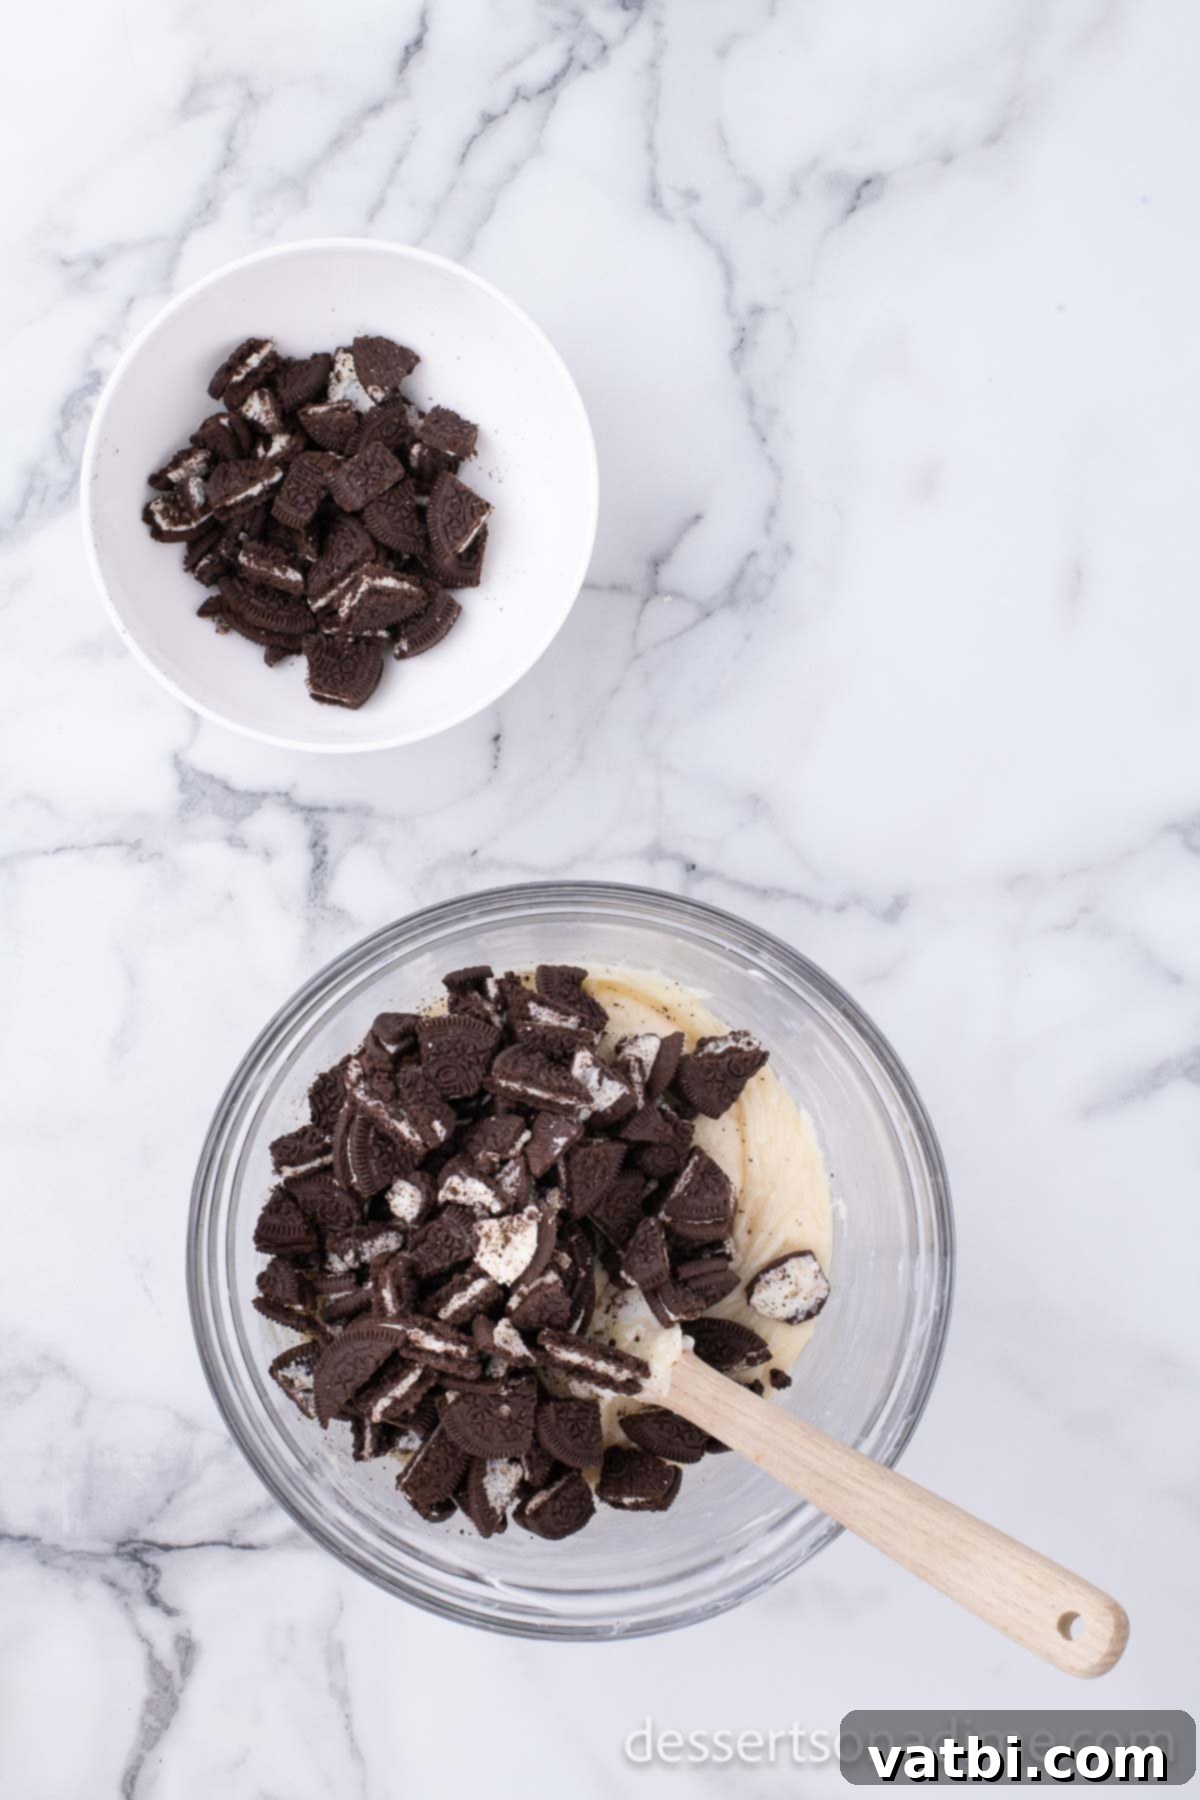
Step 3. Combine with Sweetness and Crunch: Then, once the chocolate is perfectly melted, pour in the can of sweetened condensed milk and fold it in until fully combined. Next, gently stir in the majority of your crushed Oreos. Make sure to reserve a small handful of crushed Oreos for sprinkling on top later – this adds a lovely visual finish and extra crunch!
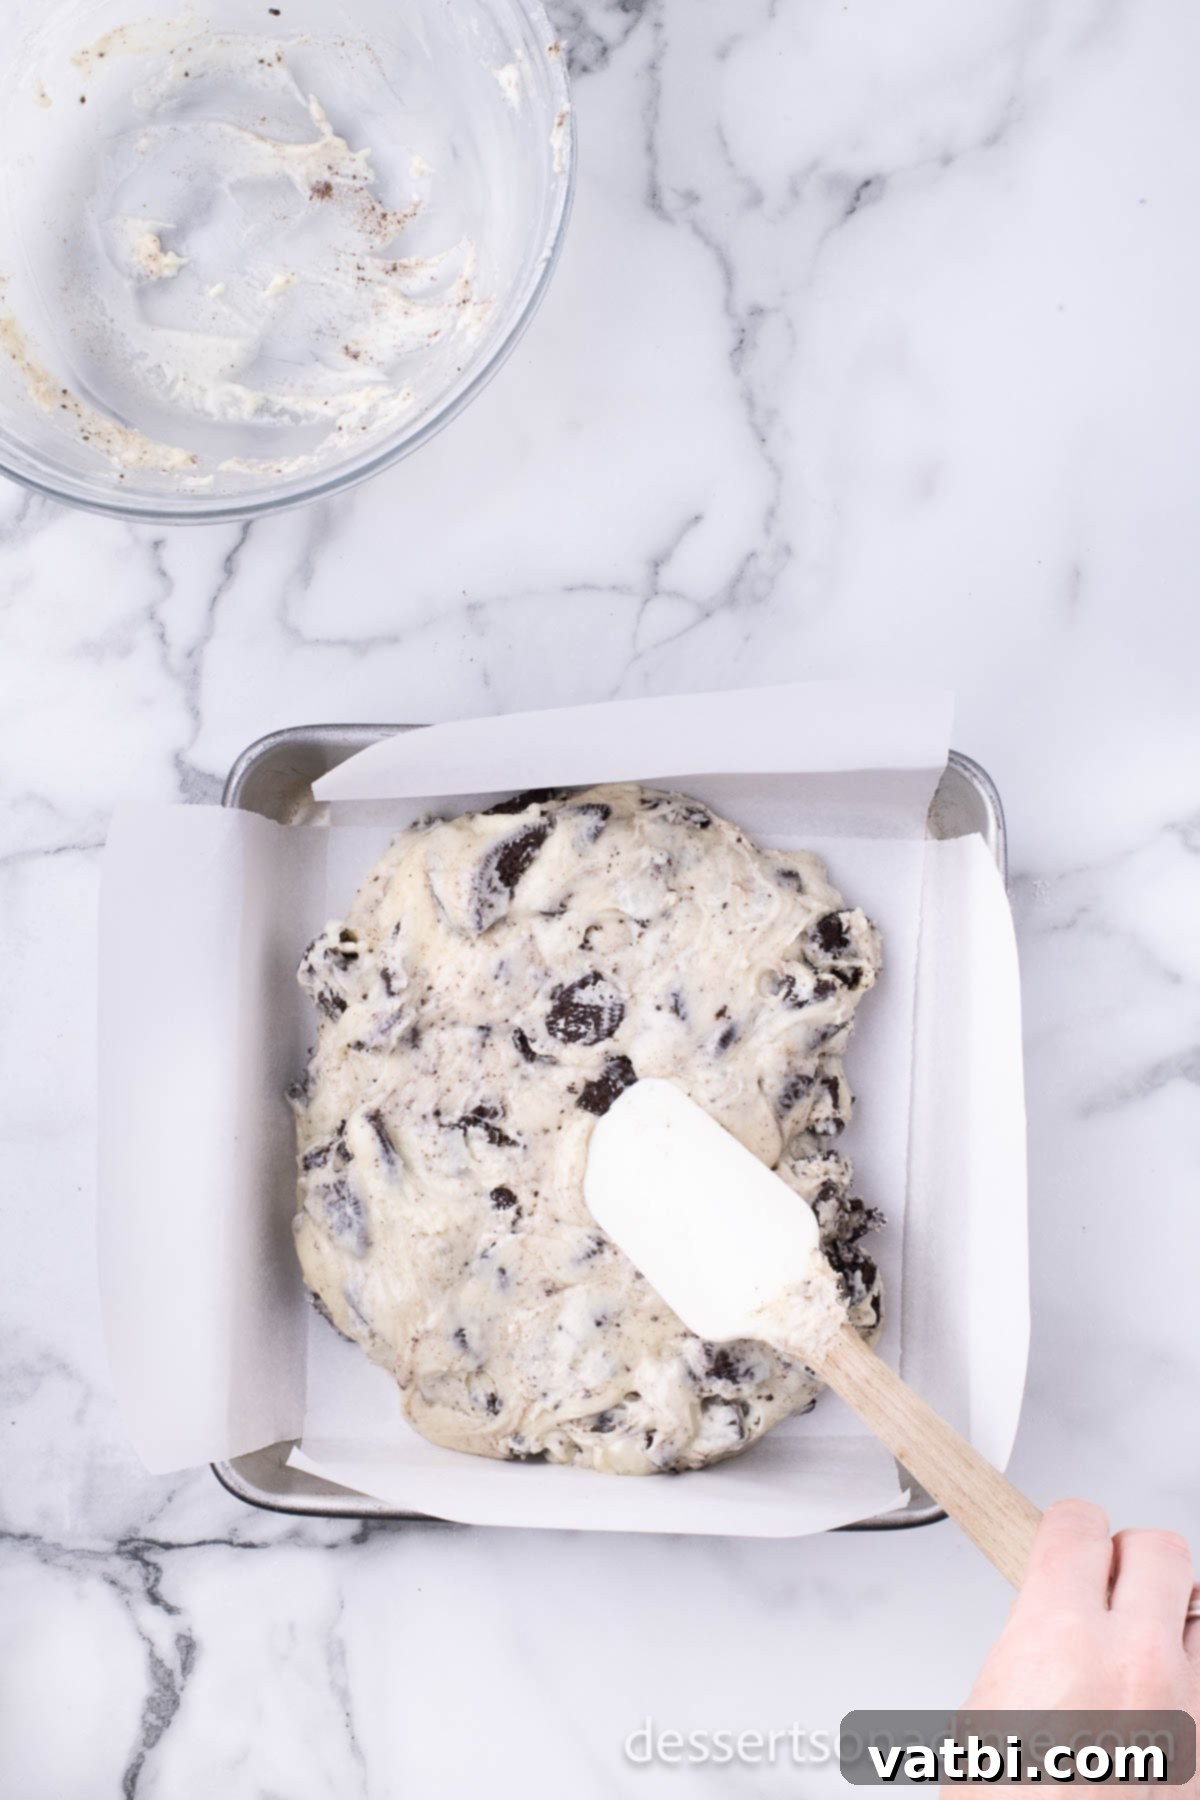
Step 4. Prepare the Pan: Prepare your 8×8 inch square baking dish by lining it with foil or parchment paper. Leave an overhang on the sides; this will act as a ‘sling,’ making it incredibly easy to lift the set fudge out of the pan later. Lightly grease the foil or parchment paper with cooking spray or a thin layer of butter to prevent sticking.
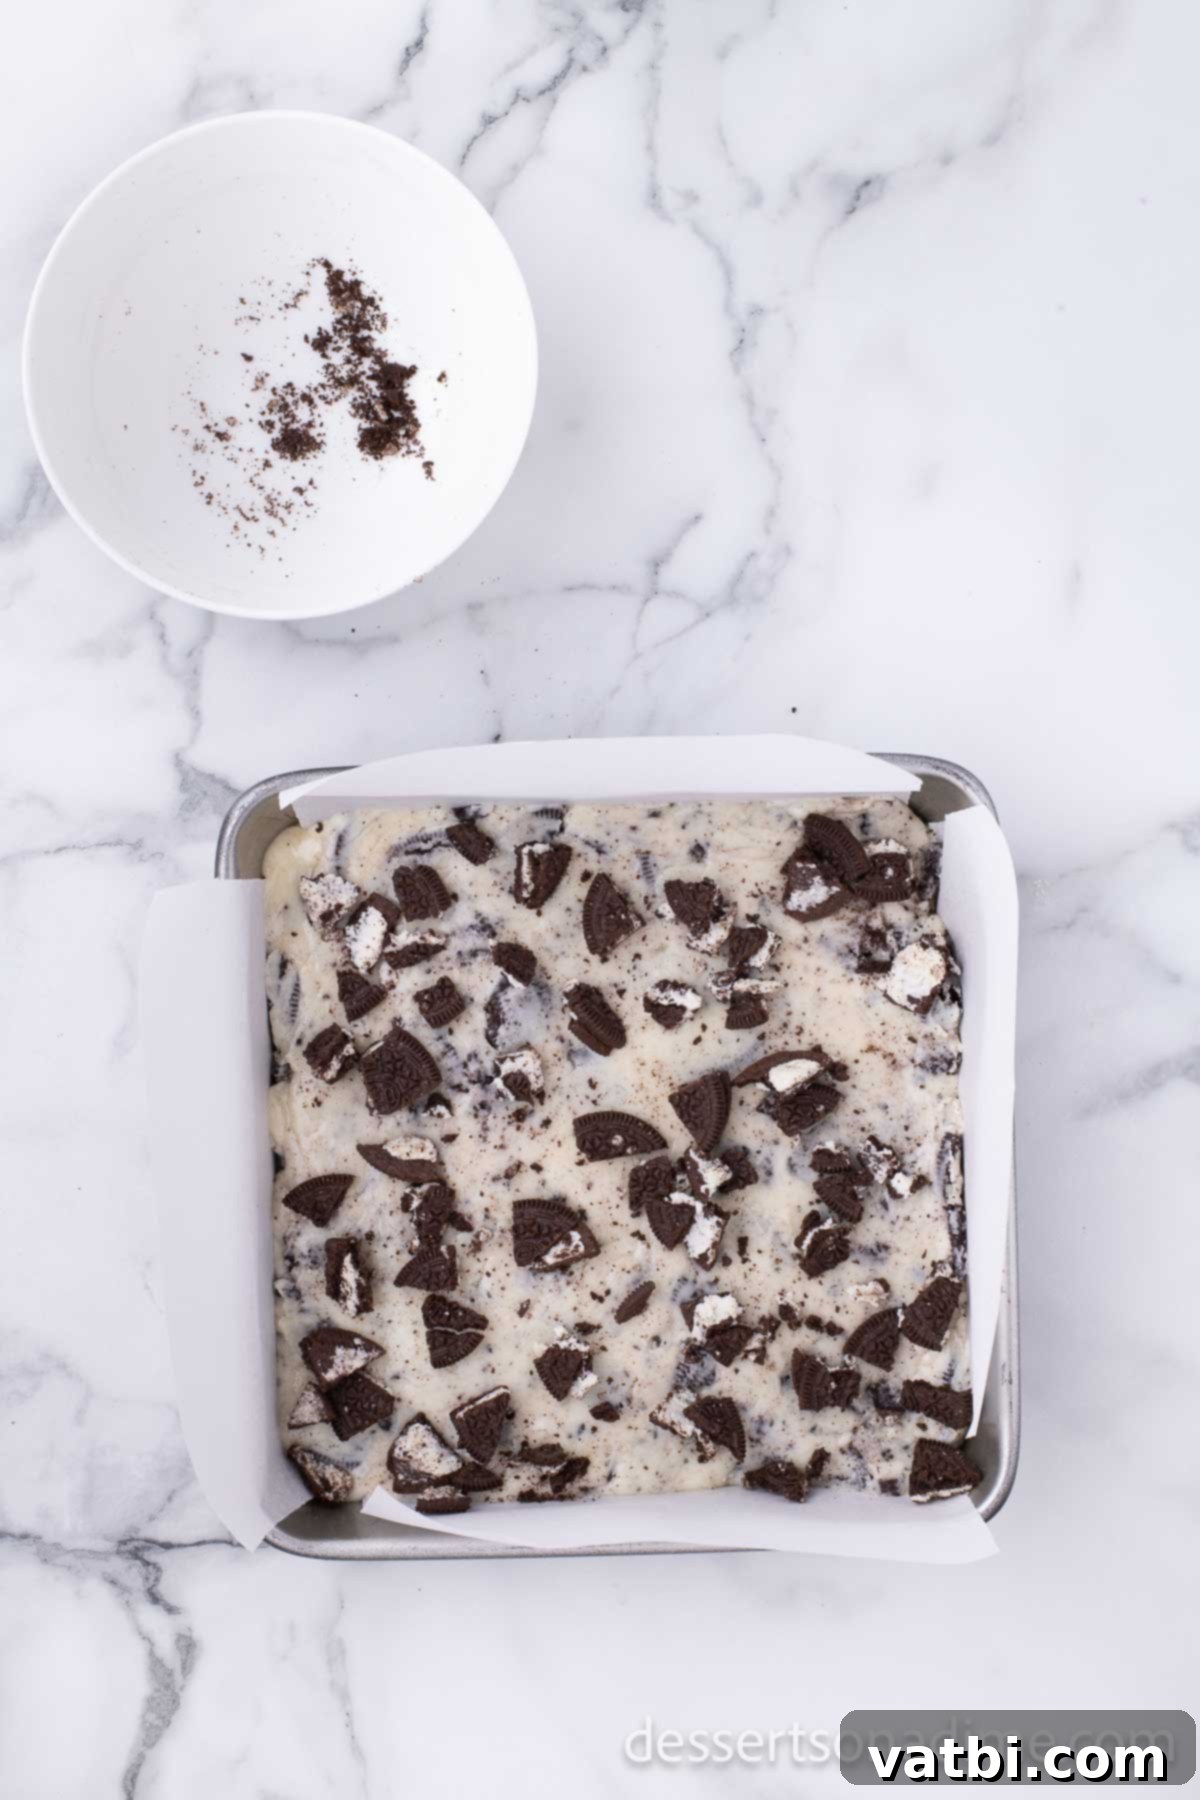
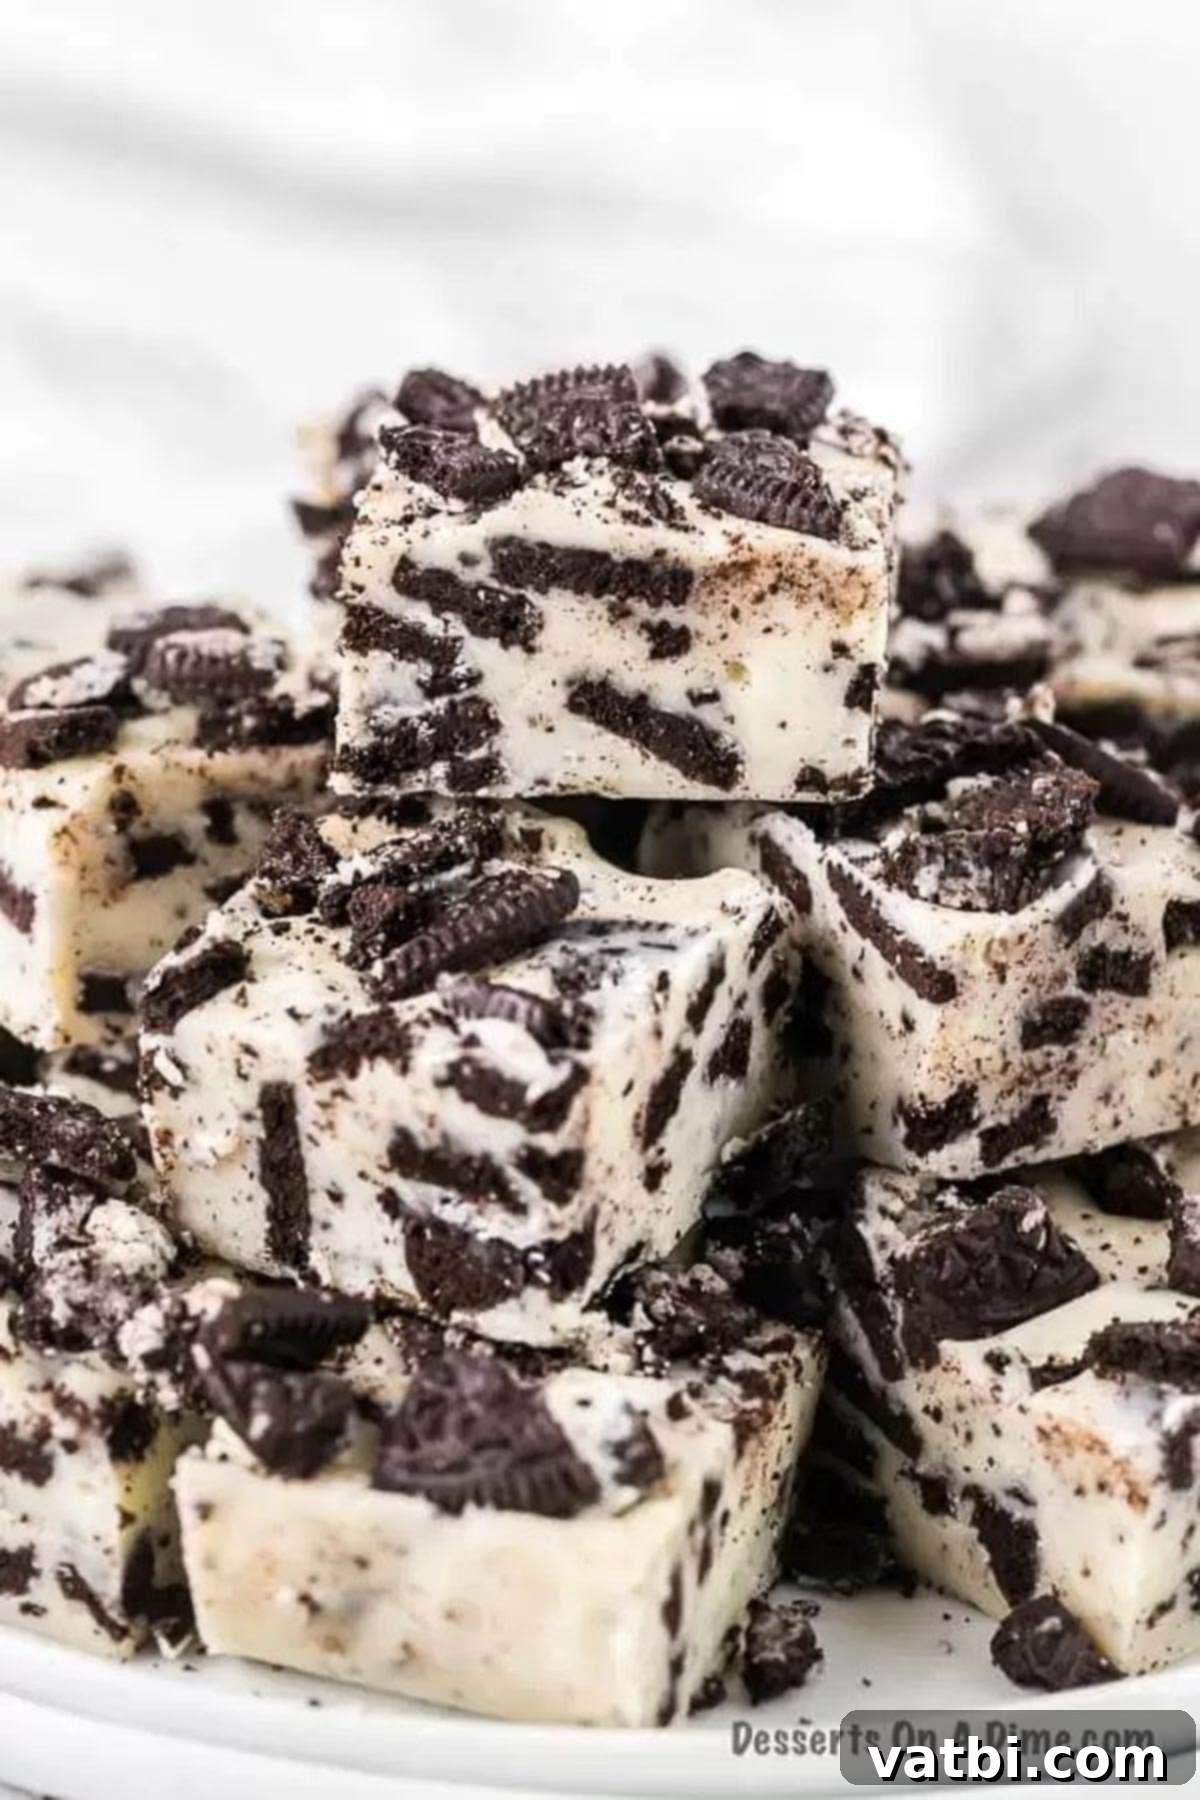
Step 5. Pour and Top: Carefully pour the warm chocolate and Oreo mixture into your prepared pan. Use your spatula to spread the fudge evenly into all corners, ensuring a flat, consistent layer. Immediately sprinkle the reserved crushed Oreos over the top, gently pressing them into the fudge so they adhere and create a beautiful finish. Allow to cool at room temperature and then place in the refrigerator to set. Finally, remove from the pan, place on a cutting board, cut into small pieces, and serve!
Pro Tips for Perfect Fudge Every Time
Achieving perfect fudge is easier than you think, especially with a few expert tips. These suggestions will help ensure your 3-ingredient Oreo fudge turns out flawlessly every time, from preparation to presentation.
- Use a Food Processor for Crushing Oreos: To get the ideal texture with a mix of fine crumbs and satisfying chunks, a food processor is your best friend. Simply pulse the Oreos a few times until you reach your desired consistency. If you don’t have one, place the cookies in a large zip-top bag, seal it, and use a rolling pin or the bottom of a heavy pan to crush them. Remember, leaving some larger pieces adds a wonderful bite to the fudge.
- Melting Chocolate Gently is Key: When melting chocolate in the microwave, patience is a virtue. Always melt in short bursts (30-second intervals) and stir diligently after each one. Chocolate can hold its shape even when melted, so stirring reveals its true consistency. Overheating chocolate will cause it to seize and become grainy, so gentle, gradual heating is essential for a smooth fudge base.
- Allow Ample Time to Cool and Set: Do not rush the setting process. Fudge needs adequate time, usually at least 1 hour in the refrigerator, to firm up properly. If you cut it too soon, it will be soft and sticky. A well-set fudge will have a smooth, firm texture that holds its shape beautifully when cut into neat squares.
- Use a Sharp Knife for Clean Slices: A sharp, clean knife is paramount for getting neat, professional-looking fudge squares. For the cleanest slices, wipe your knife clean with a damp cloth or rinse it under warm water after each cut. This prevents sticking and ensures crisp edges, making your fudge not only delicious but also visually appealing.
- Double Boiler as an Alternative: If you prefer not to use a microwave or don’t have one, you can easily melt your chocolate chips using a double boiler. Place a heat-safe bowl over a saucepan of simmering water, ensuring the bowl does not touch the water. Stir the chocolate until it’s completely melted and smooth. This method provides gentle, even heat, reducing the risk of burning and ensuring a silky chocolate base.
- Room Temperature Ingredients for Smoothness: For the smoothest possible mixture, it’s a good practice to have your sweetened condensed milk at room temperature before combining it with the warm melted chocolate. This helps it incorporate more easily and seamlessly, preventing any temperature shock that could cause the mixture to thicken unevenly or become lumpy.
Frequently Asked Questions About Oreo Fudge
Got questions about your homemade Oreo fudge? We’ve got answers to help you store it, enjoy it, and make it perfectly every time.
This delicious Oreo Fudge often disappears quickly in my home! However, if stored correctly, homemade fudge can last a surprisingly long time. For optimal freshness, keep your fudge in an airtight container. When stored in the refrigerator, it can last for up to 2 weeks. Keeping fudge cool helps maintain its firm texture and extends its shelf life significantly. You can also store it at cool room temperature for up to 5 days, though refrigeration is recommended for longer storage, especially in warmer climates.
Yes, absolutely! Freezing homemade fudge is an excellent option, especially if you’re planning ahead for holidays or want to enjoy it over a longer period. Properly stored, frozen fudge can last for about 3 months in the freezer without losing its quality.
Here’s how to freeze fudge effectively:
- **Wrap Individually:** First, wrap individual pieces or small blocks of fudge tightly in wax paper. This prevents them from sticking together.
- **Double Wrap:** Next, wrap the wax-paper-covered fudge tightly again in aluminum foil or plastic wrap. This second layer is crucial for preventing freezer burn and keeping moisture out.
- **Airtight Container:** Place the wrapped fudge pieces into a freezer-safe, airtight container or a heavy-duty freezer bag.
- **Store Properly:** Store the container in the back of your freezer, where the temperature remains most consistent.
- **Thawing:** When you’re ready to enjoy, remove the desired amount of fudge from the freezer and let it thaw at room temperature on the counter for approximately 1-2 hours. Serve at room temperature for the best texture and flavor.
Storing your leftover no-bake Oreo fudge properly is key to maintaining its freshness and delicious texture.
- **Airtight is Best:** Always store the fudge in an airtight container to protect it from air and moisture, which can cause it to dry out or become sticky.
- **Refrigeration for Longevity:** While fudge can be kept at cool room temperature for up to 5 days, refrigerating it will extend its freshness significantly, up to 2 weeks. The cool temperature also helps it maintain a firm, non-sticky consistency.
- **Layering:** If stacking multiple layers of fudge, place a piece of parchment or wax paper between them to prevent sticking.
- **Avoid Heat:** Keep fudge away from direct sunlight or warm areas, as heat can cause it to melt and lose its shape.
If your fudge turns out too soft, it usually means it didn’t set enough, often due to an incorrect ratio of ingredients or insufficient chilling time. The easiest fix is to return the fudge to the refrigerator for an extended period, perhaps another 2-3 hours or even overnight. If it’s still too soft after thorough chilling, you can sometimes gently re-melt it in the microwave (being very careful not to burn it) with a few more white chocolate chips to increase the chocolate content, then re-chill. This can help it firm up to the desired consistency.
Absolutely! This recipe is incredibly versatile and you can certainly experiment with other crumbly cookies. While Oreos are classic and provide a distinct flavor, feel free to try alternatives like Nilla Wafers, graham crackers, chocolate chip cookies, or even shortbread cookies. Just be aware that the flavor profile and texture will change, so consider how the new cookie flavor will pair with the white chocolate base. This is a great way to personalize your fudge!
More Easy Oreo Desserts You’ll Love
If you’re an Oreo enthusiast, you’re in for a treat! Beyond this amazing fudge, there are so many other effortless desserts you can make featuring your favorite cookie. Here are a few more easy Oreo recipes that are sure to satisfy your cravings:
- No Bake Oreo Pie
- Cookies and Cream Cookies
- Easy Caramel Cheesecake Recipe with Oreo Crust
- Oreo Cheesecake Bars
More Delicious Fudge Recipes to Explore
If you’ve fallen in love with making easy homemade fudge, you’ll be delighted to know there are many other delightful flavors to try! Expand your repertoire with these other fantastic fudge recipes:
- Lemon Fudge
- Easy Vanilla Fudge Recipe
- Sugar Cookie Fudge Recipe
- Salted Caramel Fudge Recipe
Go ahead and try this yummy 3-Ingredient Oreo Fudge today! It’s incredibly simple to make, incredibly delicious, and truly a perfect treat for any occasion. Once you make it, we’d love for you to leave a star rating and comment to let us know what you think!
Pin
Oreo Fudge (3-Ingredient, No-Bake)
Ingredients
- 18 oz White Chocolate Chips (good quality recommended)
- 14 oz Sweetened Condensed Milk (not evaporated milk)
- 3 cups Crushed Oreos (classic chocolate Oreos, plain)
Instructions
-
Place the white chocolate chips in a large, microwave-safe dish. If white chocolate tends to seize, add about ½ teaspoon of vegetable oil to the chips before melting.
-
Microwave the chips in 30-second intervals, stirring thoroughly between each interval until they are completely melted and smooth.
-
Stir in the sweetened condensed milk until fully combined. Then, gently fold in the majority of the crushed Oreos, reserving a small amount for topping.
-
Line an 8×8 inch square baking dish with foil or parchment paper, leaving an overhang on the sides. Lightly grease the lining.
-
Pour the fudge mixture into the prepared pan, spreading it evenly. Immediately sprinkle the reserved crushed Oreos over the top, gently pressing them into the fudge.
-
Allow to cool at room temperature for about 15-30 minutes, then place in the refrigerator to set completely (for approximately 1 hour or until firm).
-
Once set, lift the fudge from the pan using the overhang. Place on a cutting board, cut into small squares with a sharp knife (wiping the knife between cuts for cleanest edges), and serve. Enjoy your delicious homemade Oreo fudge!
Nutrition Facts
Pin This Now to Remember It Later
Pin Recipe
