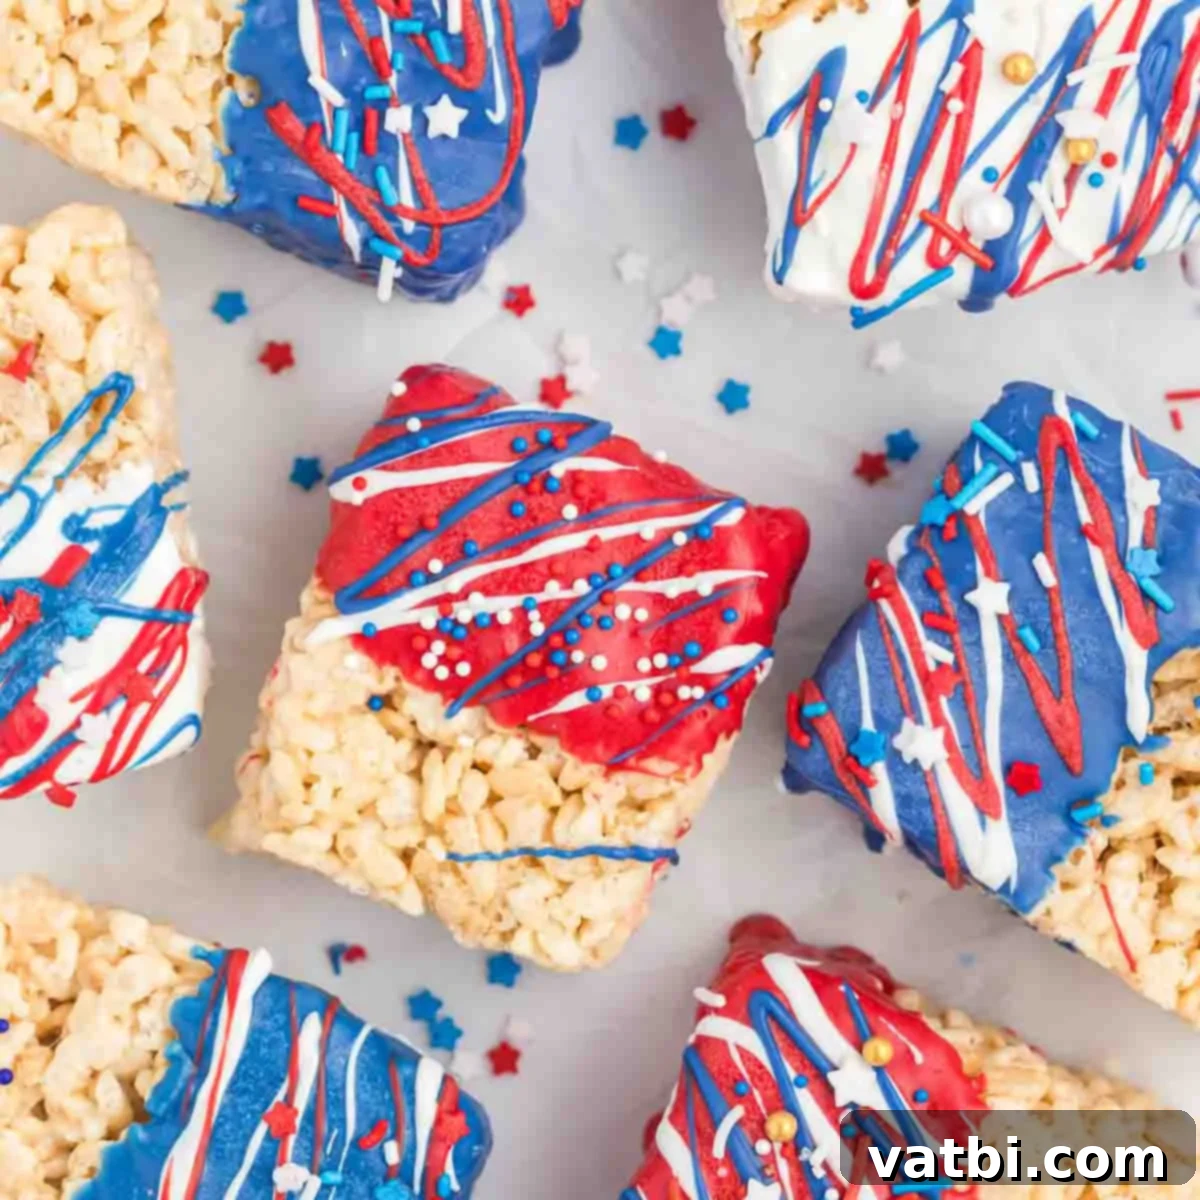
Irresistible Red, White, and Blue Rice Krispie Treats: Your Guide to Easy Patriotic Desserts
Get ready to celebrate with a festive and utterly delicious treat! These homemade Red, White, and Blue Rice Krispie Treats are not just a dessert; they’re a patriotic statement, perfect for any national holiday. We absolutely love whipping up these vibrant goodies for occasions like the Fourth of July, Memorial Day, and Labor Day. Their classic appeal combined with a delightful red, white, and blue theme makes them an instant hit with everyone, from the youngest kids to the adults at the party.
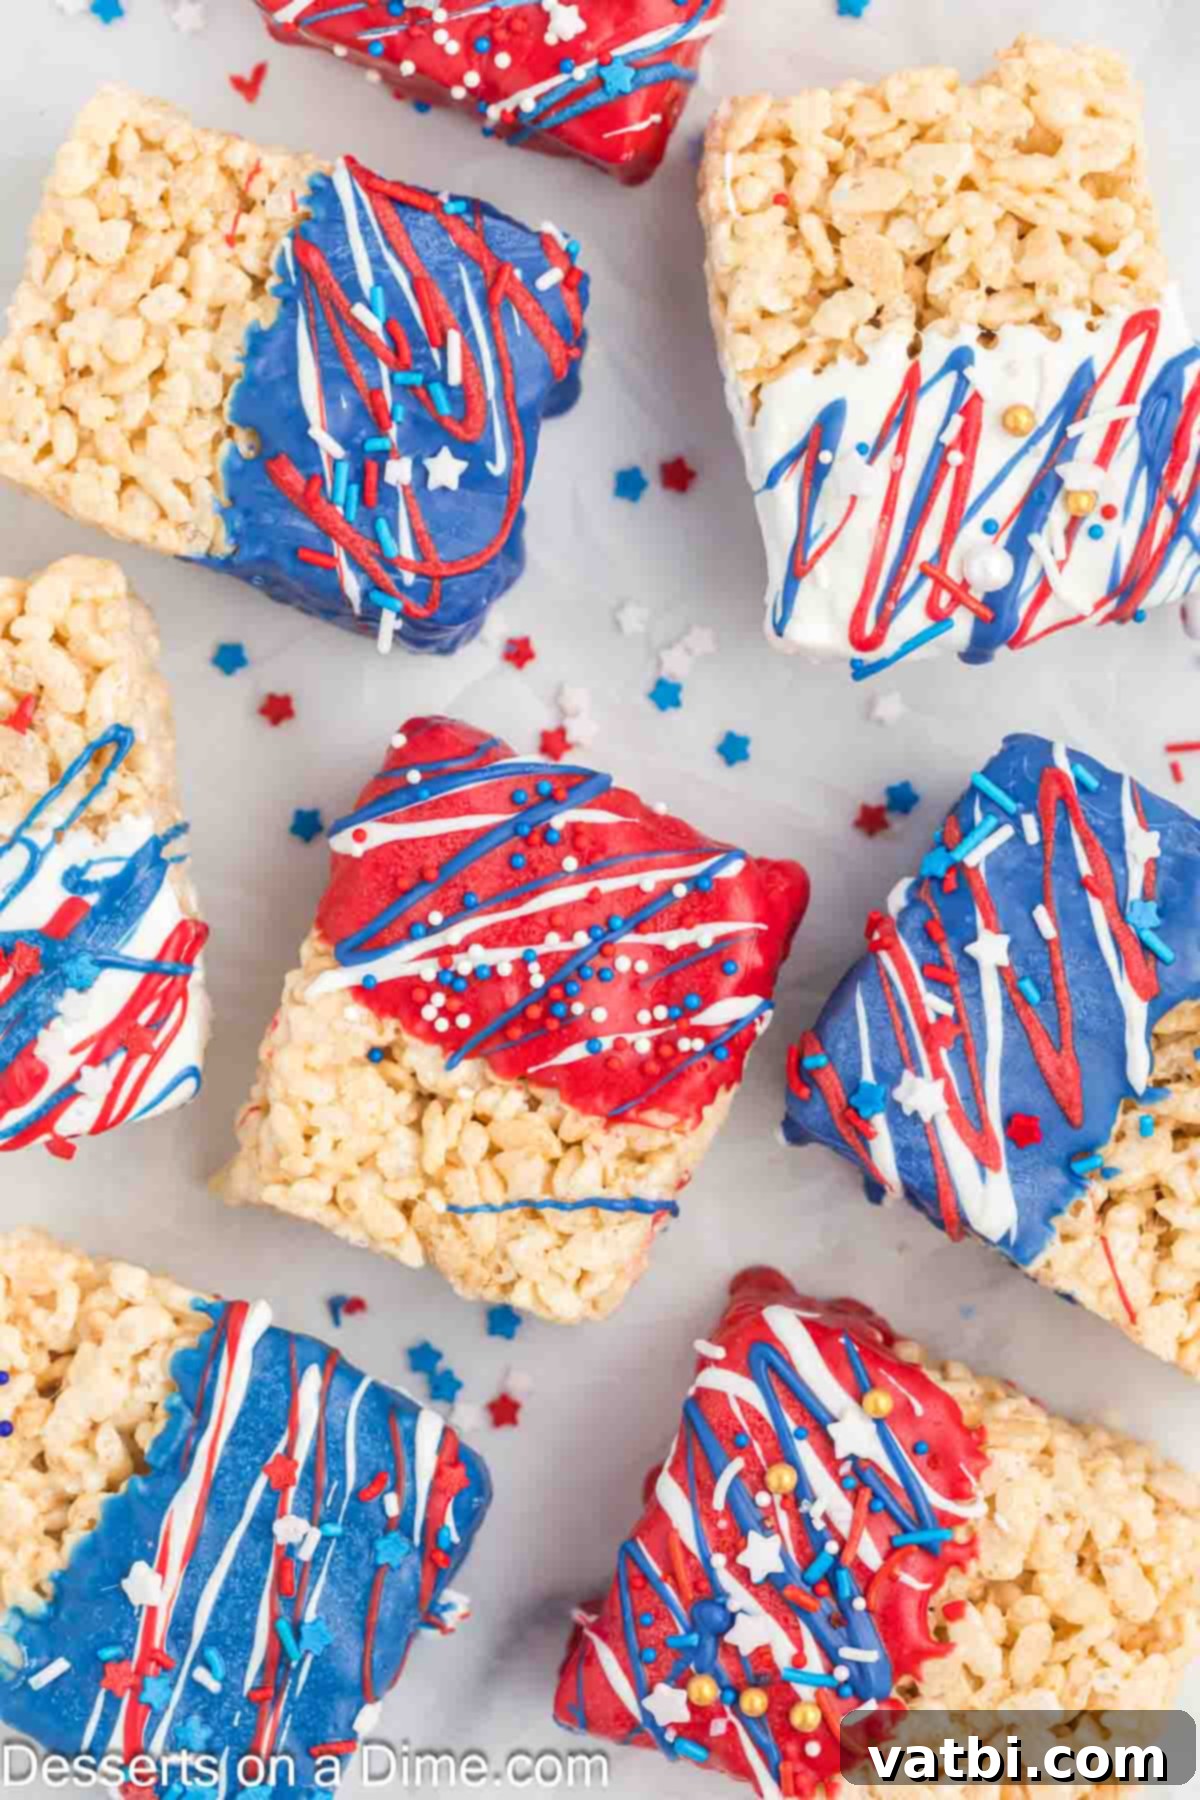
This incredibly easy no-bake dessert is a guaranteed crowd-pleaser in our home. My children are absolutely crazy for classic Rice Krispie treats, so we make them frequently. To add a special touch for our patriotic celebrations, we decided to “jazz them up” by dipping them in colorful candy melts and adding festive sprinkles. These aren’t just any treats; they are delightful 4th of July Chocolate covered Rice Krispie Treats that add a vibrant touch to any dessert table.
They are the perfect companion to other amazing No-Bake 4th of July Desserts. We also adore pairing them with 4th of July Sugar Cookies and a spectacular American Flag Cake to complete our festive spread. Imagine a platter brimming with these delightful, colorful confections – your guests will be impressed!
Table of Contents
- Why This Recipe Works
- Ingredients You’ll Need
- Easy Step-By-Step Instructions
- Pro Tips for Perfect Treats
- Fun Flavor and Decoration Variations
- Frequently Asked Questions
- Discover More Easy 4th of July Desserts
Why This Patriotic Rice Krispie Treat Recipe Works Every Time
This recipe is a winner for so many reasons! First, it calls for only a few readily available ingredients, making it a budget-friendly and accessible dessert for any home cook. You won’t need to spend hours searching for exotic items. Second, and perhaps most importantly, it’s a no-bake treat! This means you don’t have to heat up your oven, which is a huge bonus, especially during hot summer months when you’re preparing for 4th of July or Memorial Day festivities.
The entire process is practically effortless, yet the results are consistently delicious and visually stunning. These treats are not only incredibly tasty, with that perfect balance of sweet and chewy, but they are also exceptionally festive with their vibrant red, white, and blue colors. They instantly elevate any party spread and look fantastic on a dessert platter alongside other holiday favorites. Whether you arrange them with distinct red, white, and blue layers or mix and match, these treats are sure to be a beloved addition to your celebration.
Essential Ingredients You’ll Need
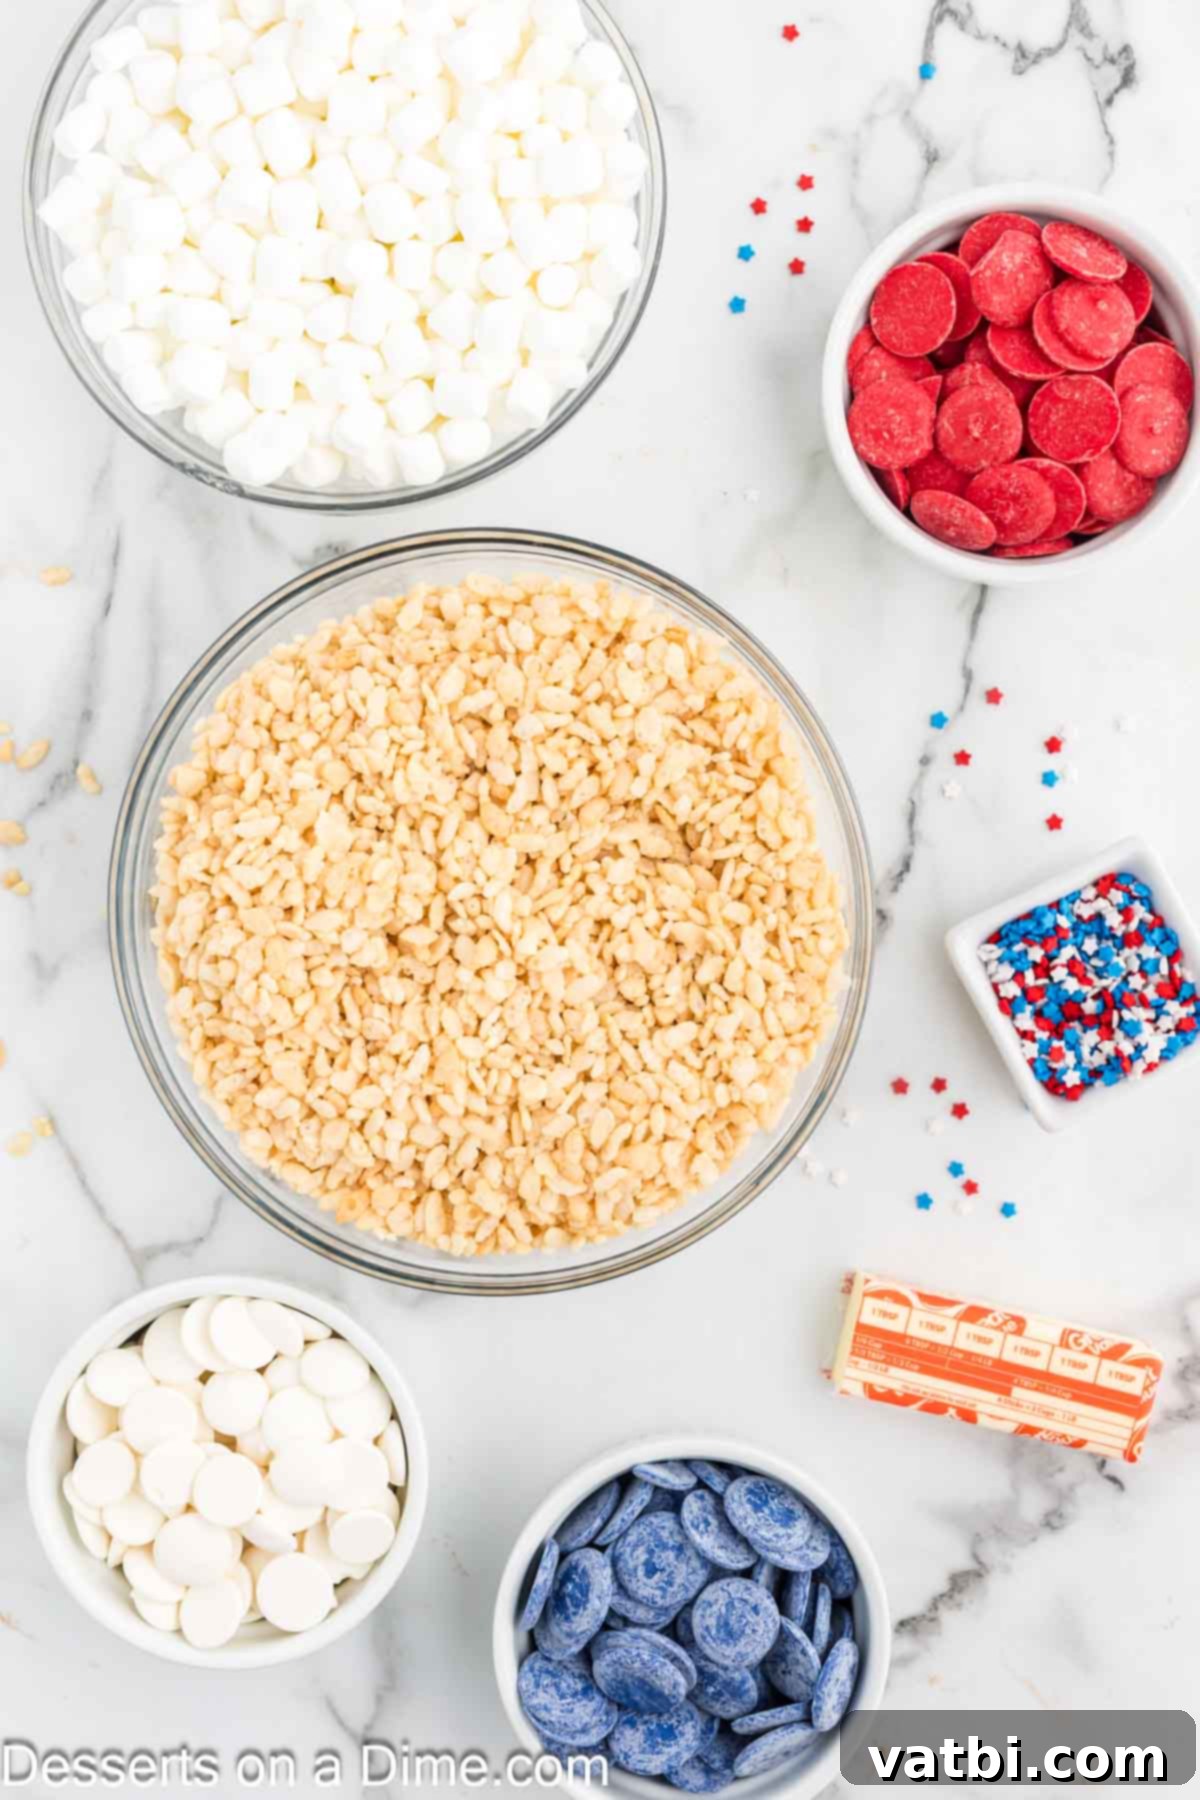
- Rice Krispie Cereal: The foundation of our treats! It’s crucial to use fresh cereal. Stale cereal will result in a tougher, less enjoyable treat, lacking that signature crispy texture. Always check the expiration date and ensure the box is sealed tightly.
- Butter: For the best flavor and texture, we highly recommend using real butter. Unsalted butter is generally preferred in baking to control the salt content, but a good quality salted butter can also work and add a subtle savory note to balance the sweetness.
- Marshmallows: These are key for creating the gooey, chewy consistency we all love. Fresh marshmallows melt smoothly and incorporate better. You can use mini or large marshmallows; mini marshmallows tend to melt a bit faster. (The full recipe calls for two 10-ounce packages, usually about 10 cups of mini marshmallows).
- Red, White, and Blue Candy Melts: These vibrant candy melts are perfect for dipping because they create a smooth, glossy, and professional-looking finish. They’re specifically designed to melt easily and set quickly, giving your treats that beautiful patriotic flair.
- Red, White, and Blue Star Sprinkles: While optional, these sprinkles are highly recommended for adding that extra touch of festivity and visual appeal. They instantly elevate the treats from simple to show-stopping! Look for patriotic mixes with stars or other themed shapes to enhance the holiday spirit.
You’ll find the complete list of exact measurements and quantities at the bottom of the page in the printable recipe card.
Easy Step-By-Step Instructions for Patriotic Rice Krispie Treats
Making these festive treats is straightforward and fun! Follow these simple steps for perfectly gooey and colorful Rice Krispie treats:
- Step 1. Prepare Your Pan: Begin by lightly spraying a 9×13-inch baking dish with a nonstick cooking spray. This crucial step ensures your treats won’t stick and makes removal much easier. You can also line it with parchment paper for even simpler cleanup.
- Step 2. Melt the Butter: In a large, heavy-bottomed saucepan, gently melt the butter over low heat. It’s important to keep the heat low to prevent the butter from browning, which can alter the flavor of your finished treats.
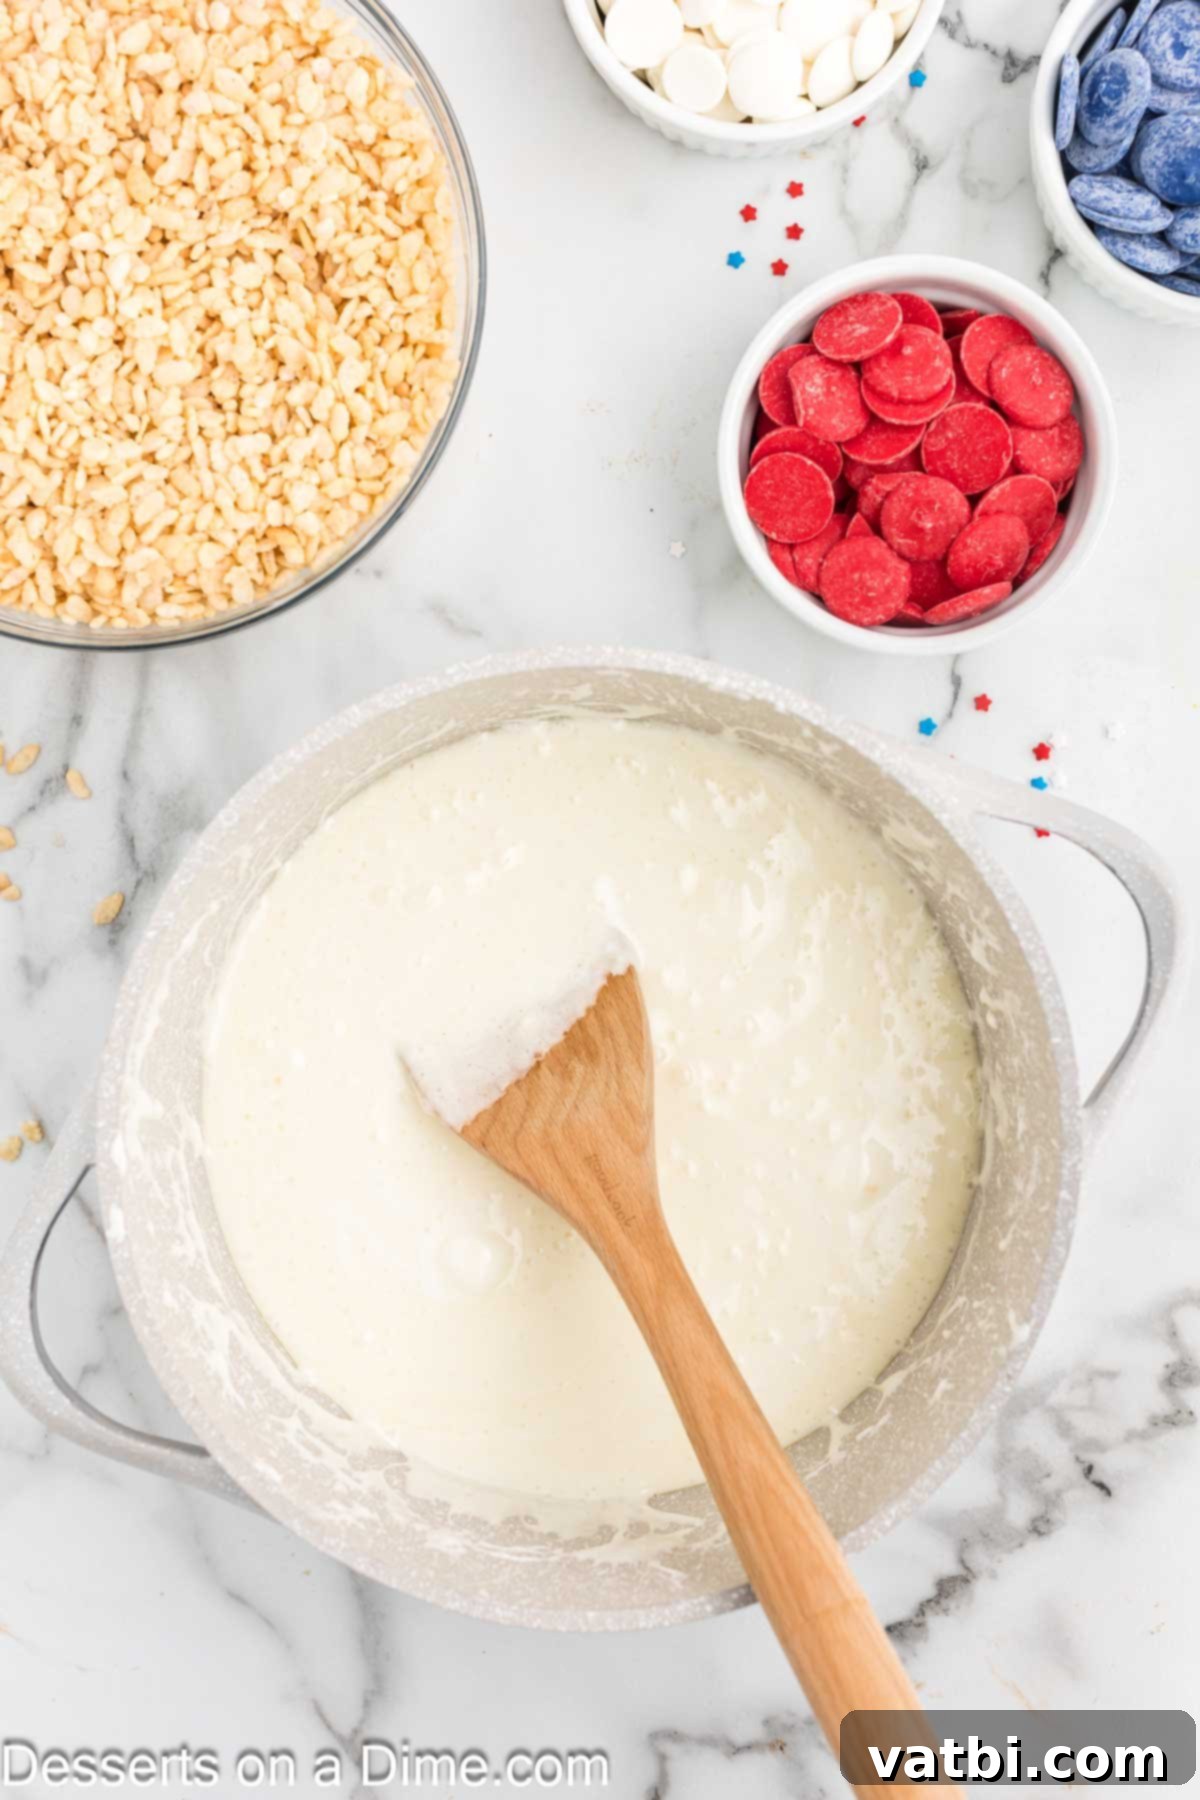
Step 3. Add Marshmallows: Once the butter is melted, add the marshmallows to the saucepan. Continue to stir with a rubber spatula over low heat until the marshmallows are completely melted and form a smooth, gooey mixture. Consistency is key here for the perfect treat!
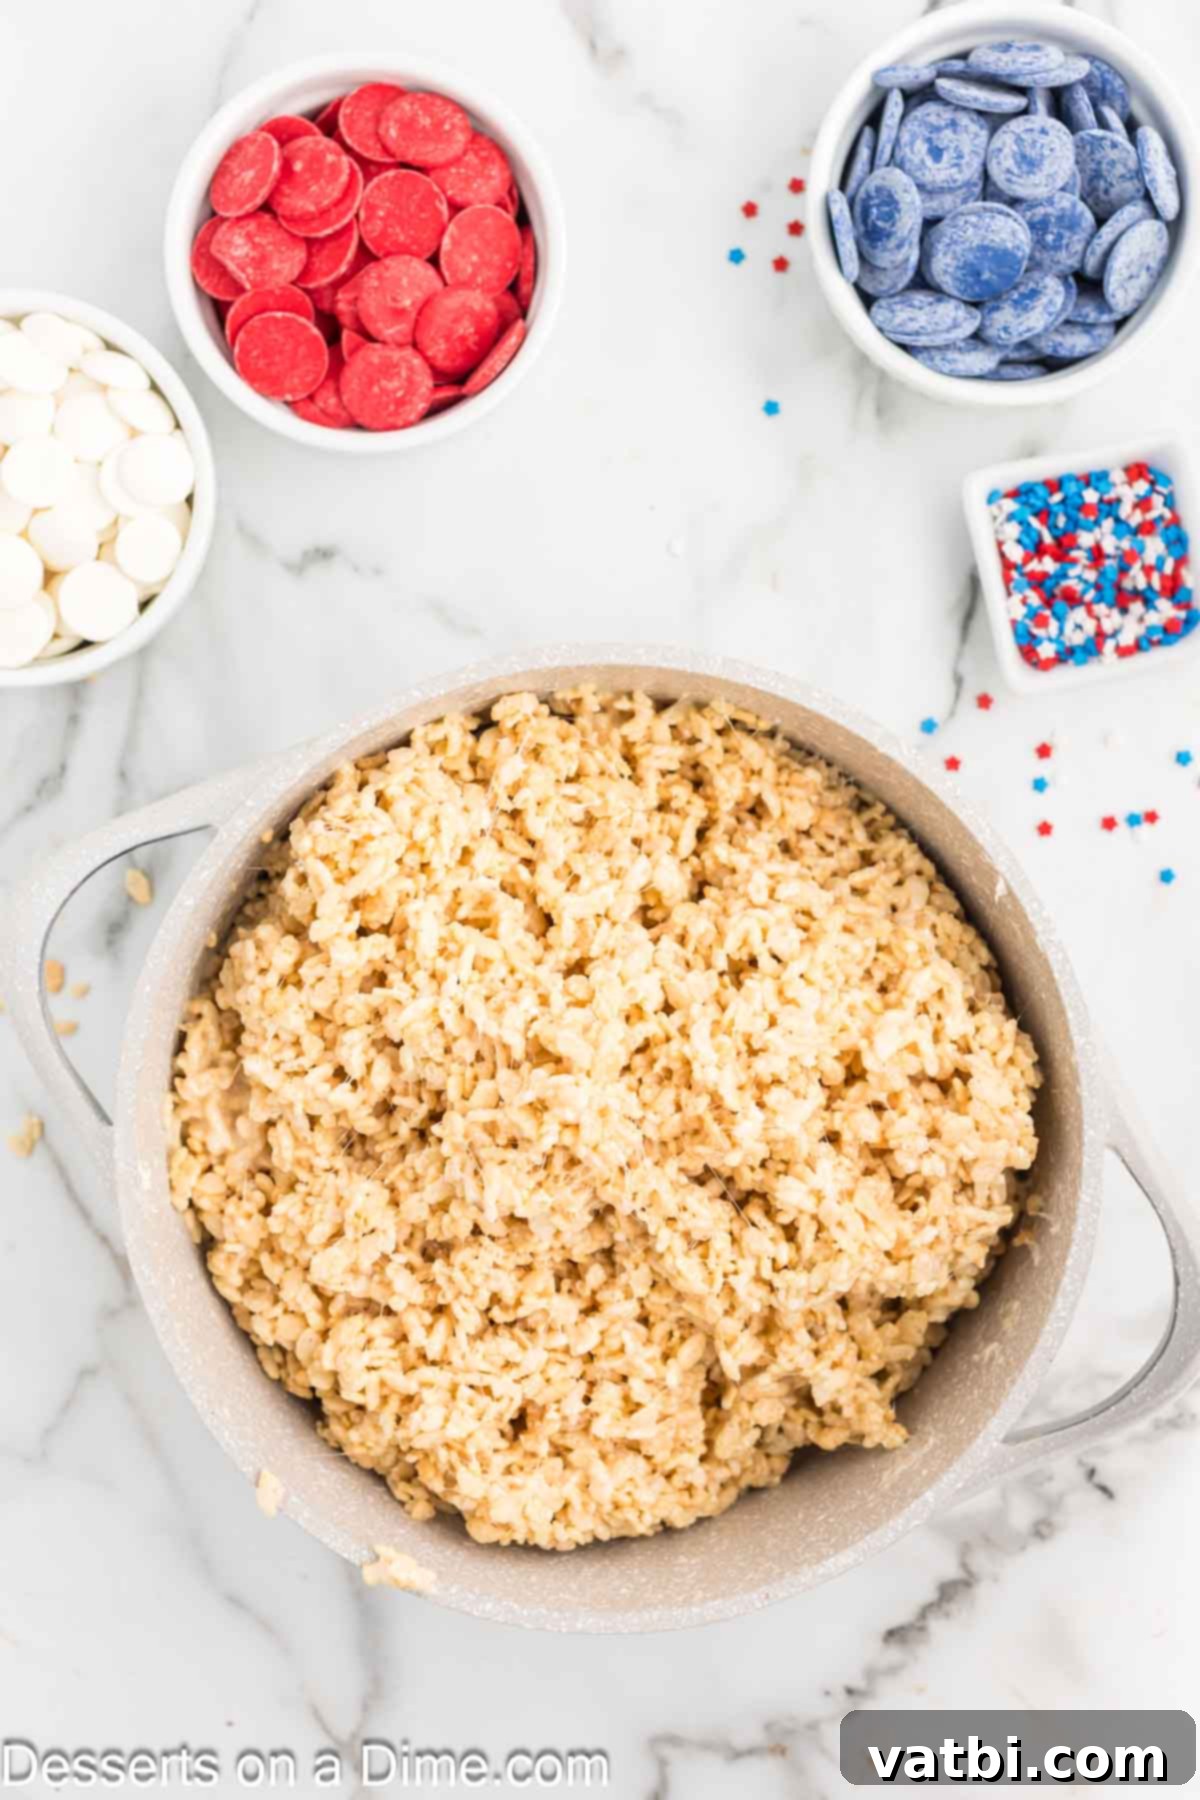
Step 4. Incorporate Cereal: Remove the saucepan from the heat immediately. Gradually pour in the Rice Krispies cereal, stirring gently but thoroughly until every piece of cereal is completely coated with the marshmallow mixture. Work quickly before the mixture cools too much.
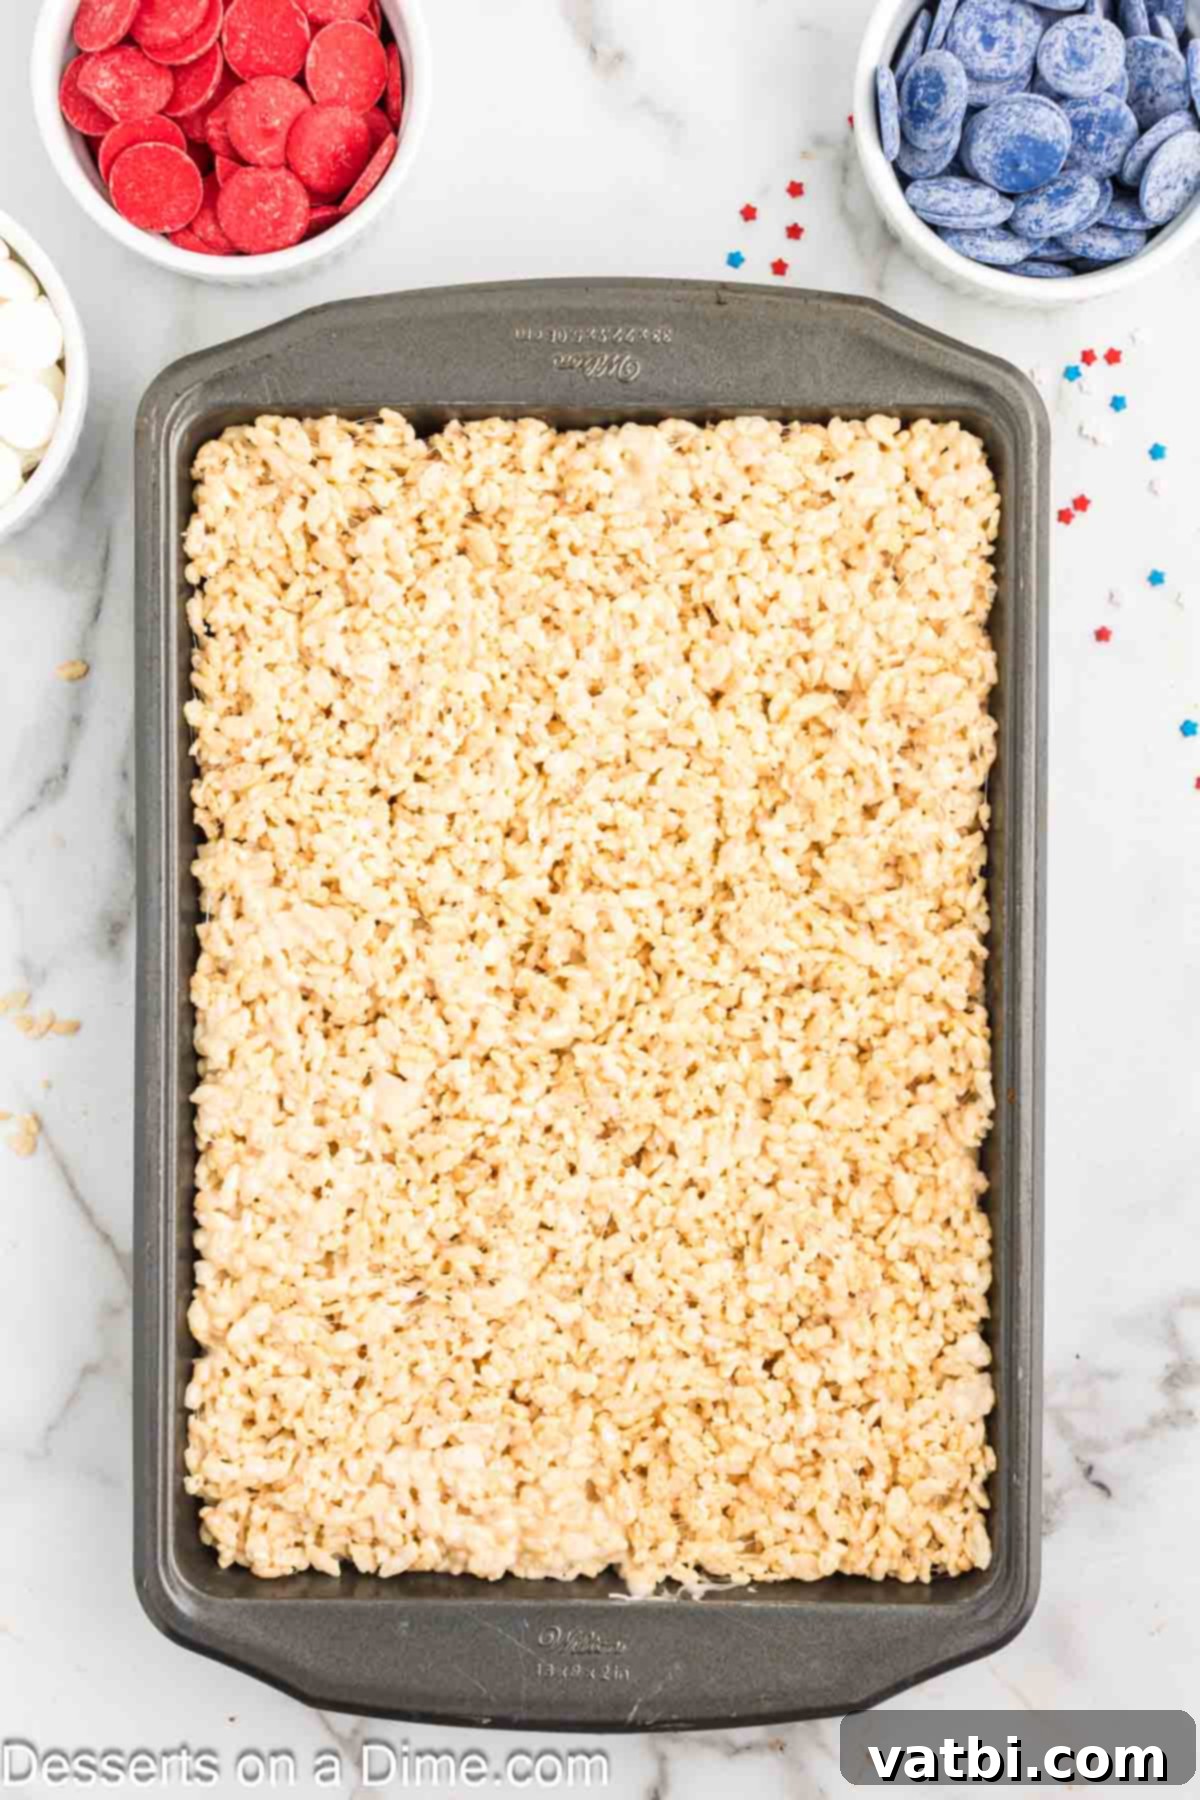
Step 5. Press into Pan: Transfer the coated cereal mixture into your prepared pan. Using a buttered spatula or your hands (lightly buttered to prevent sticking), gently press the mixture down to form an even layer. Avoid pressing too hard, as this can make the treats dense and hard.
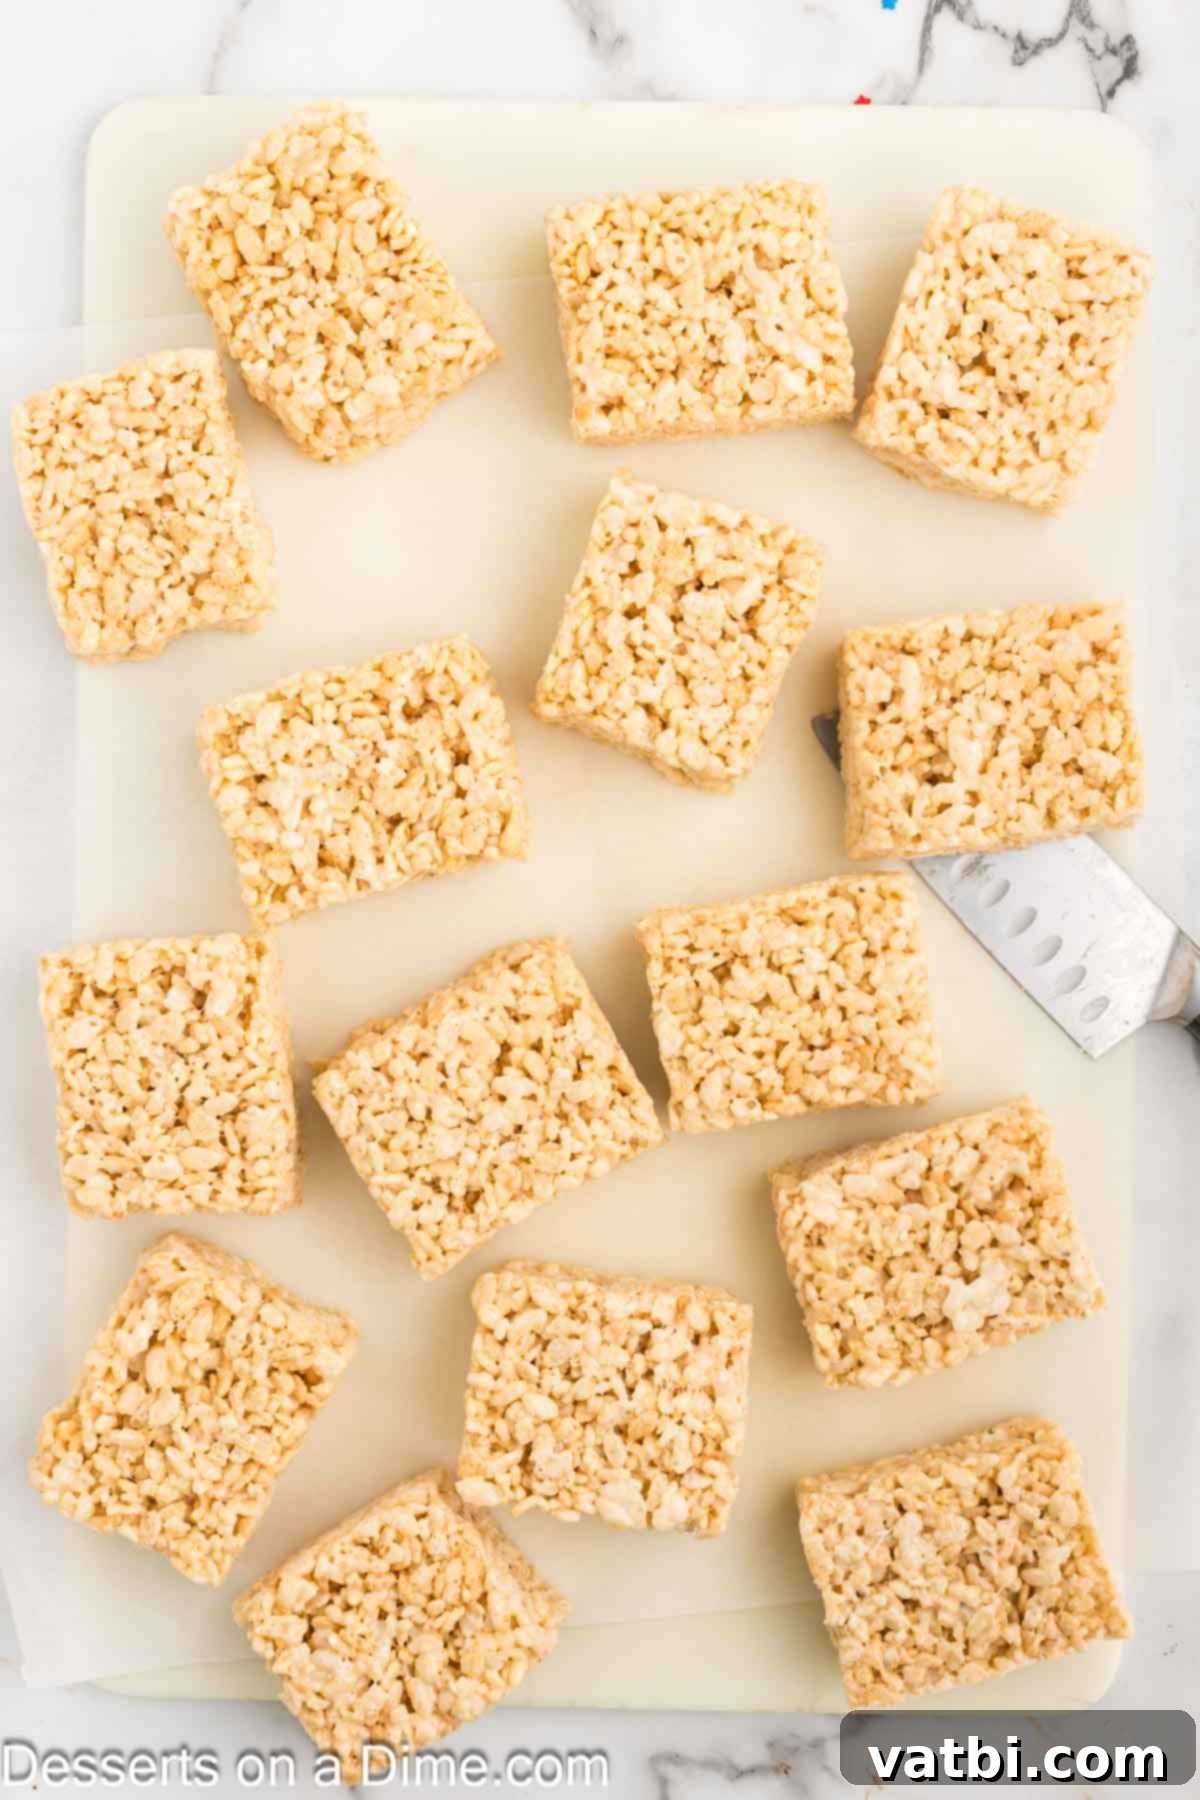
Step 6. Cool and Cut: Allow the Rice Krispie treats to cool completely at room temperature. This will take about 10-20 minutes. Once cooled and set, use a sharp, buttered knife or kitchen shears to cut them into rectangle pieces of your desired size. Clean cuts ensure a beautiful presentation.
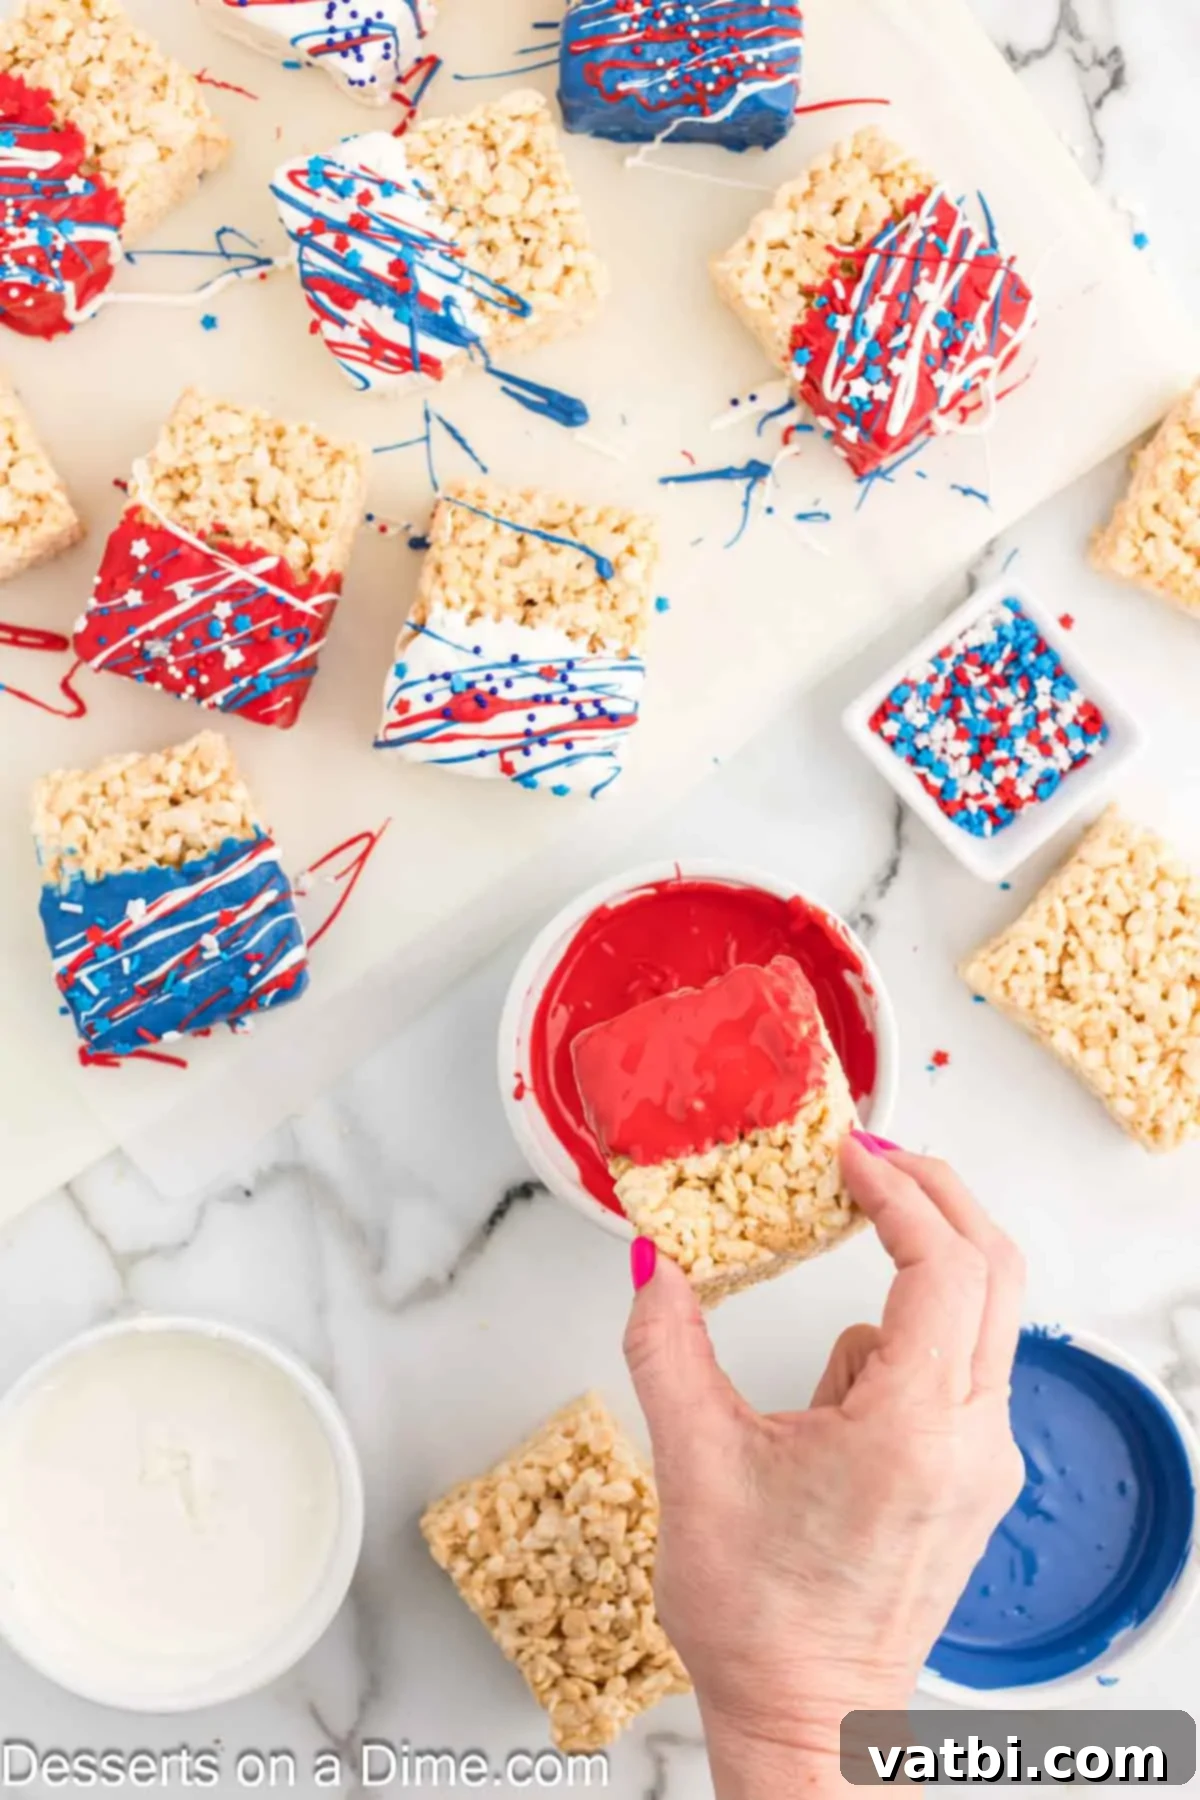
Step 7. Melt and Dip Candy: Place your red, white, and blue candy melts into three separate microwave-safe bowls. Melt each color in 30-second increments, stirring well after each interval, until completely smooth. Dip about a half or a third of each Rice Krispie treat into one of the candy colors. Tap off any excess candy melt gently.
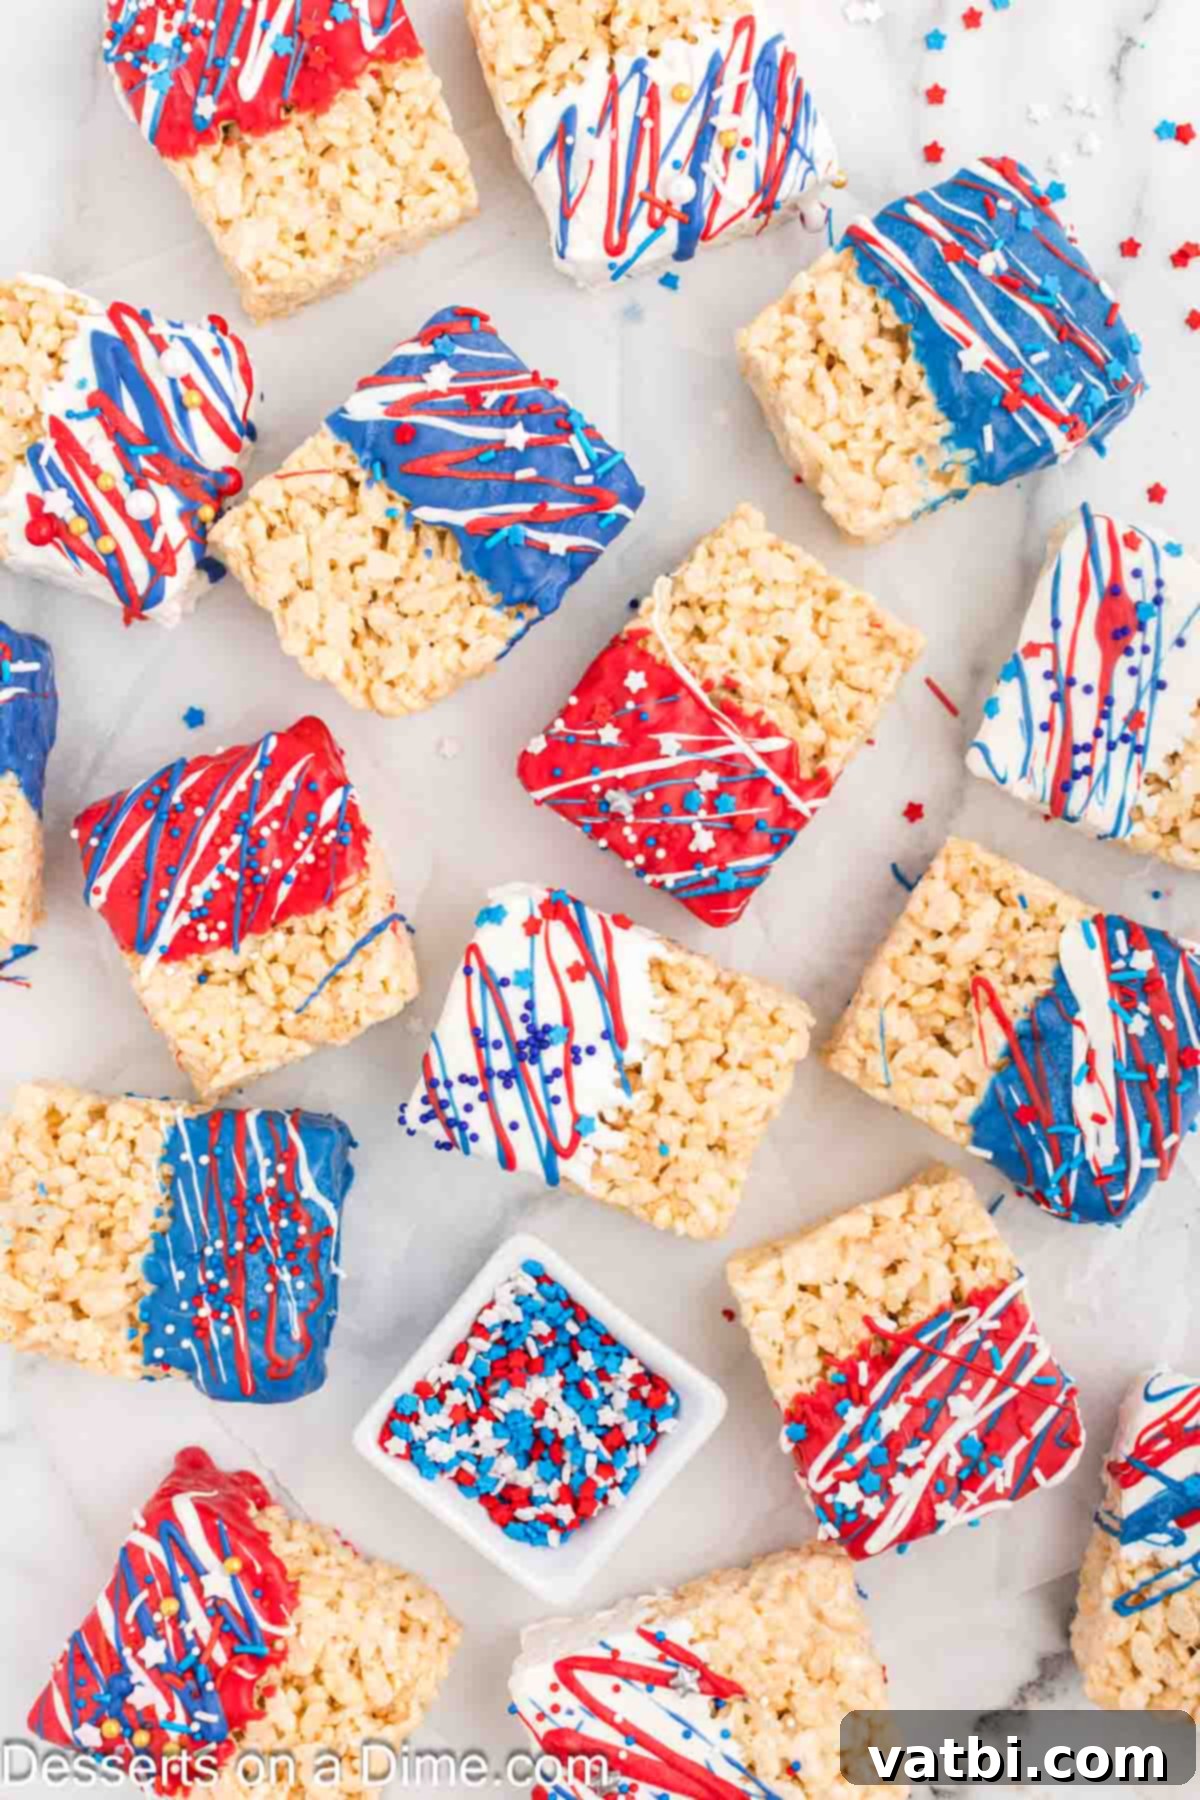
Step 8. Decorate and Set: Carefully place the dipped Rice Krispie treats onto a baking sheet lined with parchment paper. While the candy melts are still wet, use a fork to drizzle additional contrasting candy melt colors over the dipped portion for an artistic touch. Immediately sprinkle with your festive red, white, and blue star sprinkles. Allow the candy melts to set completely at room temperature before serving. This will ensure they harden and hold their shape beautifully.
Pro Tips for Achieving Perfect Red, White, and Blue Rice Krispie Treats
While this recipe is simple, a few expert tips can elevate your patriotic treats from great to absolutely extraordinary:
- Adjust Thickness to Your Preference: The recipe uses a 9×13-inch pan for a good, thick treat, which we personally love for that satisfying chew. If you prefer thinner treats, you can easily halve the batch or use a larger pan. Conversely, for even thicker treats, you could use an 8×8 or 9×9-inch pan, but be aware they will be very dense.
- Avoid Refrigeration for Best Texture: It might be tempting to pop them in the fridge to speed up cooling or for storage, but don’t! Refrigerating Rice Krispie treats can cause them to become hard, dry, and lose their signature gooeyness. They are best left to cool and stored at room temperature, which keeps them wonderfully soft and chewy.
- Shortcut with Store-Bought Treats: In a pinch or when time is short, you can absolutely use store-bought Rice Krispie treats! Simply unwrap them, cut them to your desired size if needed, and proceed with melting and dipping the candy melts. It’s a fantastic hack for quick, festive desserts.
- Use Parchment Paper for Easy Release and Cleanup: Lining your baking pan with parchment paper is a game-changer. It makes lifting the entire slab of treats out of the pan incredibly easy once cooled, allowing for neat cutting and virtually no sticky residue to clean up. You can also use it to separate layers of treats in storage.
- Freshness Matters: Always use fresh marshmallows and cereal. Stale ingredients can significantly impact the texture and taste, making your treats hard, brittle, or less flavorful. Fresh marshmallows melt more smoothly and yield a chewier treat.
- Extra Marshmallows for Ultimate Gooeyness: For an even more indulgent and gooey treat, try stirring in an extra cup of mini marshmallows right after you remove the mixture from the heat, just before adding the cereal. The residual heat will soften them slightly, resulting in delightful pockets of marshmallow throughout your treats.
- Press Gently into the Pan: When spreading the cereal mixture into the prepared pan, use a light hand. Pressing too firmly can compact the mixture, squeezing out air and resulting in dense, hard treats instead of the desired soft and chewy texture. A buttered spatula or wax paper can help you achieve an even, gentle press.
- Clean Cuts for Perfect Bars: For perfectly neat and defined bars, use a sharp knife coated lightly with non-stick spray or butter, or even use clean kitchen shears. Wipe the knife clean between cuts to prevent sticking and ensure crisp edges.
- Make Ahead Planning: These treats are best enjoyed within 1-2 days of making them. However, you can prepare them up to 3 days in advance and store them properly for optimal freshness.
- Gift-Giving Ideas: These colorful treats make fantastic homemade gifts! Stack them in clear cellophane bags tied with patriotic ribbons, or arrange them in a decorative box for a thoughtful present for neighbors, teachers, or hosts.
Fun Flavor and Decoration Variations
One of the best things about Rice Krispie treats is how easily they can be customized! Feel free to modify this red, white, and blue recipe to suit your taste or for different occasions:
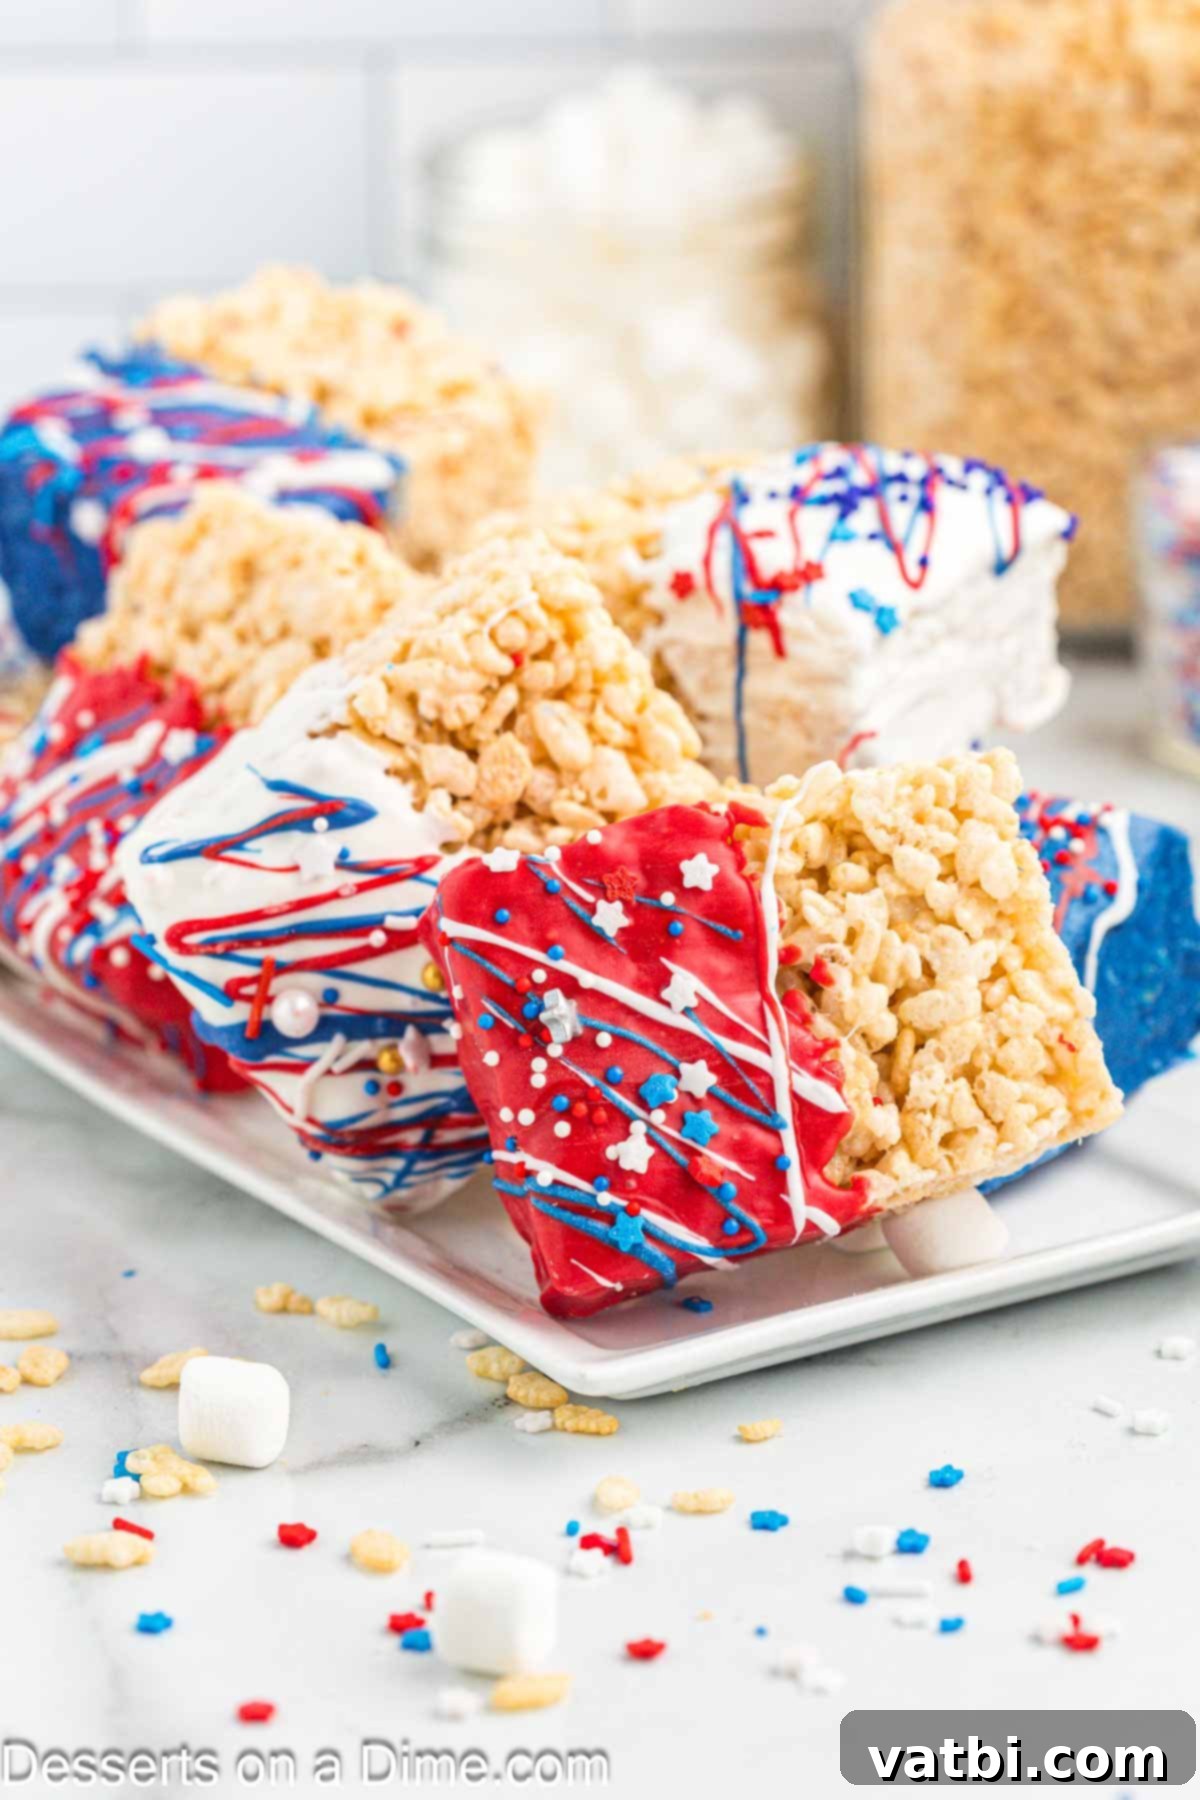
- Add More Candy on Top: Beyond sprinkles, consider adding other red, white, and blue candies on top of the wet candy melts. Think mini M&M’s, chopped red licorice, or small blue jelly beans for extra texture and sweetness.
- Melted Chocolate Dipping: Instead of candy melts, you can dip your treats in melted white, milk, or dark chocolate. If you opt for white chocolate, you can easily dye it with gel food coloring to achieve vibrant red and blue hues. Just ensure you use oil-based food coloring for chocolate, as water-based colors can cause it to seize.
- Chocolate Flavored Treats: For chocolate lovers, swap out regular Rice Krispie cereal for Cocoa Krispies! This will give your base a delicious chocolate flavor that pairs wonderfully with the patriotic candy melts.
- Delicious Mix-ins: Get creative with mix-ins! Stir chocolate chips (white, milk, or dark), peanut butter morsels, or even chopped nuts into the warm cereal mixture before pressing it into the pan. This adds an extra layer of flavor and texture. Dried cranberries or blueberries could also be a festive addition.
- Elegant Drizzle: Instead of full dipping, a simple drizzle of melted white, milk, or dark chocolate over the set red and blue candy melts can create an elegant and appealing look. Use a fork or a piping bag with a fine tip for precision.
- Cookie Cutter Shapes: After the treats have cooled but are still slightly pliable (before dipping), use patriotic cookie cutters (stars, flags, hearts) to create fun shapes. Then proceed with dipping and decorating your shaped treats. This is particularly fun for kids!
- Layered Patriotic Treats: For a truly striking visual, you can create distinct red, white, and blue layers. Divide your marshmallow mixture into three portions. Tint one red and one blue with gel food coloring (leaving one white). Press each colored layer separately into the pan, allowing each to cool slightly before adding the next, for a beautiful striped effect.
Frequently Asked Questions About Rice Krispie Treats
There are a couple of common culprits for hard Rice Krispie treats. First, ensure you cook the butter and marshmallow mixture over low heat. If the heat is too high, the sugar in the marshmallows can cook too quickly and crystalize, resulting in a tough, hard texture instead of a soft, gooey one. Second, when you press the cereal mixture into the pan, use a very gentle hand. Pressing too hard compacts the treats and removes air, which makes them dense and firm. Lightly buttering your hands or spatula can help you press gently and evenly without sticking.
No, in fact, it’s best to avoid refrigerating Rice Krispie treats. As mentioned in our pro tips, refrigeration can cause the treats to harden and lose their delightful chewiness. They are best kept at room temperature. Store them in an airtight container to prevent them from drying out and becoming stale. If you have layers, you can use wax paper or parchment paper between them to prevent sticking.
When stored properly in an airtight container at room temperature, homemade Rice Krispie treats will typically last for about 3-4 days. While they technically remain edible longer, their texture starts to degrade after this point. Ours rarely last that long though, as they are usually devoured much quicker! To prevent sticking, you can place a piece of wax paper or parchment paper between layers of treats in the container.
We generally do not recommend freezing Rice Krispie treats. While technically possible, freezing can significantly alter their texture, often making them brittle, crumbly, and less enjoyable once thawed. They are definitely best served fresh or within a few days of making them.
Traditionally, Rice Krispie Treats made with Kellogg’s Rice Krispies cereal are not gluten-free. The reason for this is that Kellogg’s Rice Krispies cereal contains “malt flavor,” which is derived from barley, a grain that contains gluten. However, there’s good news for those with gluten sensitivities! Many brands now produce crispy rice cereal that is specifically certified as gluten-free. If you need a gluten-free version of this recipe, simply ensure you purchase a crispy rice cereal that explicitly states it is gluten-free.
Yes, absolutely! The microwave method is a fantastic way to make these treats even quicker. Simply combine the butter and marshmallows in a large microwave-safe bowl. Microwave on high for about 1-2 minutes, stirring every 30 seconds, until the marshmallows are completely melted and smooth. Be careful not to overheat. Then, proceed with adding the Rice Krispies cereal and following the remaining steps.
Yes, and it’s a wonderfully fun way to customize your treats! After the Rice Krispie mixture has been pressed into the pan and has cooled for a bit (but is still pliable), use a star-shaped cookie cutter (or any other patriotic shape you like) to cut out individual pieces. Once cut, you can then proceed with dipping them in the candy melts and adding sprinkles. This makes for an even more festive and personalized dessert, perfect for any BBQ or party.
Absolutely! The beauty of candy melts is their versatility. You can easily adapt this recipe for any holiday or theme by simply swapping out the red, white, and blue candy melts and sprinkles for different colors. Think green and red for Christmas, pastels for Easter, orange and black for Halloween, or even team colors for a sports party!
For easy transportation, once the candy melts have fully set, stack the treats in an airtight container with layers of parchment or wax paper in between to prevent sticking. If it’s a hot day, keep them in a cooler bag to prevent the candy melts from softening or melting. They hold up well at room temperature for several hours, making them ideal for potlucks and outdoor gatherings.
Discover More Easy 4th of July Desserts You’ll Love!
If you’re looking for more patriotic dessert inspiration, we’ve got you covered! Here are some other fantastic, easy-to-make treats that are perfect for your Independence Day celebration or any summer gathering:
- Festive Red, White, and Blue Crinkle Cake Mix Cookies
- Cool and Creamy 4th of July Ice Cream Sandwich Recipe
- Crunchy Red, White, and Blue Chocolate Covered Pretzels
- Easy Bomb Brownie Bites for Your Summer Party
- The Best Red, White, and Blue Layer Cake to Impress Your Guests!
- Simple 4th of July Chocolate Covered Oreos
We can’t wait for you to try making these incredible Red, White, and Blue Rice Krispie Treats for your next patriotic party. They are truly a joy to make and even more enjoyable to eat. Please leave a star rating and comment below to let us know how much you loved them!
Red White and Blue Rice Krispie Treats
Ingredients
- 12 cups Rice Krispie Cereal
- 6 Tablespoons Butter
- (2) 10 ounce package of Marshmallows
- 4 ounces Red Candy Melts
- 4 ounces Blue Candy Melts
- 4 ounces White Candy Melts
- Red White and Blue Star Sprinkles Optional
Instructions
-
Spray a 9×13-inch pan with a non-stick cooking spray to prevent sticking.
-
Melt the butter over low heat in a large saucepan, ensuring it doesn’t brown.
-
Add the marshmallows to the melted butter and stir continuously until they are completely melted and smooth.
-
Remove the saucepan from the heat. Gradually pour in the Rice Krispies cereal and mix gently until all cereal is thoroughly coated with the marshmallow mixture.
-
Transfer the mixture to the prepared pan and gently press it down to form an even layer. Avoid pressing too firmly.
-
Allow the treats to cool completely at room temperature, then cut them into desired rectangle pieces.
-
Place the red, white, and blue candy melts into three separate microwave-safe bowls.
-
Microwave each bowl in 30-second increments, stirring well after each, until the candy melts are completely melted and smooth.
-
Dip approximately half or one-third of each Rice Krispie treat into one of the melted candy colors. Tap gently to remove excess.
-
Place the dipped treats onto a baking sheet lined with parchment or wax paper. While the candy is still wet, you can drizzle with other colors using a fork or sprinkle with star sprinkles.
-
Allow the candy melts to set completely at room temperature until hardened. Enjoy your festive treats!
Nutrition Facts
Pin This Now to Remember It Later
Pin Recipe
