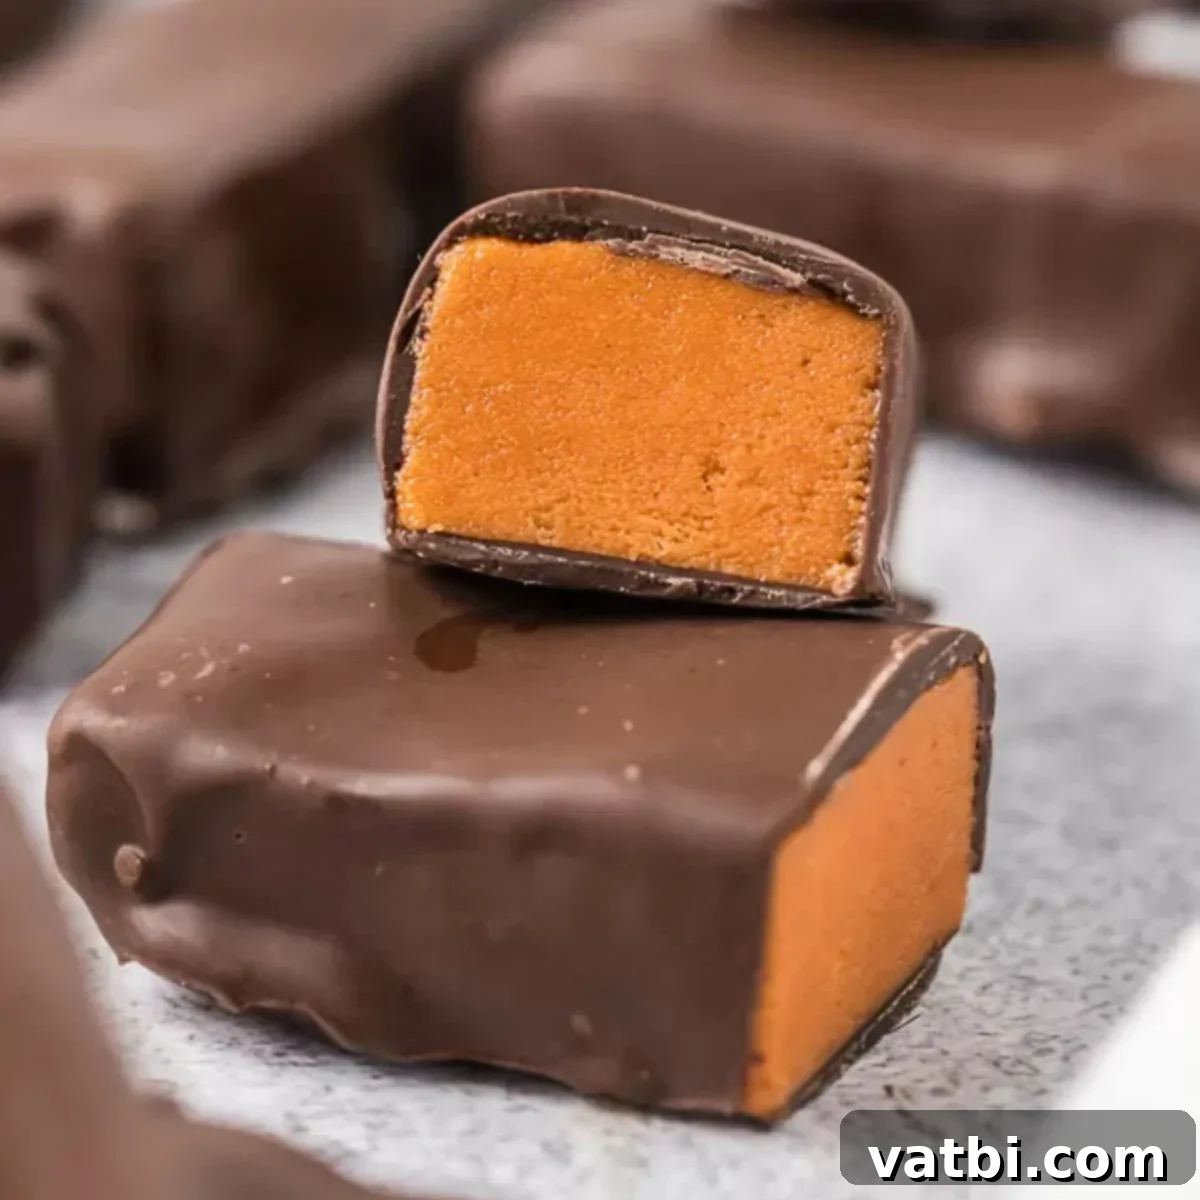
The Ultimate 3-Ingredient Homemade Butterfinger Recipe: Crispy, Crunchy, & Delicious
Prepare to delight your taste buds with this incredibly easy homemade Butterfinger recipe! With just three simple ingredients, you can recreate the iconic crispy, peanut butter, and chocolate candy bar right in your own kitchen. This recipe delivers a rich, crunchy, and absolutely delicious treat that’s perfect for satisfying any sweet craving. It’s so straightforward, even beginner candy makers will achieve fantastic results.
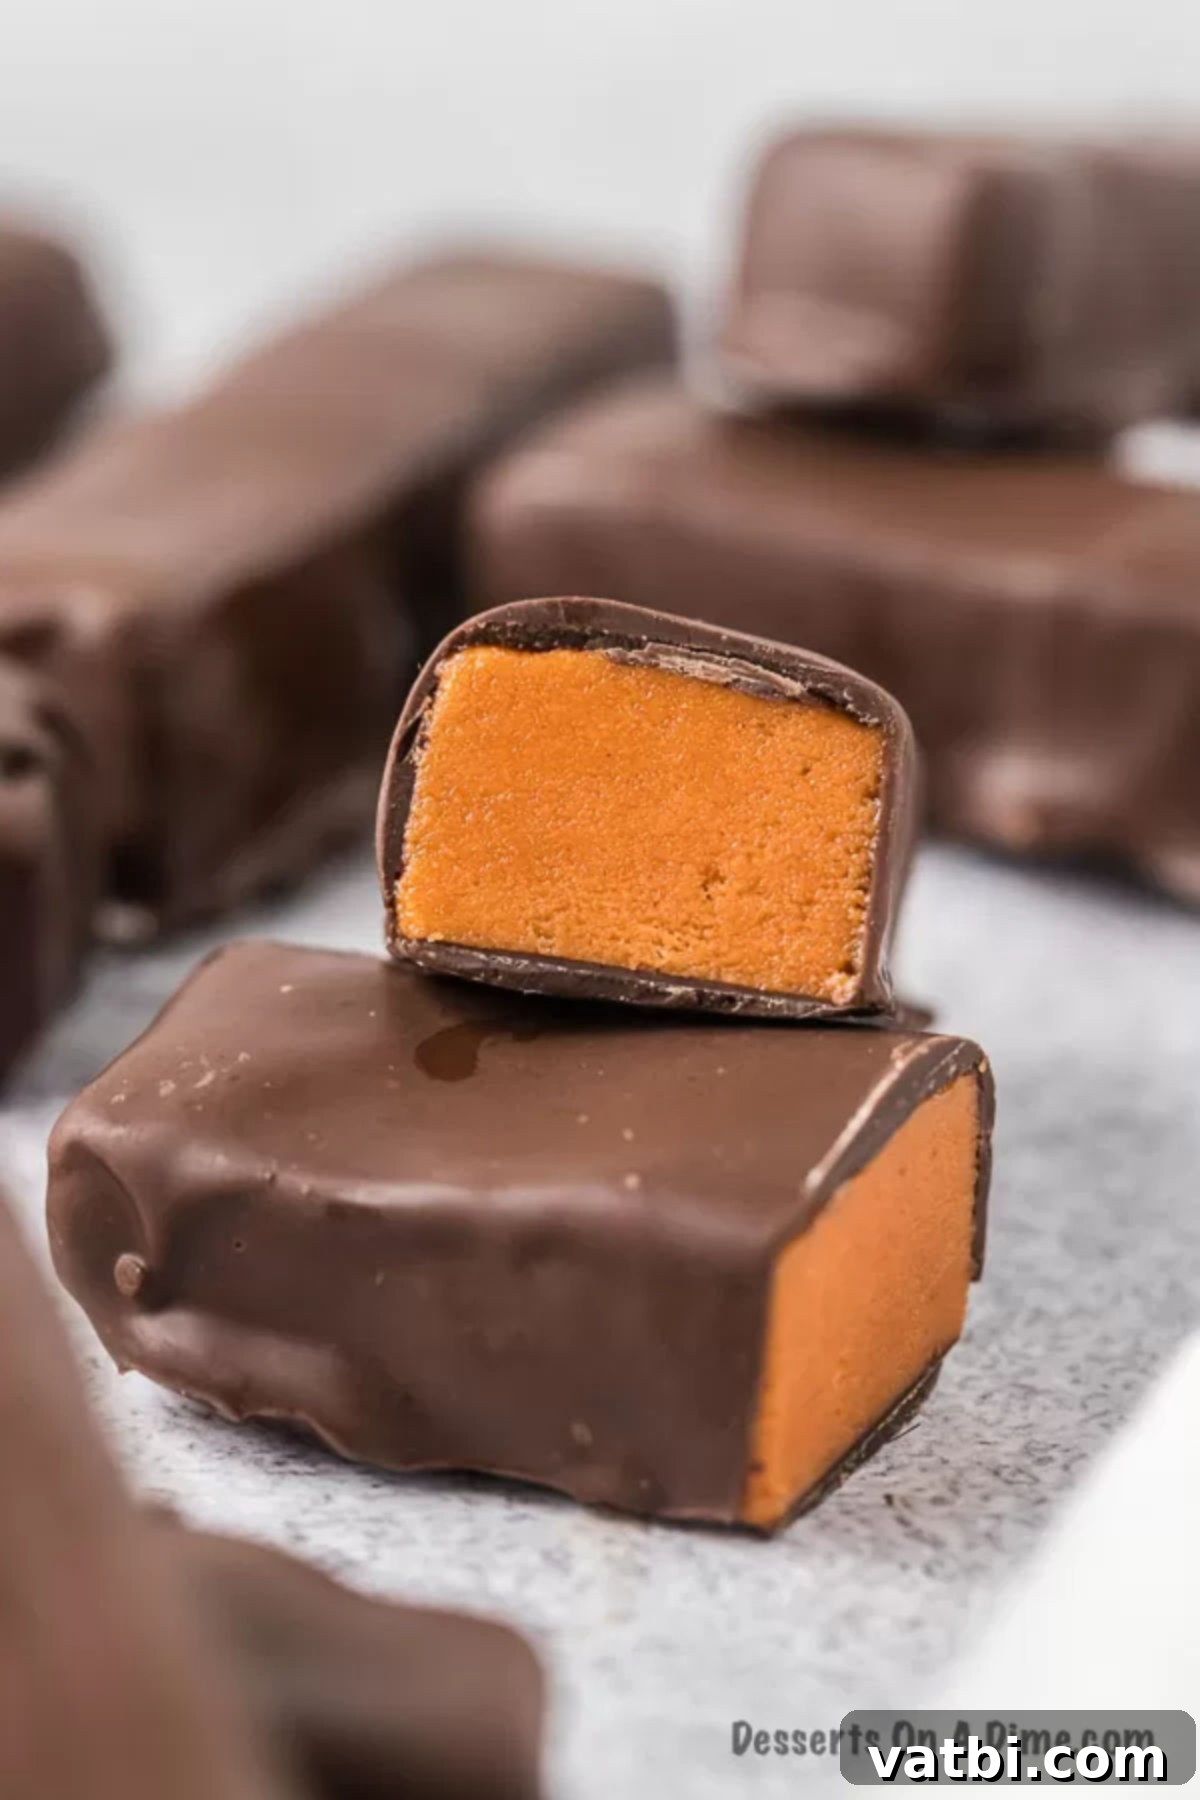
Making homemade candy bars has been a favorite pastime of mine for years, and it’s always a hit, especially with the kids! There’s something incredibly satisfying about transforming simple ingredients into a beloved confection. This particular Butterfinger recipe stands out not only for its authentic taste and texture but also for its remarkable simplicity. Forget the hassle of a candy thermometer or complicated steps; this recipe is designed for ease and enjoyment.
If you happen to have any leftover candy corn from Halloween, this recipe offers a brilliant and delicious way to put it to good use. You’ll be amazed at how this unassuming candy transforms into the crunchy core of a Butterfinger. These homemade treats are also wonderfully versatile, pairing perfectly with other Butterfinger-inspired desserts such as Butterfinger Cake, Butterfinger Cookies, Homemade Butterfinger Ice Cream, and Butterfinger Balls.
Beyond Butterfingers, I also love crafting other classic treats like my Homemade Twix Bars Recipe, which always receives rave reviews. And if you’re a fan of the creamy nougat and caramel of Milky Way bars, you’ll definitely want to try my Milky Way Cookies.
Table of Contents
- What are Butterfingers?
- Why Make Homemade Butterfingers?
- Key Ingredients for Homemade Butterfingers
- Delicious Variations to Try
- How to Make Homemade Butterfingers (Step-by-Step)
- Proper Storage for Your Butterfingers
- How Long Will They Last?
- Expert Recipe Tips for Success
- Frequently Asked Questions (FAQ)
- More Easy Candy Recipes to Explore
What are Butterfingers?
Butterfingers are a beloved American candy bar known for their distinctive crisp, flaky, and intensely peanut-buttery core, all enrobed in a luscious chocolate coating. The original candy bar, first introduced in 1923, has captivated generations with its unique texture – a perfect balance of crumbly and crunchy, combined with a rich, roasted peanut flavor. Recreating this unique texture at home might seem daunting, but with this ingenious recipe, it’s surprisingly simple!
Our homemade version captures the essence of a Butterfinger by utilizing candy corn to achieve that signature crispy, almost shatteringly flaky texture when mixed with creamy peanut butter. The process is straightforward: melt the candy corn, blend it with peanut butter to form the crunchy filling, let it set, and then dip it in melted chocolate. The best part? You don’t even need to turn on your oven, making it an ideal no-bake dessert for any time of year.
Why Make Homemade Butterfingers?
There are numerous compelling reasons to whip up a batch of these homemade Butterfinger bars. Firstly, the sheer simplicity of the recipe is a major draw. With only three main ingredients, it’s incredibly budget-friendly and requires minimal effort. Secondly, it’s a fantastic way to utilize leftover candy corn, especially after holidays like Halloween. Instead of letting it sit in the pantry, transform it into something truly magical.
Beyond the practicalities, there’s the undeniable joy of creating a classic candy from scratch. You get to control the quality of your ingredients, and the satisfaction of biting into a perfectly crunchy, peanut-butter-filled, chocolate-coated bar that you made yourself is unparalleled. It’s a fun project for the whole family, and the resulting treats are always a crowd-pleaser, whether for parties, gifting, or simply indulging your own sweet tooth.
Key Ingredients for Homemade Butterfingers
The magic of this recipe lies in its minimalist approach, requiring just three core ingredients to achieve a truly authentic Butterfinger experience. Each component plays a crucial role in creating the signature taste and texture.
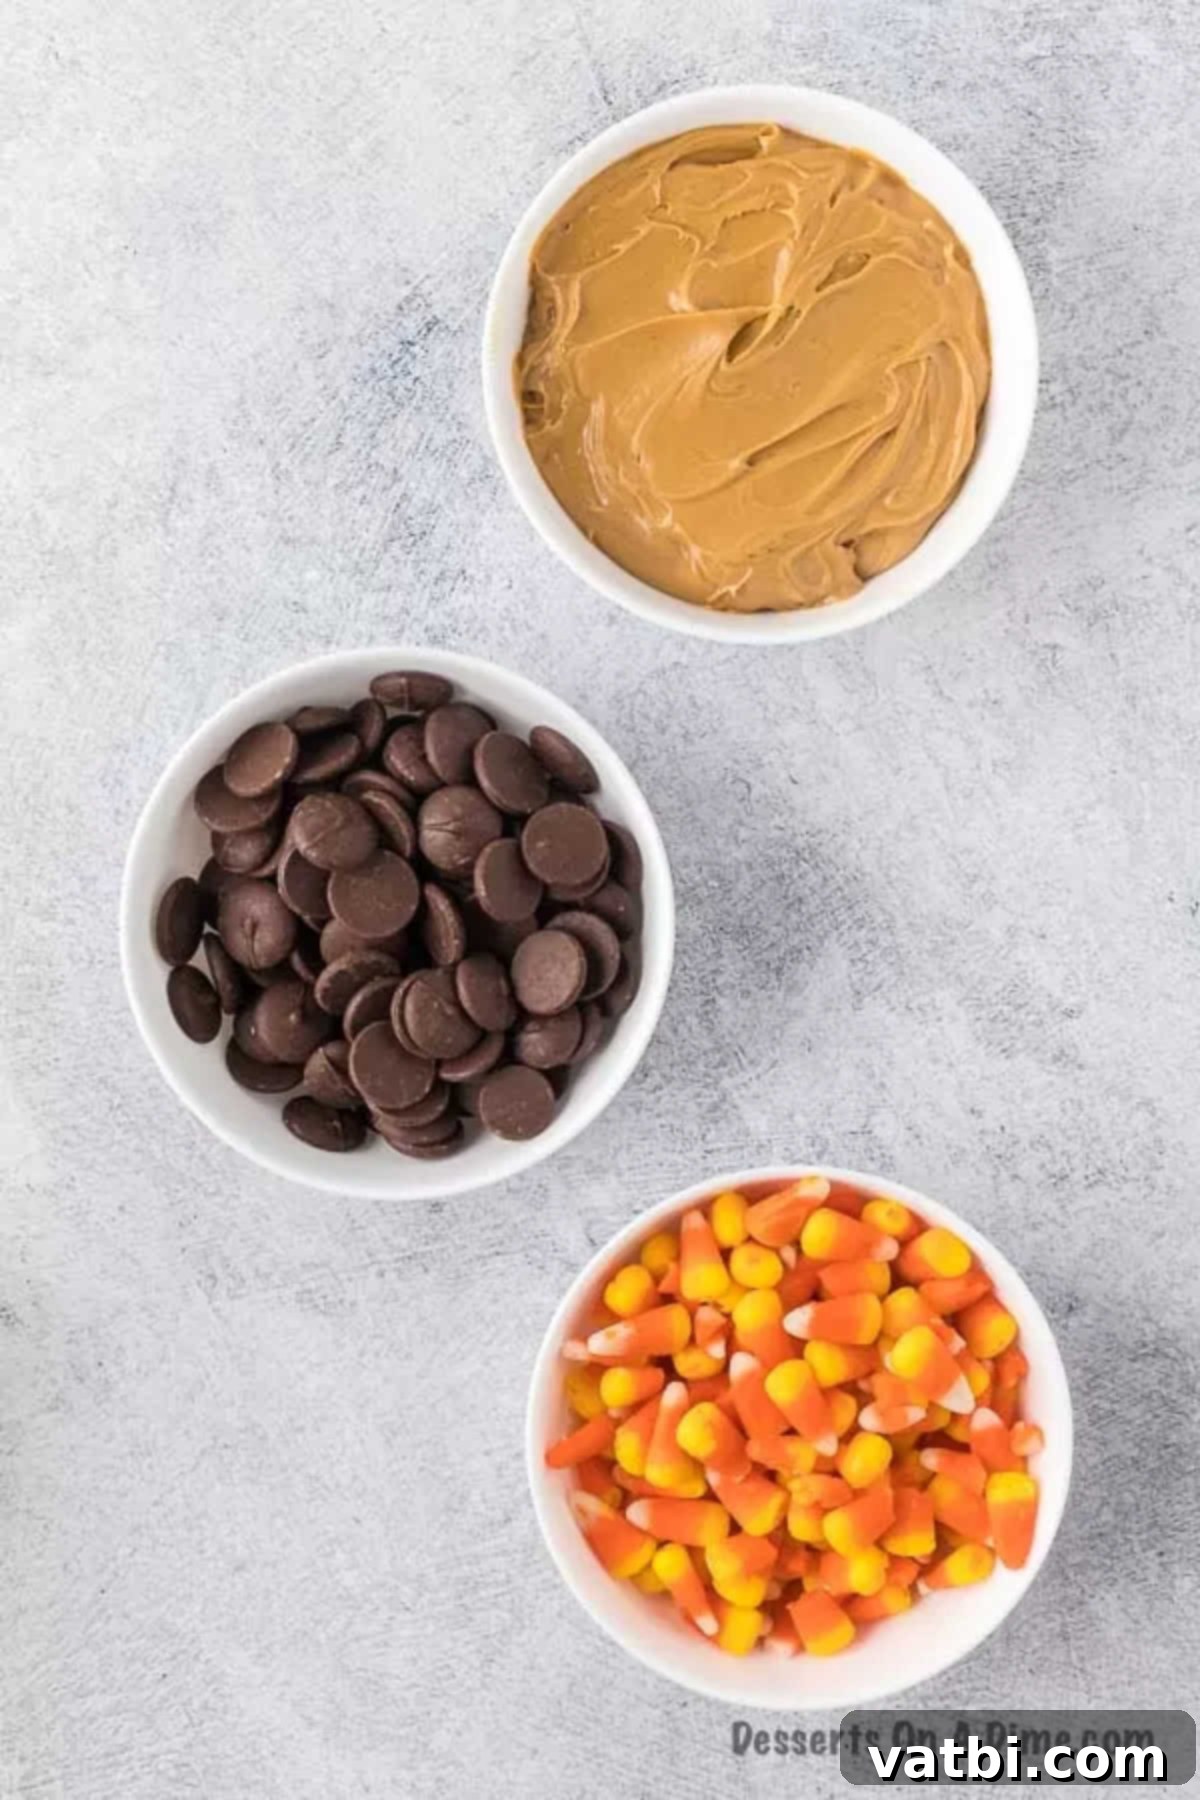
- Candy Corn: This is the secret ingredient that provides the incredible, flaky crunch. When melted and combined with peanut butter, it creates a texture that perfectly mimics the commercial Butterfinger. Be sure to use traditional yellow, orange, and white candy corn for the best flavor and texture.
- Creamy Peanut Butter: The creamy texture of the peanut butter is essential for achieving a smooth, spreadable base once mixed with the melted candy corn. While crunchy peanut butter can be used (see variations below), creamy peanut butter yields the most authentic Butterfinger-like core.
- Chocolate Candy Melts: These are ideal for dipping as they melt smoothly and harden quickly, creating a beautiful, glossy shell without needing tempering. You can choose milk chocolate, dark chocolate, or even semi-sweet, depending on your preference.
You’ll find the complete ingredient list with precise measurements and detailed nutrition information in the recipe card at the bottom of this page.
Delicious Variations to Try
While the classic homemade Butterfinger is truly delightful, there are several ways to customize this recipe to suit your taste or specific occasion. Feel free to get creative!
- White Chocolate Butterfingers: For a different flavor profile and aesthetic, dip these bars in melted white chocolate wafers instead of milk chocolate. The contrast between the sweet white chocolate and the peanut butter interior is absolutely divine. Both options are equally delicious, so choose your favorite!
- Crunchy Peanut Butter Version: We typically recommend creamy peanut butter for that signature smooth core. However, if you’re a fan of extra crunch and a more rustic texture, you can certainly use crunchy peanut butter. Just be aware that the final mixture will be less smooth and have a more pronounced, granular crunch.
- Butterfinger Bites: Instead of traditional bars, you can easily cut the mixture into smaller, bite-sized pieces. These “bites” are perfect for sharing, party platters, or for when you just want a small indulgence. Simply cut the set mixture into squares or small rectangles.
- Add a Pinch of Sea Salt: A sprinkle of flaky sea salt on top of the freshly dipped chocolate bars can elevate the flavor tremendously. The saltiness provides a wonderful contrast to the sweetness of the chocolate and peanut butter, enhancing all the flavors.
- Decorate for Any Occasion: Unleash your creativity by decorating your homemade Butterfingers! While not strictly necessary, adding sprinkles, edible glitter, or a drizzle of contrasting chocolate (like white chocolate over milk chocolate) can make them extra special.
This is particularly fun for holidays. Imagine red and green sprinkles for Christmas, pastel colors for Easter, or even sprinkles that match a birthday party theme. It’s a simple touch that adds a lot of personality.
How to Make Homemade Butterfingers (Step-by-Step)
Creating these delightful candy bars is a straightforward process. Follow these simple steps for perfectly crispy and delicious homemade Butterfingers every time.
- Step 1: Prepare Your Pan. First, line an 8×8 inch baking dish with either aluminum foil or parchment paper. This crucial step will make clean-up incredibly easy and allow you to effortlessly lift the hardened mixture out of the pan. If you find your parchment paper isn’t staying put, binder clips can be used to hold it securely along the edges of the pan.
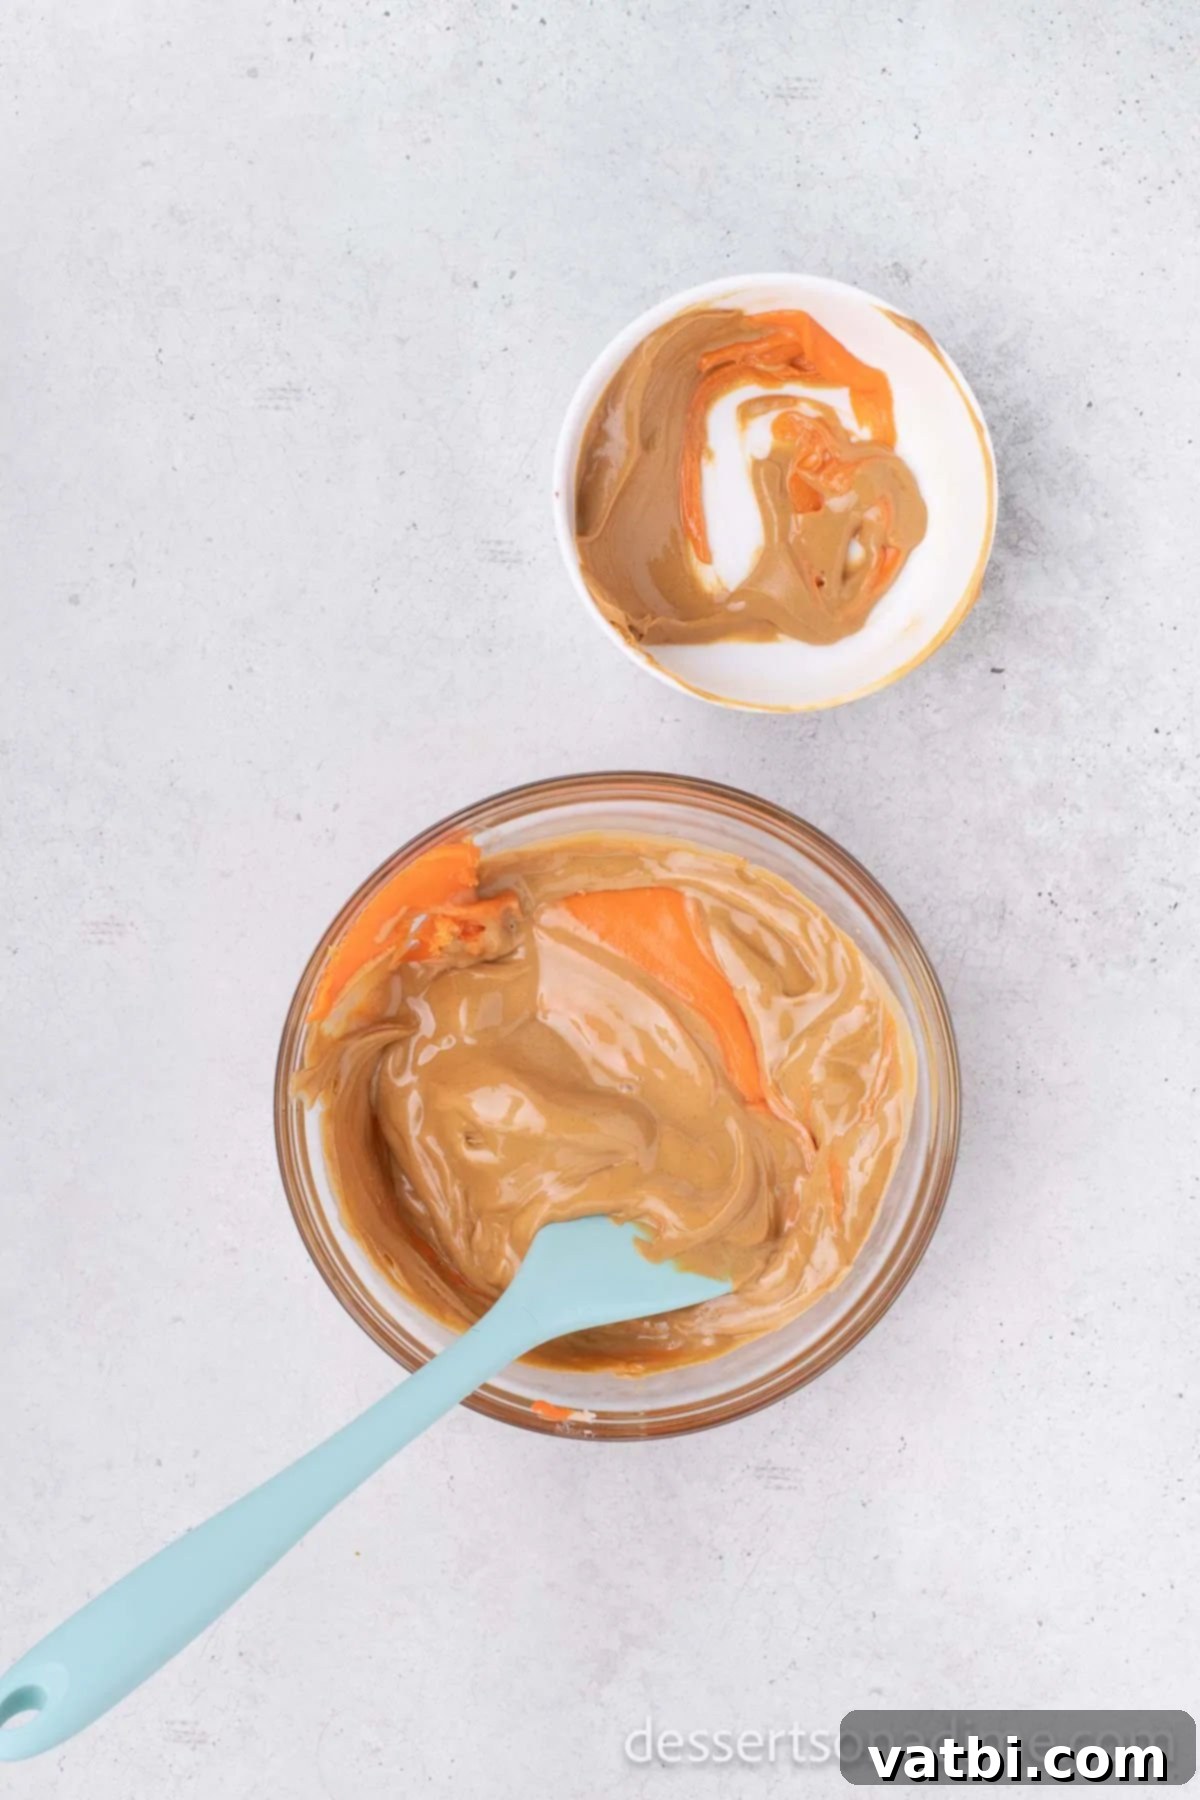
Step 2: Melt Candy Corn and Mix. Next, place the candy corn into a microwave-safe bowl. Heat it in 30-second intervals, stirring thoroughly with a wooden spoon or heat-resistant spatula after each interval. Continue this process until the candy corn is completely melted and smooth. Alternatively, you can melt the candy corn in a small pot or saucepan over low heat on the stovetop, stirring constantly. Once melted, immediately add the creamy peanut butter and stir vigorously until completely combined. Work quickly, as the mixture will start to set.
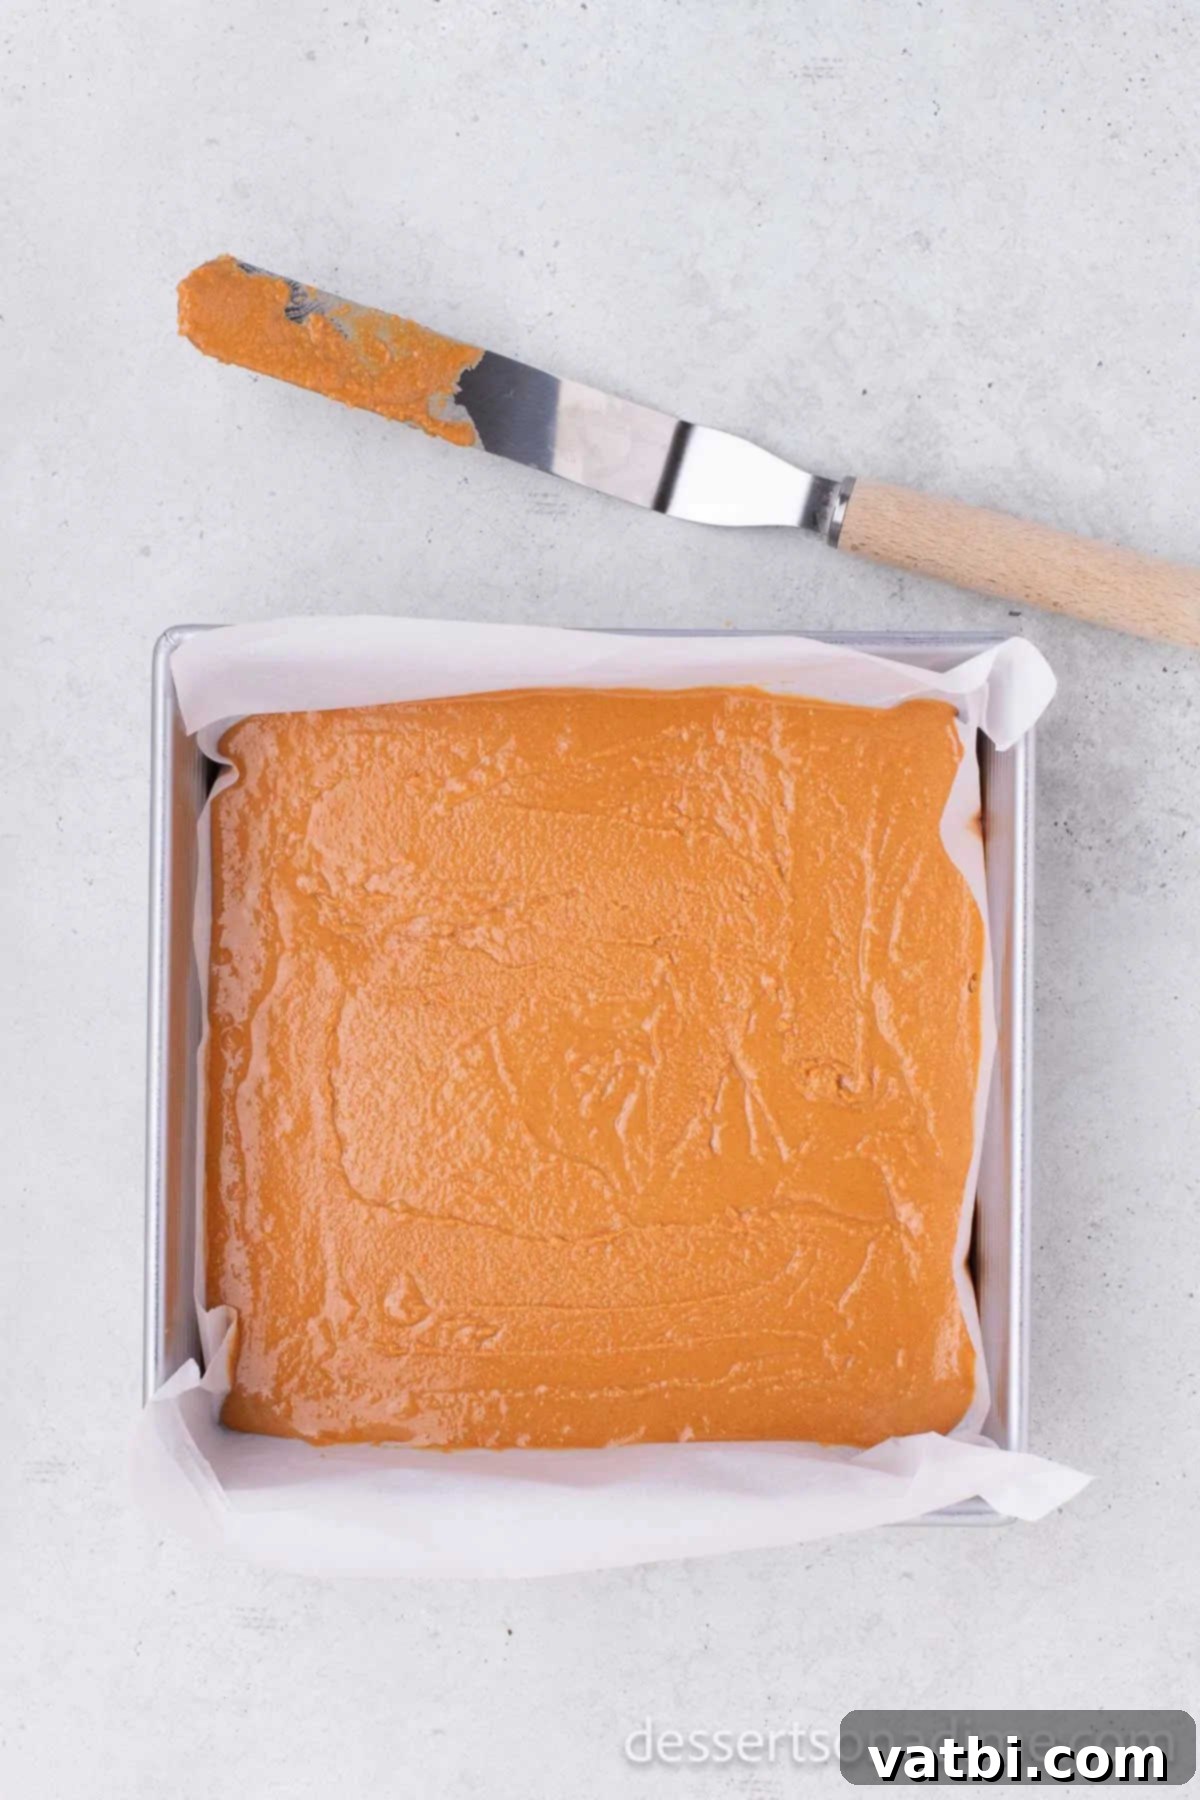
Step 3: Spread and Cool. Pour the warm peanut butter and candy corn mixture evenly into your prepared 8×8 inch pan. You may need to use a spatula to spread and smooth out the mixture to ensure an even thickness. Allow the mixture to cool completely and harden at room temperature for at least 1-2 hours, or faster in the refrigerator (about 30-60 minutes). This step is crucial for achieving the perfect crispy texture.
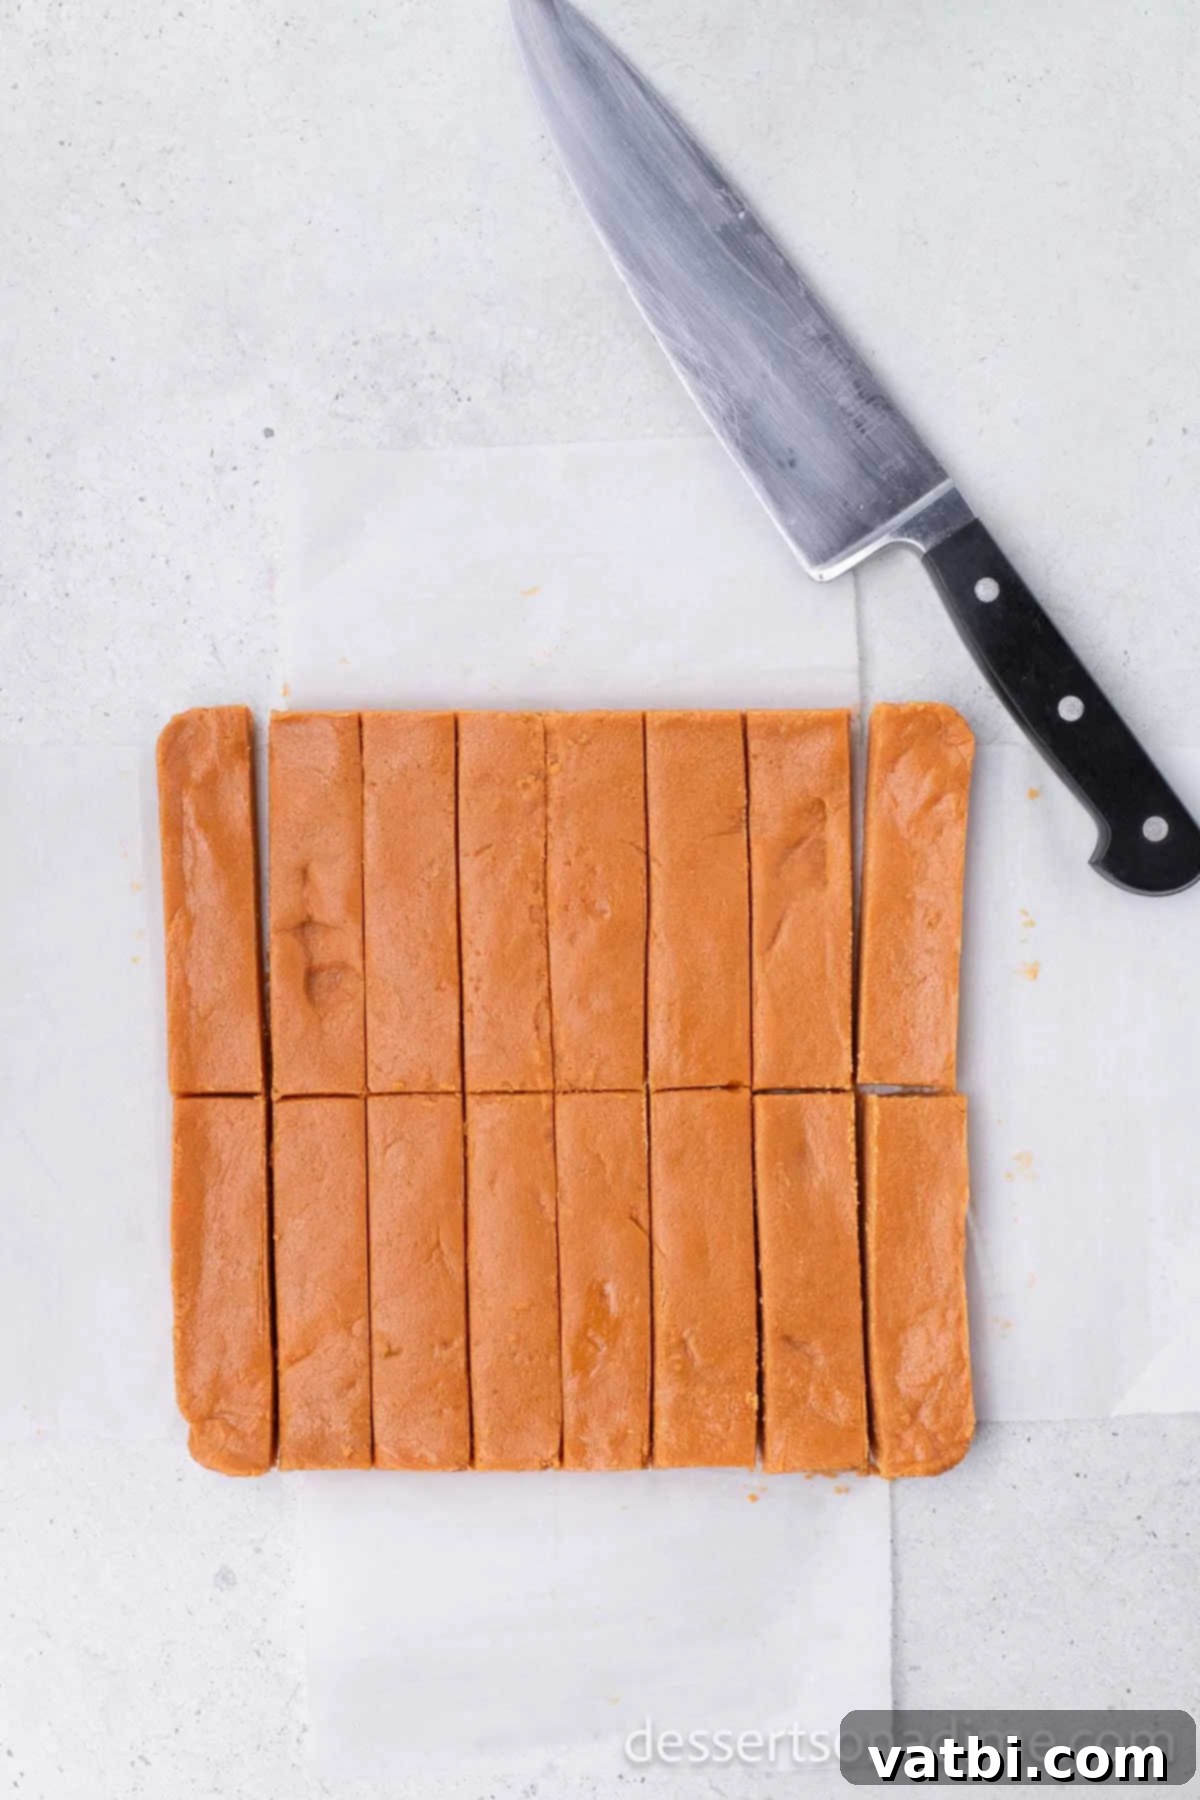
Step 4: Slice into Bars. Once the mixture has fully hardened, carefully lift it out of the pan using the foil or parchment paper. Place it on a cutting board. Use a sharp knife or a pizza cutter to slice the mixture into approximately 16 even bars. Ensure your knife is clean and sharp for the cleanest cuts.
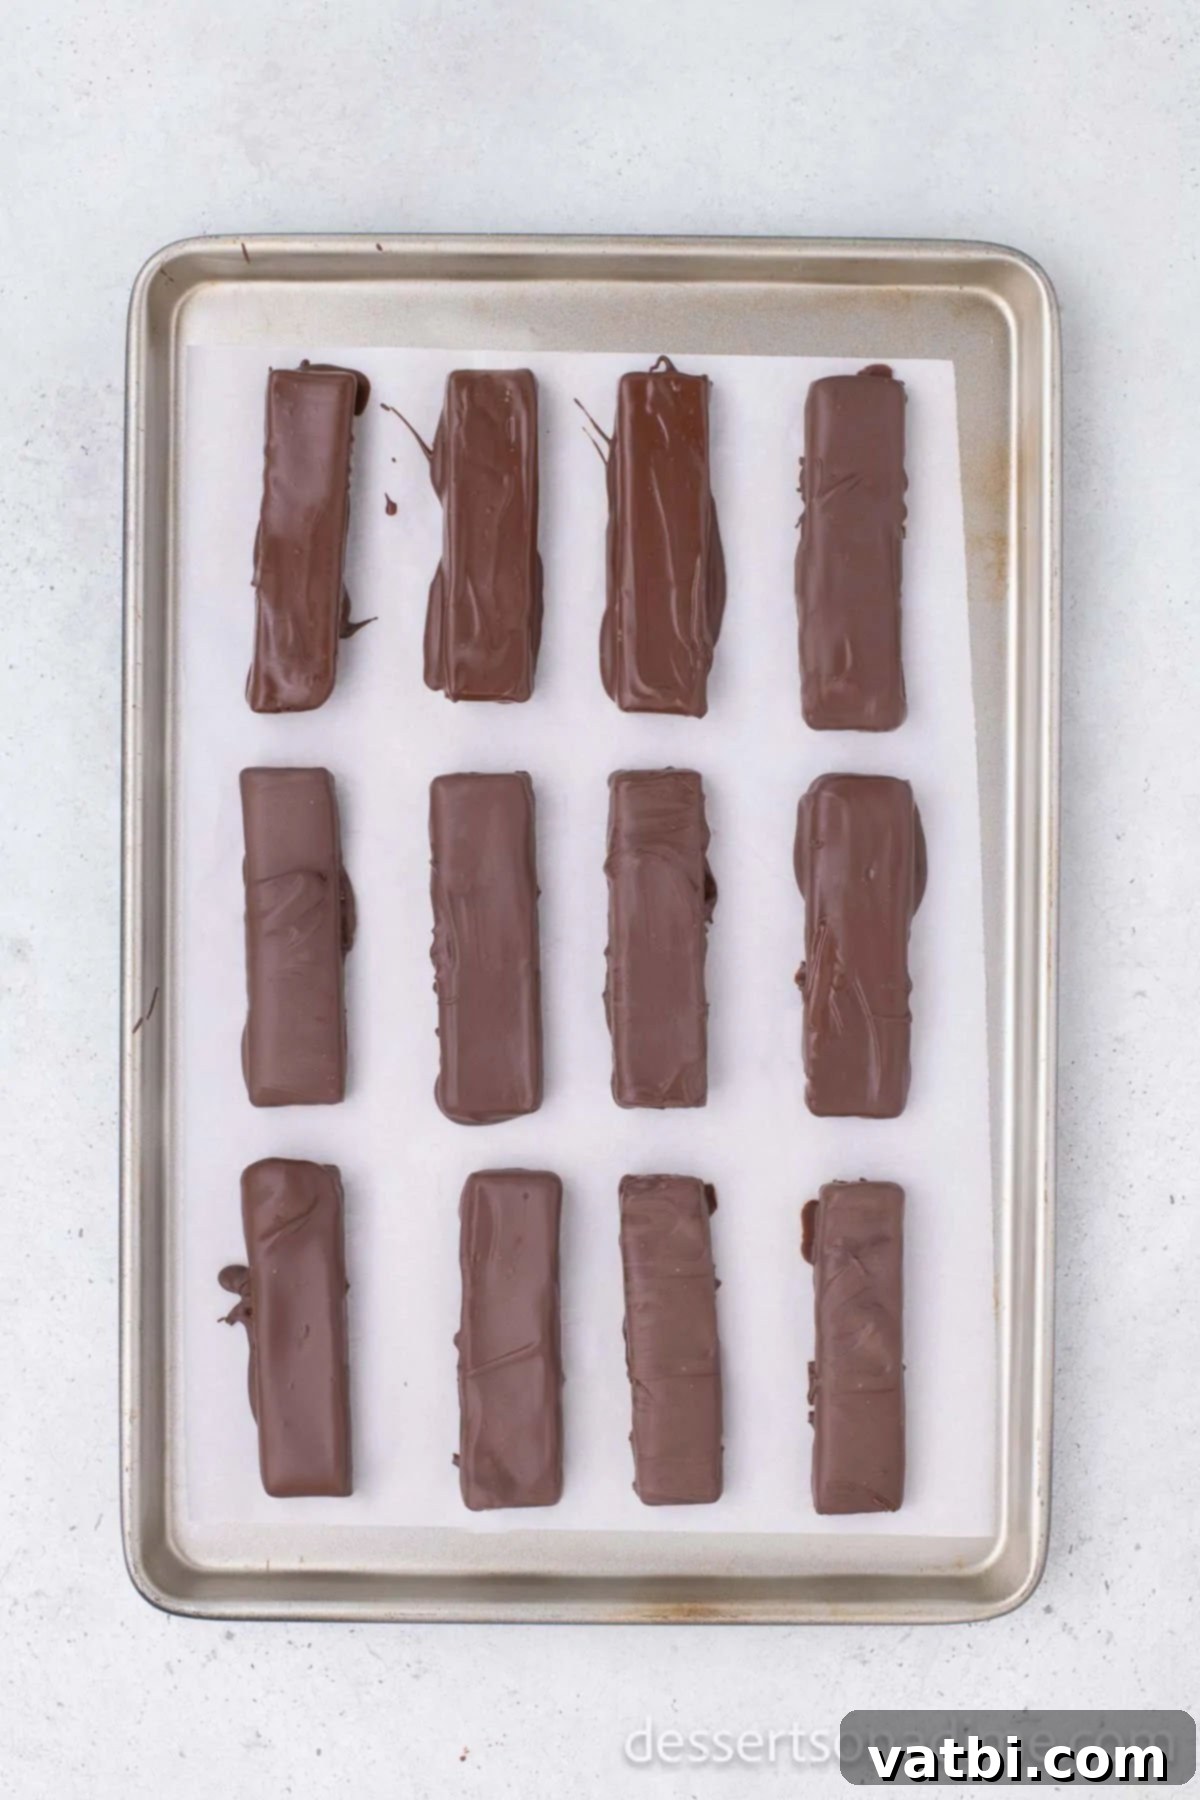
Step 5: Dip in Chocolate. Melt your chocolate candy melts in a microwave-safe bowl, heating in 30-second intervals and stirring until smooth and completely melted. Once the chocolate is ready, dip each peanut butter bar into the melted chocolate, ensuring it’s fully coated. Use two forks to gently lift the bar out, allowing any excess chocolate to drip off. Place the chocolate-coated bars onto a baking sheet lined with parchment paper. Let them set at room temperature for 1-2 hours, or refrigerate for 30 minutes, until the chocolate is firm.
That’s it! Your homemade Butterfingers are now ready to be enjoyed. The simple pleasure of making these treats from scratch is truly rewarding.
Proper Storage for Your Butterfingers
Proper storage is key to maintaining the delicious texture and freshness of your homemade Butterfingers. The way you store them will also impact their texture:
- Room Temperature Storage (for a chewier texture): If you prefer a slightly chewier candy bar, you can store your Butterfingers at room temperature. Place them in an airtight container to protect them from air and moisture, which can cause them to become sticky or lose their crispness. Keep them away from direct sunlight or heat sources, as this can melt the chocolate coating.
- Refrigerator Storage (for a crispier texture): For those who love a super crispy candy bar with a firmer chocolate shell, storing the bars in the refrigerator is the best option. Again, use an airtight container to prevent them from absorbing any odors from other foods in the fridge. The colder temperature helps maintain the candy corn’s structural integrity, ensuring maximum crunch.
How Long Will They Last?
The shelf life of your homemade Butterfingers depends on how they are stored:
- At Room Temperature: When stored in an airtight container at room temperature, these delightful treats will generally last for about 5 to 6 days.
- In the Refrigerator: If kept in an airtight container in the refrigerator, they can maintain their quality and crispness for up to 2 weeks.
In our household, however, these delicious homemade Butterfingers rarely last that long! They are such a popular treat that everyone tends to eat them up pretty quickly. Regardless of how long they last, you’ll find them to be a fantastic homemade candy that’s worth every bit of effort.
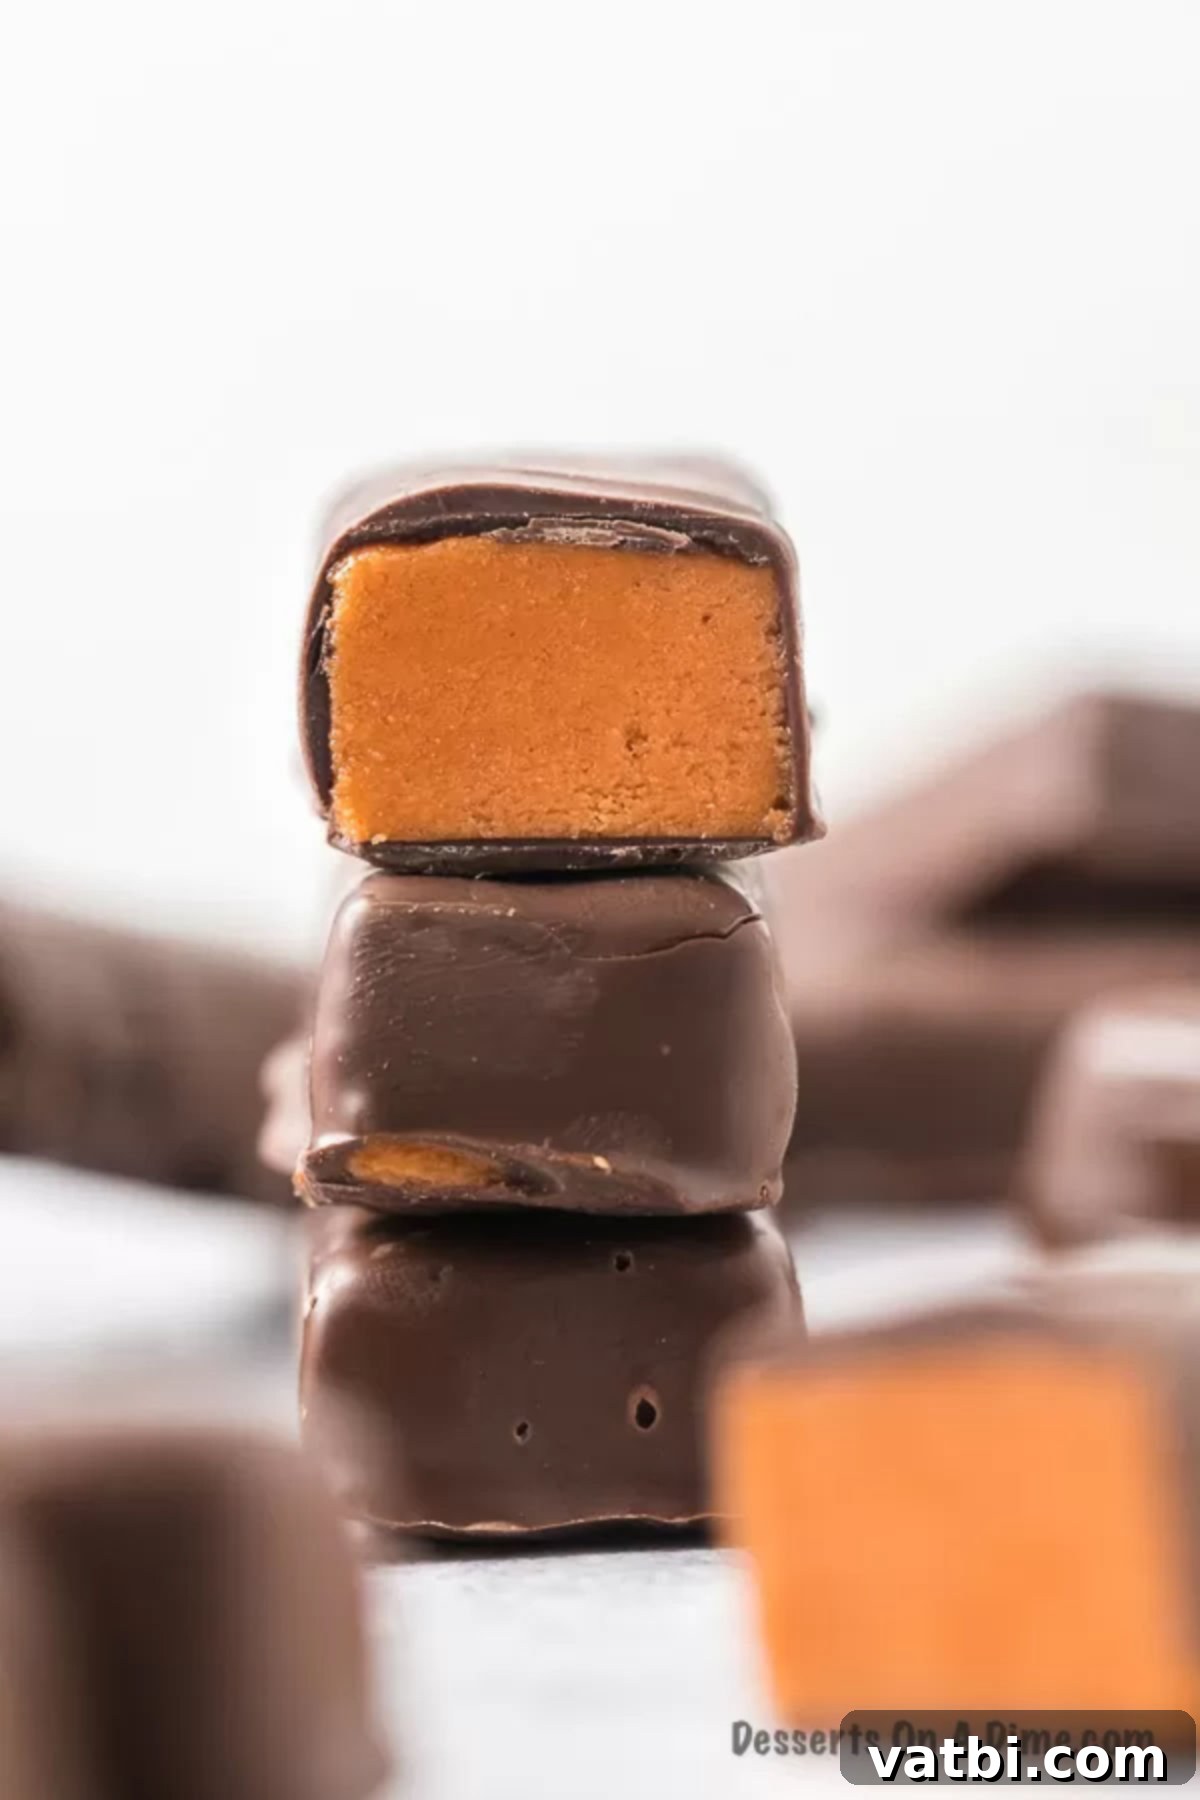
Expert Recipe Tips for Success
Achieving perfect homemade Butterfingers is quite simple, but a few expert tips can ensure your candy bars turn out exceptionally well every time. Pay attention to these details for the best possible results.
- Choose the Right Candy Corn: It’s crucial to use traditional candy corn for this recipe. The stores might offer various flavored versions nowadays, but the classic tri-colored candy corn is what delivers the authentic texture and subtle sweetness needed to mimic a Butterfinger. A great tip is to stock up on clearance bags in the Fall after Halloween – they’re perfect for this recipe!
- Quality Chocolate Matters: Since this recipe uses so few ingredients, the quality of your chocolate really shines through. Using good quality chocolate candy melts will result in a much richer, smoother, and more professional-looking coating. Candy melts are specifically designed to melt smoothly and set quickly without tempering, making them ideal for dipping. You can also substitute good quality chocolate chips for wafers if preferred, but be aware they might require a bit more attention to melt smoothly.
- Precision Cutting: For easy and clean slicing of the hardened mixture, use a very sharp knife or a pizza cutter. A pizza cutter can be particularly effective for making straight, even cuts quickly. Regardless of the tool, ensure it’s sharp to prevent crumbling and achieve neatly shaped bars.
- Work Quickly with the Candy Corn Mixture: Once the candy corn is melted and you add the peanut butter, it’s important to mix quickly and thoroughly. The mixture will begin to firm up as it cools, so swiftly spreading it into the prepared pan is key to an even layer.
- Patience is a Virtue (for Setting): Do not rush the cooling and hardening process. Allowing the peanut butter-candy corn mixture to fully set ensures the crisp texture will develop properly. If you cut it too soon, it might be too soft and won’t have the signature crunch.
- Avoid Overheating Chocolate: When melting your chocolate, whether in the microwave or a double boiler, be careful not to overheat it. Overheated chocolate can seize and become thick or grainy. Heat in short intervals and stir frequently until just melted and smooth.
Frequently Asked Questions (FAQ)
Here are answers to some common questions about making homemade Butterfingers:
- Can I use natural peanut butter for this recipe?
While you technically can, natural peanut butter (especially the “stir” kind) tends to separate more and has a thinner consistency. This can affect the final texture of the Butterfinger core, making it less cohesive and potentially less crunchy. For best results, use a processed creamy peanut butter like Jif or Skippy. - My candy corn mixture isn’t getting crunchy. What went wrong?
The most common reason for a lack of crunch is not allowing the mixture to cool and harden completely. Ensure you give it ample time to set at room temperature or in the refrigerator before cutting and dipping. High humidity can also slightly impact crispness, so store in an airtight container. - Can I use other types of candy besides candy corn?
The unique waxy and sugary composition of candy corn is what creates the distinct flaky, crunchy texture when combined with peanut butter. Other candies won’t yield the same results. For an authentic Butterfinger, candy corn is essential. - How do I prevent the chocolate from seizing when melting?
To prevent chocolate from seizing, melt it slowly in 30-second intervals in the microwave, stirring well after each. If using a double boiler, ensure no water or steam gets into the chocolate. If it starts to seize, sometimes adding a tiny bit of vegetable oil or shortening can help rescue it. - Can I freeze homemade Butterfingers?
Yes, you can freeze them! Once the chocolate is fully set, wrap individual bars tightly in plastic wrap and then place them in an airtight freezer-safe container or bag. They can be frozen for up to 1-2 months. Thaw in the refrigerator or at room temperature before enjoying.
More Easy Candy Recipes to Explore
If you’ve enjoyed making these homemade Butterfingers, you’ll love exploring other simple and delightful candy recipes. Here are some of our favorites that are just as easy to make and equally delicious:
- Homemade Peanut Brittle Recipe: A classic crunchy treat that’s surprisingly simple to make from scratch.
- 2 Ingredient Chocolate Bark: The ultimate quick and customizable dessert for any occasion.
- Saltine Cracker Toffee: An addictive sweet and salty confection that comes together in minutes.
- Crockpot Chocolate Peanut Clusters: Minimal effort for maximum flavor, perfect for gifting or snacking.
- Divinity Candy: A light, fluffy, and incredibly sweet southern classic.
We encourage you to try this Homemade Butterfinger Candy recipe for a truly delicious and satisfying treat. It’s a fantastic project, a wonderful snack, and a delightful gift. Please leave a comment and rating once you make this recipe – we love hearing about your creations!
Pin
Homemade Butterfingers
Ingredients
- 2 cups Candy Corn
- 1 ½ cups Creamy Peanut Butter
- 2 cups Chocolate Candy Melts
Instructions
-
Line an 8×8 inch baking pan with foil or parchment paper for easy removal and cleanup.
-
Place the candy corn in a microwave-safe bowl. Heat in 30-second intervals, stirring thoroughly between each interval until the candy corn is completely melted and smooth.
-
Immediately stir in the creamy peanut butter until well combined. If the mixture is too stiff, you can microwave it for an additional 15-20 seconds to achieve a uniform consistency.
-
Evenly spread the mixture into the prepared 8×8 inch pan. Let it cool completely and re-harden at room temperature for 1-2 hours, or refrigerate to speed up the process (30-60 minutes).
-
Once fully hardened, use a sharp knife or pizza cutter to slice the mixture into approximately 16 bars.
-
Melt the chocolate candy melts in the microwave in 30-second intervals, stirring between each until fully melted and smooth.
-
Dip each peanut butter bar into the melted chocolate, ensuring it is fully coated. Use two forks to gently lift the bar and allow excess chocolate to drip off.
-
Place the chocolate-covered bars on a parchment-lined baking sheet and let them set at room temperature (1-2 hours) or in the refrigerator (30 minutes) until the chocolate is firm.
-
Serve and enjoy your homemade crispy, crunchy Butterfingers!
Nutrition Facts
Pin This Now to Remember It Later
Pin Recipe
