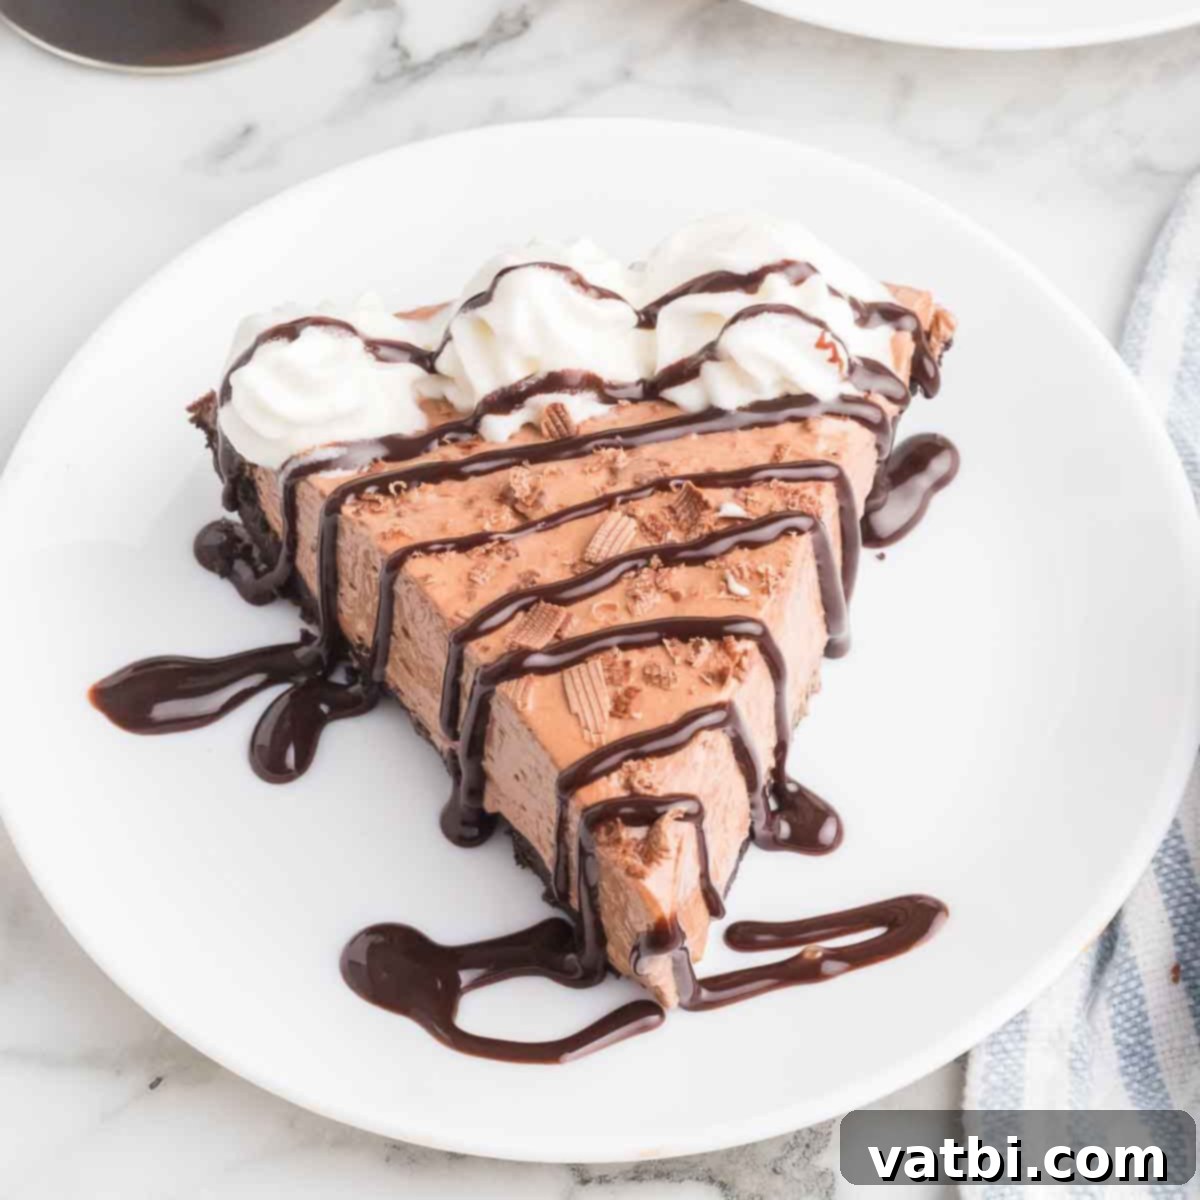
Irresistible No-Bake Nutella Pie: The Easiest Oreo Crust Recipe
Prepare for a delightful treat that requires absolutely no baking! Our No-Bake Nutella Pie is a truly indulgent dessert, featuring a smooth, creamy filling bursting with rich hazelnut spread flavor, all encased in a luscious Oreo cookie crust. Crowned with a generous layer of whipped cream, this pie is as visually appealing as it is delicious. It’s the perfect fuss-free dessert for any gathering or simply a sweet everyday indulgence.
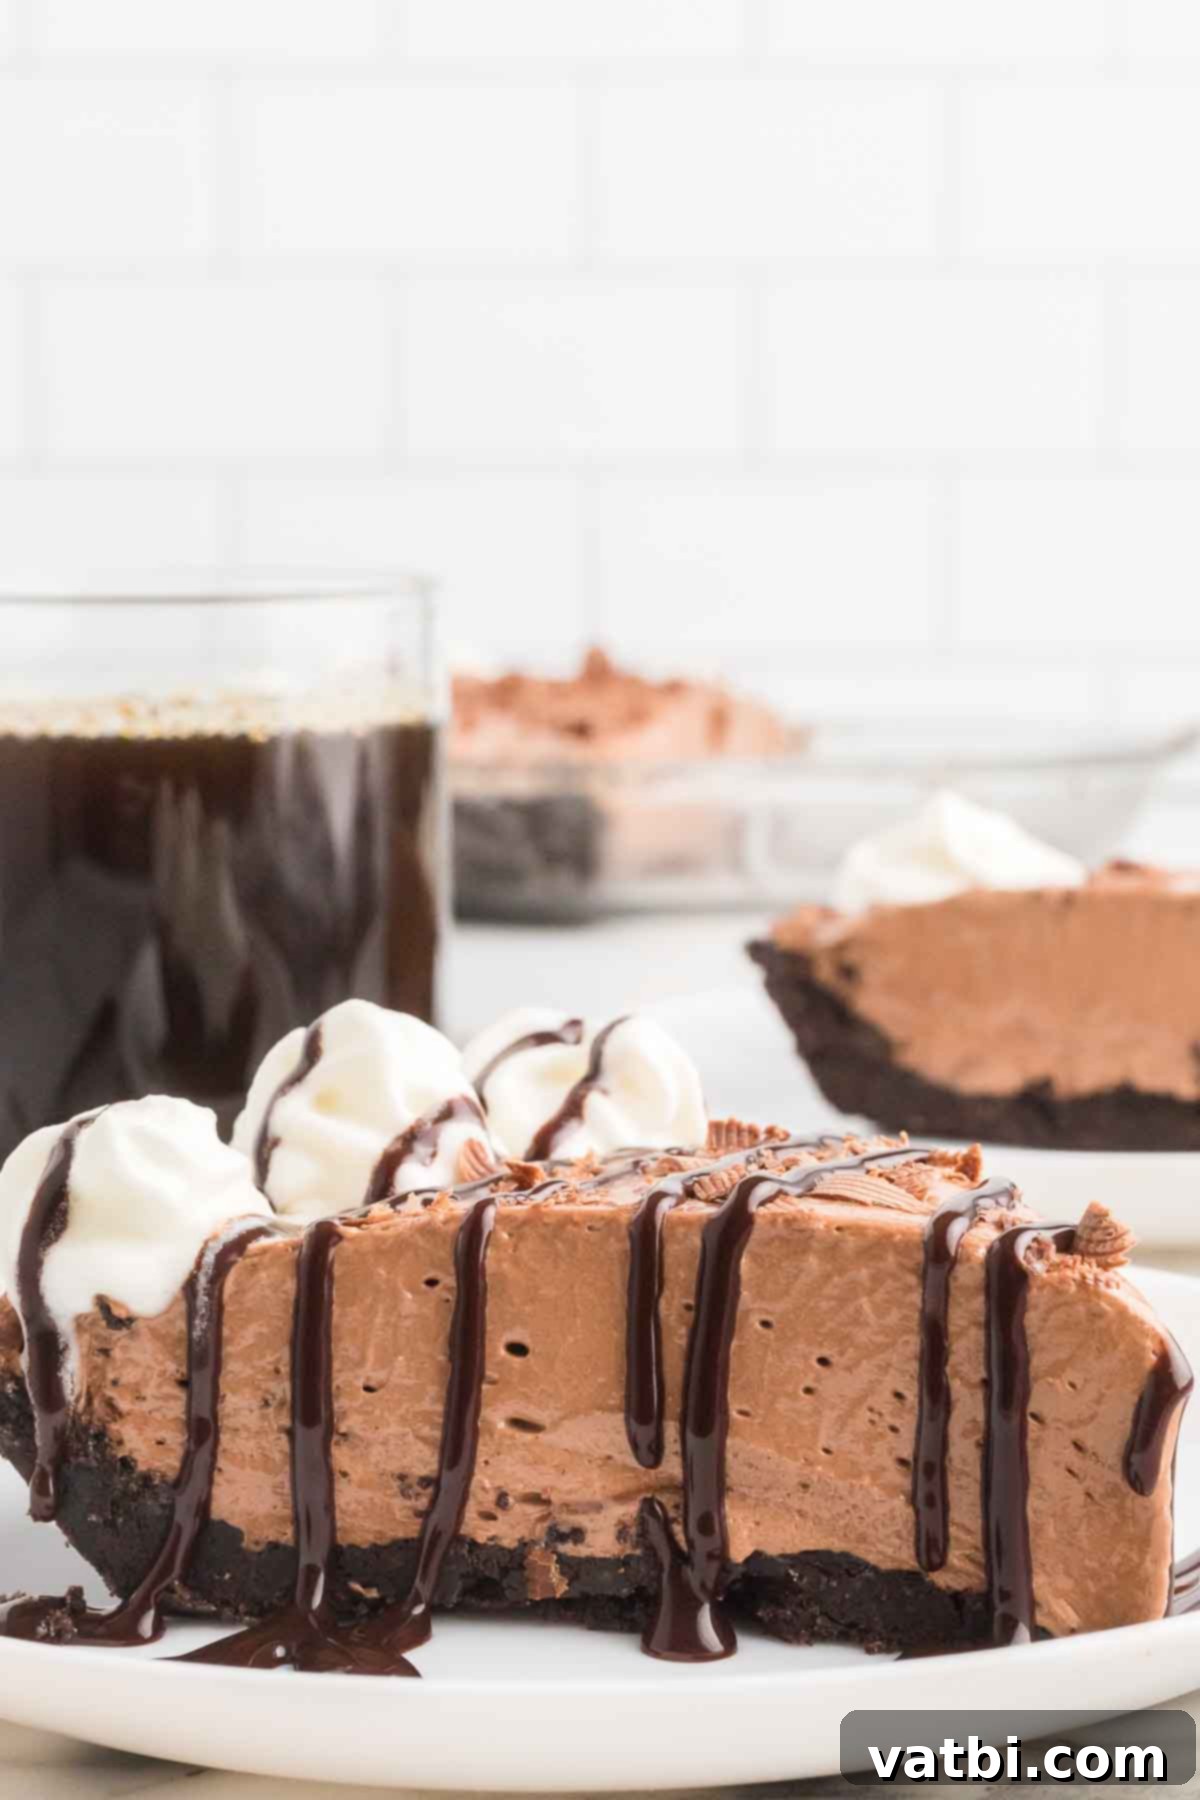
Forget the complexities of traditional baking and the long hours in the kitchen. This simple no-bake recipe for Nutella Pie comes together with minimal effort, making it ideal for busy schedules or when you just want a quick, impressive dessert. The crunchy texture of the Oreo cookie crust beautifully complements the smooth, rich hazelnut filling, creating a symphony of flavors and textures in every bite. Each spoonful is a dreamy combination, and the light, airy whipped cream topping ties it all together for an unforgettable experience.
If you’re a true Nutella enthusiast, you’ll definitely want to explore more hazelnut-infused delights. Be sure to also try our No Bake Nutella Cheesecake, delicious Nutella Bars, the delightful Nutella Stuffed Cookies Recipe, and our heavenly Nutella Cupcakes.
What You’ll Find in This Post: Nutella Pie Recipe Guide
- Why This Nutella Pie is a Must-Try
- Essential Ingredients for Your Nutella Pie
- Creative Variations to Customize Your Pie
- Step-by-Step: How to Make Nutella Pie with Oreo Crust
- Delicious Topping Ideas
- Expert Tips for the Perfect Nutella Pie
- Frequently Asked Questions
- More Irresistible No-Bake Pie Recipes
- Full Nutella Pie Recipe Card
Why This Nutella Pie is a Must-Try
This No-Bake Nutella Pie isn’t just a dessert; it’s a culinary experience designed for ease and maximum flavor. Here’s why we know you’ll fall in love with it:
- Effortless No-Bake Recipe: Say goodbye to hot ovens and complex baking steps. This pie comes together beautifully without any baking, making it perfect for summer gatherings or when you simply want a quick, delicious treat without heating up your kitchen. It’s a truly stress-free dessert solution.
- Generous Nutella Goodness: For all hazelnut chocolate spread lovers, this pie is a dream come true. It’s packed with an abundant amount of Nutella, ensuring every bite delivers that iconic, creamy, and deeply satisfying flavor you crave. It’s rich, decadent, and utterly irresistible.
- Incredibly Simple & Quick: With just a few common ingredients and straightforward steps, this recipe is designed for ease. You can whip up this impressive dessert in under 15 minutes of active prep time, making it ideal for last-minute entertaining or a spontaneous sweet craving. It’s a guaranteed crowd-pleaser that even novice bakers can master.
Essential Ingredients for Your Nutella Pie
Creating this magnificent pie requires a handful of simple, readily available ingredients. Here’s what you’ll need to gather:
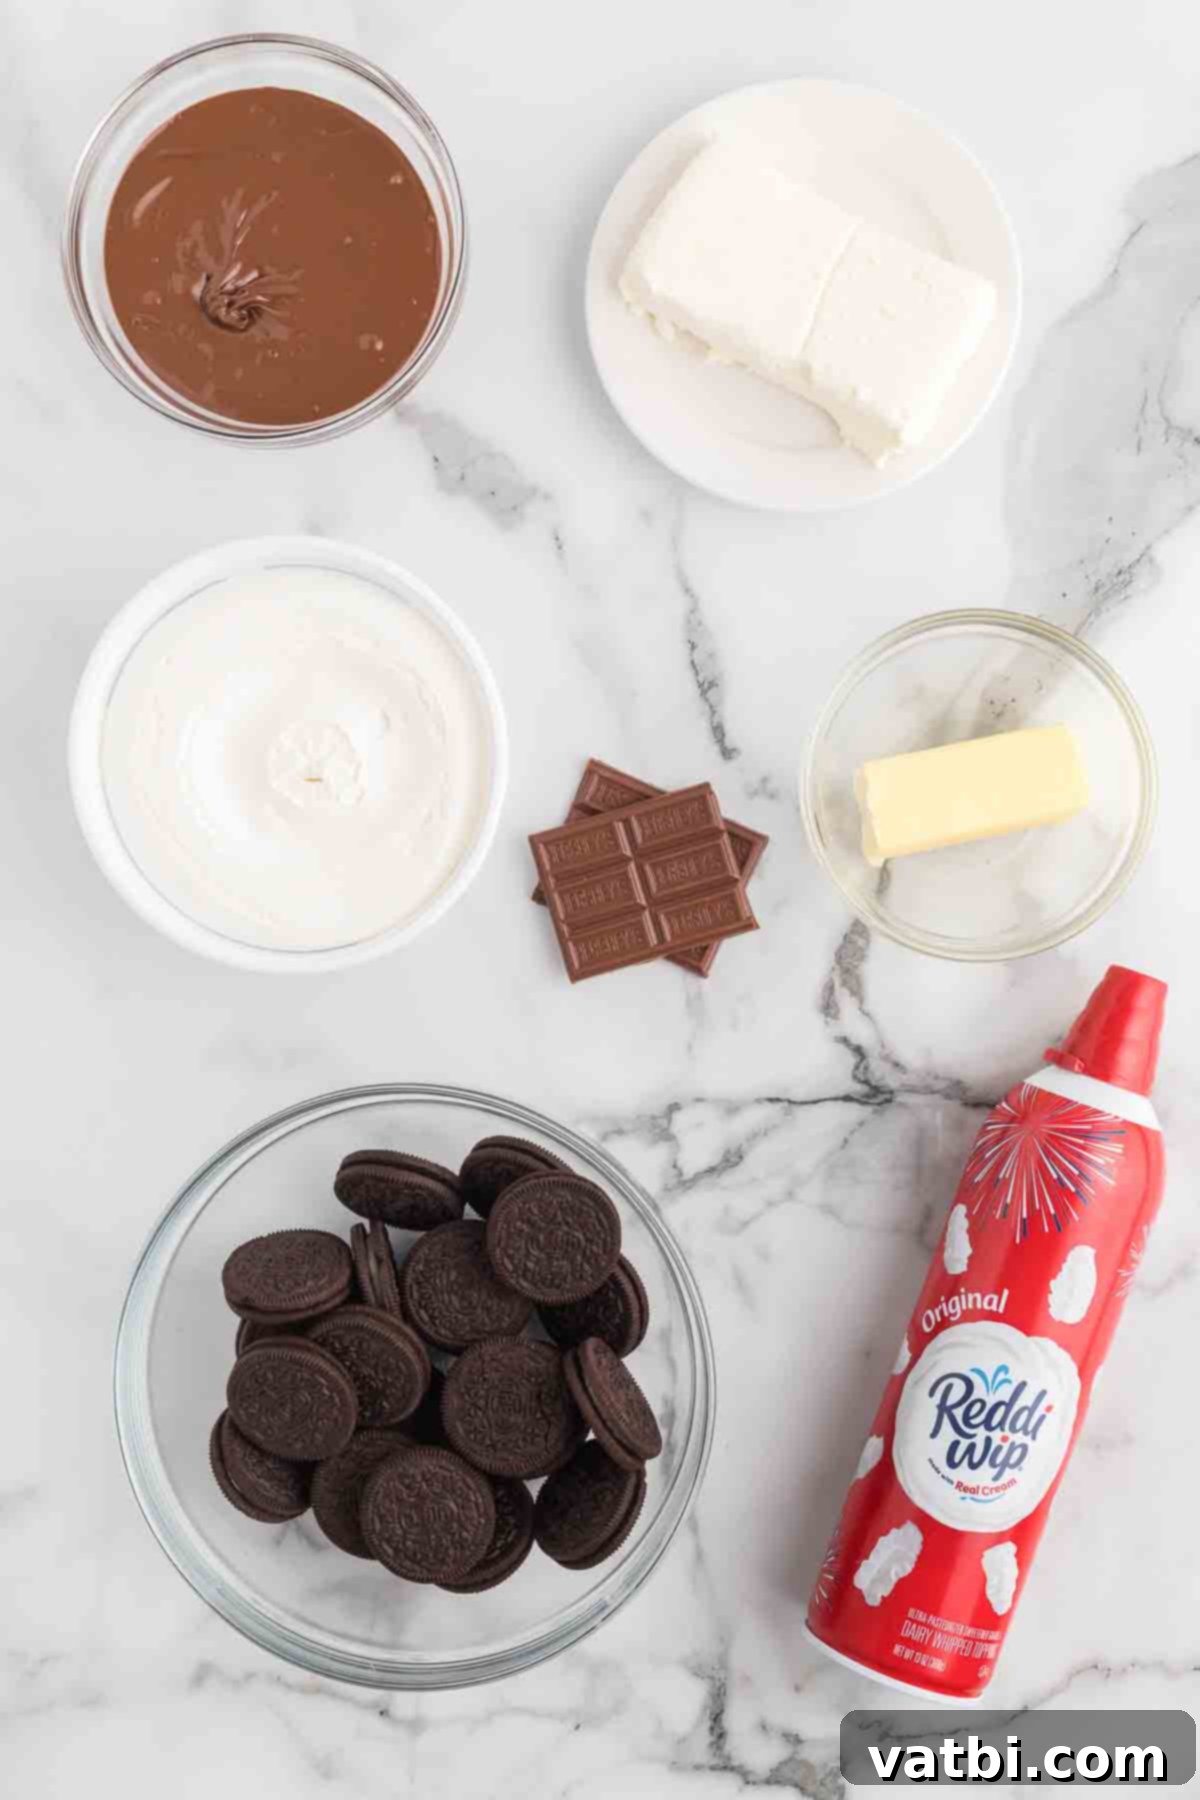
For The Crust
- Oreo Cookies: We recommend using regular Oreo cookies, not double-stuffed, for the best crust consistency. The classic chocolate flavor pairs perfectly with Nutella. If you don’t have Oreos, Chocolate Wafer Cookies are a fantastic alternative.
- Butter: Use real unsalted butter, melted, to bind the cookie crumbs together. This creates a rich, stable, and deliciously buttery crust.
For The Creamy Filling
- Cream Cheese: Ensure your cream cheese is completely softened at room temperature. This is crucial for a smooth, lump-free filling. It provides a delightful tanginess that balances the sweetness of the Nutella.
- Nutella Hazelnut Spread: The undeniable star of this pie! Use your favorite brand of hazelnut chocolate spread. Its rich, chocolatey, and nutty flavor is the foundation of this incredible dessert.
- Whipped Topping: A tub of frozen whipped topping (like Cool Whip), completely thawed, adds lightness and volume to the filling, making it incredibly airy and smooth.
For The Garnish
- Whipped Cream Topping: While the filling uses whipped topping, an extra can of whipped cream (store-brand or Cool Whip) is perfect for a beautiful, fluffy finish just before serving.
- Milk Chocolate Bar: A Hershey’s milk chocolate bar or any good quality chocolate bar is ideal for creating delicate chocolate shavings, adding an elegant touch and extra chocolate flavor.
For a complete list of quantities and detailed instructions, simply scroll down to the printable recipe card at the bottom of this post!
Creative Variations to Customize Your Pie
While this Nutella Pie is perfect as is, it’s also incredibly versatile! Feel free to experiment with these ideas to make it your own:
- Homemade Whipped Cream: For an extra special touch, you can top the pie with light and airy homemade whipped cream instead of a store-bought whipped topping. Simply whip heavy cream with a touch of powdered sugar and vanilla extract until stiff peaks form.
- Pre-made Crust: Short on time? You can absolutely save a step and purchase a pre-made Oreo or graham cracker crust from the grocery store. This makes the recipe even quicker!
- Alternative Crusts: Instead of the classic Oreo crust, consider using a graham cracker crust for a slightly different flavor profile. You could also try other chocolate cookies, shortbread, or even Biscoff cookies for unique twists.
- Add-ins for the Filling: Stir in mini chocolate chips, chopped toasted hazelnuts, or even a swirl of peanut butter into the Nutella filling for added texture and flavor dimensions.
- Espresso Kick: For a more sophisticated flavor, dissolve half a teaspoon of instant espresso powder in a tablespoon of hot water and add it to the cream cheese and Nutella mixture. This enhances the chocolate flavor beautifully.
- Mini Pies: Instead of one large pie, press the crust mixture into muffin tins lined with paper cups for individual mini Nutella pies. Adjust chilling time as needed.
Step-by-Step: How to Make Nutella Pie with Oreo Crust
Creating this decadent no-bake dessert is incredibly simple. Follow these steps for a perfectly smooth and delicious Nutella Pie:
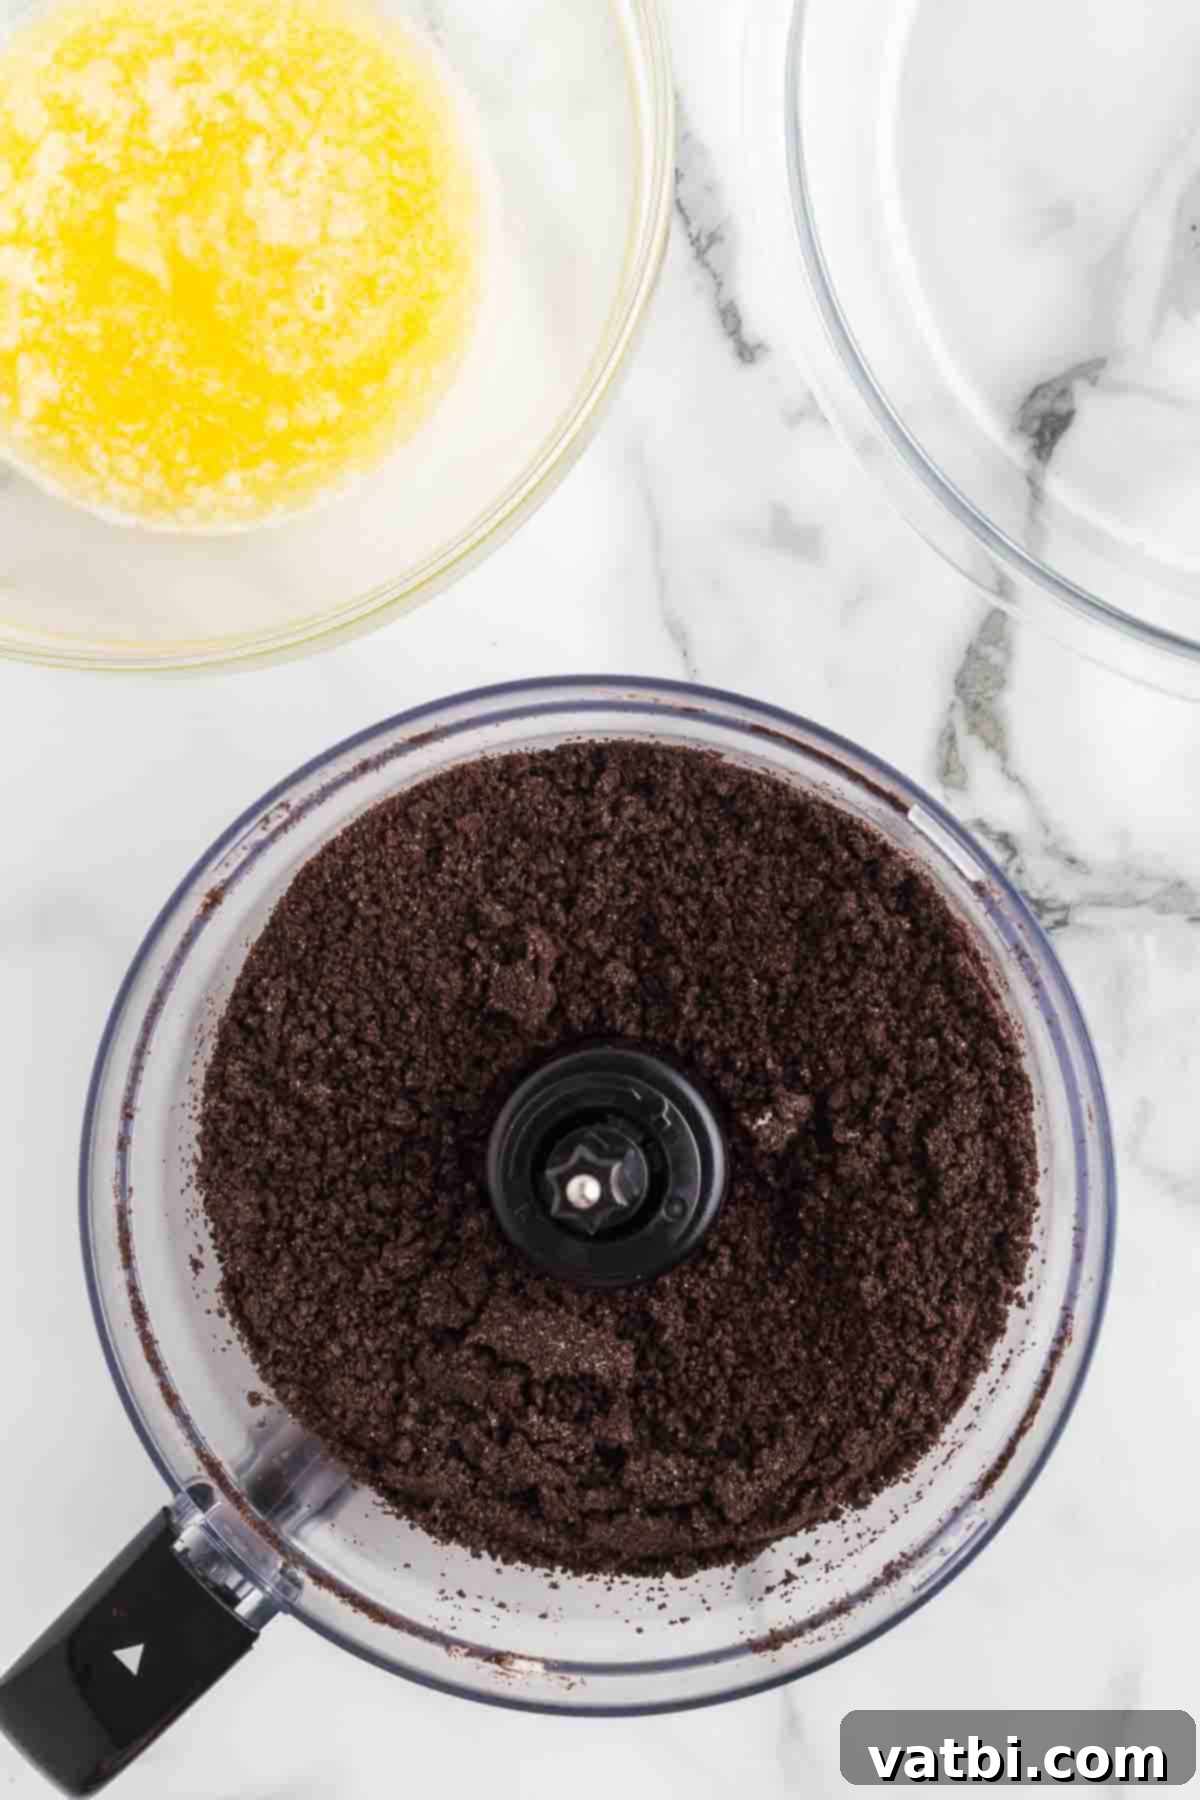
Step 1: Prepare the Oreo Crust. Get out your food processor and place the Oreo cookies inside. Process until the cookies are finely crushed into uniform crumbs. If you don’t have a food processor, place the cookies in a large Ziploc bag and crush them with a rolling pin or the bottom of a heavy glass. Transfer the cookie crumbs to a medium-sized bowl and pour in the melted butter. Stir thoroughly until the crumbs are evenly moistened and resemble wet sand. This ensures a cohesive crust.
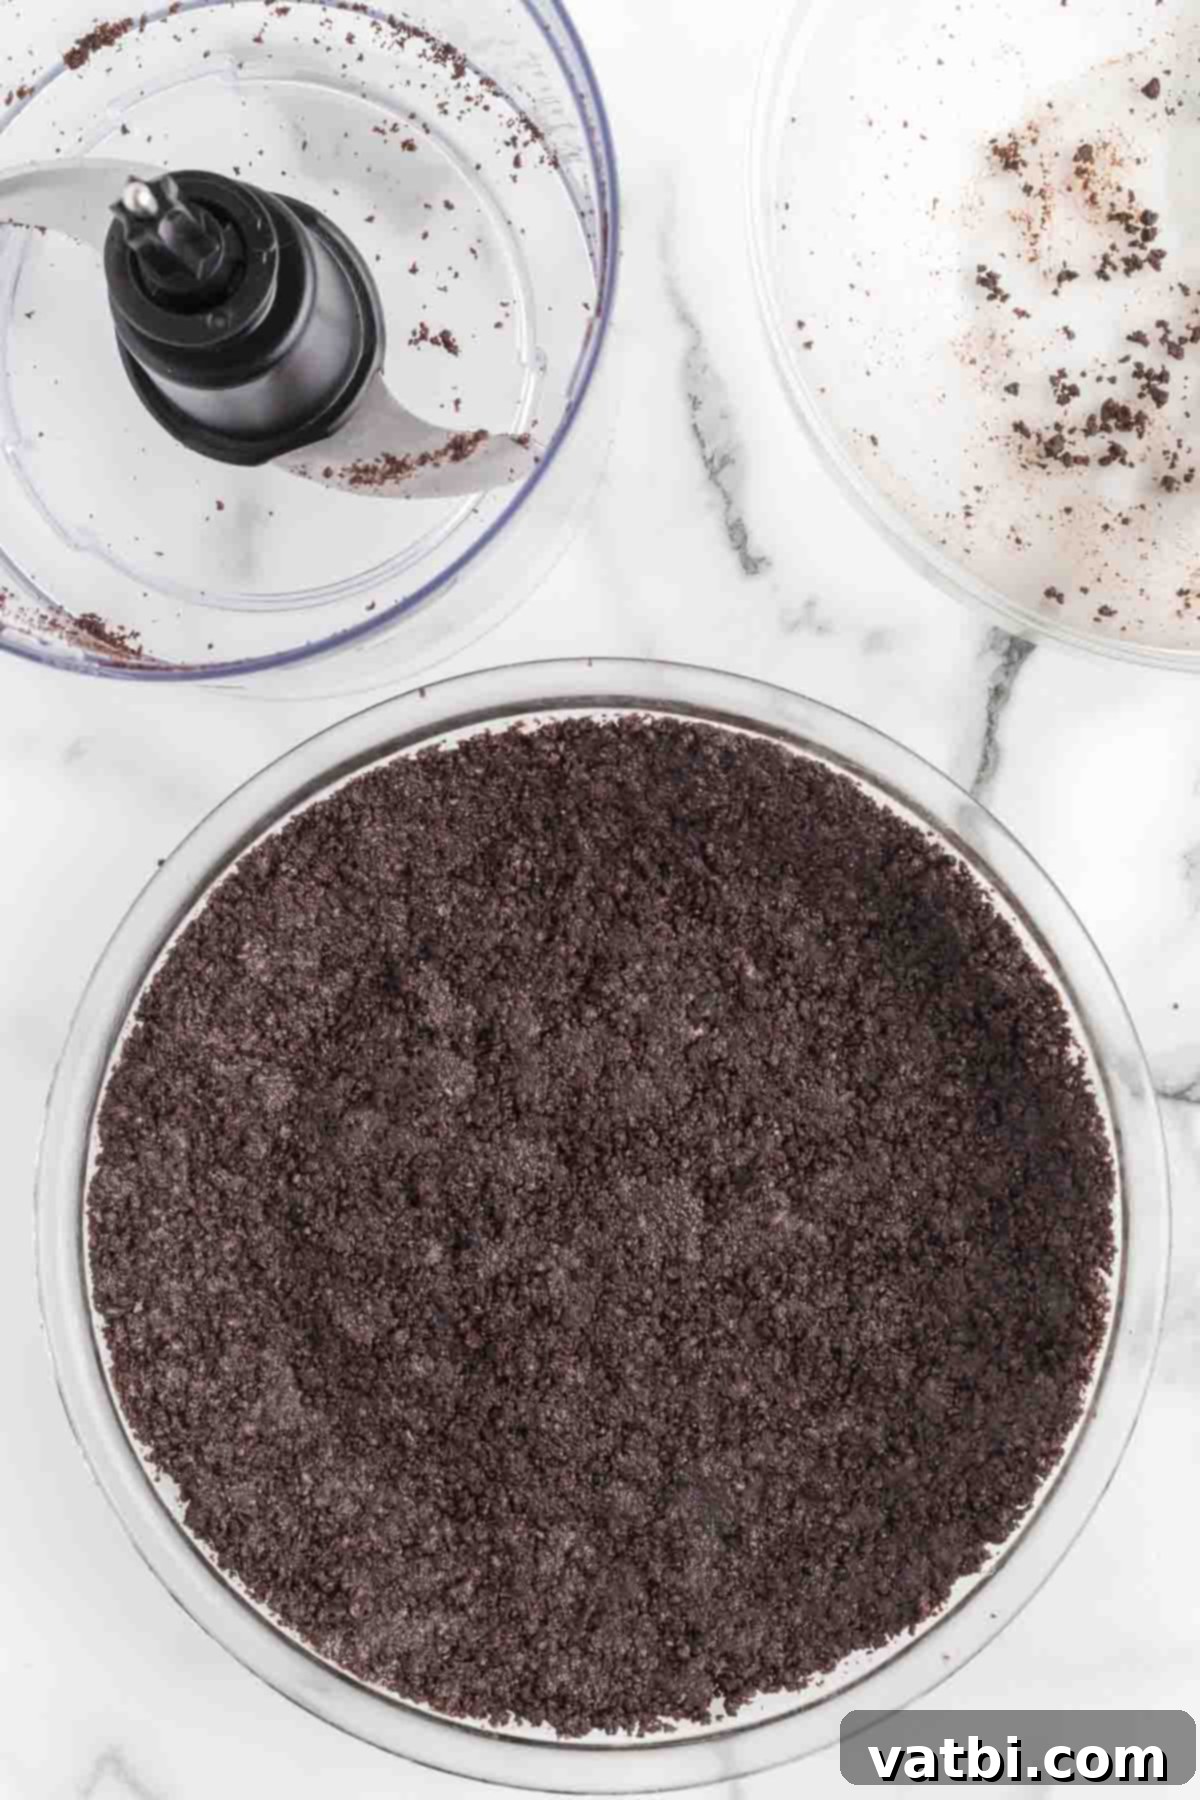
Step 2: Form and Chill the Crust. Press the buttered cookie crumb mixture firmly into a 9-inch pie plate. Make sure to cover both the bottom and sides of the pan evenly. You can use the back of a spoon or the bottom of a measuring cup to achieve a smooth, compact surface. This firm pressing is key to a sturdy crust. Place the pie crust in the refrigerator to chill for at least 30 to 60 minutes. This helps the butter solidify and the crust to set, preventing it from crumbling when you add the filling.
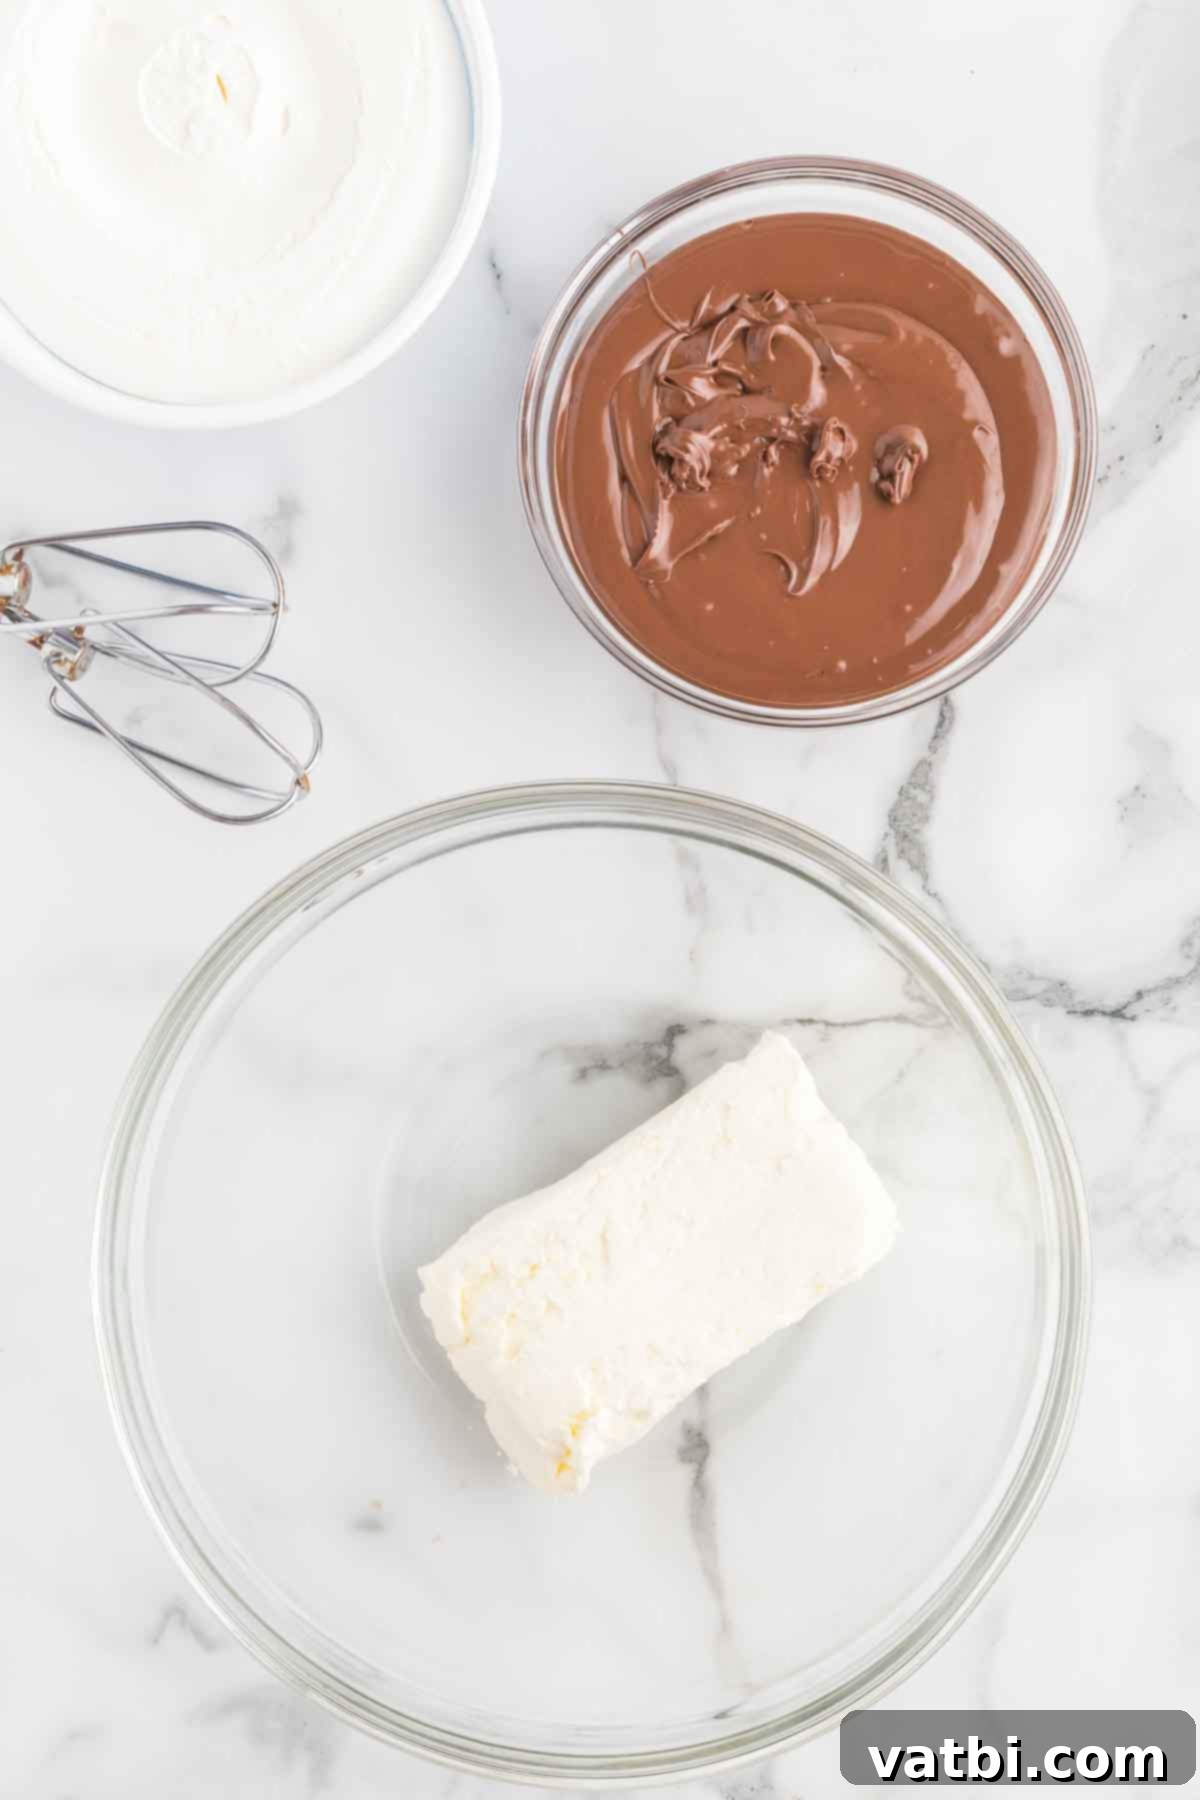
Step 3: Whip the Cream Cheese. In a large mixing bowl, beat the softened cream cheese with a hand-held electric mixer. Beat for 2-3 minutes, or until the cream cheese is light, airy, and completely smooth with no lumps. This is a crucial step for a silky pie filling texture.
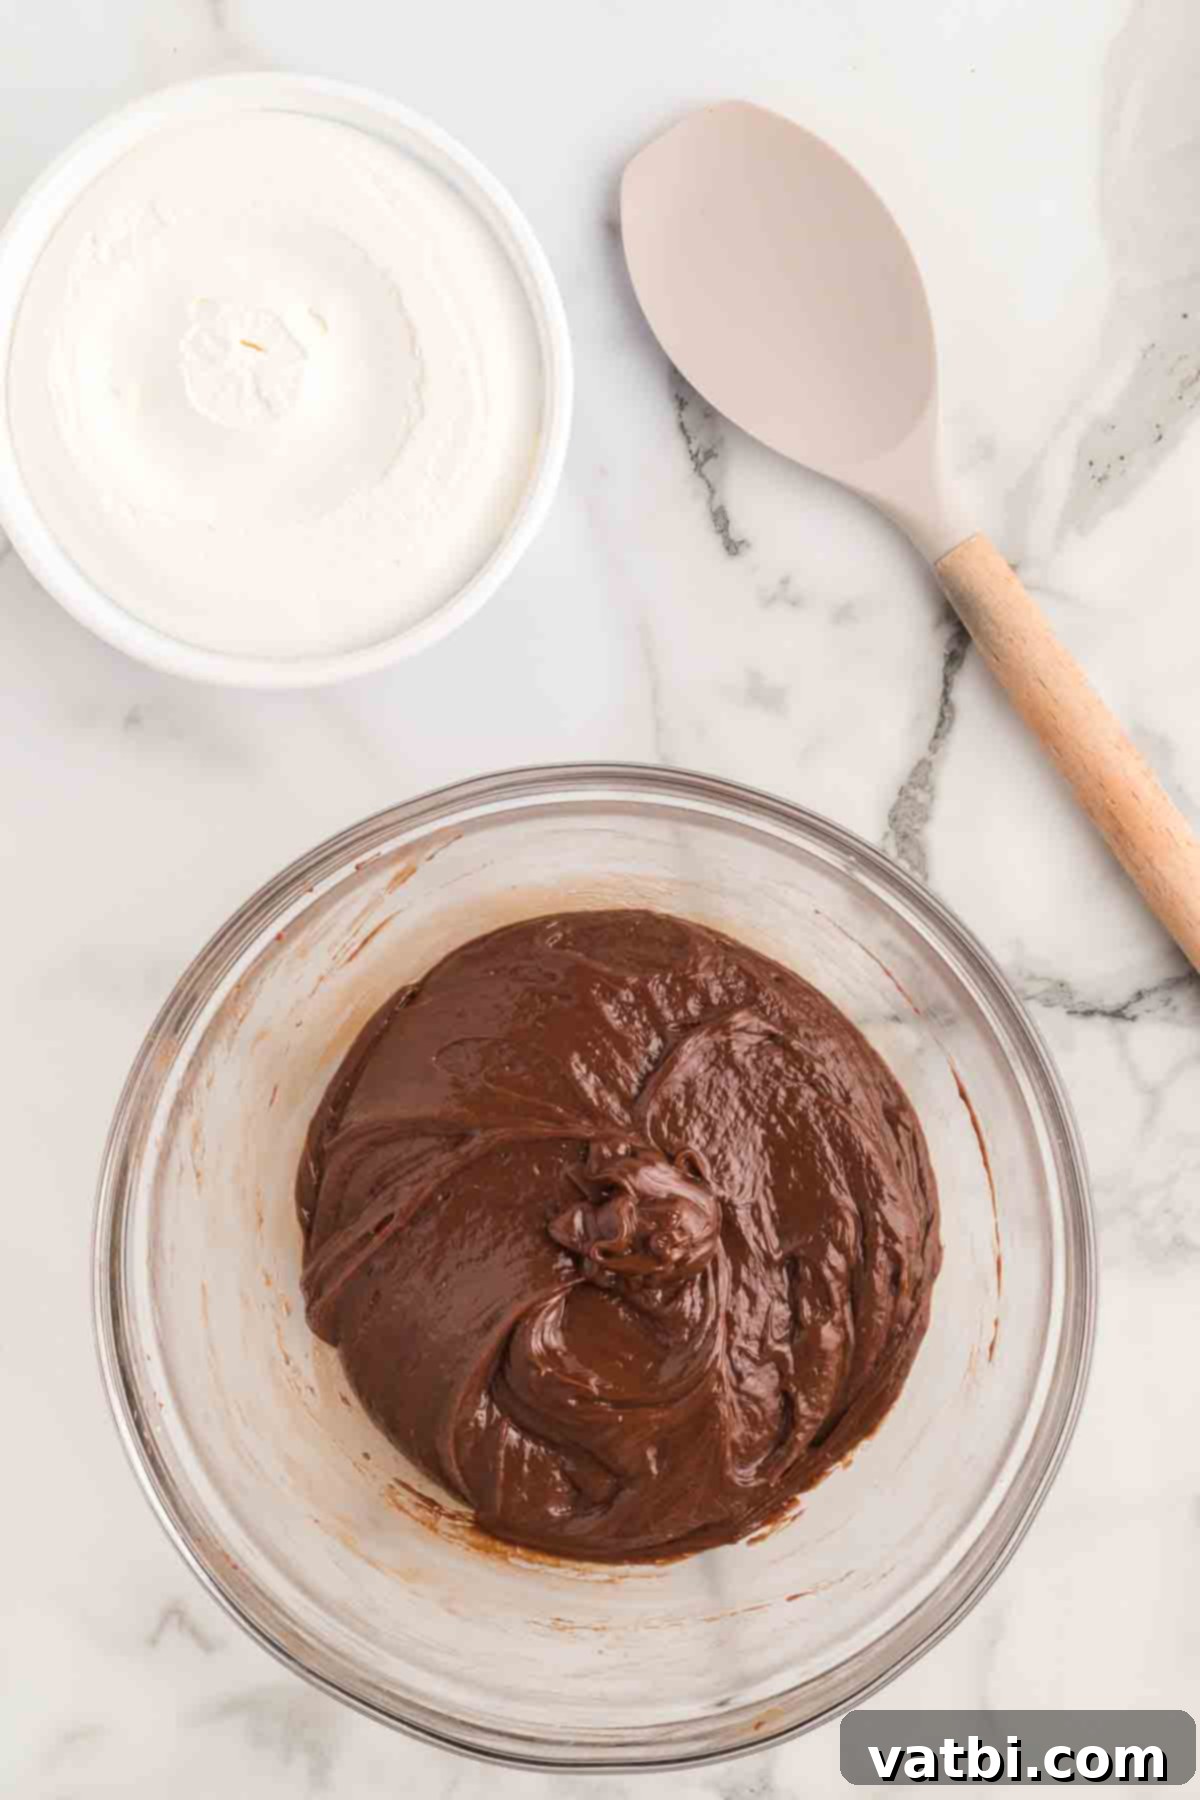
Step 4: Incorporate the Nutella. Once the cream cheese is fluffy, add the Nutella hazelnut spread to the bowl. Continue mixing with the electric mixer on low speed until the Nutella and cream cheese are thoroughly combined and the mixture is uniformly smooth and creamy. Scrape down the sides of the bowl as needed to ensure everything is well-integrated.
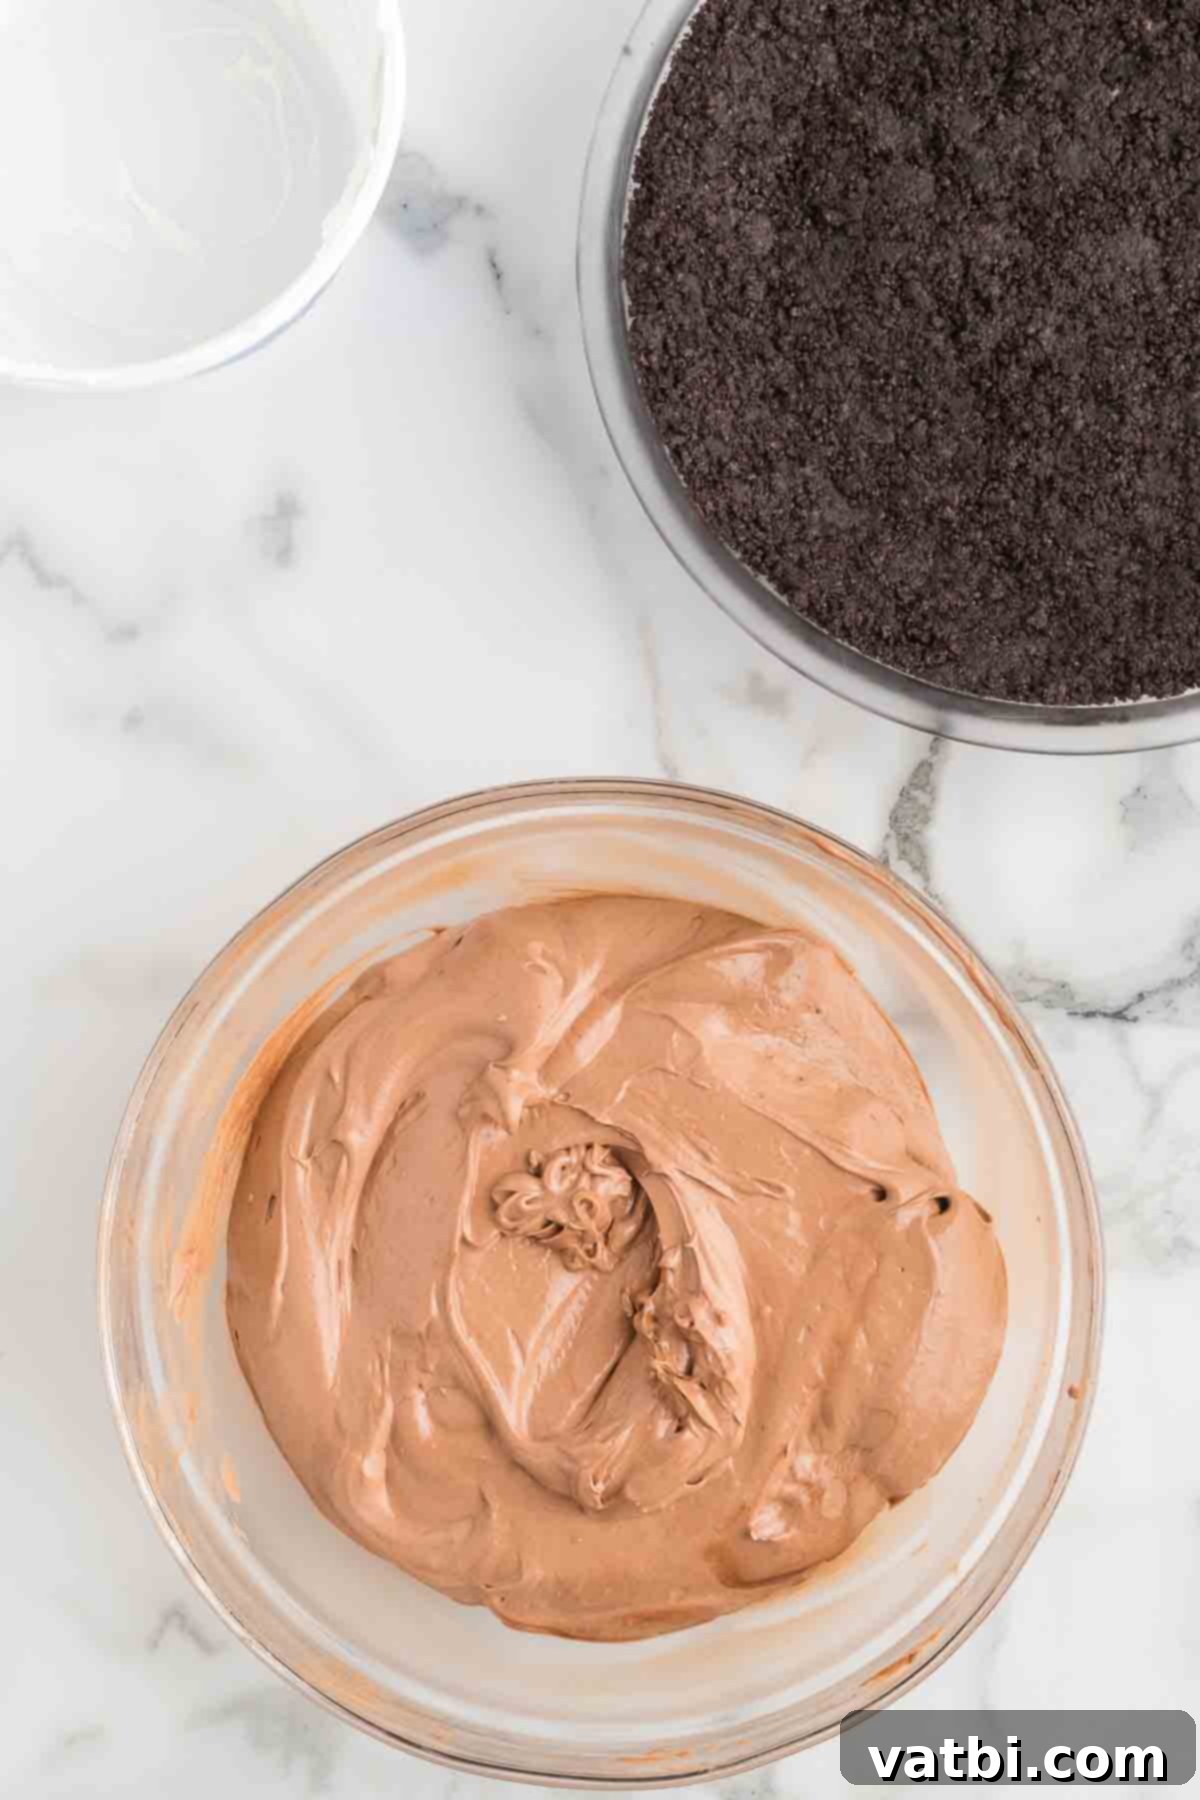
Step 5: Gently Fold in Whipped Topping. Add the completely thawed whipped topping to the Nutella and cream cheese mixture. Using a spatula or wooden spoon, gently fold the whipped topping into the mixture until it’s just combined. Be careful not to over-mix, as this can cause the whipped topping to lose its airiness and result in a denser filling. The goal is a light, fluffy texture.
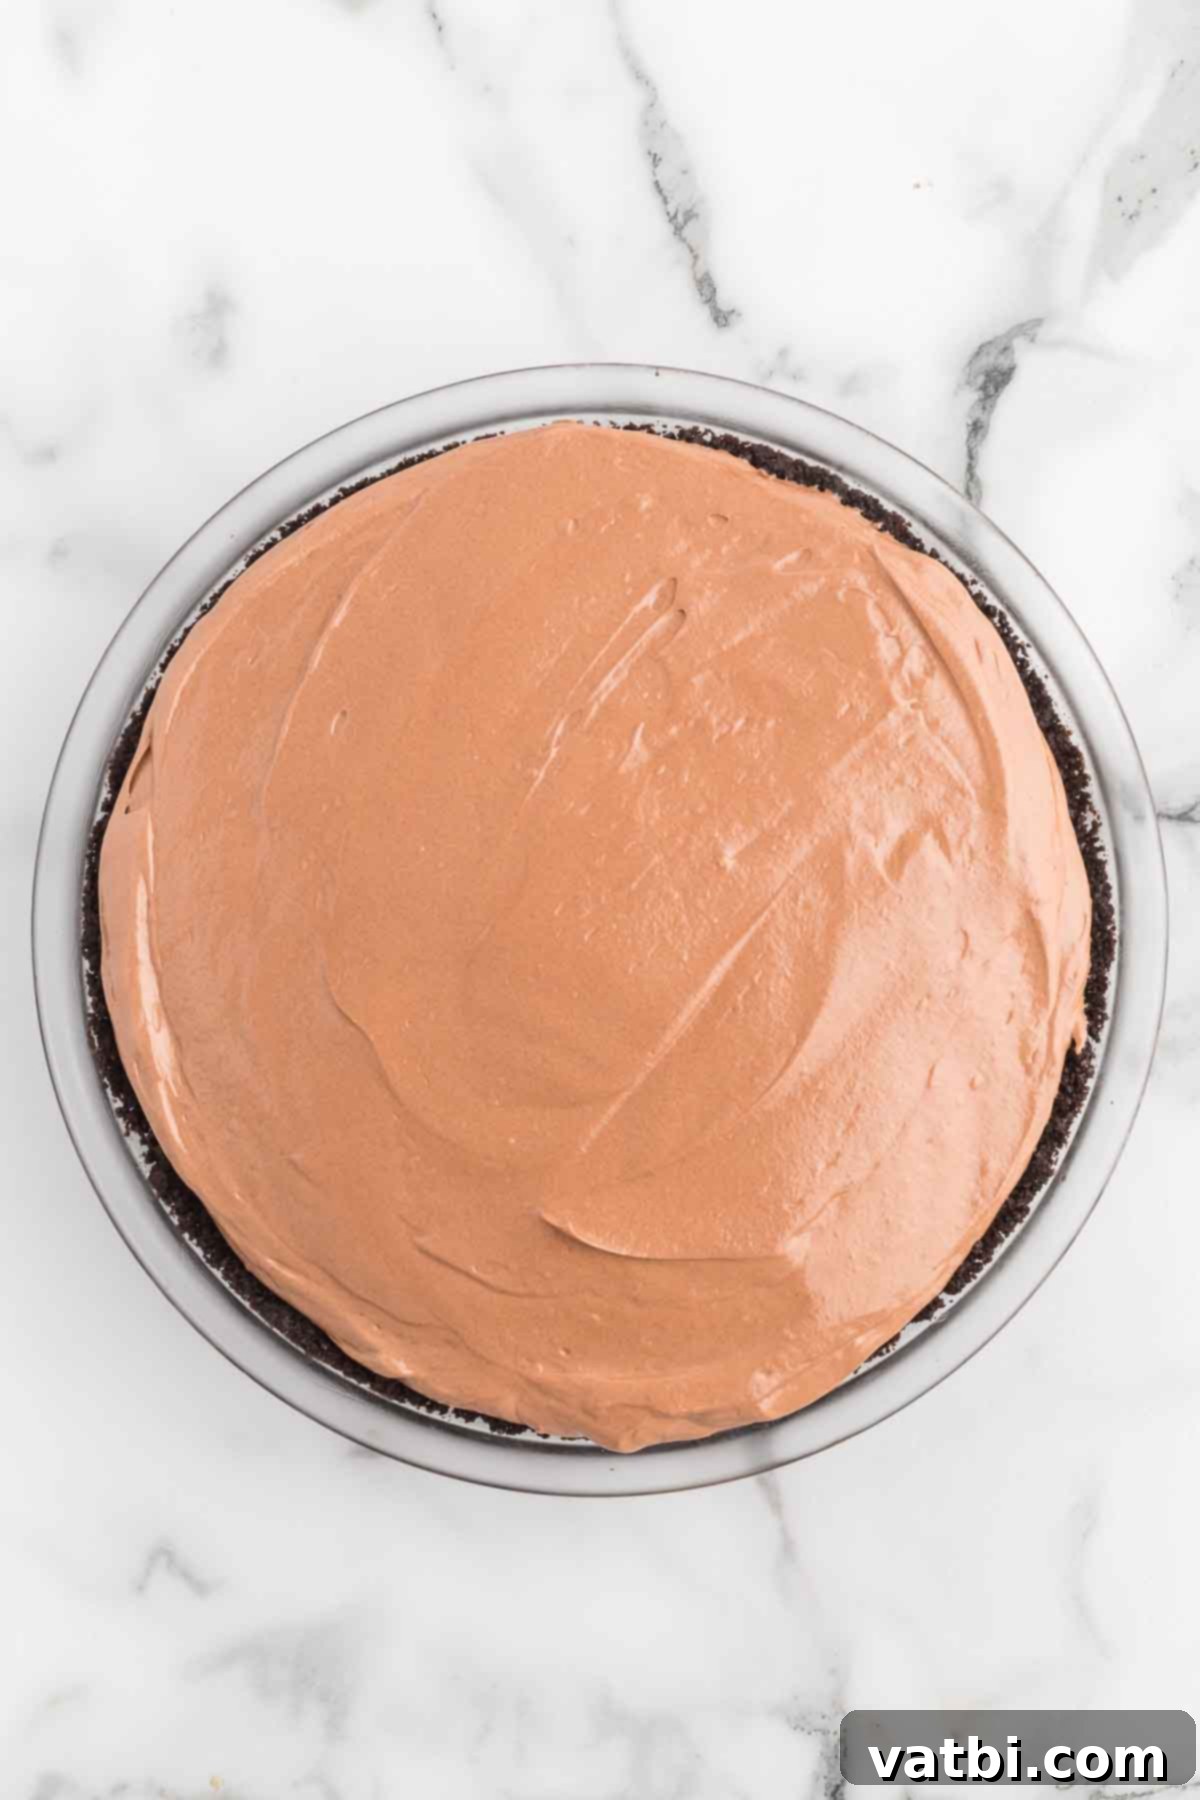
Step 6: Fill and Chill the Pie. Carefully spread the creamy Nutella mixture evenly into your prepared and chilled Oreo pie crust. Use the back of a spoon or an offset spatula to smooth the top. Once filled, place the pie back into the refrigerator to chill for at least 4 hours, though overnight chilling is highly recommended for the best results. This extended chilling time allows the pie to fully set, ensuring clean slices and a firm, creamy texture. Before serving, garnish with fresh whipped cream and delicate chocolate shavings.
Delicious Topping Ideas to Elevate Your Pie
While a simple dollop of whipped cream and chocolate shavings are classic, here are some ideas to make your Nutella pie even more spectacular:
- Chopped Hazelnuts: Toast some hazelnuts and chop them finely for an extra nutty crunch that complements the Nutella beautifully.
- Chocolate Sauce Drizzle: A decadent drizzle of warm chocolate fudge or ganache sauce adds an extra layer of richness.
- Fresh Whipped Cream: As mentioned, a cloud of homemade whipped cream is always a welcome addition, offering a light contrast to the rich filling.
- Peanut Butter Sauce: For a delightful flavor combination, drizzle warm peanut butter sauce over the top. The chocolate and peanut butter pairing is always a winner!
- Chocolate Chunks or Curls: Instead of shavings, use a vegetable peeler to create larger chocolate curls, or sprinkle with mini chocolate chips for a different texture.
- Cocoa Powder Dusting: A light dusting of unsweetened cocoa powder can add a sophisticated touch and cut through some of the sweetness.
- Caramel Drizzle: A swirl of salted caramel sauce provides a sweet and salty contrast that pairs wonderfully with Nutella.
- Mini Chocolate Chips: Sprinkle generously for extra chocolatey texture.
Expert Tips for the Perfect Nutella Pie
Achieve bakery-quality results with these helpful professional tips:
- Room Temperature Cream Cheese is Key: This is arguably the most important tip! Ensure your cream cheese has thoroughly softened at room temperature for at least an hour (or even two) before you begin. Cold cream cheese will result in a lumpy filling, no matter how much you beat it. Using an electric mixer on medium-high speed will help achieve that smooth, creamy consistency you’re looking for.
- Plan Ahead (Make it in Advance): This pie is an excellent make-ahead dessert! Prepare it the day before you plan to serve it and refrigerate it overnight. This allows ample time for the pie to set completely, making it easier to slice and enhancing the flavors. It’s perfect for parties and holiday meals, reducing last-minute stress.
- Firmly Press the Crust: After combining the cookie crumbs and butter, use the bottom of a flat-bottomed glass or a measuring cup to firmly and evenly press the mixture into the pie plate. This compaction prevents the crust from crumbling when sliced and creates a sturdy base for your filling.
- Cool Melted Butter: Allow your melted butter to cool slightly (to just warm, not hot) before combining it with the crushed Oreo cookies. Hot butter can make the crumbs greasy and less likely to bind effectively, leading to a brittle crust.
- Gentle Folding for Whipped Topping: When incorporating the whipped topping, use a gentle folding motion with a spatula. Over-mixing can deflate the air from the whipped topping, resulting in a denser, less airy pie filling.
- Achieving Perfect Chocolate Shavings: To make beautiful chocolate shavings, use a vegetable peeler on the edge of a room-temperature chocolate bar. Hold the bar firmly and scrape along its longest side for elegant curls.
- Easy Slicing: For clean slices, use a sharp knife that has been run under hot water and wiped dry before each cut. This prevents the filling from sticking and dragging.
Frequently Asked Questions About Nutella Pie
Making an Oreo crust is super simple! If you have a food processor, simply add the Oreo cookies (without the filling if you prefer, though it’s not necessary) and process until finely ground into crumbs. If you don’t have a food processor, you can place the cookies in a sturdy Ziploc bag, seal it, and crush them using a rolling pin or the back of a heavy pan until they form fine crumbs. Once you have your crumbs, combine them with melted butter. Stir until the crumbs are evenly moistened, then press the mixture firmly into your pie plate, covering the bottom and sides. Chill for at least 30-60 minutes to set.
To keep your Nutella pie fresh and delicious, store any leftovers in the refrigerator. Make sure the pie is covered tightly with plastic wrap or placed inside an airtight container. Properly stored, it will remain fresh and tasty for up to 5 days. For best results, add any fresh whipped cream topping just before serving, as it can deflate over time.
Yes, you can absolutely freeze this Nutella pie! To do so, wrap the entire pie (without any fresh whipped cream topping) tightly in several layers of plastic wrap, then place it inside a freezer bag or an airtight freezer-safe container. It can be frozen for up to 2 months. When you’re ready to enjoy it, simply transfer the frozen pie to the refrigerator and allow it to thaw overnight. Once thawed, you can add your desired toppings and serve.
Several factors can prevent your Nutella pie from setting properly. The most common reasons include: 1) Not chilling the pie for long enough. This pie requires at least 4 hours, but overnight is ideal for a firm set. 2) Cream cheese not being at room temperature. Cold, lumpy cream cheese won’t incorporate smoothly and can affect the final texture. 3) Over-mixing the whipped topping. This can deflate the air, making the filling denser and less likely to set firmly. Ensure all ingredients are at the correct temperature and follow the folding instructions carefully.
Absolutely! While Nutella is the classic choice for its distinct hazelnut-chocolate flavor, you can certainly experiment with other hazelnut spreads or even plain chocolate spreads if you prefer. Just be aware that the flavor profile will change slightly depending on the brand and type of spread you use.
More Irresistible No-Bake Pie Recipes
If you loved the ease and deliciousness of this Nutella pie, you’re in for a treat! Explore more fantastic no-bake pie recipes that are just as simple to make and equally delightful:
- No-Bake Salted Caramel Pie: A perfect blend of sweet and salty, this pie is pure caramel bliss.
- No-Bake Oreo Pie Recipe: For the ultimate cookie lover, this pie doubles down on Oreo goodness.
- Easy No-Bake Hershey Pie Recipe: A classic chocolate pie that’s rich, creamy, and incredibly easy.
- Strawberry Jello Pie Recipe: A refreshing and fruity option, perfect for spring and summer.
- No-Bake Peanut Butter Pie: If you love the combination of chocolate and peanut butter, a creamy peanut butter pie is a must-try no-bake option.
- Lemon Icebox Pie: A tangy and bright dessert that’s incredibly refreshing and requires no oven.
Now it’s your turn to create this show-stopping dessert! Give this easy Nutella Pie a try, and don’t forget to come back and leave a comment and star rating once you do. Your feedback helps other dessert enthusiasts!
Pin
Nutella Pie
Ingredients
FOR THE CRUST:
- 25 Oreo Cookies regular not double stuffed
- 5 Tbsp Butter melted
FOR THE FILLING:
- 8 oz. Cream Cheese softened at room temperature
- 1.5 cups Nutella Hazelnut Spread
- 8 oz. Whipped Topping Cool Whip, thawed
FOR THE TOPPING:
- 1 can Whipped Cream Topping 6.5 oz
- 1 Milk Chocolate Bar
Instructions
-
Place the Oreo Cookies in a food processor and process until finely ground. Then move the cookie crumbs to a medium size bowl. Add in the melted butter and stir until well combined.
-
Then press this mixture into a 9-inch pie pan, making sure to get the mixture onto the bottom and on the sides of the pan. Refrigerate for at least 30-60 minutes.
-
In a large mixing bowl, beat the cream cheese with a hand-held mixer for 2-3 minutes until light and fluffy. Add in the Nutella and mix until well combined.
-
Then gently fold in the whipped topping with a spatula or wooden spoon until it’s just combined. Be careful not to over-mix or the whipped topping might lose its texture.
-
Pour this mixture into the pie crust. Place the pie in the refrigerator to chill for at least 4 hours, but overnight is preferred.
-
When you are ready to serve, use a vegetable peeler to make chocolate shavings out of the chocolate bar and top the pie with the chocolate shavings and whipped cream topping.
-
Serve chilled and enjoy!
Recipe Notes
*You can top the pie with homemade whipped cream instead of the store-bought whipped topping if you prefer for a fresher taste.
*Make sure that the cream cheese has softened to room temperature before making the pie. This step is crucial to prevent a lumpy texture in your pie filling and ensure a silky smooth result.
Nutrition Facts
Carbohydrates 77g,
Protein 9g,
Fat 51g,
Saturated Fat 35g,
Polyunsaturated Fat 2g,
Monounsaturated Fat 10g,
Trans Fat 1g,
Cholesterol 66mg,
Sodium 347mg,
Potassium 427mg,
Fiber 4g,
Sugar 59g,
Vitamin A 788IU,
Vitamin C 1mg,
Calcium 149mg,
Iron 7mg
Pin This Now to Remember It Later
Pin Recipe
