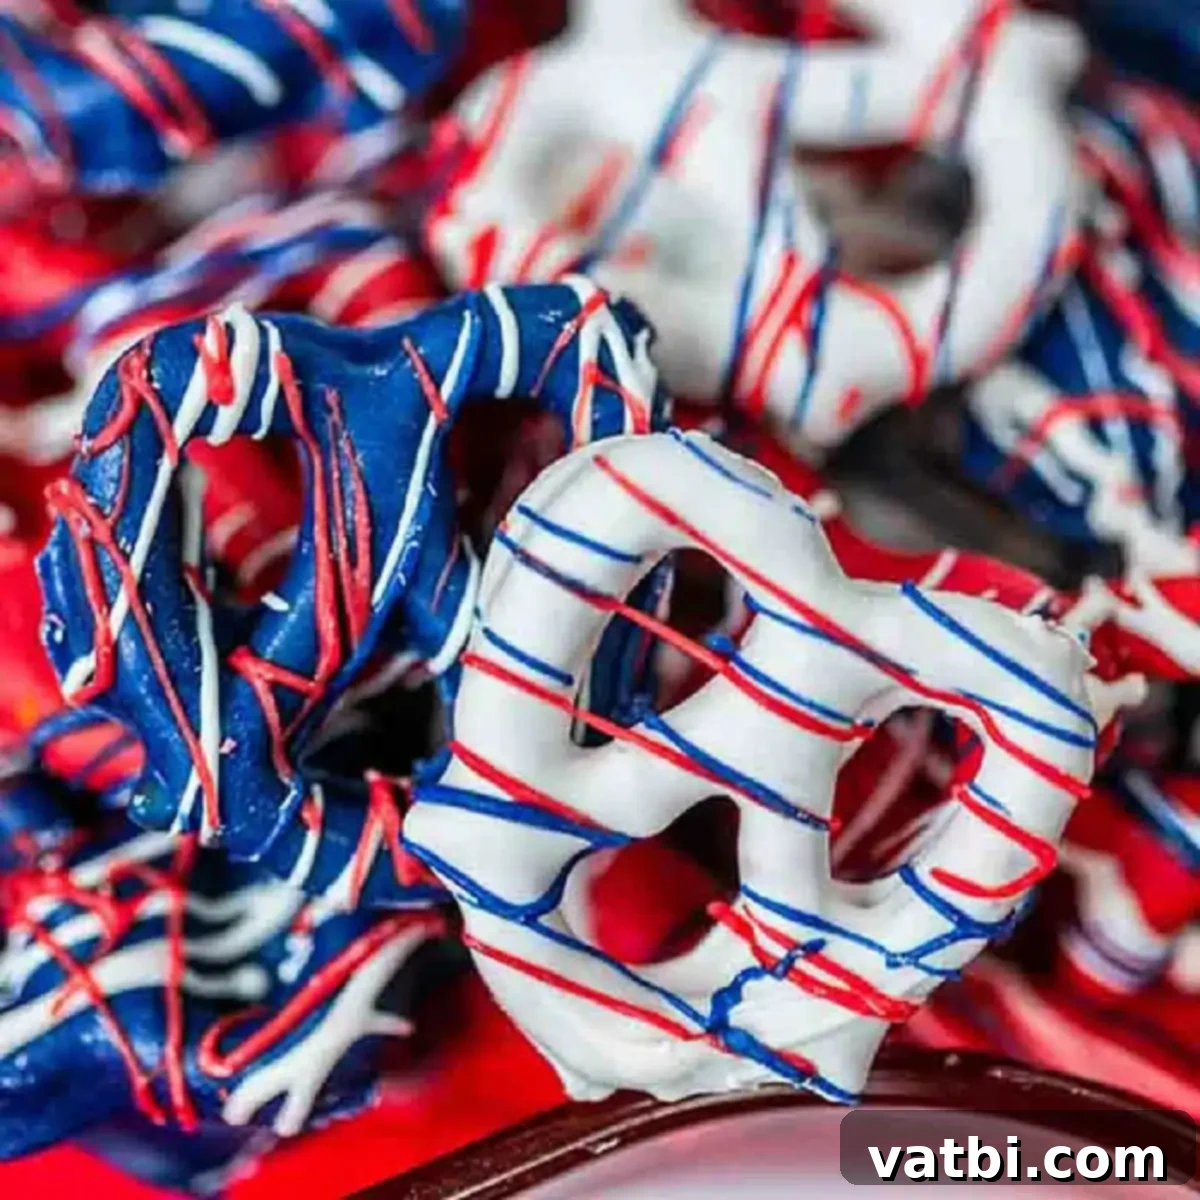
Easy Red, White & Blue Chocolate Covered Pretzels: Your Perfect Patriotic Treat!
Get ready to celebrate with these incredibly festive and deliciously crunchy Red, White, and Blue Chocolate Covered Pretzels! Whether you’re gearing up for the 4th of July, Memorial Day, Labor Day, or simply a fun patriotic gathering, these vibrant treats are guaranteed to be a hit. They’re super easy to make with just a handful of ingredients, offering a stunning visual appeal with their patriotic colors and an irresistible sweet and salty crunch that everyone adores. Forget complicated baking – this is a no-fuss, no-bake dessert that delivers maximum impact with minimal effort.
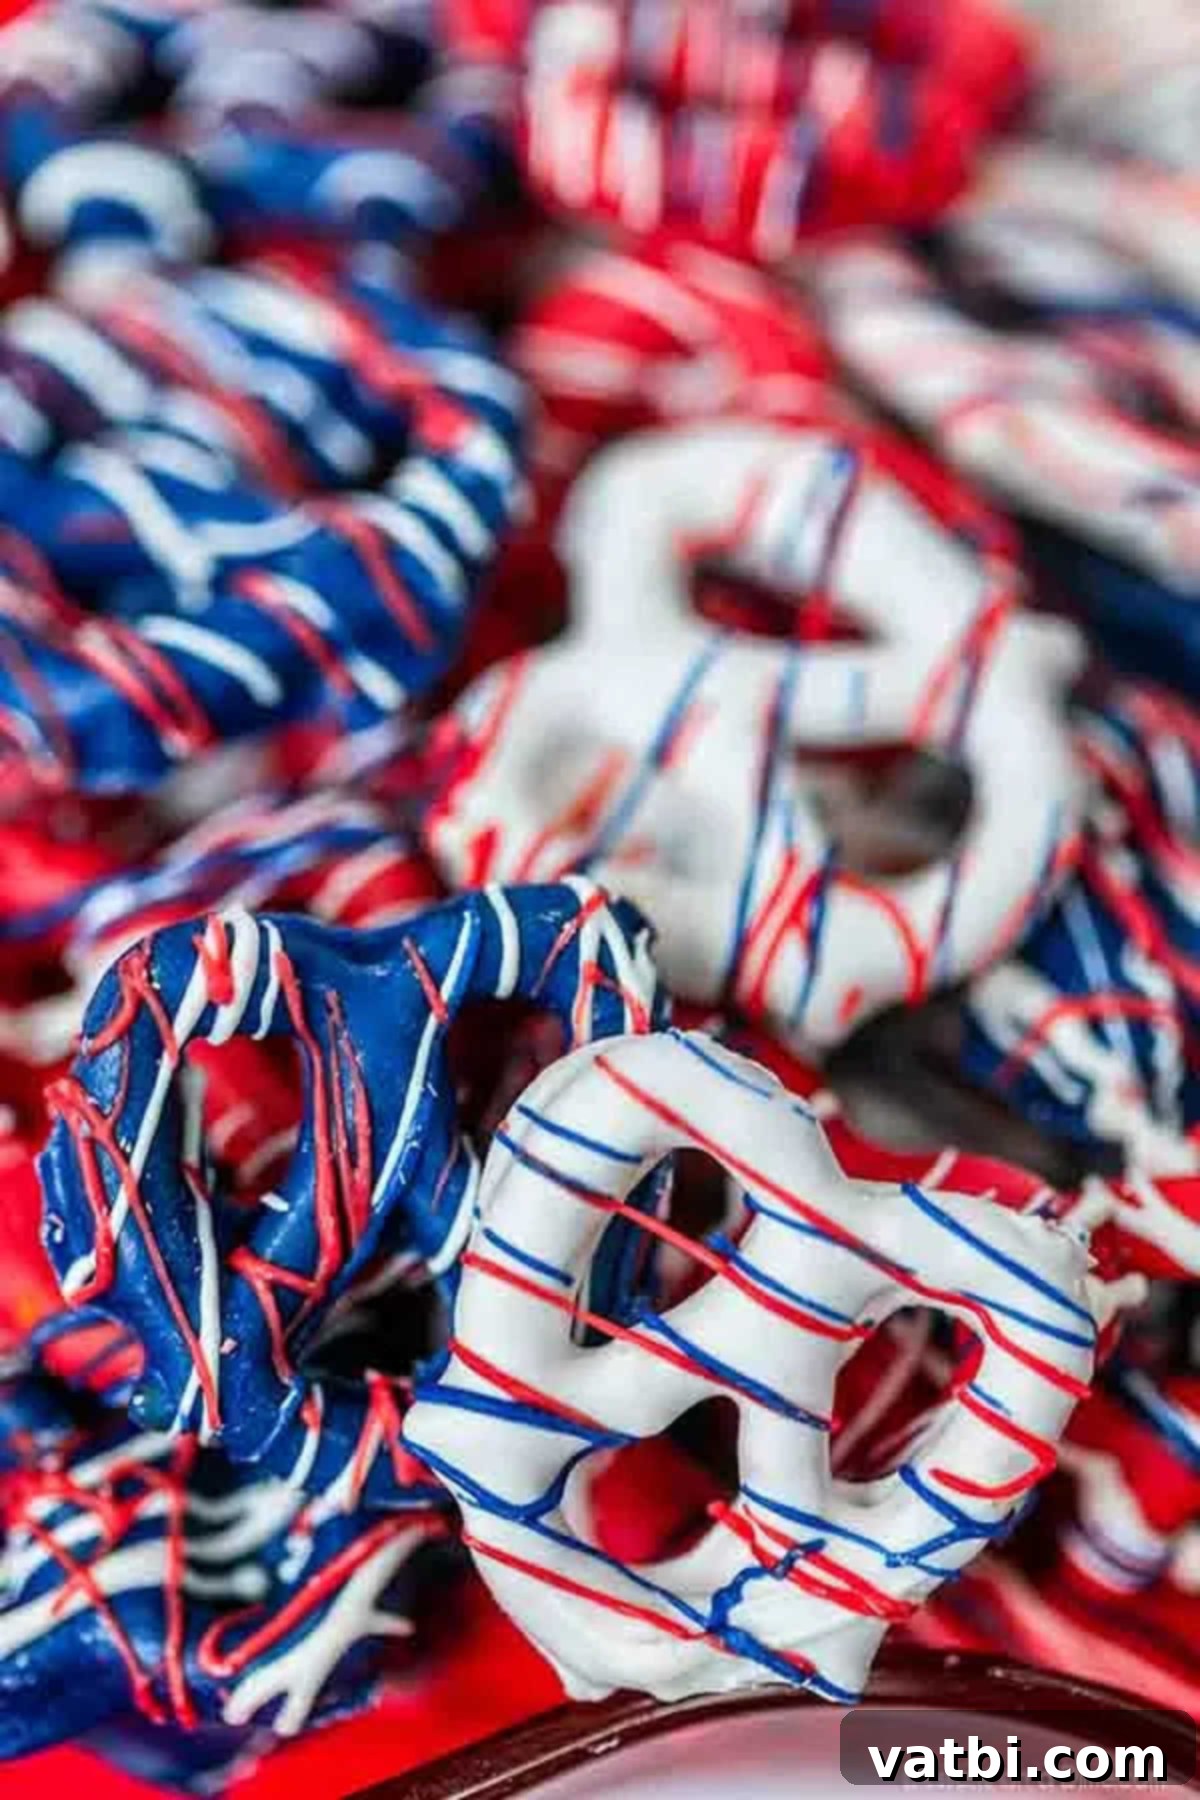
These patriotic pretzels are not only a fantastic no-bake dessert recipe, but they’re also a fun activity for the whole family. Kids especially love getting involved in dipping and decorating, making it a memorable experience. Every bite offers that perfect balance of salty pretzel crunch and sweet chocolate coating, making them an addictive snack that vanishes quickly at any party. You’ll find that everyone, from the littlest guests to the adults, will be reaching for these delightful Red, White, and Blue Chocolate Covered Pretzels.
Whether you need a quick and fun snack for an afternoon playdate, or a charming, homemade treat to bring to a summer cookout, these pretzels are your go-to. They are incredibly versatile and budget-friendly, proving that you don’t need fancy ingredients or extensive baking skills to create something truly special. For more festive ideas, you might also enjoy making 4th of July Chocolate Dipped Pretzel Rods or exploring other delightful Red, White and Blue Desserts on our site.
Table of Contents
- Why We Love This Recipe
- Ingredients You’ll Need
- Fun Variations & Customization Ideas
- How to Make Red, White, and Blue Chocolate Covered Pretzels
- Storage Tips
- Expert Pro Tips for Perfect Pretzels
- More Festive Red, White & Blue Desserts
Why We Love This Easy Patriotic Pretzel Recipe
There are countless reasons why these Red, White, and Blue Chocolate Covered Pretzels have become a seasonal favorite. Their simplicity and delightful taste make them a standout treat:
- It’s No-Bake and Effortlessly Easy: No oven, no complex techniques! This recipe is perfect for beginners, busy parents, or anyone looking for a quick yet impressive dessert. From start to finish, you’ll be amazed at how fast these come together, leaving you more time to enjoy your festivities.
- Only 4 Simple Ingredients: You won’t need a pantry full of obscure items for this recipe. With just pretzels and three colors of candy melts, you’re all set. This makes it a cost-effective and convenient option for last-minute party preparations.
- Irresistible Sweet and Salty Combination: The magical pairing of crunchy, salty pretzels with rich, sweet chocolate is truly addictive. It’s a flavor profile that satisfies every craving, making these pretzels incredibly hard to resist. The contrast of textures and tastes creates a truly memorable snack.
- Kid-Friendly Fun: This recipe is a fantastic way to get children involved in the kitchen. Dipping pretzels into colorful chocolate and adding sprinkles is an activity they’ll love, fostering creativity and making cherished holiday memories.
- Visually Stunning Patriotic Appeal: The vibrant red, white, and blue colors immediately evoke a sense of national pride and celebration. They stand out on any dessert table, making them not just a treat, but a decorative element that enhances your holiday spread.
- Perfect for Any Patriotic Occasion: While ideal for the 4th of July and Memorial Day, these pretzels are also wonderful for Labor Day, Flag Day, or even as a thoughtful snack for military families or Veterans Day events. Their versatility is unmatched!
Ingredients You’ll Need
Gathering your ingredients for these festive pretzels is a breeze. You only need a few key items to create these show-stopping treats. The beauty of this recipe lies in its simplicity!
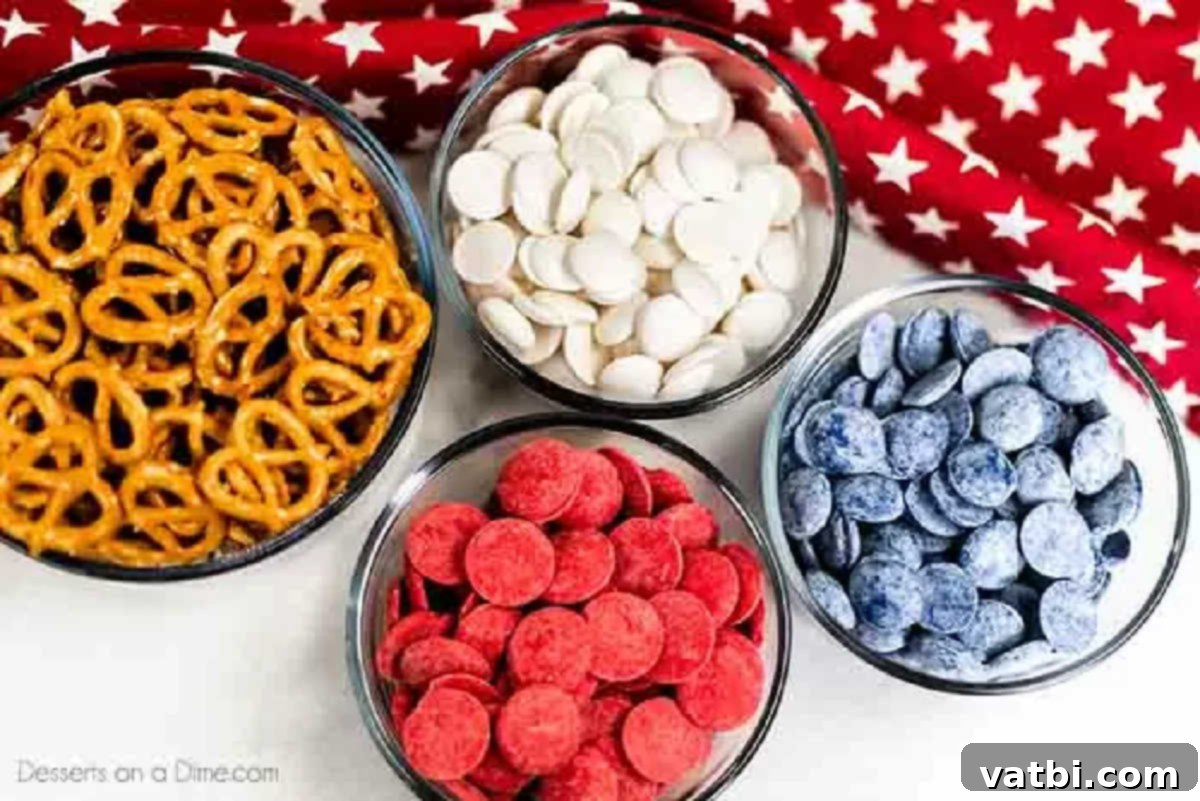
- Miniature Pretzel Twists: These are the classic choice, offering a perfect bite-sized crunch. Their shape makes them easy to dip and handle.
- Red Candy Melts: Specifically designed for melting and coating, these provide a smooth finish and vibrant color without needing extra food coloring.
- Royal Blue Candy Melts: Just like the red, these candy melts offer a beautiful, bold blue color that’s perfect for patriotic themes.
- White Candy Melts: Essential for completing the patriotic trio, white candy melts melt smoothly and provide a crisp contrast.
You can find the full ingredient list with exact measurements, along with the detailed recipe for these 4th of July pretzels, in the printable recipe card located at the very bottom of this post.
Fun Variations & Customization Ideas
While the classic red, white, and blue combination is a winner, this recipe is incredibly adaptable. Don’t be afraid to get creative and customize your chocolate covered pretzels for different occasions or personal preferences!
- Full Coverage vs. Artistic Drizzling: Instead of just drizzling, try fully coating some pretzels in one color, then decorating with sprinkles while the chocolate is still wet. This creates a bolder look, and the kids will absolutely love helping with this hands-on decorating step!
- Pretzel Rods for a Different Look: For a more substantial treat, swap out the miniature pretzel twists for pretzel rods. They offer a larger surface area for dipping and decorating, and look elegant displayed standing up in a jar or container.
- Theme for Other Holidays and Occasions: The beauty of this recipe is its year-round versatility. Simply change the candy melt colors and sprinkles to suit any holiday or event:
- Christmas: Red and green candy melts with festive sprinkles.
- Halloween: Orange, purple, and black candy melts, spooky sprinkles, or candy eyes.
- Valentine’s Day: Pink, red, and white candy melts with heart sprinkles.
- Easter: Pastel shades like light pink, blue, yellow, and green.
- Birthdays: Use the birthday person’s favorite colors!
- Experiment with Different Chocolate Bases: While candy melts are convenient for vibrant colors, you can also dip the pretzels in melted white chocolate, milk chocolate, or even dark chocolate. If using white chocolate and wanting specific colors, ensure you use oil-based food coloring, as water-based dyes can cause chocolate to seize. Top these with candy melt drizzles in contrasting colors or a generous shower of sprinkles.
- Add Extra Toppings: Elevate your pretzels with additional toppings. Before the chocolate sets, sprinkle with chopped nuts (like pecans or peanuts), mini chocolate chips, crushed cookies (Oreo, Biscoff), shredded coconut, or edible glitter for an extra sparkle.
- Flavor Infusion: Add a drop or two of food-grade extract to your melted candy melts for an extra flavor dimension. Peppermint extract for Christmas, almond extract for a subtle sweetness, or even a hint of orange or lemon for a brighter taste.
How to Make Red, White, and Blue Chocolate Covered Pretzels: Step-by-Step
Creating these eye-catching treats is simpler than you might think. Follow these easy steps to achieve perfectly coated and decorated patriotic pretzels.
Storage Tips for Freshness
Proper storage is key to keeping your chocolate covered pretzels fresh, crisp, and delicious for as long as possible. Once the chocolate has fully set and hardened, transfer your patriotic pretzels to an airtight container. Store them at room temperature in a cool, dry place, away from direct sunlight or heat. They will maintain their quality and flavor for up to 2 weeks. Avoid storing them in humid conditions, as this can cause the chocolate to become sticky or develop a sugar bloom (a white, powdery film). For longer storage, you can even freeze them in an airtight container for up to 2-3 months, just be sure to let them come to room temperature before serving to avoid condensation.
Expert Pro Tips for Perfect Pretzels
Achieving perfectly coated and beautifully decorated chocolate pretzels is easy, especially with a few insider tips:
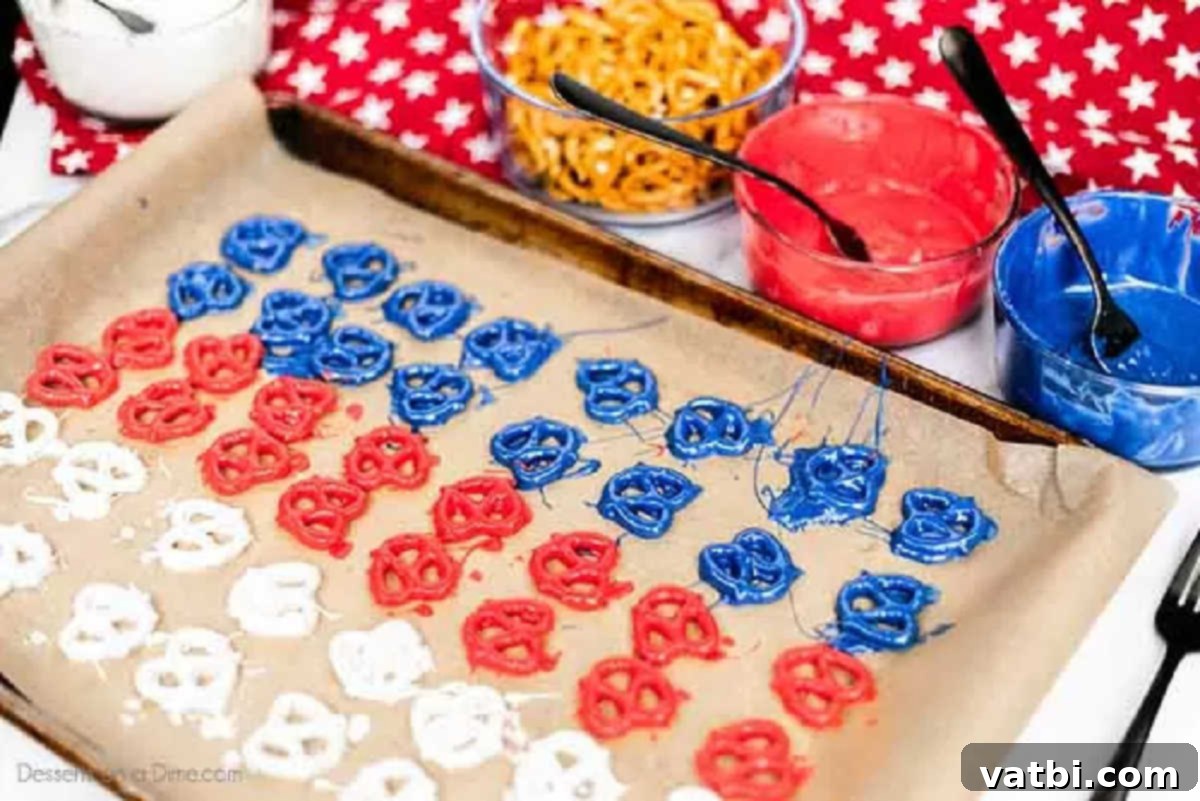
- Separate Bowls for Each Color: Always use individual microwave-safe bowls for each color of candy melts. This prevents cross-contamination of colors and ensures each hue remains vibrant and distinct.
- Never Overheat Candy Melts: It is critically important to melt your candy coating in short 30-second intervals, stirring well after each. Overheating can cause the chocolate to seize (become thick and clumpy) or burn, rendering it unusable. Patience is key here.
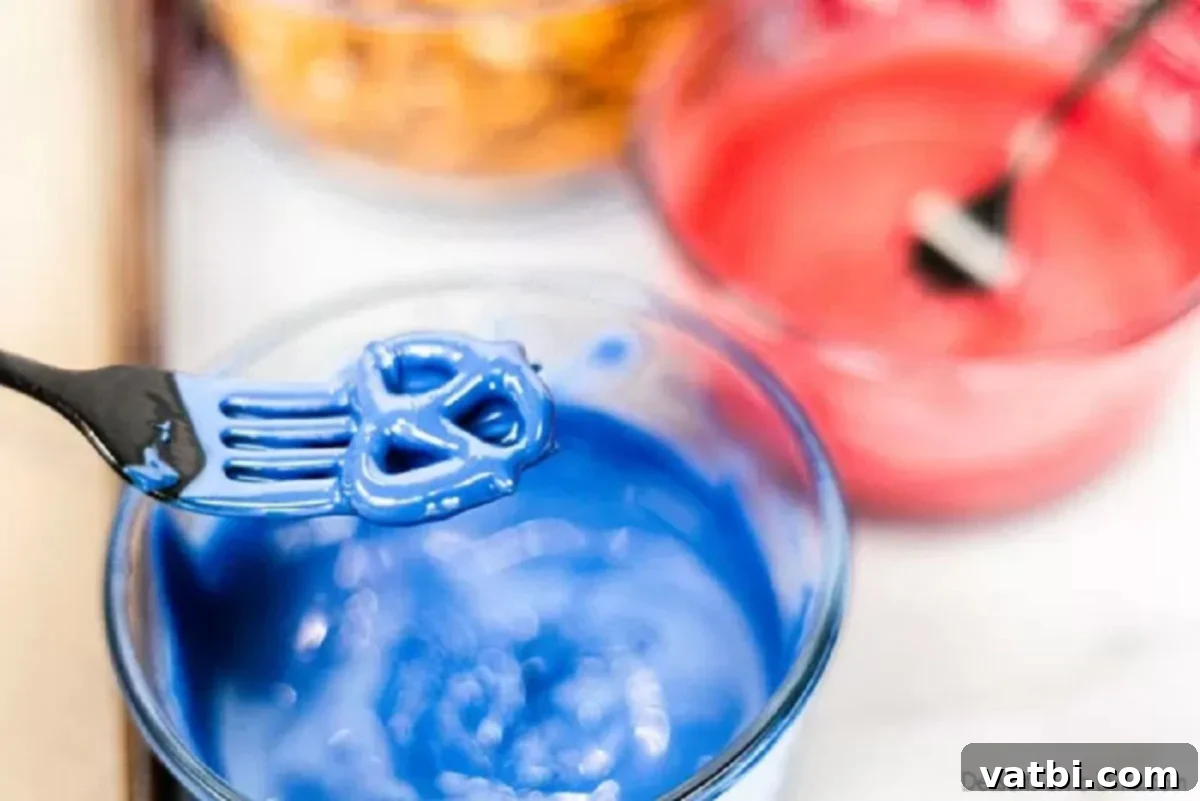
- Remove Excess Chocolate Promptly: After dipping each pretzel, gently tap the fork against the edge of the bowl. This allows excess chocolate to drip off, ensuring a cleaner finish, preventing thick puddles around the base, and minimizing waste of your precious candy melts.
- Always Use Lined Baking Sheets: Line your baking sheets with parchment paper or wax paper. This is a non-negotiable step! It prevents the pretzels from sticking to the sheet as they dry and makes for incredibly easy cleanup.
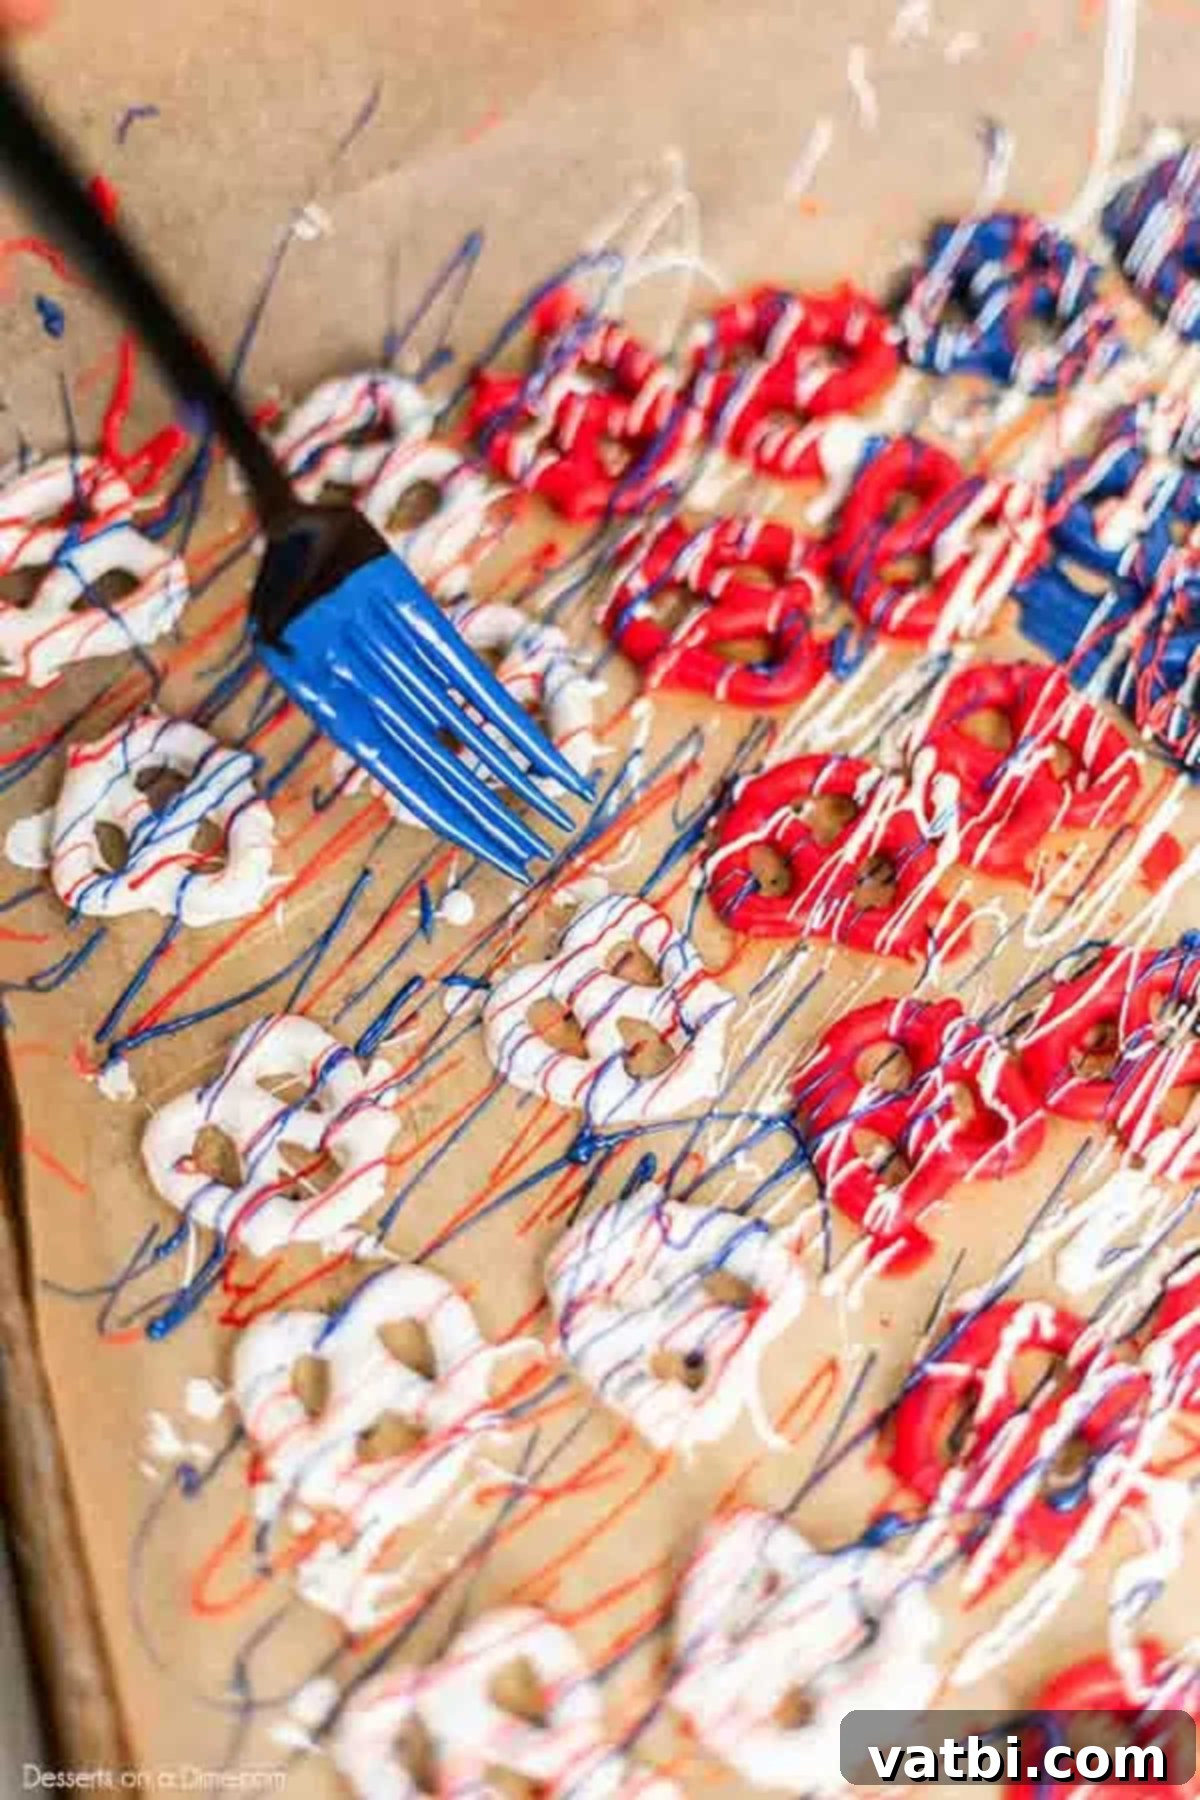
- Add Sprinkles While Wet: If you’re adding red, white, and blue sprinkles (which we highly recommend for extra festivity!), do so immediately after drizzling the last color of candy melts. The chocolate needs to be wet for the sprinkles to adhere properly.
- Adjust Chocolate Consistency (If Needed): If your melted candy melts seem too thick for smooth dipping or drizzling, you can add a small amount (about ½ to 1 teaspoon) of shortening (like Crisco) or paramount crystals. Stir well until it reaches the desired smooth, pourable consistency. Do NOT add water or milk, as this will cause the chocolate to seize.
- Work in Batches: Especially if you’re making a large quantity, it’s a good idea to work in small batches. This keeps your melted chocolate at the ideal temperature for dipping and ensures your pretzels are coated evenly before the chocolate starts to set.
- Patience During Drying: Resist the urge to move the pretzels before they are completely dry. Handling them too soon can smudge the colors or leave fingerprints. If you’re in a hurry, the refrigerator can speed up the process, but room temperature drying often yields a shinier finish.
- Consider Presentation: Once dry, arrange your beautiful pretzels on a platter, in clear cellophane bags tied with ribbon for party favors, or in a decorative jar for a stunning visual display.
More Festive Red, White & Blue Desserts
If you love these patriotic pretzels, you’ll definitely want to explore these other delightful red, white, and blue treats, perfect for any American holiday celebration:
- The Best Red White and Blue Cake to Impress!
- Red White and Blue Strawberries
- How to make Red, White, and Blue Jello
- Red White and Blue Popsicles
- 4th of July Rice Krispie Treats
- No Bake 4th of July Desserts
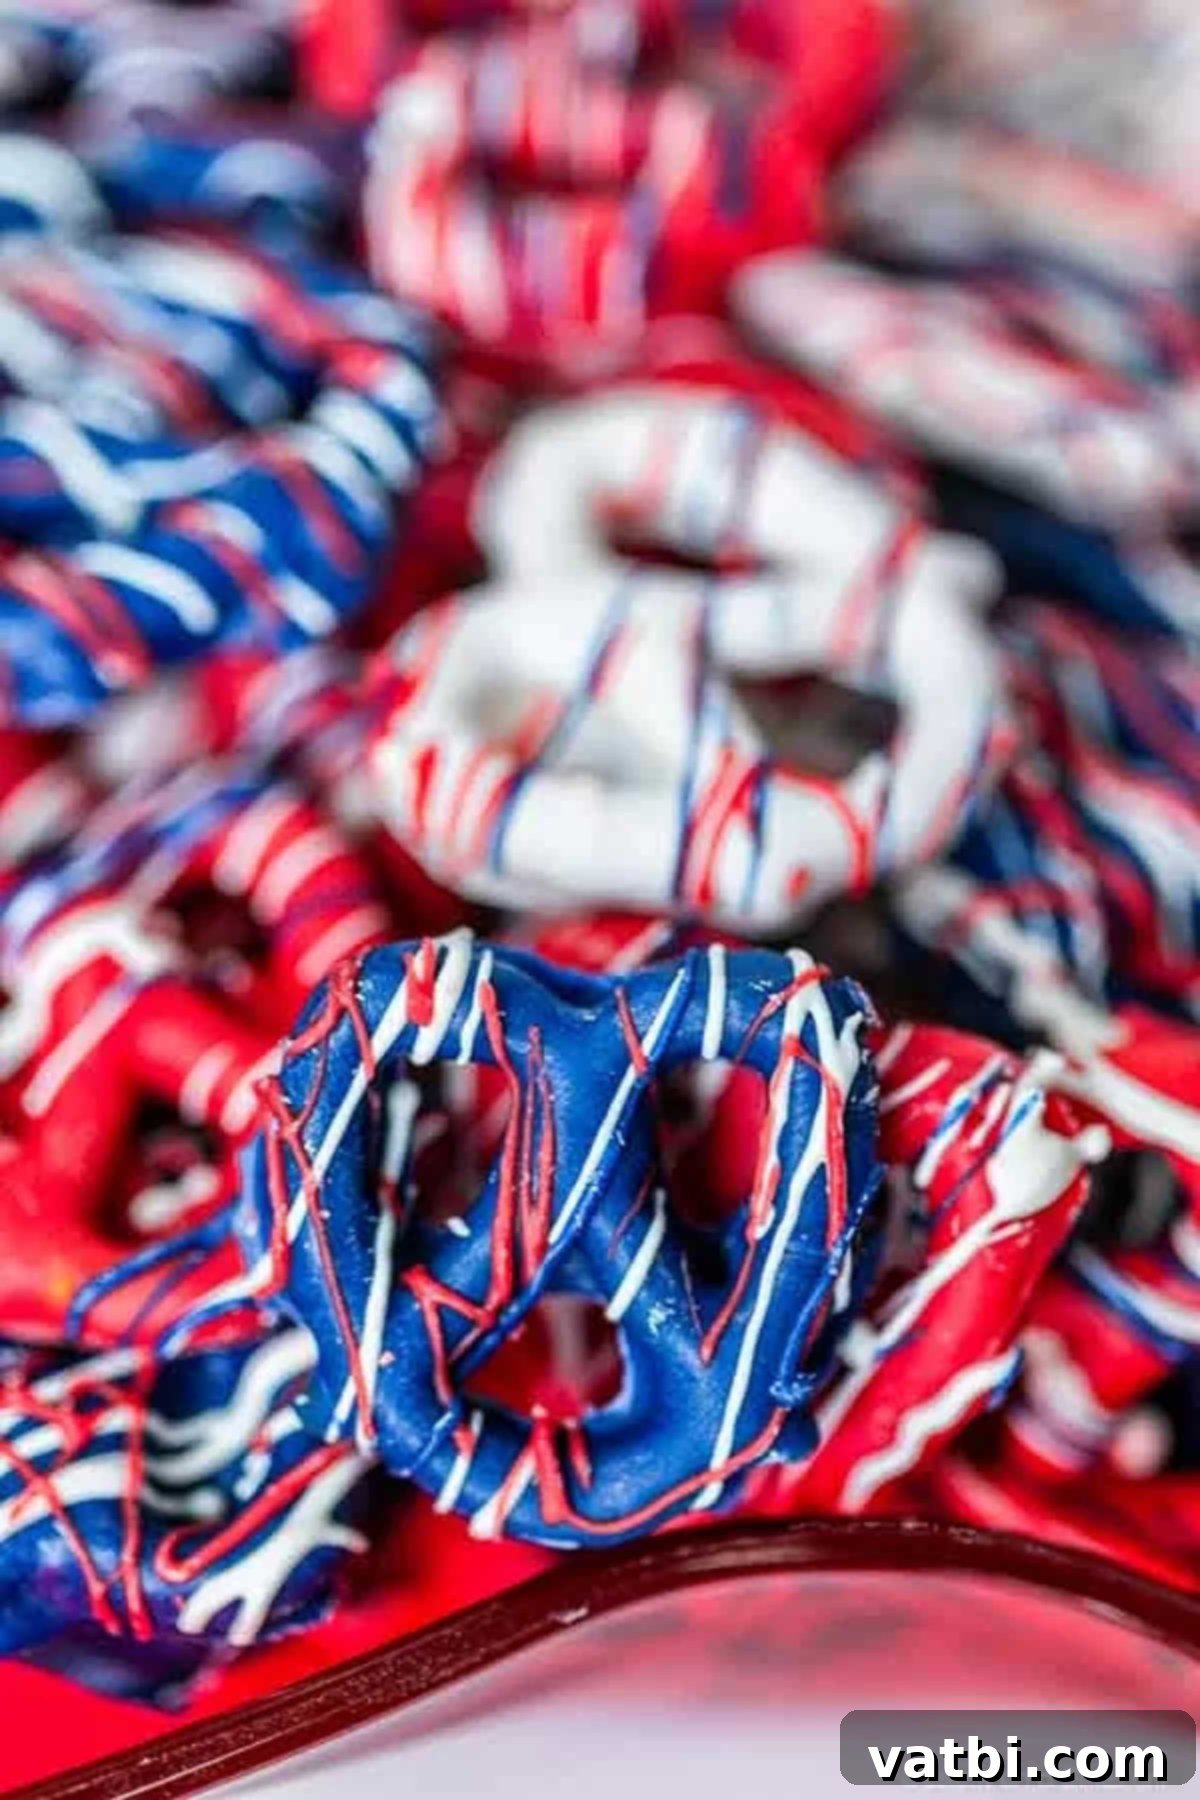
These festive Red, White, and Blue Chocolate Covered Pretzels are more than just a snack; they’re a symbol of celebration, perfect for Labor Day, Independence Day, Memorial Day, Veterans Day, or even Flag Day! Their ease of preparation and universal appeal make them a staple for any patriotic occasion.
We hope you enjoy making this simple and fun recipe as much as we do. Once you’ve whipped up your batch, come back and share your experience! Leave a comment below and don’t forget to give this recipe a star rating. We love hearing from you and seeing your delicious creations!
Pin
Red, White and Blue Chocolate Covered Pretzels
Ingredients
- 50 miniature pretzel twists
- 4 ounces red candy melts
- 4 ounces royal blue candy melts
- 4 ounces white candy melts
Instructions
-
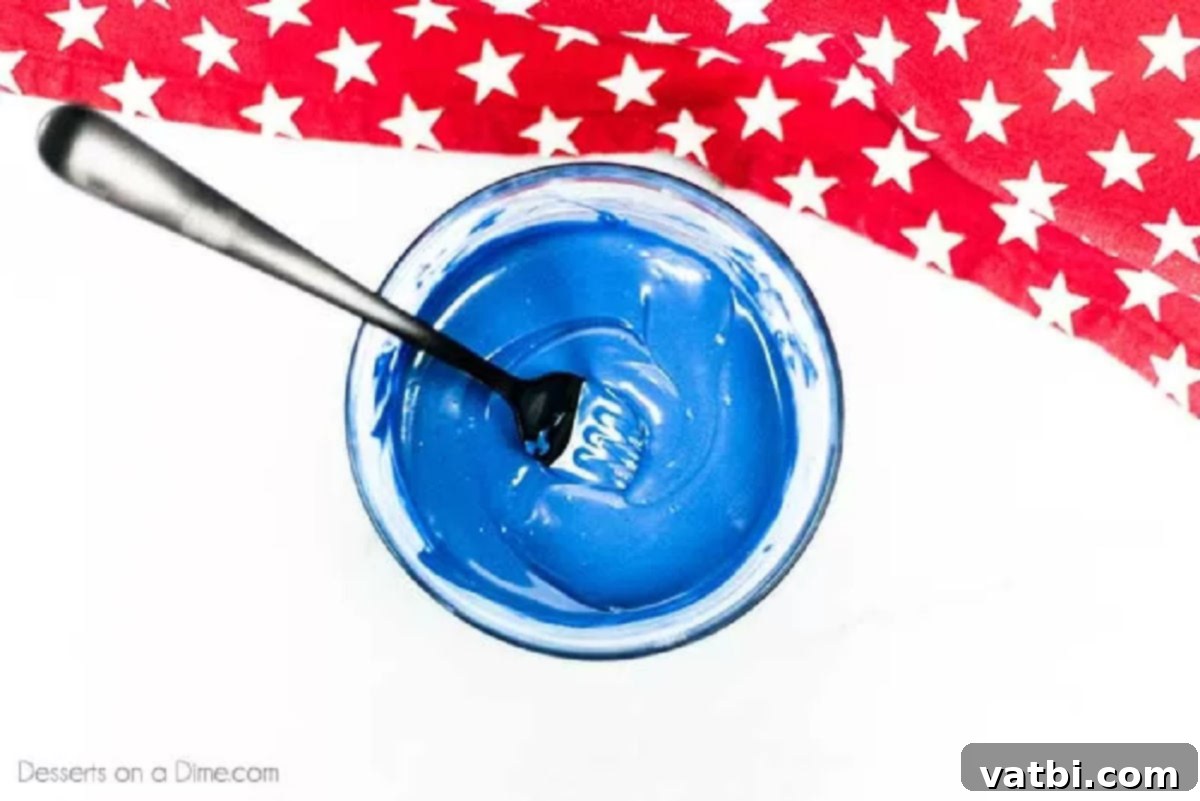
Place the candy melts in a microwave safe bowl. Use different bowls for each color so they don’t get mixed together.
-
Microwave in 30 second increments, stirring between each interval until the chocolate is fully melted.
-
Dip the pretzels into the melted candy melts. Use a fork to coat each pretzel in melted candy. Tap the fork on the side of the bowl until all of the excess candy is removed from the pretzel. Drizzle with a fork the different colors of melted candy over the covered pretzels for decoration.
-
Place the pretzels on a cookie sheet lined with parchment paper or wax paper.
-
Let the pretzels sit until dry. This will take approximately 1 hour at room temperature or 30 minutes in a refrigerator.
-
Serve, or store in an airtight container for up to 2 weeks.
Nutrition Facts
Pin This Now to Remember It Later
Pin Recipe
