Irresistibly Easy 3-Ingredient No-Bake Oreo Cake Pops: The Ultimate Recipe
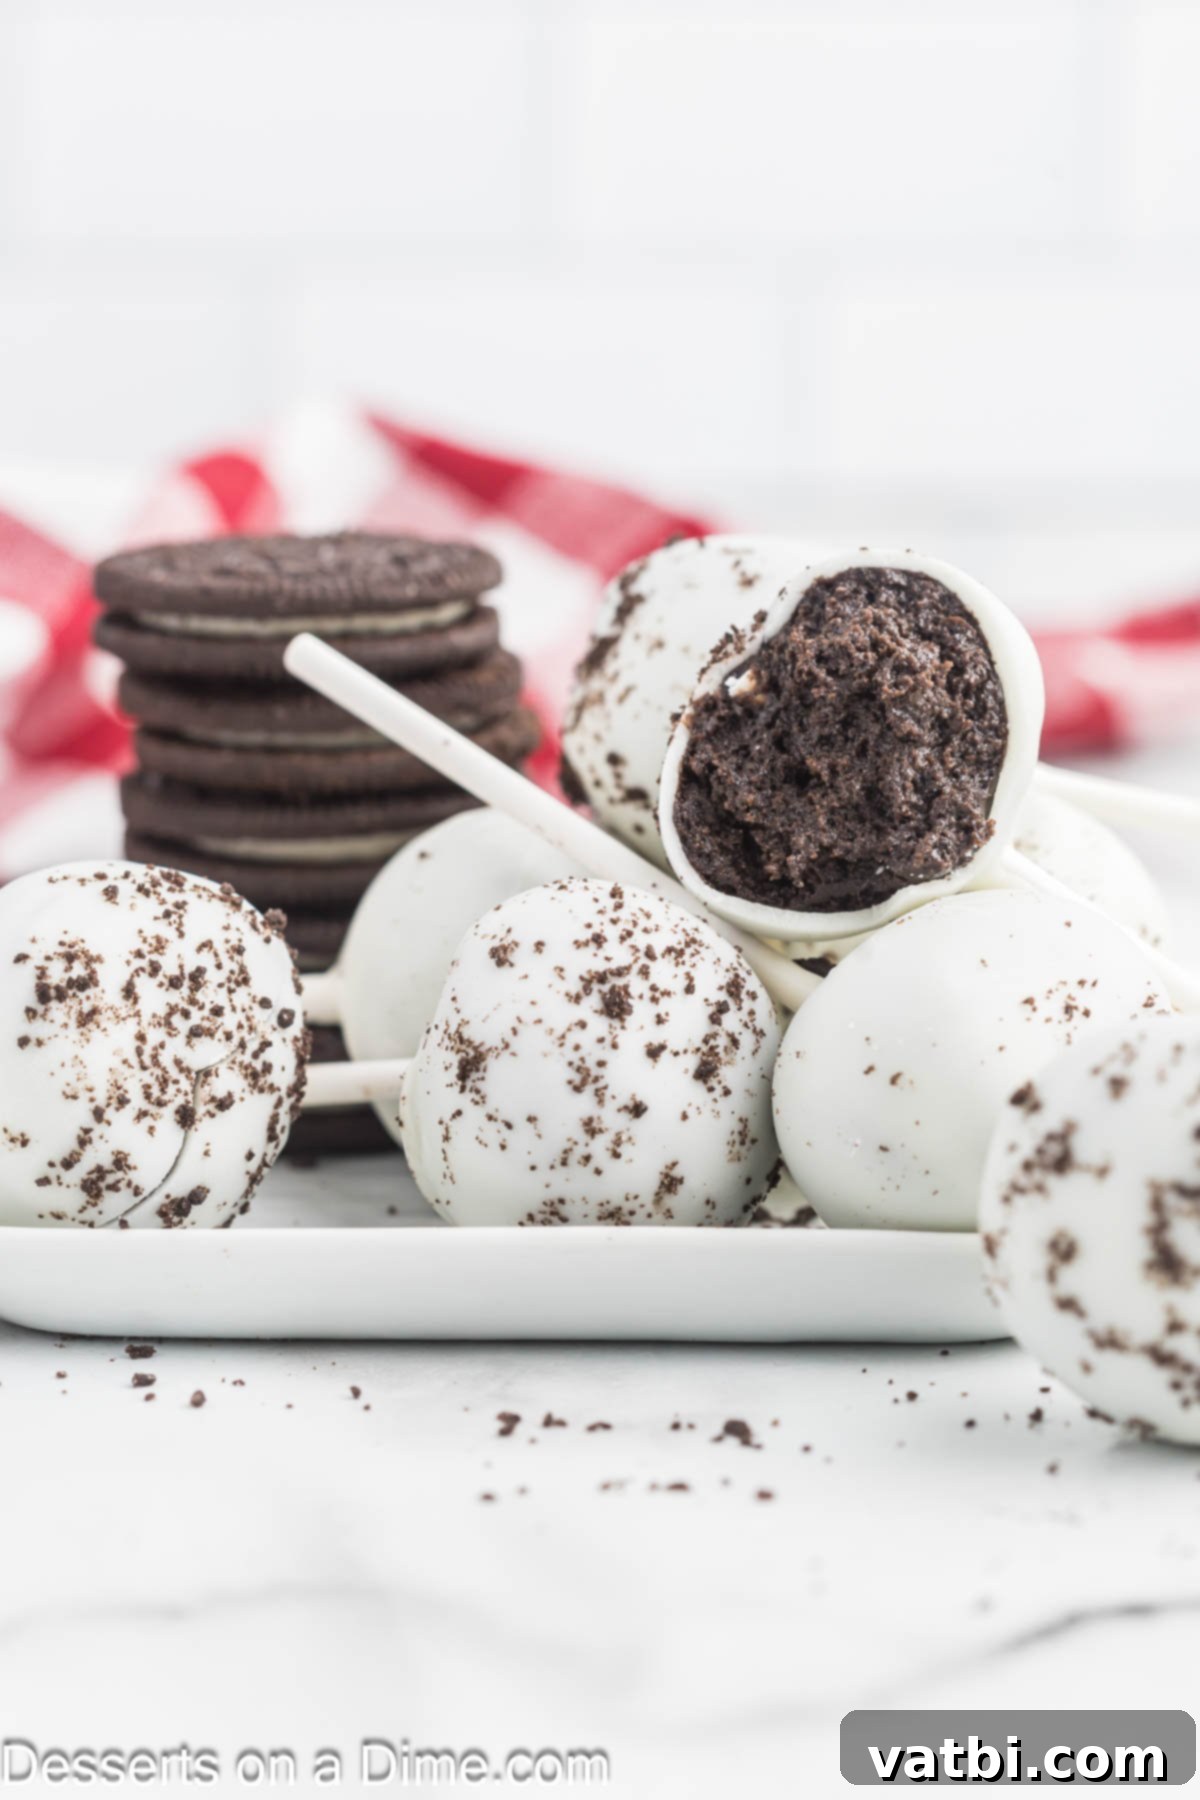
Get ready to delight your taste buds with our incredibly simple recipe for Oreo Cake Pops! These delightful treats require only 3 essential ingredients, making them the perfect no-bake dessert solution for any gathering or craving. Each bite offers a rich, creamy filling encased in a smooth, decadent white chocolate coating, creating a dessert experience that is truly unforgettable and surprisingly effortless.
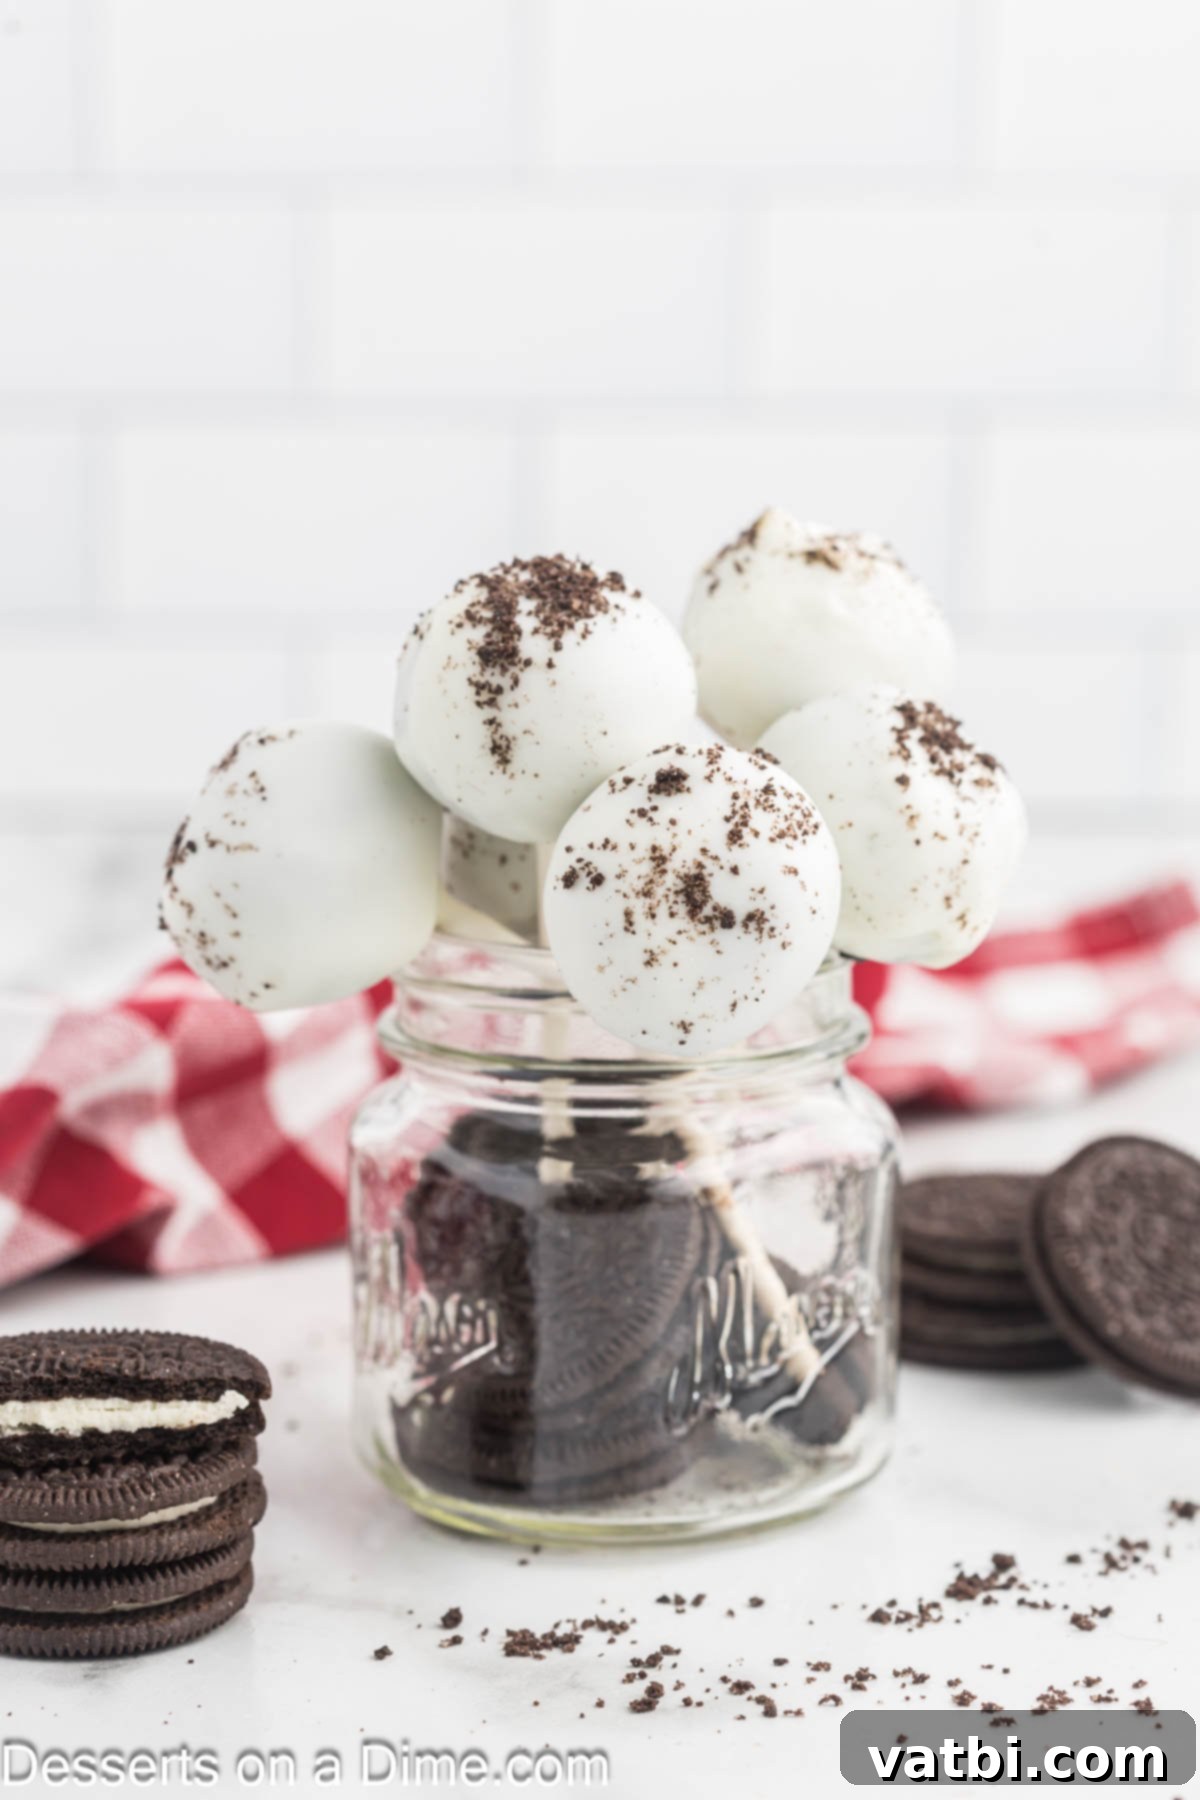
If you’re already a fan of our popular No-Bake Oreo Balls, then you absolutely must try these charming Oreo Cake Pops. They capture all the beloved flavors and creamy texture of Oreo cookies but elevate the experience by serving them on a fun lollipop stick. This recipe is a staple in our collection of Easy Oreo Desserts, cherished for its simplicity and the joy it brings to every occasion. Whether you’re planning a party or just looking for a quick treat, these cake pops are guaranteed to be a hit.
Our passion for Oreos extends to many other delightful creations. If you share this love, be sure to explore our recipes for a luscious Oreo Trifle, a creamy Oreo Dip perfect for sharing, and even festive Oreo Spider Cookies, which are a huge hit during Halloween. Each recipe offers a unique way to enjoy the classic cookie, proving its versatility in the dessert world. Cake pops, in particular, are incredibly versatile and can be customized for any holiday or theme, making them a fantastic canvas for your creativity.
Beyond Oreo variations, we also love making other types of cake pops, such as our rich and delightful Chocolate Cake Pops. The concept of a cake pop—a delightful bite-sized treat on a stick—is always a crowd-pleaser and adds a touch of whimsy to any dessert table. These Oreo Cake Pops are not only a treat to eat but also a joy to make, making them an ideal project for bakers of all skill levels, even those new to the kitchen.
Table of contents
- Why We Love This Recipe
- Ingredients
- Substitutions and Additions
- Step By Step Instructions
- Storage
- Pro Tips
- Frequently Asked Questions
Why We Love This Recipe
- Easy No-Bake Recipe. This recipe is a dream come true for anyone who loves desserts but wants to avoid turning on the oven. The no-bake aspect not only saves time and energy but also makes it perfect for warmer months or busy schedules. You’ll be amazed at how quickly these come together without any baking involved!
- Only 3 Ingredients. Simplicity is key, and this recipe truly delivers. With just three readily available ingredients, you can create a sophisticated and delicious dessert. This minimizes your shopping list and makes the entire process incredibly straightforward, even for beginner bakers.
- Rich and Creamy. Prepare yourself for an explosion of flavor with every single bite. The combination of crushed Oreos and cream cheese creates an incredibly rich and creamy truffle-like center, which is then enveloped in a smooth, sweet candy coating. It’s a decadent treat that feels incredibly luxurious despite its simple origins.
Ingredients
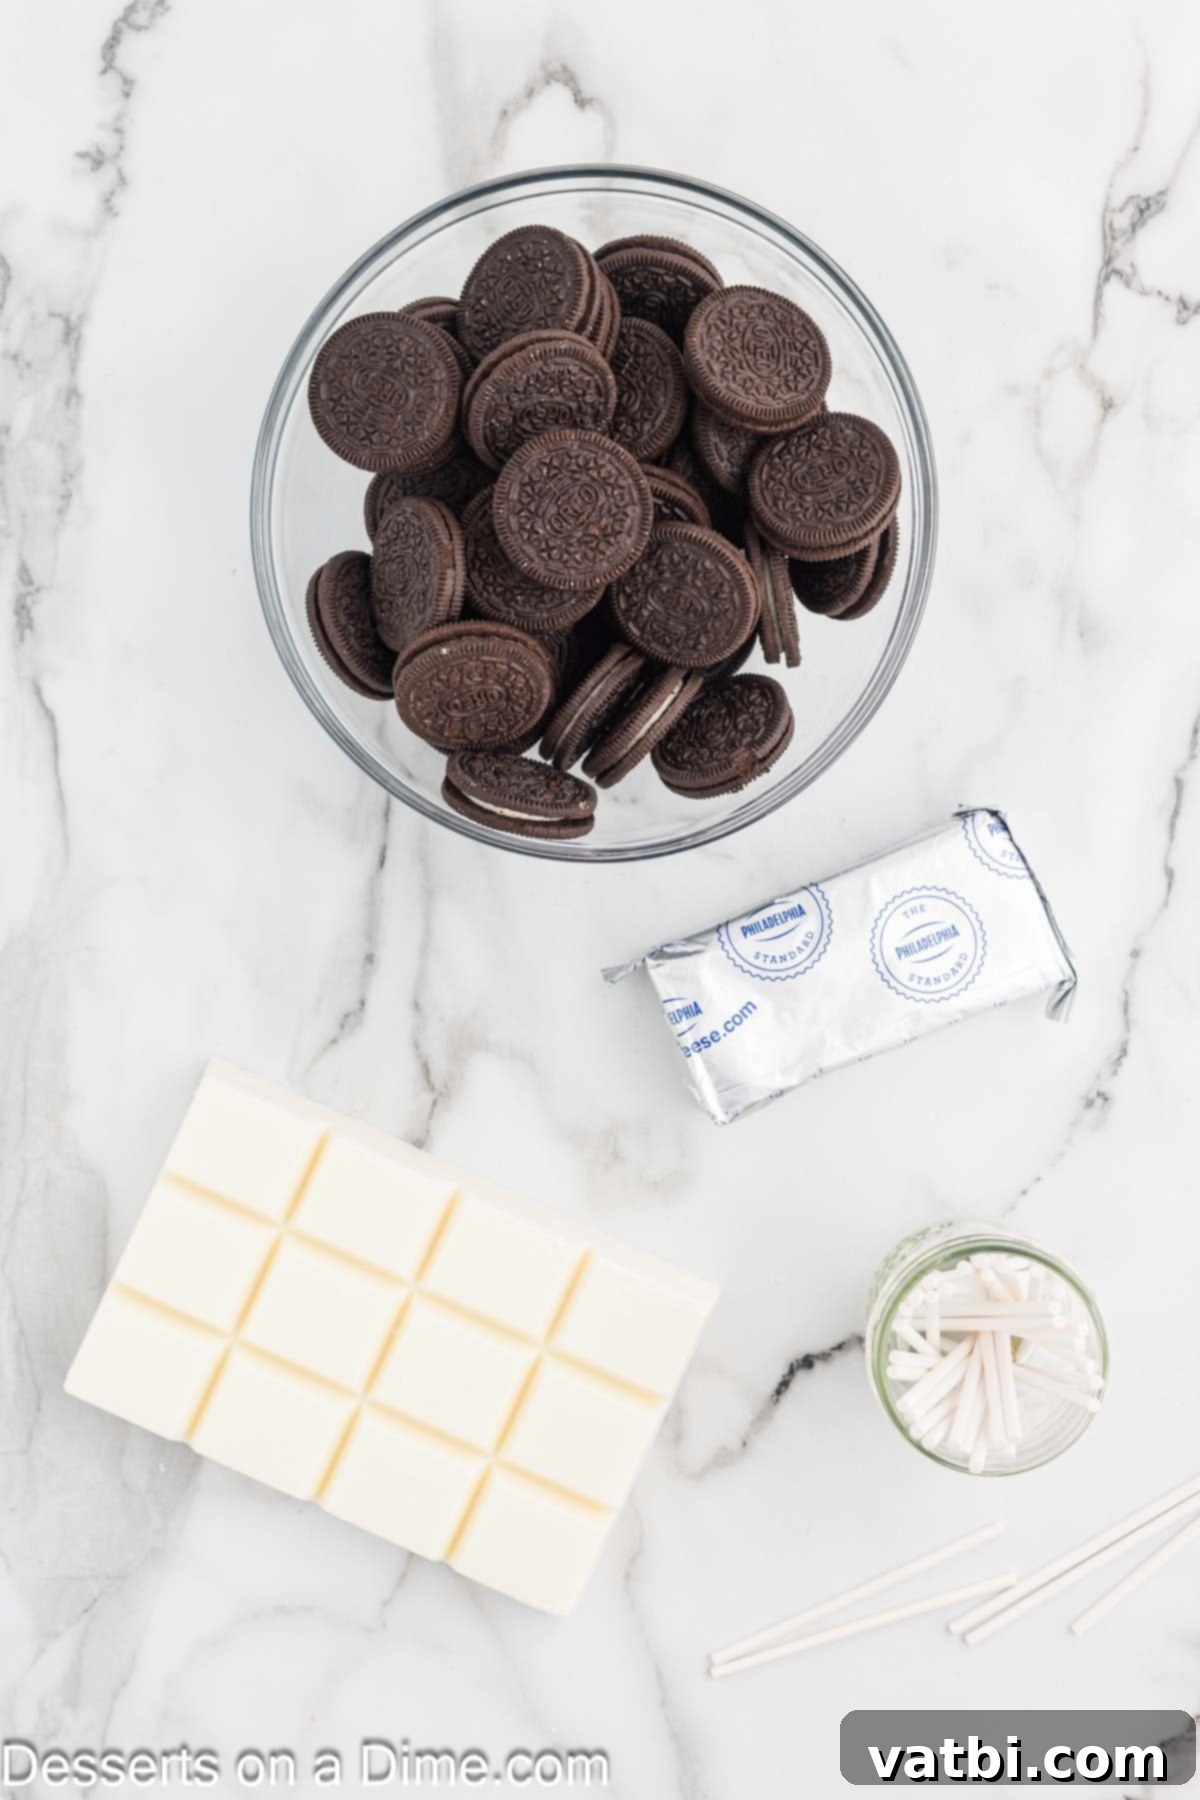
- Cream Cheese. It’s crucial for your cream cheese to be fully softened at room temperature. This ensures it blends smoothly with the crushed Oreos, creating that signature rich and uniform cake pop batter. Cold cream cheese will result in a lumpy mixture that’s hard to work with.
- Oreo Cookies. For the best results, we highly recommend using regular Oreo cookies. The cream-to-cookie ratio of regular Oreos is ideal for achieving the perfect texture when crushed and mixed. Double or triple stuffed varieties tend to make the mixture too moist and less firm, potentially causing issues when forming and dipping the balls.
- White Almond Bark. This is our preferred coating for its superior melting qualities. White almond bark melts incredibly smoothly and evenly, making it exceptionally easy to dip your Oreo balls for a pristine, professional-looking finish. It sets quickly and provides a delicious, slightly sweet shell.
For a complete list of quantities and specific details, please refer to the full recipe card at the bottom of the page.
Substitutions and Additions
- Coating Variations. While white almond bark offers the smoothest finish, you have several delicious alternatives for your coating. You can easily use white candy melts, which come in a variety of colors and flavors, perfect for themed events. White chocolate chips or even high-quality dark chocolate can also be used. If using chocolate chips, you might need to add a teaspoon of coconut oil or vegetable shortening per cup of chocolate to thin it slightly for easier dipping and a smoother consistency.
- Exciting Toppings. Beyond the reserved Oreo crumbs, the possibilities for decorating your cake pops are endless! Consider adding colorful sprinkles for a festive touch, finely chopped nuts for added texture, or even a drizzle of contrasting chocolate (dark chocolate on white coating, or vice-versa) for an elegant look. Edible glitter or different colored sanding sugars can also make your cake pops stand out.
- Oreo Flavor Swaps. Feel free to experiment with different Oreo flavors! Mint Oreos, Peanut Butter Oreos, or even seasonal varieties can add a unique twist to these classic treats. Just be mindful of the cream content, as some specialty Oreos might alter the consistency of your mixture slightly.
Step By Step Instructions
- Step 1. Prepare Your Workspace. Begin by lining a baking sheet with parchment paper or wax paper. This crucial step prevents the Oreo balls from sticking and makes for easy transfer later. Having your workspace prepped ensures a smooth process.
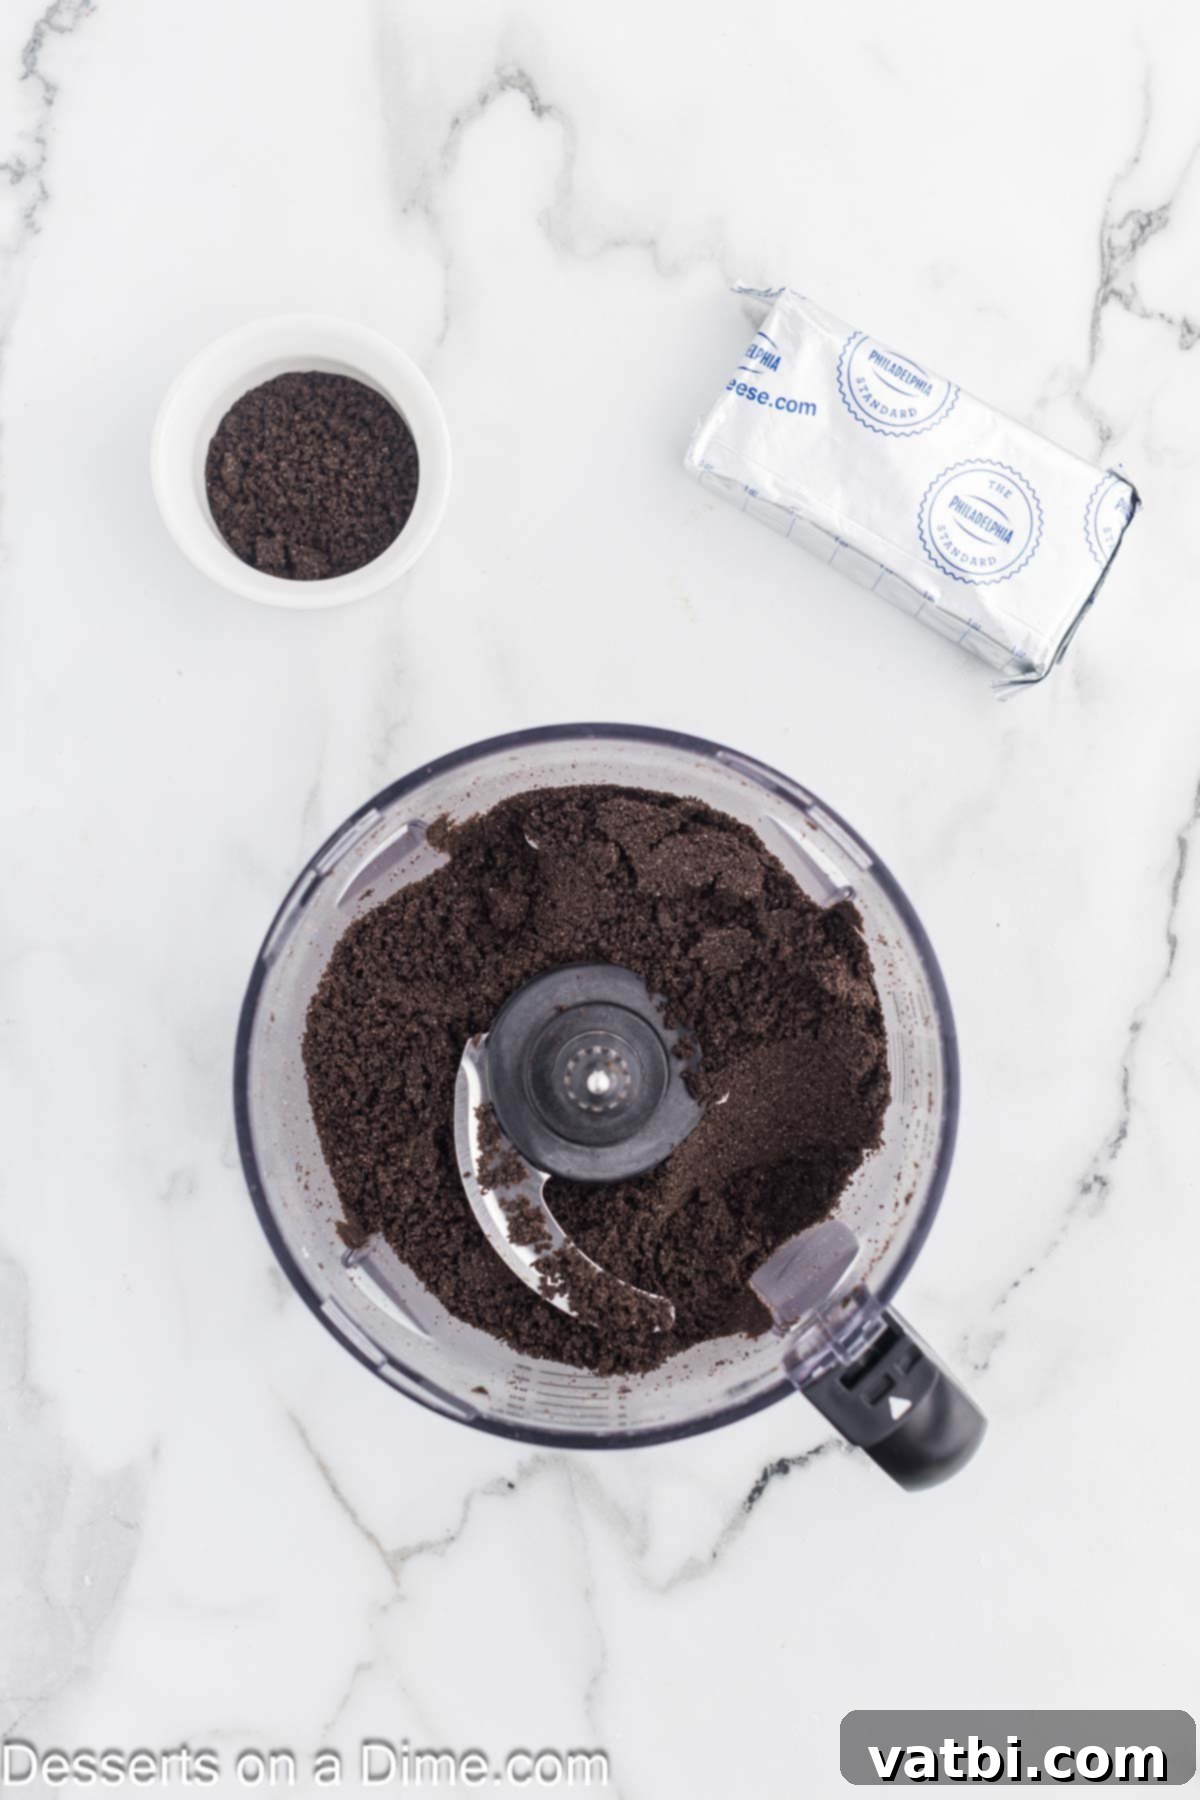
Step 2. Crush the Oreos. Place your entire package of Oreo cookies (including the cream filling) into a food processor. Pulse until they are finely crushed, resembling fine crumbs with no large chunks remaining. This creates the smooth, consistent base for your cake pops. Set aside about ¼ cup of these crumbs for later topping.
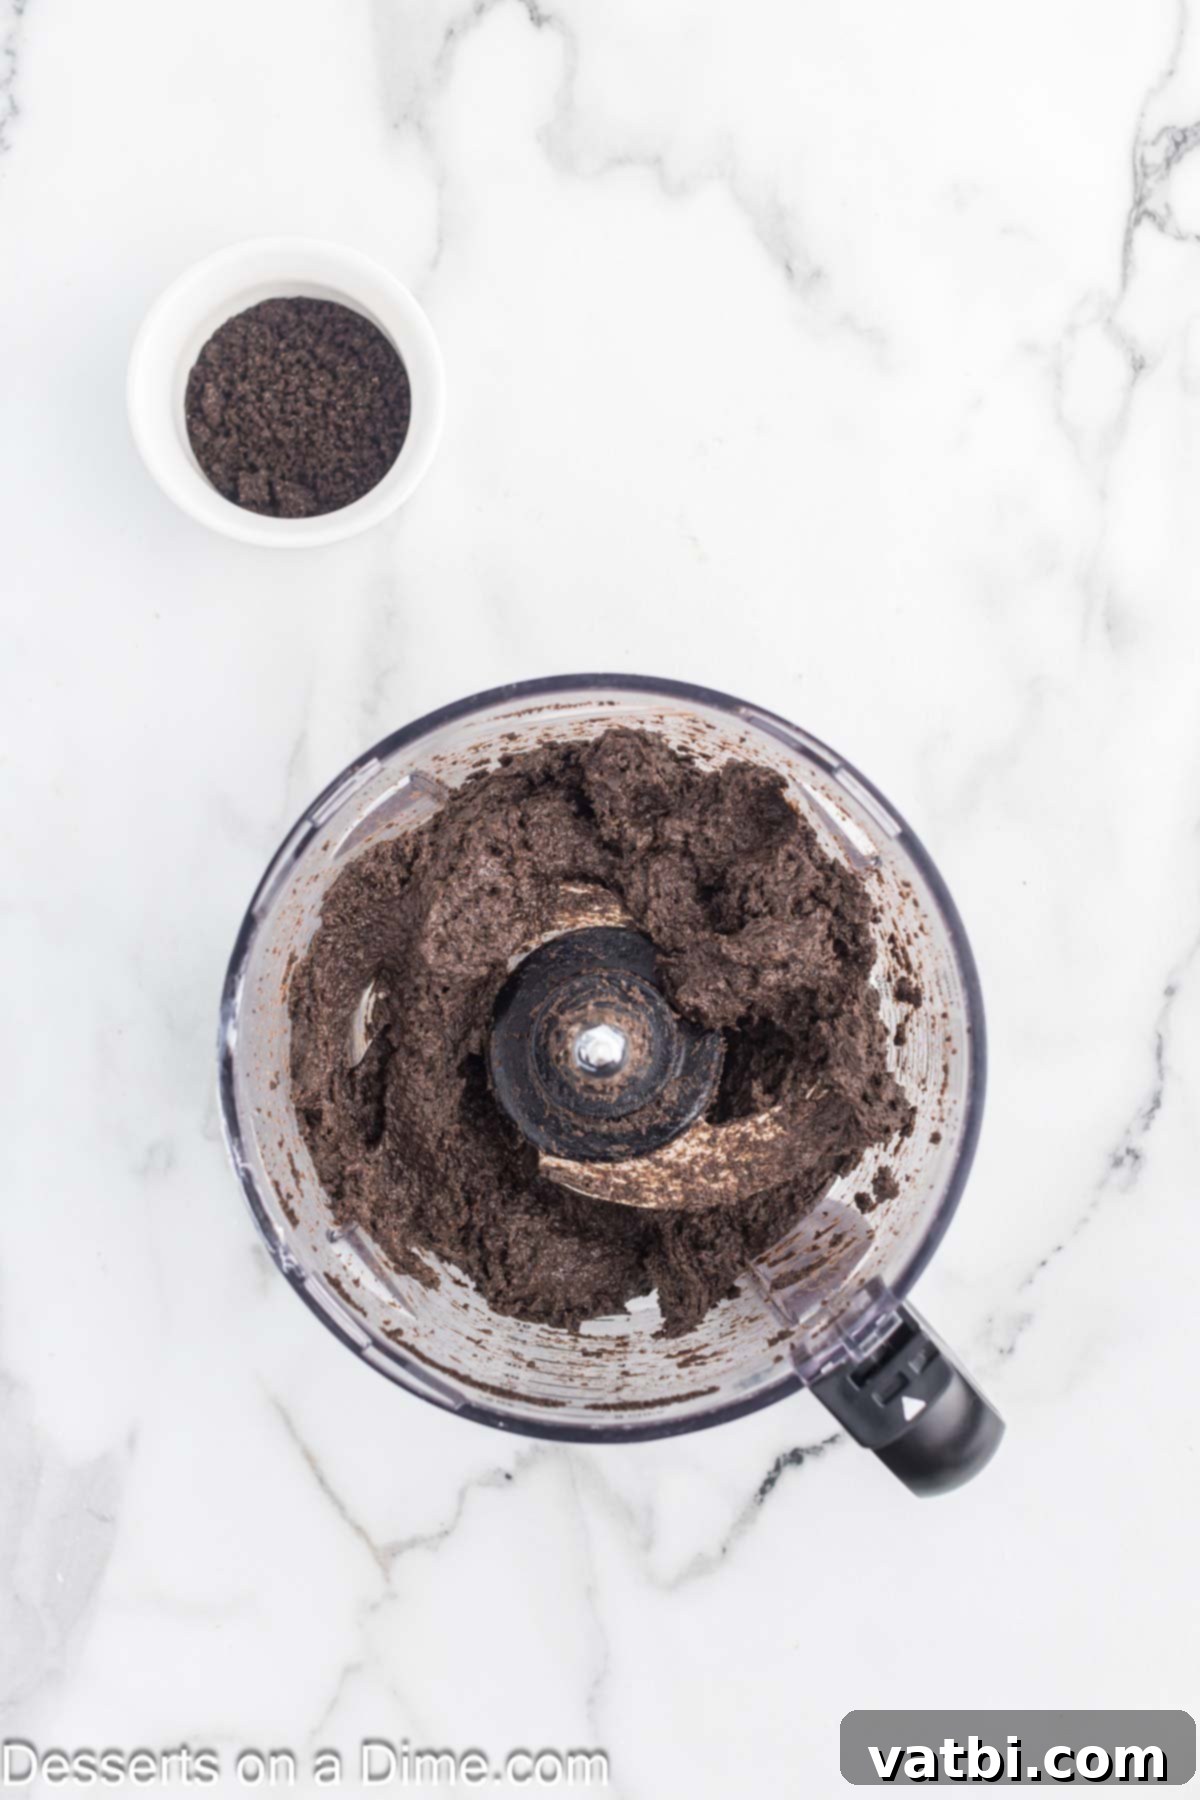
Step 3. Combine Ingredients. Add the softened cream cheese to the crushed Oreos in the food processor (or a large mixing bowl if mixing by hand). Process or mix until the cream cheese and cookie crumbs are thoroughly blended and form a cohesive, thick mixture. It should be pliable and hold its shape easily. Remember to have set aside those reserved crumbs for a finishing touch!
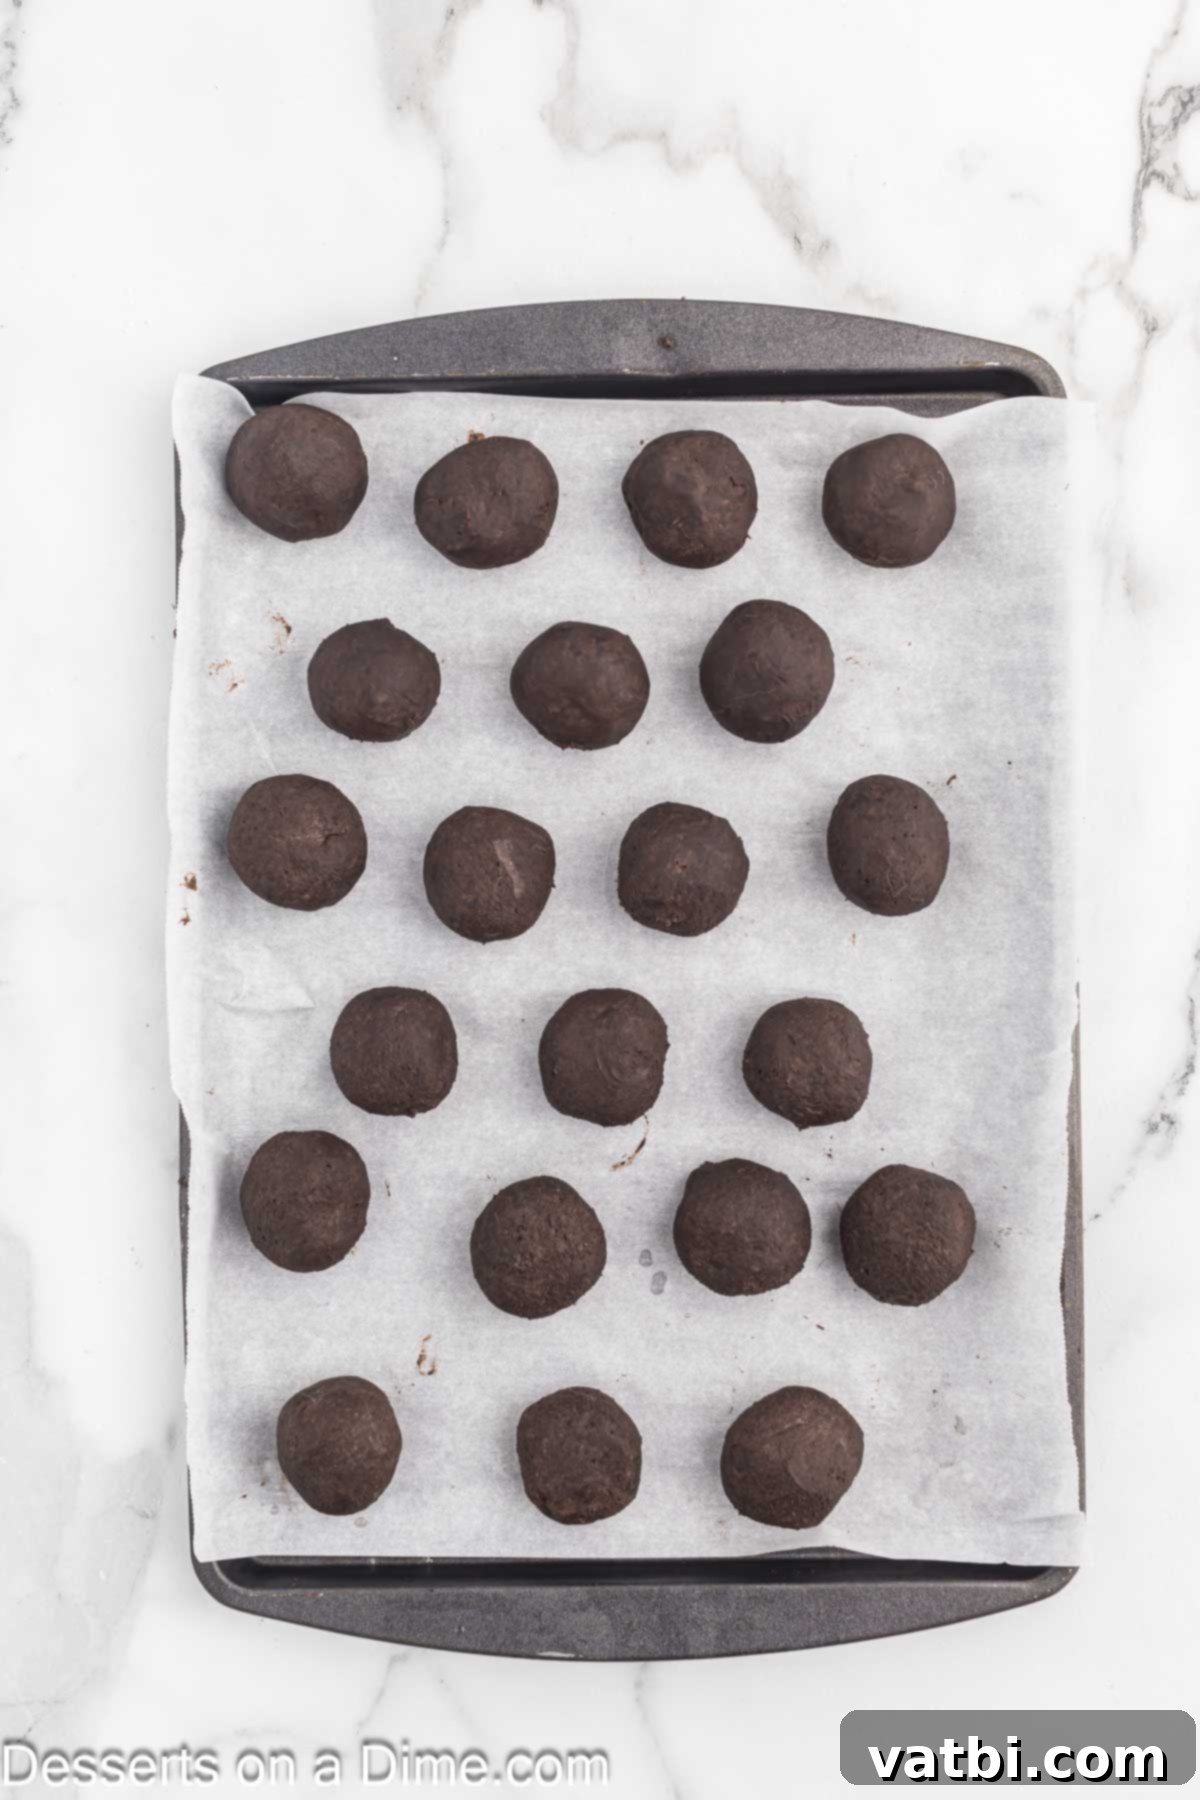
Step 4. Form and Chill. Using a small cookie scoop or your hands, roll the mixture into uniform 1-inch balls. Place these balls onto your prepared baking sheet. Once all balls are formed, place the entire tray into the refrigerator for at least 30 minutes. This chilling period is vital as it helps the balls firm up, making them easier to handle and less likely to fall apart when dipped.
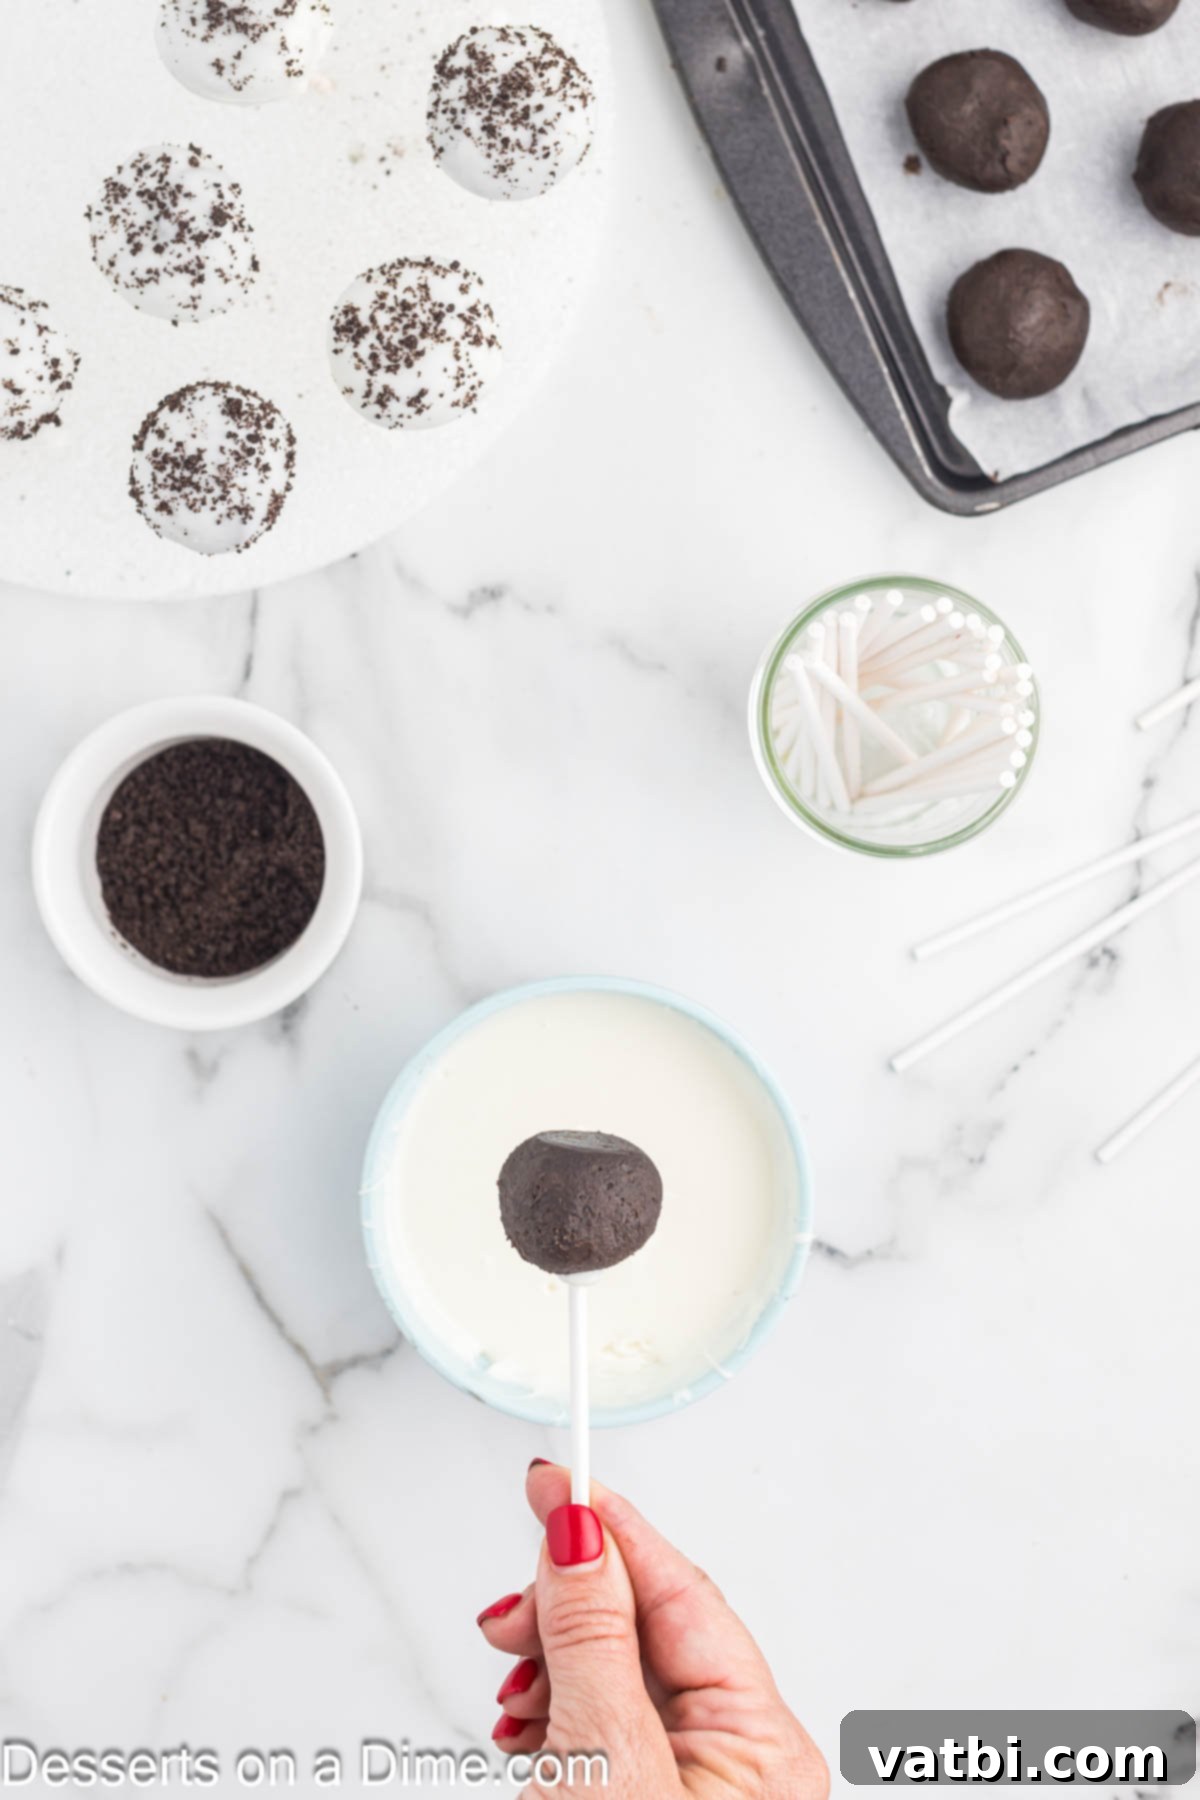
Step 5. Melt the Coating and Insert Sticks. While your Oreo balls are chilling, prepare your white almond bark. Break it into pieces and place it in a microwave-safe bowl. Microwave in 30-second intervals, stirring thoroughly after each interval, until the bark is completely smooth and melted. Be careful not to overheat it, which can cause it to seize. Once melted, dip the tip of each lollipop stick into the melted bark, then insert the stick about halfway into each chilled Oreo ball. The melted bark acts as a “glue” to secure the stick. Return to the fridge for a few minutes if needed to set the sticks.
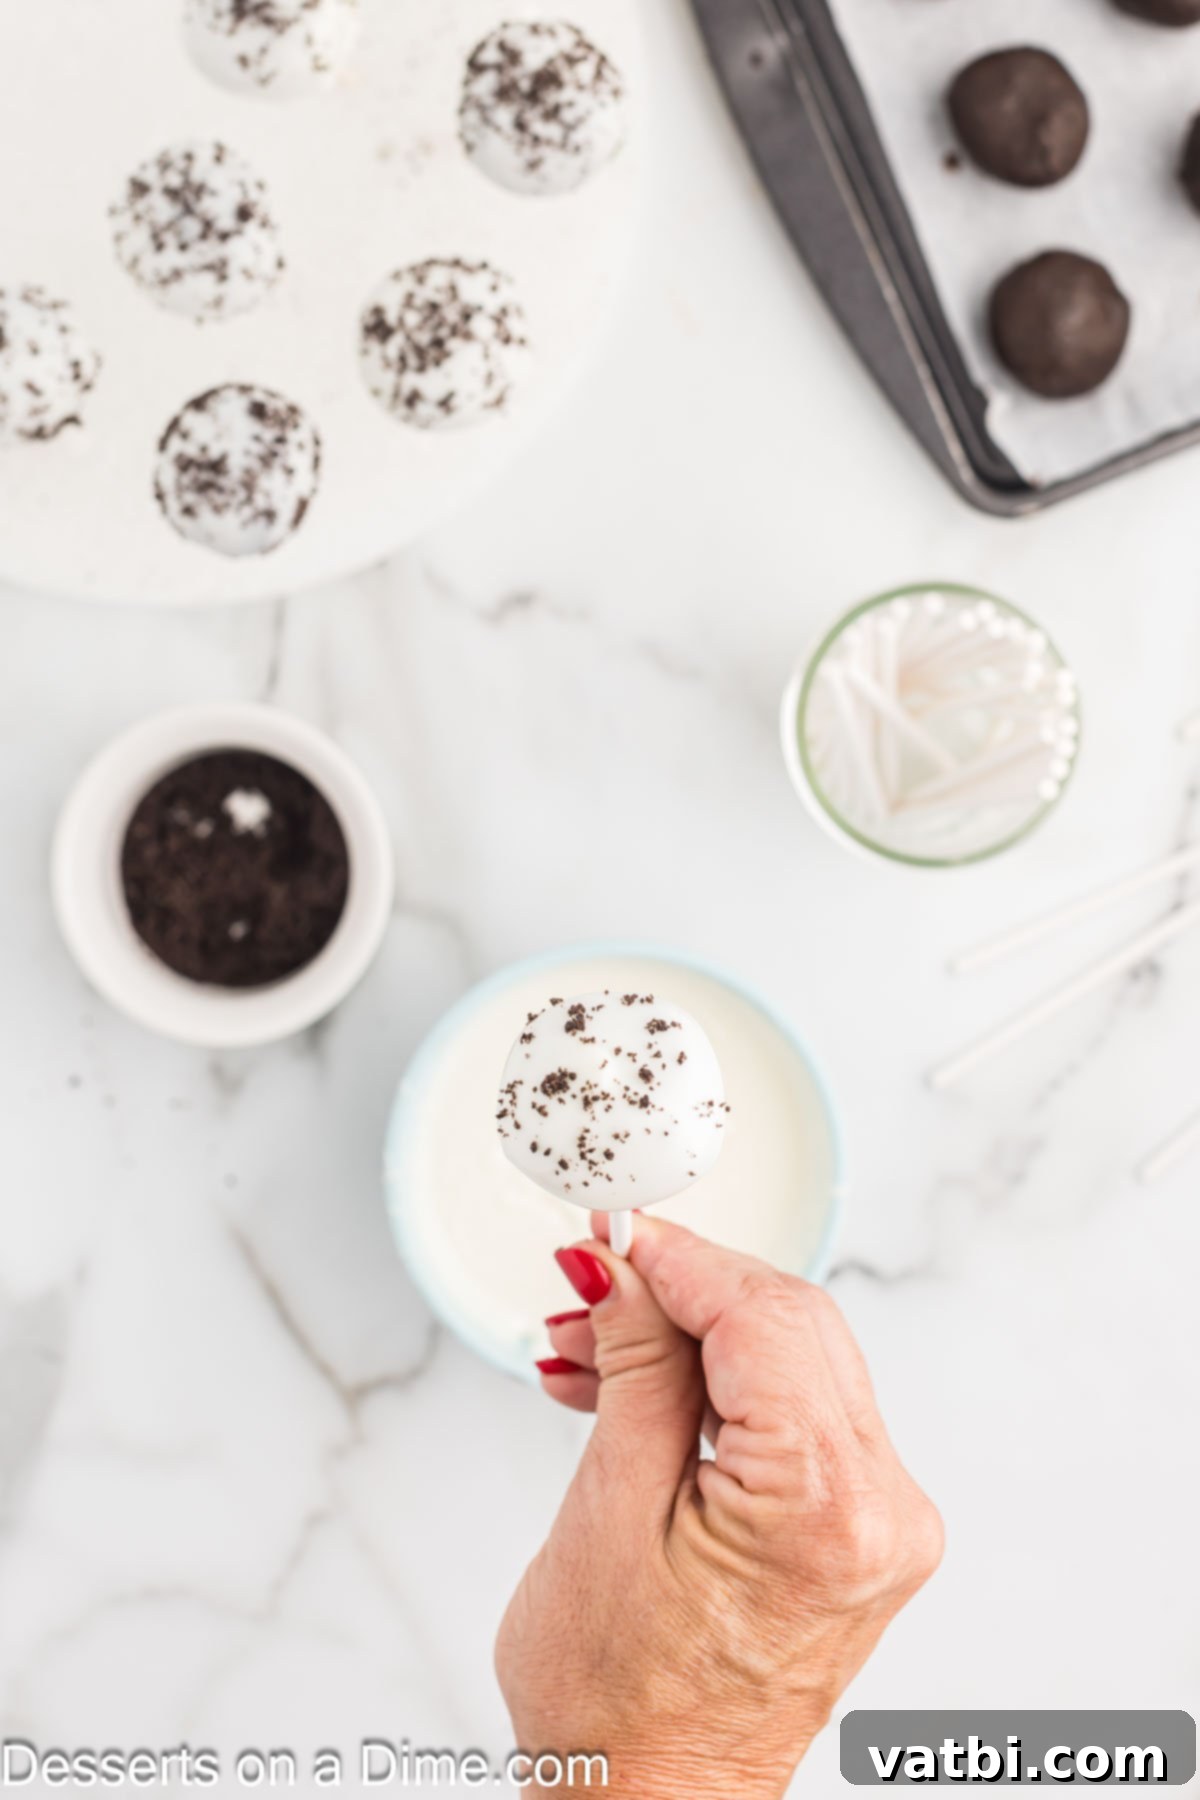
Step 6. Dip the Cake Pops. Hold each Oreo ball by its stick and carefully dip it into the melted almond bark. Swirl and gently tap the stick against the side of the bowl to remove any excess coating. Ensure the entire ball is covered for a beautiful, smooth finish. Work quickly, as the cold cake pop will help the coating set faster.
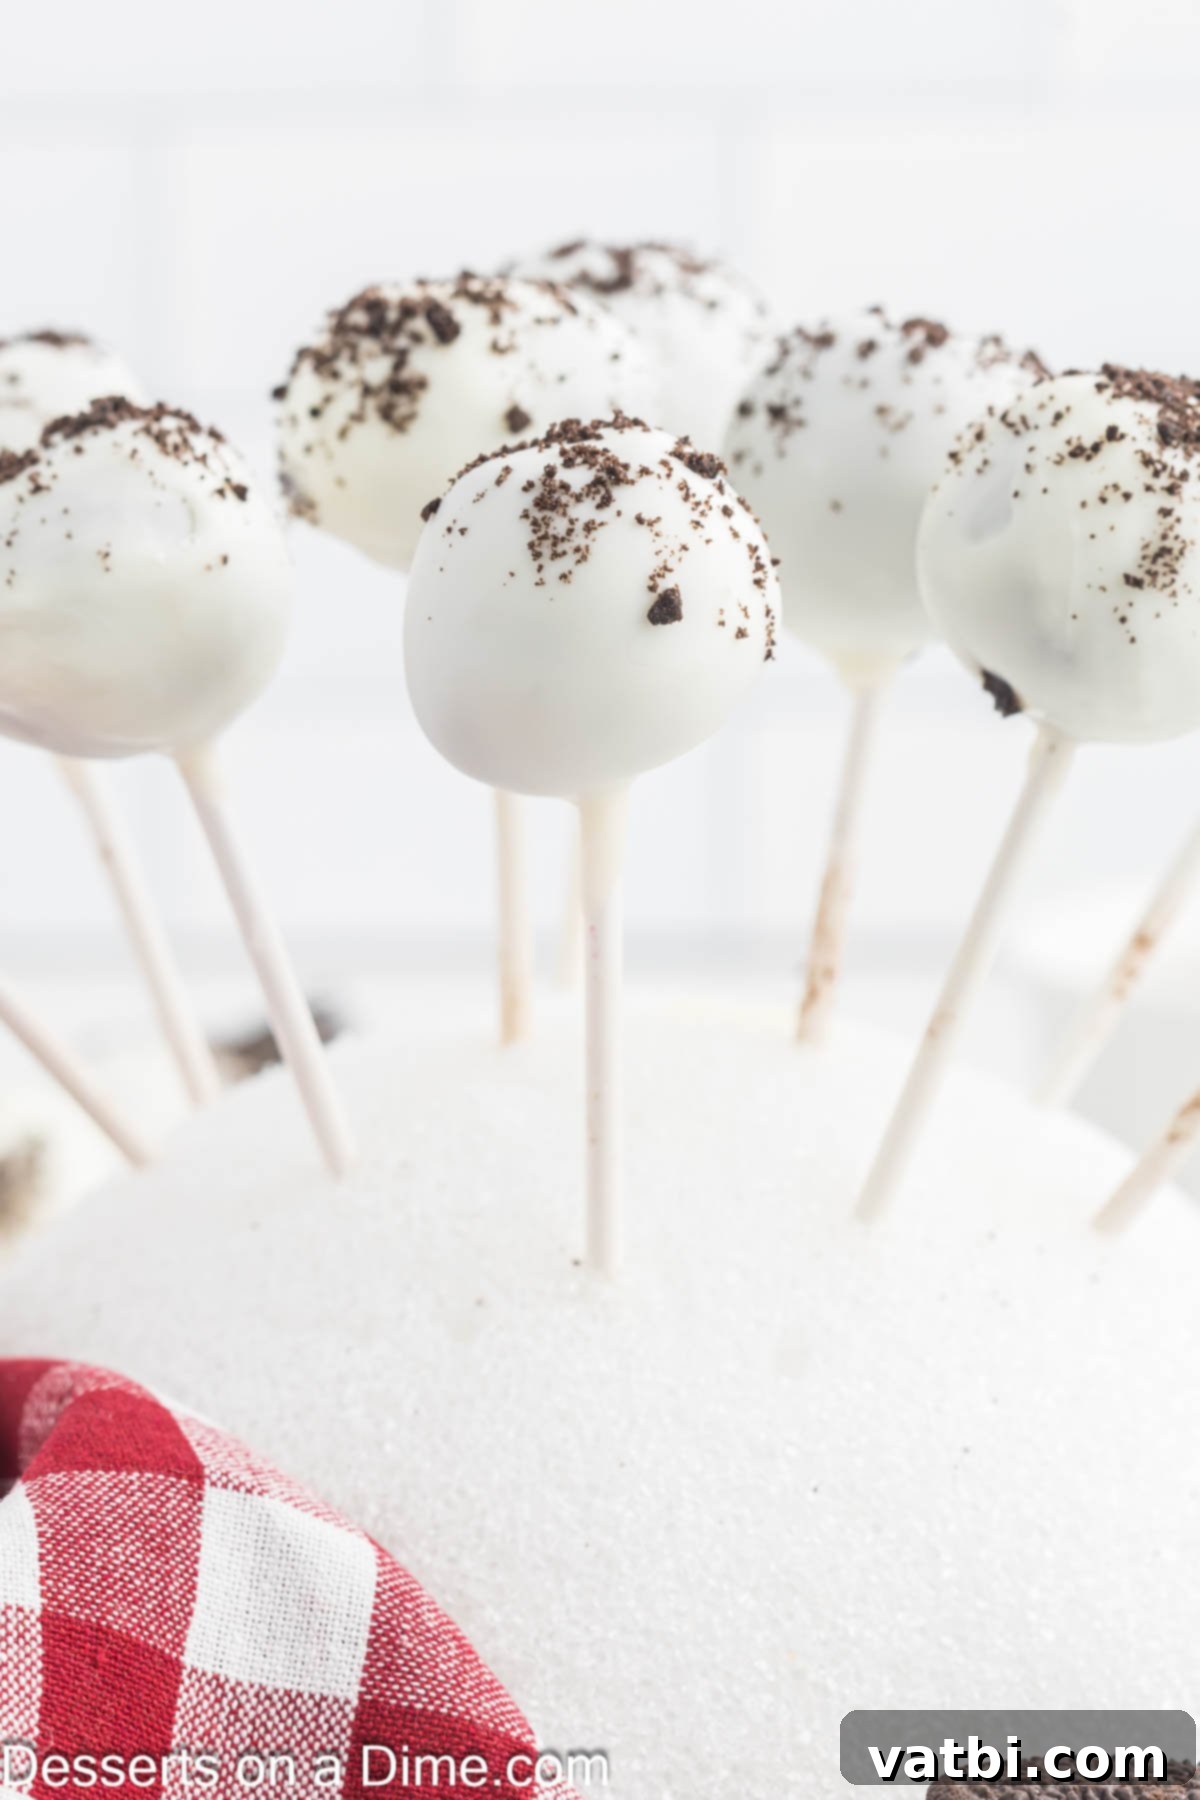
Step 7. Decorate and Set. Immediately after dipping, sprinkle the reserved Oreo cookie crumbs over the wet coating. This step is crucial because the coating sets quickly. Place the stick of each finished cake pop into a block of Styrofoam (or a piece of floral foam) to stand upright while the candy coating dries completely. Allow them to sit at room temperature until the almond bark has fully set and hardened. Once dry, they are ready to serve and enjoy their rich, creamy goodness!
Storage
Oreo Cake Pops are delightful treats that can be enjoyed for several days after preparation. Store any leftover cake pops in an airtight container at room temperature for up to 1 week. If your kitchen tends to be warm, or for extended freshness, you can also store them in the refrigerator. Just be aware that refrigeration might cause a slight “sweating” (condensation) when brought back to room temperature, which can be gently patted dry with a paper towel. For longer storage, these cake pops freeze beautifully. Place them in a single layer on a parchment-lined baking sheet to freeze solid, then transfer them to an airtight freezer-safe container, separating layers with parchment paper. They will last in the freezer for up to 2 months. Thaw them in the refrigerator overnight or at room temperature for a couple of hours before serving.
Pro Tips
- Regular Oreos Work Best. Stick to classic regular Oreos for this recipe. Varieties with extra cream filling (like Double Stuffed or Mega Stuffed) contain too much moisture, which can make the cake pop mixture too soft and difficult to form into firm balls that hold their shape on a stick. The standard cream-to-cookie ratio of regular Oreos ensures the perfect consistency.
- Use a Cookie Scoop for Uniformity. A small cookie scoop (about 1 tablespoon in size) is your best friend for making perfectly uniform Oreo balls. This ensures that all your cake pops are the same size, which not only looks professional but also helps them cook (or chill, in this case) evenly and prevents larger balls from being too heavy and falling off the stick.
- Chill Before Coating. Do not skip the chilling step! Refrigerating the Oreo balls for at least 30 minutes (or even longer) is essential. It firms up the mixture significantly, making the balls easier to handle and less prone to crumbling or detaching from the stick when dipped into the warm coating. A cold ball also helps the coating set more quickly and smoothly.
- Remove Excess Coating. After dipping each cake pop, gently tap the stick against the edge of your bowl to allow any excess coating to drip off. This creates a thinner, more even layer of chocolate and prevents pooling at the base of the cake pop, resulting in a cleaner, more professional finish.
- Add Toppings Immediately. If you plan to add sprinkles, extra crushed Oreos, chopped nuts, or any other decorative toppings, do so immediately after dipping each cake pop, while the coating is still wet. Once the almond bark or chocolate sets, toppings will not adhere.
- Ensure Softened Cream Cheese. For a smooth, lump-free mixture, your cream cheese must be at true room temperature and very soft. If it’s too cold, it won’t blend properly with the crushed Oreos, leading to a textured filling that’s hard to combine and shape smoothly. Take it out of the fridge at least an hour before you plan to start.
- Work in Batches for Dipping. If you’re making a large batch, it can be helpful to dip the cake pops in smaller batches. Keep the remaining undipped Oreo balls in the refrigerator while you work to ensure they stay firm and cold, which aids in a smooth coating process.
Frequently Asked Questions
Absolutely, freezing is a great way to extend their shelf life! Once your Oreo Cake Pops are completely set and the coating is firm, you can freeze them. Place them in an airtight container, preferably separating layers with parchment paper to prevent sticking. They will maintain their quality in the freezer for up to 2 months. When you’re ready to enjoy them, simply thaw in the refrigerator overnight or at room temperature for a couple of hours.
Cake pops “sweat” primarily due to condensation, which occurs when cold items are exposed to warmer air. This often happens if you move them directly from the refrigerator to a warm room. The moisture in the air condenses on the cold surface of the cake pops. You can gently pat them dry with a paper towel before serving if desired, or let them sit at room temperature for a bit to equalize, reducing the sweating.
Yes, you absolutely can! The great news is that you can easily swap the regular Oreo cookies for gluten-free versions. Many brands now offer delicious gluten-free sandwich cookies that mimic the taste and texture of Oreos. While the texture of the cake pop might be a tiny bit different due to variations in gluten-free cookies, the overall flavor and enjoyment will remain fantastic.
No food processor? No problem! You can achieve finely crushed Oreo crumbs using a heavy-duty ziplock bag and a rolling pin (or even a heavy can). Place the cookies inside the bag, seal it, and then roll over them repeatedly with the rolling pin until they reach a fine, uniform crumb consistency. This method works just as effectively, though it might take a little more elbow grease!
Yes, preparing the Oreo balls in advance is a great time-saving strategy! You can form the cream cheese and Oreo mixture into balls and store them in an airtight container in the refrigerator for up to 2-3 days before dipping. This allows you to break up the preparation into multiple steps, making it perfect for busy schedules or party planning.
More Easy Oreo Dessert Recipes
Easy Candy
Patriotic Oreo Balls
Easy Pie
No Bake Oreo Pie
Homemade Pudding
Oreo Lasagna Recipe
Easy Fudge
3 Ingredient Oreo Fudge Recipe
You are truly going to have so much fun making these delightful Oreo Cake Pops. They are the perfect combination of simplicity and indulgence, ideal for parties, holidays, or just a sweet treat. Please let us know once you try this recipe by leaving a comment and a star rating below. We love hearing about your creations!
Pin
Oreo Cake Pops
Ingredients
- 8 oz softened Cream Cheese
- 1 pkg Oreo Cookies 14.5 ounces
- 1 pound white almond bark
Instructions
-
Line a baking sheet with parchment paper.
-
Finely crush Oreos in a food processor.
-
Combine cream cheese and crushed cookies (reserve some of the cookie crumbs for the topping) until well blended.
-
Form mixture into 1″ balls and place on the prepared sheet.
-
Place in the refrigerator for 30 minutes to chill the Oreo balls.
-
Heat almond bark by microwaving in 30 second intervals, stirring after each interval, until the bark is fully melted.
-
Stick a lollipop stick into each Oreo ball and then dip them into the melted almond bark.
-
Then place the stick of cake pops in a block of styrofoam, top with the reserved cookie crumbs immediately and allow the candy coating to dry.
-
Continue until all the Oreo balls have been covered.
-
Allow the Oreo Cake pops to sit at room temperature until the almond bark has set and then they are ready to serve and enjoy!
Recipe Notes
Nutrition Facts
Pin This Now to Remember It Later
Pin Recipe
