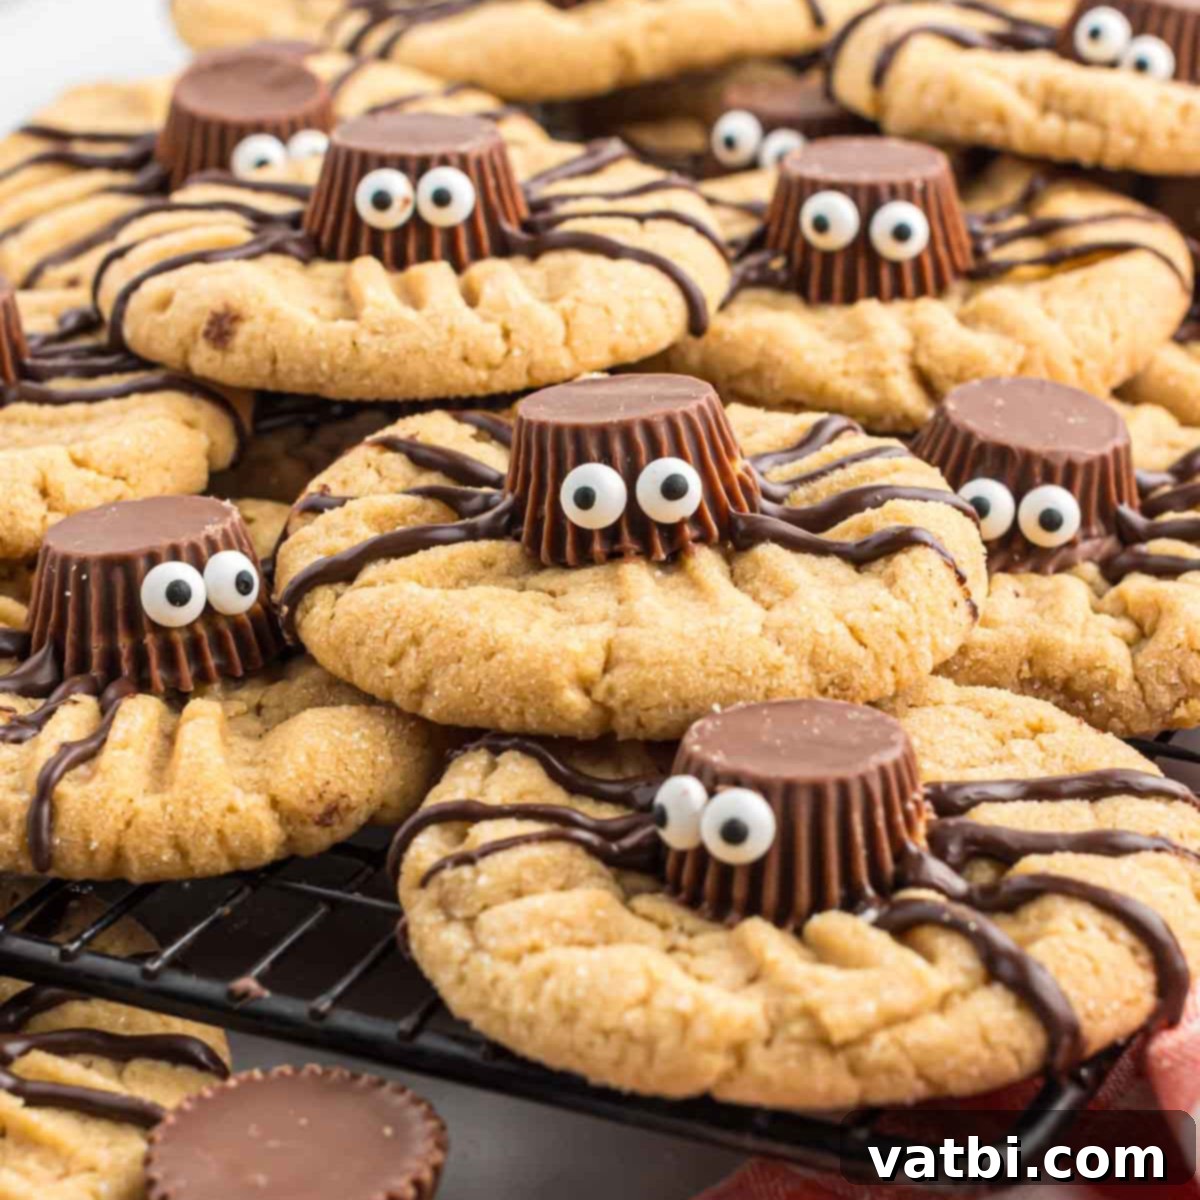
Spooky & Sweet: The Ultimate Easy Halloween Peanut Butter Spider Cookies Recipe
Get ready to weave some magic this Halloween with these incredibly fun and delicious Halloween Spider Cookies! These aren’t just any ordinary cookies; they’re a delightful transformation of classic peanut butter cookies into adorable, slightly spooky cookie spiders, made effortlessly with Reese’s cups and playful googly eyes. Perfect for parties, school events, or just a festive treat at home, these cookies are a guaranteed hit with kids and adults alike, adding a touch of whimsical Halloween charm to any dessert spread.
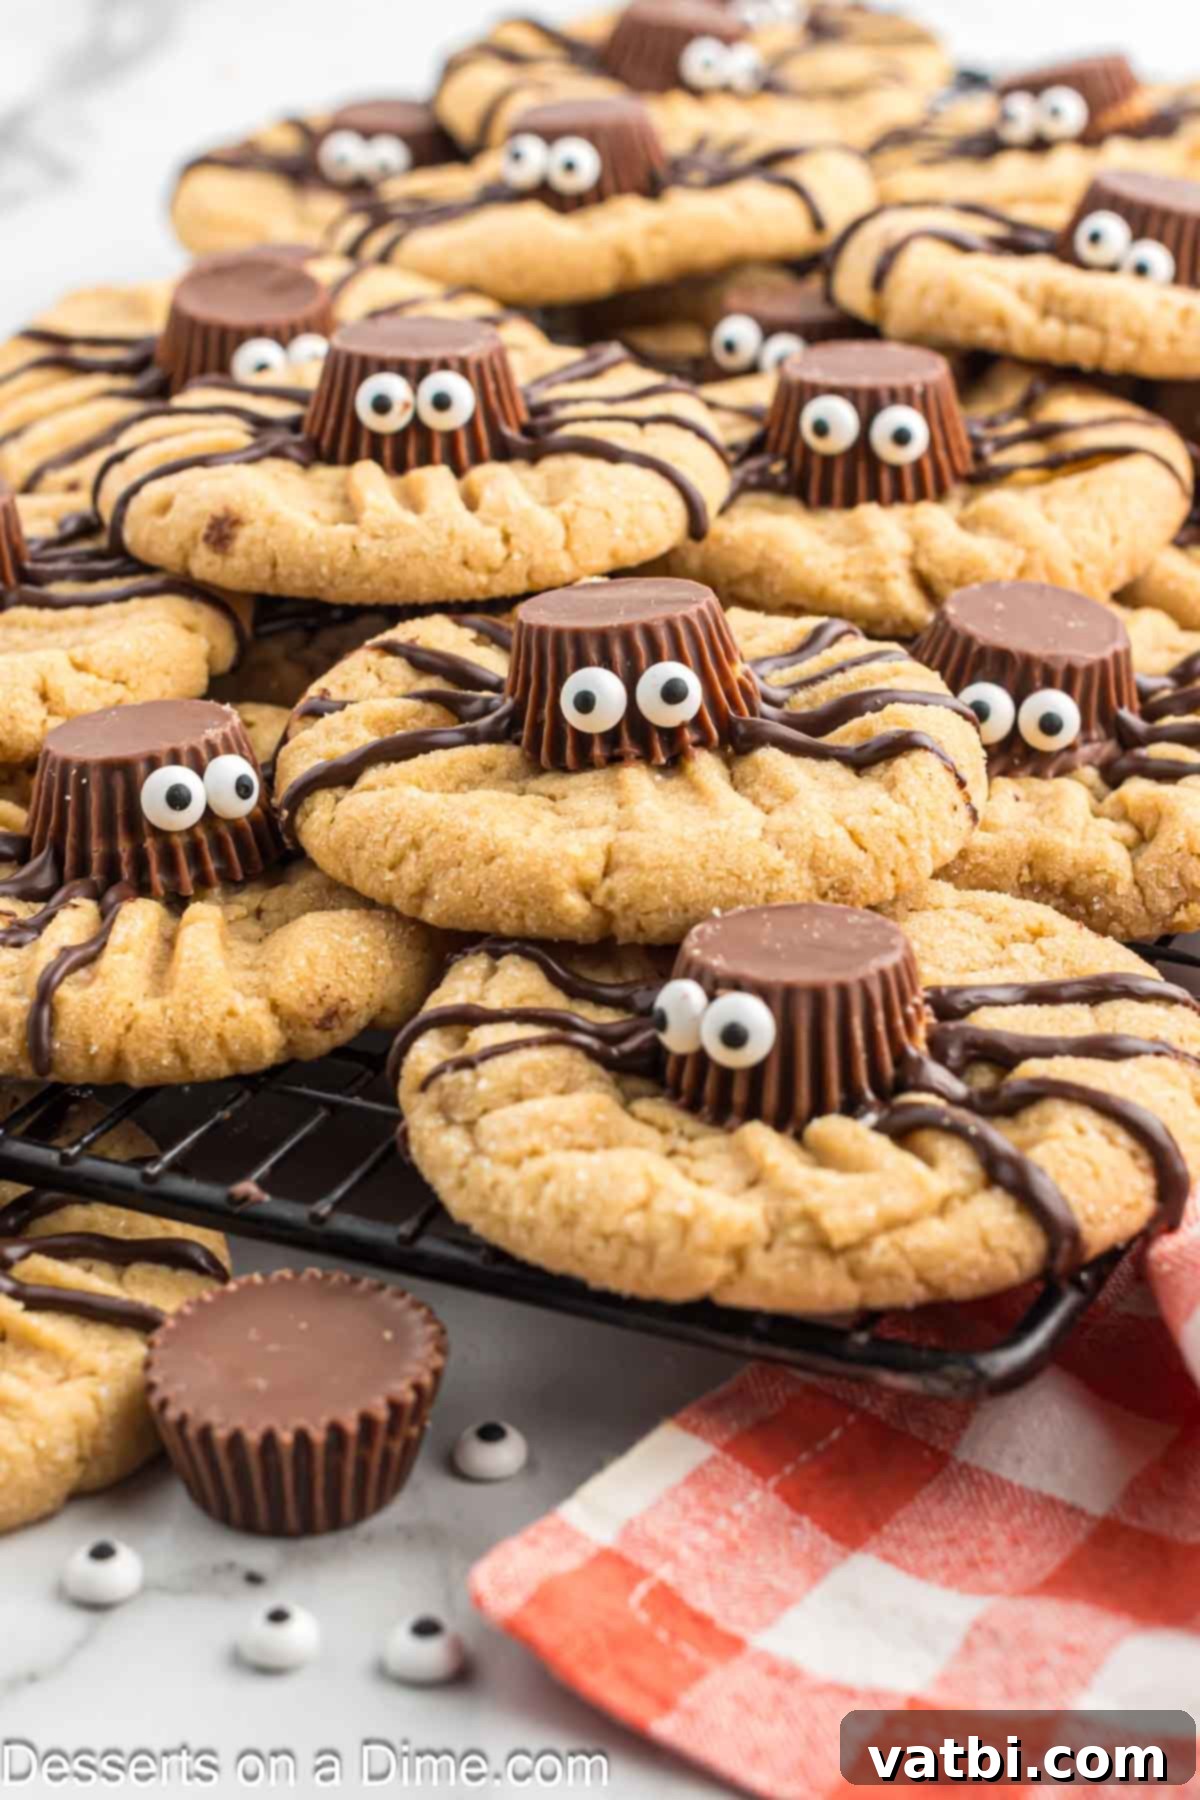
For over a decade, I’ve been hosting Halloween parties for my kids, and every great party needs a fantastic array of Halloween desserts. While I enjoy making favorites like Witch Hat Cookies, these spider cookies always steal the show. They’re essentially the festive Halloween twist on the beloved Peanut Butter Blossom Cookies, but with a wonderfully spooky makeover that makes them irresistible.
If you’re looking to expand your collection of Halloween party treats, these peanut butter spider cookies will fit right in alongside other spooky delights. You might also love our Spider Brownies, the playfully eerie Frankenstein Rice Krispie Treats, or the equally charming Oreo Spider Cookies. Don’t forget to explore our recipes for Halloween Sugar Cookies, the addictive Halloween Puppy Chow Recipe, and creative Halloween Cake Pop Recipes for a truly epic celebration. This recipe for Halloween spider cookies is straightforward, budget-friendly, and promises maximum fun with minimal fuss!
What’s in this post: Easy Halloween Spider Cookies Recipe
- Why We Love These Spooky Spider Cookies
- Ingredients for Peanut Butter Spider Cookies
- Step By Step Instructions: How to Make Spider Cookies
- Pro Tips for Perfect Halloween Spider Cookies
- Storage and Make-Ahead Tips
- More Easy Halloween Treats to Try
- Halloween Spider Cookies Recipe Card
Why We Love These Spooky Spider Cookies
- Fun and Festive for All Ages – These spider cookies are the epitome of Halloween fun! They are not only incredibly delicious but also visually captivating, making them a fantastic activity to do with kids. Baking these together creates wonderful holiday memories, and the finished cookies bring a smile to everyone’s face, making them a standout treat at any spooky gathering.
- Easy-to-Find Ingredients – One of the best aspects of this recipe is that it uses simple, common pantry staples. You likely have most, if not all, the ingredients already on hand, eliminating the need for a special trip to the grocery store. This makes last-minute Halloween baking a breeze!
- Perfect for Parties and Potlucks – These cookies are designed for sharing! Their sturdy nature makes them easy to transport, and their unique design makes them a conversation starter. Whether it’s for your child’s classroom party, a neighborhood potluck, or your annual Halloween bash, these spider cookies are sure to be a crowd-pleaser and disappear quickly.
- Customizable and Creative – While the recipe provides a fantastic base, these cookies offer plenty of room for creative customization. You can experiment with different types of chocolate for the legs, various candy eyes for different expressions, or even add sprinkles before the chocolate sets for extra sparkle.
- A Delicious Peanut Butter Treat – Beyond their charming appearance, these cookies are fundamentally a fantastic peanut butter cookie. The soft, chewy texture combined with the rich flavor of peanut butter and chocolate is a timeless combination that everyone loves.
Ingredients for Peanut Butter Spider Cookies
Crafting these adorable Halloween spider cookies requires a simple list of ingredients, many of which you likely already have in your pantry. Each component plays a vital role in achieving that perfect balance of flavor, texture, and spooky appeal:

- All-Purpose Flour. This provides the essential structure for our cookies. For the most accurate measurement, always spoon the flour into your measuring cup and level it off, rather than scooping directly from the bag, which can compact the flour and lead to a denser cookie.
- Granulated Sugar. Adds sweetness and contributes to the crispness of the cookie edges.
- Brown Sugar. The secret to a wonderfully chewy and moist cookie, brown sugar also imparts a rich, caramel-like flavor. If you’re out, our Homemade Brown Sugar Recipe is incredibly easy to whip up!
- Butter. Softened to room temperature, butter is crucial for creaming with the sugars, creating a light and fluffy base that yields a tender cookie.
- Peanut Butter. The star of the show! Creamy peanut butter works best for a smooth dough and classic flavor, but you can experiment with chunky for added texture if you prefer.
- Eggs. Room temperature eggs incorporate more smoothly into the batter, ensuring a well-emulsified dough and a consistent cookie texture.
- Baking Powder & Baking Soda. These leavening agents work together to give the cookies a soft, slightly puffy texture.
- Cornstarch. A little cornstarch helps keep the cookies soft and chewy, preventing them from becoming too dry or crumbly.
- Salt. Balances the sweetness and enhances all the other flavors in the cookie.
- Vanilla Extract. A touch of vanilla complements the peanut butter and chocolate beautifully, adding aromatic depth.
- Reese’s Miniature Peanut Butter Cups. These form the perfect chocolatey body for our spiders. Make sure they are chilled beforehand; this helps them hold their shape and makes them easier to handle when decorating.
- Candy Eyes. The adorable and essential finishing touch! Kids especially love adding these, bringing our cookie spiders to life with their quirky expressions.
- Chocolate Melting Wafers. Ideal for piping neat and smooth spider legs. If you don’t have melting wafers, good quality chocolate chips can be melted down and used as a substitute.
You can find the complete, precise list of ingredients with measurements for this recipe on the printable recipe card located at the bottom of this post. Let’s get baking!
Step By Step Instructions: How to Make Spider Cookies
Creating these delightful Halloween Spider Cookies is a fun and straightforward process. Follow these detailed steps to bring your edible arachnids to life:
- Step 1. Prepare Oven – Begin by preheating your oven to 350 degrees F (175°C). This ensures the oven is at the correct temperature for even baking once your cookie dough is ready.
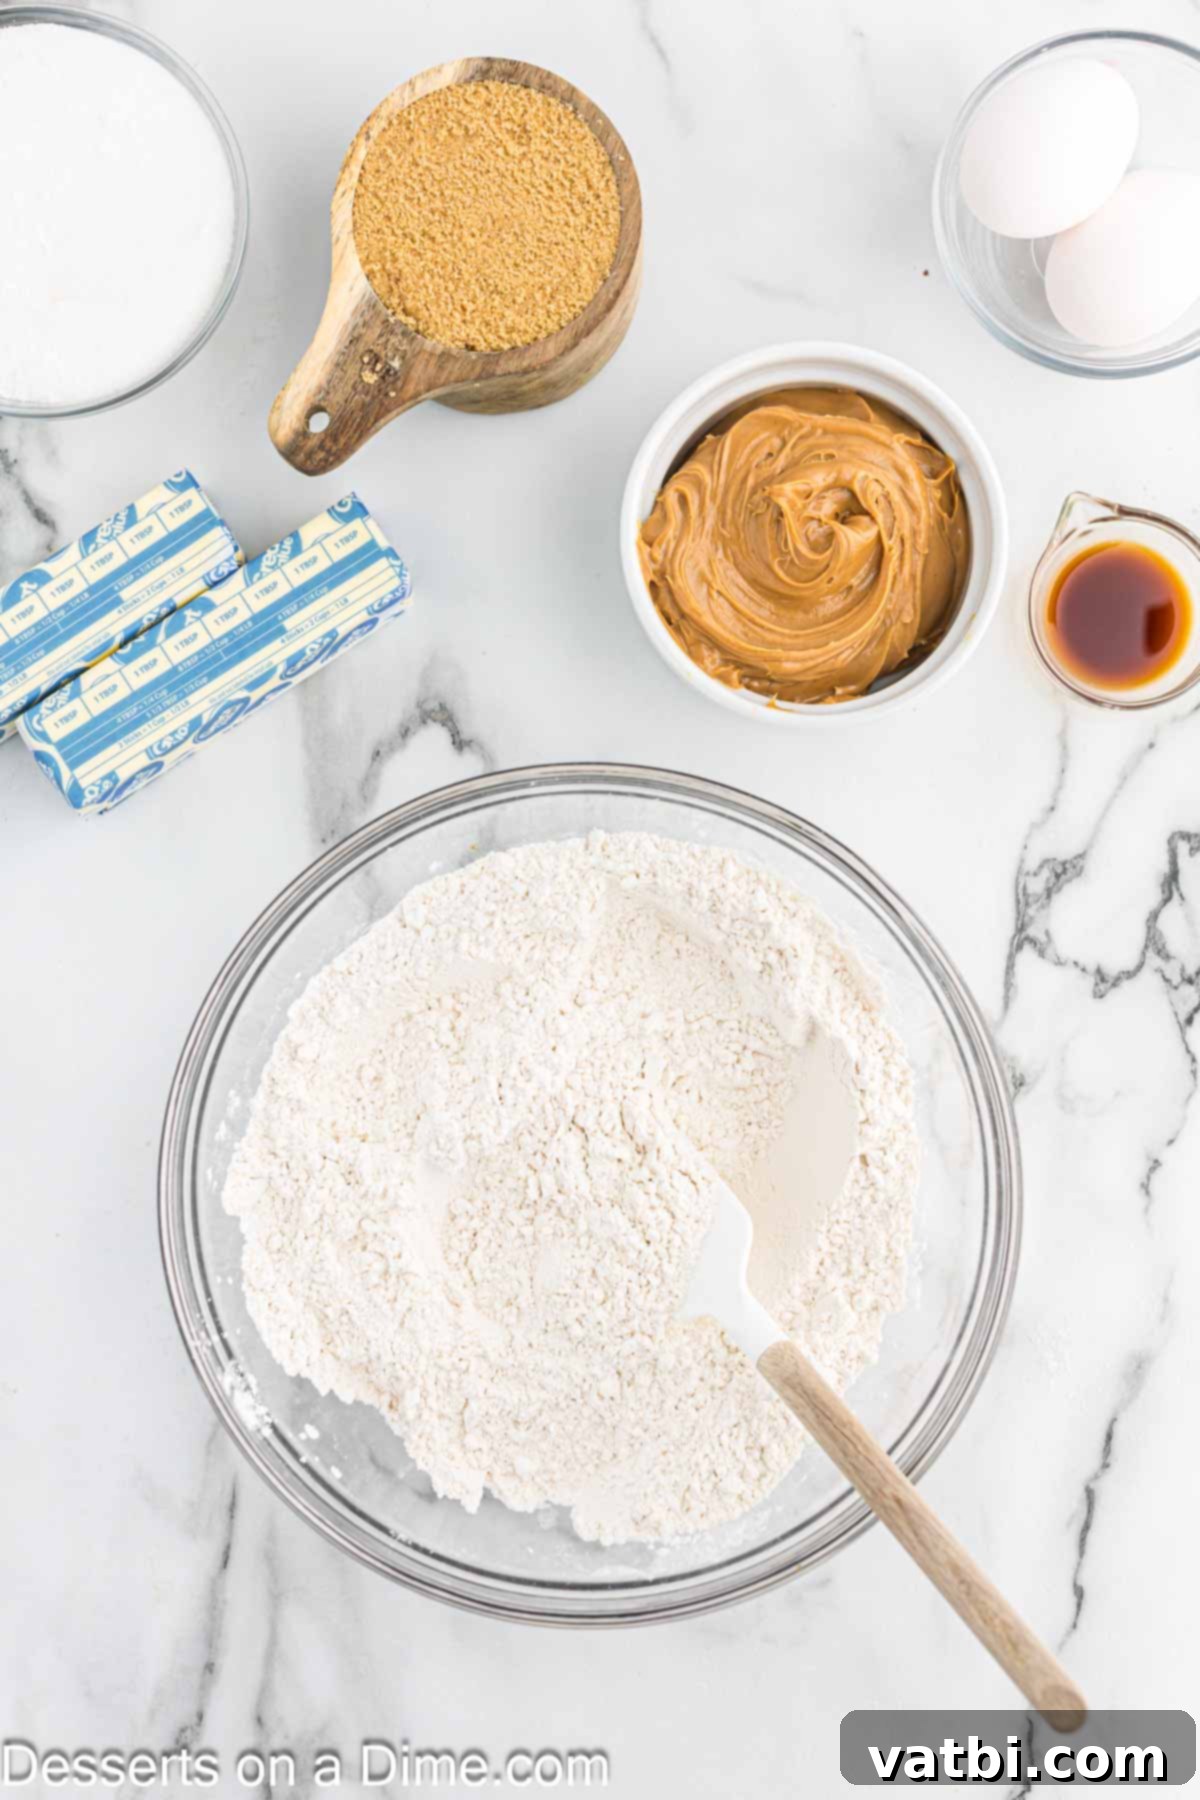
Step 2. Combine Dry Ingredients. In a medium mixing bowl, whisk together the all-purpose flour, granulated sugar, baking powder, baking soda, cornstarch, and salt. Thoroughly combining these dry ingredients ensures they are evenly distributed throughout the cookie dough, leading to a consistent texture and rise.
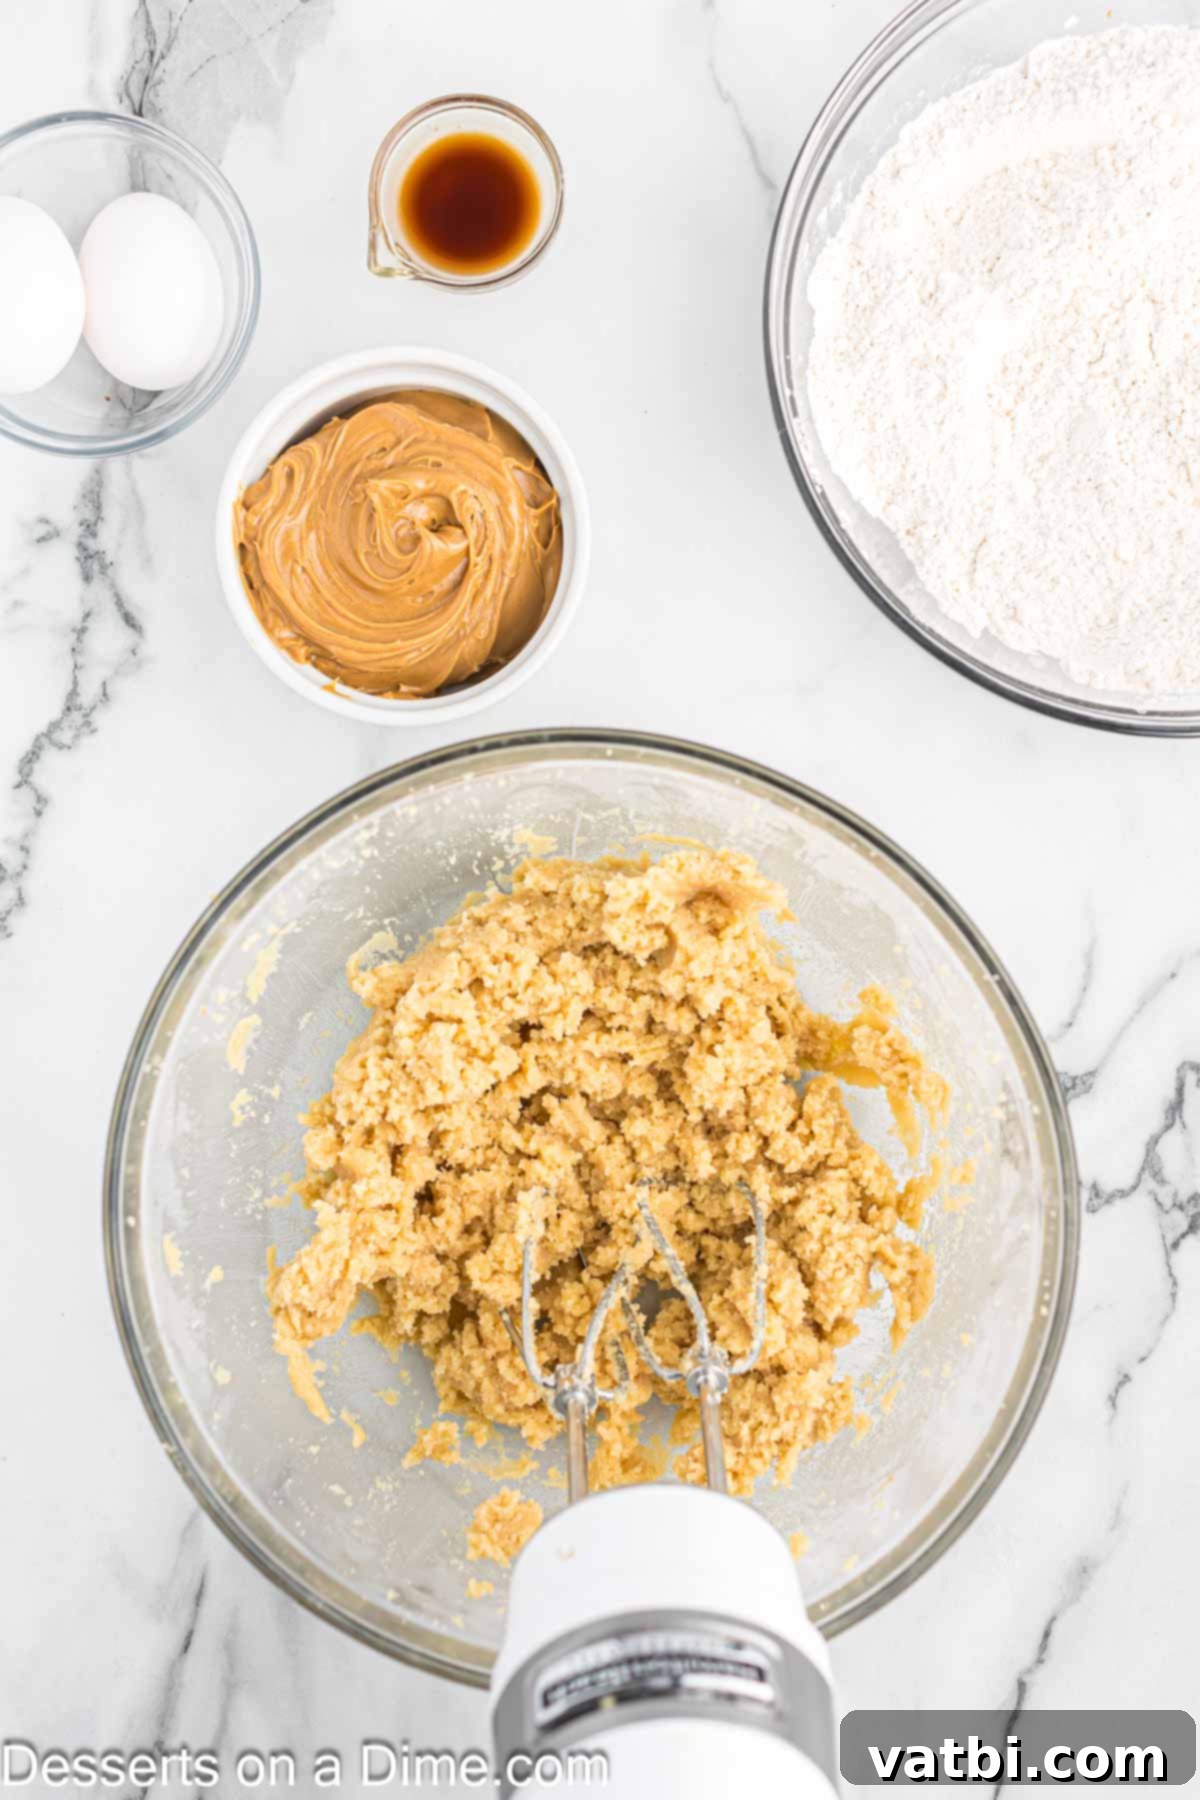
Step 3. Cream Butter and Sugars. In a separate large mixing bowl, using either a stand mixer with the paddle attachment or a hand-held mixer, cream together the softened butter, granulated sugar, and brown sugar. Beat until the mixture is light, fluffy, and pale in color. This step is crucial for incorporating air, which contributes to the cookies’ tender texture.
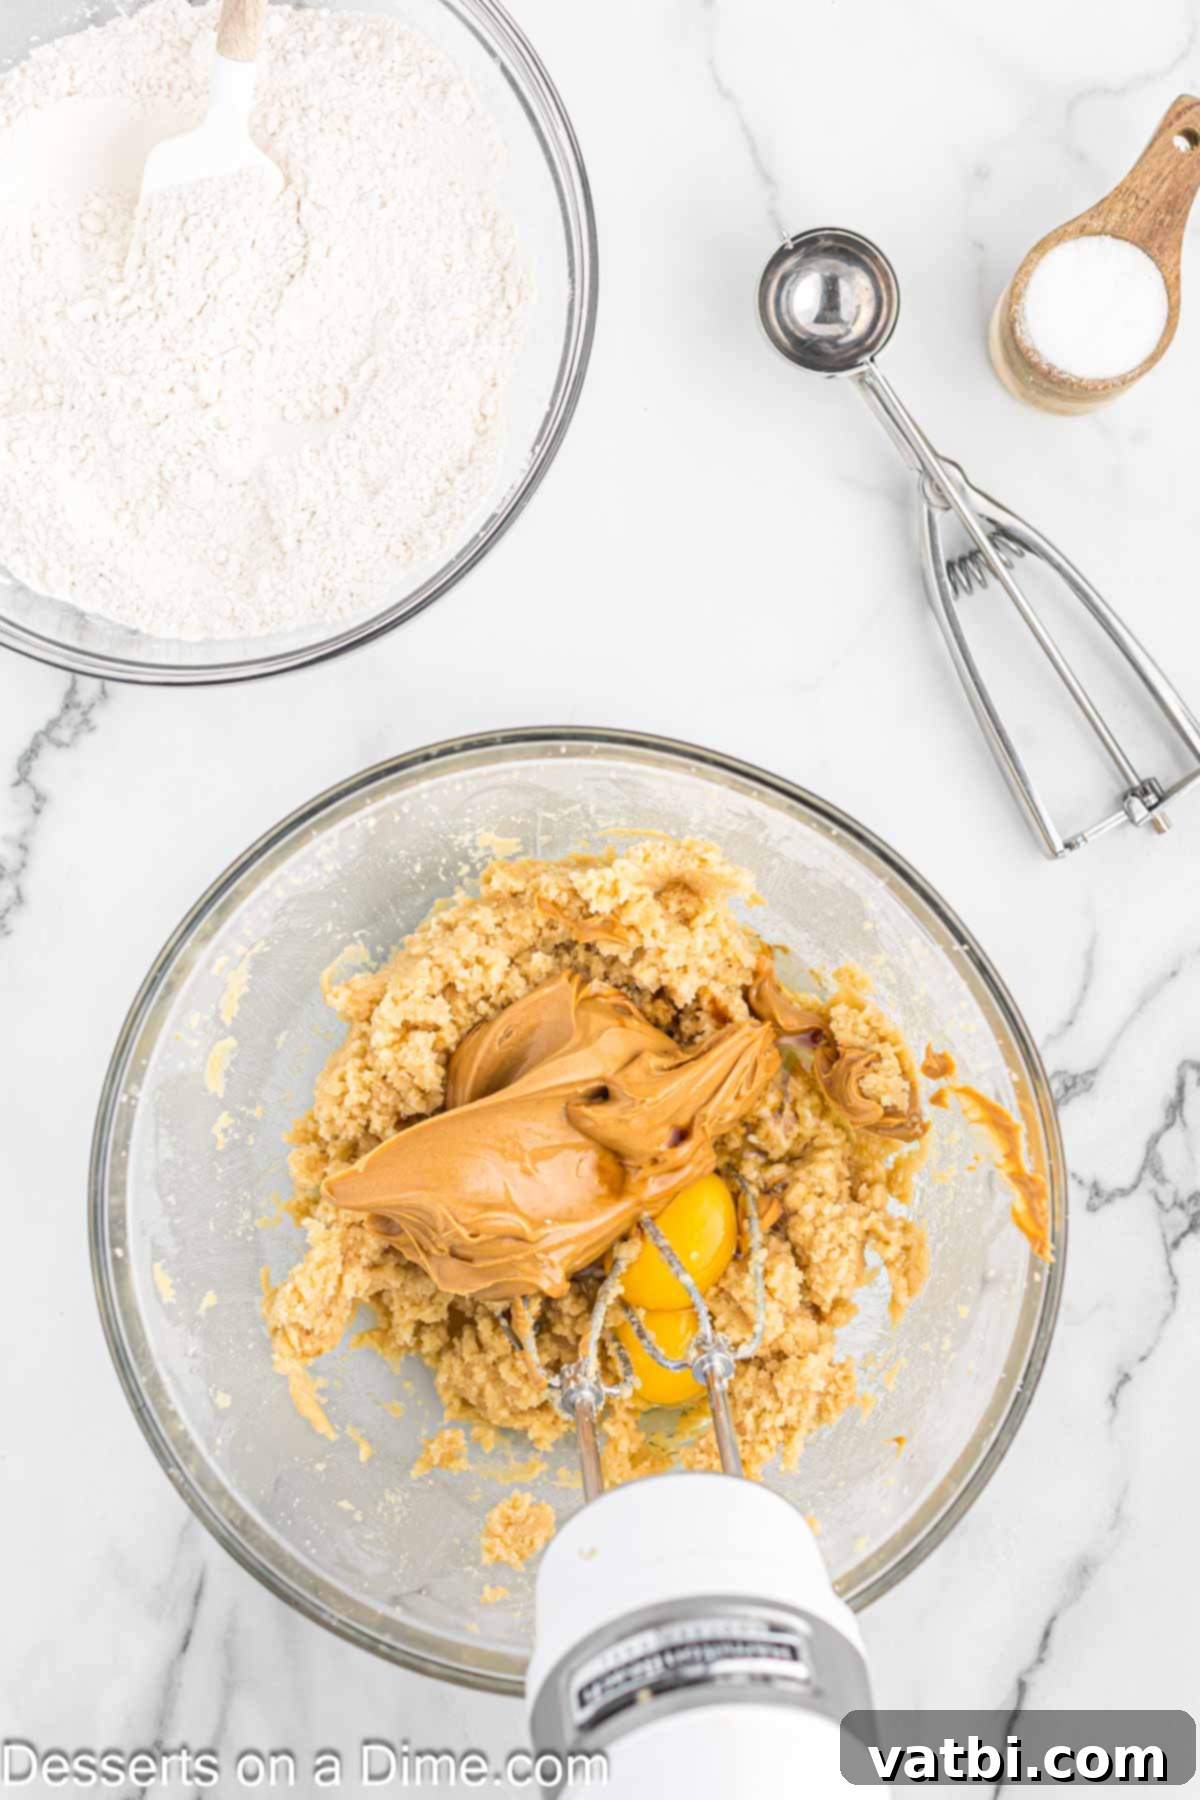
Step 4. Add Wet Ingredients. Next, incorporate the creamy peanut butter, room temperature eggs, and vanilla extract into the butter and sugar mixture. Ensure all these wet ingredients are thoroughly combined.
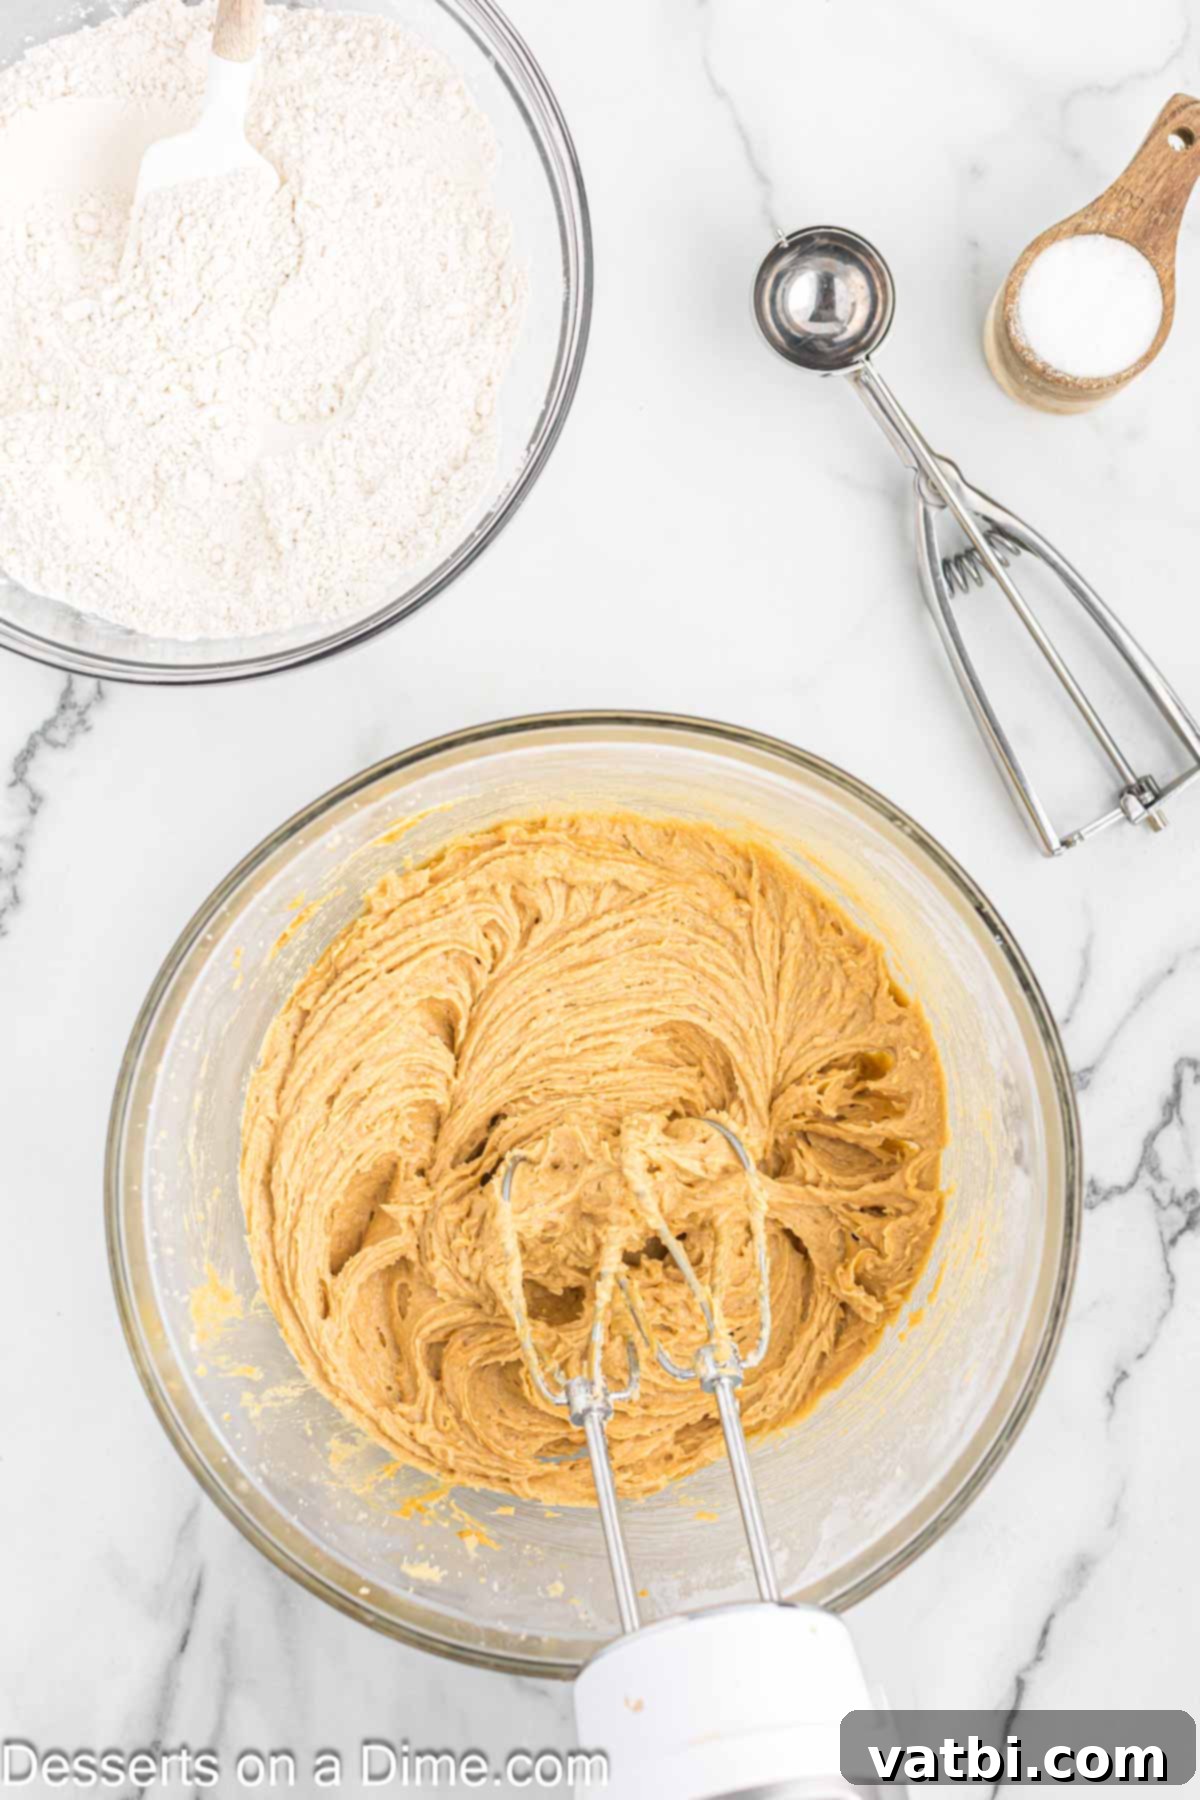
Step 5. Mix Until Smooth. Continue mixing until these ingredients are fully integrated and the mixture is smooth. Scrape down the sides of the bowl as needed to ensure everything is well-combined.
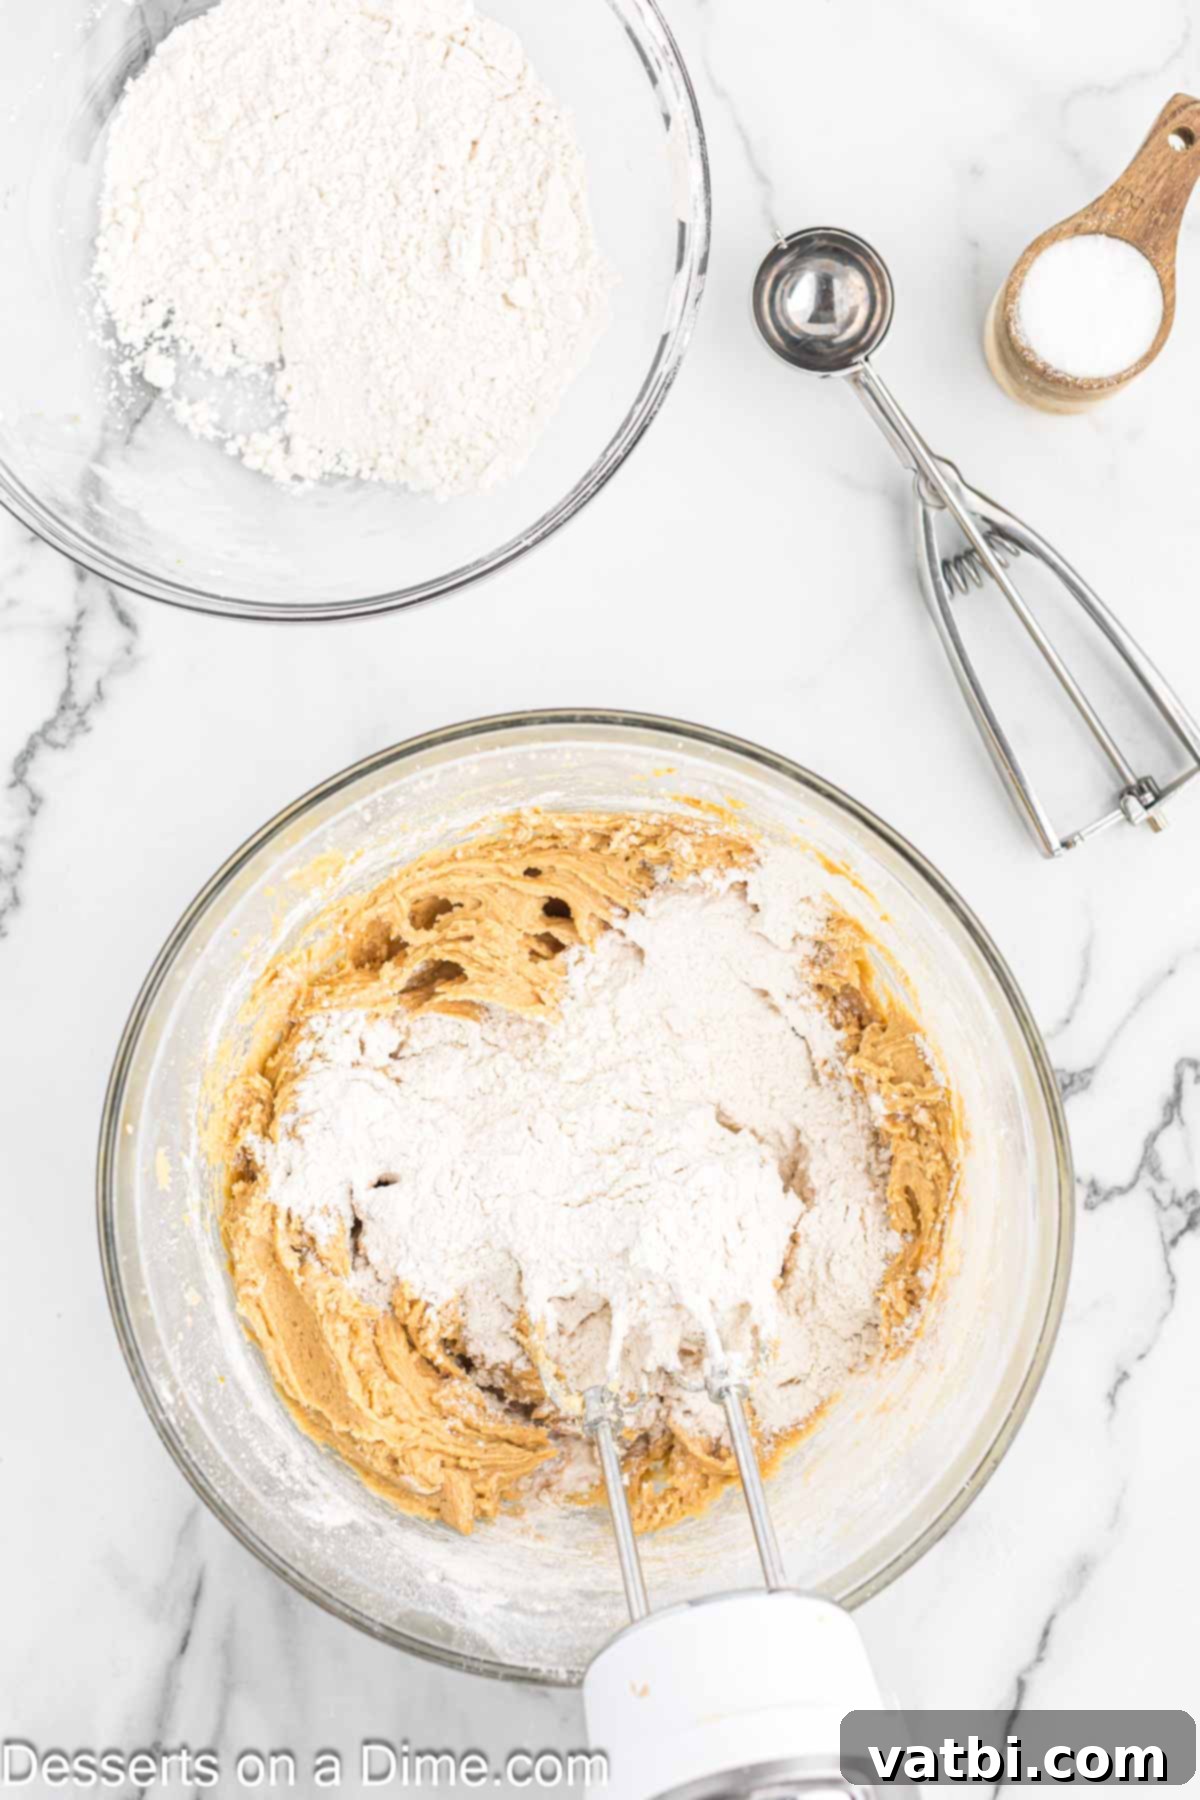
Step 6. Gradually Add Dry Ingredients. Reduce your mixer speed to low. Gradually add the dry ingredient mixture to the wet ingredients, mixing slowly to combine. This prevents flour from flying out of the bowl and ensures a gradual, even incorporation.
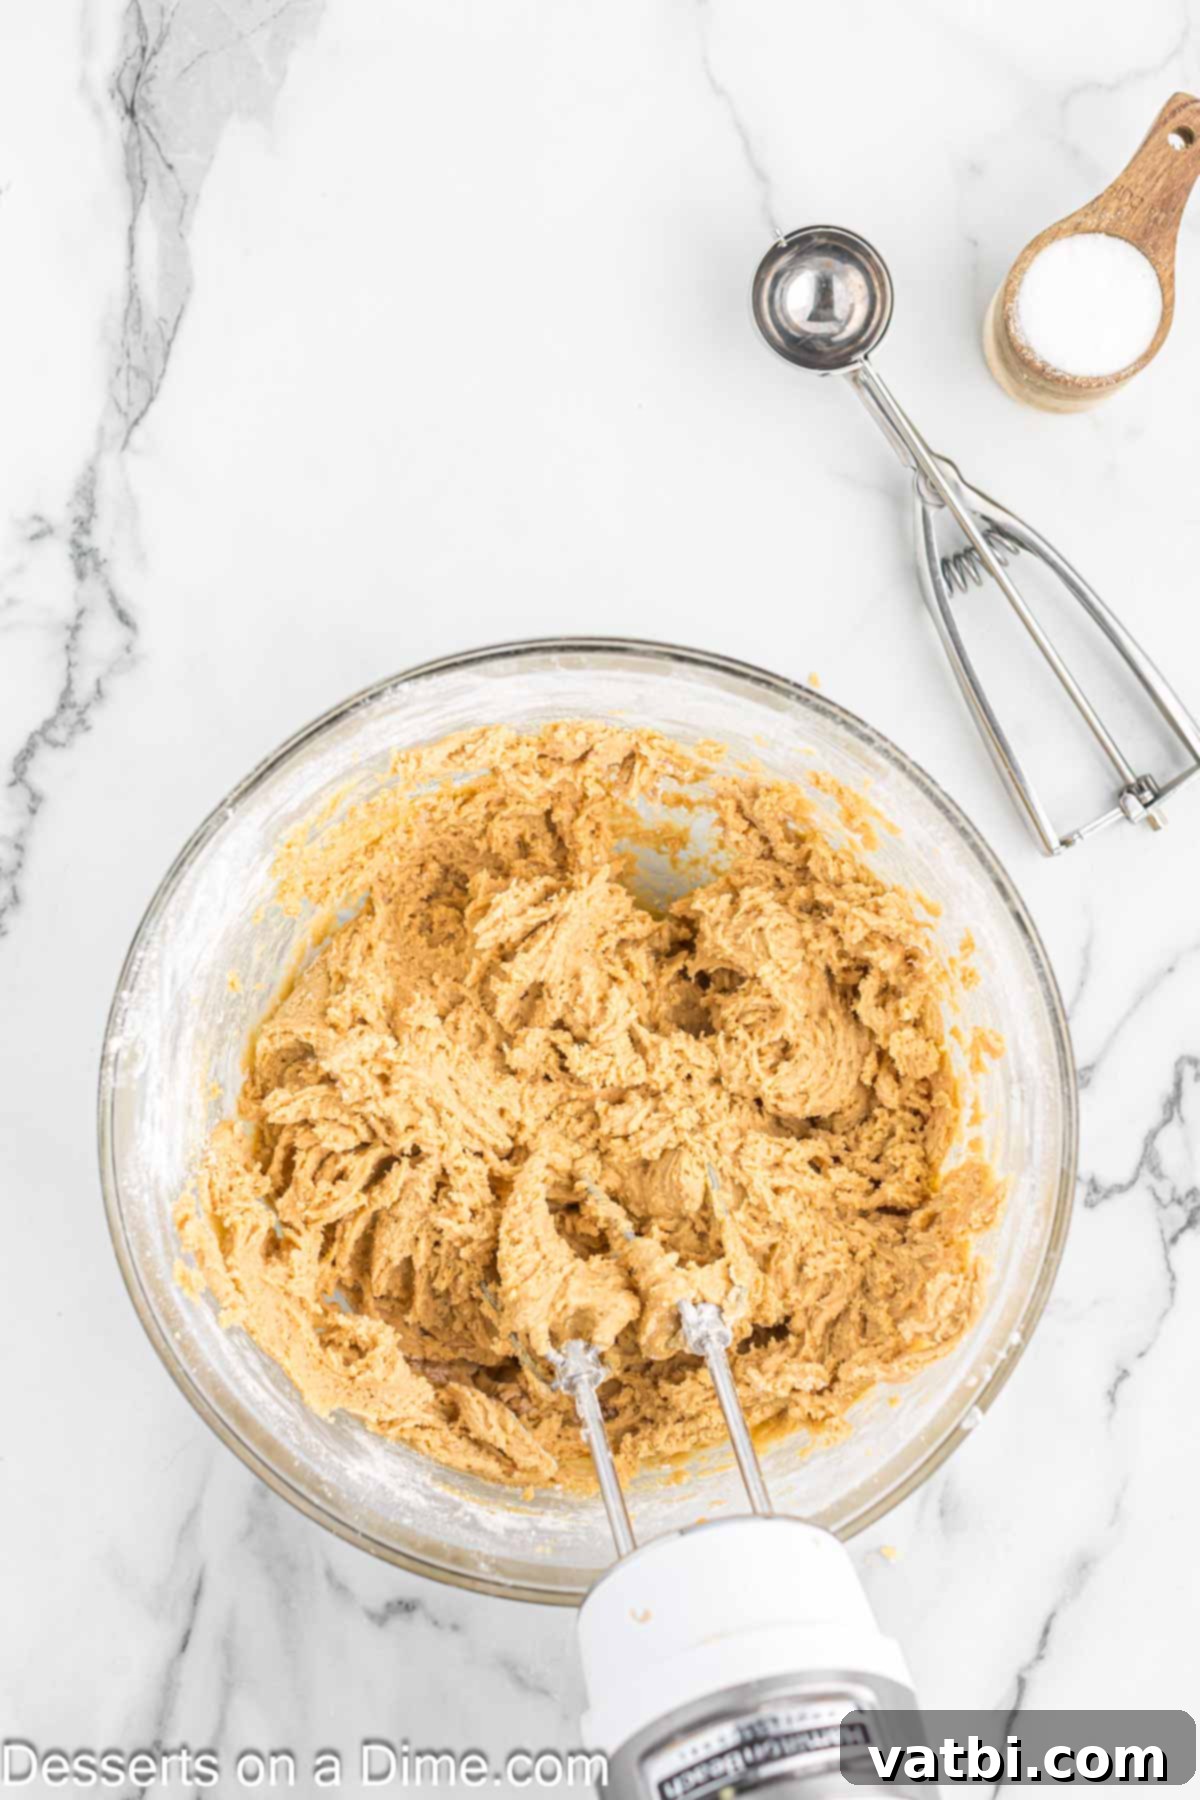
Step 7. Do Not Overmix. Mix only until the dry ingredients are just blended into the wet. Overmixing can overdevelop the gluten in the flour, resulting in tough cookies. Stop as soon as no streaks of flour remain.
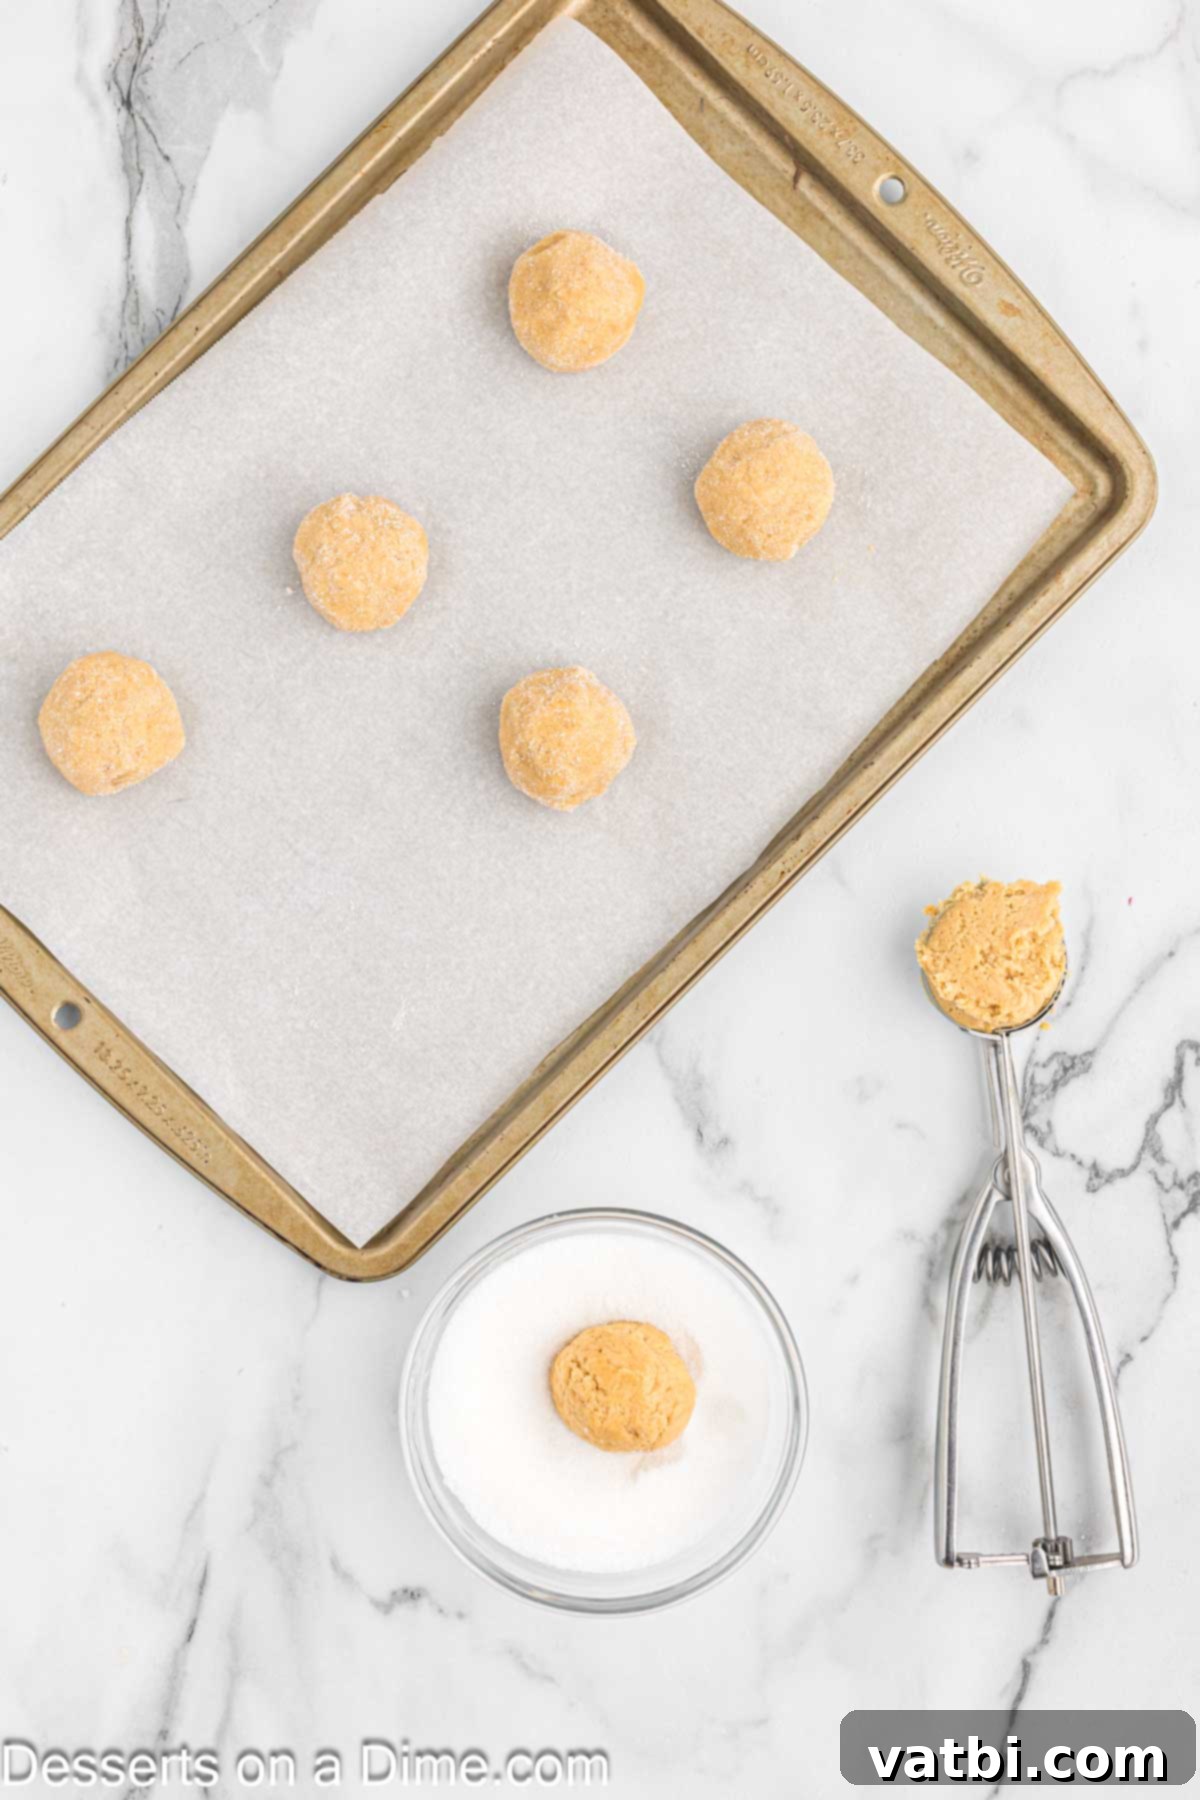
Step 8. Form and Coat Dough Balls. Using a cookie scoop (about 1.5-2 tablespoons), form the dough into uniform round balls. Gently roll each dough ball in the remaining granulated sugar, which adds a lovely sparkle and a slight crunch to the finished cookie. Place them about 2 inches apart on an ungreased baking sheet.
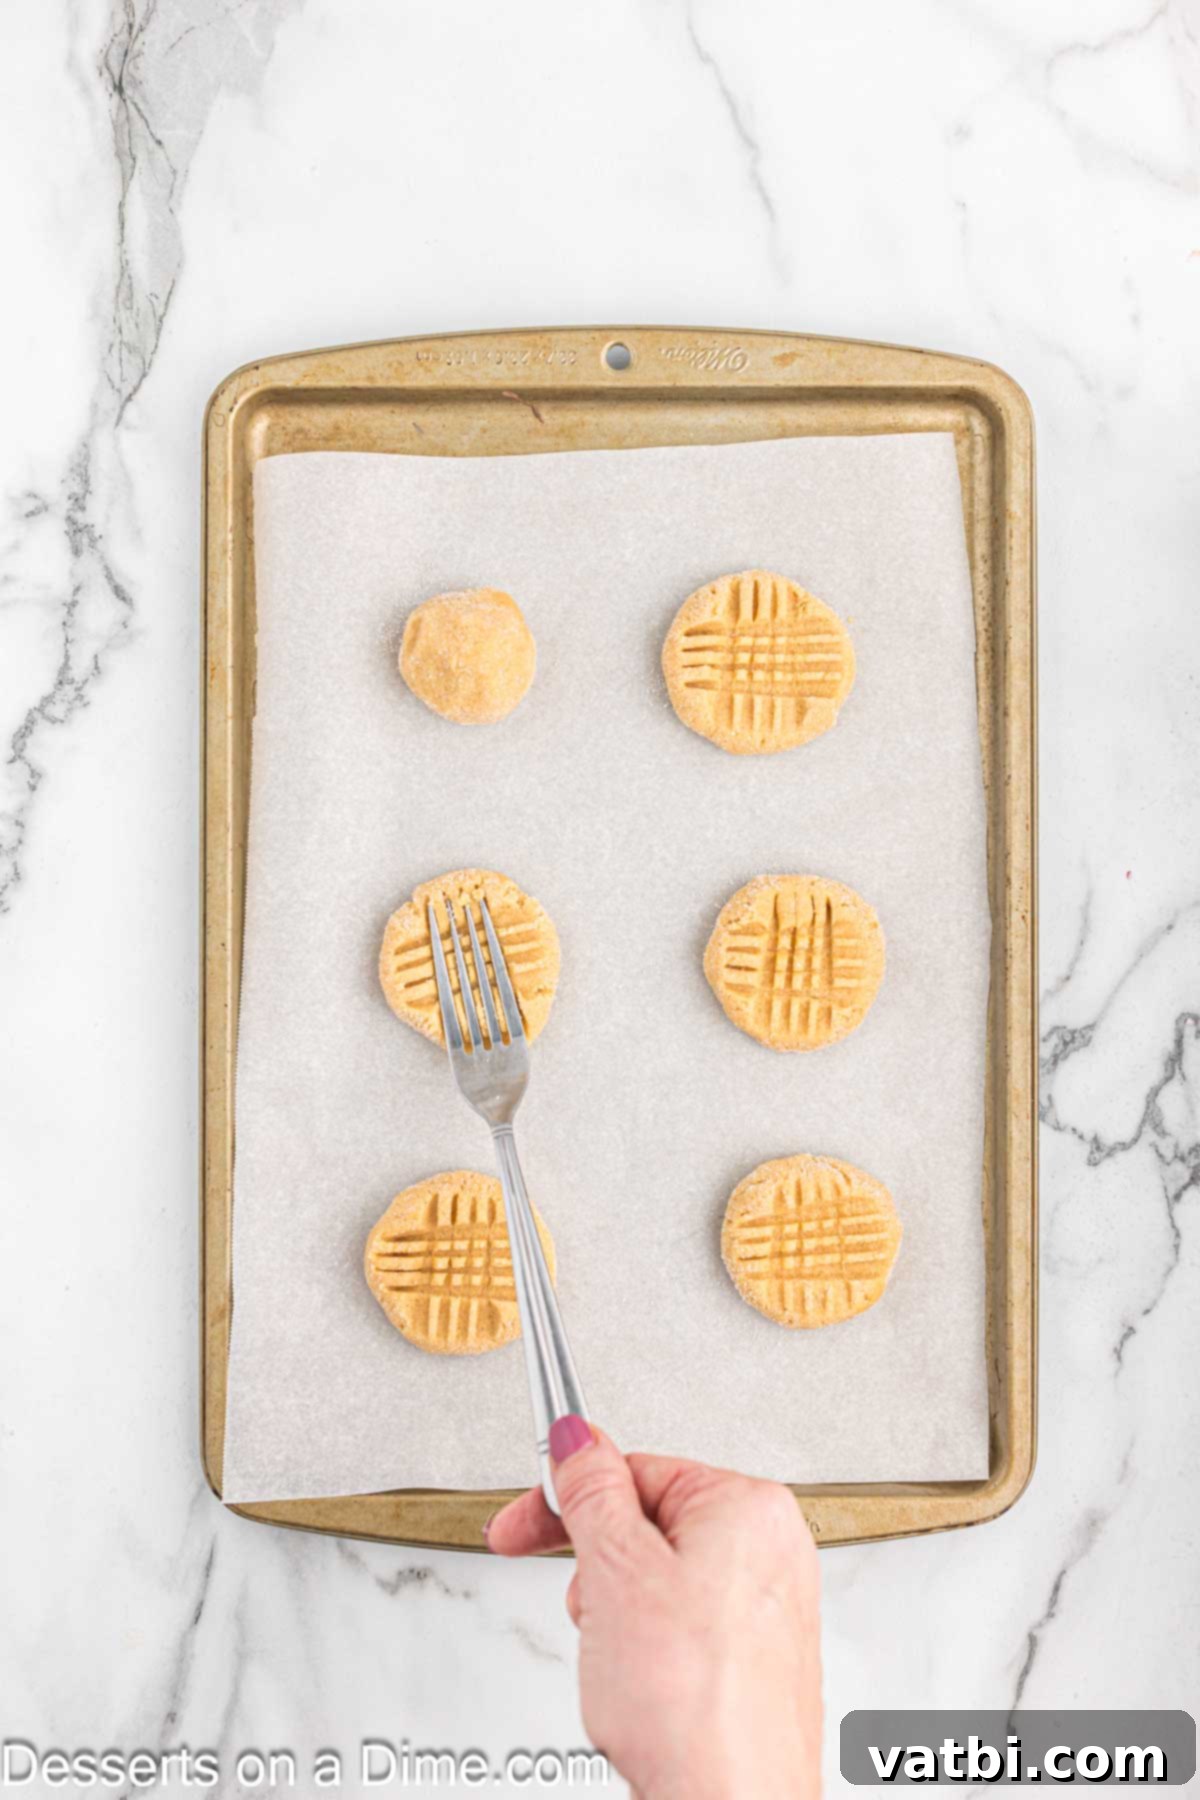
Step 9. Create Criss-Cross Pattern. Take a fork and gently flatten each dough ball, creating the classic criss-cross pattern typical of peanut butter cookies. This not only looks appealing but also helps with even baking.
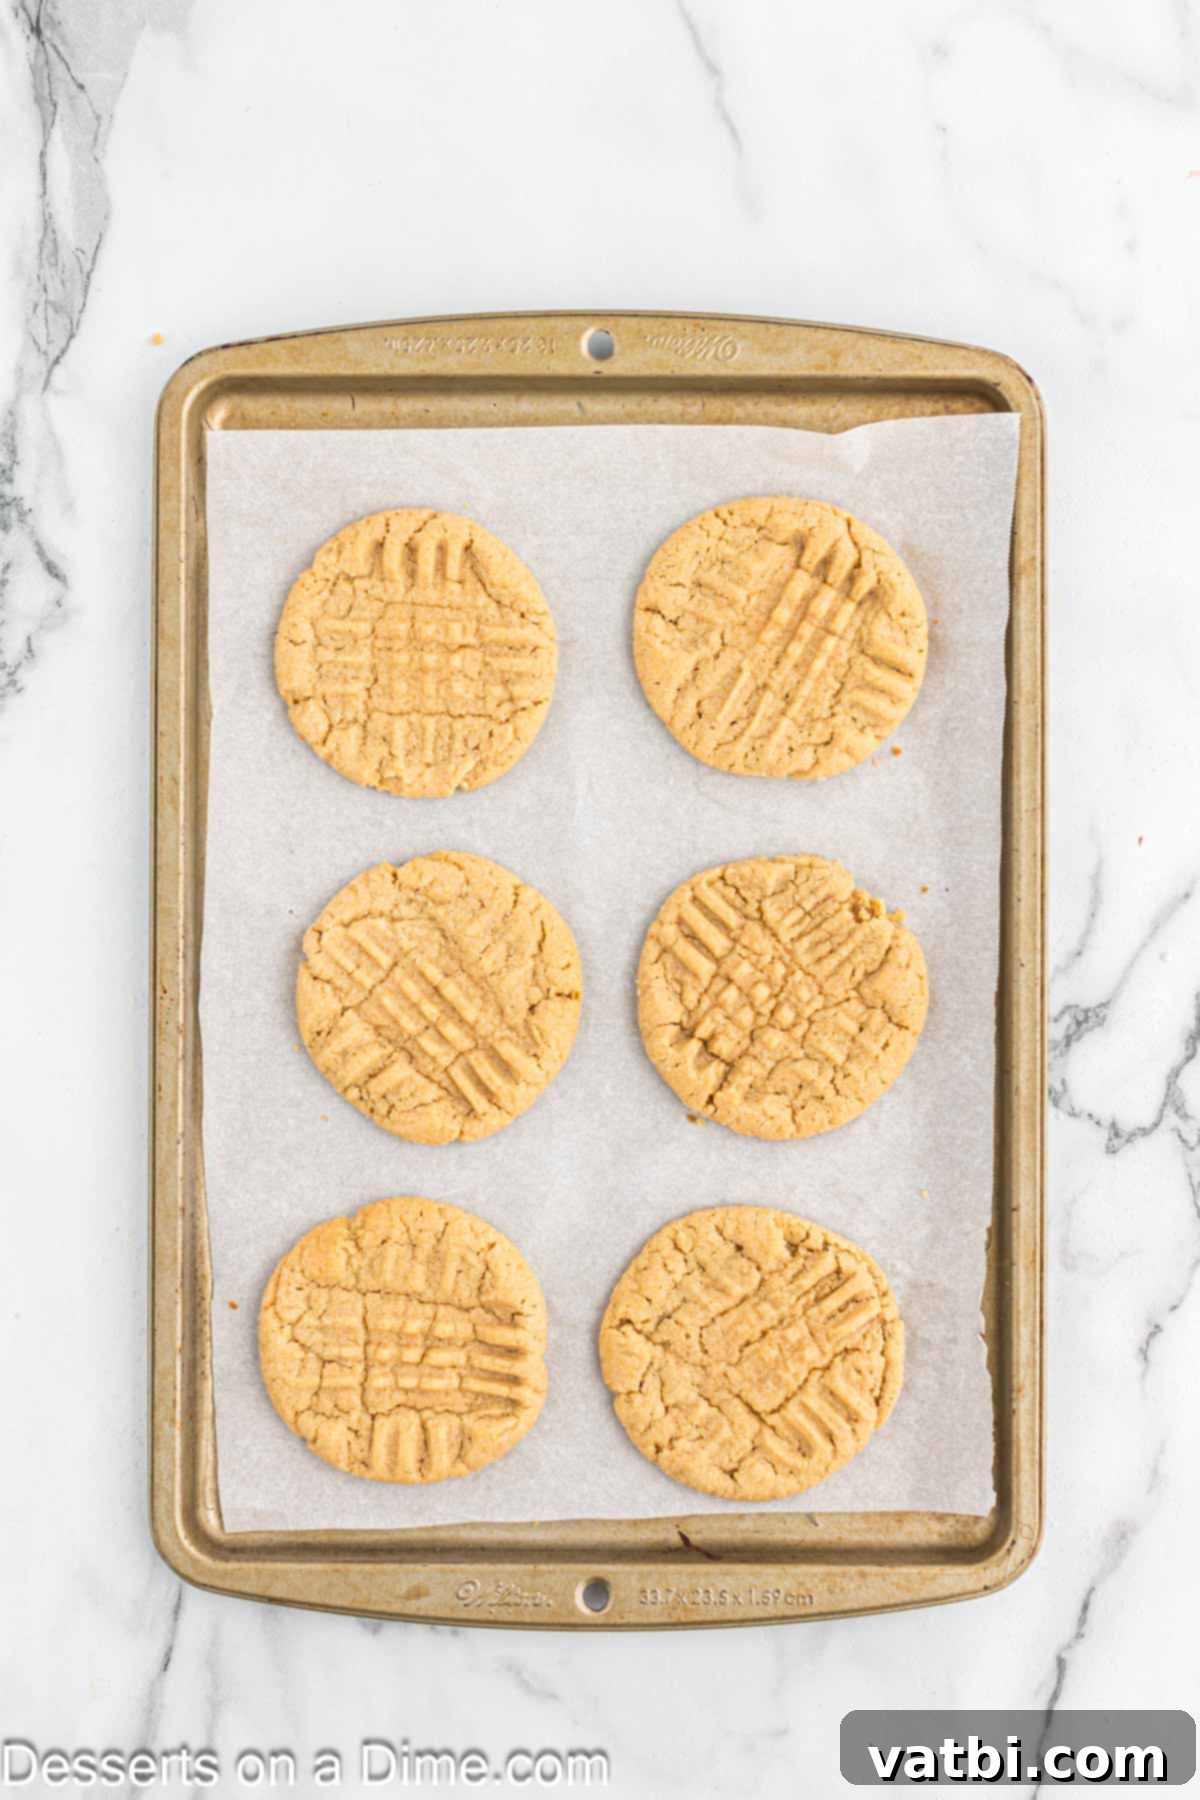
Step 10. Bake and Cool. Bake the cookies for 10-12 minutes, or until the edges are lightly golden brown and the centers are just set. They will continue to firm up as they cool. Remove from the oven and let the cookies cool on the baking sheet for about 5 minutes before decorating. This allows them to set sufficiently.
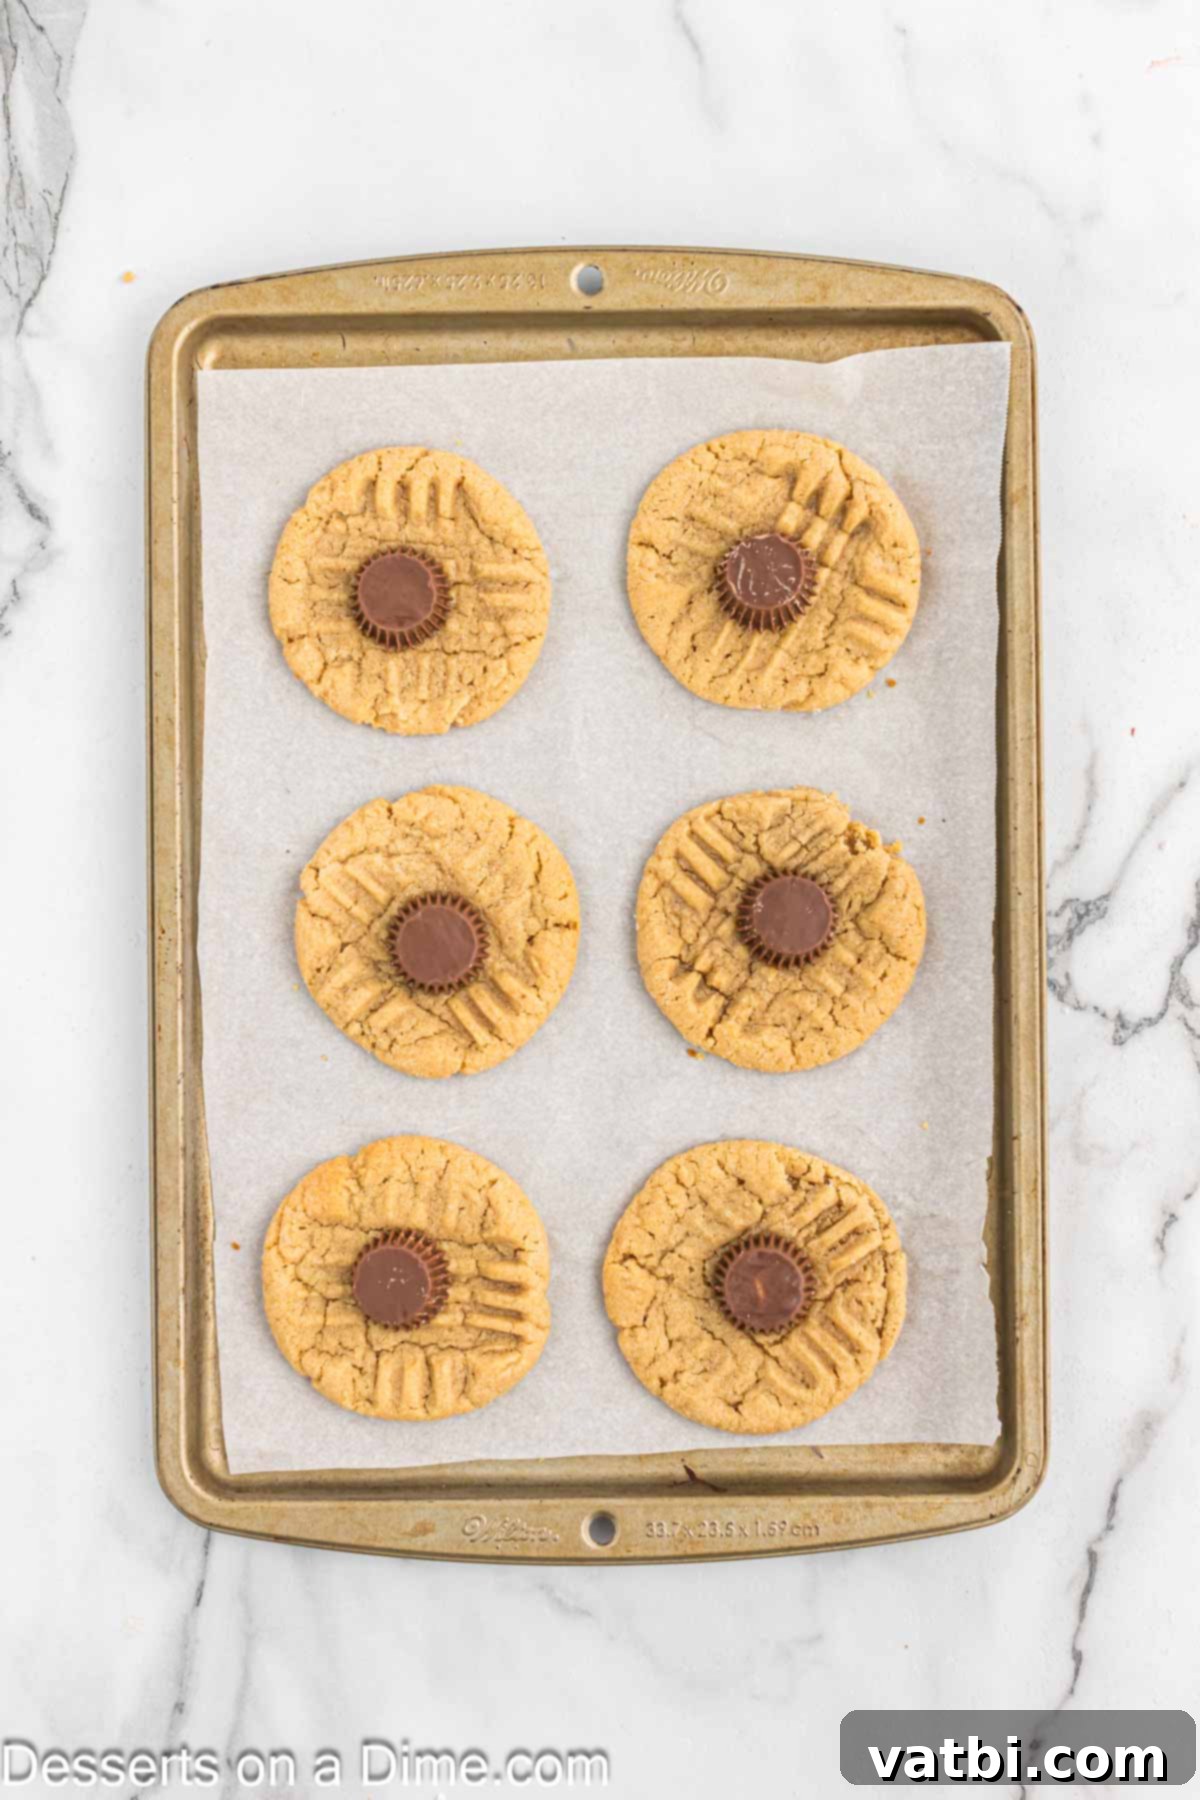
Step 11. Add Peanut Butter Cups. While the cookies are still slightly warm (after their initial 5-minute cool), unwrap the chilled Reese’s Miniature Peanut Butter Cups. Gently press one peanut butter cup, upside down, into the center of each cookie. The residual warmth of the cookie will help it adhere. If they don’t stick, a tiny dab of melted chocolate can help.
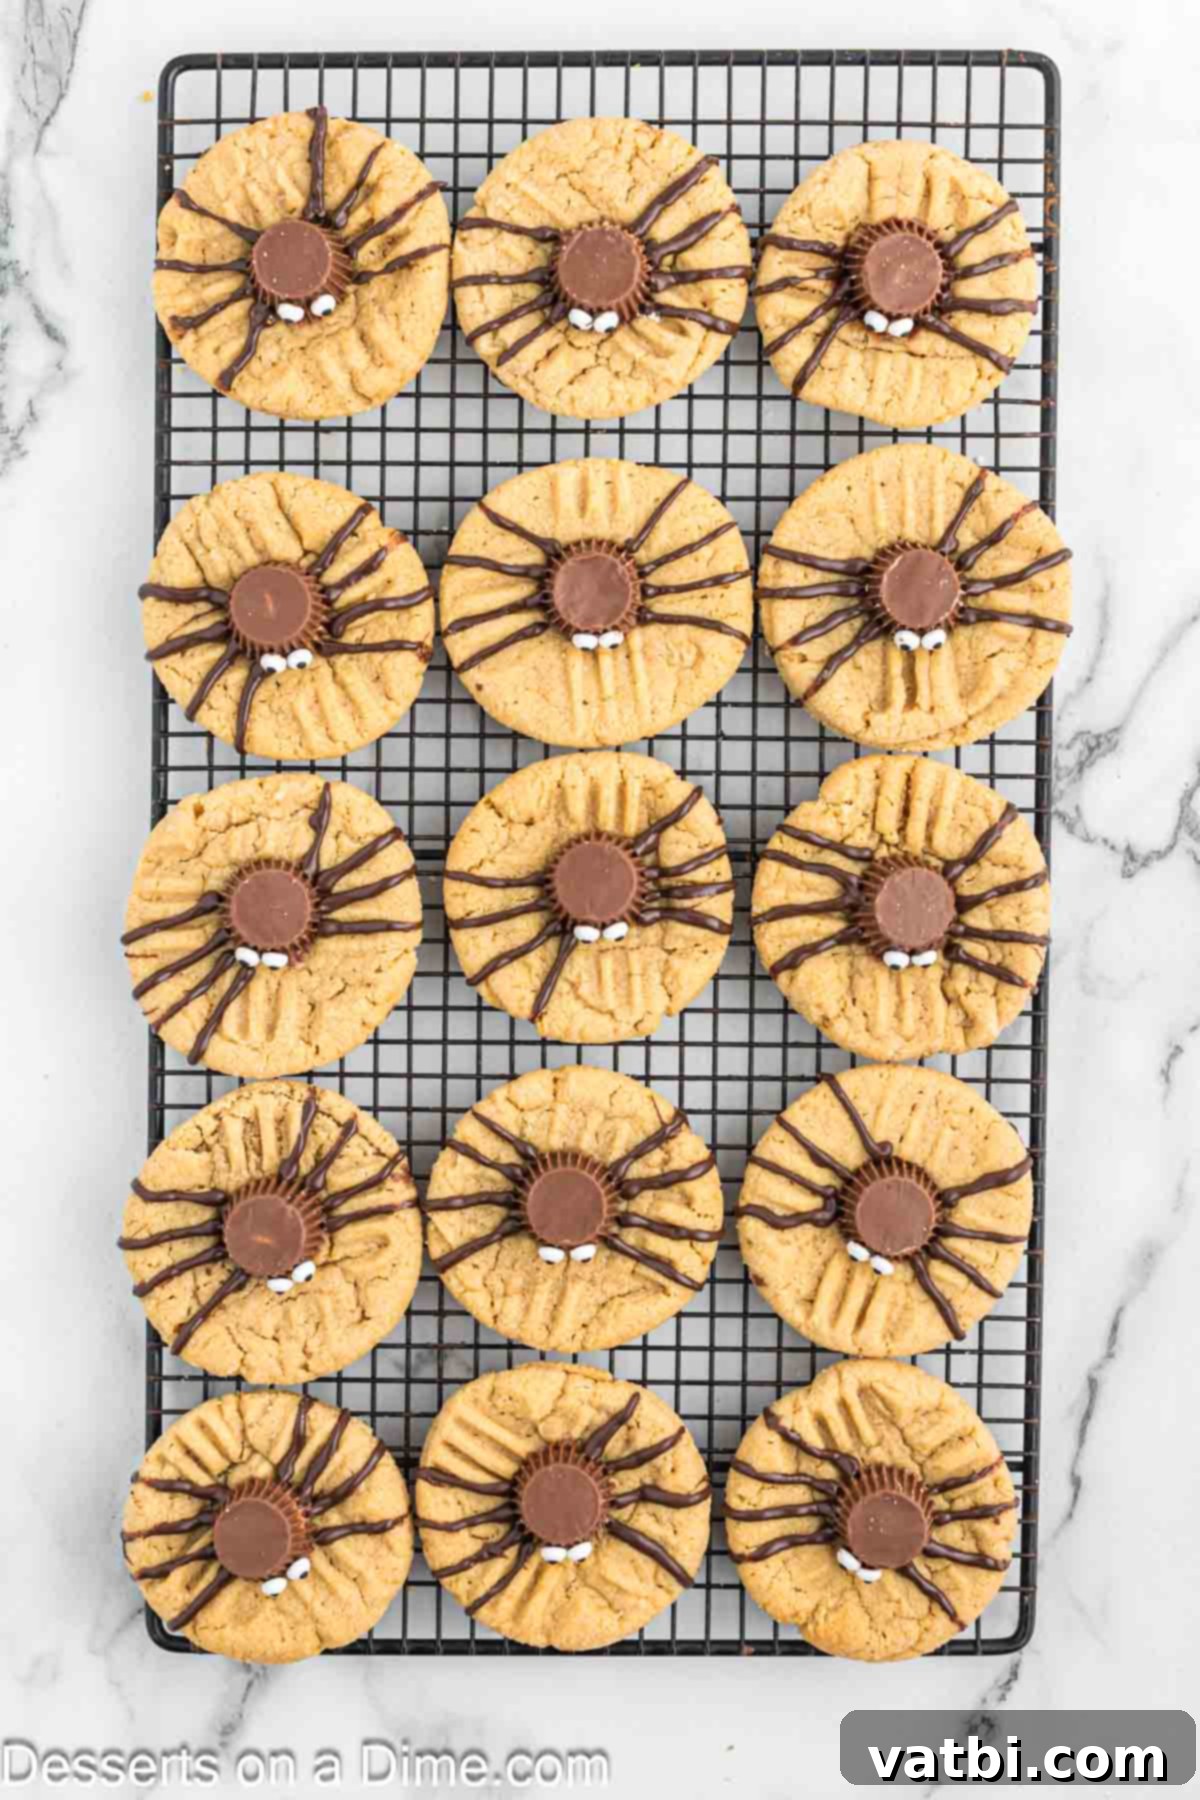
Step 12. Pipe Spider Legs. Melt the chocolate melting wafers according to package directions (typically in the microwave at short intervals, stirring frequently). Once smooth, transfer the melted chocolate to a piping bag or a small ziplock bag with a tiny corner snipped off. Allow the chocolate to cool for 5 minutes so it’s not too runny. Carefully pipe four chocolate lines on each side of the Reese’s peanut butter cup, extending outwards to create the spider’s eight legs.
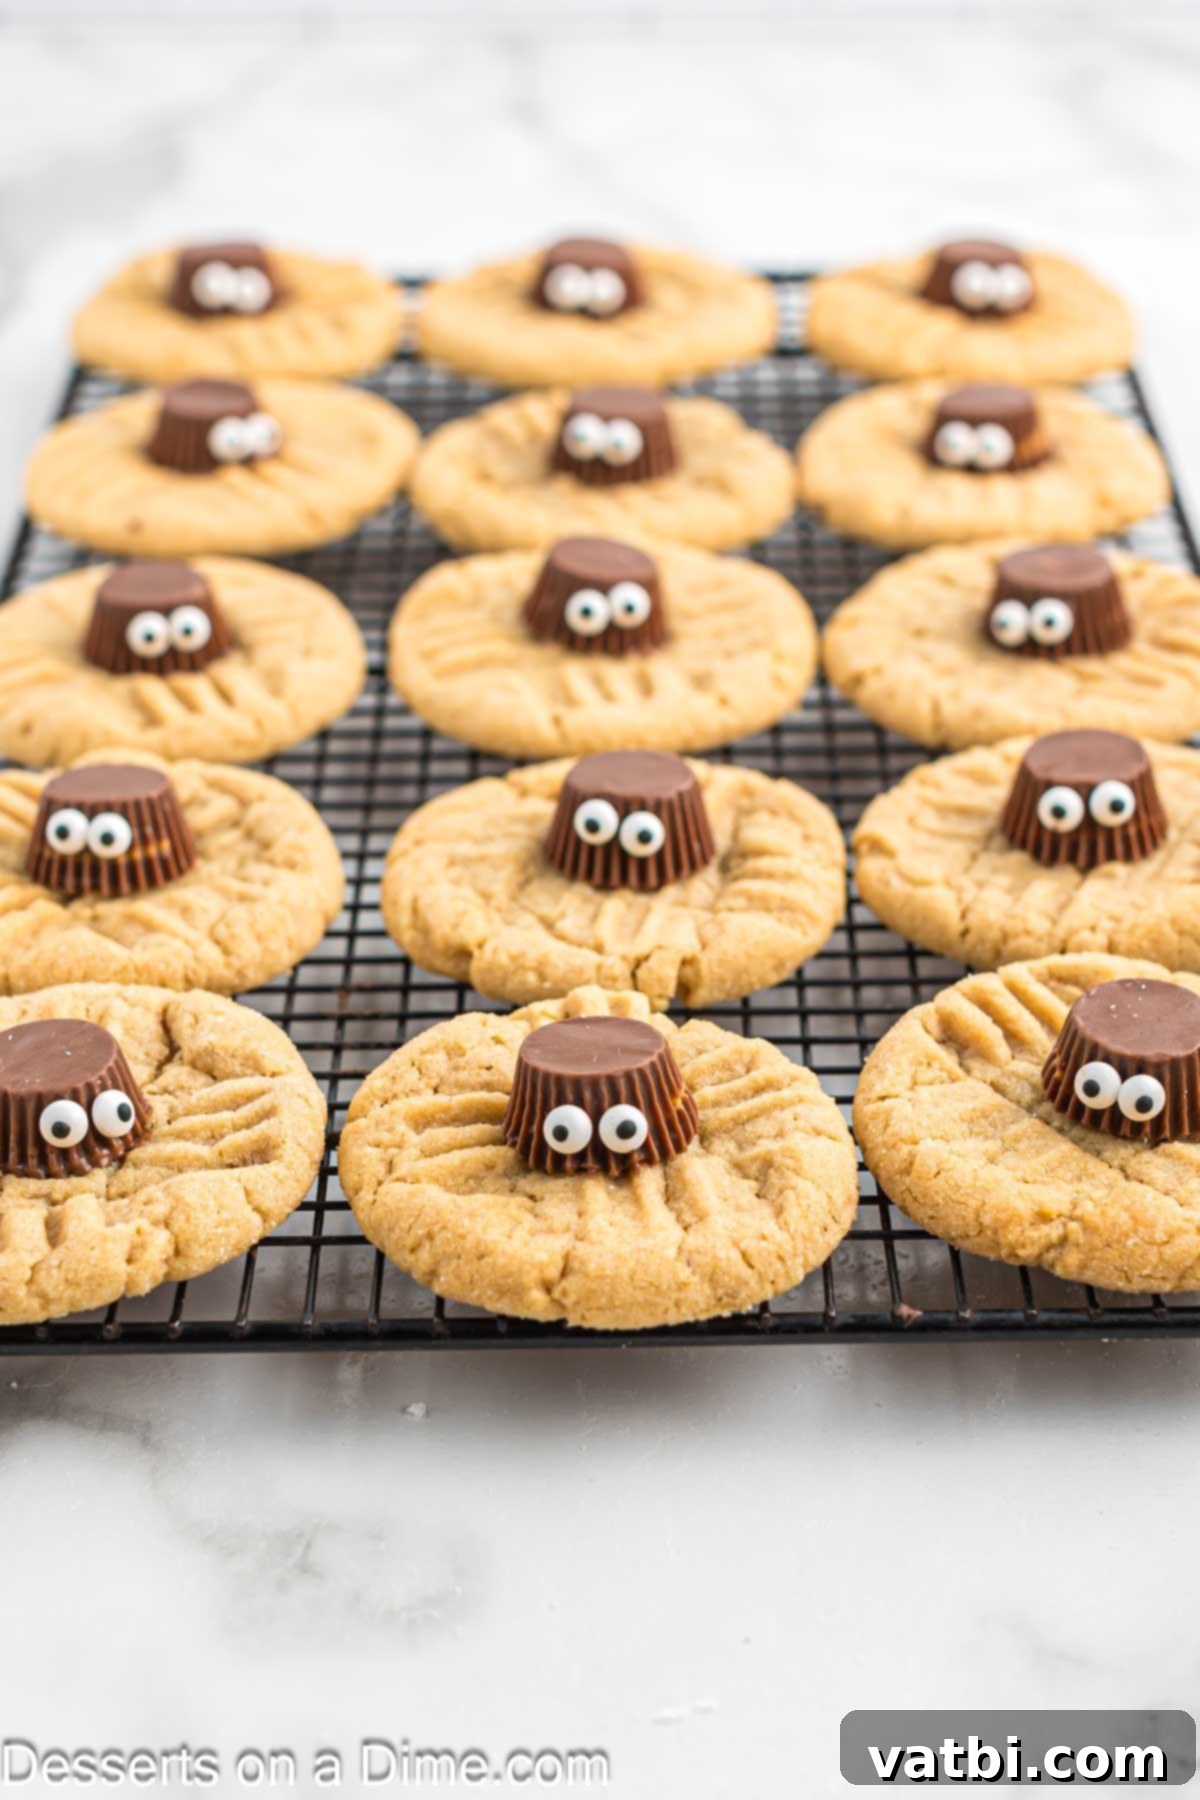
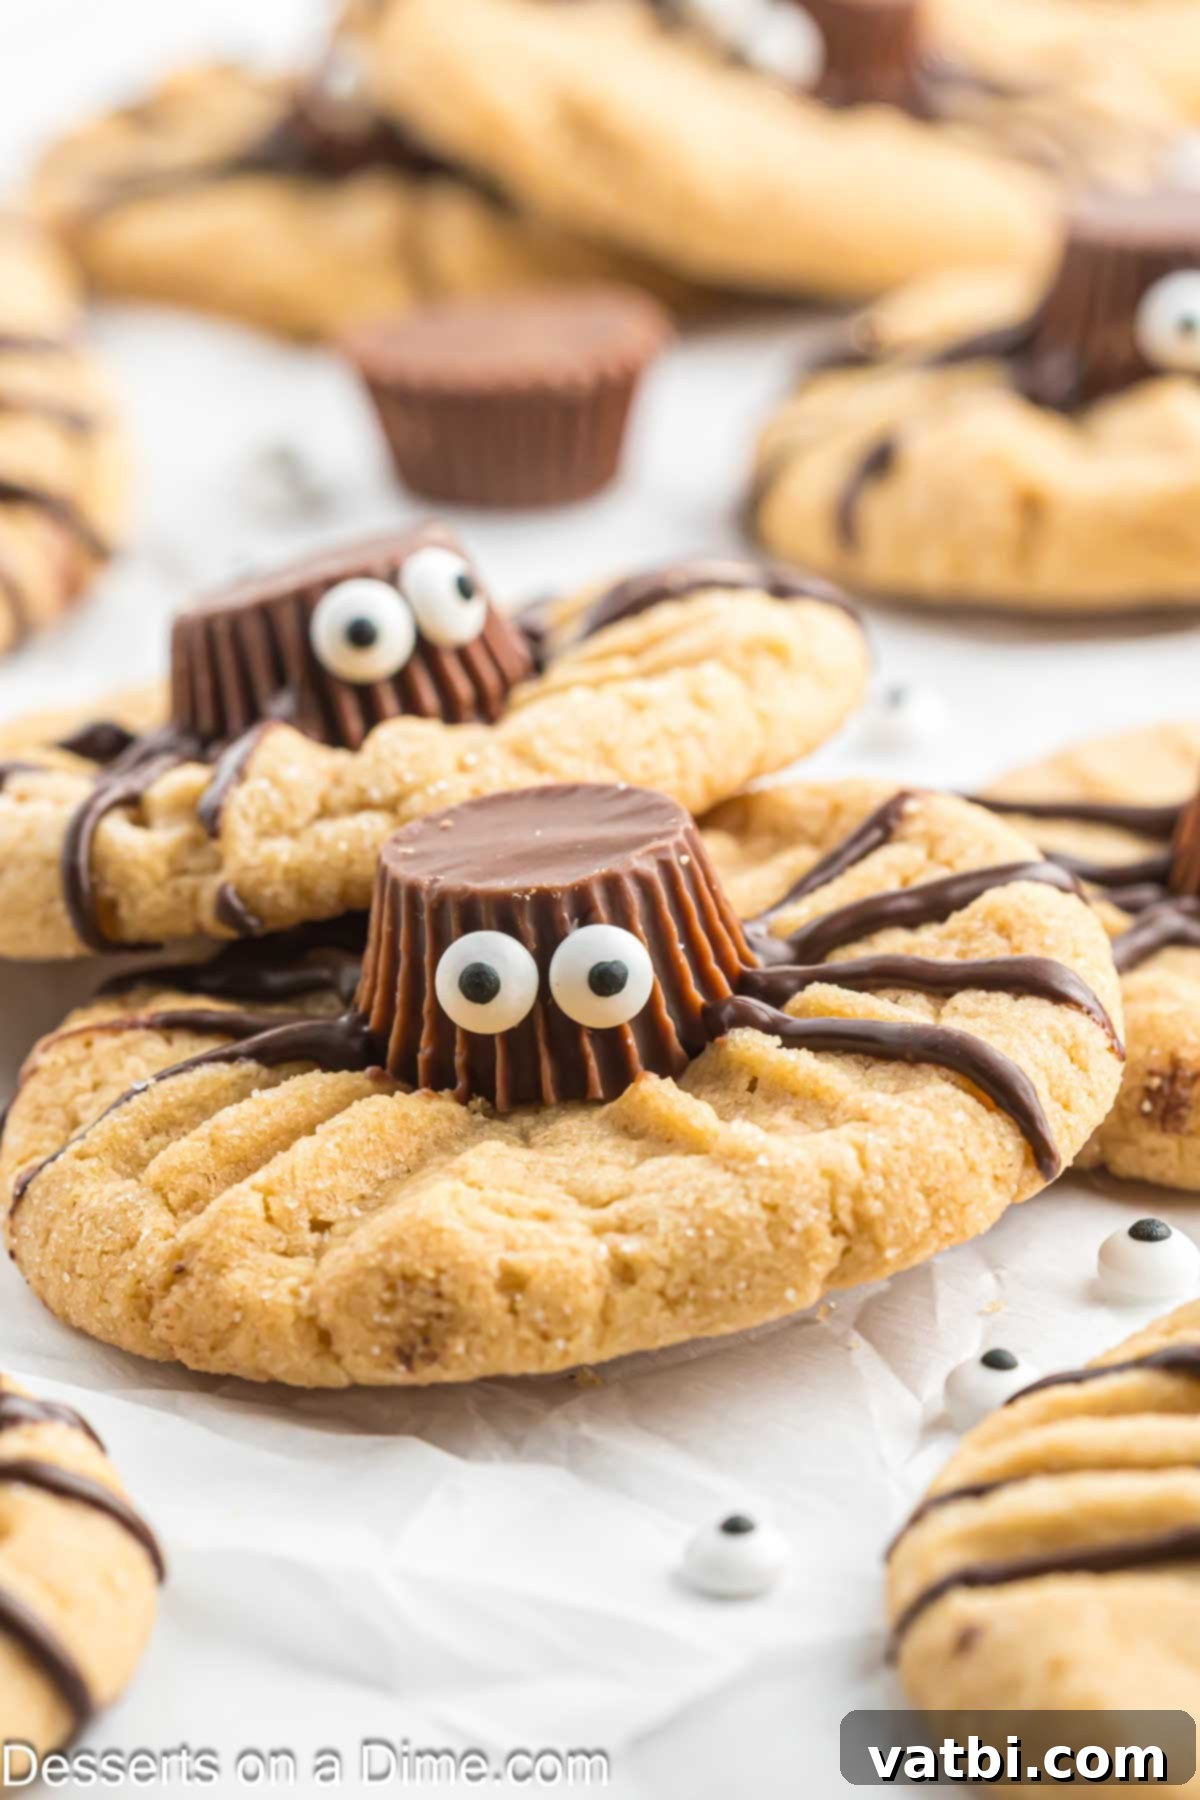
Step 13. Add Candy Eyes. For the final touch, dab a small amount of melted chocolate onto the front of the peanut butter cup where the “face” would be. Immediately press two candy eyes onto the chocolate to create the spider’s eyes. Allow all the chocolate to fully set and harden before serving, which can take about 30 minutes at room temperature or faster in the refrigerator.
Pro Tips for Perfect Halloween Spider Cookies
To ensure your Halloween spider cookies turn out perfectly spooky and delicious every time, keep these professional tips in mind:
- Use a Cookie Scoop – A cookie scoop (approximately 1.5 to 2 tablespoons) is your best friend for creating uniformly sized cookie dough balls. This not only makes the baking process more efficient but also ensures that all cookies bake evenly and look consistent for your spider creations.
- Chill Peanut Butter Cups – This is a game-changer! Chilled or even frozen Reese’s Peanut Butter Cups are much firmer and easier to handle. They won’t melt or deform when pressed into the slightly warm cookies, helping them maintain their distinct shape and making decoration much smoother.
- Refrigerate the Dough – If your cookie dough feels too soft or sticky, don’t hesitate to refrigerate it for at least 30 minutes to an hour. Chilled dough spreads less in the oven, resulting in thicker, chewier cookies that are easier to handle and decorate into perfect spider shapes.
- Do Not Overbake – Peanut butter cookies are best when slightly soft and chewy. Bake them until the edges are just lightly golden brown. The centers will look slightly underdone but will continue to cook and set on the baking sheet as they cool. Overbaking can lead to dry, crumbly cookies.
- The Power of a Piping Bag (or Ziplock) – For neat and precise spider legs, a piping bag fitted with a small round tip is ideal. However, a small ziplock bag with one corner snipped off can serve as an excellent impromptu piping bag, allowing you to create clean lines for your spider legs. Make sure your melted chocolate has cooled slightly so it’s not too runny.
- Make a Divot for the Reese’s Cup – Some recipes suggest gently making a small indentation in the center of the baked cookie before adding the peanut butter cup. While not strictly necessary if the cookies are still warm, a shallow divot can help the Reese’s cup sit more securely and prevent it from rolling off.
- Shortcut with Premade Cookies – In a pinch or when time is short, you can absolutely use already made cookies as a base! Store-bought peanut butter cookies or pre-packaged refrigerated peanut butter cookie dough work wonderfully. Just bake them according to package directions, let them cool slightly, and then proceed with adding the Reese’s cups and decorations. This significantly cuts down on prep time without sacrificing the fun.
- Parchment Paper is Your Friend – Line your baking sheets with parchment paper or a silicone baking mat. This prevents sticking, ensures even browning, and makes cleanup a breeze.
- Creative Eye Placement – Have fun with the candy eyes! Place them straight, slightly crooked, or even different sizes to give your spiders unique personalities.
- Chocolate Alternatives – While semi-sweet chocolate melting wafers are standard, feel free to experiment with white chocolate, milk chocolate, or even dark chocolate for the spider legs to create different contrasts and flavors.
- Allow Chocolate to Set – Patience is key! Ensure the chocolate legs and eyes have fully set and hardened before stacking or serving the cookies. You can speed this up by placing them in the refrigerator for 10-15 minutes.
Storage and Make-Ahead Tips
These Halloween spider cookies are not only fun to make but also convenient to store, making them a great option for preparing in advance for your holiday celebrations.
- Room Temperature: Store leftover decorated cookies in an airtight container at room temperature for up to 3-5 days. Ensure the chocolate has fully set before stacking them to prevent smudging; you can place parchment paper between layers for extra protection.
- Refrigeration: For a slightly extended shelf life, you can store them in an airtight container in the refrigerator for up to a week. The colder temperature might make the cookies a bit firmer, but they will soften at room temperature.
- Freezing Dough (Make-Ahead): The unbaked cookie dough can be prepared in advance and frozen. Form the dough into balls, flatten them slightly with a fork (without the criss-cross), and freeze them on a baking sheet until solid. Transfer to a freezer-safe bag for up to 3 months. When ready to bake, place frozen dough balls on a baking sheet, let them sit at room temperature for about 15-20 minutes, then press with a fork and bake as directed, adding a few minutes to the baking time if needed.
- Freezing Baked Cookies: Once the cookies are baked, completely cooled, and fully decorated with set chocolate, you can freeze them. Arrange them in a single layer in an airtight freezer-safe container or bag, using parchment paper between layers, for up to 2-3 months. Thaw them at room temperature for a few hours before serving.
No matter how you choose to store them, these delightful Halloween treats will maintain their charm and flavor, ready to be enjoyed whenever a spooky craving strikes!
More Easy Halloween Treats to Try
If you loved making these Halloween Spider Cookies, you’ll certainly want to explore these other fantastic and easy Halloween-themed treats to complete your festive spread:
- Oreo Spider Cookies: Another simple yet adorable spider cookie variation, using Oreos for a quick and fun no-bake option.
- Halloween Sugar Cookies: Classic sugar cookies decorated with festive Halloween icing and sprinkles – perfect for personalized designs.
- Halloween Chocolate Covered Oreos Recipe: Dipped in colorful chocolate and adorned with spooky decorations, these are always a hit.
- Jack o Lantern Chocolate Covered Oreos: A specific, charming variation of chocolate-covered Oreos, designed to look like cute jack-o’-lanterns.
- Easy Spider Cupcakes: Transform ordinary cupcakes into eight-legged creatures with minimal effort, using frosting and licorice or chocolate syrup.
- 55 Delicious Halloween Cupcakes: An extensive collection of creative and delicious cupcake ideas to inspire your next Halloween baking project.
These recipes offer a fantastic way to celebrate the spooky season with delicious homemade treats that are as delightful to make as they are to eat!
Don’t wait for Halloween night! Make these today for a fabulous treat that will be remembered. Please leave a comment once you do and a star rating. We can’t wait to hear what you think of these fun and festive cookies!
Pin
Halloween Spider Cookies
Ingredients
- 2 1/2 cup All-Purpose Flour
- 1 1/4 cup granulated sugar
- 1 cup brown sugar
- 1 cup butter softened
- 1 cup creamy peanut butter
- 1 tsp baking powder
- 1 tsp baking soda
- 1 tsp cornstarch
- 1 tsp salt
- 1 tsp Vanilla Extract
- 2 Eggs
- 36 Reese’s Miniature Peanut Butter Cups chilled
- Candy Eyes
- 10 Ounce Chocolate Melting Wafers
Instructions
-
Preheat your oven to 350 degrees F (175°C).
-
In a mixing bowl, combine all the dry ingredients: flour, baking powder, baking soda, cornstarch, and salt. Whisk them together thoroughly.
-
In a separate large mixing bowl, using a stand mixer or a hand-held mixer, cream the softened butter with 1 ¼ cup of granulated sugar and 1 cup of brown sugar until the mixture is light and fluffy.
-
Add in the creamy peanut butter, room temperature eggs, and vanilla extract. Mix until these ingredients are thoroughly combined and smooth.
-
Reduce the mixer speed to low. Gradually add the combined dry ingredients to the wet ingredients, mixing only until they are just incorporated. Be careful not to overmix the dough.
-
Using a cookie scoop, form the dough into round balls. Gently roll each dough ball in any remaining granulated sugar you have. Place them on an ungreased baking sheet. Use a fork to gently flatten each dough ball and create a criss-cross pattern, typical for peanut butter cookies.
-
Bake for 10-12 minutes, or until the cookies are lightly golden brown at the edges and set.
-
Remove from the oven and allow the cookies to cool on the baking sheet for 5 minutes before you start decorating them.
-
Melt the chocolate wafers in the microwave according to package instructions, stirring frequently until smooth. Transfer the melted chocolate to a piping bag or a small ziplock bag with a tiny corner snipped off. Allow this mixture to cool for about 5 minutes; this makes it less runny and easier to pipe.
-
Unwrap the chilled miniature peanut butter cups. Gently place one peanut butter cup upside down in the center of each still-warm cookie. Press lightly to secure. You can use a tiny dab of melted chocolate to help adhere the peanut butter cups if needed.
-
Using the melted chocolate in your piping bag, pipe four distinct chocolate lines on each side of the peanut butter cups, extending outwards, to create the spider’s eight legs.
-
Dab a small amount of chocolate onto the front of each peanut butter cup, then press two candy eyes onto the chocolate to create the spider’s eyes.
-
Allow all the chocolate decorations to cool and set completely before serving. This can take about 30 minutes at room temperature, or you can place them in the refrigerator for 10-15 minutes to speed up the setting process. Enjoy your spooky, sweet treats!
Nutrition Facts
Pin This Now to Remember It Later
Pin Recipe
