The Ultimate Guide to Freezing Cupcakes: Preserve Freshness, Flavor, and Enjoyment
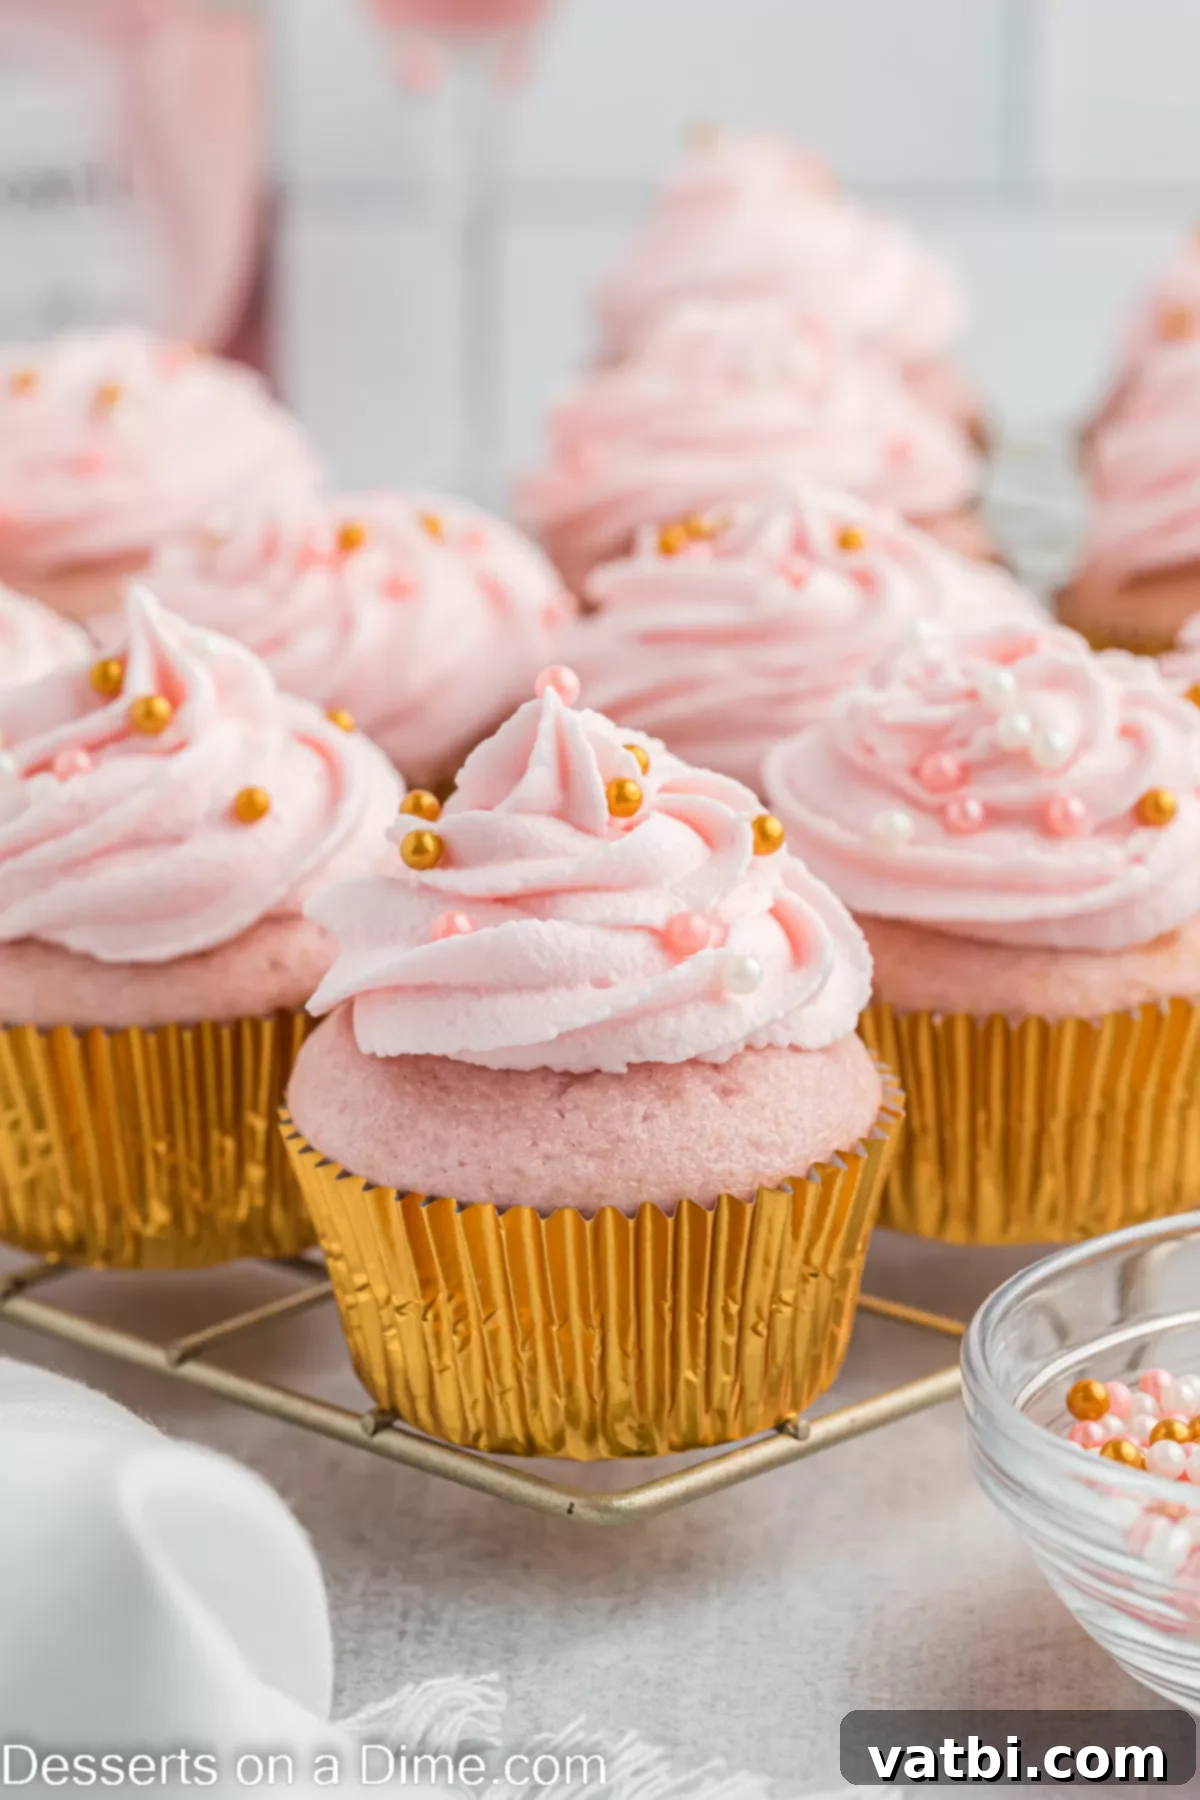
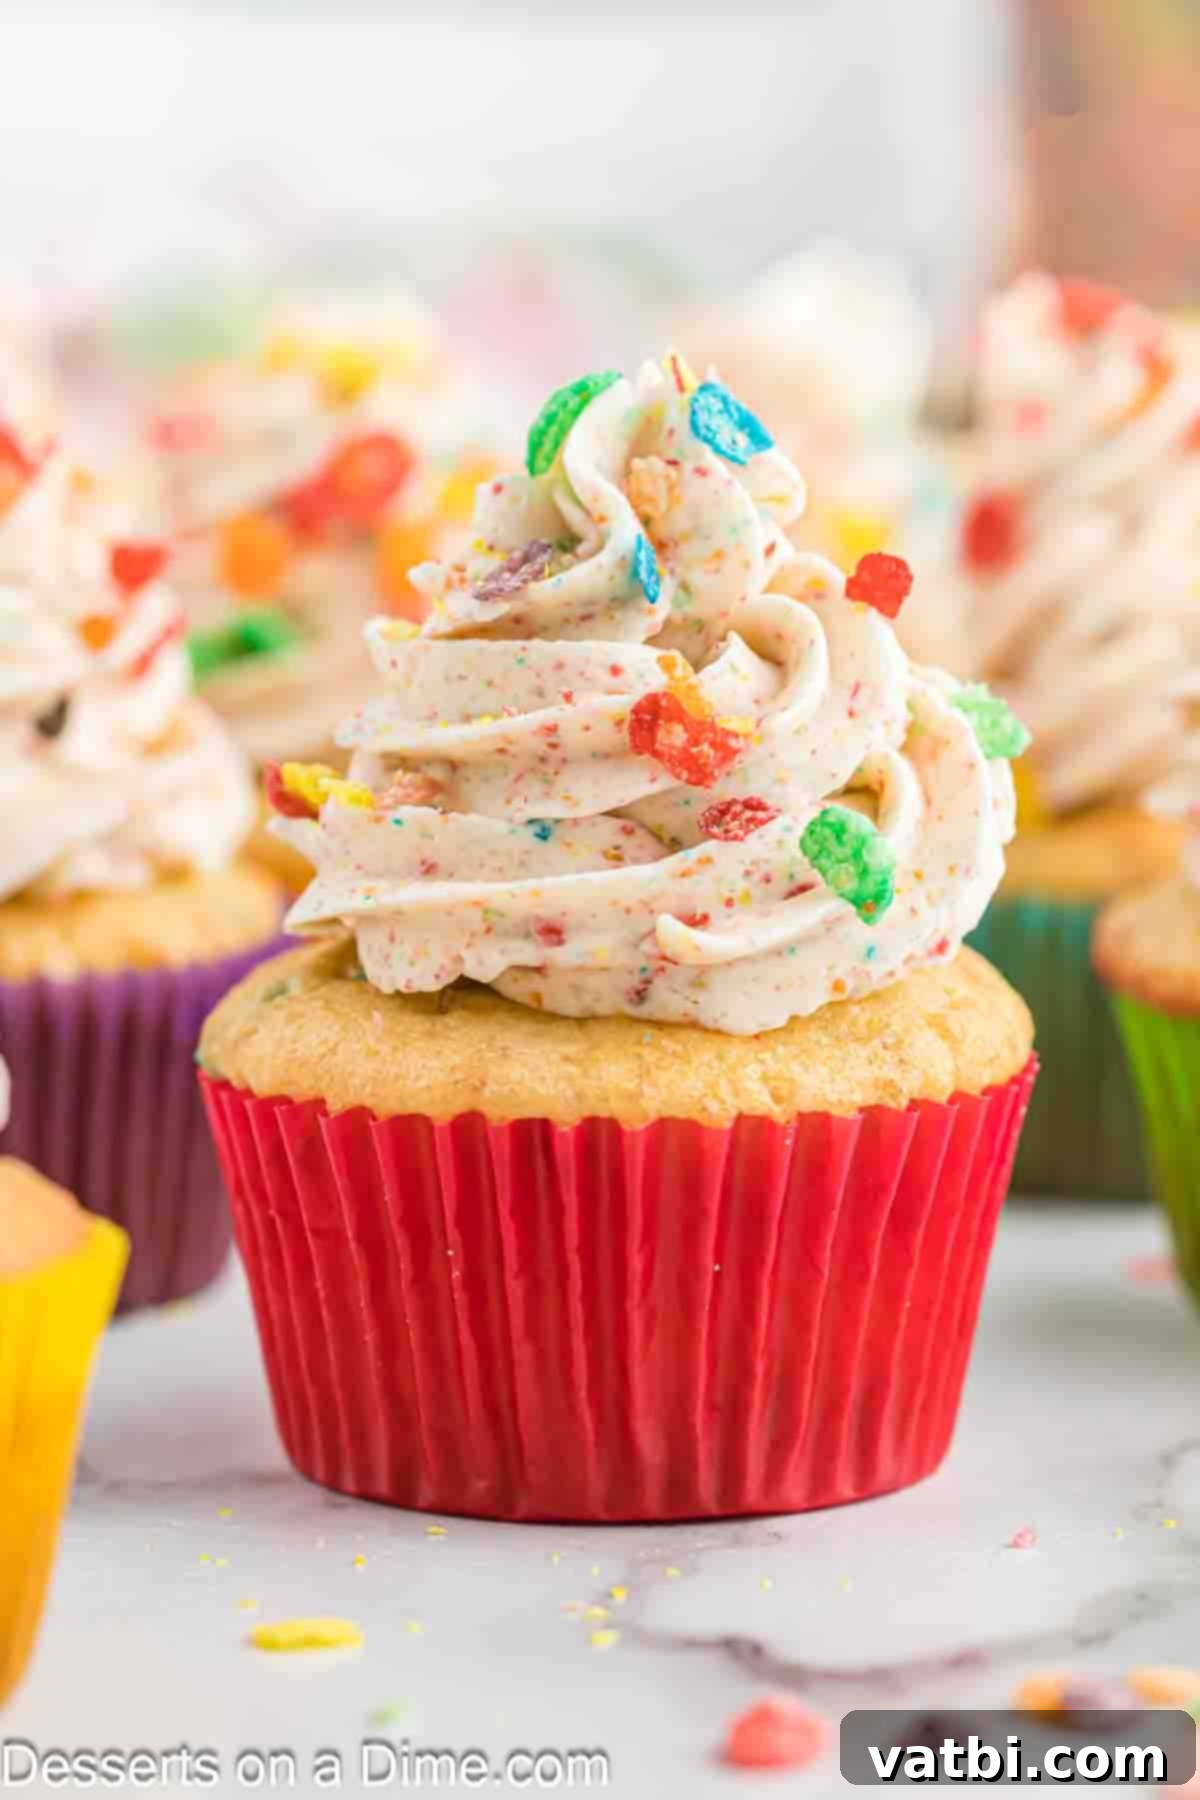
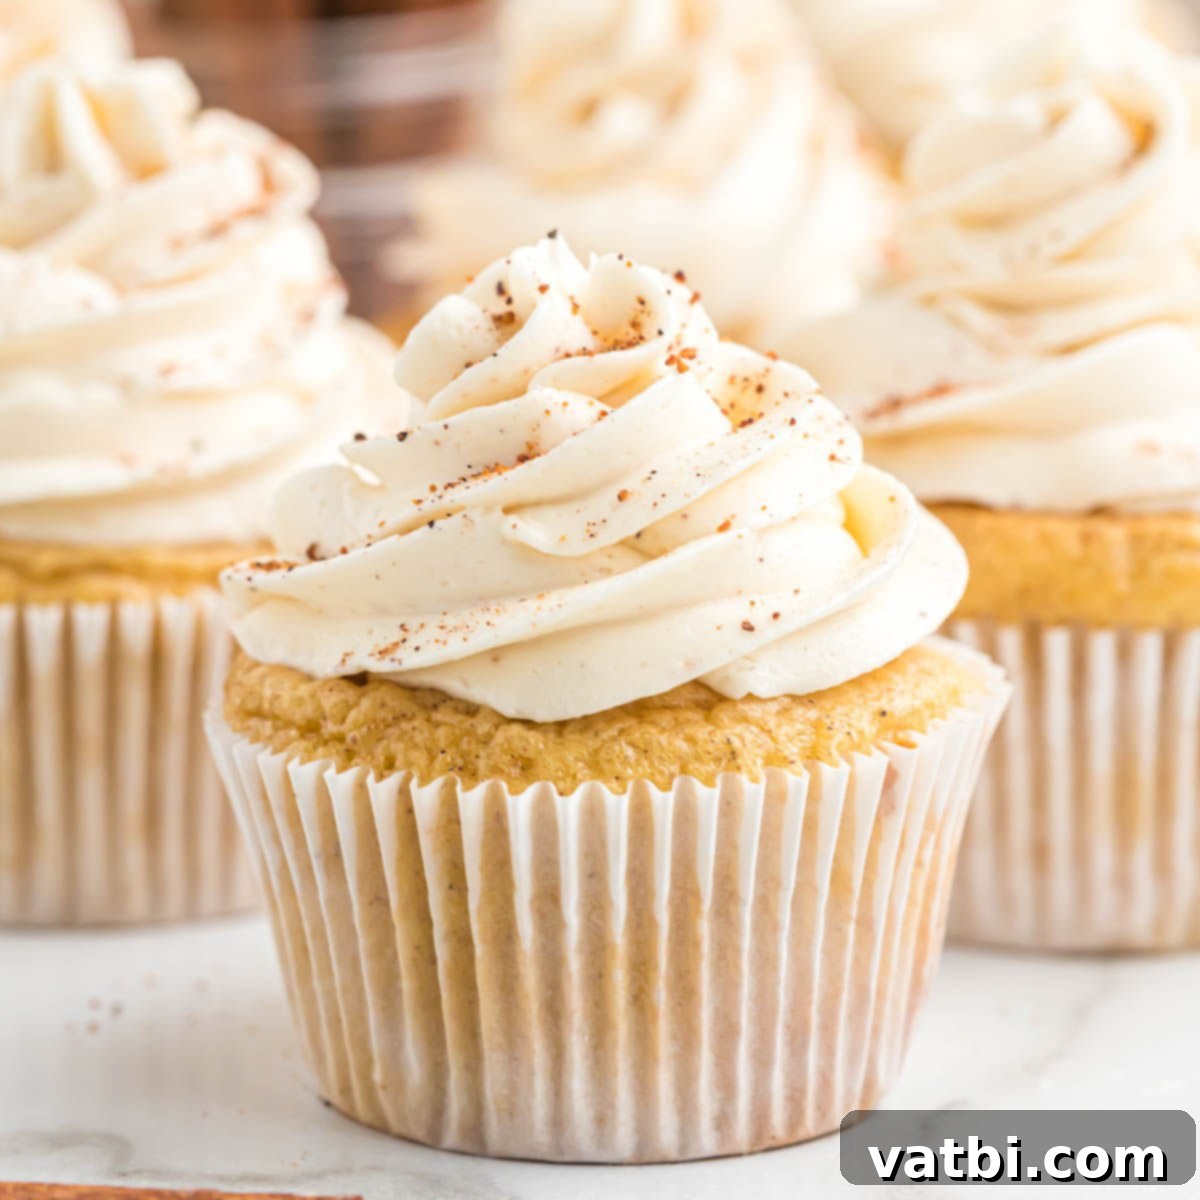
Have you ever found yourself with a surplus of freshly baked cupcakes and wondered, “Can you freeze cupcakes?” The answer is a resounding yes! Freezing cupcakes is an incredibly convenient and effective way to extend their lifespan, lock in their delicious flavor, and preserve their moist texture for future enjoyment. Whether you’re a seasoned baker who loves to prepare treats in advance, or you simply want to savor those delectable creations for longer, mastering the art of freezing cupcakes is a game-changer. This comprehensive guide will walk you through everything you need to know, from preparing your cupcakes for the freezer to defrosting them perfectly, ensuring every bite is as delightful as if it were just baked.

Learning how to properly freeze your favorite cupcake recipe will revolutionize your baking routine. We’ll show you the exact methods for both frosted and unfrosted cupcakes, along with crucial tips to prevent freezer burn and maintain their pristine condition. Imagine having a stash of delicious treats ready for unexpected guests, a last-minute craving, or simply to lighten your load during busy times. From the Best Vanilla Cupcake Recipe to Lemon Raspberry Cupcakes and countless other varieties, these simple yet effective techniques will help you enjoy your homemade delights whenever the mood strikes.
Table of contents
- Why Freezing Cupcakes is a Baking Game-Changer
- How to Freeze Frosted Cupcakes
- How to Freeze Unfrosted Cupcakes
- Essential Pro Tips for Freezing Cupcakes
- How Long Will Cupcakes Last in the Freezer?
- How to Defrost Cupcakes for Perfect Enjoyment
- Best Cupcake Recipes to Try
- More Freezing Tips for Baked Goods
Why Freezing Cupcakes is a Baking Game-Changer
Freezing cupcakes offers a multitude of benefits that make it an indispensable trick for any home baker or dessert enthusiast. It’s an incredibly easy way to preserve their delectable taste and delicate texture, allowing you to enjoy them days, weeks, or even months after baking. Here are just a few reasons why we absolutely love this simple preservation method:
- Extends Shelf Life: Freshly baked cupcakes typically last only a few days at room temperature. Freezing dramatically extends this to several months, giving you ample time to enjoy them.
- Convenience and Time-Saving: Bake a large batch when you have time, freeze them, and then simply thaw a few as needed. This is perfect for busy schedules, impromptu gatherings, or simply having a sweet treat on demand without the fuss of baking from scratch every time.
- Reduces Waste: Don’t let excess cupcakes go stale! Freezing is an excellent way to prevent food waste, ensuring every delicious cupcake finds its way to be enjoyed.
- Perfect for Meal Prep (Dessert Edition): Just as you might meal prep savory dishes, you can prep your desserts too. Freezing allows you to have a variety of cupcakes ready to go, whether for packed lunches, after-dinner treats, or party platters.
- Maintains Freshness: When frozen correctly, cupcakes retain their moisture and flavor remarkably well. The freezing process essentially pauses the aging process, keeping them tasting almost as good as the day they were baked.
By following a few straightforward steps, you can confidently freeze both frosted and unfrosted cupcakes, ensuring you always have a delightful, scrumptious delicacy on hand, ready to brighten any moment.
How to Freeze Frosted Cupcakes
Freezing frosted cupcakes requires a little extra care compared to unfrosted ones, primarily to protect the delicate frosting from smudging, cracking, or sticking. But with the right technique, you can easily preserve their beautiful appearance and delicious taste. The key is to ensure the frosting is completely solid before any wrapping takes place. Here’s a step-by-step guide:
- Step 1: Cool Completely. After baking, remove your cupcakes from the muffin tin and let them cool completely on a wire rack at room temperature. This step is absolutely critical. Any residual heat will create condensation inside your storage container, leading to dreaded ice crystals, soggy cupcakes, and a compromised texture. Ensure they are cool to the touch, inside and out, before proceeding.
- Step 2: Apply Frosting. Once the cupcakes are fully cooled, frost them with your desired icing. Buttercream, cream cheese frosting, and ganache tend to freeze particularly well. Avoid frostings with high water content, like meringue or boiled icings, as they can become watery upon thawing.
- Step 3: Pre-Freeze Individually. Arrange the frosted cupcakes in a single layer on a baking sheet or sturdy tray. Make sure they are not touching each other.
- Step 4: Flash Freeze for Firmness. Place the uncovered baking sheet or tray into the freezer for at least one to two hours, or until the frosting is completely solid to the touch. This “flash freezing” step is vital because it hardens the frosting, preventing it from sticking to wrapping materials or getting squashed when stored. Once the frosting is firm, its shape will be preserved.
- Step 5: Individual Wrapping. Once the frosting is solid, take the tray out of the freezer. Carefully wrap each individual cupcake tightly in plastic wrap. For an extra layer of protection against freezer burn, you can then wrap them again in aluminum foil. Ensure there are no gaps or exposed areas.
- Step 6: Final Storage. Gently place the individually wrapped cupcakes into an airtight freezer-safe bag or a rigid plastic storage container. If using a container, opt for one that is tall enough to prevent the lid from pressing down on the frosting. A sturdy, upright container will offer the best protection. Label the container with the date you froze the cupcakes so you can keep track of their freshness.
By following these specific measures, you can confidently freeze frosted cupcakes, preserving both their visual appeal and their delightful taste for weeks to come.
How to Freeze Unfrosted Cupcakes
Freezing unfrosted cupcakes is arguably simpler than freezing frosted ones, as you don’t have to worry about protecting delicate decorations. This method is fantastic if you prefer to frost your cupcakes fresh before serving, or if you want the flexibility to apply different types of frosting later on. The primary goal here is to prevent freezer burn and maintain the cake’s moistness.
- Step 1: Ensure Complete Cooling. Just like with frosted cupcakes, allow your unfrosted baked cupcakes to cool completely on a wire rack. This cannot be stressed enough. Freezing warm cupcakes will lead to condensation build-up inside the wrapping, creating ice crystals that will make your cupcakes soggy and ruin their texture upon thawing. They must be at room temperature before moving to the next step.
- Step 2: Individual Wrapping. Once thoroughly cooled, carefully wrap each unfrosted cupcake individually. You have a few excellent options for this:
- Plastic Wrap: This is a common and effective choice. Wrap each cupcake snugly in several layers of plastic wrap, making sure to eliminate as much air as possible.
- Aluminum Foil: For an extra layer of protection and to prevent freezer burn, you can also wrap each plastic-wrapped cupcake in aluminum foil. This adds a robust barrier against moisture loss.
- Freezer Bags: If you don’t have plastic wrap, placing individual cupcakes directly into small freezer-safe bags (and squeezing out excess air) can also work. However, individual plastic wrap offers superior protection.
The goal is to create an airtight seal around each cupcake to protect it from the dry freezer air and prevent it from absorbing freezer odors. Be careful not to crush the cupcakes during wrapping.
- Step 3: Airtight Container for Protection. After individually wrapping, place the cupcakes into a larger airtight container or a heavy-duty freezer bag. This second layer of protection is crucial for preventing freezer burn and maintaining the cupcakes’ quality over several months. If using a container, ensure it’s sturdy enough to protect the cupcakes from being squashed. Before sealing, remember to label the container or bag with the freezing date. This simple step will help you keep track of how long they’ve been stored and ensure you consume them within their optimal window.
Following these straightforward procedures will ensure that your unfrosted cupcakes remain deliciously fresh and ready to be frosted and enjoyed whenever you desire.
Essential Pro Tips for Freezing Cupcakes
Beyond the basic steps, these professional tips will help you achieve the best possible results when freezing and thawing your cupcakes, ensuring they taste as fresh and delightful as the day they were baked.
- Place Cupcakes in the Fridge Before Serving (for Outdoor Events): If you’re serving cupcakes at an outdoor event, a clever trick to prevent the frosting from melting prematurely is to refrigerate them for at least two to three hours before serving. This firms up the frosting, making it more resilient to warmer temperatures.
- Avoid Decorating Unless Absolutely Necessary: For optimal results, unfrosted cupcakes typically freeze better and are easier to store. If you can, freeze them plain and then frost them fresh once thawed. This not only preserves the texture of the frosting but also allows for versatility in decoration later on.
- Make Fresh Frosting Upon Thawing: For the absolute best taste and texture, consider making a fresh batch of buttercream or your preferred icing once your unfrosted cupcakes have thawed. This ensures the frosting is vibrant and creamy, perfectly complementing the moist cake.
- Avoid Freezing Cupcakes with Certain Fillings or Icings: Not all frostings and fillings are freezer-friendly. Cupcakes topped with delicate egg white-based icings (like meringue or boiled frosting) or those filled with custard, fruit curds, or gelatin-based fillings should generally not be frozen. The high moisture content in these ingredients can lead to a soggy, separated, or unappealing mess upon thawing. Stick to sturdy buttercreams or cream cheese frostings for freezing.
- Allow Ample Thawing Time for Optimal Texture: When eaten cold or even slightly chilled, cupcakes can lose some of their signature freshness, moistness, and fluffy texture. Always give them enough time to thaw completely to room temperature before serving. This allows the cake to reabsorb its moisture and regain its intended soft, tender crumb.
- Use Quality Ingredients: The quality of your ingredients matters. Cupcakes made with good quality butter, eggs, and flour will generally hold up better in the freezer.
- Don’t Overbake: Slightly under-baked cupcakes (where a toothpick comes out with moist crumbs, not wet batter) tend to stay moister after freezing and thawing than those that are overbaked and dry.
- Label Everything Clearly: Always label your frozen packages with the date and type of cupcake. This prevents guesswork and ensures you consume them within the recommended timeframe.
- Maintain Freezer Temperature: A consistent freezer temperature (0°F / -18°C or lower) is key. Fluctuations can lead to freezer burn. Avoid opening the freezer door frequently.

How Long Will Cupcakes Last in the Freezer?
When properly prepared and stored, cupcakes can be safely kept in the freezer for an extended period, typically between **four to six months**. During this timeframe, they will retain their best quality in terms of flavor and texture. Beyond six months, while still technically safe to eat if properly frozen, the quality of the cupcakes will gradually begin to decline. You might notice changes in texture, a drier crumb, or a slightly diminished flavor profile. The primary culprit for this decline is often freezer burn, which occurs when food is exposed to air and moisture loss. To ensure you enjoy your frozen cupcakes at their peak, it’s always best to consume them within the recommended four to six-month window.
How to Defrost Cupcakes for Perfect Enjoyment
Once you’re ready to indulge in your frozen treats, defrosting them correctly is crucial to bringing them back to their original glory. There are a few different approaches you can use, depending on how quickly you need them and whether they are frosted or unfrosted.
- Room Temperature (Recommended Method): This is generally the best and most gentle way to defrost cupcakes, particularly for unfrosted ones or those with sturdy frosting.
- Process: Remove the individually wrapped cupcakes from the freezer and place them on a tray or plate. Leave them at room temperature to thaw naturally.
- Time: Depending on the size of the cupcakes and the ambient temperature, this procedure can take anywhere from one to two hours for unfrosted cupcakes, and potentially three to four hours for frosted ones (especially if they are large or have thick frosting).
- Tip: While thawing, keep the cupcakes covered with their plastic wrap or a clean kitchen cloth. This prevents them from drying out and helps re-distribute moisture evenly, ensuring a moist and tender result.
- Refrigerator (Best for Frosted Cupcakes & Planning Ahead): If you’re not in a rush and can plan ahead, defrosting in the refrigerator is an excellent option, especially for frosted cupcakes, as it minimizes condensation and helps the frosting maintain its integrity.
- Process: Transfer the wrapped frozen cupcakes directly to the refrigerator.
- Time: Allow them to defrost gradually overnight, or for several hours (typically 6-8 hours).
- Tip: Once thawed in the fridge, it’s still a good idea to let them sit at room temperature for about 30 minutes to an hour before serving. This brings them to an optimal eating temperature, enhancing their flavor and texture.
- Microwave (For Emergencies Only): If you’re in an absolute rush and need a single cupcake immediately, the microwave can be used, but with extreme caution. This method carries the risk of drying out the cupcake or making it rubbery.
- Process: Place a frozen cupcake (unwrapped) on a microwave-safe plate. Defrost it in very short increments (e.g., 10-15 seconds) at a low power setting.
- Caution: Check the cupcake frequently. Overheating will quickly dry it out and make it tough. The goal is to gently warm it just enough to thaw, not to cook it. This method is generally not recommended for frosted cupcakes, as the frosting can melt or become oily.
Regardless of the thawing method you choose, for the best possible experience, always aim to serve your cupcakes at room temperature. This allows the cake to be wonderfully soft and fluffy, much like a cupcake straight from the oven, offering the perfect balance of moisture and flavor.
Best Cupcake Recipes to Try
Now that you know how to perfectly freeze and defrost cupcakes, here are some delicious recipes you might want to try and keep on hand!
- Cherry Almond Cupcakes
- Confetti Cupcakes
- Snickers Cupcakes Recipe
- Oreo Cupcakes Recipe
- Unicorn Cupcakes Recipe
More Freezing Tips for Baked Goods
Looking to expand your freezing knowledge beyond just cupcakes? Check out these other helpful guides for preserving your favorite baked treats:
- Can you freeze angel food cake
- Can you Freeze Cake Pops
- Can You Freeze Fudge
- Can you Freeze Sweet Potato Pie
Freezing cupcakes is a simple yet incredibly effective method to ensure you always have a delightful treat ready for any occasion or craving. By following these detailed steps and pro tips, you can confidently preserve the freshness and flavor of your favorite homemade cupcakes for months. Don’t let your delicious baking go to waste – embrace the freezer! We encourage you to try these methods with your next batch of cupcakes. Once you do, we’d love for you to share your experience and leave a comment below.
