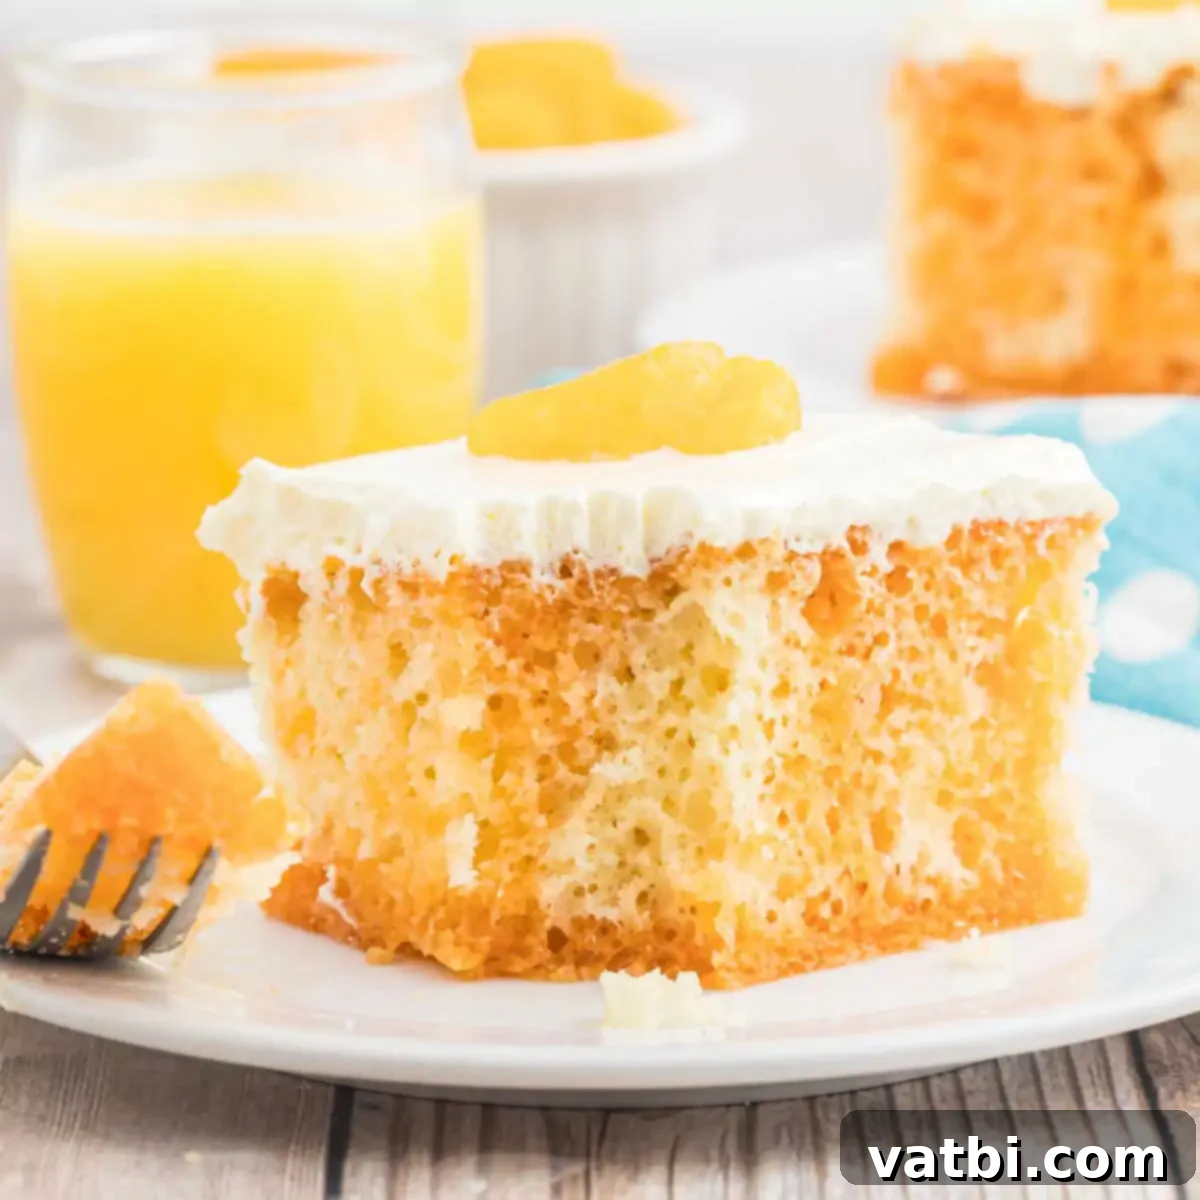
Easy & Irresistible Orange Creamsicle Poke Cake: A Zesty Dessert for Any Occasion
Transport yourself back to childhood summers with every delightful bite of this Orange Creamsicle Cake. It’s a dessert sensation loaded with vibrant orange flavor, perfectly mimicking the nostalgic taste of a classic creamsicle or dreamsicle. This incredibly easy-to-make poke cake is a true crowd-pleaser, featuring a wonderfully moist cake base infused with citrus goodness and crowned with a light, fluffy, and creamy topping. Whether you’re hosting a potluck, planning a party, or simply craving a refreshing sweet treat, this recipe is designed for effortless preparation and maximum flavor impact.

If you have a special place in your heart for Orange Desserts, then this Orange Creamsicle Poke Cake recipe is an absolute must-try. Each forkful delivers an unparalleled moistness, and the bright, zesty orange flavor is simply amazing. The secret to its incredible depth of flavor lies in the clever use of orange juice within the cake batter, creating a foundation that truly makes all the difference. Beyond the cake itself, the heavenly frosting is a creamy, dreamy combination of whipped topping and instant vanilla pudding. It results in a light, airy, and perfectly sweet frosting that complements the cake without being overly rich or cloying. I’ve made this for countless gatherings, and it consistently receives rave reviews from everyone who tries it. Prepare for each bite to be bursting with delightful flavor!
For those who adore this Orange Creamsicle Cake, be sure to also explore other citrus-infused delights like Orange Fluff and Orange Pudding for more refreshing dessert ideas.
Table of contents
- Why This Orange Creamsicle Cake Will Be Your New Favorite
- What Exactly is a Poke Cake?
- Key Ingredients for the Perfect Creamsicle Cake
- Essential Kitchen Tools You’ll Need
- Step-by-Step Instructions to Bake Your Cake
- Proper Storage for Your Orange Creamsicle Cake
- Expert Tips for the Best Orange Creamsicle Cake
- Flavor Variations and Substitutions
- Frequently Asked Questions (FAQs)
Why This Orange Creamsicle Cake Will Be Your New Favorite
There are so many reasons to fall in love with this Orange Creamsicle Poke Cake. Firstly, its simplicity is unmatched. Instead of fussing with multiple round cake pans and intricate layering, this recipe comes together effortlessly in a single 9×13-inch baking dish. This makes it ideal for beginner bakers or anyone looking for a quick yet impressive dessert.
The entire recipe starts with a humble box cake mix, which means less measuring, fewer ingredients to buy, and a consistent, delicious result every time. Don’t let the box mix fool you – with a few clever additions, it transforms into a gourmet-tasting treat. Anyone, regardless of their baking experience, can whip up this delightful cake. It’s also incredibly versatile, making it perfect for a casual family dessert, a lively potluck, or a festive party. The vibrant orange color and creamy white topping are visually appealing, and the flavor profile appeals to nearly everyone, from kids to adults. It’s truly a dessert that brings smiles and a touch of summer to any gathering.
What Exactly is a Poke Cake?
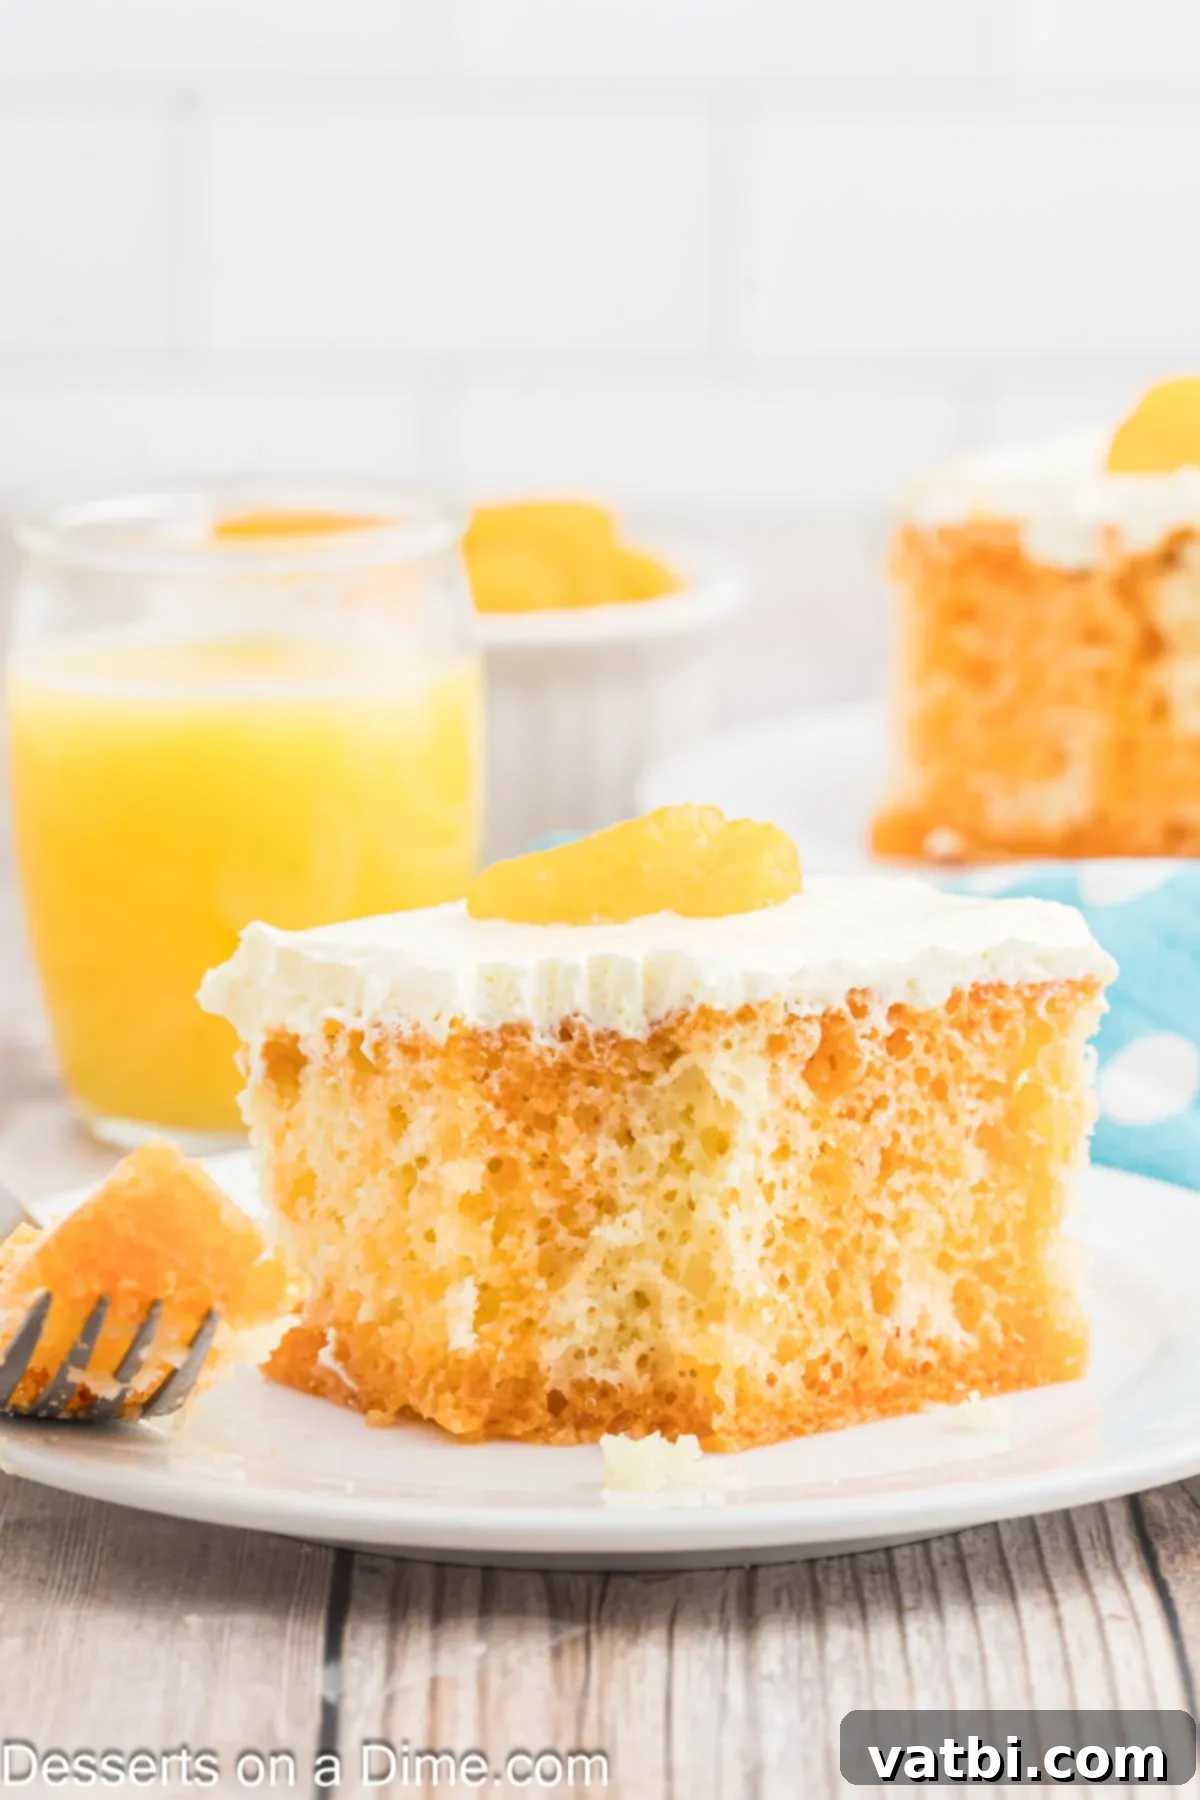
For those new to the concept, a poke cake is a brilliant invention designed to maximize moisture and flavor. After the cake is baked and slightly cooled, you literally “poke” holes all over its surface using a fork, a wooden skewer, or even the handle of a wooden spoon. Into these holes, you pour a liquid mixture – in this case, dissolved orange gelatin. The liquid then seeps into the cake, creating pockets of intense flavor and moisture, making the cake incredibly tender and juicy. Once the gelatin sets and the cake chills, it’s typically topped with a light frosting, like our creamy whipped topping and pudding mixture. The result is a cake that is not only bursting with flavor but also has a unique, beautiful swirl effect when sliced, making it as pleasing to the eye as it is to the palate.
Key Ingredients for the Perfect Creamsicle Cake
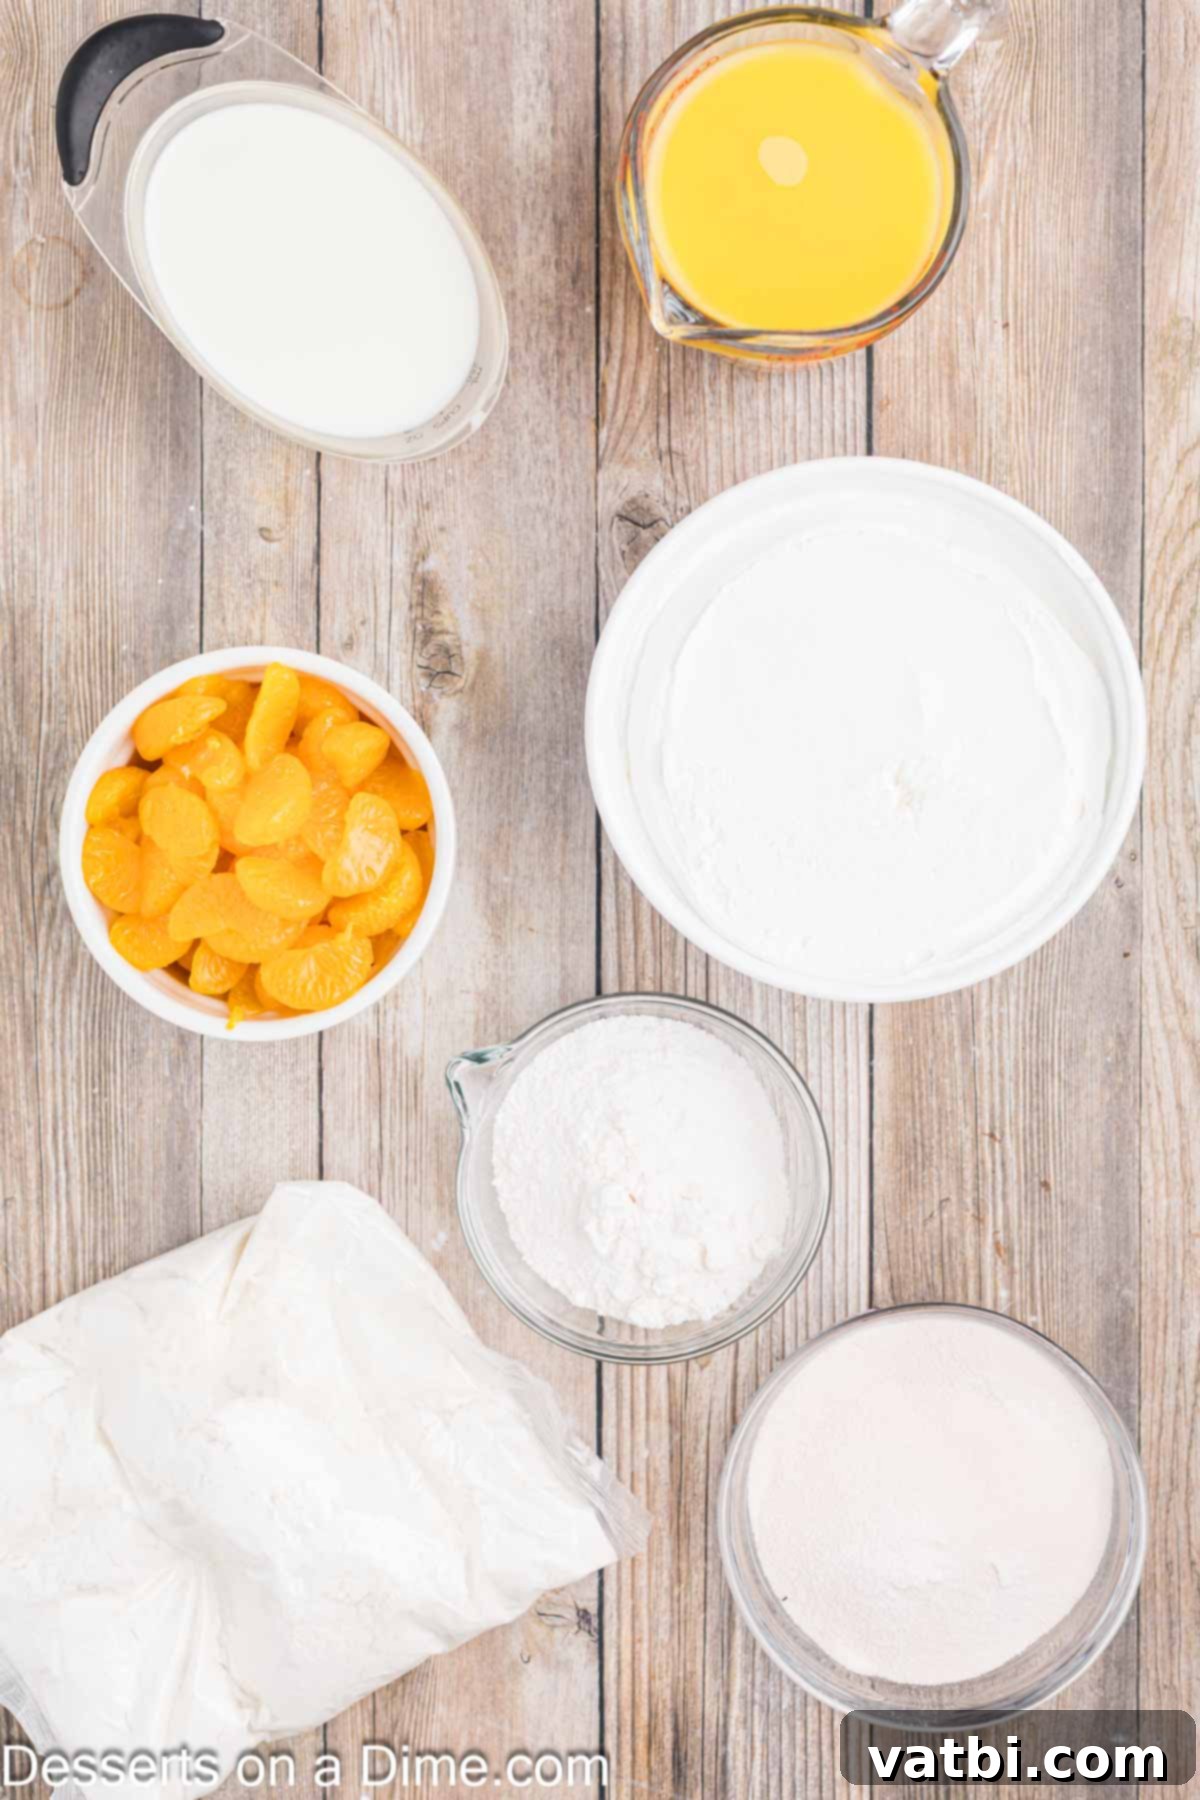
Gathering your ingredients is the first step to creating this delightful Orange Creamsicle Cake. Here’s a detailed look at what you’ll need and why each component is essential:
- White Cake Mix: This forms the base of our cake. While you could technically use a yellow cake mix, a white cake mix is highly recommended because it allows the vibrant orange swirl from the Jell-O to really pop, creating a more visually appealing dessert. Any standard 15.25 oz box will work perfectly.
- Orange Juice: This is where a significant portion of our amazing orange flavor comes from! Instead of water, we’ll substitute orange juice in the cake batter. For the best results, use your favorite brand of orange juice, or even freshly squeezed juice if you prefer. Just make sure it’s one without pulp to ensure a smooth cake texture.
- Orange Jello: This is key to the “poke cake” aspect, infusing the cake with even more orange flavor and moisture. A standard 6-ounce box of orange gelatin mix (any store brand will do) is what you need. Ensure it’s the regular variety, not sugar-free, unless you’re making the lighter version.
- Vanilla Instant Pudding: This ingredient is crucial for our light and fluffy topping. It’s important to use *instant* vanilla pudding mix (a 3.4 oz box) as it sets quickly and provides the correct consistency for the frosting. Non-instant pudding will not set correctly and will result in a runny topping.
- Whole Milk: Used in conjunction with the instant pudding, whole milk helps create a richer, creamier topping. While reduced-fat milk can be used, whole milk truly elevates the texture and taste of the frosting.
- Cool Whip: This is the other half of our fantastic frosting, providing that signature light and airy texture. A thawed 8 oz container of Cool Whip (or a similar whipped topping) combines beautifully with the pudding mix for a dreamy, not-too-sweet finish.
- Mandarin Oranges: These are an optional but highly recommended garnish. Drained canned mandarin oranges add a beautiful visual appeal and an extra burst of fresh orange flavor and texture to each slice.
The complete list of ingredients, along with precise measurements, can be found at the bottom of the page in the recipe card.
Essential Kitchen Tools You’ll Need
To make this Orange Creamsicle Cake, you’ll need a few basic kitchen tools:
- 9×13 inch Baking Dish: The ideal size for this sheet cake, ensuring even baking and easy serving.
- Large Mixing Bowl: For combining the cake batter and then for making the topping.
- Electric Mixer (Handheld or Stand Mixer): Essential for thoroughly combining the cake batter ingredients and ensuring a smooth, lump-free consistency.
- Whisk: For dissolving the gelatin and for a final whisk of the topping ingredients.
- Measuring Cups and Spoons: For accurate ingredient measurements.
- Cooking Spray: To prevent the cake from sticking to the pan.
- Toothpick or Wooden Skewer: For testing cake doneness and, of course, for poking those crucial holes! The handle of a wooden spoon also works well for larger holes.
- Offset Spatula: Great for evenly spreading the whipped topping over the cake.
Step-By-Step Instructions to Bake Your Cake
Follow these simple steps to create your incredible Orange Creamsicle Poke Cake:
- Step 1. Prepare for Baking: Begin by preheating your oven to 350 degrees Fahrenheit (175°C). While the oven heats, thoroughly spray a 9-inch x 13-inch baking dish with non-stick cooking spray to ensure your cake releases easily after baking.
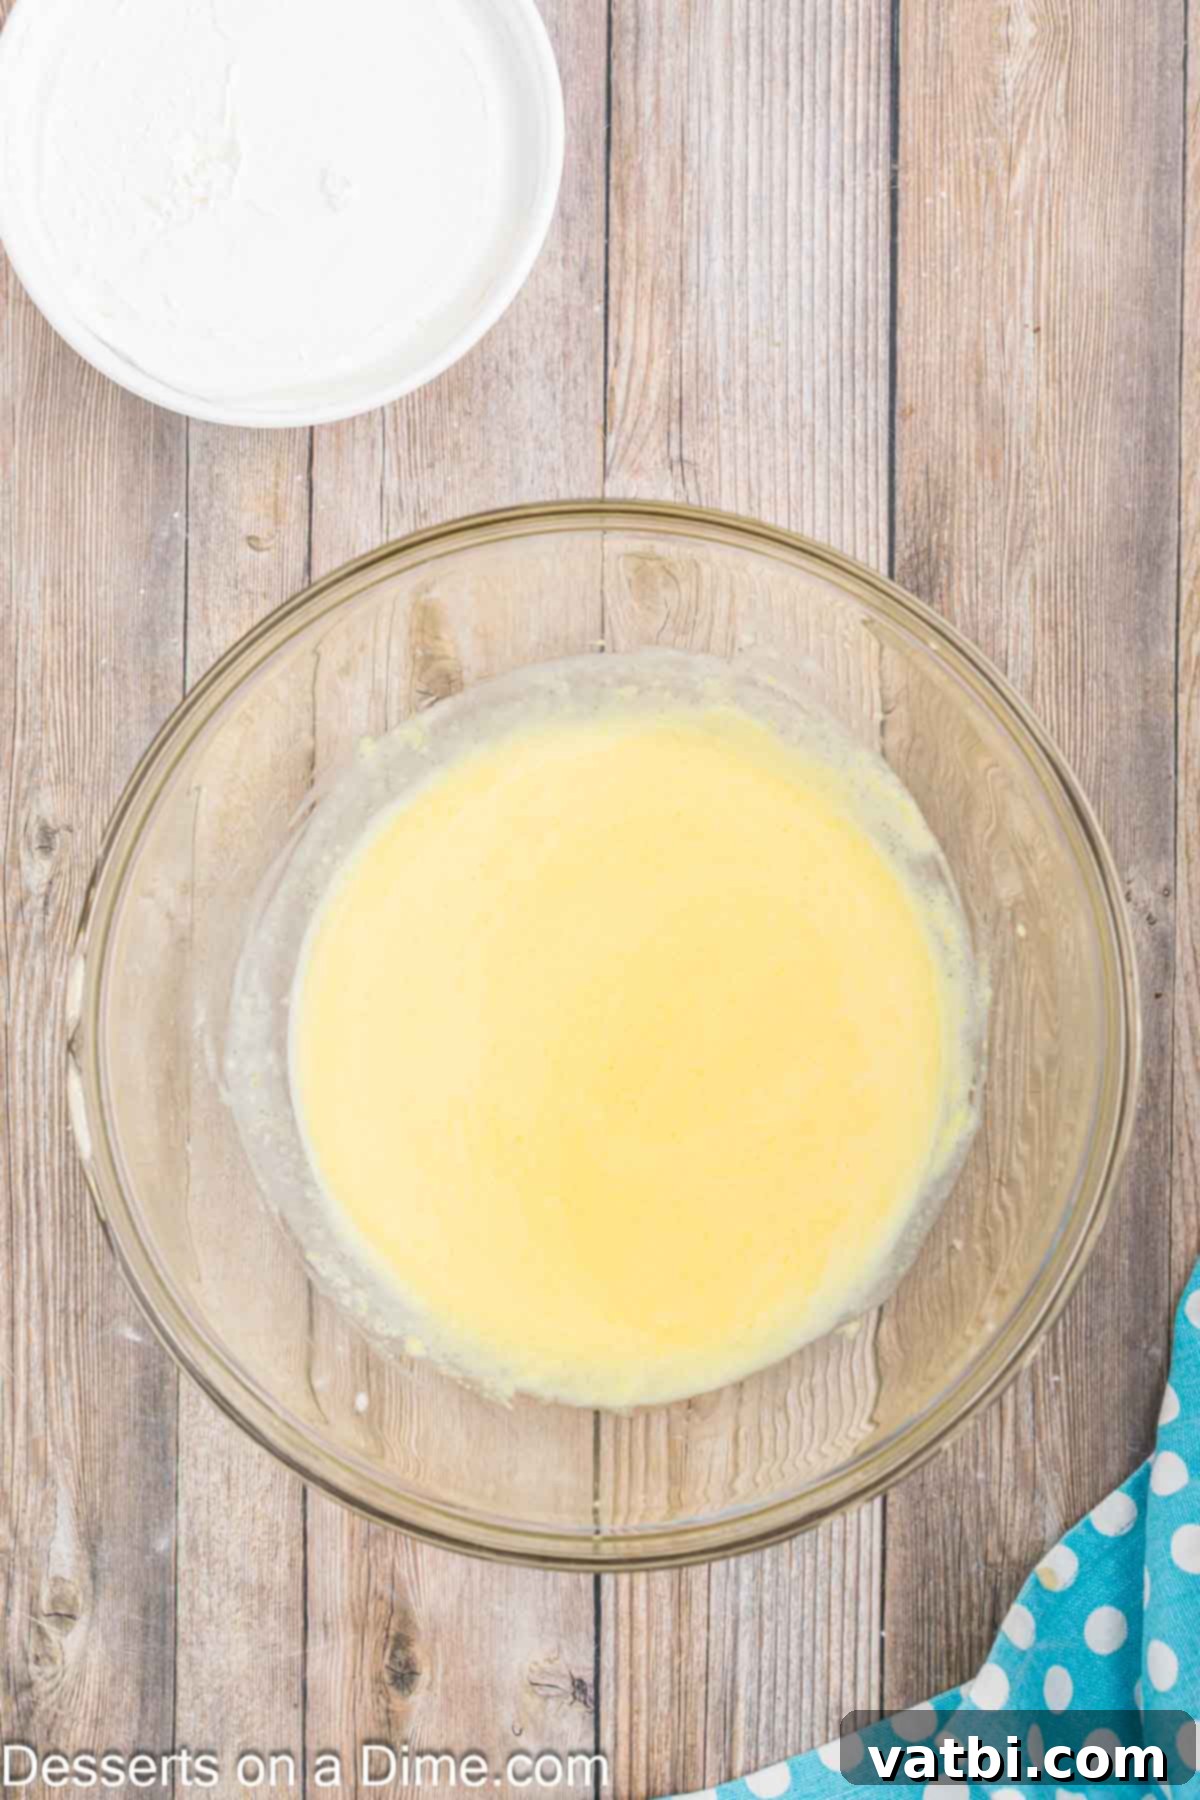
Step 2. Mix the Cake Batter: In a large mixing bowl, prepare your white cake mix according to the package instructions. However, here’s the key twist: substitute orange juice for any water called for in the box mix. Whisk together the dry ingredients and wet ingredients with an electric mixer on medium speed until just combined. Be sure to scrape down the sides of the bowl with a spatula to ensure everything is incorporated. You can use either a stand mixer with a paddle attachment or a handheld electric mixer.
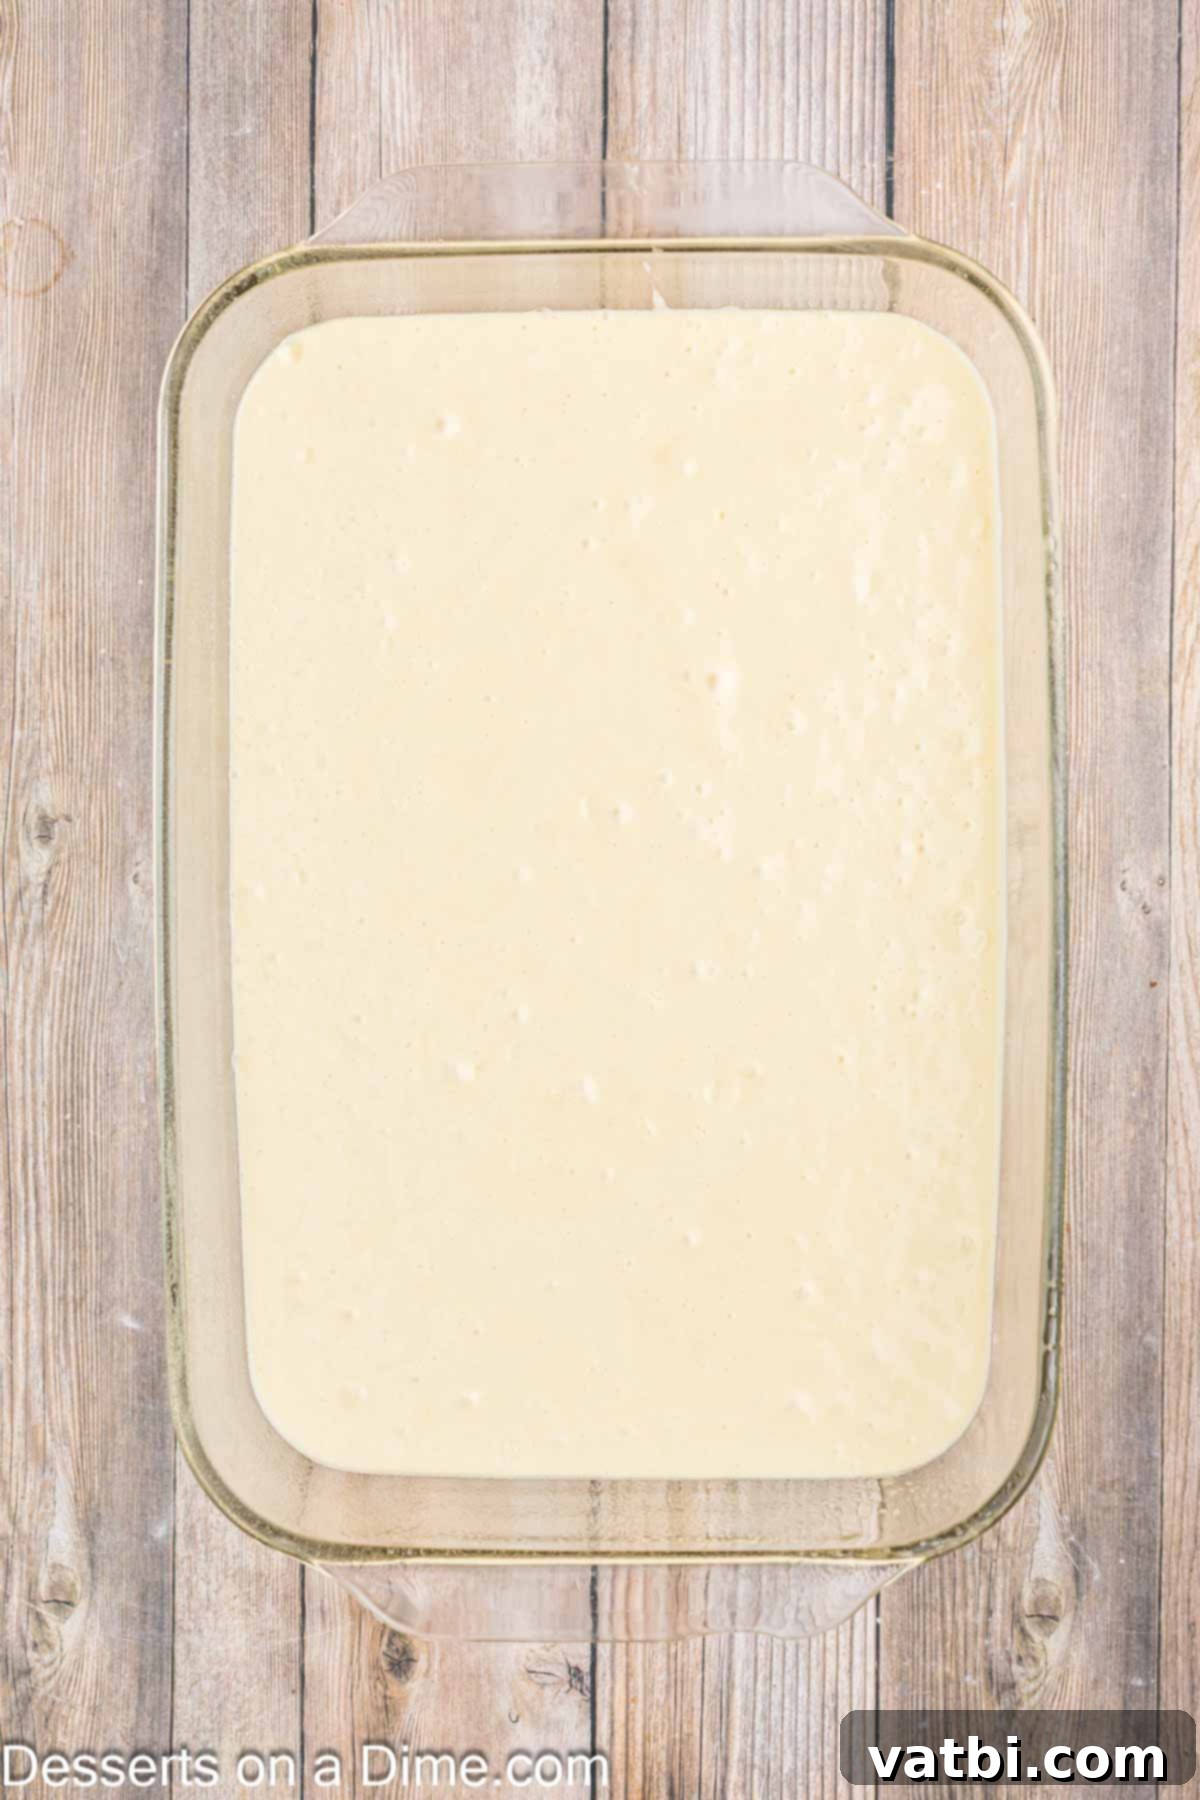
Step 3. Bake the Cake: Once the batter is smoothly combined, carefully pour the mixture into your prepared 9×13-inch baking pan. Place it in the preheated oven and bake for the duration specified on your cake mix box for a 9×13 pan. Baking times can vary slightly, so keep an eye on it. The cake is typically done when you can insert a toothpick into the center and it comes out clean, or with only moist crumbs attached.
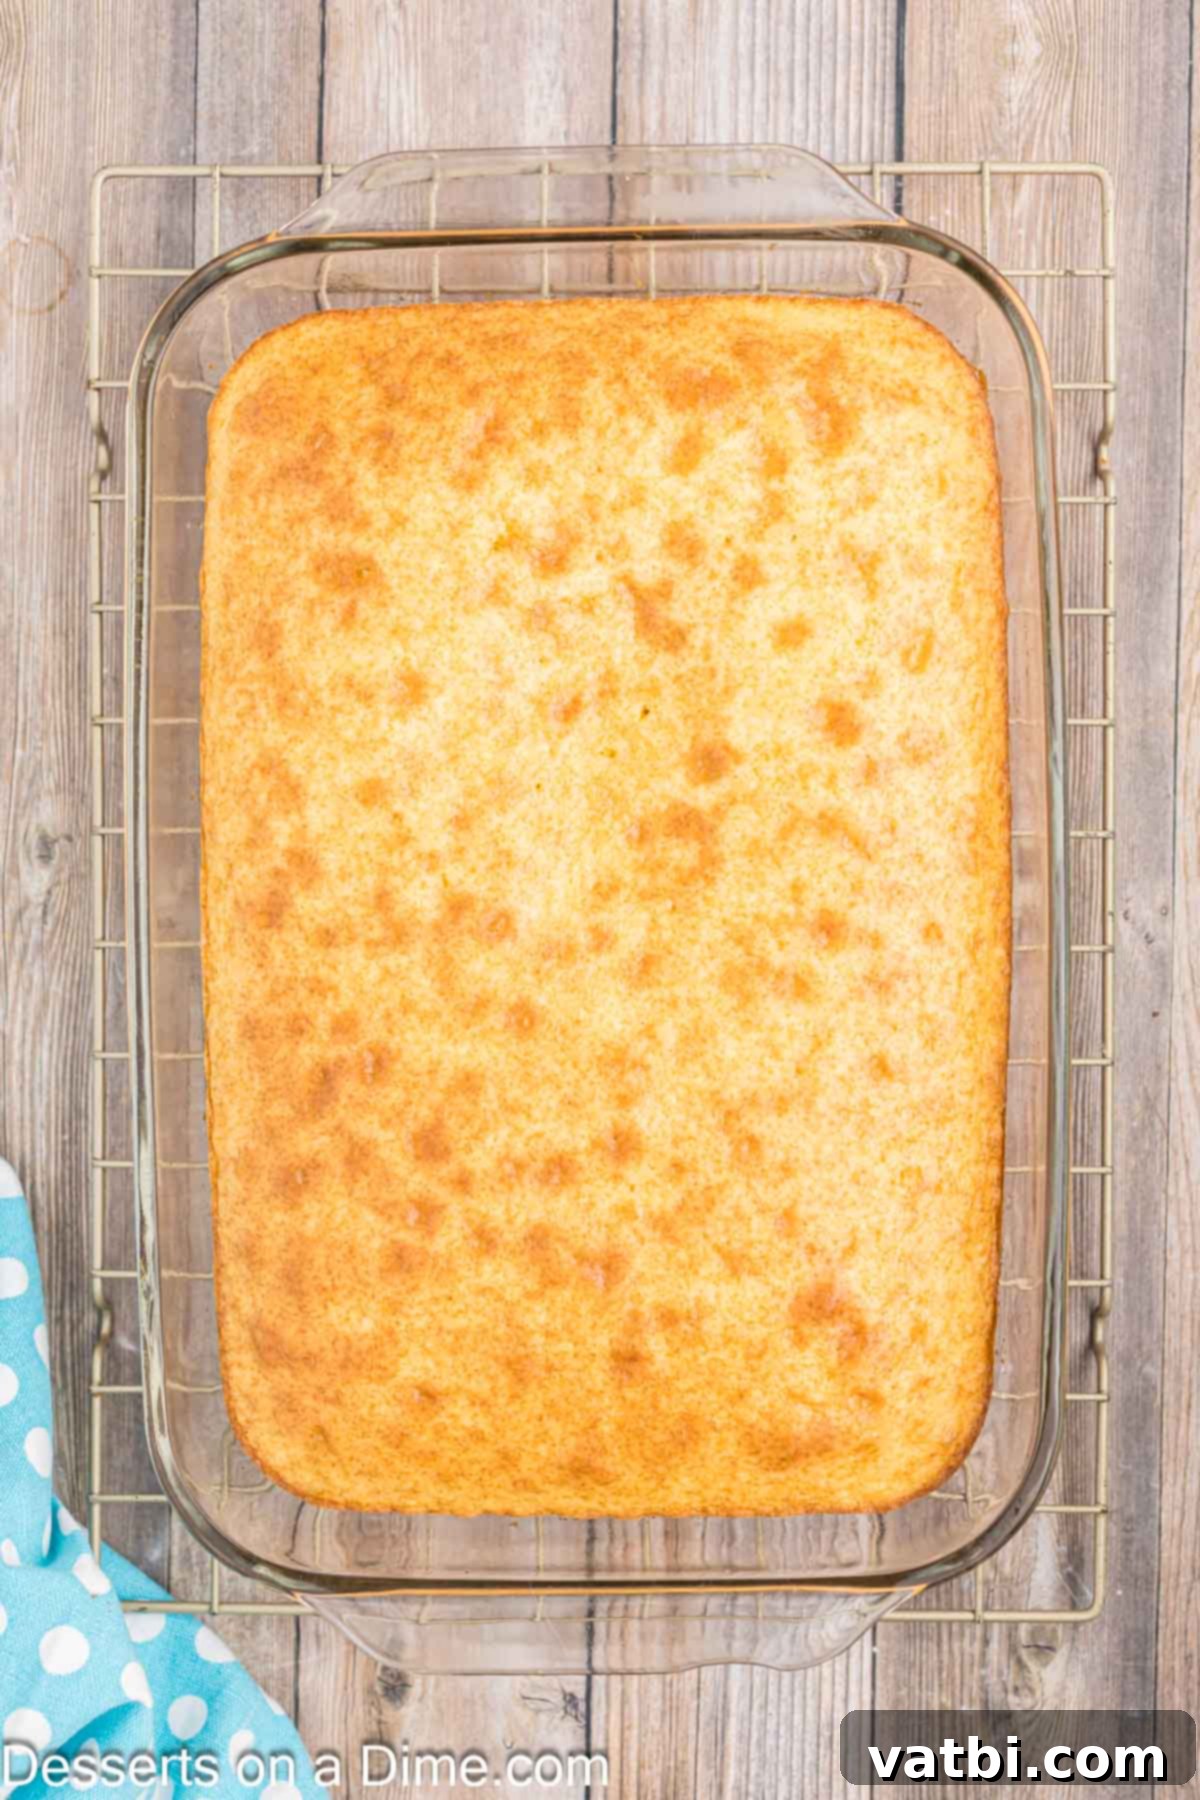
Step 4. Initial Cooling: Once baked, remove the cake from the oven and allow it to cool in the pan on a wire rack for about 5 minutes. This brief cooling period helps the cake to firm up slightly before the next step.

Step 5. Poke Those Holes: While the cake is still warm, use a fork, a wooden skewer, or the end of a wooden spoon to poke holes evenly all over the cake’s surface. Aim for holes that go almost all the way to the bottom but don’t pierce through. Make sure the holes are spaced out enough so you can achieve that beautiful white and orange swirl when you slice it later.

Step 6. Gelatin Infusion: In a separate bowl, mix together the box of orange gelatin with 2 cups of boiling hot water. Whisk until the gelatin powder is completely dissolved. Carefully and slowly pour this vibrant orange mixture evenly over the entire cake, allowing it to soak into all the poked holes. Once poured, transfer the cake to the refrigerator to cool completely and allow the gelatin to set. This chilling step is crucial for the texture and flavor.
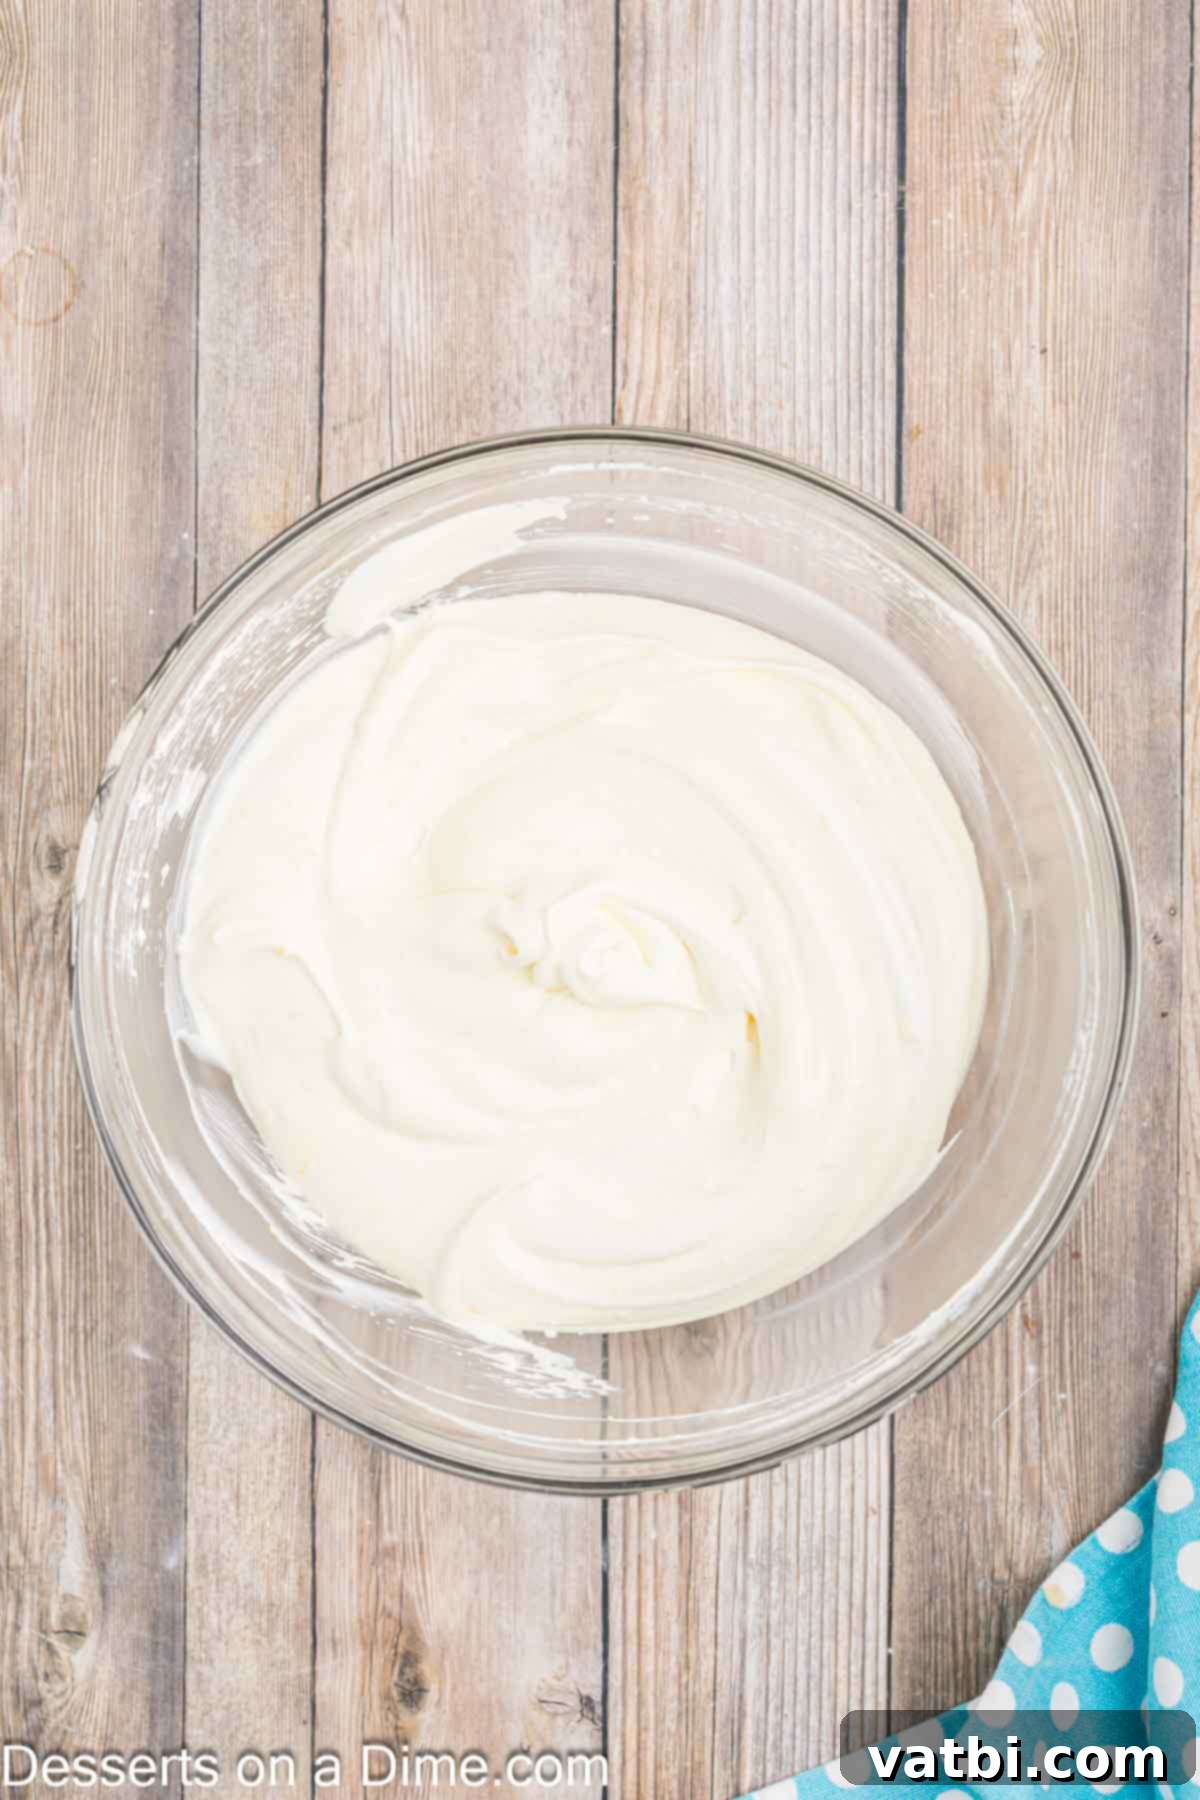
Step 7. Prepare the Topping: While the cake is chilling, prepare the creamy topping. Get out another large bowl and combine the instant vanilla pudding mix with 1 cup of cold whole milk. Whisk vigorously for about 2 minutes until the mixture thickens. Then, gently fold in the thawed Cool Whip until the mixture is completely smooth and uniform in consistency. This creates a light, cloud-like frosting.

Step 8. Frost and Garnish: Once the cake is completely cooled and the gelatin has set (this might take a couple of hours), carefully spread the vanilla pudding and Cool Whip mixture all over the cake layer using an offset spatula or the back of a spoon. If you’re using mandarin oranges for garnish, artfully arrange a few slices on top of the cake for a beautiful finish. This adds both visual appeal and an extra touch of fresh orange flavor.

Step 9. Serve and Enjoy: Your Orange Creamsicle Poke Cake is now ready to slice and enjoy! For an extra special treat, consider serving it with a scoop of vanilla ice cream or a refreshing orange sherbet. The contrasting temperatures and textures will create an even more delightful dessert experience. Enjoy the vibrant flavors and creamy goodness!
Proper Storage for Your Orange Creamsicle Cake
To keep your Orange Creamsicle Poke Cake tasting its best, proper storage is essential. This cake, especially with its creamy topping, needs to be refrigerated. Cover the cake tightly with plastic wrap or transfer it to an airtight container. When stored in the refrigerator, it will remain fresh and delicious for 2-3 days. Any longer, and the cake will start to absorb too much moisture from the gelatin, potentially becoming soggy. For the best texture and flavor, I recommend enjoying it within the first two days.
Can you freeze Orange Creamsicle Cake? While you can technically freeze this cake, the texture of the gelatin and the whipped topping may change upon thawing, becoming a bit softer or more watery. If you choose to freeze it, wrap individual slices tightly in plastic wrap, then again in aluminum foil. It can be frozen for up to 1 month. Thaw in the refrigerator overnight before serving.
Expert Tips for the Best Orange Creamsicle Cake
Here are some additional tips and tricks to ensure your Orange Creamsicle Cake turns out perfectly every time, maximizing flavor and presentation:
- Be Careful Poking Holes: The key to the beautiful orange and white swirl is strategic hole poking. You don’t want too many holes, as this could lead to the entire cake becoming uniformly orange. Instead, aim for enough holes to allow the gelatin to penetrate and moisten the cake, but ensure there’s enough space in between so that when sliced, you still see distinct white cake and orange streaks. Use a fork for smaller, more delicate pockets, or the back of a wooden spoon for larger, more pronounced orange areas.
- Chill Before Frosting: This is a non-negotiable step! Allowing the cake to cool completely, and giving the Jell-O time to fully set and soak into the cake, is crucial. If you try to frost a warm or even slightly cool cake, the whipped topping will melt, resulting in a runny, messy disaster. Patience here truly pays off.
- Boost the Orange Flavor: For an even more intense orange flavor, consider adding 1-2 Tablespoons of fresh orange zest to your cake batter. The zest contains essential oils that provide a bright, aromatic punch without adding extra liquid. A few drops of orange extract (pure, not artificial) can also be incorporated into the cake batter or the gelatin mixture for an extra citrus kick.
- Lighter Options: If you’re looking to reduce calories or sugar, this recipe is easily adaptable. You can use sugar-free Jell-O, sugar-free instant vanilla pudding mix, and a light or sugar-free whipped topping. You can also opt for reduced-fat milk instead of whole milk in the topping.
- Clean and Pretty Slices: To achieve beautifully clean and professional-looking slices, especially when serving at a party, run your sharp knife under warm water and wipe it clean with a paper towel between each slice. This prevents the topping and cake crumbs from sticking and dragging, ensuring a neat presentation.
- Topping Variations: While the vanilla pudding and Cool Whip topping is classic, don’t hesitate to experiment! You could omit the creamy topping entirely and simply dust the cake with powdered sugar for a simpler finish. Alternatively, a light orange glaze made from powdered sugar and orange juice would also be delicious. For a tangier twist, incorporate a bit of cream cheese into the whipped topping.
- Room Temperature Ingredients: For the cake batter, ensuring your eggs (if using any as per cake mix instructions) and orange juice are at room temperature helps them emulsify better, leading to a smoother batter and a more even bake.
- Don’t Overmix: When preparing the cake batter, mix only until the ingredients are just combined. Overmixing can develop the gluten in the flour, leading to a tougher, less tender cake.
Flavor Variations and Substitutions
One of the best things about this Orange Creamsicle Poke Cake is its adaptability. You can easily tweak the flavors to create an entirely new dessert experience!
- Lemon Creamsicle Cake: Substitute lemon cake mix, lemon Jell-O, and lemon instant pudding for an equally zesty and refreshing treat. A few drops of lemon extract would also enhance the flavor.
- Lime Creamsicle Cake: Use lime cake mix (if available, or white cake mix with lime extract), lime Jell-O, and potentially a hint of lime zest in the topping. This is wonderfully tart and refreshing.
- Strawberry Creamsicle Cake: Opt for a white or vanilla cake mix, strawberry Jell-O, and the regular vanilla instant pudding. This creates a lovely pink and white cake with a sweet berry twist.
- Tropical Twist: Try pineapple or peach Jell-O with a white cake mix. You could even garnish with corresponding fruit.
- Different Pudding Flavors: While vanilla pudding is classic, you could experiment with white chocolate pudding for an extra layer of sweetness, or even a cheesecake flavored instant pudding for a richer topping.
- Homemade Whipped Cream: If you prefer to avoid store-bought whipped topping, you can make your own. Whip 2 cups of heavy cream with 1/2 cup of powdered sugar and 1 teaspoon of vanilla extract until stiff peaks form. Gently fold in the prepared instant vanilla pudding mixture.
Frequently Asked Questions (FAQs)
Here are answers to some common questions you might have about making this delicious Orange Creamsicle Poke Cake:
- Can I use fresh orange juice instead of store-bought? Absolutely! Freshly squeezed orange juice will give your cake an even brighter, more authentic orange flavor. Just ensure it’s pulp-free for the best texture in the cake batter.
- Can I use fresh orange segments instead of canned mandarin oranges for garnish? Yes, you can! Fresh orange segments would be a beautiful and tasty garnish. Just make sure they are peeled and cut into small, manageable pieces.
- Can I make this cake ahead of time for a party? This cake is perfect for making ahead! In fact, it tastes even better the next day as the flavors have more time to meld and the gelatin fully sets. Prepare it the day before your event, cover it, and keep it refrigerated.
- How can I prevent the cake from becoming soggy? The key is proper chilling time. Ensure the gelatin has fully set within the cake before applying the frosting. Also, follow the storage recommendations and consume within 2-3 days. The gelatin naturally adds a lot of moisture, which is the intention of a poke cake, but it shouldn’t be overly soggy if stored correctly.
- What if I don’t have an electric mixer? You can still make the cake! For the batter, you’ll need to whisk vigorously by hand until smooth, ensuring no dry pockets remain. For the topping, whisking the pudding and milk until thick will require some arm power, and then gently folding in the Cool Whip by hand will also work. It just takes a little more effort.
- Can I use a different size pan? While a 9×13 inch pan is recommended for this recipe, you could use two 8-inch round cake pans or a bundt pan. Be aware that baking times will vary, and you might need to adjust the amount of gelatin or frosting slightly. Always check for doneness with a toothpick.
Pin
Orange Creamsicle Cake
Ingredients
- 1 White Cake Mix
- 1 Cup Orange Juice
- 1 box Orange Jello 6 ounces
- 2 Cups Boiling Water
- Vanilla Instant Pudding 3.4 oz
- 1 Cup Whole Milk
- 8 oz Cool Whip
- 15 oz Mandarin Oranges drained (for topping)
Instructions
-
Preheat the oven to 350 degrees F. Spray a 9×13 baking dish with non-stick cooking spray.
-
Mix together the cake mix according to the box instructions but substitute orange juice for the water.
-
Pout the mixture into the prepared pan and bake for the time specified on the cake mix box.
-
Allow to cool for 5 minutes.
-
Poke holes evenly all over the cake with a fork.
-
Combine the jello with the boiling water. Once mixed together, pour over the cake so it soaks into the holes.
-
Refrigerate to cool the cake completely.
-
Use a large mixing bowl to combine the vanilla pudding mix with the milk. Then add the cool whip and combine until smooth.
-
Spread the cool whip mixture all over the cake once cool. Garnish with mandarin orange slices.
-
Then the cake is ready to slice, serve and enjoy!
Recipe Notes
Storage – Cover and place in the refrigerator 2-3 days
Nutrition Facts
Pin This Now to Remember It Later
Pin Recipe
More Orange Desserts You’ll Love
Popsicle
Orange Julius Popsicle Recipe: A Nostalgic Frozen Treat
Easy Brownie
Zesty Orange Brownies: A Citrusy Twist on a Classic
Cakes
Classic Orange Pound Cake: Rich, Moist, and Flavorful
I am genuinely excited for you to make this incredible Orange Creamsicle Poke Cake and experience its delightful flavors. It’s truly a recipe that combines ease with an explosion of delicious, nostalgic taste. Please come back and leave a comment once you give it a try – I love hearing about your baking successes!
