Easy & Festive Shamrock Cookies: Your Ultimate St. Patrick’s Day Sugar Cookie Recipe
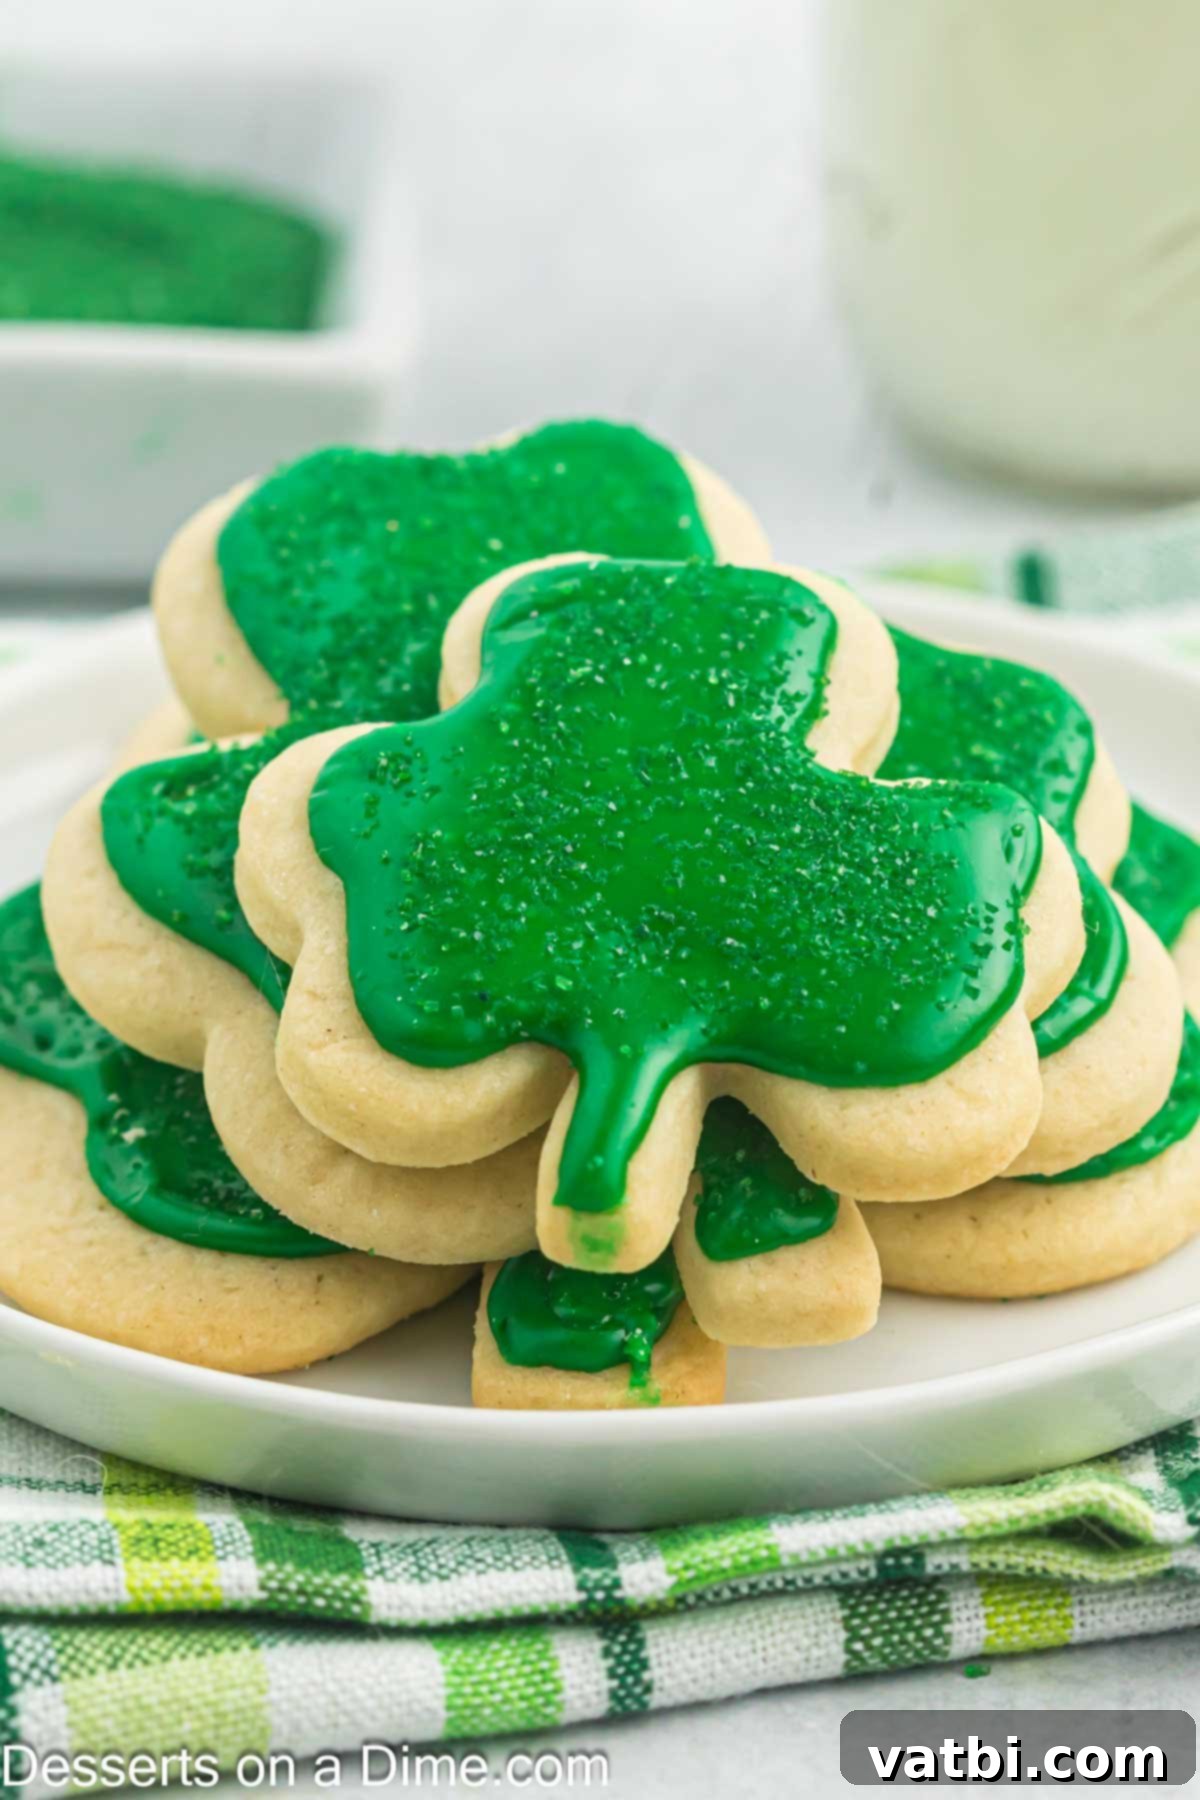
Celebrate the luck of the Irish with these delightful Shamrock Cookies! These aren’t just any sugar cookies; they’re specially designed to bring a smile to everyone’s face, shaped with a classic shamrock cookie cutter and adorned with vibrant green frosting and sparkling sprinkles. They are the quintessential festive treat for St. Patrick’s Day, perfect for parties, school events, or simply enjoying with family and friends.
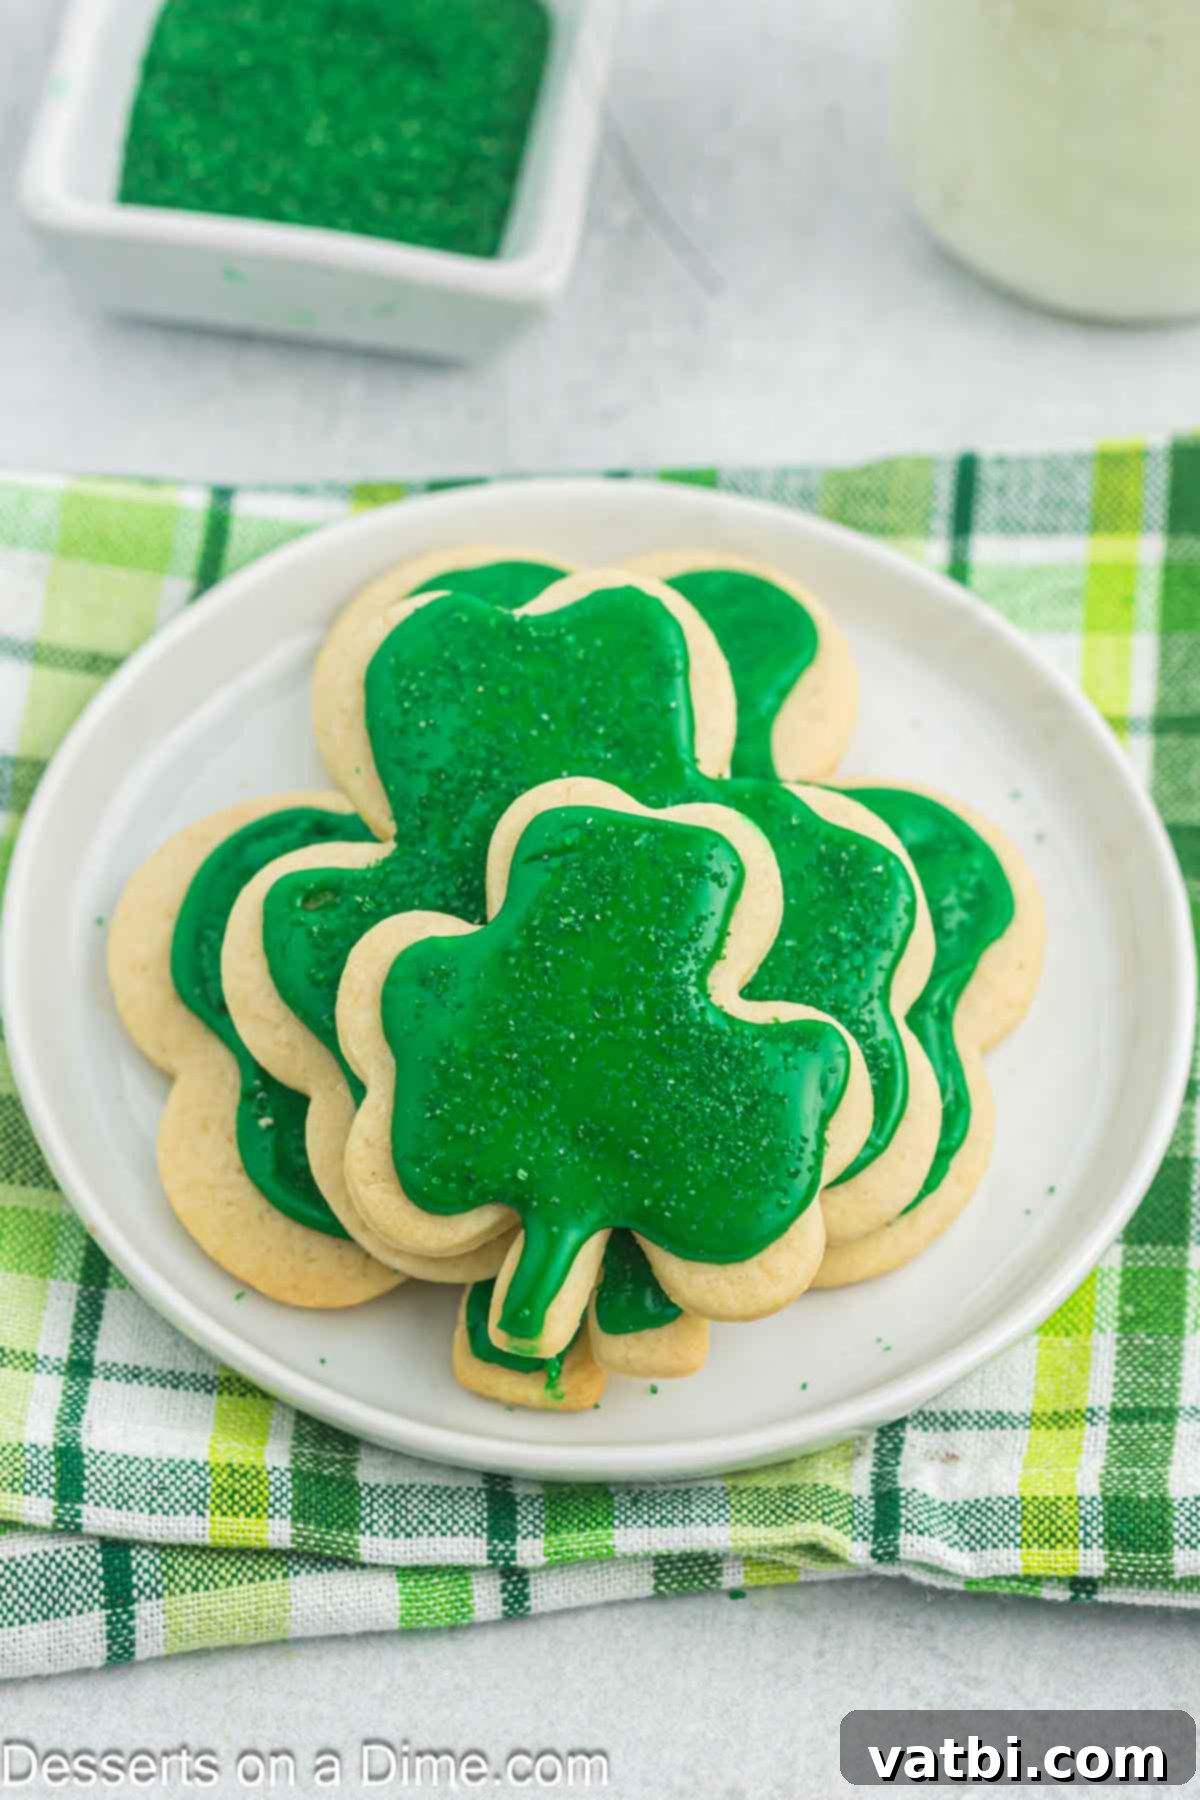
Our classic soft sugar cookie recipe provides the perfect canvas for these adorable shamrocks. This particular cookie recipe stands out for its straightforward instructions, making it accessible even for novice bakers. The result is a batch of visually appealing cookies that taste just as wonderful as they look, making them an ideal St. Patrick’s Day dessert that’s both easy to prepare and incredibly satisfying.
The simplicity of this recipe means you’ll have plenty of time to create an entire St. Patrick’s Day dessert spread. Alongside these charming shamrock treats, consider whipping up other festive delights like St. Patrick’s Day Cake Mix Cookies, rich Pistachio Cookies, or delightful St. Patrick’s Day Chocolate Covered Pretzels. These Shamrock Cookies are designed to be a stress-free addition to your holiday baking, ensuring your celebrations are filled with deliciousness and cheer.
Table of contents
- Why This Recipe Works
- Ingredients
- Cookies
- Frosting
- Tools You’ll Need
- Variations
- Step By Step Instructions
- Storage
- Pro Tips
- FAQs
- More St. Patrick’s Day Dessert Recipes
Why This Recipe Works So Well
This Shamrock Cookie recipe is truly a gem, allowing you to create bakery-quality desserts right in your own kitchen with minimal fuss. The beauty of these cookies lies in their soft, tender texture and the perfect balance of sweetness, enhanced by our simple yet flavorful green frosting. Each step has been carefully crafted to ensure success, transforming even a beginner baker into a confident cookie decorator. The instructions are so clear and easy to follow, you’ll be amazed at the professional-looking results you achieve.
Beyond their stunning appearance, these cookies are incredibly delicious, making them an instant hit with both kids and adults. They embody the spirit of St. Patrick’s Day, bringing a festive touch to any gathering. Make these shamrock sugar cookies today to share with friends and family, and watch as they become a cherished part of your holiday traditions. It’s a delightful way to add some Irish charm and homemade goodness to your celebrations!
Essential Ingredients for Perfect Shamrock Cookies
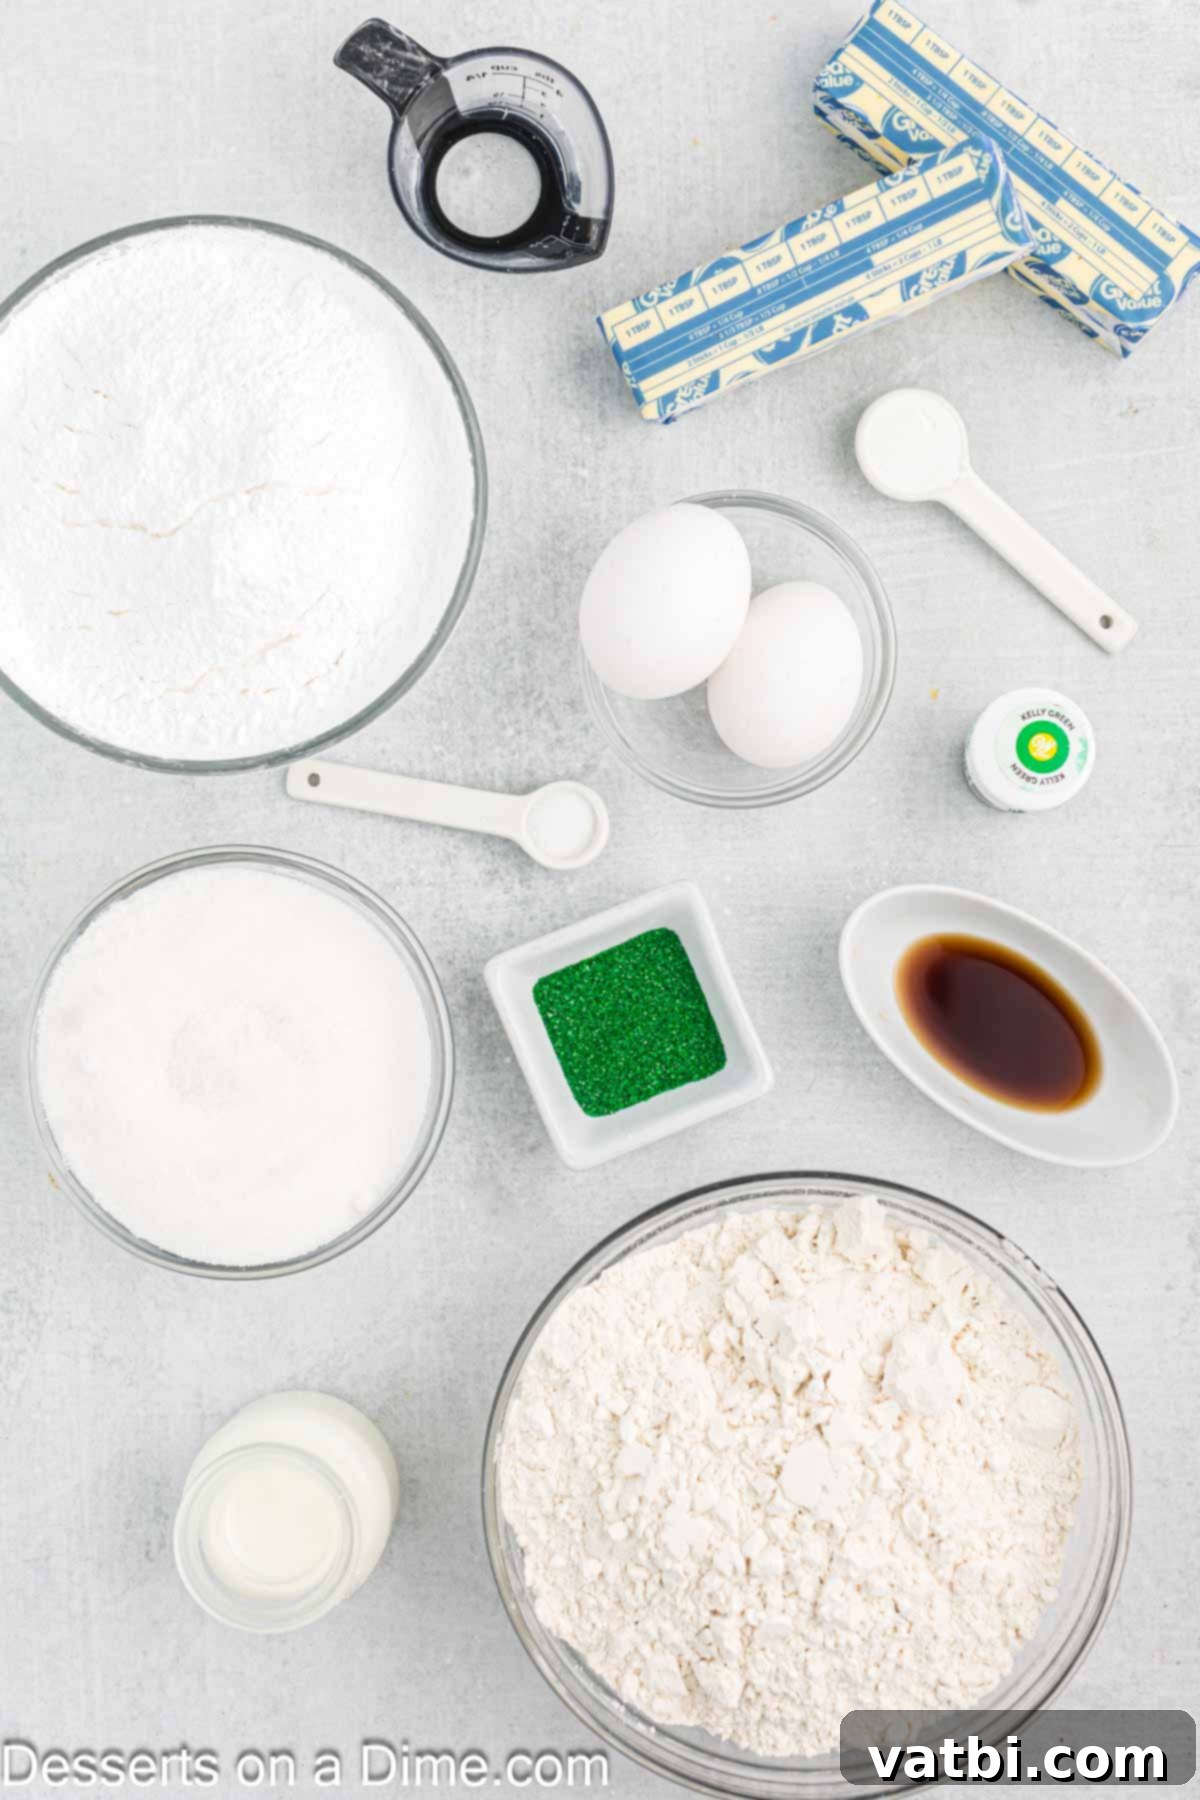
For the Soft Sugar Cookies:
- All-Purpose Flour. Precision is key when measuring flour. Always spoon the flour lightly into your measuring cup and level it off with a straight edge, rather than packing it down, to ensure a tender cookie.
- Salted Butter. For the best consistency and ease of creaming, ensure your butter is properly softened at room temperature. This helps create a smooth, homogenous dough.
- Granulated Sugar. Provides the sweetness and contributes to the cookie’s structure and golden edges.
- Vanilla Extract. Pure vanilla extract is crucial here. It imparts a rich, authentic flavor that truly elevates the taste of these classic sugar cookies.
- Large Eggs. Just like butter, room temperature eggs are vital for even baking and a well-emulsified dough. They blend more smoothly into the creamed butter and sugar mixture.
- Baking Powder. Acts as a leavening agent, giving the cookies a slight lift and a wonderfully soft texture without making them cakey.
- Salt. A small amount of salt balances the sweetness and enhances all the other flavors in the cookie dough.
For the Vibrant Green Frosting:
- Powdered Sugar. Also known as confectioners’ sugar. Sifting is an absolute must to prevent lumps and achieve a perfectly smooth, pipeable frosting consistency.
- Milk. Whole milk provides the richest flavor and creamiest texture, but reduced-fat milk can also be used if preferred, adjusting for consistency as needed.
- Light Corn Syrup. A secret ingredient for a glossy finish and a frosting that sets beautifully without becoming too hard. It also helps prevent crystallization.
- Vanilla Extract. Adds another layer of flavor to the sweet frosting, complementing the cookies.
- Green Gel Food Coloring. Gel food coloring is highly recommended over liquid food coloring. It provides intense, vibrant color without adding excess liquid, which could thin out your frosting.
- Green Sugar Sprinkles. While optional, these festive sprinkles add a delightful sparkle and an extra pop of St. Patrick’s Day charm to your finished Shamrock Cookies.
You can find the complete, detailed ingredient list, including precise measurements for this Shamrock Cookies Recipe, conveniently located in the recipe card at the bottom of this page.
Tools You’ll Need for Baking Success
Having the right kitchen tools makes all the difference for a smooth baking experience. For these Shamrock Cookies, you’ll want to gather a few essentials:
- Large Mixing Bowls: For combining wet and dry ingredients separately.
- Electric Mixer (Stand or Handheld): Essential for creaming butter and sugar, and mixing the frosting to perfection.
- Shamrock Cookie Cutters: The star of the show for shaping your festive cookies.
- Rolling Pin: To achieve an even thickness for your cookie dough.
- Parchment Paper & Baking Sheets: For non-stick baking and easy cleanup.
- Wire Cooling Racks: To allow cookies to cool completely before frosting.
- Sifter: Crucial for lump-free powdered sugar in your frosting.
- Piping Bags & Tips (e.g., Wilton #5): For professional-looking frosting application, though a Ziplock bag corner works in a pinch!
Creative Variations to Customize Your Shamrock Cookies
While these classic Shamrock Cookies are perfect as they are, don’t hesitate to get creative and personalize them! Here are some fun variations to try:
- Dip in Chocolate. For a decadent twist, skip the traditional green frosting on some cookies. Instead, dip half of the cooled cookie into melted white, milk, or dark chocolate, then immediately adorn with green sprinkles before the chocolate sets. This adds a rich flavor contrast.
- Buttercream Frosting. If you prefer a richer, creamier topping, prepare a batch of your favorite buttercream frosting instead of the royal icing. You could even pipe a delicious Cinnamon Buttercream on the cookies and add sprinkles for a different flavor profile and texture.
- Flavor Enhancements. Infuse more flavor into your cookies! Try adding a teaspoon of almond extract to the cookie dough for a subtle nutty note. For the frosting, a hint of mint extract can create a refreshing “mint chocolate chip” vibe, especially if you add mini chocolate chips to the dough or sprinkles.
- Alternative Decorations. Beyond green sugar sprinkles, consider using edible glitter, small gold edible pearls (to represent a pot of gold!), or even edible markers to draw intricate shamrock designs onto plain white royal icing once it has fully hardened.
- Tint the Dough. For an extra pop of color, add a few drops of green gel food coloring to the cookie dough itself when mixing. This gives the cookies a beautiful green hue even before frosting, making them even more festive.
Detailed Step-By-Step Instructions for Shamrock Cookies
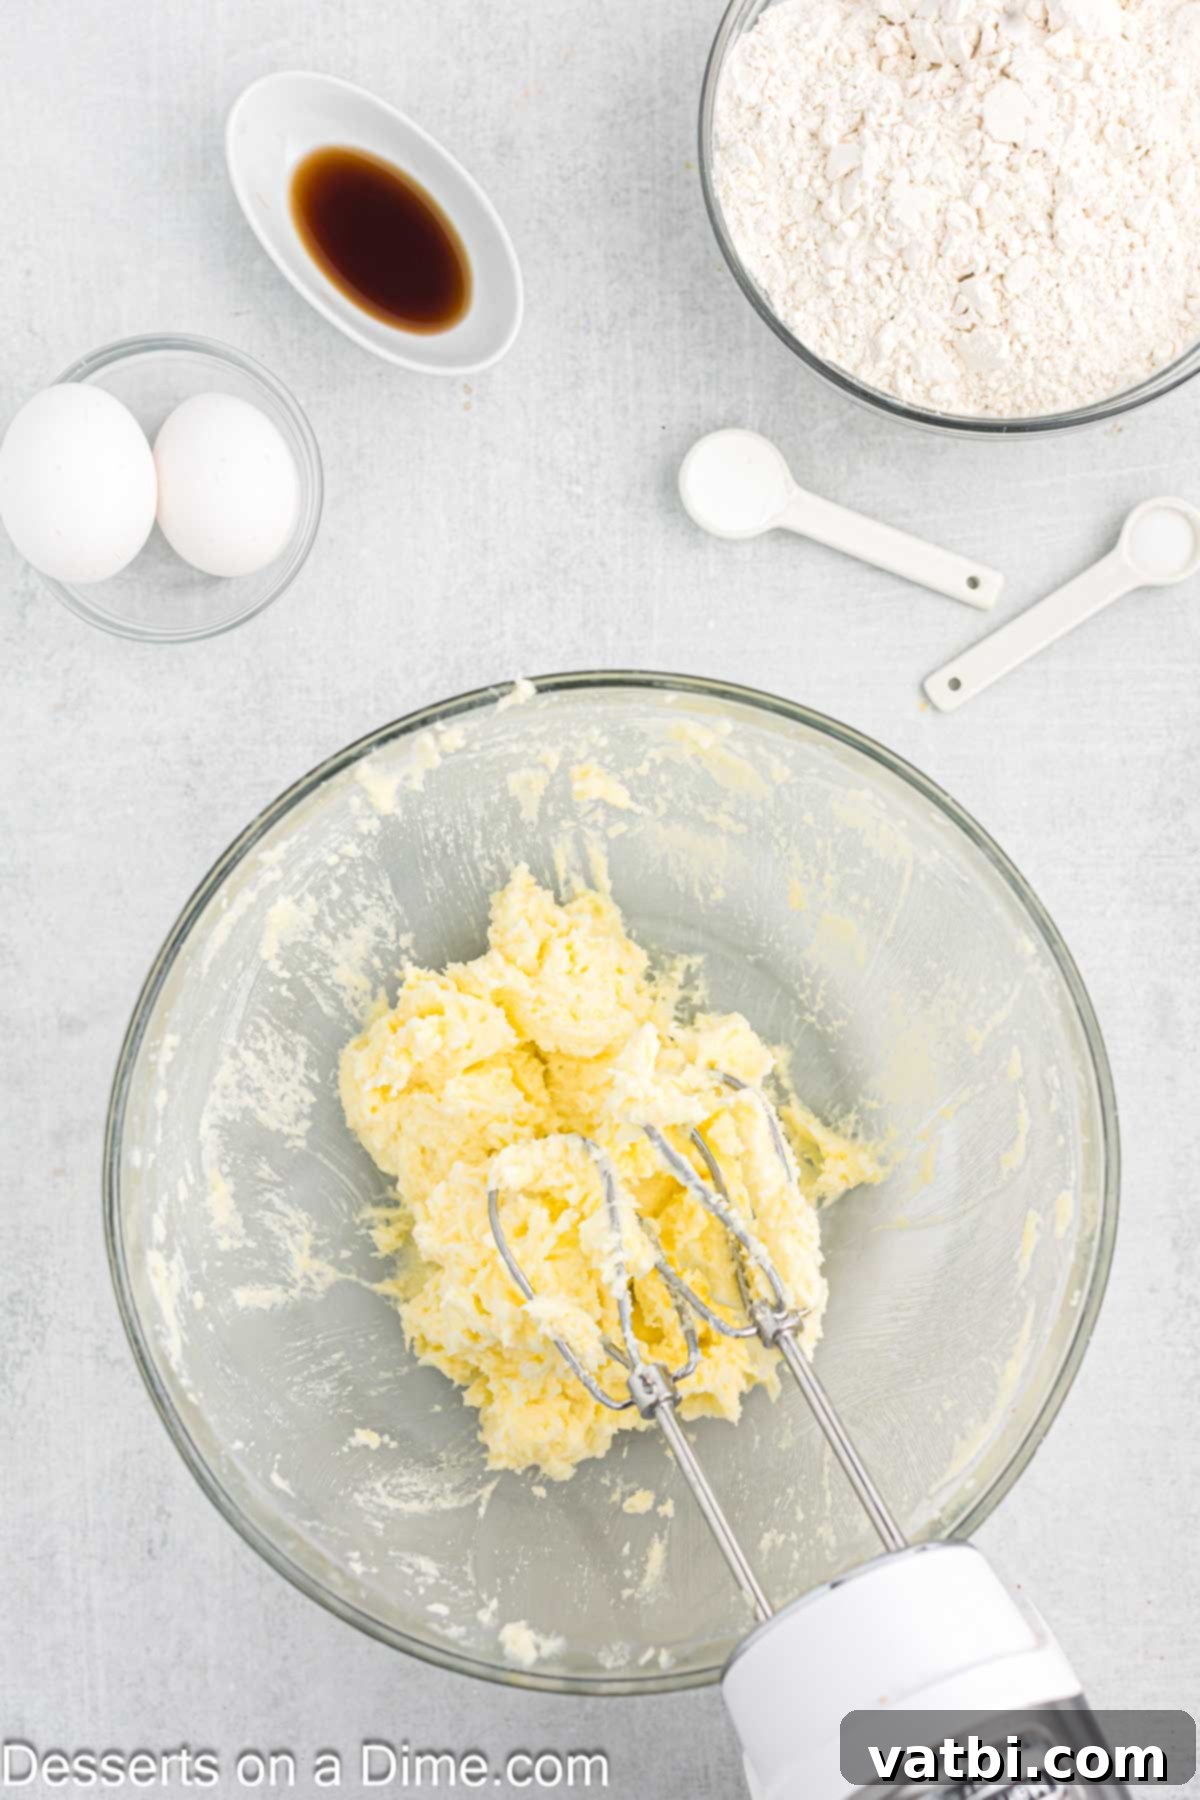
Step 1. Begin by preheating your oven to 350°F (175°C) to ensure it’s ready when your cookies are. In a large mixing bowl, ideally with a stand mixer fitted with a paddle attachment, cream together the softened butter and granulated sugar. Mix on medium speed until the mixture is light, fluffy, and smooth, with no grainy texture remaining. This creaming process incorporates air, contributing to the cookies’ soft texture.
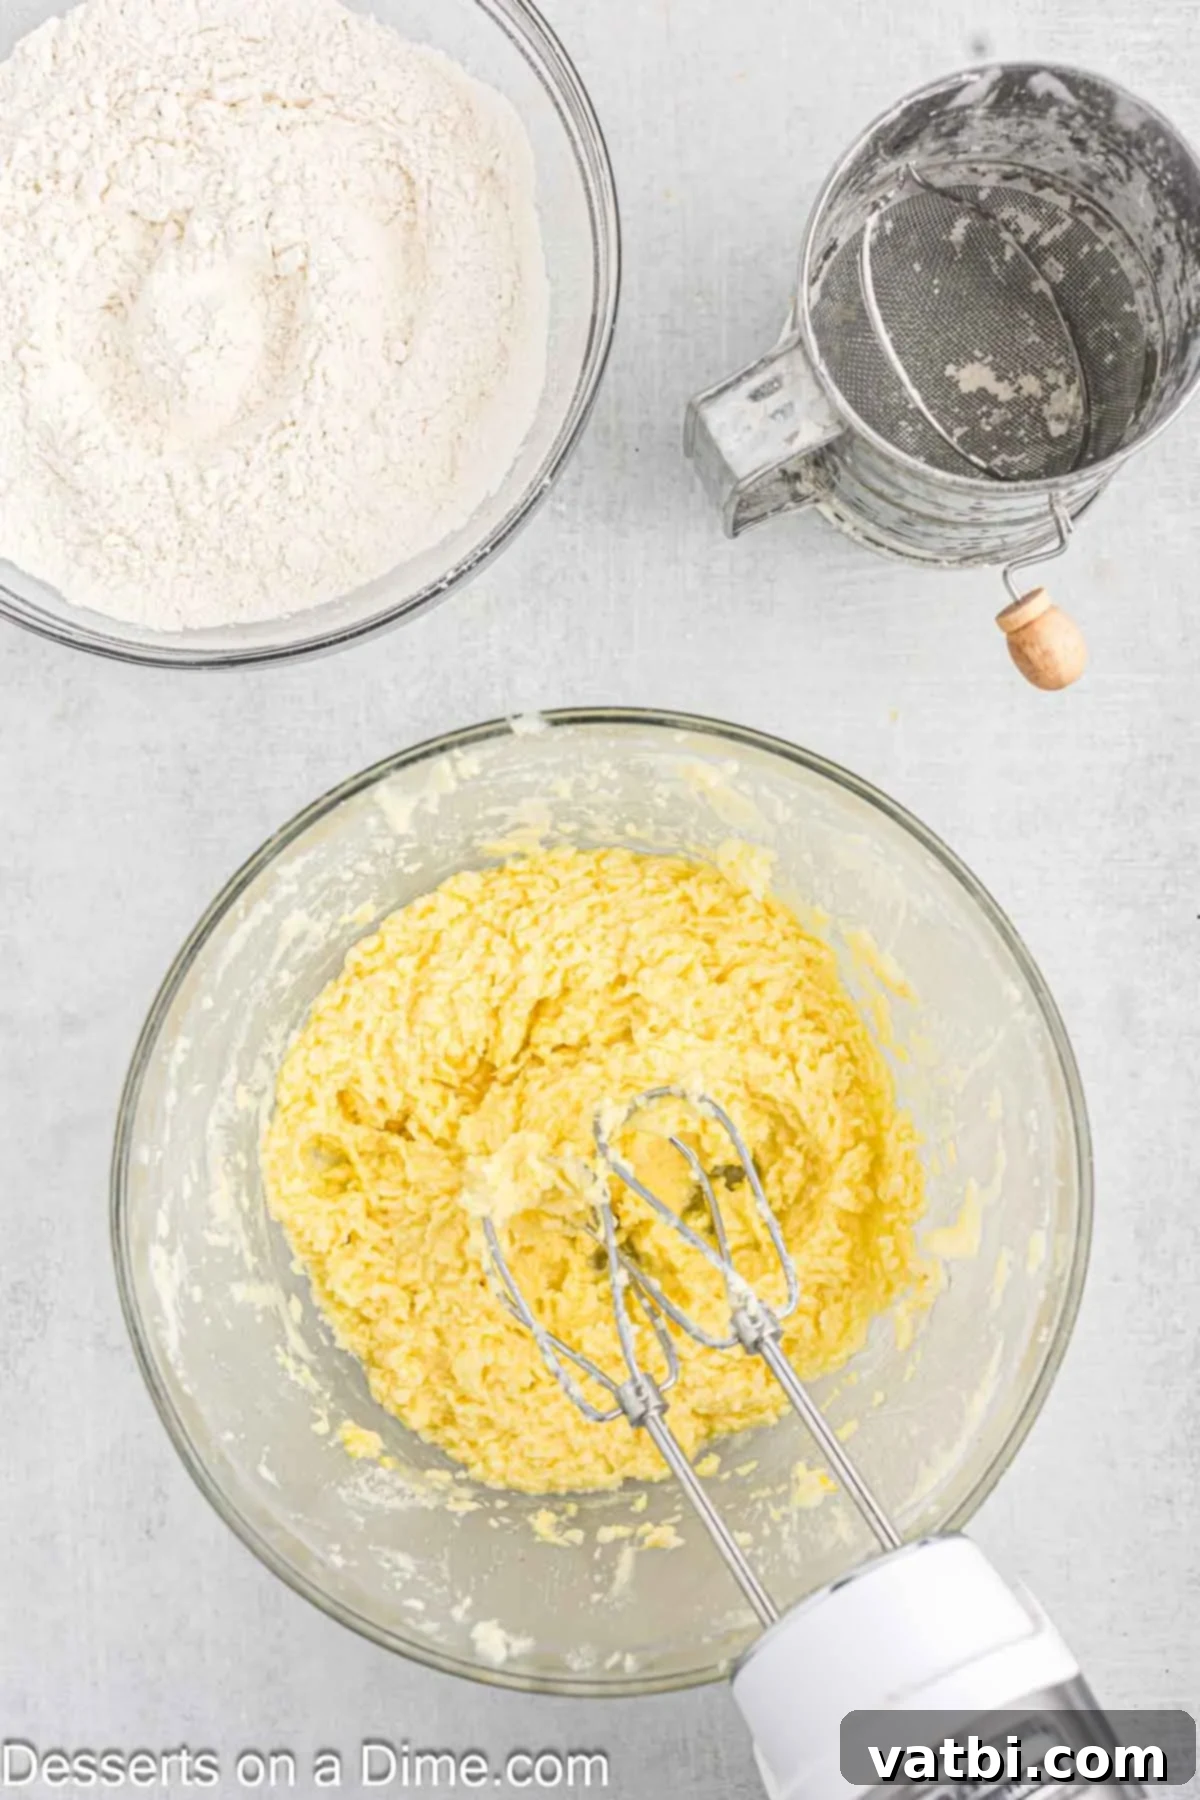
Step 2. Once the butter and sugar are perfectly creamed, add the large room-temperature eggs one at a time, mixing well after each addition. Then, stir in the pure vanilla extract. Continue to mix until all the ingredients are thoroughly combined and the mixture appears smooth and well-emulsified. Scrape down the sides of the bowl to ensure everything is incorporated.
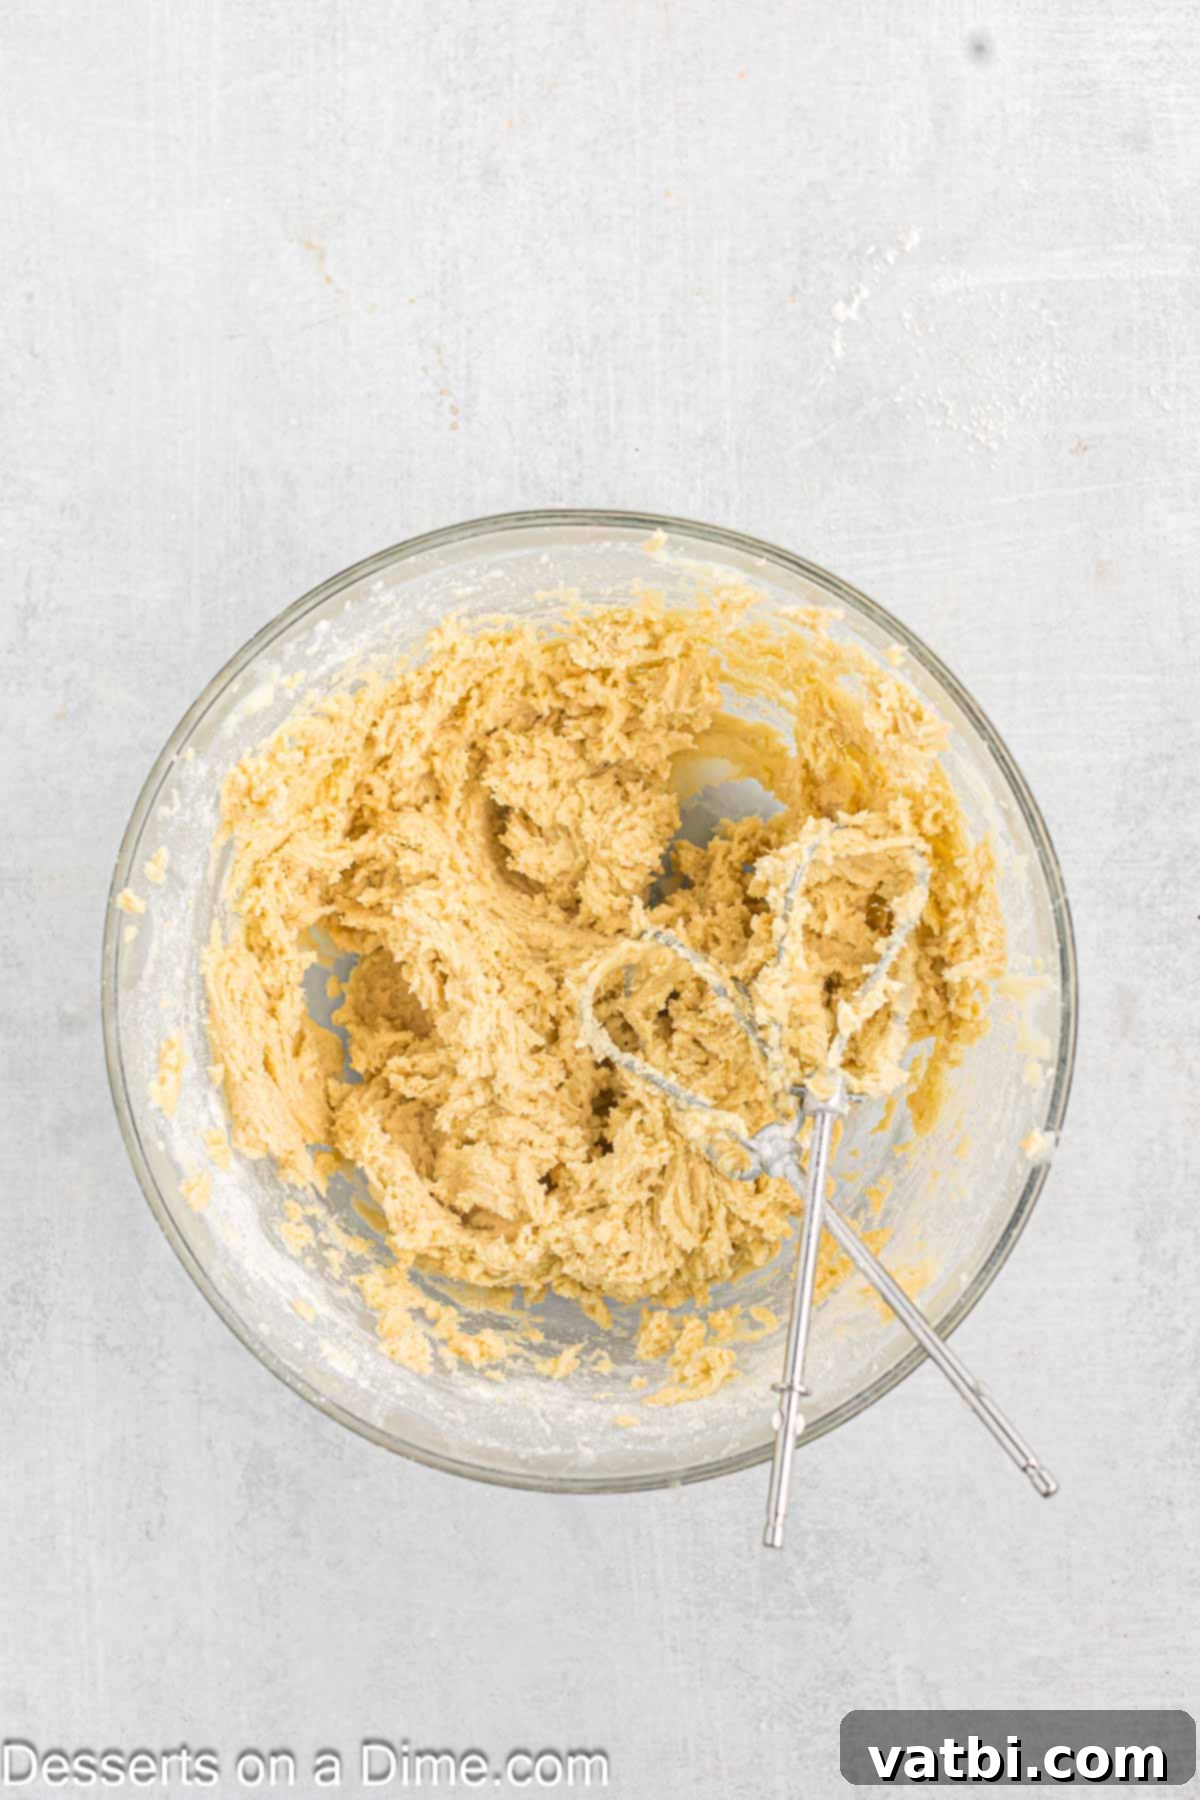
Step 3. In a separate large bowl, take a moment to sift together the all-purpose flour, baking powder, and salt. Sifting helps to aerate the flour and remove any lumps, ensuring a light and even texture in your cookies. Gradually add these dry ingredients to the wet mixture, mixing on low speed until just combined. Be careful not to overmix, as this can lead to tough cookies.
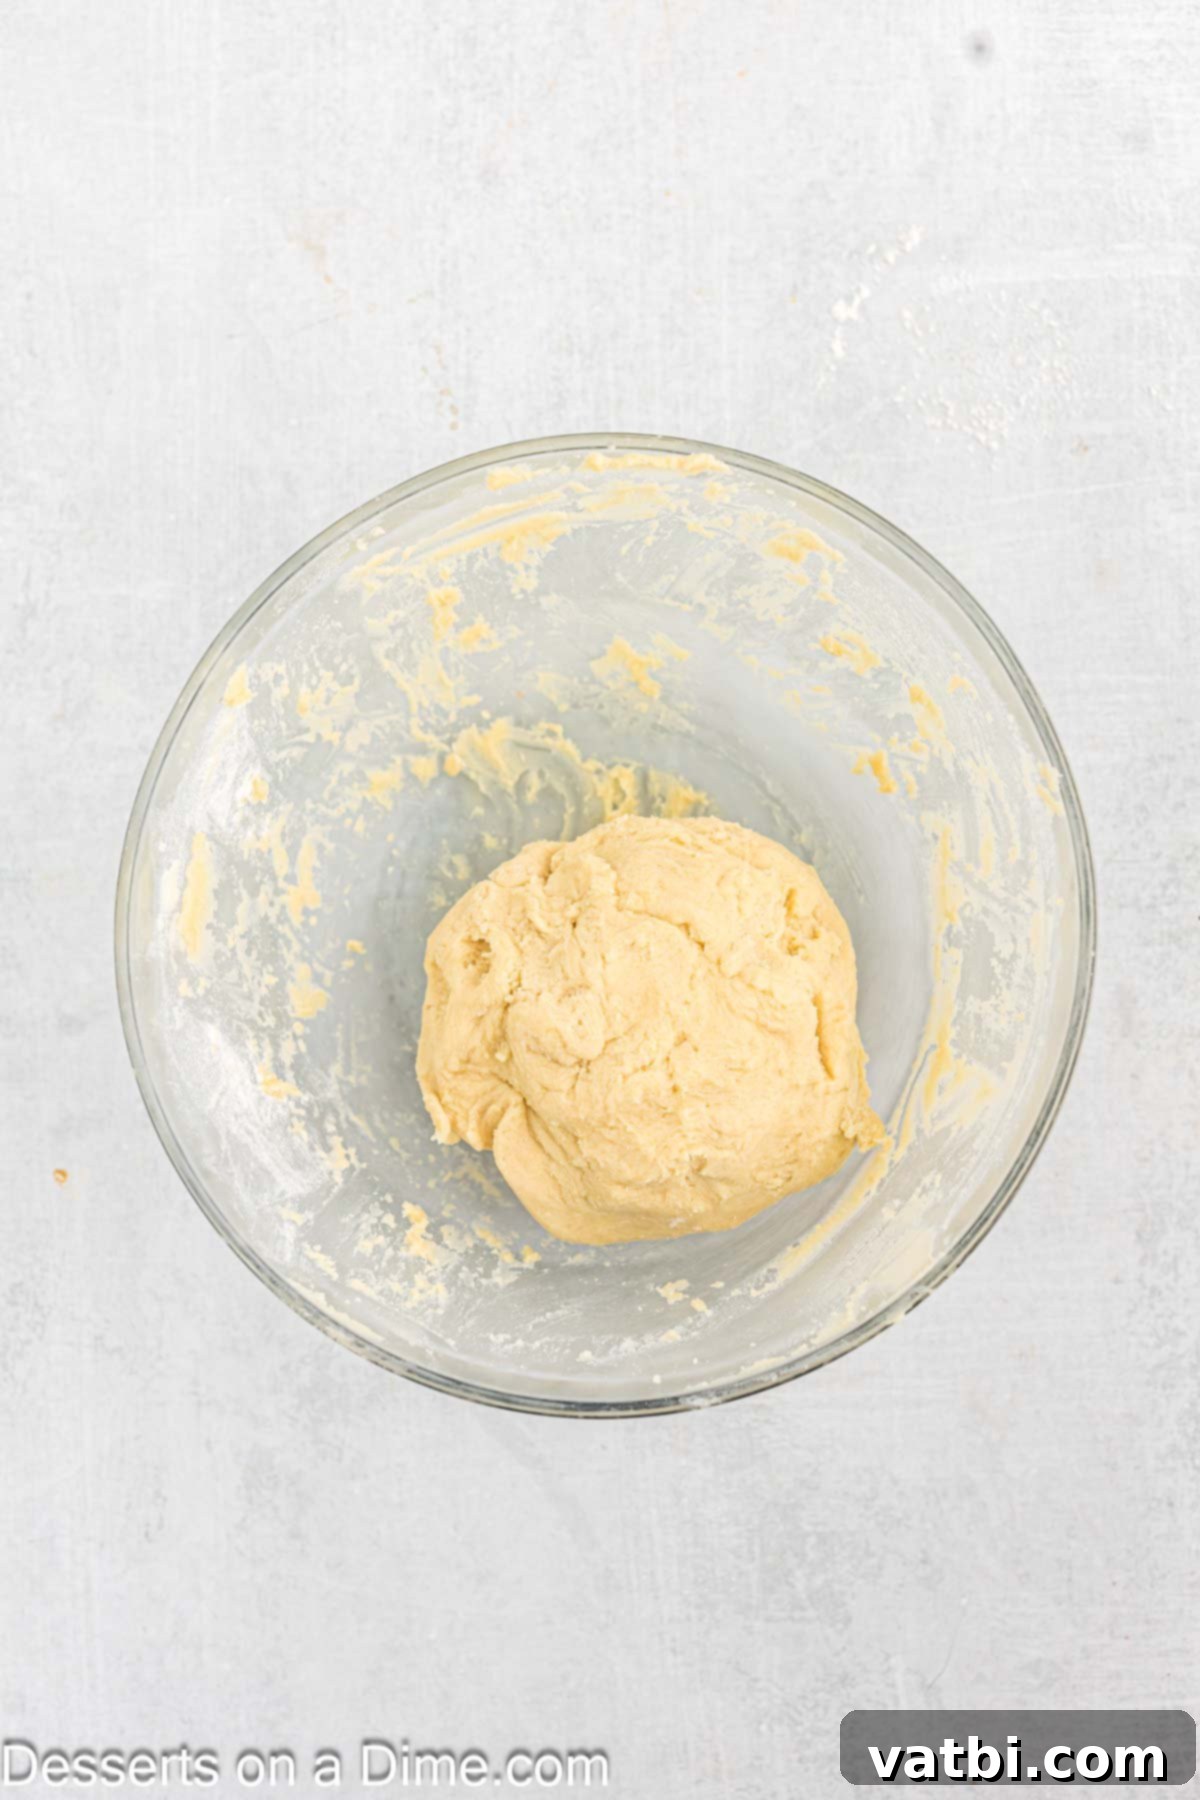
Step 4. Once your cookie dough is mixed, gently form it into a cohesive ball. Then, wrap the entire dough ball tightly in plastic wrap, making sure it’s completely covered to prevent it from drying out. This crucial step, chilling the dough, needs to be done in the refrigerator for at least 6 hours, or ideally, overnight. Chilling makes the dough firm and easier to roll, preventing spreading during baking. Before rolling, let it sit out for a short while to soften slightly.
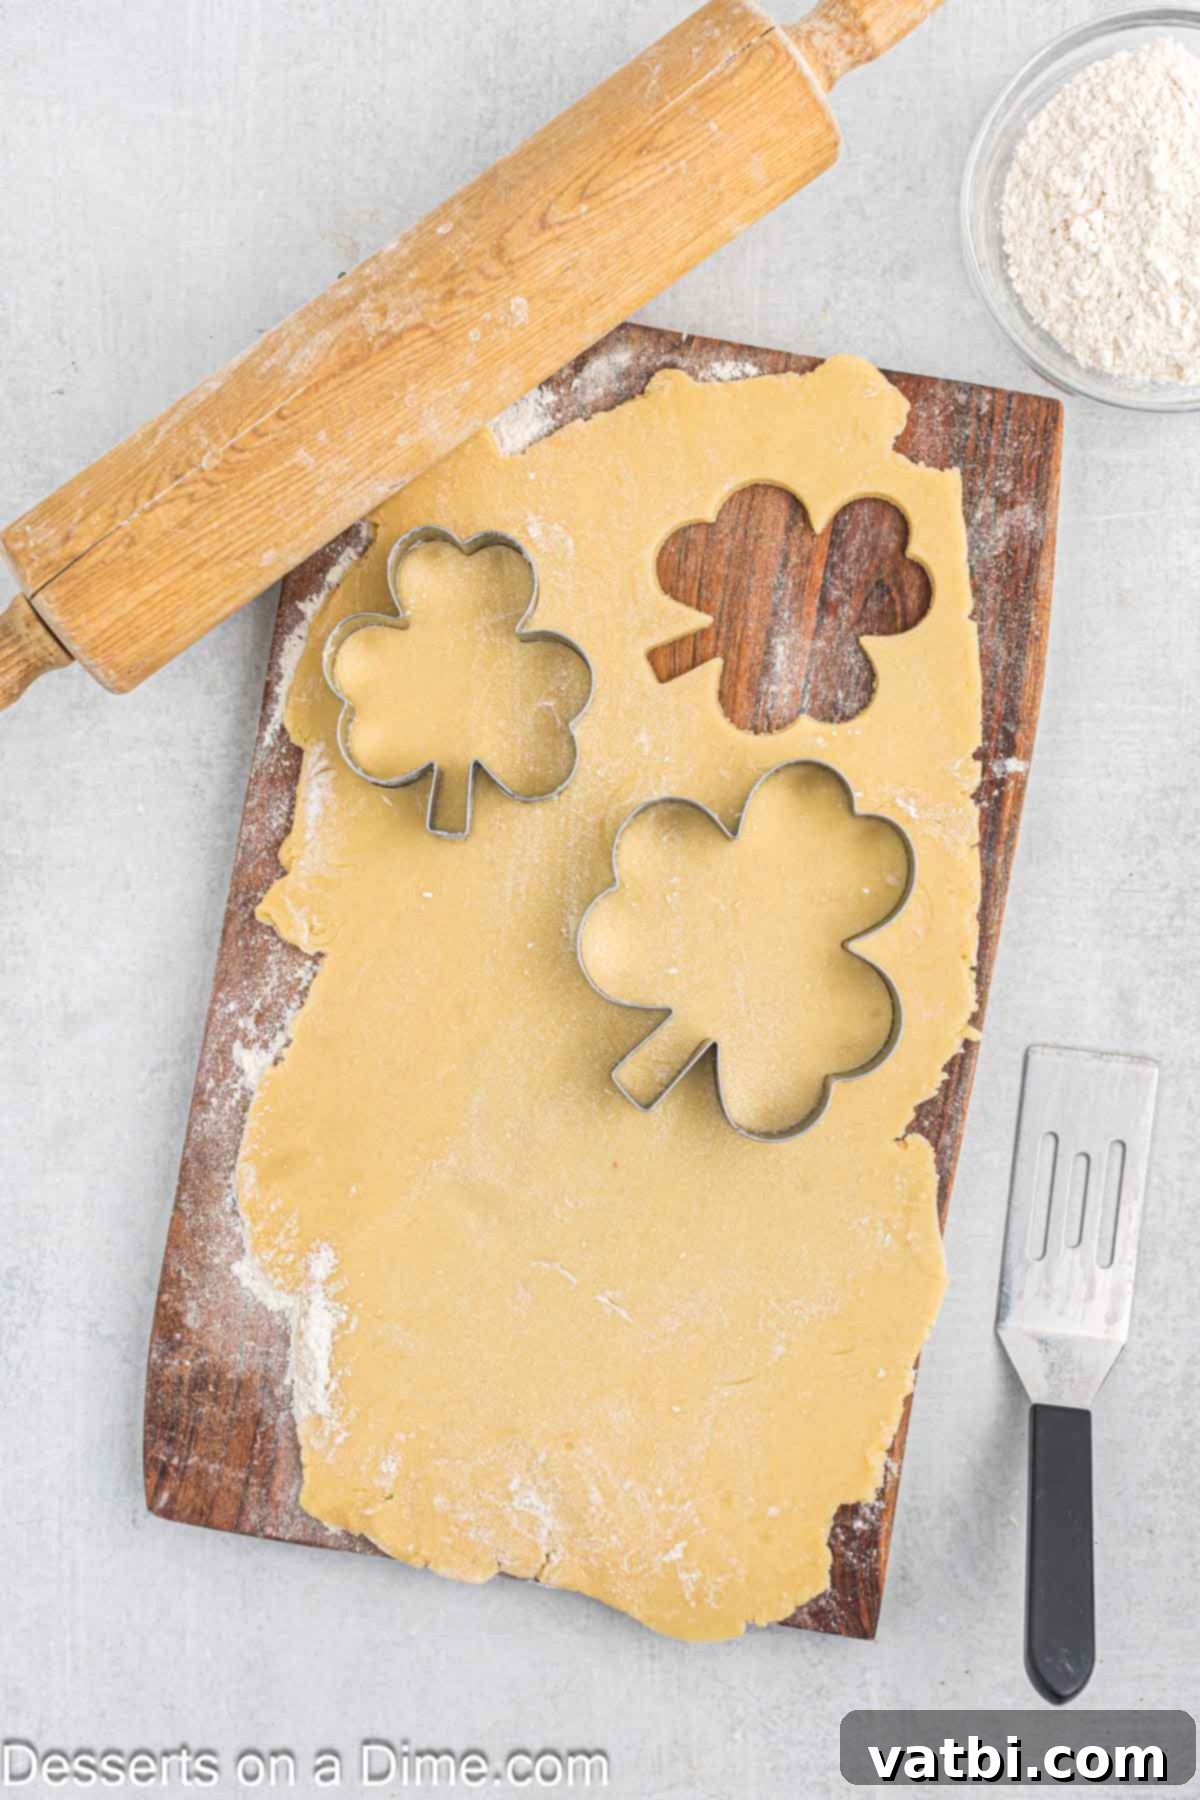
Step 5. Lightly flour your work surface, such as a wood cutting board, to prevent sticking. Also, lightly dust your rolling pin and, if needed, work a small amount of flour into your cookie dough to make it more manageable. Roll out the dough to an even thickness, about ¼ inch. Using your shamrock-shaped cookie cutter, press firmly to create uniform shapes. Gently peel away excess dough, which can be re-rolled.
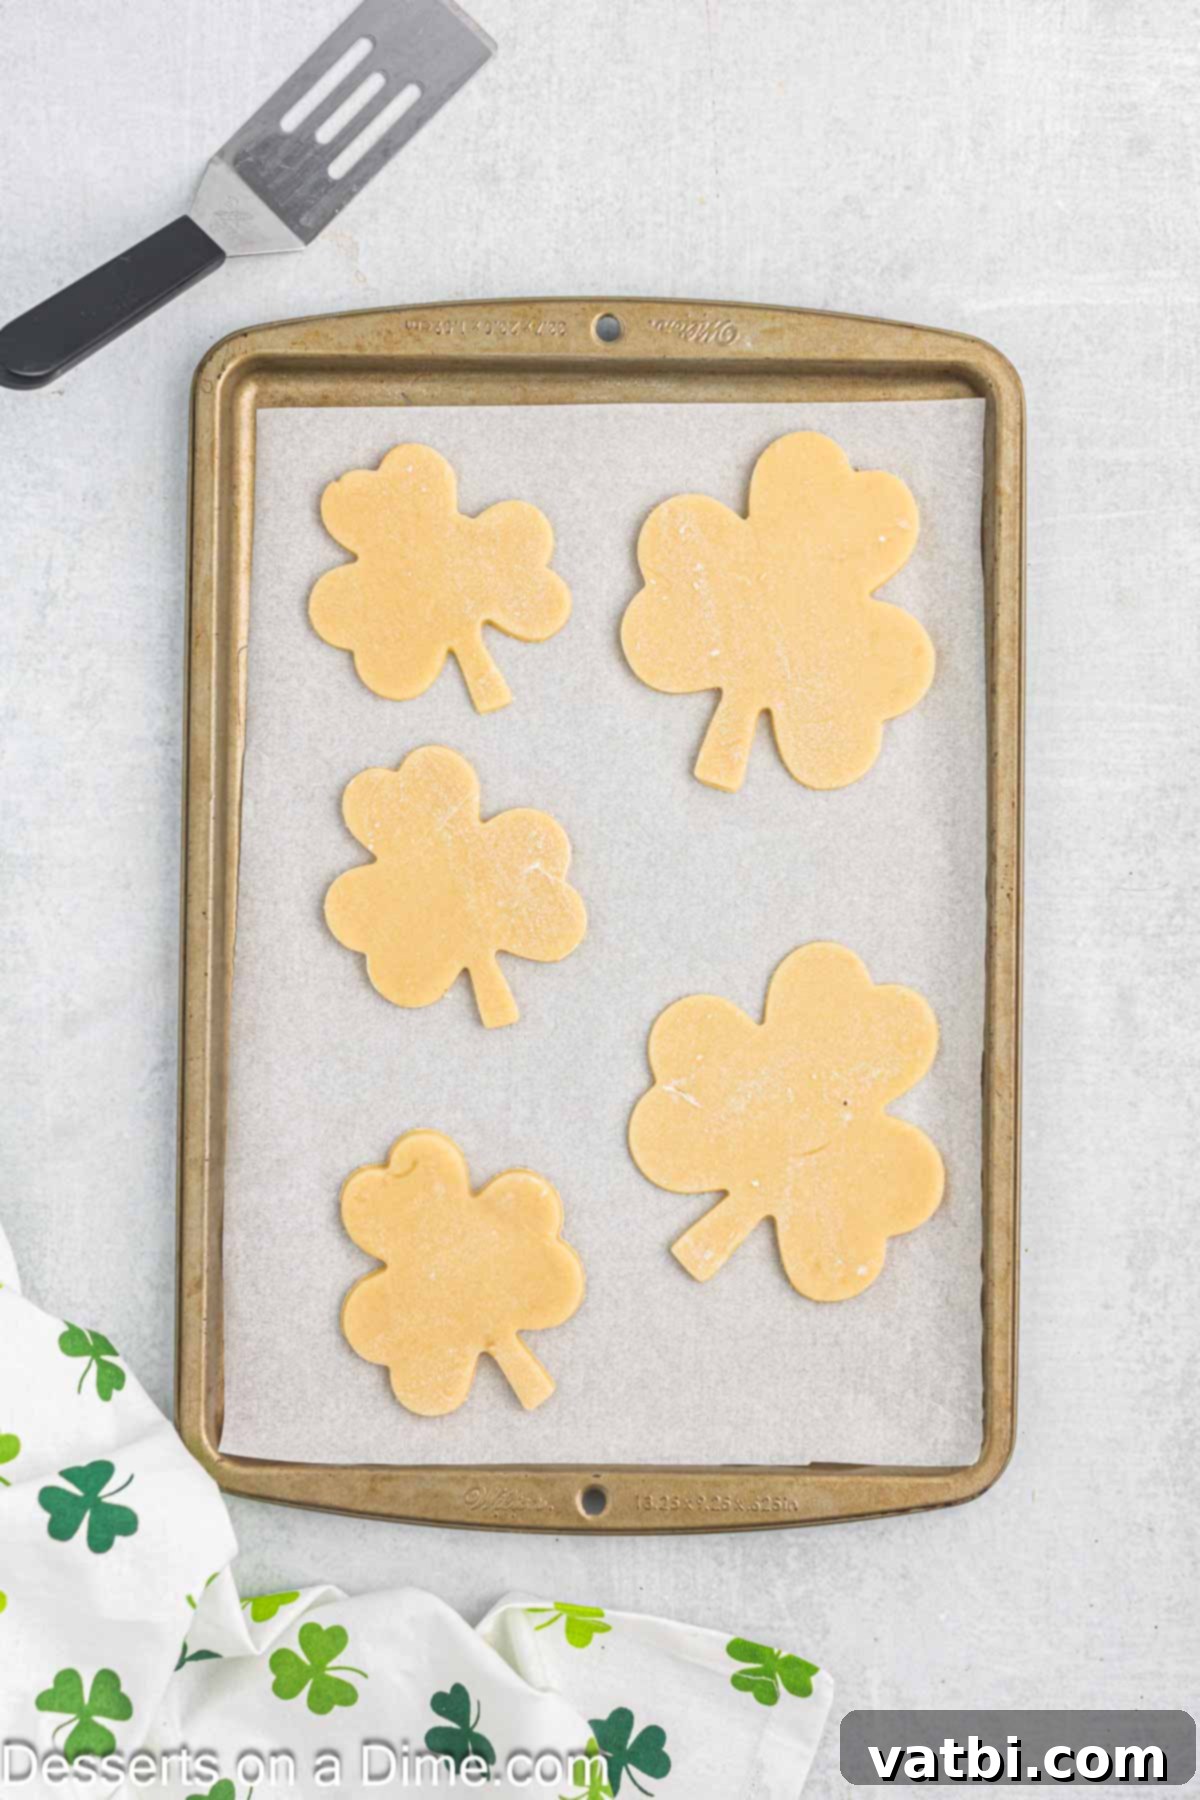
Step 6. Line a baking sheet with parchment paper; this prevents sticking and ensures easy removal. Carefully transfer your cut shamrock cookies to the prepared baking sheet, leaving about an inch of space between each. Bake in the preheated oven for 8-10 minutes. Keep a close eye on them; you want the edges to be lightly golden brown, but the centers should still be soft for that perfect sugar cookie texture.
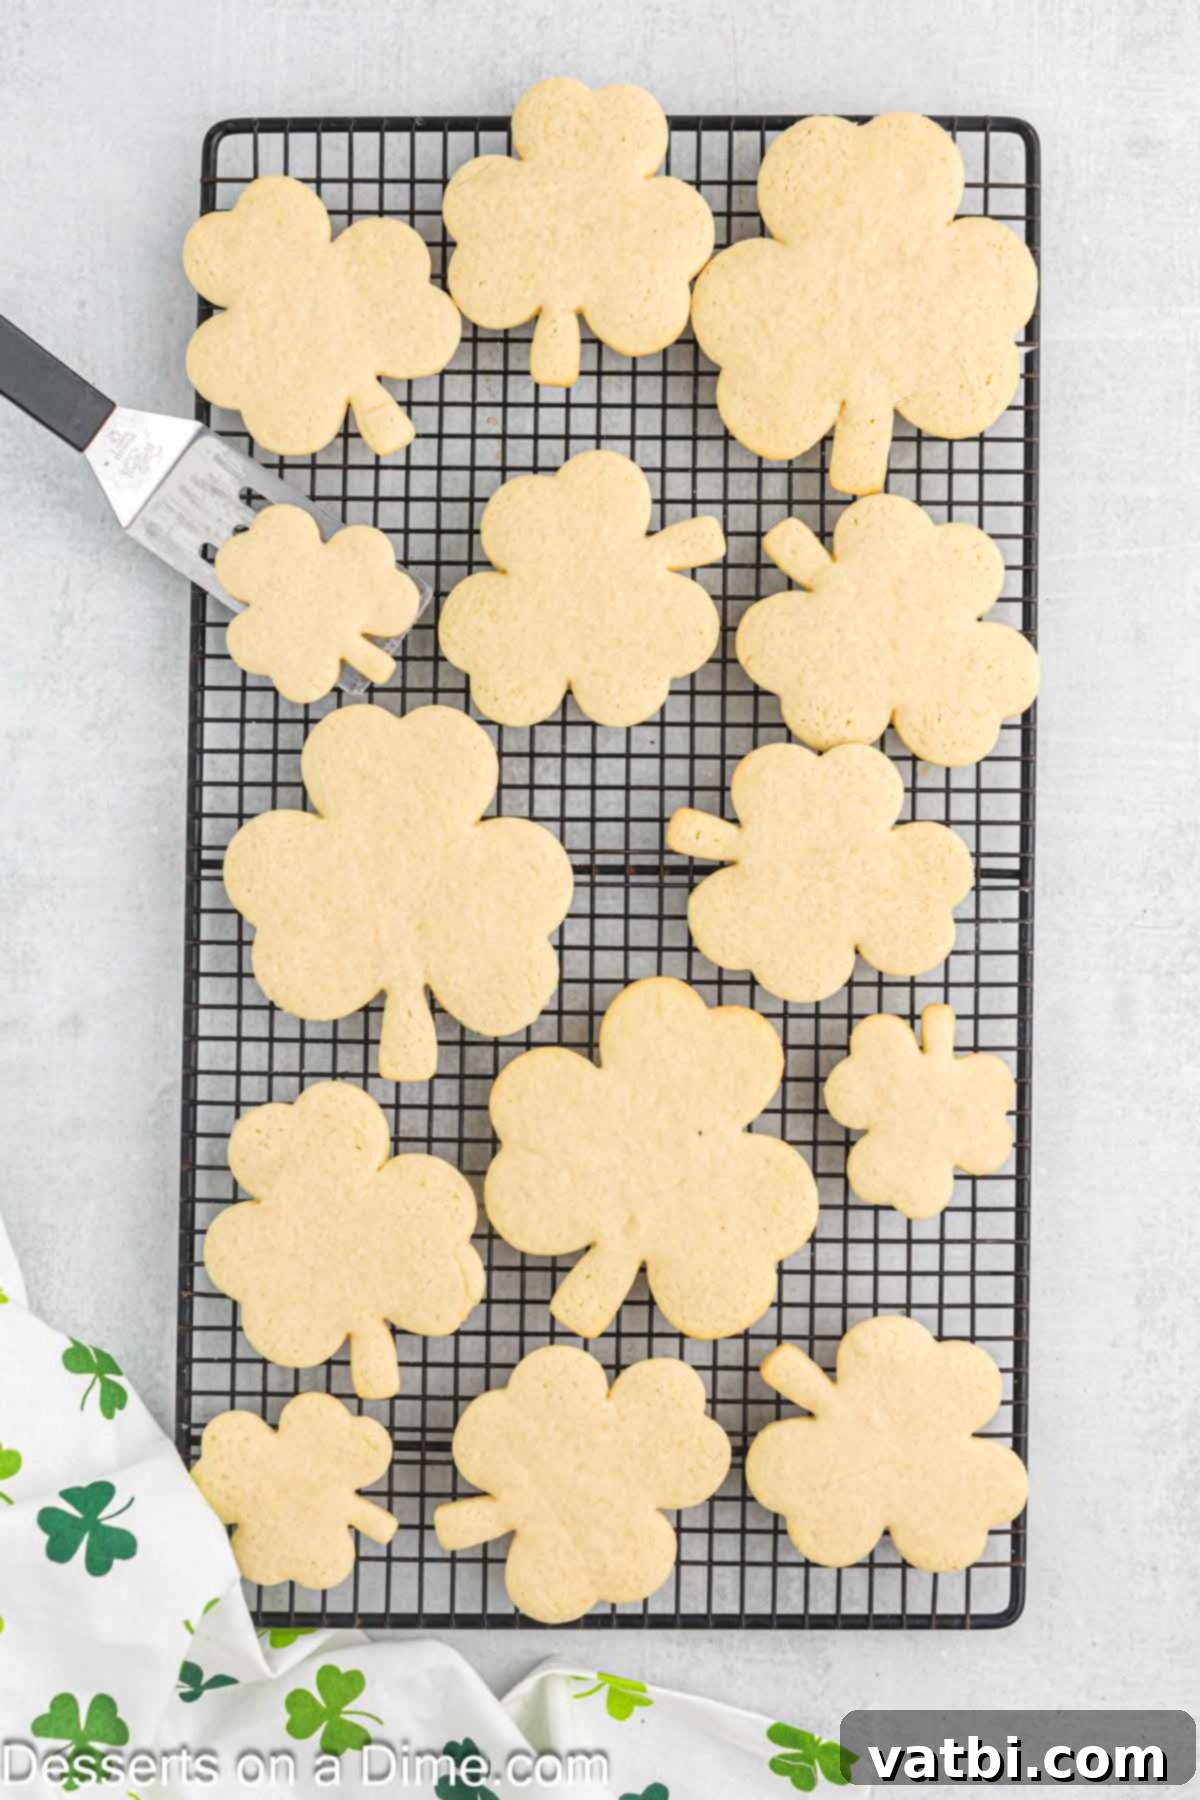
Step 7. Once baked, remove the cookies from the oven and let them rest on the baking sheet for about 5 minutes. This allows them to firm up slightly before you move them. Then, carefully transfer the cookies to a wire rack to cool completely. It’s essential that they are fully cooled before you begin frosting, otherwise, your beautiful green icing will melt and run.
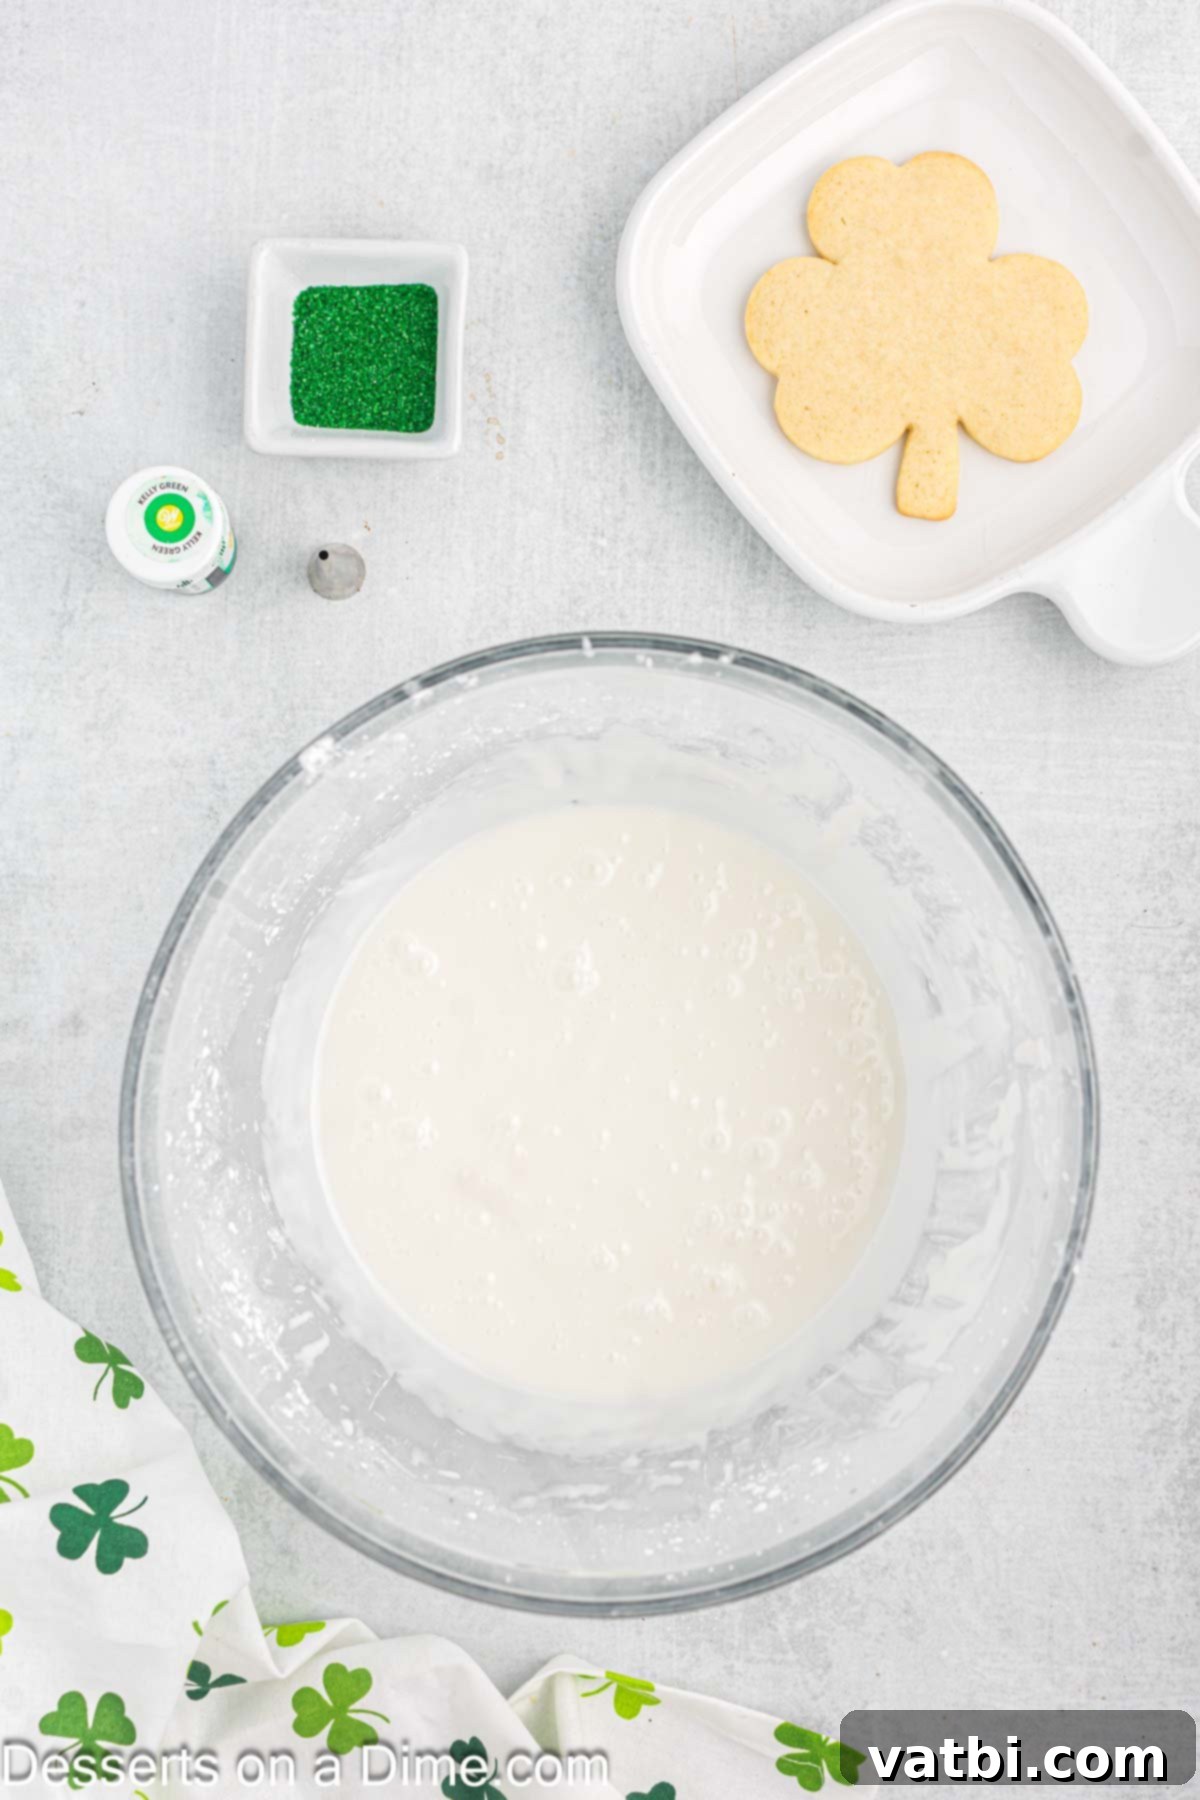
Step 8. While your shamrock cookies are cooling, it’s the perfect time to prepare the vibrant green frosting. In a mixing bowl, combine the sifted powdered sugar, milk (start with less and add slowly), light corn syrup, and vanilla extract. Using an electric mixer on medium speed, beat for about 4 minutes until smooth and lump-free. Gradually add the milk until you achieve a pipeable consistency – it should be thick enough to hold its shape but fluid enough to pipe smoothly. I find a stand mixer works wonders here to achieve a silky consistency for the confectioners’ sugar.
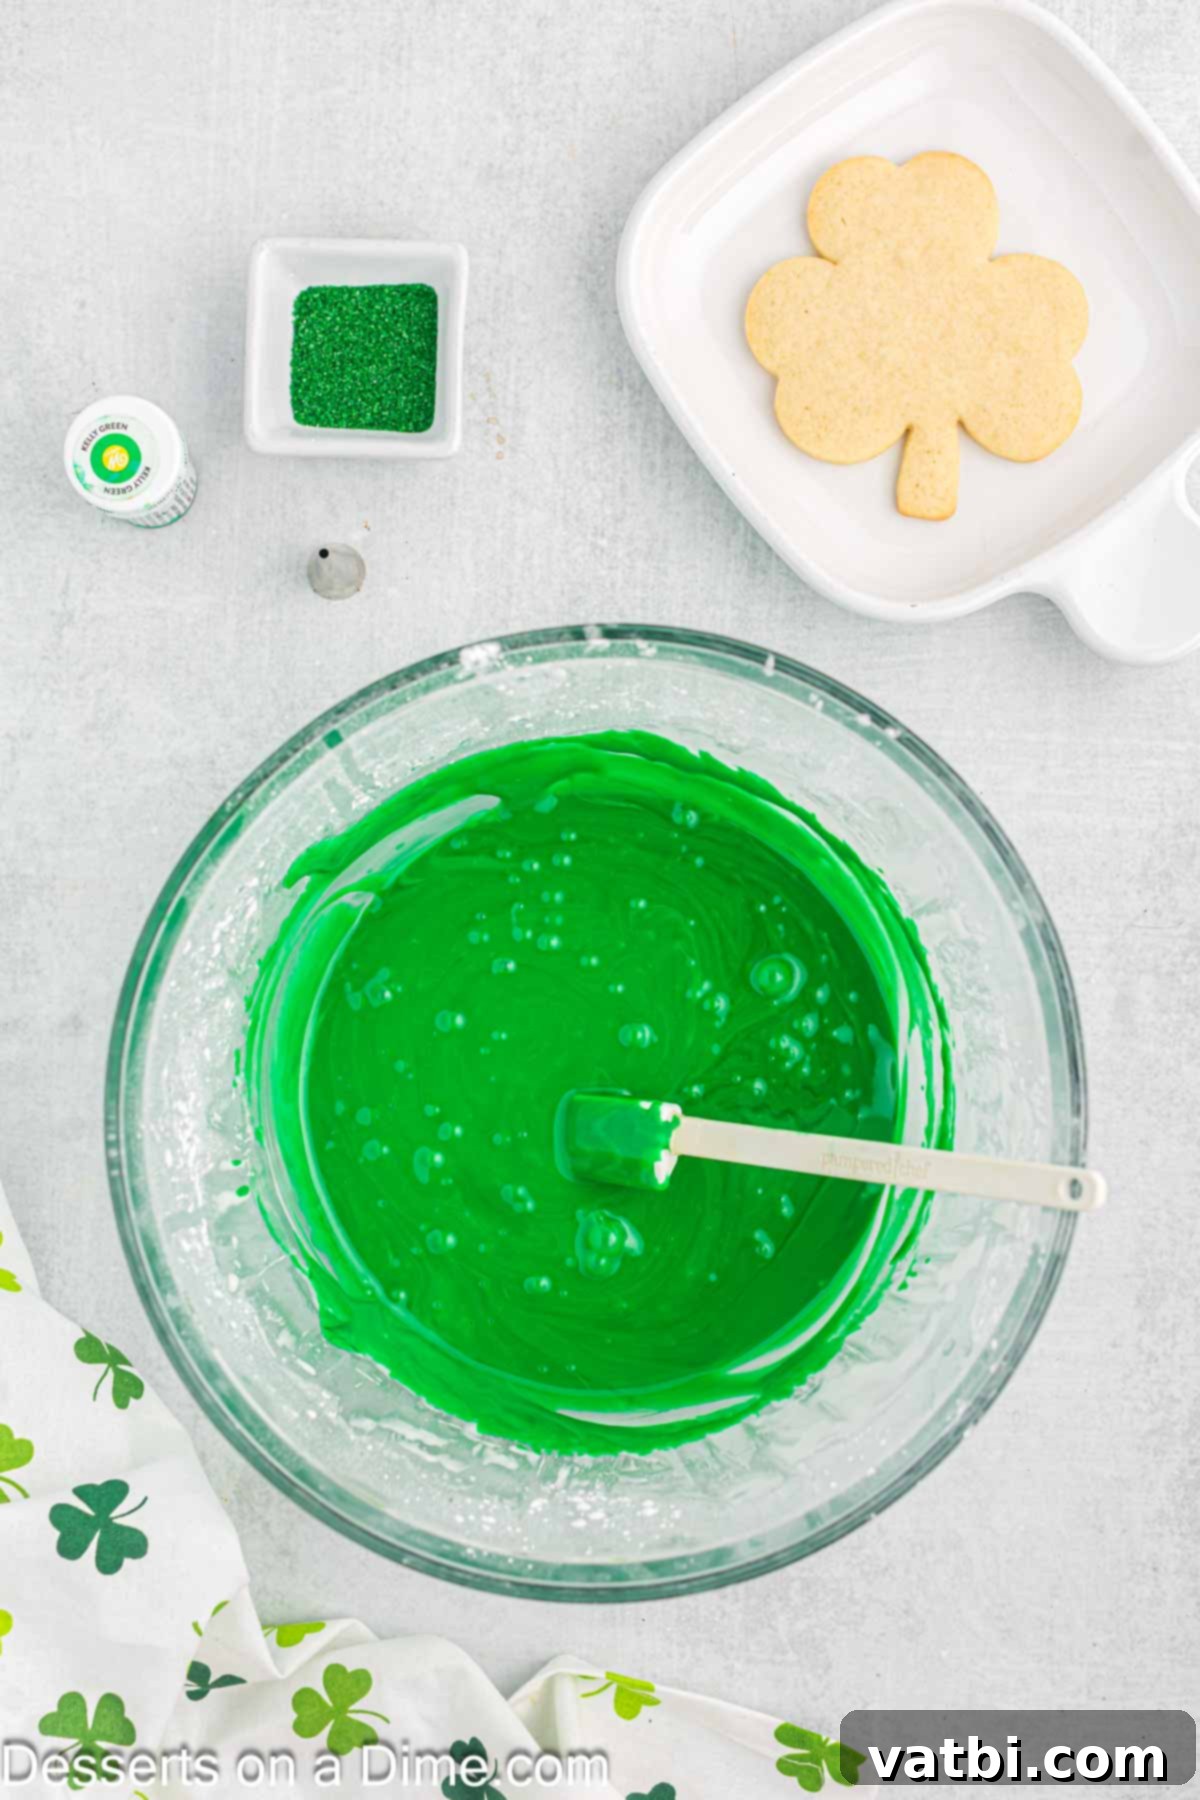
Step 9. Now for the fun part: adding the color! Once your frosting base is perfectly smooth, add your green gel food coloring. Start with a few drops and mix thoroughly, adding more as needed, until you achieve a beautiful, vibrant green hue that perfectly captures the spirit of St. Patrick’s Day. Gel coloring works best to avoid thinning the frosting.
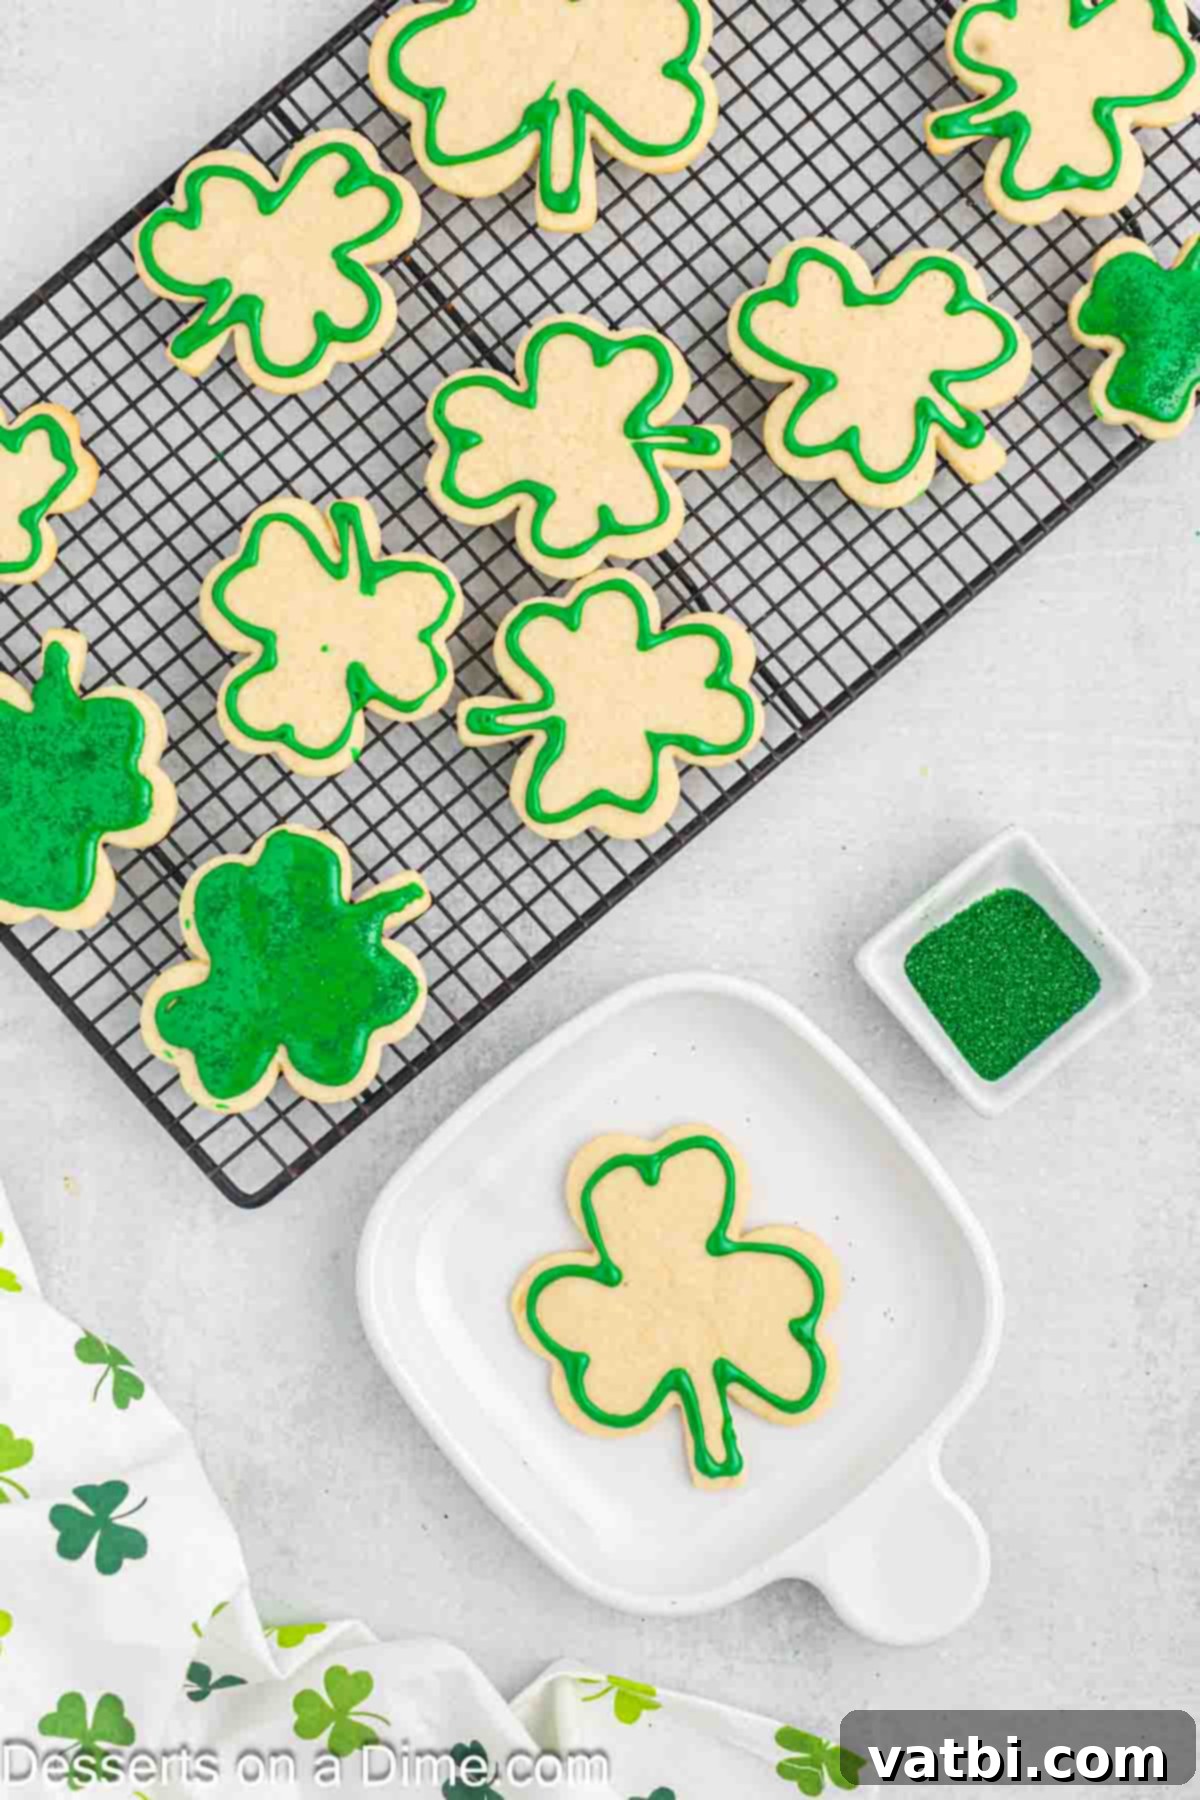
Step 10. Transfer the vibrant green frosting into a piping bag. For best control and neat lines, fit your piping bag with a Wilton tip #5 or a similar small round tip. Carefully pipe the frosting onto each cooled cookie. A helpful technique is to first outline the entire outer shape of the shamrock, then gently fill in the center with frosting, using a small spatula or the tip of your piping bag to spread it evenly to the edges. This creates a clean and professional finish.

Step 11. Immediately after piping the frosting onto each cookie, generously sprinkle them with green sugar sprinkles or any other festive decorations you’ve chosen. The sprinkles will adhere best while the frosting is still wet. Once all cookies are decorated, let them sit undisturbed at room temperature for several hours, or until the frosting has completely hardened. This setting time is crucial to prevent smudging and allow for easy stacking and storage.

Step 12. Once the frosting is firm to the touch, your beautiful and delicious Shamrock Cookies are ready to be served! Arrange them on a festive platter and enjoy the compliments. These cookies are not just a treat for the taste buds but also a feast for the eyes, perfect for celebrating St. Patrick’s Day in style.
Storage Tips for Keeping Your Shamrock Cookies Fresh
Proper storage is key to maintaining the delicious taste and texture of your Shamrock Cookies. Once the frosting has completely set and hardened, you can store any leftover cookies at room temperature. Place them in an airtight container to keep them fresh for up to 10 days. For optimal freshness and to prevent the frosting from sticking together, you can place a piece of parchment paper between layers of cookies. Avoid storing them in direct sunlight or in very humid conditions, which can affect the frosting.
Pro Tips for Baking Perfect Shamrock Cookies Every Time
- Effortless Frosting Application. Don’t have a piping bag? No problem! You can easily create a makeshift piping bag by snipping a small corner off a sturdy Ziplock bag. This gives you surprisingly good control for outlining and filling your cookies, ensuring your shamrocks look professional without special equipment.
- The Importance of Chilling the Dough. Never skip the chilling step! This is absolutely critical for sugar cookies. Chilling allows the butter to solidify, preventing the cookies from spreading excessively in the oven and helping them maintain their perfect shamrock shape. A well-chilled dough is much easier to roll out and cut cleanly.
- Room Temperature Butter is Non-Negotiable. Ensure your butter is truly softened at room temperature – it should be pliable but not melted. This ensures it creams beautifully with the sugar, creating an airy, smooth base for your cookies. Cold butter won’t cream properly, and melted butter will result in a greasy dough and flat cookies.
- Don’t Overmix the Dough. Once you add the dry ingredients to the wet, mix only until just combined. Overmixing develops the gluten in the flour, leading to tough, chewy cookies instead of the desired soft, tender texture.
- Even Thickness for Even Baking. When rolling out your dough, aim for a consistent thickness (about ¼ inch). This ensures all your cookies bake evenly at the same rate. Uneven thickness will lead to some cookies being underbaked and others overbaked.
Frequently Asked Questions About Shamrock Cookies
Absolutely! These cookies are great for freezing, either baked or as dough. If freezing baked and frosted cookies, ensure the frosting has completely set and hardened. Place them in a single layer on a baking sheet to freeze for about an hour, then transfer to a freezer-safe airtight container, with parchment paper between layers. They can be frozen for up to 3 months. Thaw them in the refrigerator or at room temperature when you’re ready to enjoy them.
You can also freeze the cookie dough. Form the dough into a ball or disc, wrap it tightly in plastic wrap, and then place it inside a freezer bag. This can also be frozen for up to 3 months. When ready to use, thaw the dough in the refrigerator overnight, then let it soften slightly at room temperature before rolling and cutting as normal.
For more detailed instructions, learn How to Freeze Cookie Dough.
Yes, you absolutely can! For an extra festive touch and an even more vibrant green presentation, add a few drops of green gel food coloring to the cookie dough itself when you are mixing the wet and dry ingredients. Mix until the color is evenly distributed. This creates a beautiful base color for your cookies before you even add the frosting.
The most common reasons for cookies spreading are warm dough, too much butter, or overmixing. Ensure your dough is thoroughly chilled (at least 6 hours, ideally overnight). Also, measure your ingredients precisely, especially the butter. If your kitchen is very warm, consider chilling the cut-out cookies on the baking sheet for 10-15 minutes before baking. Using parchment paper also helps!
Sifting your powdered sugar is the number one secret to smooth frosting, preventing any lumps. Also, ensure your milk and corn syrup are added gradually, mixing on medium speed for at least 3-4 minutes. This incorporates air and dissolves the sugar, creating a silky texture. If it’s too thick, add more milk a teaspoon at a time; if too thin, add more sifted powdered sugar.
More St. Patrick’s Day Dessert Recipes to Love
If you’re looking to expand your St. Patrick’s Day dessert repertoire beyond these charming Shamrock Cookies, we have plenty of other festive and delicious ideas to inspire you:
- St. Patrick’s Day Cake Pops: Bite-sized treats bursting with holiday spirit.
- St. Patrick’s Day Rice Krispie Treats: A classic favorite, made festive and fun with green colors and sprinkles.
- Rainbow Cupcakes: Bring the magic of a rainbow to your table, symbolizing the pot of gold at its end.
- St. Patrick’s Day Leprechaun Cookies Recipe: Another adorable cookie idea to charm your guests.
Each of these recipes offers a unique way to celebrate, ensuring your St. Patrick’s Day is filled with sweetness and joy. Feel free to mix and match to create an unforgettable dessert spread!
We hope you enjoy making this easy sugar cookie recipe for a truly festive and memorable treat. We love hearing from you, so please come back and leave a comment and star rating once you do! Your feedback helps us and other bakers.
Pin
Shamrock Cookies
Ingredients
For the Cookies:
- 2 3/4 cups All Purpose Flour
- 1 cup Salted Butter softened
- 1 cup Granulated Sugar
- 2 teaspoon Vanilla Extract
- 2 Large Eggs
- 1 teaspoon Baking Powder
- 1/2 teaspoon Salt
For the Frosting:
- 3 cups Powdered Sugar sifted
- 3-4 Tablespoons Milk
- 2 Tablespoons Light Corn Syrup
- 1/2 teaspoon Vanilla Extract
- Green Gel Food Coloring
- Green Sugar Sprinkles optional
Instructions
For the Cookies:
-
In a large mixing bowl, using an electric mixer, cream the softened butter with the granulated sugar until the mixture is light, fluffy, and smooth, ensuring no grainy texture remains. This process incorporates air into the dough.
-
Add the room-temperature eggs one at a time, mixing well after each addition. Then, stir in the pure vanilla extract until thoroughly combined and the mixture is well-emulsified.
-
In a separate bowl, sift together the all-purpose flour, baking powder, and salt. Gradually add this dry mixture to the wet ingredients, mixing on low speed until just combined. Be careful not to overmix the dough.
-
Form the soft cookie dough into a cohesive ball. Then, wrap it completely and tightly in plastic cling wrap to prevent it from drying out in the refrigerator.
-
Place the wrapped dough in the refrigerator to chill for at least 6 hours, or ideally, overnight. This chilling step is crucial for the cookies to hold their shape during baking.
-
Before you begin rolling, remove the firm cookie dough from the refrigerator and let it sit out at room temperature for about 10-15 minutes to soften slightly, making it easier to work with.
-
Preheat your oven to 350 degrees Fahrenheit (175°C). Prepare your baking sheets by lining them with parchment paper for a non-stick surface.
-
Lightly flour your work surface and rolling pin. Roll out the cookie dough to an even ¼-inch thickness. Use a shamrock-shaped cookie cutter to cut out your cookies, pressing firmly to get clean edges.
-
Carefully transfer the cut-out shamrock cookies to the parchment-lined baking sheet, leaving about an inch of space between each cookie to allow for slight spreading.
-
Bake the cookies for 8-10 minutes, or until their edges are lightly golden brown. The centers should still be soft to ensure a tender cookie. Avoid overbaking.
-
Allow the freshly baked cookies to cool on the baking sheet for 5 minutes. This helps them firm up slightly, making them easier to handle without breaking.
-
After 5 minutes, carefully transfer the cookies to a wire rack to cool completely. Ensure they are fully cooled before proceeding to the frosting step.
For the Frosting:
-
In a mixing bowl, combine sifted powdered sugar, light corn syrup, and vanilla extract. Add milk gradually, starting with 3 tablespoons, and beat on medium speed for 4 minutes with an electric mixer until smooth. Add the last tablespoon of milk slowly, if needed, until the frosting reaches a pipeable consistency.
-
Add green gel food coloring to the frosting. Stir it in thoroughly until the frosting achieves a vibrant, even green color, perfect for your St. Patrick’s Day theme.
-
Transfer the prepared green frosting into a piping bag fitted with a Wilton tip #5 or a similar small round tip. This will allow for precise decoration.
-
Carefully pipe the frosting onto each cooled cookie. For the best result, first outline the outside shape of the shamrock, then fill in the remaining frosting in the center, spreading gently to the edges.
-
Immediately after frosting each cookie, top with green sugar sprinkles or other desired festive decorations while the icing is still wet, ensuring they adhere well.
-
Allow the frosted cookies to sit undisturbed at room temperature for several hours until the frosting has completely hardened. Once the icing is set, the cookies are ready to serve and enjoy!
Nutrition Facts
Pin This Now to Remember It Later
Pin Recipe
