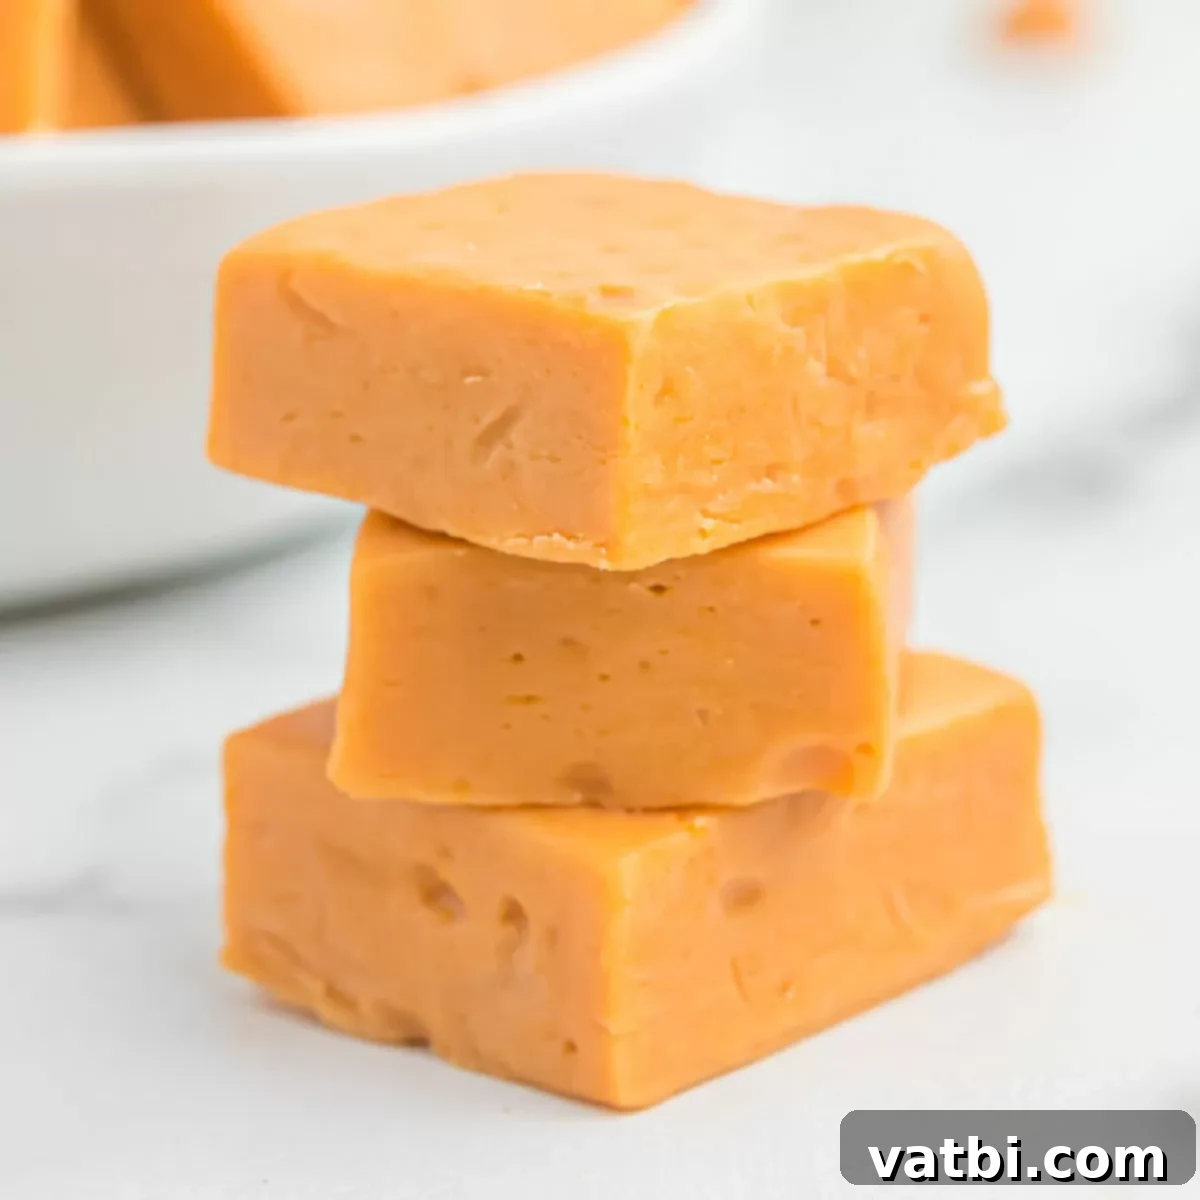
The Best 4-Ingredient Butterscotch Fudge Recipe: Easy, Creamy & No Candy Thermometer Needed
Indulge in the nostalgic delight of homemade butterscotch fudge with this incredibly easy recipe. Requiring just four simple ingredients and absolutely no candy thermometer, this recipe delivers the creamiest, most decadent fudge you’ve ever tasted. Whether you’re a novice baker or a seasoned pro looking for a quick and fail-proof treat, this butterscotch fudge is guaranteed to become a new favorite in your confectionery collection. Its rich, buttery flavor and melt-in-your-mouth texture make it perfect for holiday gatherings, potlucks, or simply satisfying your sweet tooth any day of the week.
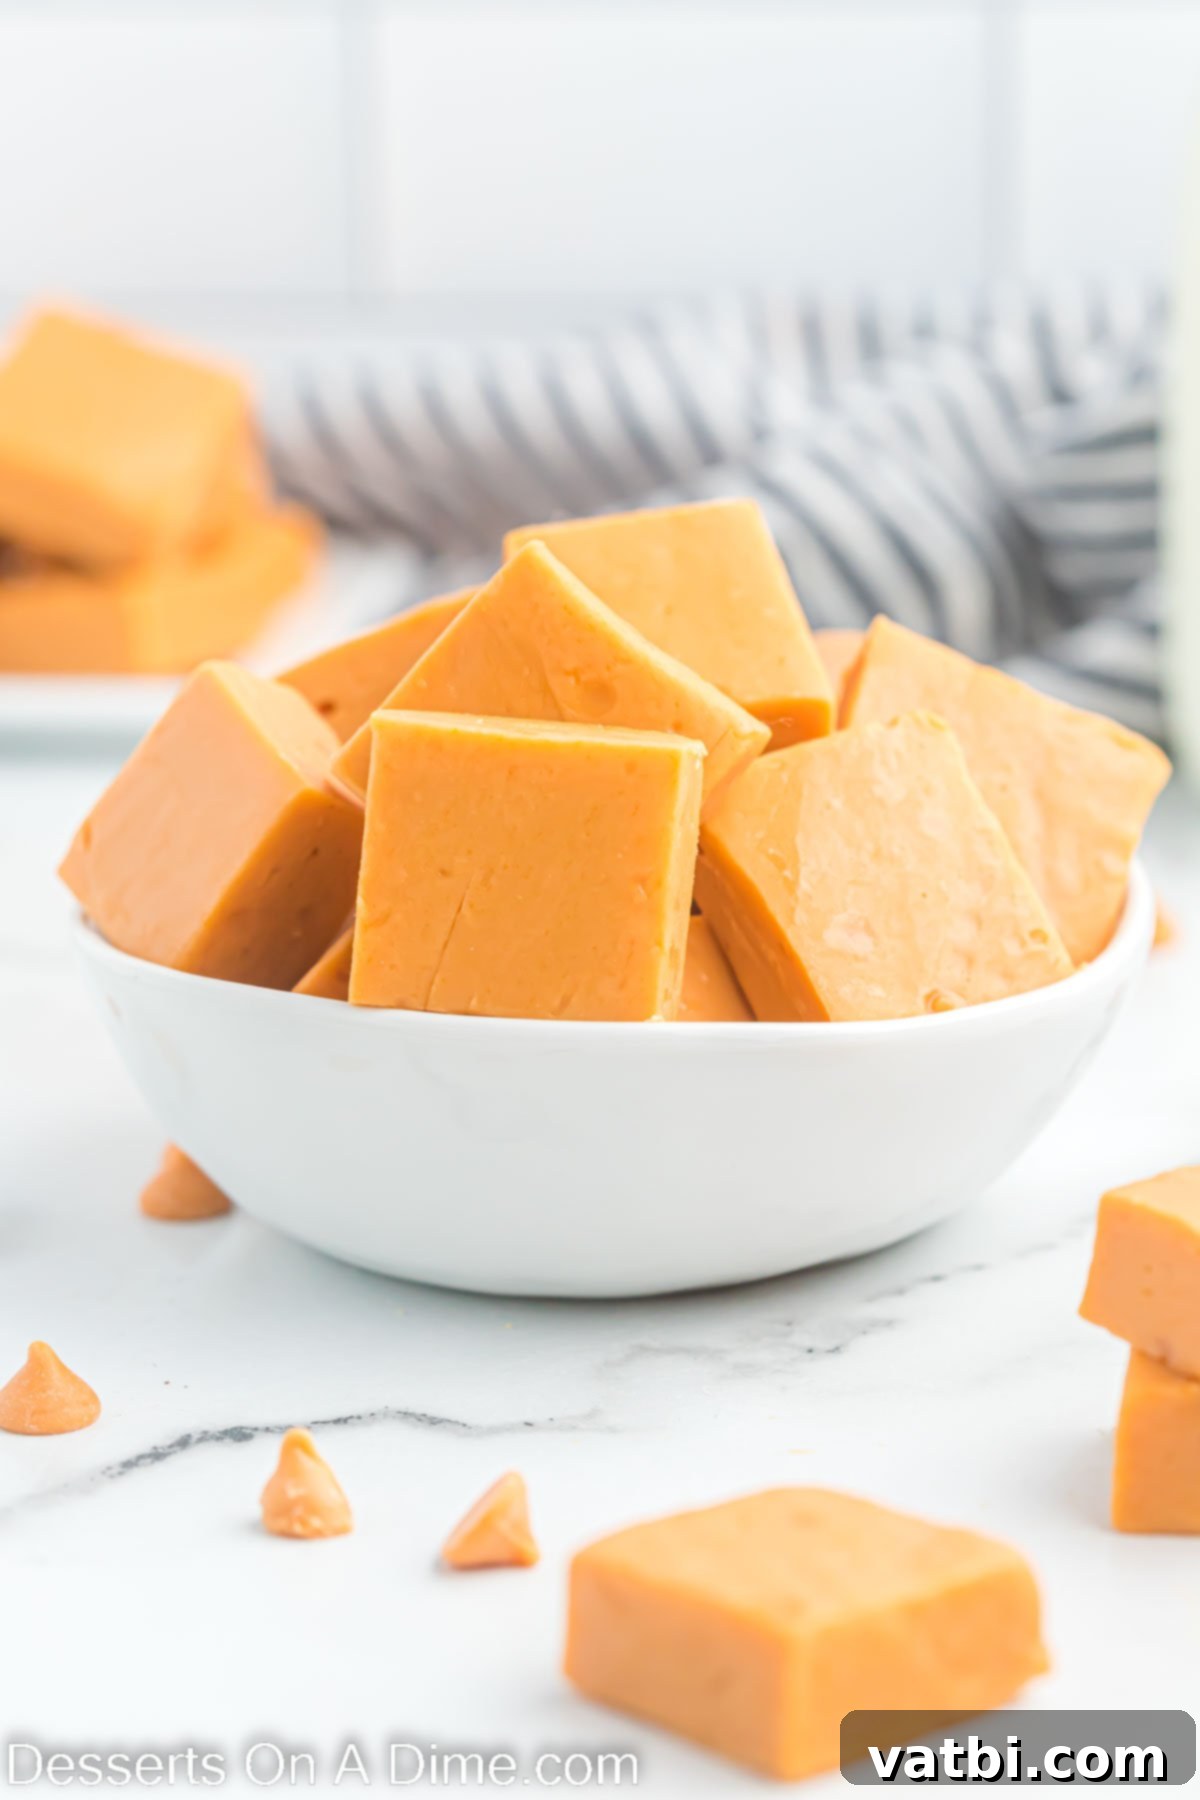
This easy fudge recipe truly does not disappoint. It’s renowned for its unbelievably smooth consistency and rich butterscotch flavor, making it a standout amongst homemade treats. The beauty of this recipe lies in its simplicity; with only four ingredients, you can whip up a batch of this deliciousness in no time, making it ideal for those busy days when you crave something sweet but don’t have hours to spend in the kitchen.
Forget the stress of precise temperatures and complicated techniques. You won’t even need a candy thermometer for this simple microwave fudge. Its straightforward method ensures a perfect result every time, allowing anyone to achieve that coveted creamy texture. Everyone, from kids to adults, will adore this sweet treat, especially its distinctive and comforting butterscotch flavor. It has quickly become one of our personal favorites for its effortless preparation and irresistible taste.
If you’re as big a fan of the delightful butterscotch flavor as we are, you’ll love exploring other treats that highlight this sweet, caramelized taste. Don’t stop at fudge! Try making our equally delicious Butterscotch Pie Recipe for a classic dessert, or bake up some chewy Butterscotch Cookies. For a different texture, our Butterscotch Bars are a fantastic option, offering a convenient way to enjoy the flavor. And for something truly indulgent, consider our rich Butterscotch Delight and fudgy Butterscotch Brownies. Each recipe brings out the best in butterscotch, offering a variety of ways to savor this beloved flavor.
Beyond butterscotch, there’s a whole world of easy fudge to explore. You may also love the exquisite taste of our Salted Caramel Fudge Recipe, which perfectly balances sweet and savory notes. For a taste of autumn, try the comforting flavors of Maple Fudge. And if you’re looking for a treat packed with texture and variety, our Easy Rocky Road Fudge Recipe is a must-try. These recipes showcase just how versatile and simple homemade fudge can be, proving that delicious desserts don’t have to be complicated.
Table of contents
- Why We Love This Recipe
- What is The Secret to Making Creamy Fudge?
- Ingredients for Butterscotch Fudge
- Delicious Butterscotch Fudge Variations
- How to Make Easy Butterscotch Fudge
- Frequently Asked Questions About Fudge
- Expert Tips for Perfect Butterscotch Fudge
- Try More Easy Fudge Recipes
Why We Love This Recipe for Easy Butterscotch Fudge
This butterscotch fudge recipe isn’t just easy; it’s a game-changer for anyone who loves homemade sweets. Here’s a deeper look into why this recipe stands out and why you’ll fall in love with it:
- Only 4 Ingredients. Yes, you read that right! With just butterscotch chips, sweetened condensed milk, vanilla extract, and a pinch of salt, this recipe simplifies dessert making. This minimal ingredient list means less shopping, less expense, and a quicker start to your baking adventure. It truly does not get any easier, making it perfect for last-minute treats or beginner bakers.
- No Candy Thermometer. Many traditional fudge recipes require a candy thermometer and precise temperature monitoring, which can be intimidating for home cooks. This microwave butterscotch fudge completely eliminates that hurdle. You don’t need any fancy or specialized cooking gadgets, making it accessible to everyone, regardless of their kitchen equipment.
- Microwaveable. The entire process for melting the ingredients happens in the microwave! This means significantly reduced prep time and an even easier cleanup. It’s ideal for busy individuals or anyone who prefers a hands-off approach to cooking. The microwave method ensures consistent, even melting when done correctly, leading to perfectly smooth fudge.
- It Tastes Amazing. Beyond its ease, the taste and texture are truly what set this butterscotch fudge apart. The texture is incredibly creamy, melting smoothly in your mouth without any grittiness. The flavor is rich, buttery, and wonderfully decadent, offering that classic, comforting butterscotch taste that everyone adores. It’s a treat that feels luxurious despite its simple origins.
What is The Secret to Making Creamy Fudge?
Achieving that perfectly smooth, melt-in-your-mouth creamy fudge texture is simpler than you might think, especially when using the microwave method. The key lies in careful heating and consistent stirring, preventing the mixture from becoming grainy or too hard.
When making creamy fudge in the microwave, the trick is to heat the mixture in short, 20-second intervals, stirring thoroughly after each one. This gentle, incremental heating prevents the butterscotch chips from seizing, scorching, or getting too hard, which can lead to a crumbly or tough fudge. It ensures that the ingredients melt evenly and integrate beautifully with the sweetened condensed milk. Resist the urge to melt everything at once, as this is the most common mistake resulting in failed fudge. By simply melting in short intervals and stirring diligently, you will achieve smooth, luscious, and creamy fudge every single time.
For those interested in traditional stovetop fudge, achieving a creamy texture often involves cooking the mixture to a specific temperature (usually between 234-237°F or 112-114°C, known as the soft ball stage) and then removing it from the heat to allow it to cool undisturbed before beating. This controlled cooling and subsequent beating encourage the formation of small sugar crystals, which contribute to the creamy texture. However, with our microwave method, you get similar results without the need for precise temperature control, making it much more approachable.
Ingredients for Butterscotch Fudge
This delightful butterscotch fudge relies on just four key ingredients to create its signature creamy texture and rich flavor. Opting for quality ingredients, even for such a simple recipe, makes a noticeable difference in the final taste and consistency of your homemade fudge.
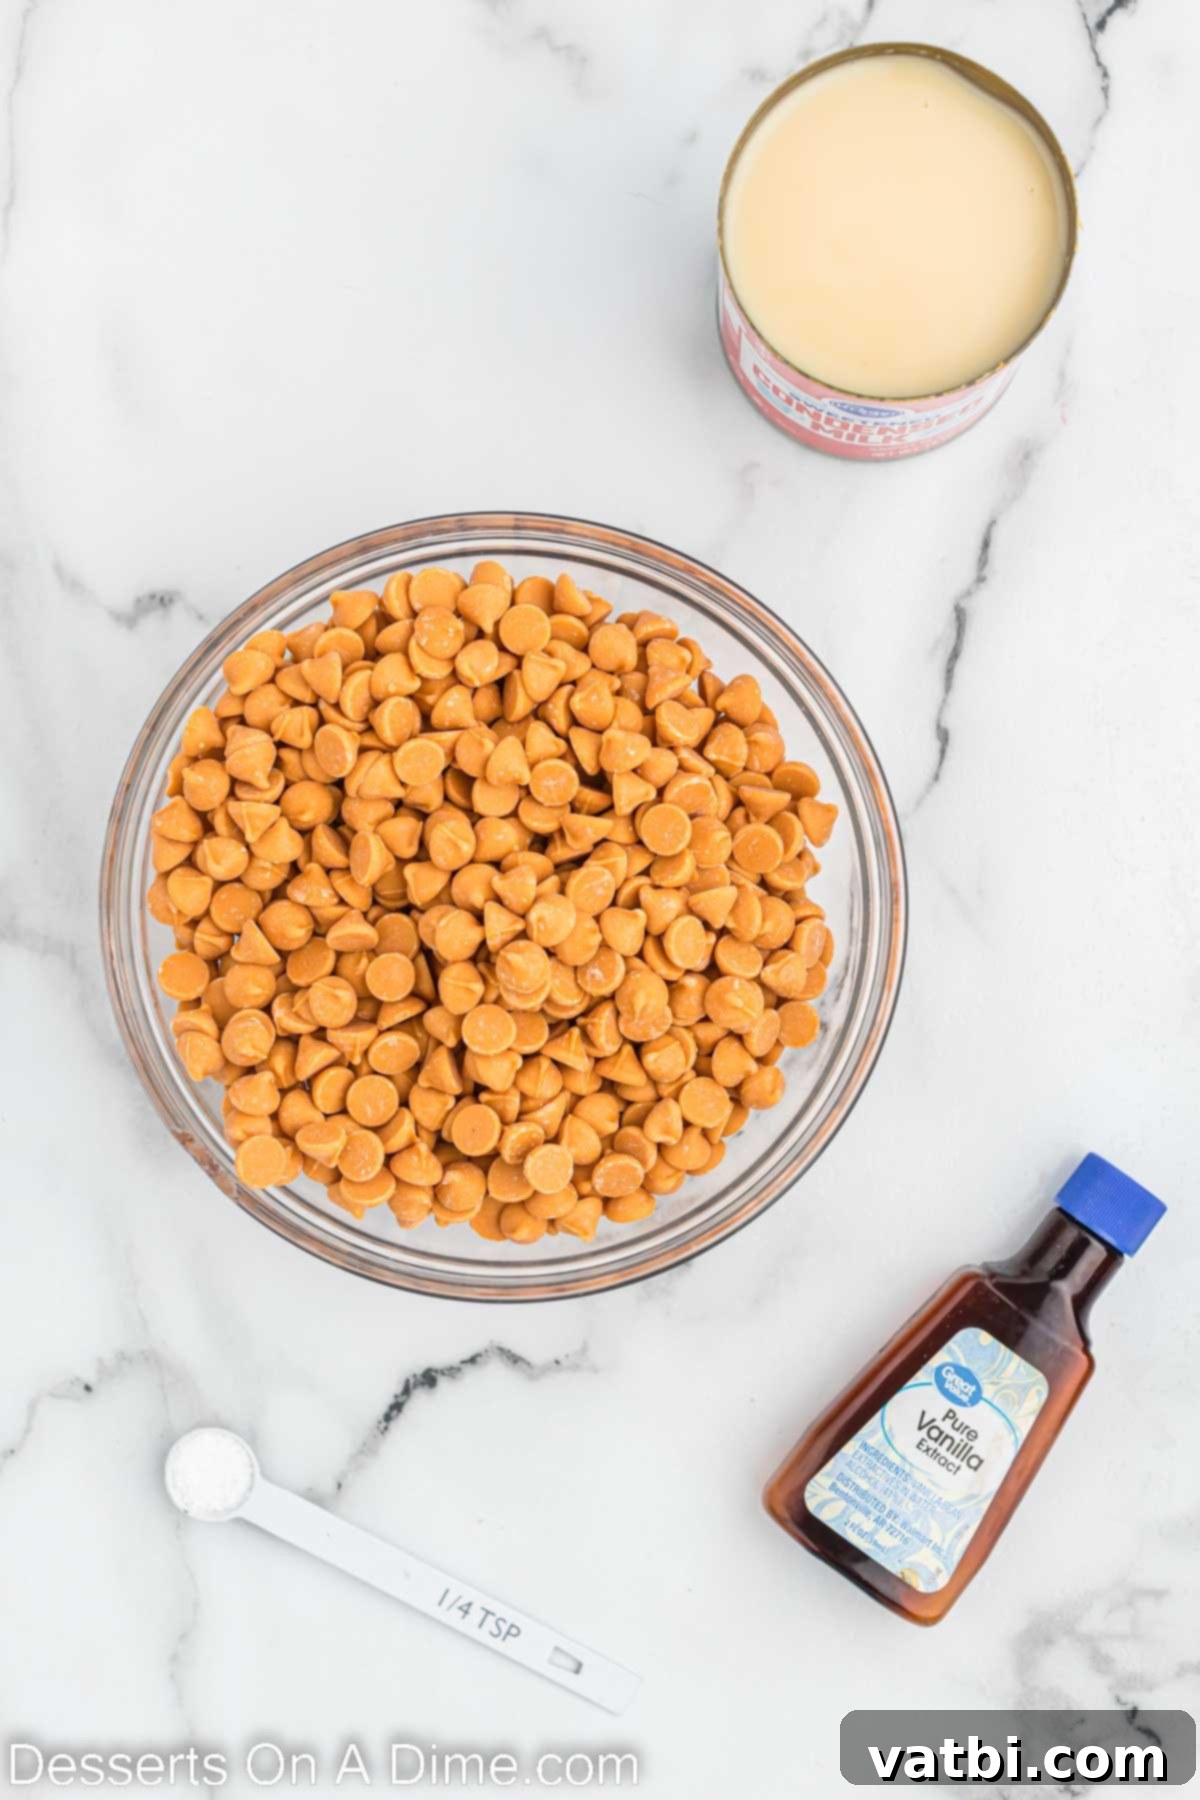
- Butterscotch Chips. The star of our show! For the most authentic and best results, always use high-quality butterscotch chips. These chips provide the distinct, sweet, and slightly caramelized flavor that defines this fudge. Brands can vary slightly in flavor and melting consistency, so choose a reputable one you enjoy.
- Sweetened Condensed Milk. This is the magic ingredient that gives the fudge its incredible sweetness and velvety creaminess. It acts as both a sweetener and a binder, ensuring the fudge sets perfectly without needing complex boiling techniques. It’s crucial not to confuse this with evaporated milk, as evaporated milk lacks the high sugar content and thick consistency needed for this recipe.
- Vanilla Extract. A touch of pure vanilla extract enhances the overall flavor profile of the butterscotch, adding depth and warmth. While optional, it rounds out the sweetness and adds a lovely aroma that makes your fudge even more irresistible. Opt for pure vanilla extract over imitation for the best flavor.
- Salt. Just a quarter teaspoon of salt might seem minimal, but it plays a vital role in balancing the sweetness of the butterscotch chips and condensed milk. It brightens the flavors and prevents the fudge from being overly cloying, adding a subtle complexity that makes you want to reach for another piece.
You can find the entire recipe, including precise measurements and the full ingredient list, at the bottom of the page in our printable recipe card.
Delicious Butterscotch Fudge Variations
While the classic 4-ingredient butterscotch fudge is undeniably perfect on its own, it also serves as an excellent base for creative variations. Feel free to experiment with these ideas to customize your fudge for different tastes or occasions:
- White Chocolate Chips. For a milder, creamier flavor, consider substituting a portion or all of the butterscotch chips with white chocolate chips. Another delightful idea is to use half butterscotch and half white chocolate chips for a slightly different, layered flavor profile that’s both sweet and rich.
- Sprinkles. If you’re making these for a birthday, holiday, or any festive occasion, adding colorful sprinkles to the top before the fudge sets can transform it into a vibrant, eye-catching treat. Choose colors that match your theme – red and green for Christmas, pastels for Easter, or rainbow for birthdays!
- Nuts. Introduce a delightful crunch and nutty flavor by folding chopped nuts into the fudge mixture after melting, or by sprinkling them generously on top before it sets. We particularly love pecans or walnuts for their rich flavor, but peanuts would also be a fantastic addition, especially if you enjoy a salty-sweet combination. Toasting the nuts lightly before adding them can enhance their flavor even further.
- Sea Salt. For a sophisticated twist that beautifully contrasts the fudge’s sweetness, sprinkle a pinch of flaky sea salt on top before it sets. This “salted butterscotch fudge” variation is incredibly popular and adds a gourmet touch to your homemade treat.
- Toffee Bits. For an extra layer of caramel-like crunch and flavor, stir in some toffee bits with the vanilla and salt. This adds a wonderful texture and intensifies the buttery notes.
- Chocolate Swirl. Melt a small amount of semi-sweet or milk chocolate chips separately and drizzle it over the butterscotch fudge in the pan. Use a skewer or knife to gently swirl the chocolate into the butterscotch for a beautiful marbled effect and a rich chocolatey contrast.
- Dried Fruits. For a touch of tang and chewiness, consider adding finely chopped dried cranberries or apricots. This is especially lovely for holiday-themed fudge.
How to Make Easy Butterscotch Fudge
Making this creamy butterscotch fudge is incredibly straightforward, thanks to the microwave method. Follow these simple steps for a perfect batch every time:
- Step 1 – Prepare the Pan. Begin by lining either a 9×9-inch or an 8×8-inch square baking pan with foil or parchment paper. The size of your pan will influence the thickness of your fudge – an 8×8-inch pan will result in thicker pieces, while a 9×9-inch pan will yield slightly thinner ones. Ensure the foil or parchment paper extends over the sides to create “handles,” which will make lifting the set fudge out of the pan much easier. After lining, spray the foil or parchment liberally with a non-stick cooking spray to ensure the fudge doesn’t stick. This crucial step guarantees easy removal and clean cuts later.
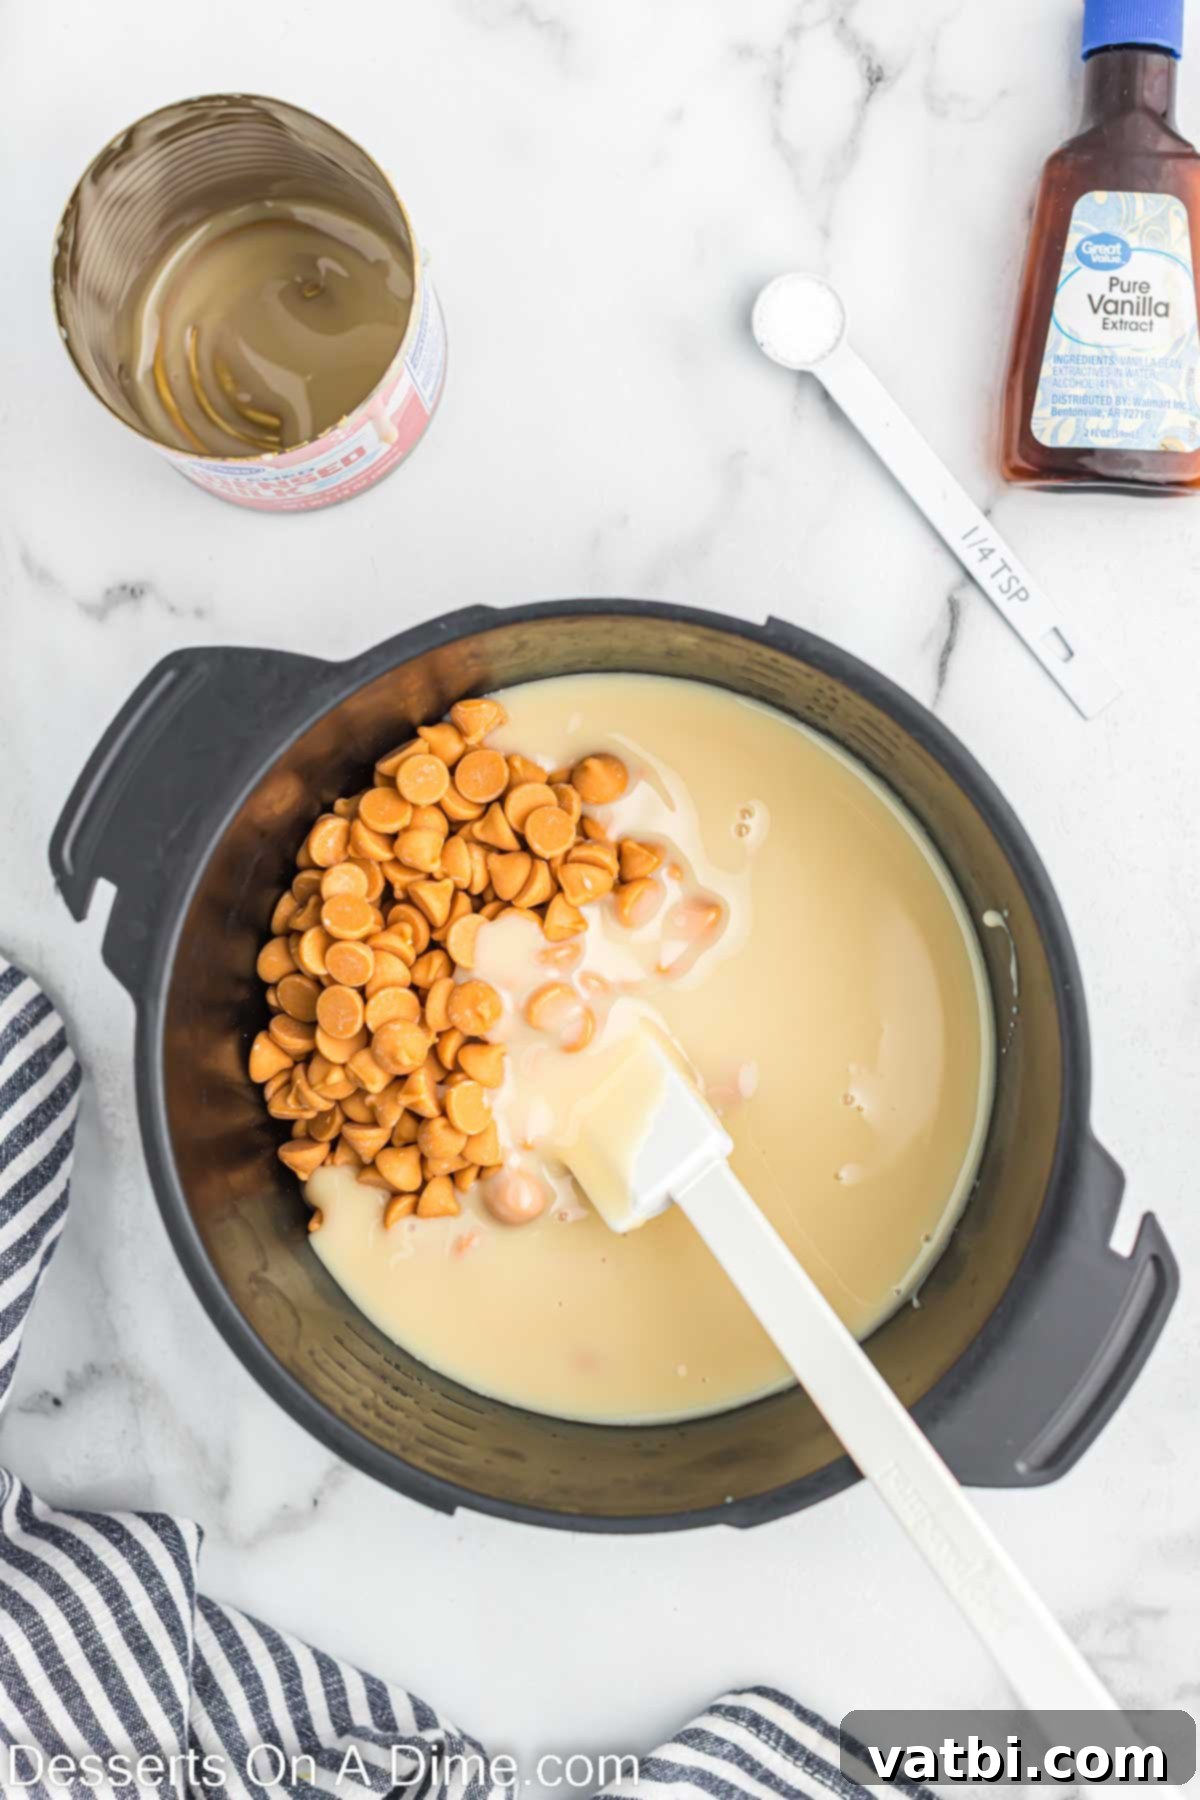
Step 2. Melt the Ingredients. In a large, microwave-safe bowl, combine the butterscotch chips and the sweetened condensed milk. Place the bowl in the microwave and melt the mixture in short, 20-second intervals. After each interval, remove the bowl and stir the mixture vigorously with a spatula. Continue this process – heating for 20 seconds, then stirring – until the butterscotch chips are completely melted and the mixture is smooth and glossy. This incremental approach is key to preventing burning and achieving a creamy consistency.
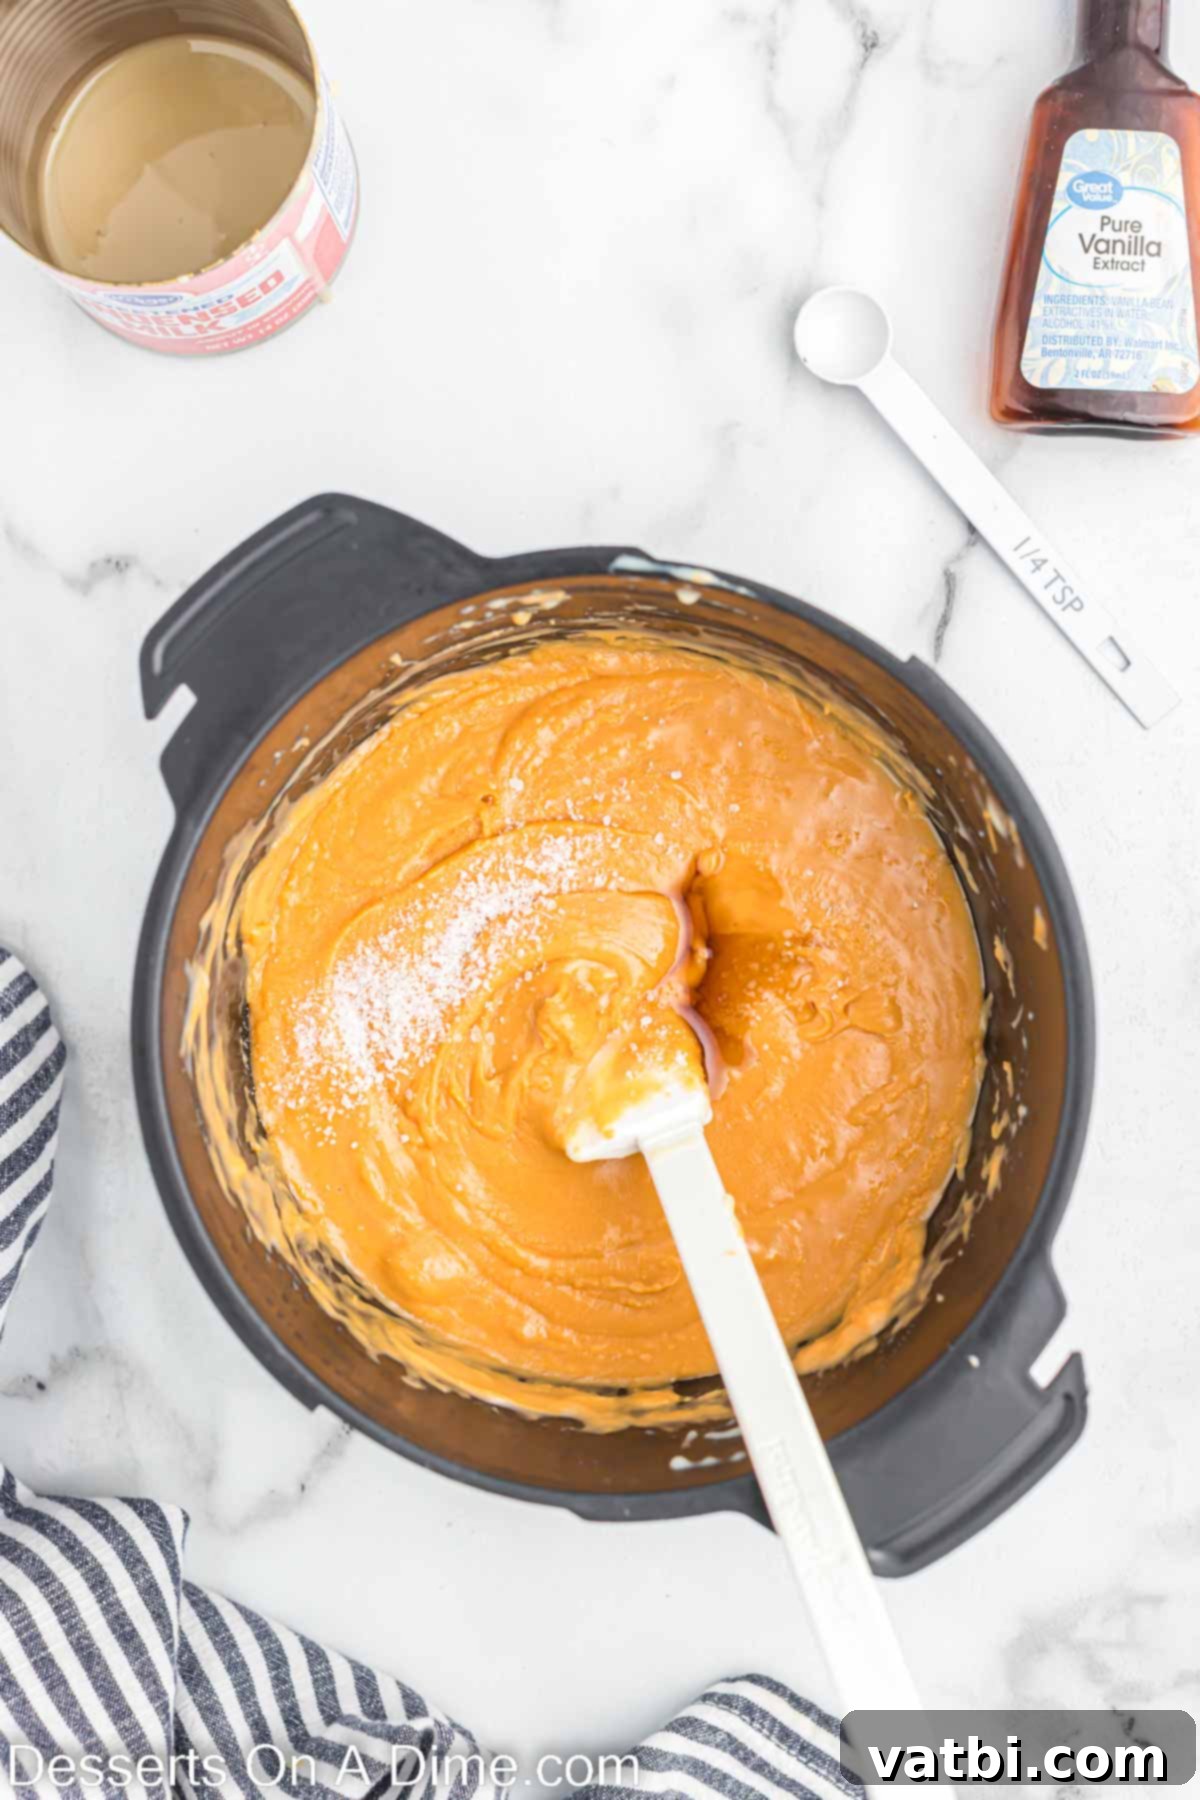
Step 3. Flavor and Pour. Once the butterscotch chip mixture is smooth and fully melted, stir in the vanilla extract and a pinch of salt. Mix until these are well incorporated. The vanilla adds depth, and the salt balances the sweetness. Immediately pour the entire fudge mixture into your prepared baking dish, ensuring it spreads evenly. You can gently tap the pan on the counter a few times to help settle the mixture and remove any air bubbles.
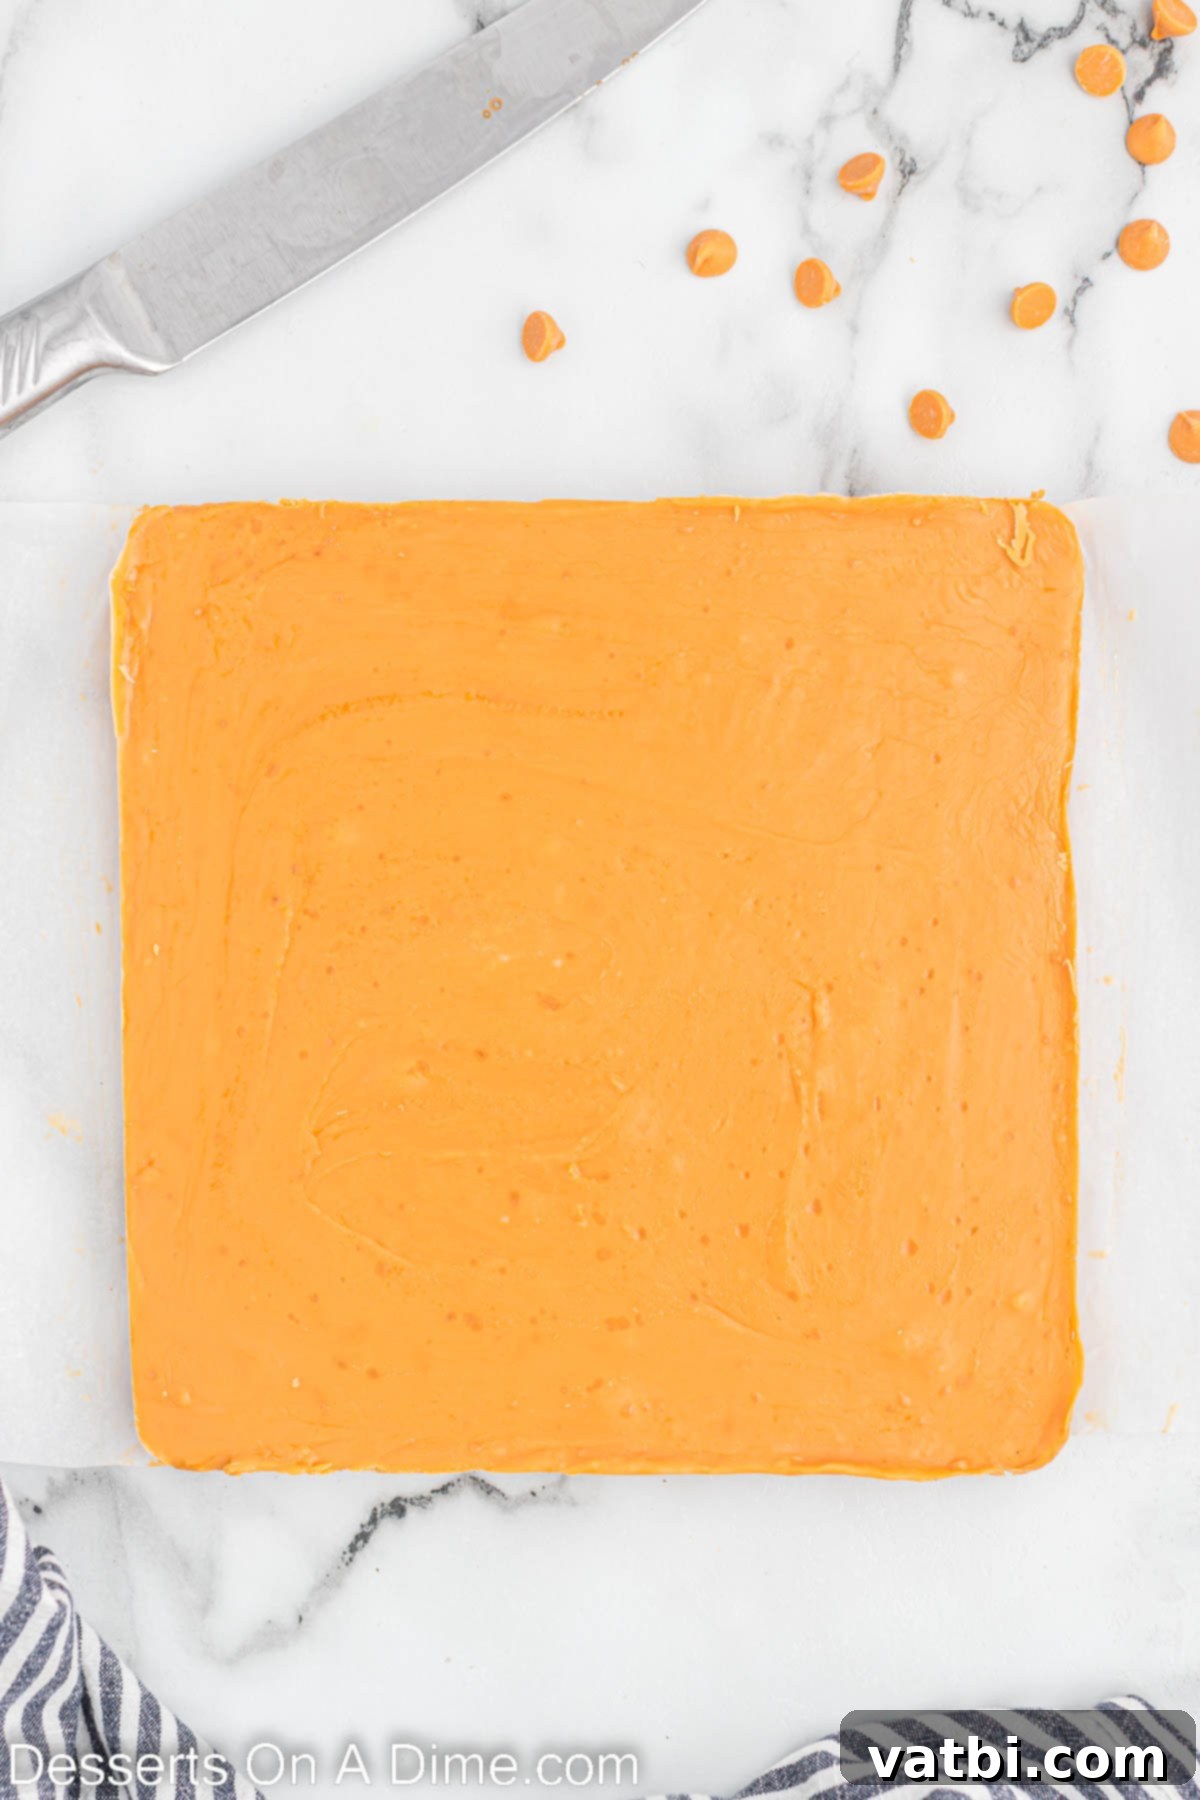
Step 4. Chill and Set. Once the fudge is in the pan, cover the pan tightly with plastic wrap or another piece of foil. Place the covered pan in the refrigerator and chill for a minimum of 2-3 hours. This chilling period is essential to allow the fudge to firm up completely and achieve its desired solid, sliceable consistency. Don’t rush this step, as proper chilling ensures the best texture.
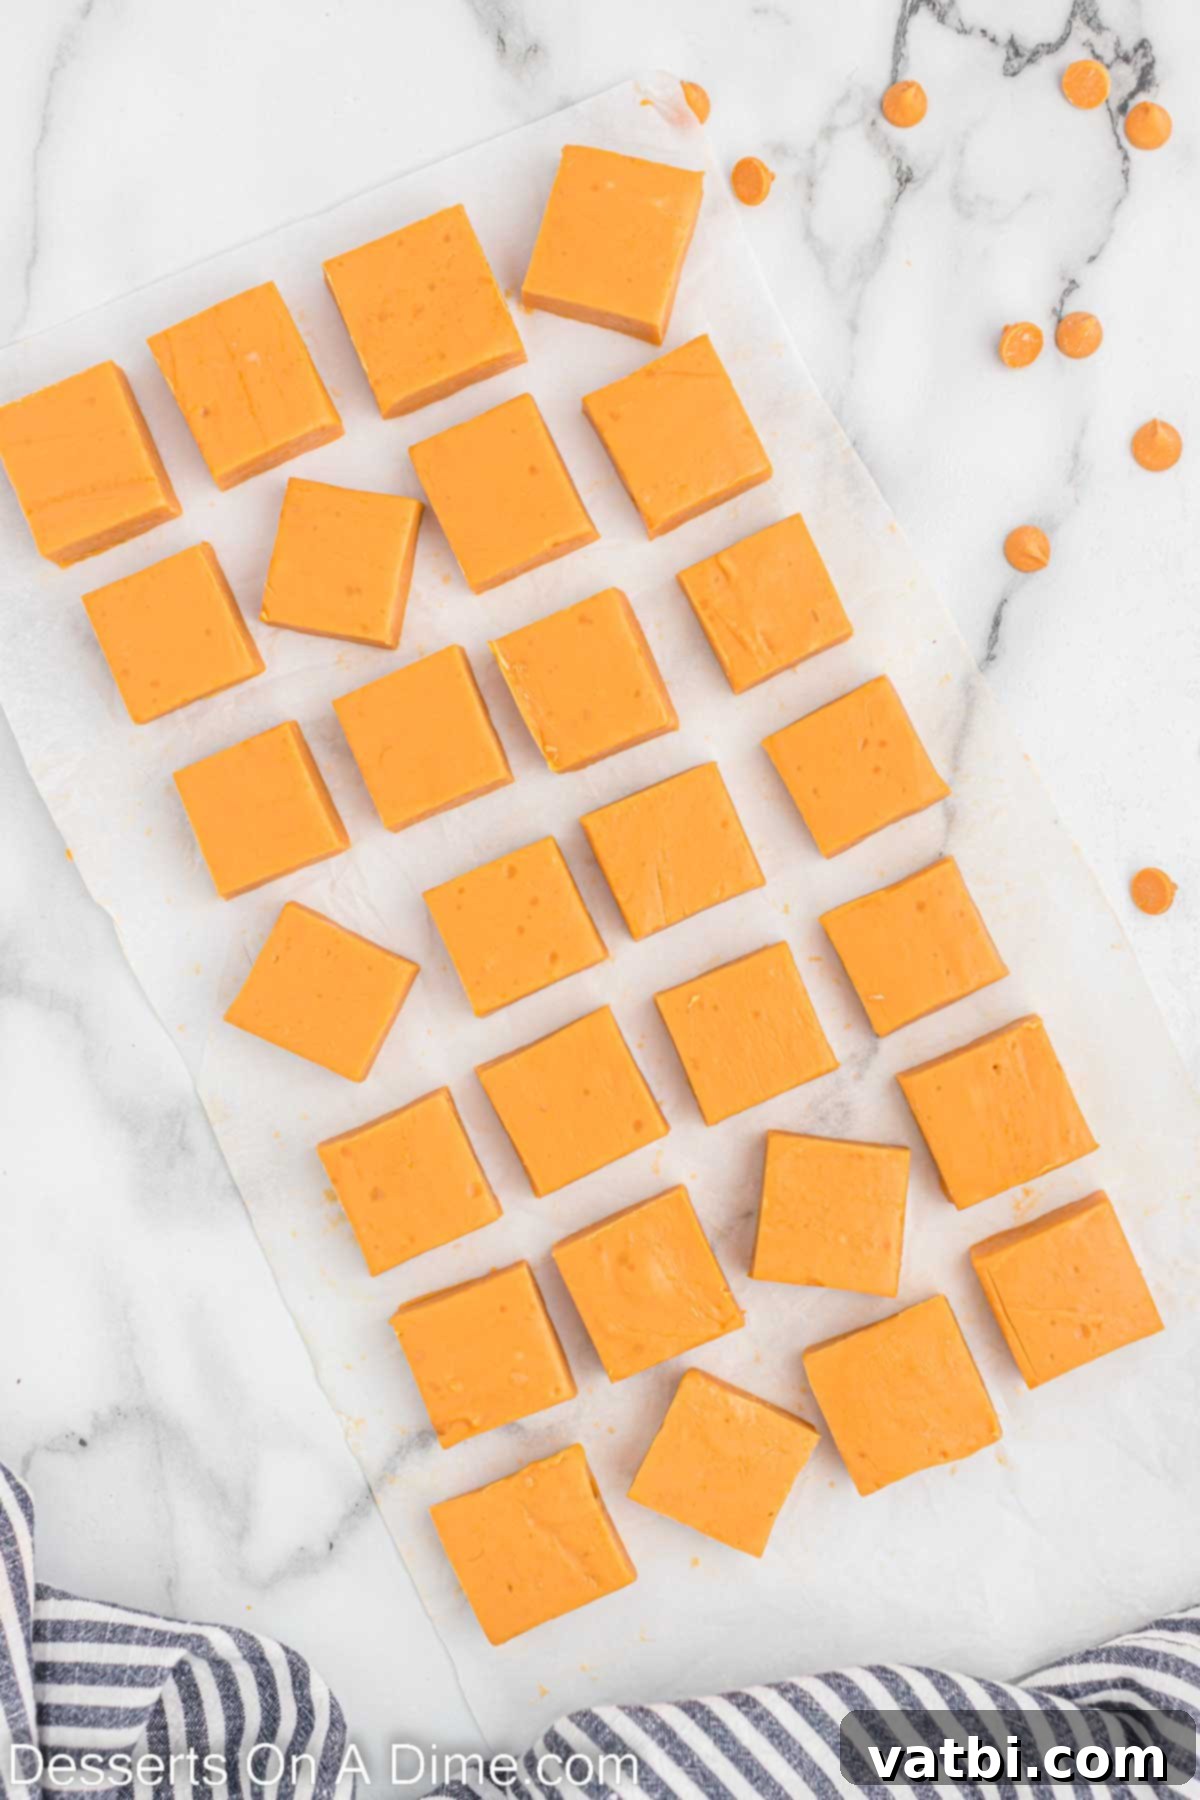
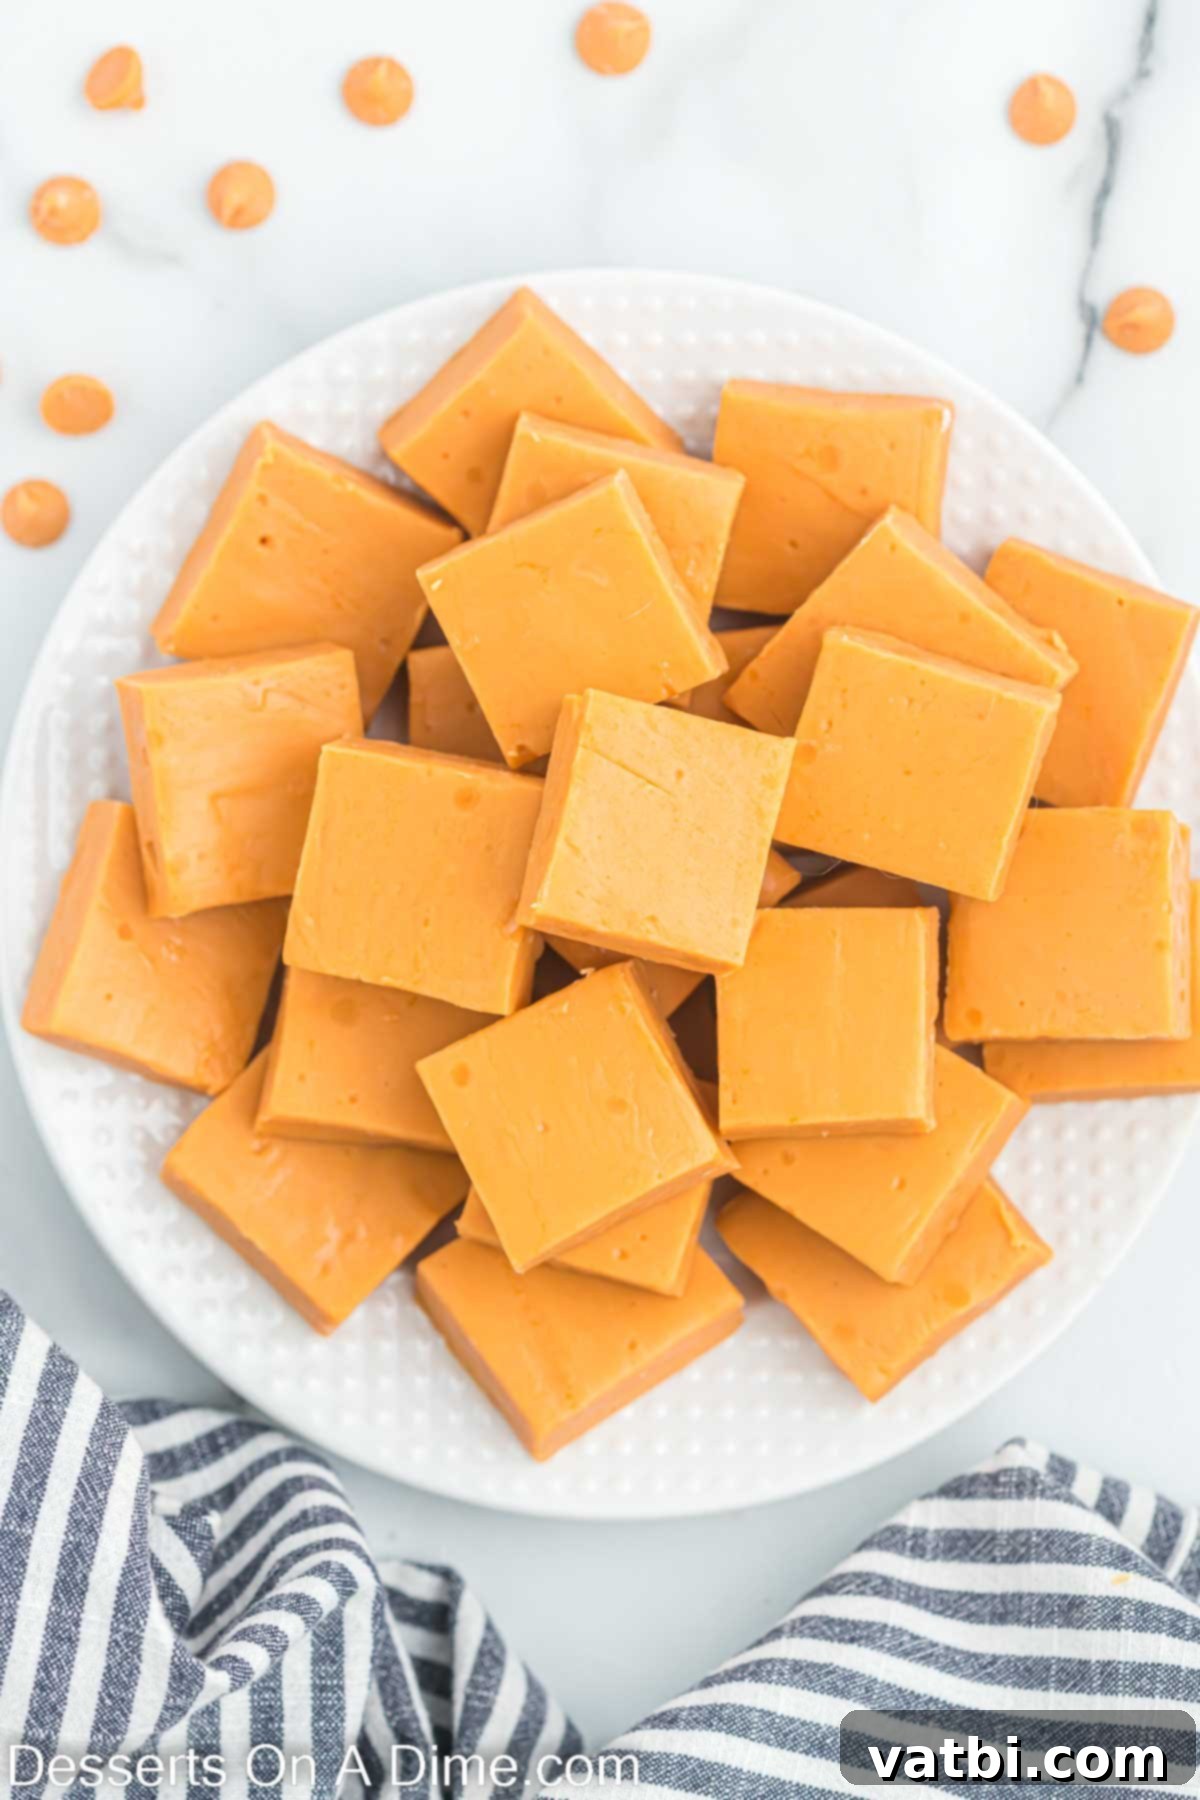
Step 5. Cut and Serve. Once the fudge is completely firm, carefully remove it from the pan using the foil or parchment paper handles. Peel back the lining paper, then place the block of fudge on a cutting board. Using a sharp knife, cut the fudge into small, even squares. Because this fudge is rich, smaller pieces are often preferred. Serve immediately and enjoy your perfectly homemade butterscotch fudge!
Frequently Asked Questions About Butterscotch Fudge
Here are some common questions about making, storing, and troubleshooting butterscotch fudge:
Yes, for optimal freshness and texture, fudge generally needs to be refrigerated. While it might be fine at cool room temperature for a very short period (e.g., serving at a party), prolonged storage at room temperature can cause it to become too soft, sticky, or even melt, especially in warmer environments. Refrigeration helps it maintain its firm, sliceable texture.
To store your homemade butterscotch fudge, place the cut squares in an airtight container. If you have multiple layers of fudge, separate them with parchment paper to prevent sticking. Refrigerate for up to 2 to 3 weeks. An airtight container prevents the fudge from absorbing odors from other foods in the fridge and helps maintain its moisture.
When stored properly in an airtight container in the refrigerator, your butterscotch fudge will typically last for up to 3 weeks. If you need it to last longer, or if you’re preparing it well in advance for holidays or special occasions, freezing is the best option.
Freezing butterscotch fudge is an excellent way to extend its shelf life. Cut the fudge into individual squares and arrange them in a single layer on a baking sheet lined with parchment paper. Freeze for about 1-2 hours until firm. Once firm, transfer the frozen squares into an airtight freezer-safe container or a heavy-duty freezer bag, separating layers with parchment paper to prevent sticking. This easy butterscotch fudge freezes really well and can be stored for up to 2-3 months. When you’re ready to serve, simply allow the fudge to come to room temperature for about 30-60 minutes before enjoying.
Grainy fudge often results from sugar crystals forming too quickly or unevenly. In microwave fudge, this can happen if the butterscotch chips are melted too fast or at too high a heat without sufficient stirring. Always melt in short intervals and stir thoroughly until completely smooth. Overheating can also be a culprit.
While this recipe is specifically designed for the microwave for ease, you can adapt it to the stovetop. Place the butterscotch chips and sweetened condensed milk in a heavy-bottomed saucepan over low heat. Stir continuously until the chips are fully melted and the mixture is smooth. Be very careful not to let it scorch or boil. Once melted, remove from heat and proceed with adding vanilla and salt.
Expert Tips for Perfect Butterscotch Fudge
Even with an easy recipe, a few expert tips can elevate your butterscotch fudge from good to absolutely perfect. Keep these pointers in mind for the best results:
- Melt in Intervals – This is the most crucial tip for microwave fudge. Always cook the fudge in short, 20-second bursts. Melting ingredients too quickly can cause them to seize, burn, or result in a grainy texture. Patience here will pay off with incredibly smooth fudge.
- Stir the Fudge Thoroughly – After each melting interval, remove the bowl from the microwave and stir the mixture vigorously. This ensures that the heat is evenly distributed, prevents hot spots, and helps the butterscotch chips melt smoothly into the sweetened condensed milk, creating a uniform, creamy consistency.
- Refrigerate Properly -Once poured into the pan, do not leave your fudge out on the counter to set. It requires refrigeration to firm up correctly and achieve that ideal sliceable texture. Placing it in the fridge for the recommended 2-3 hours ensures it hardens to perfection.
- Cut into Small Squares. Butterscotch fudge is inherently rich and decadent. A little goes a long way with this indulgent recipe. Cutting it into smaller, bite-sized squares makes it easier to serve, prevents over-indulgence, and is perfect for sharing at parties.
- Use Good Quality Butterscotch Chips. Since this fudge recipe has a minimum number of ingredients, the quality of each one is paramount. Invest in high-quality butterscotch chips, as they are the primary flavor component. Better quality chips will melt more smoothly and provide a superior, more authentic butterscotch flavor.
- Prepare the Baking Dish Diligently. Lining your baking pan with foil or parchment paper, ensuring it overhangs the sides, is a step you don’t want to skip. This simple preparation makes it incredibly easy to lift the entire slab of set fudge out of the pan, making clean-up a breeze and allowing for perfectly neat, effortless cutting.
- Don’t Substitute the Sweetened Condensed Milk. This ingredient is absolutely essential for the unique texture and sweetness of this fudge. Sweetened condensed milk is what creates the perfect, creamy fudge texture when combined with butterscotch chips. Substituting it with regular milk, evaporated milk, or heavy cream will fundamentally change the chemical reaction and will not yield the same creamy, firm fudge result.
- Don’t Overmix Once Flavored. After adding the vanilla extract and salt, mix just until combined. Overmixing at this stage can sometimes introduce air, which can affect the final texture.
- Clean Knife for Cutting. For the cleanest, most precise squares, wipe your knife clean with a warm, damp cloth after every few cuts. This prevents the fudge from sticking to the knife and creating messy edges.
Try More Easy Fudge Recipes
If you’ve loved how simple and delicious this butterscotch fudge is, you’re in for a treat! We have a wide array of other easy fudge recipes that use similar straightforward methods, proving that homemade candy can be effortless and incredibly rewarding. Expand your fudge-making repertoire with these fantastic options:
- Vanilla Fudge Recipe – A classic, creamy fudge with a pure, sweet vanilla flavor that’s always a crowd-pleaser.
- 2 Ingredient Chocolate Peanut Butter Fudge – An astonishingly simple recipe that delivers rich chocolate and peanut butter flavors with minimal effort.
- Sugar Cookie Fudge Recipe – Capture the essence of frosted sugar cookies in a delightful, festive fudge form.
- The World’s Best Fudge – A bold claim, but this peanut butter fudge recipe truly lives up to its name with its irresistible taste and texture.
- Rocky Road Candy – While not strictly fudge, this candy offers a similar no-bake, chocolatey, marshmallow-and-nut studded delight.
- Harry Potter Butterbeer Fudge Recipe – A magical concoction that brings the enchanting flavors of Butterbeer into a creamy fudge form.
These recipes are perfect for anyone looking to create impressive homemade desserts without spending hours in the kitchen. Each one is designed for simplicity, ensuring delicious results every time. Happy fudge making!
If you have never made microwave fudge before, this delicious 4-ingredient Butterscotch Fudge recipe is the perfect place to start. Its ease and incredible flavor will surely make you a fan. Please leave a comment and a star rating once you try it – we love hearing your feedback and how much you enjoyed this simple, creamy treat!
Pin
Butterscotch Fudge
Ingredients
- 3 cups Butterscotch Chips
- 14 oz Sweetened Condensed Milk 14 oz can
- 1 teaspoons Vanilla Extract
- 1/4 teaspoon Salt
Instructions
-
Line either a 9X9 or an 8X8 pan with foil or parchment paper and then spray it with a non-stick cooking spray.
-
Place the butterscotch chips and sweetened condensed milk in a microwave safe bowl. Microwave the mixture in 20 second intervals, stirring after each interval, until the chips are completely melted.
-
Then stir in the vanilla extract and salt. Pour the mixture into the prepared pan.
-
Cover the pan and refrigerate for 2-3 hours until the fudge is firm.
-
Carefully remove the fudge from the pan, cut the fudge into squares and it’s ready to serve and enjoy!
Recipe Notes
Nutrition Facts
Pin This Now to Remember It Later
Pin Recipe
