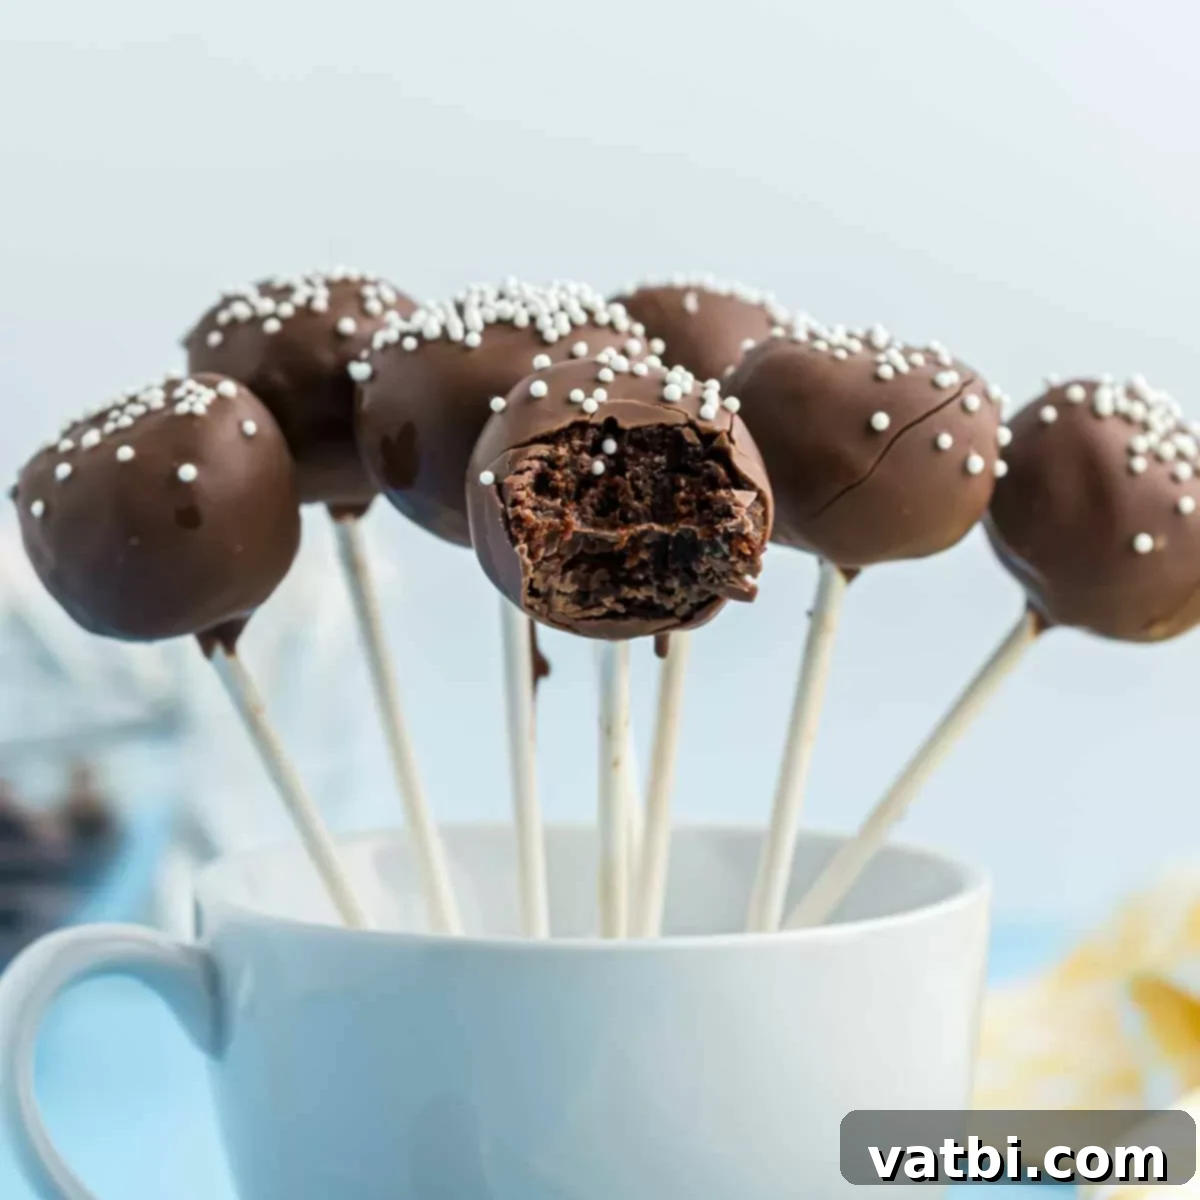
Easy & Decadent Brownie Cake Pops Recipe: Your Guide to Fudgy, Chocolate-Dipped Treats
Get ready to create a show-stopping dessert with our incredibly easy Brownie Cake Pops recipe! Starting with a simple box mix, these bite-sized delights are transformed into truly decadent, fudgy cake pops that are as delicious as they are beautiful. Forget complicated baking – this recipe is designed for ease without compromising on taste or presentation. Perfect for parties, holidays, or just a fun treat, these brownie cake pops will quickly become a favorite in your dessert repertoire. Their rich, chocolatey interior, coupled with a crisp candy shell and playful sprinkles, makes them an irresistible indulgence for all ages.
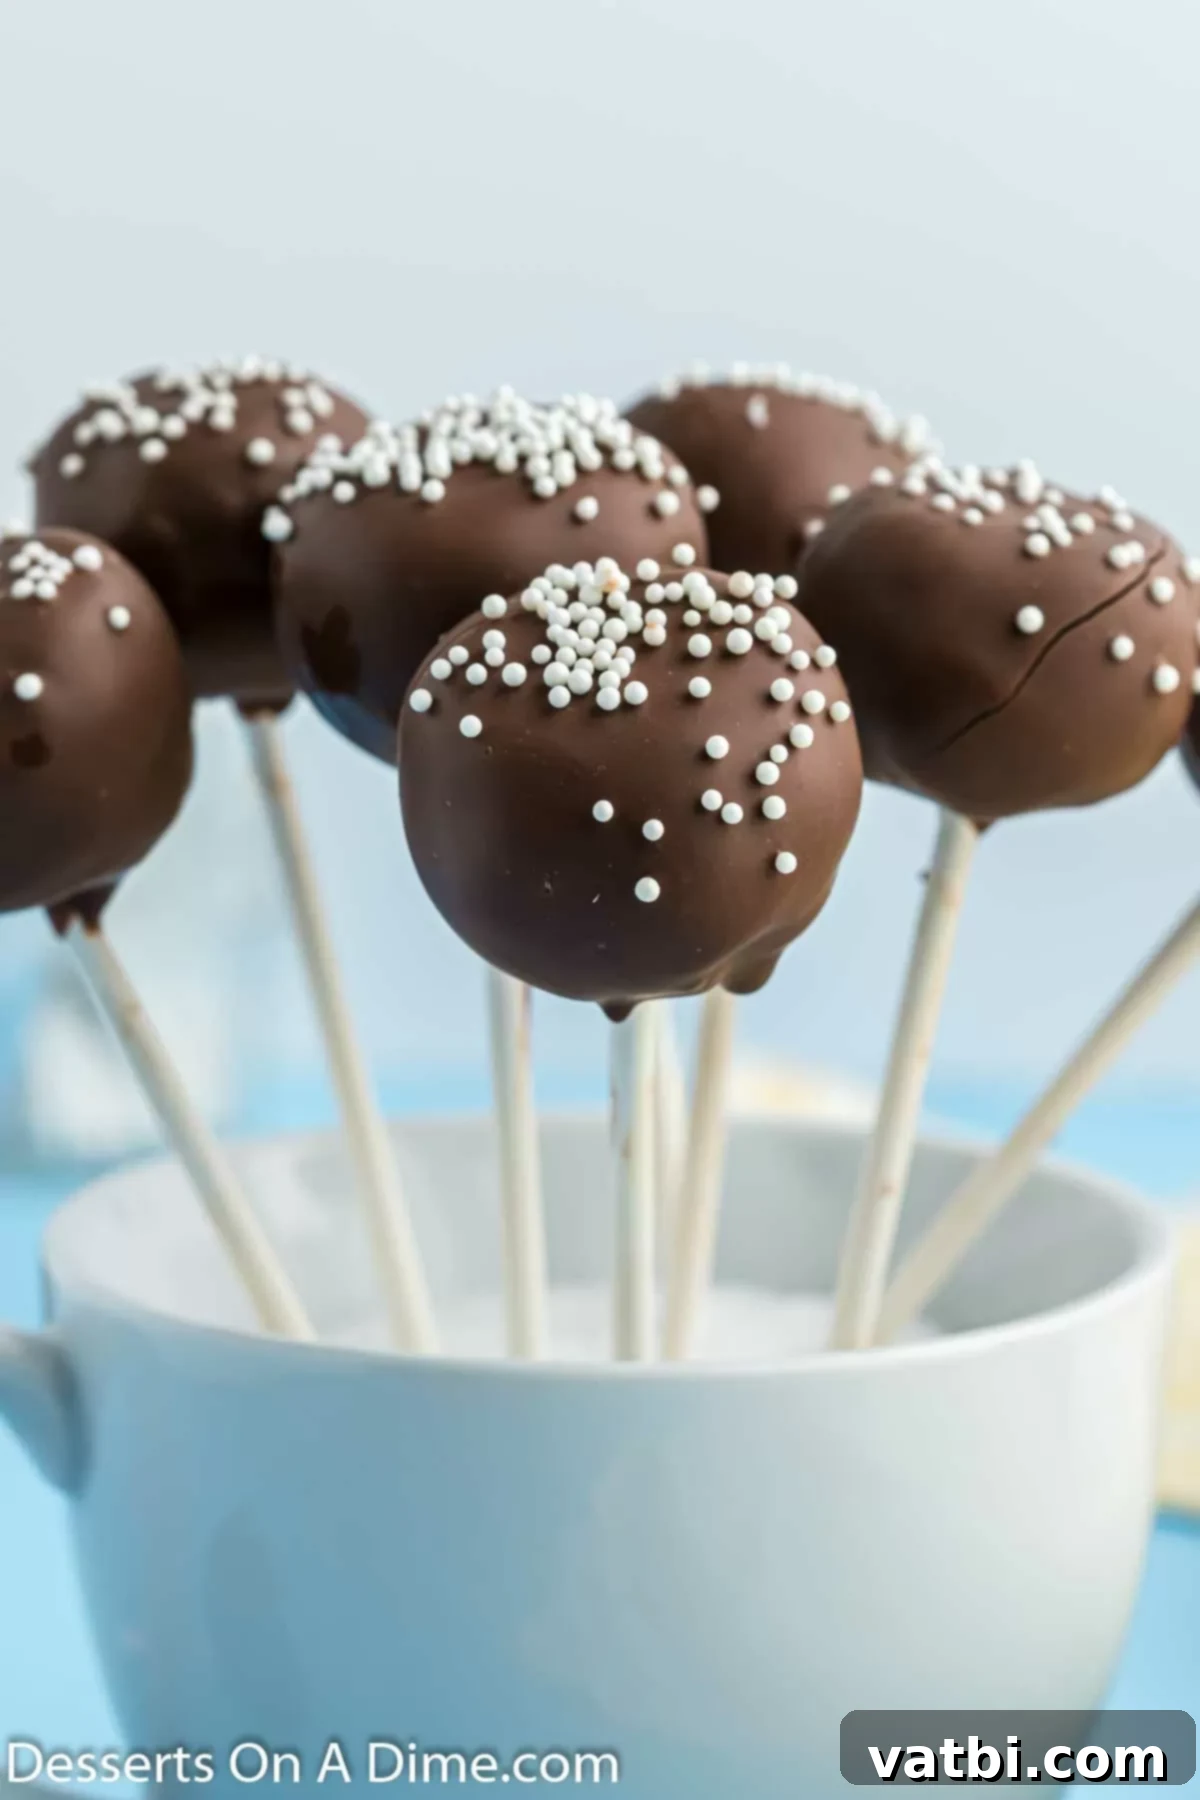
Cake pops and our delightful Cakesicles are not only incredibly fun to prepare but also a joy to eat. I was inspired to try a variation using classic brownies, and the results were absolutely spectacular! These rich, fudgy brownie balls are generously dipped in a smooth chocolate coating and adorned with a cheerful scattering of sprinkles. They boast an elegant appearance that belies their simple creation process, making them an ideal dessert for impressing guests or simply indulging your sweet tooth. The delightful combination of sweet chocolate and dense brownie makes these treats a dream for any dessert fan, much like our other beloved creations such as Edible Brownie Batter, Oreo Brownies Recipe, Buckeye Brownies Recipe, and a comforting Brownie Pie. For even more chocolatey goodness on a stick, we also highly recommend our Chocolate Cake Pops and our surprisingly delicious Cottage Cheese Brownies.
Table of Contents
- Why We Love This Recipe
- Ingredients You’ll Need
- Step-by-Step: How to Make Brownie Cake Pops
- Creative Ways to Decorate Your Brownie Pops
- Frequently Asked Questions About Brownie Cake Pops
- More Irresistible Brownie Recipes
- Even More Cake Pop Recipes to Explore
Why You’ll Adore This Brownie Cake Pop Recipe
These brownie pops are not just easy to make, they effortlessly elevate any occasion, looking far more elaborate than the effort required. Why spend a fortune at a bakery when you can create these gourmet-looking treats right in your own kitchen? Our recipe empowers you to skip the bakery prices and enjoy the satisfaction of homemade goodness.
Making these brownie cake pops is a fantastic way to save money, and it offers a wonderful opportunity for a fun, engaging activity with your kids. They’ll love getting involved in crumbling the brownies, rolling the balls, and especially adding the sprinkles! Beyond the joy of creation, we genuinely believe these homemade versions taste even better than store-bought. They are exceptionally rich, deeply fudgy, and packed with that comforting brownie flavor. The texture is moist and dense, perfectly complemented by the crisp chocolate shell. Their individual serving size also makes them perfect for portion control, easy to distribute at parties, or simply as a delightful indulgence. For more creative individual dessert ideas, be sure to explore some of these Dessert Cup Recipes. These brownie cake pops are truly a versatile and beloved treat!
Essential Ingredients You’ll Need
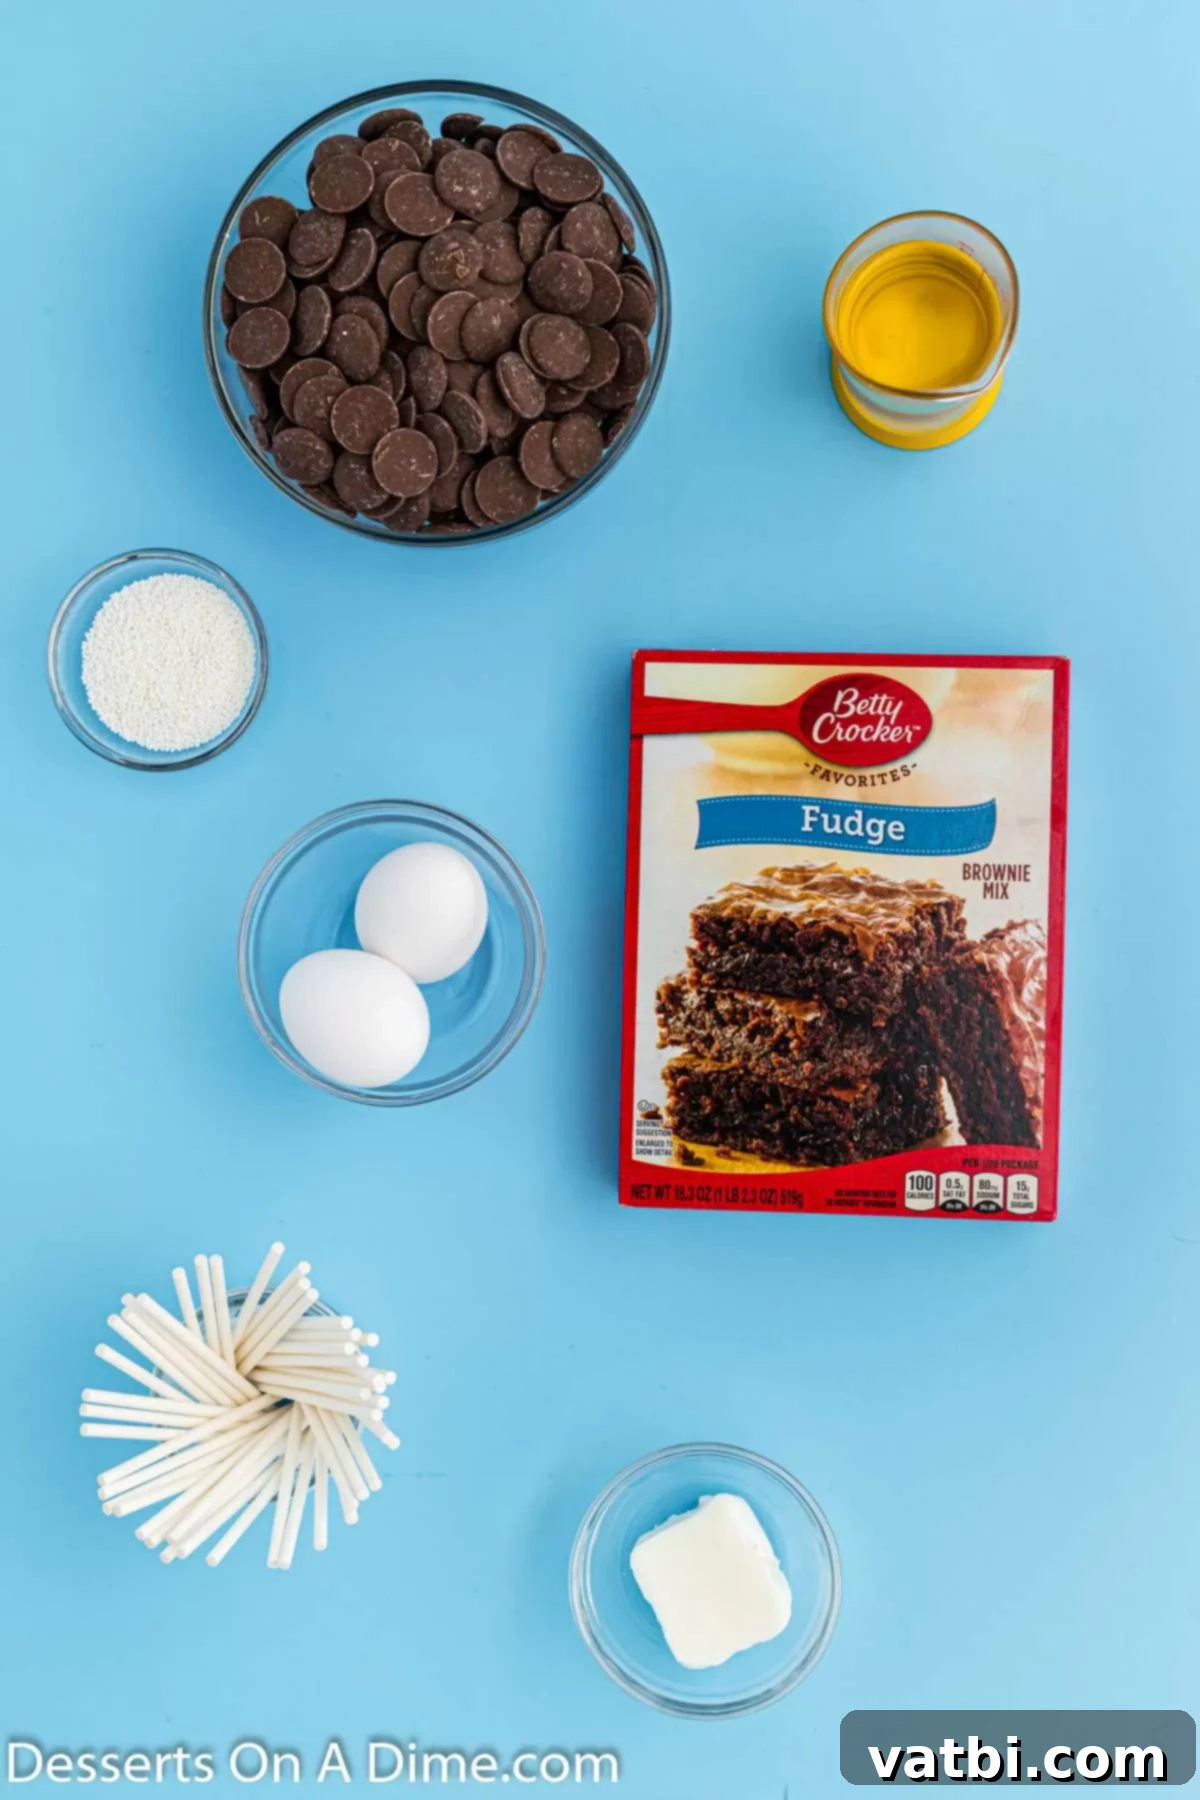
- Brownie Fudge Mix: This is our secret to simplicity! A good quality fudge brownie mix will provide the perfect rich, dense base for your cake pops. Remember to also have on hand the additional ingredients required to prepare the brownies according to your specific package instructions (usually eggs, oil, and water).
- Cake Pop Sticks or Lollipop Sticks: These are essential for creating the classic “pop” presentation. Both cake pop sticks and standard lollipop sticks will work wonderfully, ensuring a sturdy handle for dipping and enjoying your treats.
- Chocolate Candy Melts: We highly recommend using candy melts for their superior melting properties. They create an incredibly smooth, glossy coating that hardens beautifully without requiring tempering, making the dipping process much easier and more foolproof than traditional chocolate. You can choose milk, dark, or white chocolate varieties.
- Shortening: A small amount of shortening is key to achieving that perfectly smooth, thin consistency in your melted candy melts. It helps the chocolate coat the brownie balls evenly and prevents it from becoming too thick or clumpy, resulting in a professional-looking finish.
- White Sprinkles: These add a festive and decorative touch! White sprinkles offer a classic and elegant contrast against the dark chocolate, but feel free to get creative with any color or type of sprinkles that suit your theme or mood.
For the precise measurements and a detailed list of ingredients, please refer to the comprehensive recipe card located at the bottom of this page. You’ll be surprised how few ingredients you need to create such an impressive dessert!
Step-by-Step: How to Make Brownie Cake Pops
Making brownie cake pops is a fun and rewarding process! Follow these detailed steps to ensure your treats come out perfect every time. Precision in each stage will lead to the best results.
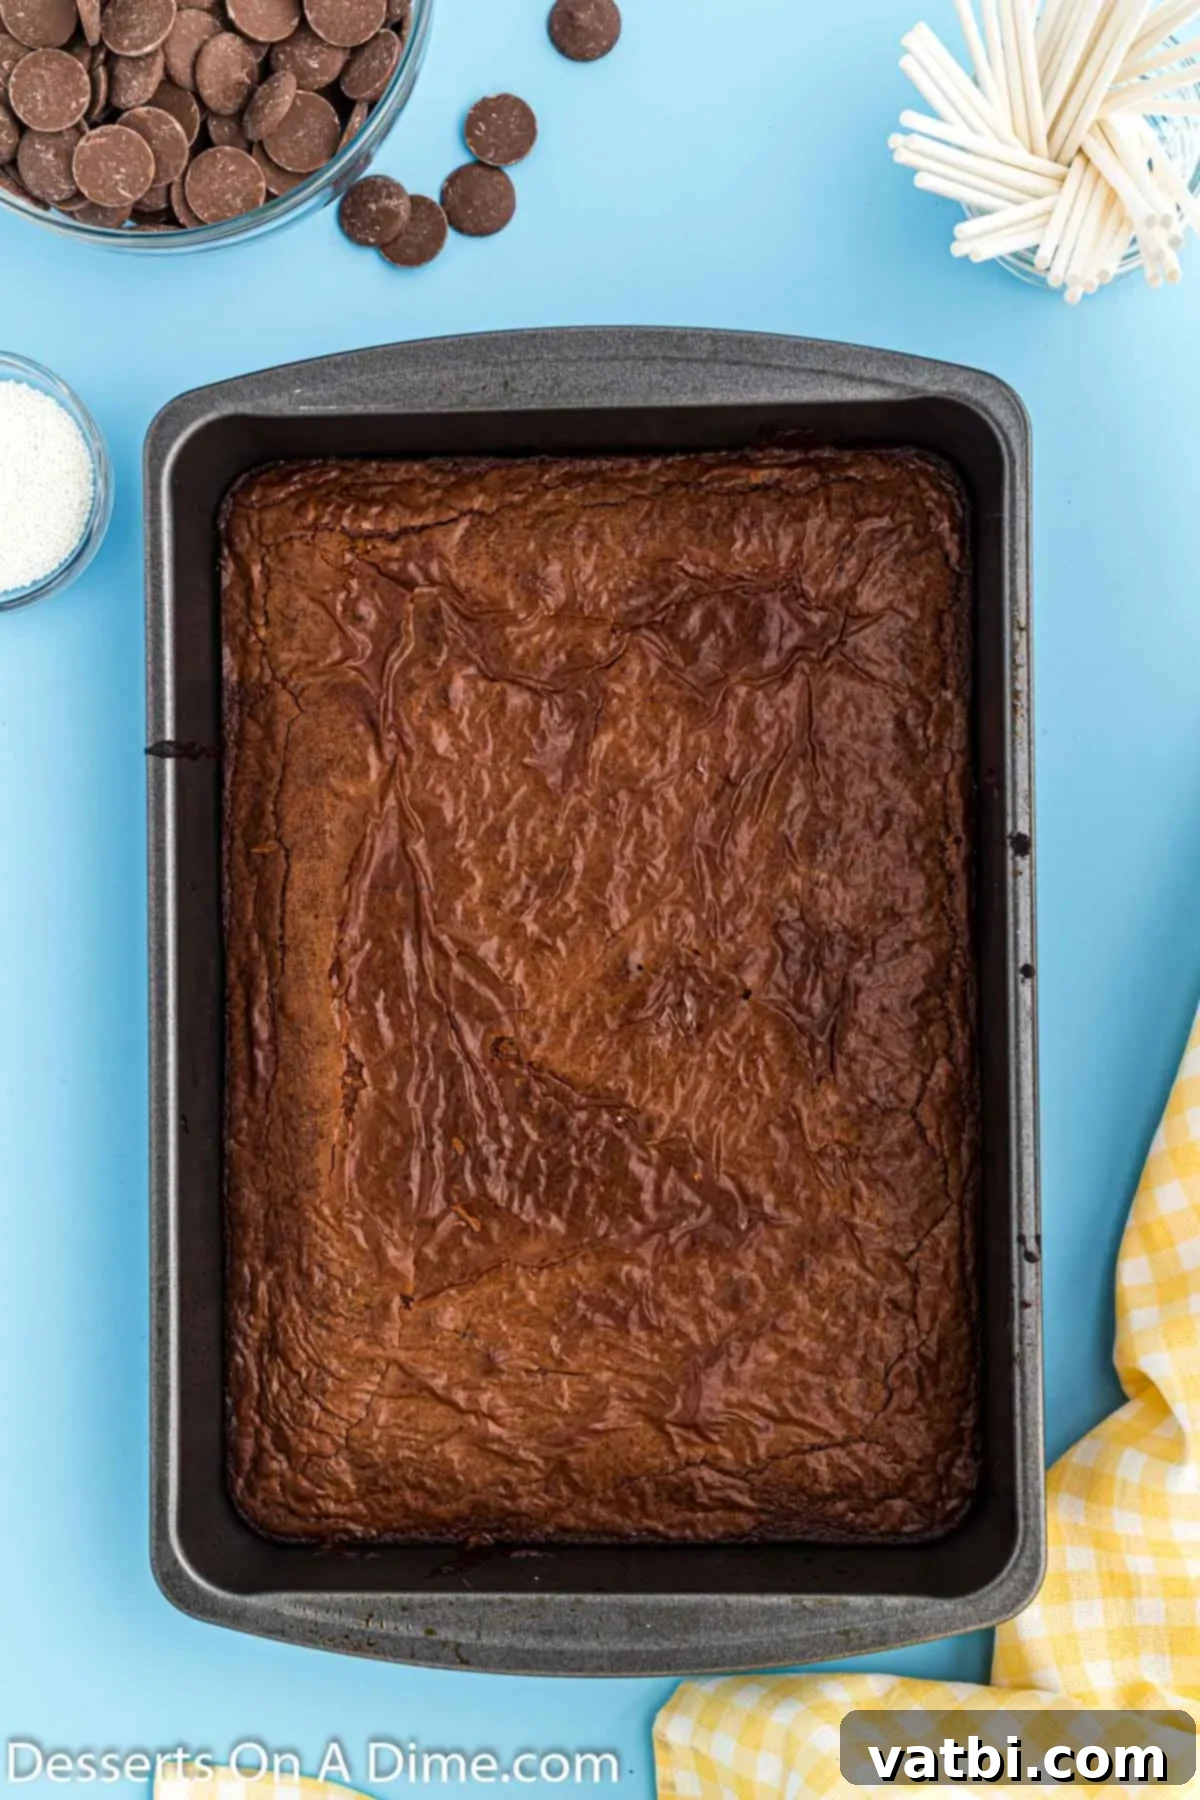
Step 1: Bake Your Brownies. Begin by preparing your favorite fudge brownie mix exactly according to the package instructions. Use a 9×13 inch baking pan for best results. Once baked, it’s absolutely crucial to allow the brownies to cool completely to room temperature within the baking pan. Attempting to crumble warm brownies will result in a messy, greasy texture that won’t form into neat balls. Patience here is key! If you’re unsure if your brownies are done, check out our guide on How to Tell if Brownies are Done.
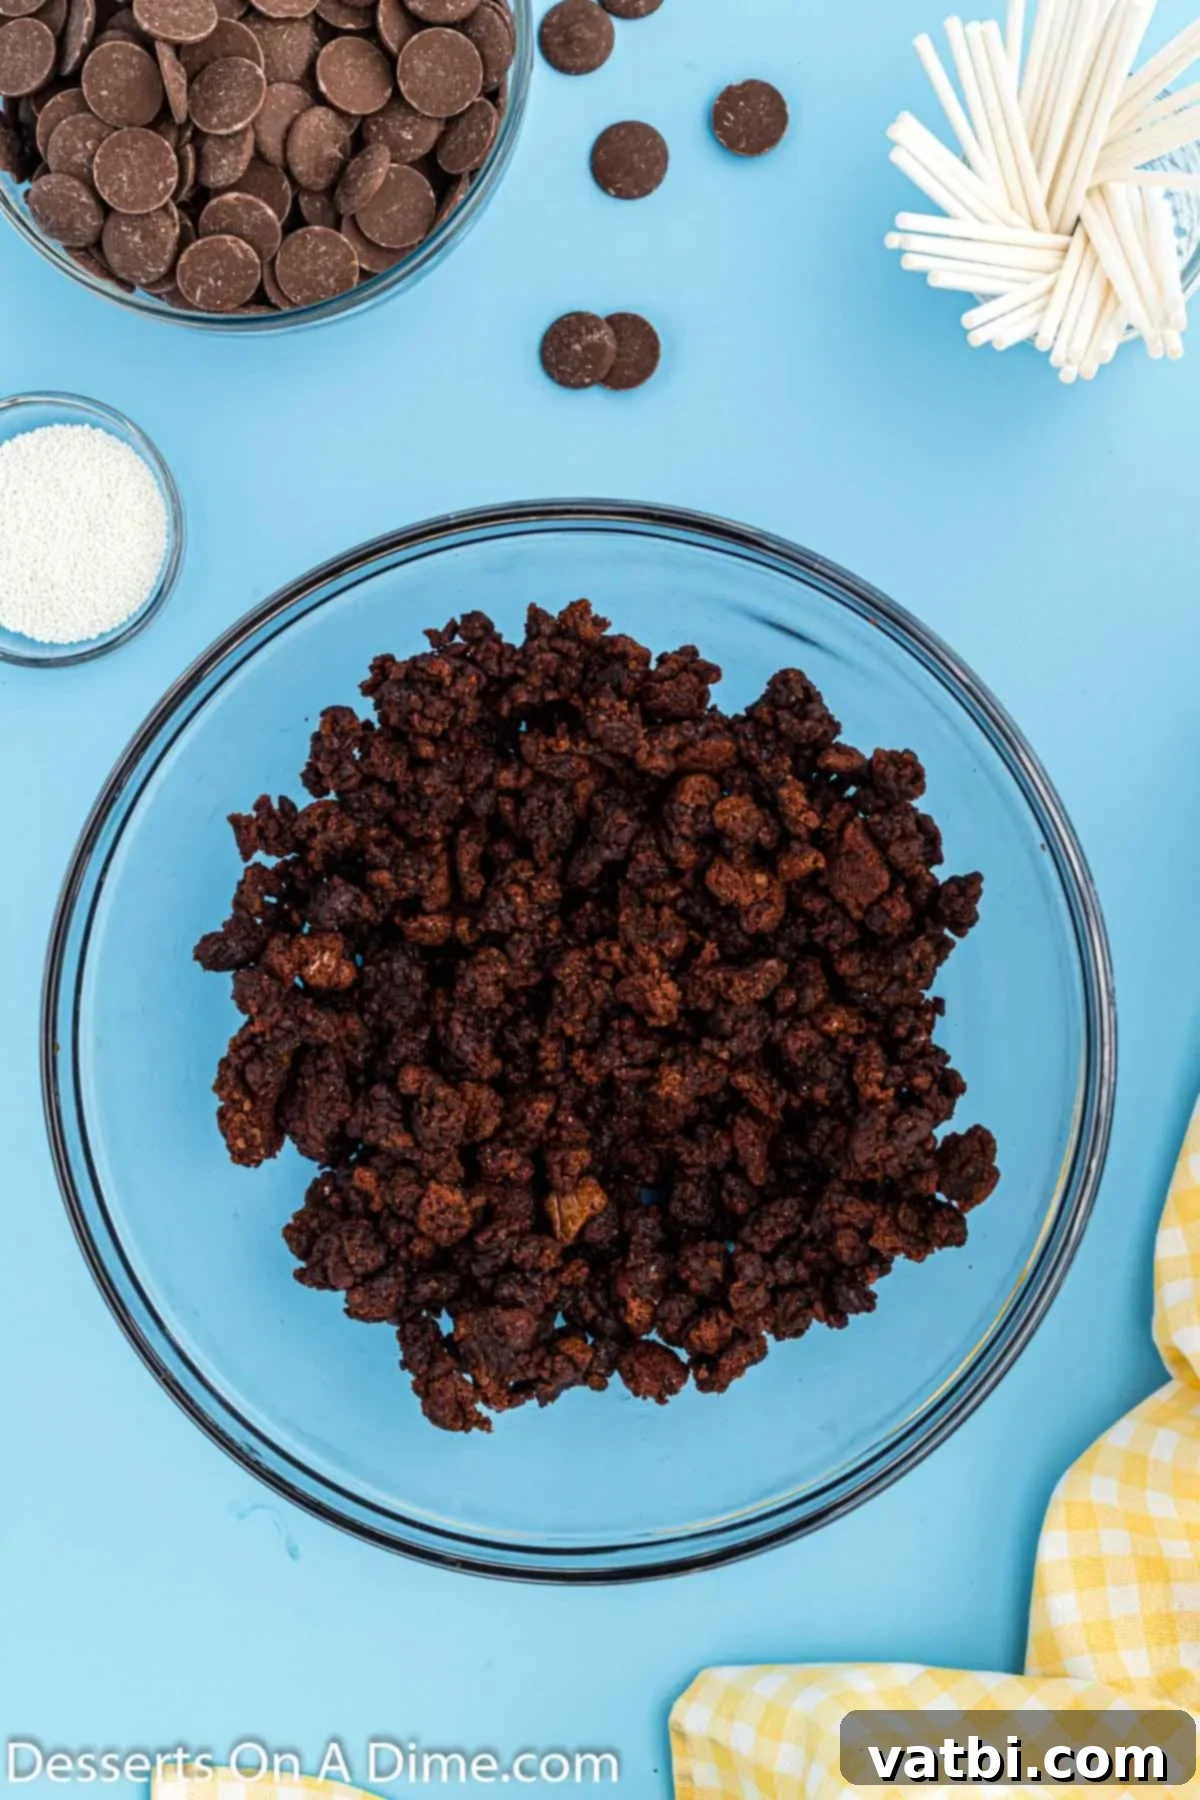
Step 2: Crumble and Mash. Once fully cooled, carefully remove the brownies from the pan. The very outside layer of the brownies can sometimes be a bit drier or crispier, so it’s best to remove and discard this edge layer for the smoothest cake pop texture. Crumble the remaining fudgy brownies into a large mixing bowl. Using your hands or a sturdy spoon, mash the brownie crumbles together. You want to achieve a consistency similar to a thick dough or play-doh. It should stick together when pressed, forming a cohesive mixture without any loose crumbs. This process might take a few minutes, but it’s essential for uniform cake pop balls.
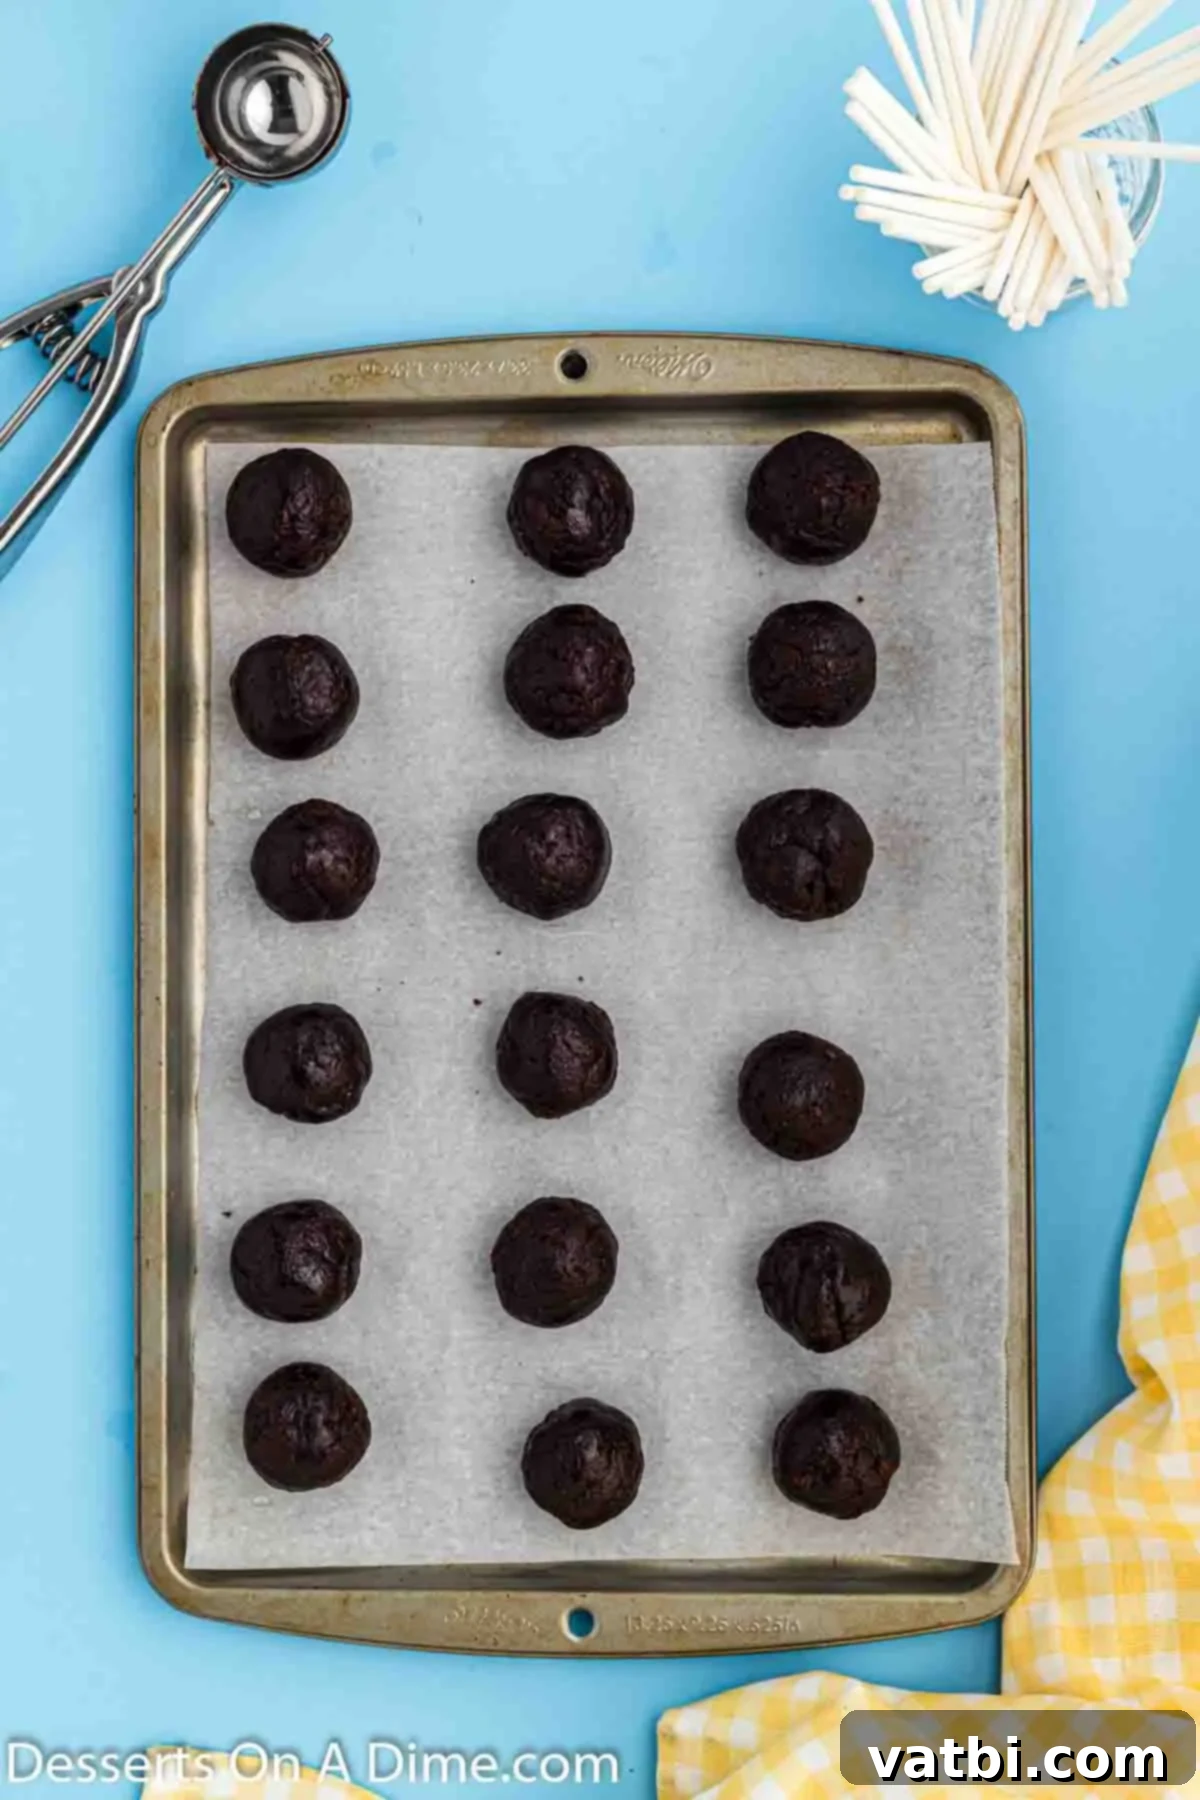
Step 3: Form into Balls. Take the mashed brownie mixture and begin shaping it into uniform balls. Aim for a size that’s easy to eat in one or two bites, typically about 1.5 inches in diameter. For consistency in size and appearance, I highly recommend using a cookie scoop; this ensures each cake pop is roughly the same. If you don’t have a scoop, a regular spoon or tablespoon can also work, just try to keep them as even as possible. Place the formed brownie balls on a baking sheet lined with parchment paper, leaving a little space between each one.
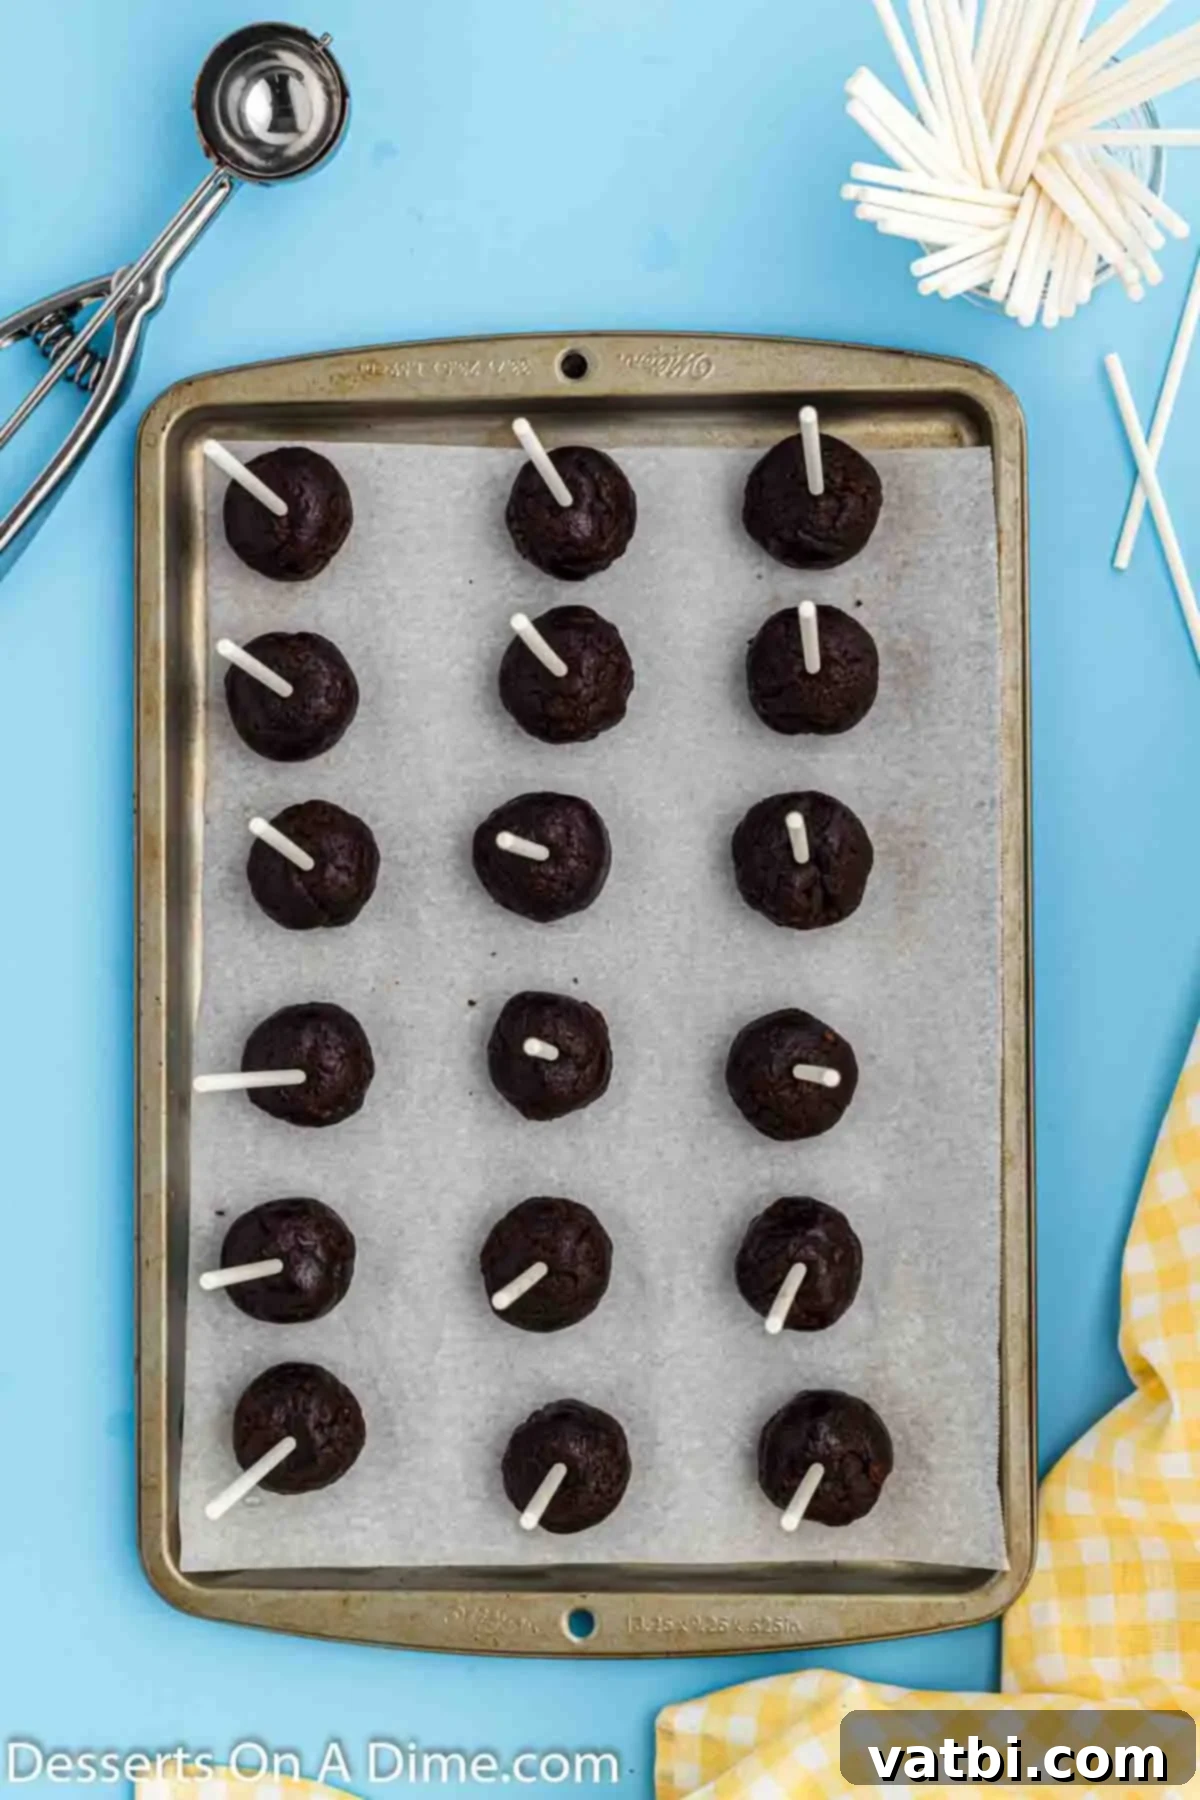
Step 4: Insert Sticks and Freeze. Before inserting the sticks, you can dip the very tip of each cake pop stick into a little bit of the melted candy melts (once prepared) to act as an edible “glue.” This helps secure the brownie ball to the stick. Carefully insert one cake pop stick into the center of each brownie ball, pushing it about halfway through. Once all sticks are inserted, place the entire baking sheet into the freezer for a minimum of 2 hours. This chilling step is absolutely vital as it firms up the brownie balls, preventing them from falling apart when dipped into the warm candy melts. A solid freeze ensures a smooth, easy dipping experience.
Step 5: Melt the Candy Melts. In a microwave-safe bowl, combine your chosen candy melts with the shortening. Heat in the microwave in short 30-second intervals. After each interval, remove the bowl and stir thoroughly. Continue this process until the candy melts are completely smooth and liquid, with no lumps remaining. Be careful not to overheat, as this can cause the chocolate to seize or burn. The shortening helps create a thinner, more fluid consistency, which is ideal for a smooth and even coating on your cake pops. If your chocolate seems too thick, add a tiny bit more shortening and stir.
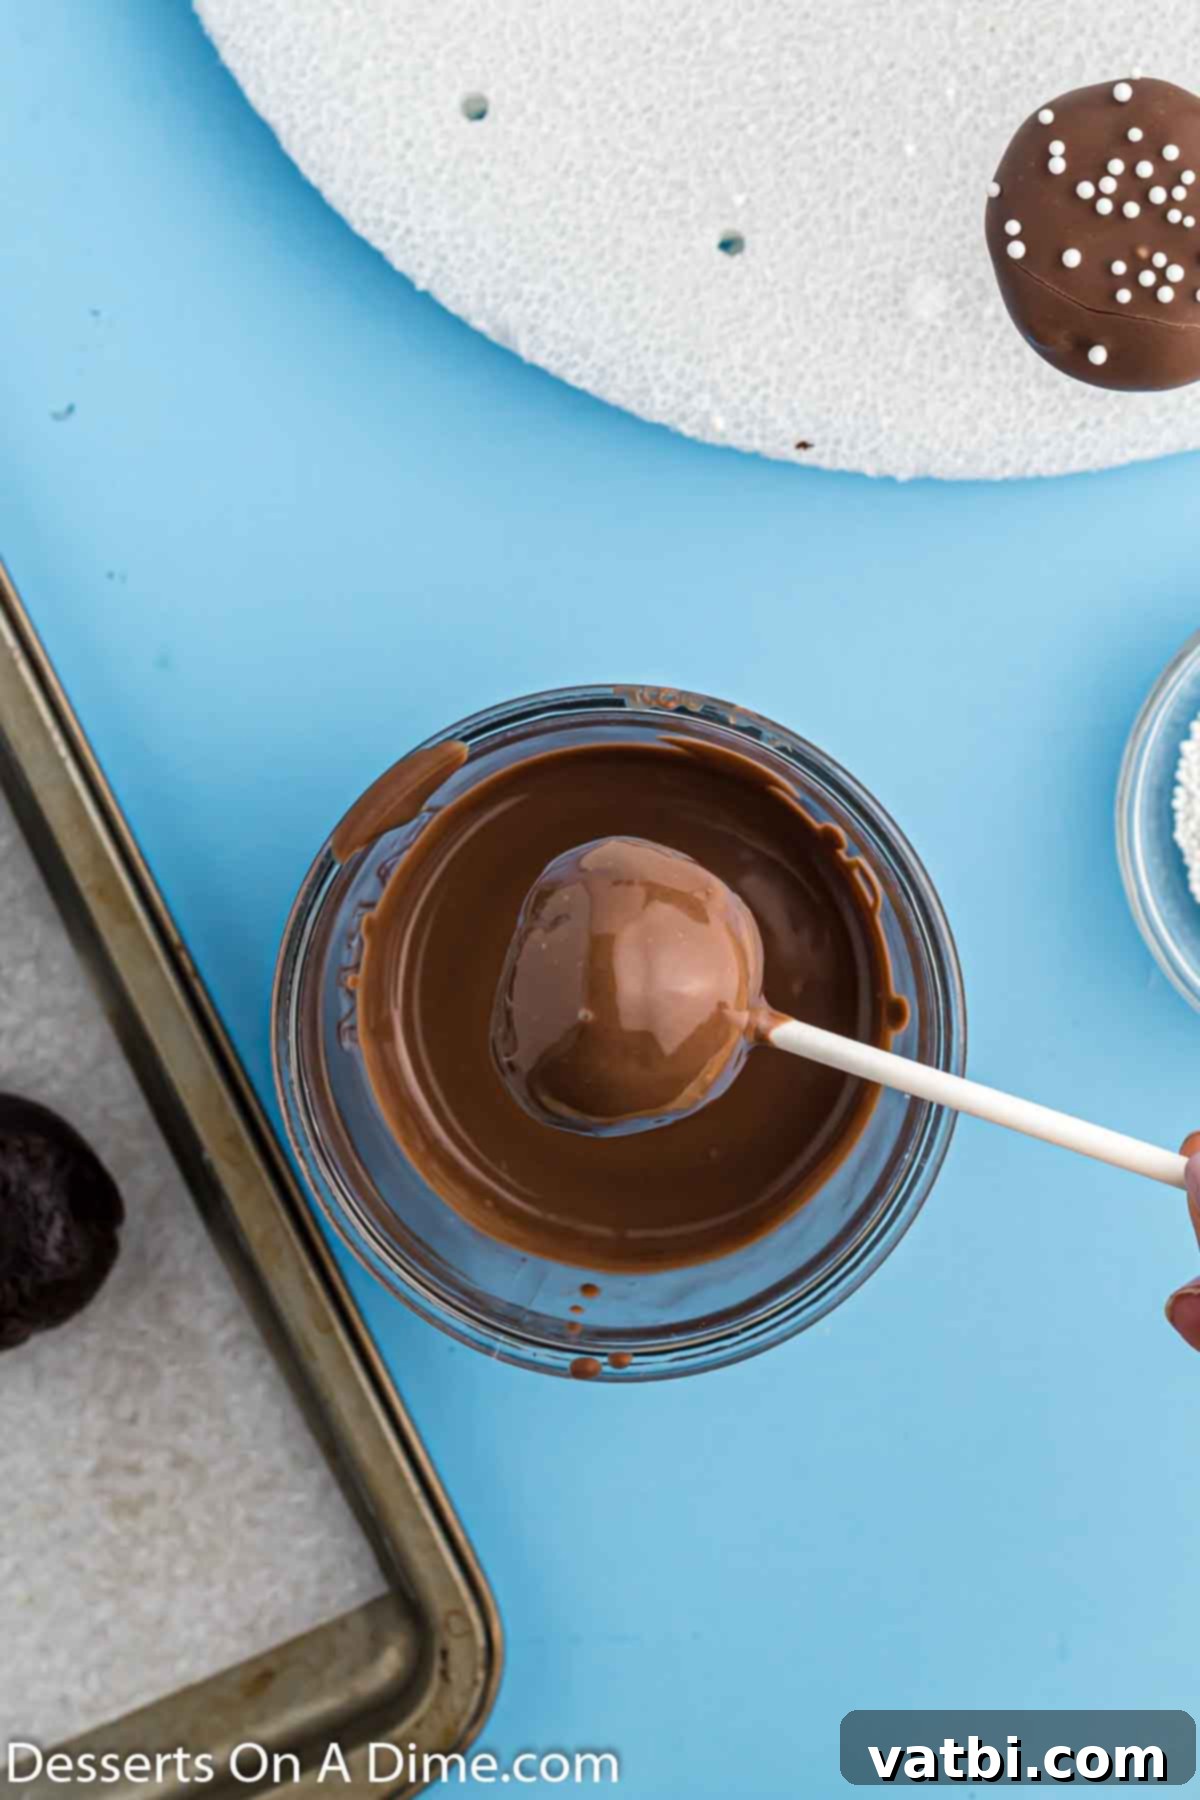
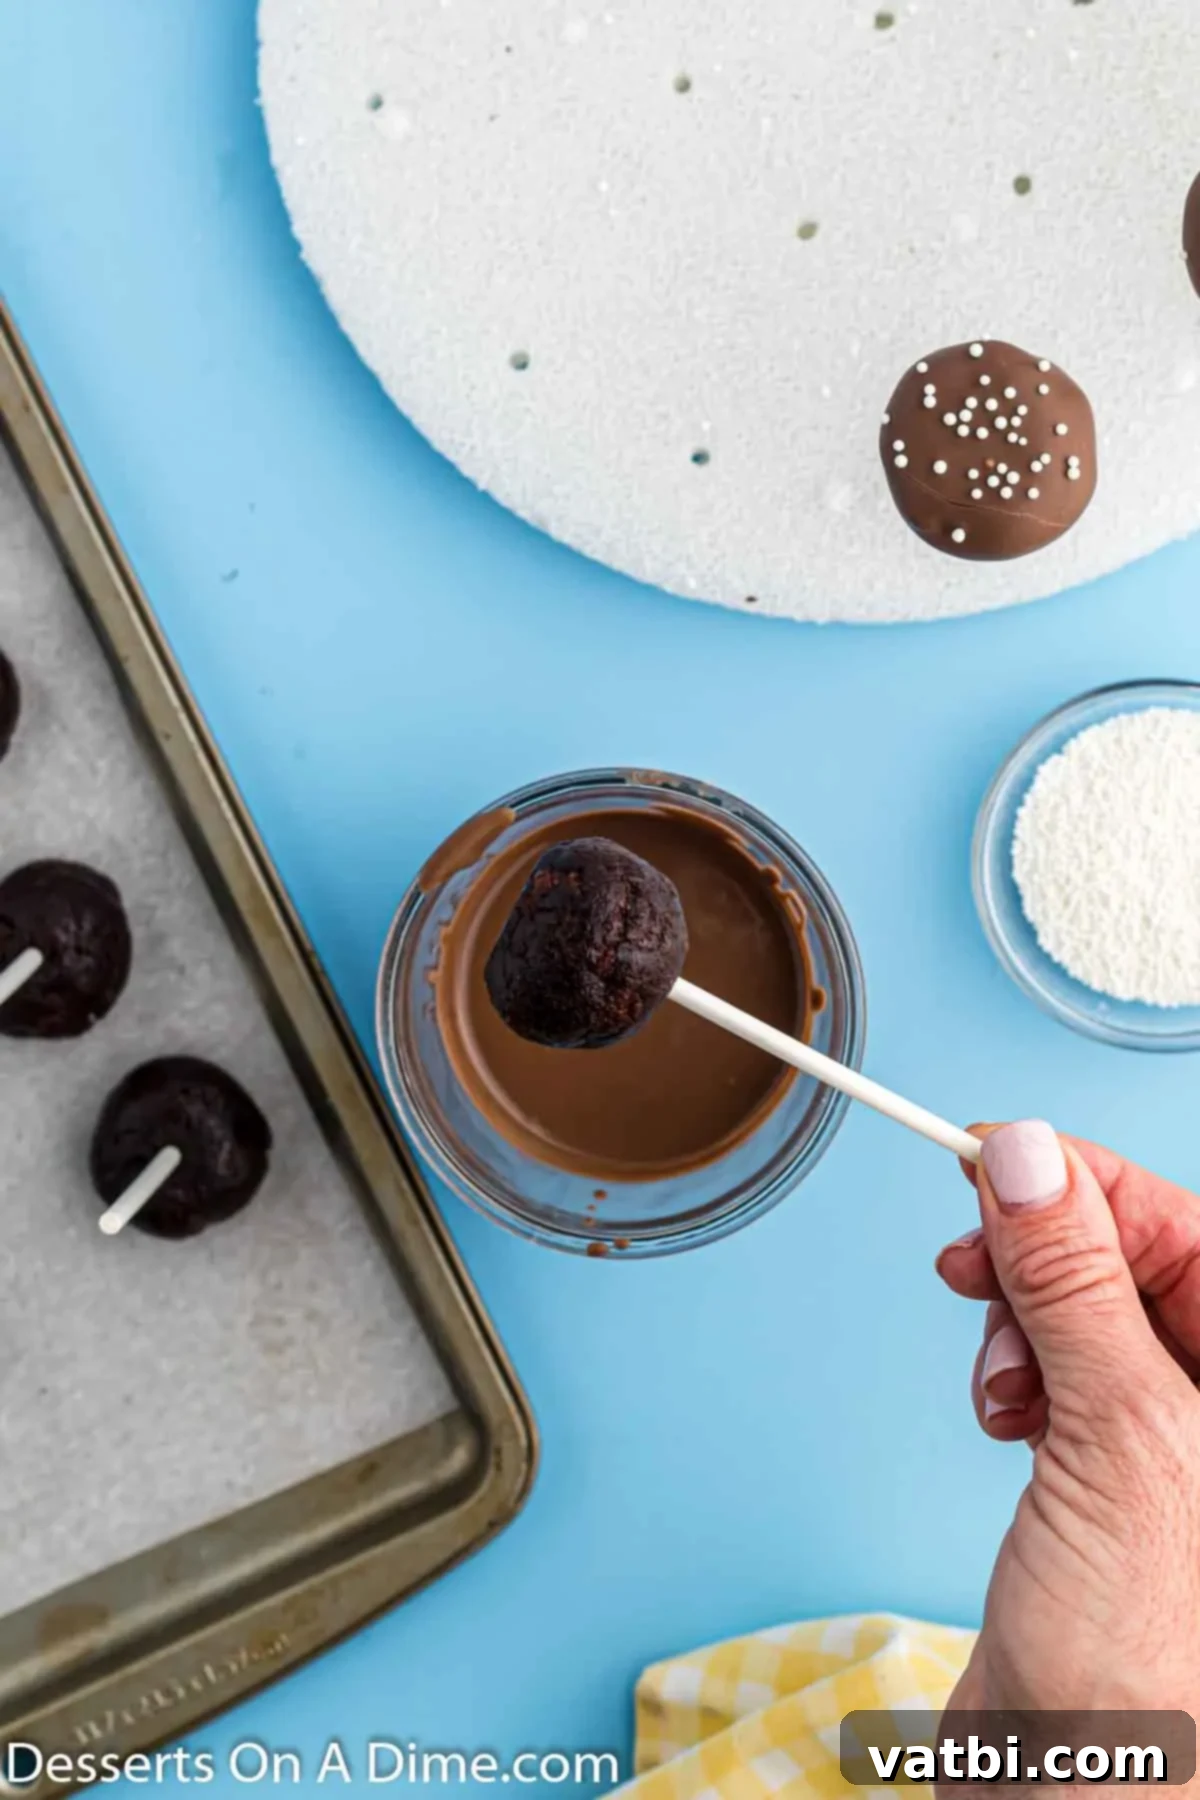
Step 6: Coat the Brownie Balls. Once your candy melts are perfectly smooth, retrieve the frozen brownie balls from the freezer. Hold a cake pop by its stick and carefully dip it into the melted candy melts, rotating gently to ensure the entire brownie ball is completely coated. Lift the cake pop out and gently tap the stick against the side of the bowl. This helps to remove any excess chocolate, ensuring a thin, even layer and preventing a thick “foot” from forming at the base of the pop. Work quickly but carefully, as the cold brownie ball will cause the chocolate to set relatively fast.
- Step 7: Decorate and Dry. Immediately after dipping each cake pop and while the candy melt is still wet, add your chosen sprinkles. The chocolate will dry quickly, so prompt application is essential for sprinkles to adhere. Once decorated, insert the stick of the cake pop into a block of Styrofoam. This allows the cake pop to stand upright as the candy coating dries and solidifies evenly. Continue this process for all your brownie cake pops. Once fully dry (which should only take a few minutes at room temperature, or faster in the fridge), they are ready to be served and enjoyed!
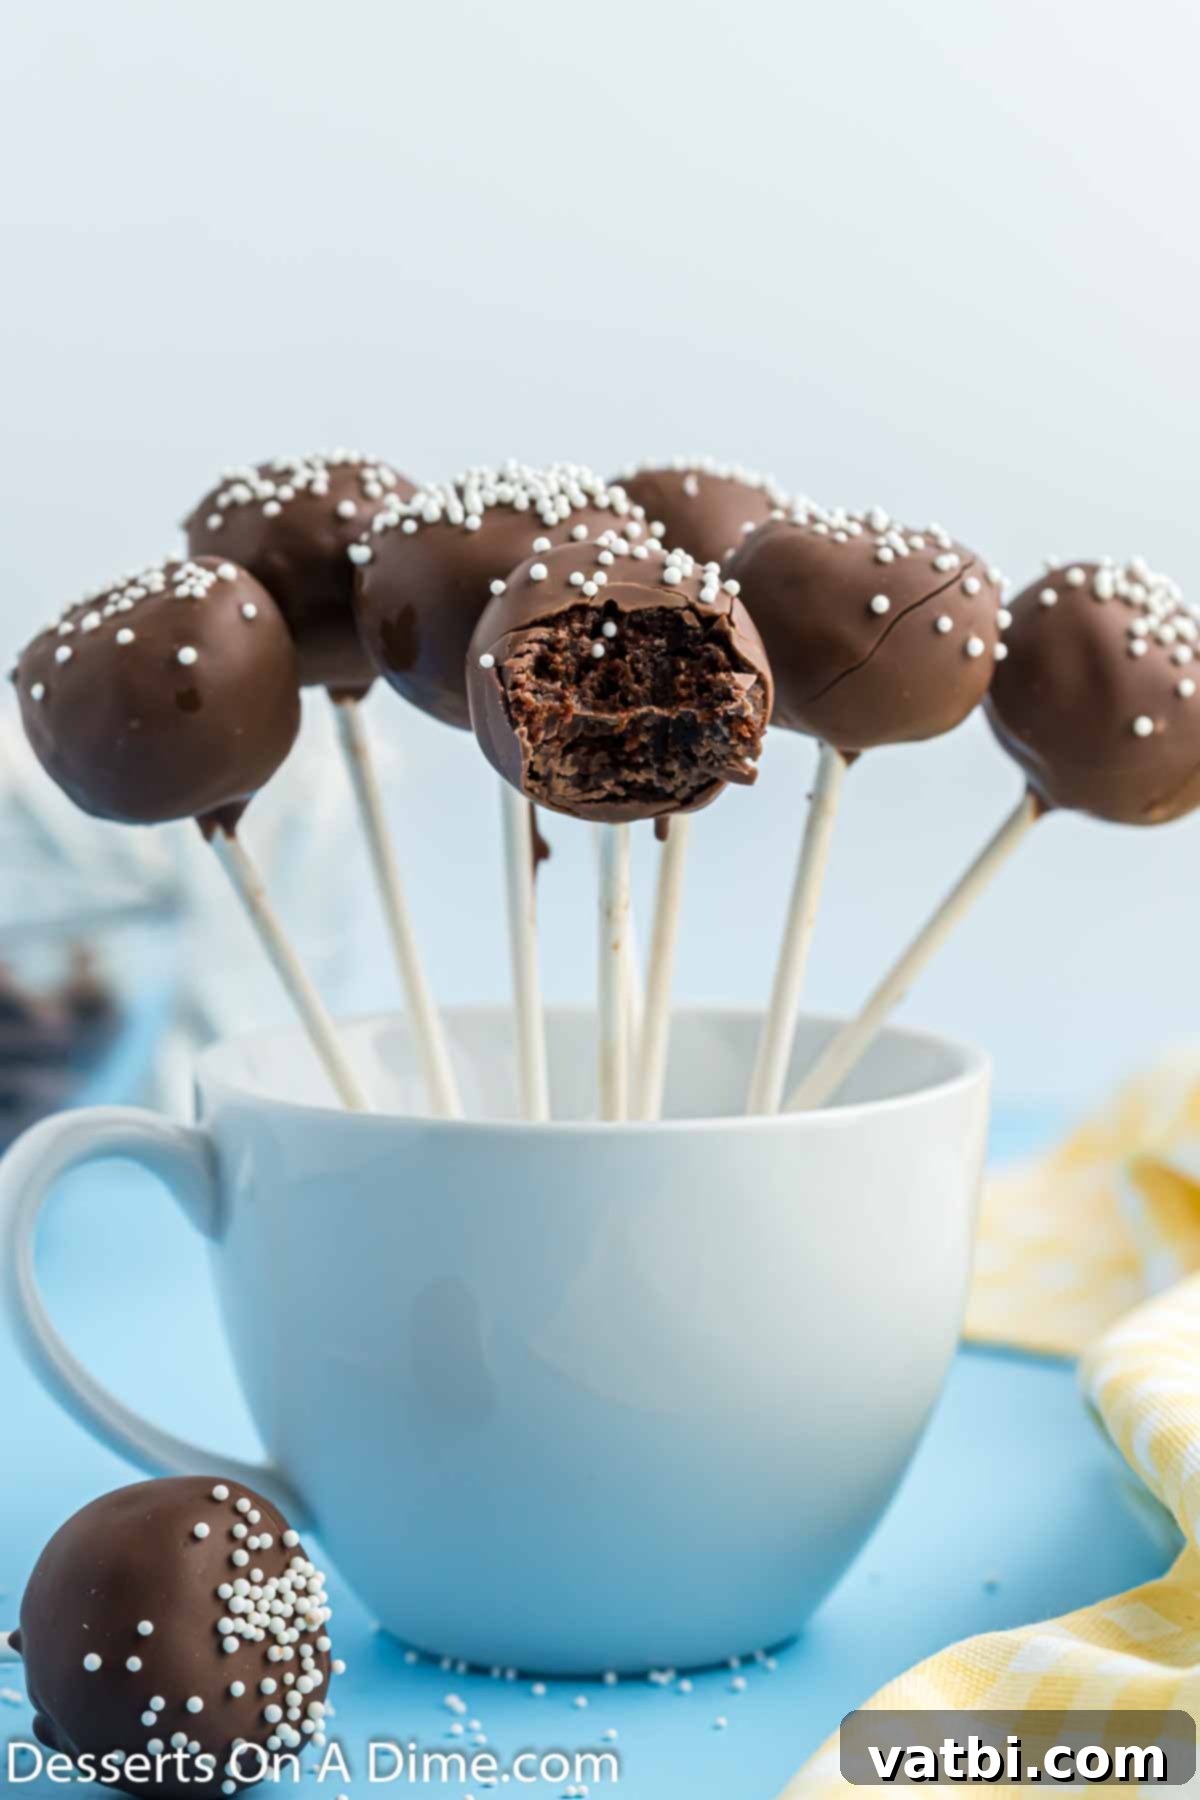
Creative Ways to Decorate Your Brownie Pops
The fun doesn’t stop after dipping! Decorating your brownie cake pops is where you can truly let your creativity shine. Here are some fantastic ideas to make your treats even more special and tailored to any event:
- Sprinkles Galore: Beyond classic white, the possibilities are endless! Use themed sprinkles for holidays (e.g., red and green for Christmas, pastels for Easter), celebratory sprinkles for birthdays, or even custom color mixes to match a party theme. Nonpareils, jimmies, sparkling sugar, or edible glitter can all add a magical touch.
- Drizzled Chocolate Designs: After the main candy melt coating has set, melt a different color of chocolate chips or white chocolate (you can add food coloring to white chocolate for vibrant hues). Use a spoon or a piping bag with a very fine tip to drizzle intricate patterns or simple lines over the coated cake pops. A combination of dark and white chocolate drizzle can be particularly striking. Learn how to perfectly melt chocolate chips for the best drizzle.
- Delectable Toppings: For added texture and flavor, roll your freshly dipped cake pops in finely chopped nuts (like pecans, walnuts, or almonds), shredded coconut, crushed cookies (like Oreos or graham crackers), or even mini chocolate chips. Press them gently onto the wet coating before it sets.
- Colorful Candy Melts: Don’t limit yourself to just one color! Experiment with different colored candy melts to create a rainbow of brownie pops. Imagine dipping into vibrant pink for Valentine’s Day, spooky orange for Halloween, or festive green for St. Patrick’s Day. This easy customization makes them perfect for any occasion or holiday celebration throughout the year.
Frequently Asked Questions About Brownie Cake Pops
Here are some common questions and helpful answers to ensure your brownie cake pop making experience is a complete success:
Absolutely, chilling is a critical step for perfect cake pops! You need to place the brownie balls, with sticks inserted, into the freezer for at least 2 hours before you start dipping them. This firming up of the brownie centers makes them much more stable and prevents them from crumbling or falling off the stick when they hit the warm melted chocolate. It also helps the chocolate coating set quickly and smoothly, giving you that professional finish.
To keep your brownie cake pops fresh and delicious, store them in an airtight container. If you need to stack layers, it’s best to separate them with a sheet of waxed paper or parchment paper to prevent them from sticking together or damaging the decorative coating. Cake pops can be stored at room temperature for up to 2-3 days, or refrigerated for up to a week. When serving from the refrigerator, allow them to come to room temperature for about 15-20 minutes for the best flavor and texture.
Yes, you can freeze brownie cake pops, but with a strategic approach to maintain their appearance. I highly recommend freezing the brownie balls *before* they are coated with candy melts. Once frozen, place these uncoated brownie balls in a freezer-safe container with wax paper between layers, and they can be stored for up to a month. Freezing cake pops that have already been coated will often lead to condensation forming on the chocolate as they thaw, which can ruin their smooth, glossy appearance. When you’re ready to enjoy them, simply thaw the uncoated balls slightly, insert sticks (dipping in a little melted chocolate first), and then coat as normal. This method is fantastic for party prep or getting ahead for holidays and special occasions!
The trick to a perfectly smooth, even coating is to remove excess chocolate effectively. After dipping, gently tap the cake pop stick against the rim of your bowl. This allows any extra melted candy to drip back into the bowl. You can also lightly rotate the cake pop as you tap. Continue tapping and rotating until the dripping slows to just a few drops per second. Avoid shaking vigorously, as this can cause the brownie ball to detach from the stick. A thin, even coating not only looks better but also prevents the cake pop from becoming overly sweet or clunky.
More Irresistible Brownie Recipes
If you’re a true brownie connoisseur, you’ll love these other fantastic recipes that celebrate the rich, fudgy goodness of brownies in various forms:
- Brownie Cookies: A delightful mash-up of two beloved desserts, offering the chewiness of a cookie with the intense flavor of a brownie.
- One Bowl Brownies: The ultimate in convenience, these brownies are incredibly easy to whip up with minimal cleanup.
- Salted Caramel Brownies: Indulge in the perfect balance of sweet and salty with rich, gooey caramel swirls.
- Cream Cheese Brownies Recipe: A classic pairing of fudgy chocolate and tangy cream cheese swirls, creating a truly irresistible dessert.
- Brownie Truffles: Elegant and decadent, these no-bake truffles are made from crumbled brownies and coated in chocolate.
Even More Cake Pop Recipes to Explore
Love the fun and portability of cake pops? We’ve got a variety of flavors and themes to keep your cake pop creations exciting:
- Red Velvet Cake Pops: Classic red velvet cake, cream cheese frosting, and a sweet coating make these a sophisticated treat.
- Starbucks Lemon Cake Pops Recipe: Bright, zesty, and refreshing, these copycat lemon cake pops are a burst of sunshine.
- Strawberry Cake Pops: Fruity and delightful, these pink pops are perfect for spring or summer gatherings.
- Starbucks Chocolate Cake Pops: Recreate the popular coffee shop favorite right at home with this rich chocolate recipe.
- Birthday Cake Pops: Funfetti-style cake pops bursting with color and flavor, ideal for any birthday celebration.
- Halloween Cake Pops: Spooktacular designs and flavors perfect for your ghoulish gatherings.
We encourage you to try these fun and incredibly tasty Brownie Cake Pops! You’ll be amazed at how simple it is to create such a delightful dessert from a box mix. Once you’ve whipped up your own batch, we’d love to hear from you. Please take a moment to leave a comment below and share your star rating – your feedback helps us and other home bakers!
Pin
Brownie Cake Pops
Ingredients
- 1 box Brownie Fudge Mix to make Brownies in a 9X13 pan
- *Ingredients to prepare the brownies based on the package instructions (usually eggs, oil, and water)
- 24-36 Cake Pop Sticks or Lollipop Sticks
- 16 oz Chocolate Candy Melts
- 2 tsp Shortening
- White Sprinkles
Instructions
-
First, prepare your fudge brownies according to the package instructions. It is critical to allow them to cool completely to room temperature within the baking pan before proceeding. Once fully cooled, remove the brownies from the pan and carefully remove and discard any crispy outside layer for the best texture.
-
Next, crumble the remaining fudgy brownies into a large bowl. Using your hands or a sturdy spoon, mash the brownie crumbles together until they form a cohesive, dough-like mixture. Then, shape the mashed brownies into approximately 24-36 uniform balls (depending on your desired size, about 1.5 inches each) and place them on a cookie sheet lined with parchment paper. Using a cookie scoop helps ensure consistent sizes.
-
For stability, dip the tip of each cake pop stick into a small amount of melted candy melt (once prepared in the next step), then insert one stick firmly into the center of each brownie ball. Place the entire tray back into the freezer for a minimum of 2 hours to ensure the brownie balls are thoroughly chilled and firm.
-
In a microwave-safe bowl, combine the candy melts and shortening. Heat in the microwave in 30-second intervals, stirring thoroughly after each interval, until the candy melts are completely smooth and liquid. Be careful not to overheat.
-
Retrieve the frozen brownie balls. Dip each brownie ball into the melted candy melts, rotating to ensure it’s fully covered. Lift the cake pop and gently tap the stick against the side of the bowl to remove any excess melted candy, allowing it to drip back into the bowl for a smooth coating.
-
Immediately after dipping and while the candy is still wet, add your chosen sprinkles or other decorations. Then, place the stick of each cake pop into a block of styrofoam or a similar stand to allow the candy coating to dry and solidify without touching any surfaces.
-
Continue this dipping and decorating process until all the brownie cake pops have been beautifully covered and adorned. Work efficiently as the chocolate will set quickly.
-
Once all the brownie cake pops are completely dry and the candy coating has solidified, they are ready to be served and enjoyed! Store any leftovers in an airtight container.
Nutrition Facts
Pin This Now to Remember It Later
Pin Recipe
