Indulge in Homemade No-Churn Butterfinger Ice Cream: Your Easiest Recipe for Crunchy, Creamy Bliss!
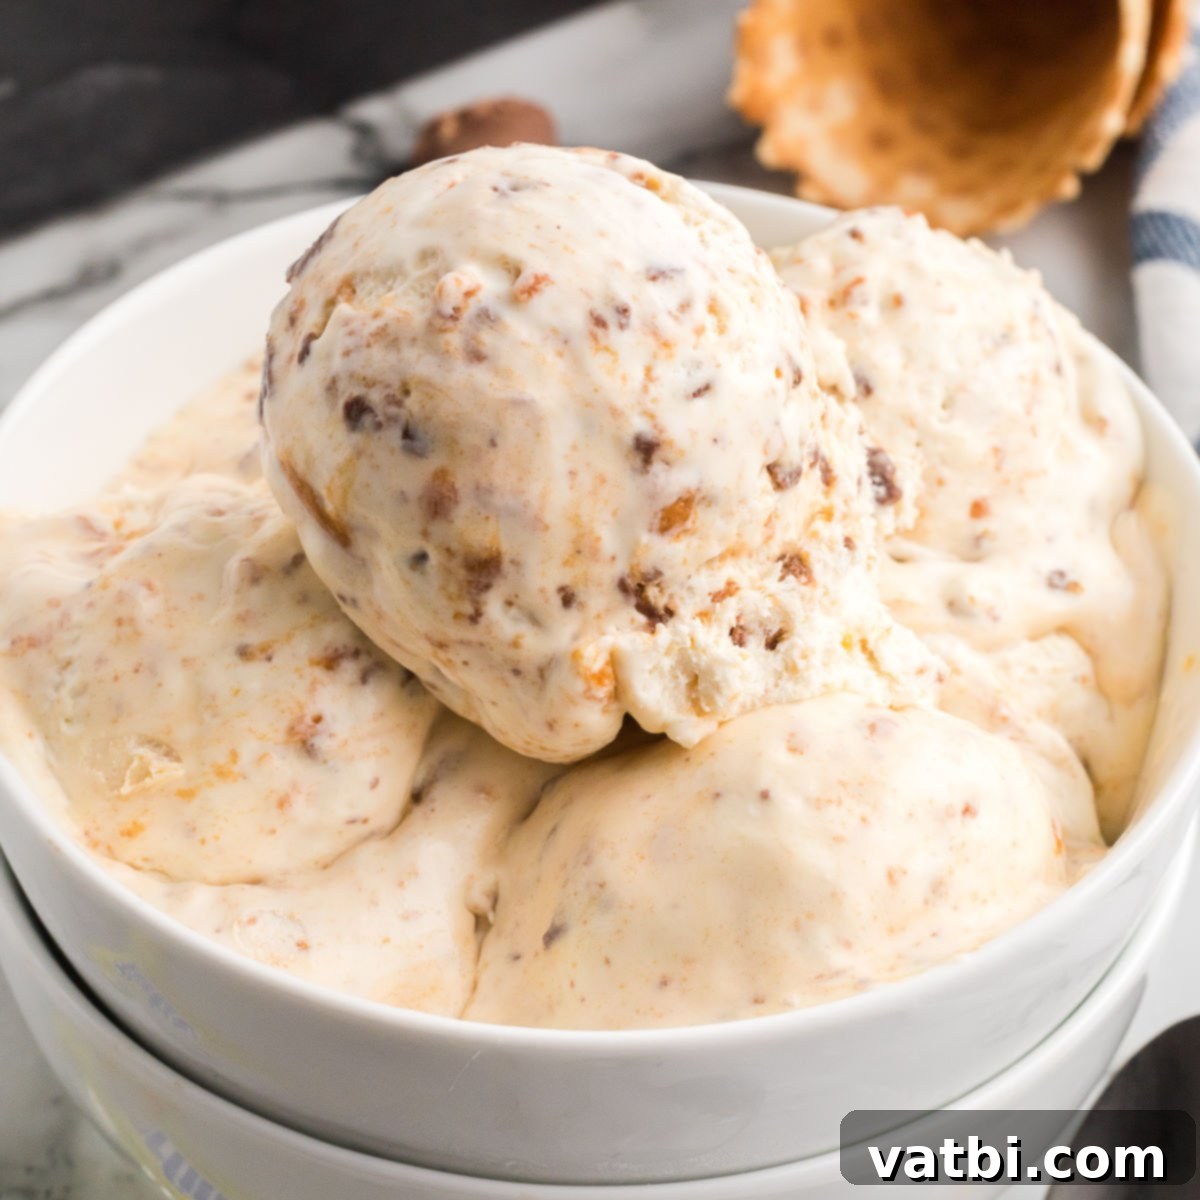
There’s nothing quite like a scoop of homemade ice cream, especially when it features your favorite candy. This Homemade Butterfinger Ice Cream recipe delivers a delightful vanilla-flavored base generously studded with crunchy, irresistible crushed Butterfinger candy bars. It’s not just an easy recipe; it’s a remarkably delicious ice cream creation that will become a staple in your household, offering that perfect balance of creamy sweetness and a satisfying textural crunch in every bite.
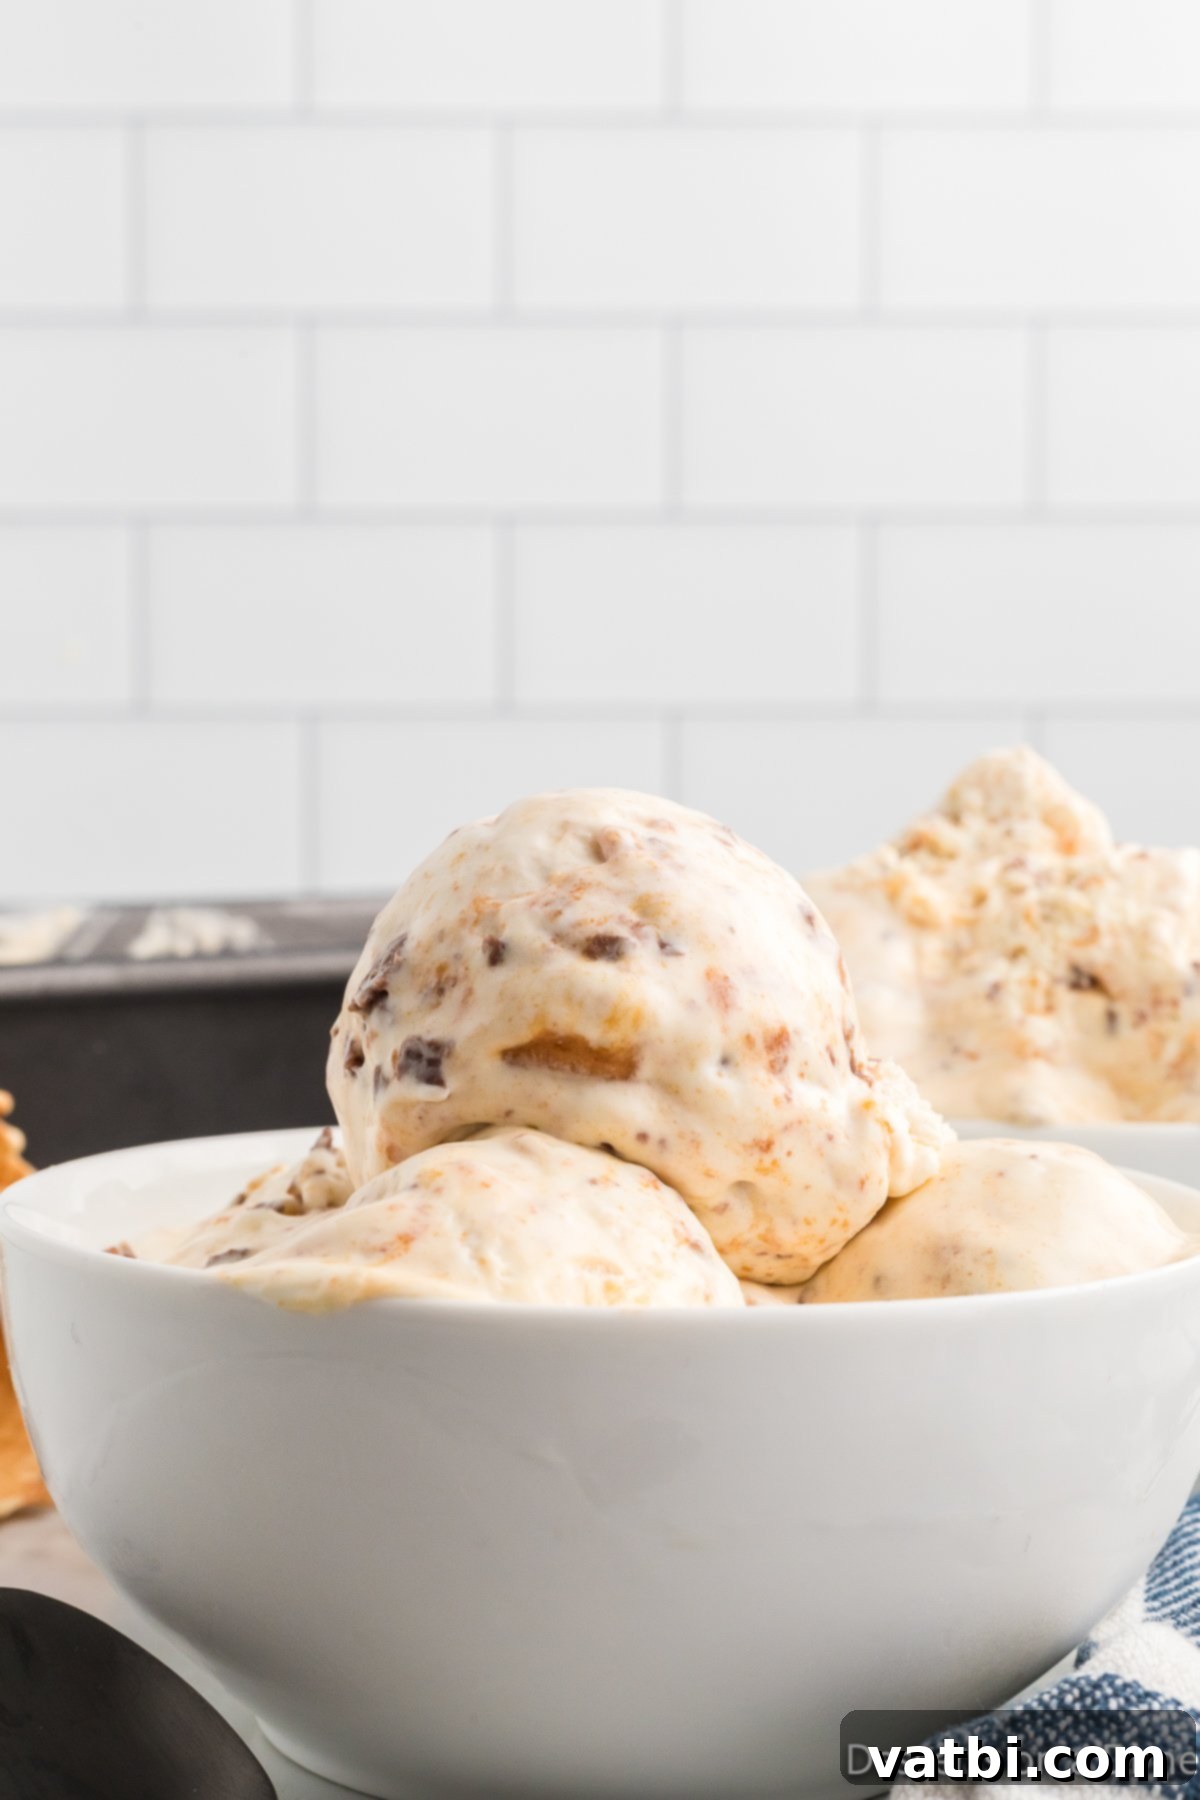
At our house, ice cream isn’t just a treat; it’s a way of life! We consume a significant amount of it, and that’s precisely why I’ve fallen in love with making homemade versions. Not only does it allow for endless customization and fresh ingredients, but it also proves to be a fantastic way to save both time and money in the long run. Skip the store-bought tubs filled with preservatives and artificial flavors, and embrace the simple joy of crafting your own frozen desserts right in your kitchen.
Among our extensive collection of beloved homemade ice cream recipes, this Butterfinger ice cream recipe stands out as a unanimous family favorite. Our collective adoration for Butterfinger candy bars makes this a truly special dessert. If you find yourself equally smitten with the unique peanut-butter-crisp flavor of Butterfingers, you absolutely must explore our other themed treats, such as our incredible Butterfinger Cupcakes and the rich, decadent Butterfinger Pie. They capture the essence of this iconic candy in delightful new forms.
Beyond our Butterfinger obsessions, some of our other cherished homemade ice cream recipes include the comforting and rich Pecan Pie Ice Cream Recipe, the fun and whimsical Cookie Monster Ice Cream, and the exquisitely smooth and flavorful Caramel Pecan Praline Ice Cream Recipe. Each offers a unique journey for your taste buds, proving that homemade ice cream is always a fantastic idea!
Table of contents
- Why We Love This Recipe
- Ingredients
- Variations
- How to Make Butterfinger Ice Cream
- Pro Tips
- Storage
- Topping Ideas
- More Homemade Ice Cream Recipes
Why This No-Churn Butterfinger Ice Cream is a Must-Try
This recipe is truly a game-changer for anyone who loves ice cream but might be intimidated by traditional methods. We absolutely adore the rich, velvety, and creamy vanilla base of this ice cream. It’s a classic foundation that perfectly complements the star of the show: the crushed Butterfinger candy bars. Adding these crunchy, peanut buttery morsels introduces an incredible extra layer of texture and a burst of signature flavor that elevates the entire dessert.
What makes this recipe stand out even further is its sheer simplicity and perfect balance of sweetness. You won’t need any specialized equipment like an expensive ice cream maker, rock salt, or even eggs for a custard base. This is a hassle-free, no-churn method that yields incredibly professional results with minimal effort. It’s an ideal recipe for beginners and seasoned home cooks alike, promising a satisfyingly sweet treat without any fuss.
If you’re a fan of candy bar-infused desserts, you might also find yourself craving our equally delightful Snickers Ice Cream. Explore more fantastic Ice Cream Desserts and expand your repertoire of frozen delights!
Essential Ingredients for Your Butterfinger Ice Cream
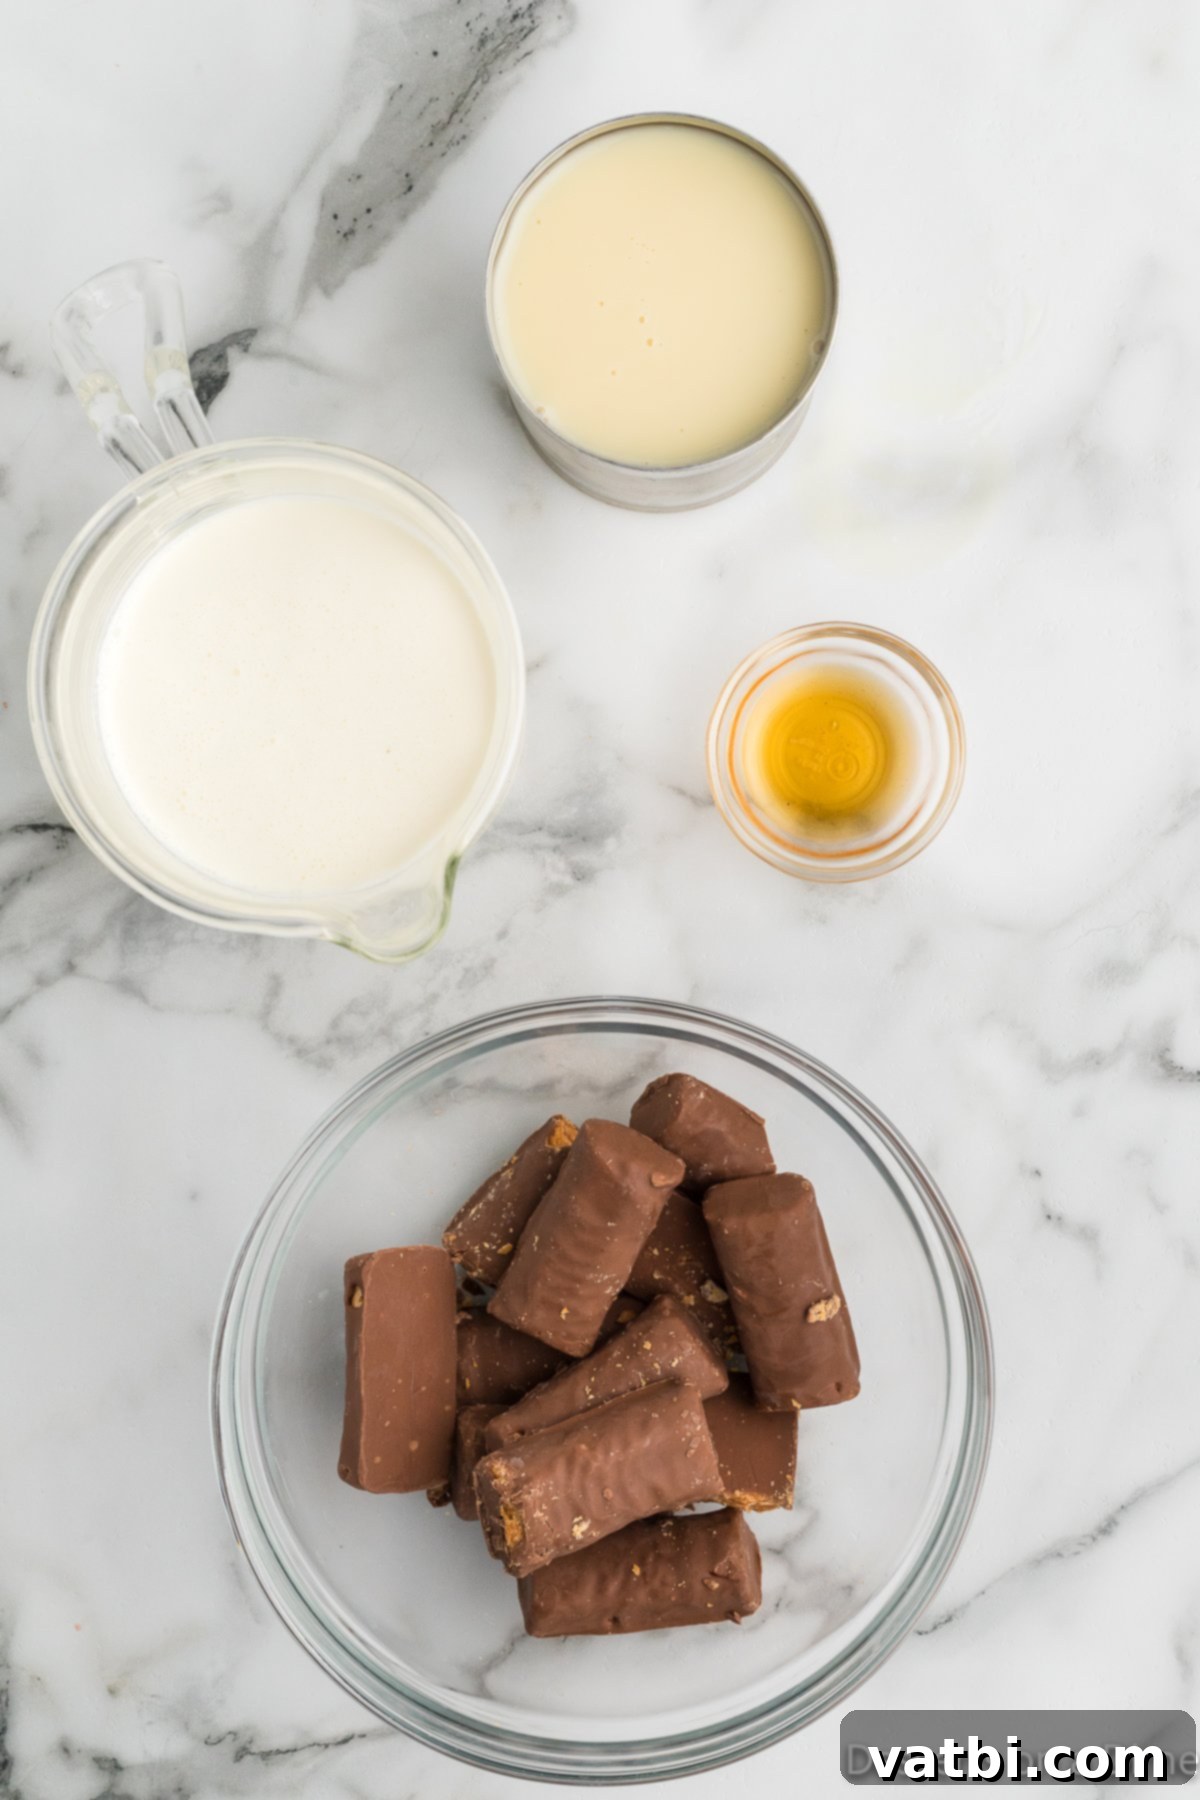
With just a few simple, high-quality ingredients, you can create a truly spectacular dessert. Each component plays a vital role in achieving that perfect creamy texture and unforgettable flavor:
- Sweetened Condensed Milk: This is the magic ingredient that provides both the sweetness and the incredibly creamy, smooth texture of our no-churn ice cream. It’s crucial not to substitute this for regular whole milk, as sweetened condensed milk is concentrated and thick, providing the necessary body and sweetness without needing churning.
- Vanilla Extract: For the best flavor, always opt for pure vanilla extract. It enhances the overall sweetness and provides a warm, inviting aroma that forms the perfect backdrop for the Butterfinger pieces. A good quality vanilla makes a noticeable difference in the final taste.
- Heavy Whipping Cream: This ingredient is key to achieving the light, airy, and rich consistency that mimics churned ice cream. It must be very cold before whipping to ensure it reaches stiff peaks, which trap air and give the ice cream its signature texture.
- Mini Butterfingers: The star of the show! Mini Butterfingers are perfect for crushing, but any size will work. The unique crispy, peanut-butter-flavored center with its chocolate coating provides that iconic crunch and flavor burst. For an even more homemade touch, you could even try making your own Homemade Butterfingers to incorporate!
You can find the exact measurements and full ingredient list in the detailed recipe card at the bottom of this page.
Creative Variations to Customize Your Butterfinger Ice Cream
While this Butterfinger ice cream is absolutely perfect as is, it also serves as a fantastic canvas for culinary creativity! Don’t hesitate to experiment with these delicious variations to tailor the flavor and texture to your liking:
- Chocolate Chips: For an enhanced chocolatey experience and an appealing added texture, consider folding in some chocolate chips. You can choose classic milk chocolate chips for a sweeter profile, dark chocolate chips for a richer, more intense flavor, or even peanut butter chocolate chips to amplify the nutty notes of the Butterfingers.
- Extra Toppings: Make your ice cream visually stunning and even more decadent by topping it with extra crushed Butterfingers immediately before serving. A sprinkle of additional chocolate chips or a drizzle of your favorite sauce also makes for a beautiful presentation.
- Syrups: Incorporate swirls of rich chocolate or luscious caramel syrup into the vanilla ice cream mixture before freezing. These syrups not only add another layer of delicious flavor but also create a wonderful, gooey texture contrast against the creamy ice cream and crunchy candy.
- Fun Size or Full-Size Butterfingers: Don’t limit yourself to mini Butterfingers! Feel free to use any size of Butterfinger bars you have on hand. Just ensure they are properly crushed to your desired consistency.
- Other Candy Bars: This recipe is incredibly versatile. If Butterfingers aren’t your only candy obsession, or if you simply have leftover candy from a holiday, this is an excellent opportunity to get creative! Swap out the Butterfingers for any other type of crushed candy bar – think Snickers, Twix, M&M’s, or even Reese’s Peanut Butter Cups for a different but equally delightful twist.
Step-by-Step Guide: How to Make Butterfinger Ice Cream
Making this incredible no-churn ice cream is surprisingly simple. Follow these easy steps to create a dessert that will impress everyone:
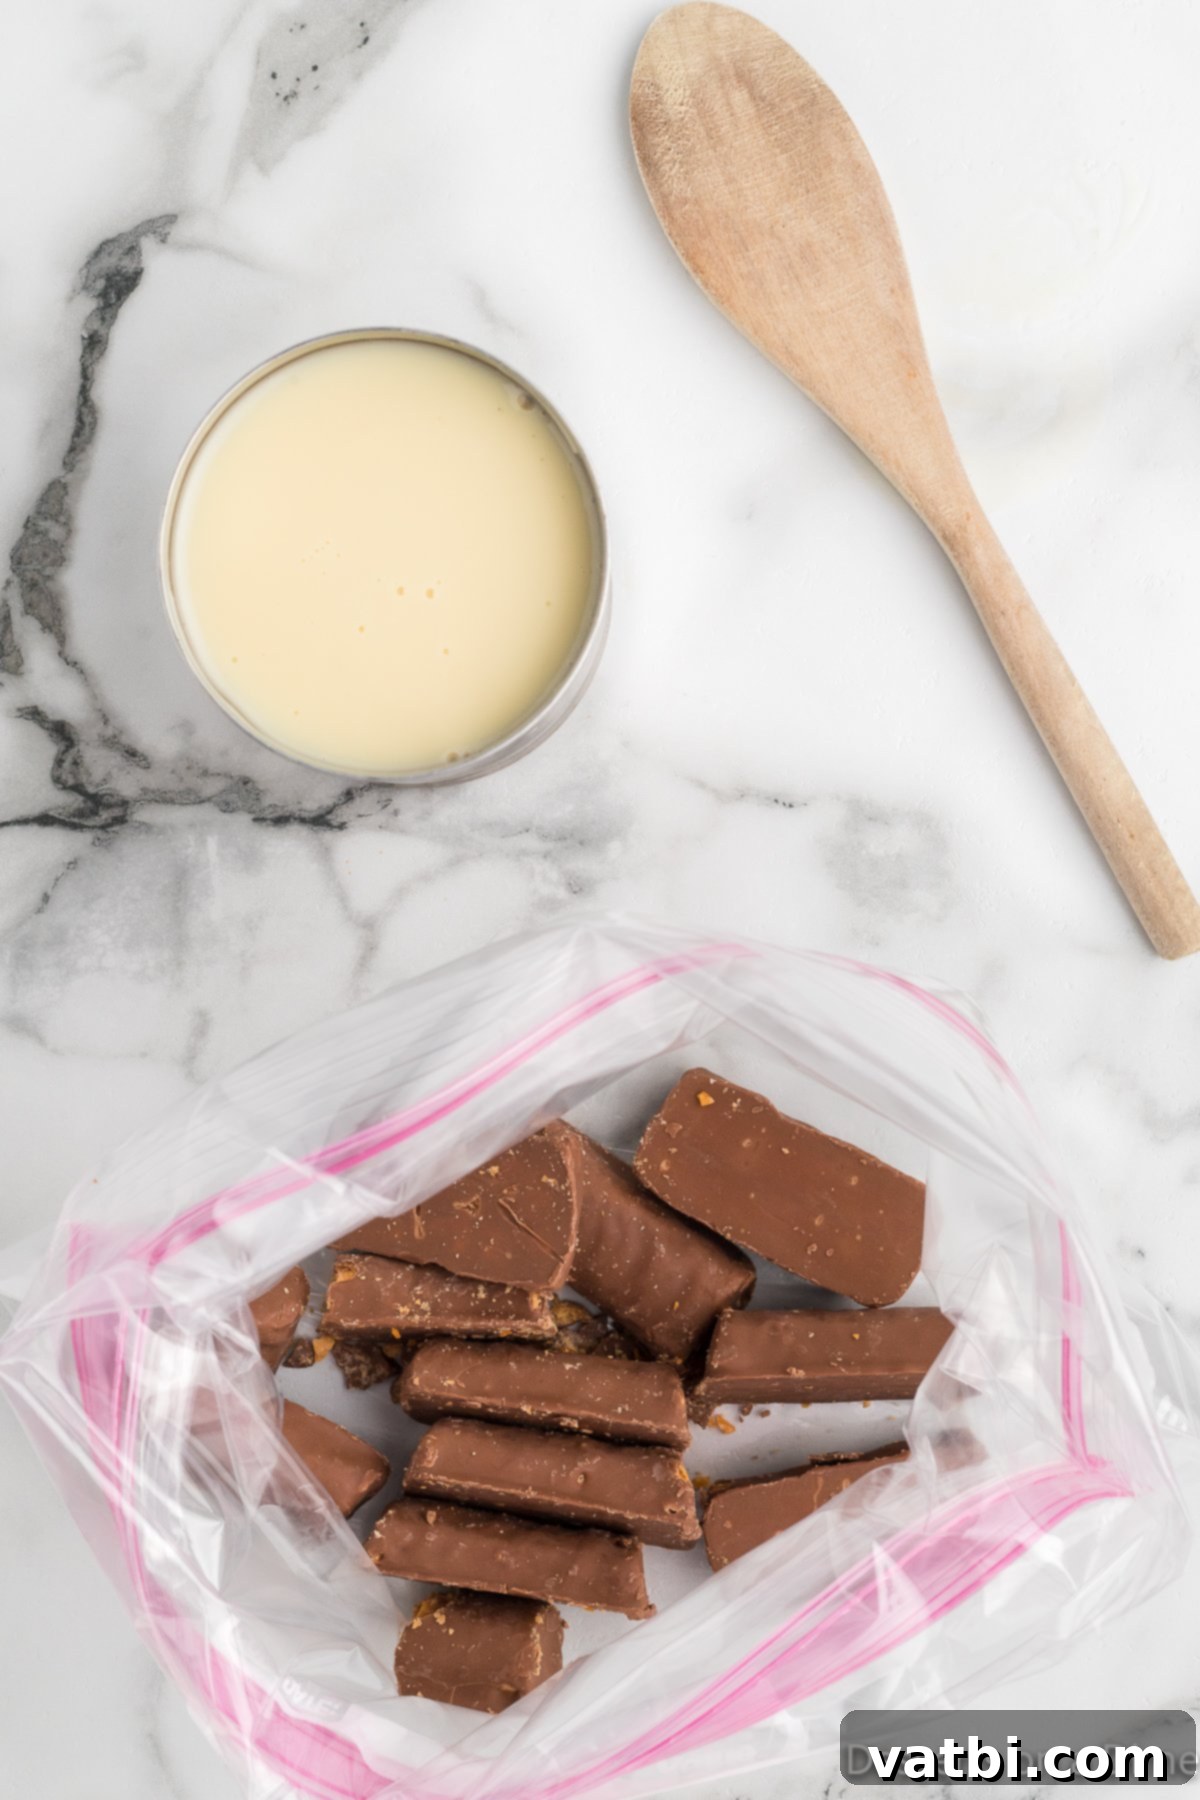
Step 1. Prepare the Butterfingers: Begin by unwrapping your mini Butterfingers and placing them into a large, sturdy ziplock bag. Seal the bag tightly, ensuring all air is expelled. Using a wooden spoon, rolling pin, or even a meat mallet, gently but firmly crush the candy bars into small, bite-sized pieces. Aim for a mix of fine crumbs and slightly larger chunks for the best textural experience.
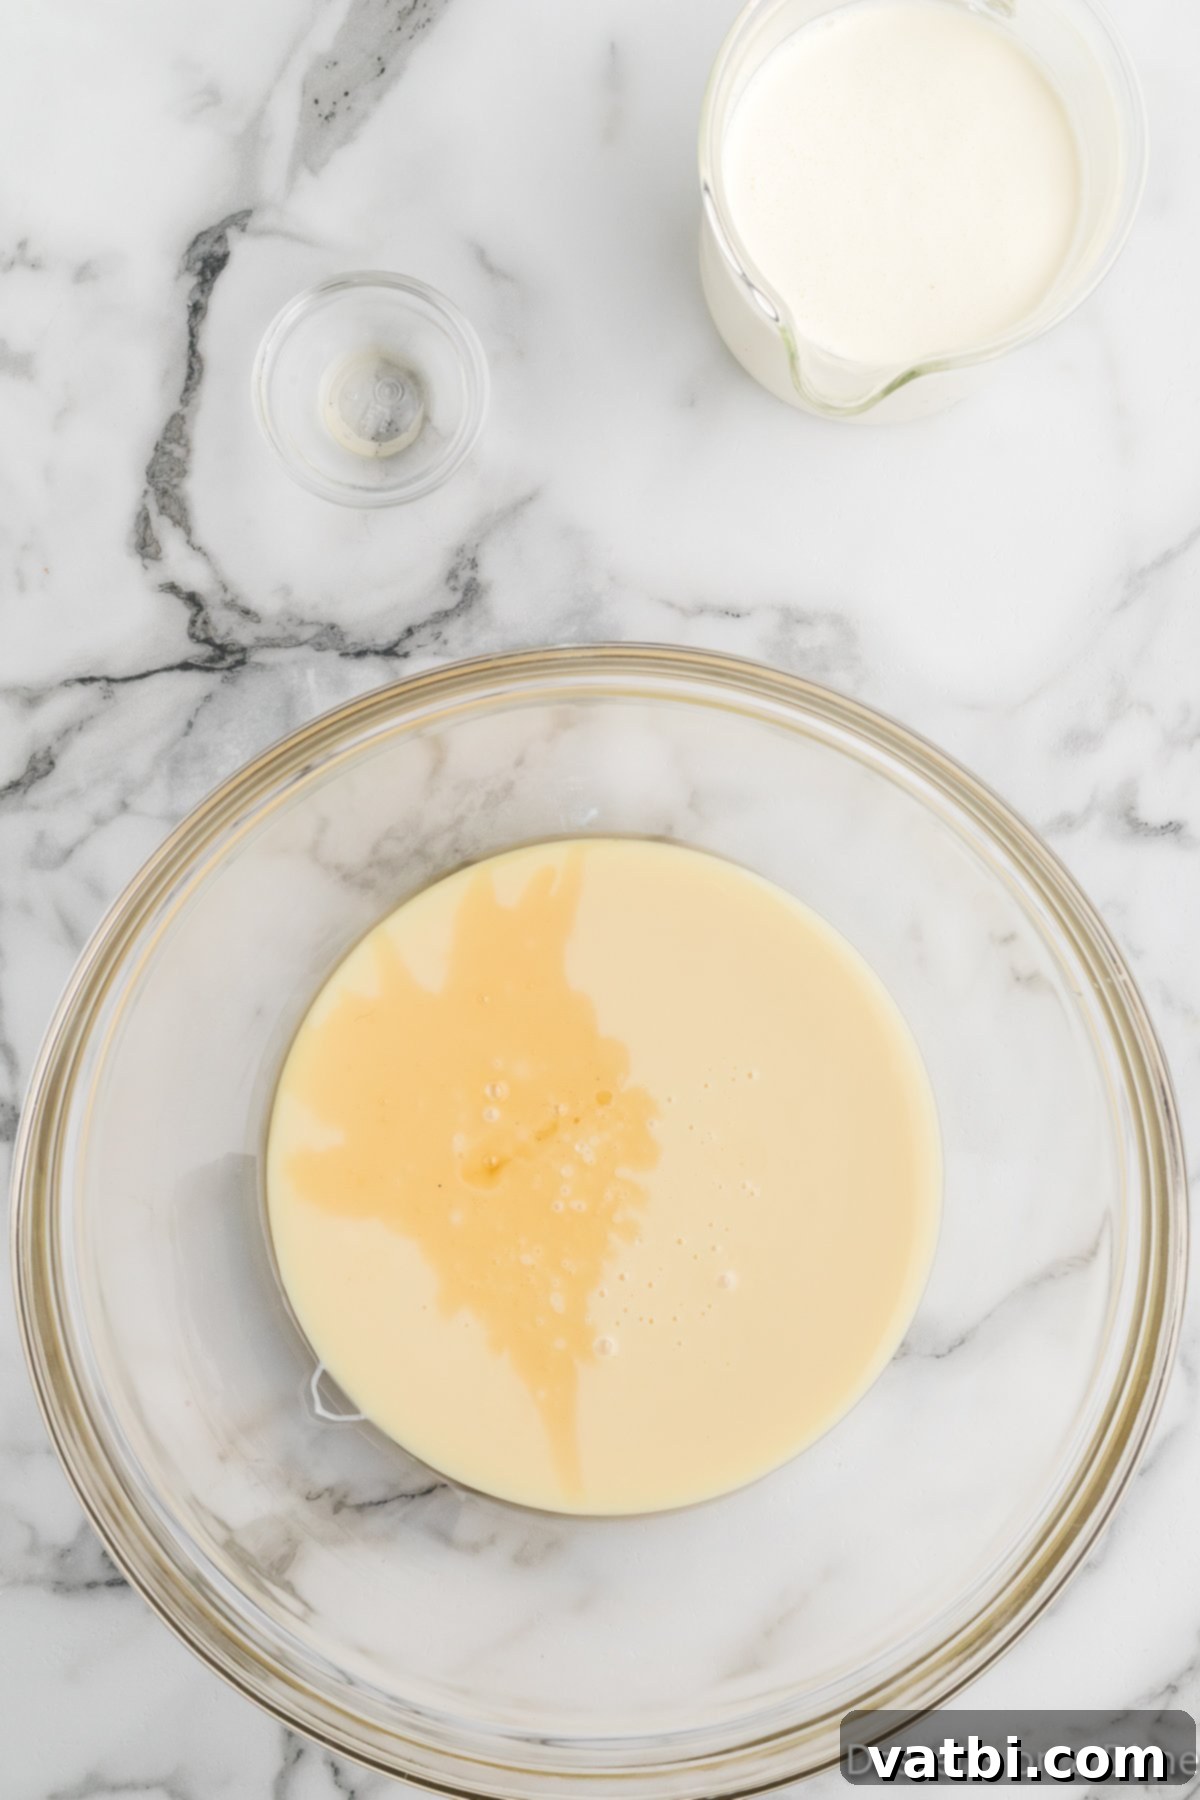
Step 2. Create the Sweetened Base: In a large mixing bowl, combine the sweetened condensed milk with the vanilla extract. Stir these two ingredients together until they are thoroughly combined and smooth. This mixture forms the sweet, rich foundation of your ice cream.
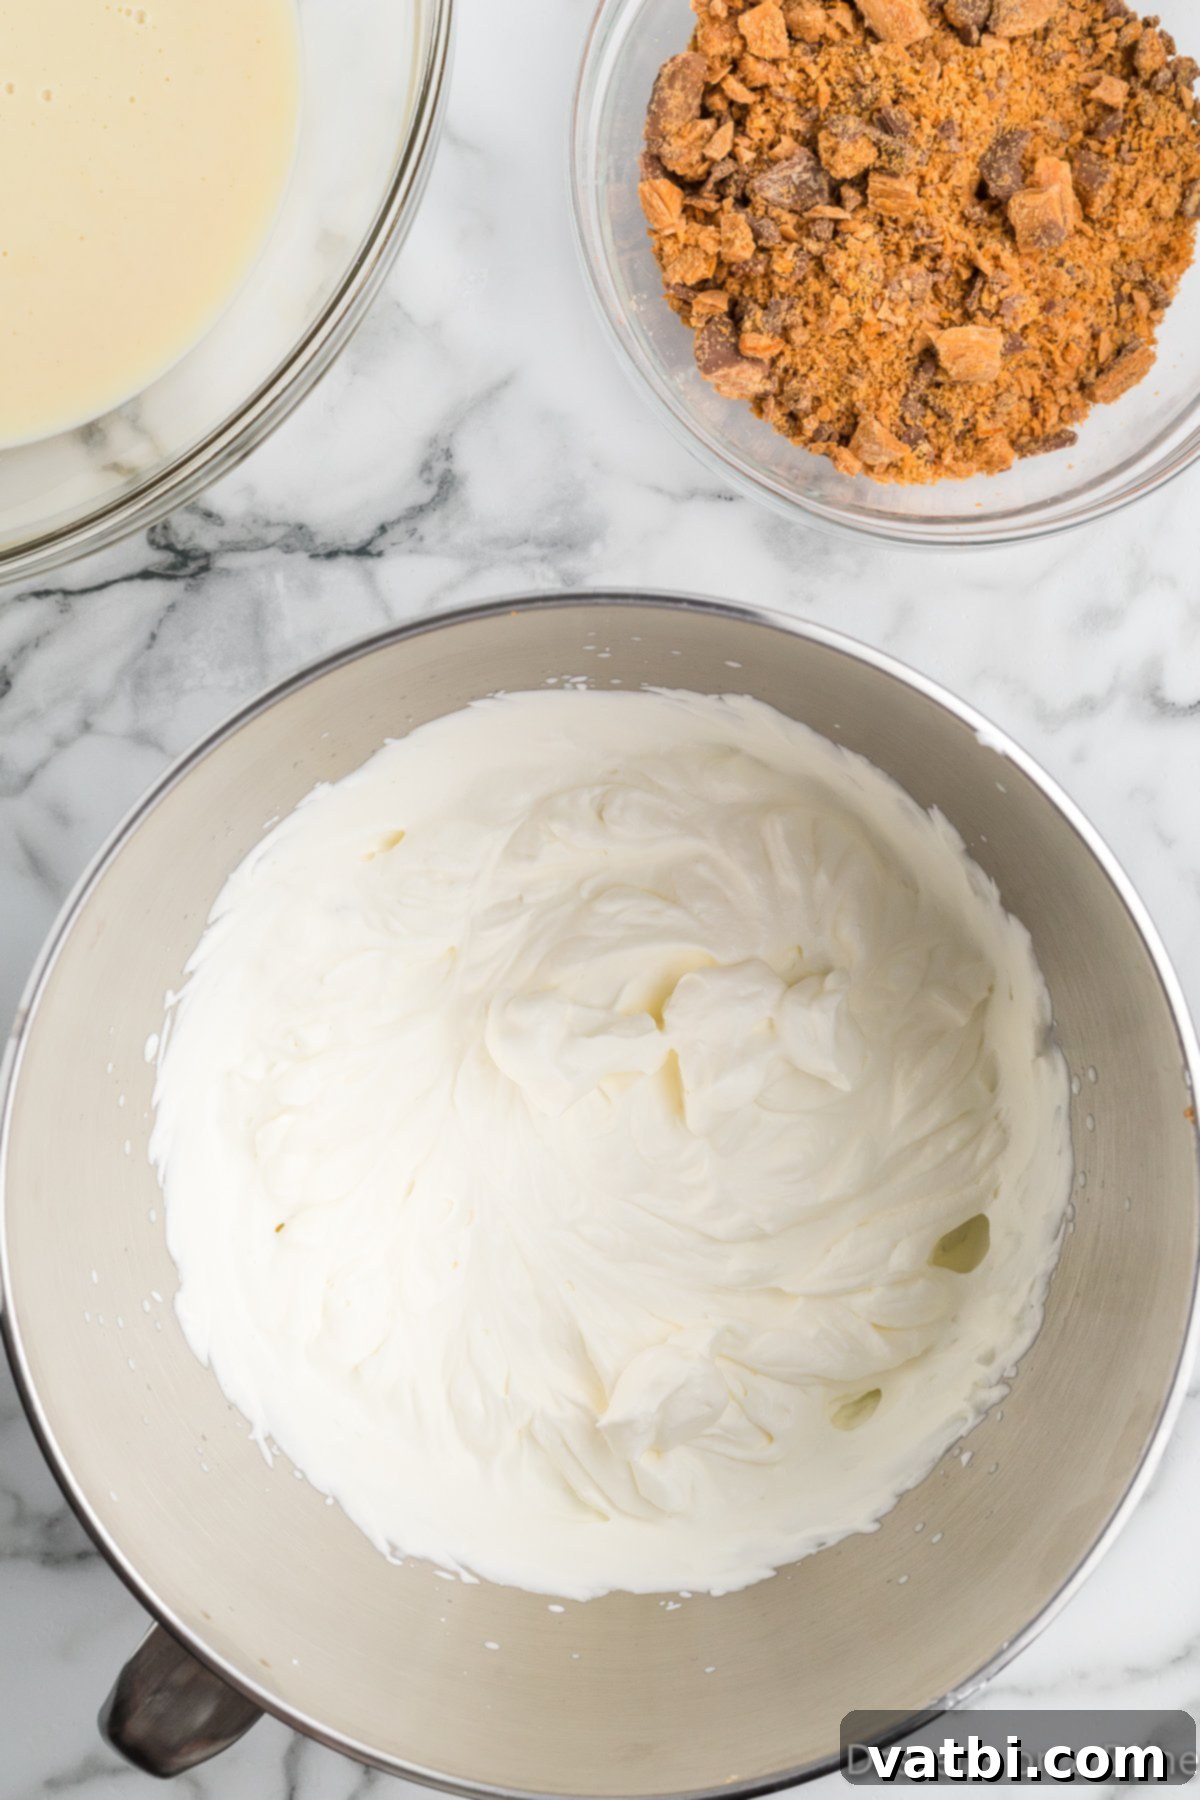
Step 3. Whip the Cream: Pour the very cold heavy whipping cream into a separate, clean mixing bowl. Using either a stand mixer fitted with a whisk attachment or a handheld electric mixer, beat the cream on high speed for 2-3 minutes. Continue mixing until the cream forms stiff peaks, meaning it holds its shape firmly when the whisk is lifted. This aeration is crucial for a light and creamy ice cream texture.
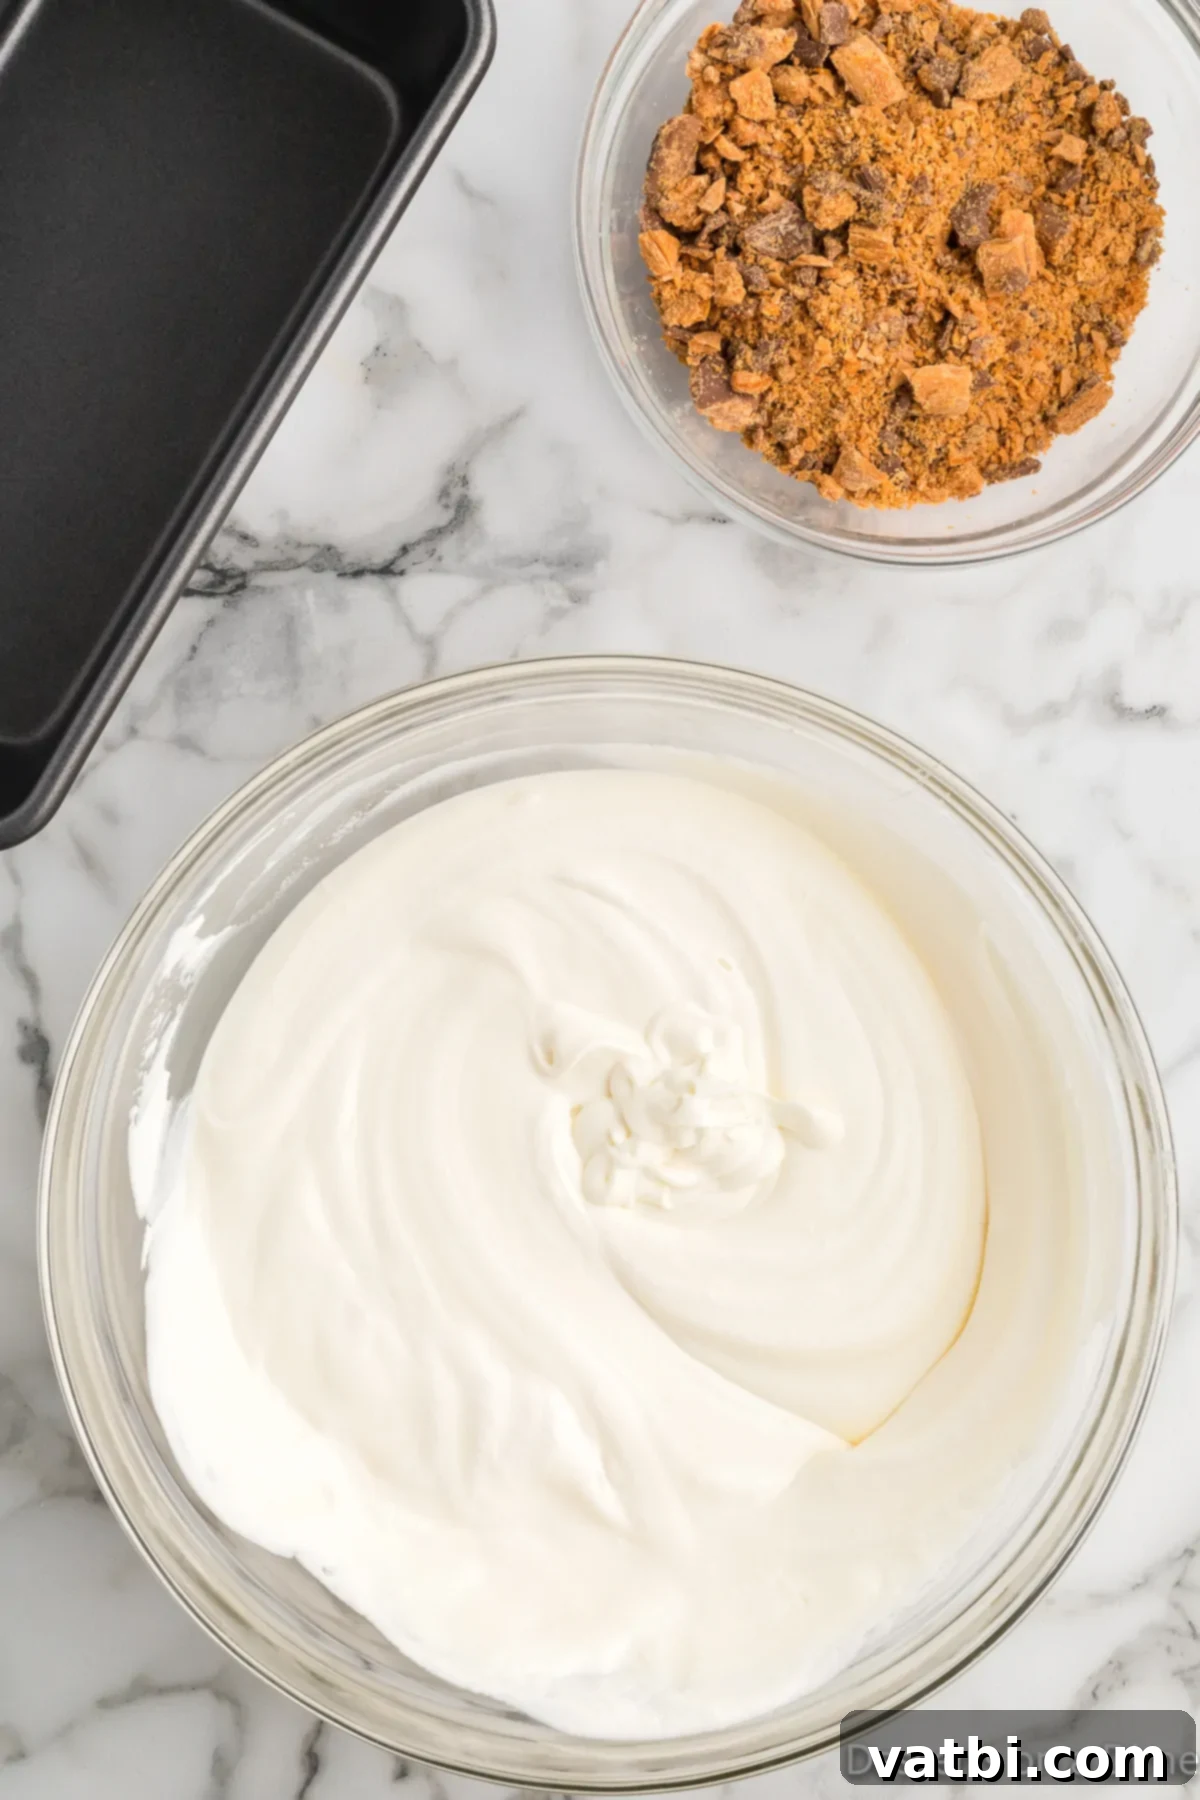
Step 4. Combine and Fold: Gently fold the whipped cream into the sweetened condensed milk mixture. Use a spatula and a light hand to combine them thoroughly without deflating the whipped cream. Be careful not to overmix, as this can reduce the airiness. Once combined, gently fold in the crushed Butterfingers, distributing them evenly throughout the mixture.
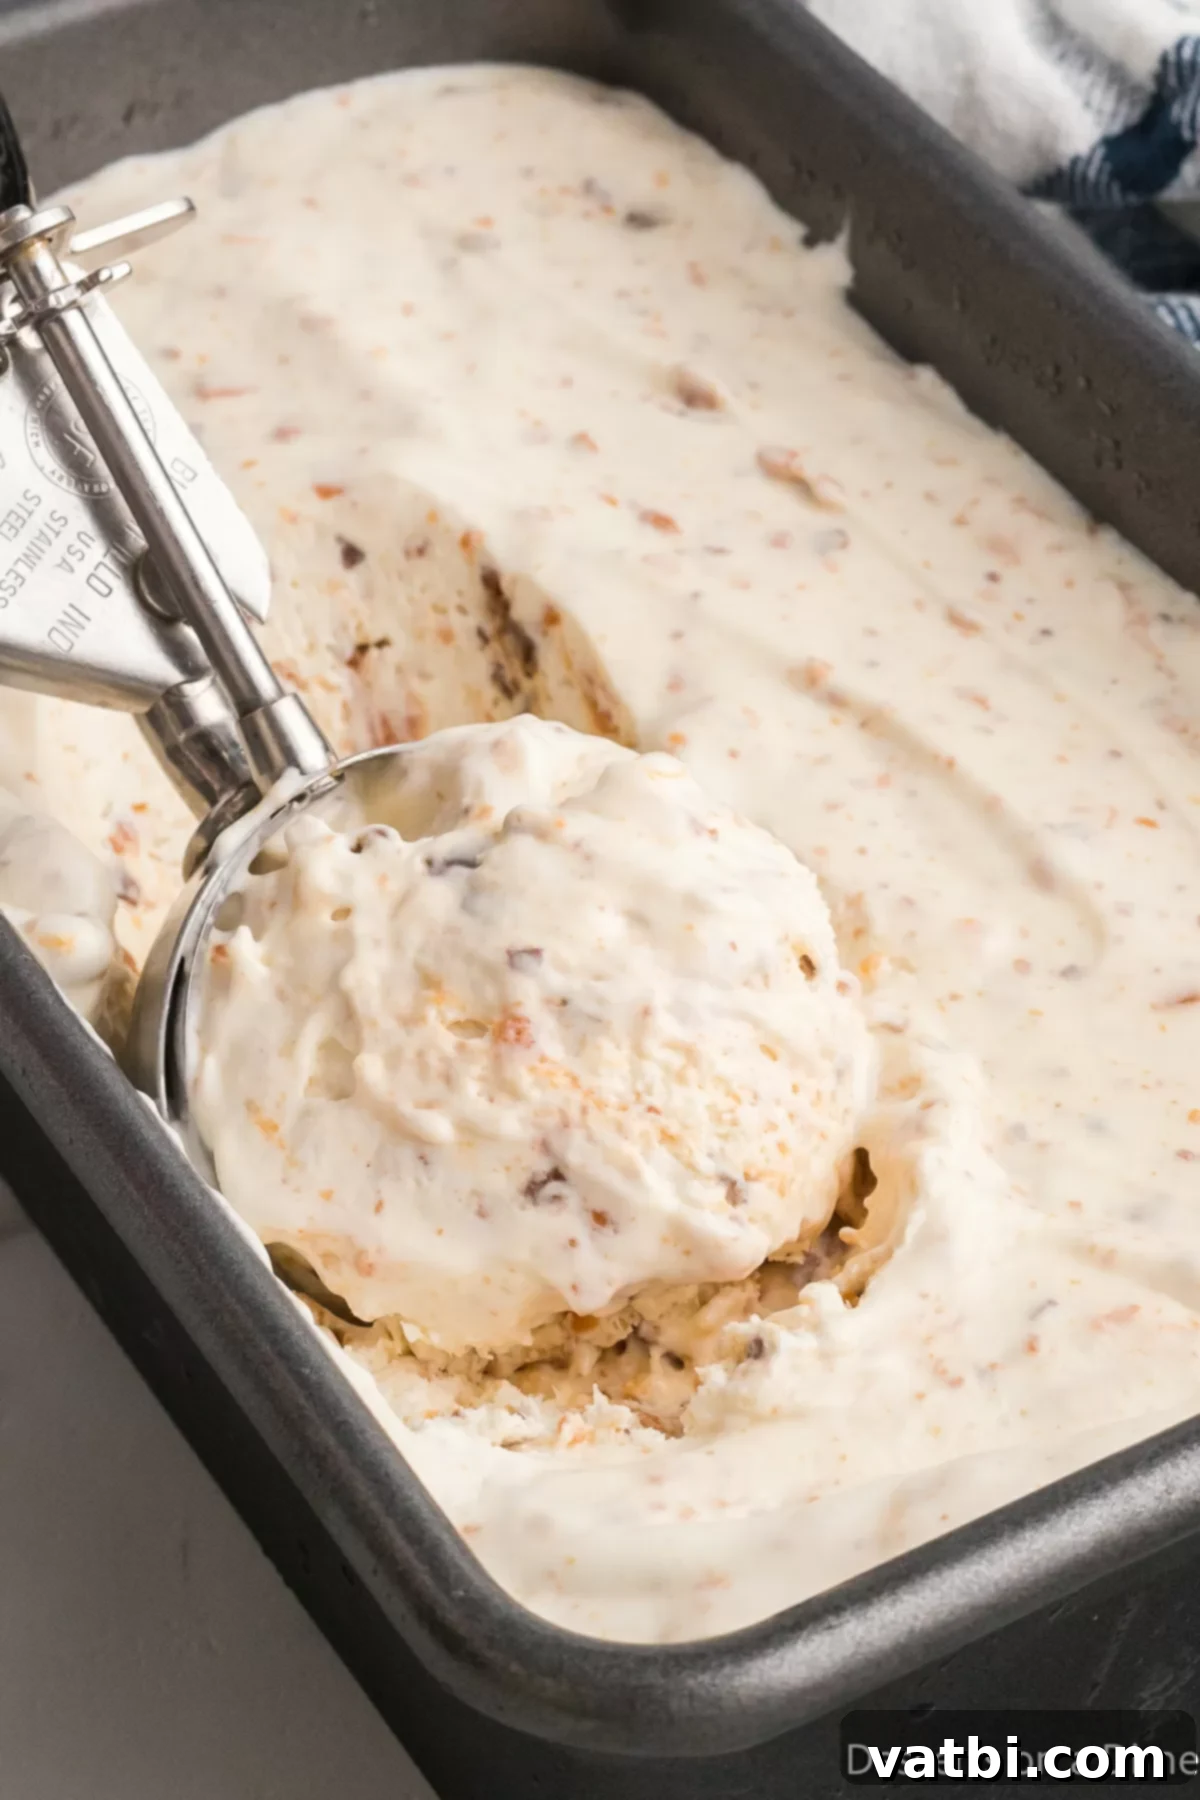
Step 5. Freeze to Perfection: Carefully spread the ice cream mixture into a 9-inch loaf pan or a similar freezer-safe container. Cover the pan tightly with aluminum foil, ensuring no air can get in. For best results, place a layer of plastic wrap directly onto the surface of the ice cream before covering with foil. Freeze for at least 6 hours, though I personally prefer chilling it overnight to allow it to firm up completely and develop the best texture.
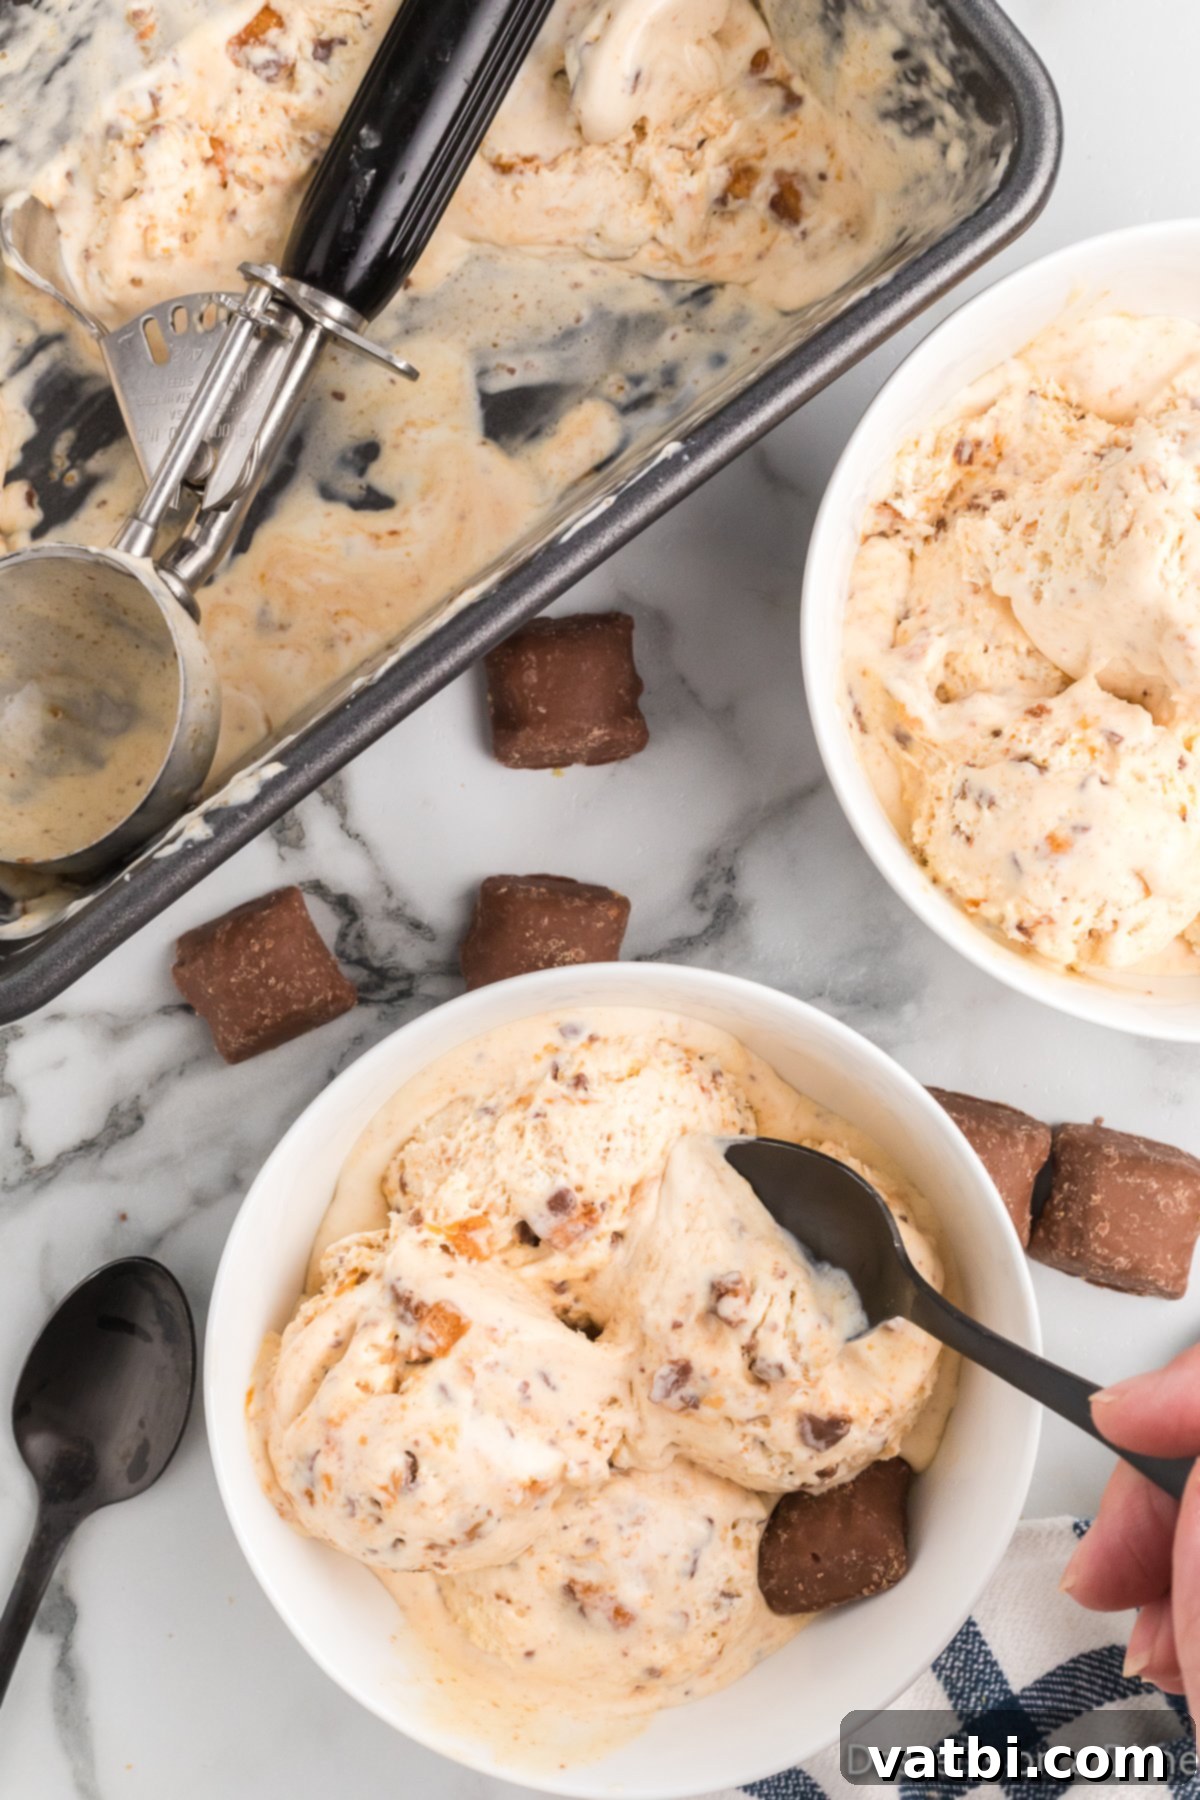
Step 6. Scoop and Enjoy: Once fully frozen, remove the pan from the freezer. If it’s too hard to scoop immediately, let it sit on the counter for a minute or two to soften slightly. Then, scoop out generous portions with an ice cream scoop and savor every creamy, crunchy bite! This is the moment your hard work (which wasn’t hard at all!) pays off.
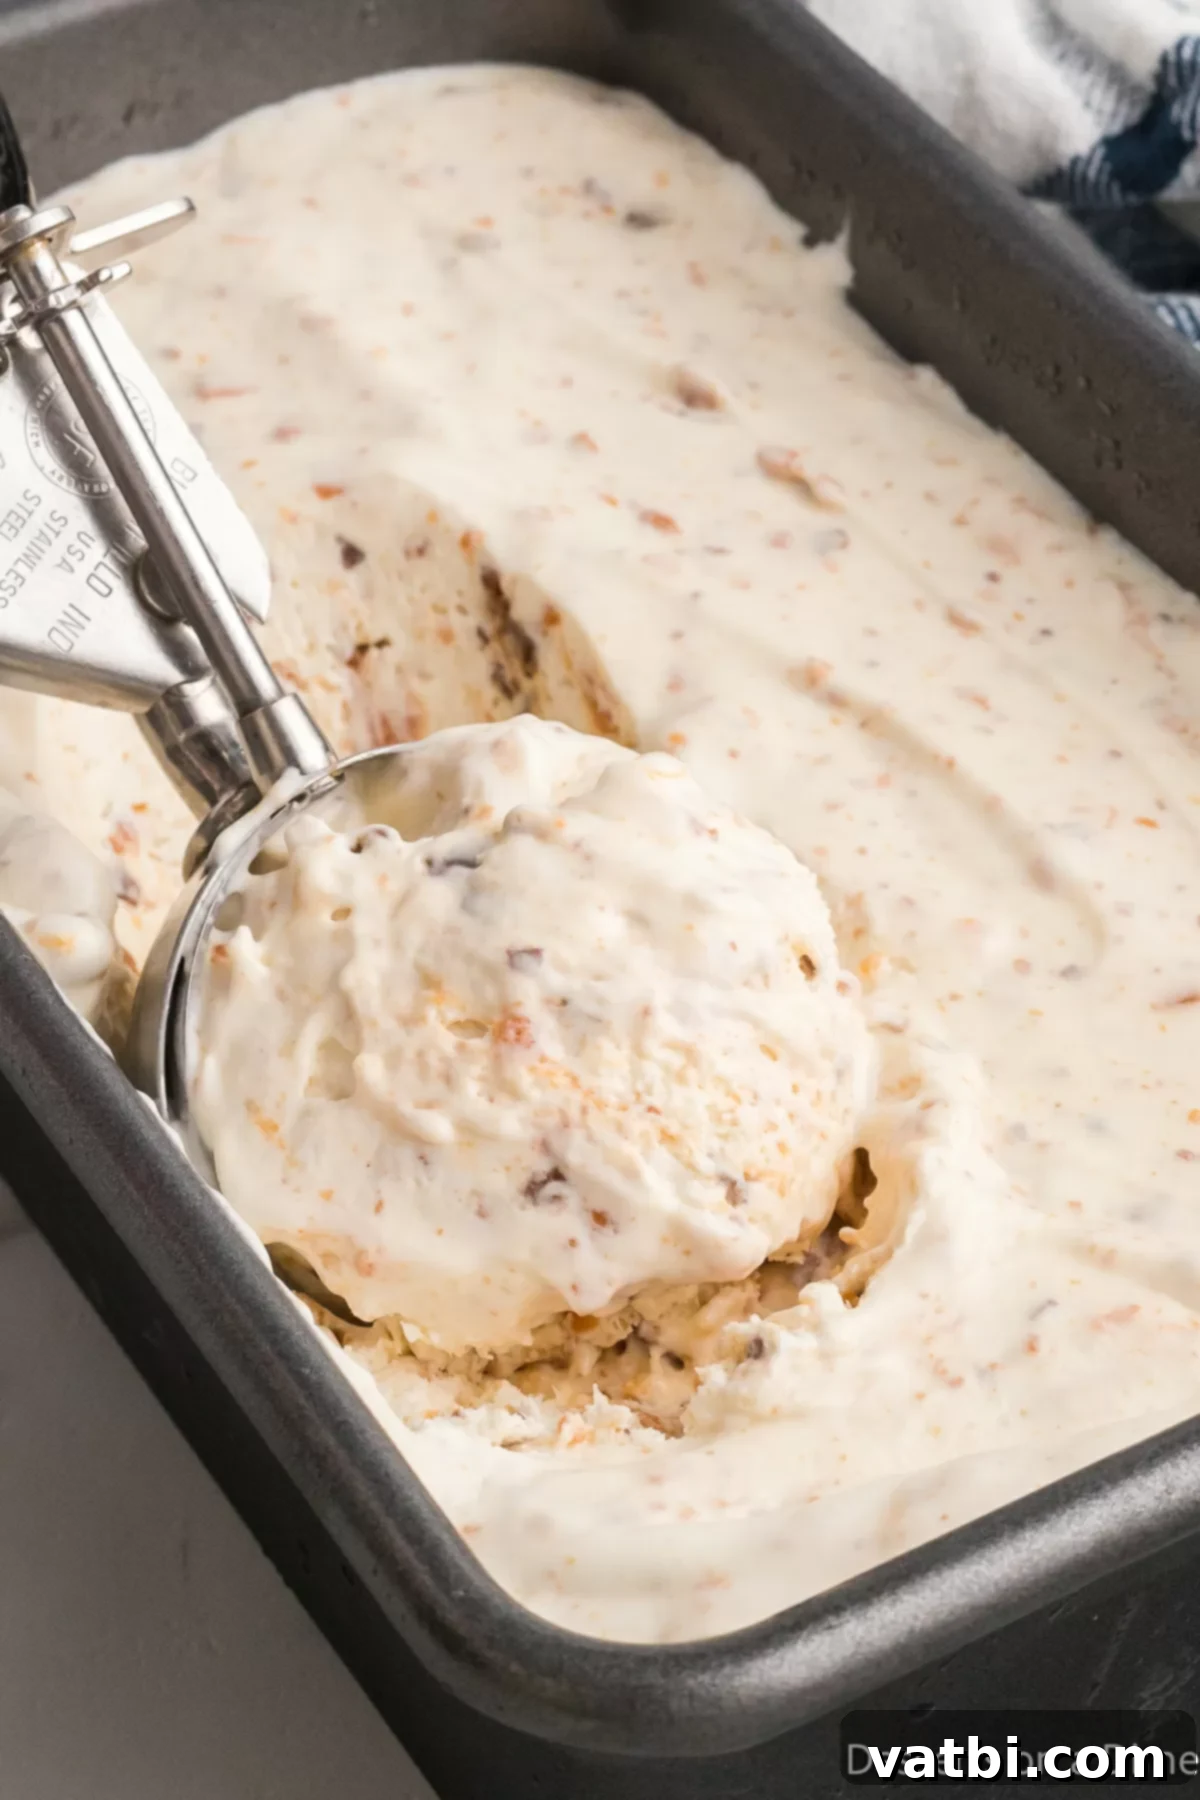
Pro Tips for Achieving Perfect No-Churn Ice Cream
Even though this recipe is incredibly straightforward, a few expert tips can help you achieve the most delicious and perfectly textured homemade Butterfinger ice cream every single time:
- Chopping the Butterfinger: While a ziplock bag and a wooden spoon are perfectly effective, for a more uniform crush, you can quickly pulse the Butterfingers in a food processor. Be careful not to over-process them into a fine powder; you want a mix of small chunks and crumbs to maintain that satisfying crunch.
- Optimal Freezing for Texture: Freezing the ice cream for at least 6 hours is essential, but for the firmest, most scoopable consistency, I highly recommend freezing it overnight. This extended chill time allows the mixture to properly set and develop its characteristic creamy texture. To prevent freezer burn and keep your ice cream fresh, ensure it’s tightly covered with both plastic wrap (pressed directly onto the surface of the ice cream) and aluminum foil.
- Serving Temperature is Key: Straight out of a deep freezer, your homemade ice cream might be quite firm. To achieve that ideal scoopable texture, let the ice cream sit on the counter for a minute or two before serving. This brief tempering period allows it to soften just enough, making it effortless to scoop with an ice cream scoop. Serve your delicious creation in a classic bowl or piled high on a crispy ice cream cone.
- Whip Your Heavy Cream to Stiff Peaks: The secret to light and airy no-churn ice cream lies in the heavy whipping cream. Beat it until it forms stiff peaks—when you lift the whisk, the peaks should stand upright and hold their shape without collapsing. This traps plenty of air, which is what gives the ice cream its delightful, creamy texture without the need for an ice cream machine.
- Chill Your Mixing Bowl: For an even creamier result, consider freezing your mixing bowl for at least 24 hours before you plan to make the ice cream. A super-cold bowl will help the heavy cream whip up faster and hold its stiff peaks better, contributing to an ultimately smoother and more stable ice cream base.
- Embrace Quality Ingredients: Since this recipe uses only a handful of ingredients, the quality of each one truly shines through. Opt for the best sweetened condensed milk, pure vanilla extract, and high-quality heavy whipping cream you can find. Better ingredients lead to a superior-tasting final product.
- No Substitutions for Heavy Cream: It cannot be stressed enough: do not substitute regular milk for heavy whipping cream. Regular milk lacks the fat content necessary to whip up into stiff peaks, and attempting to use it will result in a watery, icy, and disappointing texture, far from the creamy dream you’re aiming for.
Storage Solutions for Lasting Enjoyment
One of the beauties of homemade ice cream is that you can prepare it in advance, making it an ideal dessert for entertaining or simply having a sweet treat on hand. I typically like to make this Butterfinger ice cream the night before we plan to indulge, ensuring it has ample time to freeze to perfection.
Proper storage is essential to maintain its creamy texture and prevent ice crystals. This ice cream will last wonderfully for up to 3 months when stored correctly in the freezer. Always use a freezer-safe container with an airtight lid.
To further protect your leftovers from freezer burn and the formation of ice crystals, I recommend placing a layer of plastic wrap directly on top of the ice cream, ensuring it touches the surface. Then, secure the airtight lid or cover the container with aluminum foil. This dual layer of protection acts as a barrier against air, which is the primary cause of crystallization and flavor degradation in frozen desserts. Following these steps will ensure every scoop is as delightful as the first.
Irresistible Topping Ideas to Elevate Your Scoop
Transform your homemade Butterfinger ice cream into an extraordinary dessert experience with a vibrant ice cream bar! If you’re hosting a party or simply want to treat your family to something special, setting out different bowls filled with an array of delicious toppings is a fun and festive way to create custom ice cream sundaes. It encourages creativity and allows everyone to personalize their perfect treat. Here are some of my all-time favorite toppings that pair beautifully with Butterfinger ice cream:
- Chopped Nuts: Almonds, peanuts, walnuts, or pecans add an extra layer of crunch and nutty flavor, complementing the Butterfinger’s peanut notes.
- Sprinkles: A classic for a reason! Colorful sprinkles add a festive touch and a subtle textural contrast.
- Hot Fudge Sauce: A warm, rich, and gooey homemade hot fudge sauce is the ultimate indulgence, perfect for drizzling generously over cold ice cream.
- Homemade Caramel Sauce: Sweet, buttery, and smooth caramel sauce adds a luxurious touch that beautifully complements the vanilla and peanut butter flavors.
- More Crushed Candy Bars: Double down on the candy! Offer additional crushed Butterfingers or a selection of other candy bars for an extra boost of flavor and texture.
- Homemade Whipped Cream: Light, fluffy, and freshly made whipped cream is a decadent and airy topping that adds a touch of elegance.
- Cherries: A classic maraschino cherry or fresh pitted cherry adds a pop of color and a hint of fruity sweetness to complete any sundae.
Discover More Delightful Homemade Ice Cream Recipes
Once you’ve experienced the joy and ease of making no-churn ice cream, you’ll want to explore even more flavors! Expand your homemade dessert repertoire with these fantastic recipes:
- No-Churn Chocolate Ice Cream: A timeless classic, made incredibly easy without an ice cream maker.
- White Chocolate Raspberry Ice Cream: A sophisticated blend of sweet white chocolate and tart raspberries.
- Cherry Chocolate Chip Ice Cream Recipe: The perfect combination of fruity cherries and rich chocolate chips.
- No-Churn Peach Ice Cream: A wonderfully refreshing and summery treat bursting with fresh peach flavor.
- Twix Ice Cream Recipe: Experience the delicious layers of caramel, shortbread, and chocolate in a cool, creamy ice cream.
- Kool-Aid Ice Cream Recipe: A fun, vibrant, and incredibly simple recipe that kids will love.
This Butterfinger no-churn ice cream is more than just a dessert; it’s an experience loaded with flavor, texture, and the warmth of homemade goodness. It’s truly a family favorite that brings smiles with every spoonful. Don’t wait to try this incredibly easy and rewarding recipe. Make it today and discover your new go-to frozen treat! We’d love to hear your thoughts – please leave a comment and a star recipe rating below to share your experience!
Pin
Homemade Butterfinger Ice Cream
Ingredients
- 14 oz. sweetened condensed milk
- 2 tsp Vanilla Extract
- 2 cups heavy whipping cream cold
- 1 pkg Mini Butterfingers 8 oz
Instructions
-
Unwrap the mini butterfingers and place them in a large ziplock bag. Seal it tightly. Use a wooden spoon to crush the candy bars into small pieces.
-
Then mix together the sweetened condensed milk and vanilla extract in a large bowl.
-
Pour the heavy whipping cream into a separate bowl and mix with a stand up mixer or hand held mixer for 2-3 minutes until it holds stiff peaks.
-
Gently stir the whipped cream into the sweetened milk mixture until well combined and be careful not to over mix. Then fold in the crushed butterfingers.
-
Next spread the mixture in a 9 in loaf pan. Cover with foil and freeze for at least 6 hours.
-
Then scoop out with an ice cream scoop and enjoy!
Recipe Notes
Nutrition Facts
Pin This Now to Remember It Later
Pin Recipe
