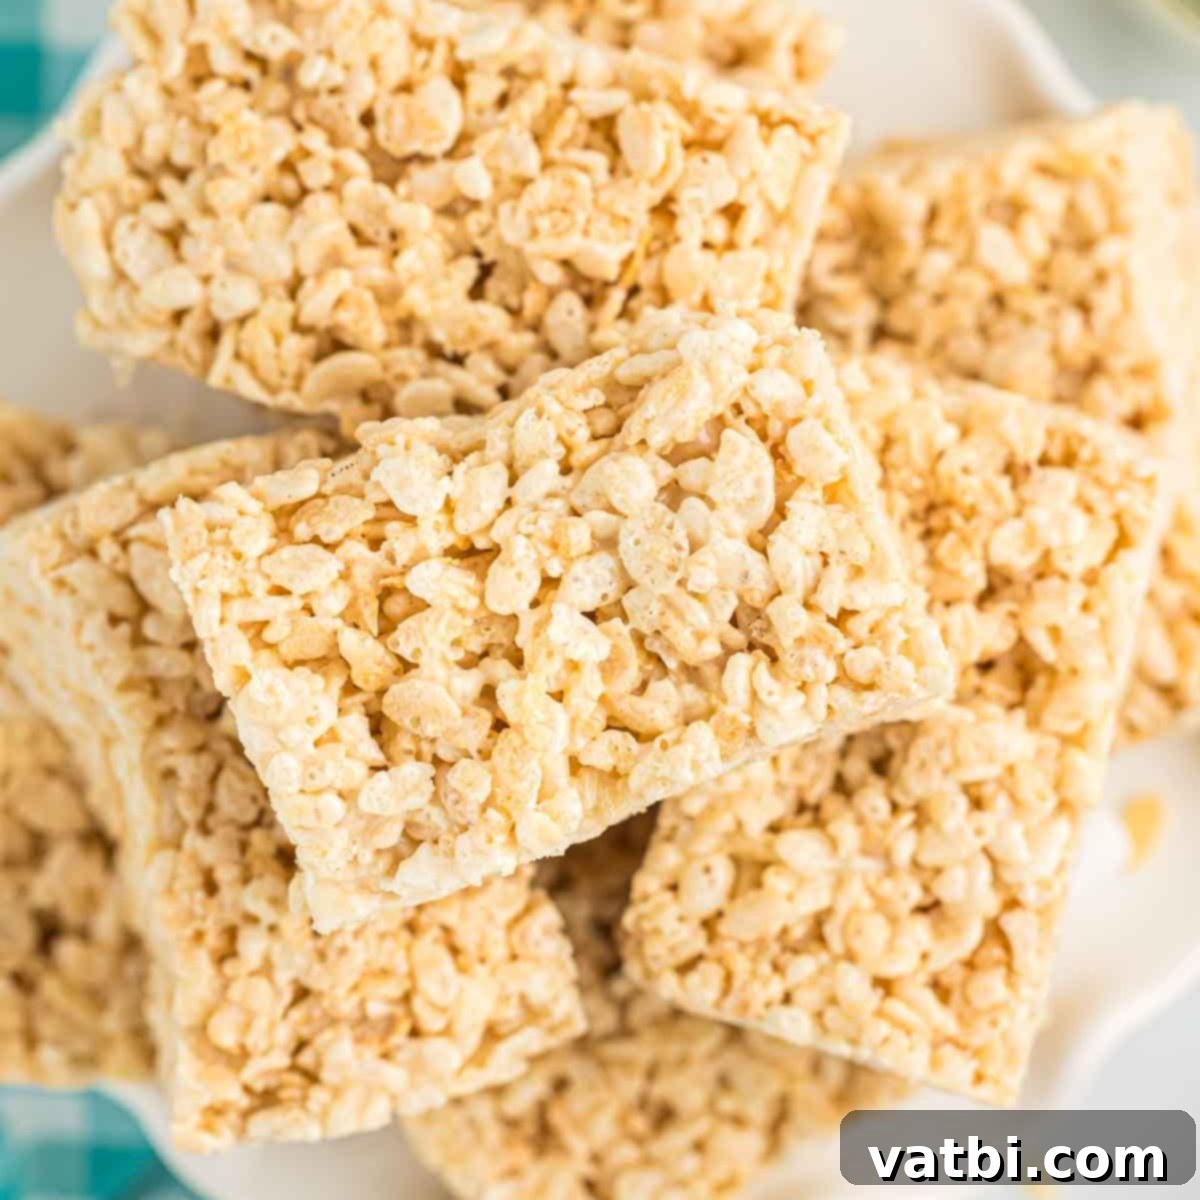
How to Make the Best Rice Krispie Treats: Gooey, Chewy, and Always Perfect
Get ready to discover the ultimate recipe for homemade Rice Krispie Treats that are so incredibly delicious, you’ll never reach for a store-bought version again. This classic dessert isn’t just a beloved childhood favorite; it’s also incredibly simple to whip up, remarkably budget-friendly, and a fantastic project for kids to help with. Imagine soft, chewy marshmallows perfectly binding crispy cereal, creating a treat that vanishes almost as quickly as you make it. Whether you’re a seasoned baker or a complete novice, this easy no-bake recipe guarantees success every time, delivering gooey perfection that will delight everyone who tries it. From family gatherings to school treats, these homemade delights are always a hit.
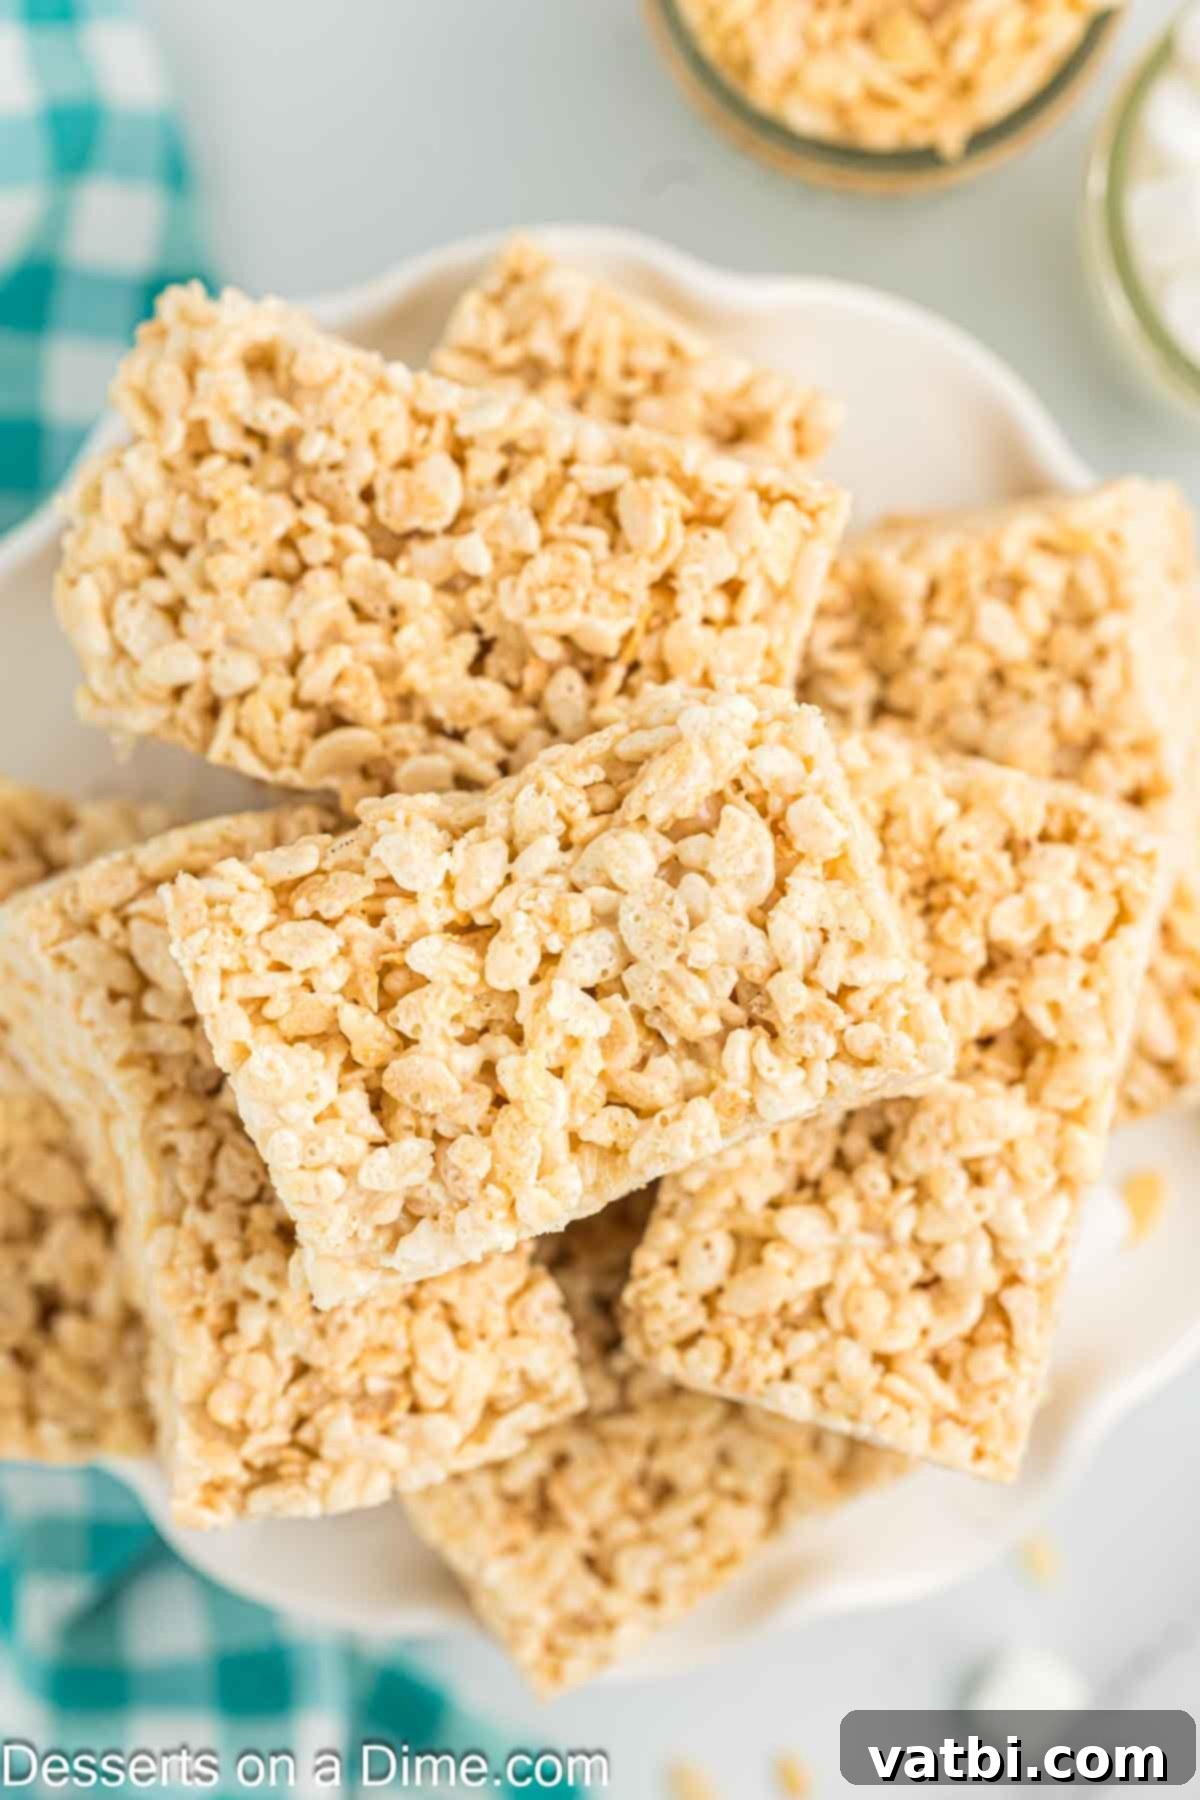
Rice Krispie Treats truly are a timeless dessert, bringing smiles to faces young and old. As a busy parent, I appreciate how quickly I can prepare a batch for a snack, a last-minute school event, or just a sweet craving. But don’t think they’re limited to the original! I often get creative with variations like Peanut Butter Rice Krispie Treats, Cookie Butter Rice Krispie Treats, and even festive Snickerdoodle Rice Krispie Treats. The possibilities are truly endless for this versatile no-bake recipe, making it a staple in our household.
Table of contents
- Why We Love This Easy Recipe
- Simple Ingredients You’ll Need
- Creative Variations & Customization Ideas
- Step-by-Step: How to Make Rice Krispie Treats
- Frequently Asked Questions (FAQs)
- Essential Tips for Perfect Results
- More Irresistible Rice Krispie Treats to Try
Why We Love This Easy Recipe
There’s so much to adore about making your own homemade Rice Krispie Treats. First and foremost, this recipe is incredibly budget-friendly. With just a few basic pantry staples – cereal, marshmallows, and butter – you can create a large batch of treats that costs significantly less than buying them pre-made. This makes them a perfect dessert for parties, bake sales, or simply keeping your snack cabinet stocked without breaking the bank.
Beyond the cost savings, the sheer simplicity and speed of this recipe are unmatched. Anyone, regardless of their baking experience, can whip up a pan of these gooey delights in under 15 minutes of active prep time. There’s no oven required, making it a fantastic no-bake option for hot summer days or when you just need a quick dessert. Kids love getting involved in the mixing process, and it’s a wonderful way to introduce them to the joys of cooking.
But let’s talk about the best part: the texture and taste. The combination of sweet, gooey melted marshmallows enveloping every crisp kernel of cereal creates a truly luscious dessert experience. Each bite offers a delightful contrast – the satisfying crunch of the cereal followed by the soft, stretchy chewiness of the marshmallow. They’re sweet without being cloyingly so, comforting, and utterly addictive. The richness of the butter perfectly complements the sweetness, making them far superior to any store-bought alternative. They’re also a fantastic companion for a Chocolate Fondue Recipe, adding an extra layer of deliciousness!
Simple Ingredients You’ll Need
One of the many charms of this classic dessert is its minimal ingredient list. You likely have most of these on hand already! Here’s what you’ll need to create the best homemade Rice Krispie Treats:
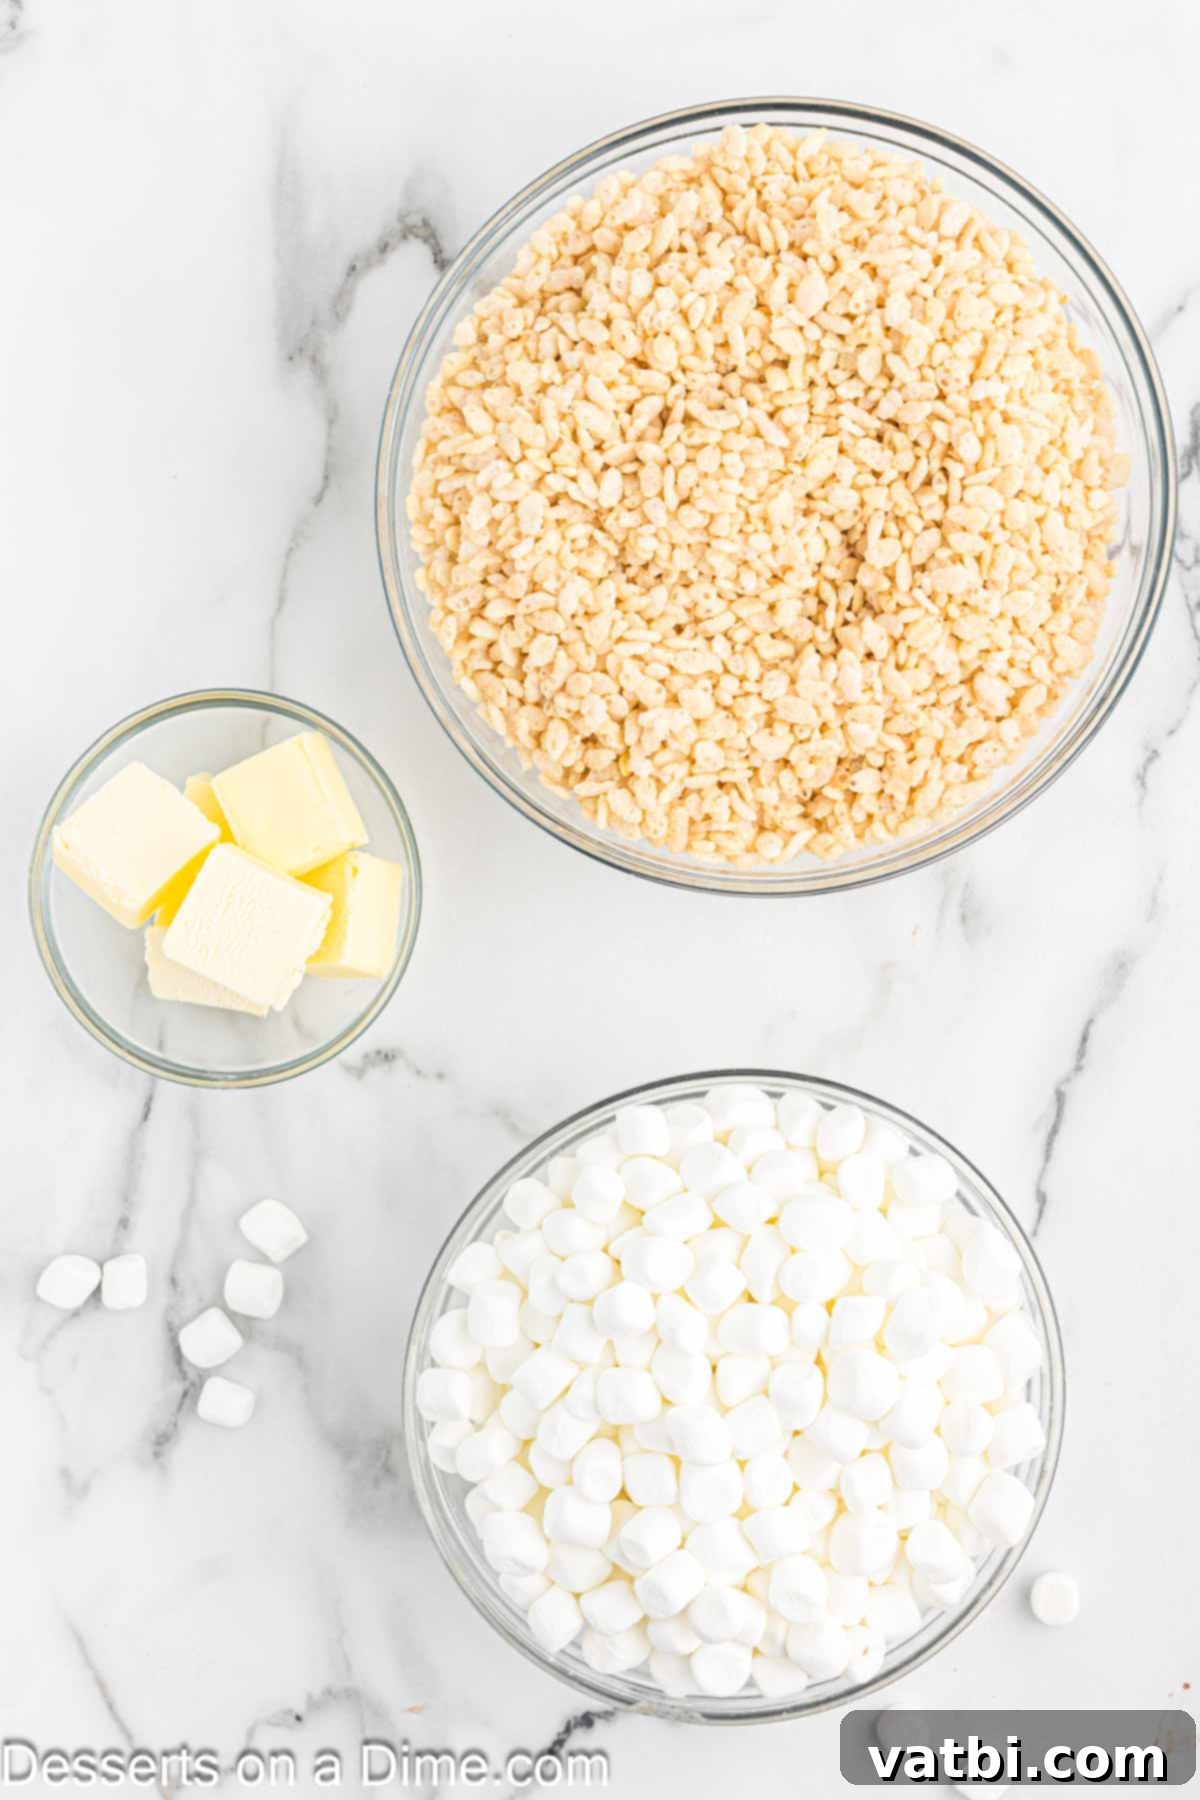
- Rice Krispie Cereal: The star of the show! This crispy puffed rice cereal provides the signature crunch. Ensure it’s fresh for the best texture.
- Butter: High-quality butter (salted or unsalted, depending on your preference; I often use salted for a nice contrast) is crucial for flavor and preventing sticking. It creates a rich, smooth base for the marshmallow.
- Marshmallows: Mini marshmallows melt more quickly and evenly, making them ideal for this recipe. Large marshmallows work too, but may take a little longer to melt and require more stirring. Fresh marshmallows are key for that perfect gooey texture. Stale marshmallows can lead to tough treats.
For the complete, precise recipe list with measurements, scroll down to the detailed recipe card at the bottom of the page.
Creative Variations & Customization Ideas
While the classic Rice Krispie Treat is perfect on its own, its simple base makes it an ideal canvas for endless creativity! You can easily transform these delicious little treats to suit any occasion, season, holiday, or personal preference. Don’t be afraid to experiment and make them truly your own!
We’ve had so much fun over the years customizing these. We’ve even made them in team colors for our favorite sports teams, and different themes for birthdays and baby showers. Let your imagination run wild with these delightful, customizable treats:
- Add Sprinkles: A simple yet effective way to add flair! Choose sprinkles to match holidays (e.g., red and green for Christmas, pastels for Easter), birthday themes, or just your favorite colors. Add them immediately after pressing the mixture into the pan while it’s still warm, so they stick.
- Change the Color: Food coloring can dramatically change the look. Add a few drops of gel food coloring to the melted marshmallow mixture before adding the cereal. This is fantastic for baby showers (pink or blue), school colors, or any themed party.
- Chocolate Cereal Twist: Substitute regular Rice Krispie cereal with Cocoa Krispies for a fun and tasty chocolate treat. You can also mix half regular and half cocoa cereal for a milder chocolate flavor.
- Different Colored Marshmallows: During holidays, you can often find colored marshmallows (e.g., pink and white for Valentine’s Day, green for St. Patrick’s Day). These can naturally jazz things up without needing extra food coloring.
- Mix-ins: The possibilities here are truly vast:
- Chocolate Chips: Add semi-sweet, milk chocolate, dark chocolate, or white chocolate chips to the mixture after removing it from the heat but before pressing into the pan. The residual heat will soften them slightly.
- Peanut Butter Morsels: A classic pairing with crispy treats. They add a wonderful nutty flavor and melt into delicious pockets.
- Mini Candies: M&M’s, chopped candy bars, or even crushed Oreos can be folded in for extra flavor and texture.
- Nuts: Chopped peanuts, pecans, or walnuts add a satisfying crunch and richness.
- Dried Fruits: Dried cranberries or chopped apricots can add a touch of tartness and chewiness.
- Toppings & Drizzles: Elevate your treats with a delicious topping:
- Chocolate Drizzle: Melt some chocolate chips (milk, dark, or white) and drizzle it artfully over the cooled treats.
- Peanut Butter Drizzle: Melt peanut butter with a touch of butter or oil for a smooth drizzle.
- Caramel Sauce: A sweet and sticky caramel drizzle is always a winner.
- Powdered Sugar Glaze: A simple mixture of powdered sugar and milk can create a sweet, thin glaze.
With so many great ideas, you can make a different version every time and never get bored!
Step-by-Step: How to Make Rice Krispie Treats
Making these classic treats is incredibly straightforward, even for beginner cooks. Follow these simple steps for perfectly gooey and chewy Rice Krispie Treats every time:
- Step 1. Prepare Your Pan: First, ensure your pan is ready. Lightly spray a 9×13 inch baking pan with a non-stick cooking spray. You can also line the pan with parchment paper or wax paper, leaving an overhang on the sides. This makes lifting the cooled treats out of the pan much easier for cutting.
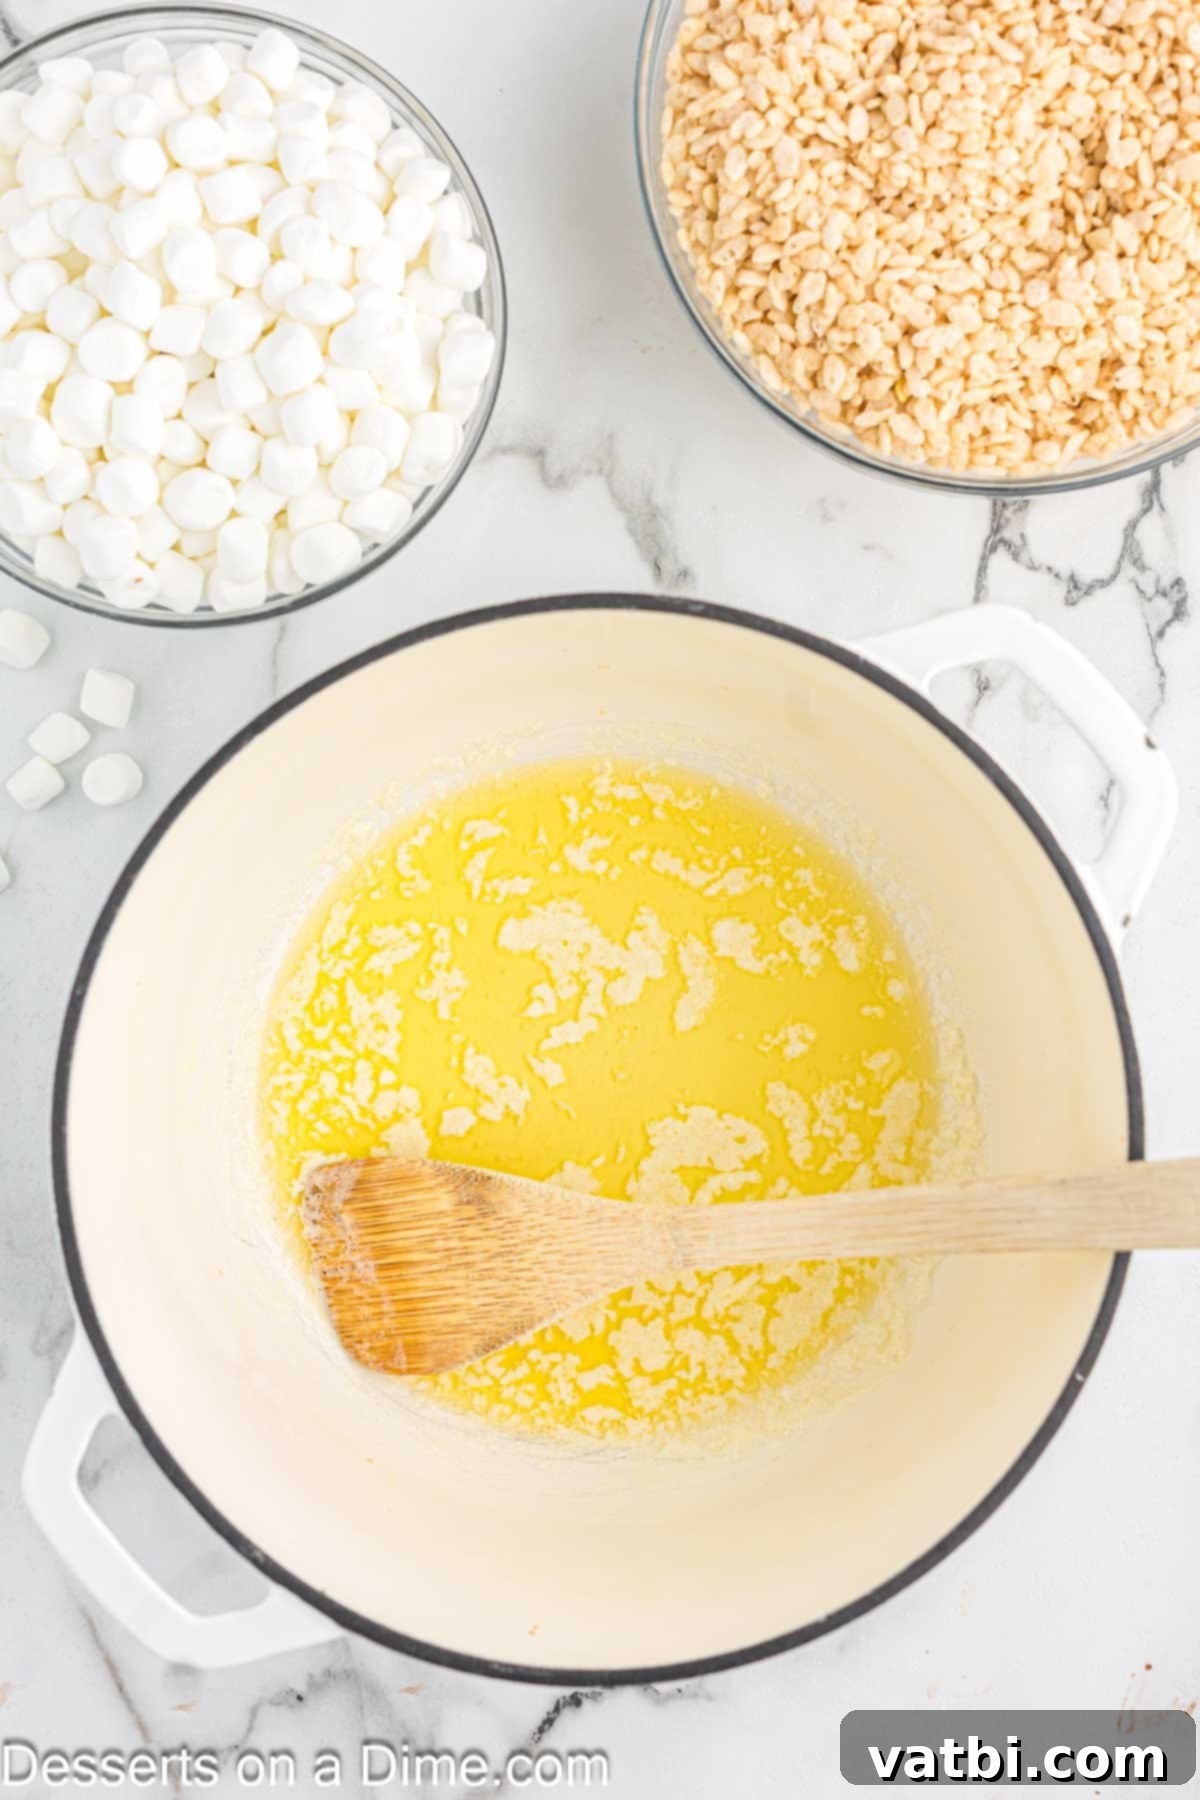
Step 2. Melt the Butter: In a large saucepan, melt the butter over medium-low heat. The key here is low heat – don’t rush it! Melting butter slowly prevents it from browning too quickly, which can affect the flavor of your treats. Once fully melted, it should be a beautiful golden liquid.
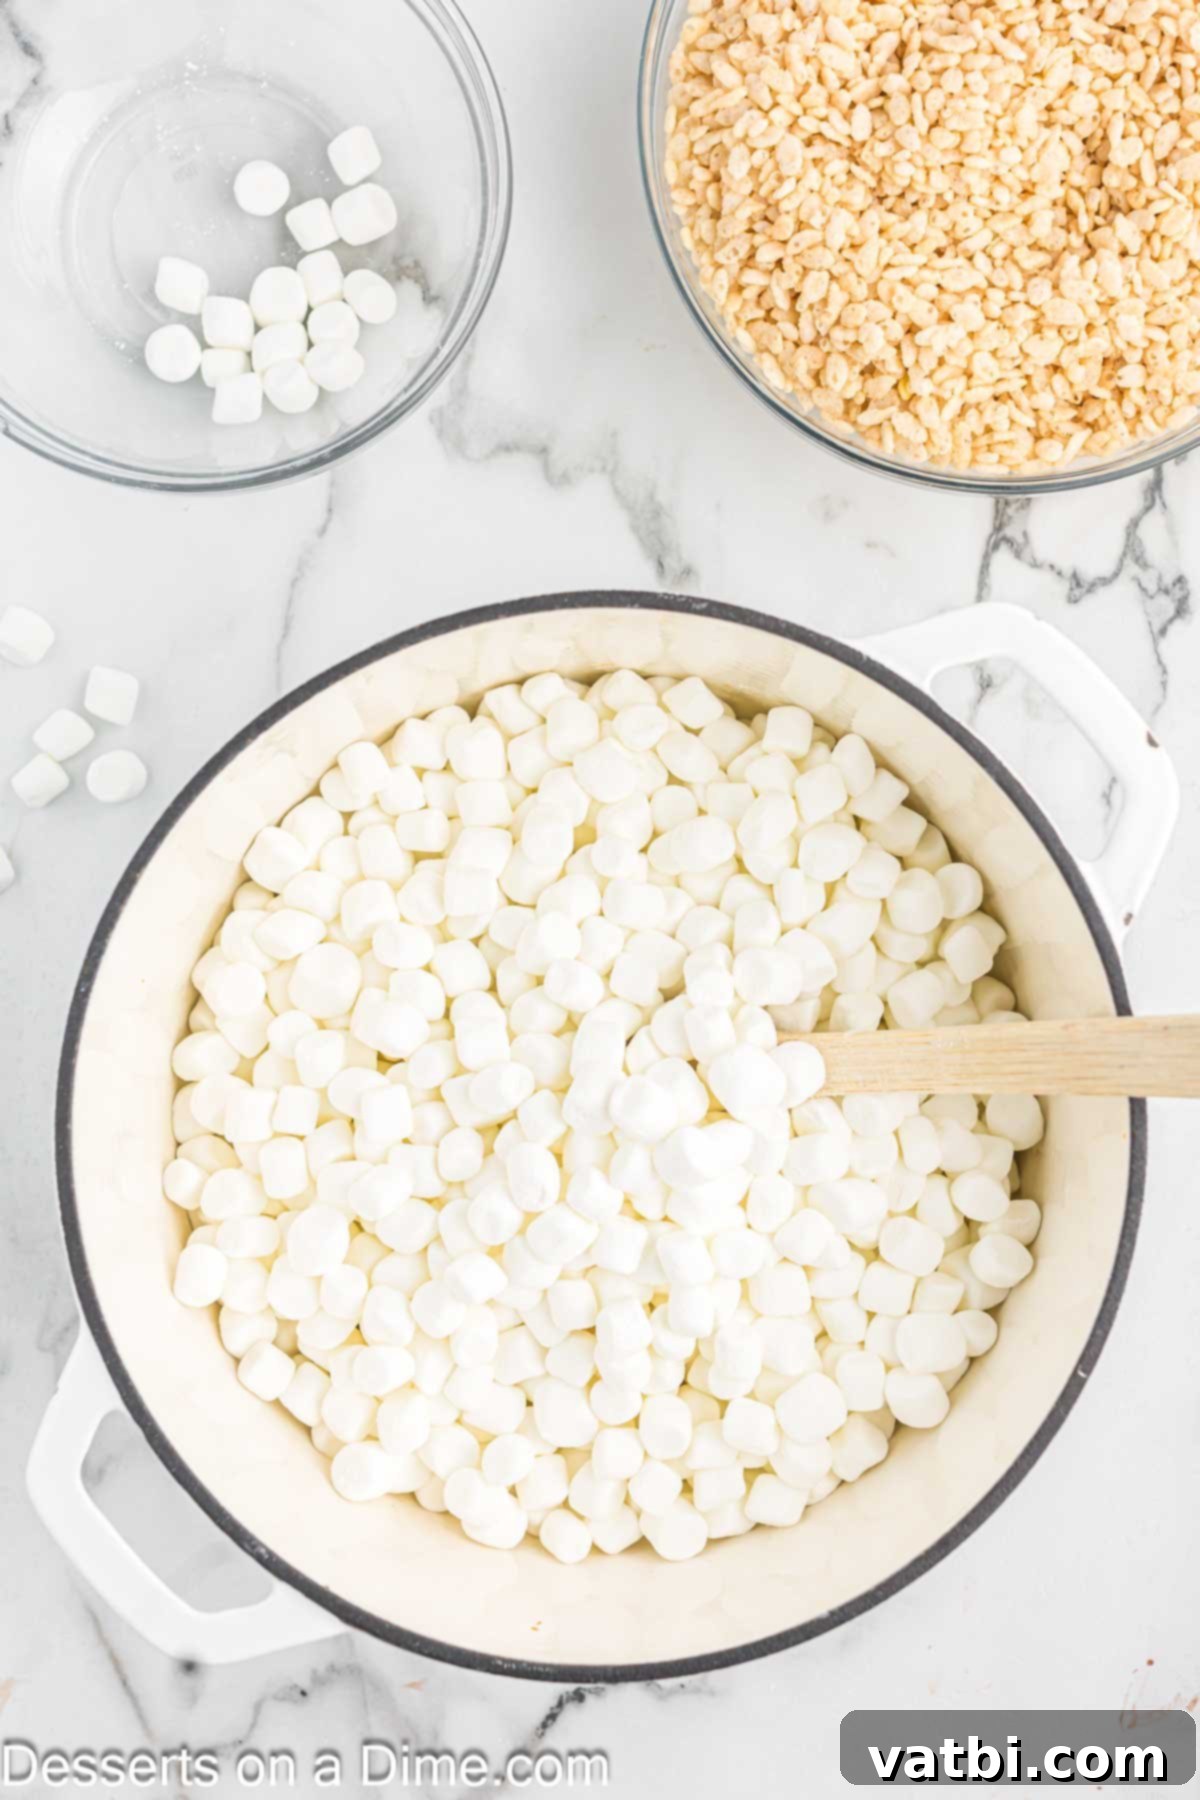
Step 3. Add Marshmallows: Once the butter is melted, add all of your marshmallows to the saucepan. Stir them continuously with the melted butter. This helps them melt evenly and prevents scorching.
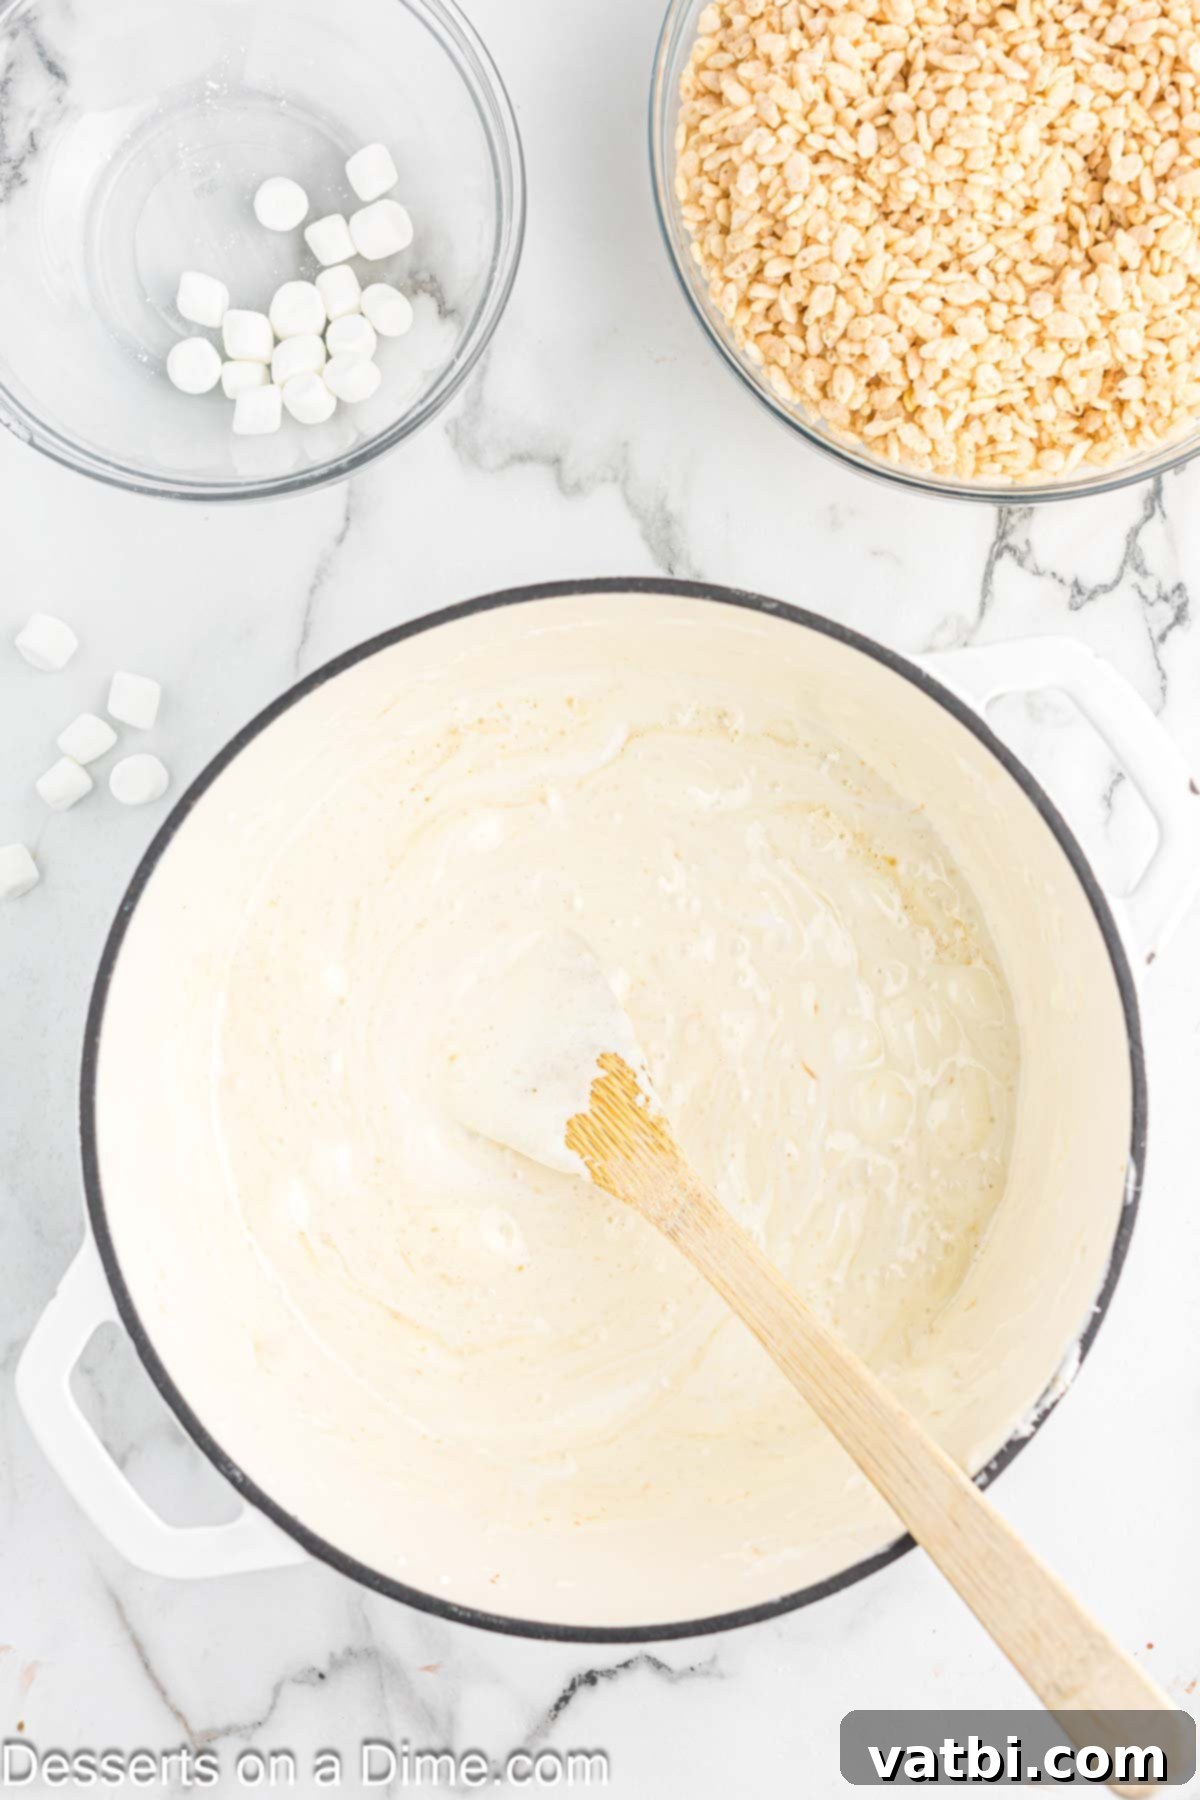
Step 4. Fully Melt the Mixture: Continue to heat and stir the butter and marshmallow mixture until it is completely melted and smooth. Make sure there are no lumps of marshmallows remaining. Again, keep the heat low to avoid overcooking the marshmallows, which can lead to hard treats.
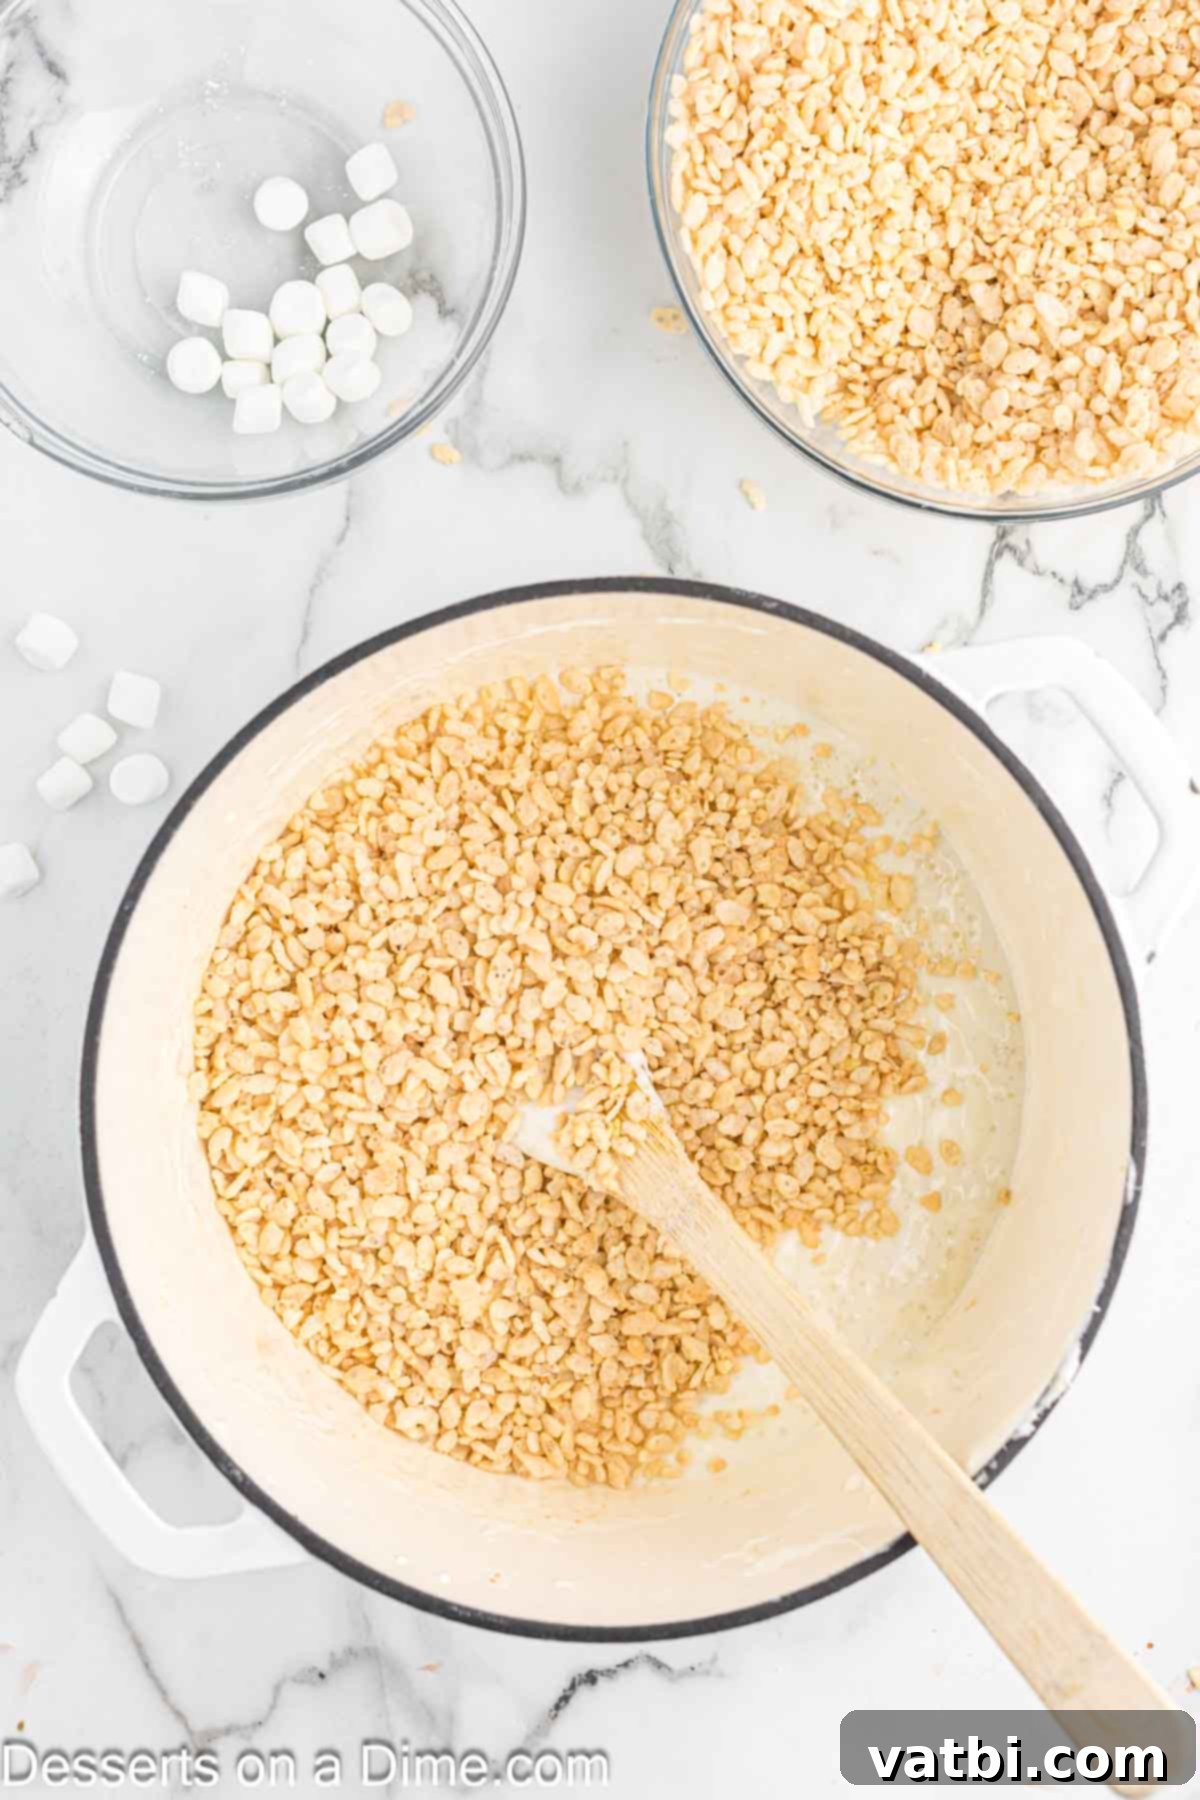
Step 5. Incorporate Cereal: Remove the saucepan from the heat immediately after the marshmallows are fully melted. This is important to maintain the soft texture. Gradually add in your Rice Krispie cereal. Stir gently but thoroughly, ensuring every piece of cereal is coated in the gooey marshmallow mixture.
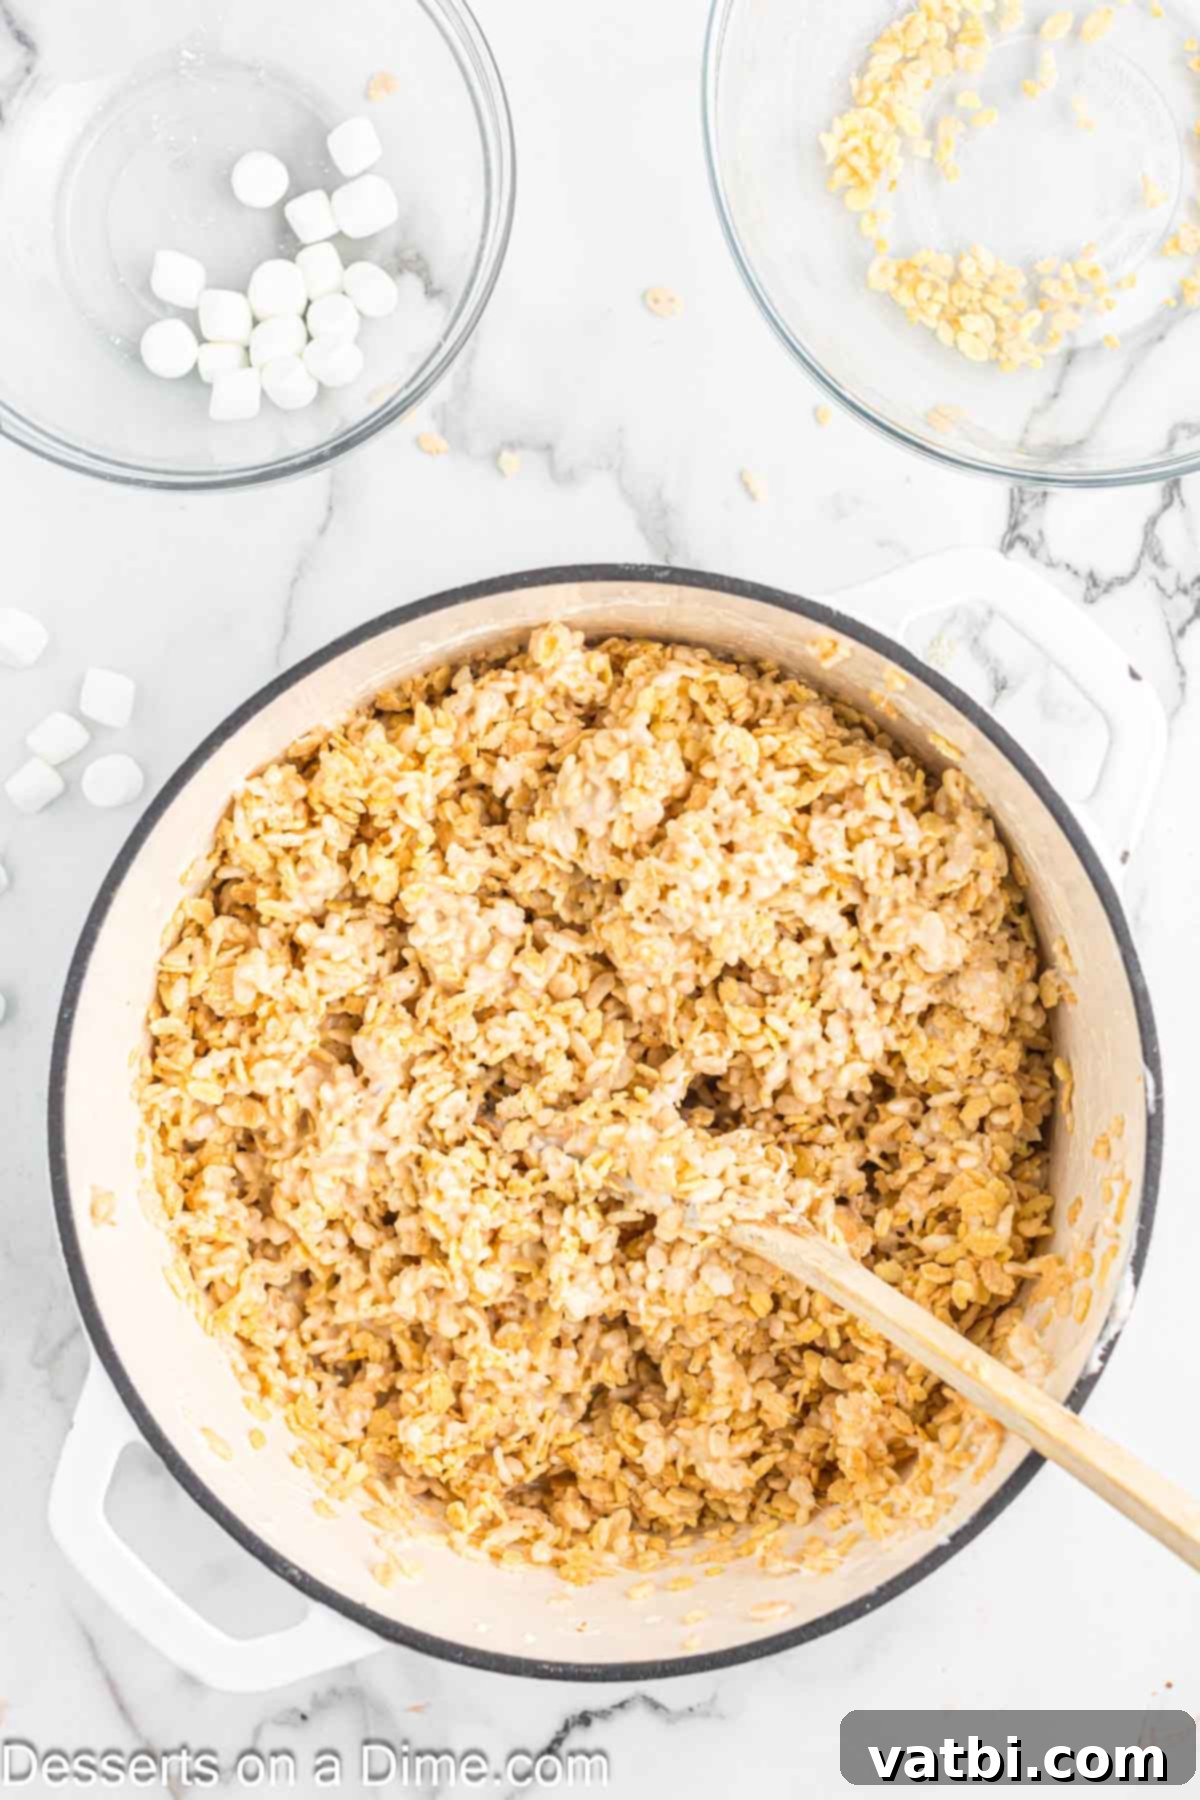
Step 6. Mix Until Coated: Continue mixing until all the cereal is evenly coated with the marshmallow. Work quickly but gently. If you’re adding any mix-ins like chocolate chips or sprinkles, this is the time to fold them in.
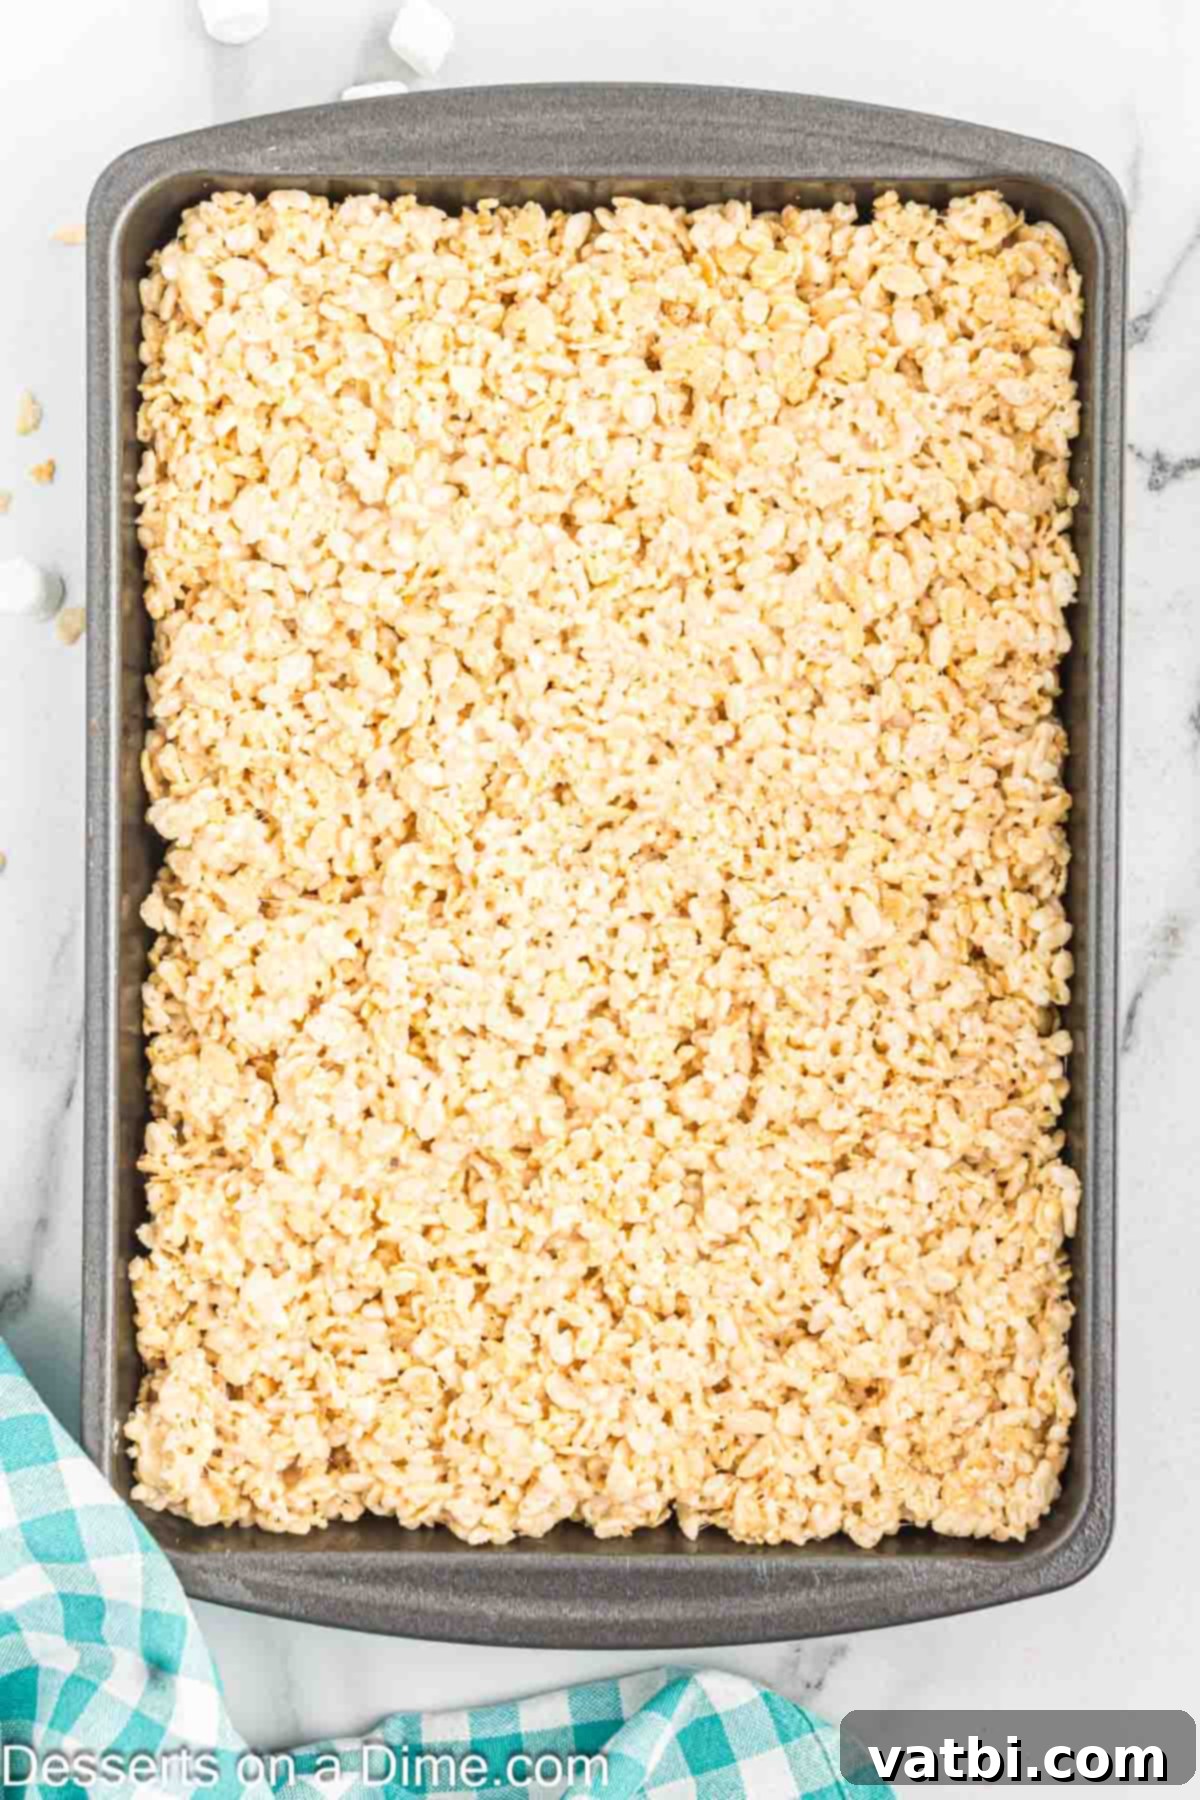
Step 7. Press into Pan: Transfer the cereal and marshmallow mixture into your prepared pan. Using a buttered spatula or your lightly buttered hands, gently press the mixture evenly into the pan. Do not press too hard! Over-compressing can lead to dense, hard treats. A light, even press is all you need to ensure they hold together.
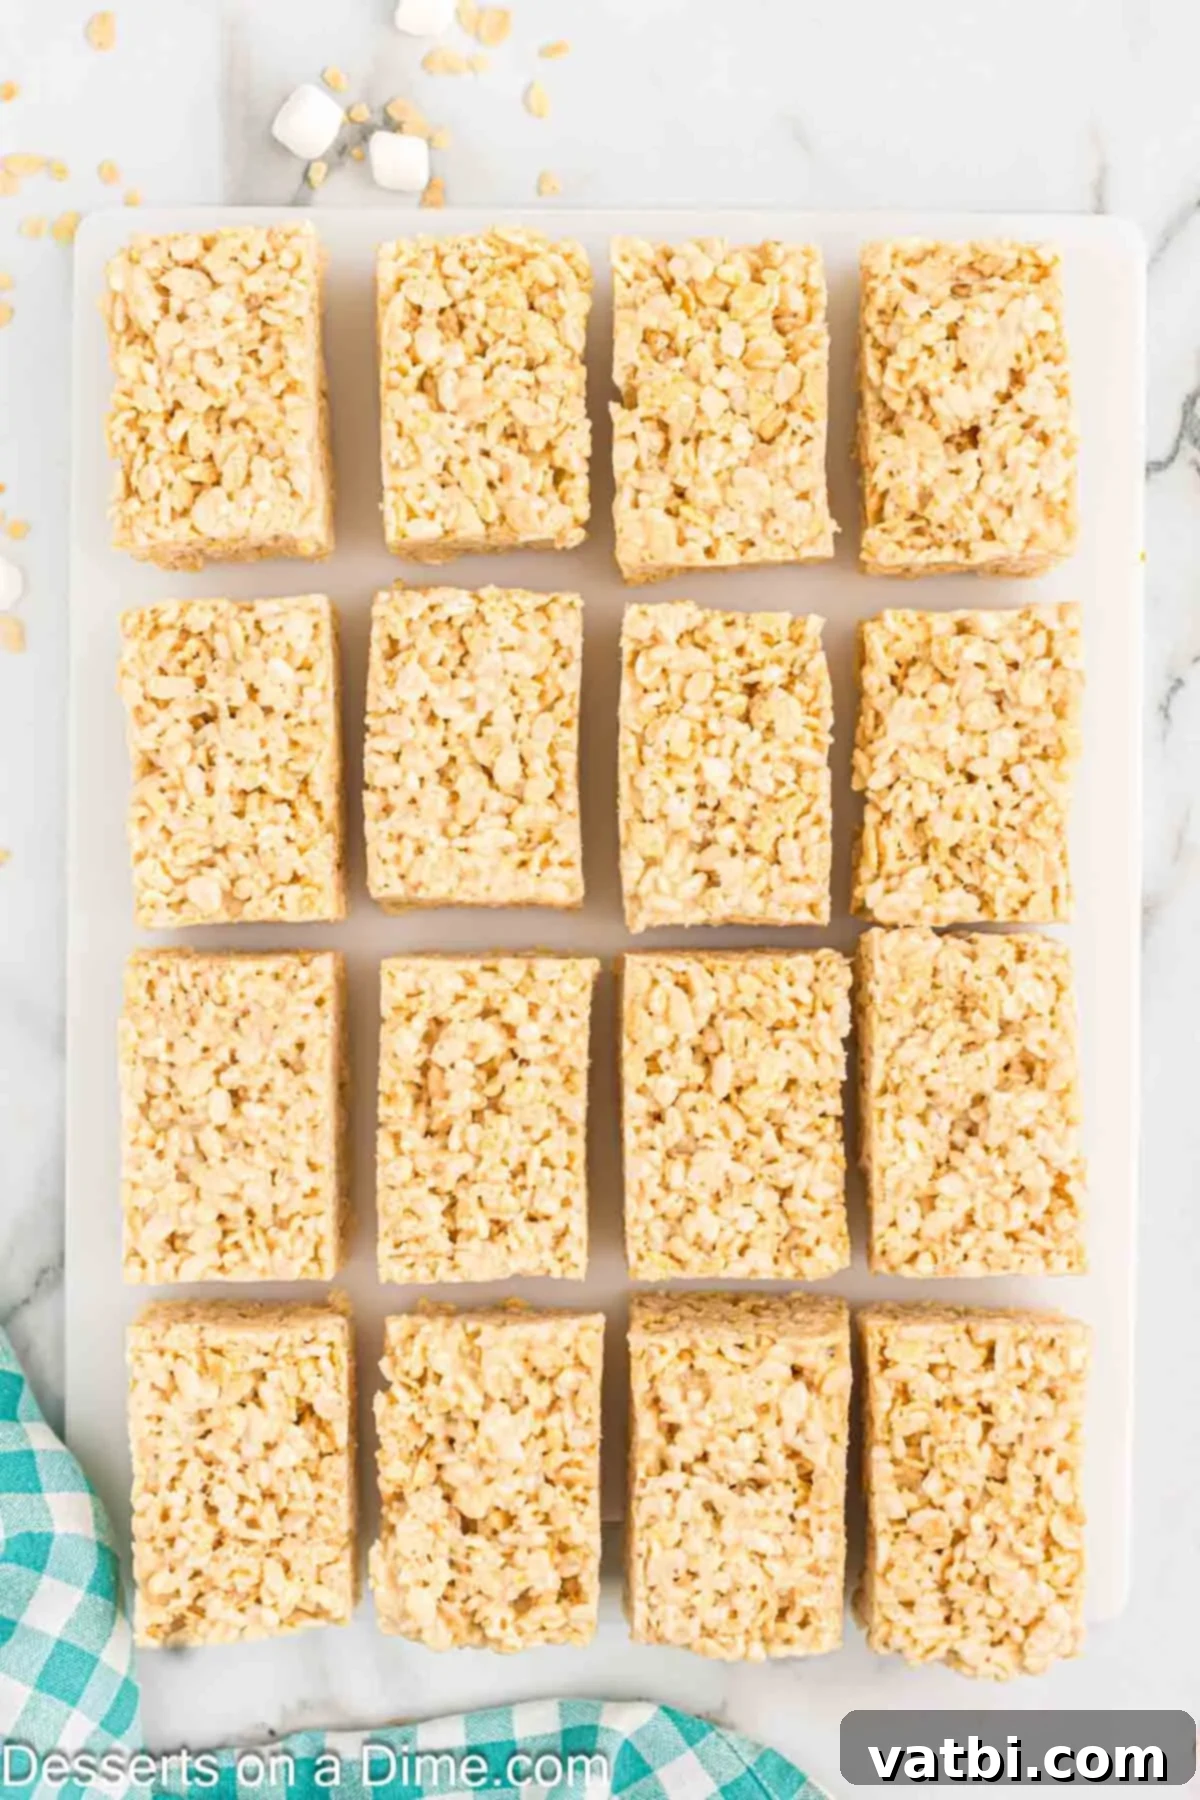
Step 8. Cool and Cut: Allow the treats to cool completely at room temperature. This usually takes about 30-45 minutes. Once cooled, carefully lift them out of the pan (especially easy if you used parchment paper) and cut them into squares using a sharp, buttered knife. This prevents sticking and ensures clean cuts.
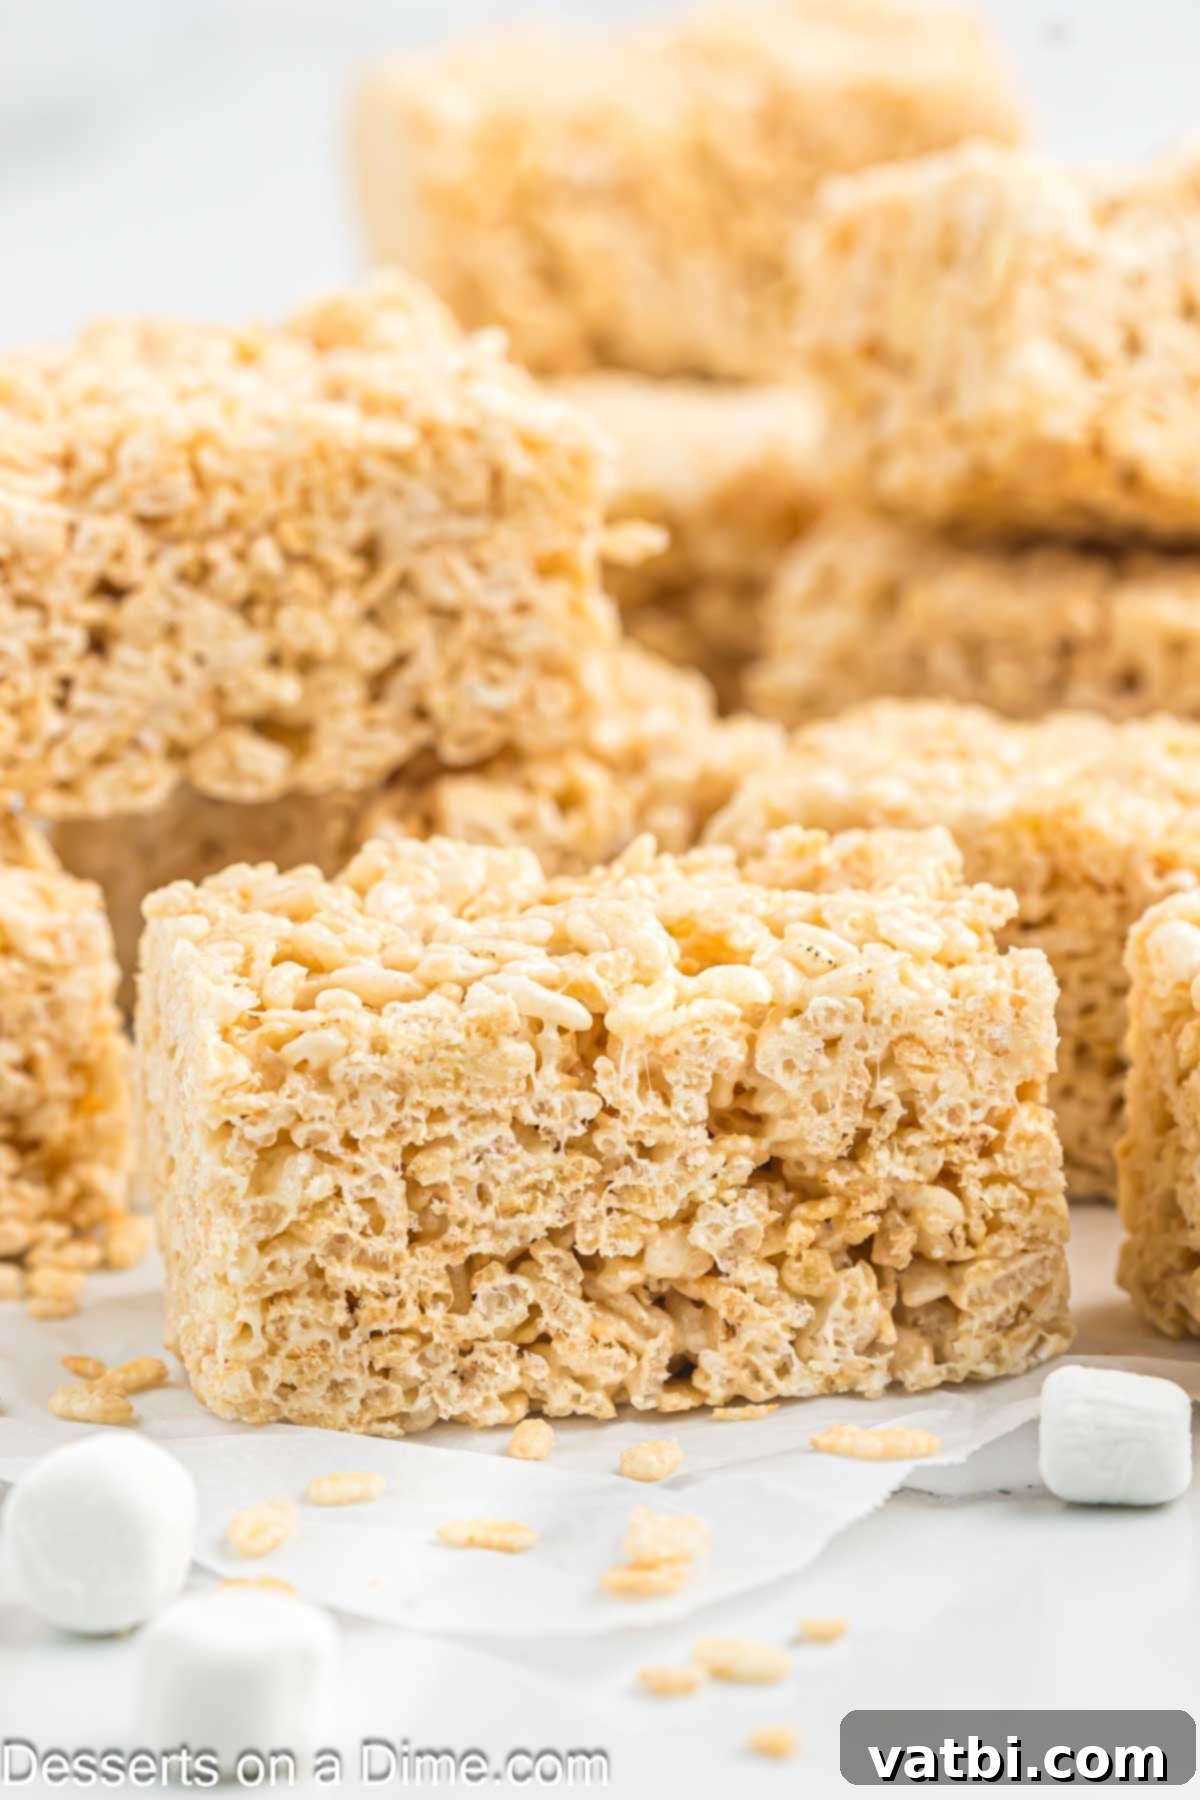
Step 9. Serve and Enjoy: Arrange your freshly cut treats on a platter and serve! Watch as these homemade masterpieces disappear quickly. They are truly best enjoyed fresh.
Frequently Asked Questions (FAQs)
Here are some common questions and helpful answers to ensure your Rice Krispie Treats turn out perfect every time.
The most common reason for hard or tough Rice Krispie Treats is overcooking the marshmallow mixture. It’s crucial to melt the butter and marshmallows over low heat. Increasing the heat too much or cooking the mixture for too long can cause the sugar in the marshmallows to crystallize, resulting in a firm, rather than soft and gooey, texture. As soon as the marshmallows are fully melted and smooth, remove them from the heat immediately. Another factor can be pressing the mixture too firmly into the pan. Always use a light, gentle touch when spreading them out to maintain that desired soft texture.
No, in fact, it’s best to avoid refrigerating them. Storing Rice Krispie Treats in the refrigerator can cause them to become hard and lose their signature gooey, chewy texture. They are designed to be stored and cooled at room temperature. Simply allow them to cool completely on the counter before cutting and serving.
When stored properly in an airtight container at room temperature, homemade Rice Krispie Treats will typically last for about 3-4 days. However, in our experience, they rarely last that long because they’re simply too delicious to resist! To prevent them from sticking together in the container, you can place pieces of wax paper or parchment paper between layers. For optimal freshness and chewiness, consume them within 1-2 days of making them.
Traditional Rice Krispie Cereal is not gluten-free. According to Kellogg’s, their Rice Krispies cereal contains malt flavor, which is derived from barley, a grain that contains gluten. Therefore, if you or someone you’re serving has a gluten sensitivity or allergy, the classic recipe would not be suitable. However, many brands now offer crispy rice cereal that is specifically labeled as gluten-free. Always check the ingredient list to ensure you’re using a certified gluten-free alternative if needed.
While it’s technically possible, we generally do not recommend freezing Rice Krispie Treats. Freezing can alter their delicate texture, making them drier and less appealingly gooey once thawed. They truly are best served fresh and enjoyed at room temperature. For more detailed information and tips, you can refer to our dedicated guide on Can You Freeze Rice Krispie Treats.
Yes, you absolutely can make Rice Krispie Treats using a microwave for an even quicker preparation! Just ensure you use a large, microwave-safe bowl for heating the butter and marshmallows. Start by melting the butter for about 30 seconds, then add the marshmallows and microwave in 30-second intervals, stirring well after each, until the marshmallows are completely melted and smooth. This typically takes about 2-3 minutes in total, but microwave times can vary, so keep a close eye on it. Once melted, proceed with adding the cereal as per the stovetop instructions.
Essential Tips for Perfect Results
Achieving that perfect balance of crispy, gooey, and chewy in your homemade Rice Krispie Treats is simple when you follow a few key tips. These pointers will help you avoid common pitfalls and ensure your treats are nothing short of amazing:
- Line Your Pan with Parchment Paper: This is a game-changer! Lining your 9×13 inch pan with parchment paper or wax paper, leaving an overhang on the sides, makes it incredibly easy to lift the entire slab of treats out once cooled. This prevents sticking and allows for clean, precise cuts.
- Use Fresh Ingredients: The quality of your ingredients directly impacts the outcome. Always use fresh marshmallows and fresh, crispy cereal. Stale marshmallows can become tough and rubbery when melted, and old cereal can lose its crunch, resulting in a less-than-ideal texture for your treats.
- Melt Marshmallows on Low Heat: This cannot be stressed enough! Melting butter and marshmallows over low to medium-low heat is crucial. High heat will cause the marshmallows to become firm and produce hard, brittle treats instead of the desired soft, gooey texture. Stir continuously until just melted and smooth, then remove from heat immediately.
- Add a Splash of Vanilla Extract: A little secret ingredient that elevates the flavor profile! Stirring in about 1 teaspoon of pure vanilla extract with the melted marshmallows (before adding the cereal) adds a wonderful depth of flavor that complements the sweetness beautifully.
- Gently Press into Pan: Once the cereal is mixed with the marshmallow, transfer it to your prepared pan. Use a buttered spatula, a piece of wax paper, or lightly buttered hands to gently and evenly press the mixture into the pan. Do not pack it down tightly! Over-compressing the mixture will lead to dense, hard treats rather than soft, light, and chewy ones.
- Don’t Refrigerate: As mentioned in the FAQs, storing these treats in the refrigerator will make them hard. Keep them at room temperature in an airtight container to maintain their perfect soft and gooey consistency.
- Butter Your Utensils: To prevent the sticky marshmallow mixture from adhering to your spatula, hands, or knife, lightly butter them before use. This will make spreading, pressing, and cutting much easier.
- Consider Extra Marshmallows: For those who love an extra gooey treat, consider adding an extra cup of mini marshmallows when you’re mixing the treats together (after the main batch of marshmallows has melted and before the cereal is fully coated). The warmth of the mixture will soften them, creating pockets of super gooey marshmallow.
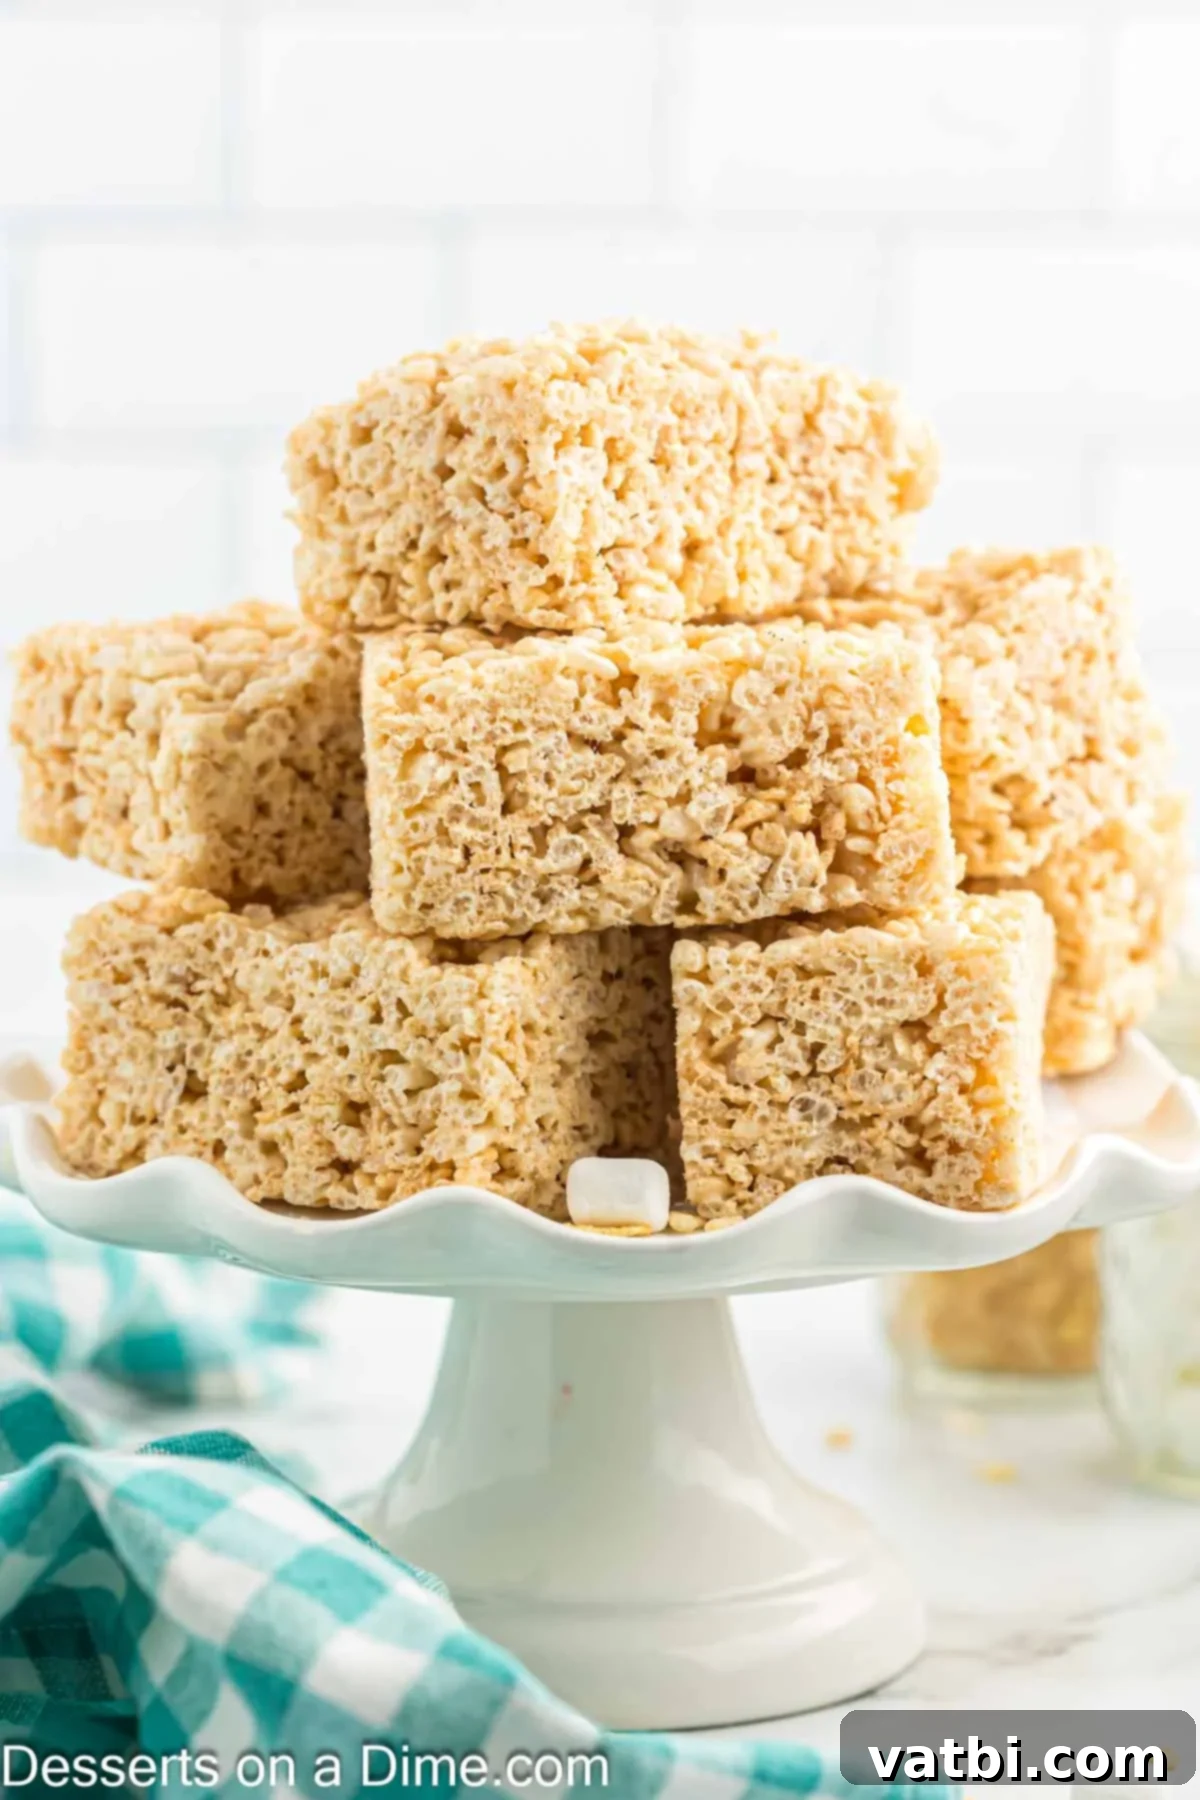
By following these simple tips, you’ll be well on your way to crafting homemade Rice Krispie Treats that are consistently soft, wonderfully gooey, and irresistibly delicious!
More Irresistible Rice Krispie Treats to Try
If you’ve fallen in love with making homemade Rice Krispie Treats, you’ll be thrilled to know there’s a whole world of variations to explore! These recipes take the classic base and infuse it with exciting new flavors and textures. Give these a try for your next no-bake dessert:
- Rice Krispie Treats with Marshmallow Fluff
- Monster Rice Krispie Treats
- Strawberry Rice Krispie Treats Recipe
- Butterscotch Rice Krispie Treats
- Chocolate Chip Rice Krispie Treats
- Neapolitan Rice Krispie Treats
Now that you have all the tips, tricks, and inspiration, it’s time to make your own batch of homemade Rice Krispie Treats today. We’re confident you’ll agree they’re the absolute best! Please leave a star recipe rating once you do – we’d love to hear your feedback!
Pin
How to make Rice Krispie treats
Ingredients
- 12 cups Rice Krispie Cereal
- 6 Tablespoons Butter
- (2) 10 ounce package of Marshmallows
Instructions
-
Spray a 9X13 pan with a non-stick cooking spray or line with parchment paper.
-
Melt the butter on low heat in a large saucepan, stirring occasionally until completely melted.
-
Add the marshmallows to the melted butter and stir constantly over low heat until they are completely melted and smooth. Remove from heat immediately.
-
Gradually add in the Rice Krispie cereal to the melted marshmallow mixture. Mix gently but thoroughly until the cereal is completely coated.
-
Using a buttered spatula or lightly buttered hands, spread the mixture evenly into the prepared pan. Press gently – do not over-compress.
-
Allow to cool completely at room temperature (about 30-45 minutes) before cutting into squares and serving.
-
*For thinner Rice Krispie Treats, you can halve this batch or use a larger pan. We personally love thick, gooey treats!
-
*Important: Do not store these treats in the refrigerator. They are best left to cool and stored at room temperature to maintain their gooey and delicious texture!
Nutrition Facts
Pin This Now to Remember It Later
Pin Recipe
