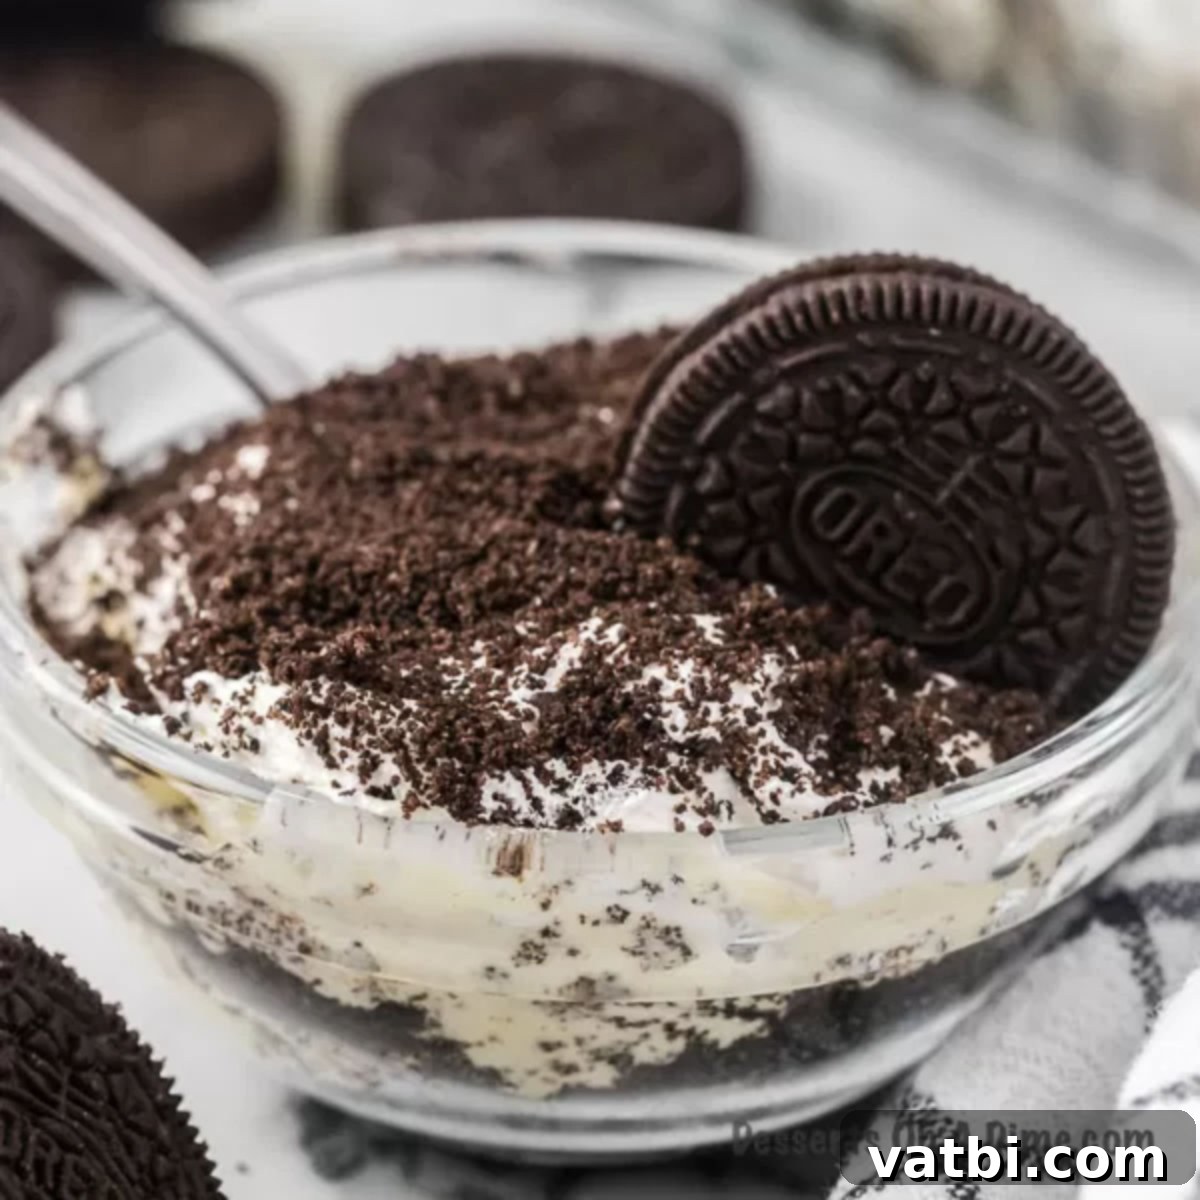
Easy & Decadent Dirt Cake: The Best No-Cream Cheese Recipe!
Craving a classic dirt cake but want to skip the cream cheese? You’ve come to the right place! This delightful Dirt Cake Recipe without Cream Cheese offers all the beloved flavors and creamy layers of the traditional dessert, but with a lighter texture and a simpler ingredient list. Get ready to enjoy a decadent, no-bake treat that’s incredibly easy to make and guaranteed to be a hit at any gathering.
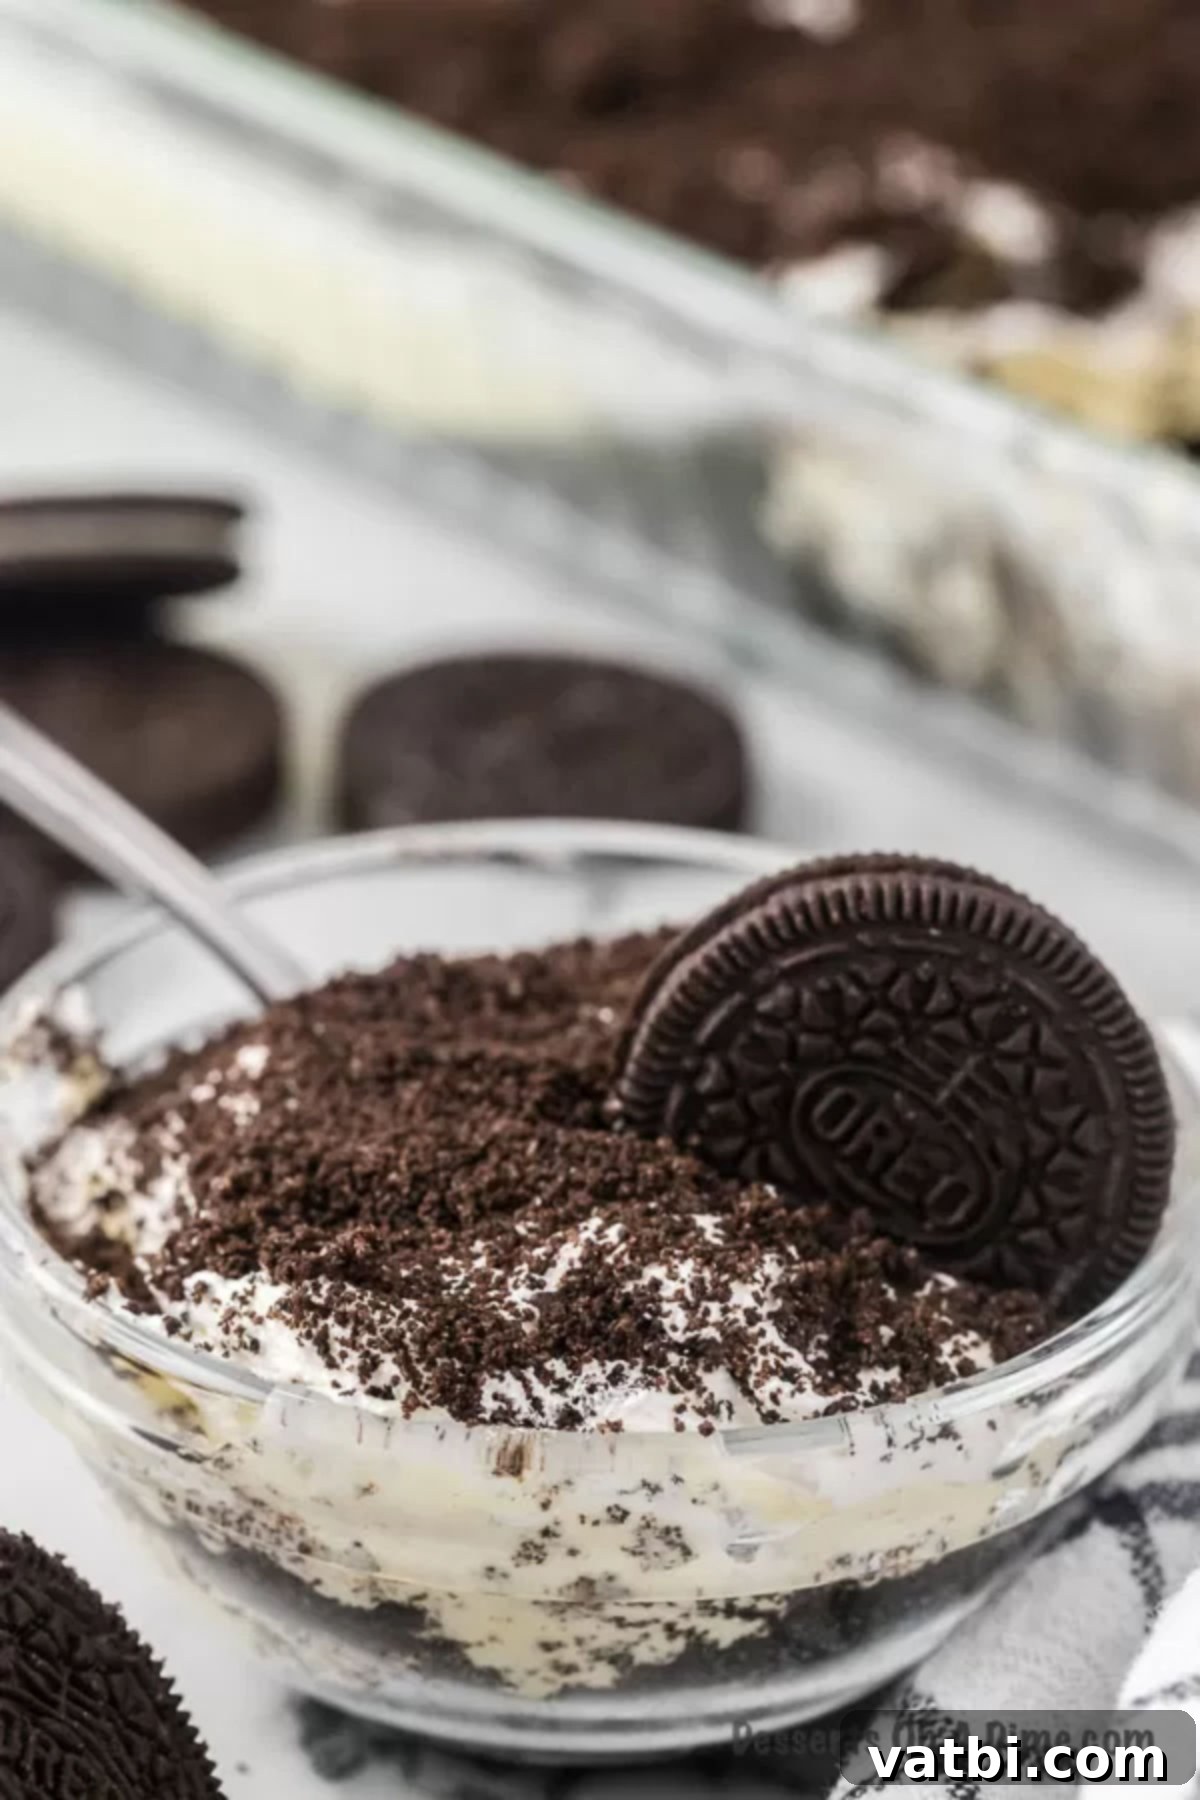
This recipe delivers the rich, chocolatey goodness of an Oreo Dirt Cake without the tang or density that cream cheese can sometimes add. Instead, we use a luscious combination of instant pudding and whipped topping to create an irresistibly smooth filling that perfectly complements the crunchy Oreo “dirt.” With just a handful of ingredients and no baking required, this is truly one of the easiest No-Bake Oreo Desserts you can whip up. It’s the ideal treat for those who prefer a less tangy, more straightforwardly sweet dessert or for anyone looking for a quick and simple make-ahead option.
Table of contents
- Why You’ll Love This No-Cream Cheese Dirt Cake
- Simple Ingredients for Dirt Cake
- Creative Variations and Substitutions
- Step-by-Step: How to Make Dirt Cake Without Cream Cheese
- Pro Tips for the Perfect Dirt Cake
- Frequently Asked Questions (FAQs)
- More Irresistible Oreo Desserts to Try
Why You’ll Love This No-Cream Cheese Dirt Cake
Dirt Cake is an undisputed classic, often the first dessert to disappear at potlucks, family gatherings, and parties. Its playful “dirt” appearance and rich, creamy texture make it a perennial favorite. However, traditional recipes often rely heavily on cream cheese for that signature tang and density. If you, or someone you’re baking for, aren’t keen on the flavor or texture of cream cheese, this recipe offers a fantastic alternative without sacrificing any of the joy.
Here’s why this cream cheese-free version stands out:
- Simplicity: With only 6 core ingredients and no baking, this dessert comes together incredibly fast. It’s perfect for busy schedules or when you need a delicious treat without a lot of fuss.
- Lighter Texture: By omitting cream cheese, the pudding layer is wonderfully smooth and airy, offering a lighter mouthfeel that still feels indulgent.
- Pure Sweetness: Without the tangy notes of cream cheese, the sweet chocolate and vanilla flavors truly shine, appealing to a broader range of palates.
- Crowd-Pleaser: It retains all the fun, nostalgic appeal of a classic dirt cake, making it an instant hit with both kids and adults. The “dirt” effect is always a delightful surprise!
- Budget-Friendly: Common pantry staples make this an economical dessert option that doesn’t skimp on flavor.
Whether you’re hosting a party, looking for an easy weeknight dessert, or simply want to try a different take on a beloved classic, this no-cream cheese dirt cake is a recipe you’ll find yourself returning to again and again.
Simple Ingredients for Dirt Cake
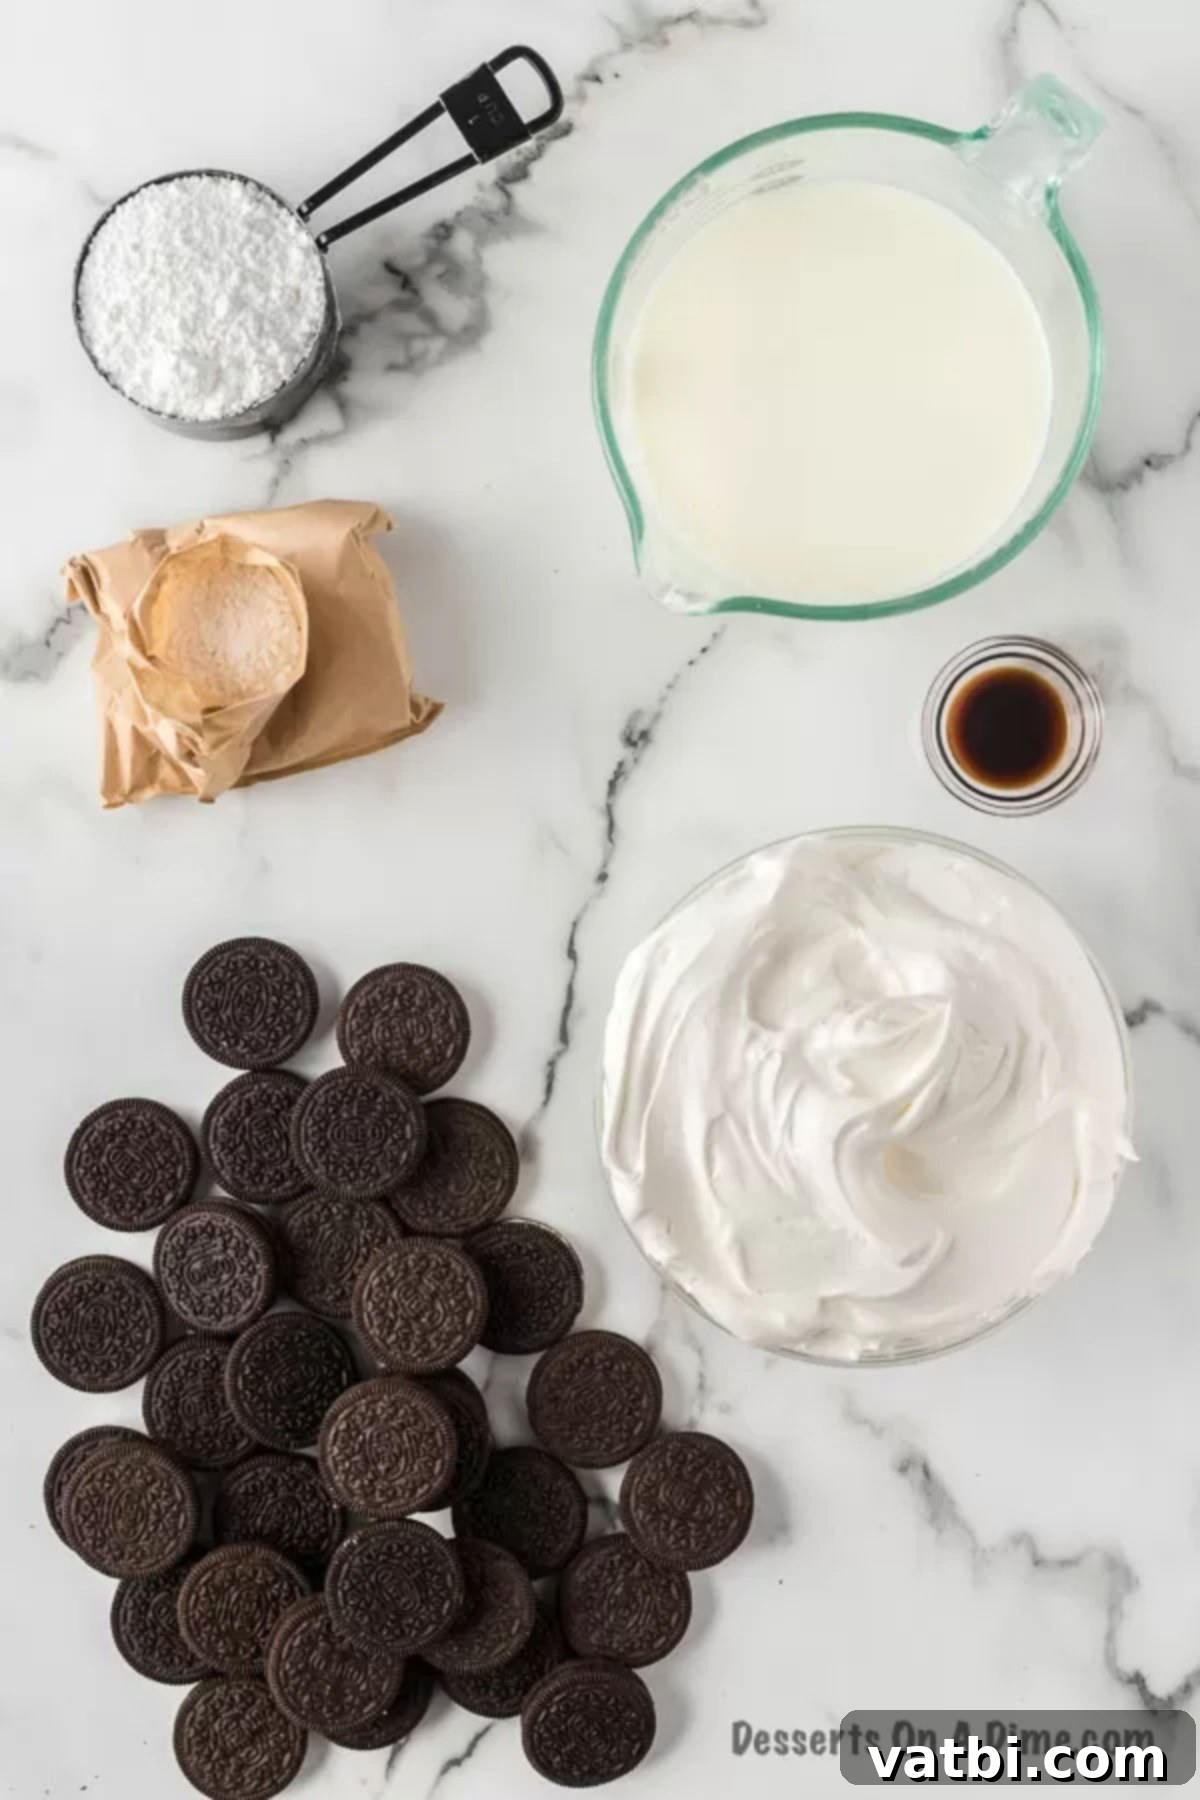
You’ll be amazed at how few ingredients are needed to create this incredibly delicious dirt cake. Each component plays a vital role in building those irresistible layers:
- Oreos Cookies: The star of our “dirt”! For the best crumb texture that mimics actual dirt, we recommend using regular Oreos, not the double-stuffed variety. The classic chocolate flavor is essential here.
- Vanilla Instant Pudding Mix: This is crucial for our creamy, no-bake filling. Make sure to use *instant* pudding mix and not the cook-and-serve type, as it won’t set properly in this recipe. Vanilla provides a wonderful base, but chocolate can also be used for an even richer experience.
- Milk: We opt for whole milk to achieve the richest, creamiest pudding mixture. The higher fat content contributes to a luxuriously smooth and decadent texture. While other milk types can be used, whole milk yields the best results.
- Powdered Sugar: Also known as confectioners’ sugar, this fine sugar blends seamlessly into the pudding mixture, adding sweetness without any grainy texture.
- Cool Whip (Whipped Topping): This convenient ingredient adds lightness and a fluffy consistency to the filling, making it wonderfully airy. Ensure it’s thawed before folding it in.
- Vanilla Extract: A touch of pure vanilla extract enhances the overall flavor profile, complementing the chocolate and vanilla notes beautifully.
A detailed ingredient list with precise measurements can be found at the bottom in the full recipe card. These simple ingredients combine to create a truly unforgettable dessert that’s perfect for any occasion!
Creative Variations and Substitutions
One of the joys of making dirt cake is its versatility! This recipe is incredibly adaptable, allowing you to get creative with flavors and presentation. Here are some fantastic ideas to customize your no-cream cheese dirt cake:
- Beach Theme Dirt Cake: For a fun summer twist, swap out regular Oreos for Golden Oreos. When crushed, they create a beautiful “sand” effect that’s perfect for a beach-themed party. Top your sandy creation with mini tropical umbrellas, candy seashells, or even blue frosting waves for a vibrant look.
- Double Chocolate Delight: If you’re a true chocolate lover, consider using Chocolate Instant Pudding Mix instead of vanilla. This intensifies the chocolate flavor, making every bite even more decadent and rich.
- Whimsical Toppings: Unleash your inner child (or delight actual children!) with playful toppings. Gummy worms are a classic choice for “dirt,” but don’t stop there. Add plastic flowers to make it look like a flower pot, sprinkle with mini chocolate chips or M&M’s, or even drizzle with chocolate syrup for extra flair.
- Unique Serving Dishes: Break away from the traditional baking dish! This dessert looks incredibly charming when served in a clean, new sand bucket or a small flower pot. For an authentic touch, use a small plastic shovel as the serving spoon. Individual clear plastic cups are also fantastic for parties, allowing guests to grab their own portion.
- Individual Pudding Cups: For perfect portion control and easy serving at parties, prepare this recipe in small, clear cups. Layer each cup with crushed Oreos, the creamy pudding mixture, and then top with more “dirt” and your chosen decorations. They are especially popular with kids!
- Explore Different Oreo Flavors: The world of Oreos offers endless possibilities! Experiment with various flavors like Red Velvet Oreos, Peanut Butter Oreos, Mint Oreos, Birthday Cake Oreos, or even seasonal varieties. Each will bring a unique twist to your dirt cake.
- Dairy-Free Option: To make this dessert dairy-free, use a plant-based milk (like almond or oat milk) and a dairy-free whipped topping alternative. Ensure your instant pudding mix is also dairy-free (most instant puddings are, but always check the label).
- Other Pudding Flavors: Don’t limit yourself to vanilla or chocolate! Butterscotch, cheesecake, or even pistachio instant pudding mixes could offer exciting new flavor profiles for your dirt cake.
No matter how you choose to customize it, this no-cream cheese dirt cake recipe is a versatile canvas for your culinary creativity!
Step-by-Step: How to Make Dirt Cake Without Cream Cheese
Making this delightful no-bake dirt cake is surprisingly straightforward. Follow these simple steps for a perfect dessert every time:
- Step 1: Prepare the Oreo Crumbs. Begin by crushing your Oreo cookies. The easiest and quickest method is to use a food processor. Simply place the entire package of regular Oreos (no need to remove the cream filling!) into the food processor and pulse until fine crumbs form, resembling rich, dark dirt. If you don’t have a food processor, see our FAQ section below for alternative methods.
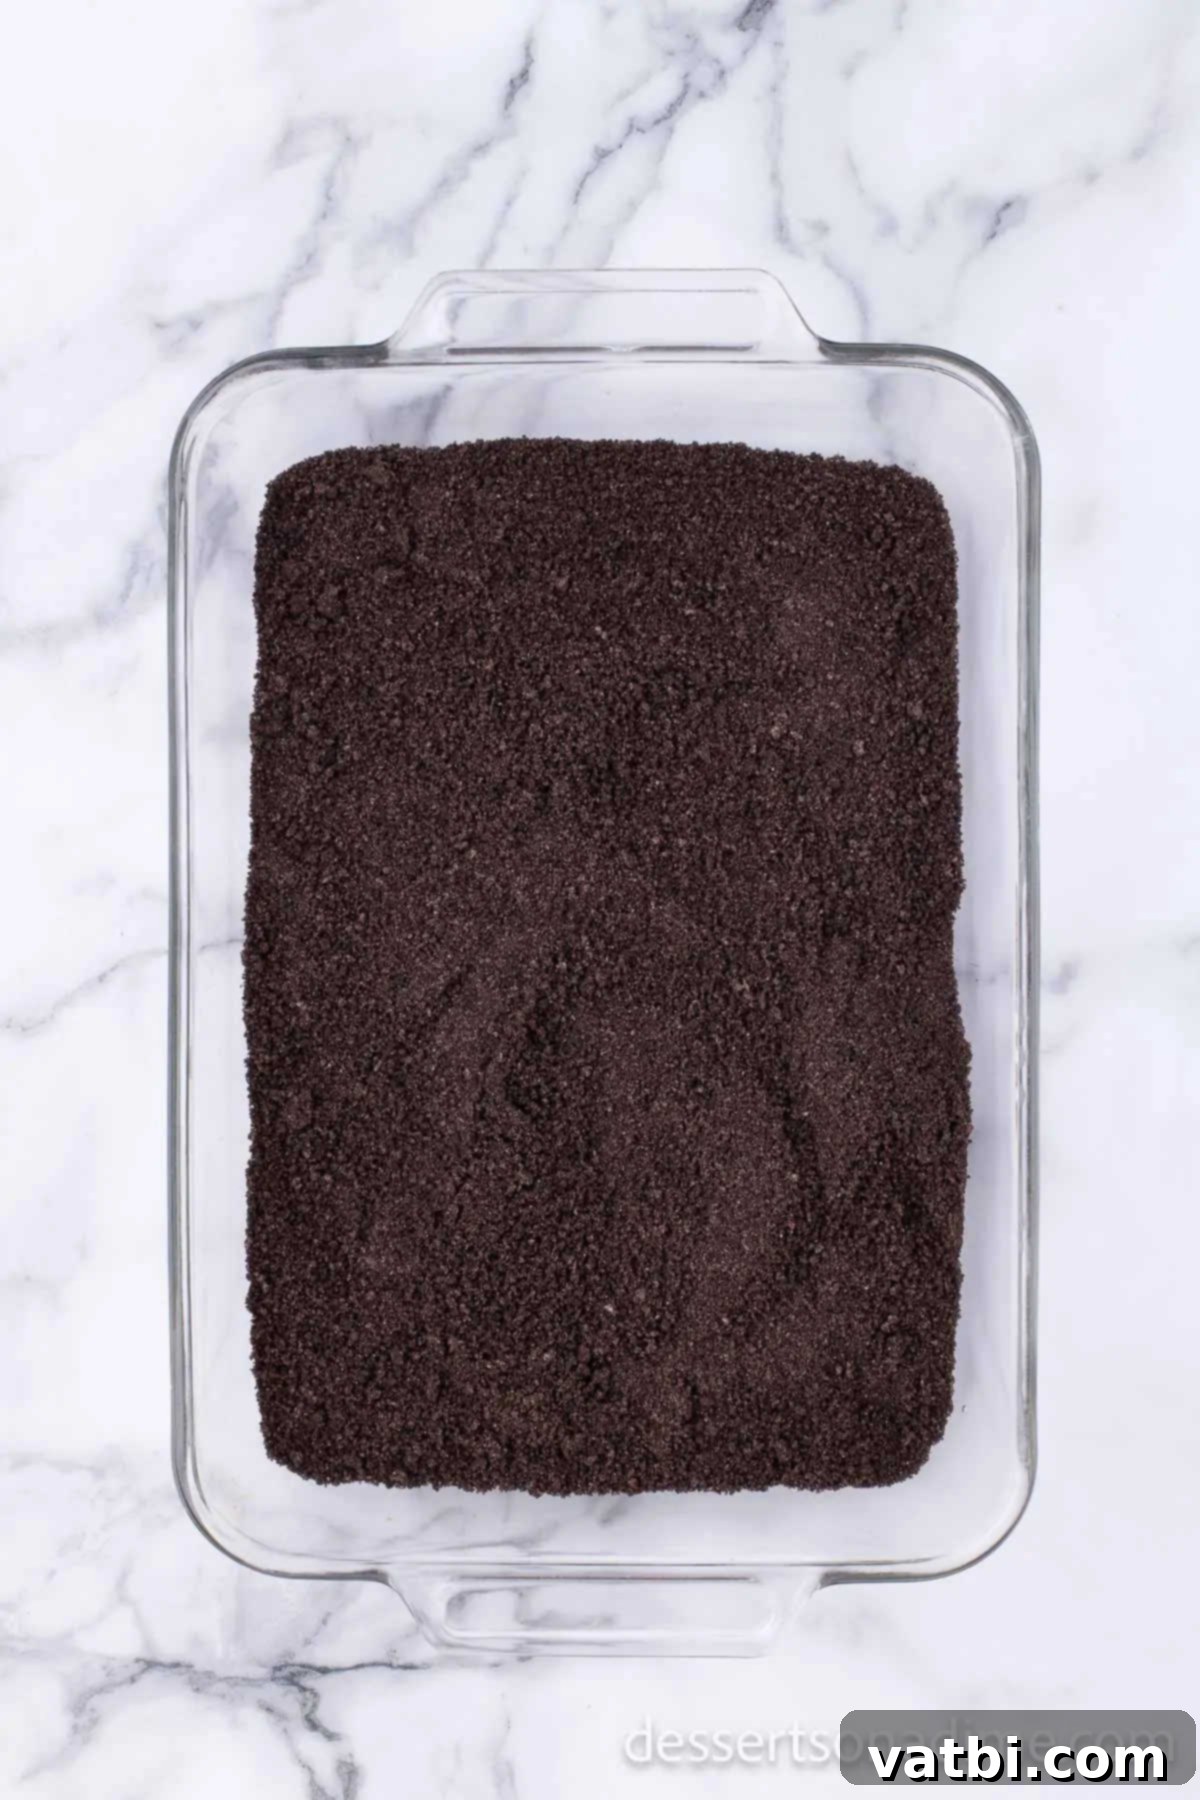
Step 2: Create the Base Layer. Take about two-thirds of your freshly crushed Oreo crumbs and evenly spread them across the bottom of a 9×13 inch baking dish. This will form the foundation of your dirt cake. Lightly press them down to create a firm, even base.
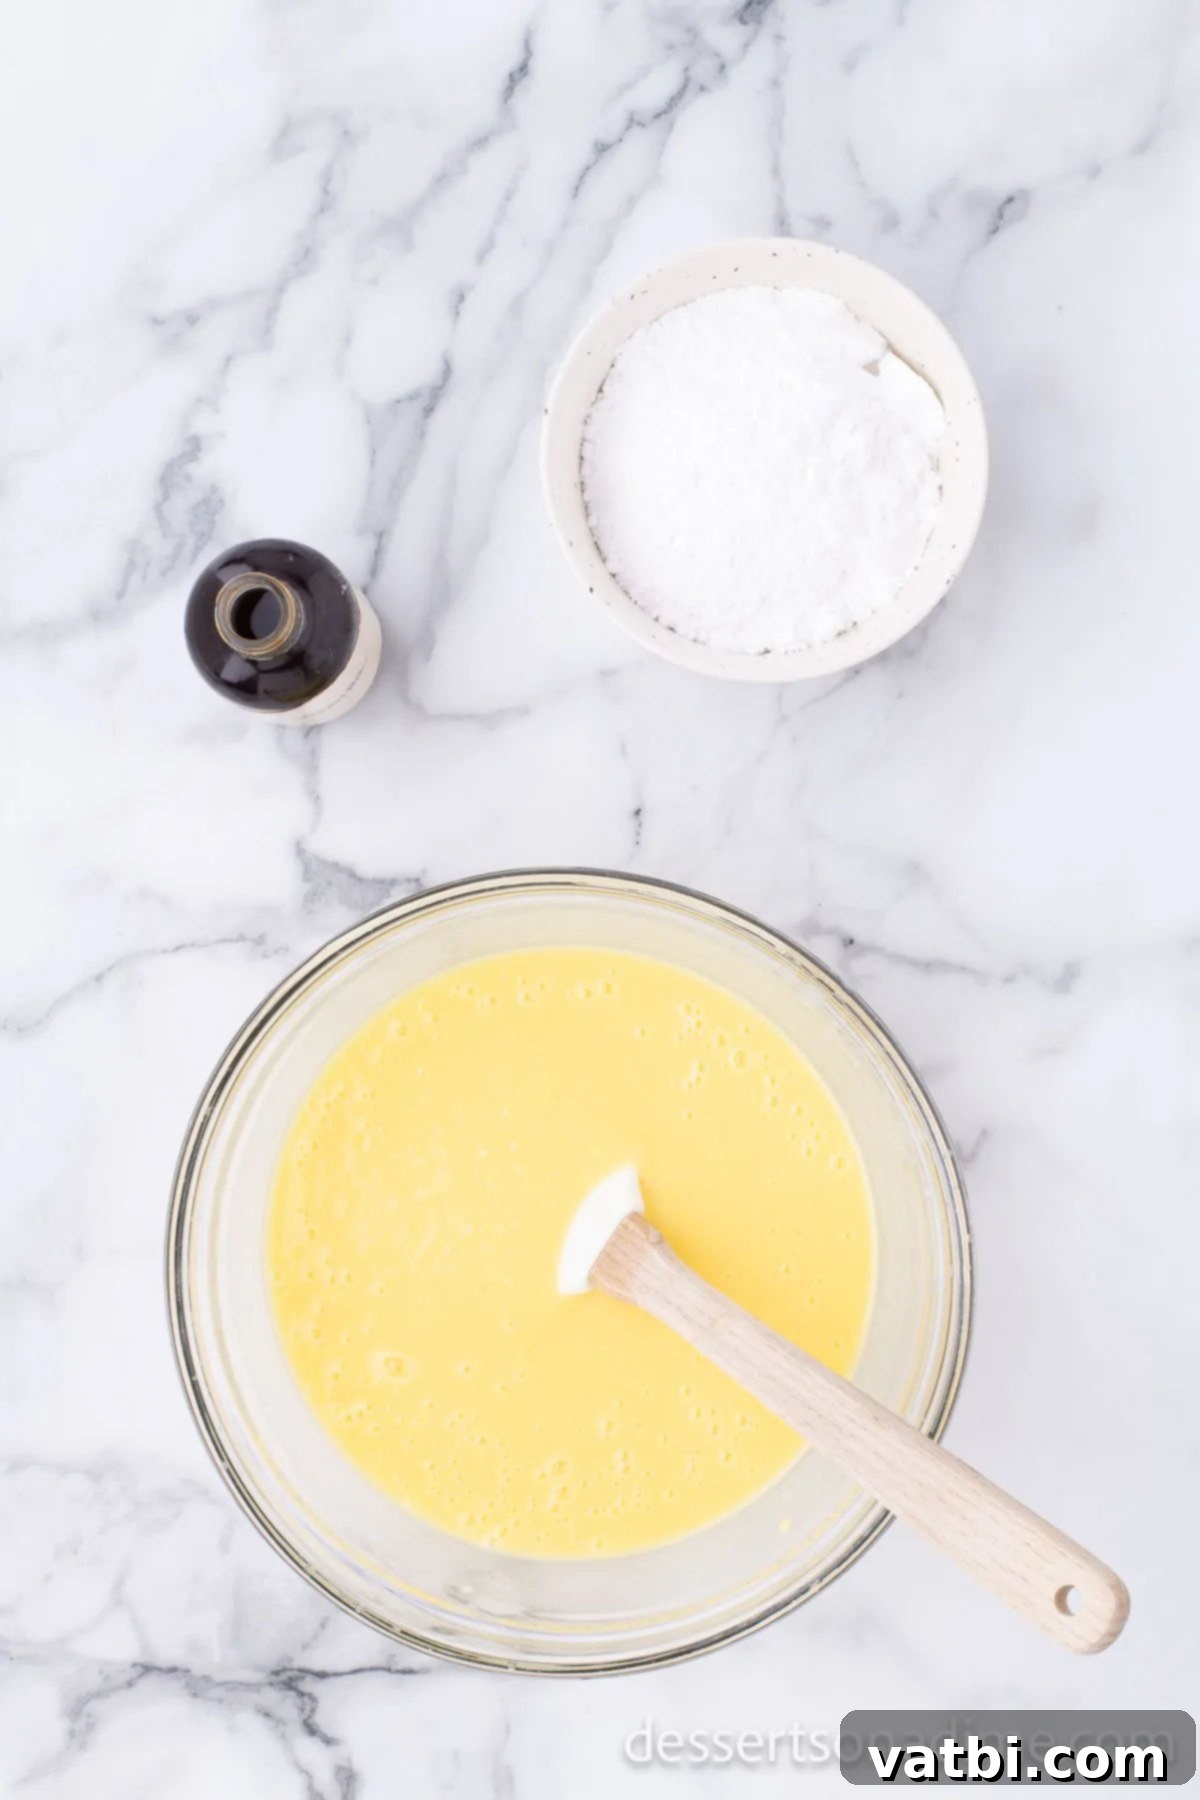
Step 3: Prepare the Pudding Mixture. In a large mixing bowl, combine the instant vanilla pudding mix with the cold milk. Whisk thoroughly for about 2-3 minutes until the mixture thickens. It’s important to use cold milk to ensure the pudding sets properly.
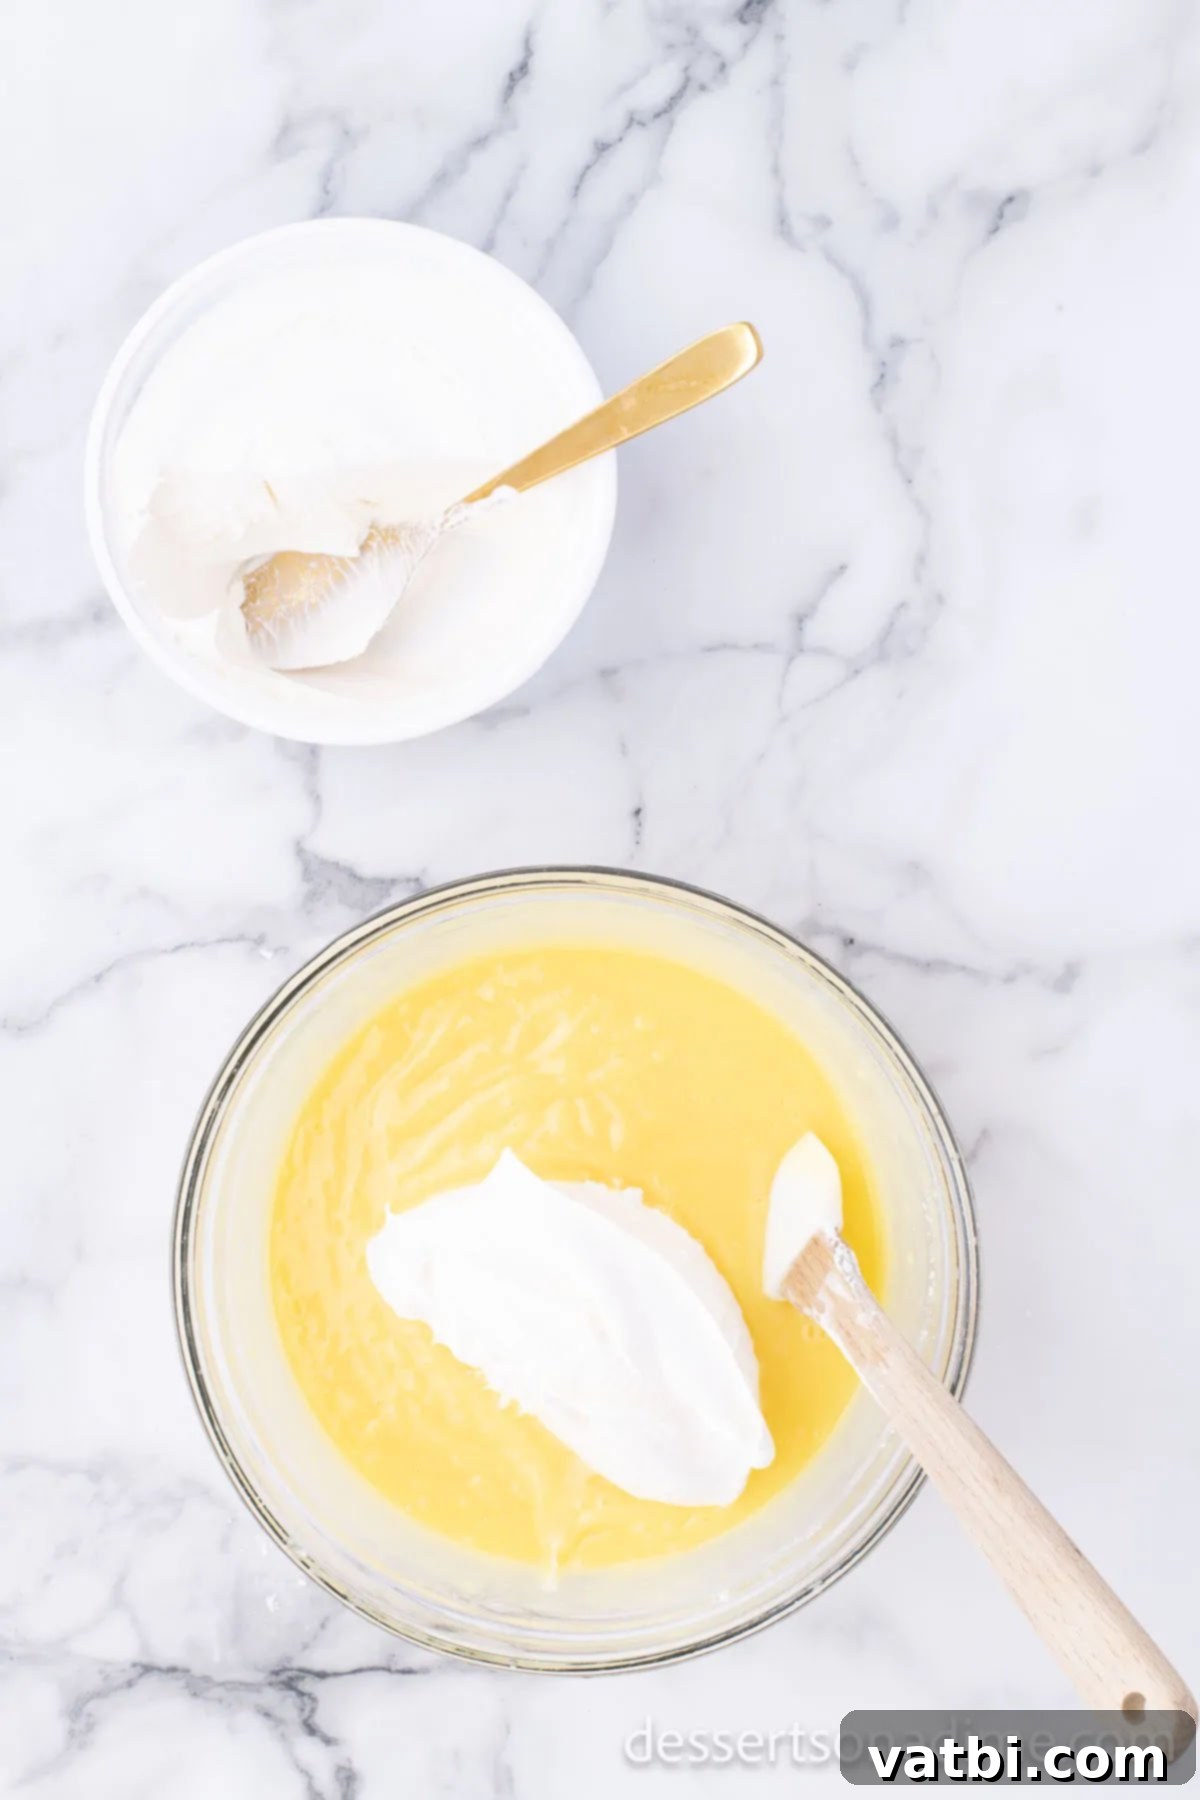
Step 4: Fold in Sweeteners and Whipped Topping. Once the pudding has thickened slightly, gently fold in the powdered sugar and vanilla extract until well combined. Next, add about half of the thawed whipped topping to the pudding mixture. Mix it in carefully with a spatula until everything is incorporated and the mixture is light and fluffy. Avoid over-mixing, as this can deflate the whipped topping.
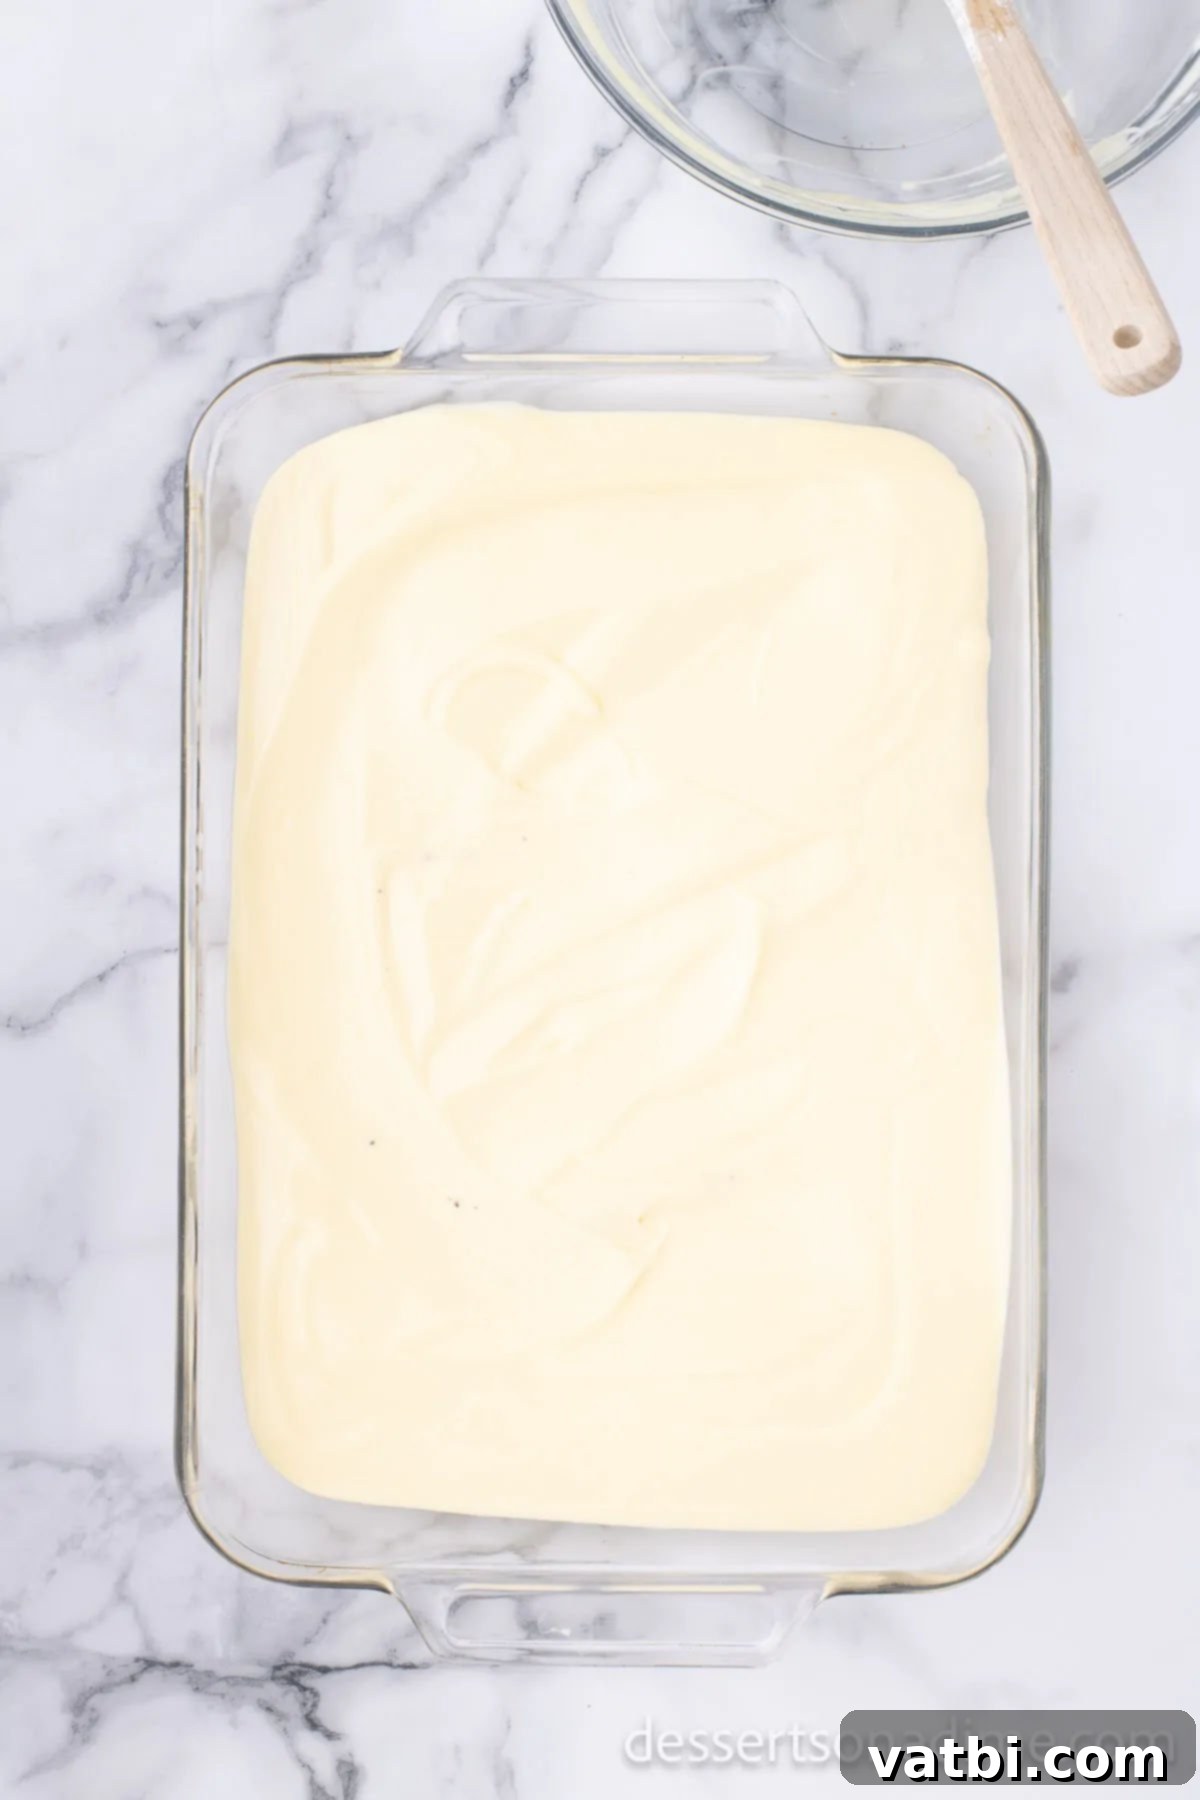
Step 5: Layer the Creamy Filling. Carefully pour this light and creamy pudding mixture evenly over the Oreo crumb base in your baking dish. Use a spatula to gently spread it from edge to edge, ensuring a smooth and consistent layer.
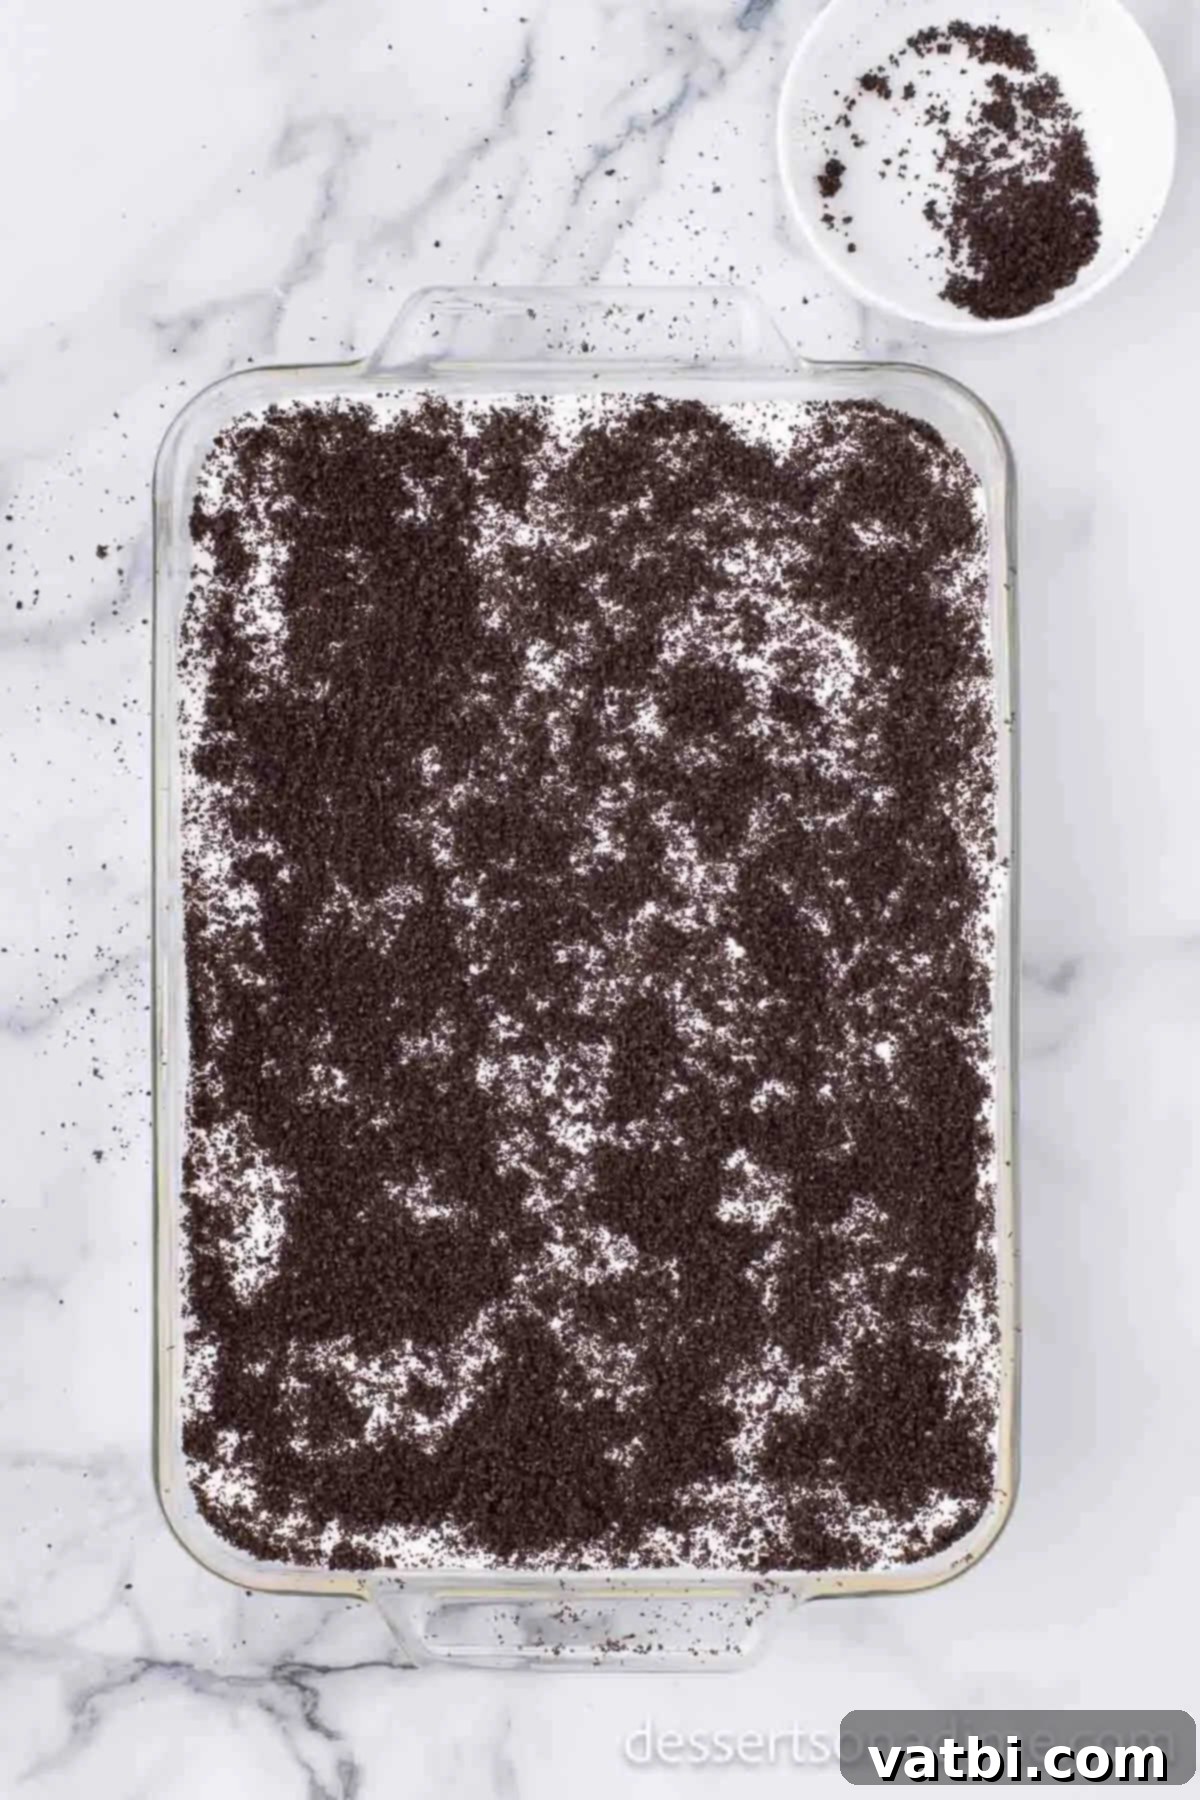
Step 6: Add the Finishing Layers. Now for the grand finale! Dollop the remaining whipped topping over the pudding layer and spread it out carefully. Then, generously sprinkle the remaining crushed Oreo cookie crumbs over the entire surface. This creates that iconic “dirt” look that gives the cake its name.
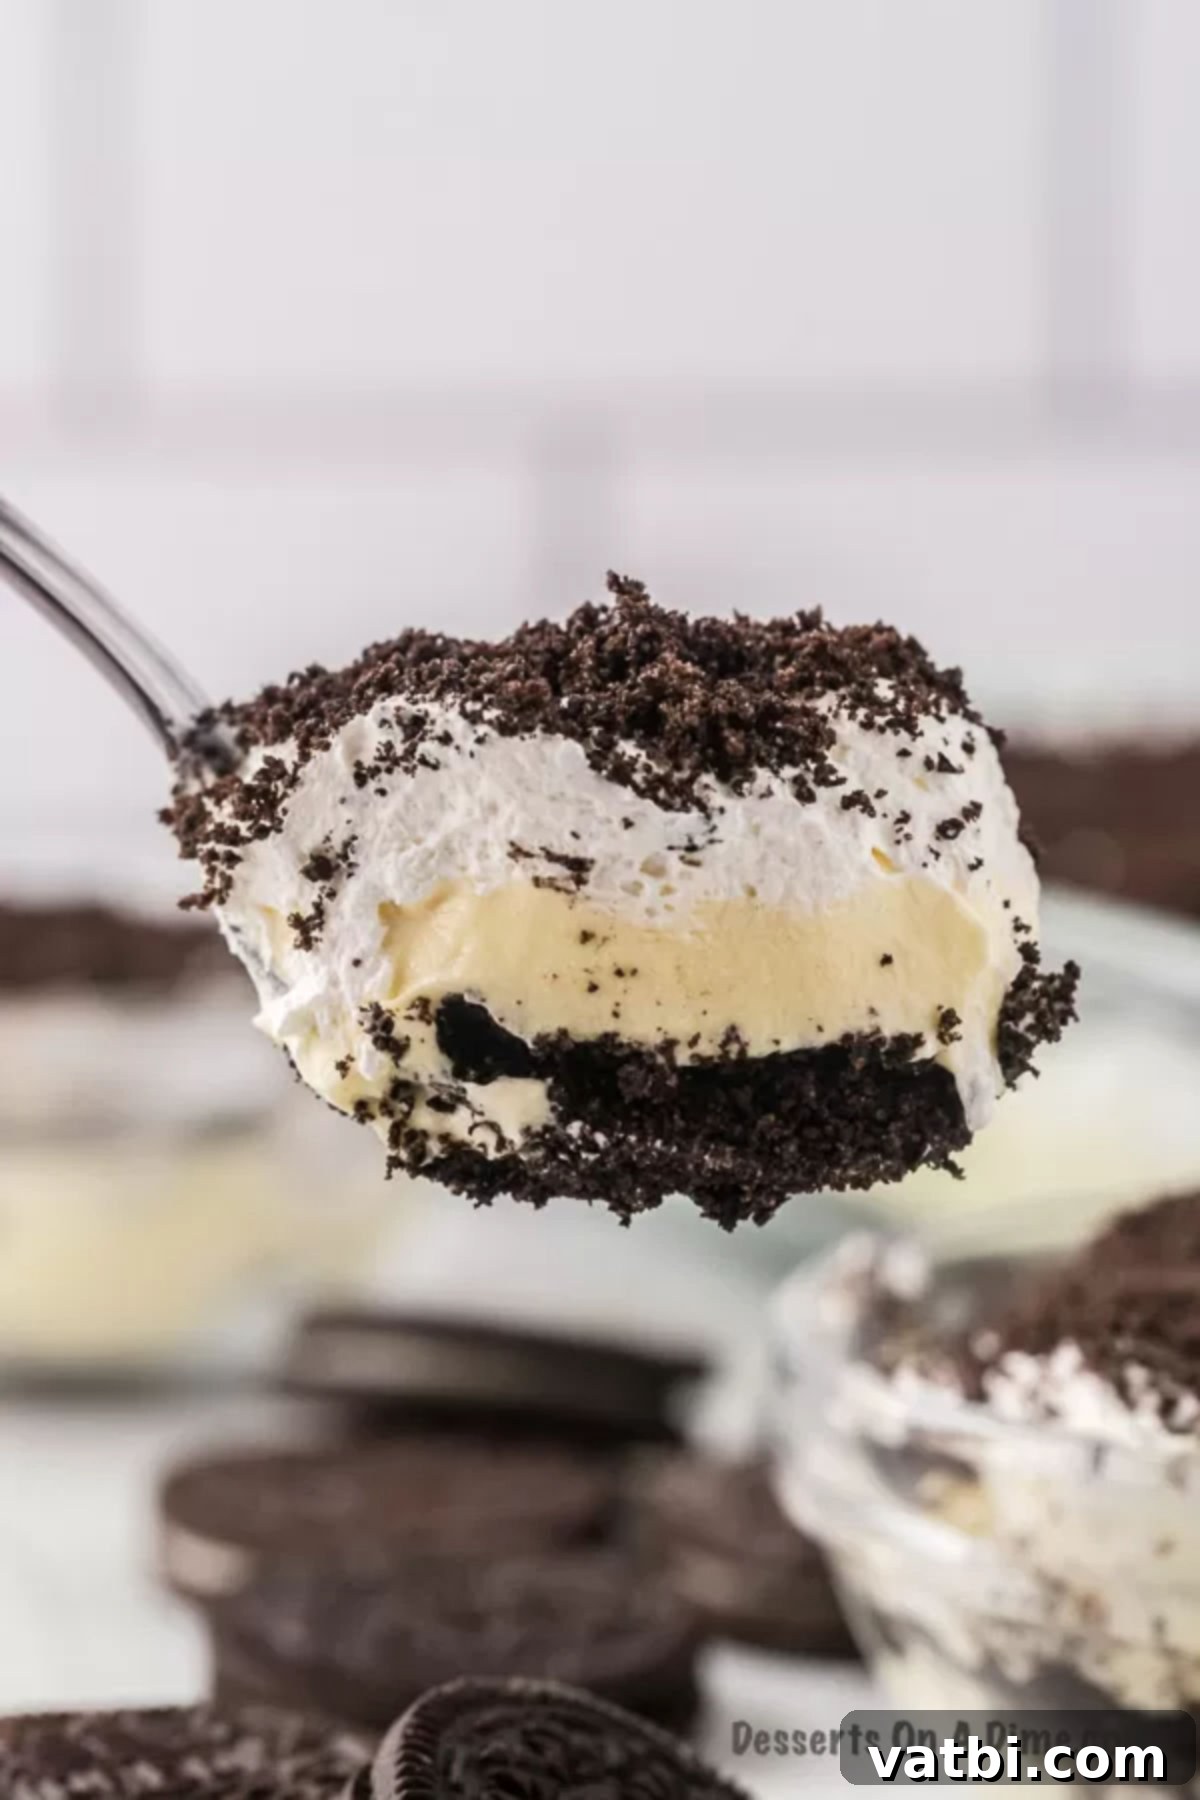
Step 7: Chill and Serve. Your dirt cake is almost ready! Cover the baking dish tightly with plastic wrap and refrigerate for at least 4 hours, or ideally overnight. This crucial chilling time allows the pudding to fully set and the flavors to meld beautifully. Once properly chilled, serve and savor every delicious spoonful!
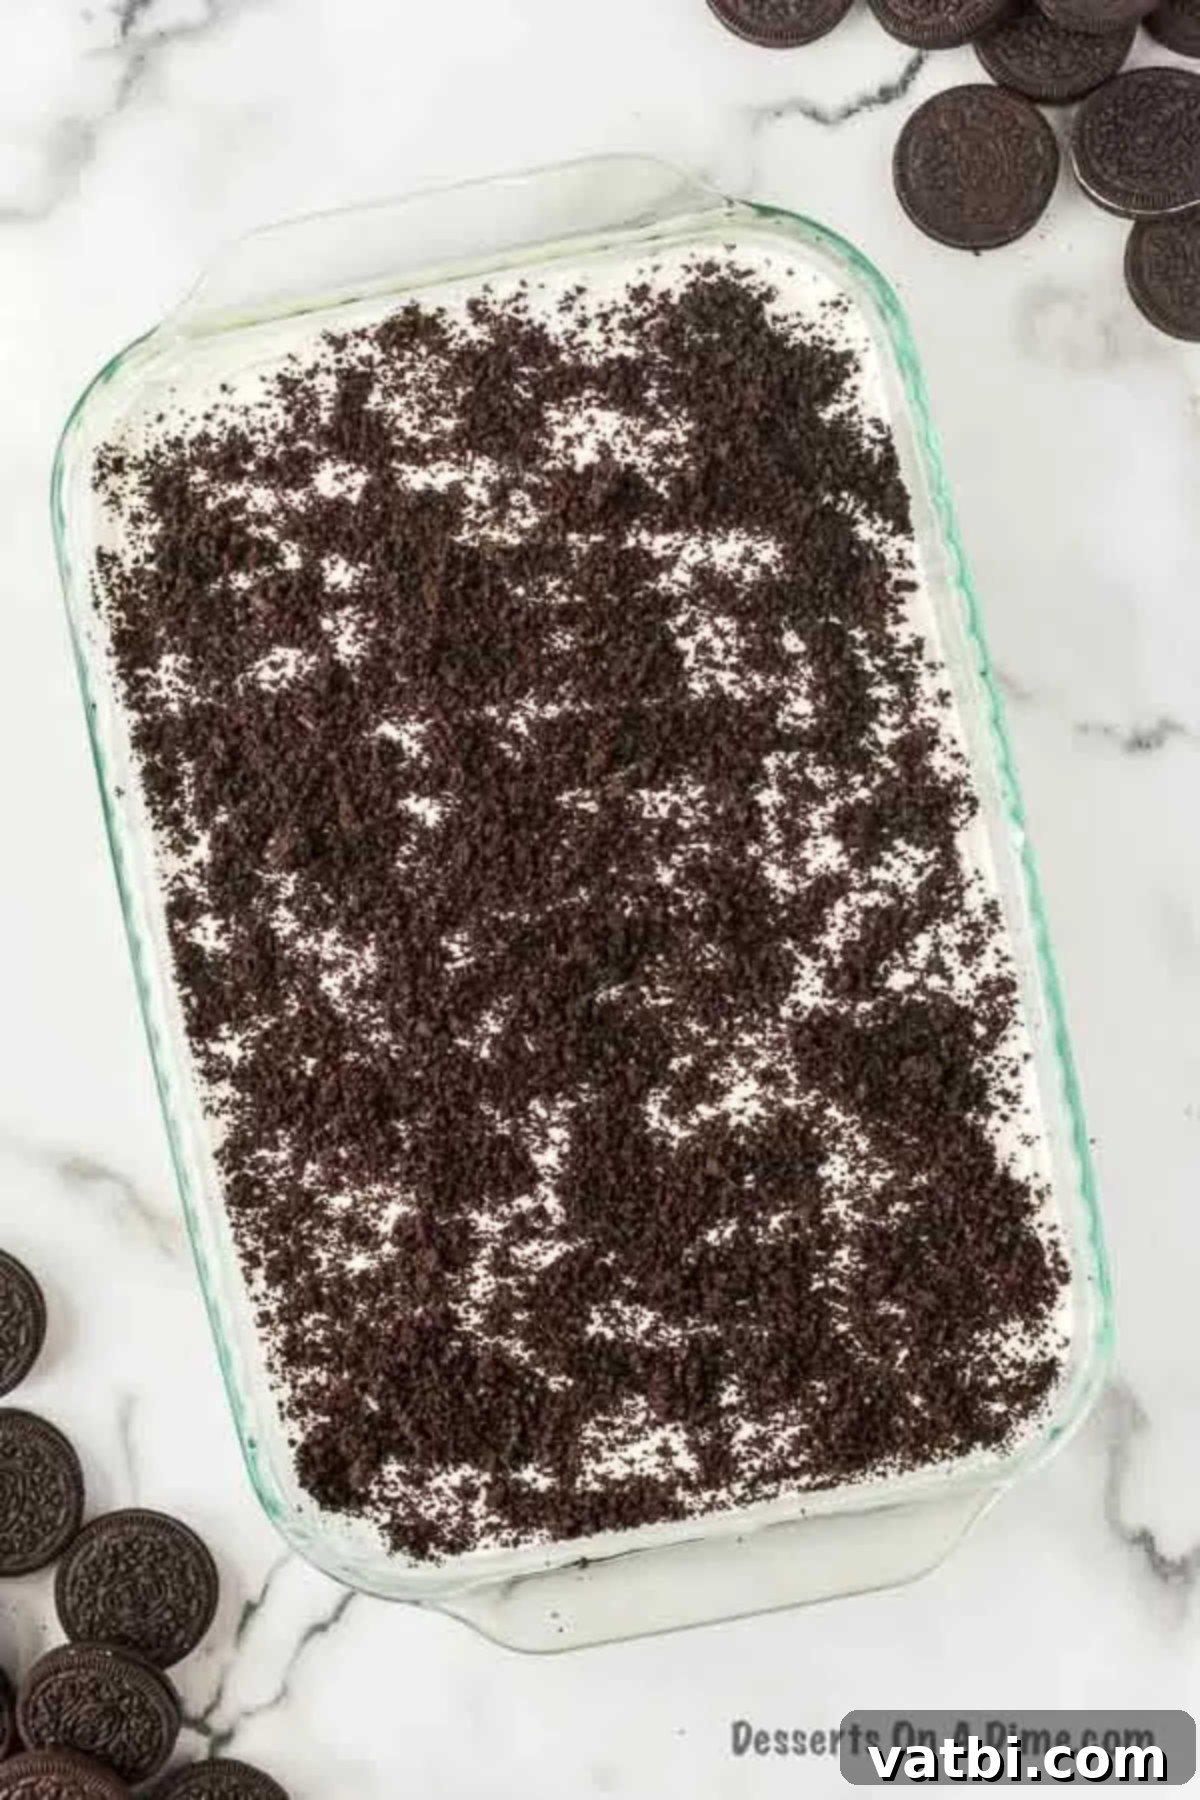
- Pro Tip for Setting: The dirt cake truly needs to set for at least 4 hours in the refrigerator before serving. This isn’t a step you want to rush! Proper chilling ensures the pudding reaches its desired creamy, yet firm, consistency, making for perfectly structured and delicious slices.
Pro Tips for the Perfect Dirt Cake
- Don’t Skimp on Crushing: For the best “dirt” effect, make sure your Oreos are crushed into very fine crumbs. A food processor is ideal for this, but if using a bag and rolling pin, aim for a powder-like consistency.
- Cold Milk is Key: When mixing the instant pudding, always use cold milk. This helps the pudding set faster and achieve the right consistency.
- Gentle Folding: When incorporating the whipped topping into the pudding mixture, fold it in gently using a spatula. This maintains the airy texture of the whipped topping and results in a lighter, fluffier filling.
- Even Layers: Take your time to spread each layer evenly in the pan. This not only makes for a more visually appealing dessert but also ensures every bite has a good balance of cookie and cream.
- Cover Tightly: While chilling, ensure your dirt cake is covered tightly with plastic wrap or an airtight lid. This prevents it from absorbing refrigerator odors and keeps the top layer of whipped topping fresh and clean.
- Decorate Just Before Serving (Optional): If adding delicate toppings like gummy worms or fresh flowers, you might want to add them closer to serving time for the freshest look.
Frequently Asked Questions (FAQs)
This delightful dessert needs to be kept refrigerated. When properly covered, it will last for up to 3 days. We generally find it’s eaten much faster than that in our household! After 3 days, the Oreo crumbs can start to get a bit soggy, affecting the texture. To keep it fresh, make sure to cover the dish properly. If your baking dish doesn’t have a lid, use plastic wrap and press it directly onto the surface of the cake to prevent air exposure.
Absolutely! This dirt cake is an excellent make-ahead dessert. We recommend preparing it up to 24 hours in advance. Often, I’ll make it the night before I plan to serve it, allowing it ample time to chill and set perfectly, which saves precious time on the day of an event. If you need to prepare it 48 hours in advance, that’s generally fine for the pudding layers. However, a crucial tip: wait to add the very top layer of crushed Oreo cookies until just before you’re ready to serve. This prevents them from becoming too soggy and ensures maximum crunch. Always cover the dish tightly with plastic wrap or a lid to prevent the pudding from forming a skin or absorbing odors.
There are a few easy methods to crush Oreos to that perfect “dirt” consistency:
- Food Processor: This is by far the quickest and easiest way. Simply toss the whole Oreo cookies (including the cream filling) into your food processor and pulse until they are finely ground into even crumbs. It delivers consistent results with minimal effort.
- Rolling Pin: If you don’t have a food processor, a rolling pin works wonderfully. Place the cookies in a large, sturdy Ziploc bag (remove as much air as possible and seal tightly). Then, use a rolling pin to firmly crush the cookies into crumbs. You can also use the bottom of a heavy glass or a meat mallet.
- Blender: A blender can also be used, similar to a food processor. Add the cookies and pulse until you achieve fine crumbs.
- Wooden Spoon (Kid-Friendly): For a fun activity with young children, place the cookies in a Ziploc bag and let them use the back of a wooden spoon to crush them. Supervise to ensure the bag remains sealed!
Yes, you absolutely can! If you prefer homemade whipped cream, simply ensure it’s whipped to stiff peaks before gently folding it into the pudding mixture. Keep in mind that homemade whipped cream can be a bit more delicate and may not hold its structure as long as Cool Whip, so it’s best to serve the dirt cake within 24 hours if using homemade. You’ll need about 4 cups of whipped cream to replace a 16 oz tub of Cool Whip.
As written, this recipe is not gluten-free due to the use of traditional Oreo cookies. However, many brands now offer gluten-free sandwich cookies that are very similar to Oreos. You can easily substitute gluten-free Oreos (or a similar brand) to make this a delicious gluten-free dessert! Always double-check the labels of your pudding mix and whipped topping to ensure they are also gluten-free.
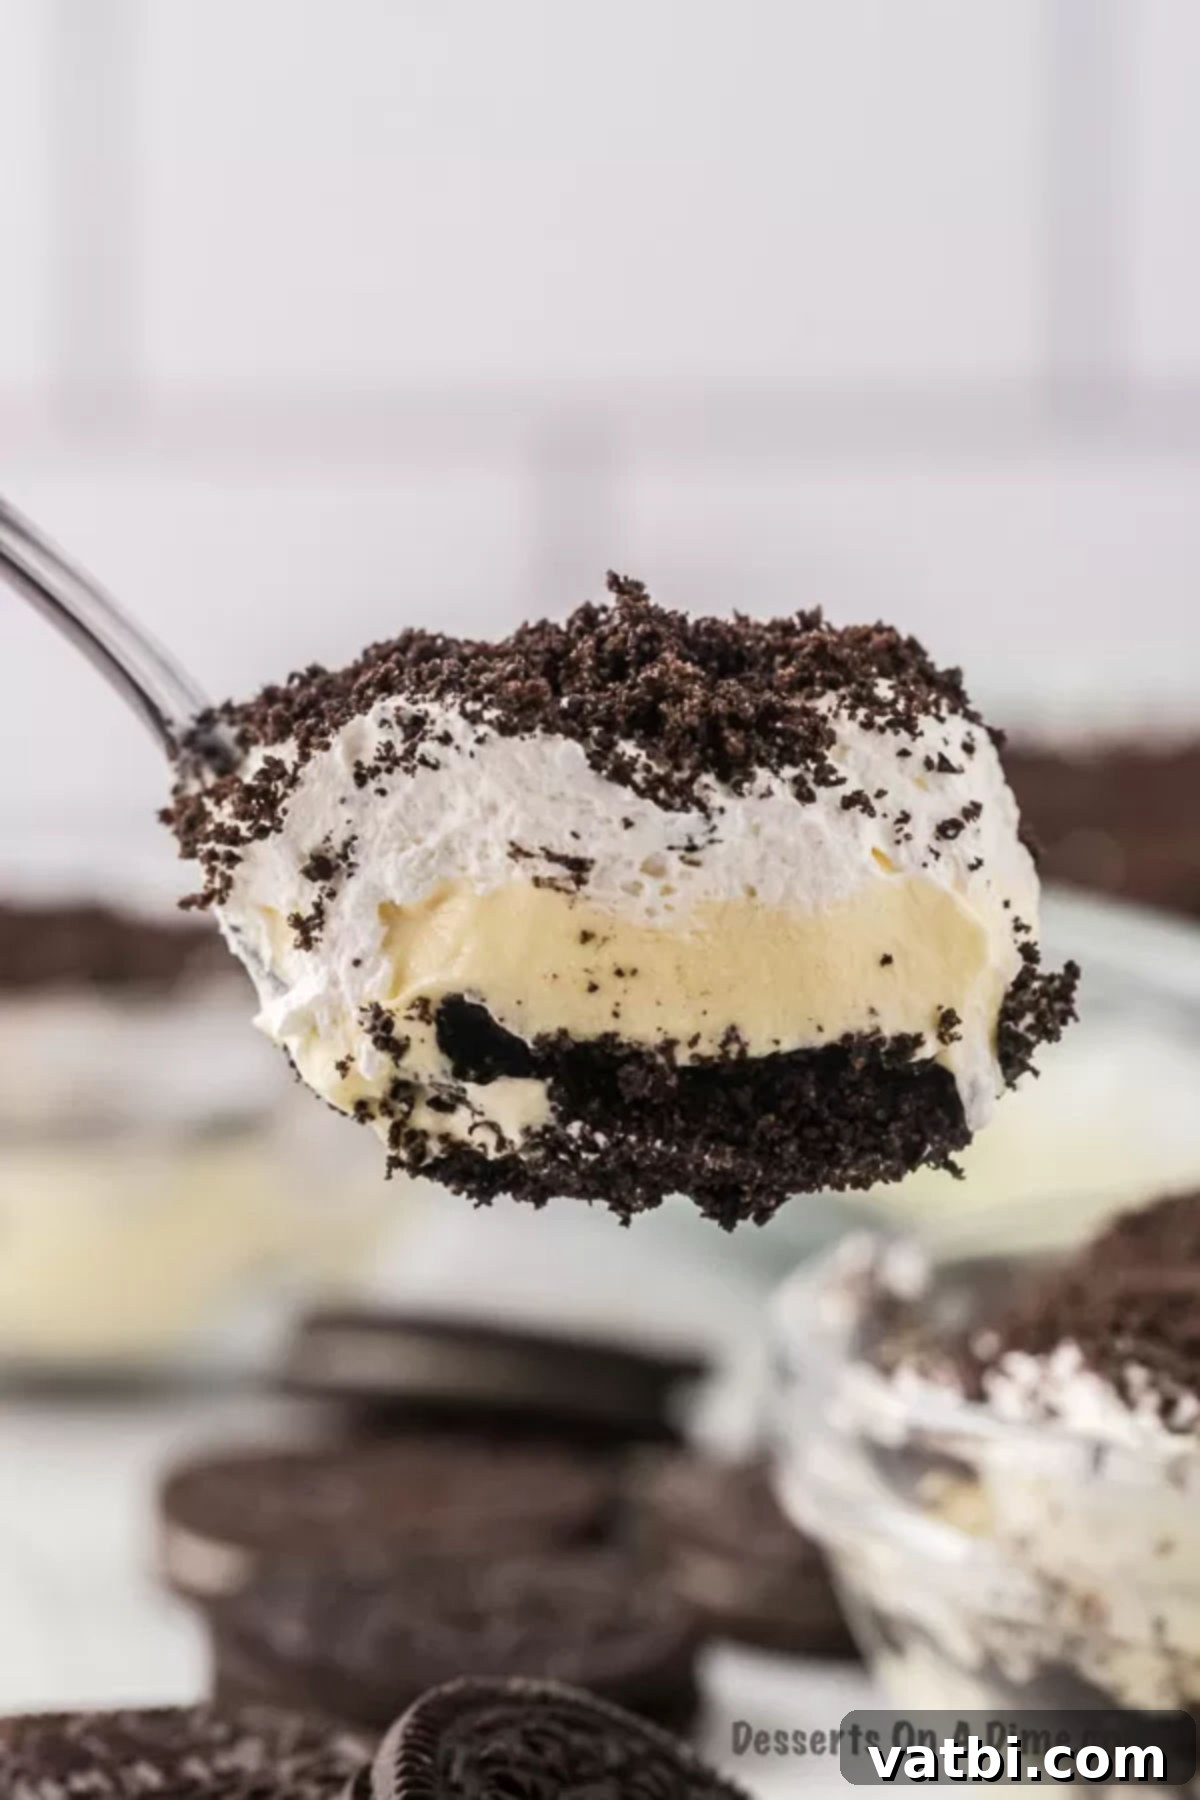
More Irresistible Oreo Desserts to Try
If you’re an Oreo enthusiast, the fun doesn’t stop here! Oreos are incredibly versatile and make a fantastic base for countless desserts. Once you’ve mastered this no-cream cheese dirt cake, why not explore some other fantastic Oreo creations? Here are a few more recipes that are sure to satisfy your chocolate cookie cravings:
- Easy Oreo Fluff
- Homemade Oreo Recipe
- No Bake Oreo Pie Recipe
- Mini Oreo Cheesecake Recipe
- Easter Dirt Cups
- Easter Dirt Cake
Each of these recipes brings a unique twist to the classic Oreo, ensuring there’s always a new way to enjoy your favorite cookie. Happy baking (and no-baking)!
We hope you love making and enjoying this decadent Oreo Dirt Cake recipe without cream cheese. Please leave a star rating and comment once you do – we’d love to hear your thoughts and see your creations!
Dirt Cake Recipe (with no cream cheese)
Ingredients
- 1 package Oreos 14 oz
- 1 cup Powdered Sugar
- 16 oz Cool Whip
- 2 Boxes Instant Vanilla Pudding Mix 3.4 oz each
- 3 cups Milk
- 1 tsp Vanilla Extract
Instructions
-
Crush the Oreos in a food processor. Place 2/3 of the crushed Oreos in the bottom of a 9×13 pan. Set aside.
-
In a large mixing bowl, combine the pudding mix and milk. Then stir in the powdered sugar and vanilla extract. Then mix in half of the cool whip amount.
-
Pour this mixture over the crumb mixture in the pan.
-
Top with the remaining cool whip and crushed Oreos.
-
Refrigerate for 4 hours or overnight.
-
Keep refrigerated until ready to serve and enjoy!
Nutrition Facts
Pin This Now to Remember It Later
Pin Recipe
