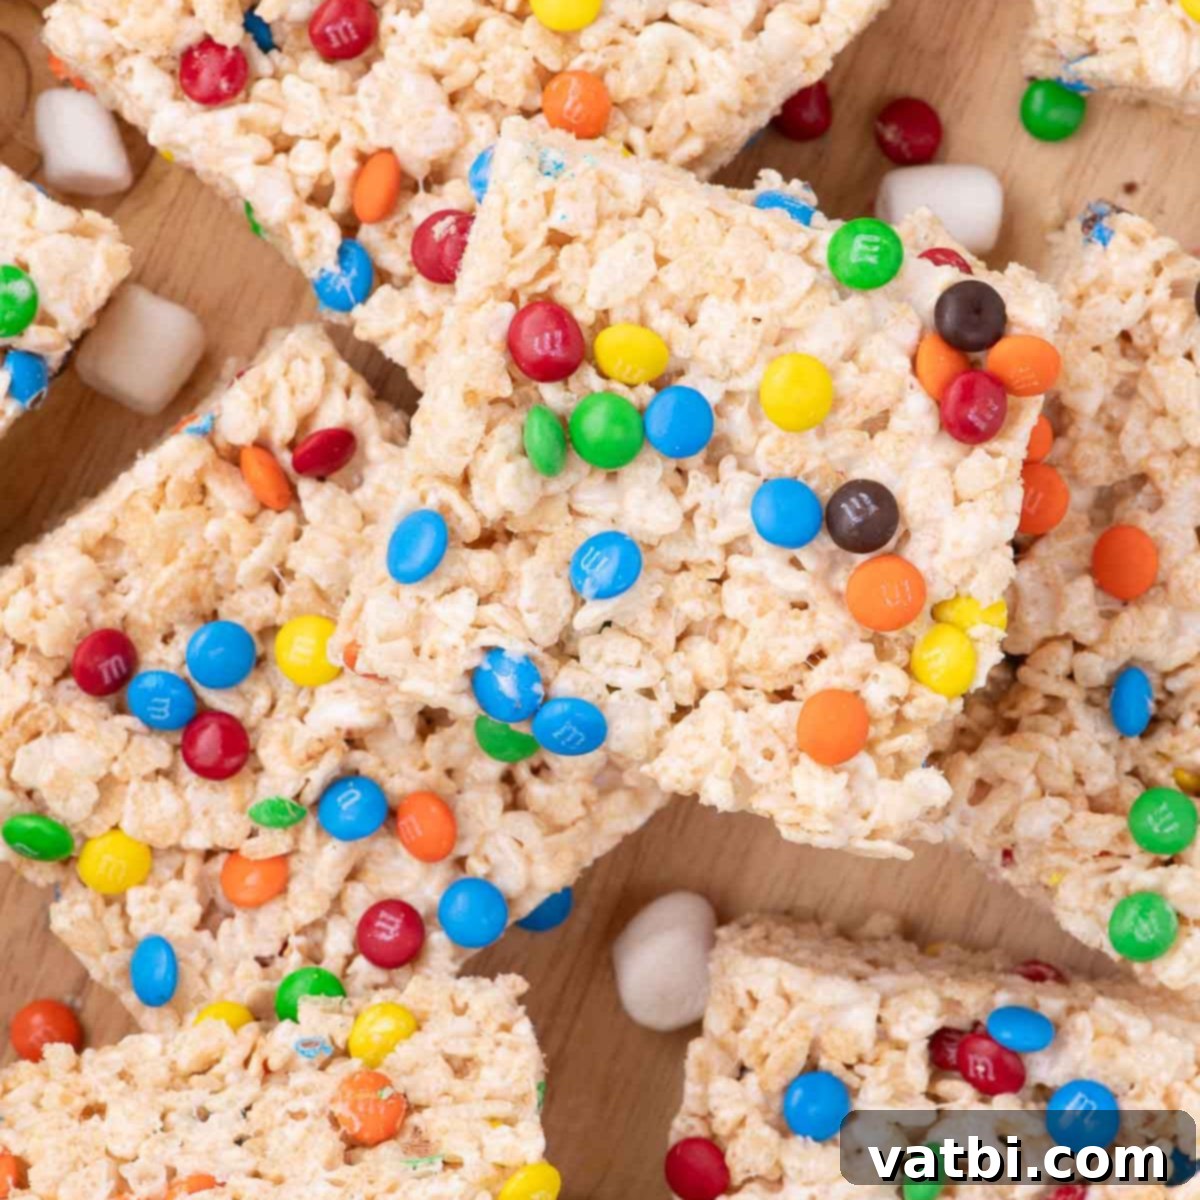
Gooey M&M Rice Krispie Treats: The Ultimate No-Bake Dessert for Every Occasion
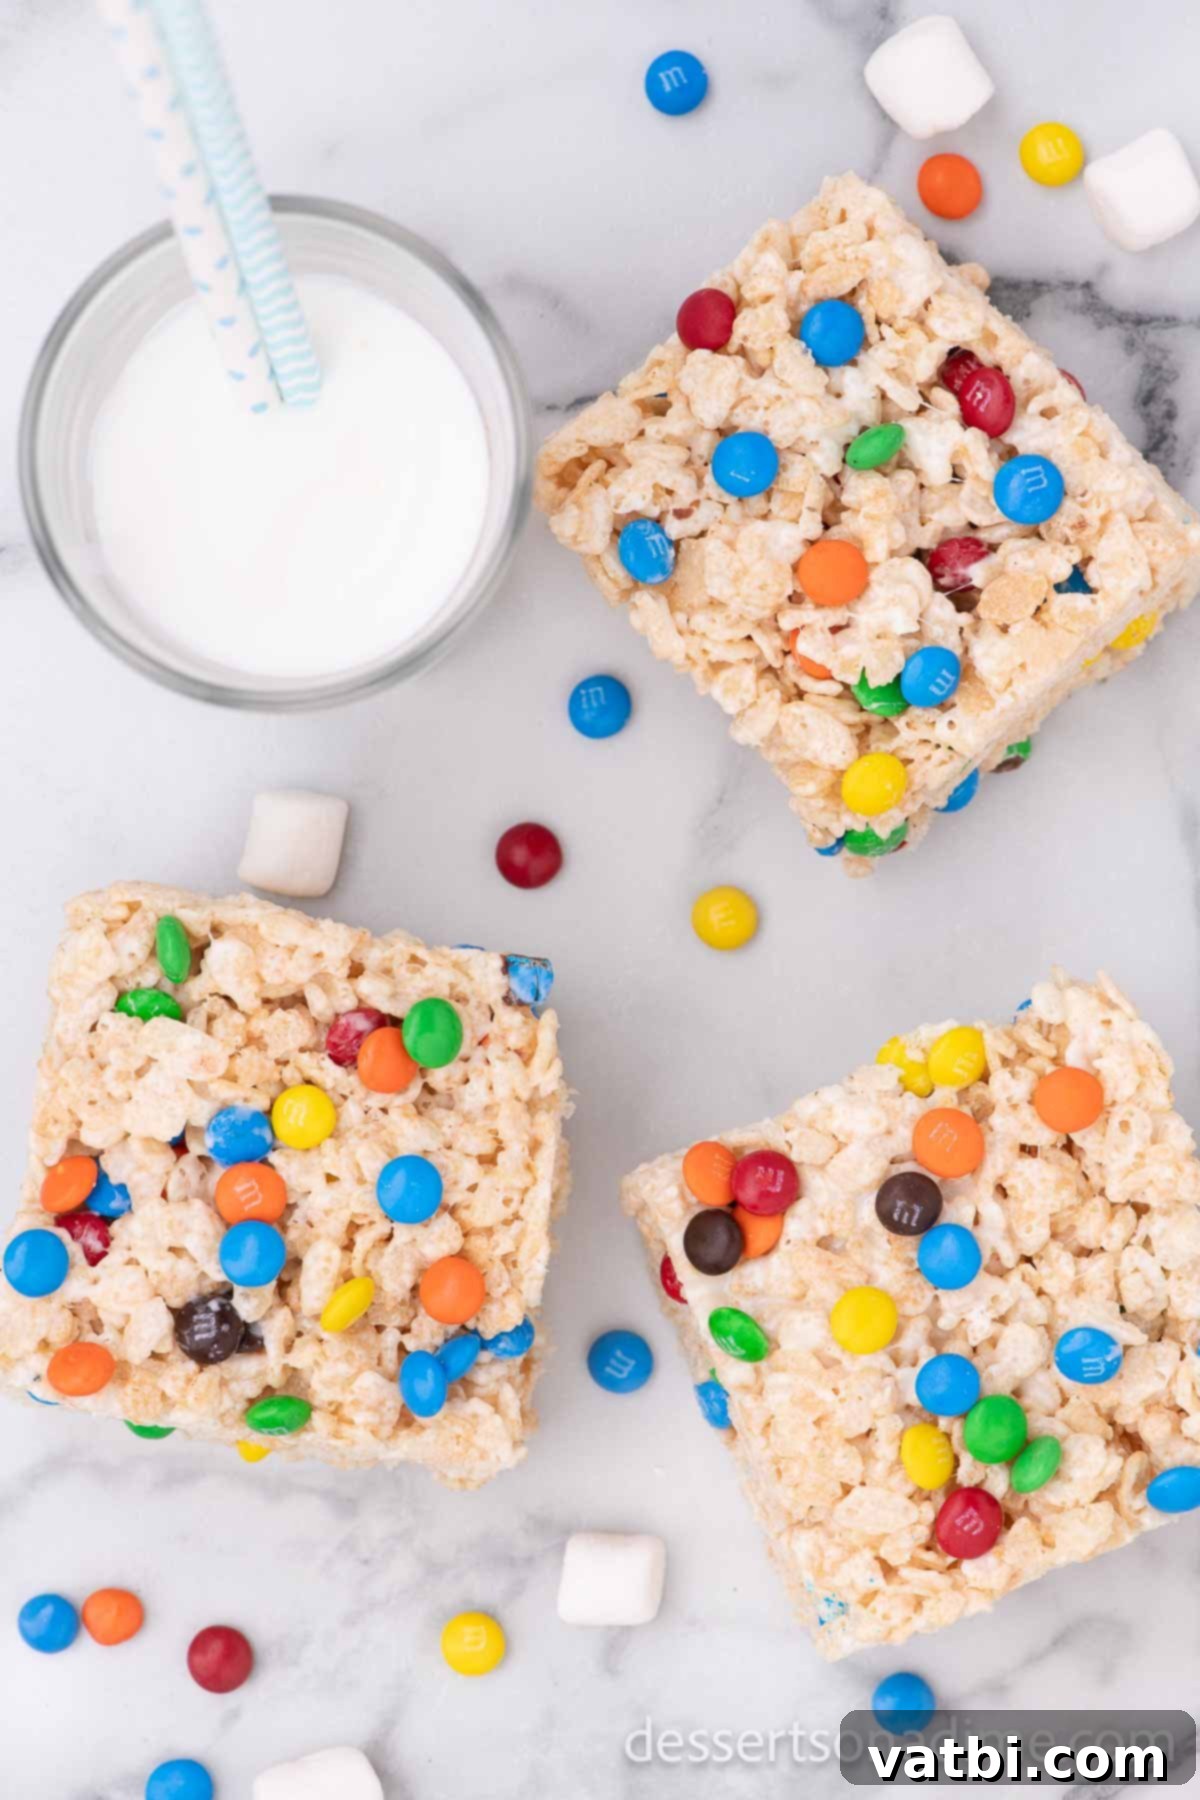
Get ready for a burst of color and a delightful crunch! These soft and chewy M&M Rice Krispie Treats are more than just a snack; they’re a celebration in every square. Perfect for birthday parties, cozy movie nights, school lunches, or simply as a fun, spontaneous treat, they bring joy with minimal effort. Their irresistible gooey texture, combined with the classic crunch of crispy rice cereal and the delightful chocolatey pop of M&M’s, makes them truly special and incredibly simple to make.
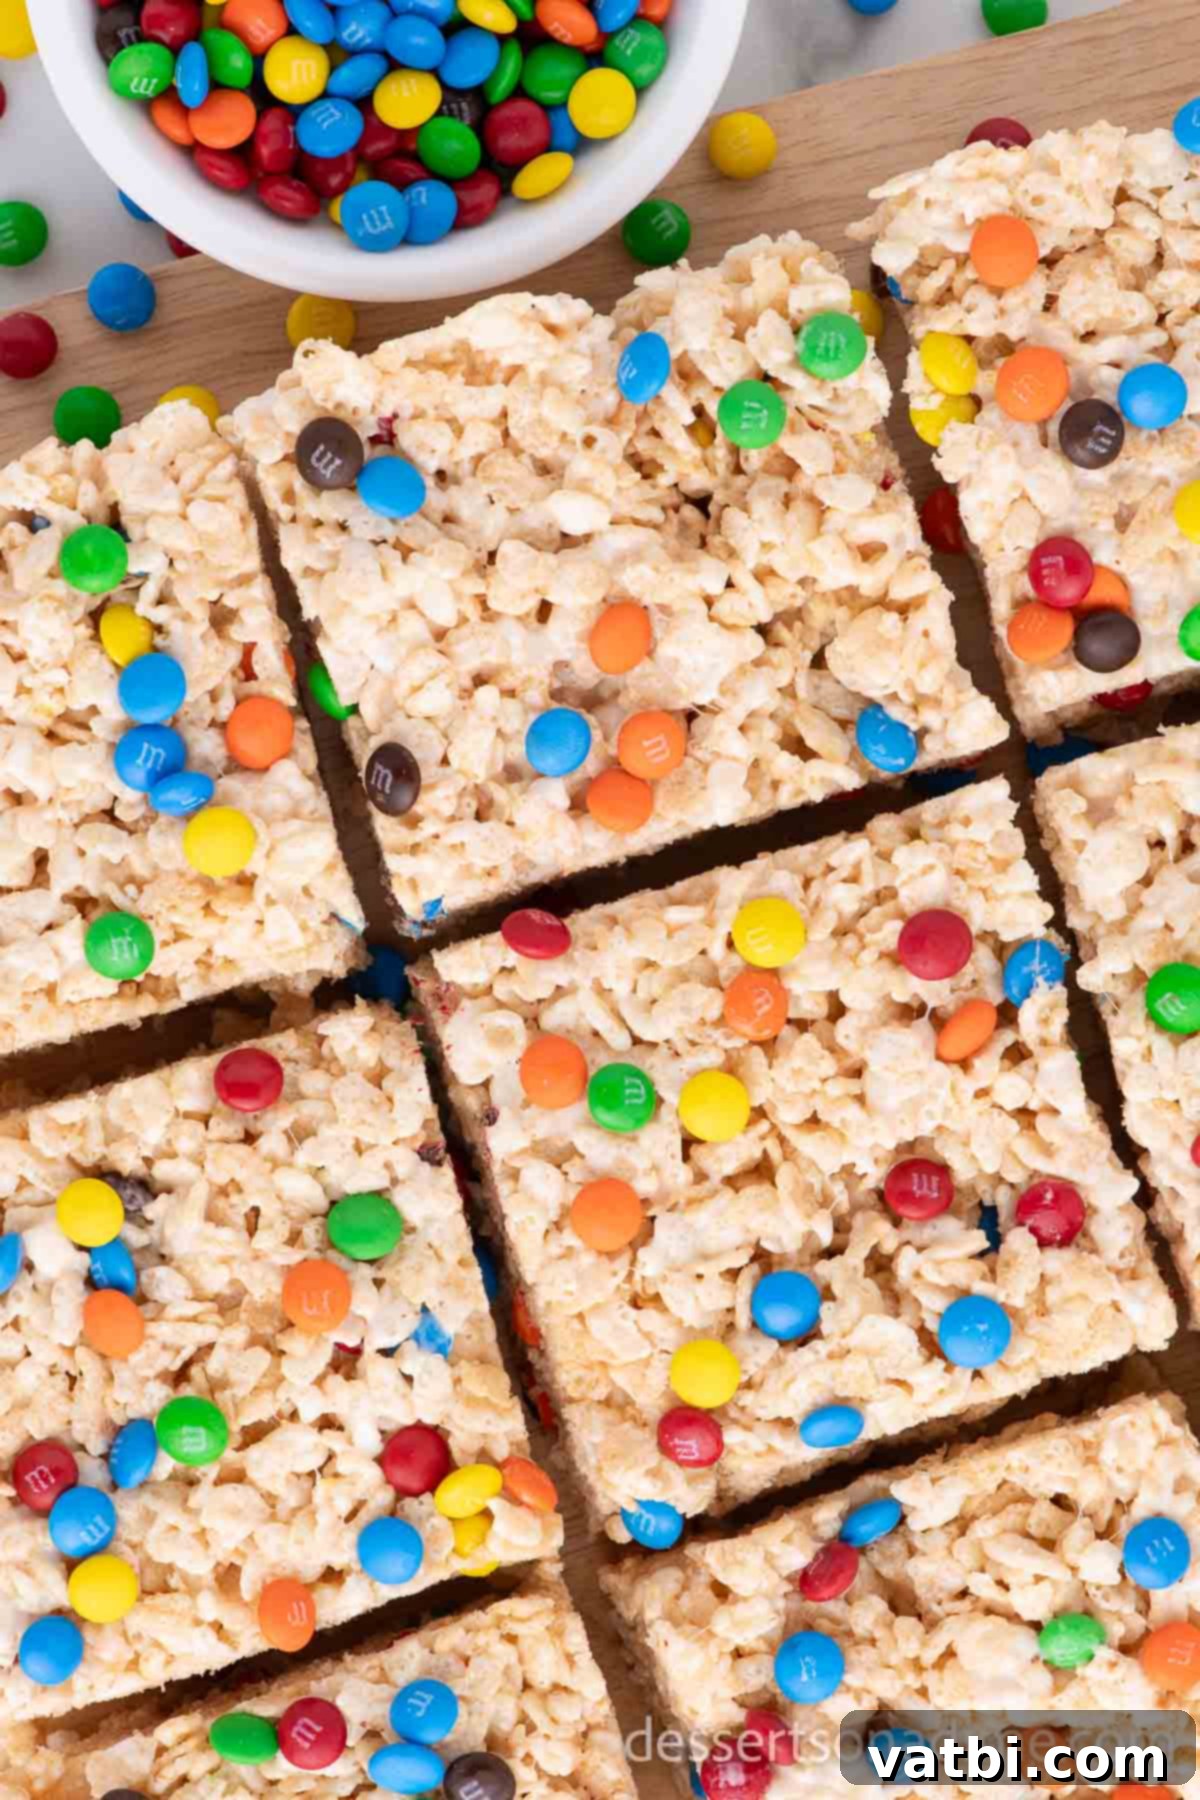
We absolutely adore classic rice krispie treats, and this vibrant variation is a consistent crowd-pleaser that adds a playful twist to the traditional recipe. As a quintessential no-bake dessert, it’s not only incredibly easy but also a fantastic activity for kids to help with in the kitchen. The idea for these colorful squares often sparks from having some leftover M&M candies, transforming them into something even more exciting. Our kids also can’t get enough of our M&M Cookie Cake, making these treats a natural extension of their favorite flavors.
For those looking to perfect their technique and discover all the secrets to impeccable results, learn how to make rice krispie treats with our expert tips and tricks. We guarantee the best, most consistently soft and gooey batches every time. If you’re looking to explore more effortless no-bake options that tantalize the taste buds, our family also highly recommends our Salted Caramel Rice Krispie Treats and the uniquely delicious Cookie Butter Rice Krispie Treats.
There’s something inherently comforting and universally loved about homemade Rice Krispie treats. They evoke nostalgia and create new happy memories. Beyond the M&M version, other cherished family favorites you absolutely must try include the rich and nutty Brown Butter Rice Krispie Treats, which elevate the flavor profile, and the festive Patriotic Rice Krispie Treats, perfect for holidays and themed gatherings.
Table of contents
- Why We Love This Recipe
- Ingredients You’ll Need
- Exciting Recipe Variations
- How to Make M&M Rice Krispie Treats (Step-by-Step)
- Can You Make These on the Stove Top?
- Expert Tips for Perfect Treats
- Frequently Asked Questions (FAQs)
- Explore More Easy Rice Krispie Treats
Why We Love This Recipe
There are countless reasons to fall in love with these M&M Rice Krispie Treats, and once you try them, you’ll understand why they’re a household staple. This recipe takes everything you adore about classic Rice Krispie Treats and elevates it with the addition of colorful, chocolatey M&M candies in every single bite. It’s truly a texture and flavor explosion!
- Unbelievably Easy & Quick: As a no-bake dessert, these treats come together in mere minutes, making them perfect for busy schedules or last-minute cravings. No oven required means less cleanup and more time to enjoy!
- Budget-Friendly: Made with simple, pantry-staple ingredients, this recipe is incredibly economical, allowing you to whip up a large batch without breaking the bank.
- Kid-Friendly & Fun: The vibrant M&M’s instantly make these treats a hit with children, both to eat and to help prepare. They love folding in the candies and seeing the colorful results!
- Versatile for Any Occasion: From casual after-school snacks to impressive party desserts, these treats fit right in. Customize the M&M colors for holidays or themed events.
- Irresistible Texture: The perfect balance of soft, gooey marshmallow and crunchy rice cereal is pure bliss. The M&M’s add an extra layer of chocolatey chewiness that’s simply divine.
We genuinely believe this isn’t just a good Rice Krispie treats recipe; it’s the best, delivering consistent deliciousness that everyone will rave about.
Ingredients You’ll Need
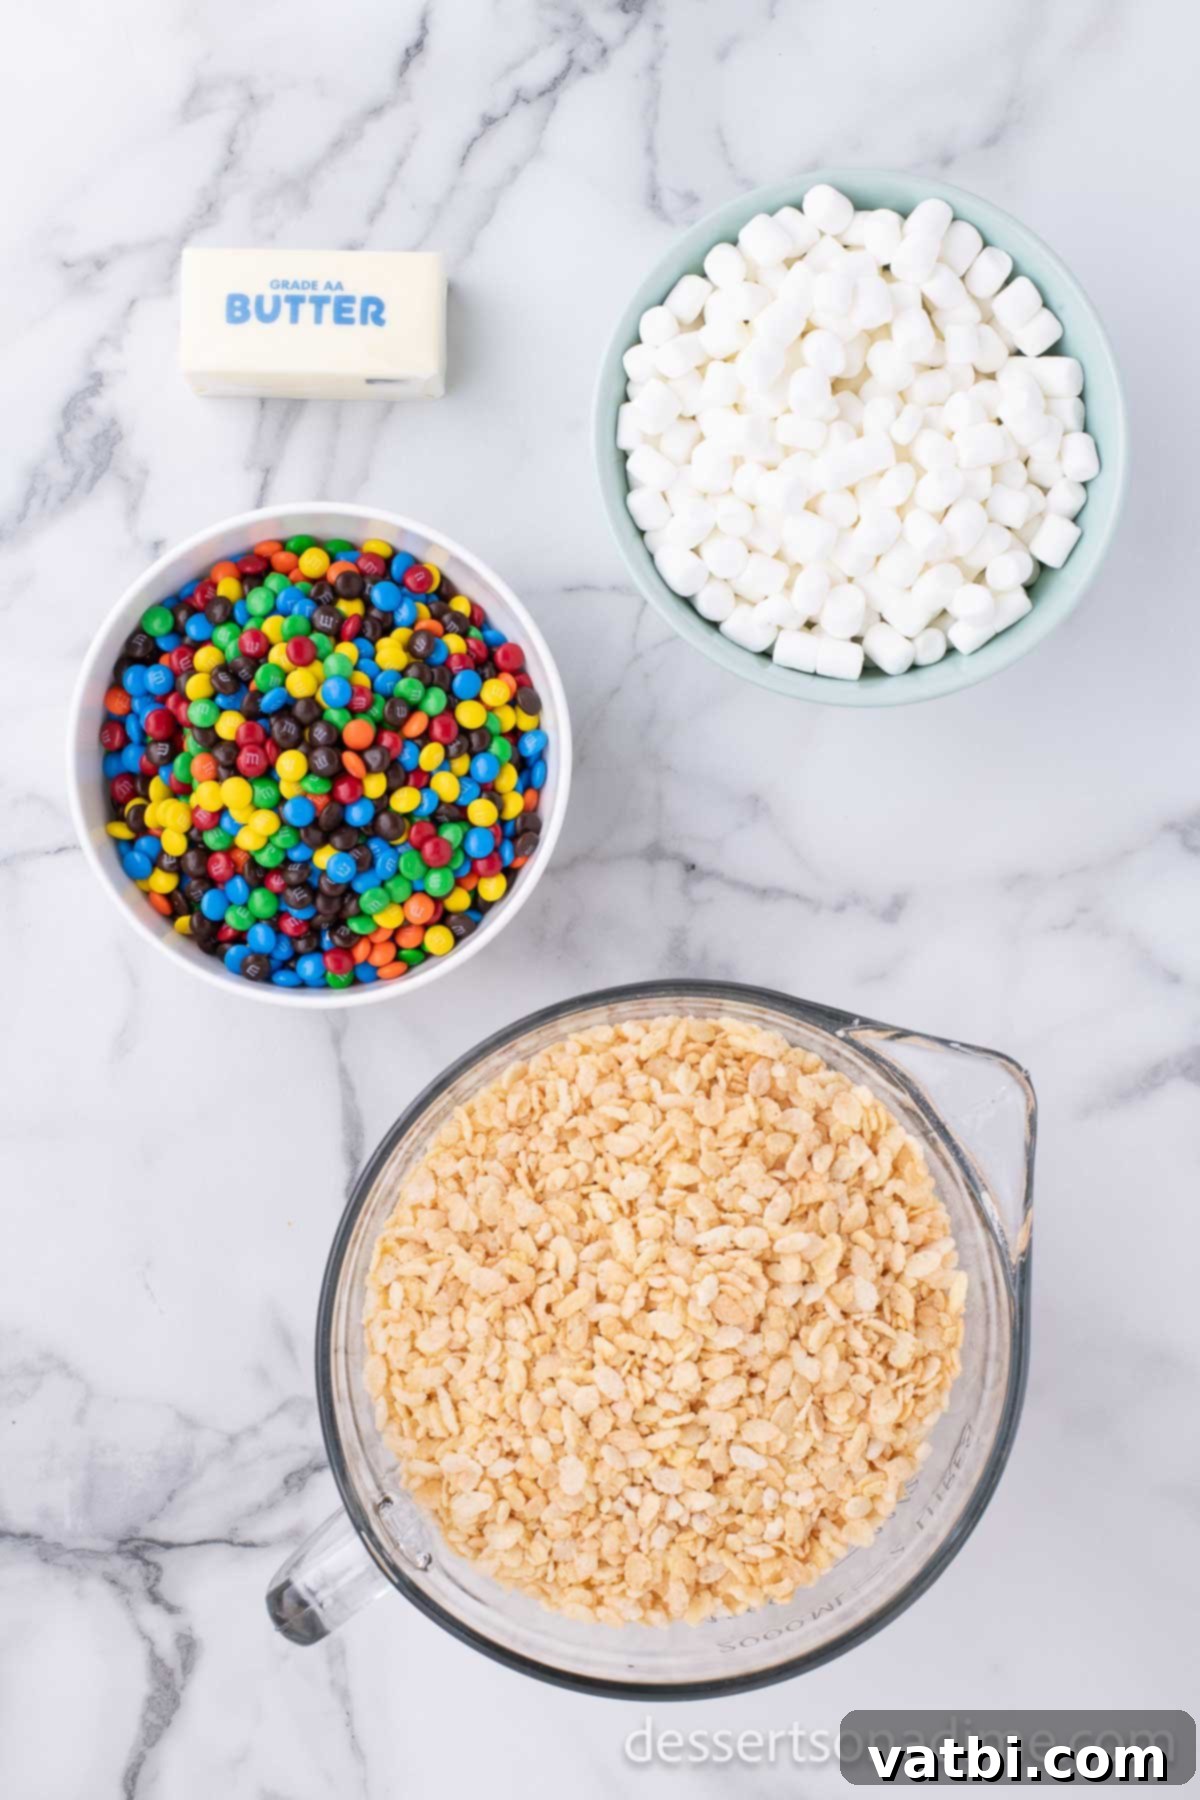
Just a few essential ingredients are all it takes to create these delightful M&M Rice Krispie Treats. The quality and freshness of each component contribute significantly to the final taste and texture, so choose wisely!
- Rice Krispie Cereal: This is the backbone of our treat! Ensure your crispy rice cereal is fresh and not stale. Stale cereal can lead to a less satisfying crunch and a tougher final product. Any brand of puffed rice cereal will work, but for that classic taste, Rice Krispies are often preferred.
- Salted Butter: We opt for salted butter in this recipe for a crucial reason: it provides the perfect balance to the sweetness of the marshmallows and M&M’s. The hint of salt truly enhances the overall flavor profile. If you only have unsalted butter, you can use it, but consider adding a tiny pinch of salt (about ¼ teaspoon) to the melted marshmallow mixture.
- Marshmallows: The key to that signature gooey texture! Mini marshmallows melt more quickly and evenly, which is ideal for this recipe. However, you can absolutely use large marshmallows; you’ll just need to adjust the melting time slightly. Sometimes, for an extra homemade touch, I even use Homemade Marshmallow Fluff instead, which can add an even silkier consistency. Just be sure to measure by weight or volume to ensure the right ratio.
- Mini M&Ms: These colorful chocolate candies are what make this variation so much fun! The mini size is perfect as it distributes evenly throughout the treats without being too overpowering in any one bite, and they are less likely to melt completely when folded in. However, if you prefer, regular M&M’s work wonderfully too – just be a bit more gentle when folding them in to prevent excessive melting.
You’ll find the complete, precise ingredient list with exact measurements in the recipe card at the bottom of the page. Gathering your ingredients before you start will make the process even smoother!
Exciting Recipe Variations
While the classic M&M Rice Krispie Treat is fantastic on its own, it also serves as a wonderful canvas for creativity. Don’t be afraid to experiment with these fun variations to suit your taste or the occasion!
- Drizzle with Chocolate – Take your treats to the next level by drizzling melted chocolate over the top once they’ve set. You can use milk chocolate, dark chocolate, or even white chocolate for a beautiful contrast. Simply melt chocolate chips or a chopped chocolate bar in the microwave or a double boiler and drizzle it with a spoon or from a piping bag. For an extra chocolate boost, you can also mix in chocolate chips (milk, semi-sweet, or white) or chopped chocolate candy bars directly into the mixture along with the M&M’s.
- Use Whole Marshmallows – If you only have large marshmallows on hand, no problem! They can be used instead of mini marshmallows. Just be aware that they might take a little longer to melt, so be patient and stir frequently to ensure a smooth, lump-free marshmallow mixture.
- Cut into Fun Shapes – Make these treats even more festive by using cookie cutters to create unique shapes once they are slightly cooled but still pliable. This is perfect for holidays (stars for the Fourth of July, pumpkins for Halloween, hearts for Valentine’s Day, trees for Christmas) or themed parties. Just make sure to spray your cookie cutters with a little non-stick spray to prevent sticking.
- Add Food Coloring – Inject some vibrant color directly into your treats! Use green food coloring for St. Patrick’s Day, red food coloring for a festive Christmas treat, or combine red and blue for patriotic snacks. Add a few drops of gel food coloring to the melted marshmallow mixture before stirring in the cereal for an even color distribution.
- Sprinkle, Sprinkle! For an extra pop of color and texture, top the mixture with your favorite sprinkles. Add them immediately after spreading the mixture into the pan, while the treats are still warm and sticky, so they adhere well. Think rainbow sprinkles for birthdays, themed sprinkles for holidays, or even simple nonpareils.
- A Pinch of Sea Salt – Elevate the flavor profile with a sprinkle of flaky sea salt on top. The combination of sweet and salty is incredibly addictive and highlights the chocolate in the M&M’s beautifully. Add it just after pressing the mixture into the pan, while it’s still warm.
- Nut Butter Infusion: For a rich and creamy twist, melt 1/2 cup of your favorite nut butter (peanut butter, almond butter, cashew butter) into the melted marshmallow mixture before adding the cereal. This creates a wonderfully nutty flavor and a slightly denser, chewier treat.
- Flavor Extracts: A dash of extract can change the whole profile. Add 1 teaspoon of vanilla extract (in addition to the butter) or try almond extract, peppermint extract (especially for holiday M&M’s), or even a hint of coffee extract for a sophisticated touch.
- Different Candies: Don’t limit yourself to M&M’s! Experiment with other small, chocolatey candies like Reese’s Pieces for a peanut butter twist, chopped up candy bars, or even chocolate-covered pretzels for added crunch.
How to Make M&M Rice Krispie Treats (Step-by-Step)
Making these delightful M&M Rice Krispie Treats is surprisingly simple, often taking less than 15 minutes of active prep time. Follow these steps for perfectly gooey, chewy results every time!
- Step 1 – Prepare Your Pan: First, spray a 9×13 inch baking pan generously with a non-stick cooking spray. This crucial step prevents the sticky marshmallow mixture from adhering to the pan, making removal and cleanup much easier. For an even simpler removal, you can also line the pan with parchment paper, leaving an overhang on the sides to lift the entire batch out later.
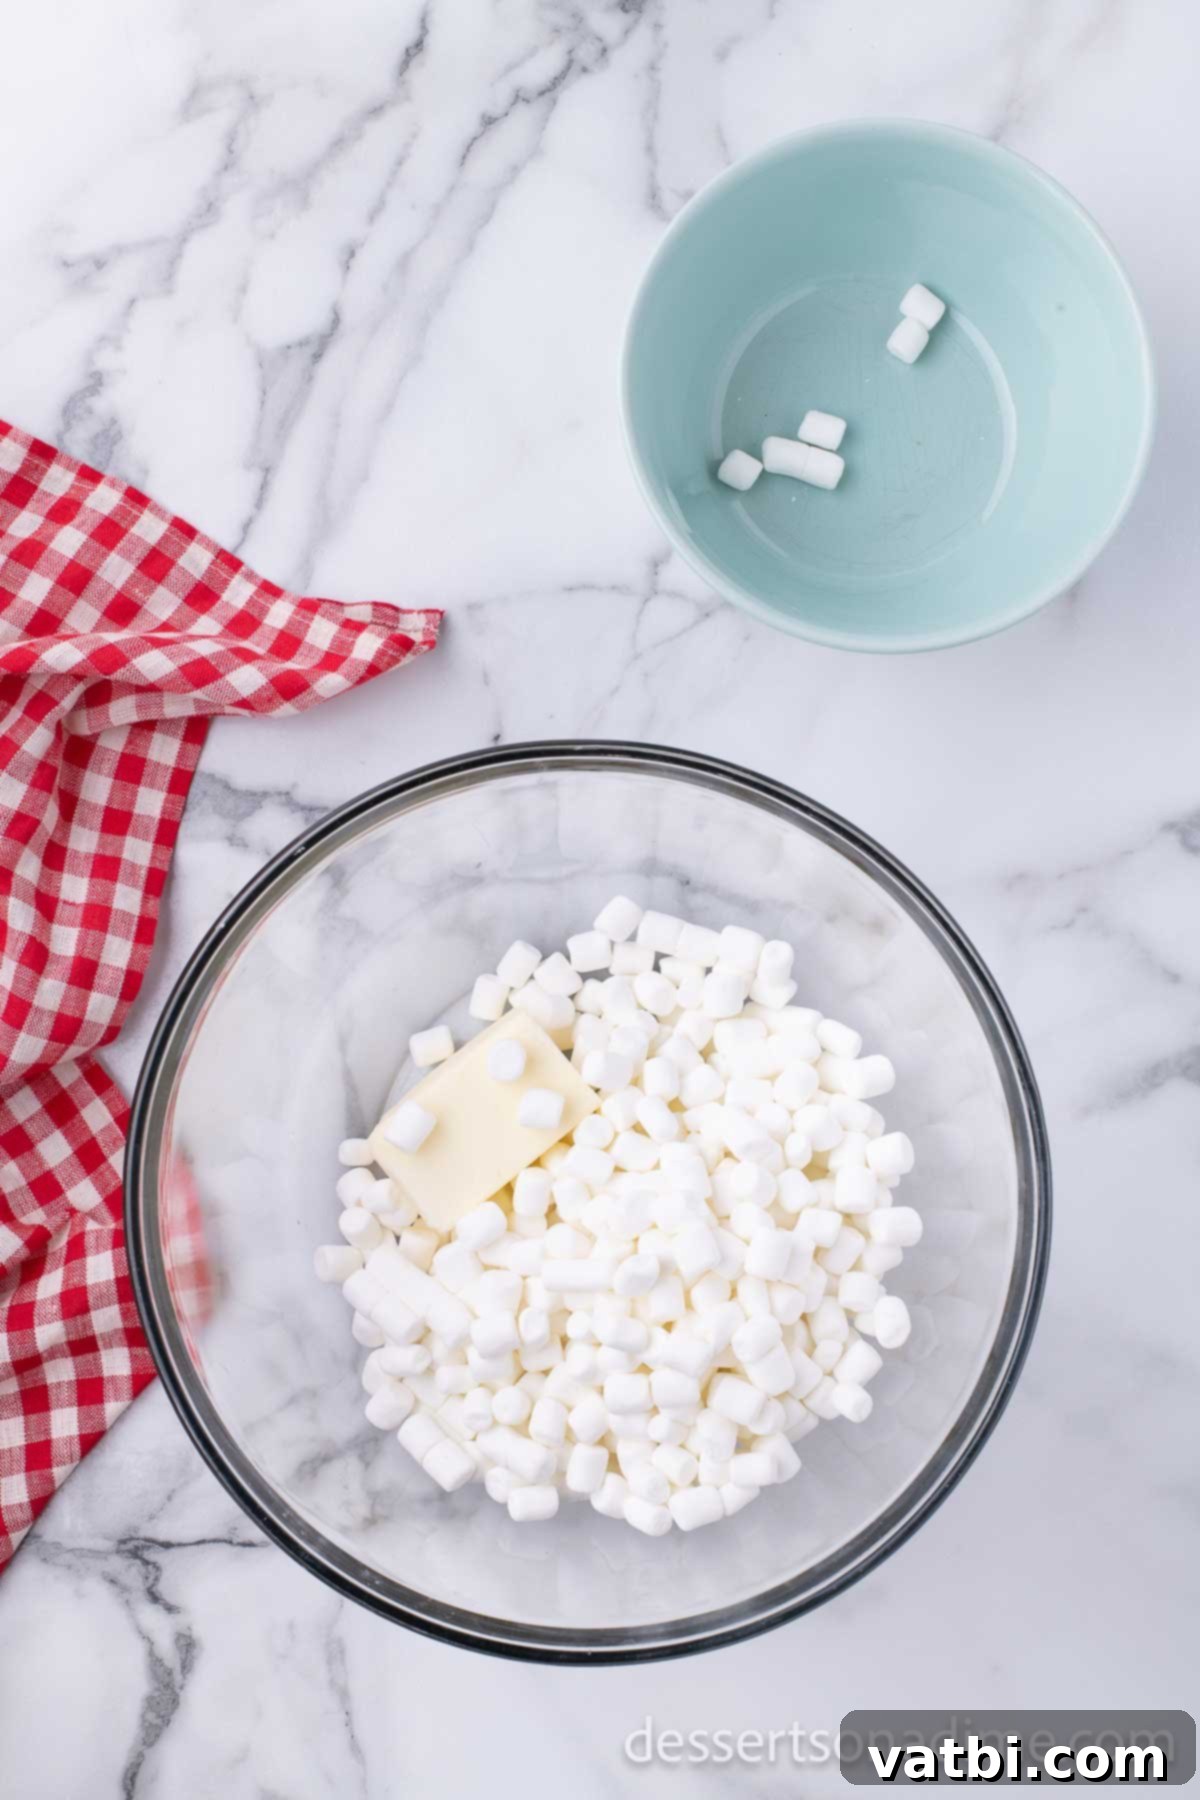
Step 2. Melt Butter & Marshmallows: Next, in a large, microwave-safe bowl, combine the salted butter and the mini marshmallows. Heat the mixture in 30-second increments in the microwave, stirring well after each interval. Continue this process until the butter and marshmallows are completely melted and smooth. Be careful not to overheat, as this can lead to hard treats. The mixture should be fluid and uniform, without any lumps.
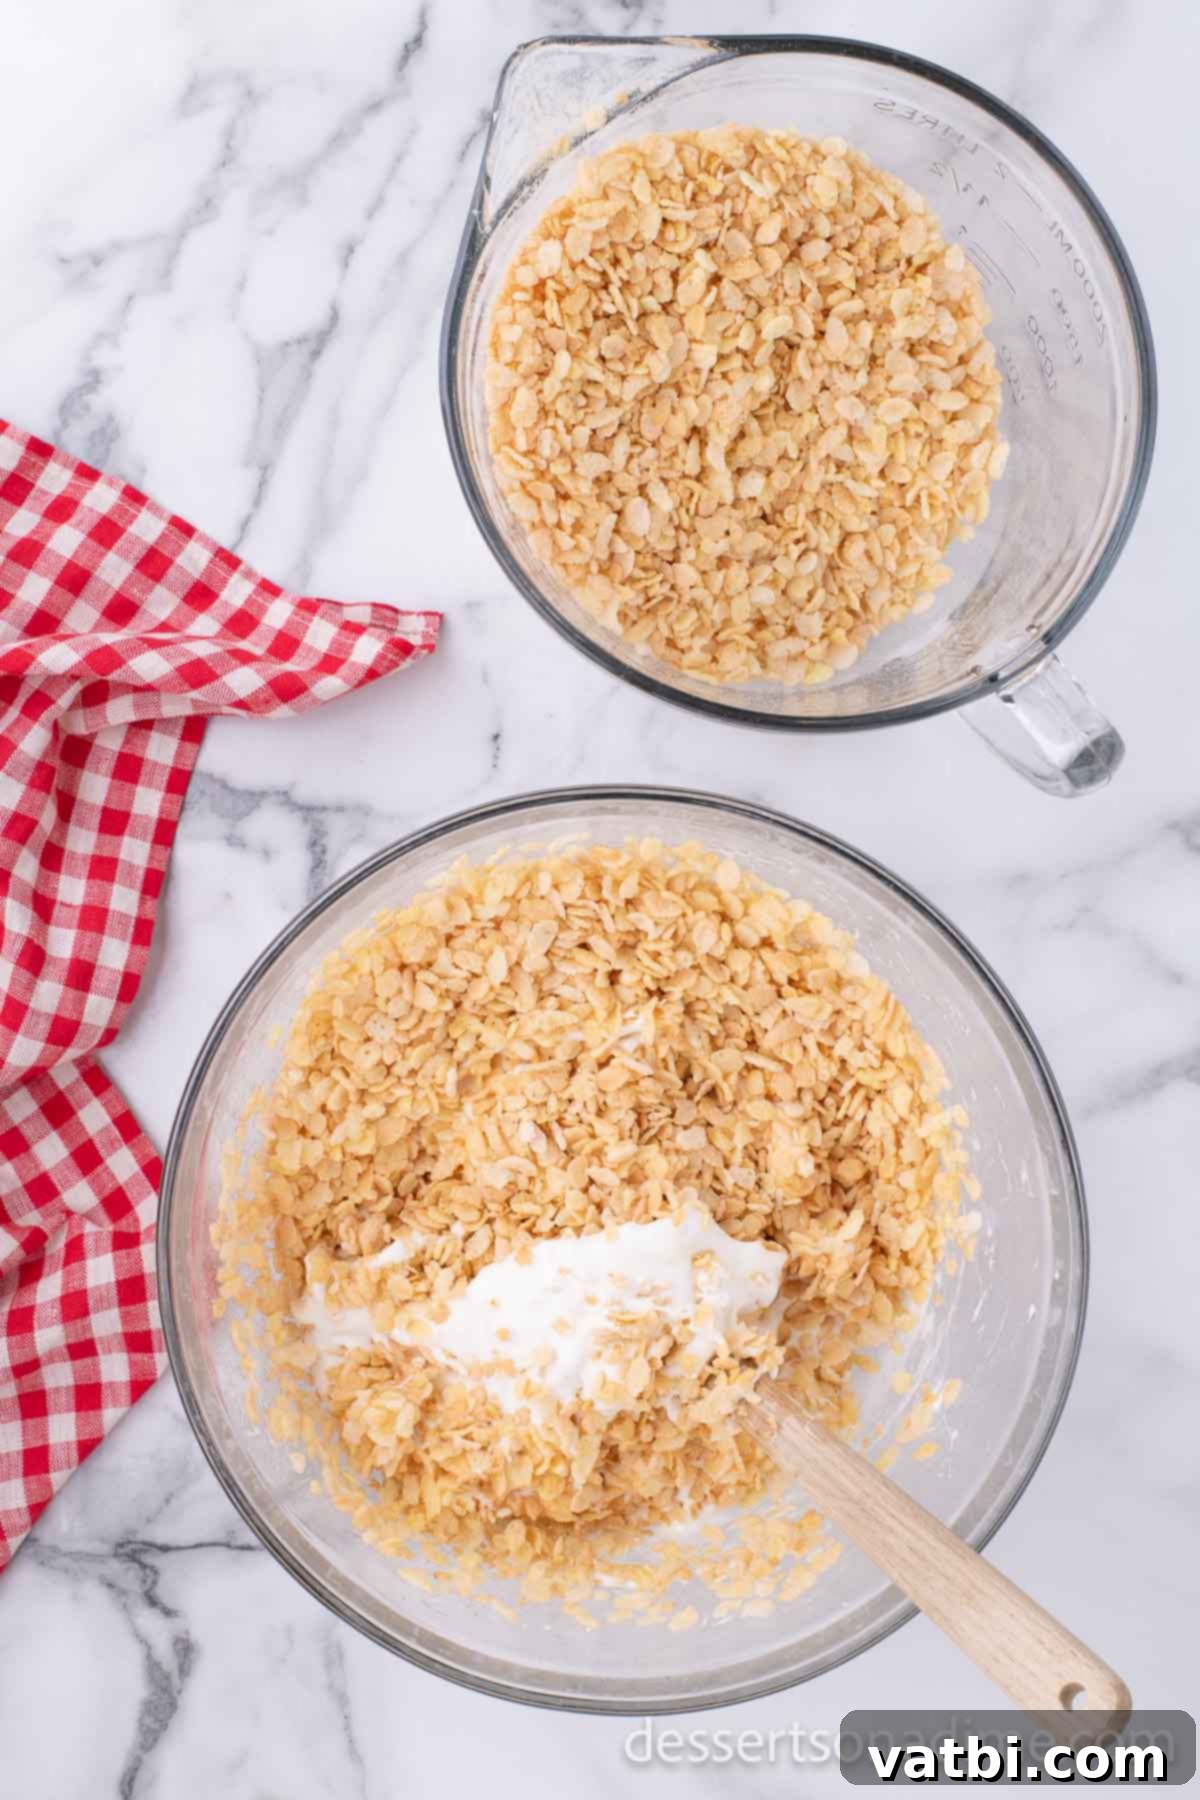
Step 3. Incorporate Cereal: Once the marshmallow mixture is perfectly melted, add the Rice Krispie cereal to the bowl. Using a rubber spatula, gently but thoroughly mix the cereal until every piece is completely coated with the gooey marshmallow mixture. This step ensures that each bite has the right balance of crunch and chew. Allow this warm mixture to set at room temperature for 5-8 minutes to cool slightly. This cooling period is important as you don’t want the mixture to be too hot, which would melt the chocolate coating of the M&M’s when you add them.
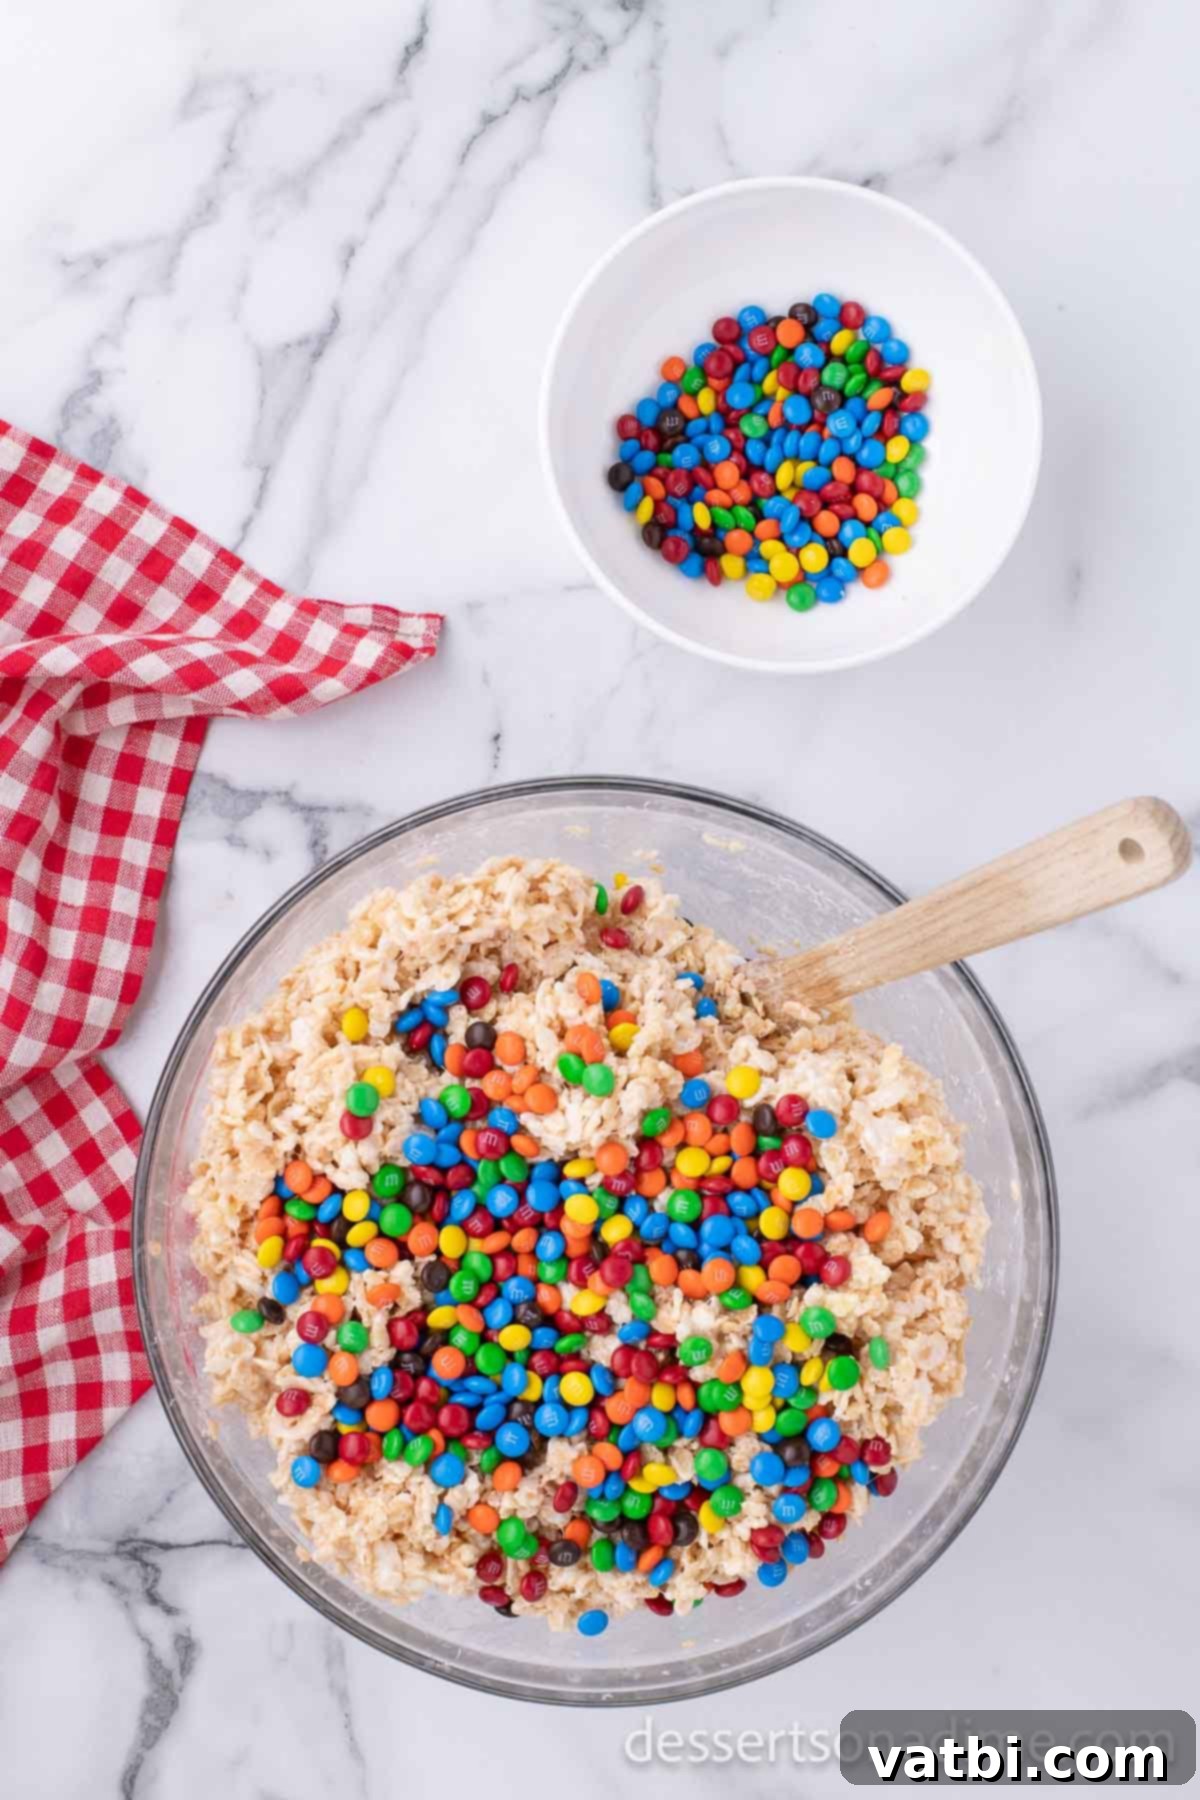
Step 4 – Fold in M&M’s: After the cereal mixture has cooled slightly, it’s time for the stars of the show! Gently fold in the mini M&M candies using your rubber spatula. The key here is to be gentle and quick to avoid melting the chocolate. You want those beautiful, colorful candies to retain their shape and provide a delightful textural contrast.
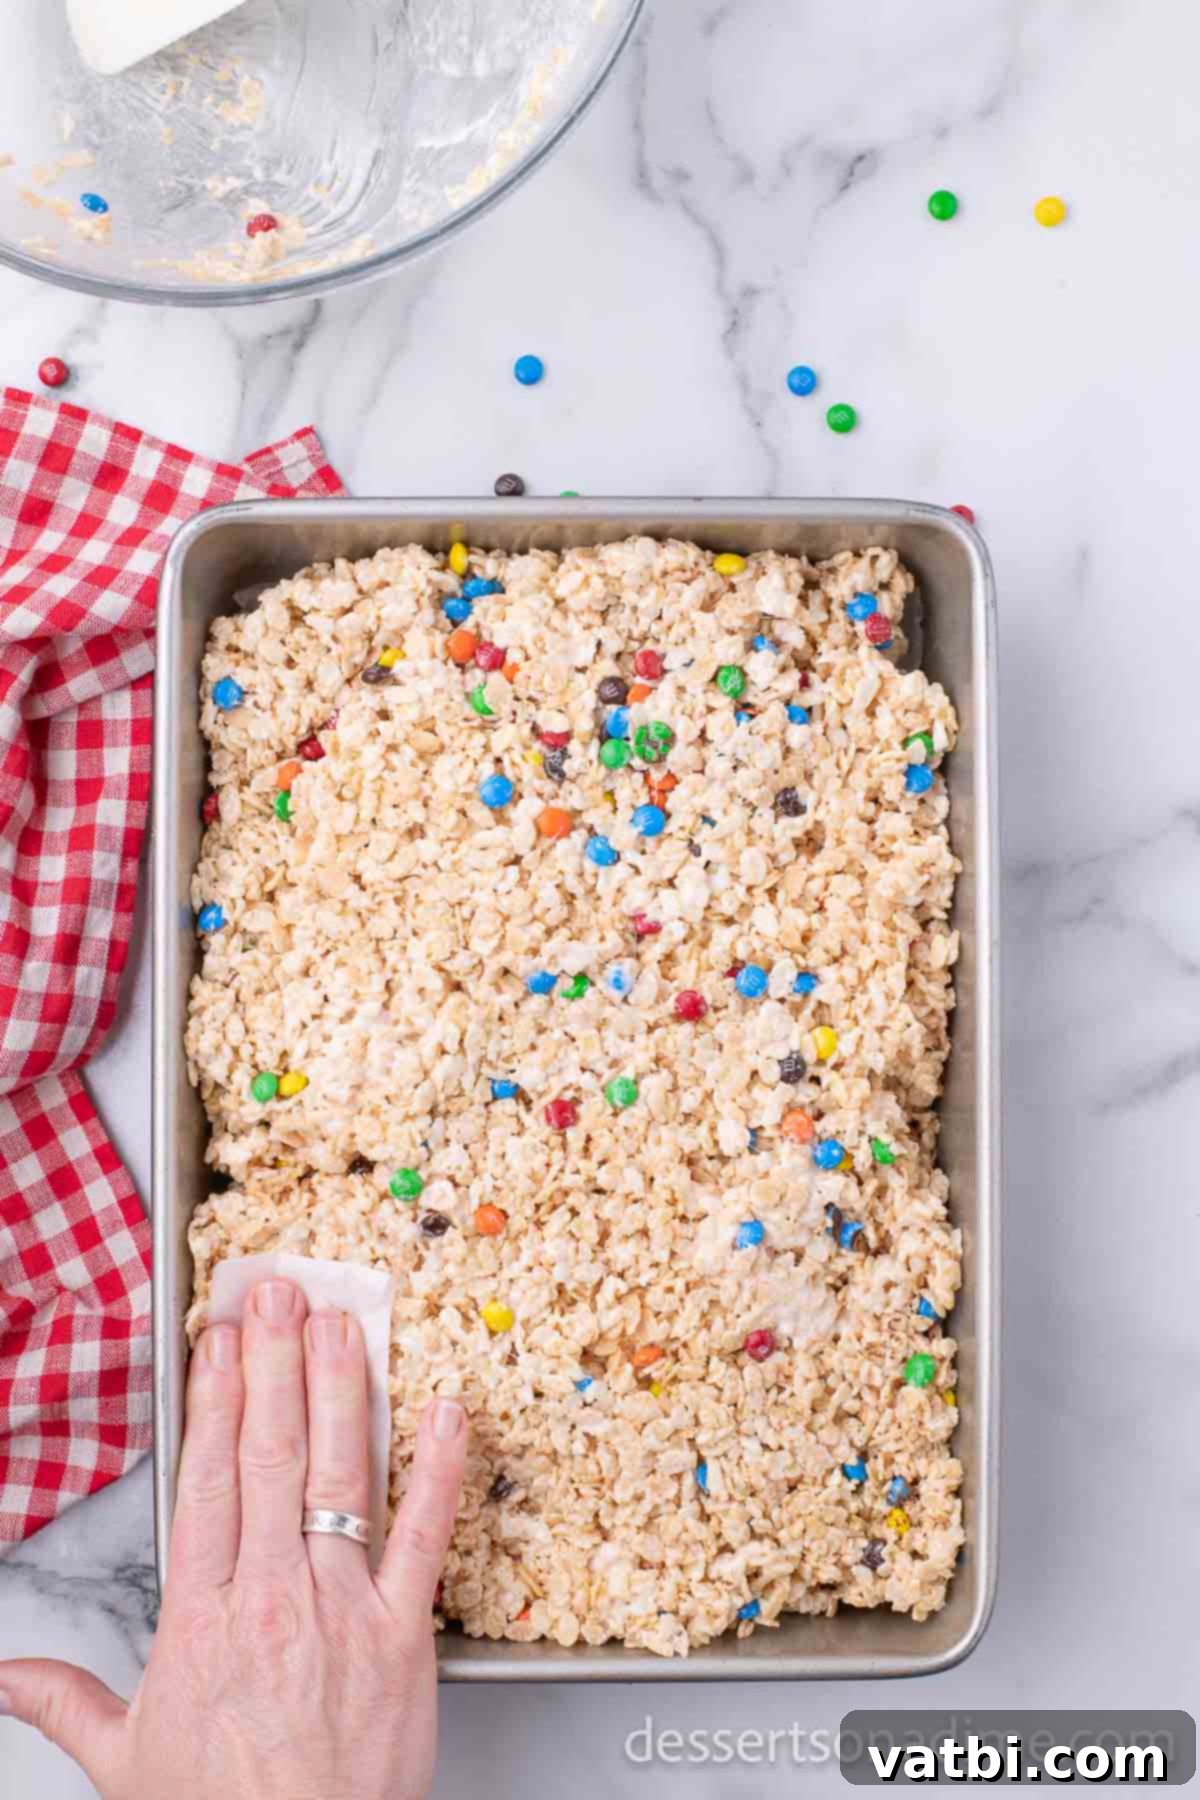
Step 5. Press into Pan: Carefully transfer the M&M Rice Krispie mixture into the prepared 9×13 inch pan. To press the mixture evenly into the bottom of the pan without compacting it too much (which can lead to hard treats), use a piece of wax paper or parchment paper. I often spray the wax paper itself with a non-stick spray to ensure it doesn’t stick to the warm mixture. Gently press down until the top is relatively flat and the mixture is evenly distributed in the pan.
Can You Make These on the Stove Top?
Absolutely! If you don’t have a microwave or simply prefer the stovetop method, these M&M Rice Krispie Treats can be made just as easily. The key is to manage the heat carefully to prevent scorching the marshmallows and ensure your treats remain soft and gooey.
- Melt Butter: In a large, heavy-bottomed saucepan or pot, melt the butter over low heat. Using low heat is crucial here to prevent the butter from browning too quickly, which can impart a different flavor.
- Add Marshmallows: Once the butter is melted, add all of the marshmallows to the saucepan. Continue to heat on low, stirring constantly with a rubber spatula or wooden spoon.
- Stir Until Melted: Keep stirring until the marshmallows are completely melted and form a smooth, homogenous mixture. It’s important to avoid high heat, as too much heat can cause the sugar in the marshmallows to caramelize and harden, resulting in tough treats.
- Remove from Heat: As soon as the mixture is smooth and fully melted, remove the saucepan from the heat immediately.
- Combine with Cereal: Pour this warm marshmallow mixture over the Rice Krispie cereal in a separate, large bowl. Stir quickly and thoroughly with your spatula until all the cereal is well coated.
- Fold in M&M’s & Press: Allow the mixture to cool for 5-8 minutes, then gently fold in the M&M’s. Press the mixture evenly into your prepared 9×13 baking dish using wax paper or a buttered spatula.
- Cool and Enjoy: Let the treats cool completely at room temperature before slicing and serving.
Expert Tips for Perfect Treats
Achieving that perfect balance of soft, gooey, and chewy M&M Rice Krispie Treats is simple with these expert tips:
- Cool Completely for Best Texture: Patience is a virtue when it comes to Rice Krispie Treats! Allow them to cool completely at room temperature before cutting and serving. This allows the marshmallow mixture to set properly, ensuring clean cuts and the desired chewy texture. If you try to cut them too soon, they might be too sticky and fall apart.
- Proper Storage is Key: To maintain their freshness and delicious texture, store these treats in an airtight container at room temperature. They will last about 3-4 days. Avoid leaving them exposed to air, as this can cause them to dry out and become hard.
- Always Use Low Heat: Whether you’re melting marshmallows in the microwave or on the stovetop, always use low heat and gradual increments. Increasing the heat too much or cooking for too long will cause the sugar in the marshmallows to overcook and crystallize, resulting in hard, tough treats that lack that wonderful soft, gooey quality we all love.
- Do NOT Refrigerate: This is a common mistake! Do not store Rice Krispie Treats in the refrigerator. The cold temperature will cause them to harden significantly and lose their signature gooeyness. They are truly best left to cool and store at room temperature to remain perfectly soft and delicious!
- Choose the Right Pan Size: For deliciously thick and substantial Rice Krispie Treats, a 9×13 inch pan is ideal for this recipe’s proportions. If you prefer a smaller batch or thinner treats, you can easily half the recipe and make it in a 9×9 inch pan. Adjusting the pan size will impact the thickness, so choose according to your preference.
- Line with Parchment Paper for Easy Removal: For the absolute easiest removal and cleanup, line your baking pan with parchment paper. Leave an overhang on the sides so you can simply lift the entire slab of treats out of the pan once cooled, making slicing a breeze.
- Gently Press into Pan – Don’t Compact!: When spreading the mixture into the prepared pan, use your hands or a spatula (lightly sprayed with non-stick spray) to press it gently and evenly. The key word here is “gently.” Over-compressing or packing the mixture too tightly will result in dense, hard treats rather than the desired soft and airy texture. Light pressure is all you need to ensure they stick together.
- Fresh Ingredients Matter: Using fresh marshmallows and crispy rice cereal is paramount. Stale cereal can affect the crunch, and old marshmallows might not melt as smoothly or contribute to the same gooey consistency.
- Add Vanilla Extract: While not listed in the original ingredients, a teaspoon of pure vanilla extract added to the melted marshmallow mixture can significantly enhance the flavor, adding a warm, aromatic depth that complements the chocolate M&M’s beautifully.
Frequently Asked Questions (FAQs)
This recipe is quite simple and doesn’t require much specialized equipment. The main item you’ll need is a 9×13 inch baking dish. The ones with a lid are incredibly handy if you plan on transporting the treats or want to easily store them. You’ll also need a large, microwave-safe mixing bowl (or a heavy-bottomed saucepan for the stovetop method) and a sturdy rubber spatula or wooden spoon for mixing. A good non-stick cooking spray is also essential for pan preparation.
The most common reason for Rice Krispie Treats falling apart is an incorrect ratio of marshmallows to cereal. If you use too many marshmallows, they can become overly soft and lack the structural integrity to hold together, causing them to fall apart. Resist the urge to add extra marshmallows beyond what the recipe calls for, as this will lead to a messy, unmanageable consistency rather than extra gooeyness. We recommend strictly following the listed recipe for the ideal balance. Conversely, using too much cereal relative to the marshmallows can also be a culprit, making the mixture too dry and crumbly to bind properly. Ensure your measurements are accurate for both ingredients.
Hard Rice Krispie Treats are usually a sign of overheating the butter and marshmallow mixture. When marshmallows are heated too high or for too long, the sugars can caramelize or crystallize, which then sets into a very hard, brittle texture once cooled. To avoid this, make sure to watch the mixture closely during the melting process. Heat it until just melted and smooth, stirring frequently, and remove it from the heat as soon as it reaches this consistency. Gentle heat and patience are key to maintaining that wonderful soft and gooey chewiness.
The best way to store Rice Krispie Treats is at room temperature. Once they have completely cooled and set, cover them with plastic wrap or place them in an airtight container. They will stay fresh, soft, and delicious for up to 5 days. As mentioned in our expert tips, avoid storing them in the refrigerator, as the cold air will cause them to harden and become less enjoyable.
Yes, you can freeze Rice Krispie Treats, though many people, including myself, prefer them fresh for the optimal texture. If you choose to freeze them, first wrap individual treats or the entire slab tightly in plastic wrap, then place them in an airtight freezer-safe container or freezer bag. They can be frozen for up to 6 weeks. To thaw, simply take them out of the freezer and let them come to room temperature for a few hours before serving. The texture might be slightly chewier after thawing, but they will still be delicious. See Can You Freeze Rice Krispie Treats to learn more details on the process.
While it might be tempting to use up old marshmallows, it’s highly recommended to use fresh ones. Stale marshmallows tend to be harder and may not melt as smoothly or incorporate as well, which can impact the overall gooey texture of your treats. Fresh marshmallows are crucial for achieving that signature soft and chewy consistency.
For extra gooey treats, there are a few tricks. First, ensure you’re using fresh marshmallows and that you don’t overcook them during the melting stage – less heat is more. You can also slightly increase the amount of butter by half a tablespoon, which adds to the richness and softness. Additionally, adding about 1/4 teaspoon of vanilla extract can enhance the overall flavor and contribute to a softer, more pliable marshmallow mixture. The key is to melt the marshmallows just until smooth, then mix in the cereal quickly without overworking it.
Explore More Easy Rice Krispie Treats
If you love the simplicity and versatility of these M&M Rice Krispie Treats, you’ll be thrilled to discover a whole world of other easy and delicious variations. These no-bake wonders are perfect for any occasion and can satisfy every craving. Dive into these other fantastic recipes:
- Neapolitan Rice Krispie Treats – Layers of chocolate, vanilla, and strawberry goodness in one treat!
- Chocolate Rice Krispie Treats – For the ultimate chocolate lover, a rich and decadent twist on the classic.
- Peanut Butter Rice Krispie Treats – A delightful combination of sweet and salty, perfect for peanut butter enthusiasts.
- Strawberry Rice Krispie Treats – A fruity and vibrant option that’s perfect for spring and summer.
- Chocolate Chip Rice Krispie Treats – The classic cookie flavor meets the crispy treat.
- Oreo Rice Krispie Treats – Crushed Oreos folded in for an irresistible cookies-and-cream experience.
There’s a Rice Krispie Treat for everyone, and these variations prove just how adaptable and fun this simple dessert can be. Go ahead and try these delightful rice crispy treats today. We’re confident they’ll become a new favorite in your home. Please let us know your thoughts and how your batch turned out in the comment section below!
Pin
M&M Rice Krispie Treats
Ingredients
- 12 cups Rice Krispie Cereal
- 6 Tablespoons Butter
- 10 ounce package of Marshmallows
- 1 10 oz bag of mini m&ms
Instructions
-
Spray a 9X13 pan with a non-stick cooking spray. For easier removal, you can also line the pan with parchment paper, leaving an overhang on the sides.
-
In a large microwave-safe bowl, melt the butter and marshmallows. Heat in 30-second increments, stirring thoroughly after each one, until the mixture is completely smooth and melted. Be careful not to overheat.
-
Once melted, add the Rice Krispie cereal to the marshmallow mixture. Stir until the cereal is evenly coated. Allow this mixture to sit at room temperature for 5-8 minutes to cool down slightly.
-
Gently fold in the mini M&M candies. Mix just enough to distribute them without causing them to melt too much.
-
Transfer the mixture to the prepared pan. Use a piece of wax paper (lightly sprayed with non-stick spray) or a buttered spatula to gently press the Rice Krispies evenly into the bottom of the pan. Avoid pressing too hard to keep the treats soft.
-
Allow the treats to cool completely at room temperature for at least 30 minutes before slicing, serving, and enjoying!
-
*You can make half of this batch for thinner rice krispie treats. We love thick rice krispie treats, so we stick to the full recipe in a 9×13 pan!
-
*Do not store in the refrigerator. They are best left to cool and store at room temperature so that they remain gooey and delicious!
Nutrition Facts
Pin This Now to Remember It Later
Pin Recipe
