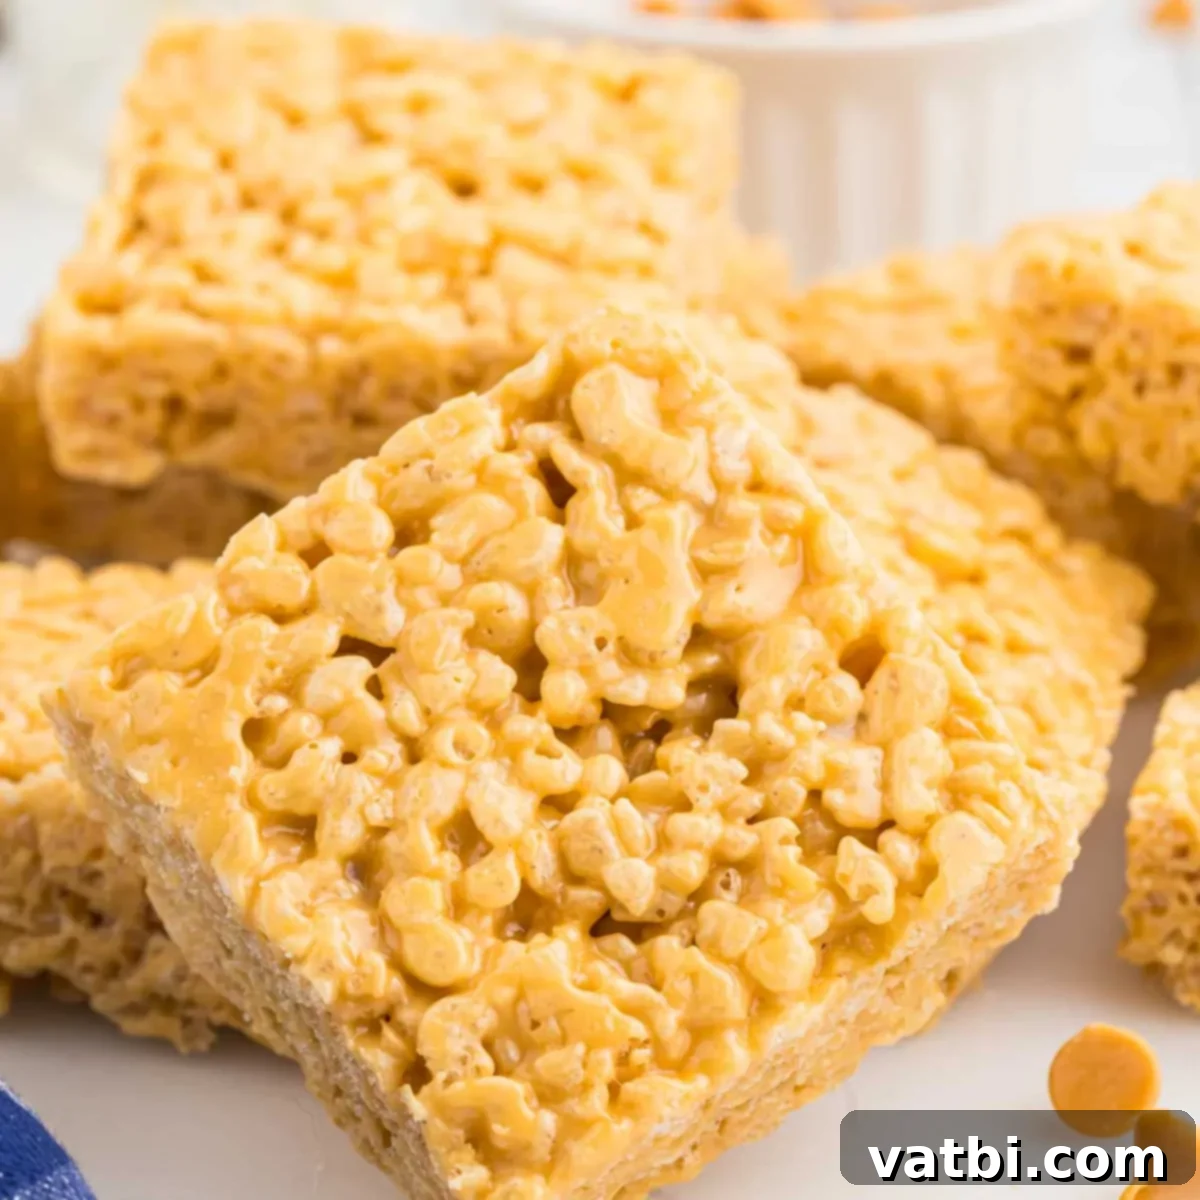
Irresistibly Gooey Brown Butter Rice Krispie Treats: The Ultimate No-Bake Recipe
Prepare to elevate your favorite childhood snack to an entirely new level of deliciousness with these incredible Brown Butter Rice Krispie Treats. The secret lies in the rich, nutty aroma and complex flavor of salted brown butter, which beautifully melds with the sweet, gooey marshmallows. This isn’t just a dessert; it’s a gourmet twist on a classic, promising an irresistible experience with every single bite.
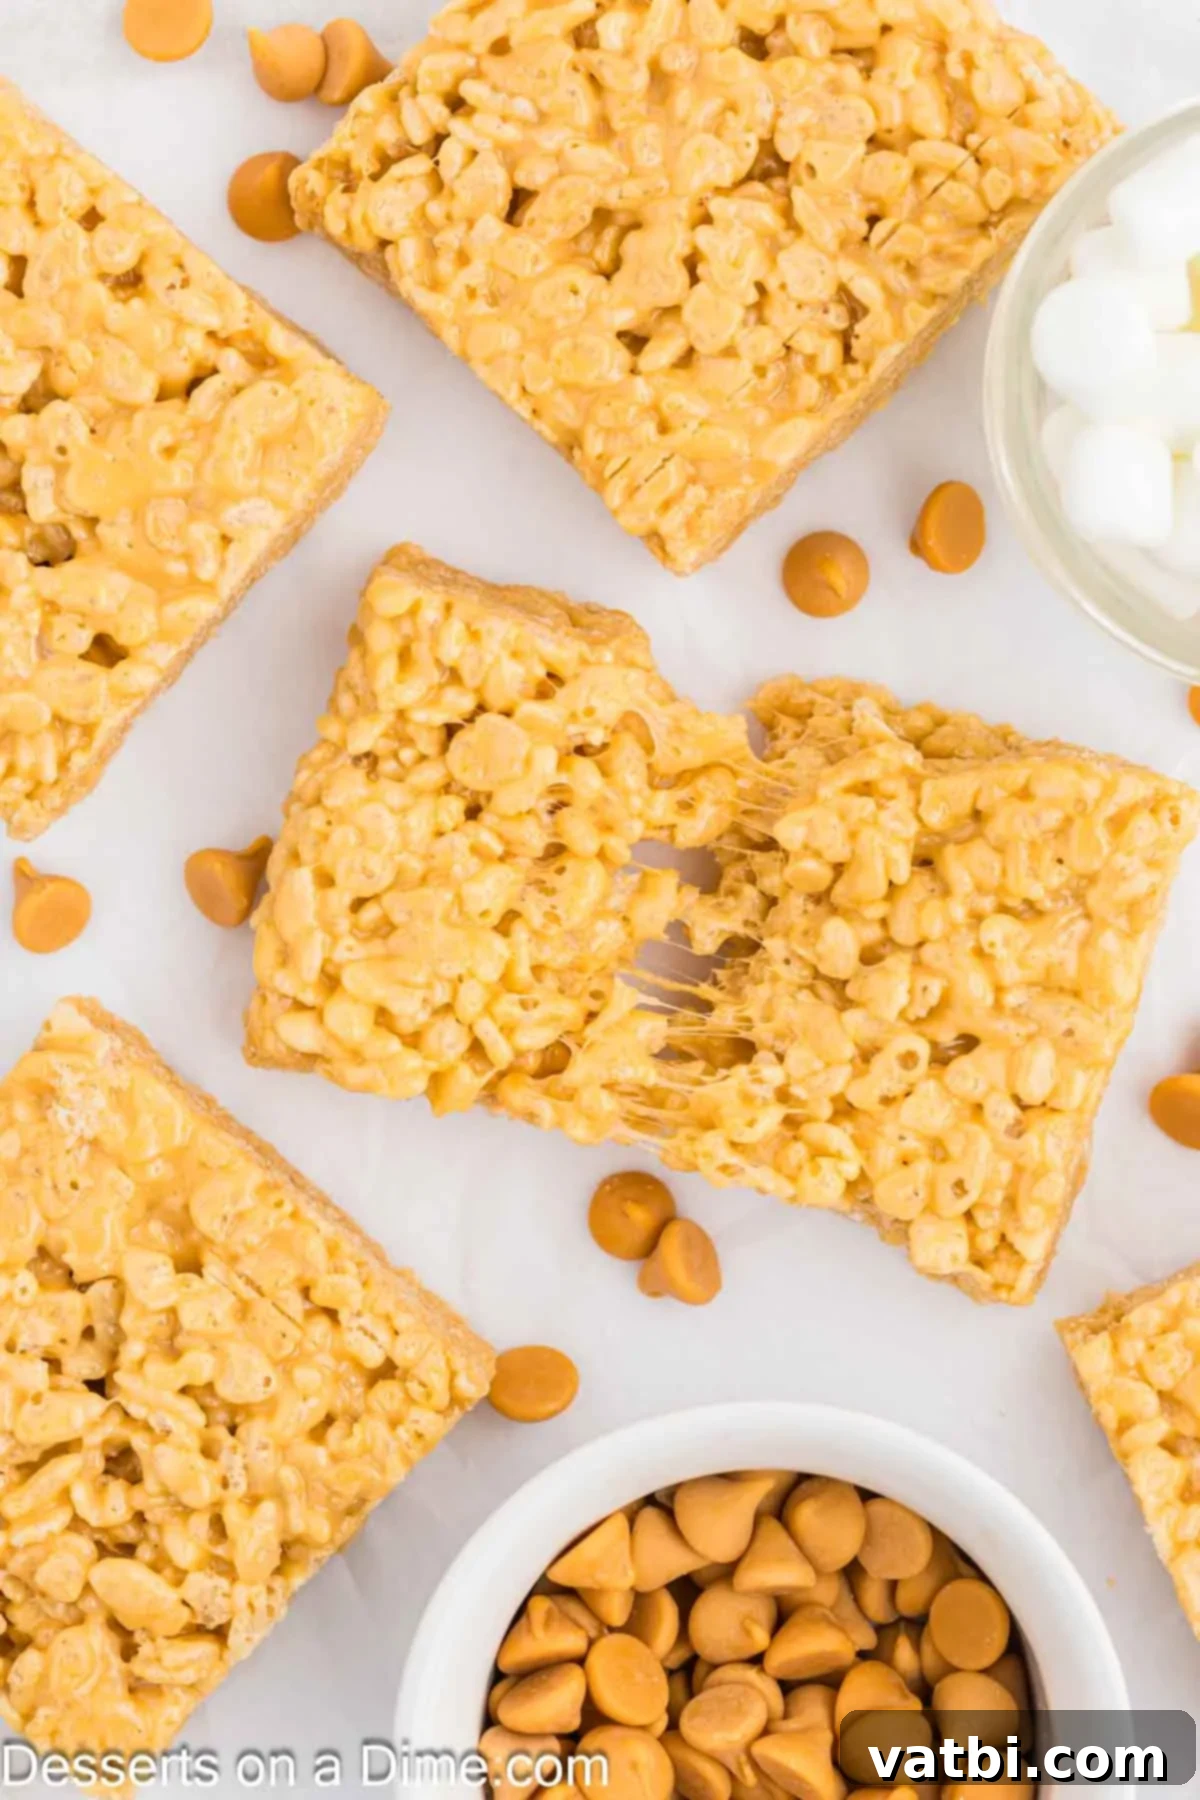
If you’re searching for an effortlessly delicious treat, these brown butter-infused delights are your answer. They’re a fantastic no-bake dessert, perfect for last-minute gatherings or when you need a quick sweet fix. While the traditional Rice Krispie Treats recipe is beloved, this version introduces a depth of flavor that’s simply unparalleled. Despite needing only three primary ingredients, the transformation from simple to sophisticated is remarkable. Get ready for a dessert that’s easy to make, yet tastes like it came from a specialty bakery!
Table of contents
- Why We Love This Recipe
- Ingredients for Brown Butter Rice Krispie Treats
- Delicious Variations to Try
- How to Make Brown Butter Rice Krispie Treats
- Expert Tips for Cutting Perfect Bars
- Frequently Asked Questions
- Pro Tips for the Best Results
- More Irresistible Rice Krispie Treats
Why We Love This Recipe
There are countless reasons to fall in love with these brown butter Rice Krispie treats, and once you try them, you’ll understand why they’re an instant favorite. Each bite delivers an incredible experience – perfectly ooey-gooey, wonderfully chewy, and bursting with a rich, nutty flavor that sets them apart. The secret truly lies in the salted brown butter, which imparts a complex, toasted caramel note that plain butter simply can’t replicate. This seemingly small adjustment makes a monumental difference, transforming a simple treat into something truly extraordinary.
Beyond their exceptional taste, these treats are incredibly easy to prepare. You’ll be amazed at how such a gourmet-tasting dessert comes together with minimal effort and just a few ingredients. As the butter simmers and browns, your kitchen will be filled with a heavenly, aromatic scent – a warm, nutty fragrance that’s almost as delightful as the treats themselves. It’s a sensory experience from start to finish!
If you’re already a fan of the classic Rice Krispie Treat, you’ll appreciate this elevated version even more. And if you’re looking for other ways to enjoy the crispy texture and comforting taste of Rice Krispies, be sure to explore recipes like Avalanche Cookies or our indulgent Salted Caramel Rice Krispie Treats. But for a truly unique and deeply flavorful experience, these brown butter beauties are an absolute must-try. We’re confident they’ll become a staple in your dessert repertoire.
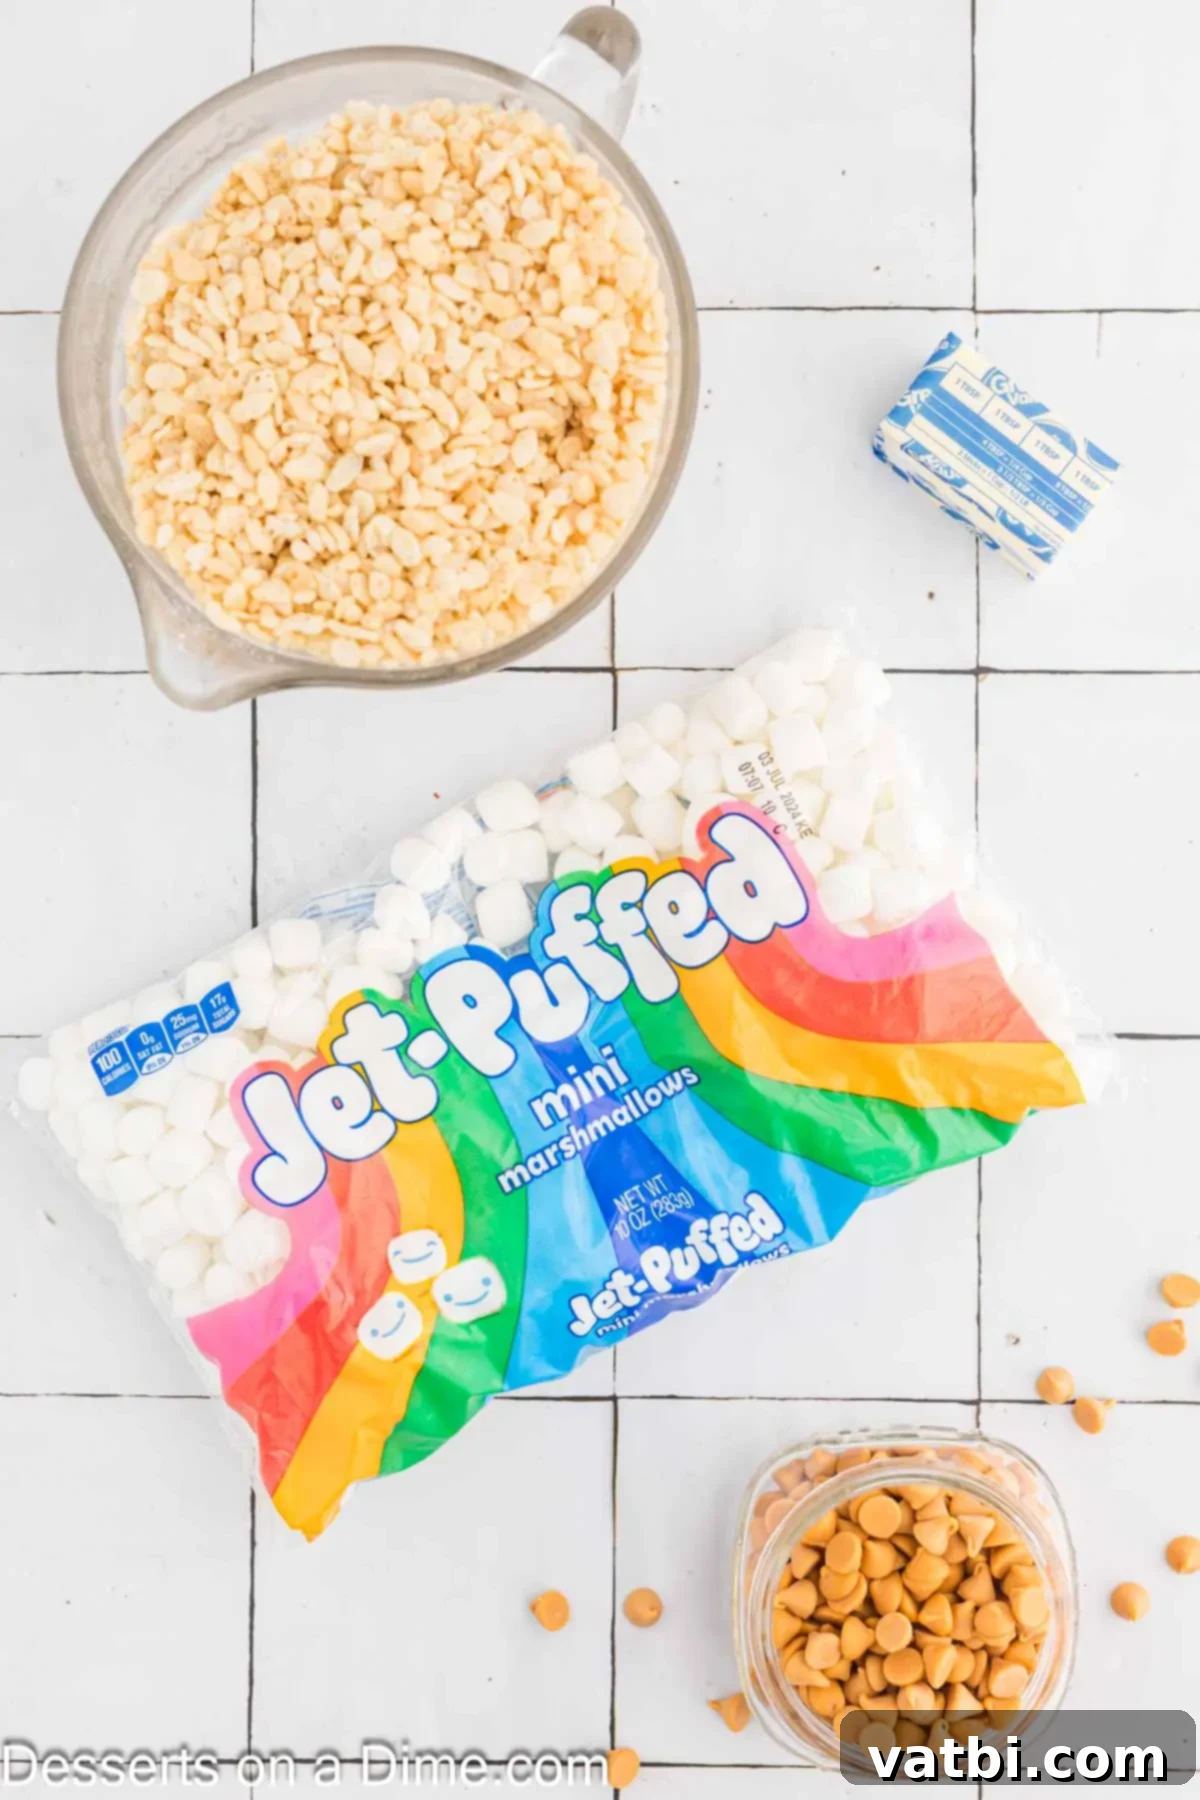
Ingredients for Brown Butter Rice Krispie Treats
Crafting these sensational Brown Butter Rice Krispie Treats requires just a handful of simple ingredients, but selecting the right ones makes all the difference in achieving that perfect flavor and texture.
- Salted Butter: While you can technically use unsalted butter and add a pinch of salt separately, we highly recommend using salted butter. The salt crystals in salted butter help to balance the sweetness of the marshmallows and enhance the nutty, rich notes that develop during the browning process. It truly elevates the overall flavor profile.
- Mini Marshmallows: Miniature marshmallows are preferred for a couple of key reasons. They melt much more quickly and evenly than larger marshmallows, leading to a smoother, more consistent gooey mixture. Fresh marshmallows are crucial here; stale ones can result in a tougher, harder treat.
- Rice Krispies Cereal: The star of the show! Ensure your Rice Krispies cereal is fresh and crispy. Stale cereal will result in soggy, rather than perfectly crunchy, treats. The freshness of the cereal is paramount for that classic satisfying “snap, crackle, pop” texture.
You’ll find the precise measurements and a comprehensive list of ingredients, along with their quantities, in the detailed recipe card located at the very bottom of this post. Don’t forget to refer to it for exact amounts!
Delicious Variations to Try
While the classic Brown Butter Rice Krispie Treat is heavenly on its own, it also serves as a fantastic base for creativity. Feel free to experiment with these delicious variations to customize your treats and discover new favorite flavors:
- Chocolate Chips: A universally loved addition! Stir in about 1 cup of your favorite chocolate chips or mini chocolate chips into the cereal mixture just after pouring in the marshmallow mixture. The residual heat will slightly melt them, creating pockets of gooey chocolate throughout the bars. Milk chocolate, semi-sweet, or dark chocolate all work wonderfully.
- Caramel Infusion: For an extra layer of decadence, add 1 cup of caramel baking chips to the melted marshmallow mixture. The rich, buttery notes of the browned butter pair exceptionally well with the sweet, sticky caramel, creating a truly luxurious treat. Alternatively, a drizzle of store-bought or homemade salted caramel sauce on top after they’ve set is also delightful.
- Marshmallow Fluff Boost: If you desire an even gooier and stretchier texture, consider replacing some of the mini marshmallows with marshmallow fluff. You can use our Homemade Marshmallow Fluff recipe for the freshest taste. Just remember that fluff can be a bit stickier, so adjust your pressing technique accordingly.
- Flaky Sea Salt Topping: To beautifully contrast the sweetness and enhance the nutty brown butter flavor, sprinkle a generous pinch of flaky sea salt over the top of the Rice Krispies mixture immediately after pressing it into the pan. This adds a sophisticated touch and a delightful textural crunch.
- Nut Butter Swirl: For a protein-packed and flavorful twist, swirl in about ½ cup of creamy peanut butter or almond butter into the melted marshmallow mixture before adding the cereal. This creates a rich, nutty, and even more satisfying treat.
- Extract Enhancements: Add a teaspoon of vanilla extract (in addition to or instead of the pure vanilla extract often added to the butter-marshmallow mix), almond extract, or even a hint of maple extract to the melted marshmallow mixture for an extra layer of aroma and flavor.
How to Make Brown Butter Rice Krispie Treats
Making these gourmet treats is surprisingly straightforward, involving just a few simple steps. Follow these instructions carefully to ensure the perfect balance of chewy, crispy, and nutty flavors.
- Step 1: Prepare Your Pan. First things first, you’ll need to prepare your baking pan. For thicker, chewier bars, an 8×8-inch baking pan is ideal. If you prefer thinner, crispier bars, a 9×13-inch pan will work perfectly. Generously spray the chosen pan with a non-stick cooking spray. This crucial step will prevent your delicious treats from sticking and make removal and cutting much easier. Set the prepared pan aside.
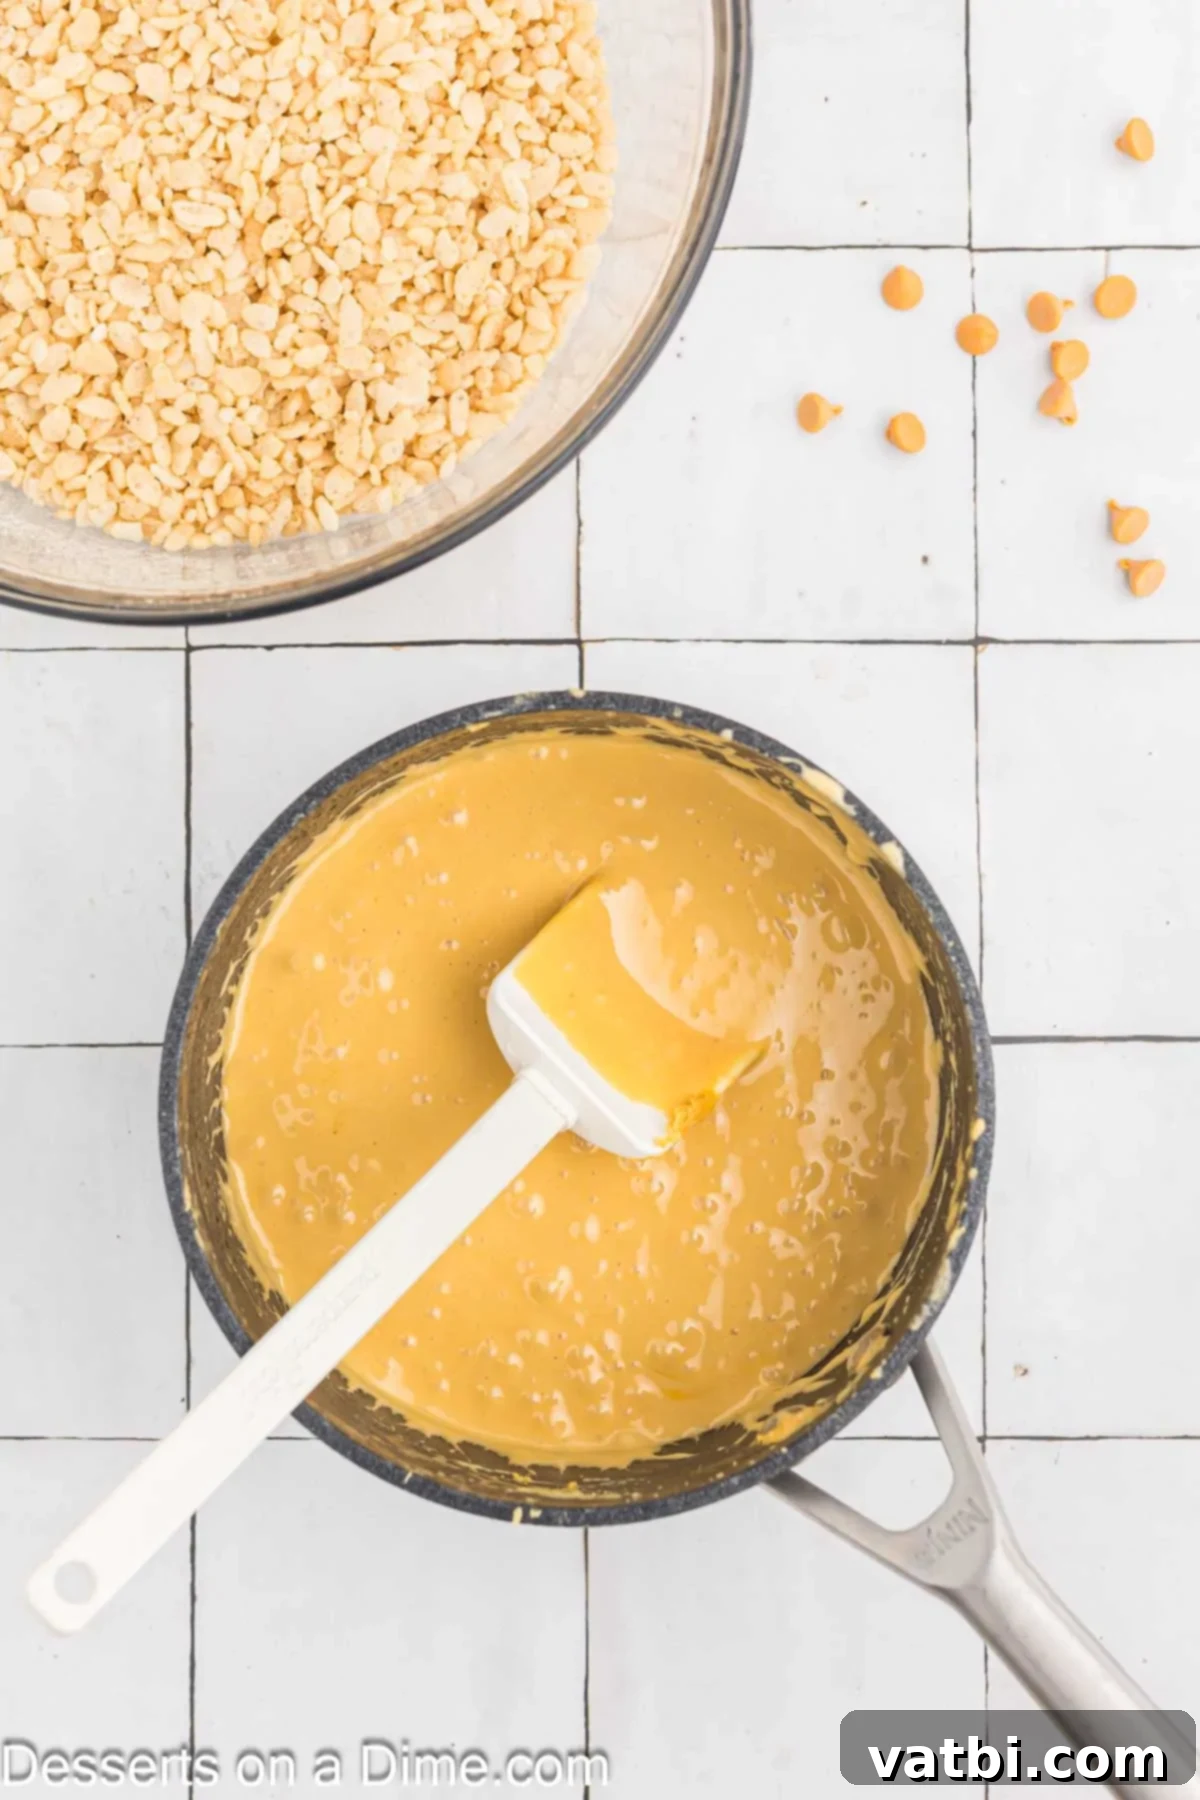
Step 2: Brown the Butter to Perfection. In a small, light-colored saucepan (light-colored helps you see the browning process), melt the salted butter over medium-low heat. Stir the butter occasionally with a heat-resistant spatula or spoon. The butter will go through several stages: it will melt, then become foamy, then transition to a clear, bright caramel color, and finally deepen into a rich, dark golden-brown with tiny specks of toasted milk solids at the bottom. This process usually takes about 5-8 minutes. It’s incredibly important to watch the butter closely during this stage, as it can go from perfectly browned to burned very quickly. Once it reaches that beautiful dark golden-brown color and has a distinct nutty aroma, immediately remove it from the heat to prevent burning.
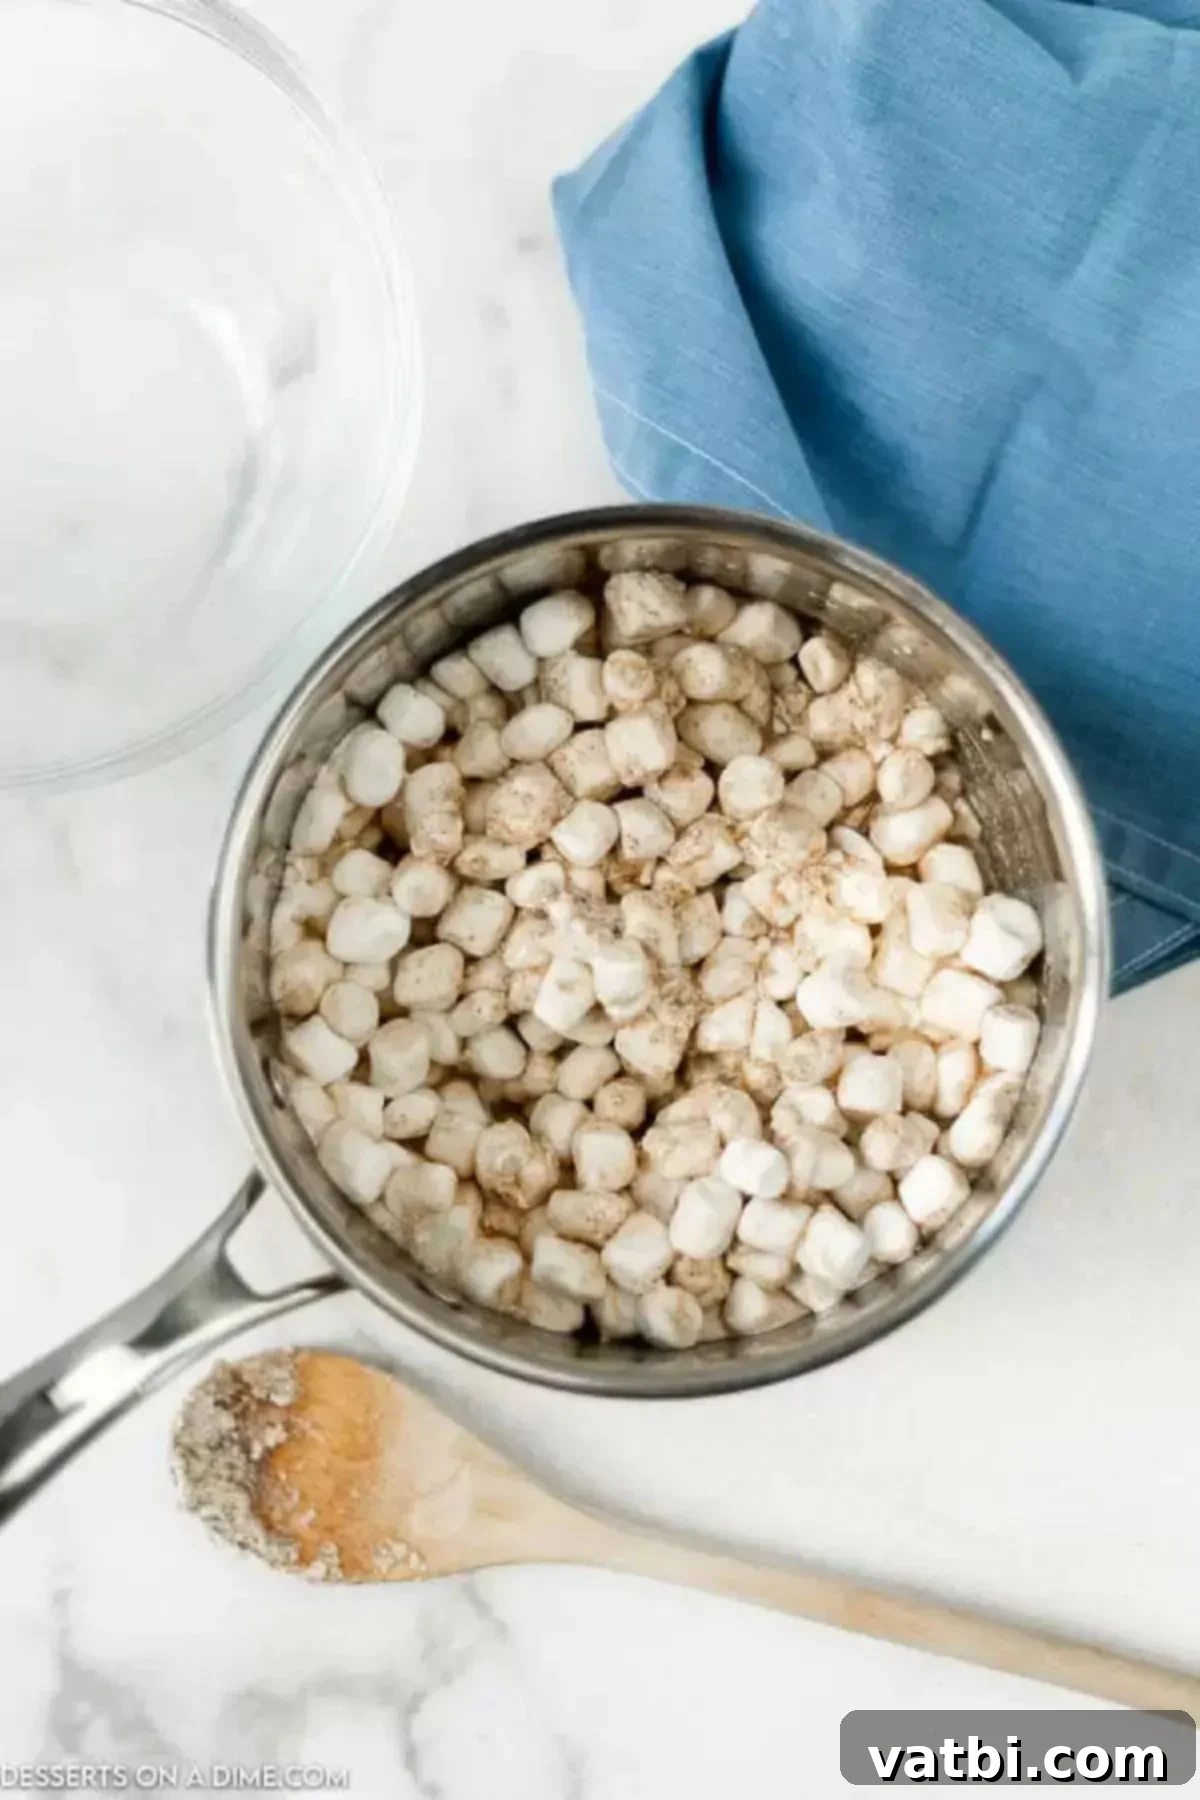
Step 3: Melt the Marshmallows. Once your butter is perfectly browned, reduce the heat to low. Add all the mini marshmallows to the saucepan with the browned butter. Stir continuously until the marshmallows are completely melted and the mixture is smooth, shiny, and fully incorporated with the butter. Melting marshmallows over low heat is key to achieving that soft, gooey texture in your finished treats. High heat can cause the sugar in the marshmallows to seize, resulting in hard treats. If your saucepan feels too small to accommodate the marshmallows and allow for easy stirring, you can carefully transfer the brown butter to a larger pot before adding the marshmallows.
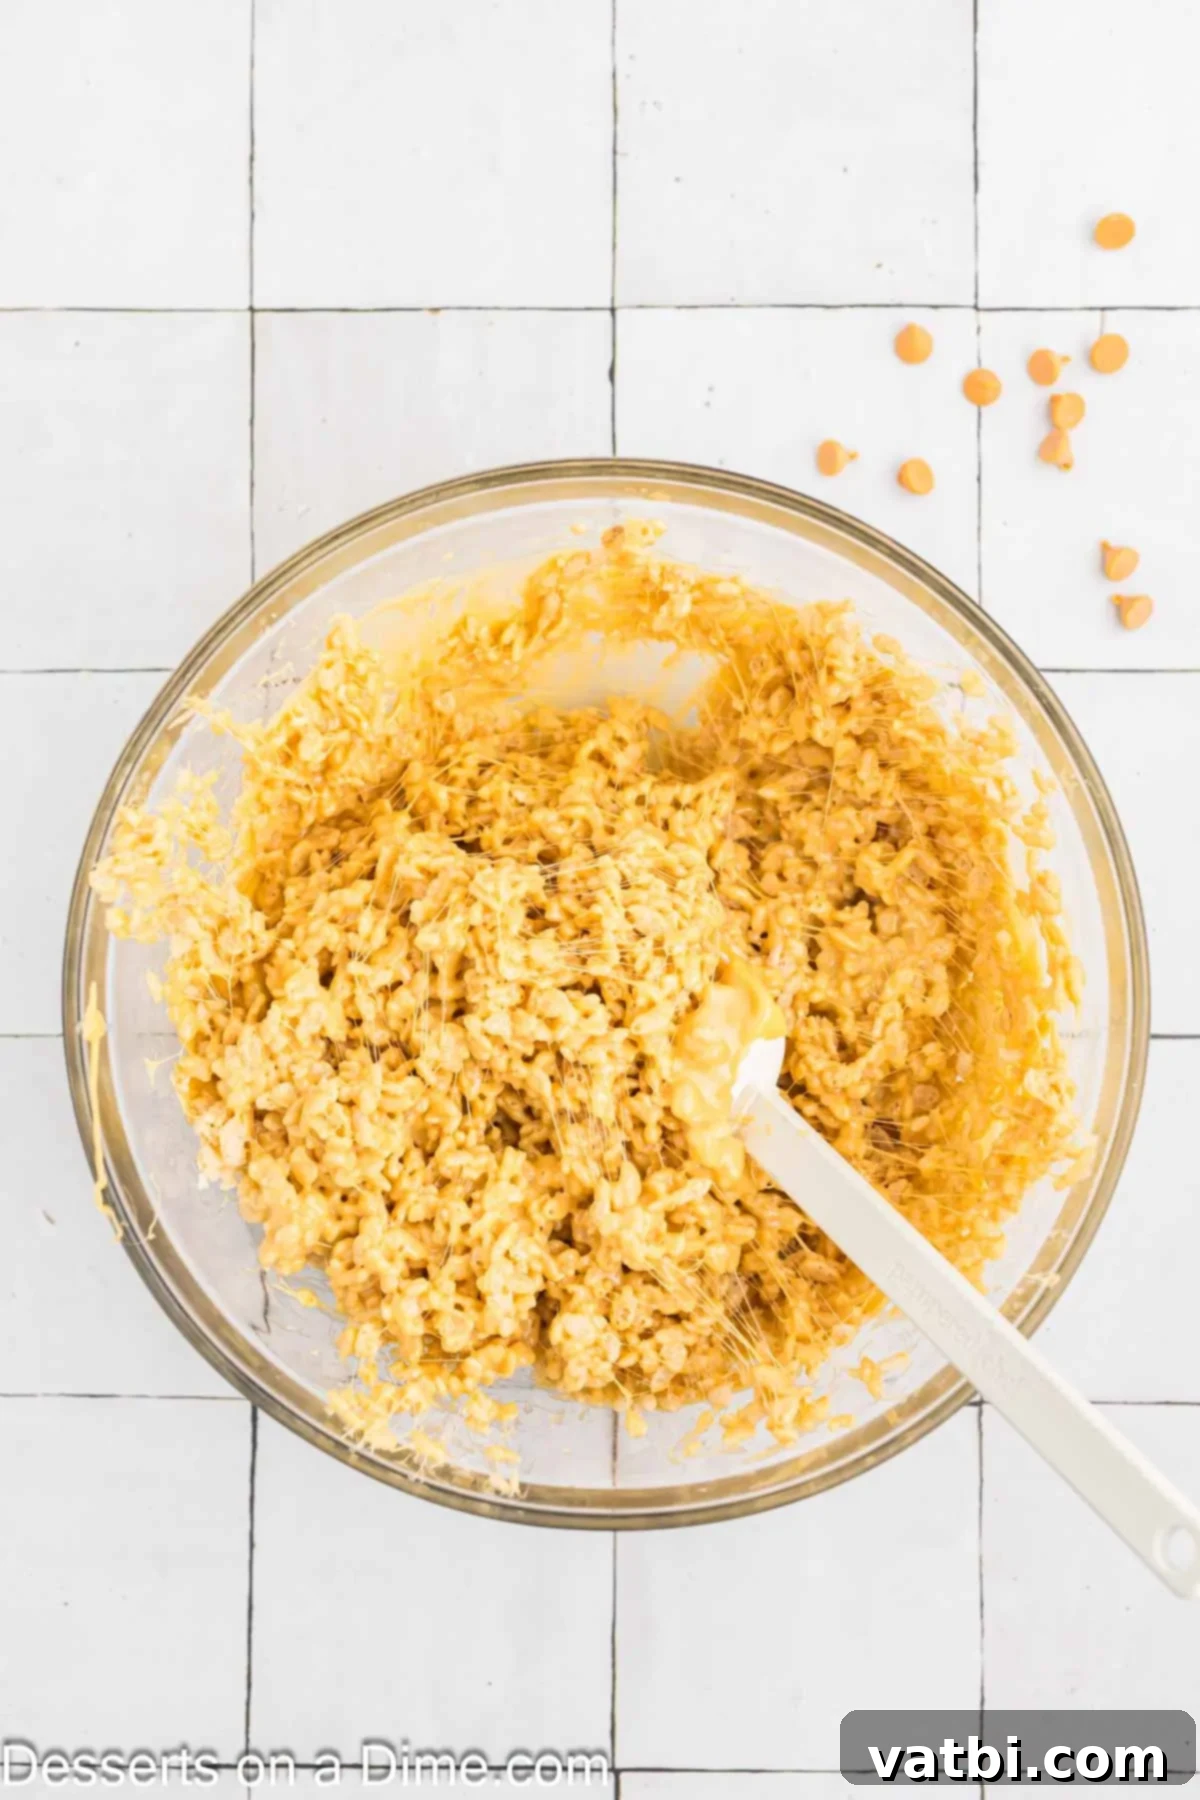
Step 4: Combine Cereal and Marshmallow Mixture. In a very large mixing bowl, measure out your fresh Rice Krispies cereal. Once the marshmallow mixture is silky smooth, pour it immediately and evenly over the cereal. Using a sturdy, rubber spatula or a wooden spoon (sprayed lightly with cooking spray to reduce stickiness), gently fold and stir the cereal until every piece is thoroughly coated with the gooey marshmallow mixture. Work quickly but gently to avoid crushing the cereal, which can lead to a less crispy texture.
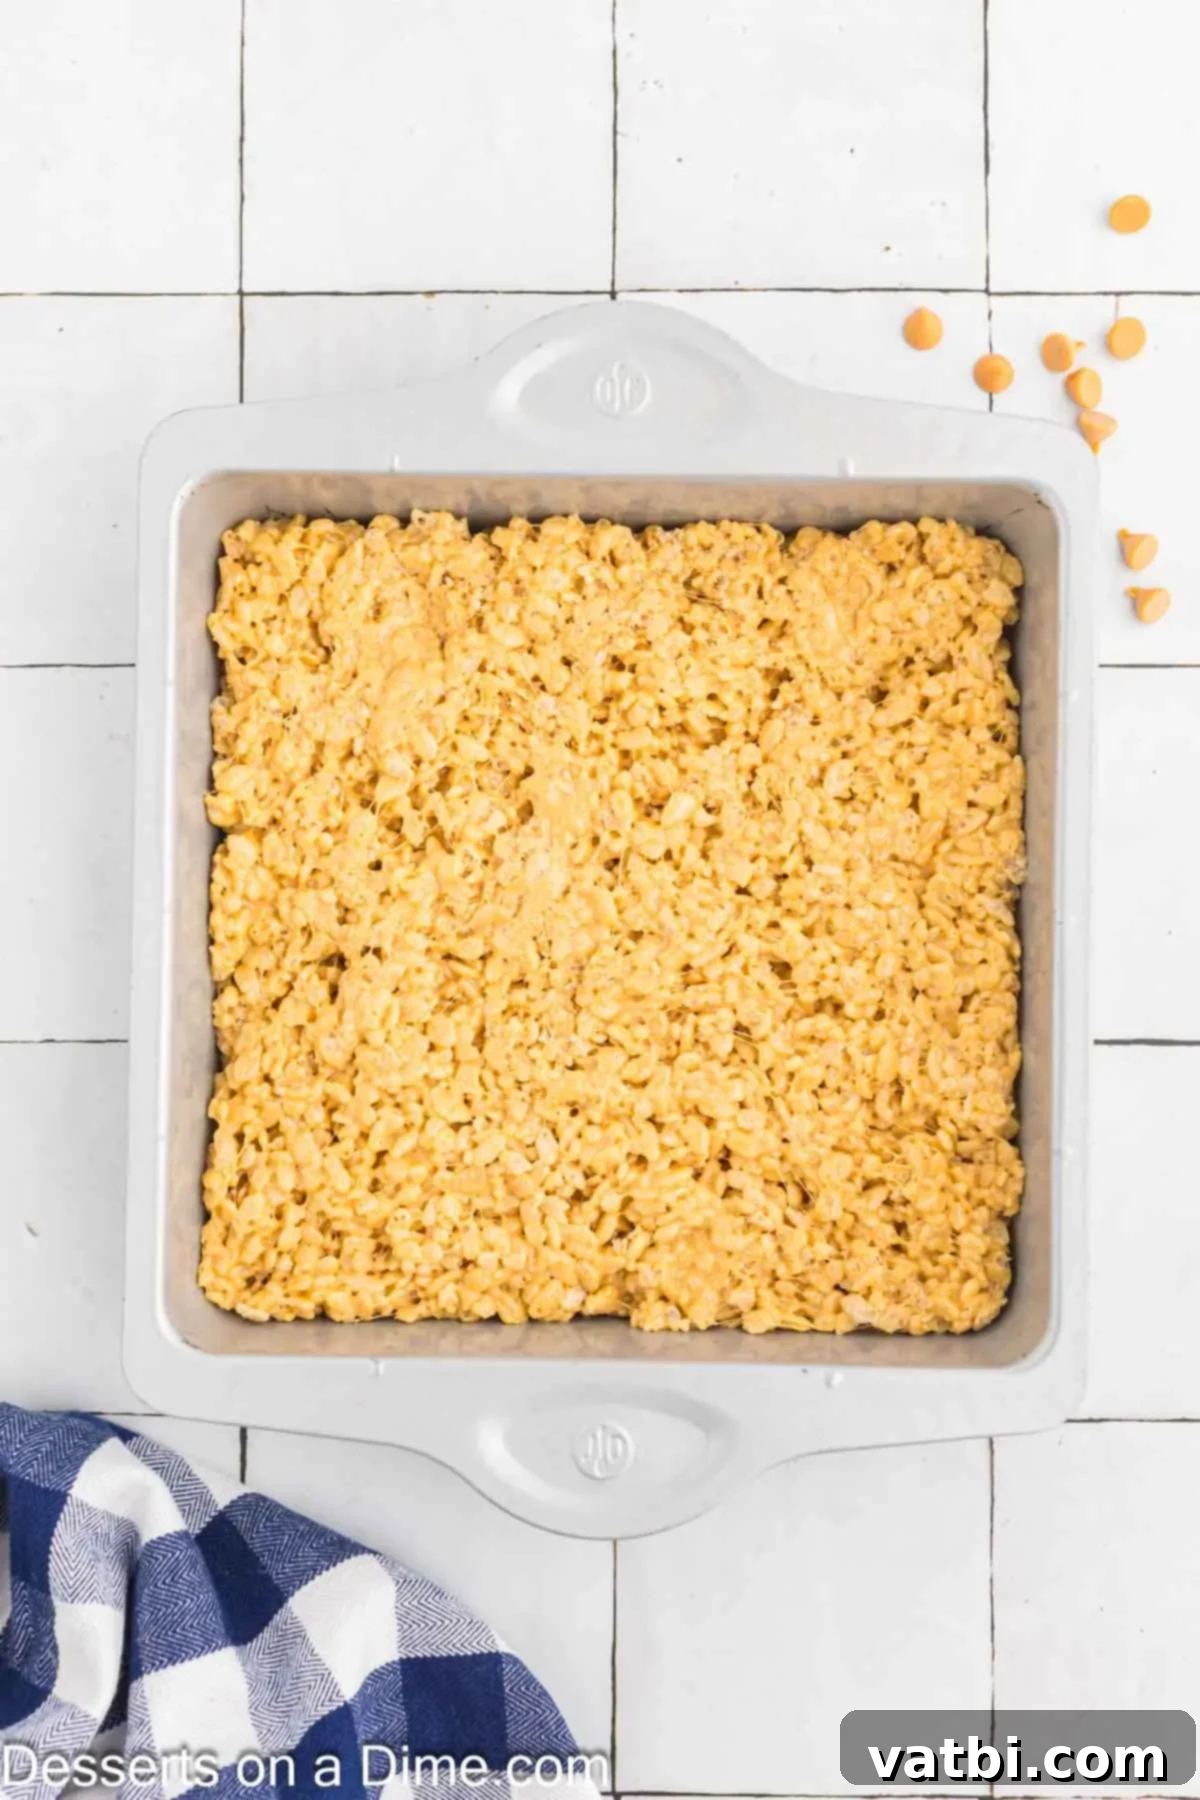
Step 5: Press into Pan and Set. Quickly transfer the warm Rice Krispies mixture into your prepared baking pan. For easy pressing and to avoid sticky fingers, spray a piece of parchment paper or wax paper with cooking spray. Place the sprayed side down over the mixture in the pan and use it to gently and evenly press the mixture into the pan. Remember, pressing too firmly can compact the treats, making them hard. Aim for an even, light press. Allow the treats to set at room temperature for at least 30-60 minutes, or until fully cooled and firm enough to slice. Then, cut them into your desired squares or shapes and enjoy!
Expert Tips for Cutting Perfect Bars
Cutting Rice Krispie treats can sometimes be a sticky endeavor, but with a few simple tricks, you can achieve clean, perfectly shaped bars every time. Proper cutting techniques are essential for presentation and enjoyment.
- Allow for Ample Setting Time: Patience is key! Do not rush the cutting process. It’s absolutely crucial that the Rice Krispie mixture sets completely before you attempt to cut it into bars. If you try to cut them too soon, they will be too soft and sticky, resulting in uneven, misshapen pieces that don’t hold their form. Allow them to cool at room temperature for at least 30-60 minutes, or even longer if your kitchen is warm. They should feel firm to the touch before proceeding.
- Remove from Pan First: For the cleanest cuts, we recommend taking the entire block of Rice Krispie treats out of the baking pan before slicing. If you lined your pan with parchment paper (which is highly recommended, as detailed in the Pro Tips section), you can simply lift the treats out using the parchment paper overhang. Place the whole slab onto a clean cutting board. This gives you a flat, stable surface to work on.
- Use a Greased Knife (and Cookie Cutters): To prevent the sticky mixture from adhering to your knife, lightly spray a sharp knife with non-stick cooking spray before each cut. This creates a barrier that allows the blade to glide through smoothly. If you’re using cookie cutters to create fun shapes, spray the inside of the cookie cutters as well.
- Clean and Re-spray as Needed: Even with a greased knife, some cereal mixture might accumulate on the blade, especially after several cuts. If you notice the knife becoming sticky, wipe it clean with a paper towel and re-spray it with cooking spray. This will ensure that each cut is as clean and precise as the first, leading to beautifully uniform bars.
Frequently Asked Questions
Proper storage is essential to keep your brown butter Rice Krispie treats fresh, soft, and delicious. Always place the cooled treats inside an airtight container. Store them at room temperature on your countertop or in a pantry. We generally do not recommend refrigerating them, as the cold temperature can cause them to harden and lose their signature ooey-gooey texture prematurely. When stored correctly in an airtight container, these treats will remain wonderfully soft and enjoyable for up to 3-4 days.
While refrigeration is typically discouraged for optimal texture, you can absolutely freeze these bars if you need to store them for a longer period. However, be aware that freezing might slightly alter their texture, making them a bit firmer than fresh. To freeze, wrap individual bars tightly in plastic wrap, then place them in a freezer-safe airtight container or freezer bag, with layers separated by wax paper to prevent sticking. They will keep well in the freezer for up to 3 months. When you’re ready to enjoy them, simply thaw the frozen treats at room temperature for 10 to 15 minutes before serving for the best results.
Several factors can contribute to your Rice Krispie treats becoming hard instead of staying soft and chewy. Understanding these common culprits can help you avoid them in the future:
–Refrigeration: This is one of the most common reasons. As mentioned, storing Rice Krispie treats in the refrigerator causes the butter and marshmallows to stiffen significantly, resulting in a hard texture and a loss of their delightful ooey-gooeyness.
–High Heat during Melting: Using excessive heat when melting the butter and marshmallows can cause the sugar in the marshmallows to crystallize or cook too much. While low heat takes a little longer, it’s crucial for achieving that perfectly soft, pliable, and gooey marshmallow mixture that translates into soft treats.
–Stale or Old Marshmallows: The quality of your marshmallows matters! Old or stale marshmallows can lose their moisture and elasticity, making them less able to melt smoothly and stay soft. Always use fresh, soft marshmallows for the best results.
–Over-mixing or Over-pressing: Once the cereal is added, over-mixing can break down the cereal, leading to a denser, harder treat. Similarly, pressing the mixture too firmly into the pan compacts the cereal and marshmallow, resulting in a dense, hard bar instead of a light, airy, and chewy one.
–Age: Even perfectly made treats will harden over time. They are best enjoyed within a few days of making them. After about 4 days, you’ll generally notice them starting to lose their initial softness.
If your Rice Krispie treats are turning out soggy instead of delightfully crispy, it usually comes down to one of these reasons:
–Too Much Butter: While butter is essential for flavor and binding, using too much can make the treats greasy and prevent the cereal from retaining its crispness. Stick to the recommended amount in the recipe.
–Pressing Too Firmly: As discussed in the tips, pressing the mixture too hard into the pan compacts the cereal, making it dense and less crispy. It also can trap moisture, leading to a soggy texture.
–Stale Marshmallows: Just like causing hardness, old or stale marshmallows can also contribute to a less crispy result. Their texture can affect how well they bind to the cereal without making it soggy.
–Stale Cereal: This is perhaps the most direct cause. If your Rice Krispies cereal isn’t fresh, it won’t be crispy to begin with, and no amount of perfect marshmallow mixture will magically make it so. Always use fresh cereal.
–Humidity: High humidity in your kitchen can also affect the crispiness of the cereal, even if it’s fresh. Try to make these treats on a dry day if possible.
While this recipe is simple, paying close attention to these details and following the instructions carefully will ensure you achieve perfectly crispy and gooey Brown Butter Rice Krispie Treats every time.
Yes, you can use unsalted butter if that’s all you have on hand. However, we highly recommend using salted butter as specified, because the salt beautifully balances the sweetness and enhances the complex, nutty flavor of the brown butter. If you use unsalted butter, make sure to add a small pinch (about 1/4 teaspoon) of fine sea salt to the melted marshmallow mixture to achieve a similar flavor balance. This small addition makes a significant difference to the overall taste.
Browning butter requires a watchful eye! If your butter goes past a rich golden-brown and starts to smell acrid or appears black at the bottom, it’s unfortunately burned. Burned butter will impart a bitter, unpleasant taste to your treats, and there’s no way to salvage it. It’s best to discard it and start over with fresh butter. It’s a quick process, so stay focused during Step 2 to achieve that perfect nutty aroma without overdoing it.
Pro Tips for the Best Results
Achieving bakery-quality Brown Butter Rice Krispie Treats is simple when you incorporate these professional tips into your preparation process. These small adjustments can make a big difference in the final taste and texture of your treats.
- Line Your Pan for Easy Removal: For the absolute easiest removal and cleanup, line your baking pan with parchment paper or wax paper, leaving an overhang on the sides. After the treats have set, you can simply lift the entire block out of the pan using the overhang, making it incredibly simple to transfer to a cutting board and slice. Remember to still lightly spray the parchment or foil with cooking spray before adding the cereal mixture.
- Grease Your Mixing Utensil: The marshmallow mixture is notoriously sticky. To make mixing the cereal much easier and less messy, spray your wooden spoon or rubber spatula with a generous coat of non-stick cooking spray before you begin stirring. The sturdiness of a wooden spoon is particularly helpful for thoroughly combining the thick, gooey mixture with the cereal.
- Gentle Pressing is Key: This is a crucial step for maintaining that desired soft and chewy texture. When you spread the mixture into the baking dish, resist the urge to press it down too hard. Over-compacting the Rice Krispies will squeeze out air, making the treats dense and hard instead of light and airy. Use gentle, even pressure to distribute the mixture, allowing for some natural give.
- Watch the Butter Closely: Browning butter is not difficult, but it requires your undivided attention. Keep the heat at medium-low and stir frequently. The butter will foam, then turn clear, then a light amber, and finally a rich golden-brown with little specks at the bottom. The moment you see those golden-brown bits and smell a nutty aroma, remove it from the heat immediately. A light-colored saucepan can help you monitor the color changes more effectively.
- Non-Stick Assistance for Hands: If you prefer to use your hands to press the mixture into the pan, lightly spray your hands with cooking spray or dampen them with a little water. This prevents the sticky marshmallow mixture from clinging to your skin, making the process much cleaner and smoother.
- Use Fresh Ingredients: As mentioned in the ingredients section, fresh marshmallows and fresh cereal are vital. Stale ingredients can significantly impact the texture, making your treats hard or soggy. Check expiry dates and ensure your ingredients are in peak condition.
- Don’t Overcook Marshmallows: Once the marshmallows are melted and smooth, remove them from the heat. Continuing to cook them can lead to a harder final product. Speed is important in the final mixing step, but gently melting the marshmallows is equally critical.
More Irresistible Rice Krispie Treats
If you’ve fallen in love with these Brown Butter Rice Krispie Treats and are eager to explore more creative variations of this beloved classic, you’re in luck! There’s a whole world of delightful Rice Krispie treat recipes waiting to be discovered. Each offers a unique twist on the original, perfect for satisfying any craving or occasion:
- Snickerdoodle Rice Krispie Treats: A cozy, cinnamon-sugar infused treat that brings all the warmth of your favorite cookie to a crispy bar.
- Peanut Butter Rice Krispie Treats: For the peanut butter lovers, this rich and creamy version adds a delightful nutty depth and chewiness.
- Rice Krispie Treats with Marshmallow Fluff: Elevate the gooiness factor with the addition of marshmallow fluff for an even softer, stretchier treat.
- Neapolitan Rice Krispie Treats: A tri-layered marvel featuring chocolate, vanilla, and strawberry flavors in one stunning bar.
Give this incredible recipe for the best brown butter Rice Krispie treats a try for an easy dessert, a fun party snack, or a delightful treat for any day of the week. Once you make them, please come back and leave a comment and star rating – we’d love to hear what you think!
Pin
Brown Butter Rice Krispie Treats
Ingredients
- 6 Tbsp Salted Butter
- 10 oz Mini Marshmallows
- 6 cups Rice Krispies Cereal
Instructions
-
Spray an 8-inch baking pan with a non-stick cooking spray. For easier removal, consider lining the pan with parchment paper, leaving an overhang on the sides.
-
Place the salted butter in a small, light-colored saucepan over medium-low heat. Stir occasionally with a heat-resistant spoon. The butter will melt, then become foamy, then turn a clear caramel color, and finally deepen to a dark golden-brown with nutty specks at the bottom. Watch closely and remove from heat immediately once browned to prevent burning.
-
Reduce the heat to low. Add the mini marshmallows to the browned butter. Heat on low, stirring constantly, until the marshmallows are fully melted and the mixture is smooth and glossy. Ensure the marshmallows melt evenly without clumping.
-
Place the Rice Krispies cereal in a large mixing bowl. Pour the warm, smooth marshmallow mixture evenly over the cereal. Using a sturdy, greased spatula or spoon, gently fold and stir the cereal until every piece is completely coated. Work quickly before the mixture cools too much.
-
Transfer the mixture into the prepared 8-inch baking pan. Lightly spray a piece of parchment paper or your hands with non-stick cooking spray, then use it to gently and evenly press the mixture into the pan. Avoid pressing too hard, as this can make the treats dense. Allow to cool and set at room temperature for at least 30-60 minutes before cutting into squares.
Nutrition Facts
Pin This Now to Remember It Later
Pin Recipe
