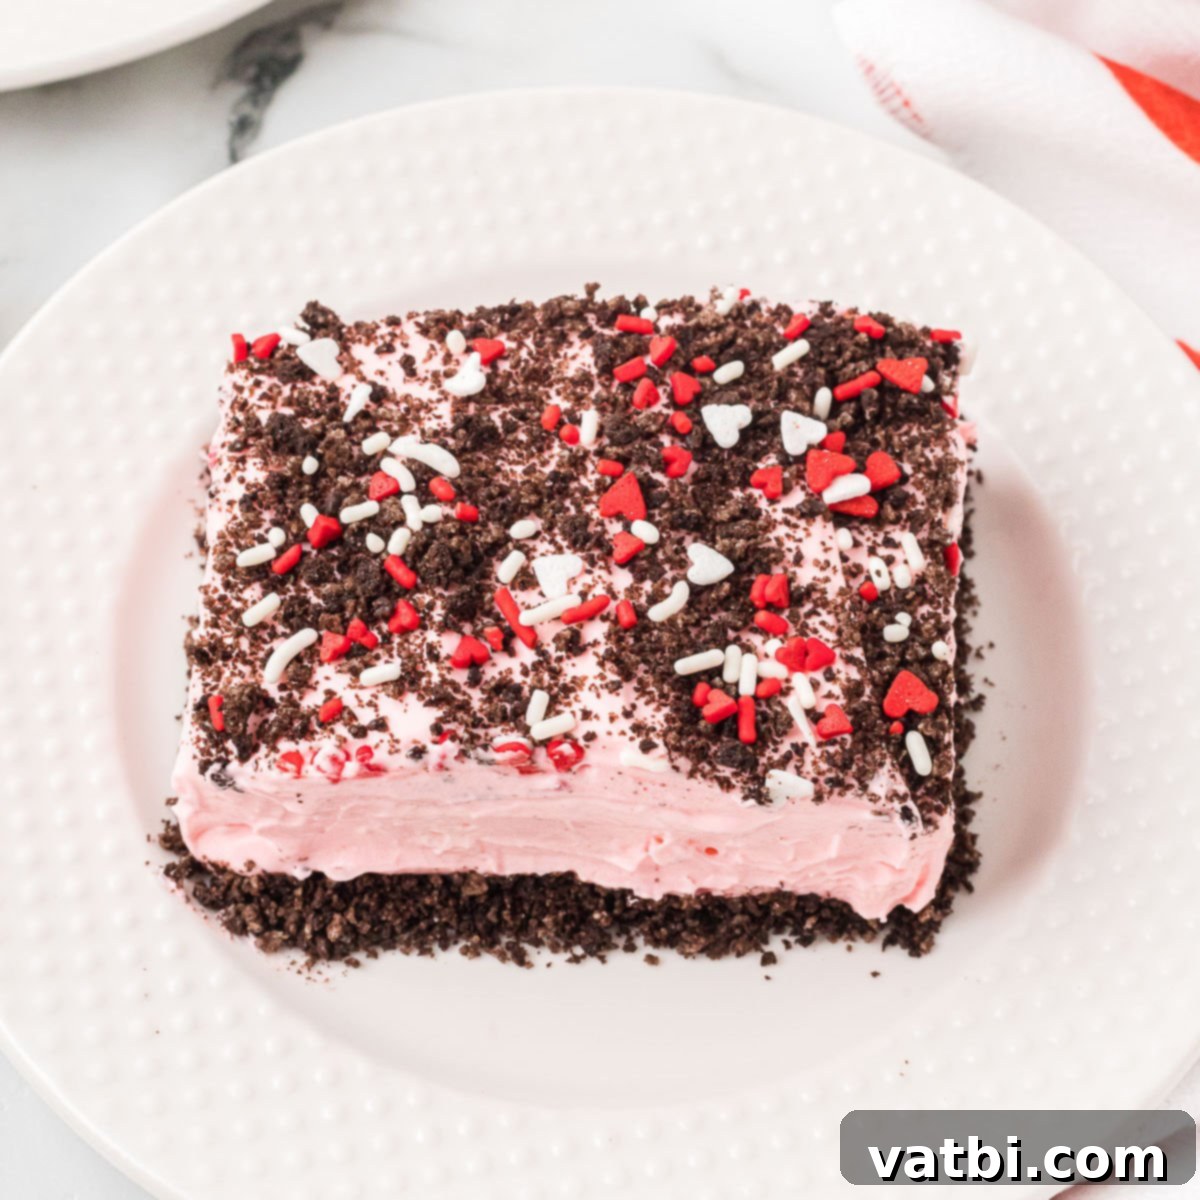
Easy No-Bake Valentine’s Day Dirt Cake: The Ultimate Festive Dessert Recipe
Forget spending hours in the kitchen this Valentine’s Day! Our delightful Valentine’s Day Dirt Cake is the quintessential no-bake dessert that brings joy and festivity to any celebration. This easy-to-follow recipe combines the irresistible crunch of Oreo cookies with a creamy, dreamy pudding mixture, all adorned with cheerful pink hues and sparkling sprinkles. It’s not just a dessert; it’s a labor of love, designed to impress your family and friends without the fuss.
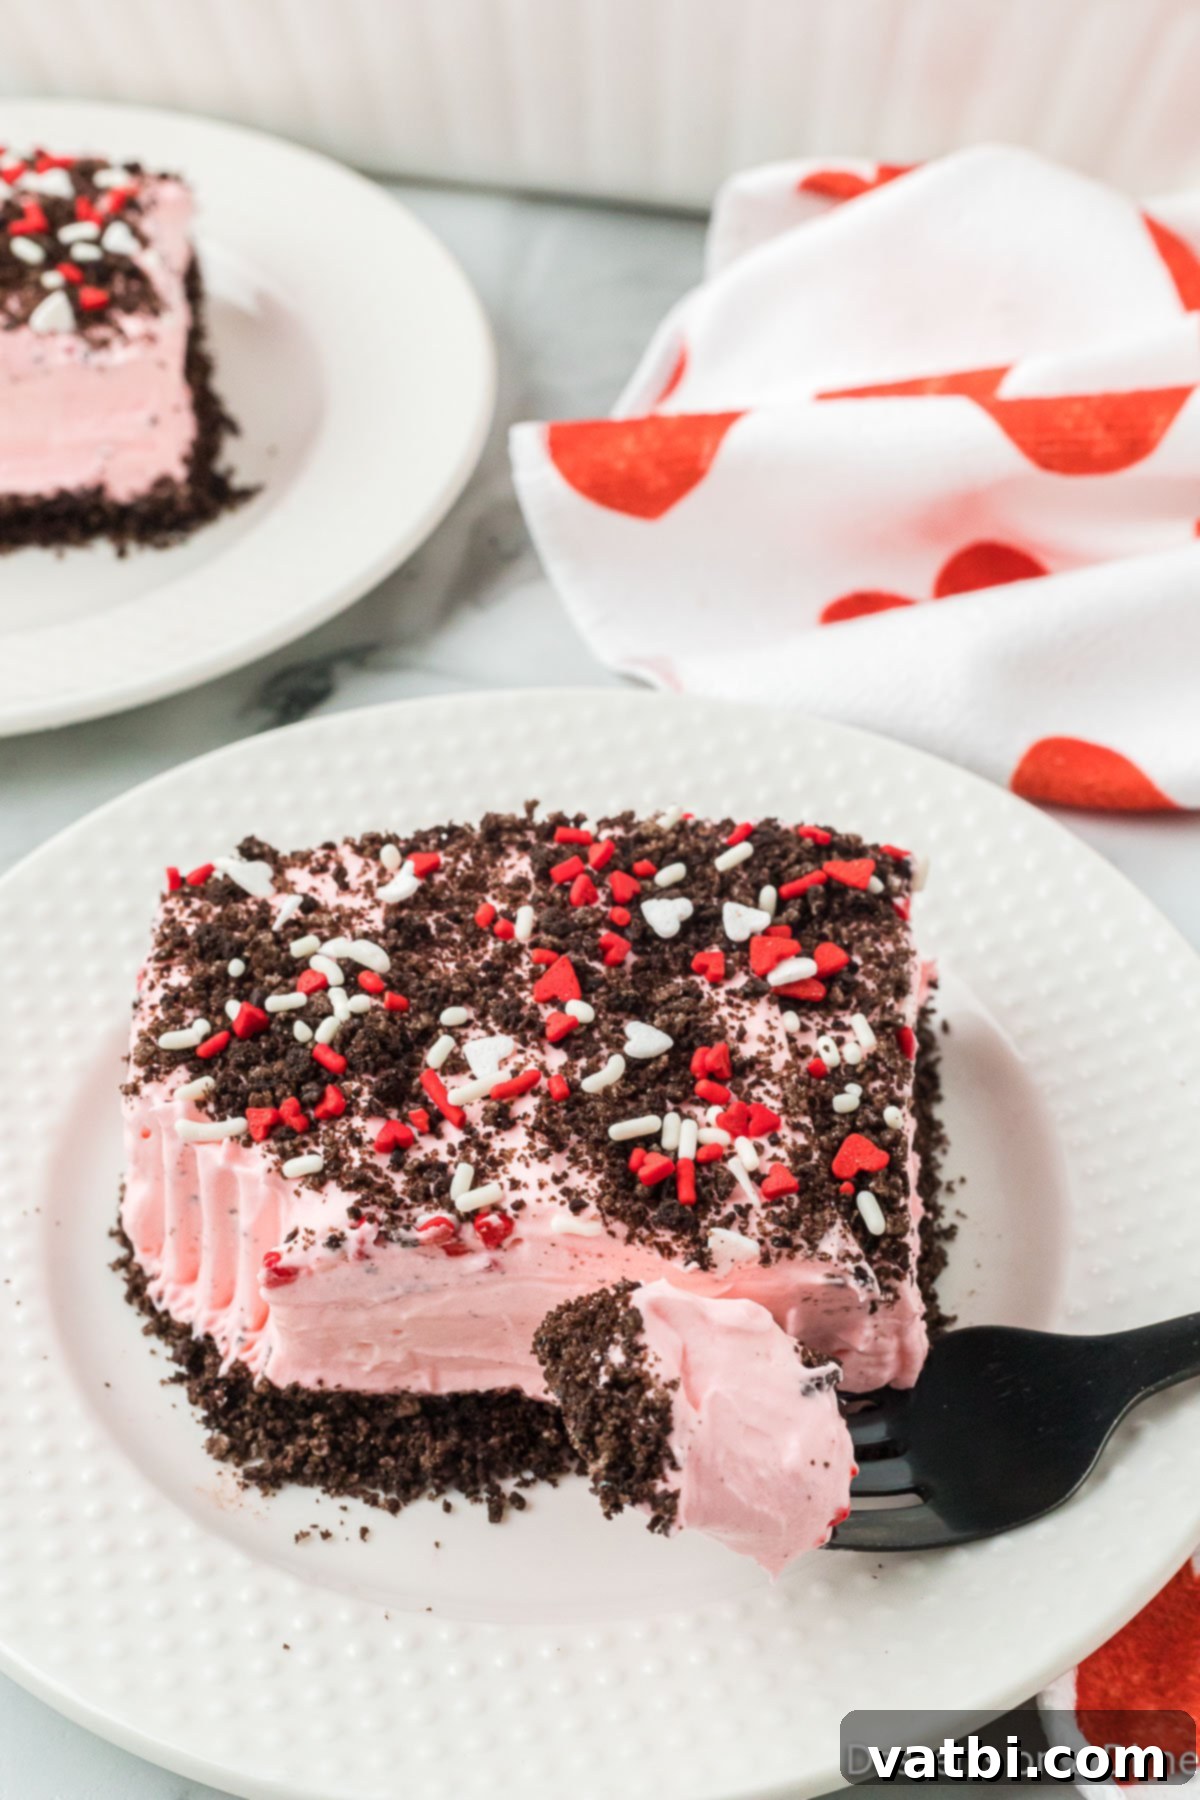
Wave goodbye to generic store-bought sweets and embrace the charm of a homemade Valentine’s Day-inspired dirt cake. This luscious treat offers all the simple goodness of a traditional Oreo Dirt Cake Recipe, but with a romantic twist. Instead of the usual gummy worms and flowerpot presentation, we’re celebrating love with a vibrant pink filling and an abundance of heart-shaped sprinkles, making it absolutely perfect for the season of love.
The harmonious layers of rich cream cheese, smooth vanilla pudding, and crushed Oreo cookies create a texture and flavor profile that is utterly addicting. It truly stands out as one of our most beloved no-bake dessert recipes. Over the years, we’ve delighted in preparing other festive treats like Valentine’s Day Rocky Road Candy, Heart Shaped Brownies, and Valentine Chocolate Covered Pretzels, but this dirt cake often steals the show with its charm and ease.
While this recipe is a Valentine’s Day star, its versatility means you can adapt it for other occasions. You might even want to bookmark our Easter Dirt Cake recipe for a spring celebration, or explore a Dirt Cake Recipe without Cream Cheese for a lighter option at a birthday party or potluck gathering. No matter the event, dirt cake always brings smiles, and this Valentine’s version is particularly enchanting.
Table of contents
- Why You’ll Adore This Valentine’s Day Dirt Cake Recipe
- Essential Ingredients for Your Pink Dirt Cake
- Step-by-Step Guide to Crafting Your Valentine’s Day Dirt Cake
- Frequently Asked Questions About Valentine’s Dirt Cake
- Expert Tips & Tricks for the Perfect Valentine’s Dirt Cake
- More Effortless Valentine’s Day Recipes to Love
Why You’ll Adore This Valentine’s Day Dirt Cake Recipe
This Valentine’s Day Dirt Cake isn’t just another dessert; it’s a testament to how simple ingredients can transform into something truly magical and memorable. Here’s why this recipe consistently earns rave reviews and becomes a go-to favorite during the romantic season:
- Effortlessly Festive: We’ve taken a timeless, beloved dessert and infused it with the spirit of Valentine’s Day. The vibrant pink filling and adorable heart sprinkles immediately evoke feelings of love and celebration, making it an instant showstopper at any gathering.
- Incredibly Easy to Make: As a no-bake wonder, this recipe eliminates the need for an oven, making it perfect for busy schedules or for involving little helpers in the kitchen. With minimal effort, you can create a dessert that looks and tastes like it took hours. It’s so easy, in fact, you’ll have extra time to whip up other delightful treats like Valentine’s Day Chocolate Covered Pretzel Rods!
- Irresistibly Delicious: The layers are what truly make this dirt cake exceptional. A rich, creamy mixture of softened cream cheese, butter, and powdered sugar is folded into a fluffy whipped topping and an airy vanilla pudding, all layered with crunchy, sweet Oreo crumbs. Each spoonful is a delightful blend of textures and flavors.
- A Crowd-Pleaser for All Ages: Both children and adults are completely captivated by this dessert. The fun “dirt” layers, the sweet and colorful sprinkles, and the decadent taste ensure that everyone will be asking for a second slice. It’s a guaranteed hit for school parties, family dinners, or a romantic dessert for two.
Essential Ingredients for Your Pink Dirt Cake
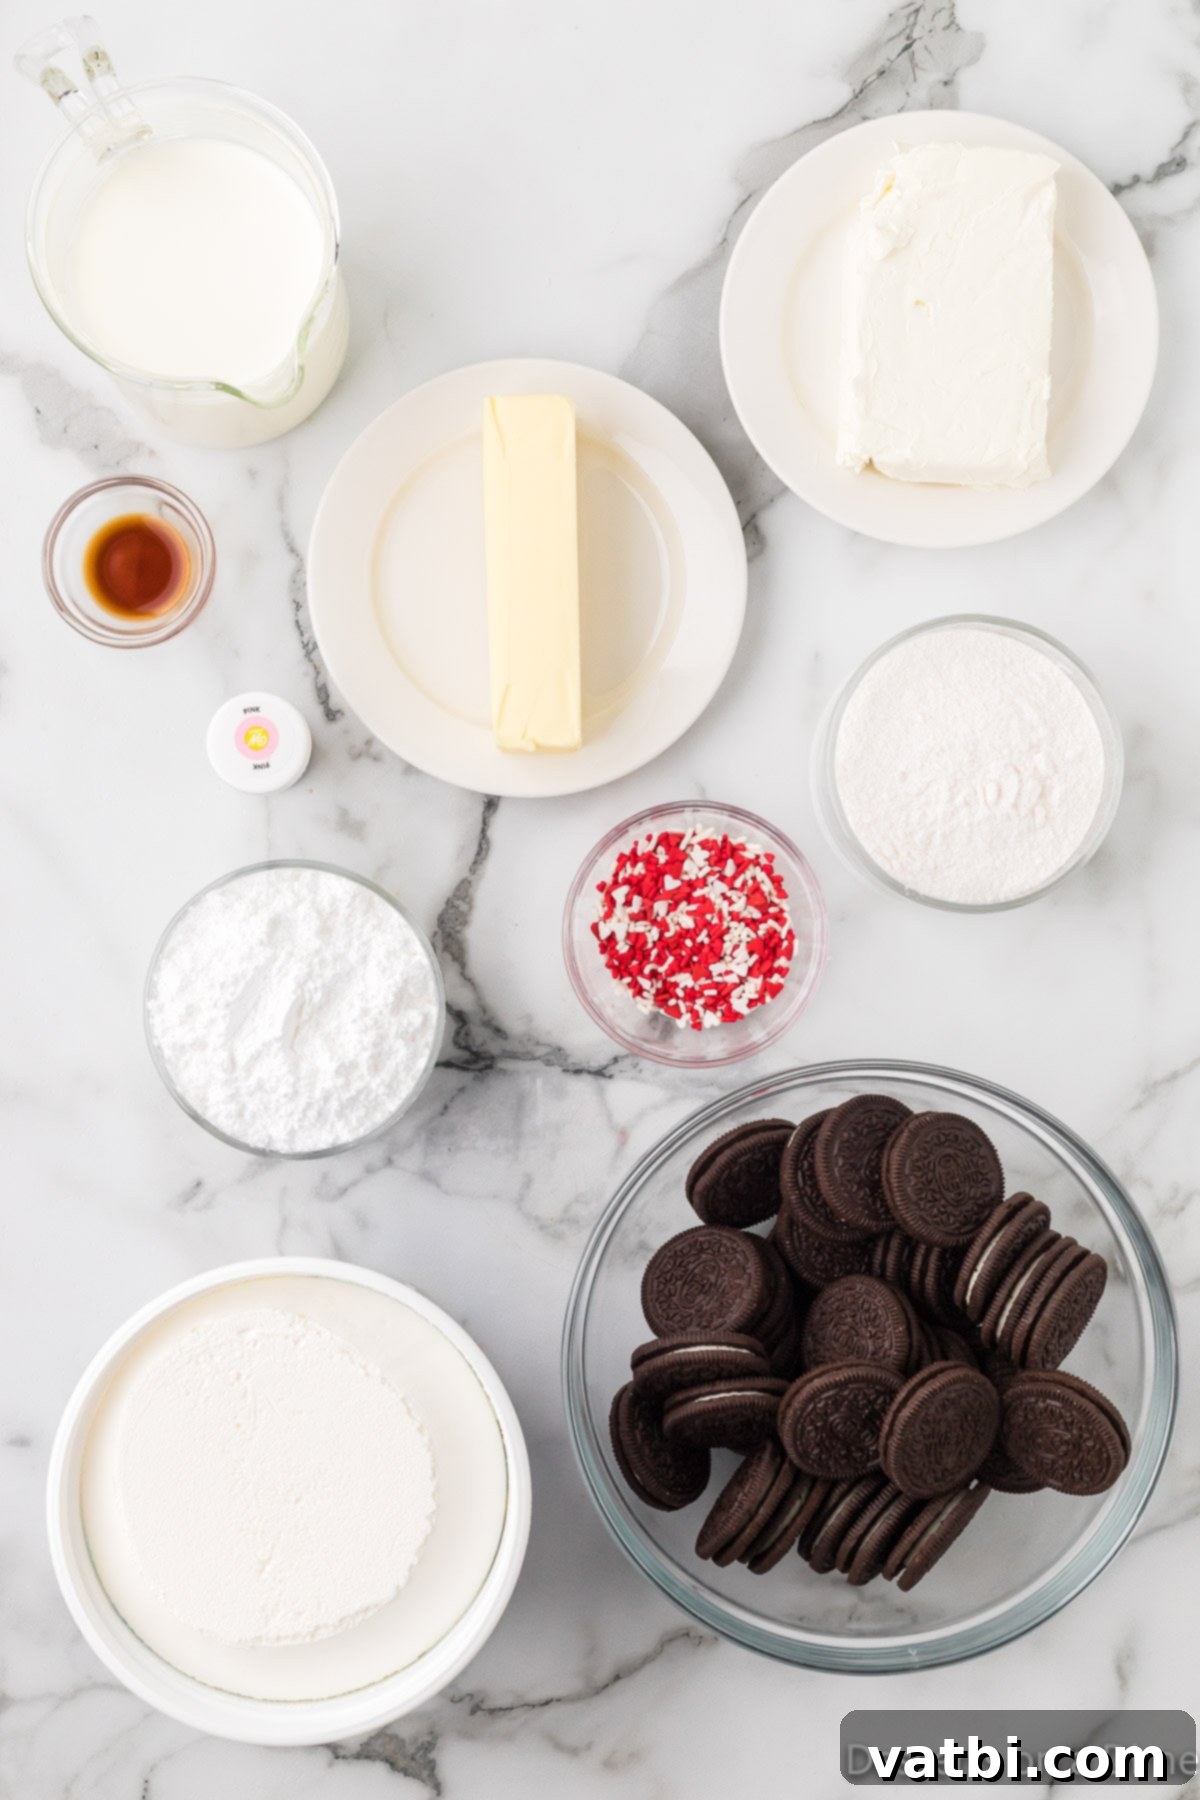
Creating this stunning Valentine’s Day Dirt Cake requires a handful of common ingredients, most of which you likely already have in your pantry or can easily find at any grocery store. The beauty of this recipe lies in its simplicity and the delightful combination of these core components:
- Package of Oreos: The star of our “dirt” layers! We highly recommend using classic Oreo cookies for their iconic chocolate flavor and perfect crumb texture. While you can use other chocolate sandwich cookies, genuine Oreos deliver that signature taste and consistency that makes dirt cake so beloved. You’ll be crushing these to create the foundation and topping for our festive treat.
- Cream Cheese. Ensure your cream cheese is softened at room temperature before you begin. This is crucial for achieving a perfectly smooth and lump-free mixture, creating the rich, tangy base of our creamy filling. A block of full-fat cream cheese will yield the best results for a decadent dessert.
- Butter. Just like the cream cheese, the butter should be softened to room temperature. This allows it to seamlessly blend with the cream cheese and powdered sugar, contributing to the silky-smooth consistency of the pudding layer. Using unsalted butter gives you better control over the overall sweetness and flavor profile.
- Powdered Sugar: Also known as confectioners’ sugar, this fine sugar is essential for dissolving smoothly into the cream cheese and butter mixture, ensuring no grainy texture in your luscious filling. It provides the perfect amount of sweetness to balance the tanginess of the cream cheese.
- Cool Whip. This ready-to-use whipped topping adds incredible lightness and volume to our filling, making it airy and delightful. If you prefer a homemade touch, you can certainly substitute with Homemade Whipped Cream, just ensure it’s stabilized so it holds up well when folded into the mixture.
- Vanilla Instant Pudding Mix. This is a key ingredient for the structure and flavor of our creamy pink layer. It’s vital to use instant pudding mix (not cook-and-serve) to ensure the cake sets properly without any baking. Vanilla provides a neutral yet sweet base that perfectly complements the other flavors.
- Milk: Used to prepare the instant pudding, milk helps activate the pudding mix and create its thick, creamy texture. Whole milk typically yields the richest flavor and creamiest consistency, but 2% milk can also be used.
- Vanilla Extract: A touch of pure vanilla extract enhances all the sweet flavors in the dessert, adding depth and warmth to the pudding mixture. Don’t skip this!
- Pink Food Coloring. This is where the Valentine’s magic happens! A few drops of pink food coloring transform the vanilla pudding mixture into a beautiful, festive hue. You can adjust the amount to achieve your desired shade of pink, from a delicate pastel to a vibrant magenta.
- Valentine’s Day Sprinkles. The crowning glory! Heart-shaped sprinkles, red, pink, and white jimmies, or any festive mix you love will add a celebratory finish and a lovely textural contrast to your dirt cake. Get creative and choose sprinkles that speak to your Valentine’s theme.
For precise measurements and detailed instructions, scroll down to find the complete, printable recipe card at the bottom of the page. This will guide you through every step to ensure your Valentine’s Day Dirt Cake is a resounding success!
Step-by-Step Guide to Crafting Your Valentine’s Day Dirt Cake
Making this festive dirt cake is incredibly straightforward, even for novice bakers. Follow these simple steps to assemble a beautiful and delicious no-bake dessert that will undoubtedly charm everyone:
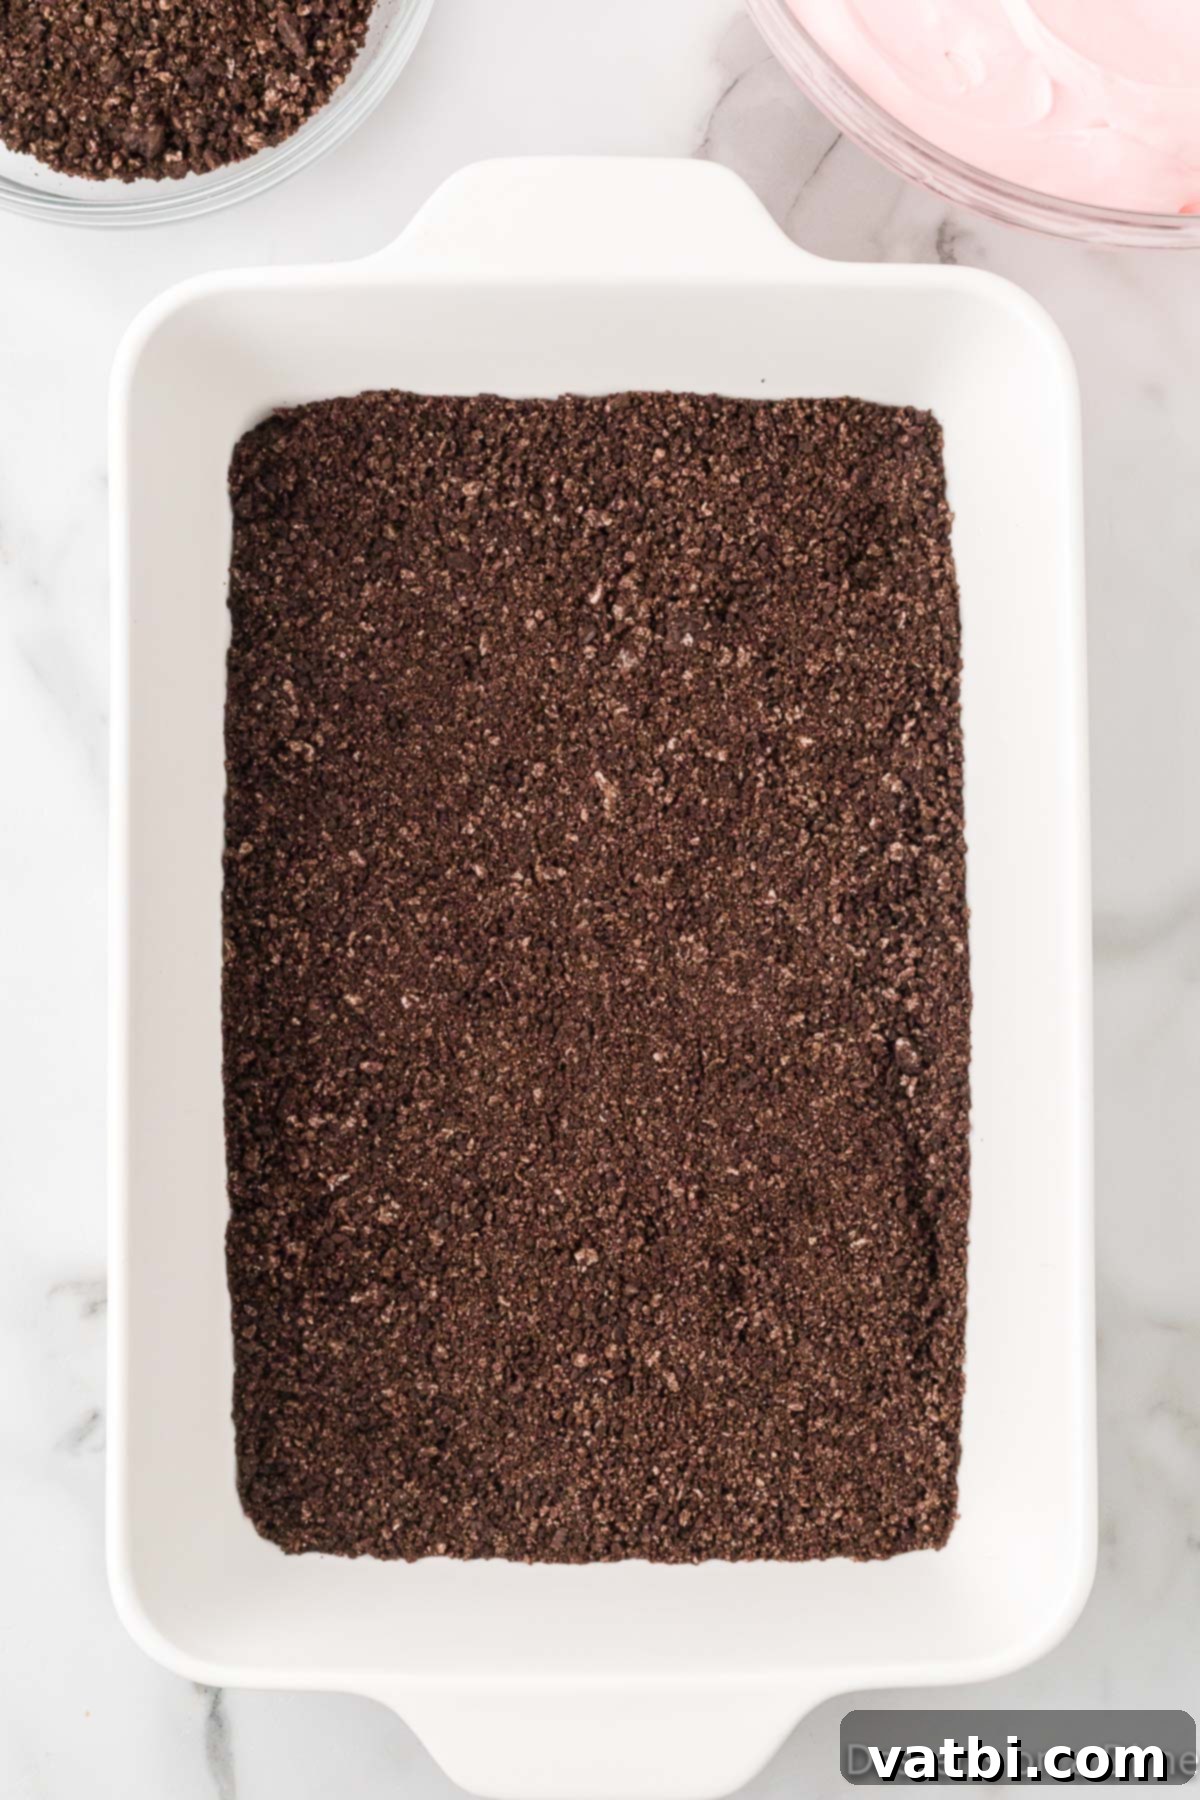
Step 1: Prepare the Oreo Base. Begin by crushing approximately two-thirds of your package of Oreo cookies. You can do this easily in a food processor for a fine crumb, or by placing them in a large Ziploc bag and crushing them with a rolling pin or the back of a sturdy spoon. Aim for a fine, “dirt-like” consistency. Once crushed, evenly spread these crumbs across the bottom of a 9×13 inch baking dish. This layer will form the delightful base of your dirt cake. Set the remaining Oreos aside for later use as a topping.
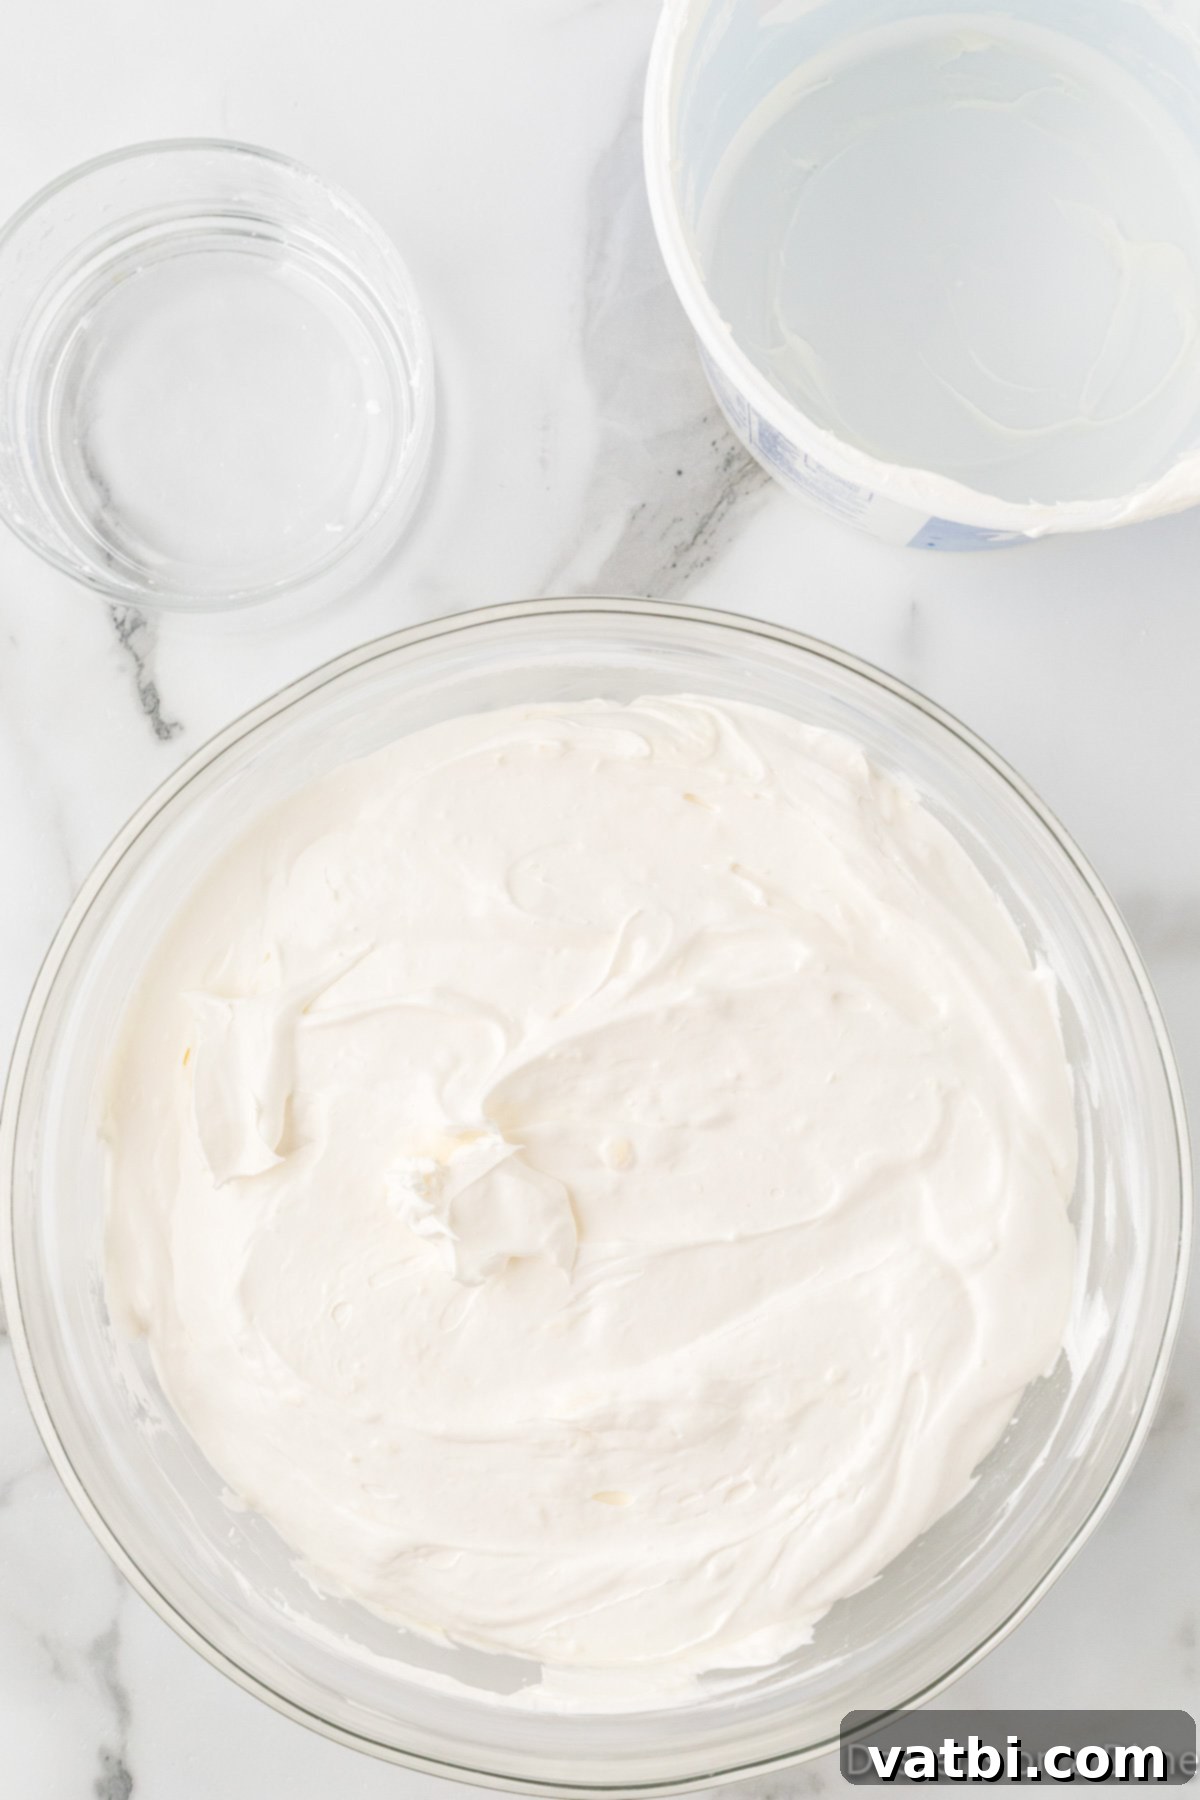
Step 2: Create the Creamy Layer. In a large mixing bowl, combine the softened cream cheese and softened butter. Using an electric hand mixer or a stand mixer fitted with a paddle attachment, beat these ingredients together on medium speed until the mixture is light, fluffy, and completely smooth, with no lumps remaining. This might take a few minutes. Next, gradually add the powdered sugar and continue to beat until well incorporated and fluffy. Finally, gently fold in the Cool Whip (or your homemade whipped cream) until just combined. Be careful not to overmix, as this can deflate the whipped topping. Set this luscious mixture aside.
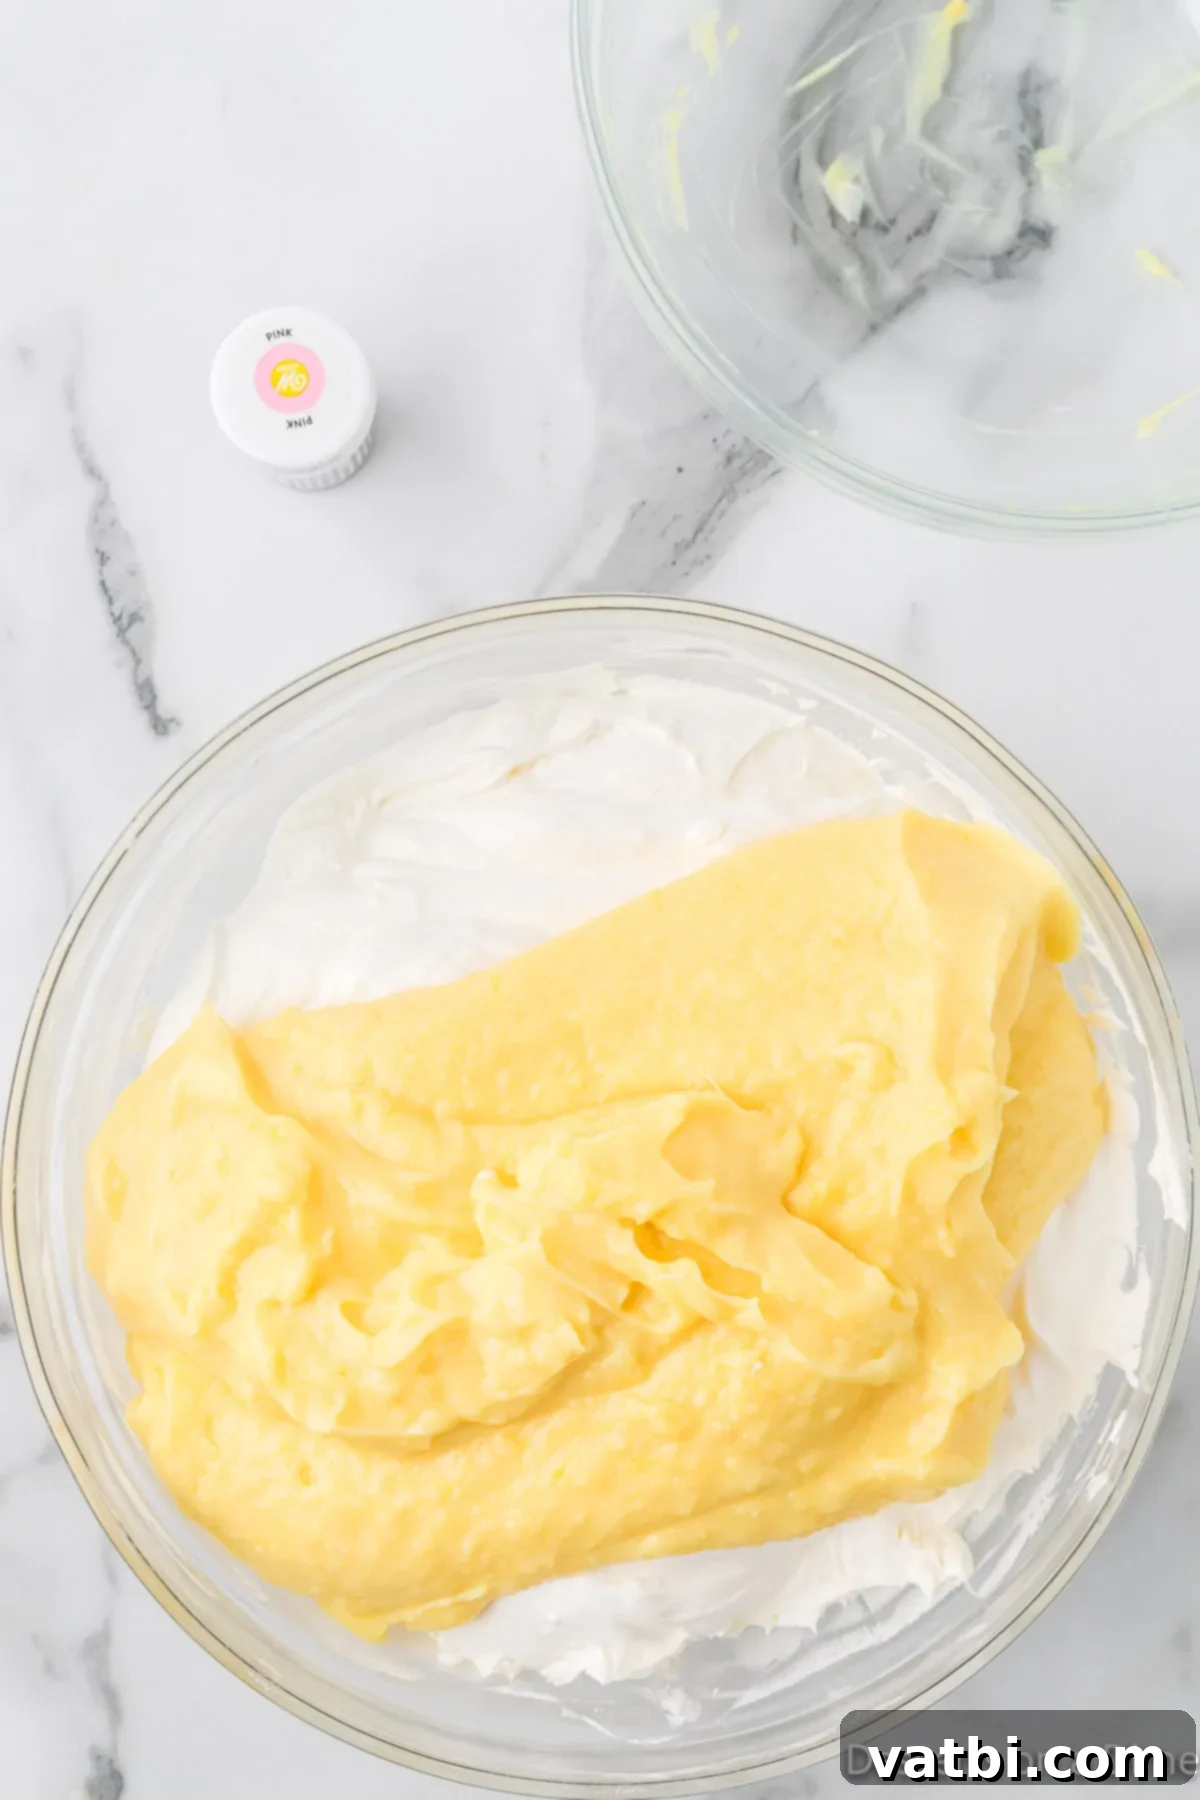
Step 3: Prepare the Pudding Mixture. In a separate medium-sized bowl, whisk together the cold milk, two packages of instant vanilla pudding mix, and vanilla extract. Whisk vigorously for about 2-3 minutes until the pudding thickens. It’s important to use instant pudding and cold milk for the best results, ensuring it sets properly. Once thickened, gently fold this vanilla pudding mixture into the cream cheese and Cool Whip mixture you prepared in Step 2. Mix until just combined, ensuring the mixture remains airy.
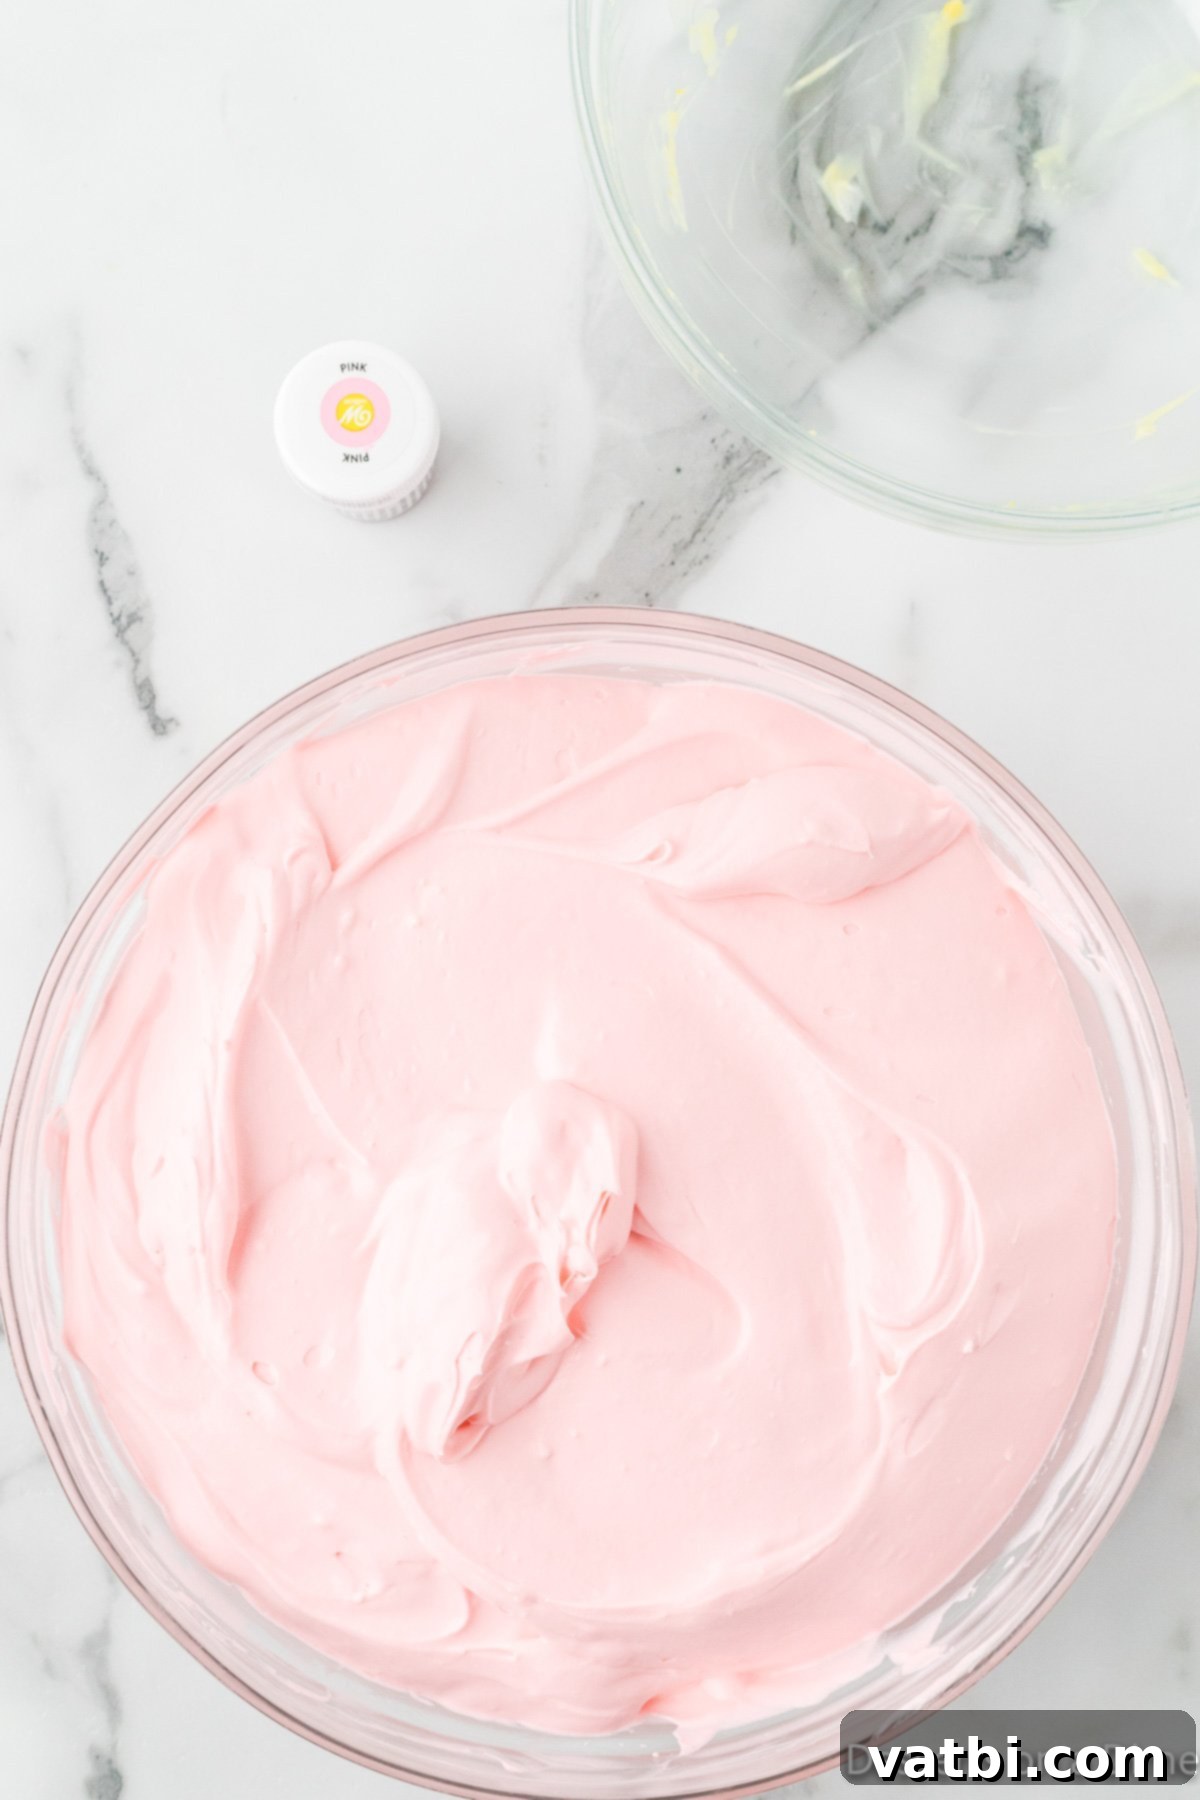
Step 4: Add the Festive Pink Hue. Now for the fun part! Add your pink food coloring to the combined cream cheese and pudding mixture. Start with about 5-7 drops of liquid food coloring, or a small amount of gel food coloring, and gently stir. Continue adding drops, a little at a time, until you achieve your desired shade of pink. Whether you prefer a soft blush or a vibrant fuchsia, make sure the color is evenly distributed throughout the mixture. This step truly transforms the dessert into a Valentine’s masterpiece.
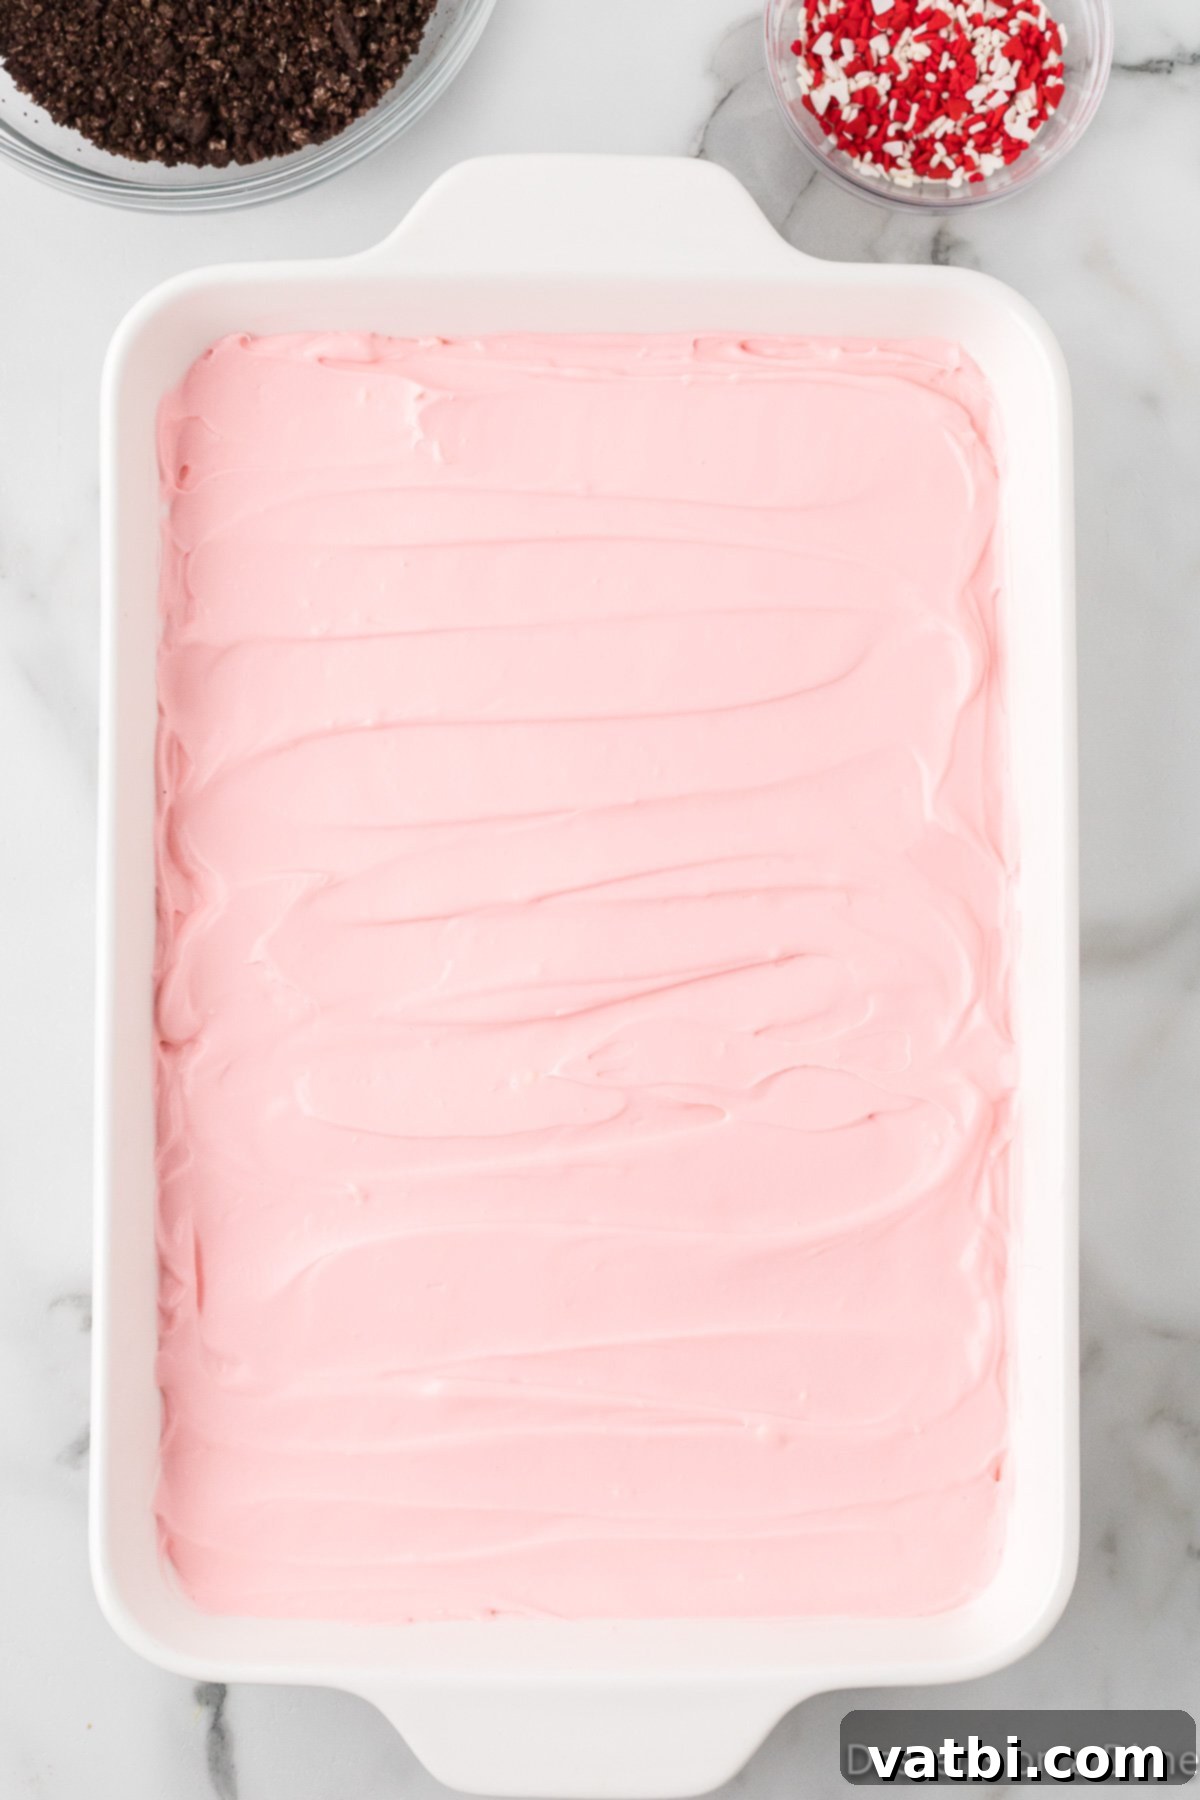
Step 5: Assemble the Layers and Chill. Carefully spoon or pour the beautifully pink pudding mixture over the crushed Oreo cookie base in your 9×13 inch pan. Use an offset spatula or the back of a spoon to gently spread the mixture evenly, ensuring it reaches all corners. Once smoothed, cover the baking dish tightly with plastic wrap or a lid. Transfer the dish to the refrigerator and chill for at least 1-2 hours. This chilling time is essential, allowing the pudding to fully set and the flavors to meld, resulting in a firm yet creamy dessert.
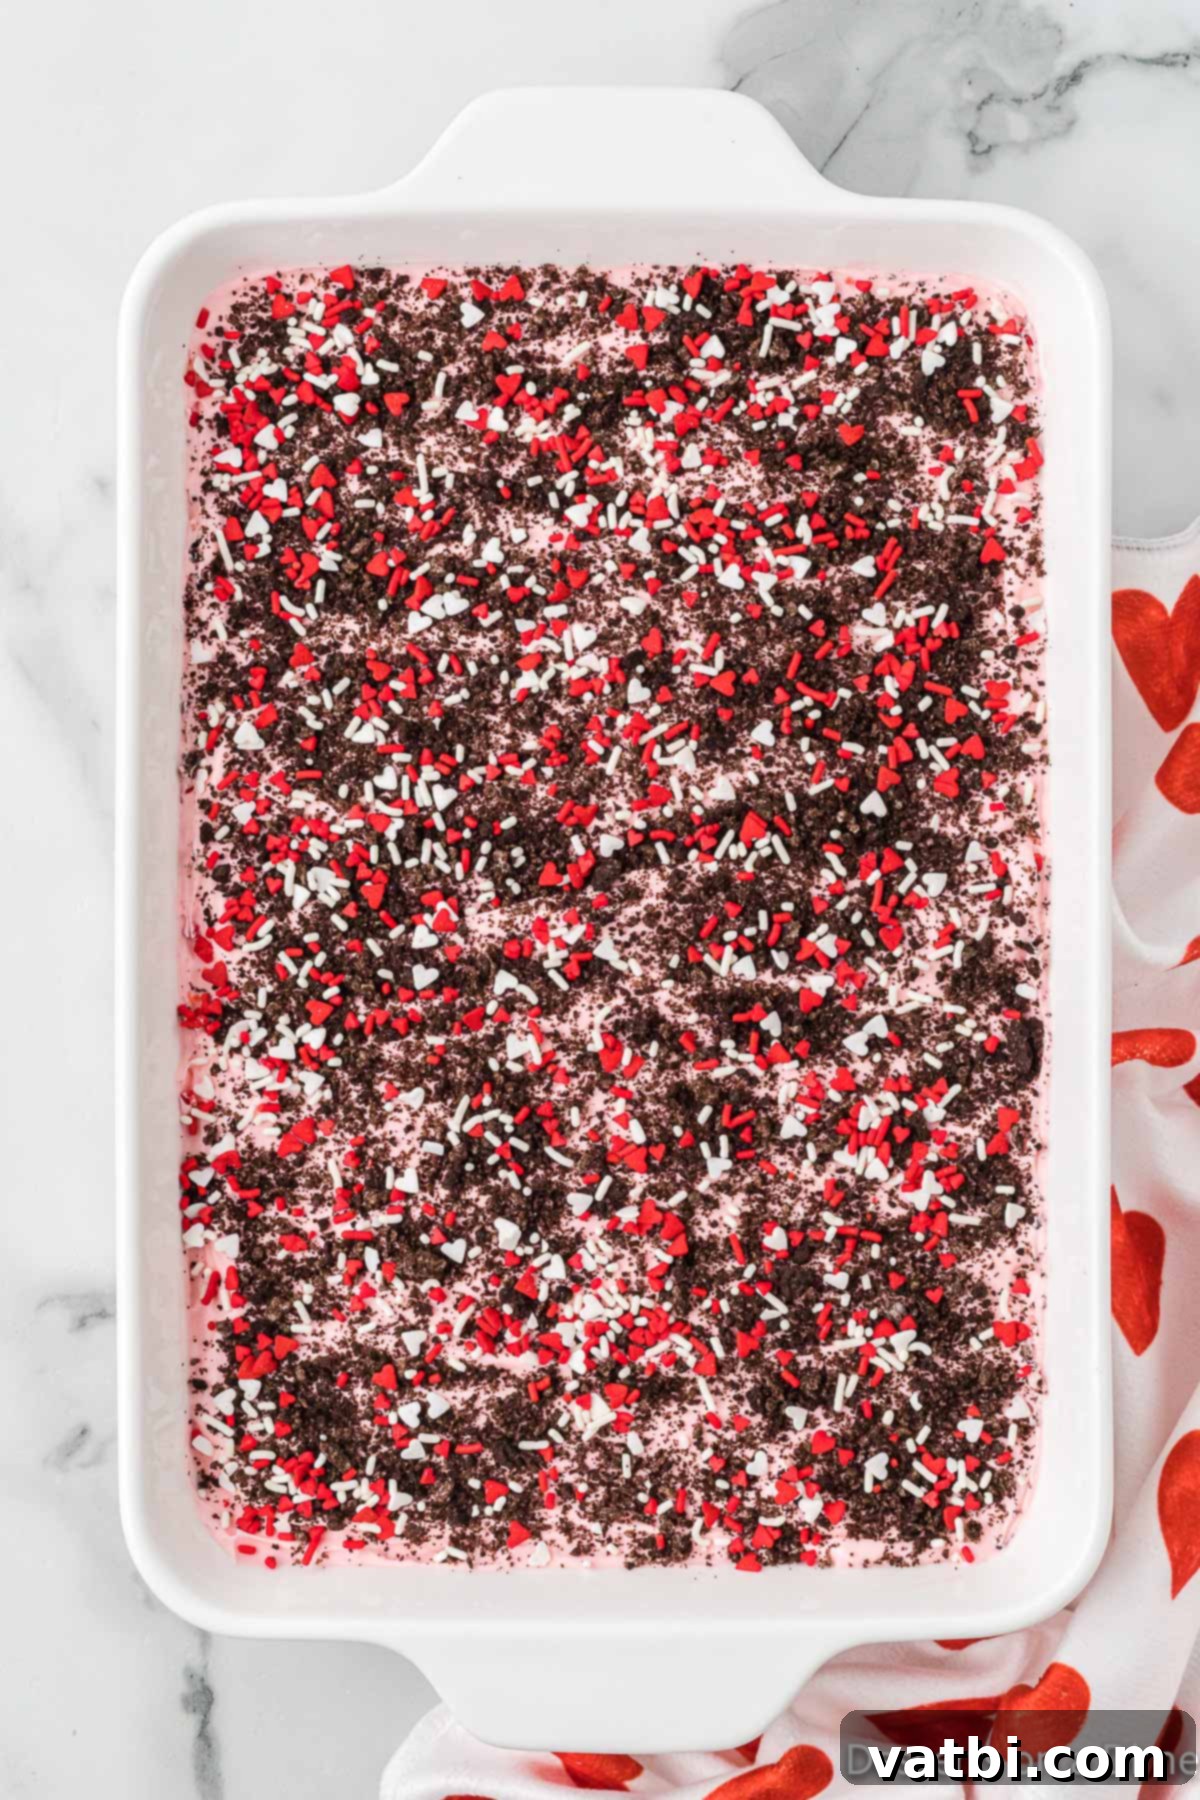
Step 6: Final Touches and Decorate. Once your dirt cake has chilled sufficiently and is firm, retrieve the remaining crushed Oreo cookies. Evenly sprinkle these over the top of the pink pudding layer, creating the classic “dirt” appearance. Then, generously scatter your chosen Valentine’s Day sprinkles – think hearts, glitter, or a festive blend – over the Oreo topping. These final touches not only add visual appeal but also a delightful textural crunch. Your stunning Valentine’s Day Dirt Cake is now ready to be served and enjoyed!
Frequently Asked Questions About Valentine’s Dirt Cake
Proper storage is key to keeping your dirt cake fresh and delicious. Since this is a cold dessert, it’s best served chilled. Any leftovers should be immediately returned to the refrigerator. If your 9×13 baking dish comes with a lid, simply secure that. Otherwise, tightly cover the dish with plastic wrap or aluminum foil to prevent it from drying out or absorbing other odors from the fridge. This ensures each serving remains as delightful as the first.
When stored correctly in an airtight container or tightly covered in the refrigerator, your Valentine’s Day Dirt Cake will remain fresh and delicious for up to 3 days. Beyond that, the Oreo crumbs might start to soften too much, affecting the texture, though it will still be safe to eat for a little longer.
Absolutely! This is one of the best aspects of a no-bake dirt cake. You can prepare this dessert up to 24 hours in advance of when you plan to serve it. This makes it a fantastic option for parties or busy holidays, as it frees up your time on the day of the event. However, we don’t recommend making it much further in advance, as the cookie layers can become overly soggy, diminishing the desired textural contrast.
While you certainly can use instant chocolate pudding, be aware that the beautiful pink food coloring will not be visible. The chocolate pudding’s dark color will overpower any pink dye, so your cake will not achieve that festive, vibrant pink hue that makes it so perfect for Valentine’s Day. If the color is important to you, stick with vanilla or white chocolate instant pudding.
Yes, this dirt cake recipe is wonderfully adaptable for individual portions! Instead of a large 9×13 inch pan, you can layer the crushed Oreos and pink pudding mixture in small clear cups, mason jars, or even mini trifle dishes. This makes for a charming presentation, especially for a party, and is a convenient way to serve. Just follow the same layering steps for each individual container.
Expert Tips & Tricks for the Perfect Valentine’s Dirt Cake
To ensure your Valentine’s Day Dirt Cake turns out absolutely perfect and gets rave reviews, keep these helpful tips and tricks in mind:
- If you have a food processor, it is the quickest and easiest way to crush the oreo cookies. However, you can also use a ziplock bag and seal it. Then use a rolling pin or the back of a wooden spoon to crush the cookies. For the quickest and easiest way to achieve fine cookie crumbs, a food processor is your best friend. Simply pulse the Oreos until they reach a “dirt-like” consistency. If you don’t have a food processor, a heavy-duty Ziploc bag and a rolling pin (or even the back of a sturdy wooden spoon) will work just as well. Just make sure to seal the bag completely to avoid a mess!
- I don’t recommend using double stuffed oreo cookies. There is just too much filling in them and it changes the consistency of the crumb mixture. While tempting, we generally don’t recommend using Double Stuffed Oreos for this recipe. The extra cream filling in these cookies can alter the consistency of your crumb mixture, potentially making it too moist or affecting the overall texture of the “dirt” layers. Stick to classic Oreos for the best results.
- Try different oreo flavors. I love classic oreo cookies but sometimes it is fun to try different varieties. You can use any flavor of Oreo in this recipe you like. Don’t be afraid to get creative! While classic Oreos are fantastic, you can certainly try different Oreo flavors to put your own spin on this dessert. Imagine a strawberry cream Oreo dirt cake or even a red velvet Oreo version for an extra special Valentine’s touch. Just ensure the flavor complements the vanilla pudding.
- We used vanilla pudding but it would also be yummy with white chocolate or cheesecake flavors. Our recipe calls for vanilla instant pudding, which provides a versatile base for the pink coloring. However, you could also achieve delicious results with other instant pudding flavors like white chocolate, cheesecake, or even strawberry for an intensified pink theme. Just remember that darker pudding flavors (like chocolate) will mask the pink food coloring.
- Make sure you buy instant pudding, or the consistency of the pudding mixture will not be right. Always double-check that you are using instant pudding mix, not the cook-and-serve variety. Instant pudding contains specific gelling agents that allow it to set without heat, which is crucial for this no-bake dessert. Using the wrong type will result in a runny, unset mixture.
- Soften Ingredients Properly: Ensure both your cream cheese and butter are thoroughly softened to room temperature. This is key for achieving a smooth, lump-free, and perfectly blended creamy layer. Cold ingredients will make your mixture lumpy and difficult to work with.
- Achieve Your Perfect Pink: When adding food coloring, start with a few drops and gradually add more, stirring well after each addition, until you reach your desired shade of pink. Gel food coloring often provides a more concentrated color with less liquid, which is ideal.
- Chill Time is Crucial: Don’t rush the refrigeration step! Allowing the dirt cake to chill for at least 1-2 hours (or even longer for firmer results) is essential for the pudding mixture to fully set and for all the flavors to meld beautifully. A well-chilled dirt cake is easier to slice and tastes much better.
- Garnish for Impact: Beyond sprinkles, consider other Valentine’s Day garnishes. You could add fresh raspberries or strawberries, chocolate shavings, small chocolate hearts, or even a dollop of extra Cool Whip on individual servings for an elegant touch.
- Portioning Tips: For clean slices, use a sharp knife that has been run under hot water and wiped clean between each cut. This prevents the layers from sticking and smearing.
More Effortless Valentine’s Day Recipes to Love
If you’re looking to spread even more love through delicious treats this Valentine’s Day, we’ve got you covered with these simple and delightful recipes. They pair perfectly with our Dirt Cake or can stand alone as charming festive desserts:
- Valentine’s Day Chocolate Covered Oreos
- Valentine’s Day Poke Cake Recipe
- The best Valentine’s Day Cake Mix Cookies
- Valentine’s Day Sugar Cookies Recipe
- 35 Valentine’s Day Cupcakes
- Valentine’s Day Cupcakes
We encourage you to go ahead and try this incredibly easy, yet utterly impressive Oreo dirt pudding recipe. It’s a delightful way to celebrate Valentine’s Day with a dessert that is as fun to make as it is to eat. Once you’ve had a chance to whip up this charming treat, please come back and share your experience. We’d love for you to leave a star rating and a comment below, letting us know how much you and your loved ones enjoyed it. We’re confident that you are going to absolutely love this easy dirt cake recipe!
Pin
Valentine’s Day Dirt Cake
Ingredients
- 1 pkg Oreos 14.3 oz package
- 8 oz Cream Cheese softened at room temperature
- 1/2 cup Butter softened at room temperature
- 1 cup Powdered Sugar
- 16 oz Cool Whip
- 2 boxes Instant Vanilla Pudding 3.3 oz boxes each
- 3 cups Milk
- 1 tsp Vanilla Extract
- Pink Food Coloring
- Valentine’s Day Sprinkles
Instructions
-
Crush ⅔ package of Oreos and place in the bottom of a 9×13 pan. Set aside.
-
Mix cream cheese and butter until smooth with a hand held mixer. Mix in powdered sugar and cool whip. Set aside.
-
In a separate bowl combined the milk, vanilla pudding mixes and vanilla extract. Fold this mixture in with the cream cheese mixture.
-
Add 5-7 drops of food coloring into the pudding mix and stir until the mixture is the pink color that you prefer.
-
Pour the pink pudding mixture over the Oreo crumbs in the bottom of the 9X13 pan. Refrigerate for 1-2 hours until the pudding mixture is set.
-
Crush the remaining Oreos and then sprinkle those on top of the cake.
-
Top with the Valentine’s Day sprinkles.
-
Serve cold and refrigerate when not serving.
-
Enjoy!
Recipe Notes
Nutrition Facts
Pin This Now to Remember It Later
Pin Recipe
