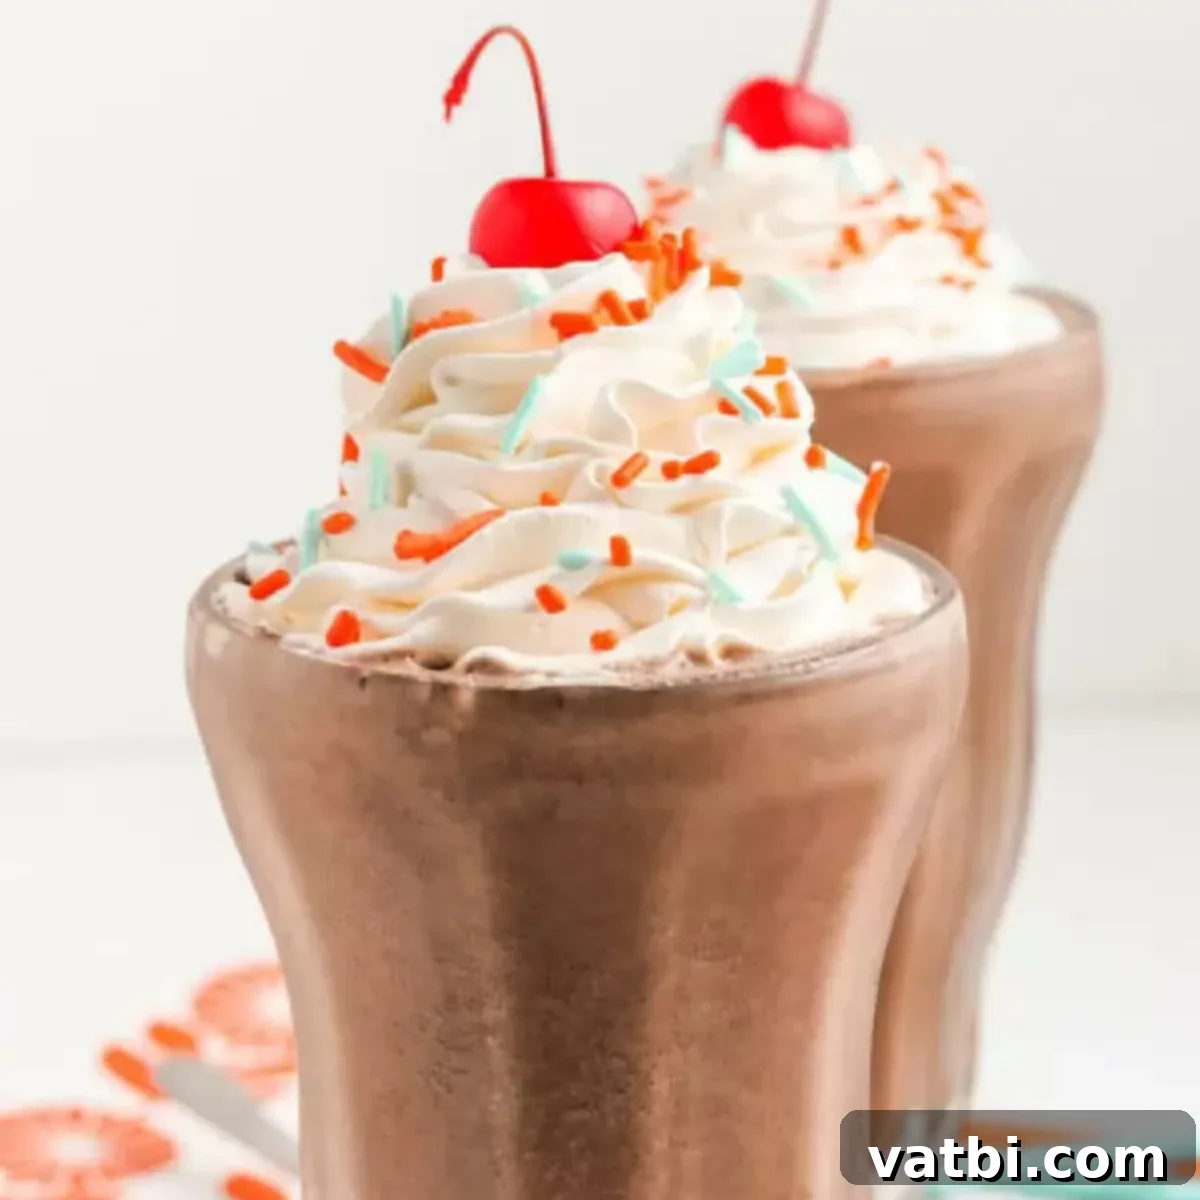
Indulge in the Ultimate Creamy 3-Ingredient Homemade Chocolate Milkshake Recipe
Craving a delightful sweet treat that’s both effortless and incredibly satisfying? Look no further! This easy Chocolate Milkshake recipe is your ticket to a blissful dessert experience right in your own kitchen. Forget expensive trips to the ice cream parlor; with just three simple ingredients, you can whip up a rich, creamy, and utterly delicious chocolate milkshake that rivals any professional creation. It’s the perfect solution for satisfying those spontaneous dessert cravings, offering a cost-effective and convenient way to enjoy a classic favorite. Get ready to blend, sip, and savor the ultimate homemade chocolate goodness!
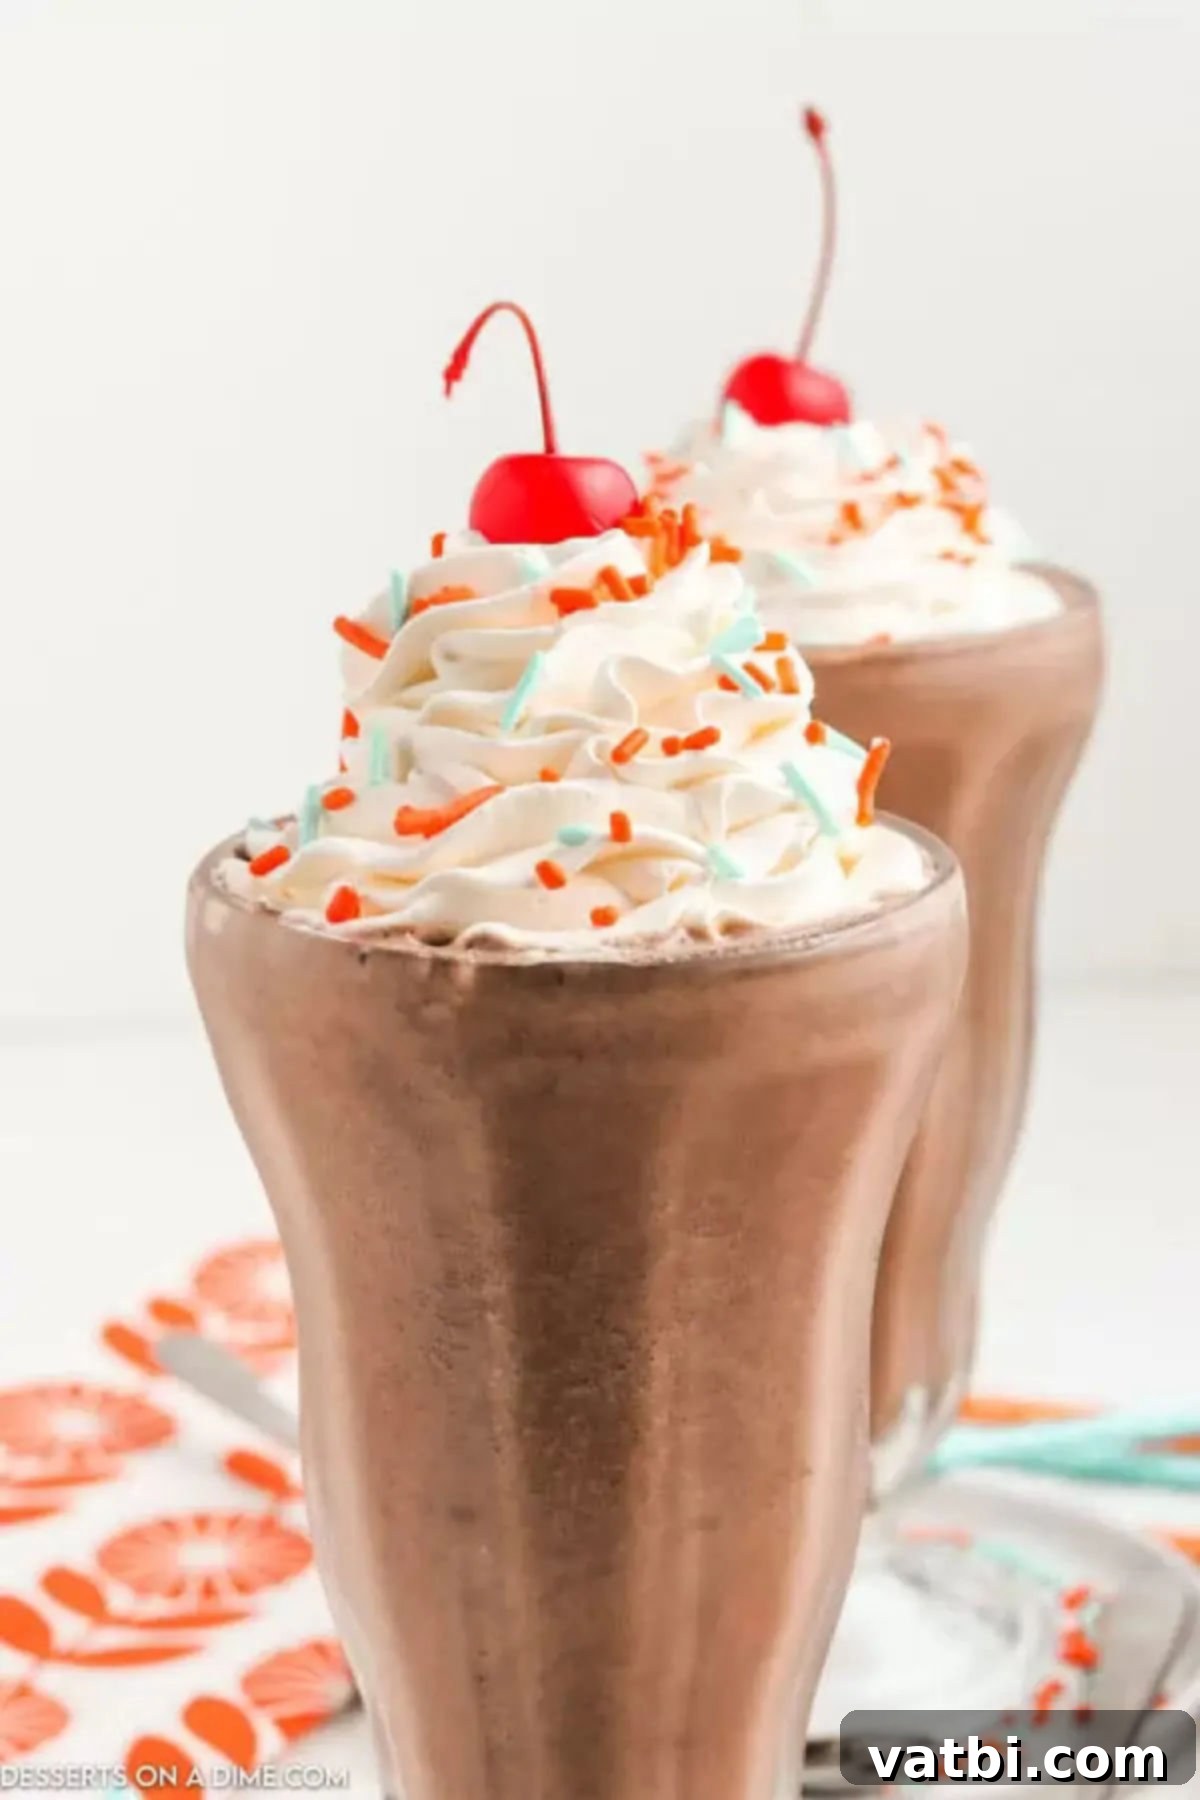
Milkshakes are more than just a drink; they’re a celebration, a nostalgic treat that brings joy to all ages. While going out for ice cream or a fancy shake can be a fun outing, the costs can quickly add up, especially for families. This simple, classic chocolate milkshake recipe offers a fantastic alternative, allowing you to enjoy a gourmet-quality ice cream dessert at home without breaking the bank. It’s an ideal choice for a movie night, a backyard barbecue, or simply a comforting pick-me-up on a warm afternoon. Elevate your homemade chocolate milkshake by topping it with a generous swirl of Homemade Whipped Cream and a vibrant maraschino cherry for that authentic diner feel.
If you’re a fan of delightful frozen treats, you’ll also adore our Mint Chocolate Chip Milkshake Recipe for a refreshing twist, or these unique Root Beer Float Popsicles for a different kind of nostalgic chill. But for pure, unadulterated chocolate bliss, this easy chocolate milkshake remains a firm family favorite and a go-to for any sweet occasion.
Table of contents
- Why This Easy Homemade Chocolate Milkshake Recipe Works
- Simple Ingredients for the Perfect Chocolate Milkshake
- Creative Substitutions and Delicious Additions
- How to Make a Velvety Smooth Chocolate Milkshake
- Irresistible Milkshake Toppings and Garnish Ideas
- Frequently Asked Questions About Chocolate Milkshakes
- More Delicious Ice Cream Desserts to Try
Why This Easy Homemade Chocolate Milkshake Recipe Works
This chocolate milkshake isn’t just a dessert; it’s a smart choice for anyone looking for maximum flavor with minimal effort and expense. Here’s why this recipe will quickly become a staple in your home:
- Saves Money. One of the biggest advantages of making your own milkshakes at home is the significant cost savings. Instead of spending a small fortune at a cafe or fast-food chain, you can enjoy multiple servings of a rich, creamy chocolate milkshake for a fraction of the price. Plus, you control the quality of ingredients, often leading to a superior taste experience that’s both economical and delightful.
- So Easy to Make. This recipe truly lives up to its “easy” promise. With just three core ingredients and a reliable blender, you can achieve a perfectly smooth and delicious chocolate shake in mere minutes. There’s no complex cooking, baking, or advanced techniques required, making it an ideal recipe for beginner cooks, busy parents, or anyone short on time but big on cravings. It’s a quick fix that doesn’t compromise on flavor or quality.
- Great Flavor. Despite its remarkable simplicity, this chocolate milkshake delivers an incredibly satisfying and authentic chocolate flavor. The harmonious combination of rich chocolate ice cream, creamy whole milk, and decadent chocolate syrup creates a symphony of taste that’s hard to beat. It’s a versatile treat that pairs wonderfully with savory meals like burgers and fries, or simply enjoyed on its own as a delightful dessert. The deep, refreshing chocolate taste is consistently a hit with everyone who tries it, ensuring a happy palate every time.
- Customizable & Versatile. This foundational chocolate milkshake recipe serves as a fantastic base that can be easily adapted to suit various preferences and dietary needs. Whether you want to make it thicker, thinner, incorporate extra flavors, or adorn it with different toppings, the core recipe remains robust and forgiving. It’s perfect for experimenting and crafting your unique signature milkshake.
- Quick Satisfaction. When a sweet craving strikes, instant gratification is key. This recipe moves from gathering ingredients to sipping on a delicious shake in less than 5 minutes, providing immediate relief for your sweet tooth. It’s significantly faster than driving to a store, waiting in line, and paying a premium price for a comparable treat.
Simple Ingredients for the Perfect Chocolate Milkshake
The true brilliance of this classic chocolate milkshake lies in its minimalist ingredient list. You don’t need exotic or hard-to-find components to achieve an incredibly flavorful and satisfying result. Here’s a closer look at the three essential ingredients that make this recipe shine:
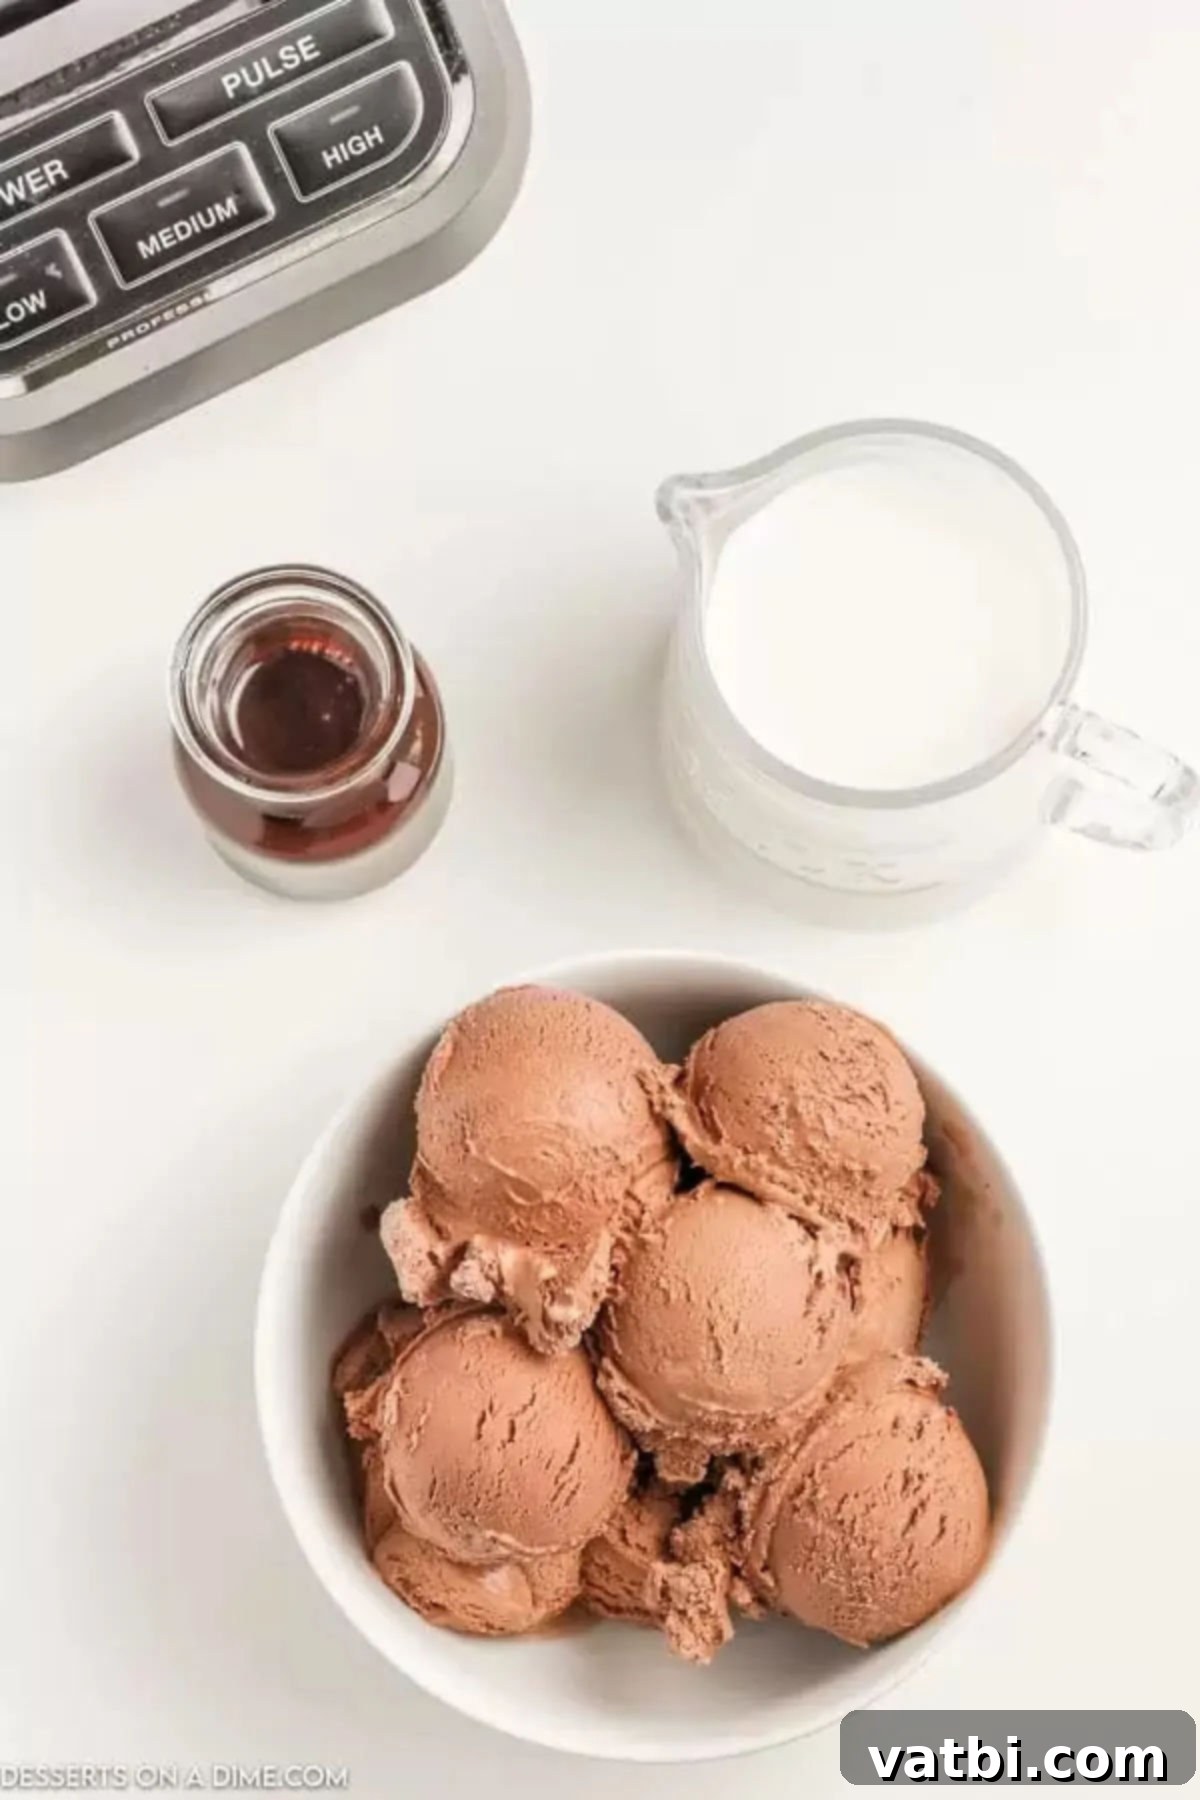
- Chocolate Ice Cream. This is undoubtedly the star of the show and forms the foundation of your delectable chocolate milkshake. The quality and type of ice cream you choose will significantly influence the overall richness and depth of flavor. Feel free to use any brand you absolutely love, whether it’s a premium artisanal scoop known for its intense chocolate flavor or a classic, budget-friendly store-brand favorite. For an extra rich and deep chocolate experience, consider opting for a dark chocolate ice cream. If you prefer a lighter, sweeter, and more familiar profile, a traditional milk chocolate ice cream will work wonderfully. Always ensure your ice cream is slightly softened for easier blending, but not melted, to maintain that desirable thick, creamy, and frosty consistency.
- Whole Milk. Whole milk is highly recommended for this recipe due to its higher fat content, which plays a crucial role in delivering a noticeably richer, creamier, and more luxurious milkshake texture. The fat content helps to emulsify all the ingredients smoothly, preventing a watery or overly icy shake. However, if you have dietary preferences or are looking for a lighter option, you can certainly use reduced-fat milk (such as 2% milk) or even skim milk for a lower-calorie version, though be aware that the resulting texture will be less decadent. If you happen to be using chocolate milk as your liquid base, you might want to slightly reduce the amount of added chocolate syrup to avoid an overpowering sweetness in your final product.
- Chocolate Syrup. This essential ingredient adds an extra layer of concentrated chocolatey goodness and helps to integrate all the flavors seamlessly into a smooth blend. We generally prefer using chocolate syrup for its convenient liquid consistency, which blends effortlessly and disperses flavor evenly throughout the milkshake. However, for those who prefer a less sweet, more intense, and slightly bitter chocolate flavor, you can substitute with unsweetened cocoa powder. If opting for cocoa powder, start with 1-2 tablespoons and remember to add a sweetener like granulated sugar, honey, or maple syrup to taste, as cocoa powder alone can be quite bitter. A tiny pinch of sea salt can also surprisingly enhance and deepen the chocolate notes!
For precise measurements and detailed, step-by-step instructions, remember to consult the full recipe card located at the very bottom of this page. This ensures you have all the information needed to create your perfect chocolate milkshake.
Creative Substitutions and Delicious Additions
While the classic 3-ingredient chocolate milkshake is a masterpiece in its own right, it also serves as an exceptional canvas for culinary creativity. Don’t hesitate to experiment with these fantastic substitutions and delightful additions to personalize your perfect shake and discover new favorite flavor combinations:
- Milk Substitute. For individuals with dairy sensitivities, allergies, or those following a plant-based diet, a variety of plant-based milk alternatives work beautifully. Easily swap traditional dairy milk for almond milk, oat milk, soy milk, or even full-fat canned coconut milk. Each option offers a slightly different flavor profile and level of creaminess; almond milk tends to be lighter, while oat milk and coconut milk (especially full-fat canned, for extra richness) will yield a more luxurious result.
- Sprinkles. A simple yet incredibly effective way to infuse fun, color, and a subtle textural contrast! After topping your homemade milkshake with a generous swirl of whipped cream, a colorful cascade of rainbow jimmies or classic chocolate sprinkles immediately makes it more appealing and festive, especially popular for captivating kids (and adults who are young at heart!).
- Other Ice Cream Flavors. Don’t limit yourself to just chocolate! Use this versatile milkshake recipe as a fundamental base to create a myriad of other exciting milkshake flavors. Instead of chocolate ice cream, bravely try strawberry ice cream for a delightful and refreshing strawberry milkshake, classic vanilla ice cream for a timeless vanilla shake, or even robust coffee ice cream for an invigorating mocha blend. The possibilities for flavor exploration are truly endless!
- Vanilla Ice Cream Base. For a slightly different interpretation of a chocolate milkshake, especially if you prefer the dominant chocolate flavor to come primarily from the syrup rather than the ice cream, swap the chocolate ice cream for vanilla ice cream. This approach creates a more traditional chocolate shake, appealing to those who desire a less intense, single-source cocoa kick, allowing the rich syrup to shine.
- Vegan Option. Transforming this recipe into a delicious vegan treat is remarkably simple. Just replace all dairy ingredients with their readily available plant-based counterparts. Opt for your favorite dairy-free chocolate ice cream, and choose a plant-based milk (such as almond, oat, or soy milk). Crucially, ensure that your chosen chocolate syrup is also certified dairy-free to maintain full vegan integrity.
- Heavy Cream for Extra Richness. To truly elevate the richness and create an even more decadent, ultra-creamy milkshake experience, consider replacing half of the whole milk with an equal amount of heavy cream. This addition introduces significant body and a luxurious, velvety mouthfeel, transforming your milkshake into a truly indulgent and luxurious dessert, perfect for special occasions.
- More Fun Flavors. Unleash your inner mixologist and get creative with additional blend-ins and flavor boosters!
- Peanut Butter or Nutella: For a delightful nutty, chocolatey fusion, add a generous tablespoon or two of creamy peanut butter or rich hazelnut spread (like Nutella) directly into the blender.
- Coffee/Espresso: For an invigorating mocha twist, incorporate a shot of cooled espresso or a teaspoon of instant coffee powder. This adds a sophisticated depth of flavor that coffee lovers will adore.
- Mint Extract: A few drops of pure mint extract can miraculously transform your chocolate milkshake into a refreshing and vibrant mint chocolate dream, reminiscent of a classic candy.
- Banana: For a subtly healthier, naturally sweeter, and wonderfully thicker shake, blend in half a ripe banana. It not only adds natural sweetness but also contributes a fantastic, creamy texture.
- Caramel Sauce: A luscious drizzle of caramel sauce or a sophisticated salted caramel sauce, either blended in or artfully layered inside the glass, adds another irresistible dimension of sweetness and complex flavor.
- Cookies or Candy: For a delightful textural contrast and an extra burst of flavor, crumble in some chocolate sandwich cookies (like Oreos), crunchy chocolate chip cookies, or pieces of your favorite chocolate candy bar before blending for a chunky, satisfying treat.
How to Make a Velvety Smooth Chocolate Milkshake
Crafting the perfect chocolate milkshake at home is surprisingly simple and requires minimal effort. Follow these straightforward, easy-to-understand steps to achieve a smooth, creamy, and utterly irresistible treat every single time. The key to success lies in blending just enough to thoroughly combine all the ingredients without over-liquefying your precious ice cream.
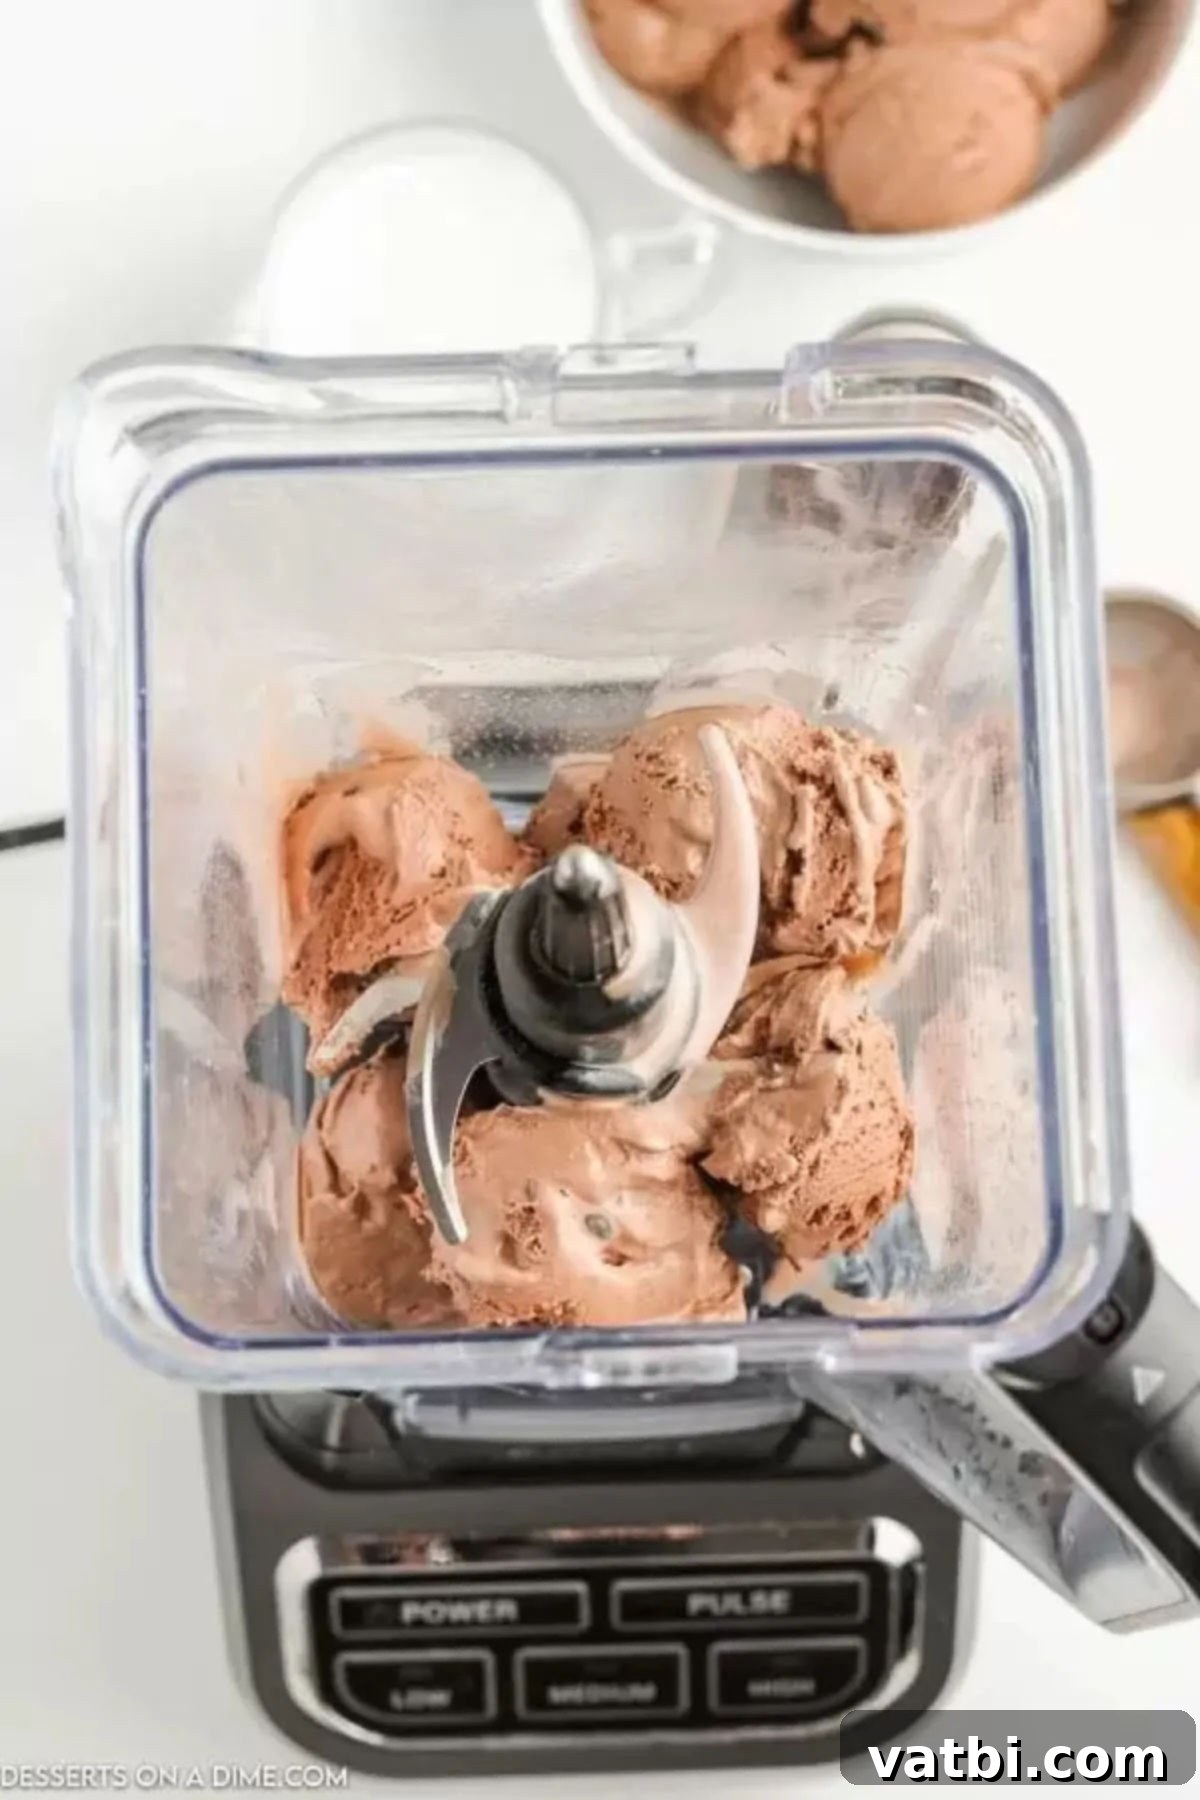
Step 1: Add Ice Cream to Blender. Begin by carefully scooping your chosen chocolate ice cream into a sturdy, high-powered blender. It’s crucial that your ice cream isn’t rock hard straight from the freezer; ideally, it should be slightly softened, as this will significantly ease the blending process and prevent your blender from struggling or overheating. If the ice cream is too soft or melted, your milkshake might unfortunately end up too thin, so aim for a consistency that is scoopable but still firm.
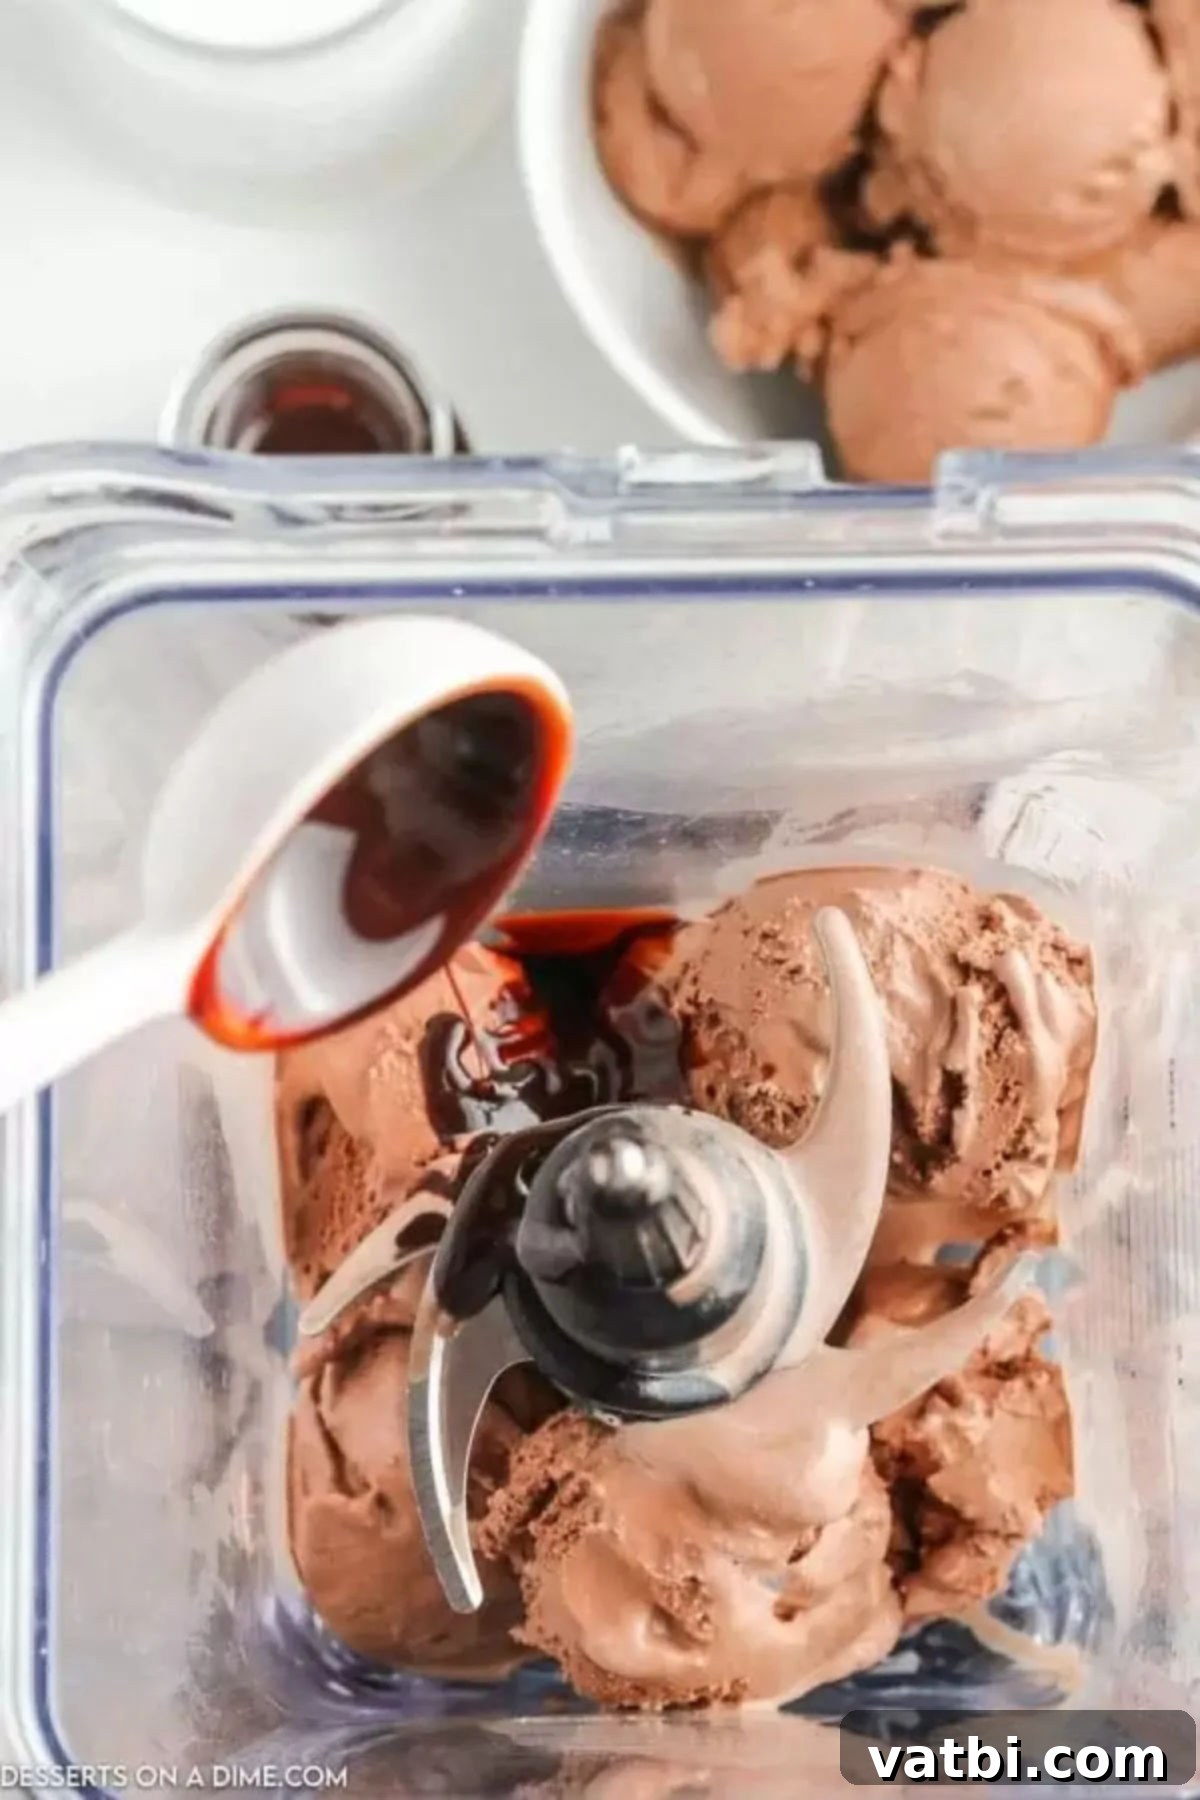
Step 2: Pour in Chocolate Syrup and Milk. Next, precisely add the rich chocolate syrup and the specified amount of whole milk to the blender, joining the ice cream. The quantity of milk you use is a critical factor for achieving your desired milkshake thickness. It’s always a good practice to start with the recommended amount. Remember, you can always easily add an extra splash more milk later if you find you prefer a thinner, more drinkable consistency.
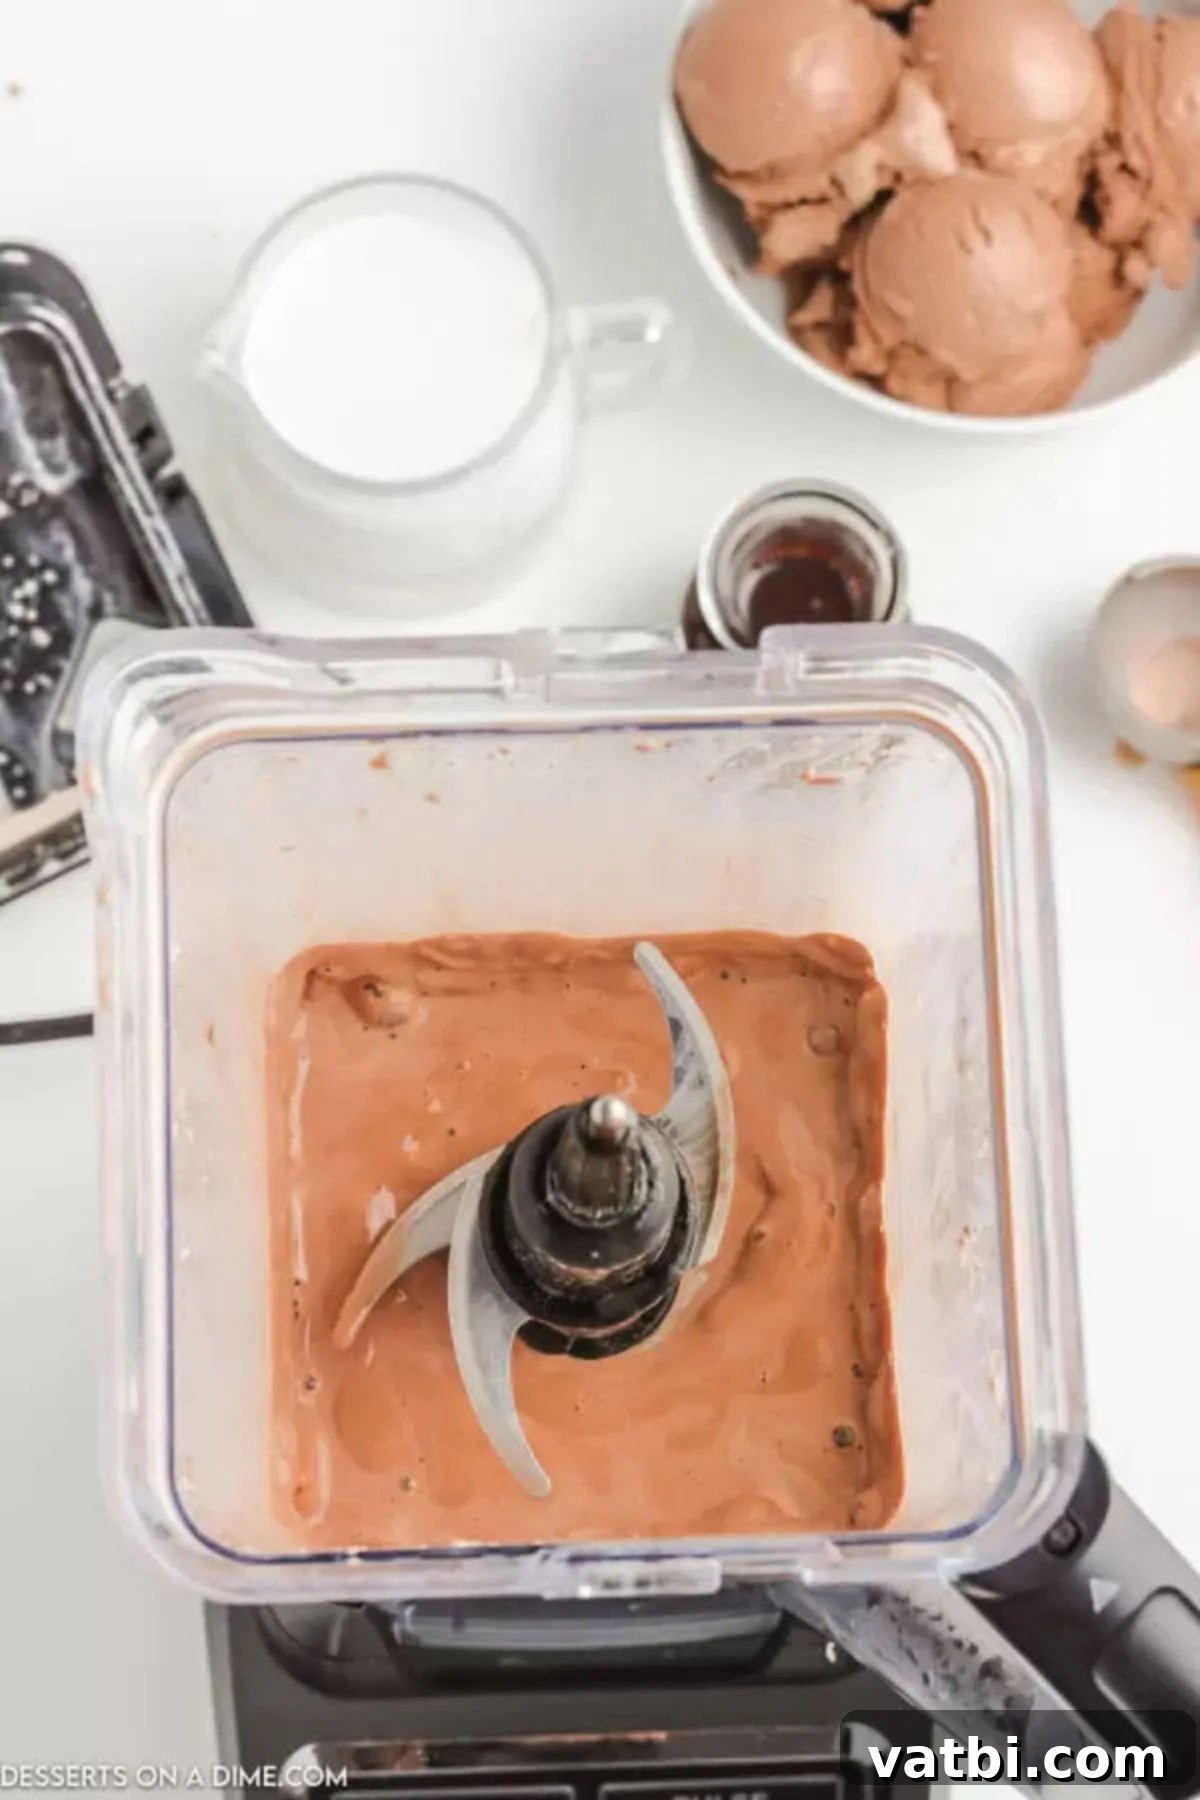
Step 3: Blend Until Well Combined. Securely fasten the lid on your blender and begin blending on a low speed, gradually increasing the power to medium. Blend only until all the ingredients are smoothly and thoroughly combined and reach your desired creamy, thick consistency. Exercise caution not to over-blend, as this can cause the ice cream to melt too much, resulting in a thinner, less frothy, and less satisfying milkshake. If your blender comes with a tamper, utilize it to help push the ingredients down, or stop periodically to scrape down the sides of the blender jar to ensure everything mixes evenly.
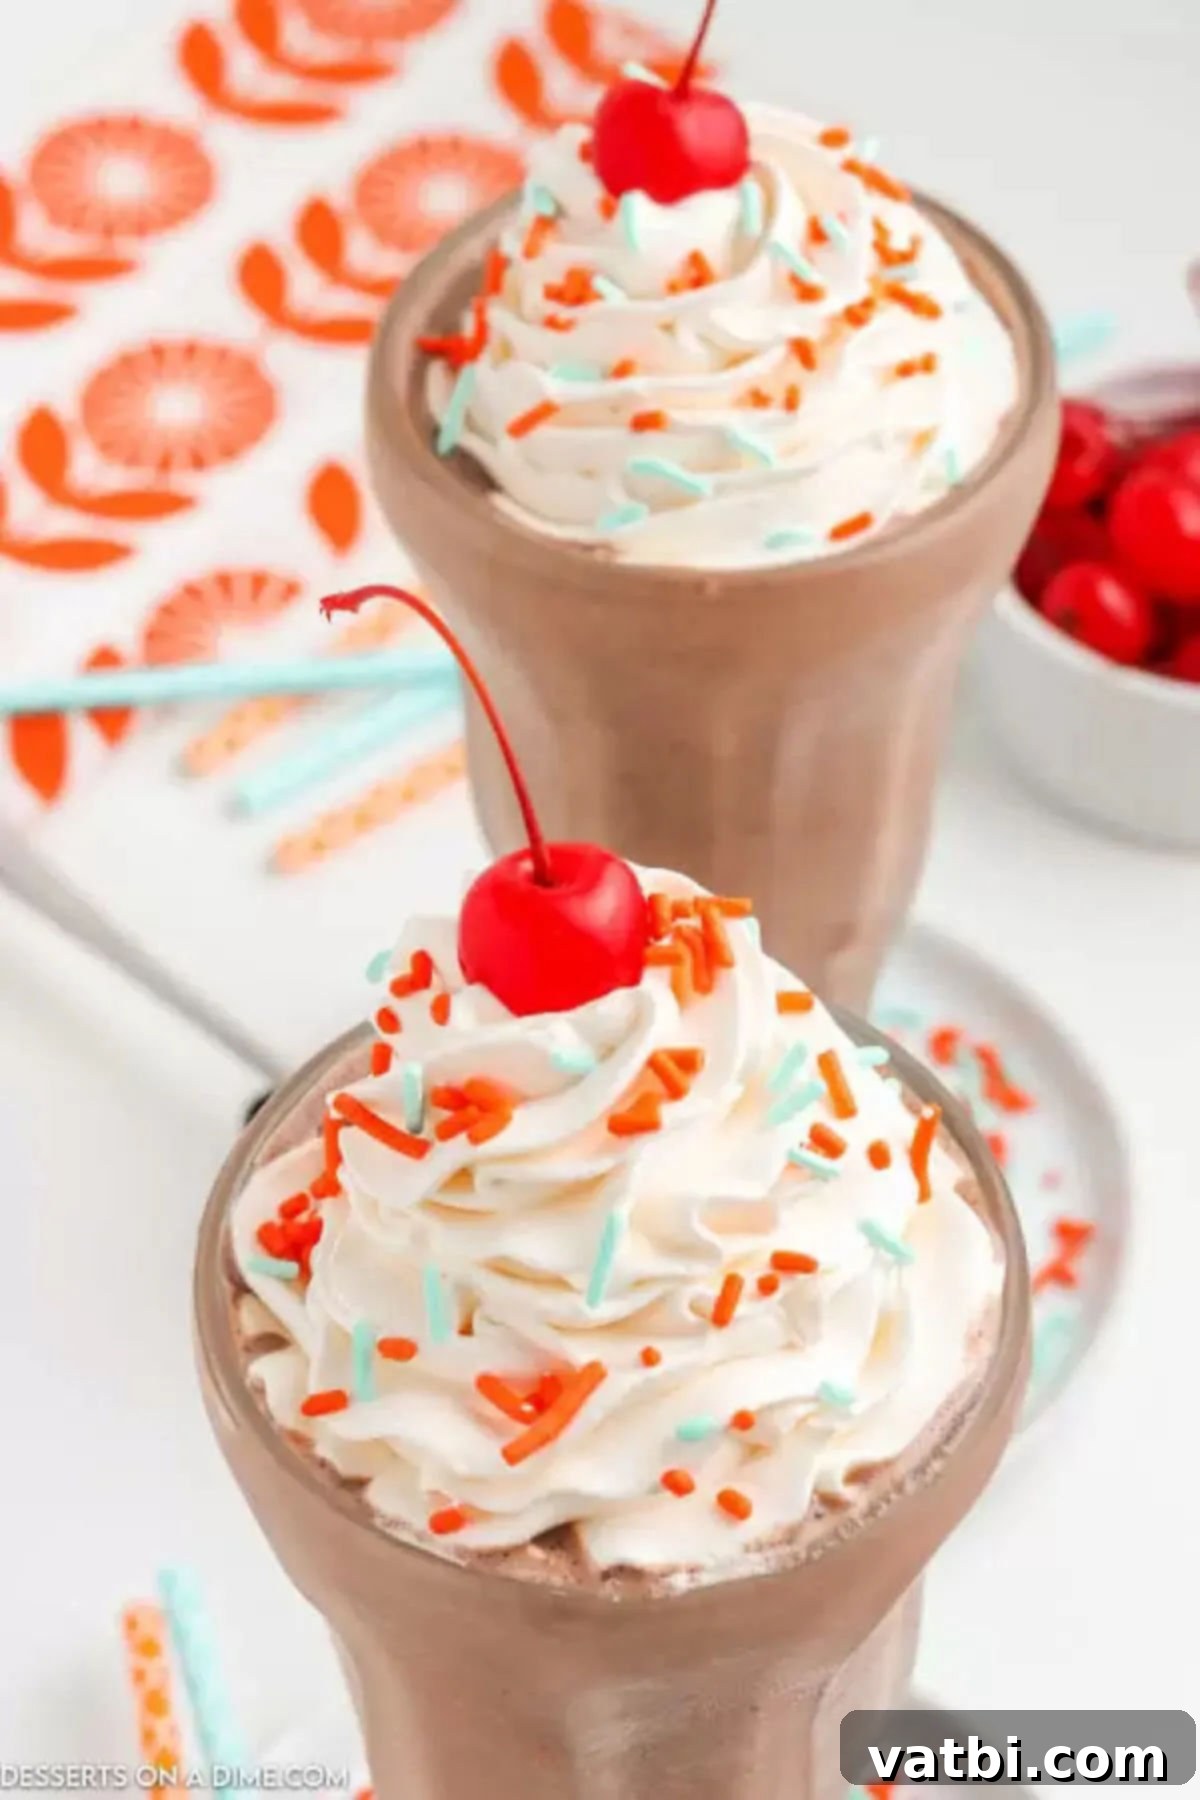
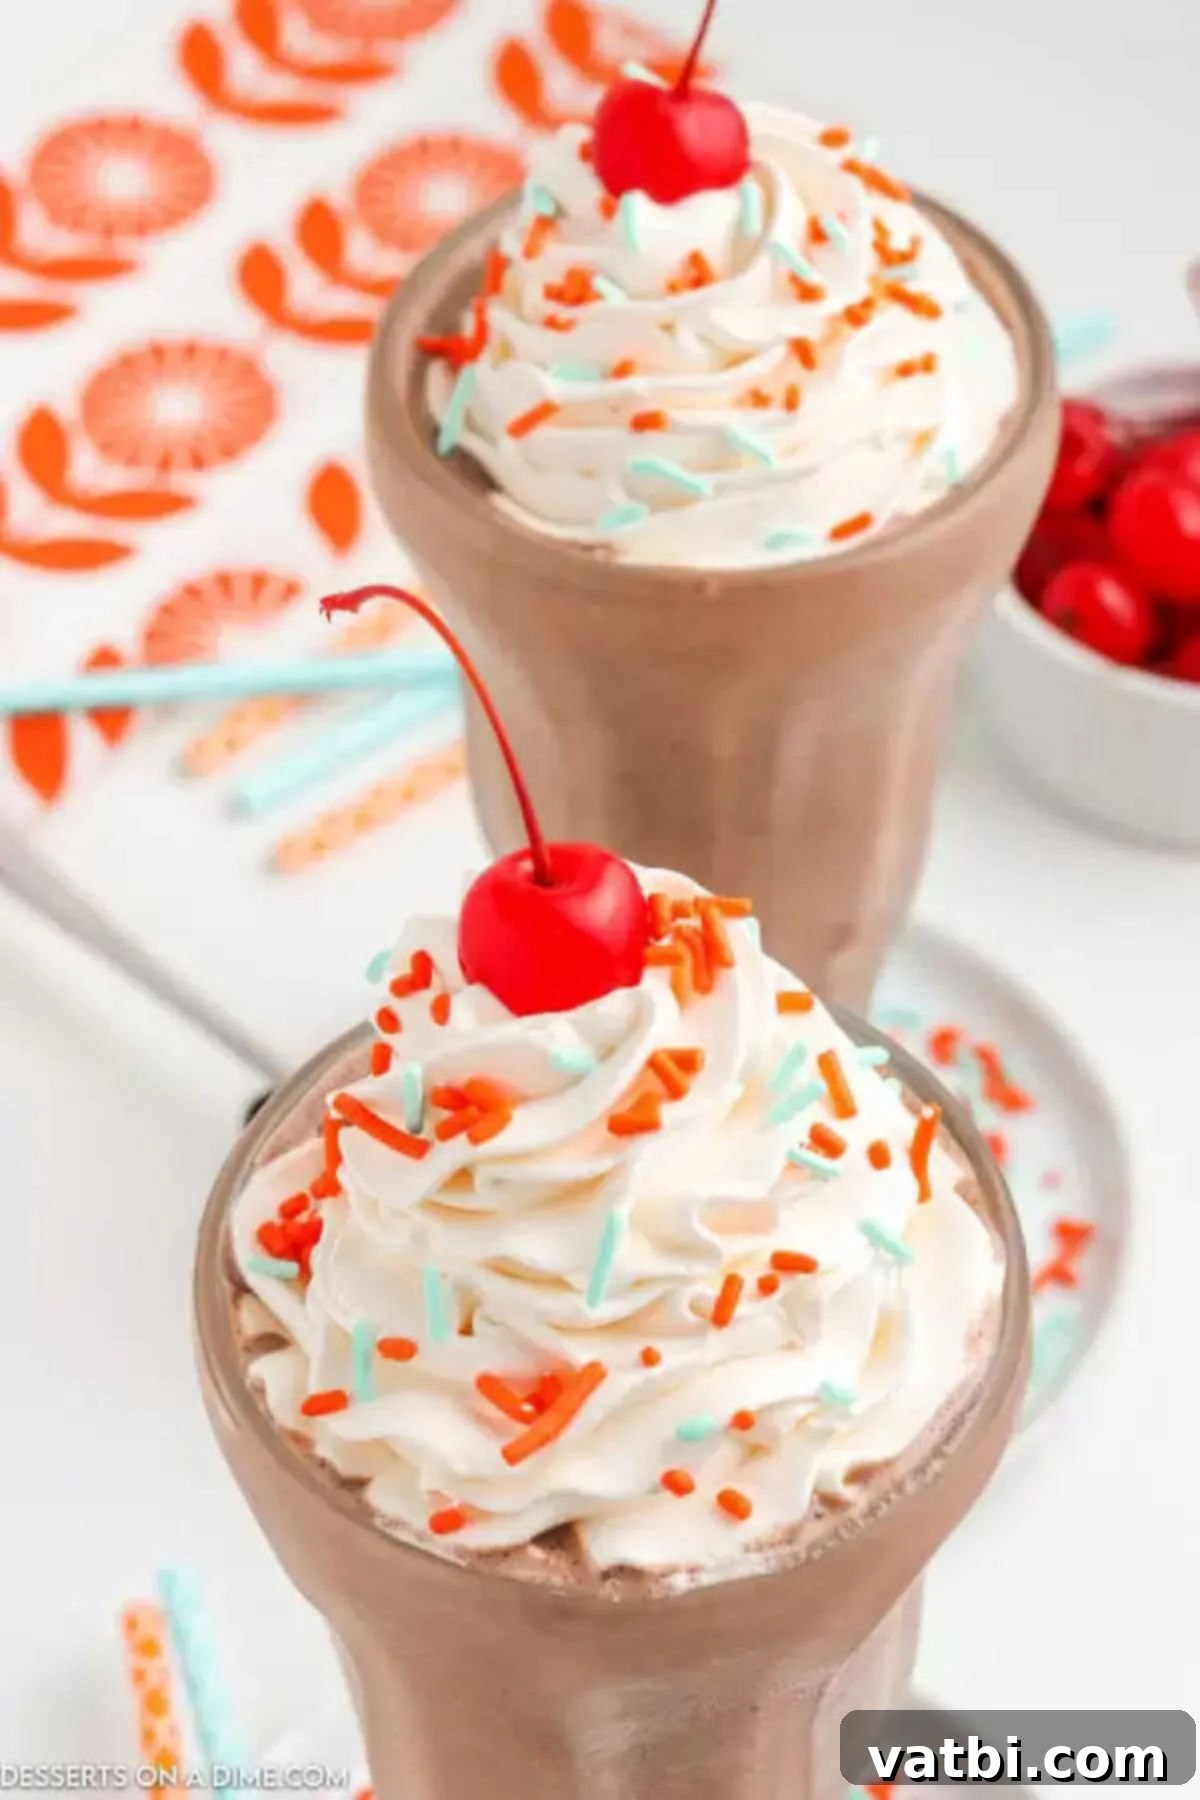
Step 4: Serve Immediately and Enjoy. As soon as your homemade chocolate milkshake reaches its velvety perfection, promptly pour it into chilled glasses and serve it right away. Milkshakes are always best enjoyed immediately to fully savor their refreshingly cold, thick, and incredibly creamy texture. For an extra special presentation and taste, don’t forget to add your favorite toppings (refer to our list of irresistible ideas below!).
Irresistible Milkshake Toppings and Garnish Ideas
A classic chocolate milkshake is already a wonderful treat on its own, but adding creative and delicious toppings can elevate it to a spectacular, show-stopping dessert experience! Get inspired and personalize your shake with these fantastic garnish ideas:
- Whipped Cream. A timeless and beloved classic for a reason! A generous, airy dollop of either freshly made homemade whipped cream or a convenient store-bought variety adds a delightful, cloud-like texture and extra sweetness that perfectly complements the rich chocolate base.
- Maraschino Cherries. For that quintessential, iconic, and undeniably old-fashioned diner look, crown your peak of whipped cream with a vibrant, glistening red maraschino cherry. It provides a beautiful pop of color and a subtle, sweet, and slightly tart fruity note.
- Sprinkles. Whether you opt for a burst of colorful rainbow sprinkles (jimmies) or the classic elegance of chocolate sprinkles, these tiny confectionery delights add an instant festive touch and a satisfying, delightful textural crunch. They’re particularly effective at making milkshakes more fun and appealing for kids, and indeed, for adults who embrace their inner child.
- Chocolate Syrup Drizzle. To truly double down on the glorious chocolate flavor, generously drizzle extra chocolate syrup—or for a more luxurious experience, a rich Homemade Hot Fudge Sauce—over the whipped cream. For an elegant visual effect, you can also drizzle the syrup inside the glass before pouring in the milkshake, creating beautiful striped patterns.
- Shaved Chocolate. For a sophisticated touch and an additional burst of intense chocolate, delicately sprinkle fine chocolate shavings on top. These beautiful curls not only add visual appeal but also melt slightly into the whipped cream, contributing a rich, nuanced chocolate flavor.
- Cookie Crumbs. Crushed chocolate sandwich cookies (like Oreos) or buttery graham crackers, sprinkled generously over the top, add a wonderful textural element and another layer of comforting flavor.
- Mini Chocolate Chips. A small handful of mini chocolate chips can provide a delightful, concentrated burst of chocolate and a satisfying crunch with every sip.
- Caramel Drizzle. For an exquisite salty-sweet contrast that’s utterly divine on a chocolate milkshake, artfully swirl or drizzle a rich caramel sauce or, even better, a decadent salted caramel sauce over your creation.
- Chopped Nuts. For those who appreciate a nutty dimension, toasted pecans, walnuts, or peanuts, finely chopped, can add a lovely earthy flavor and a pleasingly crunchy texture to your shake.
Frequently Asked Questions About Chocolate Milkshakes
Here are comprehensive answers to some of the most common questions to help you master the art of crafting perfect homemade chocolate milkshakes, ensuring a delightful experience every time:
Achieving that wonderfully thick, luxurious, and perfectly spoonable milkshake consistency is a delicate balance of the right ingredients and precise technique. For a truly rich and thick milkshake, the golden rule is to be mindful of your liquid content, specifically using a minimal amount of milk. This particular recipe, for instance, specifically calls for only ½ cup of whole milk, which is an ideal starting point for creating a lusciously thick consistency that won’t be overly runny.
If, by chance, you accidentally add a little too much milk and your chocolate milkshake becomes thinner than desired, there’s no need to fret – it’s an incredibly easy fix! Simply add an extra scoop or two of your chocolate ice cream back into the blender and blend again for a few seconds until you effortlessly reach your desired consistency. The additional ice cream will quickly absorb the excess liquid and thicken the mixture beautifully. Another helpful tip is to use slightly firmer, colder ice cream directly from the freezer and blend for shorter, pulsed bursts to prevent it from melting too quickly. Conversely, if you prefer a thinner, more readily drinkable chocolate milkshake, feel free to add a little more milk, a tablespoon at a time, until it flows exactly as you prefer.
The presentation of your homemade chocolate milkshake can significantly enhance the overall enjoyment, making it feel even more special and appealing! Here are some popular and charming serving suggestions:
Mason Jars: We often have a plentiful supply of versatile mason jars on hand, and they truly make for exceptionally charming and rustic serving glasses. The clear glass beautifully showcases the rich, inviting chocolate color of the milkshake, and their ergonomic design makes them comfortable to hold. They add a lovely homemade touch to any dessert.
Tall Ice Cream Glasses: For an authentic, truly old-fashioned parlor experience, tall ice cream float glasses or classic milkshake glasses are absolutely ideal. Their elegant height evokes a delightful sense of nostalgia and provides ample space for piling high with luscious whipped cream and all your favorite decadent toppings. A professional tip: chilling your chosen serving glasses in the freezer for approximately 10-15 minutes before pouring the milkshake will significantly help to keep your delightful treat colder and thicker for a much longer period.
Investing in a good quality, robust blender is definitely a wise decision, especially if you anticipate making milkshakes, smoothies, and other blended treats frequently. A powerful blender will effortlessly make light work of even firm ice cream, ensuring a consistently smooth, lump-free, and perfectly emulsified milkshake every single time. I personally rely on a Vitamix blender, which, despite its considerable age, continues to perform exceptionally well, proving its incredible durability and consistent power. While Vitamix blenders represent a significant initial investment, their long-term durability, unparalleled performance, and versatility make them well worth the price for serious home cooks and dessert enthusiasts.
However, if a Vitamix isn’t quite within your current budget, rest assured that many other decent quality professional blenders can still get the job done effectively. Brands like Waring professional blenders, for example, offer good power and solid performance for their price point, although they might not be quite as robust or offer the same longevity as a Vitamix. When selecting a blender, always look for models with strong motors and sturdy, sharp blades to ensure smooth blending capabilities without the risk of overheating or inconsistent results.
For the absolute best taste and texture, milkshakes are unequivocally best enjoyed immediately after they are blended. Their signature thick, creamy texture and wonderfully frosty temperature begin to degrade quite quickly once made. If you attempt to prepare it ahead of time and store it in the refrigerator, it will regrettably separate, become much thinner, and lose its appealing frothiness. Freezing it would make it too solid to drink directly, requiring a lengthy thawing process that would still compromise the ideal consistency. For the most delightful experience, plan to blend and serve your homemade chocolate milkshake right away!
While a classic chocolate milkshake is undeniably a delightful treat, you can certainly make a few strategic adjustments to create a slightly healthier version without sacrificing too much on flavor. Consider using reduced-fat milk or a plant-based alternative such as unsweetened almond milk. Opt for a lower-sugar or no-sugar-added chocolate ice cream. Alternatively, for a truly guilt-free option, swap the ice cream entirely for frozen bananas blended with a tablespoon of unsweetened cocoa powder, then add a touch of natural sweetener like a date or a dash of maple syrup if needed. You can also incorporate a scoop of your favorite protein powder for an added nutritional boost, transforming your treat into a more wholesome snack.
More Delicious Ice Cream Desserts to Try
If you’ve thoroughly enjoyed crafting and savoring this incredibly easy and delicious chocolate milkshake, you’ll be thrilled to explore more of our delightful ice cream and frozen dessert recipes. Perfect for any occasion, a celebratory gathering, or simply to satisfy a persistent sweet craving, these treats are sure to impress and become new favorites in your recipe collection!
- No Churn Chocolate Ice Cream
- Wendy’s Frosty Recipe
- Mint Chocolate Chip Milkshake Recipe
- Kool Aid Ice Cream
- Reese’s Peanut Butter Ice Cream
We truly hope you thoroughly enjoy this yummy treat and that it brings a smile to your face. There’s nothing quite like a cold, creamy homemade chocolate milkshake to brighten your day and satisfy your cravings. Please come back and leave a comment and a star rating to let us know how your homemade masterpiece turned out – we love hearing from you!
Pin
Easy 3-Ingredient Homemade Chocolate Milkshake
Ingredients
- 2 cups chocolate ice cream or your favorite flavor
- ½ cup whole milk
- 1 tablespoon chocolate syrup
- For Serving (Optional)
- Whipped cream
- Sprinkles
- Maraschino cherries
Instructions
-
Add 2 cups of chocolate ice cream to your blender.
-
Pour in ½ cup of whole milk and 1 tablespoon of chocolate syrup.
-
Blend on medium speed until all ingredients are well combined and the milkshake reaches a thick, creamy consistency. Avoid over-blending to maintain optimal thickness.
-
Immediately pour into chilled glasses. Garnish with a swirl of whipped cream, a sprinkle of your favorite toppings, and a maraschino cherry, if desired. Serve and enjoy your perfect homemade chocolate milkshake!
Nutrition Facts
Pin This Now to Remember It Later
Pin Recipe
