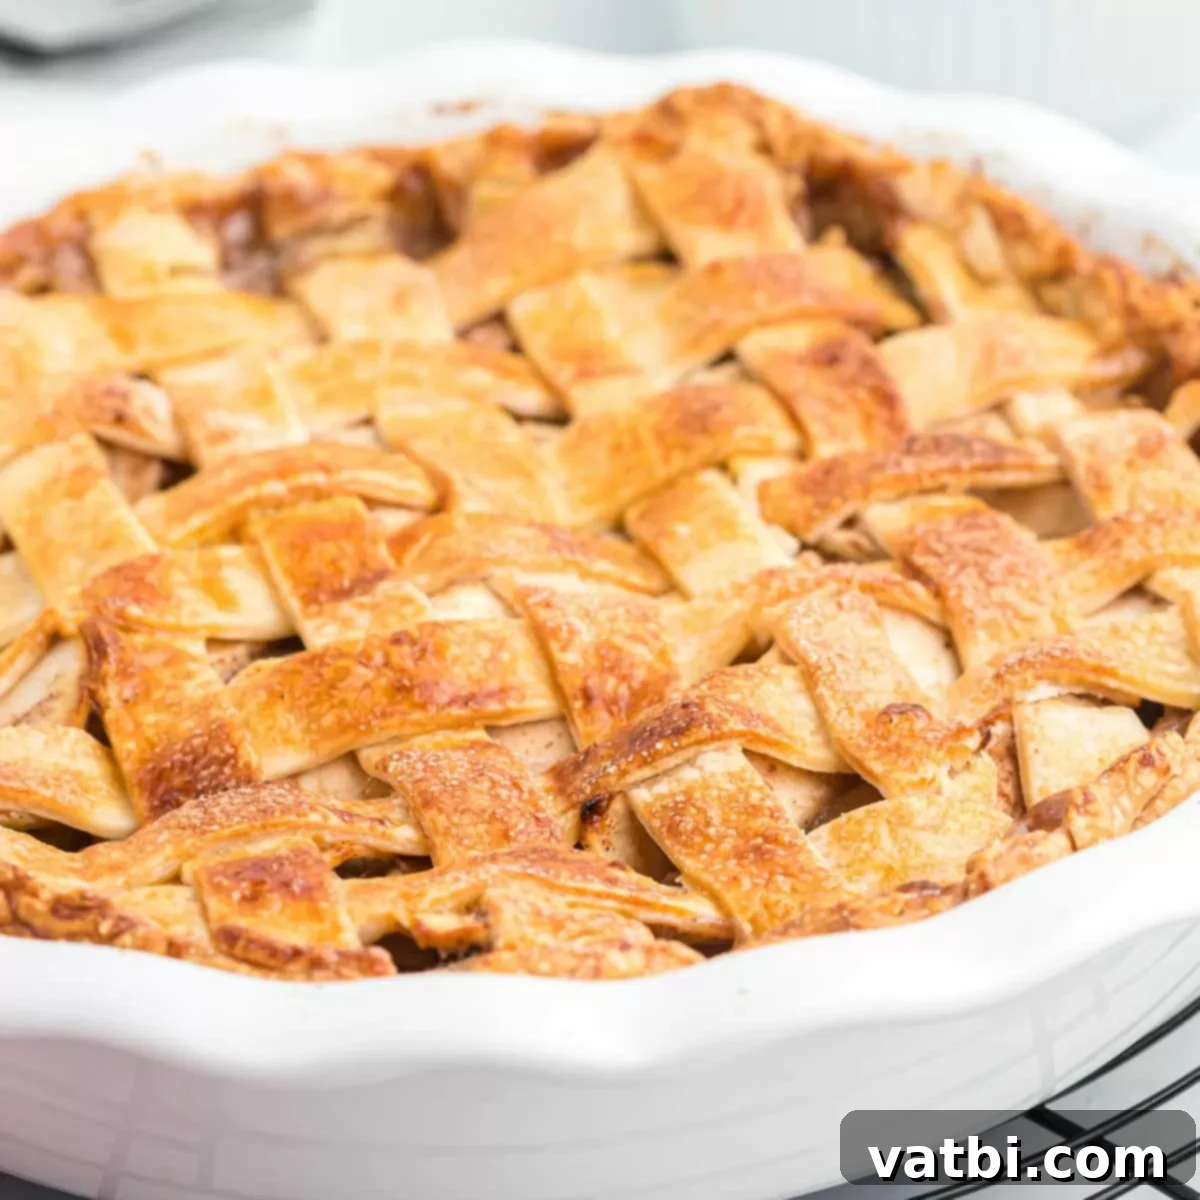
The Ultimate Salted Caramel Apple Pie Recipe: Easy Steps to a Decadent, Flaky Fall Dessert
Indulge in the perfect harmony of sweet and tart with our Salted Caramel Apple Pie Recipe. This quintessential fall dessert brings together a vibrant, spiced apple filling and a luxurious, homemade-tasting salted caramel sauce, all nestled within a beautifully golden, flaky pie crust. Every bite delivers a delightful contrast of textures and flavors, making it an irresistible treat for any occasion, from cozy family dinners to festive holiday gatherings.
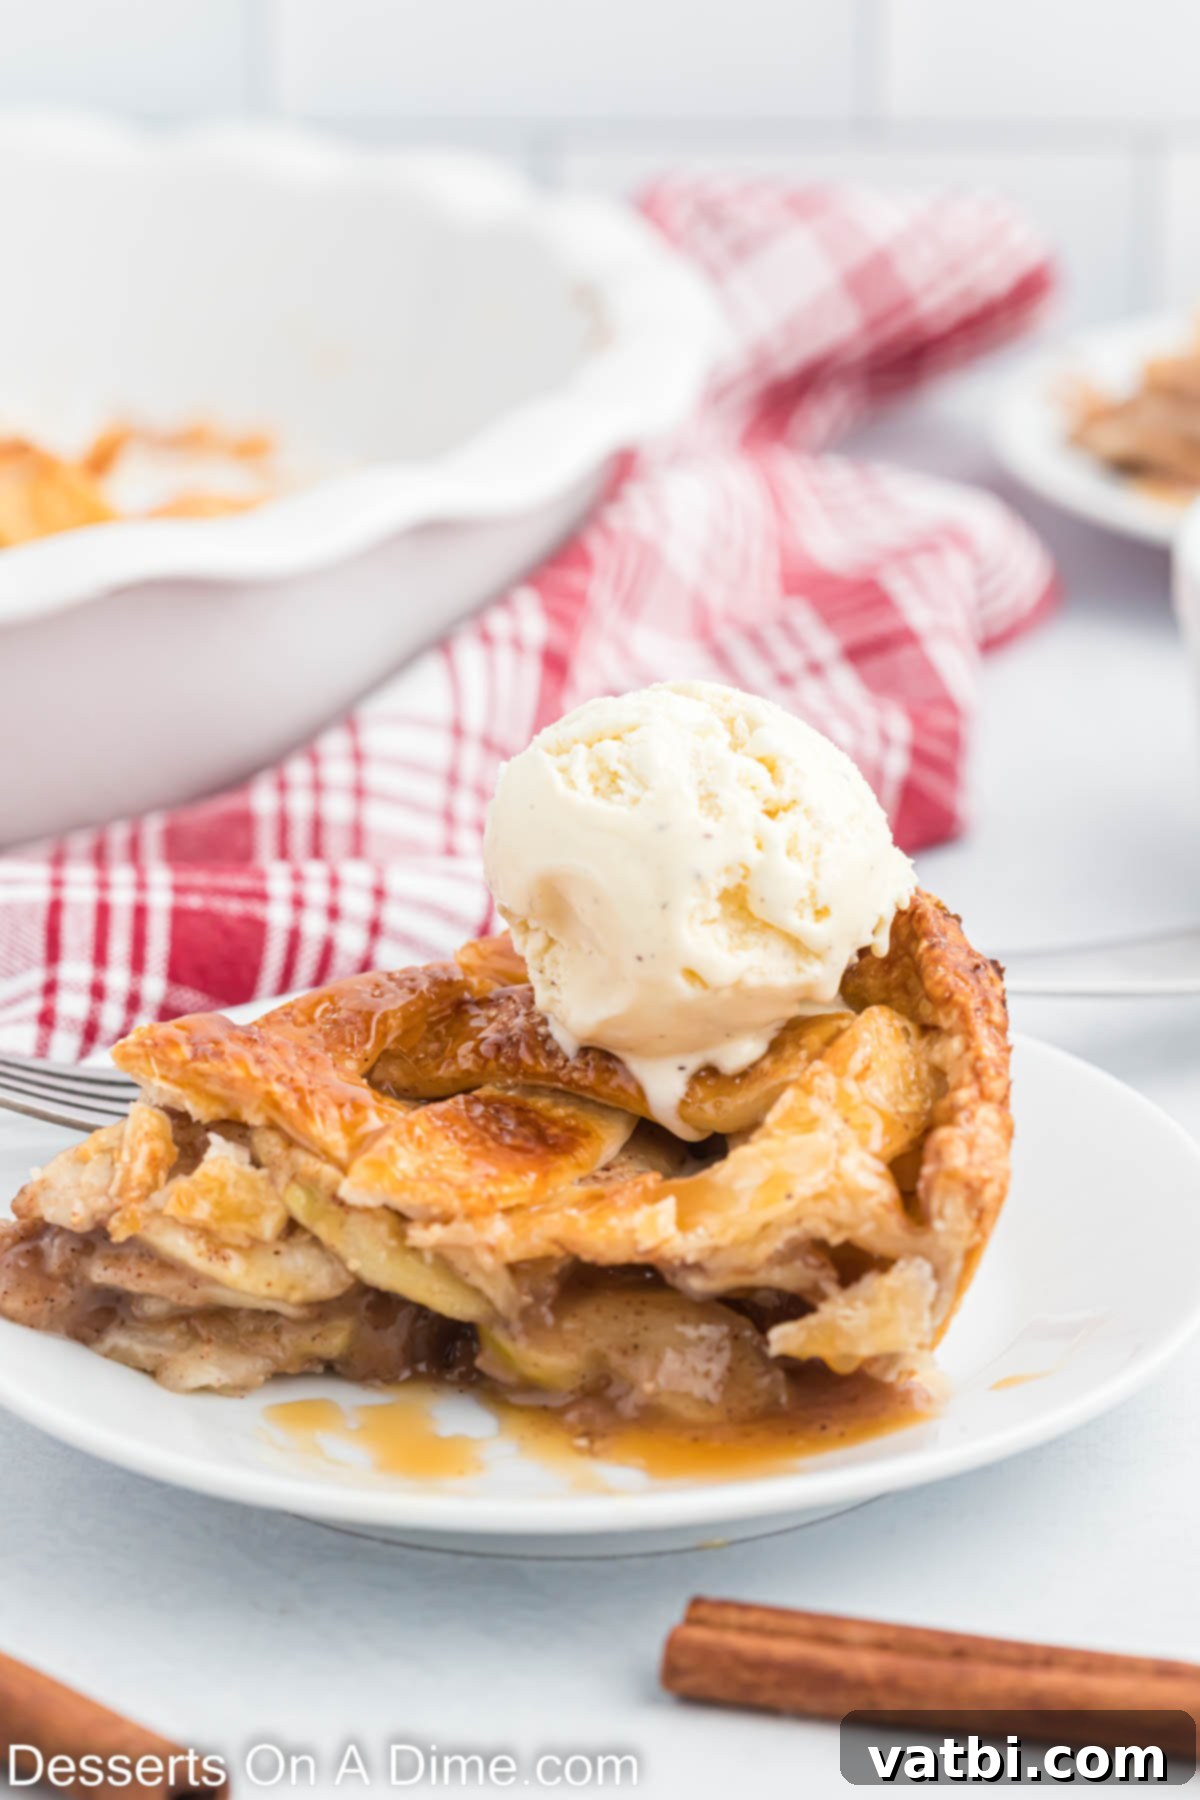
If you cherish the comforting taste of classic apple pie, you’re going to adore this elevated Salted Caramel rendition. The addition of rich caramel takes this dessert to an entirely new level of decadence, infusing the apple filling with a buttery sweetness that’s perfectly balanced by a hint of salt. This easy pie recipe is designed to impress with minimal effort, allowing the luscious caramel to meld seamlessly with the tender apples. For another delightful caramel-infused treat, you might also enjoy our Salted Caramel Pumpkin Pie Recipe.
Table of contents
- Why You’ll Love This Recipe
- Key Ingredients for the Perfect Pie
- For the Beautiful Topping
- Delicious Variations and Customizations
- How to Bake a Stunning Caramel Apple Pie
- Frequently Asked Questions
- Irresistible Serving Toppings
- Expert Pro Tips for Pie Perfection
- More Delicious Apple Desserts
- More Easy Pie Recipes to Try
Why You’ll Love This Recipe
This Salted Caramel Apple Pie offers the perfect blend of elegance and simplicity. Despite its incredibly fancy appearance, especially with a stunning lattice topping, we’ve designed this recipe to be approachable, even for novice bakers. The secret to its ease often lies in using a high-quality premade pie crust from the store, significantly cutting down on prep time. The entire process is surprisingly quick, with less than 15 minutes of hands-on prep work, yet the results are consistently stunning and undeniably delicious.
As autumn leaves begin to fall and the air turns crisp, there’s no better time to embrace the warmth of baked apple desserts. This pie is not just a dessert; it’s a celebration of the season, filling your home with an aroma that’s as comforting as the pie itself. It’s so rich, flavorful, and wonderfully yummy that it’s bound to become a new family favorite.
Key Ingredients for the Perfect Pie
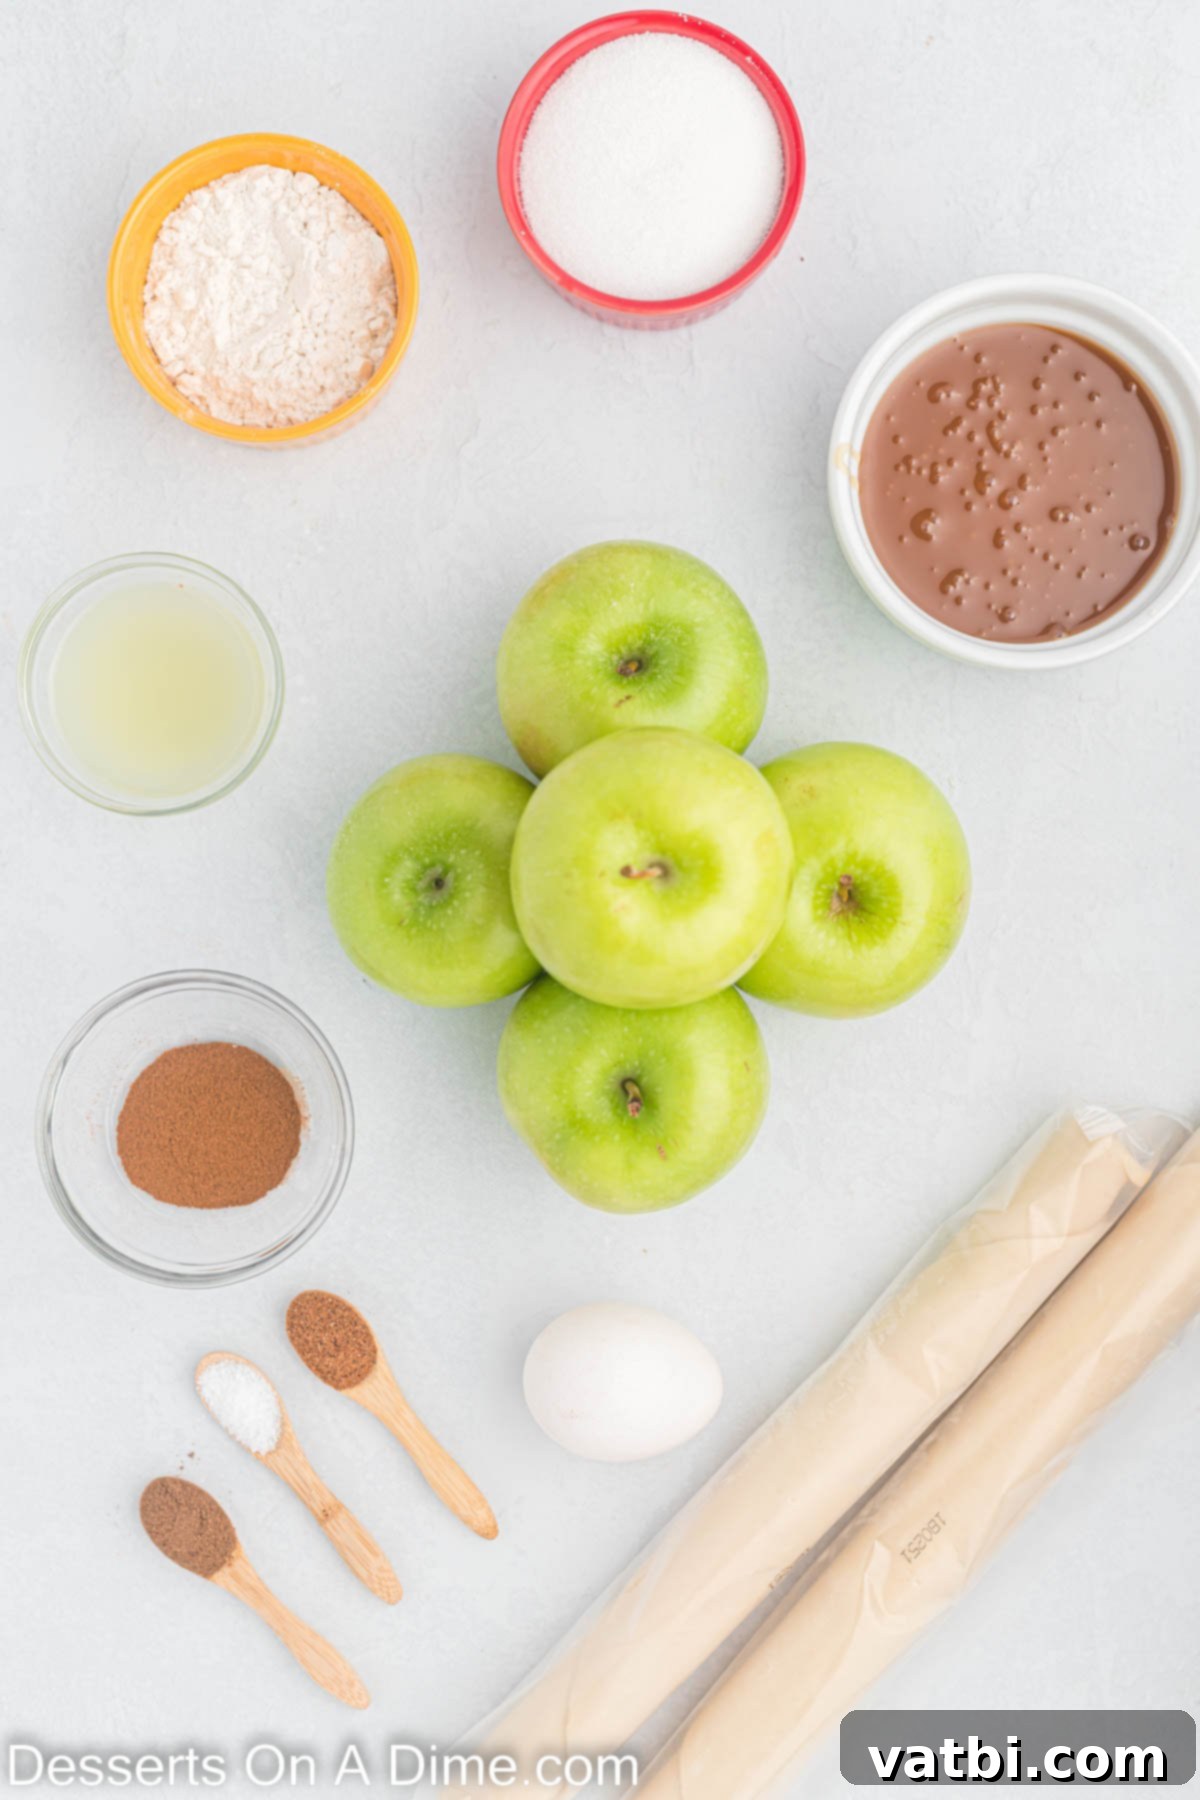
- Premade Pie Crusts: For ultimate convenience, we opt for store-bought refrigerated pie crusts. They provide a consistently flaky base with minimal effort. However, if you prefer a homemade touch, our 3 Ingredient Pie Crust Recipe is an excellent alternative that’s surprisingly simple to make from scratch.
- Salted Caramel Sauce: This is the star ingredient that elevates a classic apple pie into something truly special. You’ll divide the sauce, incorporating some into the filling and reserving the rest for a decadent drizzle before serving. You can use your favorite store-bought brand or make a simple homemade version. The “salted” aspect is crucial here, as it beautifully balances the sweetness of the apples and caramel.
- Granny Smith Apples: These tart, firm apples are the ideal choice for apple pie. Their crisp texture holds up wonderfully during baking, preventing the filling from becoming mushy, while their natural tartness perfectly cuts through the richness of the caramel. Ensure they are peeled and sliced into thin, even pieces for uniform cooking.
- Lemon Juice: A splash of fresh lemon juice serves multiple purposes. It prevents the sliced apples from browning too quickly and, more importantly, brightens the overall flavor of the pie, adding a subtle tang that complements the sweet caramel and spices.
- All-Purpose Flour: This acts as a thickening agent for the apple filling, ensuring a luscious, gooey consistency that holds its shape when sliced, rather than a watery mess. Remember to spoon the flour into your measuring cup rather than scooping it directly from the bag, as this prevents over-measuring.
- Cinnamon, Allspice, and Nutmeg: This warming trio of spices creates the quintessential autumnal flavor profile for the apple filling. Feel free to adjust the amounts to your personal preference; if you adore a strong cinnamon kick, add a little extra!
- Salt: A small amount of salt in the filling helps to enhance all the other flavors, making the apples taste even fruitier and the spices more vibrant.
For the Beautiful Topping
- Large Egg: Lightly beaten, this egg is used to create an egg wash, which is brushed over the pie crust before baking. It gives the crust a beautiful golden-brown color and a lovely sheen.
- Sugar: A sprinkle of granulated sugar over the egg wash adds a sparkling, slightly crisp finish to the pie crust, enhancing its visual appeal and adding a delicate sweetness.
A complete list of exact measurements and detailed instructions can be found in the recipe card at the bottom of the page.
Delicious Variations and Customizations
While this Salted Caramel Apple Pie recipe is perfect as is, it’s also incredibly versatile, allowing for creative customizations to suit your taste or occasion. Here are some ideas to inspire you:
- Adjusting the Saltiness: We love how the “salted” aspect of the caramel enhances the apples, creating a complex flavor profile. However, if you prefer a more traditional apple pie, you can easily omit the salt from the caramel sauce (or use a regular caramel) and the apple filling. Alternatively, for an extra gourmet touch, sprinkle a tiny pinch of flaky sea salt directly onto the pie after baking, just before serving, to truly highlight the salted caramel notes.
- Creative Crust Designs: The lattice top is a classic and elegant choice, but don’t feel limited! Instead of cutting strips for a lattice, roll out the second pie crust and use cookie cutters to create decorative shapes like autumn leaves, small apples, or hearts for Valentine’s Day. Arrange these shapes artfully on top of the apple mixture for a charming and pretty alternative. You can also simply place the second crust whole, cut a few slits in the top for steam to escape, and create a decorative crimped edge.
- Adding Nuts: For an extra layer of texture and flavor, consider incorporating a ½ cup of chopped pecans or walnuts into your apple filling. They toast beautifully in the oven, adding a delightful crunch that complements the soft apples and gooey caramel.
- Spice Blend Enhancements: While cinnamon, allspice, and nutmeg are fantastic, feel free to experiment with other warm spices. A pinch of ground cloves or a subtle hint of cardamom can add unique depth to your apple filling.
- Different Apple Varieties: While Granny Smith apples are highly recommended for their tartness and firm texture, a blend of apples can offer a more complex flavor. Consider combining Granny Smith with a slightly sweeter, firm apple like Honeycrisp, Braeburn, or Pink Lady. The key is to use firm, tart or semi-tart apples that won’t turn to mush during baking.
- Crumb Topping Option: If you’re not a fan of a double crust or want to switch things up, replace the top pie crust with a buttery, sweet crumb topping. A simple mix of flour, brown sugar, oats, and cold butter pulsed together creates a delightful streusel that bakes into a golden, crunchy layer.
How to Bake a Stunning Caramel Apple Pie
Creating this show-stopping Salted Caramel Apple Pie is simpler than you might think. Follow these step-by-step instructions to bake a dessert that will earn rave reviews:
- Step 1: Prepare Your Oven and Crust. Begin by preheating your oven to 400 degrees Fahrenheit (200 degrees Celsius). While the oven heats up, keep your premade pie crusts chilled in the refrigerator. A cold crust is essential for a flaky, tender texture, preventing it from becoming tough or shrinking excessively during baking.
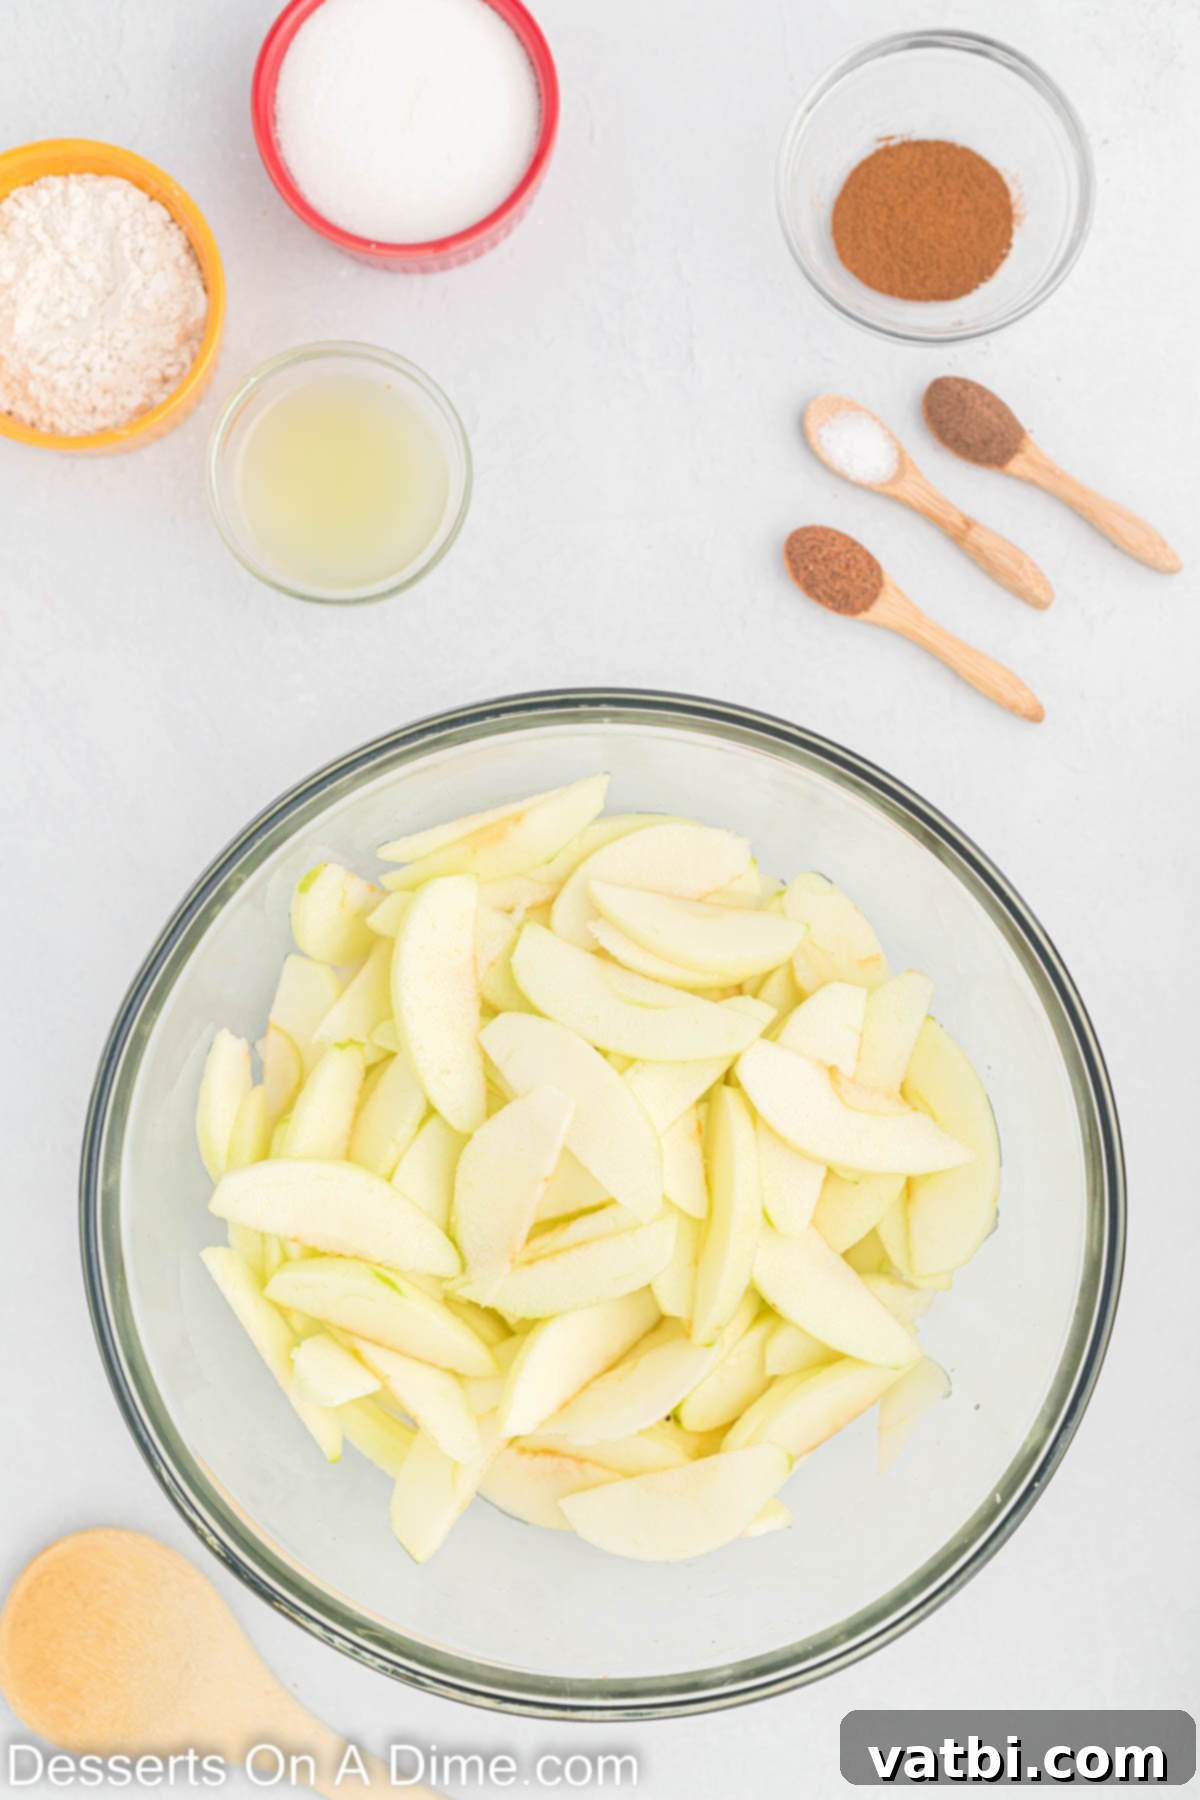
Step 2: Prepare the Apples. In a large mixing bowl, gently place your thinly sliced and peeled Granny Smith apples. Ensure the slices are uniform in thickness for even cooking.
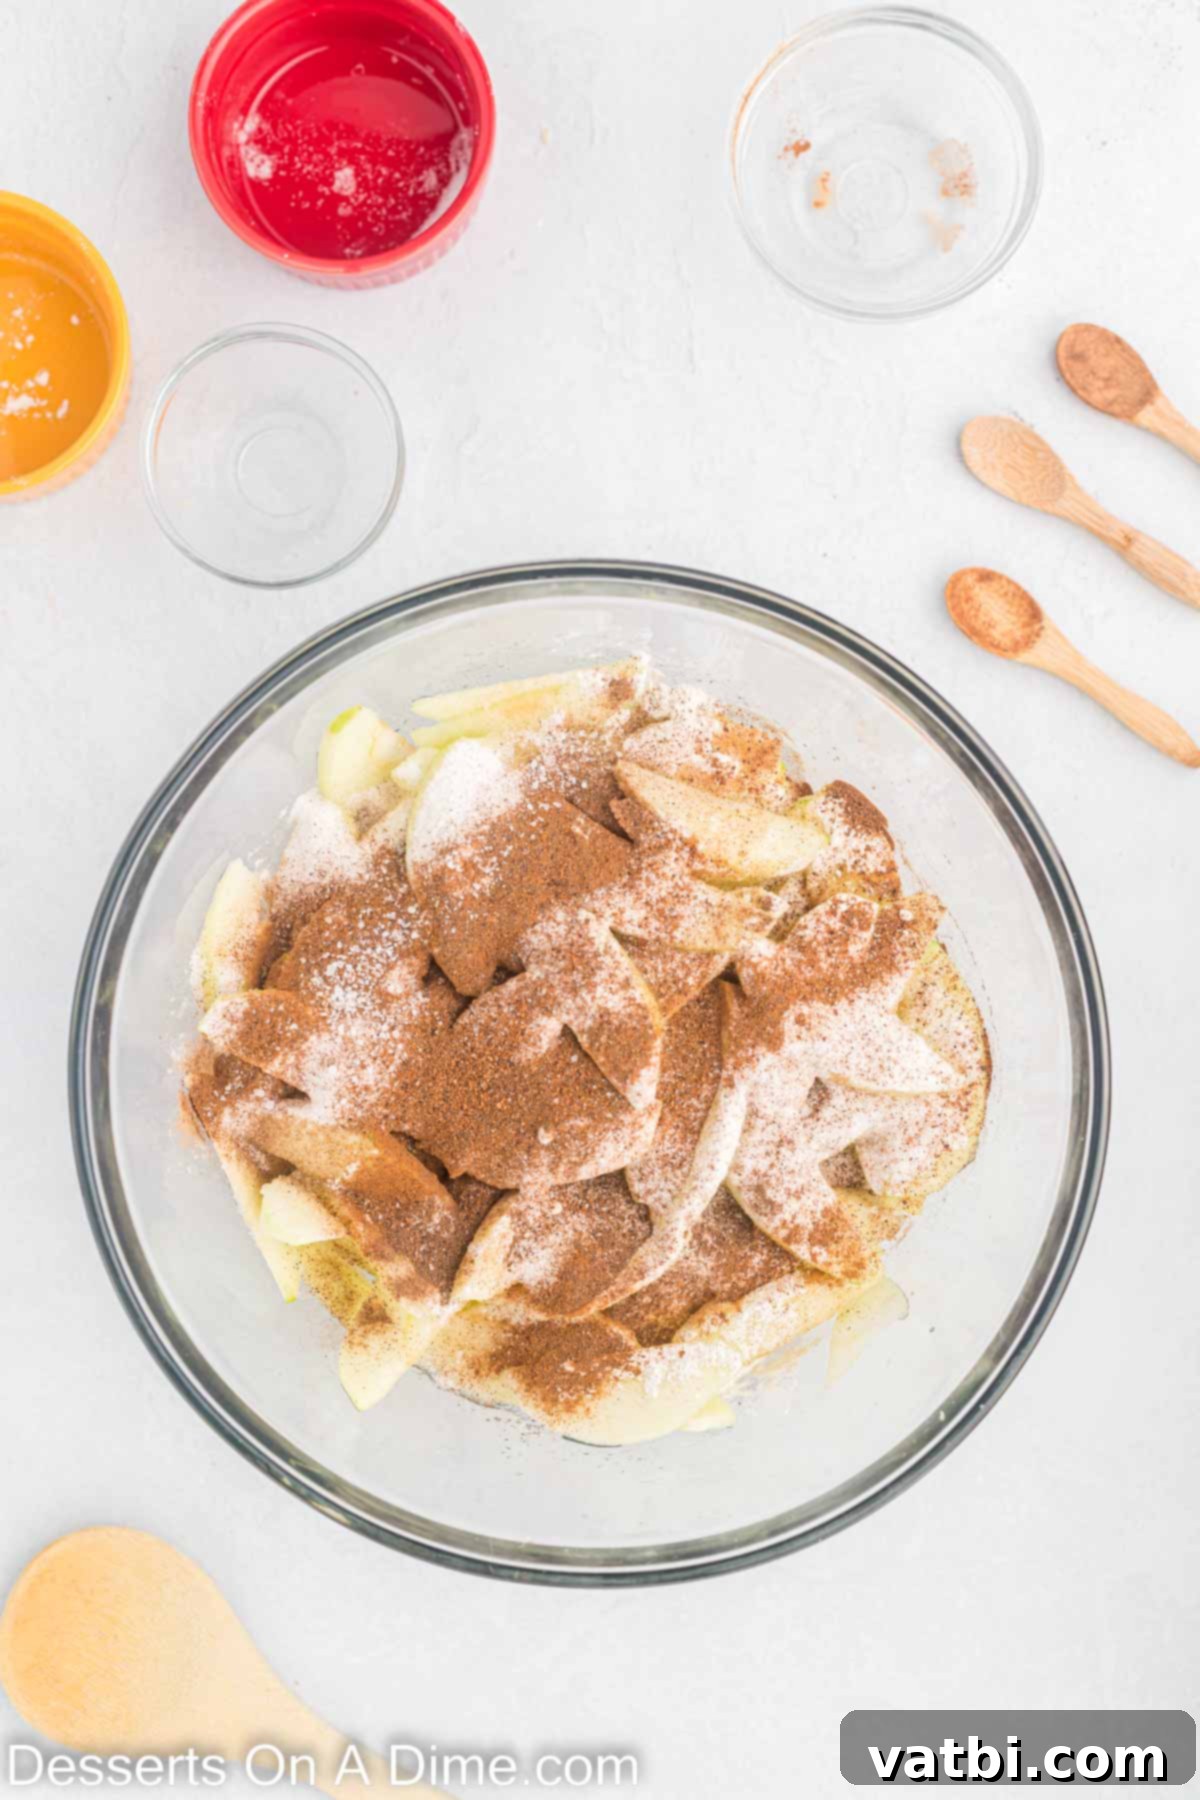
Step 3: Combine with Flavorings. Add the fresh lemon juice, granulated sugar, all-purpose flour, salt, ground cinnamon, ground allspice, and ground nutmeg to the bowl with the apple slices. These ingredients will create the rich, aromatic filling.
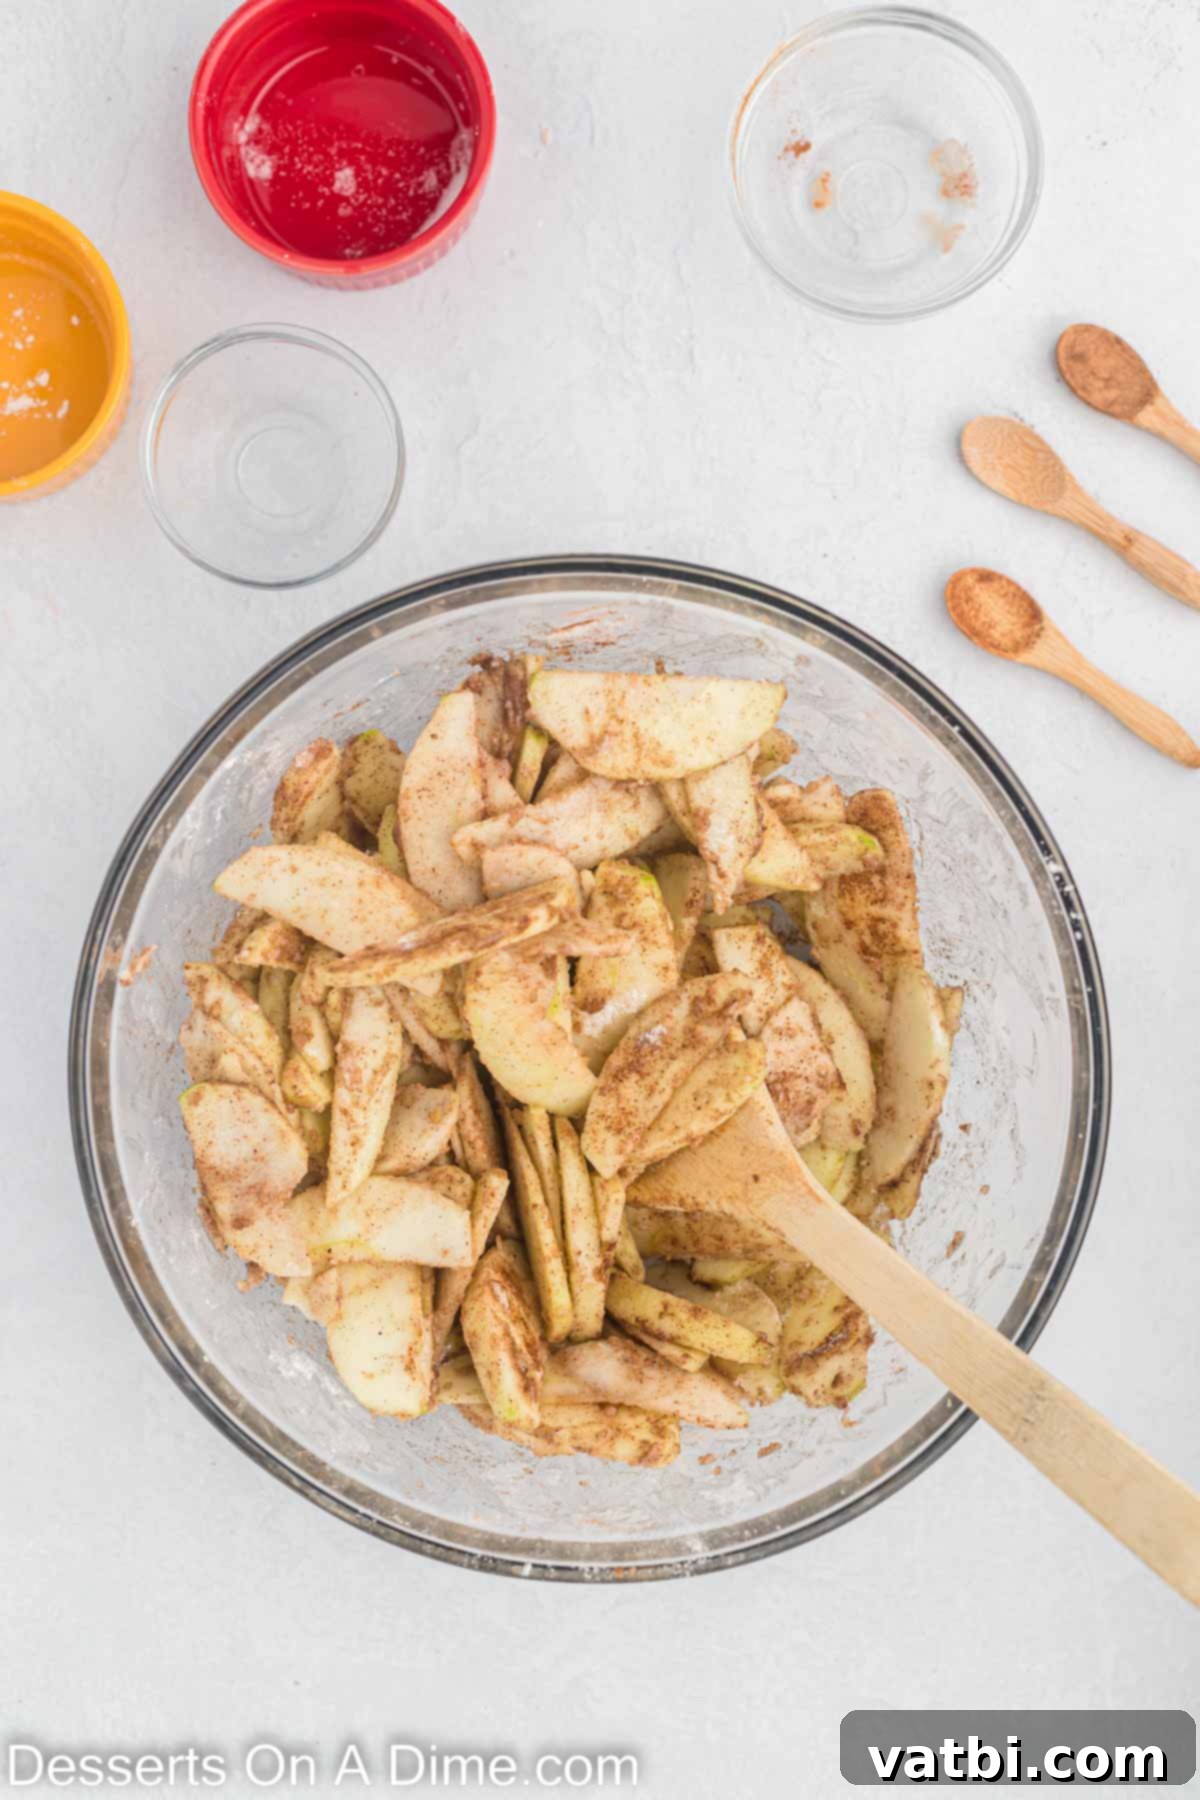
Step 4: Coat the Apples. Toss all the ingredients together thoroughly until every apple slice is beautifully coated with the sugar and spice mixture. This ensures even flavor distribution throughout the pie filling.
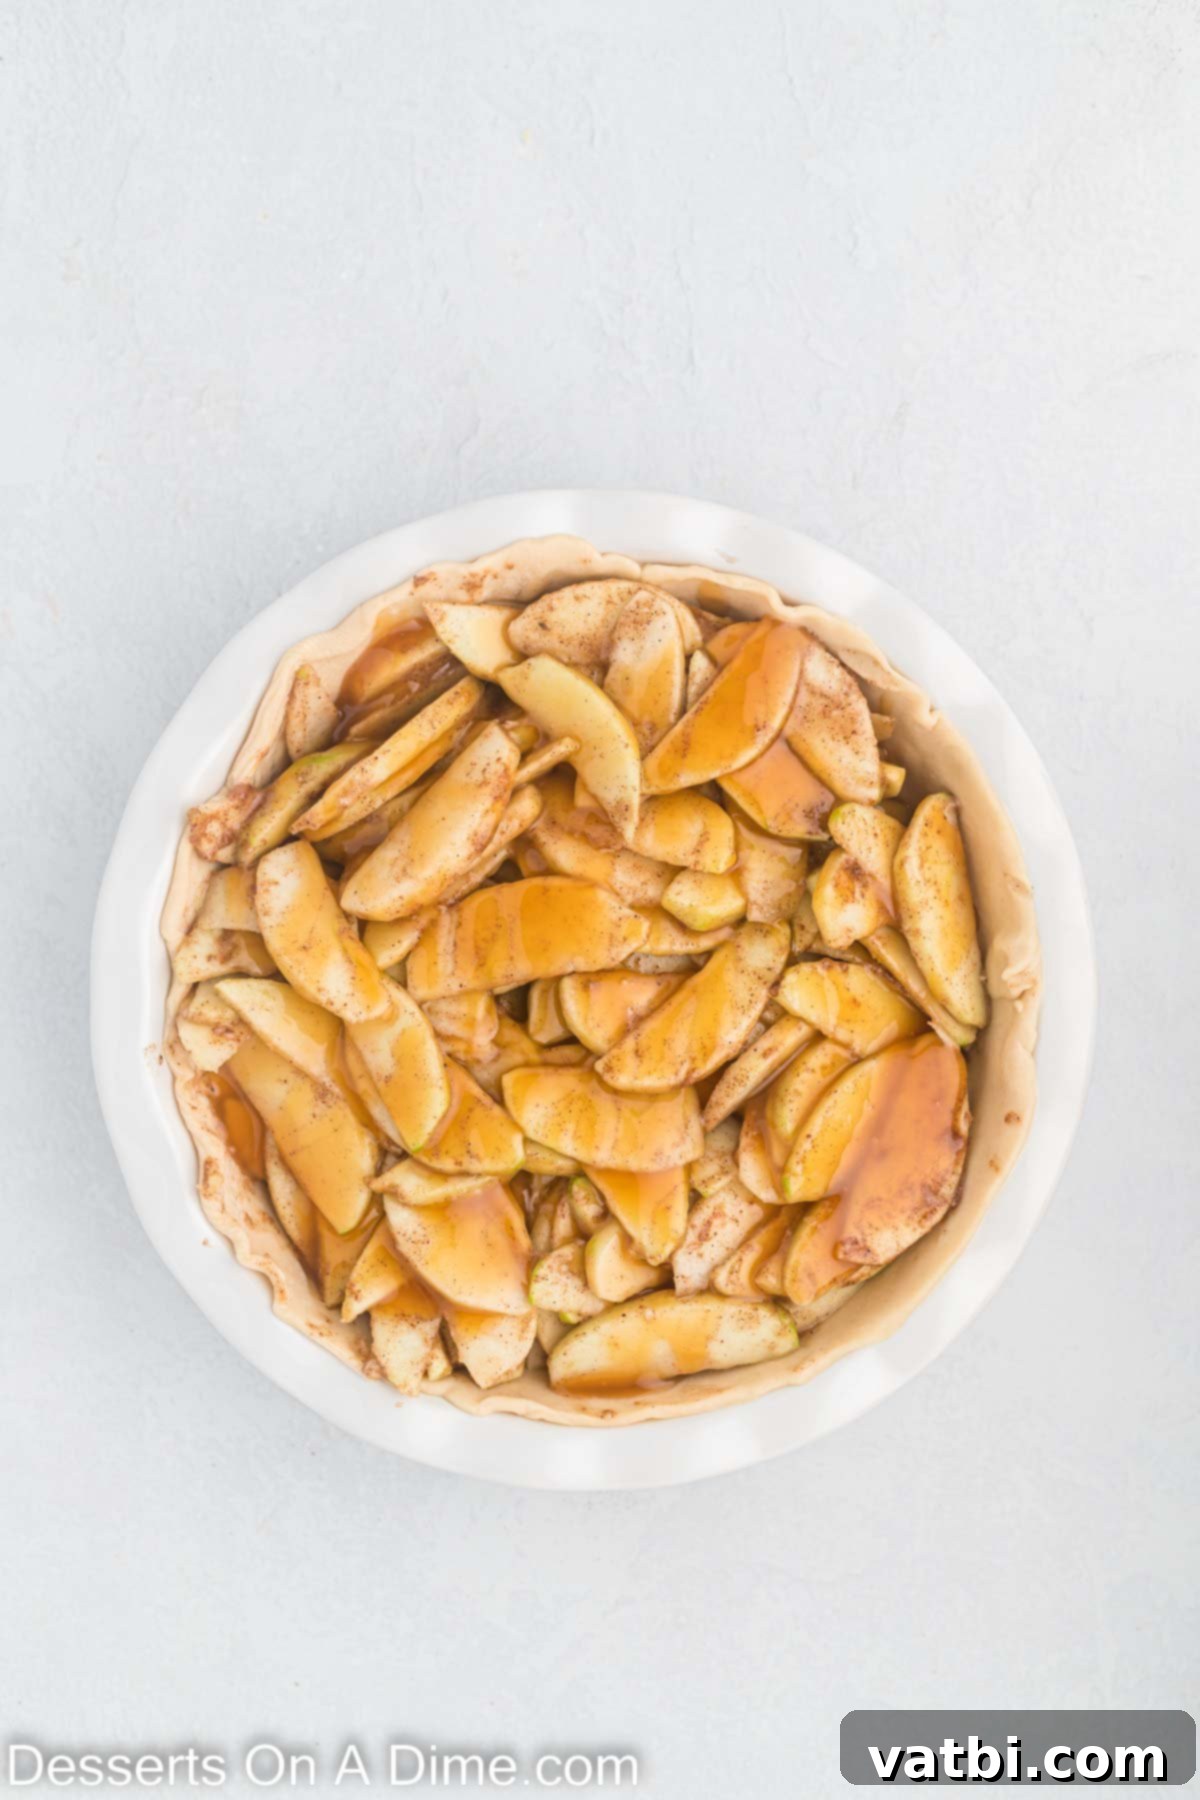
Step 5: Fill the Pie. Carefully place one of your chilled pie crusts into a 9-inch pie plate, gently pressing it into the bottom and up the sides. Pour the apple mixture evenly into the crust. Then, generously drizzle about ½ cup of the salted caramel sauce over the top of the apples, allowing it to seep into the gaps.
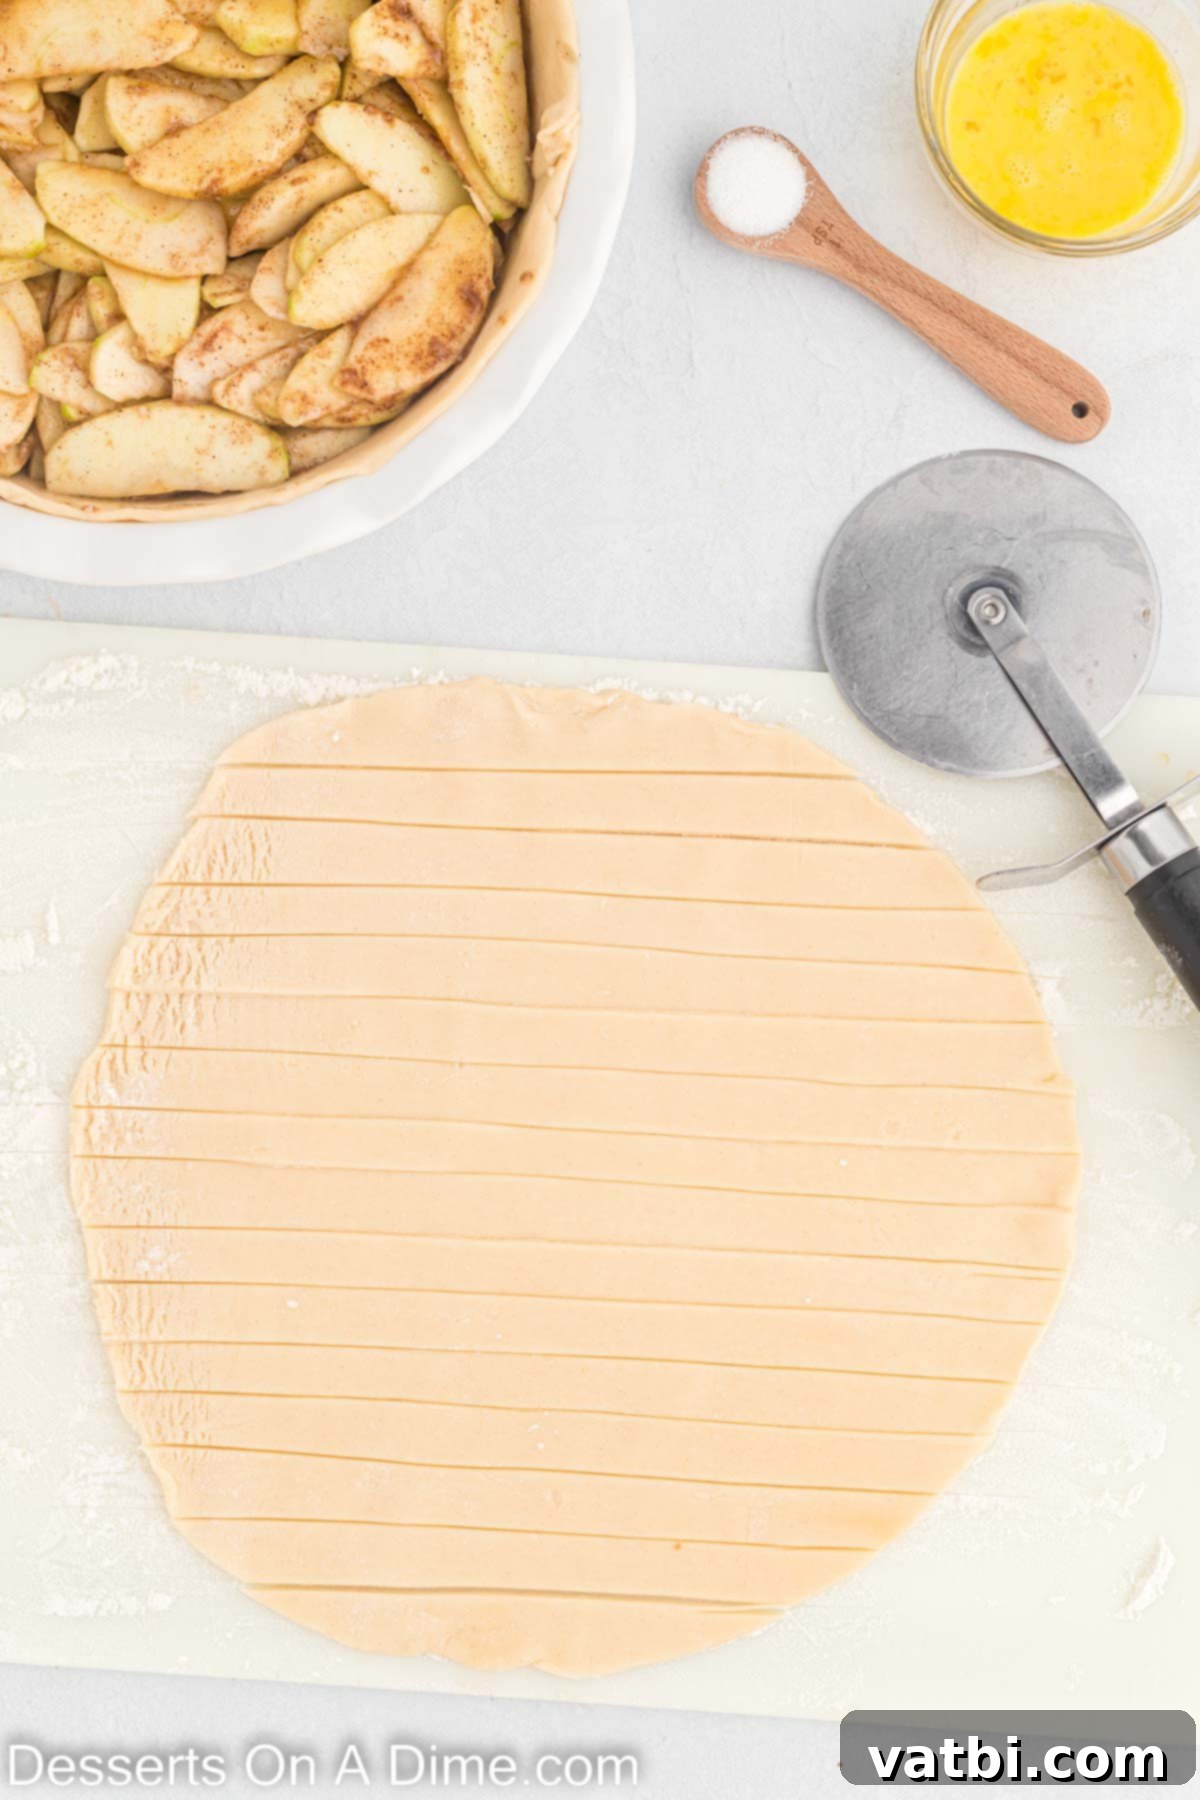
Step 6: Prepare the Lattice Top. Unroll the second pie crust onto a lightly floured work surface. If needed, use a rolling pin to smooth it slightly. Take a pizza cutter, a sharp knife, or a pastry wheel to cut the pie crust into approximately 16 strips, each about ½ inch wide. Precision isn’t paramount, but consistency helps with weaving.
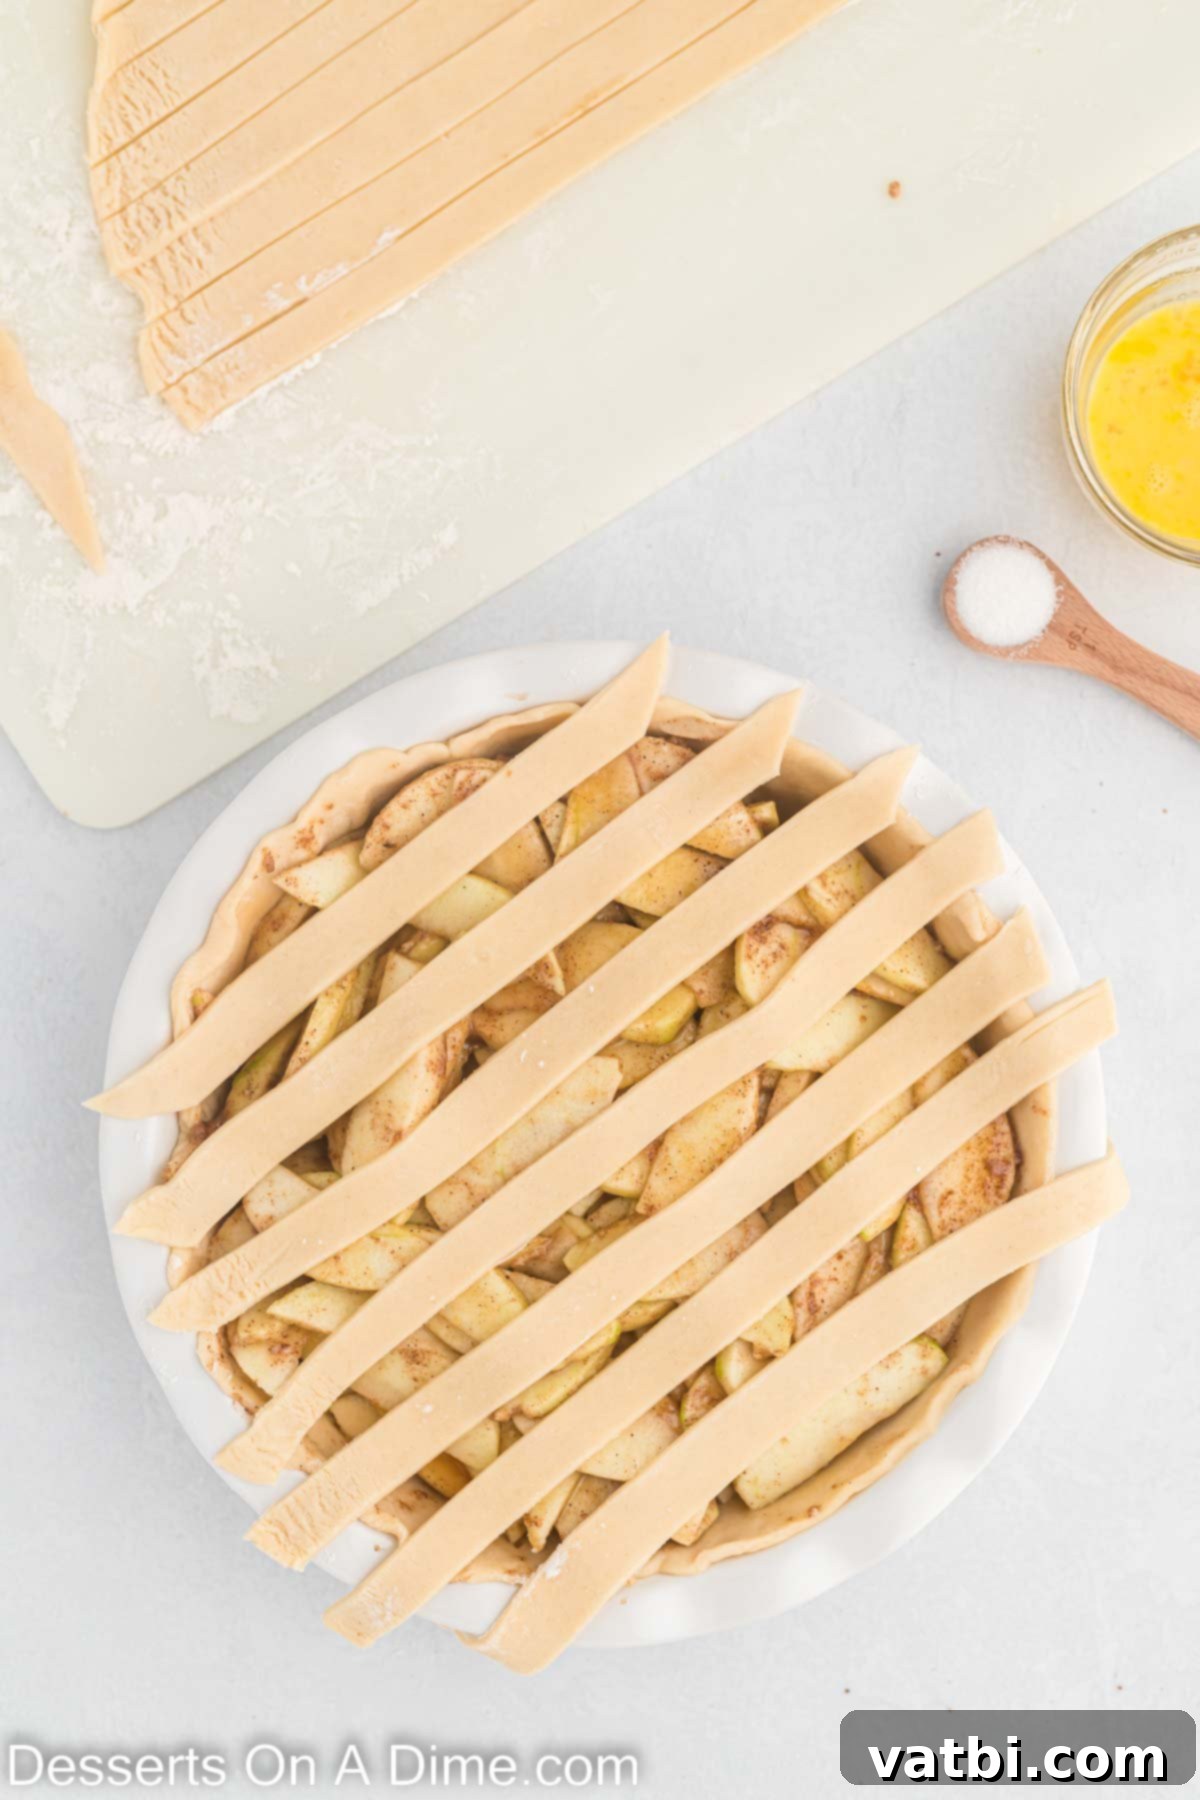
Step 7: Weave the Lattice. Carefully arrange the strips over the caramel apple pie filling, weaving them over and under each other to create an intricate lattice pattern. This step adds both beauty and allows steam to escape during baking.
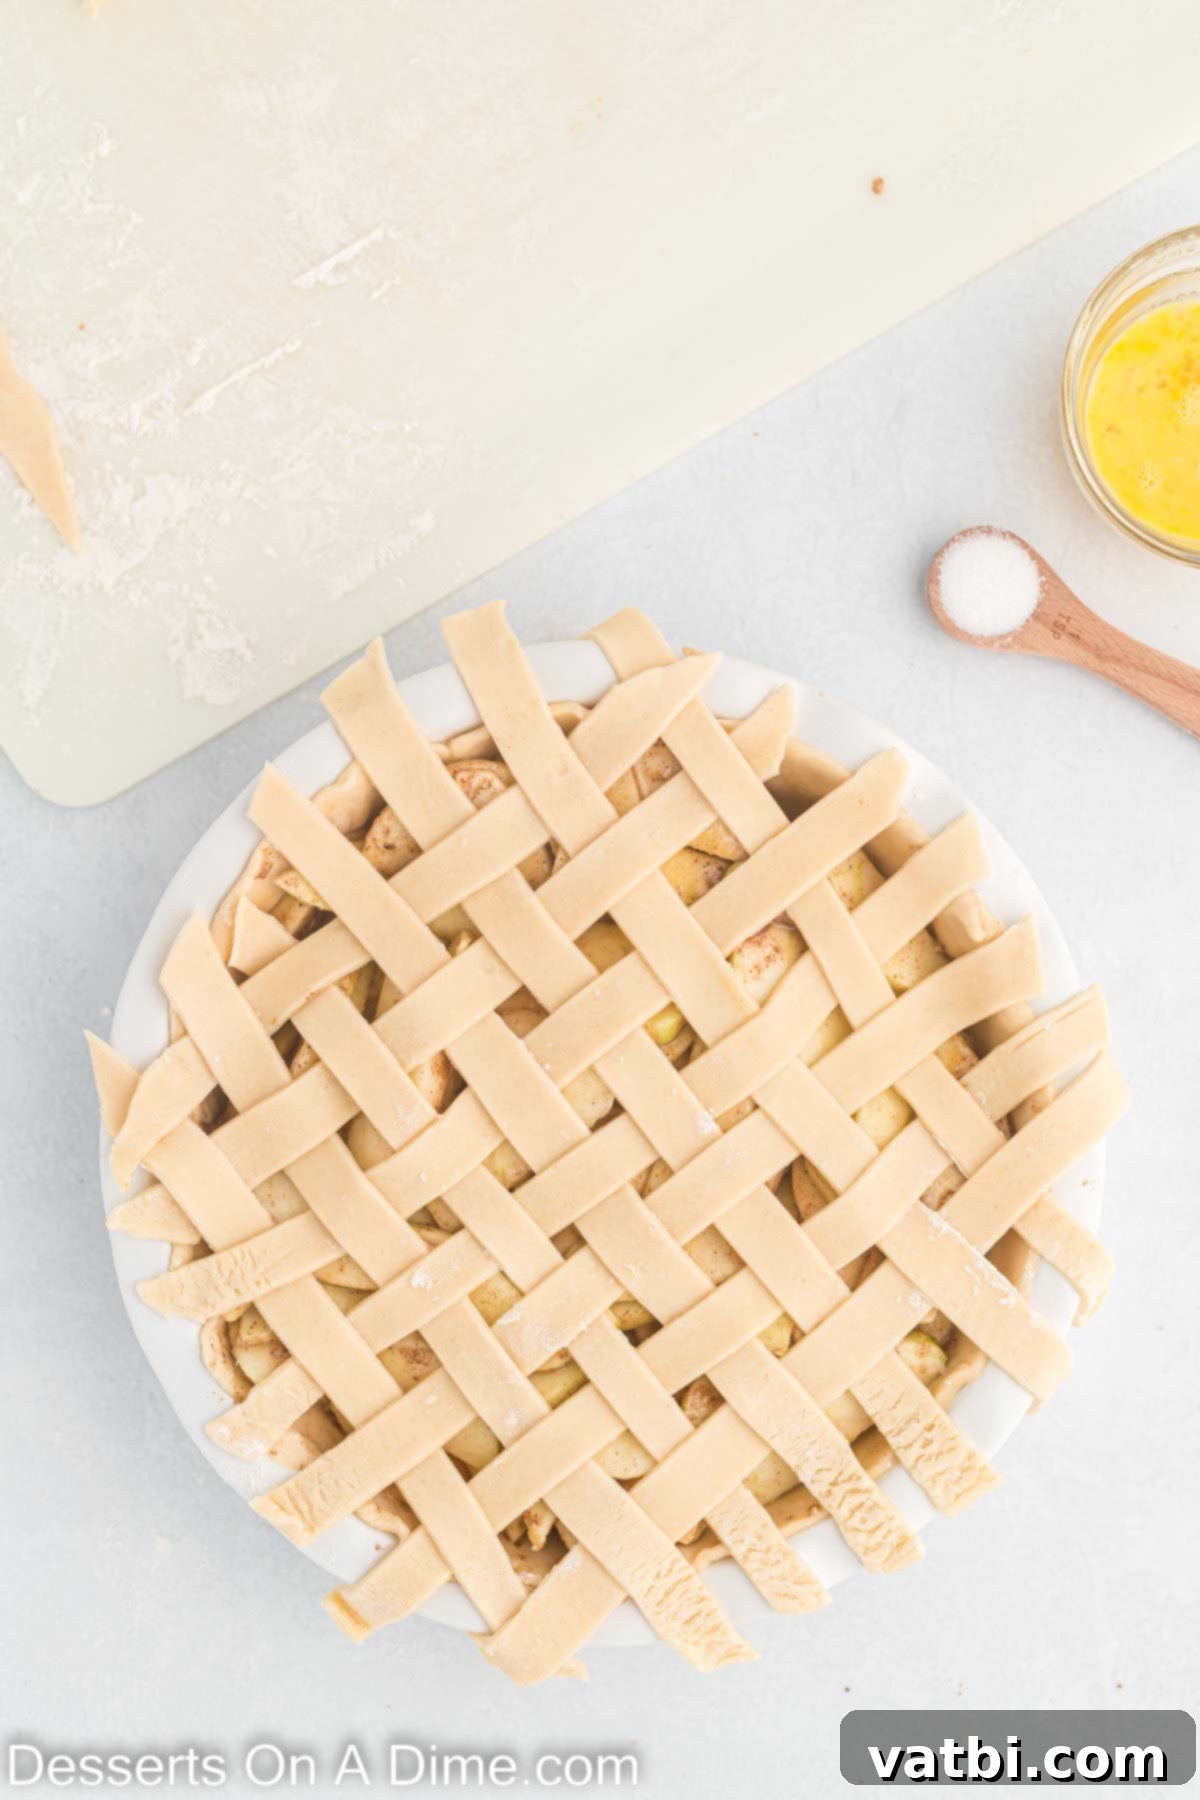
Step 8: Finish the Crust. Once your lattice is complete, trim off any excess dough that hangs over the edges of the pie plate. Then, use a fork or your fingers to gently crimp the edges of the dough, sealing the top and bottom crusts together and creating a decorative border.
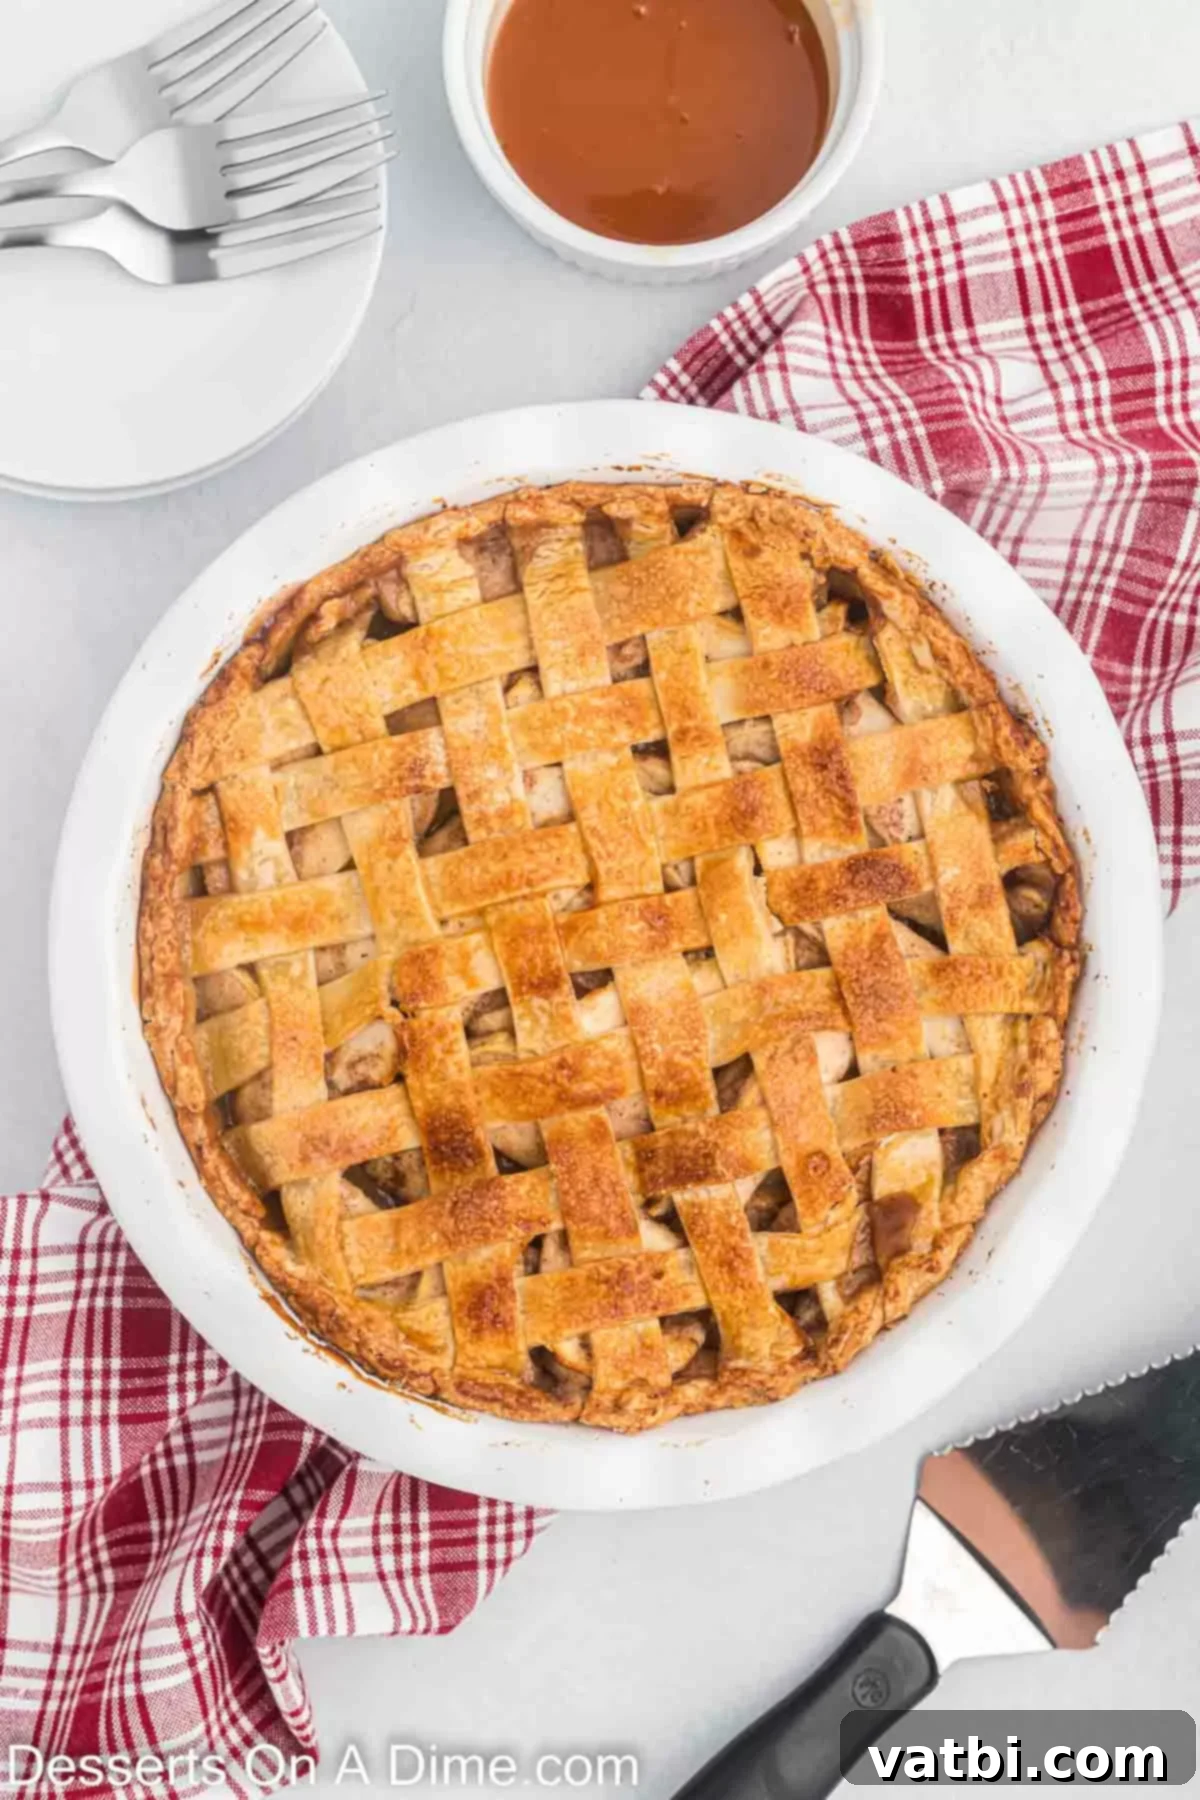
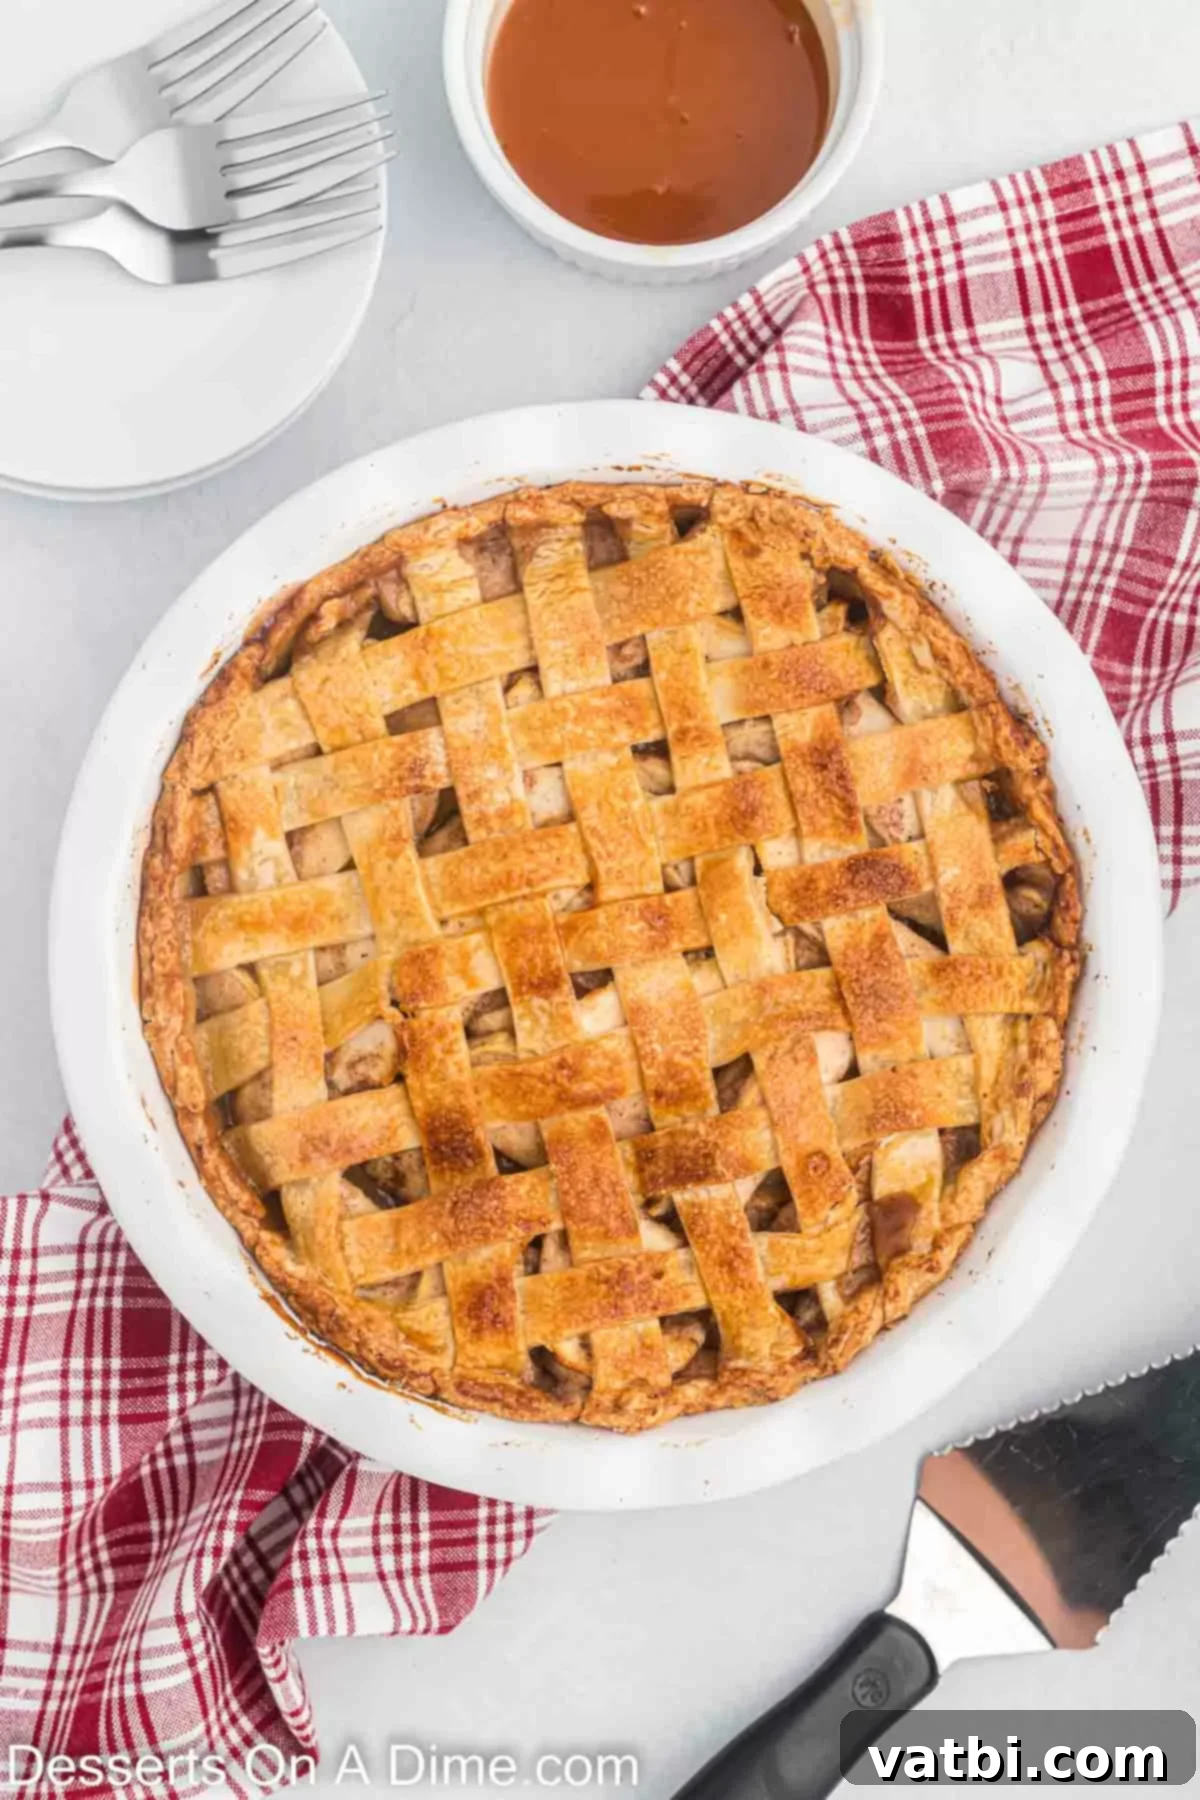
Step 9: Bake to Golden Perfection. Gently brush the entire lattice topping with the lightly beaten egg wash, then sprinkle granulated sugar evenly over it. To prevent the crust edges from browning too quickly, loosely cover the crust with aluminum foil or use a pie crust shield. Bake the pie at 400 degrees Fahrenheit for 30 minutes. After 30 minutes, carefully remove the foil or pie shield, and reduce the oven temperature to 375 degrees Fahrenheit (190 degrees Celsius). Continue baking for another 30-40 minutes, or until the crust is beautifully golden brown, and the filling is bubbling invitingly. You can test for doneness by inserting a small knife into the middle; it should come out clean, indicating the apples are tender.
- Step 10: Cool and Serve. This is perhaps the hardest step – patience! Place the baked pie on a wire rack at room temperature and allow it to cool completely for at least 4 hours. This crucial step allows the filling to set properly, ensuring clean, beautiful slices. Once cooled, drizzle the remaining salted caramel sauce generously over the entire pie or individual slices just before serving. For an extra touch, you can also sprinkle a tiny bit of flaky sea salt on top. Enjoy your magnificent creation!
Frequently Asked Questions
For picture-perfect slices, the pie absolutely needs to cool completely. This means allowing it to rest on a wire rack at room temperature for a minimum of 4 hours, or even overnight. This extended cooling time allows the caramel and apple filling to fully set, preventing it from oozing out and looking messy when cut. When slicing, use a sharp knife and wipe the blade clean after each slice. This simple trick ensures that every piece looks neat and appealing, without any excess filling smudging the crust. Serving it slightly warm, perhaps reheated briefly in the oven, enhances the flavors beautifully.
Yes, once your Salted Caramel Apple Pie has completely cooled to room temperature, any leftovers should be covered tightly with plastic wrap or aluminum foil and refrigerated. Stored properly, the pie will remain fresh and delicious for up to 3 to 4 days. While I personally love to enjoy this pie fresh out of the oven after cooling, it’s also an excellent make-ahead dessert. You can bake it the night before your event, allow it to cool, refrigerate it, and then gently rewarm slices before serving.
Absolutely, this pie freezes wonderfully, offering two convenient options for make-ahead convenience, perfect for holidays or busy weeks:
1. Freezing Unbaked Pie: Assemble the pie completely, including the lattice top and egg wash, but do not bake it. Flash freeze the pie for about an hour until firm. Once firm, wrap it tightly in several layers of plastic wrap, followed by a layer of heavy-duty aluminum foil. Label with the date. It can be frozen for up to 3 months. When you’re ready to bake, remove the pie from the freezer, unwrap, and bake from frozen as normal, but add approximately 20-30 extra minutes to the baking time, keeping an eye on the crust to prevent over-browning.
2. Freezing Baked Pie: Bake the pie according to the recipe instructions and allow it to cool completely (this is crucial for setting). Once cooled, wrap it tightly in plastic wrap, then an additional layer of aluminum foil. You can also place the wrapped pie inside a large freezer bag for extra protection. Freeze for up to 3 months. To serve, allow the pie to thaw on the counter for several hours or overnight in the refrigerator. You can then warm it in a low oven (around 300°F/150°C) until heated through before serving.
Both methods are perfect for ensuring you always have a delicious, homemade pie ready to go! For more detailed freezing tips, see Can you freeze apple pie.
A standard 9-inch pie plate is ideal for this recipe. Glass or ceramic pie plates are often preferred as they conduct heat well and allow you to see when the bottom crust is nicely browned. Metal pie plates also work effectively, especially those made from anodized aluminum, which heat evenly and help achieve a perfectly crisp bottom crust.
Irresistible Serving Toppings
While our Salted Caramel Apple Pie is absolutely divine on its own, adding a topping can transform it into an even more spectacular dessert. Here are some of our favorite ways to enhance this sweet treat:
- Ice Cream: A classic pairing! A scoop of creamy Vanilla Ice Cream melting over a warm slice of pie is pure bliss. For an extra layer of flavor, consider Butter Pecan Ice cream – its nutty notes complement the apples and caramel beautifully. If you’re craving even more caramel goodness, a scoop of Homemade Salted Caramel Ice Cream would be an indulgent choice, creating a truly decadent experience.
- Whipped Cream: A generous dollop of light, airy whipped cream adds a wonderful contrast to the rich pie filling. You can use your favorite store-bought brand for convenience or whip up a batch of Homemade Whipped Cream Recipe, perhaps with a hint of vanilla or a dash of cinnamon.
- Extra Caramel Sauce: For serious caramel lovers, a final drizzle of even more Homemade Caramel Sauce over each serving takes this dessert to the next level of richness and lusciousness. It enhances the existing caramel notes and adds a beautiful presentation.
- Chopped Nuts: A sprinkle of finely chopped toasted pecans or walnuts can add a delightful crunch and nutty flavor, providing an appealing textural contrast to the soft apples and smooth caramel.
- A Dusting of Powdered Sugar: For a simple yet elegant finish, a light dusting of powdered sugar (confectioners’ sugar) over the cooled pie adds a touch of sweetness and a beautiful visual appeal, especially when combined with the golden-brown crust.
Expert Pro Tips for Pie Perfection
Achieving pie perfection is within reach with a few clever tricks and considerations. Here are some pro tips to ensure your Salted Caramel Apple Pie turns out exceptionally:
- Choosing the Best Apples: The foundation of a great apple pie is, of course, the apples. For this recipe, Granny Smith apples are highly recommended because their tartness beautifully balances the sweetness of the caramel, and their firm flesh holds its shape wonderfully during baking, preventing a mushy filling. While Granny Smiths are a superb choice on their own, don’t hesitate to combine several different types of apples for a more complex and nuanced flavor profile. Other excellent choices that hold up well include Honeycrisp, Braeburn, Pink Lady, or even Golden Delicious. The key is to select tart or semi-tart varieties over overly sweet ones, which can result in an unbalanced pie.
- Preventing Over-Browning: Pie crusts, especially the edges, can sometimes brown too quickly. To prevent this, it’s incredibly important to use aluminum foil or a dedicated pie crust shield for a portion of the baking time. This protects the delicate edges from direct heat, allowing them to bake evenly with the rest of the pie without becoming burnt. Remove the shield during the final baking stage to achieve that perfect golden-brown finish on the entire crust.
- Lattice and Creative Designs: The lattice topping not only looks impressive but also allows steam to escape, preventing a soggy bottom crust. Don’t be intimidated by the weaving process – practice makes perfect, and even a slightly imperfect lattice will still look charming. Beyond the traditional lattice, get creative! Use small cookie cutters to make shapes like leaves for Fall festivities or hearts for Valentine’s Day. Arrange these shapes artistically on top of the filling for a personalized touch.
- Don’t Overmix the Apple Filling: When tossing the apples with the sugar and spice mixture, mix just enough to coat all the apples evenly. Overmixing can cause the apples to release too much juice too early, resulting in a watery filling.
- Bake on a Baking Sheet: To catch any potential drips or bubbling over from the pie, place your pie plate on a baking sheet before putting it into the oven. This saves you from scrubbing burnt-on filling from the bottom of your oven.
- Patience is Key for Cooling: We cannot stress enough the importance of letting the pie cool completely, as mentioned in the instructions and FAQs. Rushing this step will lead to a messy, runny pie when sliced. The natural pectin in the apples needs time to set, and the caramel needs to firm up.
More Delicious Apple Desserts
If you have a bounty of apples or simply can’t get enough of their comforting flavor, here are a few more easy and delightful apple-based dessert recipes to explore:
- Apple Pie Bites Recipe
- Apple Pie Cookies
- Caramel Apple Dump Cake Recipe
- Apple Crostata Recipe
More Easy Pie Recipes to Try
For those who love the simplicity and satisfaction of baking a homemade pie, but appreciate a straightforward approach, check out these other easy pie recipes that are perfect for any occasion:
- Cinnamon Roll Apple Pie
- Toffee Almond Pie
- Arkansas Possum Pie Recipe
- Easy Chocolate Pecan Pie Recipe
There truly is something incredibly comforting and satisfying about a homemade pie, and this Salted Caramel Apple Pie is no exception. It’s a fabulous recipe that’s sure to become a beloved tradition, impressing friends and family alike with its decadent flavors and beautiful presentation. Now, it’s your turn to create this culinary masterpiece in your own kitchen. Once you do, please come back and share your experience and comments – we love hearing from you!
Pin
Salted Caramel Apple Pie Recipe
Ingredients
- 2 Premade Pie Crusts refrigerated, for a quick and easy start
- 1 cup Salted Caramel Sauce divided, for the filling and serving drizzle
- 5 Granny Smith Apples peeled, cored, and sliced into thin, even pieces (about ¼ inch thick)
- 1 Tbsp Lemon Juice freshly squeezed, to prevent browning and brighten flavor
- 1/2 cup Granulated Sugar
- 1/4 cup All Purpose Flour spooned and leveled, for thickening
- 1/4 tsp Salt to enhance flavors
- 1 tsp Ground Cinnamon
- 1/4 tsp Ground Allspice
- 1/4 tsp Ground Nutmeg
FOR THE TOPPING:
- 1 Large Egg lightly beaten, for an egg wash
- 1 tsp Granulated Sugar for sprinkling on the crust
Instructions
-
Preheat your oven to 400 degrees F (200 degrees C). Ensure your pie crusts are well chilled in the refrigerator while you prepare the delicious apple filling.
-
In a large mixing bowl, combine the peeled and thinly sliced Granny Smith apples. Add the lemon juice, granulated sugar, all-purpose flour, salt, ground cinnamon, ground allspice, and ground nutmeg. Gently toss all ingredients together until the apple slices are thoroughly and evenly coated with the spice mixture. Set the seasoned apples aside.
-
Carefully place one of the chilled premade pie crusts into a 9-inch pie pan, pressing it gently to conform to the pan’s shape.
-
Pour the apple filling mixture evenly into the prepared pie crust. Then, generously drizzle ½ cup of the salted caramel sauce directly over the apples, ensuring good distribution throughout the filling.
-
Unroll the second pie crust onto a lightly floured work surface. Use a pizza cutter, sharp knife, or pastry wheel to cut the crust into 16 strips, each approximately ½ inch thick. Carefully arrange these strips over the apple filling, weaving them over and under one another to create an attractive lattice topping. Once the lattice is formed, trim off any excess dough that hangs over the edge of the pie pan. Then, use a fork or your fingers to crimp the edges of the dough, sealing the crusts together and creating a decorative border.
-
In a small bowl, lightly beat the large egg to create an egg wash. Gently brush this egg wash over the entire lattice topping. Then, sprinkle the granulated sugar evenly over the egg-washed crust. To prevent the pie crust edges from browning too quickly, cover them loosely with aluminum foil or a pie crust shield.
-
Bake the pie in the preheated oven at 400 degrees F for 30 minutes. After 30 minutes, carefully remove the foil or pie shield from the edges and reduce the oven temperature to 375 degrees F (190 degrees C). Continue to bake the pie for an additional 30-40 minutes, or until the entire crust is beautifully golden brown, and the filling is visibly bubbling. You can test if the apples are tender by inserting a small knife into the center; it should come out clean.
-
Once baked, transfer the pie to a wire rack and allow it to cool completely at room temperature for at least 4 hours. This crucial step ensures the filling sets properly, resulting in clean, beautiful slices. When ready to serve, drizzle the remaining salted caramel sauce generously over the pie or individual slices. Enjoy your perfectly decadent Salted Caramel Apple Pie!
Recipe Notes
While this pie is delightful served fresh after cooling, it’s also a fantastic make-ahead dessert. You can easily bake it the night before serving, allowing it to set fully overnight in the refrigerator, then gently rewarm before your guests arrive.
Nutrition Facts
Pin This Now to Remember It Later
Pin Recipe
