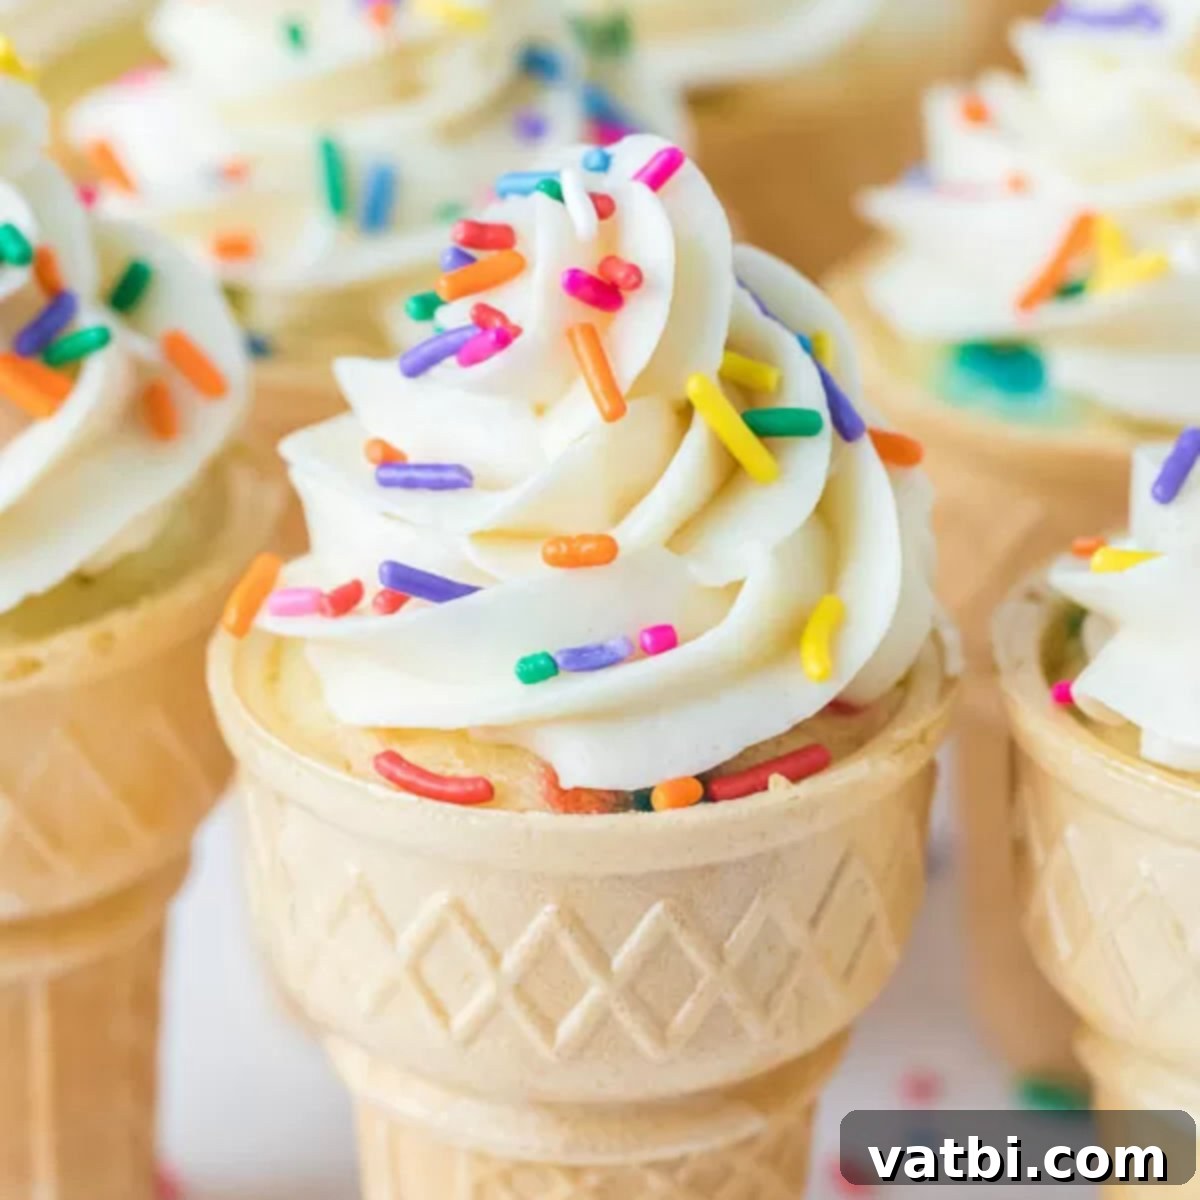
Delightful Ice Cream Cone Cupcakes: The Ultimate Fun & Easy Party Treat Recipe
Prepare for pure joy! These delightful ice cream cone cupcakes are an absolute sensation with kids and adults alike. They offer a unique, whimsical twist on traditional cupcakes, making them incredibly fun and festive for any gathering. If you’re looking for a dessert that’s easy to make, visually appealing, and guaranteed to bring smiles, you’ve found it. We’re excited to share our best tips and tricks to ensure your ice cream cone cupcakes turn out perfectly every time.
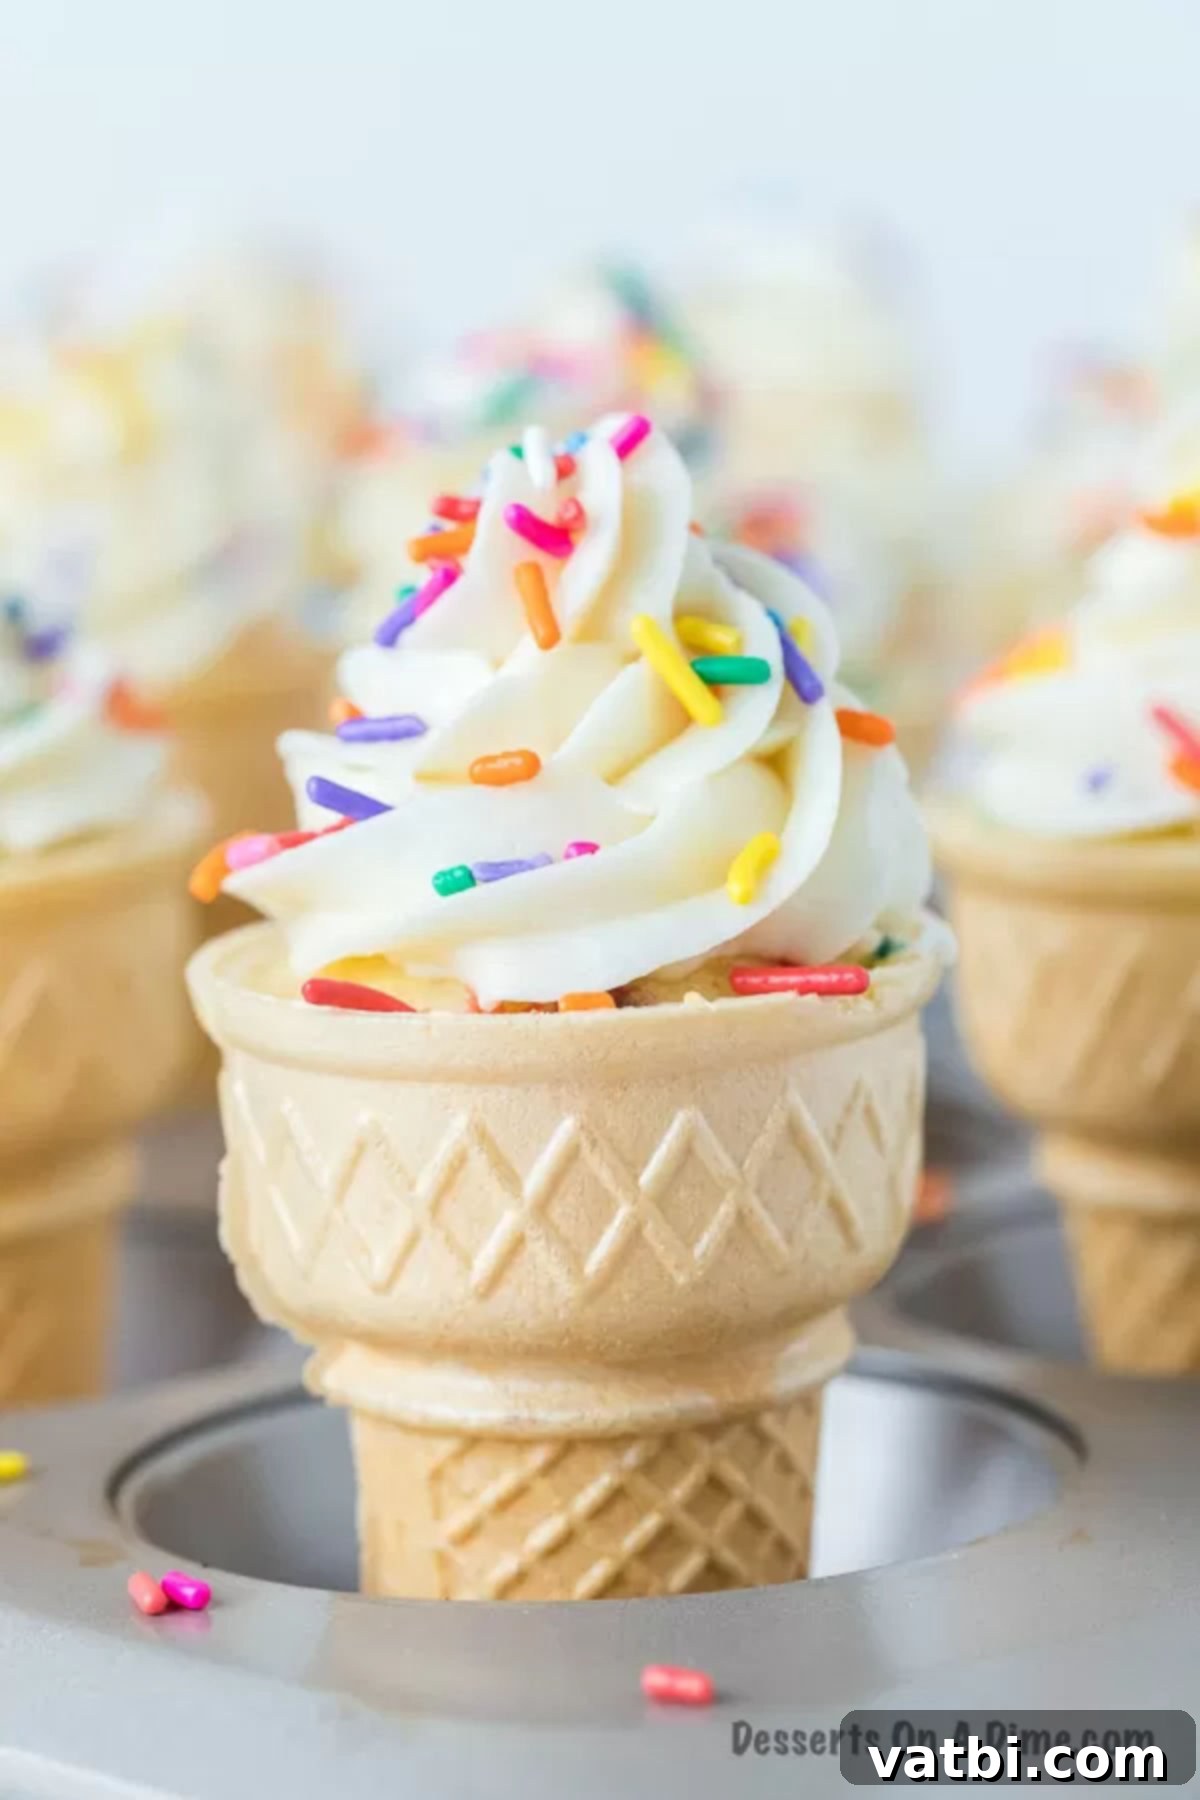
If you’ve never experienced the magic of cupcakes baked right inside an ice cream cone, you are truly missing out on a dessert revelation! These aren’t just a treat; they’re an experience, sure to be a huge hit at your next event. Imagine the excitement as guests discover a fluffy cupcake nestled inside a crispy cone, topped with luscious frosting. I often love to pair them with a scoop of Birthday Cake Ice Cream for an extra layer of celebratory sweetness.
The next time you’re craving something delightfully different and easy for the little ones (or the young at heart!), these amazing cupcakes are the answer. They are renowned as one of the best birthday desserts, ideal for birthday parties, lively pool parties, or virtually any festive occasion. The beauty of this recipe is that you don’t need to spend hours baking a cake from scratch; a simple cake mix makes the process incredibly straightforward and enjoyable.
Beyond these cone cupcakes, we adore crafting other imaginative treats like Pink Velvet Cupcakes and rich Salted Caramel Cupcakes. For an even grander dessert spread, consider serving your ice cream cone cupcakes alongside an Ice Cream Charcuterie Board, making for a truly memorable array of Ice Cream Desserts. And for a burst of color, don’t forget our vibrant Rainbow Cupcakes – they’re always a showstopper!
Table of contents
- What Are Ice Cream Cone Cupcakes?
- Essential Ingredients
- Creative Variation Ideas
- How to Make Ice Cream Cone Cupcakes Step-by-Step
- Tips and Tricks for Perfect Ice Cream Cone Cupcakes
- Frequently Asked Questions About Ice Cream Cone Cupcakes
- More Easy Cupcake Recipes to Try
What Are Ice Cream Cone Cupcakes?
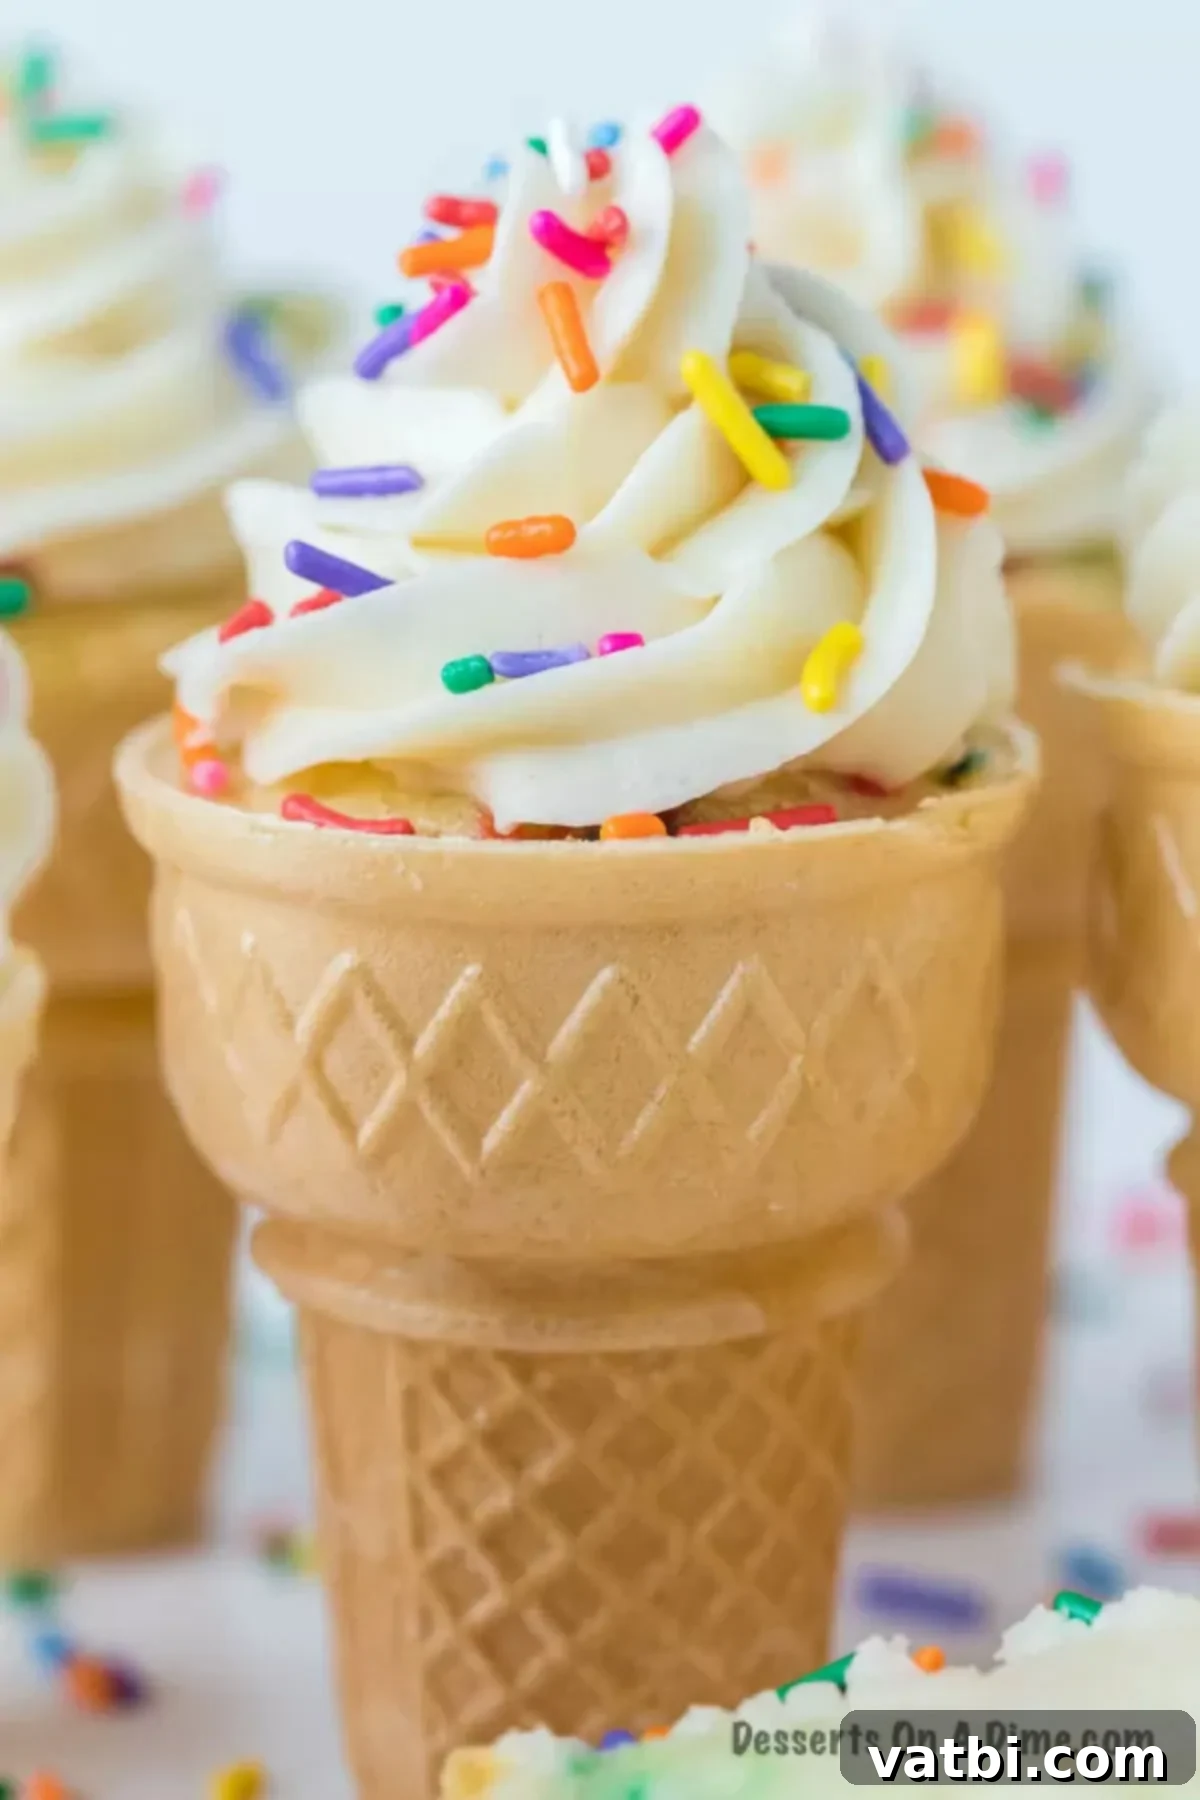
Ice cream cone cupcakes are a wonderfully ingenious dessert where a delicious cupcake is baked directly inside an edible ice cream cone. The result is a self-contained treat that’s both fun to eat and incredibly charming. Once baked and cooled, these unique cupcakes are typically topped with a generous swirl of frosting, carefully piped to resemble a scoop of soft-serve ice cream. Adding colorful sprinkles completes the illusion, creating a dessert that looks just like a real ice cream cone, but with the delightful surprise of a tender cake inside. This playful presentation makes them a massive hit, especially at children’s parties, transforming a simple cupcake into an interactive and exciting edible delight.
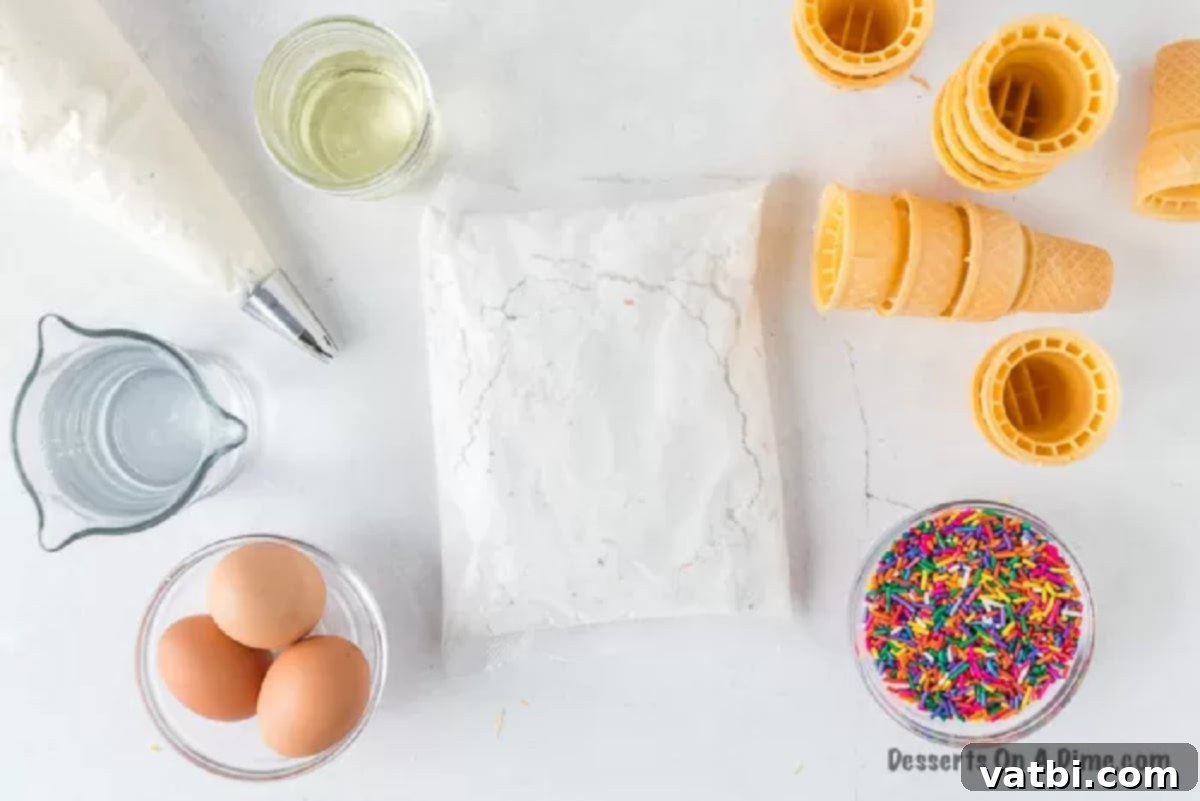
Essential Ingredients for Ice Cream Cone Cupcakes
Creating these fun treats requires just a few basic ingredients, many of which you likely already have on hand. The beauty of this recipe lies in its flexibility, allowing you to customize flavors to your heart’s content.
- Cake Mix: Our recipe typically uses Funfetti Cake Mix, which adds a lovely celebratory touch with its colorful sprinkles already mixed in. However, feel free to use your favorite type of cake mix! Options like classic chocolate cake mix, sweet strawberry cupcakes, or simple vanilla cake are all excellent choices. For a richer flavor, a red velvet cake mix can also be a delightful alternative. Just follow the package instructions for preparing the batter.
- Ice Cream Cones: This is a crucial element! Make sure to select flat-bottom ice cream cones. These are essential for stability, allowing the cones to stand upright in the muffin tin during baking without tipping over. Sugar cones or waffle cones won’t work as well due to their pointed bottoms.
- Frosting: You have the flexibility to use either convenient store-bought frosting or your favorite homemade frosting. While pre-made frosting offers quick and easy preparation, a homemade option truly elevates the flavor. Some of our top recommendations for homemade frostings include rich Homemade Cream Cheese Frosting, a classic Vanilla Buttercream Frosting, or even a light Marshmallow Frosting.
- Multi-Colored Sprinkles: Sprinkles are non-negotiable for that authentic “ice cream cone” look! Multi-colored sprinkles add a festive touch, but you can choose any color or shape to match your theme or holiday.
Creative Variation Ideas for Any Occasion
While these cupcakes are a staple for birthday parties, their versatility means you can easily adapt them for almost any special occasion. By simply changing the cake mix flavor, frosting color, and sprinkle selection, you can create a truly unique and themed treat.
- Christmas Cone Cupcakes: Transform your cupcakes into festive holiday delights by decorating them with vibrant green frosting and sparkling red sprinkles. You could even add tiny edible candy canes or snowflake sprinkles for an extra touch of Christmas cheer.
- 4th of July Cone Cupcakes: Celebrate Independence Day with patriotic flair! Top each cupcake with a swirl of crisp white frosting, then generously sprinkle with a mix of red, white, and blue sprinkles. A small flag pick could complete the look.
- St. Patrick’s Day Treats: Get into the spirit of St. Patrick’s Day by topping each cupcake with light green frosting, then adorning them with darker green or gold sprinkles. A tiny shamrock candy would be a charming addition.
- Soft Serve Ice Cream Twist: For an ultimate dessert experience, instead of just icing, consider topping the cooled cake with a scoop of actual soft-serve ice cream. Serve immediately after adding the ice cream to prevent melting. This creates a true “ice cream cone” dessert that combines warm cake with cold ice cream.
- Ice Cream Sundae Toppings Bonanza: Go beyond basic sprinkles! Offer a mini sundae bar for your cone cupcakes. Think chocolate syrup, caramel drizzle, chopped nuts, mini chocolate chips, whipped cream, and of course, a bright maraschino cherry on top for that classic sundae look.
- Themed Colors: For baby showers, use pastel pink or blue frosting and sprinkles. For Halloween, try orange or purple frosting with spooky-themed sprinkles. The possibilities are endless!
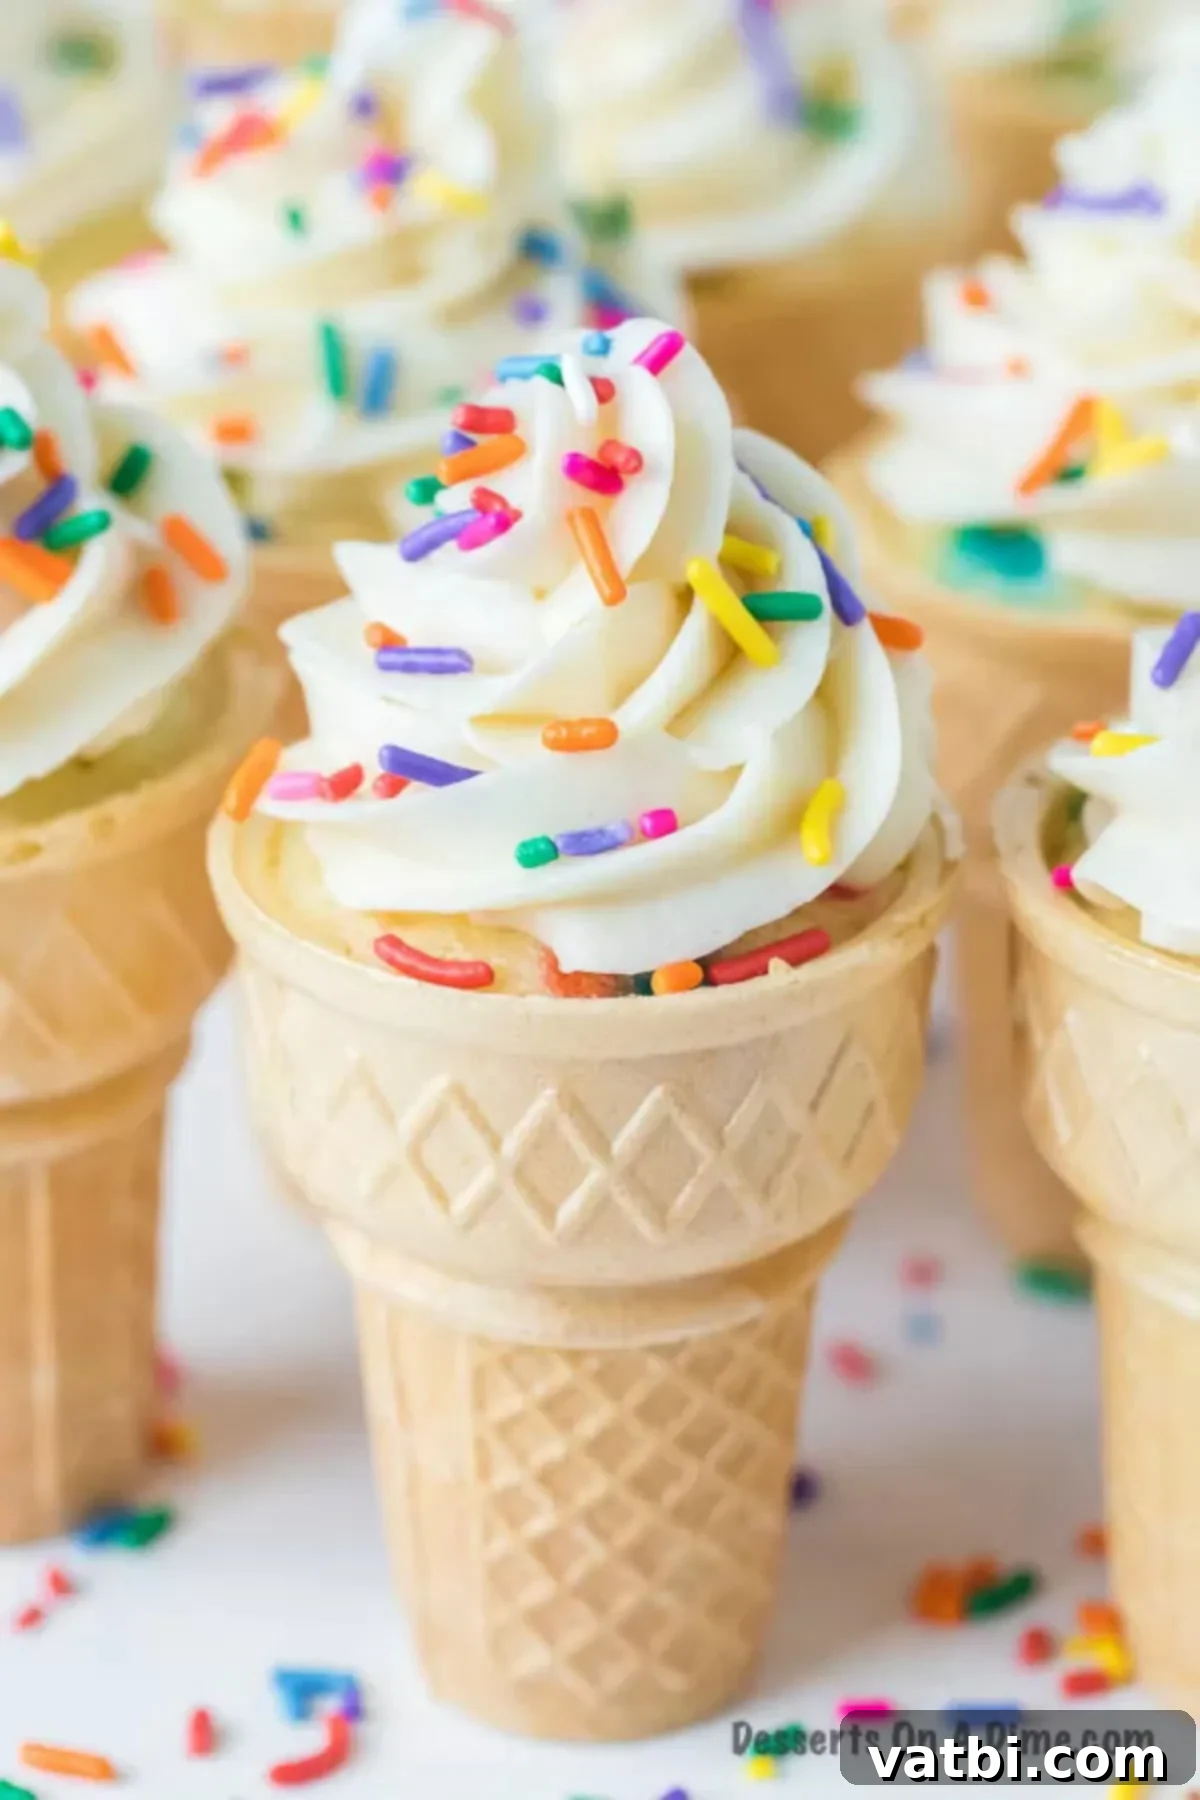
How to Make Ice Cream Cone Cupcakes Step-by-Step
Making these delightful treats is simpler than you might imagine. Follow these clear steps for perfect ice cream cone cupcakes every time:
- Step 1 – Preheat Your Oven: Begin by preheating your oven to 350 degrees Fahrenheit (175 degrees Celsius). This ensures the oven is at the correct temperature for even baking as soon as your cones are ready to go in.
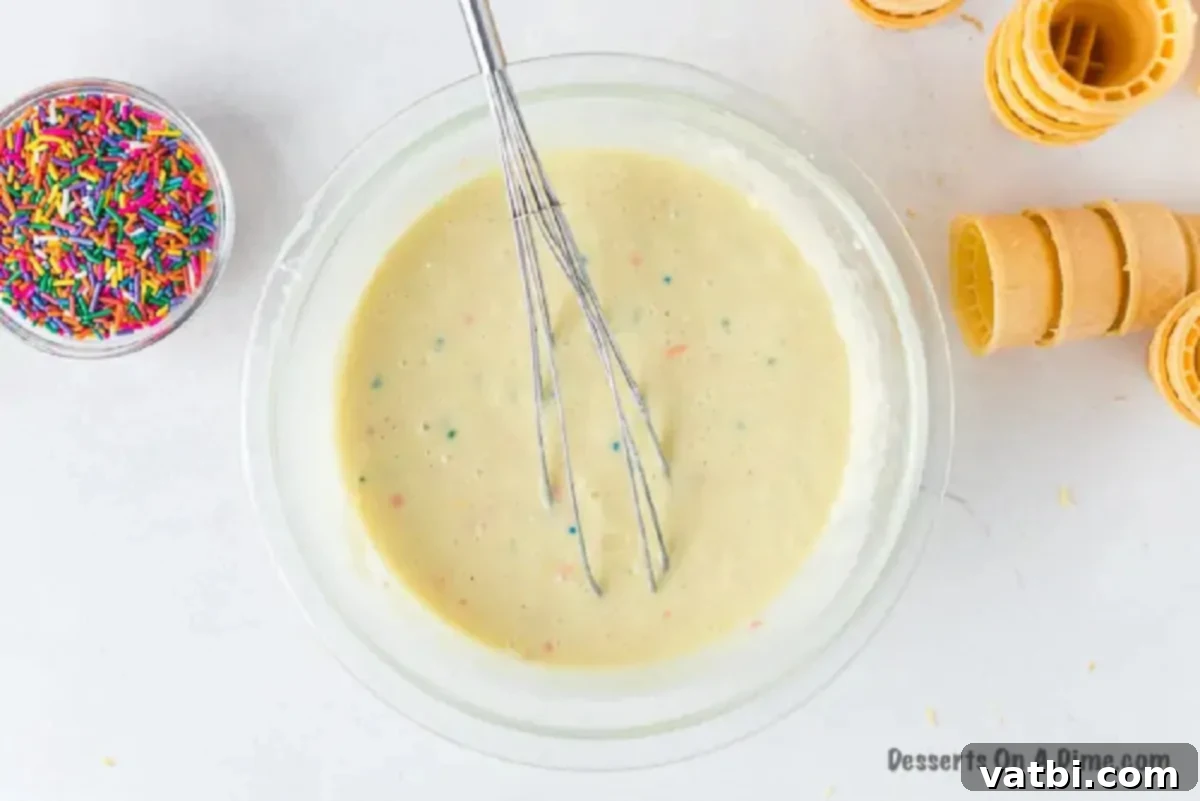
Step 2 – Prepare the Cake Batter: Following the specific instructions on your chosen cake mix package, combine all the necessary ingredients in a large mixing bowl. Whether you use a hand mixer, a stand mixer, or simply mix by hand, ensure all the dry ingredients and wet ingredients (like eggs, oil, and water) are thoroughly blended. We opted for funfetti, but remember, any flavor you prefer will work wonderfully. Be careful not to overmix the batter; mix just until combined for a tender cupcake texture.
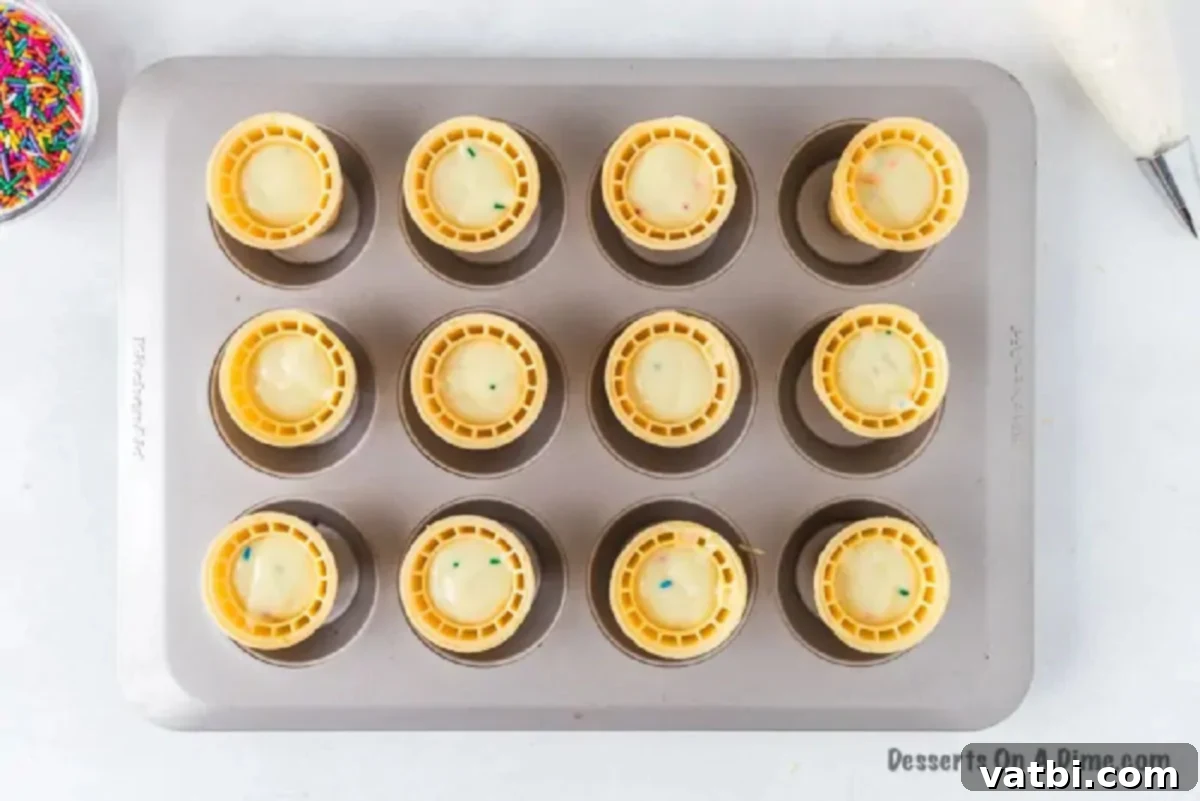
Step 3 – Fill the Cones: Arrange your flat-bottom ice cream cones inside a muffin pan. This is a crucial step as the muffin tin provides stability, preventing the cones from tipping over in the oven and ensuring your cupcakes bake evenly. Carefully fill each cone with the prepared cake batter, aiming to fill them approximately halfway. This allows for proper rising without overflowing, creating a perfectly sized cupcake within the cone. You can use a spoon or a piping bag for neater filling.
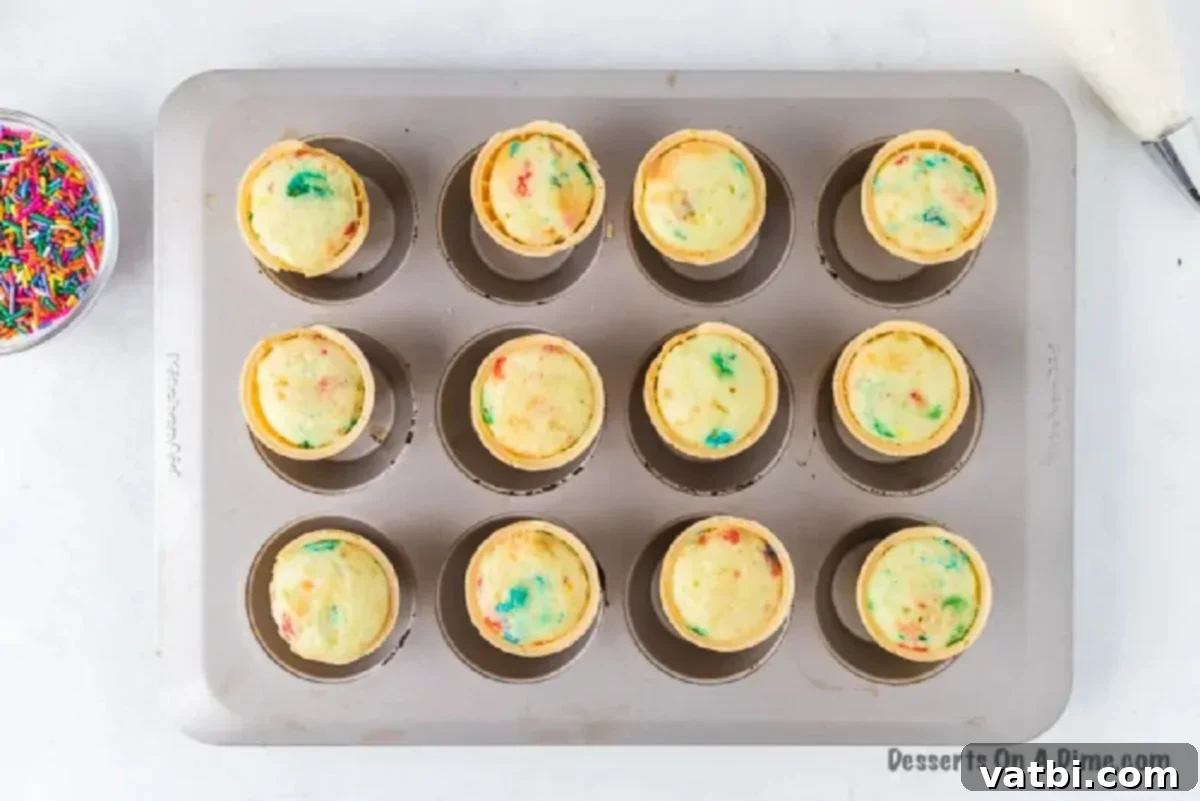
Step 4 – Bake to Perfection: Place the muffin pan with the filled cones into your preheated oven. Bake for the time specified in your recipe (typically 18-21 minutes for box mixes), or until the cupcakes are golden brown on top and a toothpick inserted into the center comes out clean. This indicates they are fully cooked. Avoid opening the oven door too frequently during baking to prevent uneven cooking.
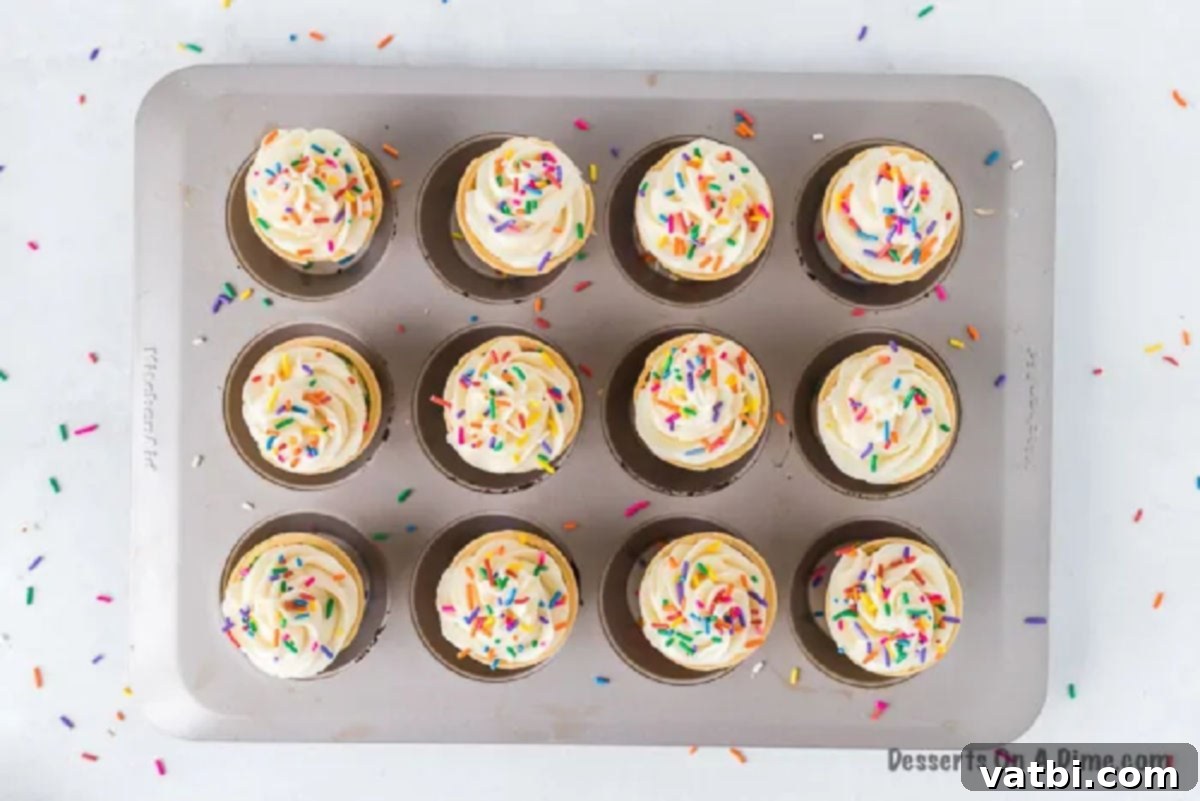
Step 5 – Cool and Frost: Once baked, carefully remove the cupcakes from the oven. It is absolutely essential to allow the cupcakes to cool completely before frosting them. Rushing this step will lead to melted, messy frosting. Once cooled, it’s time for the fun part! Generously frost each cone. While store-bought icing is perfectly fine for convenience, remember that making homemade frosting is often easier than people think and adds a superior flavor and texture.
Tips and Tricks for Perfect Ice Cream Cone Cupcakes
Achieving bakery-quality ice cream cone cupcakes is easy with a few insider tips. These pointers will help you avoid common pitfalls and ensure your treats are a resounding success:
- Choose the Right Cones: As mentioned, flat-bottomed cones are non-negotiable. They provide the necessary stability during baking and transport. Sugar cones and waffle cones, while delicious, simply won’t stand upright without extra support, making them challenging for this recipe.
- Don’t Overfill the Cones: Filling the cones about halfway or two-thirds full is crucial. This allows the cake batter ample room to rise without spilling over, ensuring a neat and well-formed cupcake within the cone.
- Preventing Soggy Cones: The biggest concern with ice cream cone cupcakes is the cone becoming soggy. To combat this, once the cupcakes are out of the oven and have cooled completely, gently poke a few small holes in the bottom of each cone with a toothpick or skewer. This allows any residual moisture or steam from the cake to escape, helping the cone stay crispy.
- Cool Completely: Patience is a virtue here! Ensure your cupcakes are entirely cool before you even think about frosting them. Warm cupcakes will cause the frosting to melt and slide right off, creating a sticky mess.
- Mastering the Frosting Swirl: For that iconic “ice cream scoop” look, use a piping bag fitted with a large star tip (like a Wilton 1M or 2D). Start piping in the center of the cupcake, then move outwards in a circle, and finally swirl inwards and upwards to create a beautiful, towering peak.
- Storage Solutions: These cupcakes are definitely best served on the same day they are made for optimal cone crispiness. If you must store them, place them in an airtight container at room temperature. However, be aware that the cones may soften over time.
- Transporting with Ease: The muffin pan you used for baking is also your best friend for transportation! Keep the cupcakes in the muffin tin to prevent them from falling over. Alternatively, if you used the aluminum foil method (explained in the FAQ), keep them in that pan. A dedicated cupcake carrier with individual compartments is also an excellent investment for safe transport.
Frequently Asked Questions About Ice Cream Cone Cupcakes
I’ve found that the absolute best way to bake these cupcakes is by placing them in standard muffin tin baking pans. The individual cups provide excellent support and keep the cones upright and stable throughout the baking process, ensuring even cooking.
However, if you don’t have a muffin tin handy, there’s a clever workaround. You can cover the top of a 9×13 inch baking pan (or any similar-sized oven-safe pan) with a sheet of heavy-duty aluminum foil. Then, carefully poke small holes in the foil, spaced evenly apart, creating openings just large enough to securely hold the ice cream cones. Generally, I poke about 12 holes when using this method to accommodate a standard box cake mix yield.
The versatility of this recipe is one of its greatest strengths! I typically use a funfetti cake mix to make these ice cream cone cupcakes because the colorful sprinkles add an extra layer of festivity. However, you can easily use your favorite flavor of cake mix to suit any preference or occasion.
Other deliciously popular ideas include: rich chocolate, sweet strawberry, classic red velvet, or simple vanilla cake. The possibilities are truly endless! While a box cake mix offers incredible convenience and consistent results, you can certainly use a homemade vanilla cake recipe to create gourmet vanilla cupcakes. Adding a touch of vanilla extract to any batter will always enhance the flavor beautifully.
Any type of frosting will work wonderfully in this recipe, allowing for great flexibility. For ultimate convenience, I often use pre-made, store-bought frosting, and it consistently yields fantastic results. It’s a quick and easy way to finish your cupcakes with minimal effort.
However, if you have a little extra time and want to elevate the flavor and texture, one of our favorite homemade frosting recipes would be an excellent choice. Consider trying:
Homemade Buttercream Frosting with Powdered Sugar for a classic, smooth finish.
Cream Cheese Frosting for a tangy, rich compliment.
Marshmallow Frosting for a light, fluffy, and incredibly sweet topping.
Decorating cone cupcakes is where the fun truly begins, as you aim to make them look like traditional ice cream cones! I love topping each cupcake with a generous amount of frosting, swirled high to mimic a perfect scoop of ice cream.
To achieve this, place the frosting of your choice into a Wilton piping bag fitted with a large star tip (like a 1M or 2D is ideal). Cut out the tip of the bag, then begin piping the frosting on top of each cupcake. I typically start with a small dot in the very center, then pipe outwards in a circle, gradually swirling inward and upward to create a beautiful, towering peak. Finally, add a shower of colorful sprinkles on top, and your festive treat is ready to enjoy!
For an extra special touch, you can even drizzle the frosting with chocolate syrup or caramel sauce and crown it with a maraschino cherry to create the illusion of a mini ice cream sundae.
For the absolute best taste and texture, I highly recommend serving these ice cream cone cupcakes on the same day that they are made. This ensures the cones remain wonderfully crisp.
If you do need to store them for a short period, they can be kept in an airtight container at room temperature. However, please be aware that the cones will inevitably begin to get soggy when stored for an extended period of time due to moisture from the cake. While they will still be delicious, the crispy cone texture might be compromised.
Transporting ice cream cone cupcakes requires a bit of care to prevent them from tipping over or getting damaged. The most effective method I’ve found is to transport them in the very same pan that you baked them in, whether that was a standard cupcake pan or a baking pan lined with aluminum foil.
If you’re using a baking pan with foil, make sure the cones are sitting directly next to each other, creating a snug fit that prevents them from wobbling or falling over during transit. For even greater security and convenience, a specialized travel cupcake bin with a lid that holds individual cupcakes upright would also work wonderfully for transporting these festive treats.
Preventing the ice cream cones from getting soggy is a very common concern, but it’s surprisingly simple to address! The key is to manage moisture.
Once the cupcakes are removed from the oven, allow them to cool completely. This is a critical step, as residual heat and steam are the main culprits for sogginess. Next, and this is the little trick that makes all the difference, gently poke a few small holes in the bottom of each cone using a toothpick or a small skewer. These tiny holes allow any trapped moisture or steam from the cake to escape. Now, your cones can stay delightfully crispy, ready to be enjoyed as intended!
More Easy Cupcake Recipes to Try
If you’ve enjoyed making these ice cream cone cupcakes, you’ll love exploring other simple and delicious cupcake creations from our collection. Expand your baking repertoire with these fantastic recipes:
- Mini Brownie Cupcakes Recipe
- Cupcakes in a Jar
- Piñata Cupcakes
- Orange Soda Cupcakes
- Unicorn Cupcakes Recipe
We hope you thoroughly enjoy trying this fun and easy ice cream cone cupcakes recipe for your next special treat. Once you do, please take a moment to leave a comment below and share your experience with a star recipe rating. Your feedback helps other bakers!
Pin
Ice Cream Cone Cupcakes
Ingredients
- 1 Funfetti Cake Mix or any flavor cake mix of your choice
- Additional ingredients needed for the cake batter, as specified by the cake mix package instructions (e.g., eggs, oil, water)
- 12 Flat-Bottom Ice Cream Cones ensure they have a flat base for stability
- 1 Container of Frosting or a batch of your favorite homemade buttercream frosting
- Multi-Colored Sprinkles for a festive topping
Instructions
-
Preheat your oven to 350 degrees F (175 degrees C).
-
Prepare the Funfetti cake mix (or your preferred flavor) according to the package instructions in a large mixing bowl. Beat until the batter is smooth and well combined, but be careful not to overmix.
-
Place each flat-bottom ice cream cone securely into a muffin tin. This will hold them upright and prevent them from tipping over during baking.
-
Carefully pour the cake batter into each ice cream cone, filling them approximately ½ to ⅔ of the way full. You can use a spoon or a piping bag for easier and neater filling.
-
Bake for 18-21 minutes, or until the cake is golden brown on top and a toothpick inserted into the center of a cupcake comes out clean.
-
Remove the cupcakes from the oven and let them cool completely on a wire rack. It is crucial for them to be fully cooled before frosting.
-
If desired, you can add food coloring to your frosting to match a theme or create a vibrant look.
-
Once completely cooled, frost the top of each cone. For a classic ice cream look, use a piping bag with a large star tip to create a tall, swirled frosting peak.
-
Finish by topping with colorful sprinkles and serve immediately to enjoy your fun ice cream cone cupcakes!
Recipe Notes
Nutrition Facts
Pin This Now to Remember It Later
Pin Recipe
