Easy Copycat Starbucks Chocolate Cake Pops Recipe: Make This Decadent Treat at Home!
Craving that delightful bite-sized treat from Starbucks? Now you can easily make your very own **Starbucks Chocolate Cake Pops** right in your kitchen! This simple copycat recipe guides you through creating moist chocolate cake, blending it with creamy frosting, and encasing it in a rich, smooth candy coating for the perfect homemade indulgence. Forget the long lines and high prices; these homemade cake pops deliver all the deliciousness for a fraction of the cost, making them an ideal project for home bakers of all skill levels.
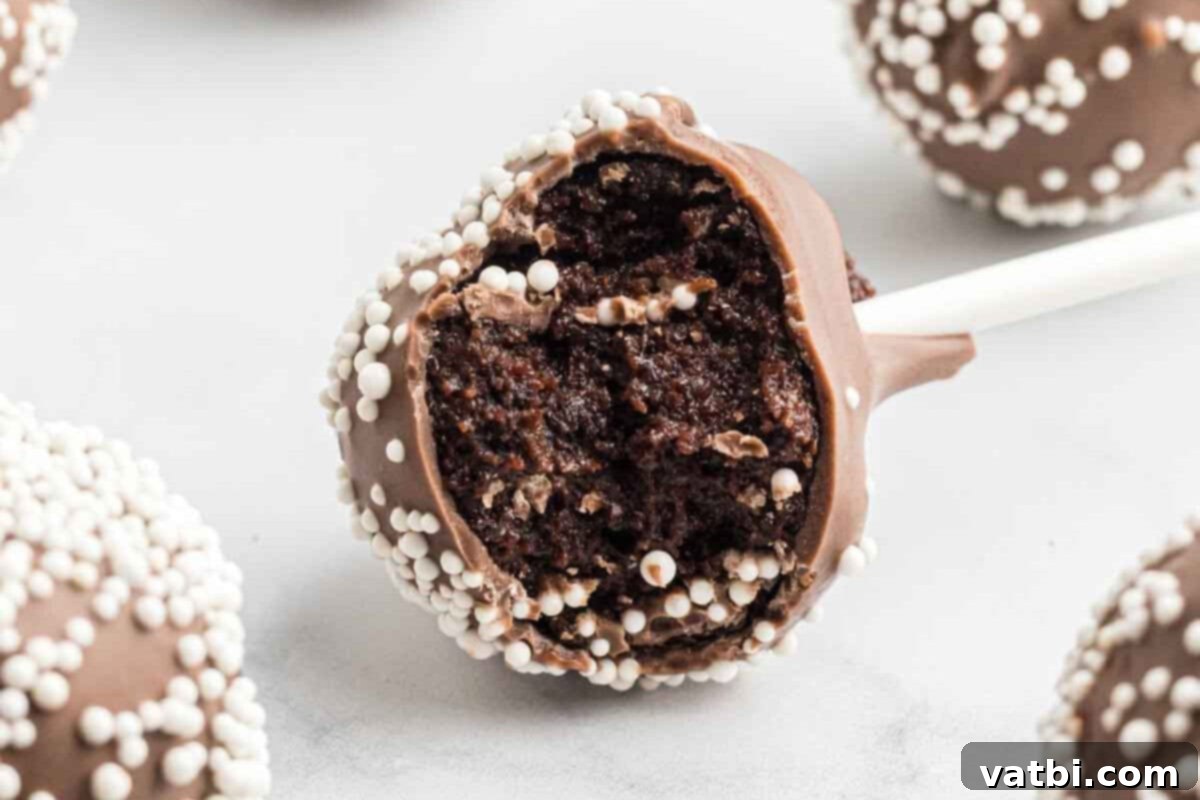
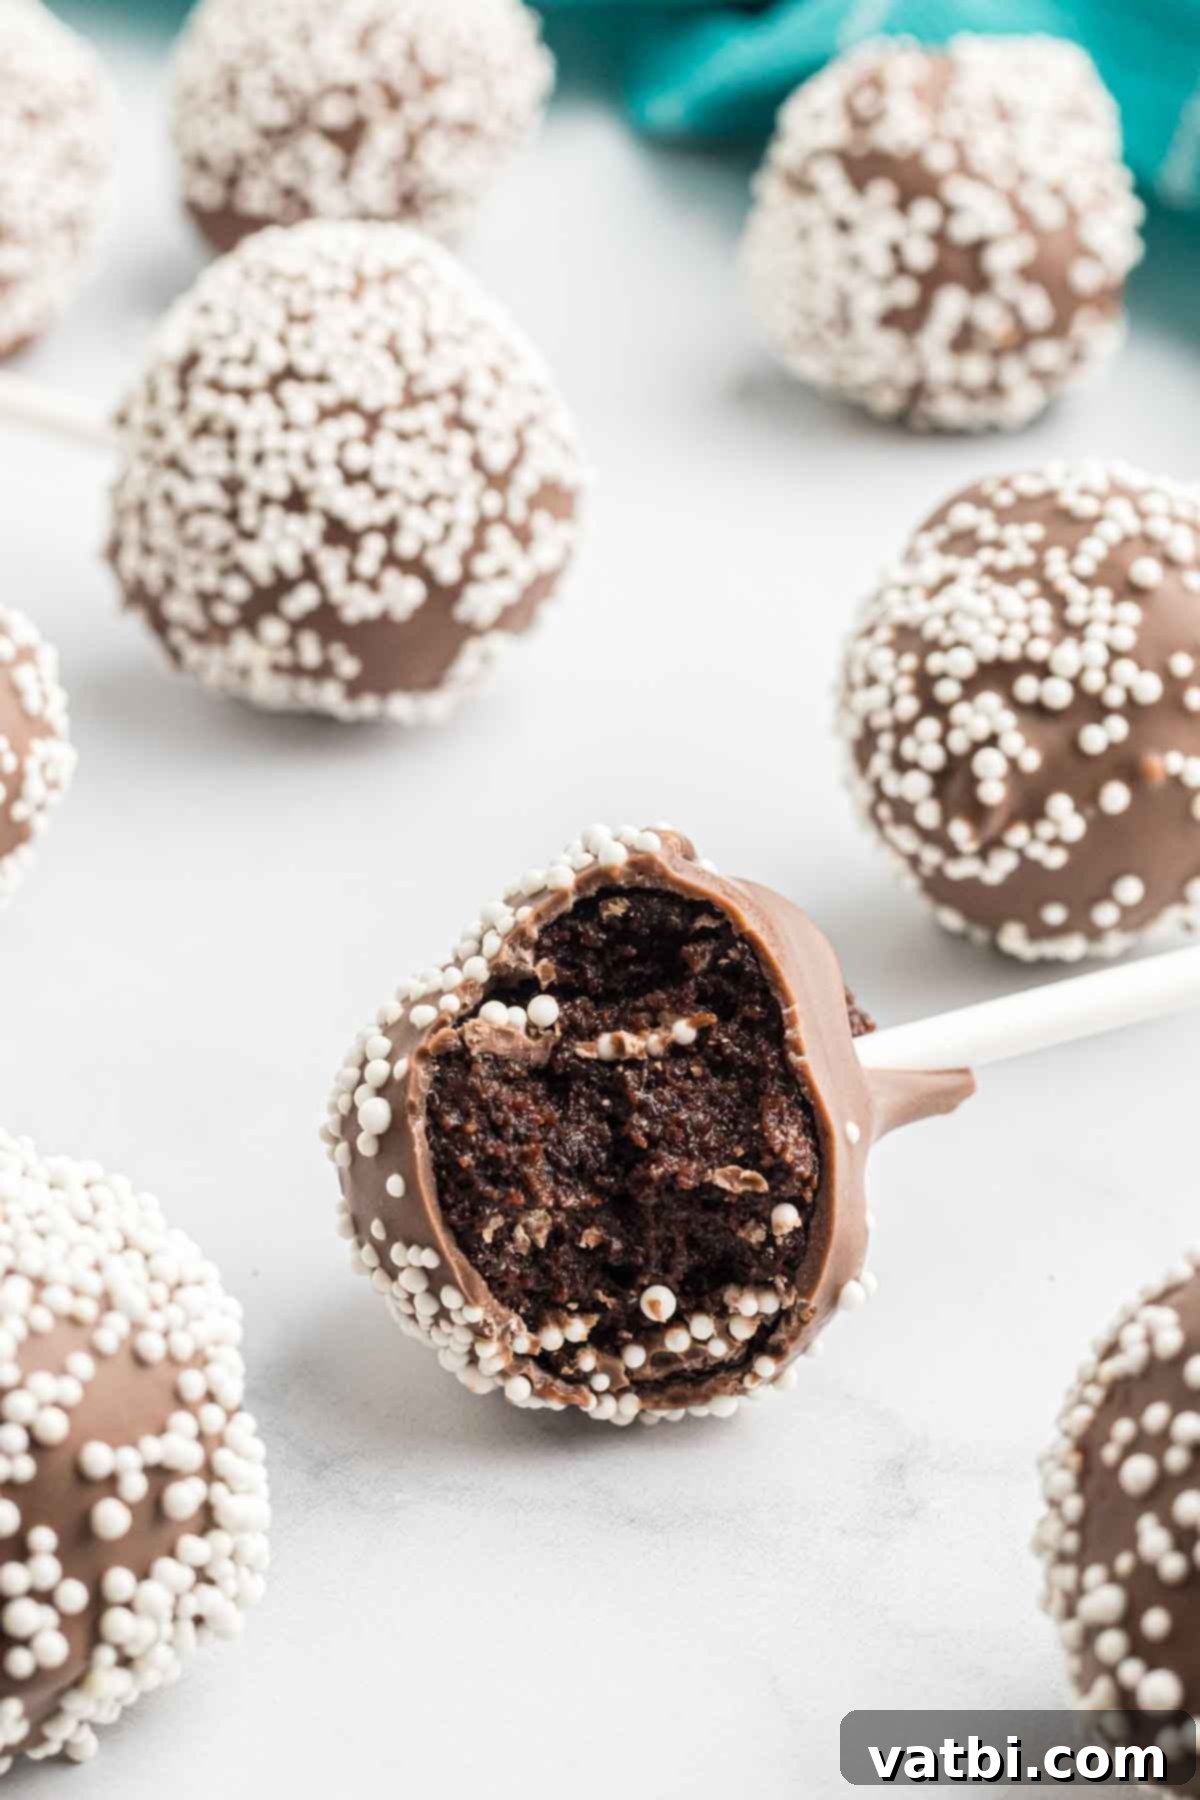
If you’re a fan of the rich, chocolatey cake pops found at your favorite coffee shop, you’ll be thrilled to discover how straightforward it is to replicate them at home. Our easy-to-follow recipe combines velvety chocolate cake crumbs with a luscious, creamy frosting, which are then skillfully rolled into perfectly uniform balls. These delightful cake balls are then dipped into a smooth, decadent chocolate coating, creating an irresistible dessert that rivals the original. Whether you’re planning to serve them at a vibrant birthday party, a festive holiday gathering, or simply want a sweet, everyday snack to brighten your day, these homemade chocolate cake pops are guaranteed to impress. They taste remarkably similar to the popular Starbucks version, offering a fantastic and budget-friendly alternative.
Starbucks enthusiasts will also adore our Starbucks Marshmallow Dream Bar recipe, another fantastic copycat treat!
Table of contents
- Why You’ll Love This Easy Recipe
- Ingredients for the Perfect Cake Pops
- Step-by-Step Instructions: How to Make Starbucks Chocolate Cake Pops
- Storage Tips for Freshness
- Pro Tips for Flawless Cake Pops
- Exciting Variations to Try
- More Copycat Starbucks Recipes
- More Delicious Cake Pop Recipes
Why You’ll Love This Easy Recipe
- Rich, Fudgy, and Decadent. The combination of tender chocolate cake crumbs and creamy frosting creates an incredibly moist, dense, and irresistibly fudgy texture that melts in your mouth. Each bite is packed with deep chocolate flavor, satisfying any sweet craving.
- Perfectly Bite-Sized and Fun. These cake pops are individually portioned, making them ideal for quick snacking, elegant party platters, or thoughtful homemade gifts. Their compact size makes them easy to enjoy without any mess, perfect for both kids and adults.
- Infinitely Customizable. Get creative with your cake pops! You can experiment with various chocolate coatings, such as white chocolate, dark chocolate, or colorful candy melts, to suit any theme or preference. Adorn them with a wide array of sprinkles, crushed nuts, or drizzles to match any festive occasion or personal style.
- No Fancy Equipment Required. You don’t need a professional baker’s arsenal to whip up these delicious treats. Made with readily available, simple ingredients and basic kitchen tools, this recipe is perfect for home bakers of all experience levels, from beginners to seasoned pros.
- A Fantastic Make-Ahead Treat. These copycat Starbucks Cake Pops are a dream for meal preppers and party planners. They can be prepared well in advance and stored, allowing you to enjoy fresh, delicious treats without last-minute stress. This convenience makes them perfect for busy days, special events, or when you just want to have a sweet treat on hand.
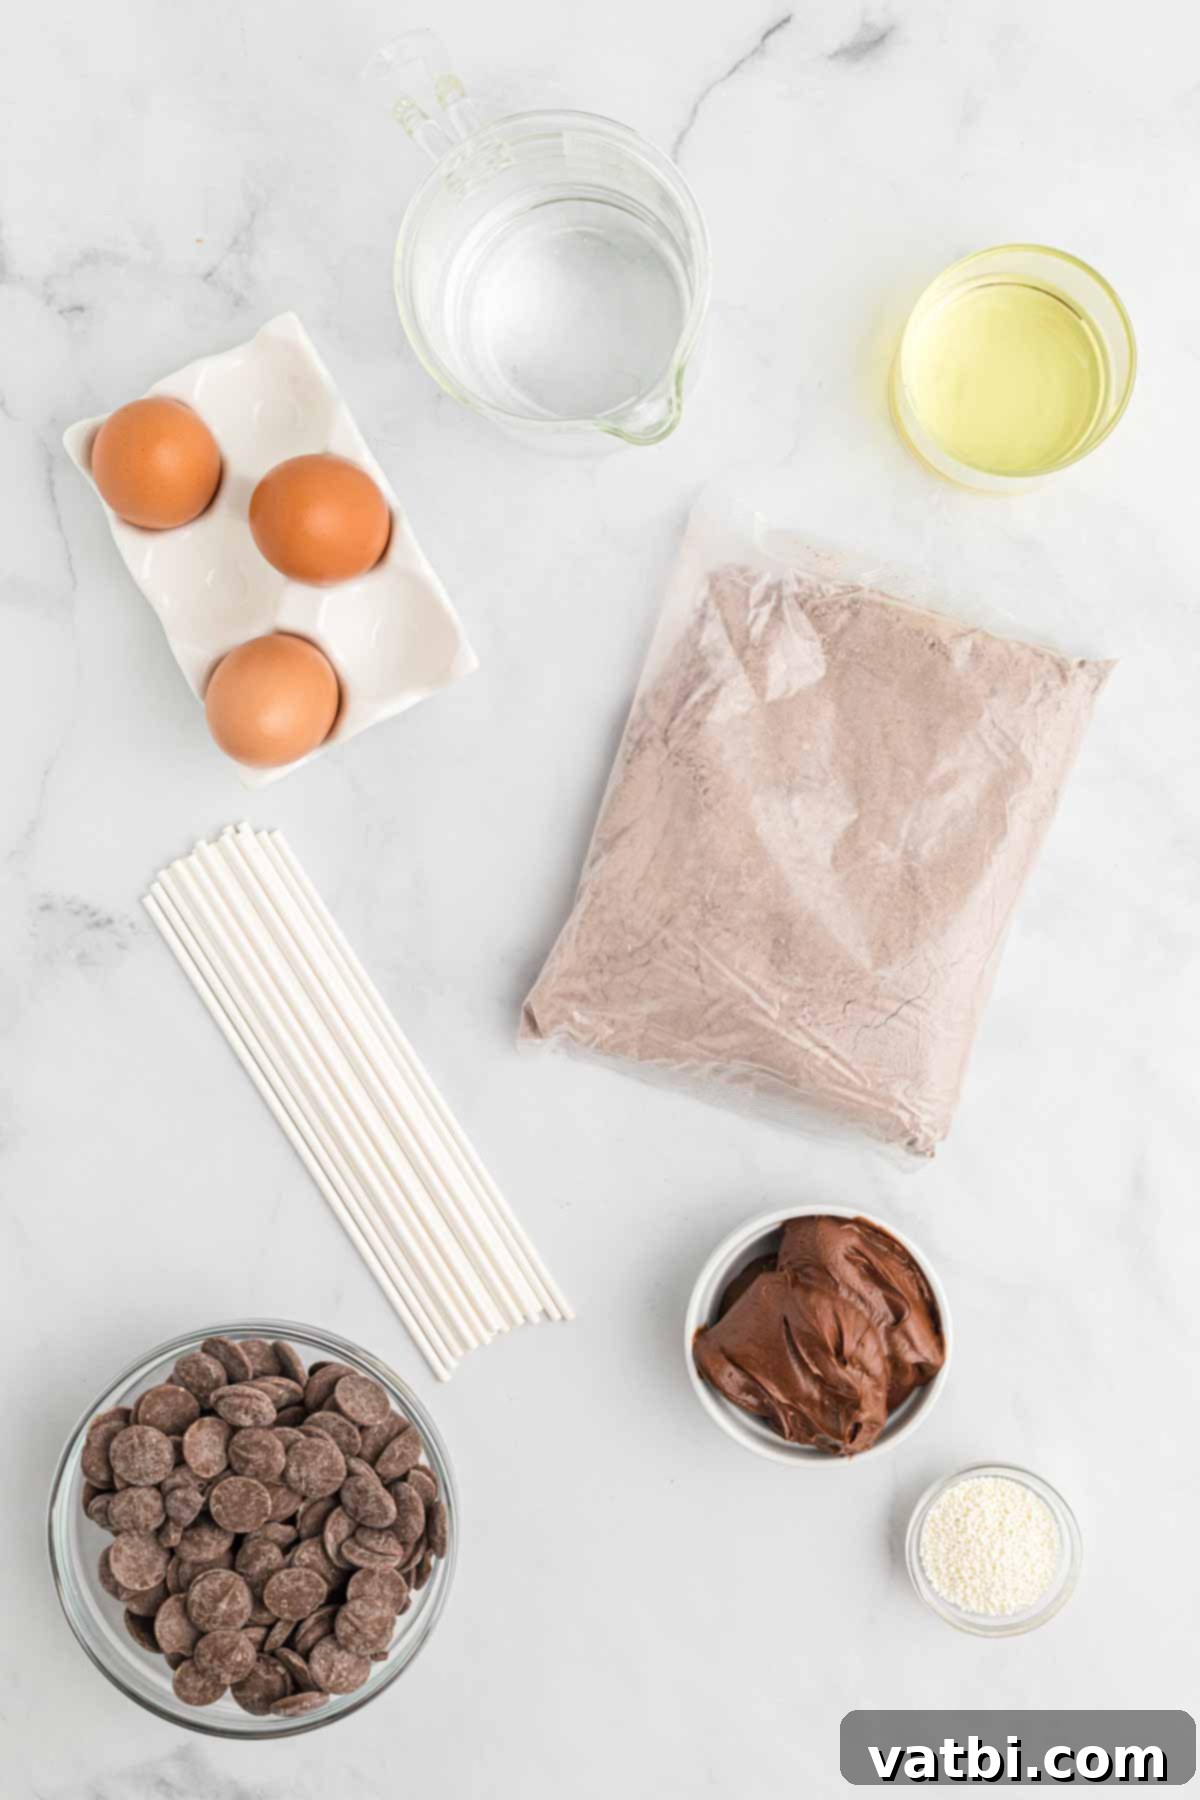
Ingredients for the Perfect Cake Pops
To create these delectable Starbucks-style chocolate cake pops, you’ll need a few key ingredients. Each one plays a vital role in achieving that signature moist texture and irresistible chocolate flavor.
- Chocolate Cake Mix. For ultimate convenience, choose your favorite boxed chocolate cake mix. You’ll also need the additional ingredients listed on the package (like eggs, oil, and water) to bake the cake according to its instructions. Using a boxed mix simplifies the process significantly without compromising on flavor or moisture.
- Chocolate Frosting. Store-bought chocolate fudge frosting is a fantastic shortcut that works wonders in binding the cake crumbs together, creating those moist, flavorful cake balls. Its rich, creamy texture is essential for the consistency and taste of the cake pop filling.
- Chocolate Candy Melts. These are crucial for forming the smooth, glossy, and perfectly set outer shell of your cake pops. Candy melts are specifically designed to melt smoothly and harden quickly, providing a beautiful finish and a delightful crunch.
- Sprinkles. While optional, white sprinkles add a classic and festive touch, mimicking the Starbucks look. Feel free to use any color or style of sprinkles you like to personalize your cake pops for different holidays or events.
- Lollipop Sticks. These are absolutely essential for making and serving cake pops. They provide a convenient handle for dipping and enjoying your sweet creations.
You can find the complete list of ingredients with precise measurements and the full recipe details in the dedicated recipe card located at the bottom of this post.
Step-by-Step Instructions: How to Make Starbucks Chocolate Cake Pops
Creating these delightful chocolate cake pops is a fun and rewarding process. Follow these detailed steps to ensure your homemade treats turn out perfectly every time.
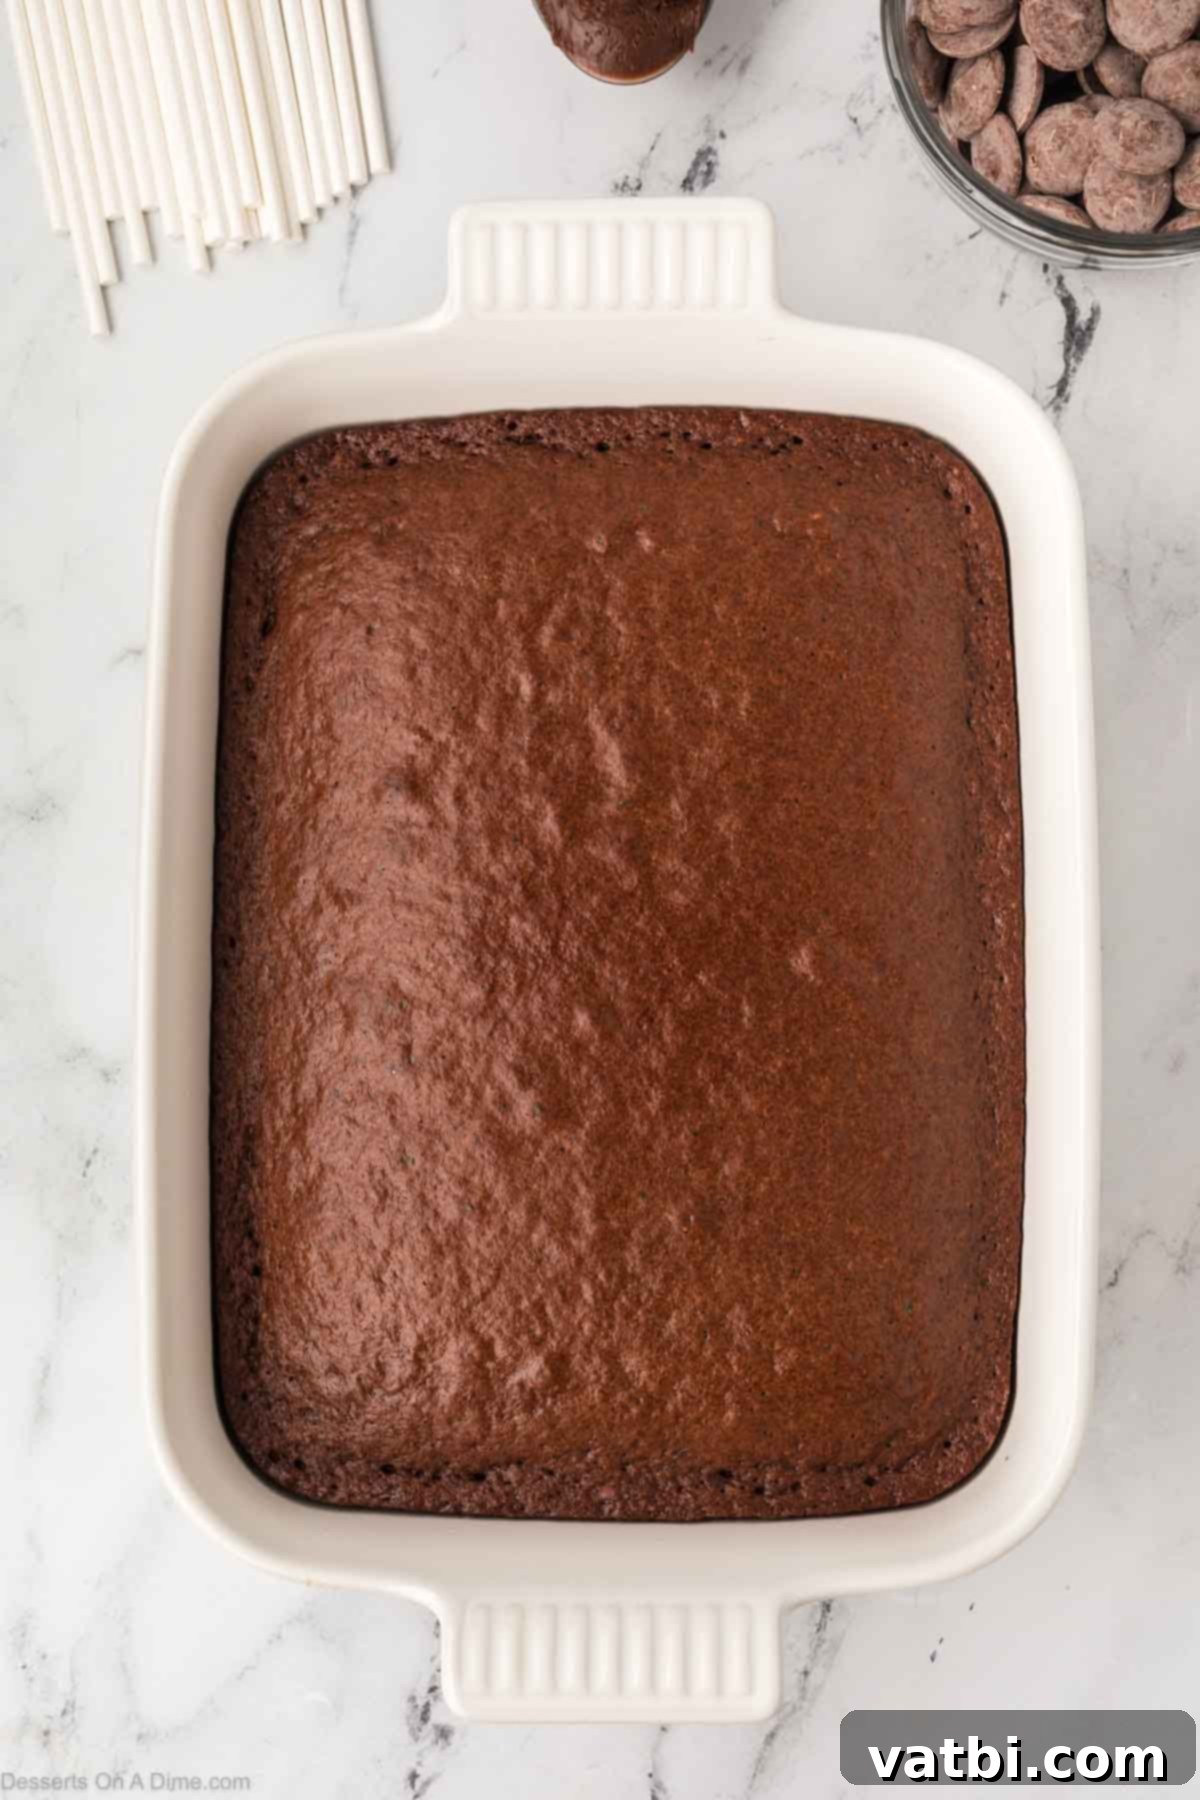
Step 1. Begin by preparing your chocolate cake. Follow the instructions on your chosen box of cake mix to bake the cake batter in a standard 9×13 inch pan. Once baked, remove the pan from the oven and allow the cake to cool completely at room temperature. This is a crucial step for achieving the right cake pop consistency.
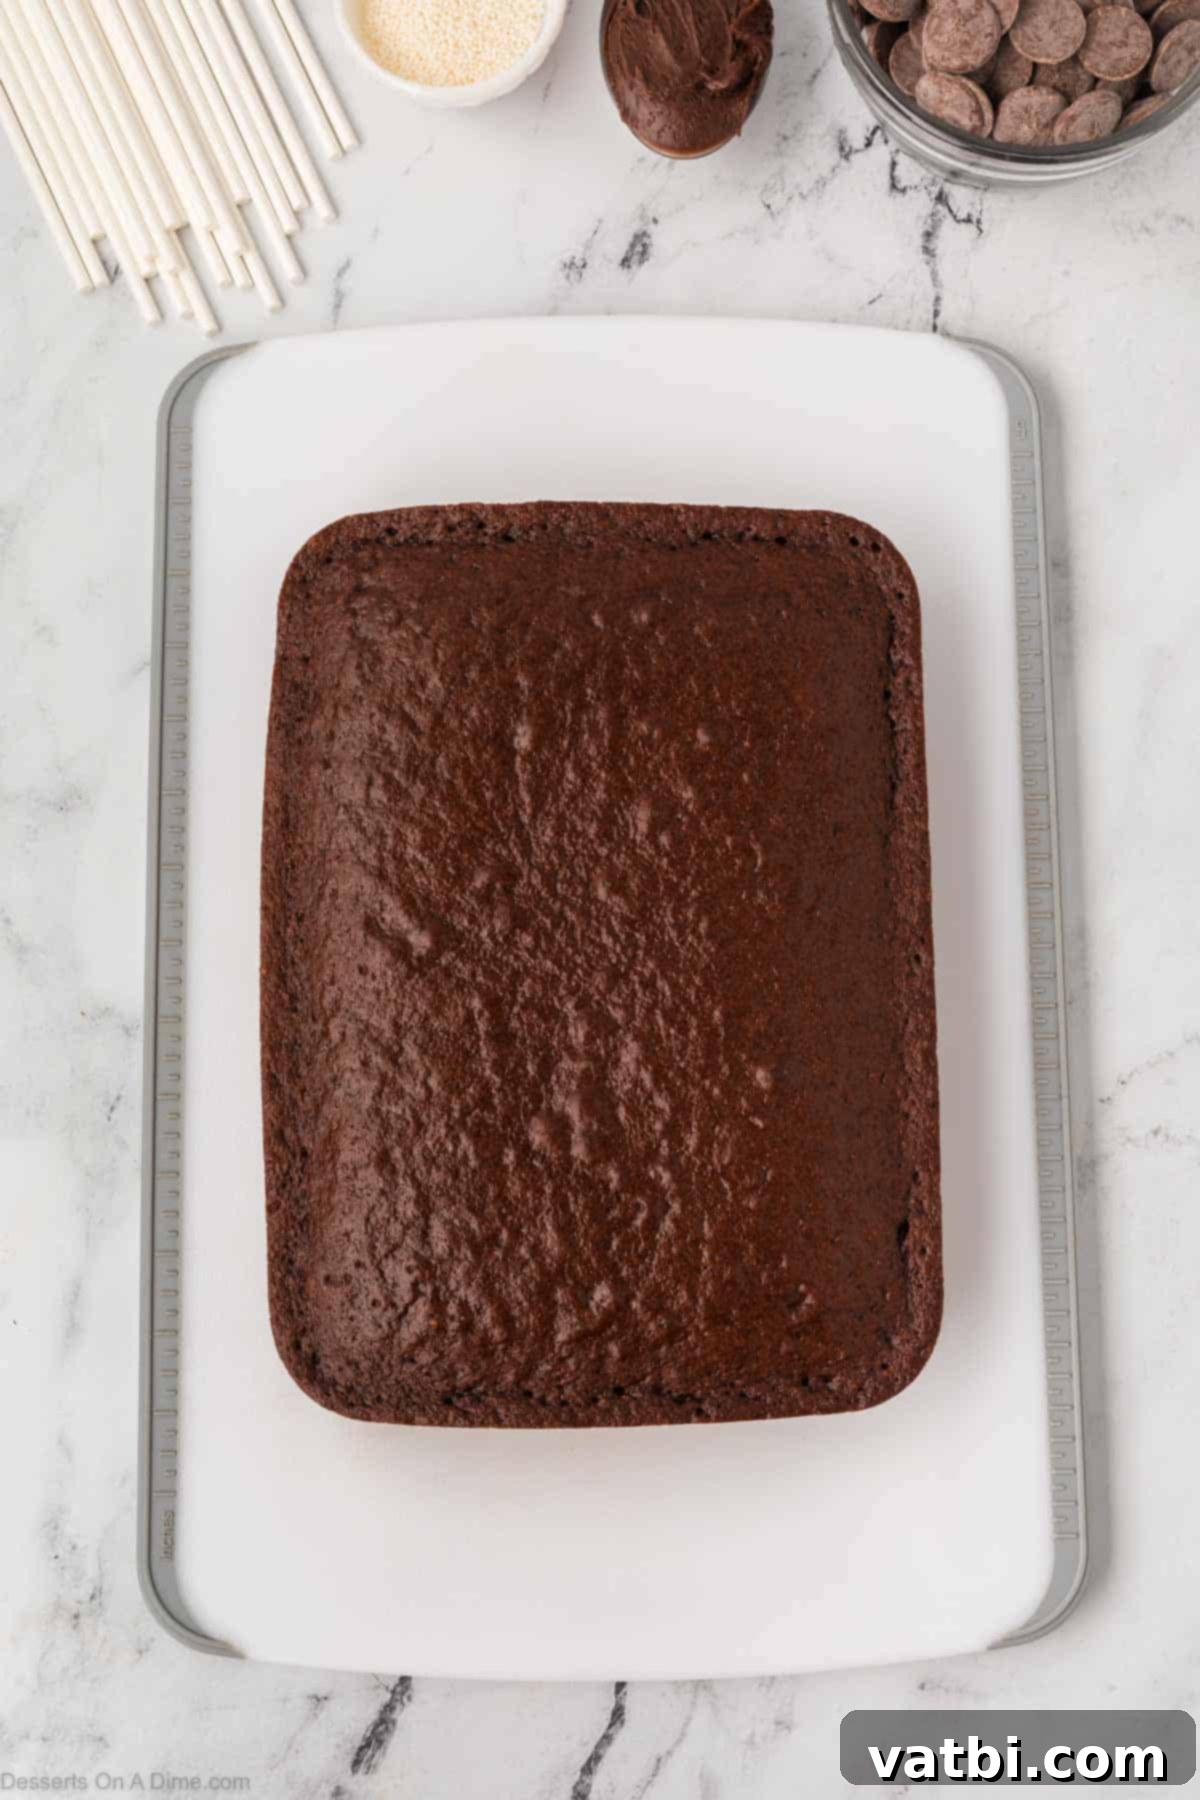
Step 2. Once the cake has fully cooled, carefully remove it from the baking dish. You may need to run a knife around the edges if it’s sticking slightly. Transfer it to a clean surface, such as a large cutting board, to prepare for crumbling.
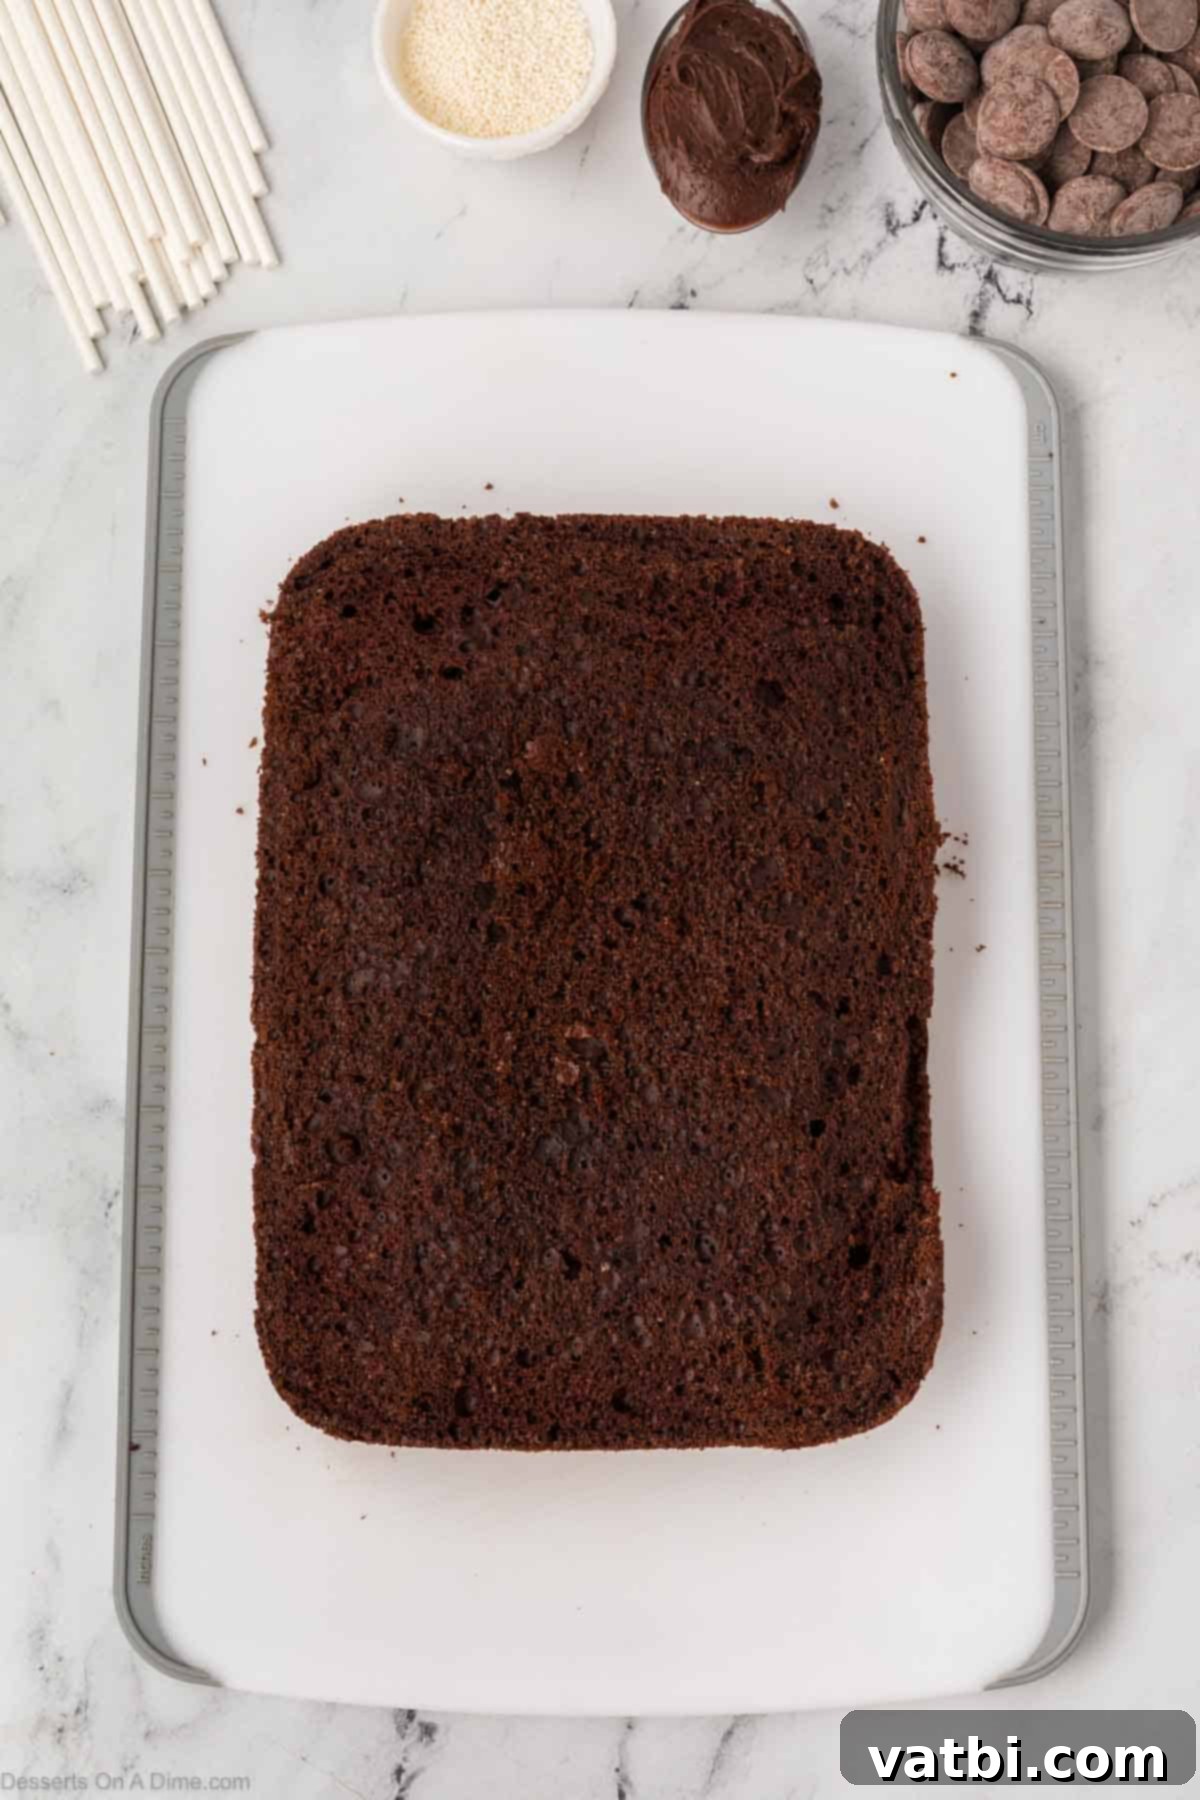
Step 3. Gently remove and discard the slightly drier, darker outer layer or crust from the cake. This step ensures that your cake pops have a uniformly moist and soft interior, free from any tougher edges. This will contribute to the rich, fudgy texture we’re aiming for.
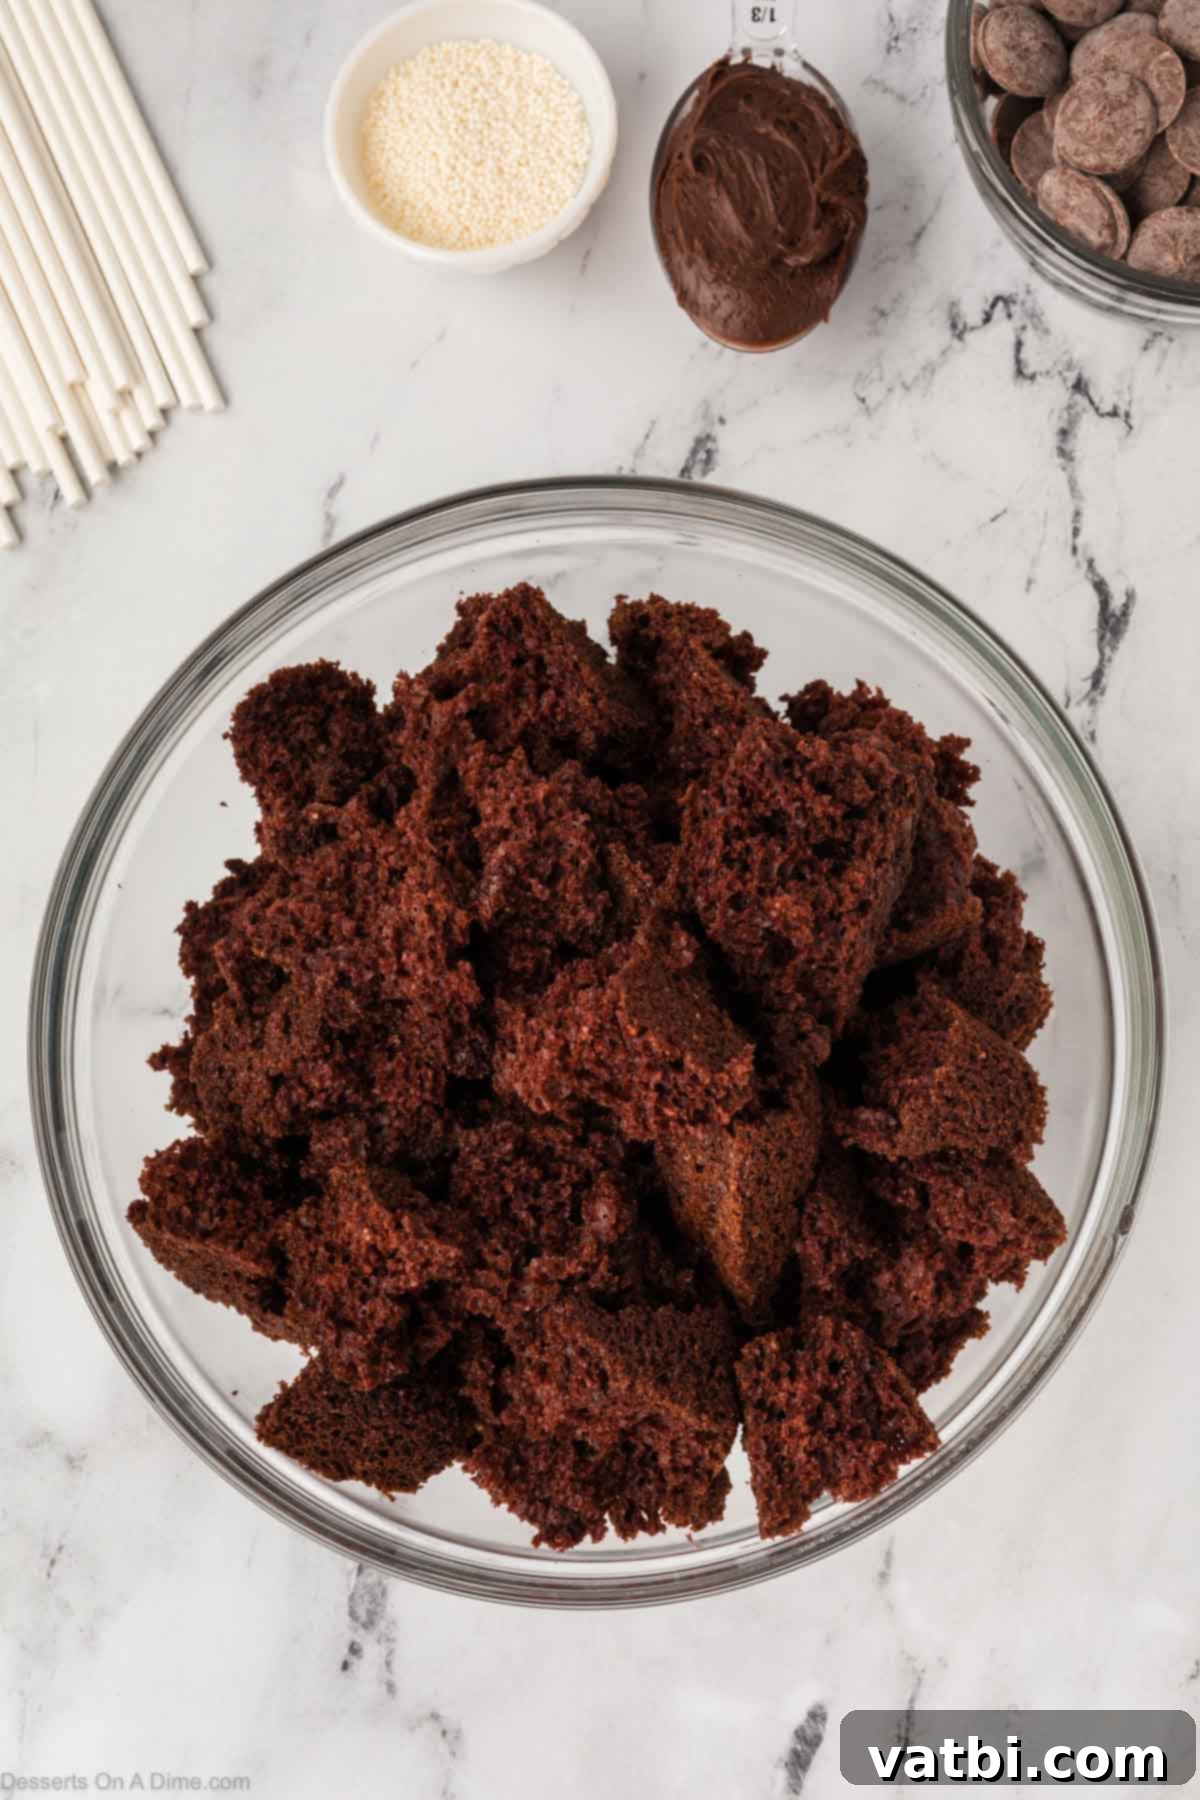
Step 4. With clean hands or a sturdy fork, crumble the remaining soft cake into a large mixing bowl. Break it down into fine, uniform crumbs. The finer the crumbs, the smoother and more consistent your cake pop mixture will be. Ensure there are no large lumps.
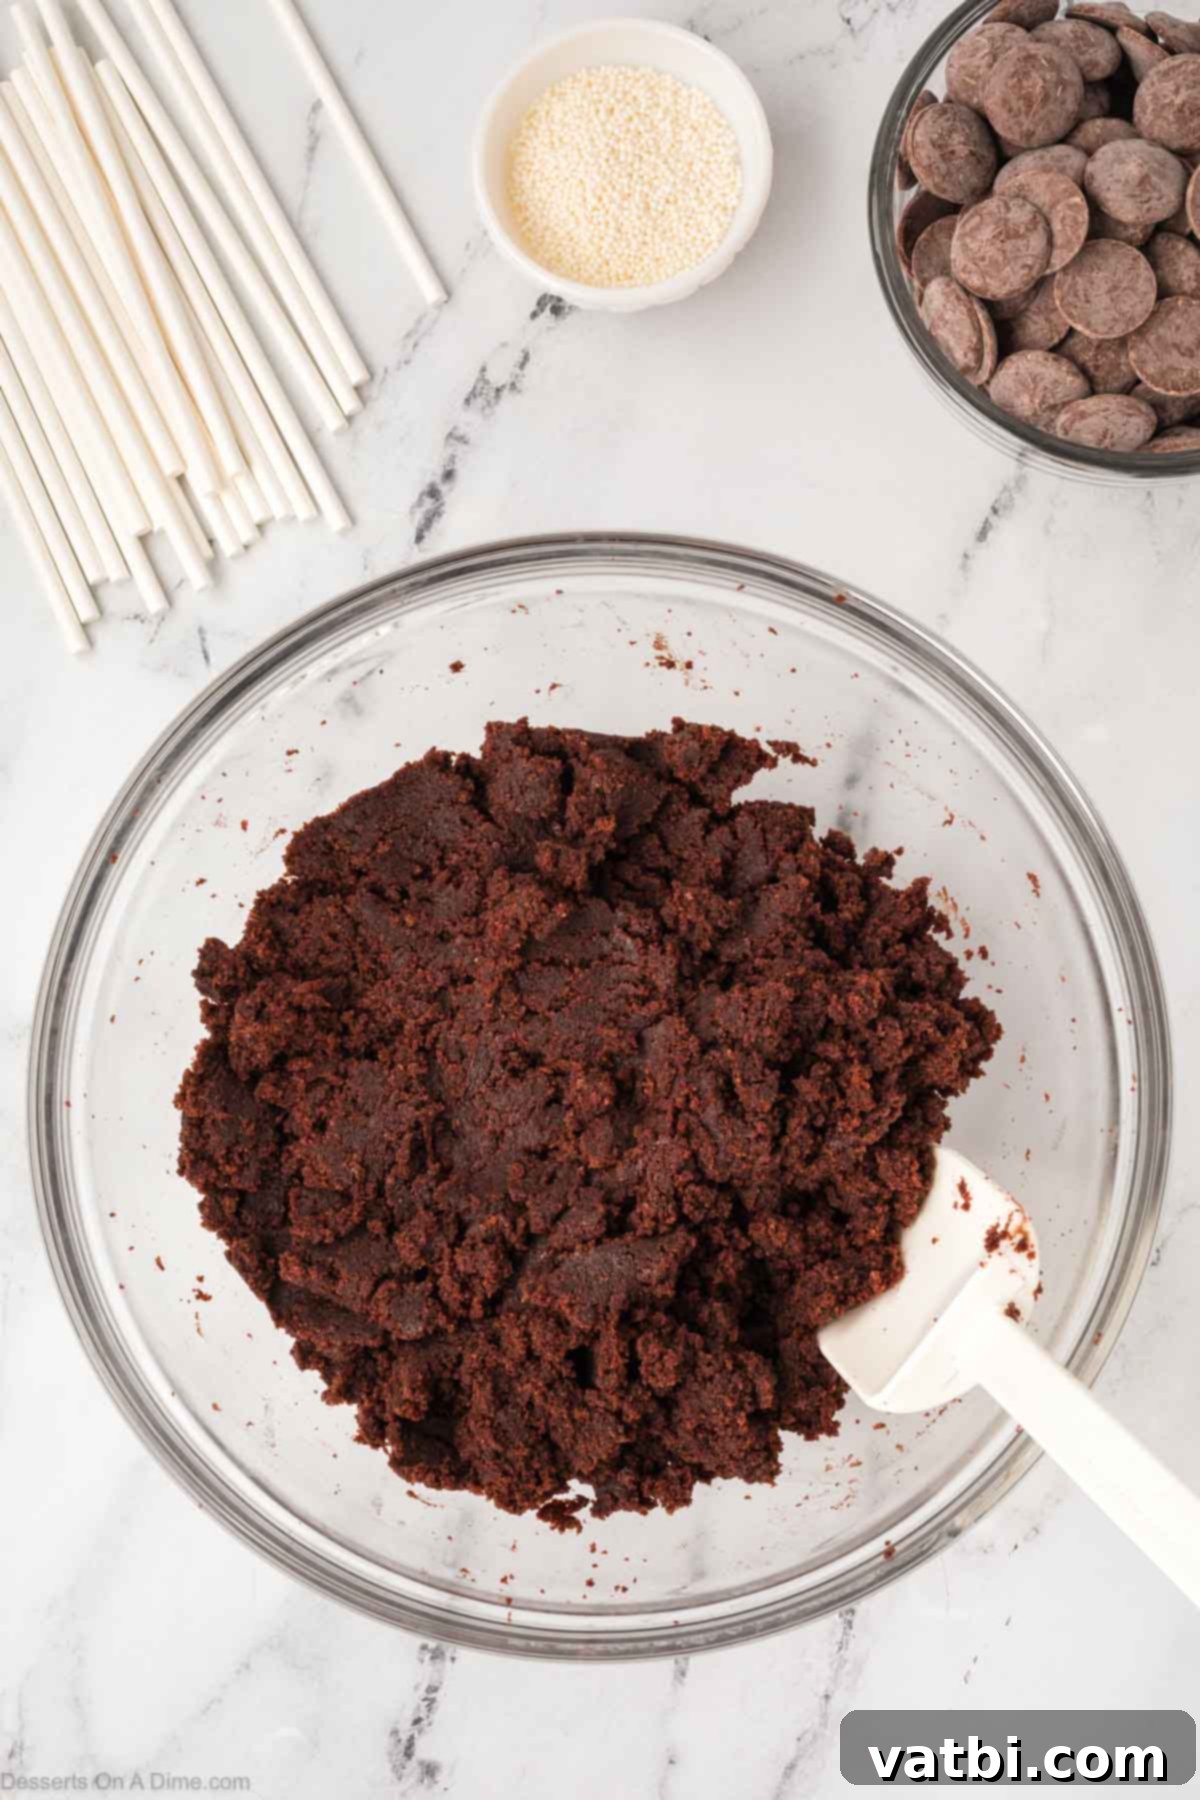
Step 5. Add the chocolate frosting to your crumbled cake in the bowl. Using a spoon or your hands, thoroughly combine the cake crumbs and frosting. Mix until everything is well incorporated and forms a smooth, pliable, and creamy dough-like consistency. It should be easy to roll into balls without falling apart.
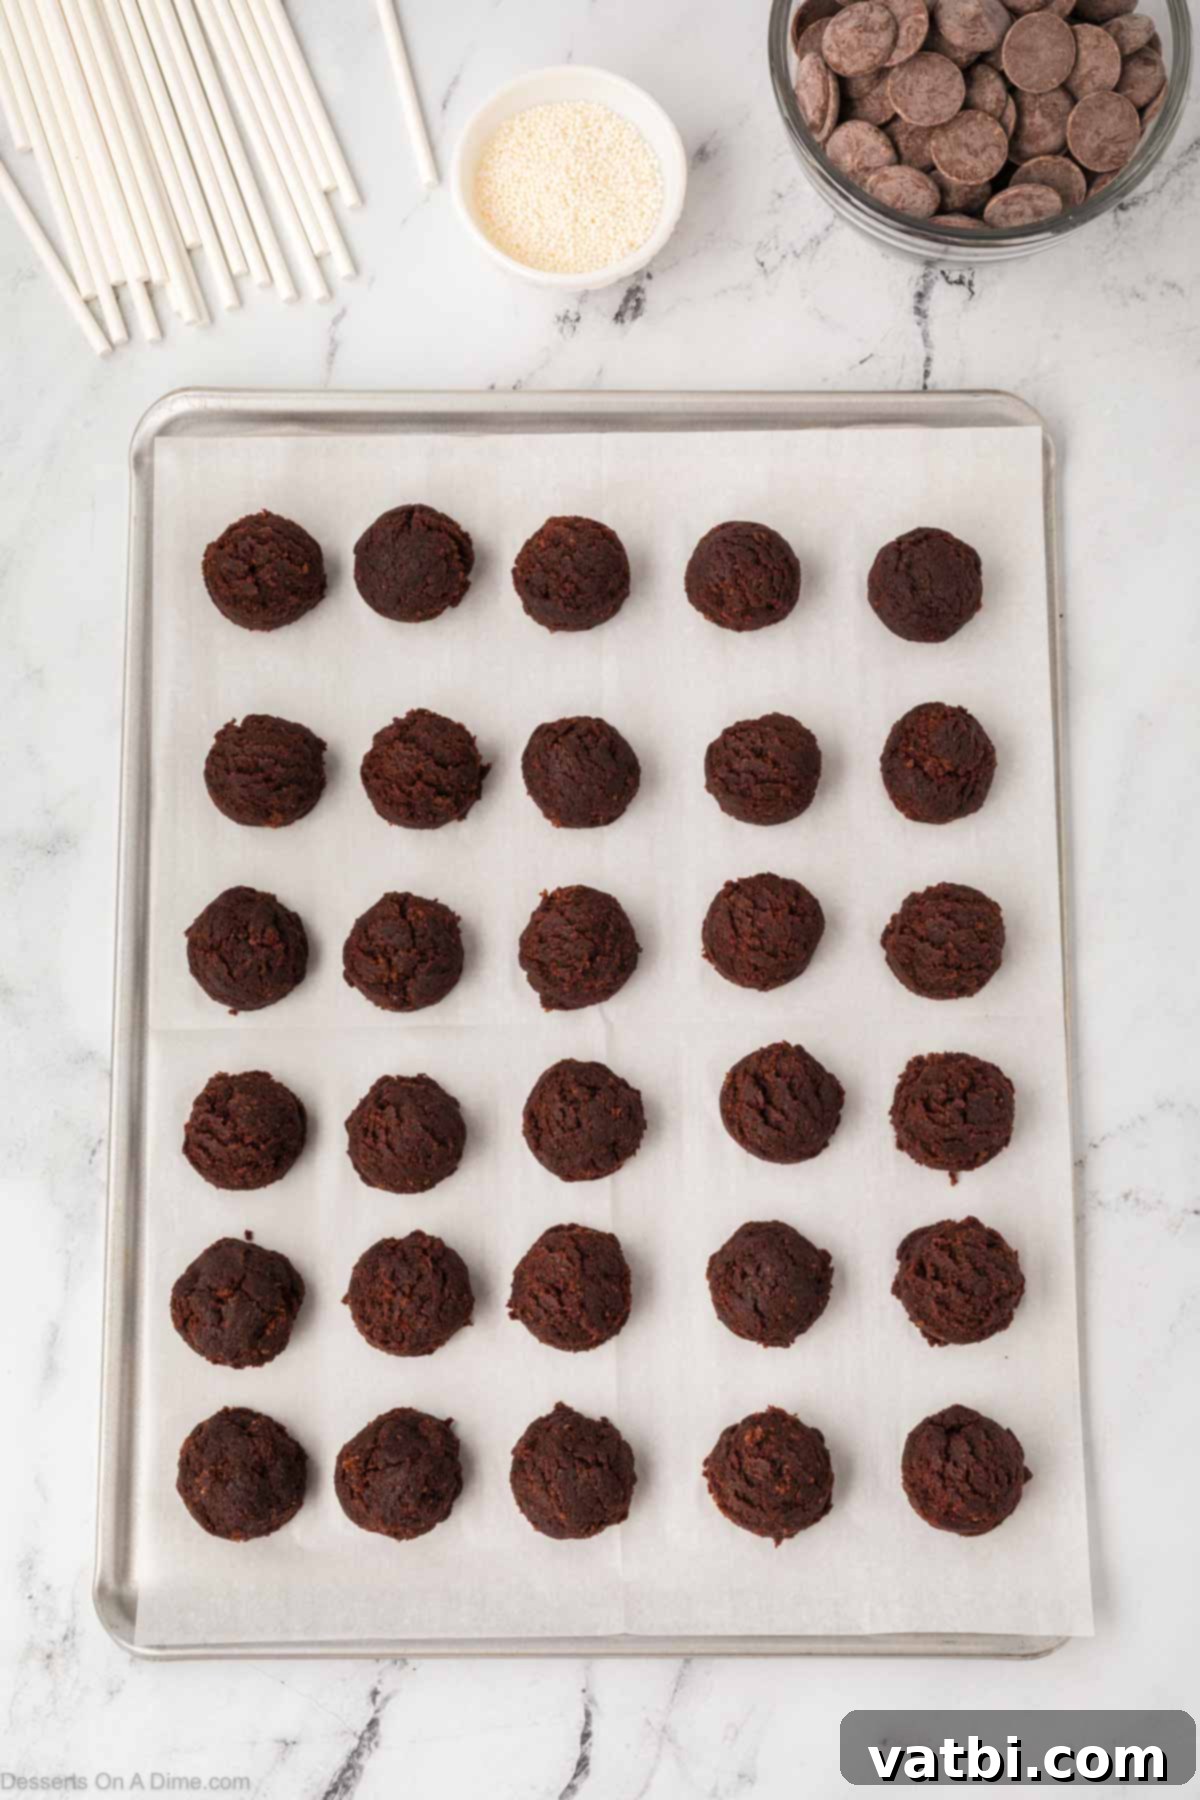
Step 6. Scoop and shape the mixture into small, uniform cake balls. Depending on your desired size, you should yield approximately 24-36 cake pops. Using a small cookie scoop can help ensure consistent sizing. Place the formed cake balls onto a baking sheet lined with parchment paper or wax paper. This prevents sticking and makes transfer easy.
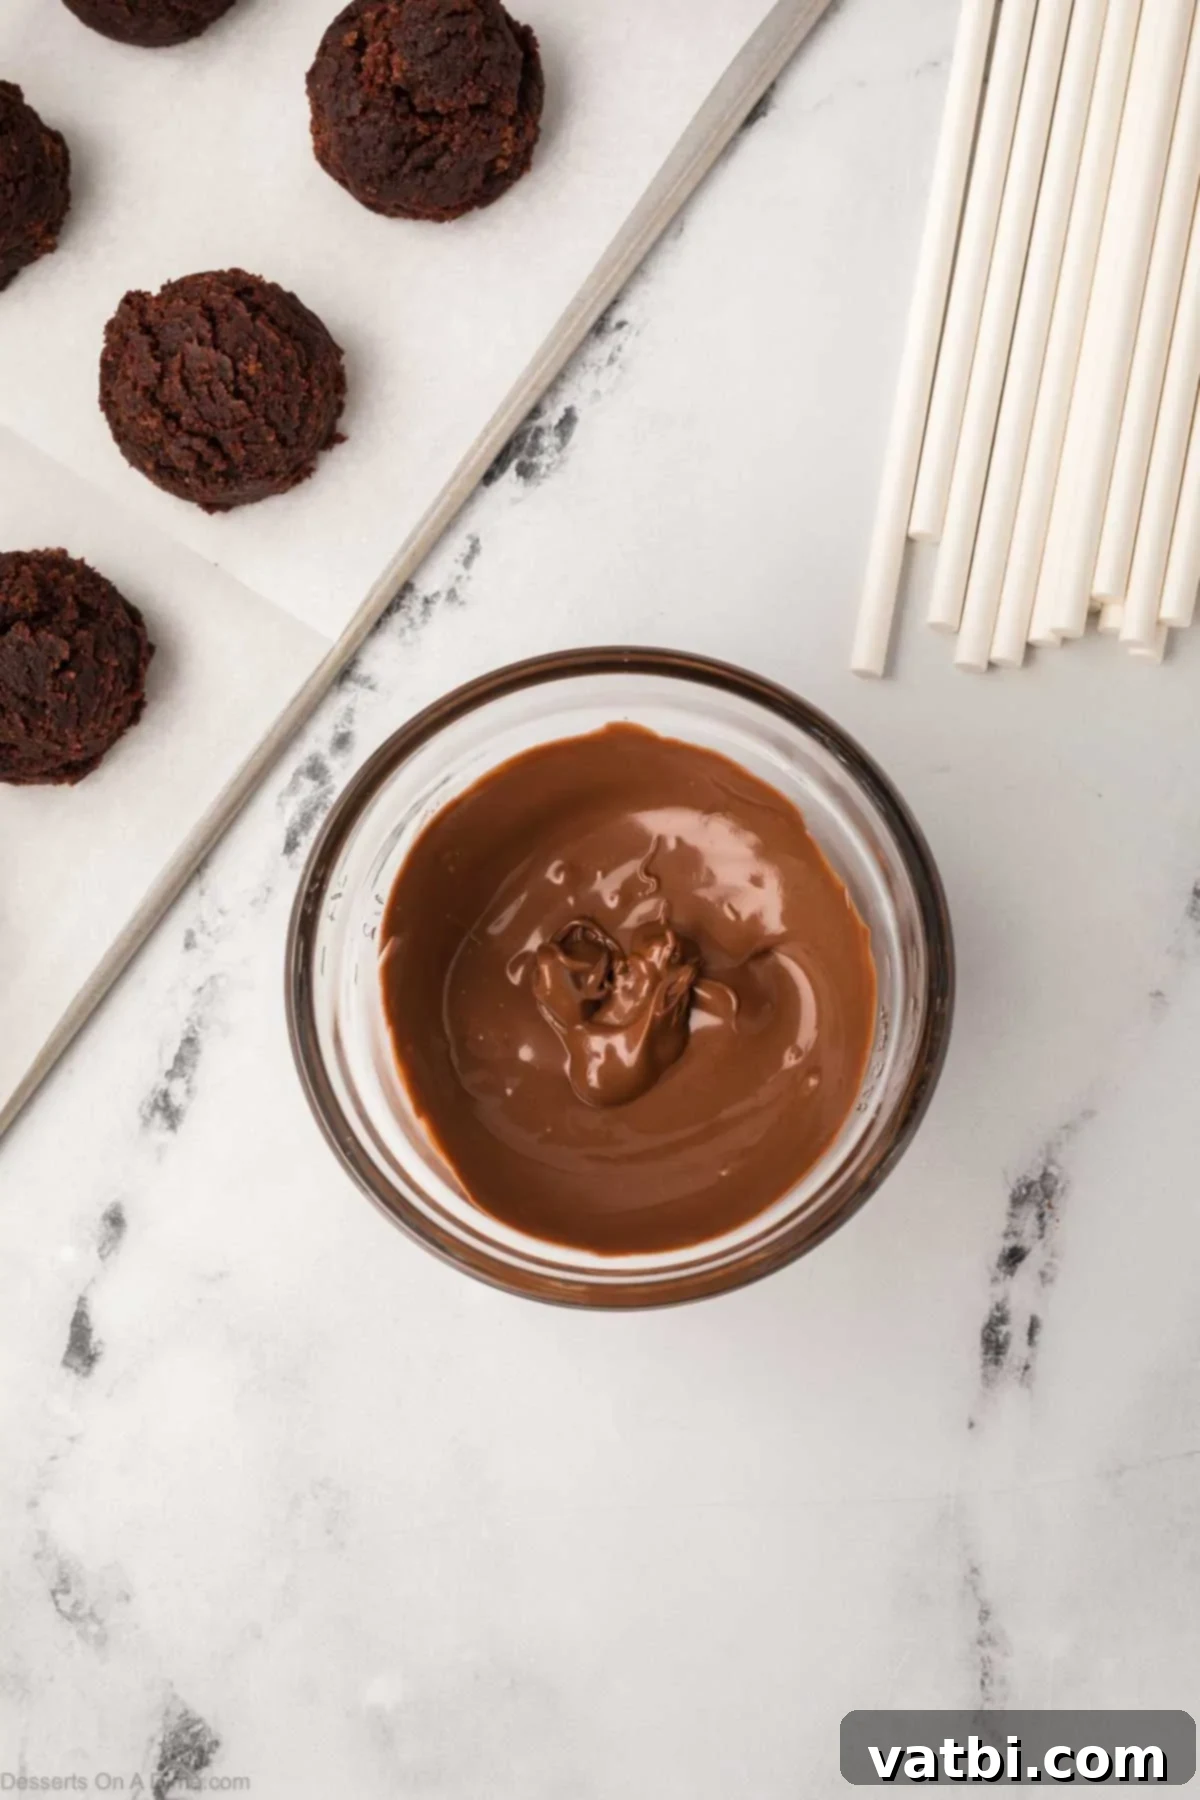
Step 7. Place your chocolate candy melts into a small, microwave-safe bowl. Microwave them for 30 seconds, then remove and stir thoroughly. Continue to heat the candy melts in additional 30-second intervals, stirring well after each, until they are completely melted and have a smooth, creamy, and fluid consistency. Be careful not to overheat the chocolate, as it can seize.
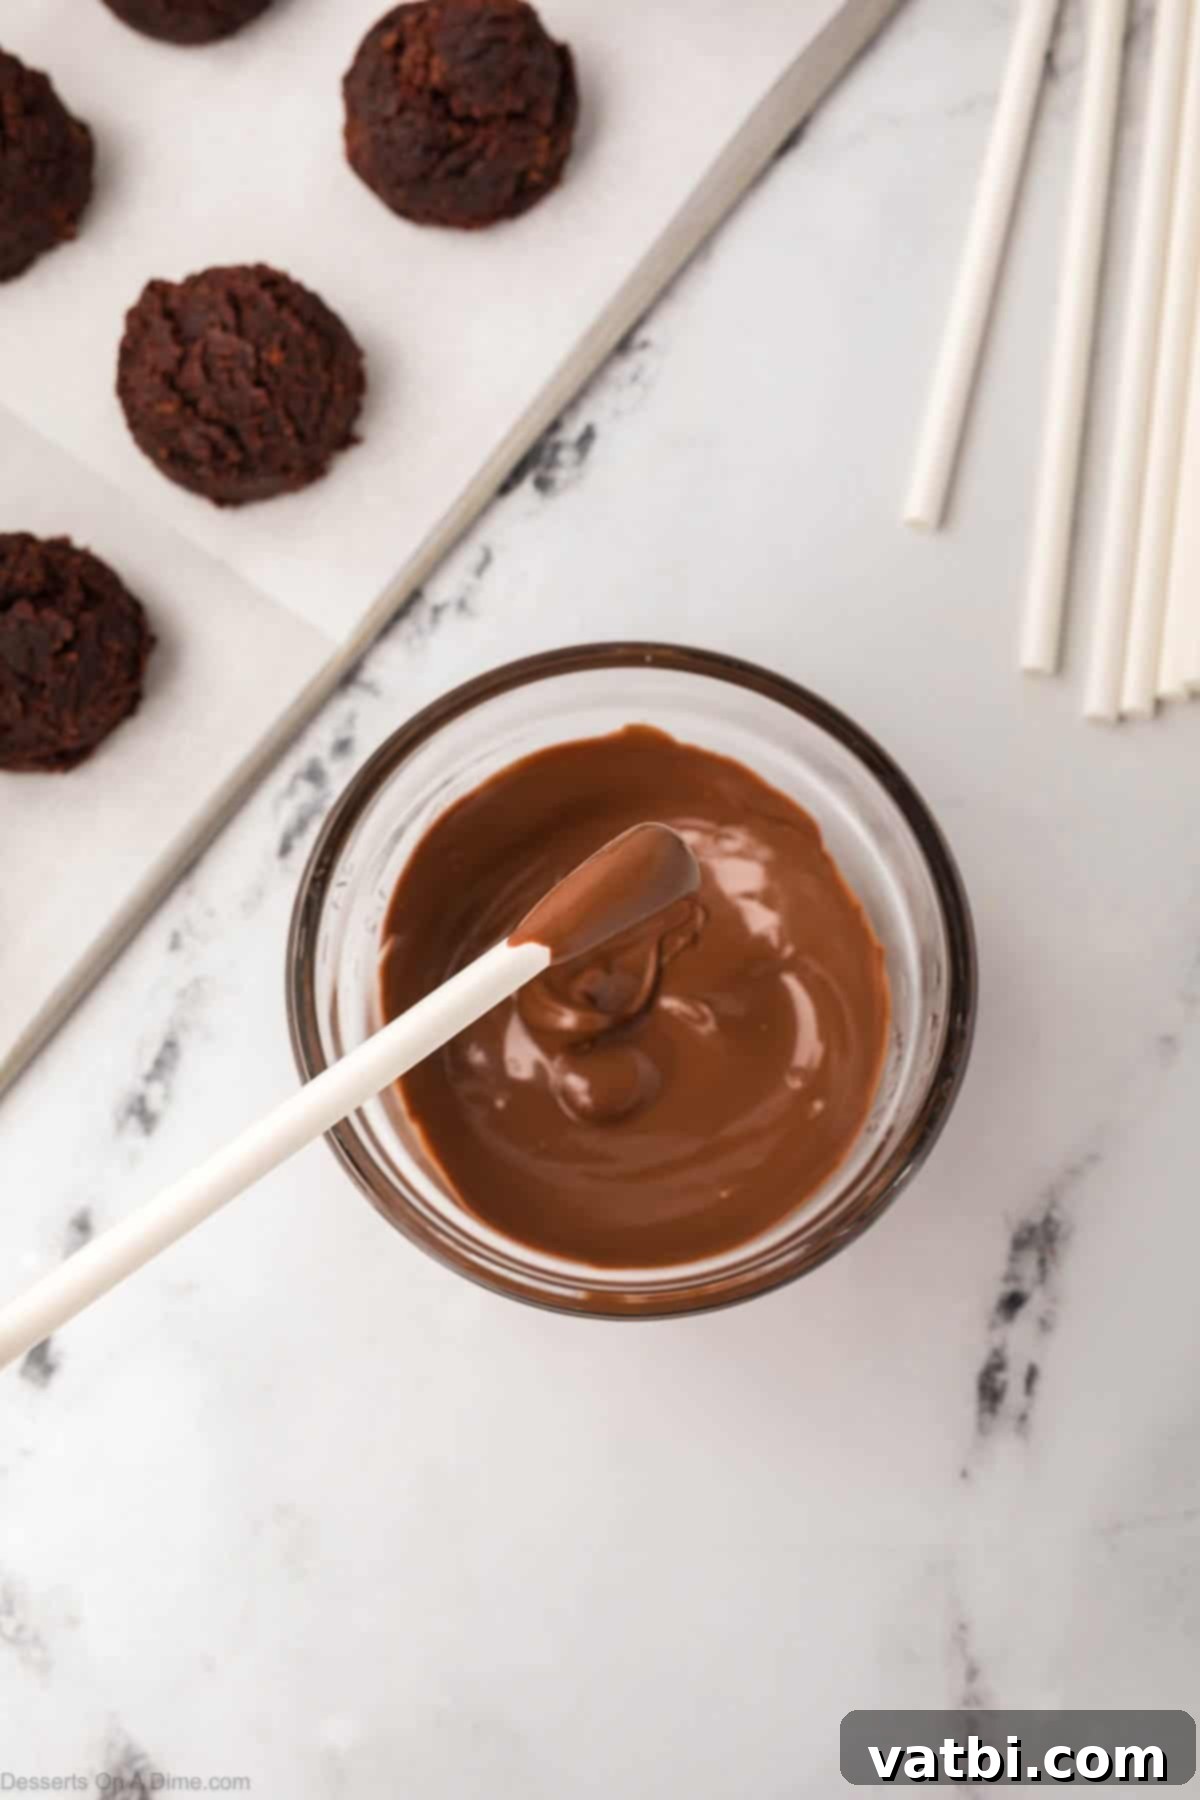
Step 8. Take each lollipop stick and dip one end into the melted candy coating. This small amount of chocolate will act as an edible “glue” to secure the cake ball onto the stick, preventing it from falling off during dipping.
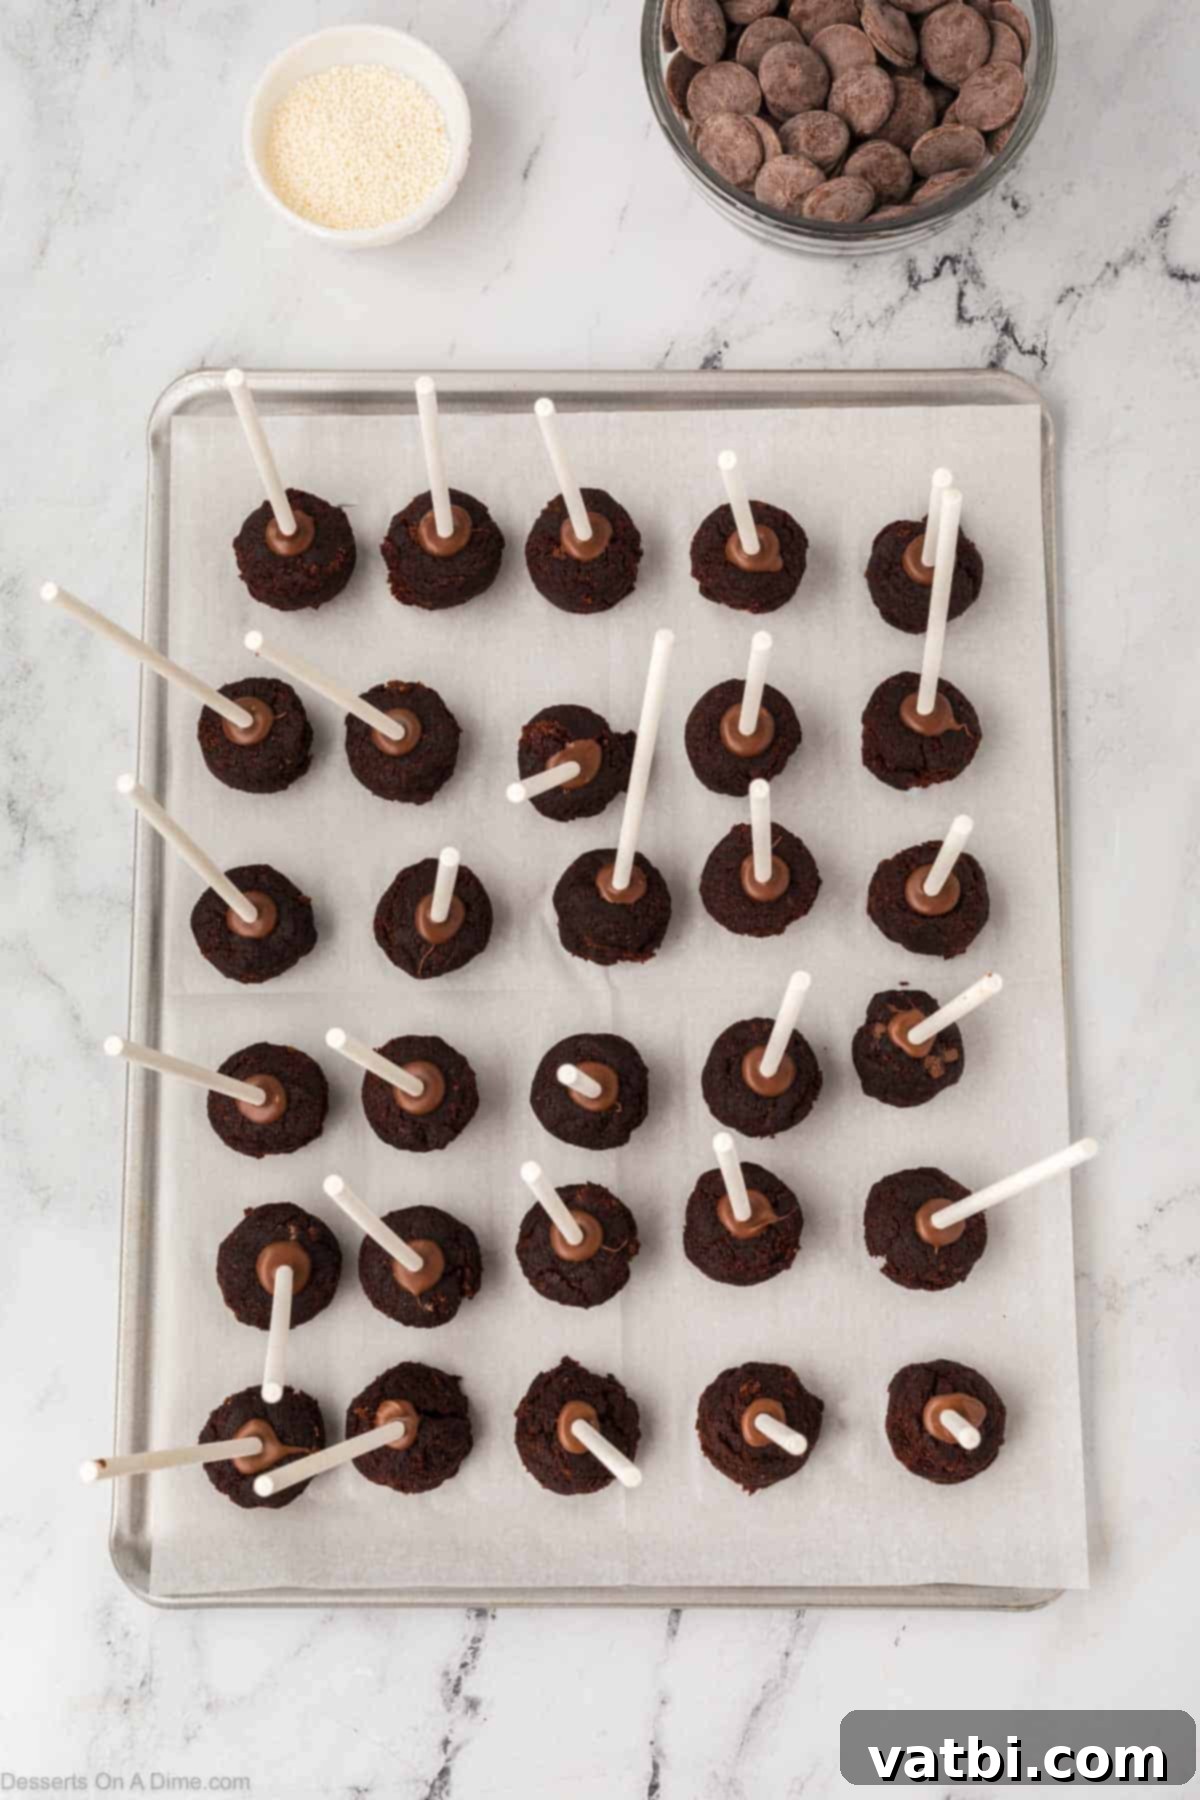
Step 9. Immediately after dipping the stick, insert it about halfway into a cake ball. The melted chocolate on the stick will solidify as it chills, creating a firm bond. Place the cake balls with sticks inserted back into the freezer for a brief period of 10-15 minutes. This chilling is essential for the sticks to adhere securely and to firm up the cake balls for dipping. **Important:** Do not freeze for longer than 15 minutes, as over-chilling can cause the cake pops to crack when dipped into the warm chocolate, and the coating might harden too quickly, preventing sprinkles from sticking.
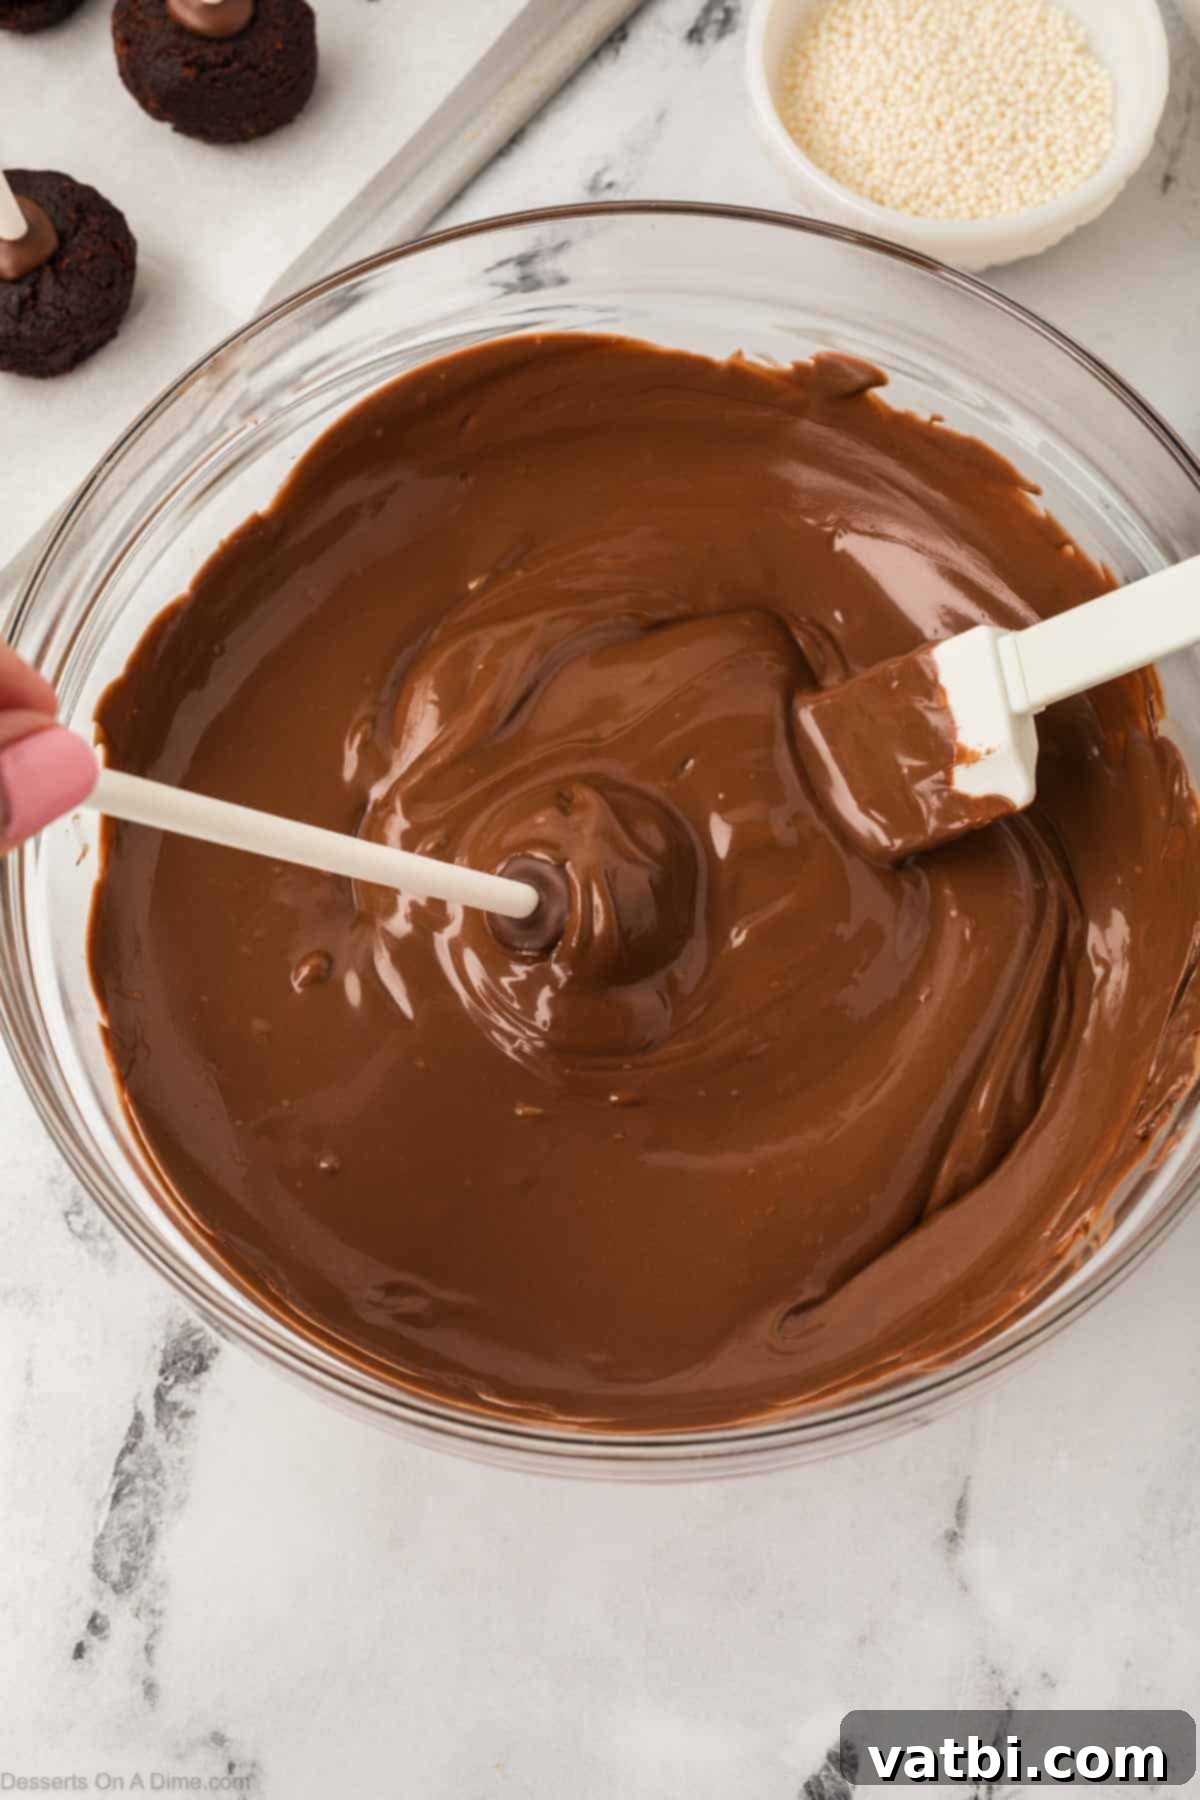
Step 10. Once the cake pops are thoroughly chilled, it’s time for the final coating. Take one cake pop at a time and dip it entirely into the melted candy melts. You may need to re-melt your candy coating slightly if it has started to thicken. Ensure the candy completely covers the cake ball. Gently tap the stick against the edge of the bowl to allow any excess chocolate to drip off, creating a smooth, even coating.
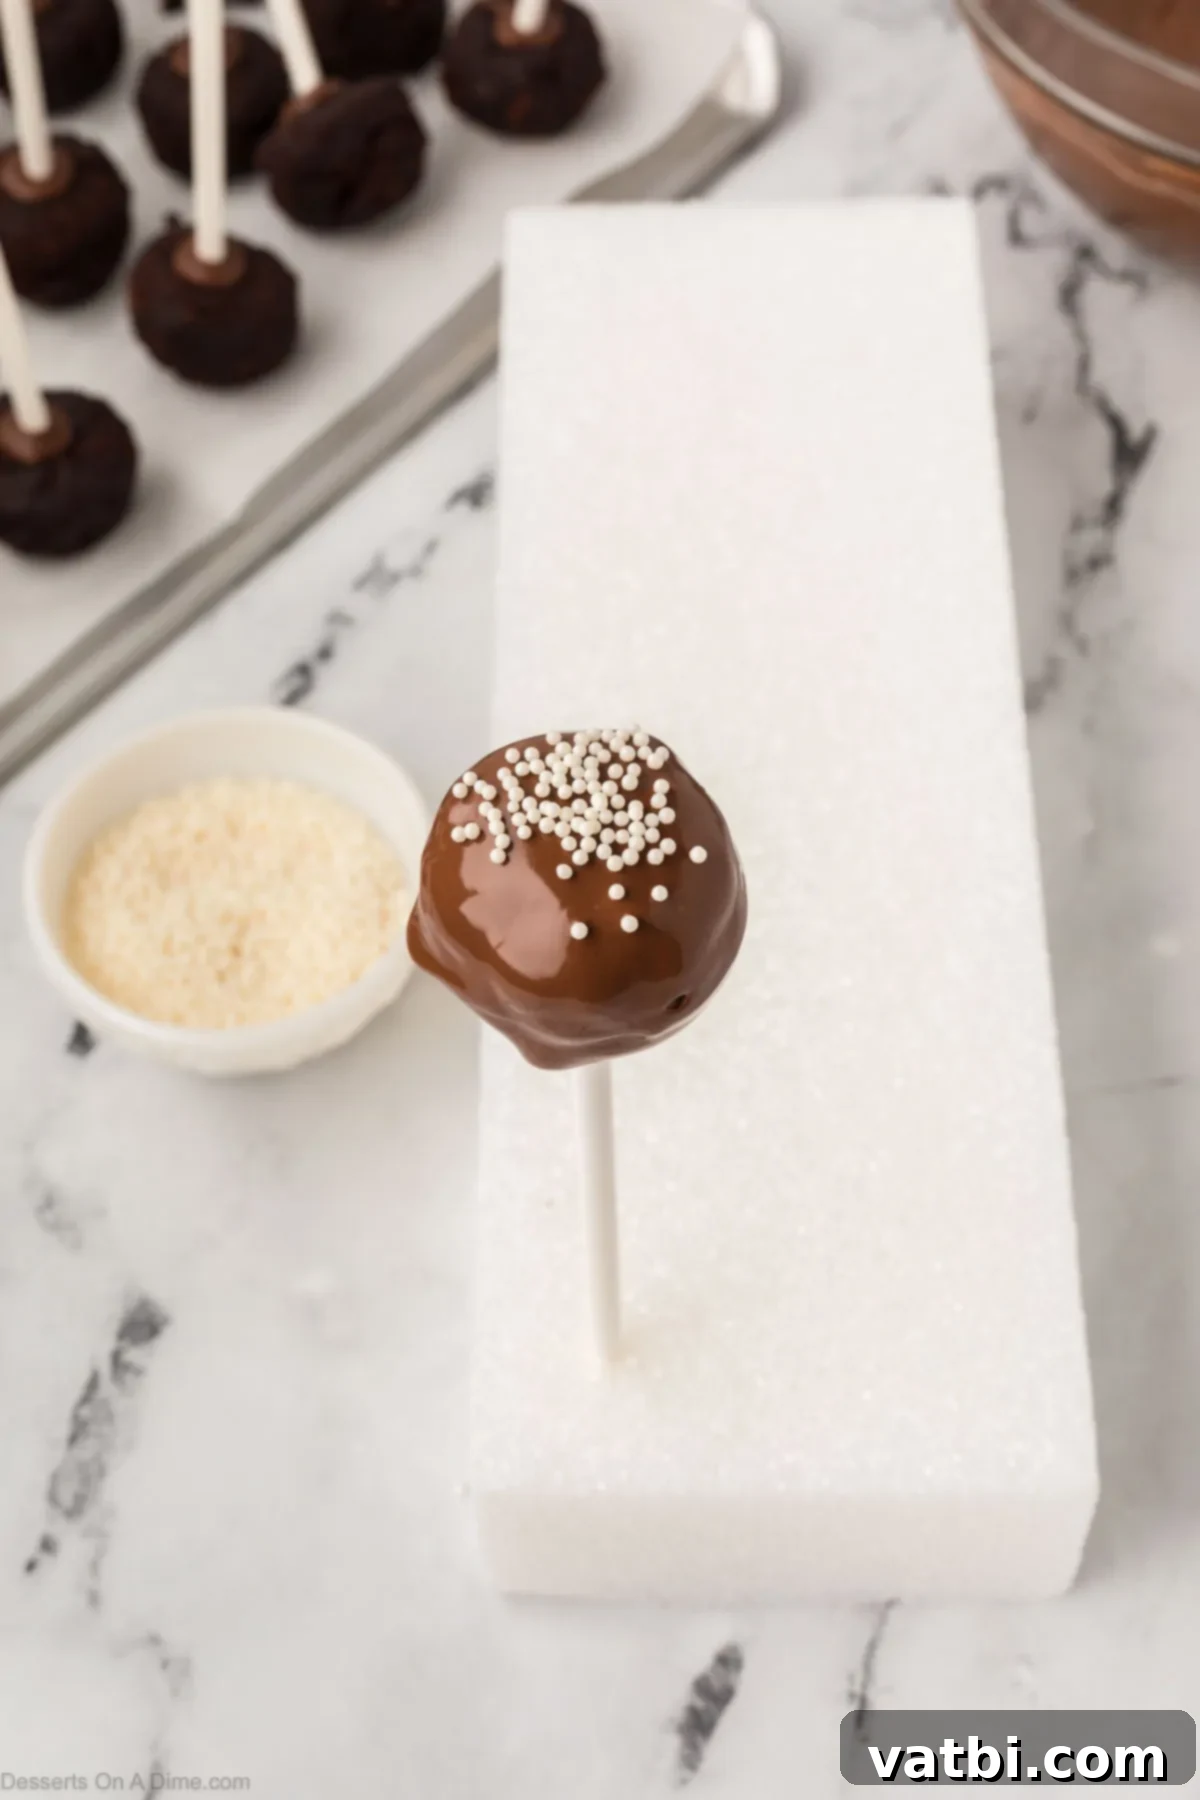
Step 11. As soon as you finish dipping a cake pop, immediately hold it upright and generously apply your chosen sprinkles. The candy coating dries quickly, so it’s essential to add sprinkles while it’s still wet for them to adhere properly. Insert the stick of the decorated cake pop into a stand or a block of Styrofoam. This allows the candy coating to dry and solidify evenly without touching any surfaces, preserving its perfect finish.
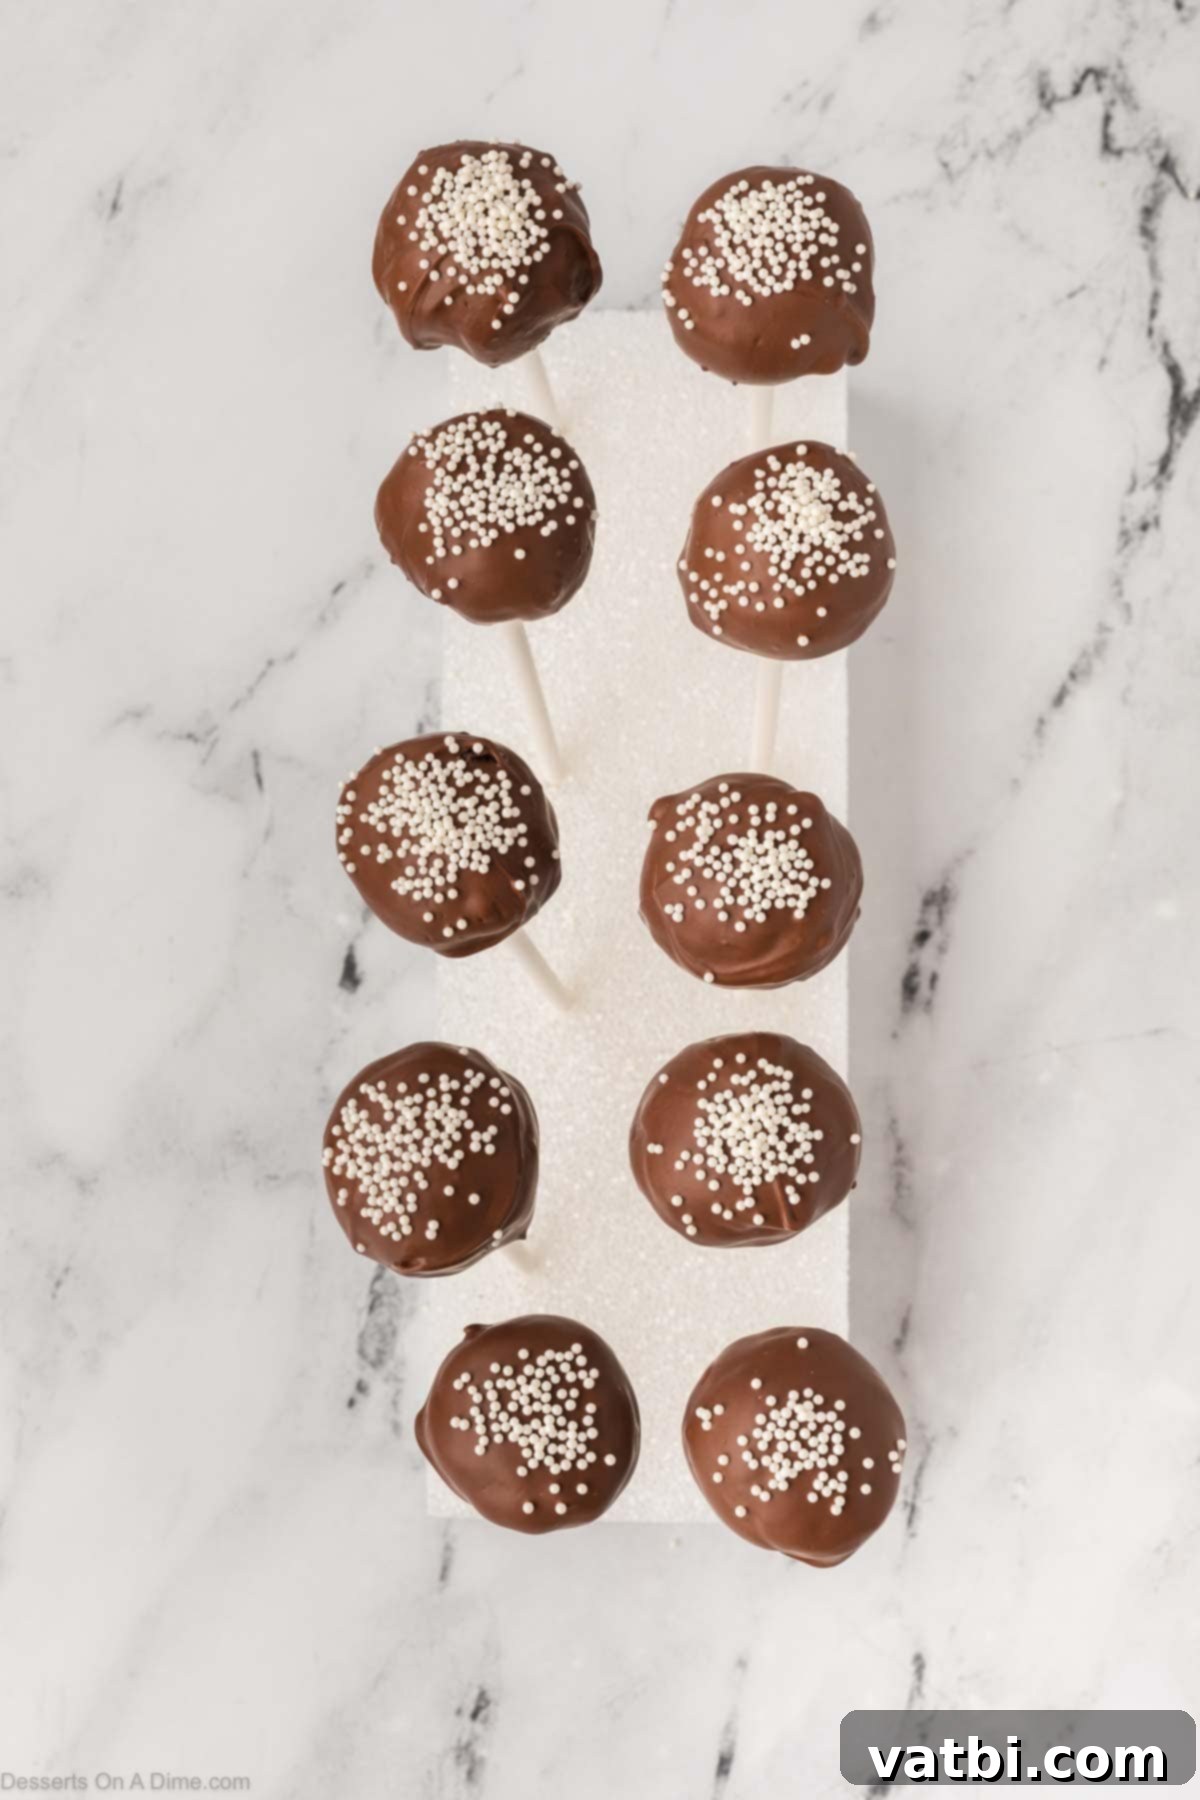
Step 12. Continue this process of dipping, sprinkling, and placing in the stand until all your cake pops are beautifully coated and decorated. Allow them to dry completely until the chocolate coating is firm to the touch. Once dry and solidified, your homemade Starbucks chocolate cake pops are ready to be served and enjoyed!

Storage Tips for Freshness
Proper storage ensures your homemade chocolate cake pops remain fresh and delicious for as long as possible. Follow these guidelines:
Room Temperature: If the chocolate coating is fully set and hardened, you can store your finished cake pops in an airtight container at room temperature for up to 7 days. Ensure they are kept away from direct sunlight or heat sources to prevent melting.
Freezer: For longer storage, you can freeze the uncoated cake balls (before dipping them in chocolate). Place them in a freezer-safe airtight container or bag for up to 6 weeks. When you’re ready to enjoy them, thaw the cake balls in the refrigerator overnight, then proceed with dipping them in melted chocolate and decorating as usual.
Avoid Moisture: When storing, especially if stacking, place layers of parchment paper between the cake pops to prevent them from sticking together. This also helps to absorb any minor condensation, keeping them in perfect condition.
Pro Tips for Flawless Cake Pops
Achieving bakery-quality cake pops at home is easier with these expert tips:
- Start with Cold Cake: After baking, ensure your cake is completely chilled before you begin crumbling it and mixing it with frosting. A cold cake is much firmer and less sticky, making it significantly easier to handle and shape into uniform balls without excessive mess.
- Ensure Consistent Size: For a professional look and even dipping, use a small cookie scoop, a measuring spoon, or even a kitchen scale to portion your cake balls. Uniformly sized balls will also ensure they fit perfectly onto your lollipop sticks and cook evenly.
- Chill Before Dipping is Key: Always refrigerate or freeze your formed cake balls for at least 15-30 minutes before dipping them in the melted chocolate. This firms them up, preventing them from crumbling or falling apart, and helps create a smooth, crack-free chocolate shell.
- Thin the Coating if Needed: If your melted chocolate candy melts seem too thick for smooth dipping, you can thin them out. Add a very small amount (half a teaspoon at a time) of shortening or vegetable oil and stir until the desired, fluid consistency is achieved. This ensures a thin, even coat.
- Secure the Sticks Carefully: Before inserting the lollipop stick into the cake ball, dip the tip of the stick into the melted chocolate. This creates a strong adhesive bond between the stick and the cake ball, preventing the cake pop from slipping off while dipping or serving.
- Decorate Quickly: Chocolate candy melts set rapidly once they cool. Have your sprinkles or any other toppings ready before you start dipping. Immediately after dipping each cake pop, apply your decorations to ensure they stick securely before the coating hardens.
Exciting Variations to Try
While the classic chocolate cake pop is undeniably delicious, don’t hesitate to get creative with these exciting variations to customize your treats for any palate or occasion:
- Experiment with Cake Flavors: Don’t limit yourself to chocolate! Swap out the chocolate cake mix for vanilla, festive red velvet, or funfetti for a completely new and delightful twist. Each flavor will offer a unique base for your pops.
- Explore Different Frostings: The frosting is key to the texture and flavor. Try cream cheese frosting for a tangy contrast, rich peanut butter frosting for a nutty delight, or decadent salted caramel frosting for a gourmet touch.
- Mix Up the Candy Coatings: Beyond classic chocolate, dip your cake pops in white chocolate, milk chocolate, dark chocolate, or use brightly colored candy melts to match party themes or specific holidays.
- Add Creative Toppings: Elevate your decorations! Sprinkle crushed nuts (like pecans or walnuts), shredded coconut, colorful sprinkles, or mini chocolate chips on top of the wet coating for extra texture and flavor.
- Embrace Seasonal Themes: Tailor your cake pops to the season! Decorate with holiday-themed sprinkles, edible glitter, or drizzle contrasting colored chocolate for Christmas, vibrant orange and black for Halloween, or personalized touches for birthdays and baby showers.
- Consider Mini Pops: For lighter snacking or elegant party platters, make smaller, bite-sized cake pops. These are often easier to eat and allow guests to try more varieties without feeling too full.
More Copycat Starbucks Recipes to Love
If you enjoy recreating your favorite Starbucks treats at home, you’ll love these other popular copycat recipes:
- Starbucks Pumpkin Bread Recipe
- Starbucks Brownies Recipe
- Copycat Starbucks Lemon Loaf Recipe
- Starbucks Birthday Cake Pops Recipe (a different flavor, also a huge hit!)
More Delicious Cake Pop Recipes
The world of cake pops is vast and varied! Explore these other fantastic cake pop recipes for more bite-sized fun:
- Classic Birthday Cake Pops
- Copycat Starbucks Birthday Cake Pops Recipe
- Decadent Brownie Cake Pops Recipe
- Fun Minecraft Cake Pops Recipe
- Rich Red Velvet Cake Balls Recipe
- Simple Vanilla Cake Balls Recipe
We encourage you to try this delightful Copycat Starbucks Chocolate Cake Pop Recipe at your earliest convenience! Once you’ve created these rich and fudgy treats, please come back and share your experience by leaving a comment and a star rating below. Your feedback helps other bakers!
Pin
Starbucks Chocolate Cake Pops Recipe
Ingredients
- 1 box Chocolate Cake Mix 15 oz
- *Plus ingredients to prepare the cake on the back of the box (e.g., eggs, water, oil)
- 1/3 cup Chocolate Fudge Frosting (a good quality, pre-made frosting works best for convenience and texture)
- 16 oz. Chocolate Candy Melts
- Sprinkles (optional, but highly recommended for decoration)
- Lollipop Sticks
Instructions
-
Prepare the chocolate cake mix and bake it according to the package instructions in a 9×13 inch baking pan. Once baked, remove from the oven and allow the cake to cool completely to room temperature before proceeding.
-
Carefully remove the cooled cake from its pan. Gently trim and discard the slightly drier outer layer or crust of the cake. Crumble the remaining soft, moist cake into fine crumbs in a large mixing bowl, either by hand or using a fork.
-
Add the chocolate fudge frosting to the crumbled cake. Stir everything together thoroughly until the mixture is well combined and reaches a smooth, consistent, and pliable dough-like texture.
-
Using a small cookie scoop or by hand, shape the cake mixture into uniform balls, yielding about 24-36 pieces depending on their desired size. Place these cake balls onto a baking sheet lined with parchment paper.
-
Pour the chocolate candy melts into a small, microwave-safe bowl. Microwave for 30 seconds, then stir well. Continue heating in 30-second intervals, stirring vigorously between each, until the candy melts are fully melted and achieve a smooth, creamy consistency.
-
Dip the tip of each lollipop stick into the melted candy, then insert the stick about halfway into a cake ball. This creates an adhesive bond. Place the assembled cake pops into the freezer for 10-15 minutes to firm up (do not freeze for longer than 15 minutes to prevent cracking).
-
Once the cake pops are chilled, dip each one completely into the melted candy melts (re-melt if necessary to maintain fluidity). Allow any excess melted candy to drip off back into the bowl, ensuring a thin, even coating.
-
Immediately after dipping, sprinkle your chosen decorations onto the wet chocolate coating. Then, insert the stick of the decorated cake pop into a block of Styrofoam or a cake pop stand to allow the candy coating to dry and solidify completely.
-
Repeat the dipping and decorating process until all the cake pops are covered and set. Once the candy coating on all cake pops is completely dry and firm, they are ready to be served and enjoyed!
Recipe Notes
*If you find the melted candy melt to be too thick for dipping, you can easily thin it out. Gradually add a very small amount (start with ½ teaspoon) of vegetable oil or coconut oil to the melted chocolate, stirring until you achieve a smoother, more fluid consistency. Be careful not to add too much at once.
Nutrition Facts
Pin This Now to Remember It Later
Pin Recipe
