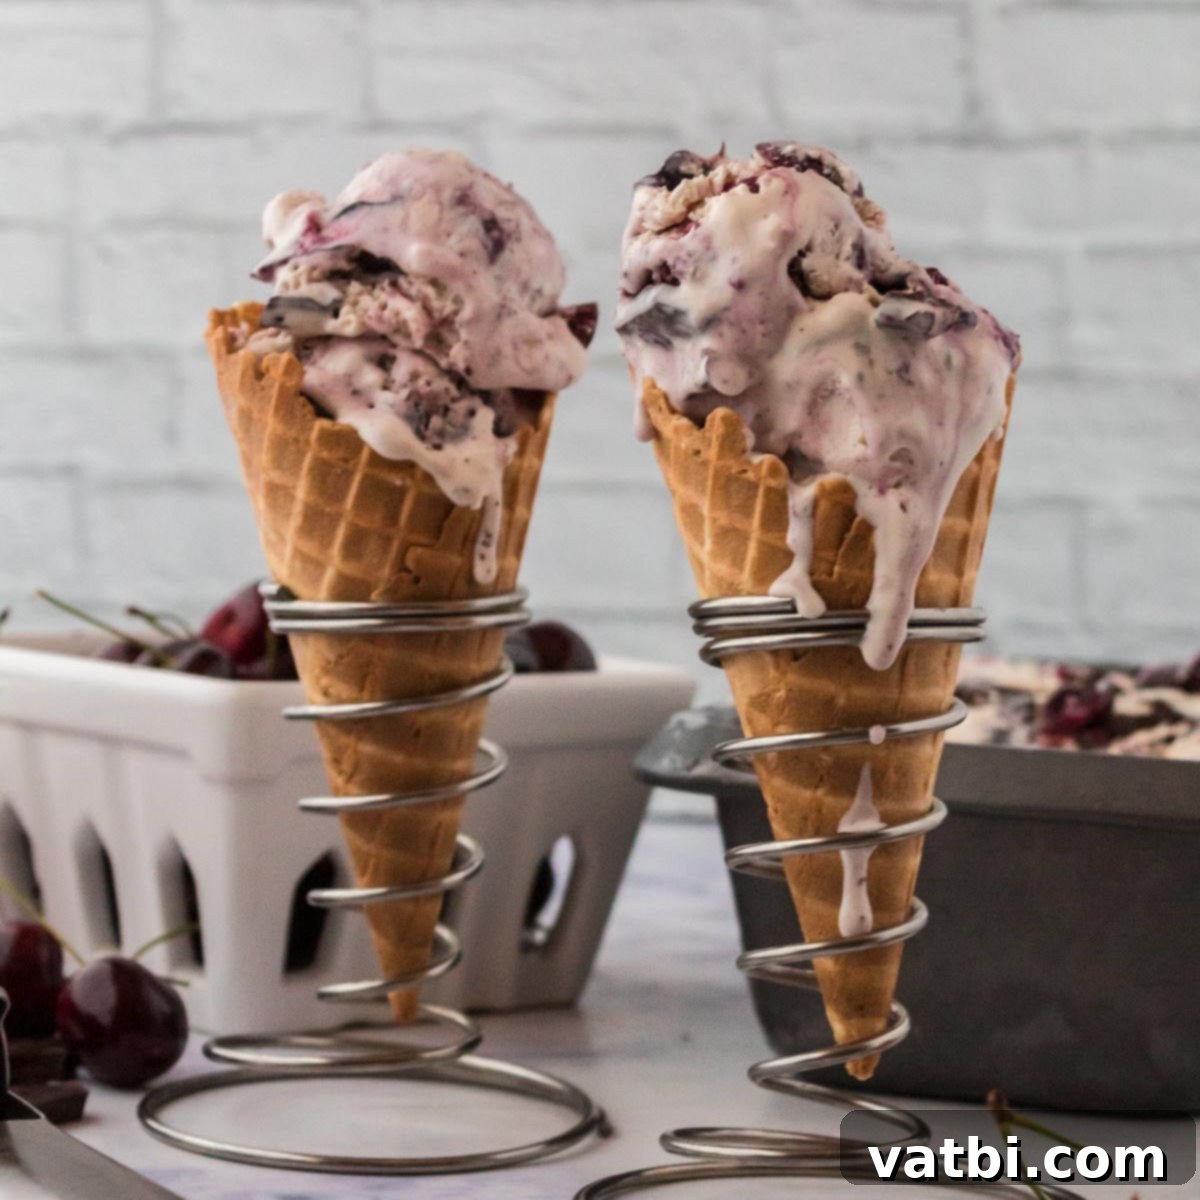
Homemade Cherry Garcia Ice Cream: An Easy No-Churn Ben & Jerry’s Copycat Recipe
Indulge in the luscious, rich flavors of our homemade Cherry Garcia Ice Cream recipe, a delightful no-churn version of the beloved Ben & Jerry’s classic. This incredibly easy recipe allows you to recreate your favorite cherry-and-chocolate-infused dessert right in your own kitchen, without the need for an ice cream maker or any eggs. With just a few simple ingredients and minimal effort, you’ll be scooping up creamy, decadent bliss in no time. Get ready for a dessert experience that perfectly balances the sweetness of cherries with the delightful crunch of dark chocolate chunks, all enveloped in a smooth, dreamy ice cream base.
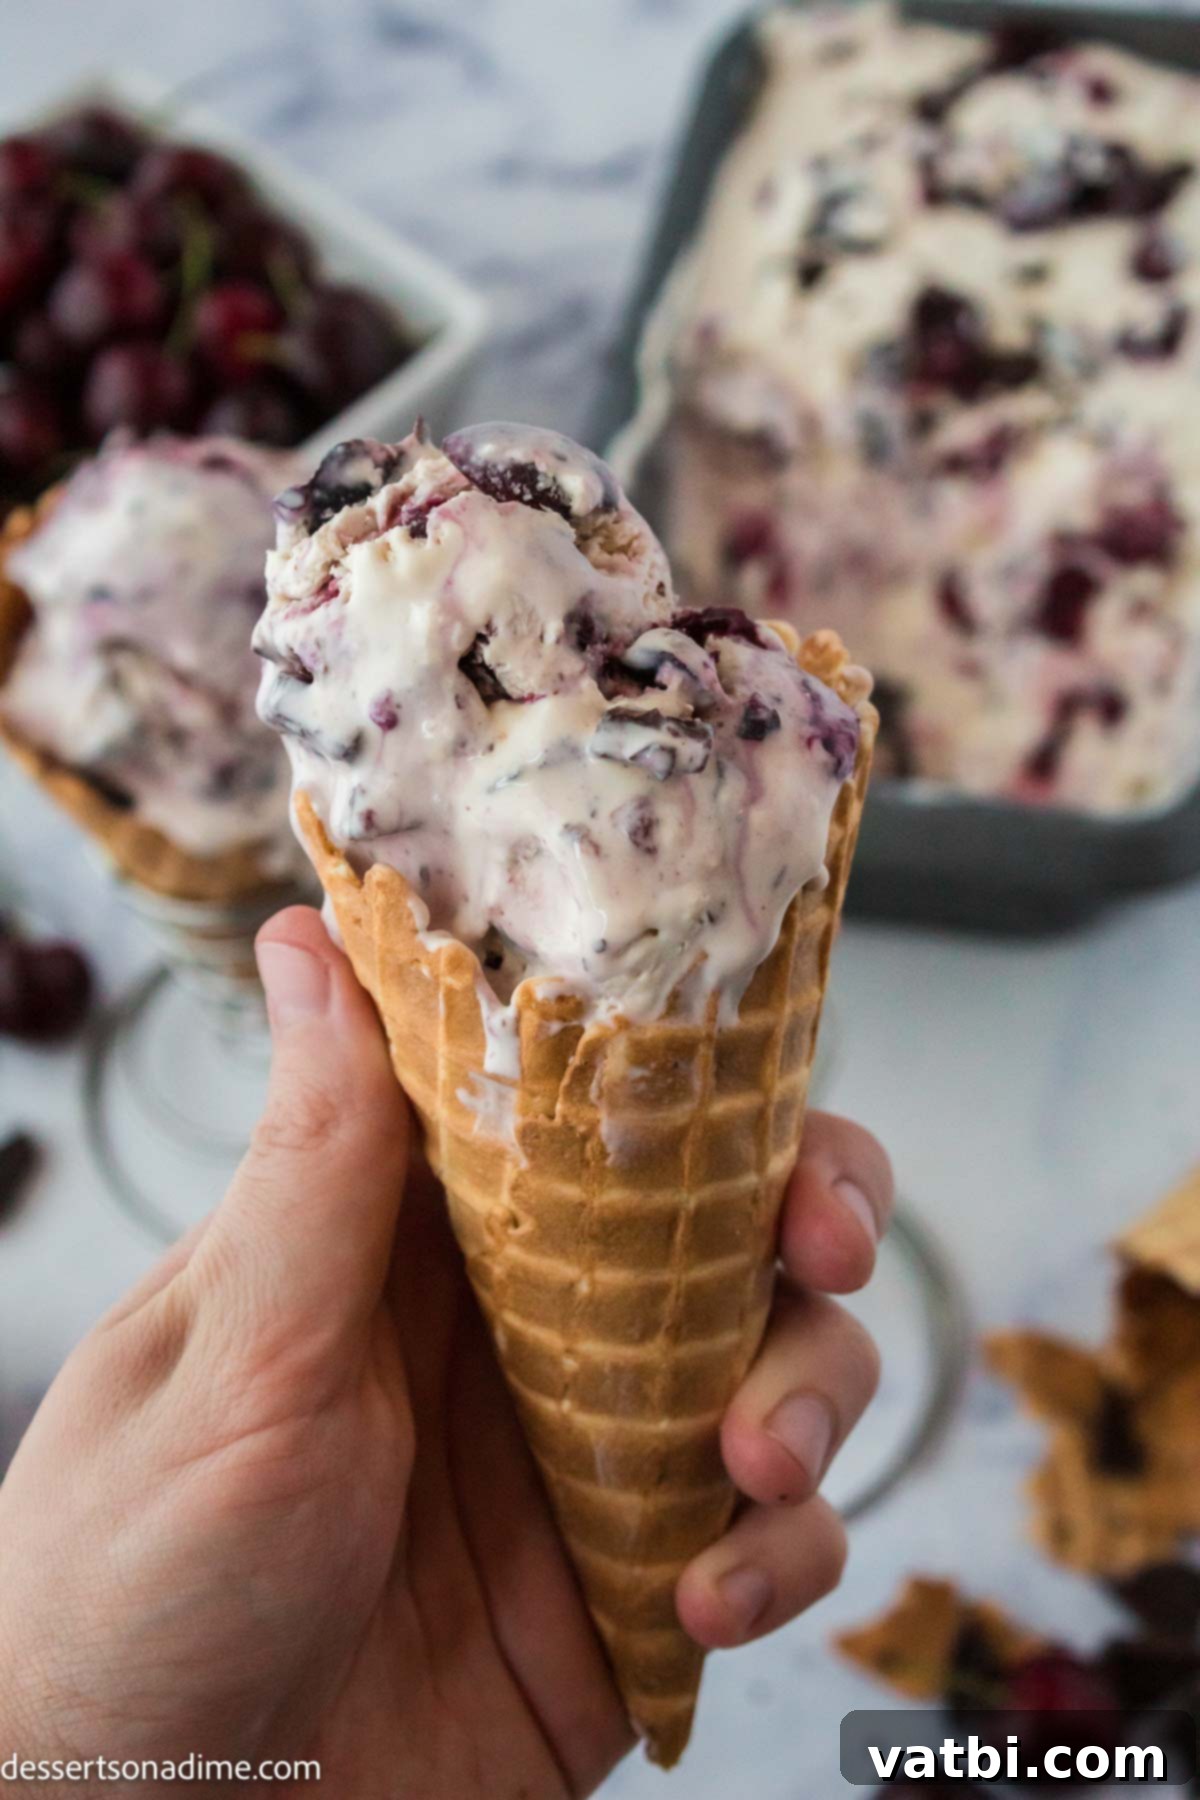
Cherry Garcia is not just any ice cream flavor; it’s a legendary creation that has captured hearts for decades. As one of the most iconic offerings from Ben & Jerry’s, its unique blend of sweet cherries and dark chocolate chunks makes it a consistently popular choice among ice cream enthusiasts. The distinctive name itself is a tribute to the legendary guitarist Jerry Garcia of the Grateful Dead, making it the first Ben & Jerry’s flavor named after a rock legend. This rich, fruity, and chocolaty combination stands out as one of the best cherry desserts you can find, and now, you can enjoy it fresh and homemade.
For years, our family has cherished the tradition of making homemade ice cream. There’s something truly special about crafting your own frozen treats, knowing exactly what goes into them, and customizing them to perfection. Beyond this fantastic Cherry Garcia, we’ve experimented with a variety of flavors, from the celebratory Birthday Cake Ice Cream Recipe to the comforting Hot Chocolate Ice Cream and the zesty Lemon Shortbread Ice Cream. Each new flavor brings its own excitement, but the Cherry Garcia holds a special place, often requested for its nostalgic and irresistible appeal. This recipe is designed to be accessible for everyone, ensuring a delightful outcome even if you’re a beginner in the kitchen or don’t own an ice cream maker.
Table of contents
- Why We Love This Recipe
- How to Make Cherry Garcia Ice Cream
- Pro Tips
- FAQs
- More No Churn Ice Cream Recipes
Why We Love This Homemade Cherry Garcia Ice Cream Recipe
There are countless reasons to fall in love with this homemade Cherry Garcia Ice Cream. First and foremost, the harmonious blend of sweet, juicy cherries and rich, dark chocolate creates a flavor profile that is both complex and incredibly satisfying. Every spoonful offers a delightful burst of fruitiness perfectly complemented by the bittersweet notes of chocolate, making it a truly decadent dessert experience. It’s the kind of treat that feels gourmet but is surprisingly simple to prepare.
One of the biggest advantages of this recipe is its “no-churn” nature. This means you don’t need a specialized ice cream maker to achieve that wonderfully creamy texture. For many home cooks, this eliminates a significant barrier, making homemade ice cream a possibility for everyone. Furthermore, this recipe is egg-free, which simplifies the process even further and makes it suitable for those with egg sensitivities. The method relies on whipping heavy cream to create a light, airy base that, when combined with sweetened condensed milk, freezes into a smooth, scoopable ice cream.
Each bite of this homemade Cherry Garcia Ice Cream is intensely rich and utterly delicious. It’s a treat that’s hard to resist, and the ease of preparation means you can whip up a batch whenever a craving strikes. While we adore other frozen delights like our Wendy’s Frosty Recipe, this Cherry Garcia truly stands out for its vibrant flavors and satisfying textures. It’s the perfect dessert for family gatherings, a quiet evening at home, or simply to satisfy that sweet tooth with a truly exceptional frozen treat.
Key Ingredients for Your Copycat Cherry Garcia Ice Cream
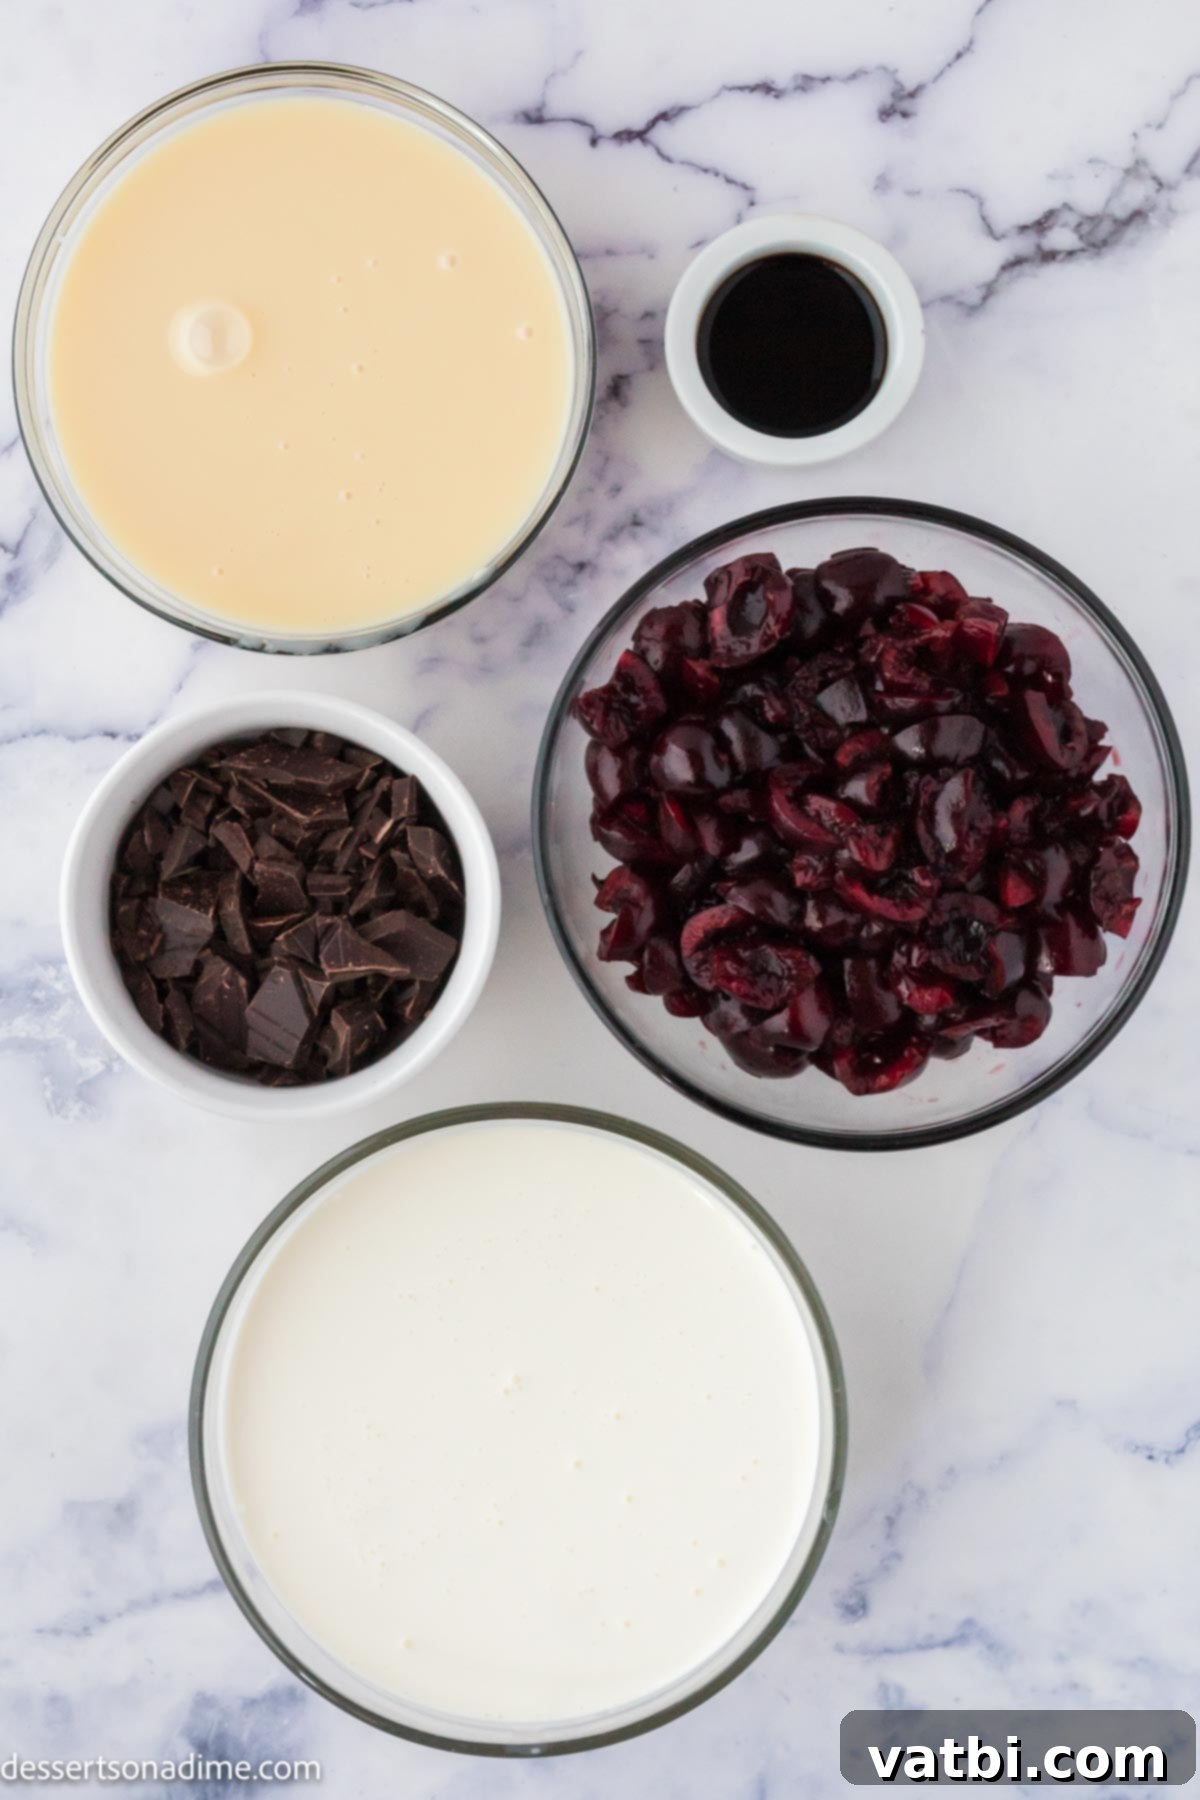
Creating this irresistible no-churn ice cream requires only a handful of essential ingredients, each playing a crucial role in achieving the perfect flavor and texture:
- Heavy Whipping Cream: This is the foundation of our no-churn ice cream. It must be well-chilled to whip properly and achieve those essential soft peaks. The high fat content in heavy cream is what gives the ice cream its luxurious, creamy texture, eliminating the need for an ice cream maker. Approximately 2 cups are needed to create a robust and airy base.
- Sweetened Condensed Milk: This ingredient is a true workhorse in no-churn recipes. It provides both the necessary sweetness and a unique creaminess that prevents the ice cream from freezing into solid ice crystals. Do not substitute this with evaporated milk or regular milk, as the results will not be the same. One standard 14 oz can is typically sufficient for this recipe, ensuring a perfectly sweet and smooth consistency.
- Vanilla Extract: Pure vanilla extract is highly recommended for its warm, aromatic notes that enhance all the other flavors without overpowering them. It adds depth and a classic ice cream parlor essence. About 2 teaspoons will be enough to infuse your base with a delightful aroma.
- Fresh Cherries: The heart of Cherry Garcia! You’ll need fresh cherries, which should be pitted and then roughly chopped. Using fresh cherries provides a vibrant, authentic fruit flavor and a lovely textural contrast that simply cannot be replicated by canned or maraschino cherries. Aim for about 2 cups of pitted and chopped fresh cherries for a generous distribution throughout the ice cream.
- Dark Chocolate Chunks: These provide the signature chocolate element, offering a satisfying snap and rich flavor that beautifully complements the cherries. Chopping them into large, irregular chunks ensures a delightful bite and visual appeal in every scoop. You can use a good quality dark chocolate bar and chop it yourself, or purchase pre-made dark chocolate chunks. Around 1/2 cup is ideal for a balanced chocolate-to-cherry ratio.
You’ll find the complete ingredient list with precise measurements in the detailed recipe card at the bottom of the page, making it easy to gather everything you need for this scrumptious dessert.
Step-by-Step Guide: How to Make Cherry Garcia Ice Cream
Making this incredible Cherry Garcia ice cream is surprisingly simple. Follow these steps for a perfect frozen treat:
- Step 1: Prepare the Whipped Cream Base. Begin by ensuring your heavy whipping cream is thoroughly chilled. In the bowl of a stand mixer fitted with a whisk attachment, or using a handheld electric mixer, combine the heavy whipping cream and vanilla extract. Beat on medium-high speed until the mixture transforms into light and fluffy whipped cream, forming soft peaks. This means when you lift the whisk, the cream holds its shape gently, with the tip curling over. Be careful not to over-whip, as it can turn grainy.
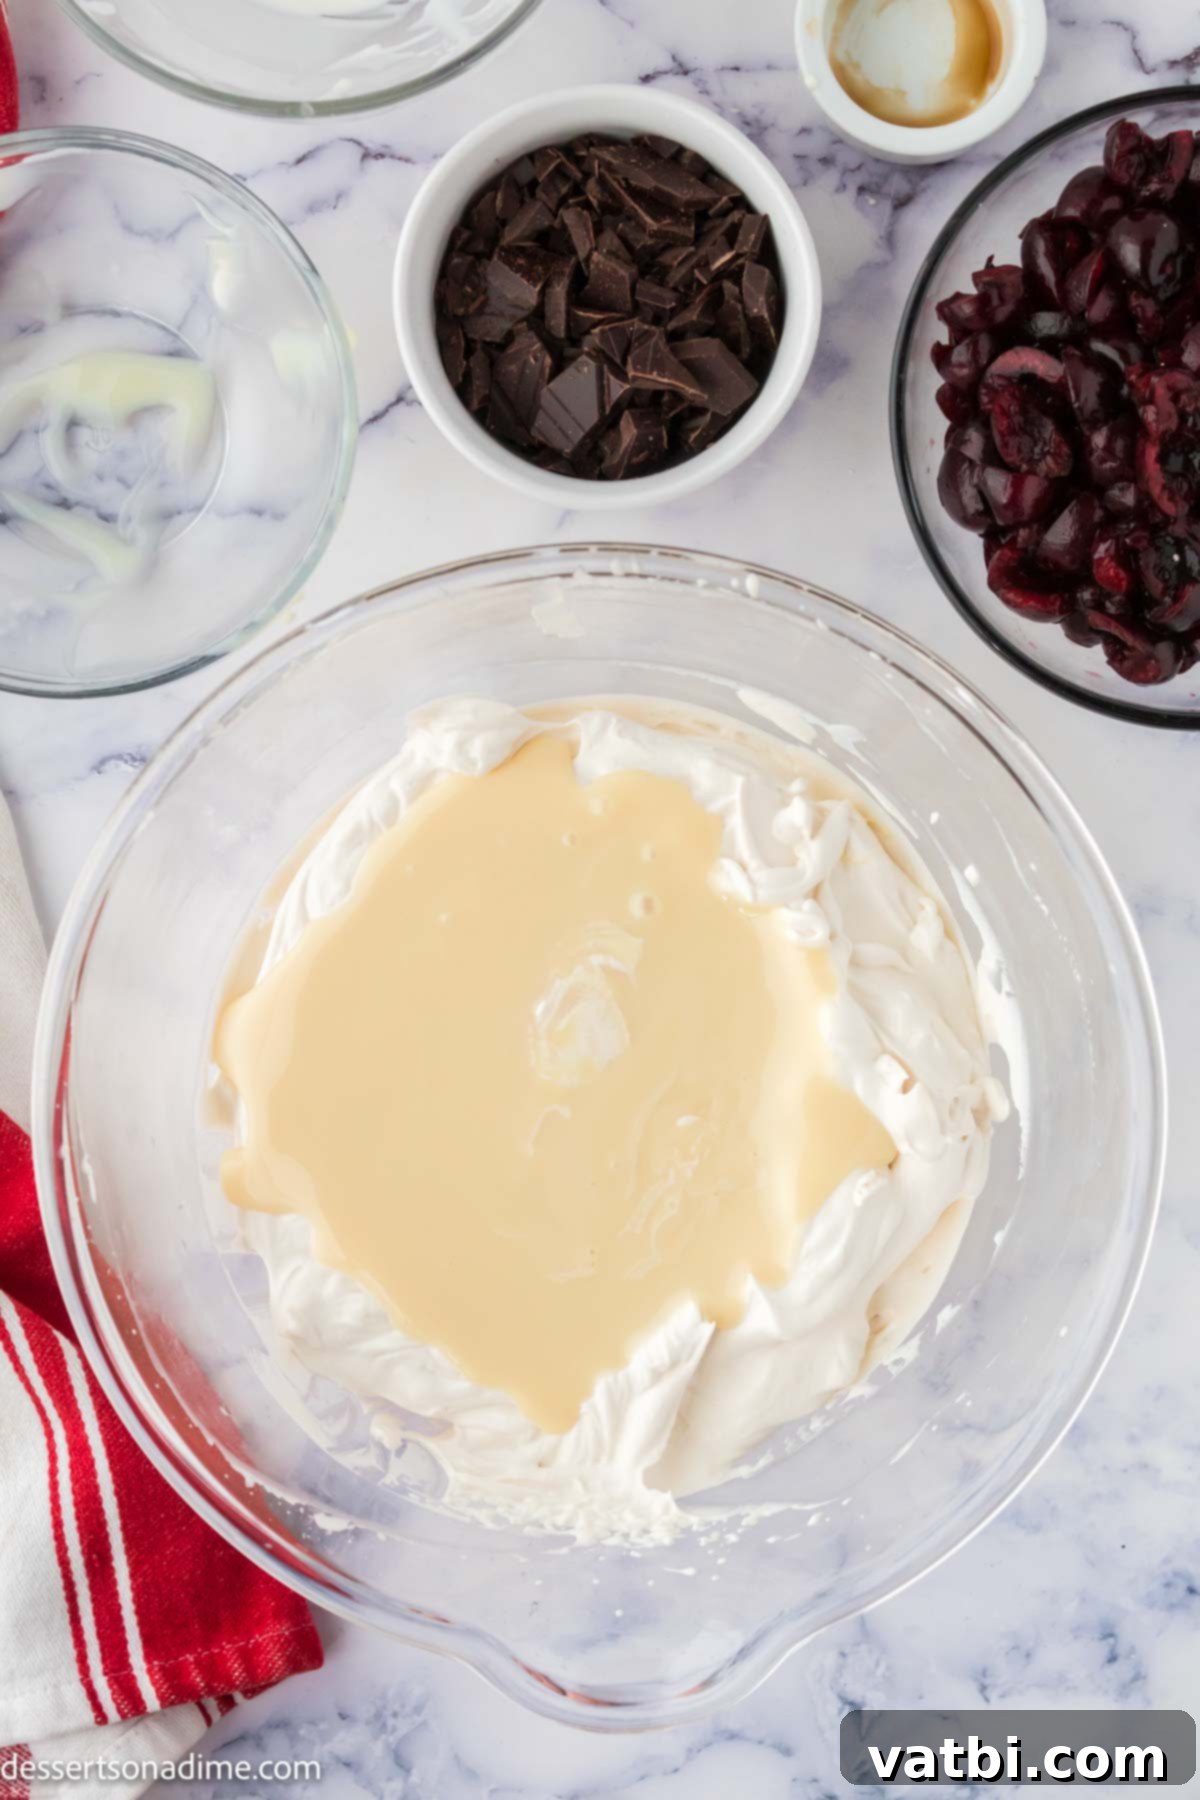
Step 2: Gently Fold in the Condensed Milk. Once your whipped cream has reached the soft peak stage, slowly pour in the sweetened condensed milk. Using a spatula, gently fold the condensed milk into the whipped cream. The key here is to maintain the airiness of the whipped cream, so avoid vigorous stirring. Continue folding until the mixture is uniform and smooth, taking care not to deflate the cream.
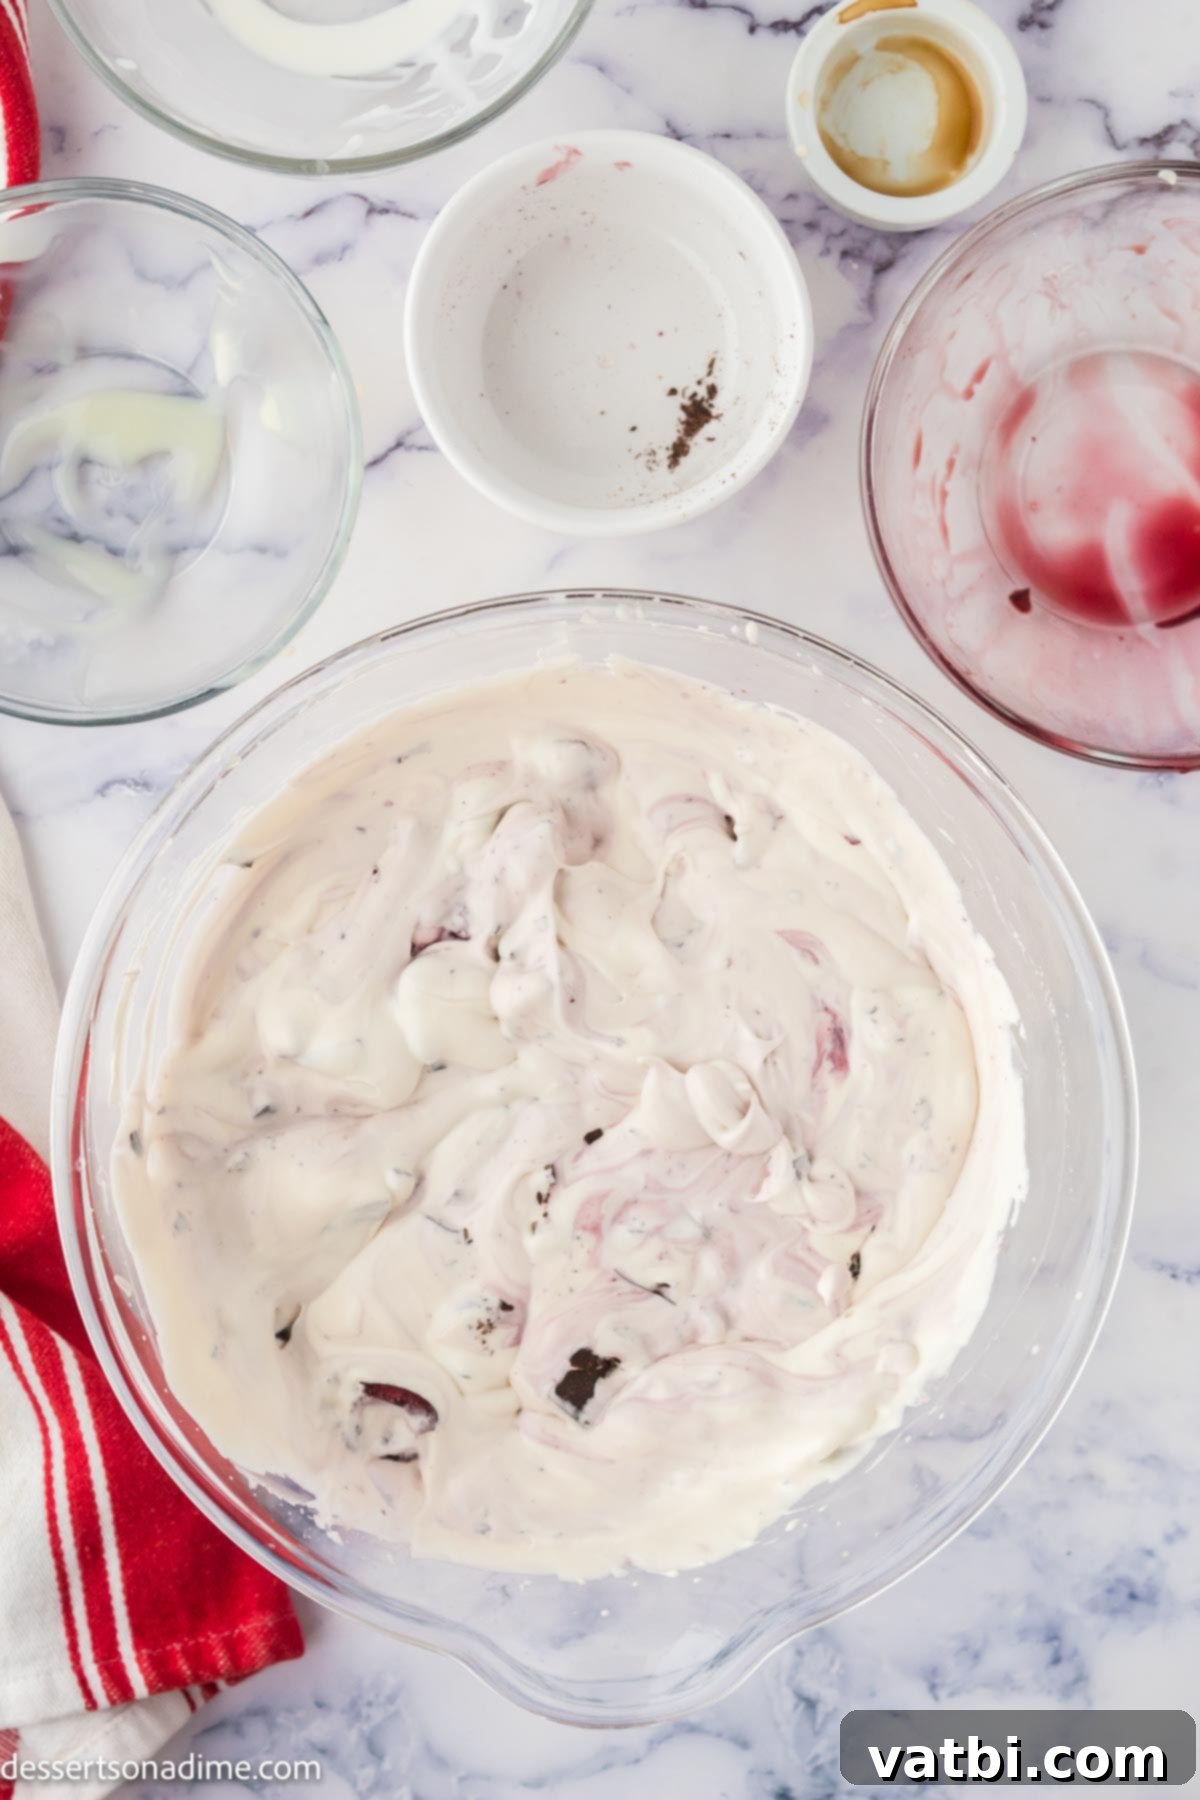
Step 3: Incorporate Cherries and Chocolate. Now comes the signature Cherry Garcia flavor! Carefully add most of your pitted and chopped fresh sweet cherries and the chopped dark chocolate chunks to the ice cream base. Reserve a small amount of cherries and chocolate for topping later. Gently fold these delicious add-ins into the mixture until they are evenly distributed. Again, be gentle to keep the base light and fluffy.
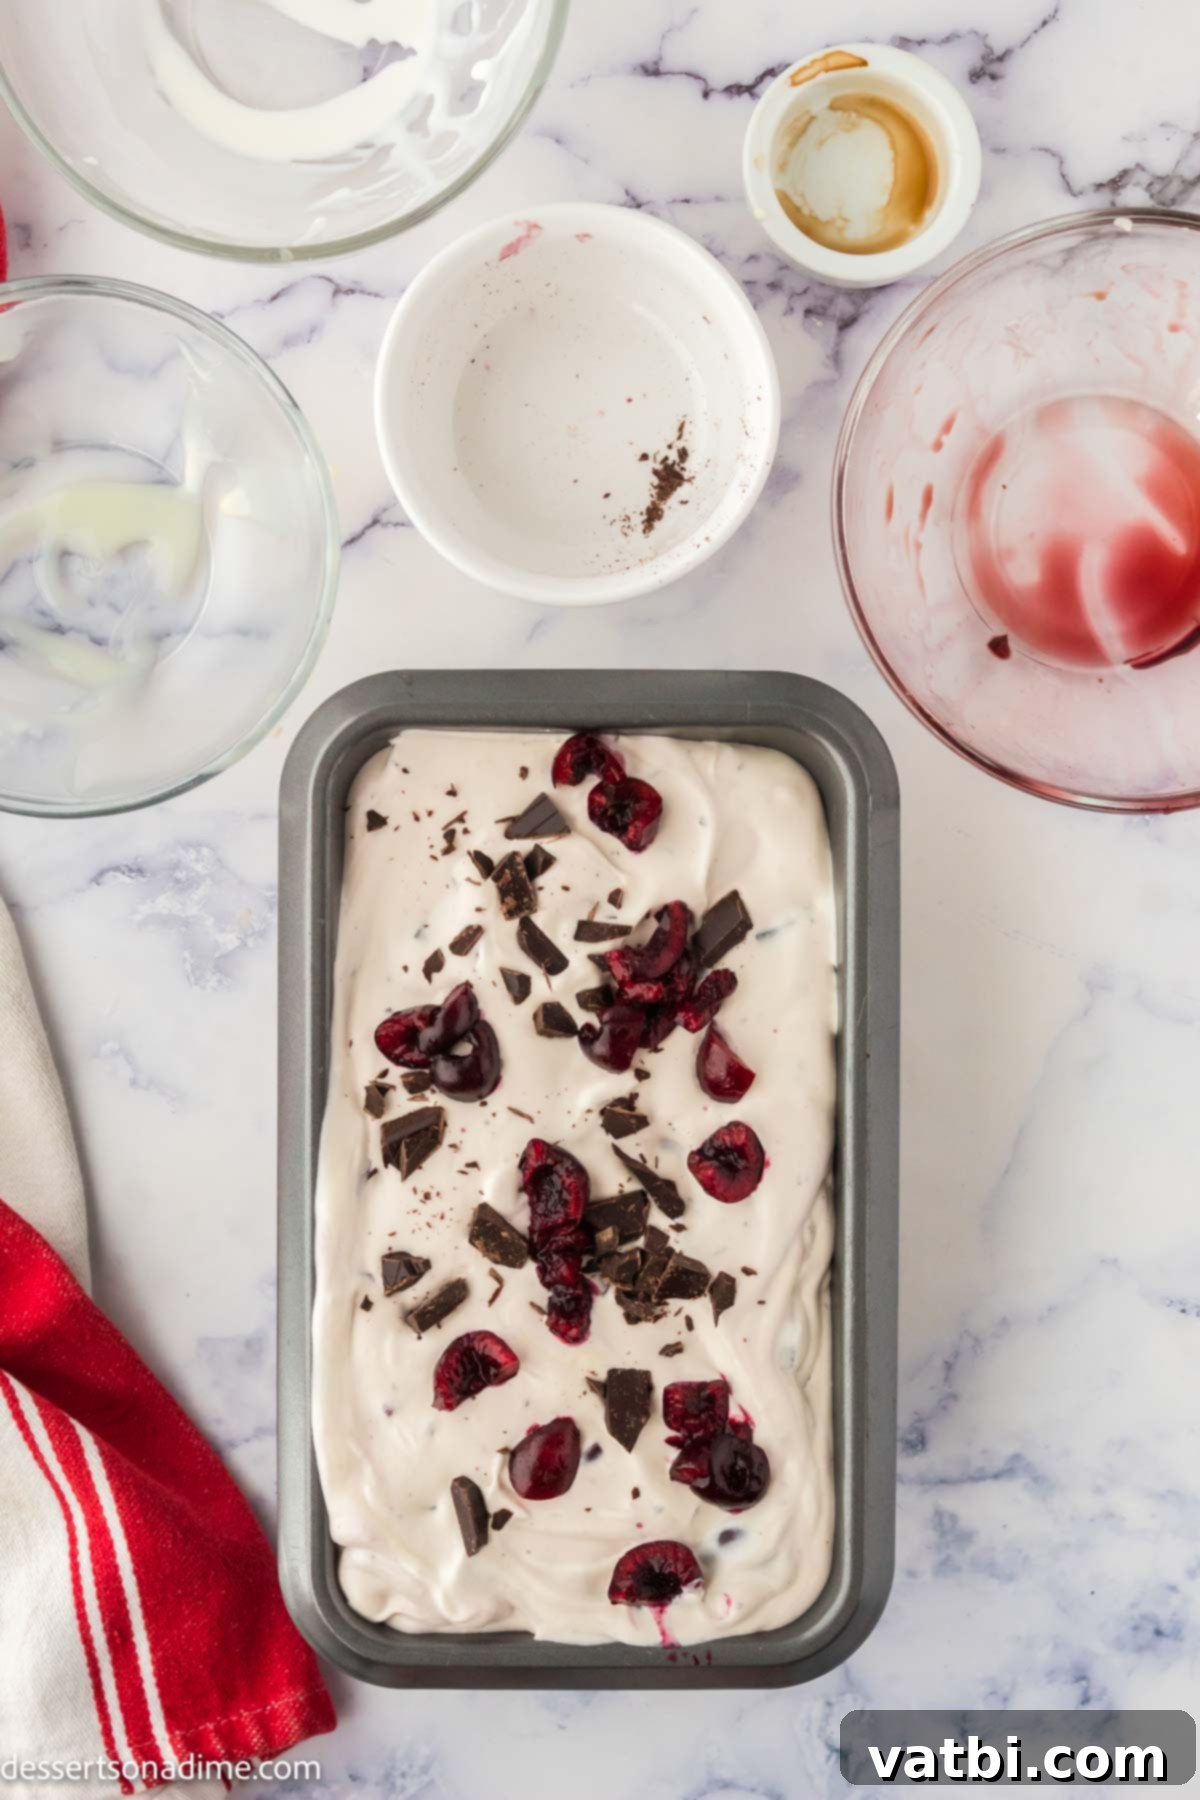
Step 4: Prepare for Freezing. Transfer the entire ice cream mixture into a freezer-safe container. A metal loaf pan works wonderfully for this, as metal conducts cold efficiently, helping the ice cream freeze faster and more evenly. Use a spatula to gently spread the mixture out evenly. Finally, scatter the remaining chopped cherries and chocolate chunks over the top for a beautiful presentation and extra texture.
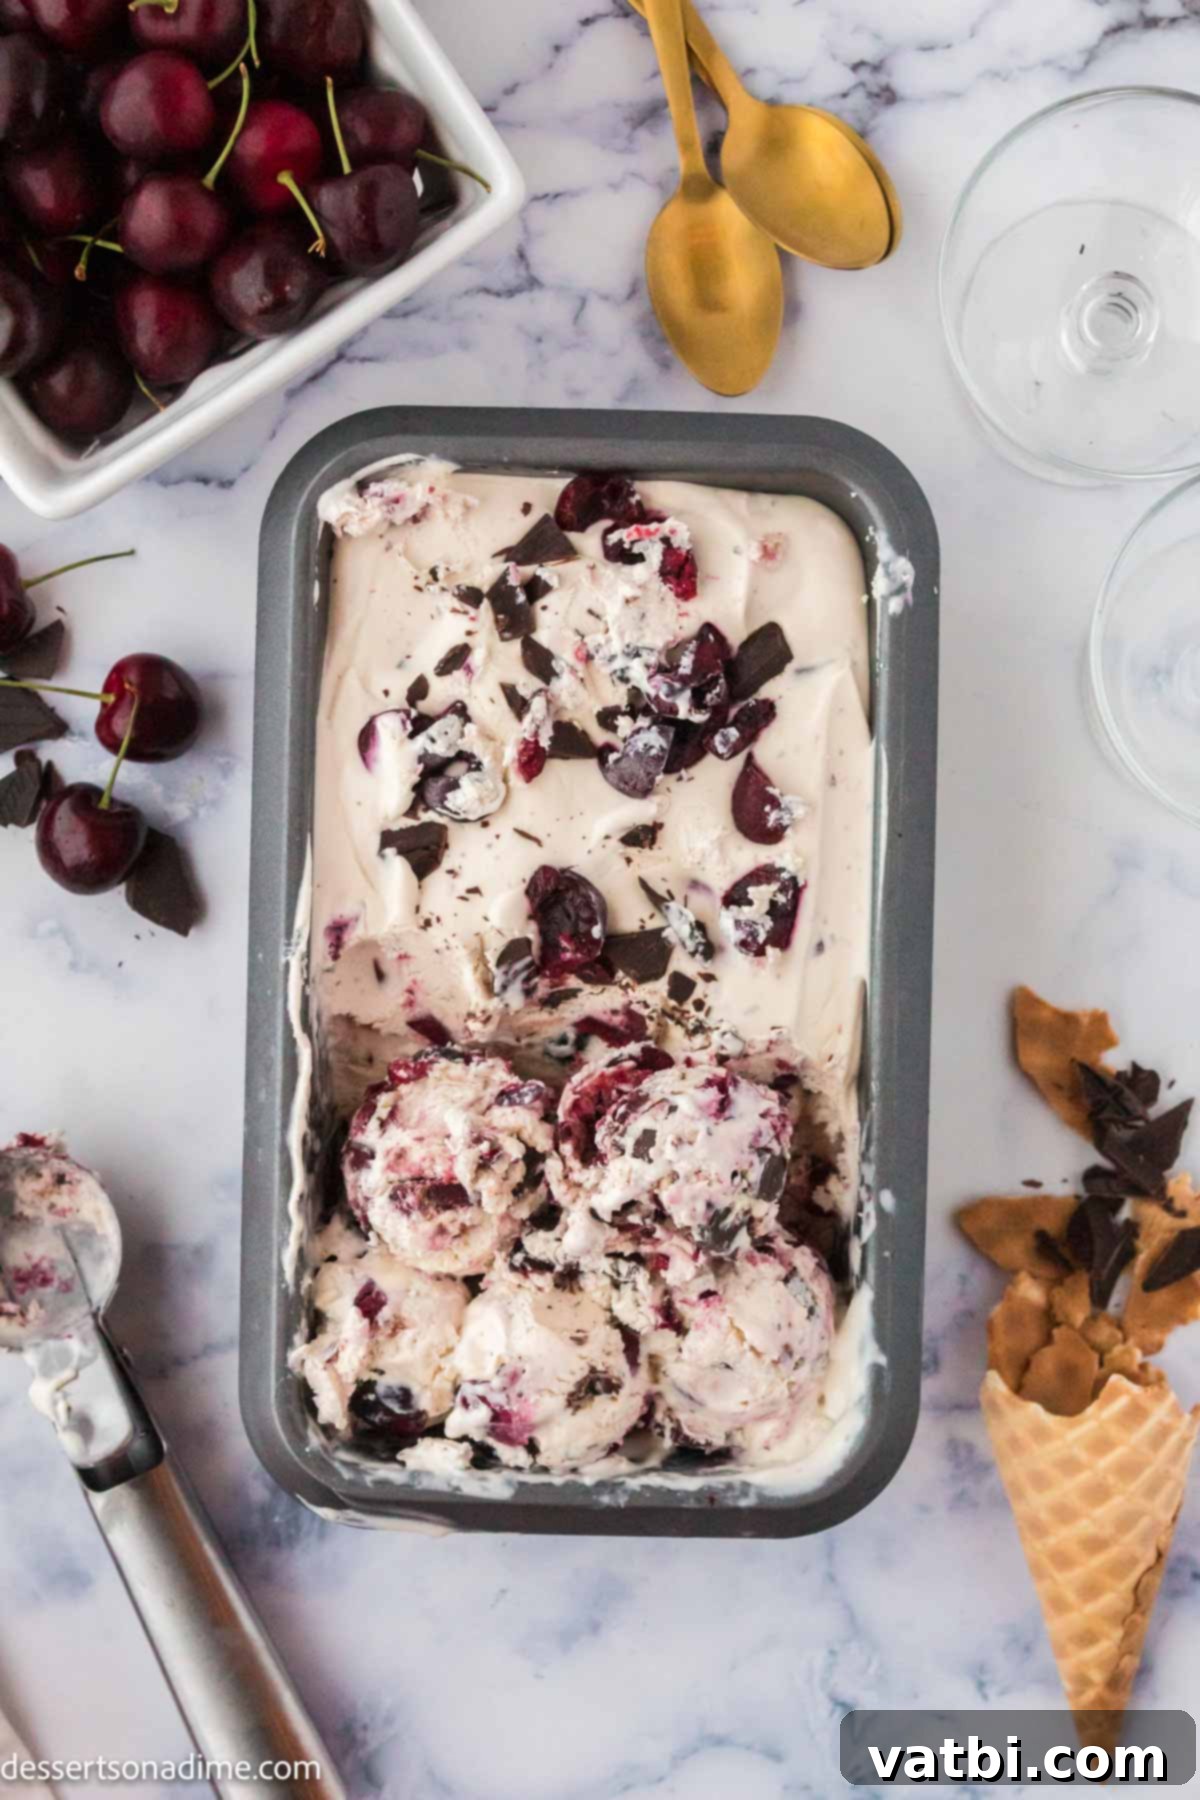
Step 5: Freeze Until Firm. Cover the container tightly with plastic wrap or a lid. Place it in the freezer for a minimum of 4 to 6 hours, or until the ice cream is thoroughly hardened to a scoopable consistency. For best results and the firmest texture, freezing overnight is often ideal. Once set, your homemade Cherry Garcia Ice Cream is ready to serve and enjoy! Scoop it into cones, bowls, or serve alongside your favorite desserts.
Pro Tips for Perfect No-Churn Cherry Garcia Ice Cream
To ensure your homemade Cherry Garcia ice cream turns out absolutely perfect, keep these expert tips in mind:
- Choose the Right Pan: Always opt for a metal loaf pan or another metal freezer-safe container when making this ice cream. Metal conducts cold much more efficiently than glass or plastic, which helps the ice cream freeze faster and results in a smoother, less icy texture. For an extra boost, you can even chill the metal pan in the freezer for 15-30 minutes before adding the mixture.
- Start with Cold Ingredients and Equipment: This is a crucial tip for successful whipping. Ensure your heavy whipping cream is thoroughly chilled directly from the refrigerator. Even better, place your mixing bowl (especially if it’s metal) and whisk attachment in the freezer for about 30 minutes before you start. Cold equipment helps the cream whip up faster and hold its peaks more effectively, leading to a lighter and airier ice cream base.
- Efficient Cherry Pitting: Pitting cherries can be a bit tedious, but it’s essential for a pleasant eating experience. A dedicated cherry pitter is the most efficient tool. If you don’t have one, a sturdy straw, a chopstick, or a skewer can work wonders. Simply push it through the stem end of the cherry until the pit pops out the other side. It’s a simple task that doesn’t take long and saves you from potential dental surprises!
- Consider a Touch of Lemon Juice: Some no-churn ice cream recipes suggest adding a teaspoon of fresh lemon juice to the mixture. This can brighten the cherry flavor and add a subtle tang that balances the sweetness. While not strictly necessary for this recipe, feel free to experiment with it if you prefer a slightly more tart profile.
- Allow for Tempering Before Serving: Don’t try to scoop your ice cream straight from the freezer. Allow the ice cream to sit at room temperature for 5-10 minutes (or longer if it’s deeply frozen) before serving. This brief tempering period allows the ice cream to soften slightly, making it much easier to scoop and giving it a creamier texture.
- Prevent Ice Crystals During Storage: To keep your homemade ice cream fresh and free of ice crystals for longer, place a piece of wax paper or parchment paper directly on the surface of the ice cream before covering the container with a lid. This barrier prevents air from directly contacting the ice cream, which is the primary cause of ice crystal formation.
- Flavor Variations: While the classic Cherry Garcia is perfect as is, feel free to experiment! You could use a mix of dark and milk chocolate, add a handful of chopped toasted almonds or walnuts for extra crunch, or even swirl in a touch of almond extract with the vanilla for a different flavor dimension that pairs beautifully with cherries.
Frequently Asked Questions About Cherry Garcia Ice Cream
When stored properly in an airtight container in the freezer, your homemade Cherry Garcia ice cream will maintain its best quality for up to 1 month. To help prevent ice crystals from forming on top and keep it tasting fresh, place a layer of wax paper or plastic wrap directly on the surface of the ice cream before sealing the container. In our house, however, it rarely lasts that long—it’s usually devoured within a week due to its irresistible taste!
This recipe specifically calls for fresh cherries. Sweet varieties like Bing or Rainier cherries are ideal, providing a natural sweetness and vibrant color. It is crucial not to substitute fresh cherries with maraschino cherries. Maraschino cherries are typically preserved in syrup and have an artificial flavor and texture that will significantly alter the authentic taste of Cherry Garcia. The unique, fresh flavor of real cherries is what makes this recipe truly shine.
While this is designed as a no-churn recipe for convenience, you can certainly adapt it for an ice cream maker if you prefer. After gently folding in the sweetened condensed milk, cherries, and chocolate chunks, pour the mixture into your ice cream maker’s frozen bowl and churn according to the manufacturer’s instructions until it reaches a soft-serve consistency. Then, transfer it to a freezer-safe container and freeze for an additional 2-4 hours to firm up.
The key to a creamy no-churn ice cream lies in the sweetened condensed milk and the proper whipping of the heavy cream. Ensure your heavy cream reaches soft peaks, incorporating plenty of air. The condensed milk’s high sugar content helps lower the freezing point, preventing large ice crystals. Additionally, following the tip of placing wax paper directly on the surface and using a metal loaf pan for freezing will further aid in achieving a super-creamy texture.
Yes, you can use frozen cherries if fresh ones are not in season or available. Thaw them completely first, then drain any excess liquid to prevent your ice cream from becoming watery. You might want to pat them dry with a paper towel before chopping and folding them into the mixture to ensure the best texture and flavor concentration.
More Delicious No-Churn Ice Cream Recipes to Try
If you loved this easy no-churn method, you’re in luck! The world of homemade no-churn ice cream is vast and exciting. Here are some more fantastic recipes to keep your freezer stocked with delightful frozen treats:
- Samoa Ice Cream Recipe: Inspired by the famous Girl Scout cookie, this recipe features caramel, coconut, and chocolate.
- Cherry Chocolate Chip Ice Cream Recipe: A classic combination of cherries and chocolate chips, perfect for fruit and chocolate lovers.
- Dulce de Leche Ice Cream: Rich, sweet, and incredibly creamy, this caramel-flavored ice cream is pure indulgence.
- Puppy Chow Ice Cream Recipe: Recreate the fun and flavor of the popular snack mix in a frozen dessert form.
- Homemade S’mores Ice Cream Recipe: All the delicious components of S’mores—marshmallow, chocolate, and graham crackers—in a creamy ice cream.
- Cinnamon Toast Crunch Ice Cream Recipe: A nostalgic and flavorful ice cream inspired by the beloved breakfast cereal.
We encourage you to try this yummy Cherry Garcia ice cream that rivals, and perhaps even surpasses, the store-bought versions. Once you make it, please leave a comment and star rating below to share your experience!
Pin
Cherry Garcia Ice Cream Recipe
Ingredients
- 2 cups Heavy Whipping Cream chilled
- 1 can Sweetened Condensed Milk 14 oz can
- 2 tsp Vanilla Extract
- 2 cups Fresh Cherries pitted and roughly chopped
- 1/2 cup Dark Chocolate Chunks
Instructions
-
With a stand up mixer or hand held mixer, beat together the heavy whipping cream and vanilla extract until the cream is whipped and can form soft peaks.
-
Then gently fold in the sweetened condensed milk. Then carefully add in the chopped cherry and chocolate chunks (reserve some for topping).
-
Pour the mixture into a loaf pan. Top with the remaining chopped cherry and chocolate chunks.
-
Freeze for 4-6 hours until set.
-
Then the ice cream is ready to serve and enjoy!
Recipe Notes
*Make sure you use a metal loaf pan when making this ice cream.
*You can use a cherry pitter to remove the pits from the cherries or use a straw or skewer to remove the pits from the cherries.
Nutrition Facts
Pin This Now to Remember It Later
Pin Recipe
