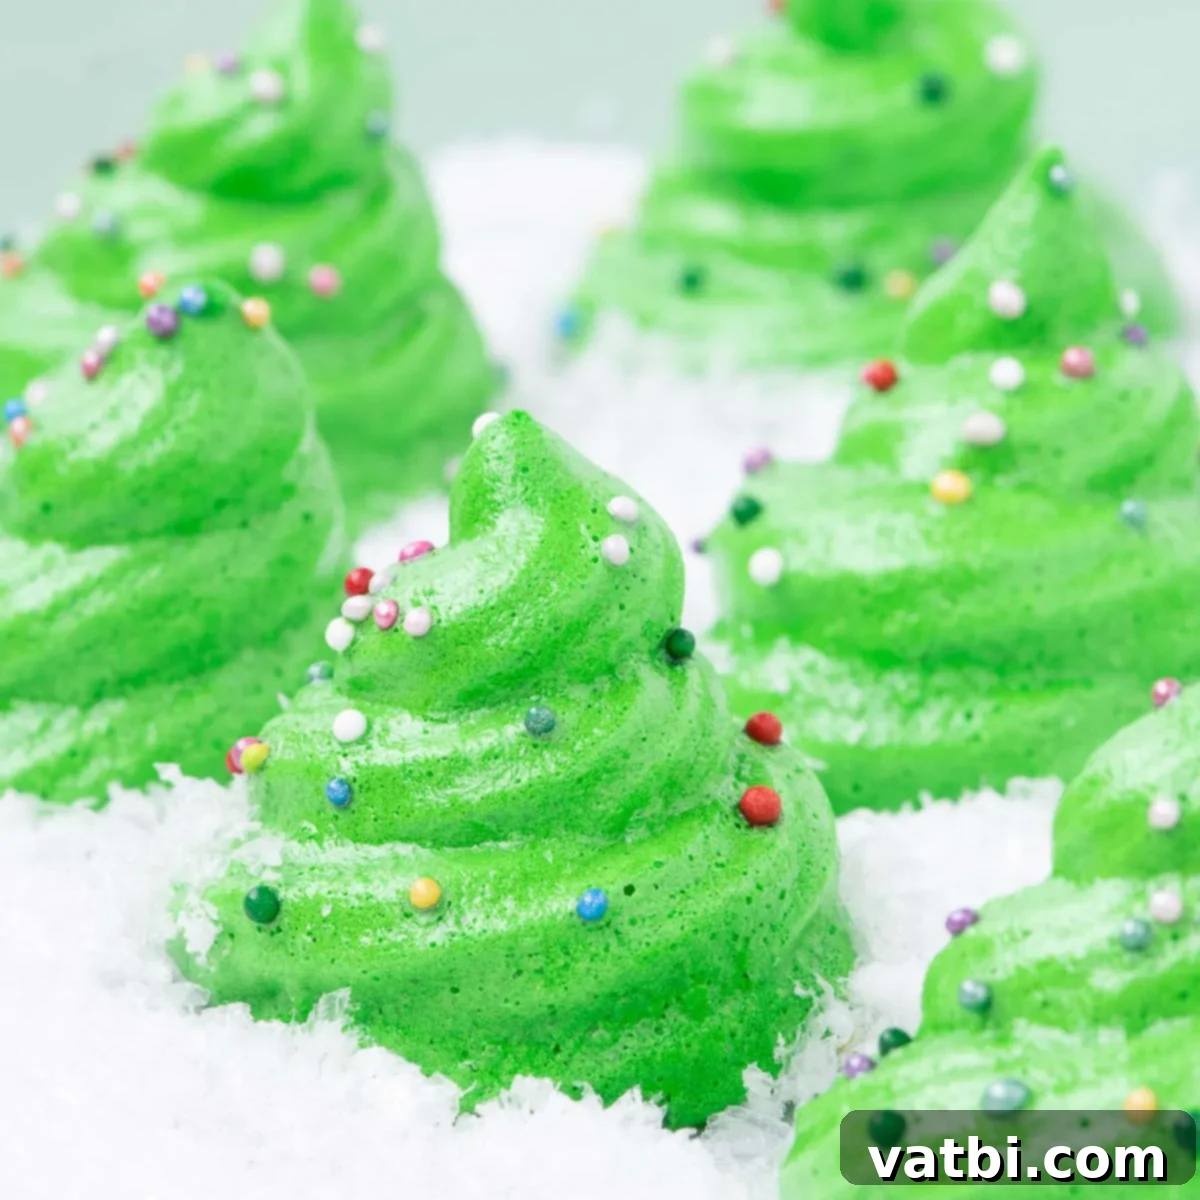
Delightful Meringue Christmas Trees: Your Ultimate Guide to Festive Holiday Baking
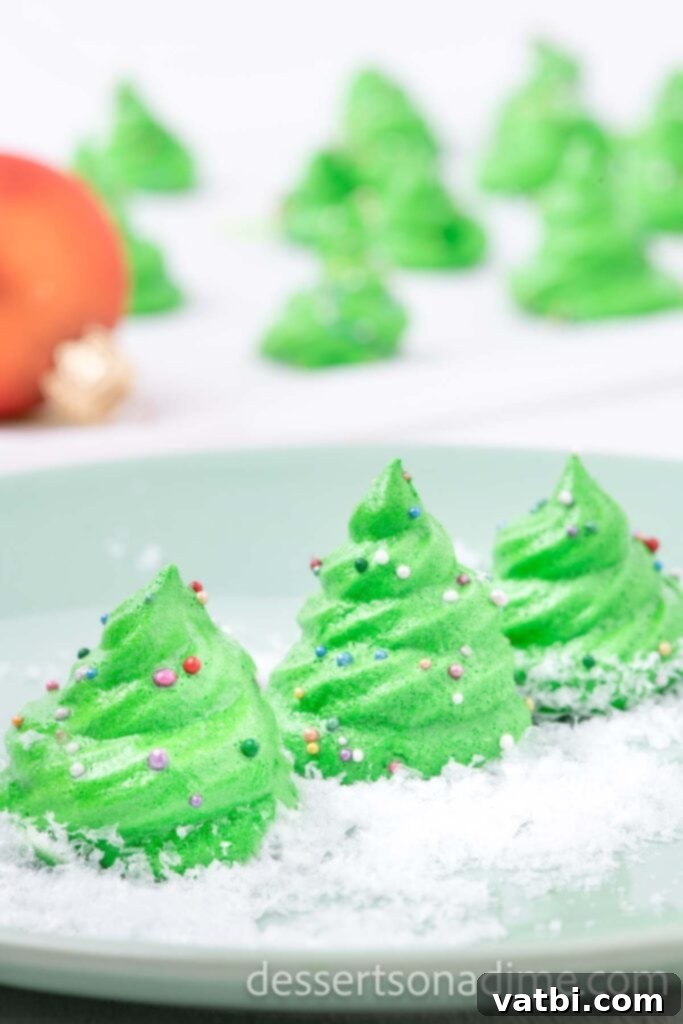
The holiday season calls for magical treats, and these Meringue Christmas Trees are guaranteed to bring a sprinkle of festive cheer to any gathering. With their delicate, melt-in-your-mouth texture and vibrant green color, these Christmas tree meringue cookies are not just desserts; they’re edible decorations! Remarkably easy to make with just a handful of simple ingredients, this recipe will quickly become a cherished part of your holiday baking tradition. Perfect for holiday parties, cookie exchanges, or simply enjoying with a warm cup of cocoa, these light and airy confections are as delicious as they are beautiful.
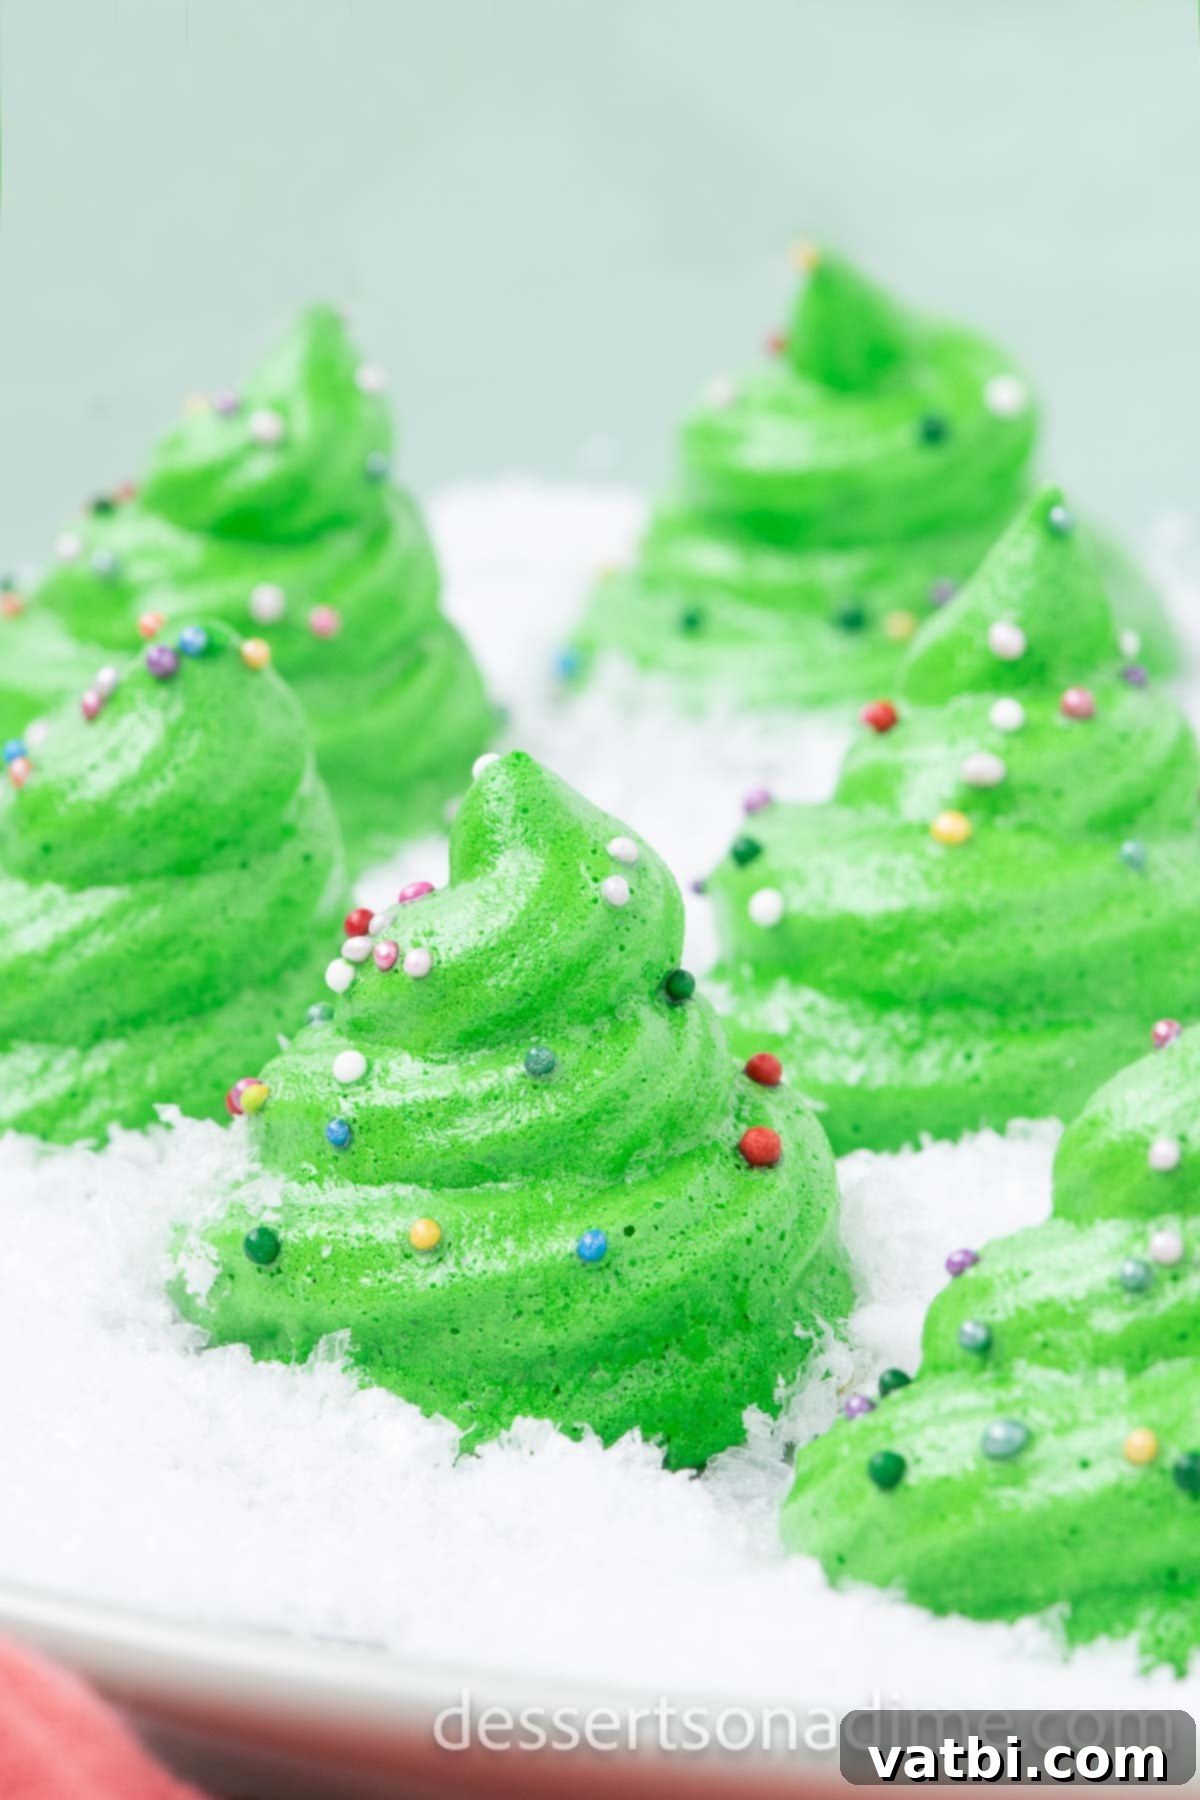
These stunning Meringue Christmas Trees are sure to be the star attraction on your dessert table this holiday season. This delightful meringue cookie recipe creates a treat that is both incredibly light and wonderfully flavorful, making it an ideal choice for a special holiday dessert. For years, I’ve enjoyed making these alongside other festive favorites like our Christmas Crunch Recipe, adding a perfect balance of textures and flavors to our seasonal spread.
There’s something truly special about Christmas tree-shaped desserts during the holidays. Beyond these beautiful meringues, our holiday table is often adorned with Christmas Tree Sugar Cookies and charming Ice Cream Cone Christmas Trees. These iconic shapes instantly evoke the spirit of Christmas, making every bite a celebration.
If you’re looking for more simple yet delicious holiday baking ideas, you’ll also adore our collection of 55 Christmas Cookie Recipes with Few Ingredients and our refreshing Peppermint Meringues, which offer another delightful twist on the classic meringue.
What’s in this post: Meringue Christmas Trees
- What are Meringue Cookies?
- Why You Will Love This Meringue Recipe
- Essential Ingredients for Meringue Trees
- Creative Variations for Your Meringue Christmas Trees
- Step-by-Step Instructions: How to Make Meringue Christmas Trees
- Pro Tips for Perfect Meringue Christmas Trees
- Frequently Asked Questions About Meringue Cookies
- More Christmas Treats to Try:
- Meringue Christmas Trees Recipe Card
What are Meringue Cookies?
Meringue cookies are a classic confection primarily made from whipped egg whites and sugar. The magic lies in incorporating air into the egg whites, creating a stable foam that, when slowly baked at a low temperature, transforms into a light, crisp, and ethereal cookie. Our Christmas Tree Meringues leverage this simple yet elegant technique, shaping the mixture to resemble miniature evergreens and adorning them with colorful sprinkles, much like ornaments on a real tree.
There are typically three types of meringue: French, Swiss, and Italian. For these cookies, we use the French method, which is the simplest and involves whipping raw egg whites until frothy, then gradually adding sugar until stiff, glossy peaks form. This creates a delicate, crispy shell that practically melts in your mouth, leaving a sweet, airy sensation. The low and slow baking process is crucial, as it dries out the meringue rather than browning it, ensuring that signature crisp texture.
Why You Will Love This Meringue Recipe
Beyond their stunning festive appearance, these Meringue Christmas Trees offer so many reasons to become your new favorite holiday treat:
- Simple Ingredients: You only need a few pantry staples – egg whites, sugar, and cream of tartar – to create these impressive cookies.
- Effortless Elegance: Despite looking fancy, the actual process is straightforward, making them accessible for bakers of all skill levels.
- Light & Delicious: They are incredibly airy and sweet, providing a lovely contrast to heavier holiday desserts.
- Customizable: Easily adapt colors, flavors, and decorations to match your holiday theme or personal preferences.
- Perfect for Gifting: Packaged beautifully, these meringues make delightful homemade gifts for friends, family, and neighbors.
- Make Ahead Friendly: Meringues store well, allowing you to prepare them in advance and reduce holiday stress.
Essential Ingredients for Meringue Trees
Creating perfect meringue cookies relies on a few key ingredients, each playing a vital role in achieving that signature light and crisp texture. Here’s what you’ll need, along with a bit about why each component is important:
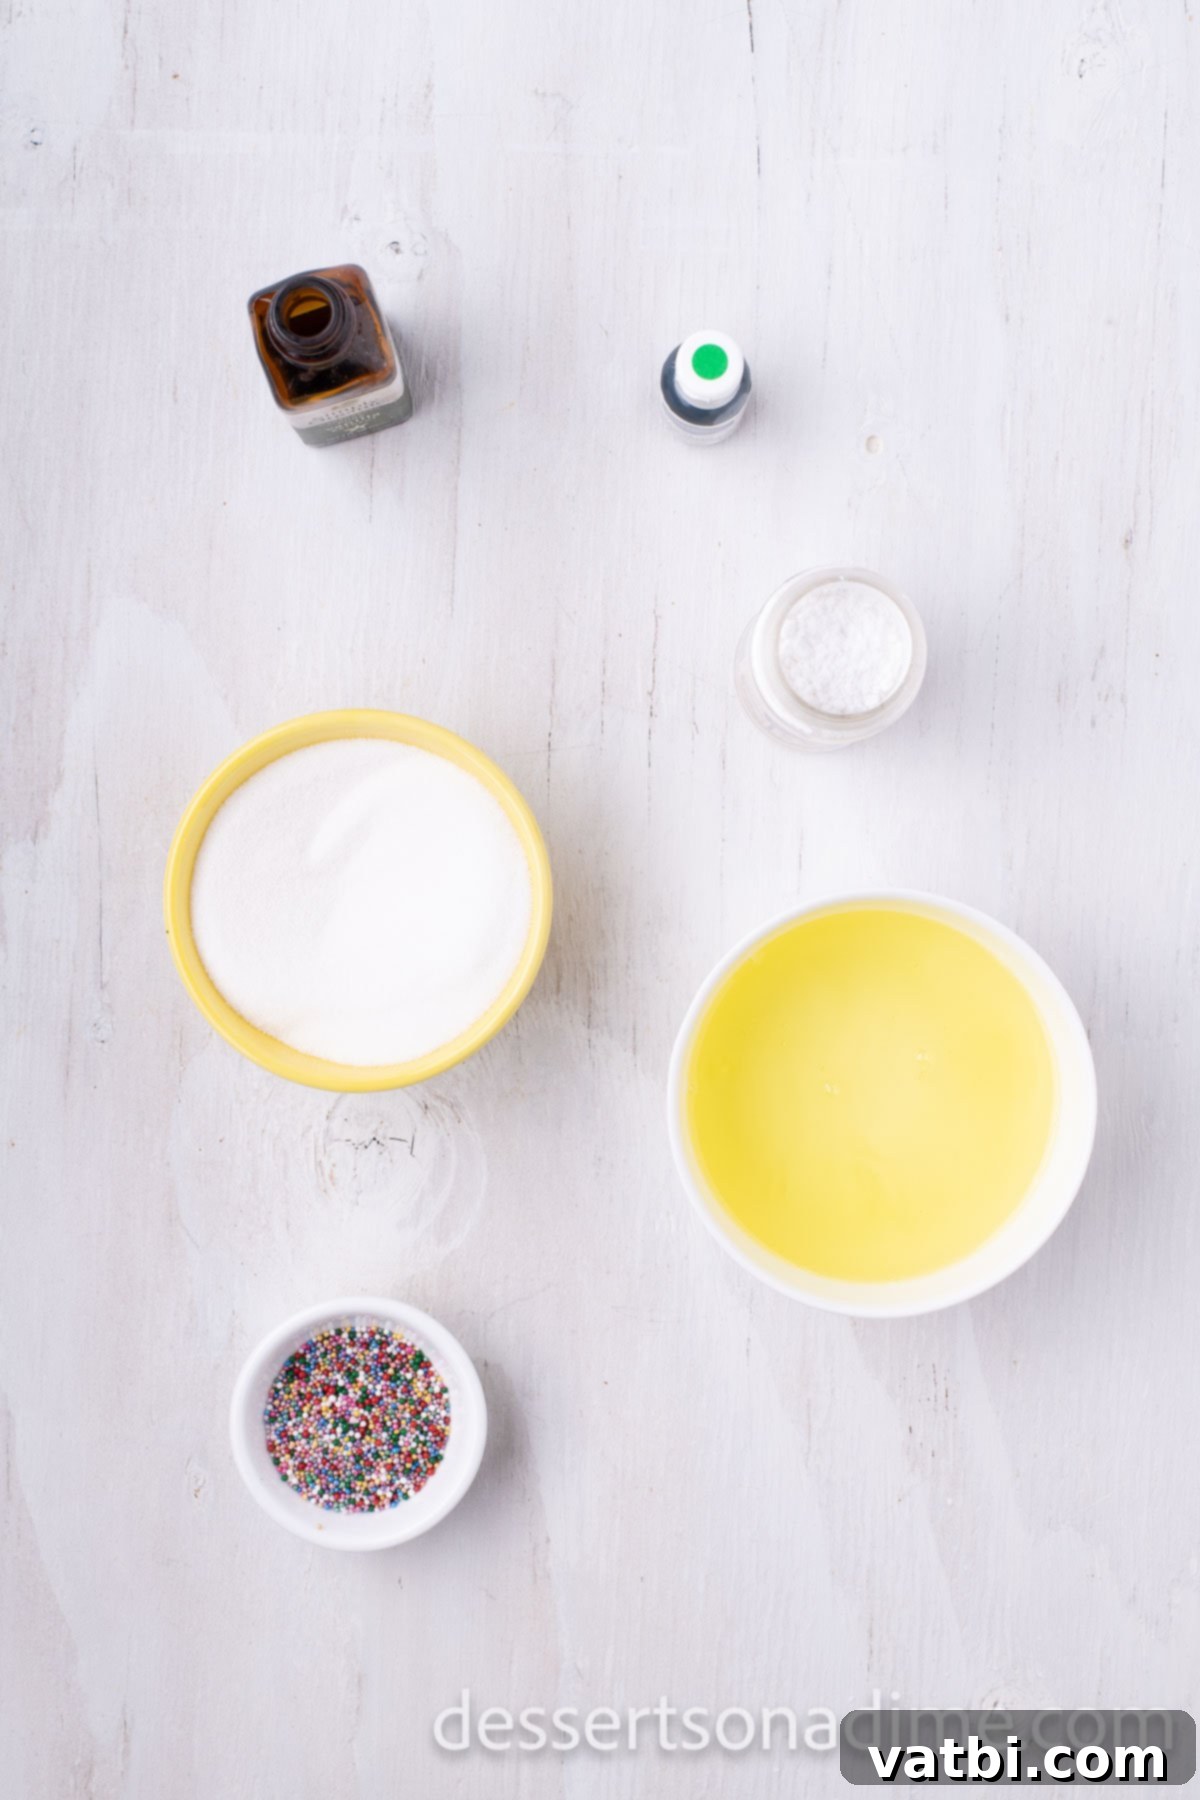
- Large Egg Whites (room temperature): This is the foundation of your meringue. Using room temperature egg whites is crucial because they whip up with greater volume and stability compared to cold egg whites. Separate your eggs carefully, ensuring absolutely no yolk gets into the whites, as fat can prevent the whites from whipping properly.
- Cream of Tartar: This acidic salt acts as a stabilizer for the egg whites. It helps them reach their full volume and maintain a stiff, glossy peak, preventing the meringue from deflating later.
- Granulated Sugar: Sugar sweetens the meringue and contributes to its structure and crispness. Gradually adding it while whipping allows it to dissolve properly, resulting in a smooth, shiny, and stable meringue.
- Vanilla Extract: While optional, vanilla extract adds a lovely classic flavor that complements the sweetness of the meringue.
- Green Food Coloring: To achieve that iconic Christmas tree look, green food coloring is essential. Gel food coloring is often preferred as it provides vibrant color without adding excess liquid, which could affect the meringue’s consistency.
- Multi-Colored Sprinkles: These are the “ornaments” for your meringue trees! Choose a festive mix of red, green, white, and silver sprinkles to make your trees truly sparkle.
You can find the precise measurements for each ingredient in the comprehensive recipe card located at the bottom of this post.
Creative Variations for Your Meringue Christmas Trees
One of the joys of baking Meringue Christmas Trees is how adaptable they are. While the classic green with multi-colored sprinkles is charming, don’t hesitate to get creative and personalize your batch! Here are some delightful variations to try:
- Powdered Sugar “Snow”: For a magical winter wonderland effect, lightly dust your baked and cooled meringue trees with powdered sugar. It mimics freshly fallen snow and adds an extra touch of sweetness.
- Flavorful Extracts: Experiment with different extracts to infuse new flavors into your meringues.
- Peppermint Meringue Trees: Add 1/2 to 1 teaspoon of peppermint extract for a refreshing holiday flavor. A crushed candy cane topping would be perfect!
- Almond Meringue Trees: Use almond extract for a delicate, nutty taste.
- Lemon or Orange Zest: For a bright, citrusy twist, add a teaspoon of finely grated lemon or orange zest (ensure no white pith).
- Coconut Extract: A tropical hint can be surprisingly delightful for a unique holiday treat.
- Vibrant Colors: Instead of just green, why not try other festive hues?
- White Meringue Trees: Skip the food coloring entirely for elegant “snowy” white trees, perfect for a sophisticated look.
- Pink or Red Meringues: Use red or pink food coloring for a fun, candy-like appearance.
- Swirl Colors: Achieve a marbled effect by lightly swirling a second color of gel food coloring into the meringue just before piping.
- Diverse Decorations: Beyond classic sprinkles, there’s a world of topping possibilities:
- Edible Glitter: A dusting of edible silver or gold glitter adds dazzling sparkle.
- Candy Stars: Place a small edible star candy on top of each tree for a “tree topper.”
- Chocolate Drizzle: Once cooled, drizzle melted dark or white chocolate over the trees for an extra layer of flavor and visual appeal.
- Crushed Candy Canes: If you used peppermint extract, crushed candy canes are the ideal festive garnish.
- Silver Dragees: Small silver edible beads can add an elegant touch of “ornaments.”
- Different Shapes: While Christmas trees are perfect for the holidays, the meringue base can be piped into other fun shapes like swirls, kisses, or simple drops, making this a versatile recipe year-round.
Feel free to mix and match these ideas to create a truly unique batch of Meringue Christmas Trees that will impress all your holiday guests!
Step-by-Step Instructions: How to Make Meringue Christmas Trees
Making these gorgeous Meringue Christmas Trees is a delightful process. Follow these detailed steps to ensure perfectly crisp and festive cookies for your holiday spread.
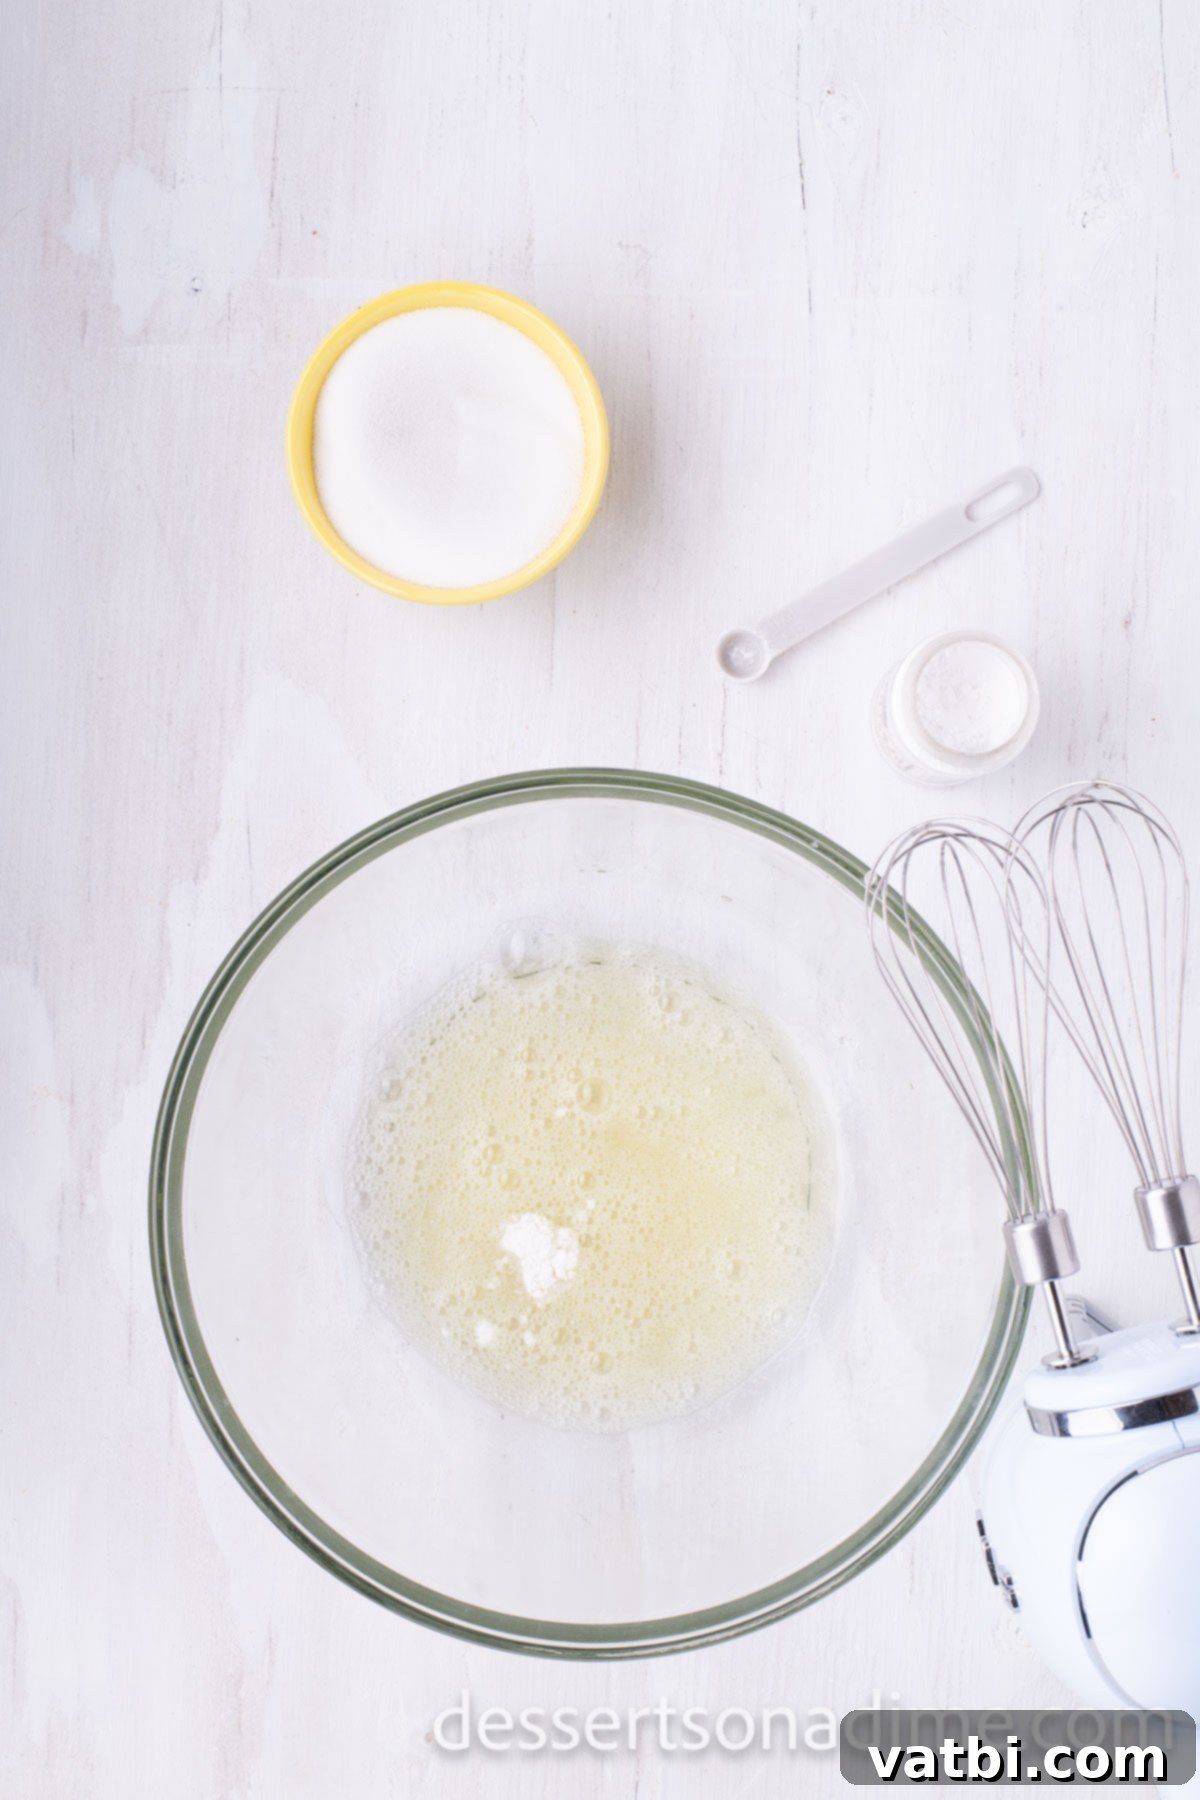
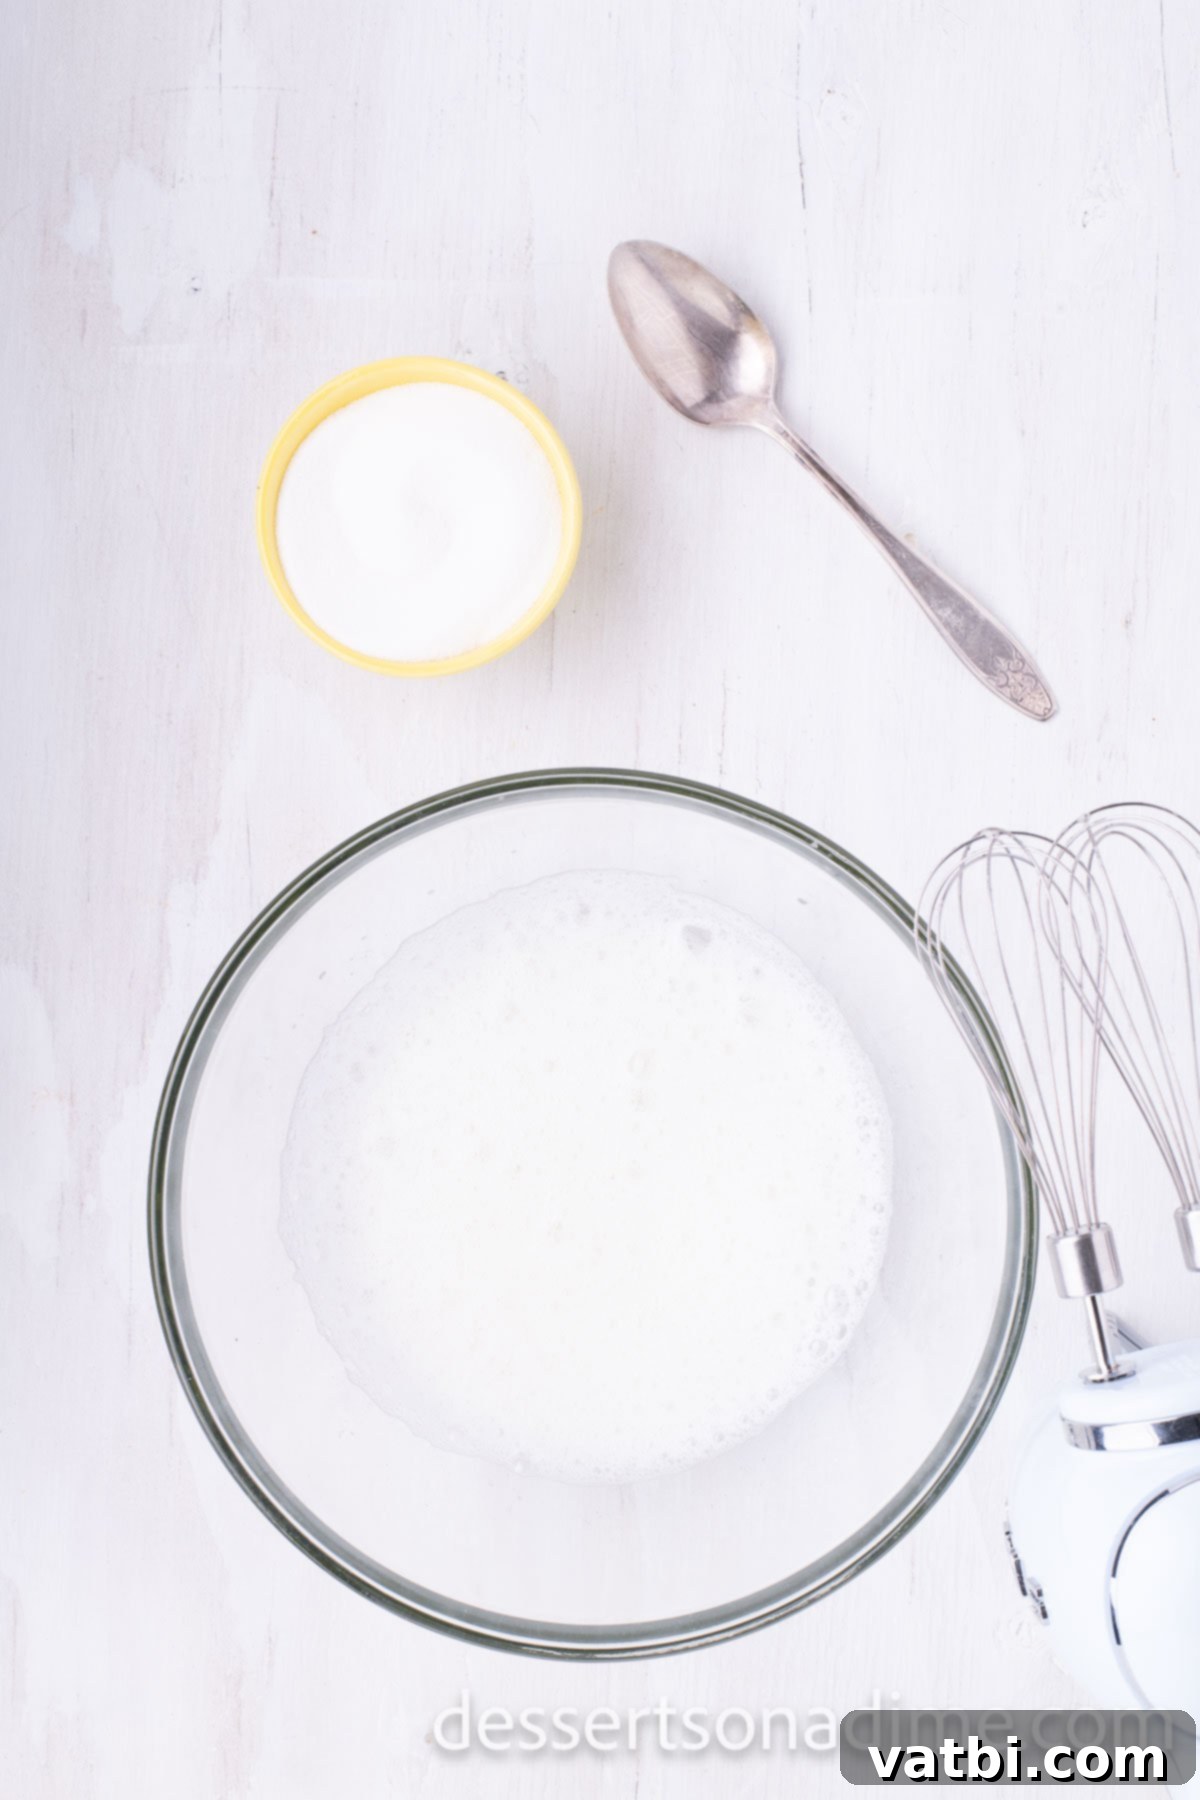
Step 1: Prepare Your Workspace and Whip Egg Whites. First, preheat your oven to a low 175 degrees Fahrenheit (approximately 80 degrees Celsius). This low temperature is crucial for drying out the meringue rather than baking it. Line two large baking sheets with parchment paper or silicone baking mats; this prevents sticking and makes cleanup a breeze. In the clean bowl of a stand mixer (or a large bowl if using a hand mixer), combine the room temperature egg whites and cream of tartar. Beat on medium speed for about 2-3 minutes until the egg whites become frothy and light, similar to soap suds.
Step 2: Incorporate Sugar and Achieve Stiff Peaks. Next, increase the mixer speed to medium-high. Gradually add the granulated sugar, about one tablespoon at a time, allowing each addition to dissolve slightly before adding the next. This slow addition helps create a stable, glossy meringue. Once all the sugar is added, turn the speed up to high and continue beating for 4-5 minutes until the meringue forms stiff, shiny peaks. When you lift the whisk, the meringue should hold its shape firmly and not droop.
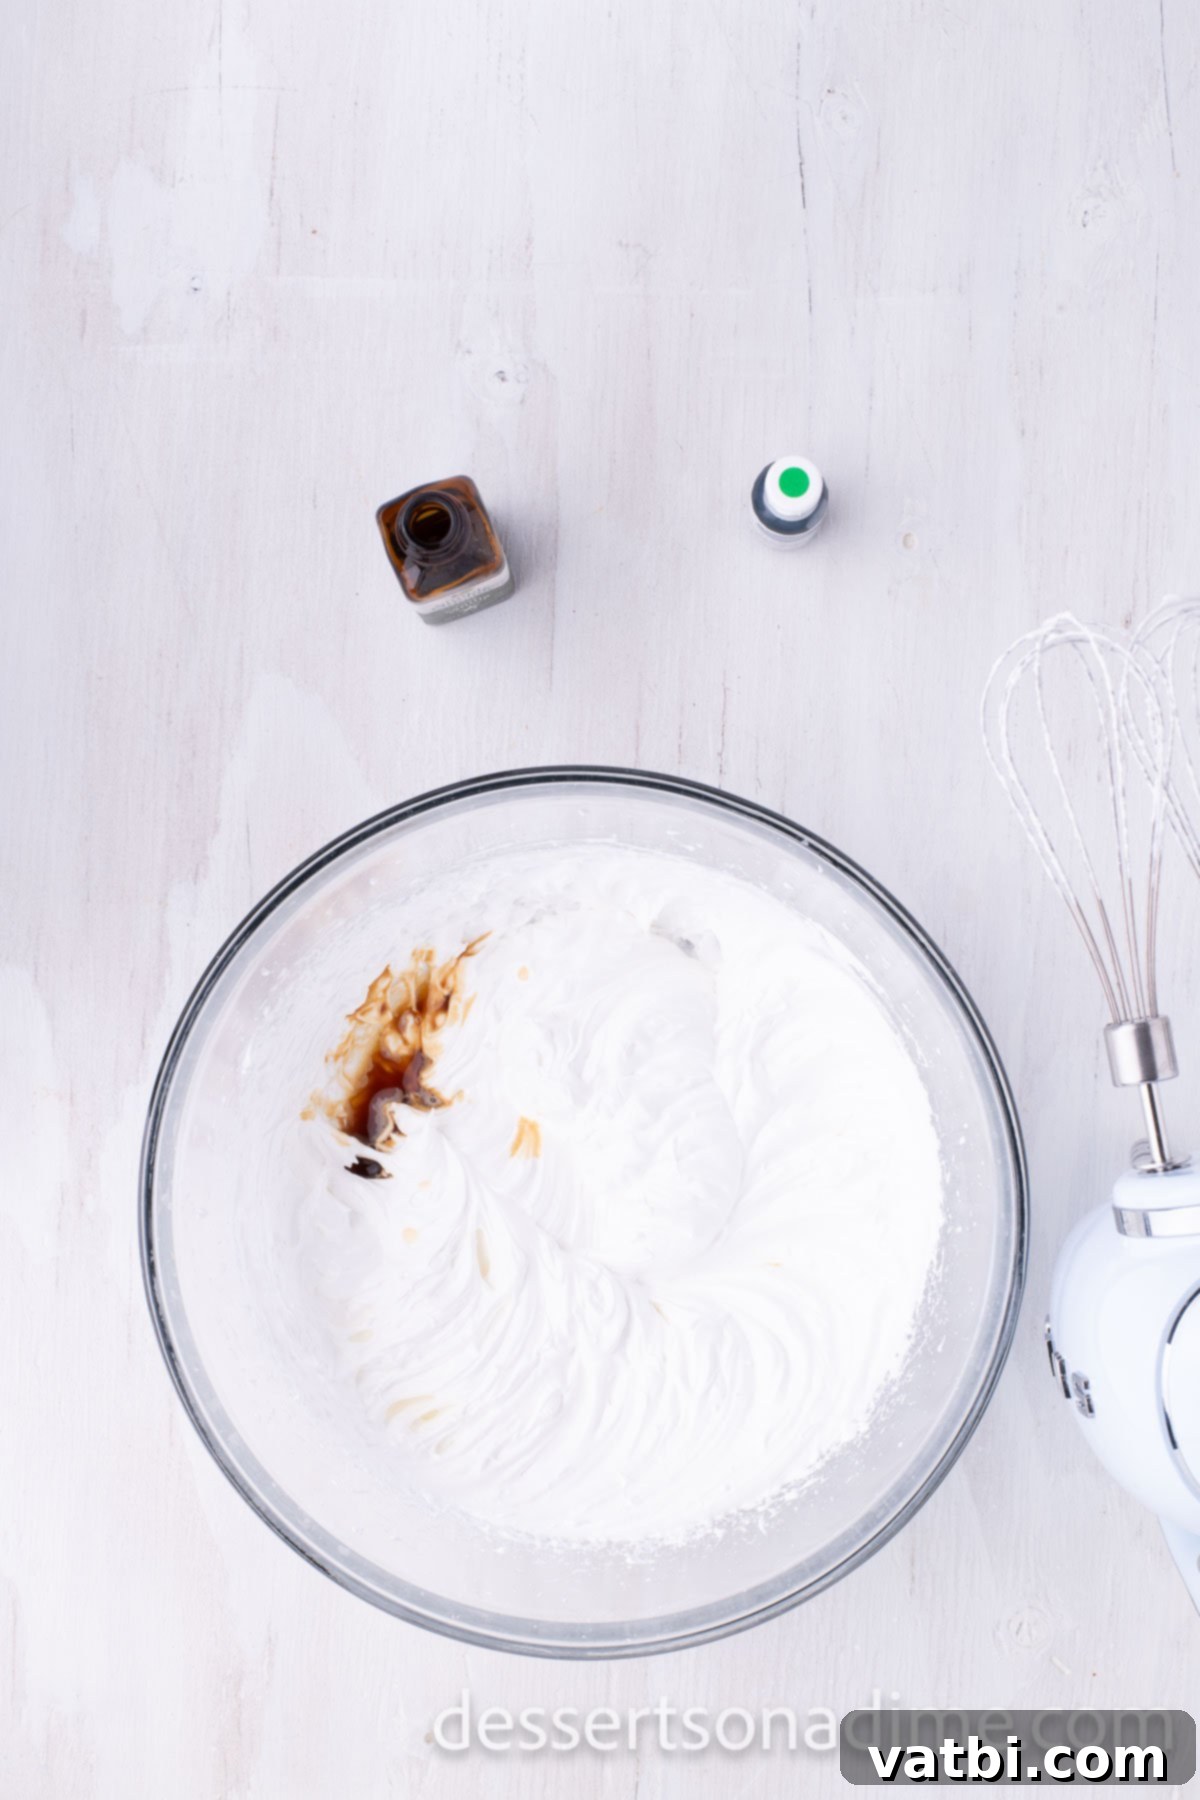
Step 3: Add Vanilla Extract. With the mixer still running, lower the speed to low. Carefully add the vanilla extract to the meringue. Mix just until combined, being careful not to overmix, which could deflate the delicate air bubbles you’ve worked so hard to create. The goal is to gently fold in the flavor without compromising the meringue’s structure.
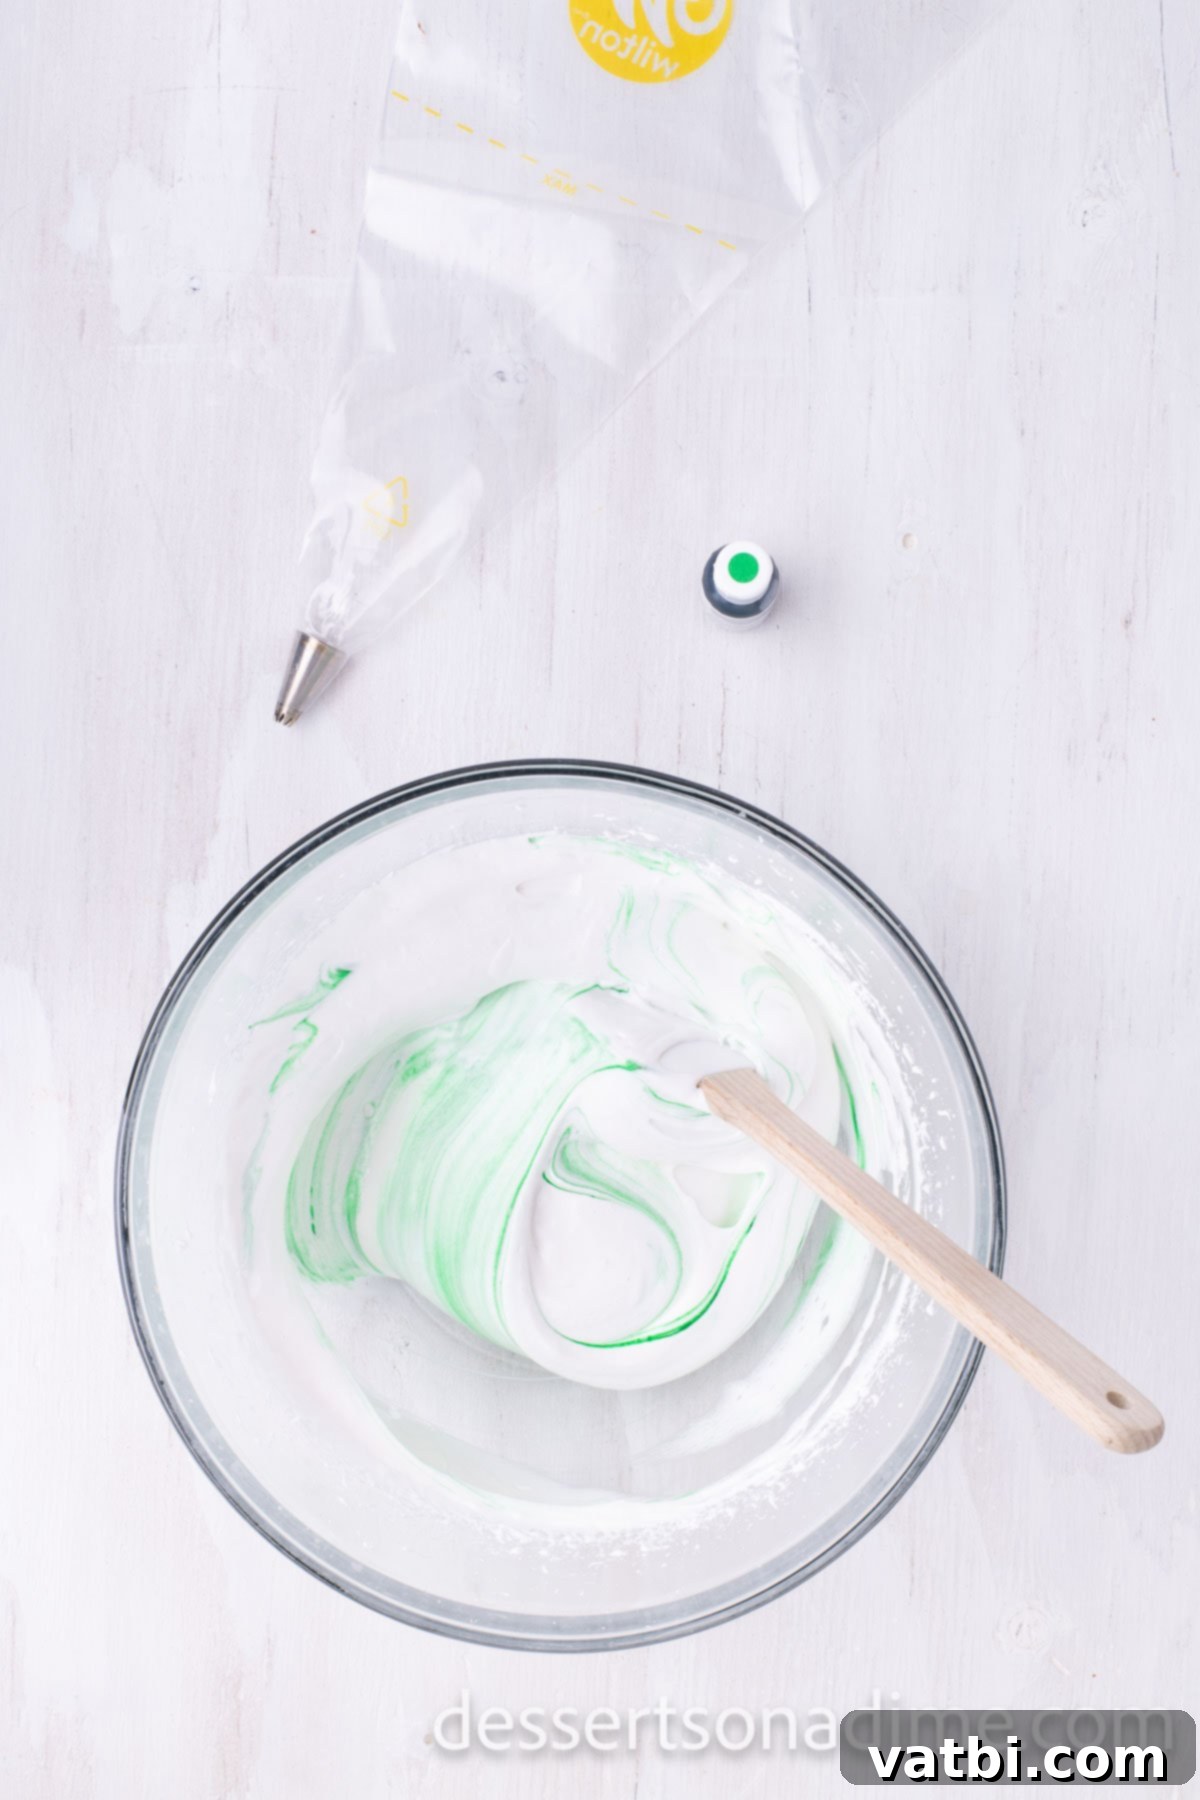
Step 4: Color the Meringue. Now it’s time to give your meringues their festive green hue! Add a few drops of green food coloring to the meringue mixture. Using a spatula, gently fold the food coloring in. Be very careful not to overmix, as vigorous stirring can cause the meringue to lose its volume and become dense. Fold just until the color is evenly distributed and no streaks remain.
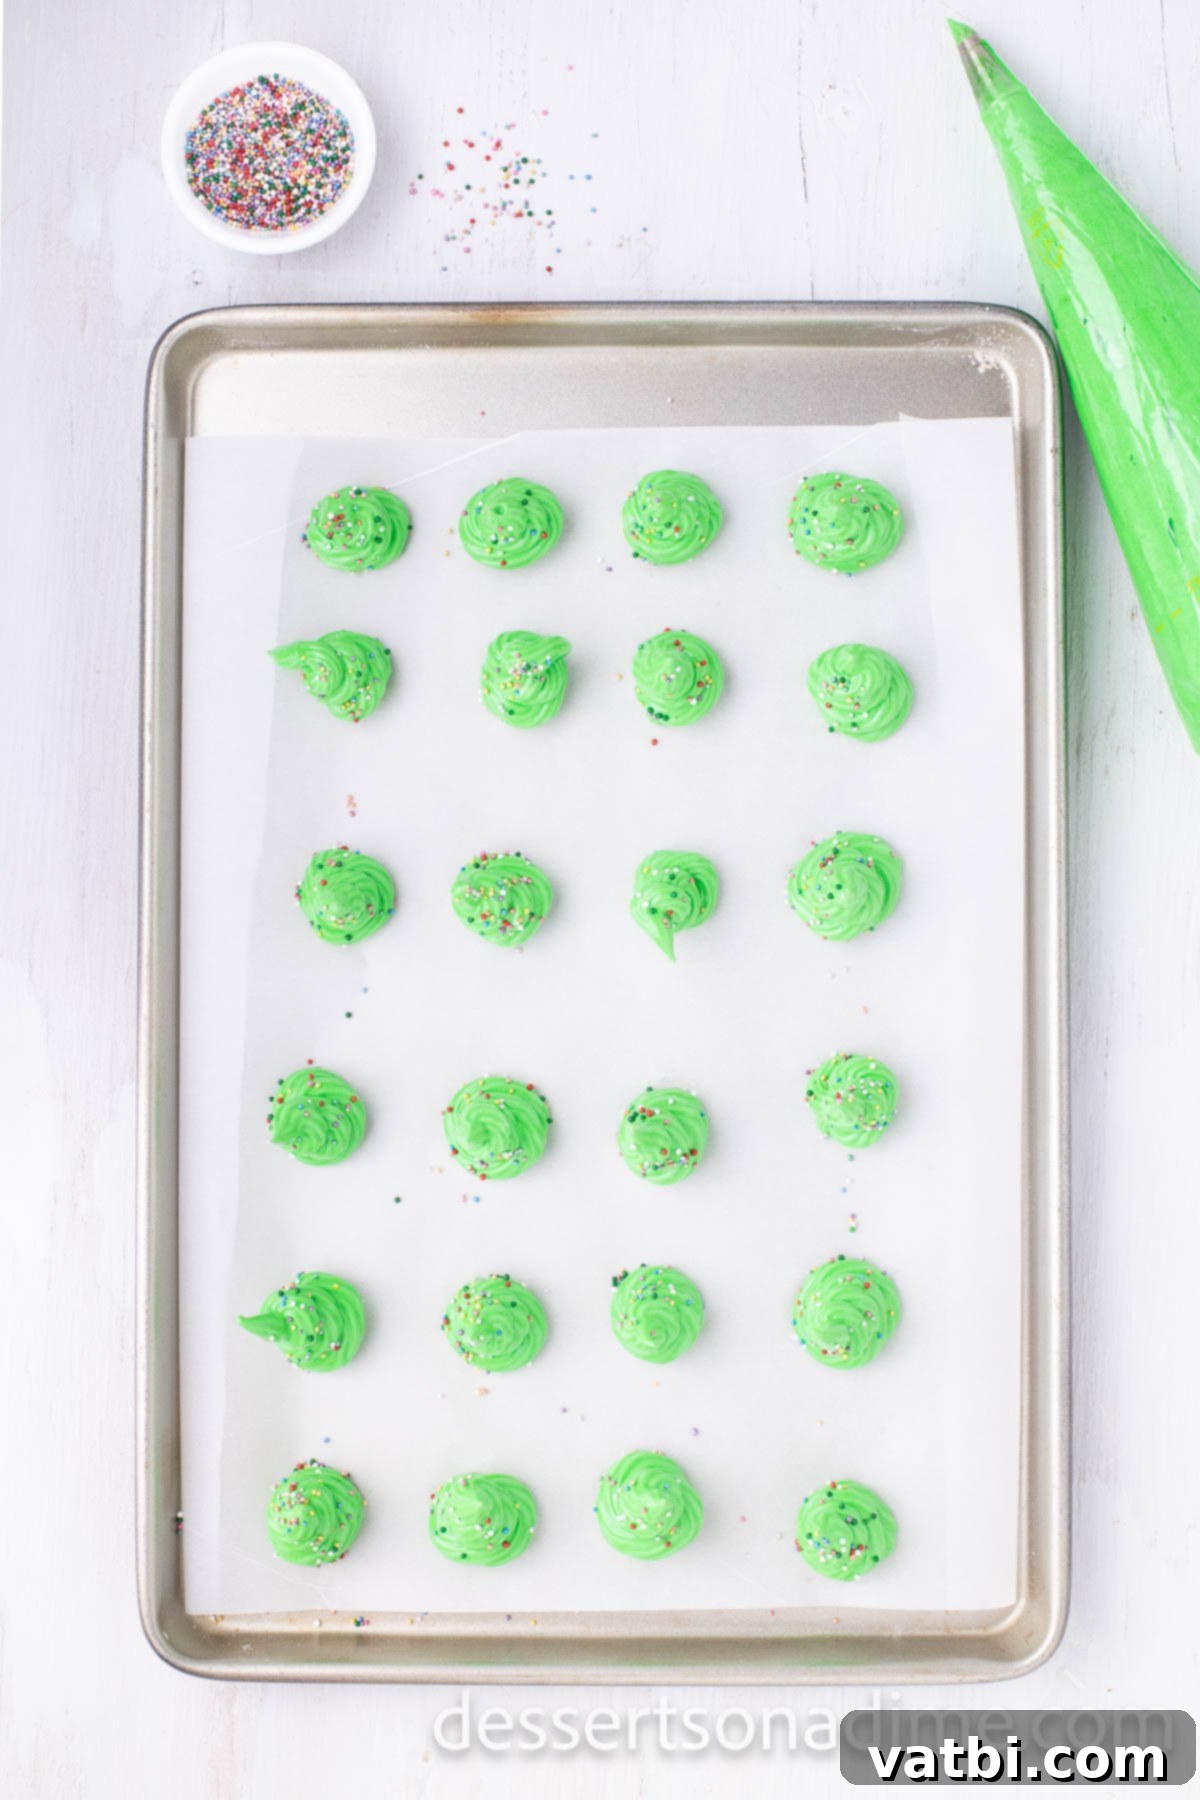
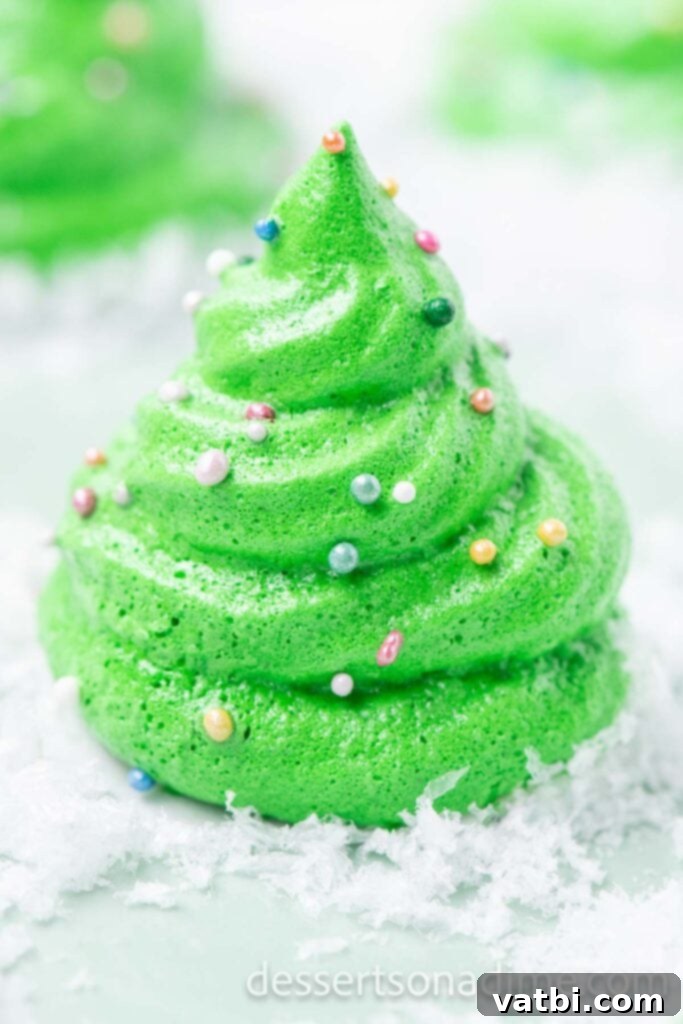
Step 5: Pipe and Bake Your Christmas Trees. Transfer the green meringue mixture to a piping bag fitted with a small star tip (such as an Ateco 1M or Wilton 21). Pipe Christmas tree shapes directly onto your prepared baking sheets. Create a base and then build up in layers, getting smaller towards the top, to form a conical tree shape. Immediately after piping each tree, gently top it with your chosen multi-colored sprinkles. Once all trees are piped and decorated, bake the cookies in the preheated oven until they are crisp to the touch but not browned. This can take approximately 1 hour and 45 minutes, depending on your oven and the size of your meringues.
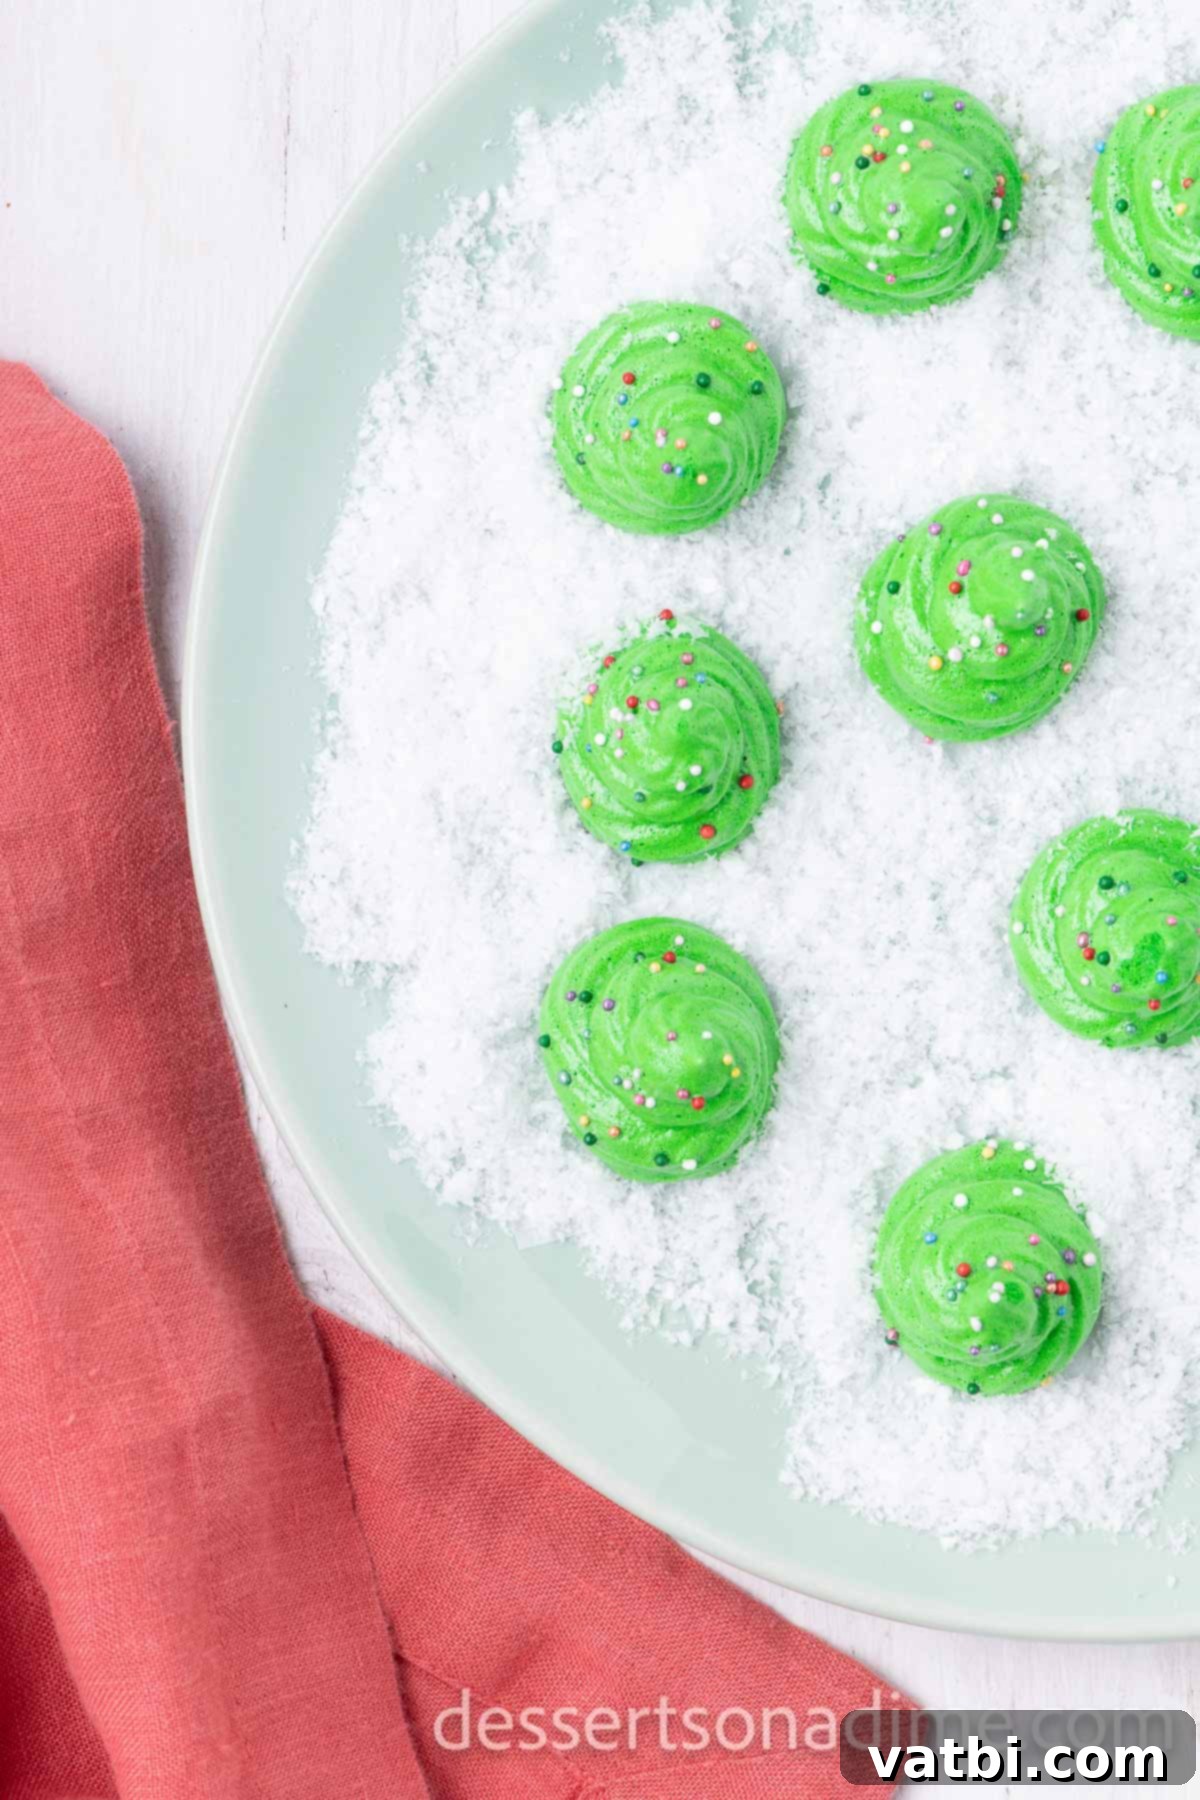
Step 6: Cool and Enjoy! Once the baking time is complete, turn off the oven, but leave the cookies inside for an additional 30 minutes. This crucial step allows them to slowly cool and fully dry out, preventing them from becoming chewy. After 30 minutes, remove the baking sheets from the oven and transfer the meringue cookies to wire racks to cool completely. Once fully cooled and firm, they are ready to serve and enjoy! Store any leftovers in an airtight container at room temperature.
Pro Tips for Perfect Meringue Christmas Trees
Achieving light, crisp, and beautifully shaped meringue cookies can be simple with a few expert tips:
- Ensure Absolutely Clean Equipment: This is perhaps the most critical tip for meringue success. Any trace of grease or fat (even a tiny bit of egg yolk!) in your mixing bowl or on your whisk can prevent the egg whites from whipping up properly. Use a glass or metal bowl, and wash it thoroughly with soap and hot water, then wipe it down with a paper towel and a bit of lemon juice or vinegar to ensure it’s spotless.
- Room Temperature Egg Whites are a Must: As mentioned in the ingredients, warm egg whites whip up with significantly more volume and stability. If your eggs are cold, place them in a bowl of warm water for 10-15 minutes before separating.
- Don’t Overmix the Meringue Mixture: Once the stiff peaks are formed, be gentle! Overmixing, especially when folding in color or extracts, can cause the air to be knocked out, resulting in a dense, flat meringue instead of a light, airy one.
- Cream of Tartar is Your Friend: Don’t skip the cream of tartar! It’s a key stabilizer that helps the egg whites hold their shape and prevents them from collapsing, ensuring your meringue stays fluffy.
- Low and Slow Baking is Key: Meringues don’t bake; they dry out. The very low oven temperature (175°F/80°C) is essential for this process. Baking at too high a temperature will cause them to brown, crack, or become chewy.
- Avoid Humidity: Meringues are highly susceptible to moisture. Try to bake them on a dry day, if possible. High humidity in the air can make them sticky or chewy.
- Cool in the Oven: Leaving the meringues in the turned-off oven for an additional 30 minutes after baking is crucial. This gradual cooling and drying process further crisp them up and prevents them from cracking or becoming soft as they cool down quickly in room air.
- Use Gel Food Coloring: For vibrant colors like the green Christmas trees, gel food coloring is preferred over liquid food coloring. Gel colors are more concentrated, so you need less, which means you’re not adding excess liquid that could thin out your meringue.
Frequently Asked Questions About Meringue Cookies
Here are some common questions and helpful answers to ensure your Meringue Christmas Trees turn out perfectly every time:
When stored properly in an airtight container at room temperature, these meringue cookies will maintain their crispness and flavor for up to two to three weeks. Because they are sensitive to moisture, it’s crucial to keep them away from humidity.
You’ll know your meringue cookies are done when they are completely hard to the touch and feel lightweight. They should lift easily from the parchment paper without sticking. When broken in half, the interior should be completely dry and crisp, not sticky or chewy.
There are a couple of common culprits for chewy meringues. Either the cookies were underbaked and didn’t dry out completely, or they absorbed too much moisture from the environment (often due to humidity). It’s an easy fix! To re-crisp them, simply place the cookies back in a preheated 175°F (80°C) oven for about 10-15 minutes, then turn off the oven and let them cool inside completely. This will help remove any lingering moisture.
Always store meringue cookies in an airtight container at room temperature. A dry, cool pantry is ideal. Do not refrigerate meringues, as the moisture in the refrigerator will cause them to soften and become chewy. Humidity is the enemy of crisp meringues!
Absolutely! Meringues are an excellent make-ahead holiday treat. Since they store well for several weeks, you can bake them weeks in advance of your holiday festivities. This helps reduce stress during busy holiday periods and ensures you have a delicious dessert ready to go.
There are a few reasons this might happen. The most common issues are: 1) Traces of fat (egg yolk, grease) in your bowl or on your whisk. Ensure all equipment is meticulously clean. 2) Cold egg whites. Always use room temperature eggs for best results. 3) Humidity. Meringues are sensitive to moisture in the air, which can make it harder for egg whites to stiffen. Try adding a little extra cream of tartar as a stabilizer.
More Christmas Treats to try:
Looking for more delicious ideas to fill your holiday cookie platters and dessert tables? Here are some other fantastic Christmas treats that are sure to delight:
- Easy Christmas Wreath Cookies Recipe
- Best Christmas Crack Recipe (Saltine Toffee)
- Fun Christmas Pancakes Ideas
- Easy Hot Cocoa Cookies Recipe
- Adorable Strawberry Santas
- Decadent Christmas Truffles Recipe
I genuinely can’t wait for you to make these dazzling and delicious Meringue Christmas Trees! They truly embody the spirit of the holidays with their festive look and delightful texture. Once you’ve whipped up a batch and shared them with loved ones, please come back and leave a comment and a star recipe rating. Hearing from you and knowing you enjoyed the recipe makes my day!
Pin
Meringue Christmas Trees
Ingredients
- 4 large Egg Whites room temperature
- 1/4 teaspoon Cream of Tartar
- 3/4 cup Granulated Sugar
- 1 teaspoon Vanilla Extract
- Green Food Coloring
- Multi-Colored Sprinkles
Instructions
-
Preheat the oven to 175 degrees Fahrenheit and line 2 baking sheets with parchment paper.
-
Place the egg whites and cream of tartar in a large mixing bowl. With an electric mixer, beat on medium speed until the egg whites become frothy (2-3 minutes).
-
Increase the speed to medium high and slowly add in the sugar (1 tablespoon at a time) until all the sugar is added. Turn the speed up to high and beat for 4-5 minutes until stiff peaks start to form.
-
Turn the speed on the mixer down to a low speed and mix in the vanilla extract.
-
Add in the green food coloring and carefully stir it in to dye the meringue but you do not want to over mix and remove the air from the mixture.
-
Put the meringue in a piping bag fitted with a small star tip.
-
Pipe seal Christmas tree shapes directly on the prepared baking sheets and then gently top with the sprinkles.
-
Bake the cookies until they are crisp but not browned (approximately 1 hour 45 minutes). Then turn off the oven but leave the cookies in the oven for 30 minutes. Test a cookie and if it’s still chewy in the middle, let them continue to dry out in the oven.
-
Let the cookie cool completely on the baking sheets on wire racks and then they are ready to serve and enjoy!
Recipe Notes
Nutrition Facts
Pin This Now to Remember It Later
Pin Recipe
