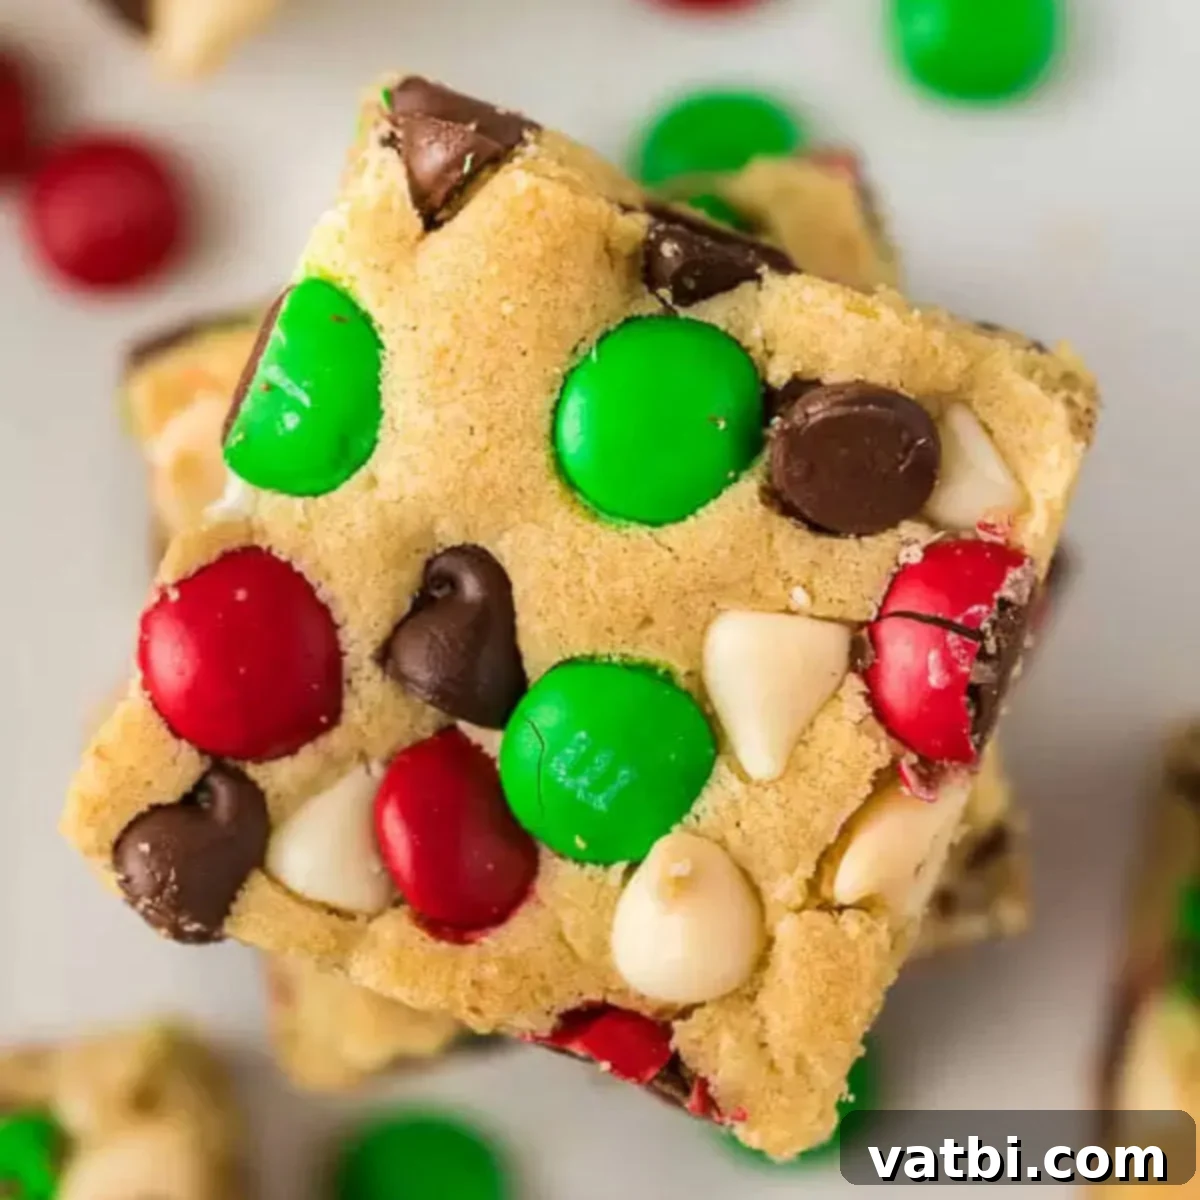
Ultimate Guide to Festive Christmas Cookie Bars: Easy, Chewy & Decadent Holiday Recipe
As the holiday season approaches, the aroma of freshly baked goods fills our homes, bringing warmth and cheer. Among the many festive treats, Christmas Cookie Bars stand out as an absolute favorite. This incredibly simple yet decadent recipe is brimming with delightful semi-sweet chocolate chips, rich white chocolate chips, and vibrant red and green Christmas M&M’s, ensuring an explosion of flavor and festivity in every single bite. The result is an irresistibly ooey-gooey and wonderfully chewy texture that makes these bars a truly special indulgence perfect for sharing with family and friends or enjoying as a cozy treat by the fire.
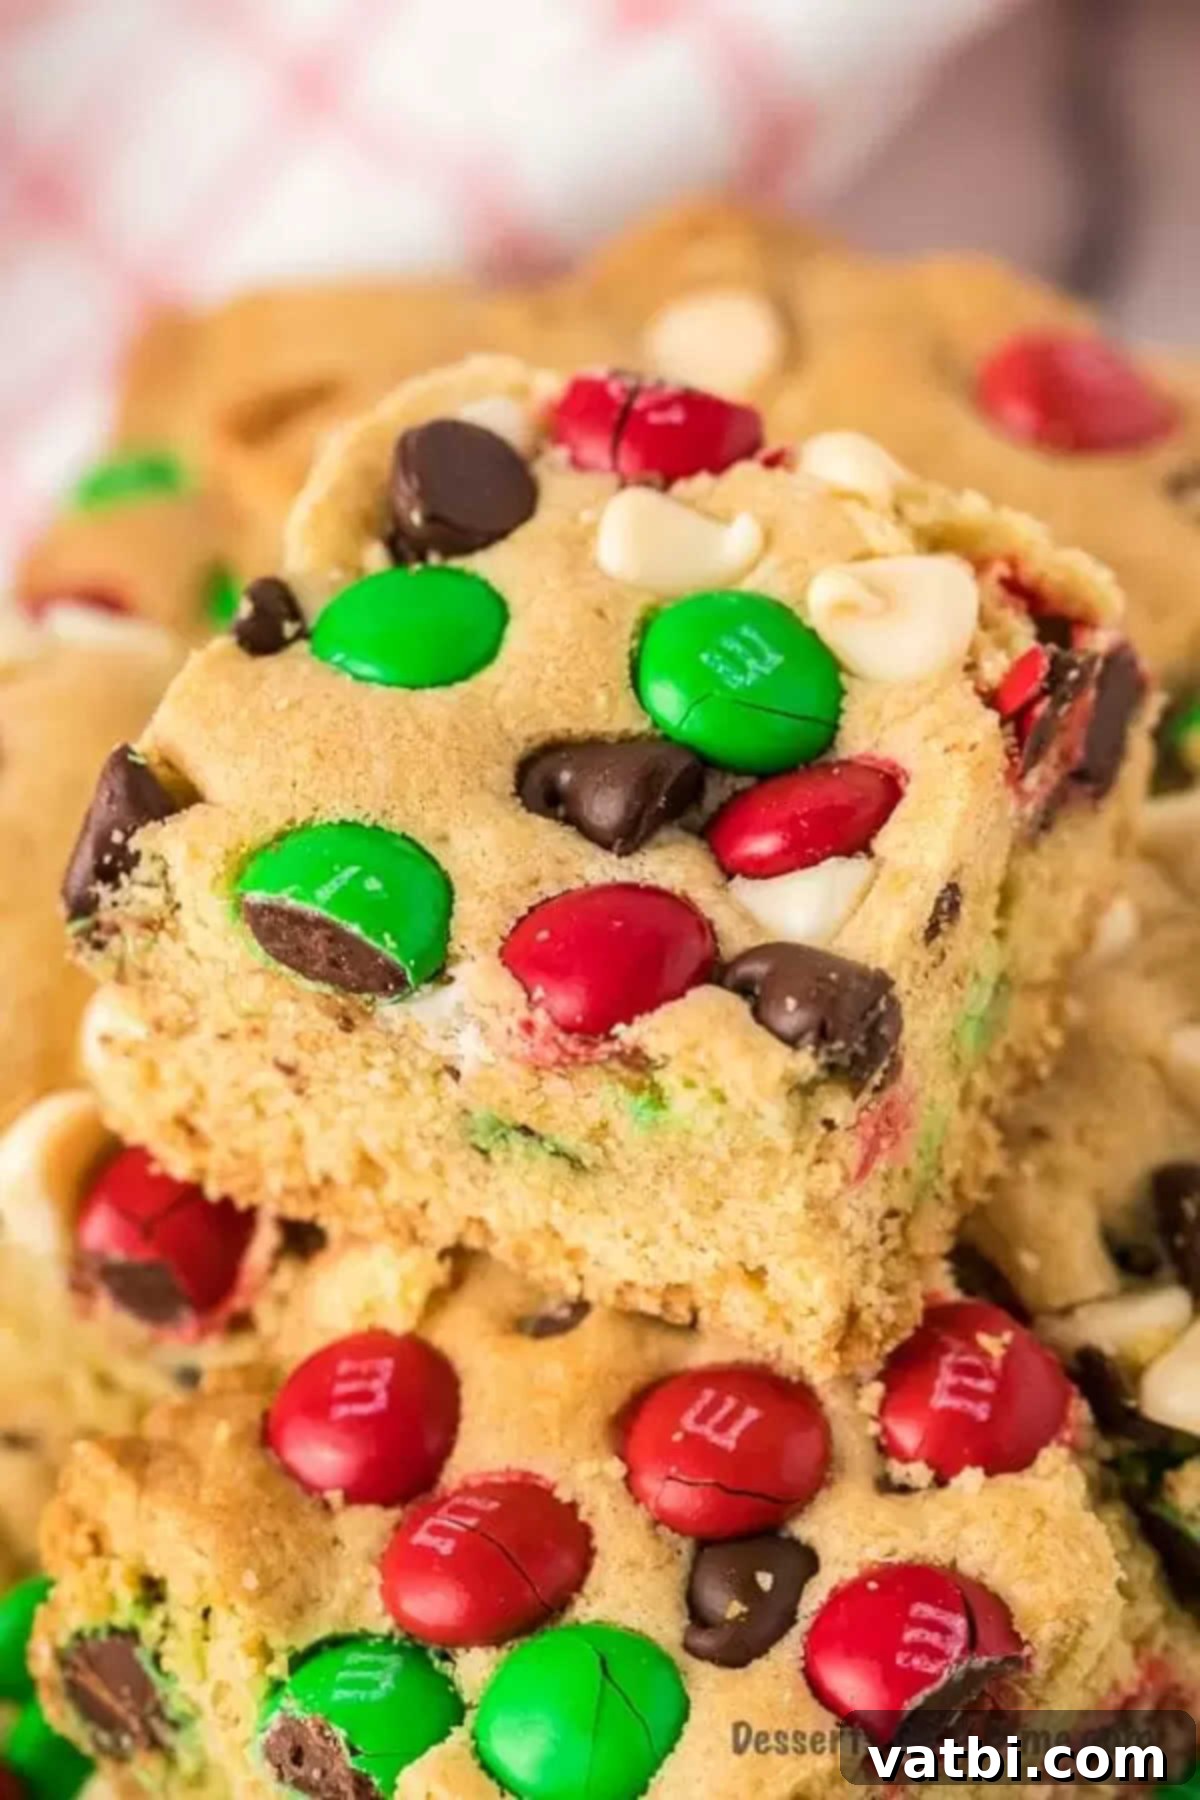
If you’re a fan of classic chocolate chip cookies, then this enhanced recipe for Christmas cookie bars is an absolute must-try this holiday season. It takes the beloved comfort of a chocolate chip cookie and elevates it with festive colors and an even more delightful texture. These bars are not just a snack or a dessert; they are the perfect centerpieces for your holiday gatherings, potlucks, or simply a sweet reward after a long day of festive preparations. The iconic red and green M&M’s instantly transform these treats into one of the most cheerful and eye-catching Cookie Bar Recipes you can make. They offer all the deliciousness of traditional cookies with significantly less effort, making them ideal for busy bakers.
Beyond these delightful Christmas cookie bars, we also highly recommend our popular Magic Cookie Bars for another layer of decadent sweetness, or the rustic charm of Christmas Cowboy Cookies. For those looking for more traditional holiday activities, consider making a festive Gingerbread House or baking a batch of timeless Old Fashioned Sugar Cookies. Each recipe offers a unique way to celebrate the most wonderful time of the year!
What’s in this post: Ultimate Christmas Cookie Bars Recipe Guide
- Why These Christmas Cookie Bars Are a Holiday Must-Have
- Essential Ingredients for Perfect Cookie Bars
- Creative Variations & Substitutions for Your Bars
- Easy Step-By-Step Baking Instructions
- Expert Tips for the Best Cookie Bars
- Storing Your Delicious Cookie Bars
- How to Freeze Christmas Cookie Bars
- Discover More Festive Christmas Cookies
- Printable Christmas Cookie Bars Recipe
Why These Christmas Cookie Bars Are a Holiday Must-Have
Cookie bars are an absolute game-changer in the world of baking, especially during the bustling holiday season. They boast all the beloved flavors and textures of traditional cookies but with a fraction of the effort. Instead of scooping individual cookies, you simply press the dough into a single pan, bake, and then slice into convenient bars. This method saves a significant amount of time and energy, making them ideal for large gatherings, holiday parties, or when you need a delicious dessert without spending hours in the kitchen.
What makes these particular Christmas Cookie Bars truly special is their incredible combination of textures and flavors. Each bar features a beautiful golden-brown crust that gives way to a supremely soft, intensely chewy, and delightfully gooey interior. The thoughtful blend of semi-sweet and white chocolate chips creates a rich, complex chocolate flavor profile, while the festive red and green M&M’s add a delightful, satisfying crunch and a vibrant pop of holiday color. They’re not just a treat for the taste buds; they’re a treat for the eyes too, embodying the joyful spirit of Christmas in every square. Whether you’re bringing them to a potluck, gifting them to neighbors, or simply enjoying them with a cup of hot cocoa by a warm fire, these cookie bars are guaranteed to be a cherished hit!
Essential Ingredients for Perfect Cookie Bars
- Unsalted Butter: Using unsalted butter, softened at room temperature, is crucial for two primary reasons. Firstly, it gives you complete control over the saltiness of your bars, allowing you to fine-tune the flavor. Secondly, softened butter creams more easily and effectively with sugar, resulting in a lighter, airier dough and ultimately contributing to a tender, melt-in-your-mouth final product. Always ensure it’s truly softened, not melted, for the best textural outcome.
- Brown Sugar: This ingredient is a cornerstone for achieving that signature chewy texture and rich, deep caramel-like flavor that makes these cookie bars so irresistible. Brown sugar also adds vital moisture to the dough, ensuring the bars remain wonderfully soft and moist. If you ever find yourself running low or completely out, remember that our Homemade Brown Sugar Recipe is incredibly easy and quick to whip up from scratch!
- Granulated Sugar: While brown sugar contributes primarily to chewiness and moisture, granulated sugar plays a crucial role in the spread of the cookie bars and helps to create that appealing slightly crisp edge. The careful combination of both sugars creates a beautifully balanced texture that is both soft in the center and firm on the edges.
- Eggs: Using large eggs, brought to room temperature before mixing, is essential for binding all the ingredients together seamlessly and adding a rich, custardy depth to the cookie bars. Room temperature eggs emulsify far better with the butter and sugar, leading to a smoother, more uniform batter that bakes consistently.
- Vanilla Extract: Pure vanilla extract is consistently recommended over imitation for its superior, authentic, and complex flavor profile. It serves to enhance all the other sweet notes present in the cookie bars, adding a comforting and familiar depth that is quintessential to classic baked goods. Investing in good quality vanilla here truly pays off!
- All-Purpose Flour: This is the fundamental structural component of our cookie bars. To prevent your bars from becoming undesirably dense or dry, it is absolutely vital to measure your flour correctly. Instead of scooping directly with the measuring cup, which can inadvertently pack in too much flour, use the spoon and level method: spoon the flour into the measuring cup until it overflows, then level off the excess with the straight edge of a knife. This method ensures you use the precise amount for perfect results.
- Baking Soda: This powerful leavening agent performs a key function by reacting with the acidic components in the brown sugar to produce carbon dioxide bubbles. These bubbles are responsible for giving the cookie bars their characteristic soft, tender, and slightly risen texture. If you happen to be out, refer to our guide on the Best Baking Soda Substitutes to keep your baking project on track.
- Salt: A seemingly small amount of salt is, in fact, a powerful flavor enhancer that is absolutely critical in baking. It effectively balances the intense sweetness of the sugars and various chocolates, making all the flavors pop and preventing the bars from tasting cloyingly sweet. Don’t skip it!
- Christmas M&M’s: These festive candies are the vibrant heart of what truly makes these bars perfect for the holiday season. Their iconic red and green colors add an instant visual appeal, radiating a joyful holiday spirit. Beyond their visual charm, their classic candy shell provides a delightful slight crunch that contrasts beautifully with the soft, chewy cookie interior.
- Semi-Sweet Chocolate Chips: We specifically love incorporating semi-sweet chocolate chips because their slightly less sweet profile offers a perfect counterpoint and balance to the overall sweetness derived from the sugars and M&M’s. They melt gorgeously during baking, creating inviting pockets of rich, intense chocolate throughout each and every bite.
- White Chocolate Chips: The thoughtful addition of white chocolate chips elevates these bars to another luxurious level of decadence. Their creamy texture and distinctively sweet flavor perfectly complement and contrast with the semi-sweet chocolate, creating a delightful interplay of tastes and textures that makes each bite truly luxurious and memorable.
Find the complete ingredient quantities and detailed measurements, including specific brands we recommend, in the full recipe card at the bottom of the page.
Creative Variations & Substitutions for Your Bars
One of the best and most exciting aspects of this Christmas cookie bar recipe is its incredible adaptability and versatility. While the classic combination of ingredients delivers pure perfection, don’t hesitate for a moment to get creative and customize them to perfectly suit any occasion, specific preference, or even dietary need you might have!
- Change the Color of the M&M’s for Year-Round Enjoyment: These delightful bars are not just for Christmas; they can be enjoyed throughout the entire year with a simple and impactful swap! Easily substitute the specific Christmas-themed M&M’s for regular multi-colored M&M’s to create a fantastic everyday treat. For other specific celebrations or themed events, you can readily find M&M’s available in a vast array of colors.
- Make Them for Different Holidays & Special Occasions: Thinking beyond just Christmas, these bars prove to be absolutely fantastic for virtually any holiday or celebration imaginable. Look for seasonal M&M’s to customize them for Halloween (think spooky orange and black M&M’s), Easter (beautiful pastel colors), Valentine’s Day (romantic red and pink), or even the 4th of July (patriotic red, white, and blue). It truly seems M&M’s have a perfect color combination for every single occasion on the calendar!
- Perfect for Birthdays and Baby Showers: Expanding your creative horizons beyond traditional holidays, these bars are a truly fantastic and memorable addition to birthday parties. Simply use M&M’s that perfectly match the party’s color scheme to craft a personalized and utterly delightful treat. They would also be absolutely adorable and charming for a baby shower, utilizing soft blue or pink M&M’s to lovingly celebrate the impending arrival. You could even use two different colors for an exciting gender reveal party!
- Experiment with Different Types of Chocolate Chips: While we absolutely adore the rich blend of white and semi-sweet chocolate chips, we encourage you to feel entirely free to experiment with other varieties. You can opt for all milk chocolate chips for a distinctly sweeter bar, or choose all dark chocolate chips for a deeper, richer, and less sweet flavor profile. For an entirely different taste adventure, consider incorporating butterscotch chips, peanut butter chips, or even mint chocolate chips for a refreshing twist. Mini chocolate chips are also a superb option for achieving a more uniform and satisfying chocolate distribution throughout each bite. Remember, don’t be afraid to use whatever chocolate chips you happen to have on hand or find on sale – baking is about creativity!
- Add a Nutty Crunch: For an exquisite extra layer of flavor and a delightful textural contrast, chopped nuts are an absolutely wonderful addition. Pecans, walnuts, or almonds would be incredibly delicious, introducing a satisfying crunch and a subtle hint of nutty richness that beautifully complements the sweet cookie dough. To further enhance their inherent flavor and aroma, we highly recommend lightly toasting the nuts before adding them to your batter.
- Introduce Other Exciting Mix-ins: Unleash your creativity with other fun and flavorful additions! Consider incorporating colorful sprinkles (whether nonpareils or jimmies) for an extra burst of vibrant color and a playful element, especially if you are matching a specific party theme. Chopped candy bars (like Snickers or Butterfingers), toffee bits, or even dried cranberries or cherries could provide unique flavor bursts, added chewiness, and a touch of fruity tartness.
- Experiment with Flavor Extracts: A delicate dash of almond extract could introduce a subtle, sophisticated, and slightly nutty twist to the bars. For an even more intense and quintessential holiday flavor, a hint of peppermint extract would make these bars feel extra festive and wonderfully minty fresh, especially when thoughtfully paired with dark chocolate chips for a classic combination.
- A Pinch of Warm Spices: For an even deeper holiday feel, consider adding a small pinch of warm spices like ground cinnamon, nutmeg, or even a touch of pumpkin spice blend to your dry ingredients. These spices can add a wonderful aromatic complexity that enhances the overall festive flavor.
Easy Step-By-Step Baking Instructions
Creating these delightful Christmas cookie bars is a remarkably straightforward process, perfect for bakers of all skill levels. Following these detailed, easy-to-understand steps will ensure you achieve perfectly baked, wonderfully gooey, and irresistibly festive treats every single time.
- Step 1 – Prepare your oven and baking dish: Begin by precisely preheating your oven to 350 degrees Fahrenheit (175°C). Proper preheating is absolutely essential as it ensures the cookie bars bake evenly and thoroughly from the very moment they enter the oven. Next, prepare a standard 9×13 inch baking pan. The most effective way to do this is to carefully line the entire pan with parchment paper, allowing a generous overhang on the longer sides. This clever technique creates convenient “handles” that will allow you to effortlessly lift the entire slab of baked cookie bars out of the pan once cooled, making both cutting and cleanup an incredibly simple breeze. If parchment paper isn’t available, ensure you thoroughly spray the pan with a high-quality non-stick cooking spray, covering all interior surfaces.
- Step 2 – Cream butter and sugars together: In a large, spacious mixing bowl, utilizing either a stand mixer expertly fitted with a paddle attachment or a reliable hand-held mixer, beat together the softened unsalted butter, granulated sugar, and brown sugar. Mix on a medium speed setting until the mixture transforms into a light, fluffy, and visibly pale cream (this typically takes about 2-3 minutes). Remember to diligently scrape down the sides of the bowl periodically throughout this process to ensure all ingredients are perfectly incorporated and evenly combined. This crucial creaming step incorporates vital air into the mixture, which is fundamental for achieving a tender and delicious cookie bar.
- Step 3 – Incorporate eggs and vanilla: Once your butter and sugars have achieved that wonderfully creamy consistency, carefully add the room temperature eggs, one at a time, beating vigorously after each individual addition until each egg is fully and smoothly incorporated into the mixture. Finally, stir in the pure vanilla extract, ensuring it’s thoroughly distributed. Continue to beat the mixture on medium speed until all the wet ingredients are completely combined and present a smooth, uniform base for your cookie dough.
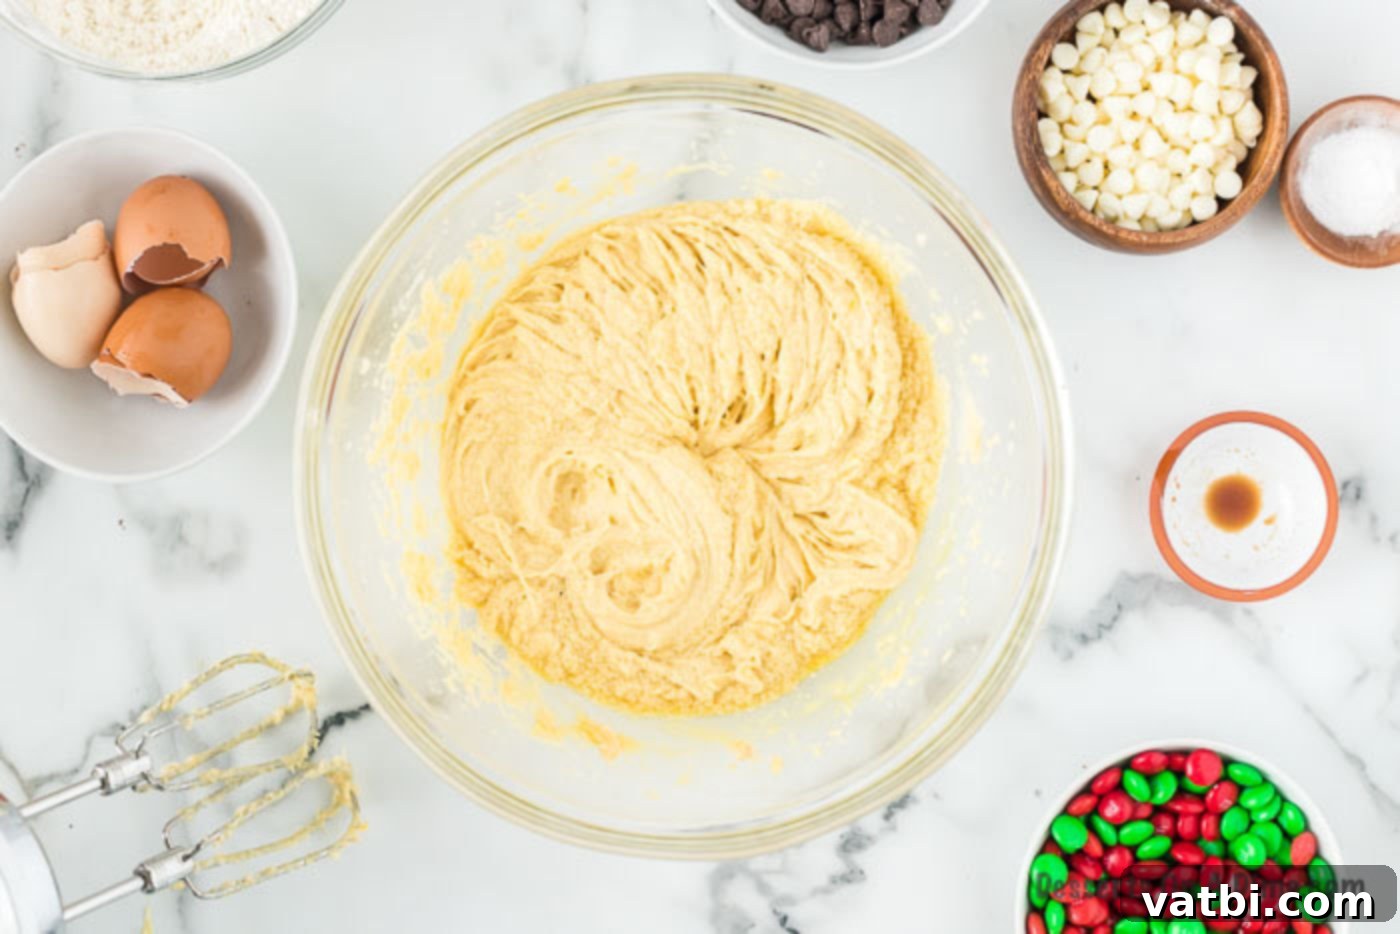
Step 4 – Combine dry ingredients gently: In a separate, medium-sized bowl, thoroughly whisk together the all-purpose flour, baking soda, and salt until they are well combined. Then, gradually add these prepared dry ingredients to the wet mixture in the stand mixer. Mix on a very low speed, or alternatively, stir carefully by hand with a sturdy spatula, until the flour streaks have just barely disappeared and the ingredients are fully combined. It is absolutely crucial to be careful not to overmix the dough during this stage, as overworking the flour can prematurely develop gluten, which results in tough, dry cookie bars instead of the delightfully chewy ones you’re aiming for. Remember to mix until *just* combined.
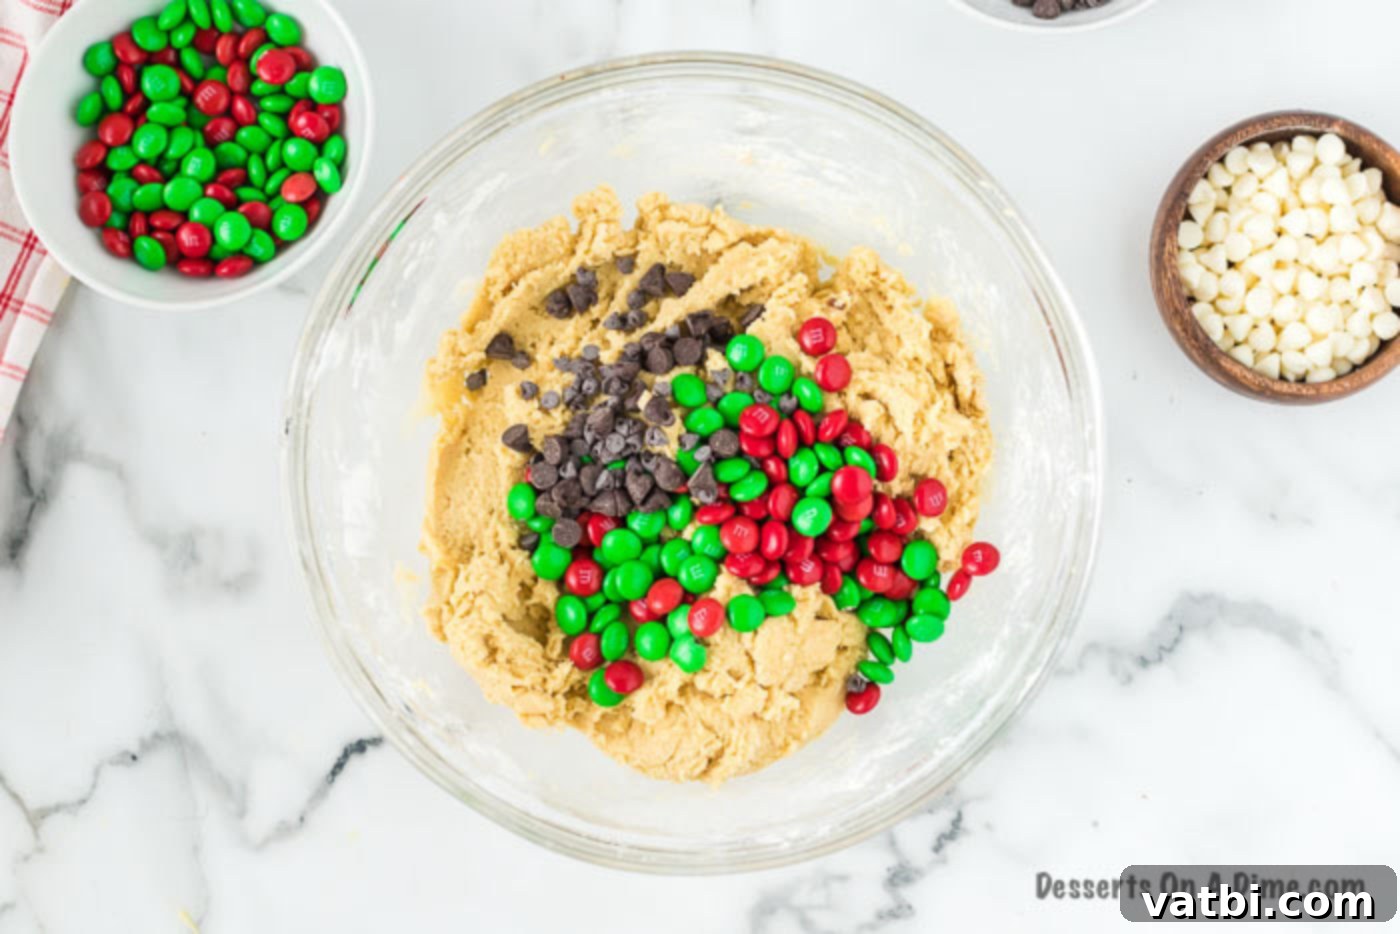
Step 5 – Fold in half of the mix-ins: Now it’s time to add the delicious chunky bits! Carefully add in approximately half of the Christmas M&M’s and half of the semi-sweet chocolate chips (making sure to reserve the remaining quantities for topping later). Using a spatula, gently fold these delightful additions into the cookie dough by hand. This gentle mixing technique ensures that the M&M’s do not break apart excessively and that both the M&M’s and chocolate chips are evenly distributed throughout the dough without any risk of overworking the delicate batter.
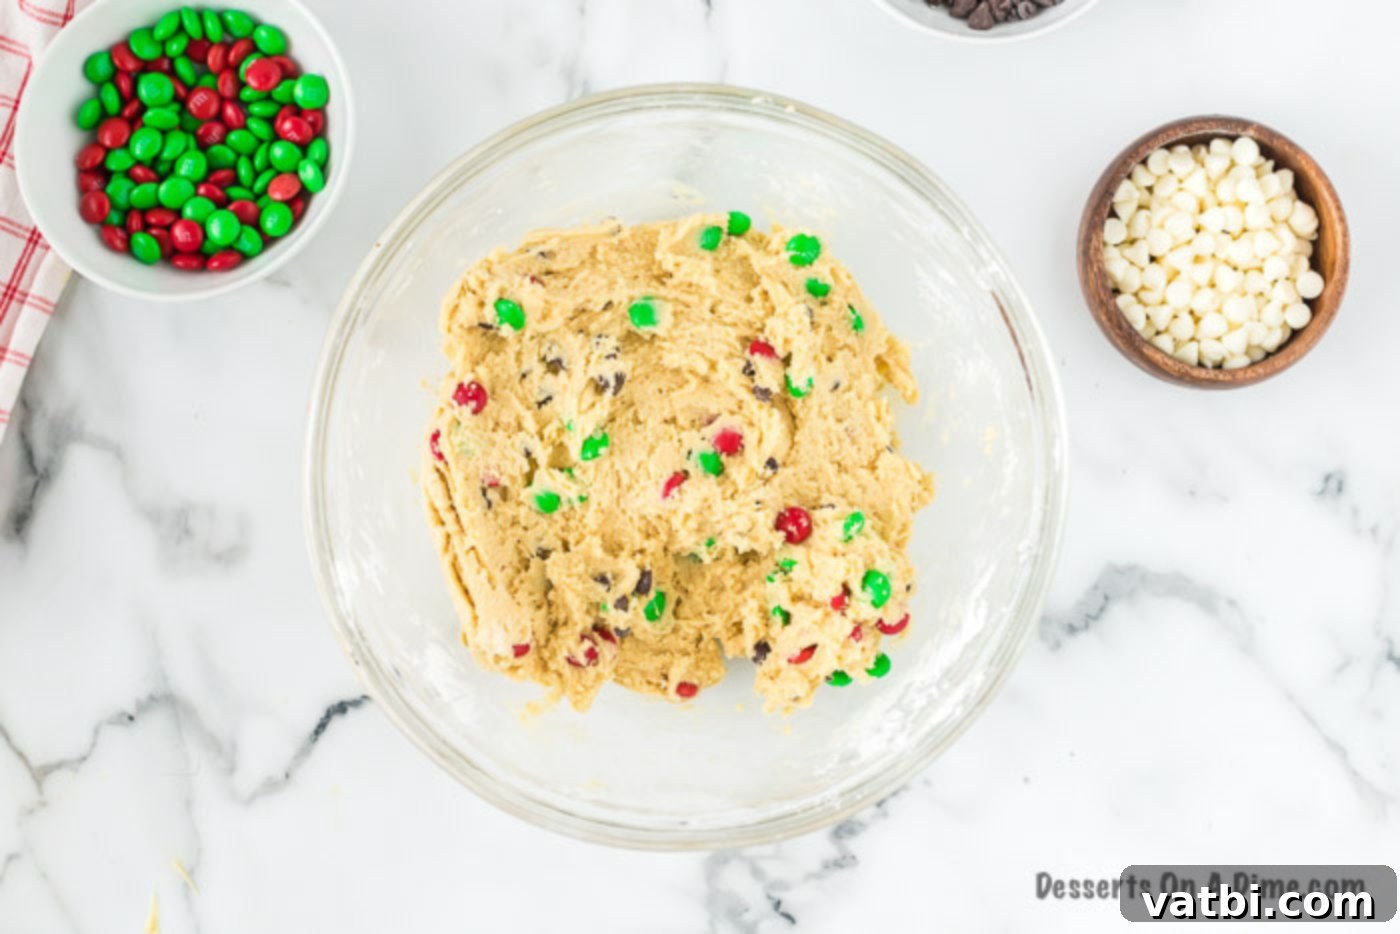
Step 6 – Verify complete combination: Continue to gently mix the cookie dough by hand until you can visually confirm that everything is perfectly combined and evenly distributed throughout the dough. The ultimate goal here is to achieve an even dispersion of the M&M’s and chocolate chips, ensuring that each bite of your baked bar will be packed with flavor and texture, all while avoiding crushing the candies or, critically, overmixing the batter.
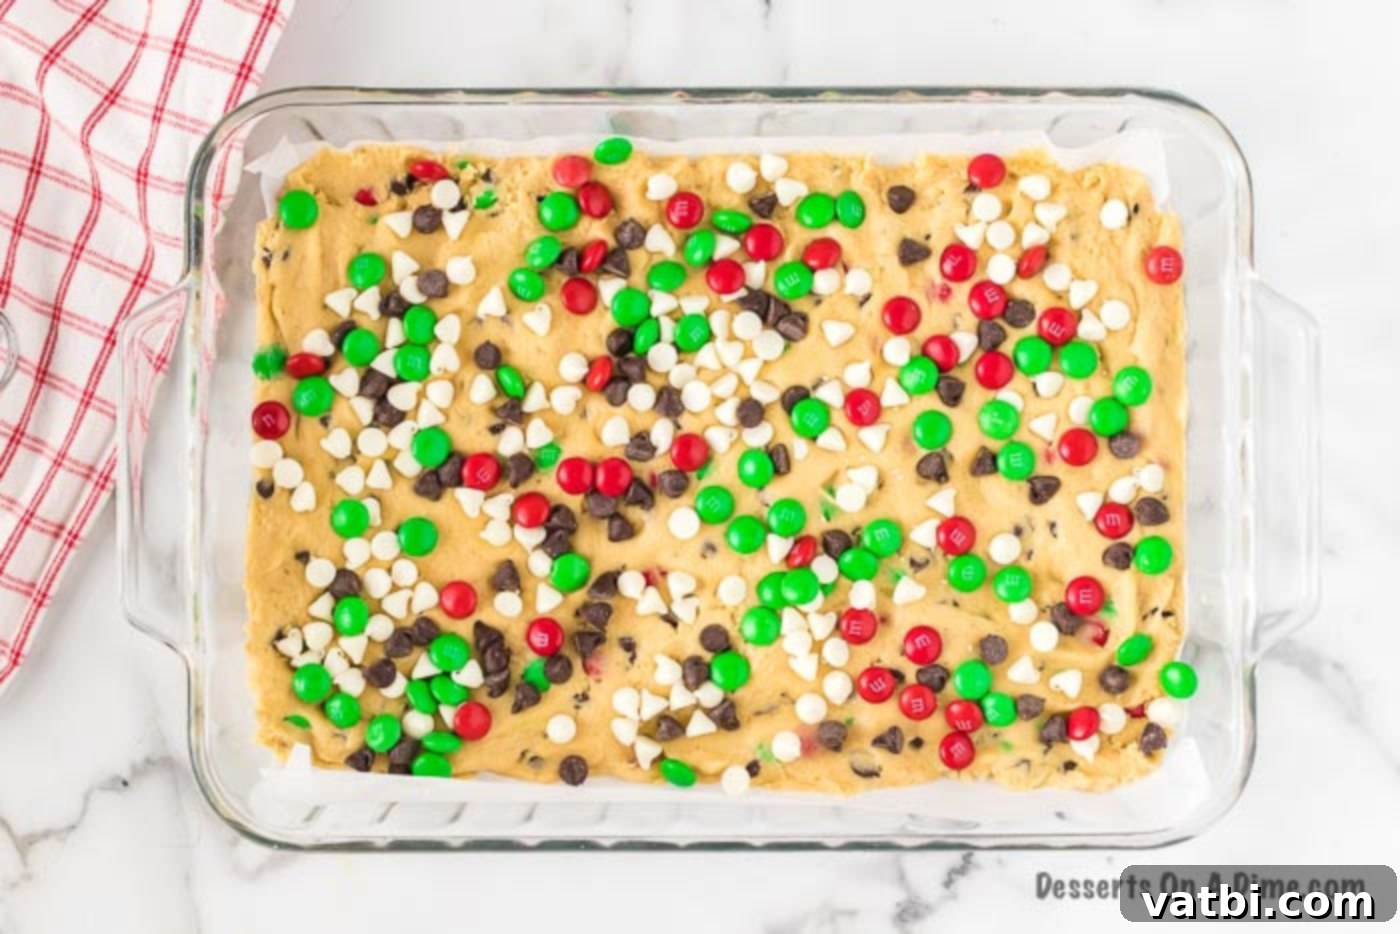
Step 7 – Press dough into the baking pan: Carefully transfer the entirety of your prepared cookie dough into the lined 9×13 inch baking pan. Using your hands (you might find it helpful to lightly dampen them to prevent sticking) or the back of a sturdy spatula, gently but firmly press the dough evenly into the bottom of the pan. Ensure that the dough is spread smoothly to all corners of the pan and possesses a uniform thickness across its entire surface. This meticulous step is vital for ensuring even baking and consistent texture in every single cookie bar.
- Step 8 – Top with remaining M&M’s and chocolate chips: Now for the eye-catching and deliciously festive finishing touch! Evenly sprinkle the remaining Christmas M&M’s, the rest of the semi-sweet chocolate chips, and all of the white chocolate chips generously over the top of the pressed cookie dough. Once they are scattered to your liking, gently press them down into the dough just a little. This light pressing helps them to adhere firmly during the baking process and ensures they don’t fall off once baked, creating a beautifully appealing and irresistible top layer for your bars.
- Step 9 – Bake until lightly golden brown: Carefully place the baking pan into your precisely preheated oven and bake for approximately 35 to 40 minutes. It’s important to note that the exact baking time may vary slightly depending on the specific calibration and quirks of your oven, so keep a close eye on your bars as they bake. You are aiming for the edges to be beautifully lightly golden brown, and the center should appear set with a slight, gentle wobble when the pan is lightly shaken. It is crucial to avoid overbaking, as this can lead to dry and less chewy bars. A toothpick inserted into the center might still have a few moist crumbs attached, which is actually a perfect indicator for gooey, chewy bars.
- Step 10 – Cool completely, then cut and serve: Once baked to perfection, carefully remove the pan from the oven and place it on a wire rack to cool completely. This step is absolutely crucial for achieving clean, firm, and beautifully defined slices. Attempting to cut hot or even warm cookie bars will almost certainly result in a crumbly, messy outcome. Allow them to cool thoroughly (this might take an hour or two, or even longer if it’s warm in your kitchen). Once completely cooled, use the parchment paper overhang to gently lift the entire slab of cookie bars out of the pan. Transfer it to a clean cutting board, use a large, sharp knife to cut into your desired bar sizes, and then serve and joyfully enjoy these wonderfully festive and homemade treats!
Expert Tips for the Best Christmas Cookie Bars
Achieving bakery-quality, perfectly chewy, and irresistibly gooey Christmas cookie bars at home is entirely within your reach with these insightful professional tips and tricks:
- Accurate Flour Measurement is Paramount: As previously emphasized, precision when measuring flour can genuinely make or break the texture of your cookie bars. Always employ the tried-and-true spoon and level method: gently spoon flour into your measuring cup until it overflows, then carefully level off the excess with a straight edge, such as the back of a butter knife. Never scoop flour directly from the bag with your measuring cup, as this action can compact the flour significantly, leading to adding up to 25% more flour than intended. This common mistake will result in undesirably dry, dense, and potentially tough cookie bars.
- Choosing the Optimal Baking Dish Size: For this specific recipe, we highly recommend utilizing a standard 9×13 inch baking pan, which consistently yields bars of a perfect, satisfying thickness. However, if you have a preference for either thicker or thinner bars, you can certainly adjust the pan size accordingly. Keep in mind that using a smaller pan will naturally result in thicker bars, which will almost certainly require a slightly longer baking time. Conversely, a larger pan will produce thinner bars that will bake more quickly. Always vigilantly monitor your bars for signs of doneness and adjust baking times as necessary.
- Embracing Disposable Pans for Convenience: If you are planning to generously share these delightful cookie bars by taking them to a holiday party, a potluck, or presenting them as thoughtful gifts, consider an intelligent two-step approach. Bake the bars initially in a regular, sturdy pan, then, crucially, transfer them to a disposable aluminum dish or a festive cookie tray *after* they have had ample time to cool completely. This smart strategy prevents your cherished bakeware from potentially getting lost or damaged and makes transportation incredibly easy and stress-free.
- Mind the M&M’s Quantity for Ideal Baking: While the temptation to overload your cookie bars with extra M&M’s might be strong, it’s genuinely important to adhere closely to the recommended amount specified in the recipe. Adding an excessive quantity of M&M’s can inadvertently interfere with the cookie dough’s fundamental ability to bake evenly and set properly, sometimes leading to bars that are either greasy, crumbly, or, frustratingly, do not cook through entirely in the center. Maintaining a good, balanced ratio ensures optimal flavor, texture, and a beautifully baked product.
- The Unsung Magic of Parchment Paper: Lining your baking dish with parchment paper is a deceptively simple yet profoundly beneficial step. It acts as an invaluable barrier, preventing the cookie bars from sticking tenaciously to the pan, thereby ensuring the effortless removal of the entire baked slab. This brilliant trick makes cutting into neat, uniform, and attractive bars significantly simpler and dramatically speeds up cleanup, as your baking pan will be practically spotless afterward.
- Cooling Completely is Crucial for Clean Cuts: Patience, while often difficult, truly is a supreme virtue, especially when it pertains to cooling cookie bars. Rigorously resist the impulse to cut into them while they are still warm or even slightly warm. Warm bars possess a soft and crumbly consistency, making them exceptionally difficult to slice cleanly and neatly. Allowing them to cool completely on a wire rack enables the bars to fully set and firm up, thereby guaranteeing beautifully defined edges and that perfect, satisfyingly chewy texture.
- Avoid the Pitfalls of Overbaking: Overbaking is the arch-nemesis of deliciously gooey, wonderfully chewy cookie bars. Begin diligently checking for signs of doneness approximately around the 30-minute mark of baking. The edges should exhibit a lovely, lightly golden-brown hue, and the center should appear visibly set but still retain a slight, subtle give or softness when gently pressed. If a wooden toothpick or cake tester inserted into the very center emerges with a few moist crumbs clinging to it, that is usually the perfect indicator for a soft, delightfully chewy bar.
- Techniques for Achieving Perfect Slices: Once your cookie bars have completely cooled, utilize a large, exceptionally sharp knife to make your cuts. For achieving extra-clean and precise cuts, a clever trick is to wipe the knife blade with a damp cloth or run it under very hot water and then thoroughly dry it between each individual slice. This technique significantly helps prevent sticking and keeps your bars looking impeccably professional and inviting.
Storing Your Delicious Cookie Bars
Proper storage techniques are absolutely essential to keep your festive Christmas Cookie Bars tasting fresh and wonderfully delicious for as long as humanly possible. Once the bars have thoroughly cooled down to room temperature, you can confidently store your delightful leftovers. The best method is to place them in an airtight container, ensuring no air can compromise their texture, or alternatively, wrap them completely and snugly in plastic wrap on a cookie tray. When stored correctly and diligently, these bars will remarkably maintain their wonderful taste, gooey texture, and overall quality for approximately a week, making them an ideal treat for enjoying throughout the entire holiday week or for effortlessly serving to unexpected last-minute guests.
How to Freeze Christmas Cookie Bars
Christmas Cookie Bars are an absolutely excellent candidate for freezing, which proves to be perfect for both strategic make-ahead holiday baking and for cleverly extending their delicious enjoyment well beyond the immediate festive season. Freezing allows you the sheer convenience of having a delightful, homemade treat ready to be enjoyed at a moment’s notice, making holiday preparations so much smoother.
For the absolute best results and ease of serving, we highly recommend slicing the completely cooled cookie bars into individual portions *before* you freeze them. This smart approach ensures that you can effortlessly take out only the exact amount you wish to serve at any given time, preventing any potential waste and making portion control wonderfully simple.
To successfully freeze your Christmas Cookie Bars, follow these clear and concise steps:
- Once the bars are completely cool and have been carefully sliced into individual portions, arrange them in a single, non-overlapping layer on a baking sheet. Ensure there is a little space between each bar.
- Place the baking sheet, with the individually arranged bars, into your freezer for approximately one hour, or until each individual bar is firm and solid to the touch. This crucial step, commonly known as flash-freezing, effectively prevents the bars from sticking together in an unmanageable clump when you transfer them to a larger storage container later.
- Once thoroughly flash-frozen, gently transfer the now firm cookie bars into a designated freezer-safe airtight container or a heavy-duty, robust freezer bag. For an extra layer of protection and to absolutely ensure they don’t stick, you can place small pieces of parchment paper between individual layers of bars if stacking.
- Stored diligently and properly in this manner, your frozen Christmas Cookie Bars will maintain their fresh taste, wonderful texture, and overall deliciousness in the freezer for up to 2 months.
When you’re ready to indulge or entertain, simply remove the desired number of frozen bars from their container and allow them to thaw gracefully at room temperature on the counter for approximately 30-60 minutes, or until they have reached a delightfully soft and chewy consistency. They will remarkably taste just as fresh and flavorful as the very day you lovingly baked them! Enjoy a convenient and delightful taste of Christmas any time you desire!
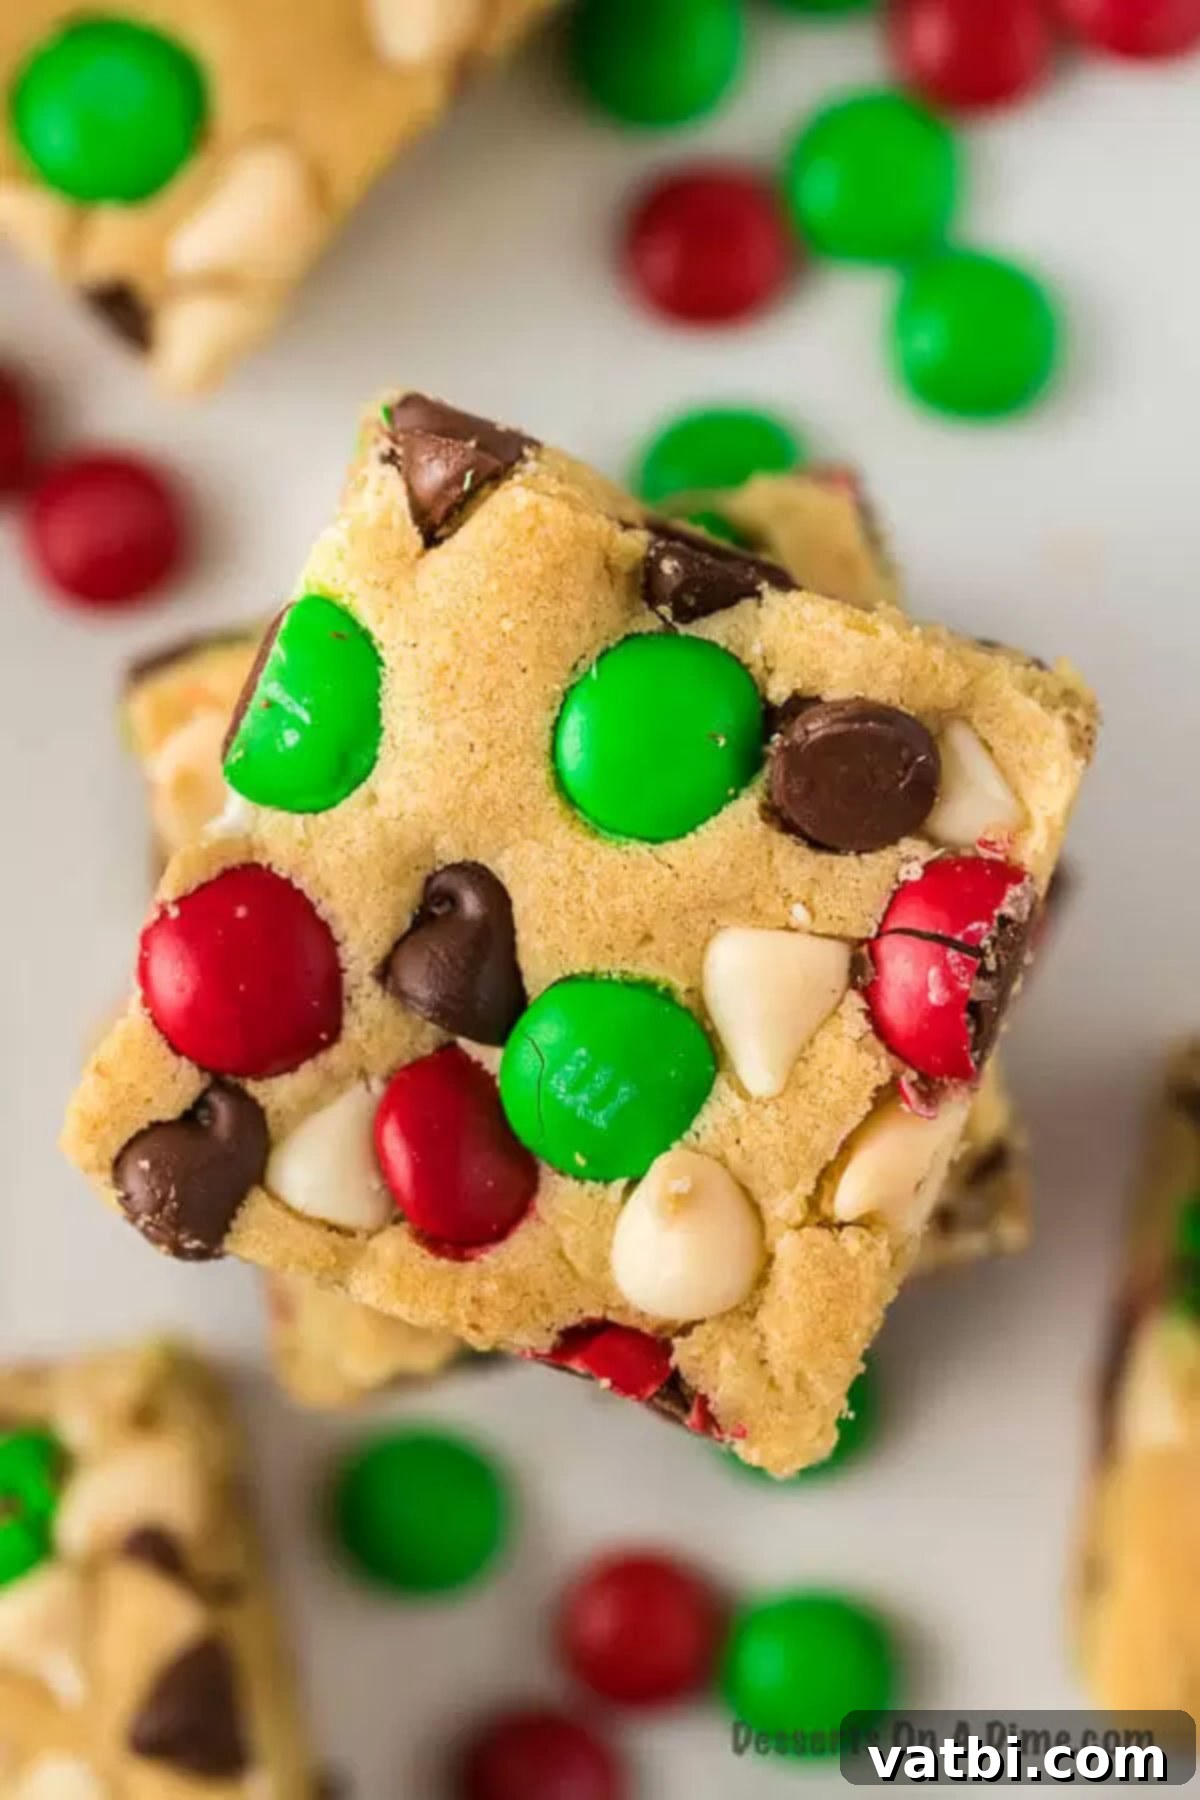
Discover More Festive Christmas Cookies
The holiday season is truly the most wonderful and eagerly anticipated time for baking, filled with joy and delicious aromas! If you’ve thoroughly enjoyed making and sharing these delightful Christmas Cookie Bars, you’ll undoubtedly love exploring some of our other cherished and equally festive Christmas cookie recipes. Each of these recipes offers a unique flavor profile and a distinct festive spirit, making them perfect additions to your diverse holiday dessert platter:
- Easy Christmas Pinwheel Cookies Recipe: These visually stunning cookies, with their mesmerizing swirls of color, are surprisingly easy to make and offer a delightful combination of visual appeal and delicious flavor that will impress any guest.
- Christmas Cake Mix Cookies Recipe: For those seeking the ultimate in convenience without having to sacrifice a single ounce of delicious flavor, these cookies utilize a simple cake mix base, allowing for incredibly quick and consistently delightful results, perfect for busy holiday schedules.
- Magic Cookie Bars: Prepare for a truly magical dessert experience with these legendary bars, featuring tantalizing layers of sweet coconut, rich chocolate chips, and crunchy nuts, all baked to perfection on a satisfying graham cracker crust.
- Christmas Sugar Cookie Bar Recipe: If your heart belongs to classic sugar cookies but you prefer the effortless ease of baking in bar form, then this recipe is unequivocally for you. These bars are not only simple to make but also perfectly primed for creative frosting and elaborate decorating, inviting all ages to participate in the holiday fun!
- Christmas Sprinkle Cookies: These cookies are elegantly simple, incredibly cheerful, and bursting with a joyous riot of colorful sprinkles. They are an absolute delight for both the enthusiastic bakers who create them and the happy eaters who savor every single bite.
- Make sure you thoroughly explore all our extensive collection of Christmas desserts too, for a truly complete and inspiring collection of sweet holiday ideas that will make your festive season even more memorable and delicious!
We absolutely love hearing from you and seeing all your wonderful homemade creations! If you decide to make these festive Christmas Bar Cookies, please don’t hesitate to share your valuable thoughts, leave a thoughtful comment below, or provide a star review. Your feedback not only brightens our day but also greatly assists us and inspires other home bakers in their culinary adventures. Happy baking and joyous eating!
Pin
Christmas Cookie Bars
Ingredients
- 1 cup Unsalted Butter softened at room temperature
- ½ cup Granulated Sugar
- ½ cup Brown Sugar
- 3 large eggs room temperature
- 2 tsp Vanilla Extract pure is best
- 3 cups All-Purpose Flour
- 1 teaspoon Baking Soda
- 1 teaspoon Salt
- 1 cup Christmas M&Ms divided
- 1 cup Semi-Sweet Chocolate Chips divided
- ½ cup White Chocolate Chips
Instructions
-
Preheat oven to 350 degrees F (175°C).
-
Line a 9X13 inch baking pan with parchment paper, leaving an overhang on the longer sides for easy lifting, or spray thoroughly with a non-stick cooking spray.
-
In a large bowl, beat together the softened unsalted butter, granulated sugar, and brown sugar with a hand-held mixer or stand mixer until well combined, light, and fluffy (about 2-3 minutes), scraping down the sides of the bowl as needed.
-
Add in the room temperature eggs one at a time, beating well after each addition. Stir in the vanilla extract and continue to beat until thoroughly combined and smooth.
-
In a separate bowl, whisk together the all-purpose flour, baking soda, and salt. Gradually add these dry ingredients to the wet mixture, mixing on low speed or by hand until just combined and no flour streaks remain. Be careful not to overmix the dough.
-
Gently fold in half of the Christmas M&Ms and half of the semi-sweet chocolate chips by hand using a spatula, ensuring they are evenly distributed throughout the dough.
-
Transfer the cookie dough into the prepared 9X13 inch pan. Use your hands or a spatula to press the dough evenly into the bottom of the pan, spreading it to all corners for a uniform thickness.
-
Evenly scatter the remaining M&Ms, semi-sweet chocolate chips, and all the white chocolate chips on top of the dough. Gently press them down slightly into the cookie dough to ensure they adhere during baking.
-
Bake for 35 to 40 minutes, or until the edges are lightly golden brown and the center appears set with a slight wobble. Avoid overbaking to keep them soft and chewy.
-
Remove from the oven and let cool completely on a wire rack in the pan. Once fully cooled, use the parchment paper to lift the entire slab of cookie bars out. Place on a cutting board, slice into desired bar sizes, and serve. Enjoy your festive homemade treat!
Nutrition Facts
Pin This Now to Remember It Later
