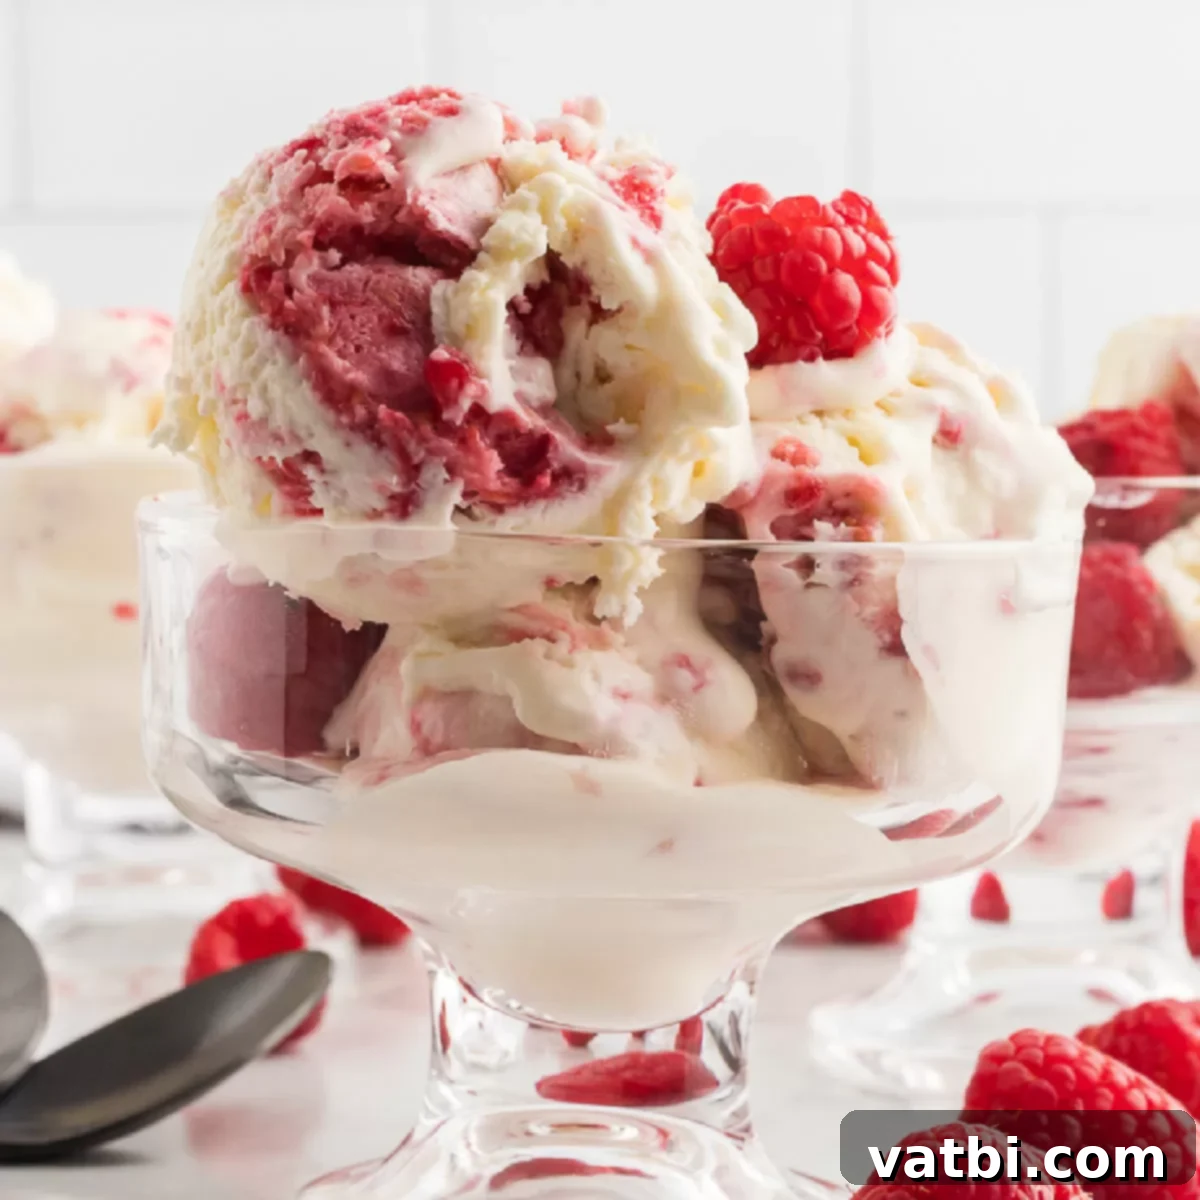
Decadent No-Churn White Chocolate Raspberry Ice Cream: Your Easy Homemade Treat
Indulge in the luxurious flavors of homemade ice cream without the need for any special equipment! This No-Churn White Chocolate Raspberry Ice Cream recipe delivers a rich, creamy texture infused with the delicate sweetness of white chocolate and vibrant, tangy ribbons of fresh raspberry puree. It’s an incredibly simple yet impressively delicious dessert that will quickly become a favorite.
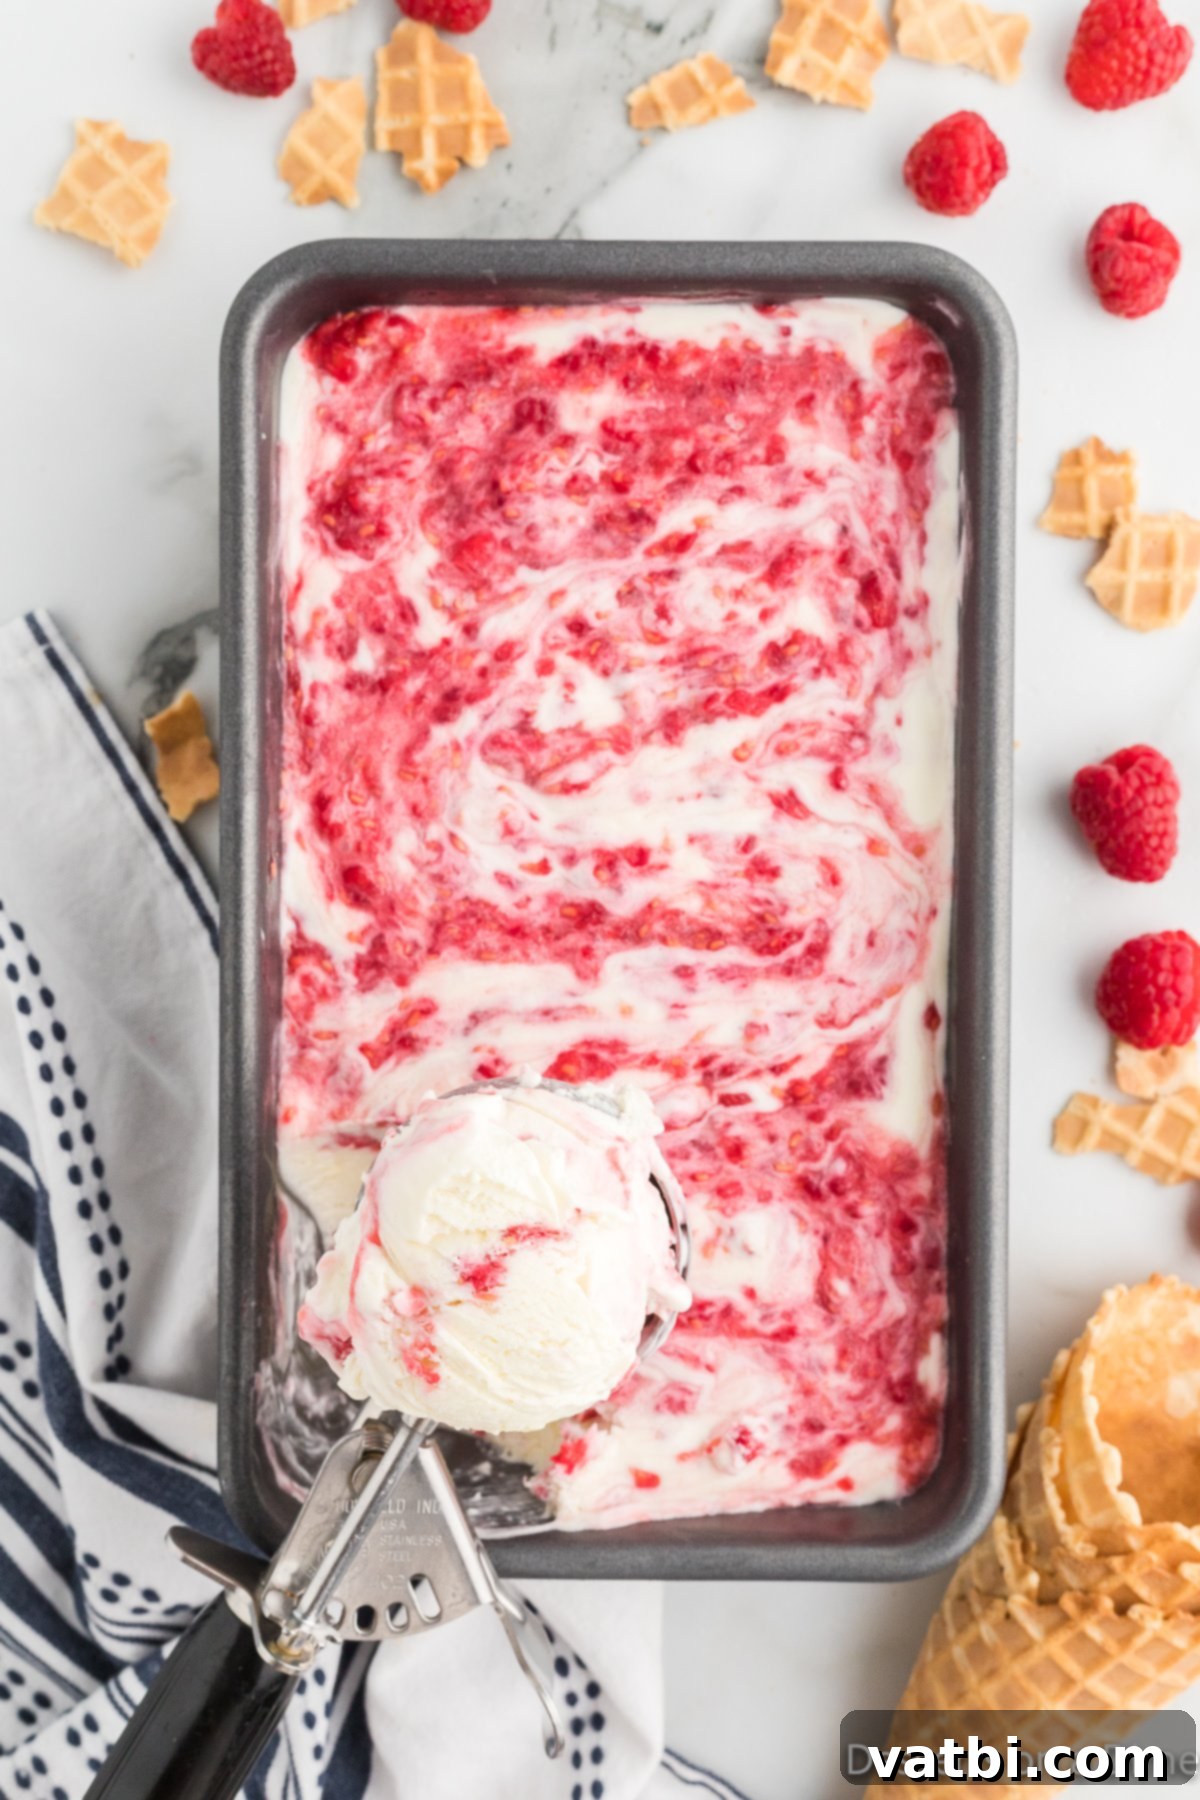
The exquisite combination of a luscious raspberry swirl, rich white chocolate chunks, and a velvety smooth ice cream base creates a truly irresistible treat. This homemade ice cream experience requires only a few basic ingredients and, as the “no-churn” name suggests, absolutely no ice cream machine is needed. It’s a fantastic addition to any collection of Delicious Raspberry Desserts and a perfect choice for satisfying those sweet cravings.
If you’re a fan of premium ice cream brands, particularly the popular White Chocolate Raspberry Truffle Ice Cream, you’ll find this recipe to be an outstanding homemade alternative. The natural, vibrant flavors of fresh raspberries beautifully intertwine with the sweet, creamy notes of white chocolate, resulting in a harmonious and delightful blend. Not only is it a breeze to prepare, but it also opens the door to a world of easy homemade frozen desserts. Be sure to explore our other beloved Homemade Peach Ice Cream and S’mores Ice Cream Recipe for more no-churn inspiration!
Table of Contents
- Why Choose This No-Churn Recipe?
- Essential Ingredients for Perfection
- Customization Ideas and Additions
- Step-by-Step Guide to Creamy Ice Cream
- Storage and Pro Tips
- Frequently Asked Questions
- More No-Churn Ice Cream Recipes
Why Choose This No-Churn Recipe?
There are countless reasons to fall in love with this White Chocolate Raspberry Ice Cream. First and foremost, its simplicity is unmatched. You don’t need expensive equipment or advanced culinary skills to achieve a wonderfully creamy, scoopable texture. The no-churn method relies on just a few common ingredients that, when combined correctly, magically transform into luscious ice cream as it freezes. This means less time fussing with machines and more time enjoying a truly special dessert.
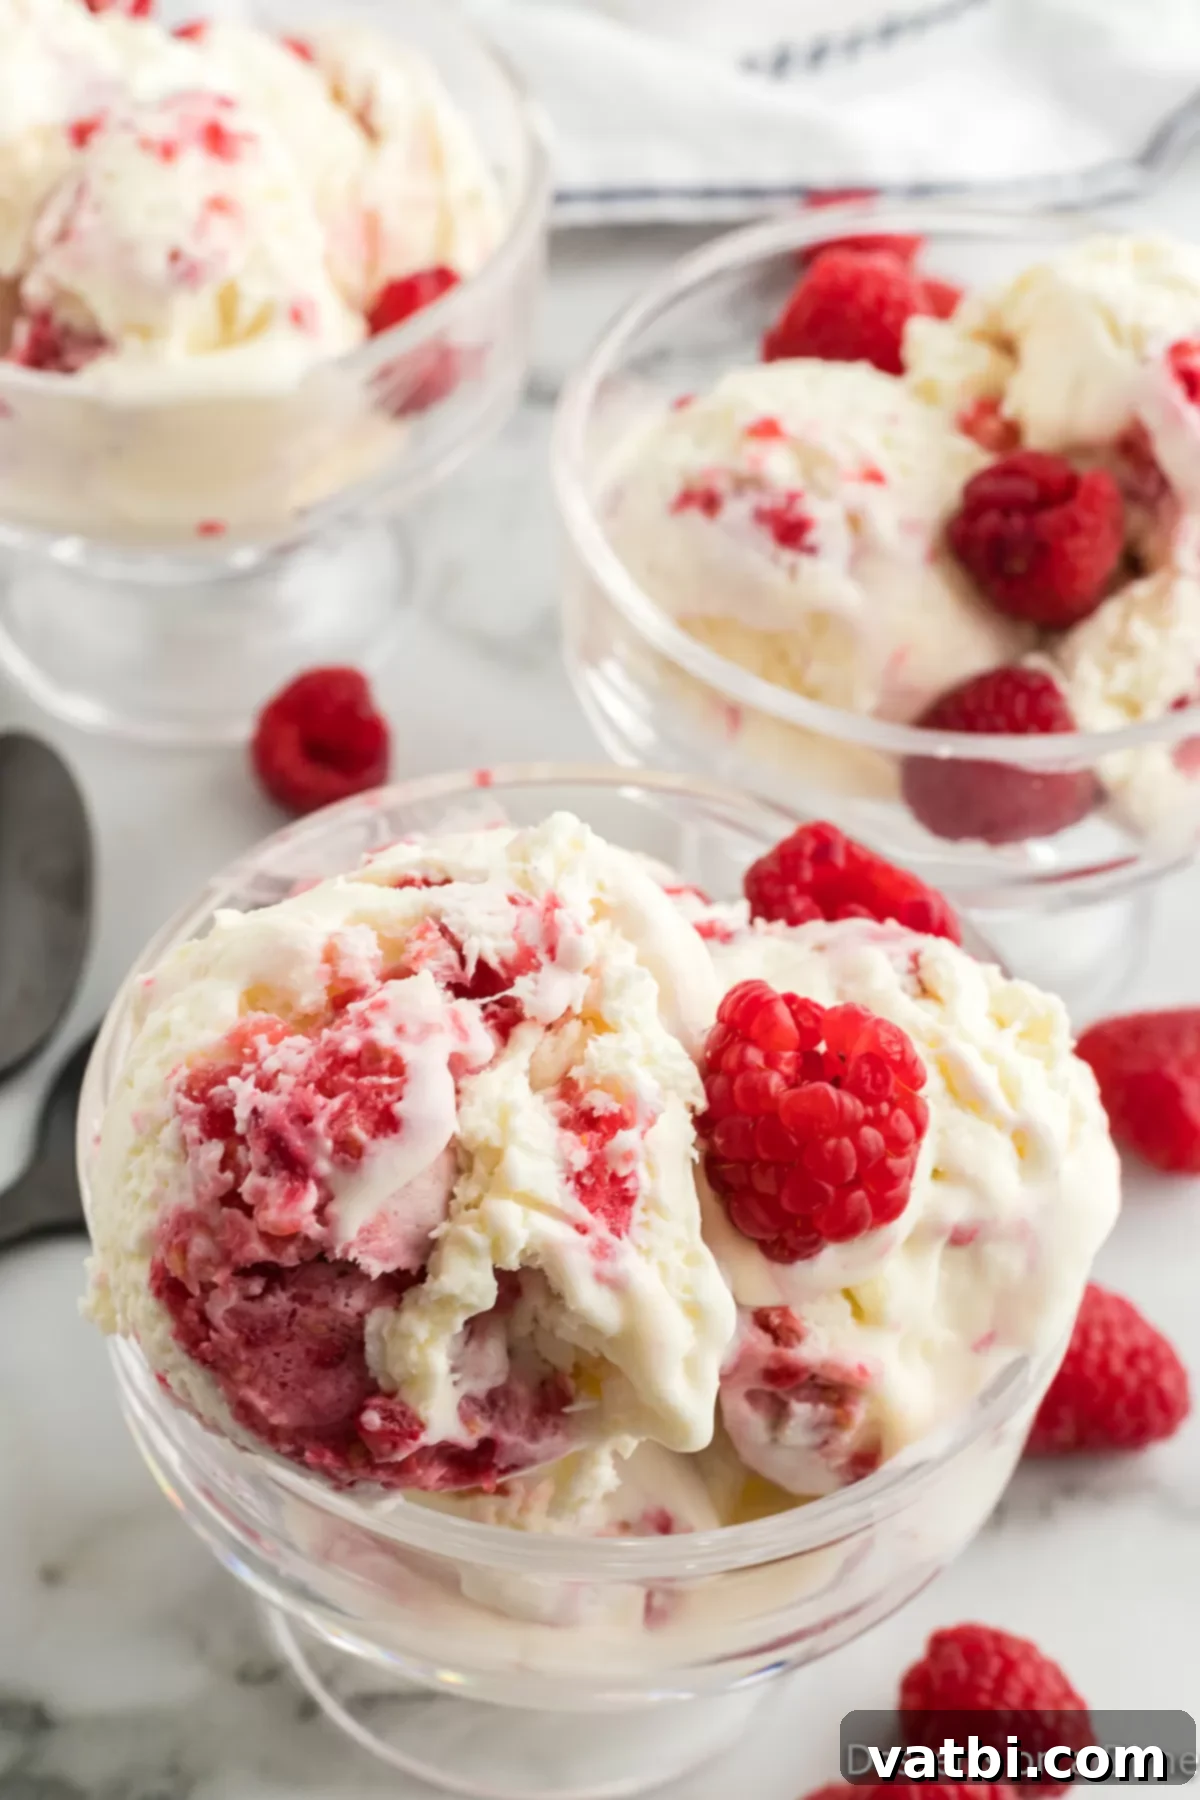
Beyond its ease, the flavor profile is simply divine. We adore serving it in crisp waffle cones, elegant dessert bowls, or even straight from the loaf pan! Whichever way you choose, it promises a burst of sweet white chocolate and tart raspberry in every spoonful. The ingredient list is so straightforward and accessible that once you try this recipe, you’ll likely never opt for a store-bought version again. It’s a perfect dessert for entertaining, a refreshing summer treat, or a comforting indulgence any time of year.
Essential Ingredients for Perfection
Crafting this incredible no-churn ice cream begins with selecting the right ingredients. Each component plays a vital role in achieving that signature rich flavor and smooth texture. Here’s a detailed look at what you’ll need:
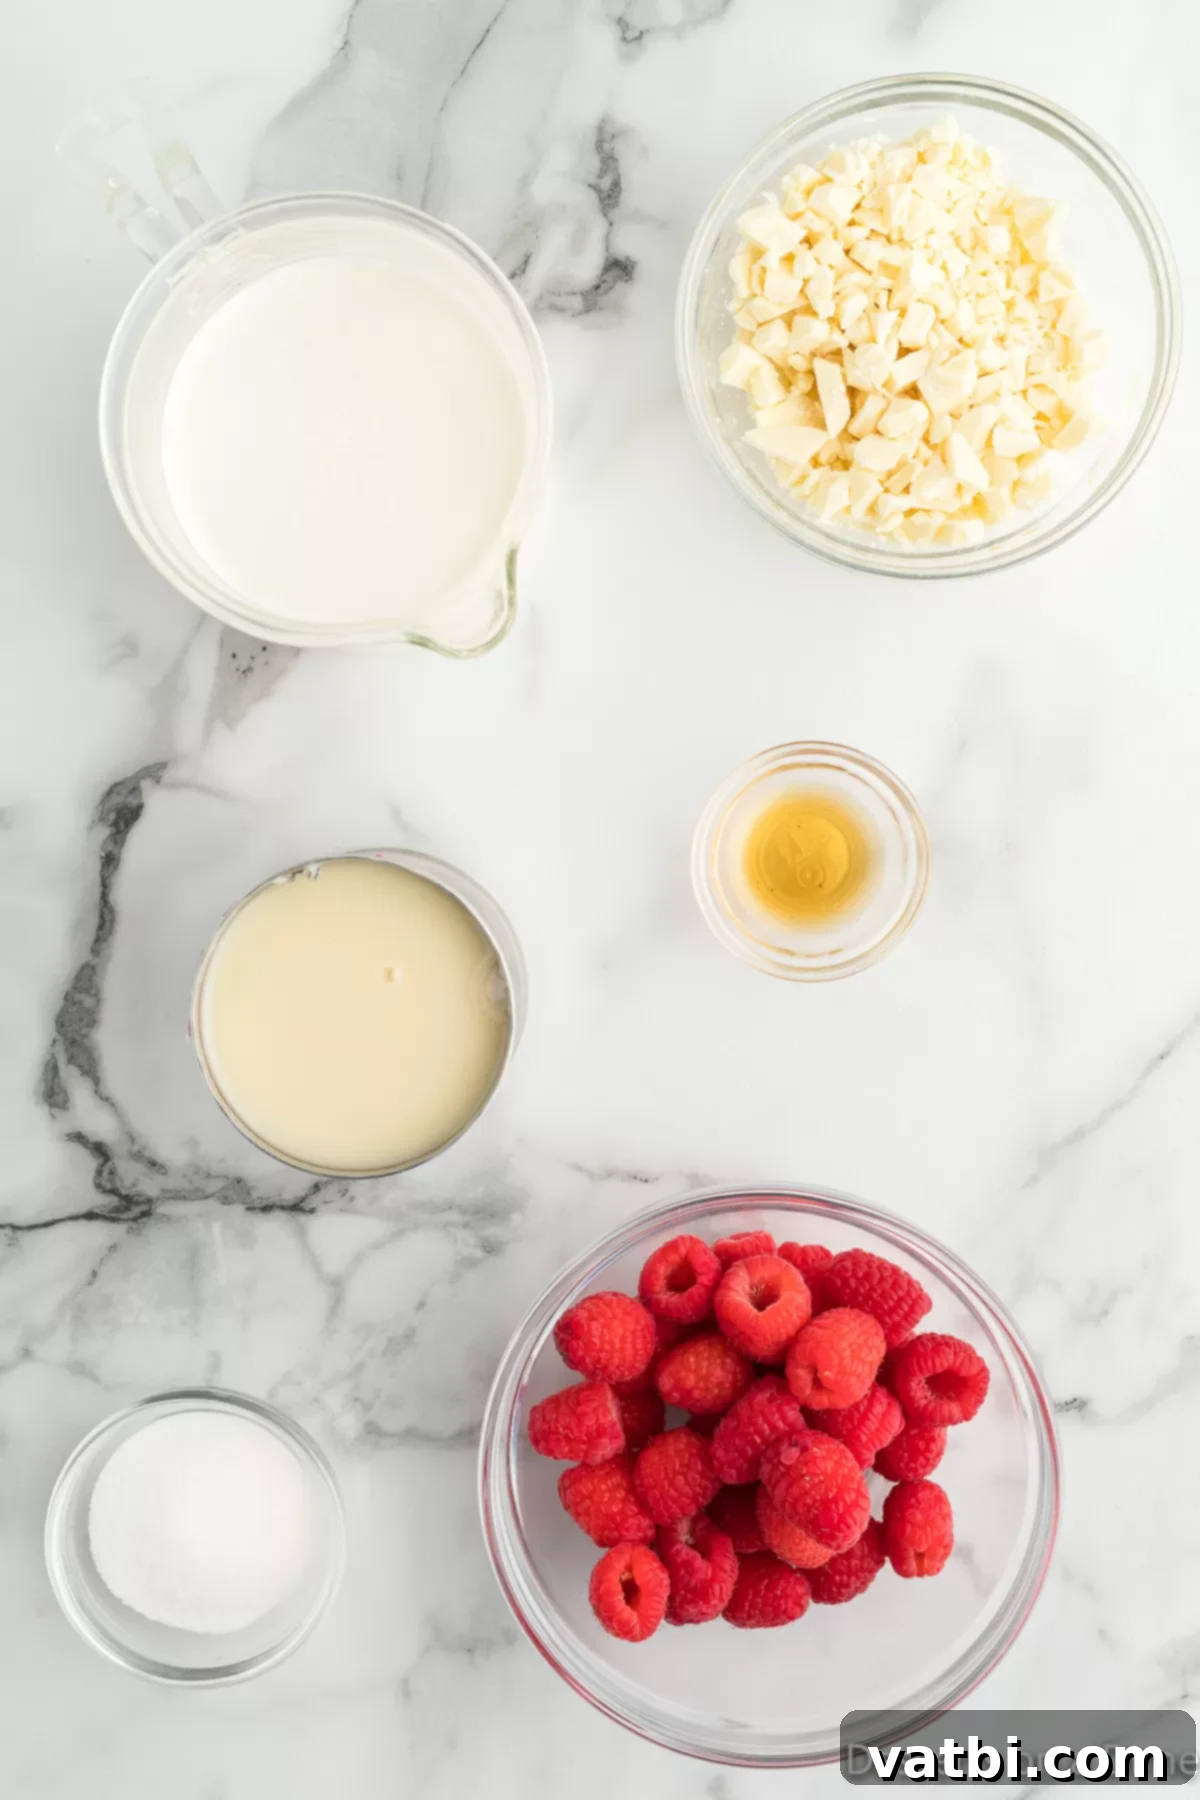
- Heavy Whipping Cream: This is the foundation of our creamy ice cream. It must be very cold to whip properly and achieve the airy, voluminous peaks necessary for the right texture. For best results, keep it in the fridge until the very moment you’re ready to whip it. The high fat content is crucial for the richness and prevents ice crystals from forming, making it exceptionally smooth.
- Fresh Raspberries: For the most vibrant flavor and color in your raspberry swirl, fresh raspberries are highly recommended. Their natural sweetness and tartness are unbeatable. While frozen berries can be used in a pinch for other desserts, for this recipe, fresh truly makes a difference in both taste and consistency of the puree.
- Granulated Sugar: A small amount of granulated sugar is combined with the raspberries to help them macerate and release their juices, creating a delicious, syrupy puree for the swirl.
- Sweetened Condensed Milk: This is the magic ingredient in virtually all no-churn ice cream recipes. Do not substitute it with skim milk or evaporated milk! Sweetened condensed milk provides both the necessary sweetness and a thick, creamy base that eliminates the need for an ice cream maker. Its unique composition helps create the perfect consistency.
- Vanilla Extract: Pure vanilla extract is always preferred over imitation. It enhances all the other flavors, adding a warm, aromatic depth that rounds out the sweetness of the white chocolate and tartness of the raspberries.
- White Chocolate: For the best distribution and melt-in-your-mouth texture, use a high-quality white chocolate bar and finely chop it into small, bite-sized pieces. This ensures that every scoop has delightful pockets of white chocolate goodness. While white chocolate chips can be convenient, chopped bars often melt more smoothly and provide a superior flavor.
You can find the precise measurements for each ingredient, along with the complete recipe, in the recipe card at the bottom of this page.
Customization Ideas and Additions
One of the joys of making homemade ice cream is the freedom to customize it to your heart’s content. This White Chocolate Raspberry Ice Cream serves as a fantastic base for numerous delicious variations:
- Chocolate Chips: If you prefer the convenience of chips or want a different texture, feel free to use white chocolate chips instead of a chopped white chocolate bar. You’re not limited to white chocolate either; experimenting with milk chocolate, dark chocolate chips, or even a delightful combination of two or three types can create a completely new experience.
- Graham Cracker Crumbs: For an added layer of texture and a subtle, buttery flavor reminiscent of cheesecake, sprinkle crushed graham cracker crumbs between the ice cream and raspberry layers. The combination of graham crackers, chocolate, and raspberries creates a harmonious and incredibly satisfying treat.
- Chocolate Sauce: Elevate the chocolate factor by drizzling chocolate fudge or hot fudge sauce over each layer before freezing. This adds an extra punch of rich chocolate flavor and a beautiful visual appeal to your swirl.
- Different Fruits: While raspberries are fantastic, don’t hesitate to substitute them with other fresh berries. Fresh strawberries or blackberries would make excellent alternatives, offering similar tartness and vibrant color. You can also combine different berries for a mixed berry ripple effect.
- Nutty Crunch: For an extra layer of texture and flavor, consider adding finely chopped nuts like almonds, pistachios, or pecans to the mix. Toasting them lightly beforehand will enhance their aroma and crunch.
- Citrus Zest: A hint of lemon or orange zest in the raspberry puree can brighten the flavors even further, adding a refreshing counterpoint to the sweetness.
Step-by-Step Guide to Creamy Ice Cream
Creating this irresistible White Chocolate Raspberry Ice Cream is a straightforward process, broken down into simple, manageable steps. Follow these instructions carefully to ensure a smooth, delicious result every time. Remember, the key is proper preparation and allowing sufficient freezing time.
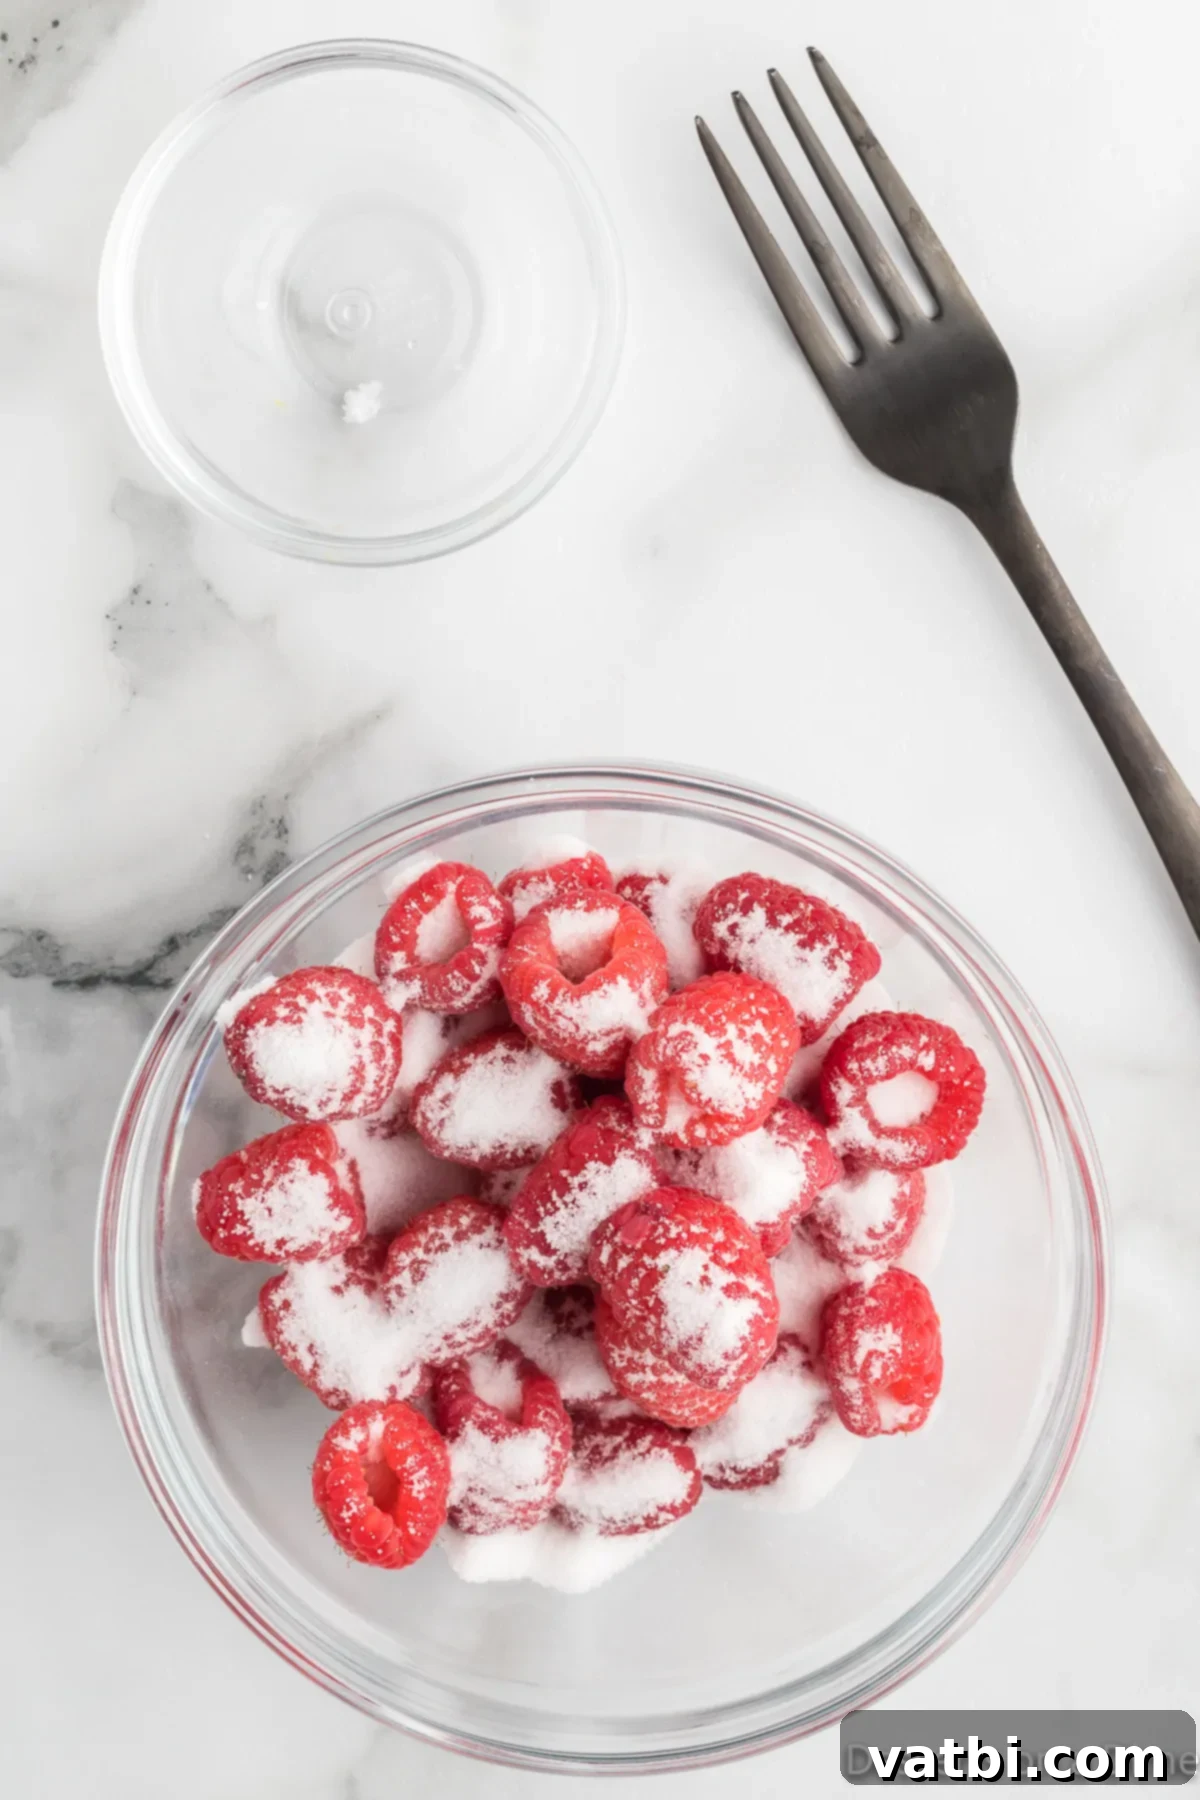
Step 1. Prepare the Raspberry Puree: In a small to medium-sized bowl, gently combine your fresh raspberries with the granulated sugar. Stir them together until the sugar begins to dissolve and coat the berries. This initial step helps to draw out the natural juices from the raspberries, creating a more flavorful puree.
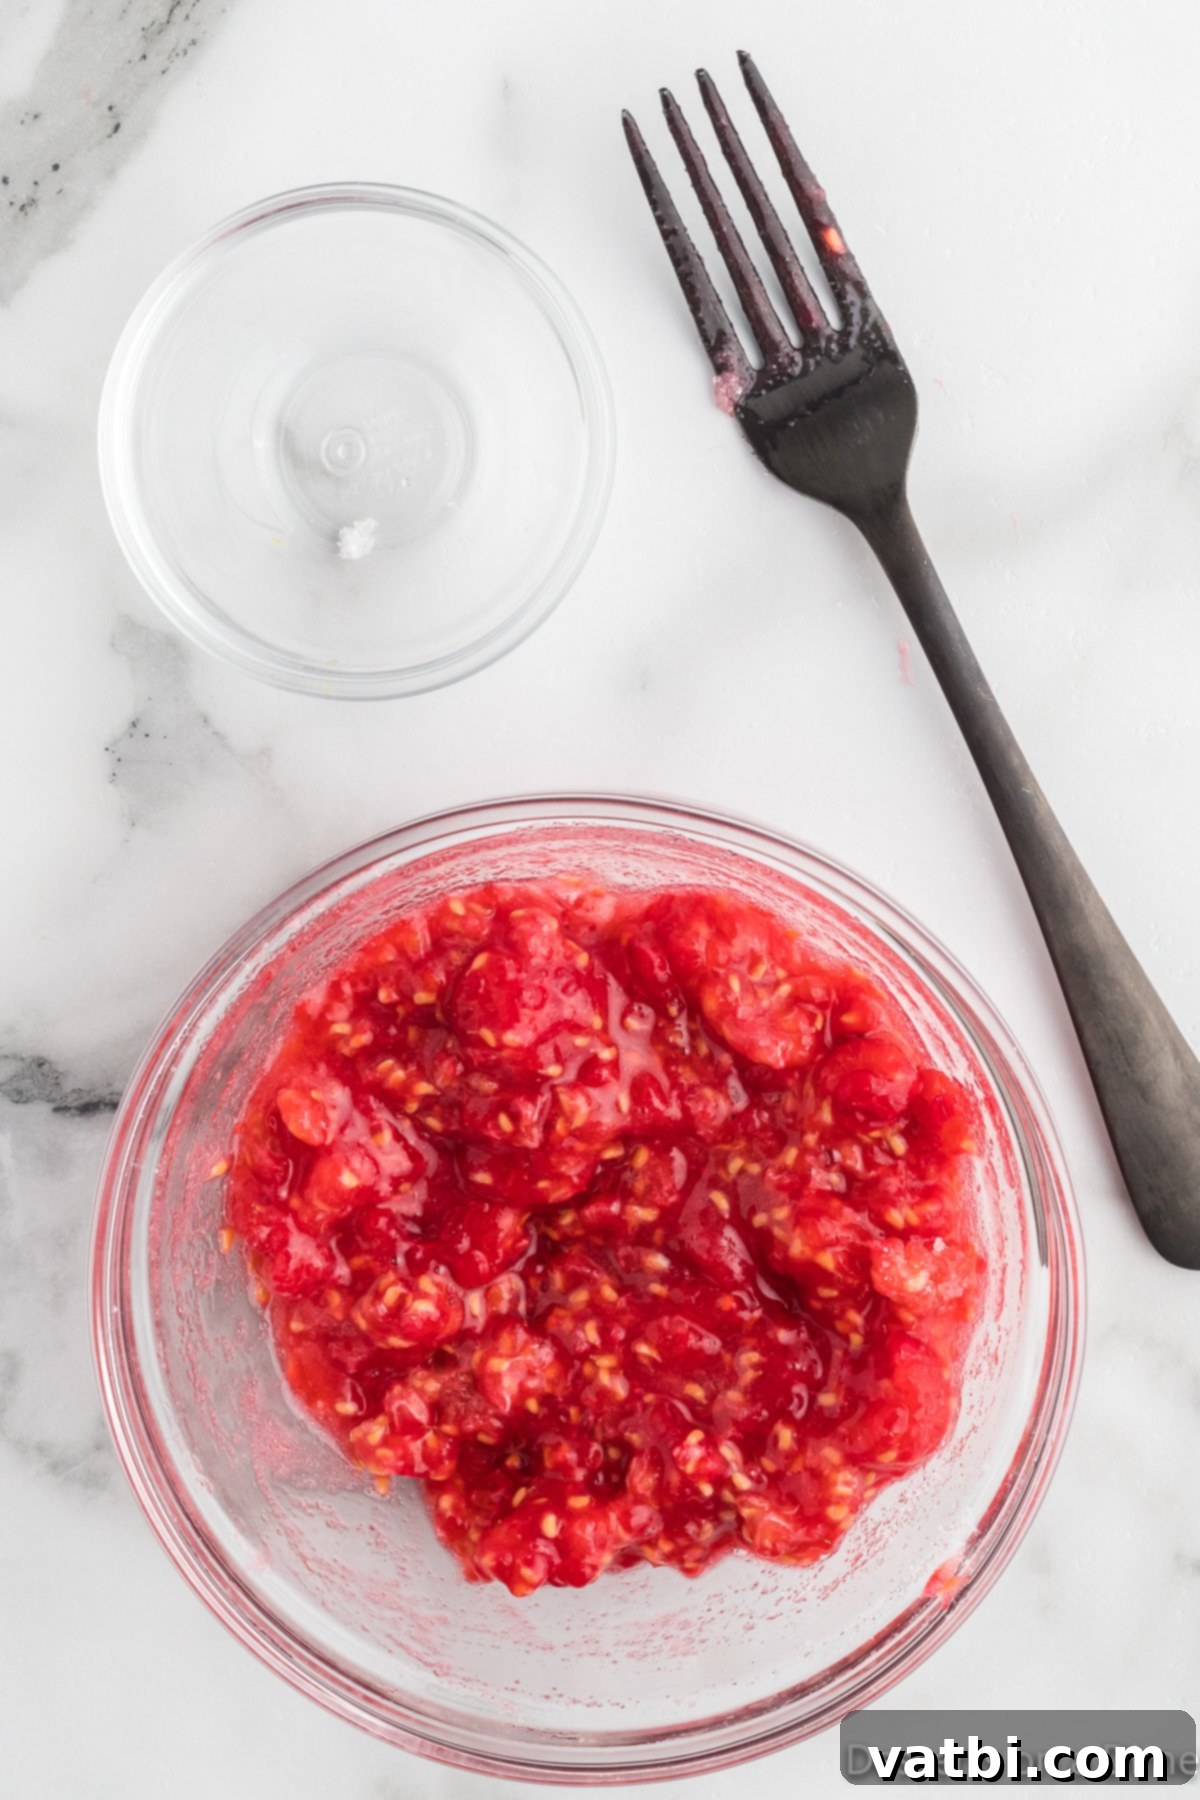
Step 2. Mash the Raspberries: Using a fork or a potato masher, gently mash the raspberries. You want to break up most of the large pieces and release more of their delicious juices. Don’t worry about getting it perfectly smooth; some small chunks of raspberry will add lovely texture to the finished ice cream. Set this aside while you prepare the other components.
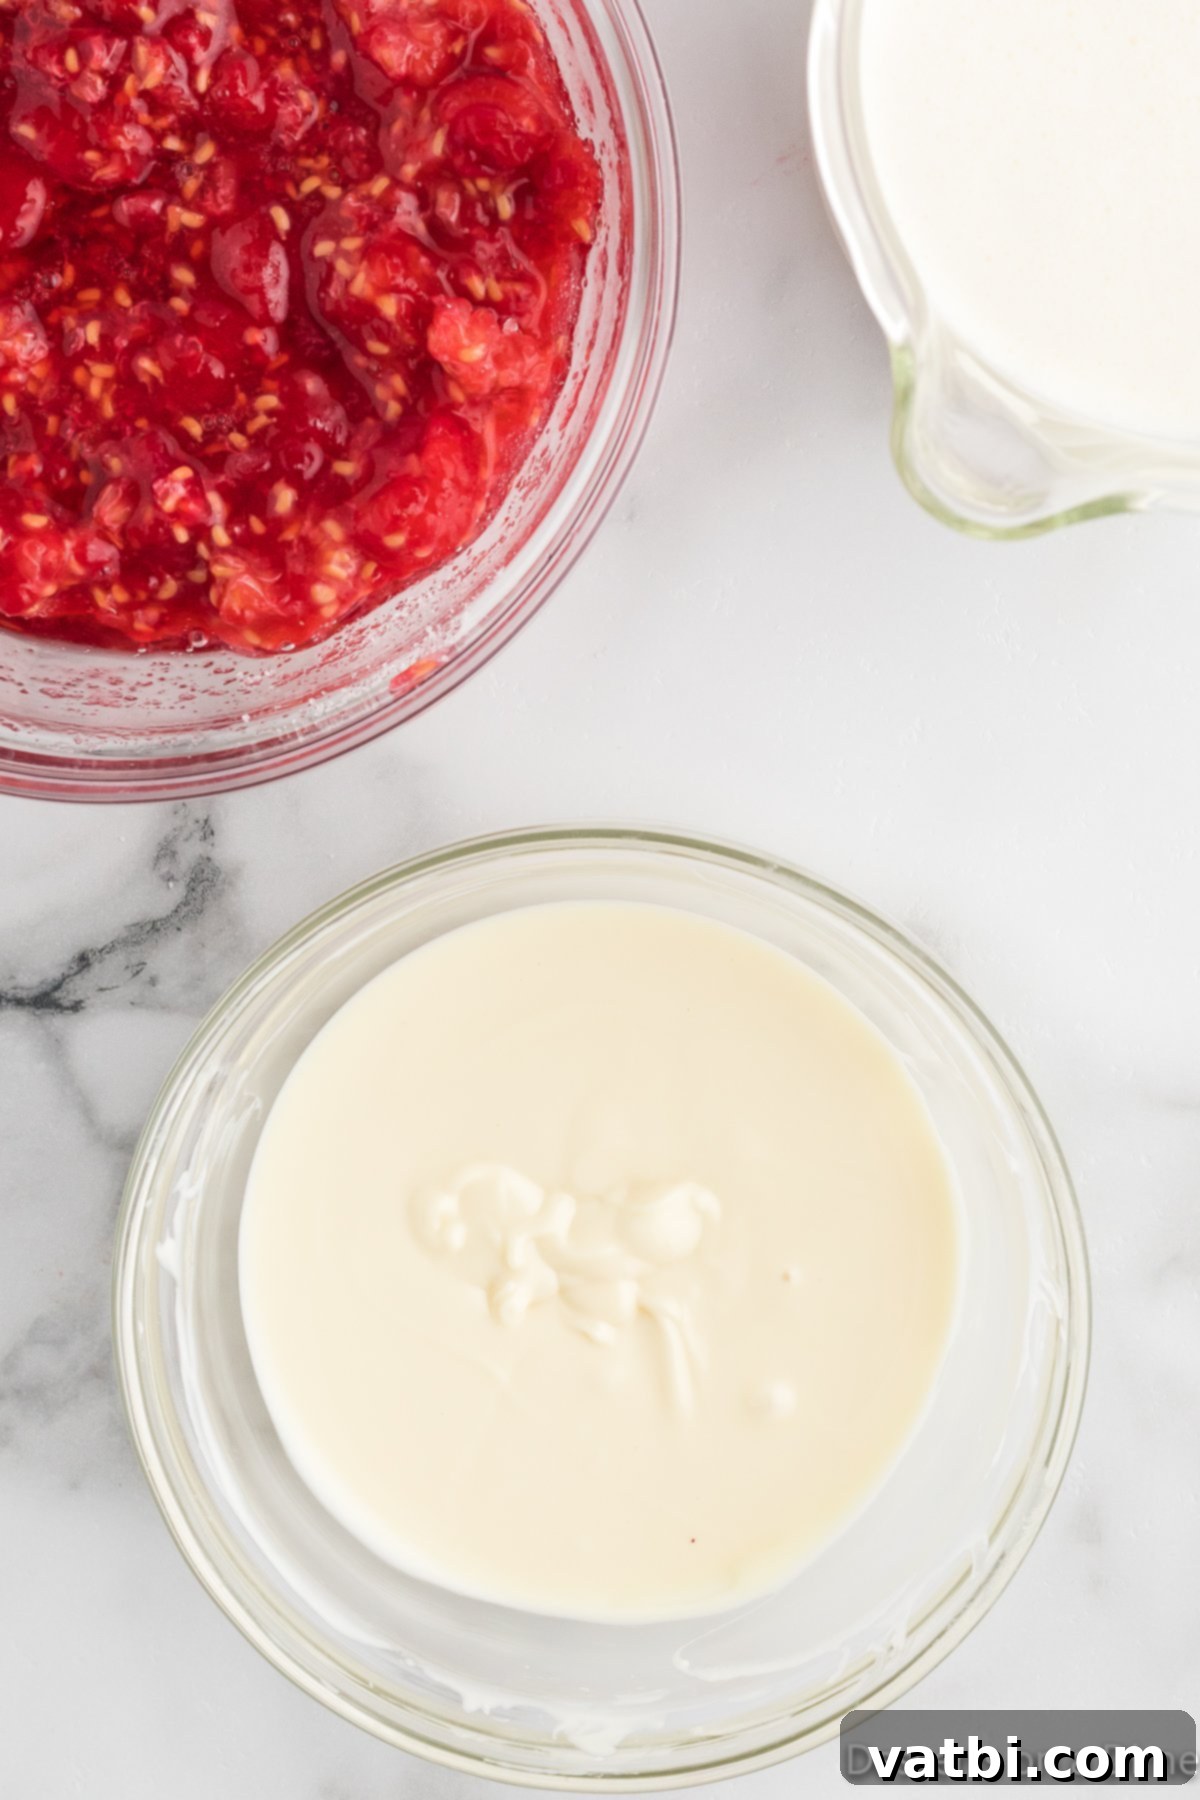
Step 3. Melt the White Chocolate: Place your finely chopped white chocolate into a separate microwave-safe bowl. Heat it in short intervals of 20 seconds, stirring thoroughly after each interval. White chocolate can seize easily if overheated, so take your time. Continue until the chocolate is completely melted and smooth. Once melted, set it aside and allow it to cool slightly before incorporating it into the cream mixture.
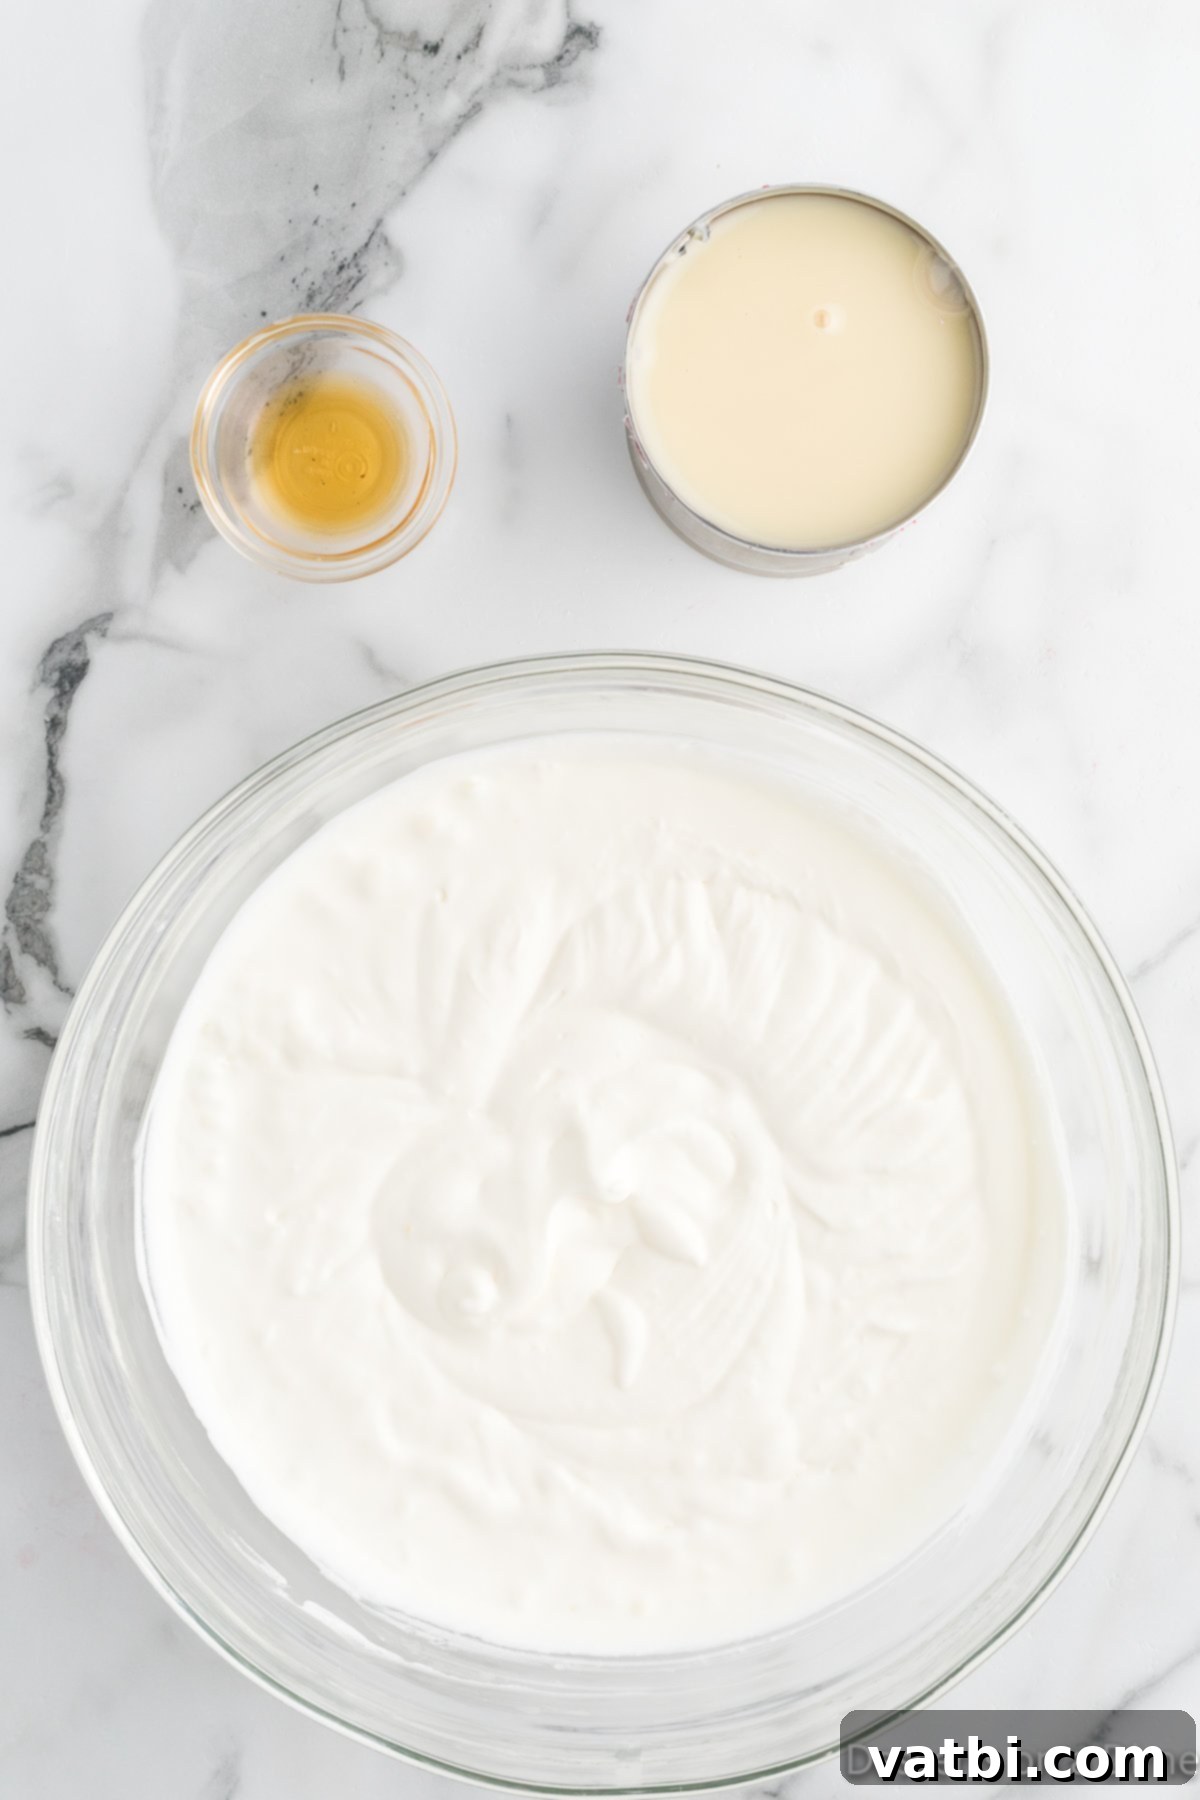
Step 4. Whip the Cream and Combine Base: In a large mixing bowl, beat the very cold heavy whipping cream using an electric mixer. Whisk until soft peaks begin to form. These peaks should hold their shape but still have a gentle curl at the tip. Once soft peaks are achieved, gradually add the sweetened condensed milk, the cooled melted white chocolate, and the vanilla extract. Continue mixing on low speed until all ingredients are well combined and the mixture is smooth and uniform.
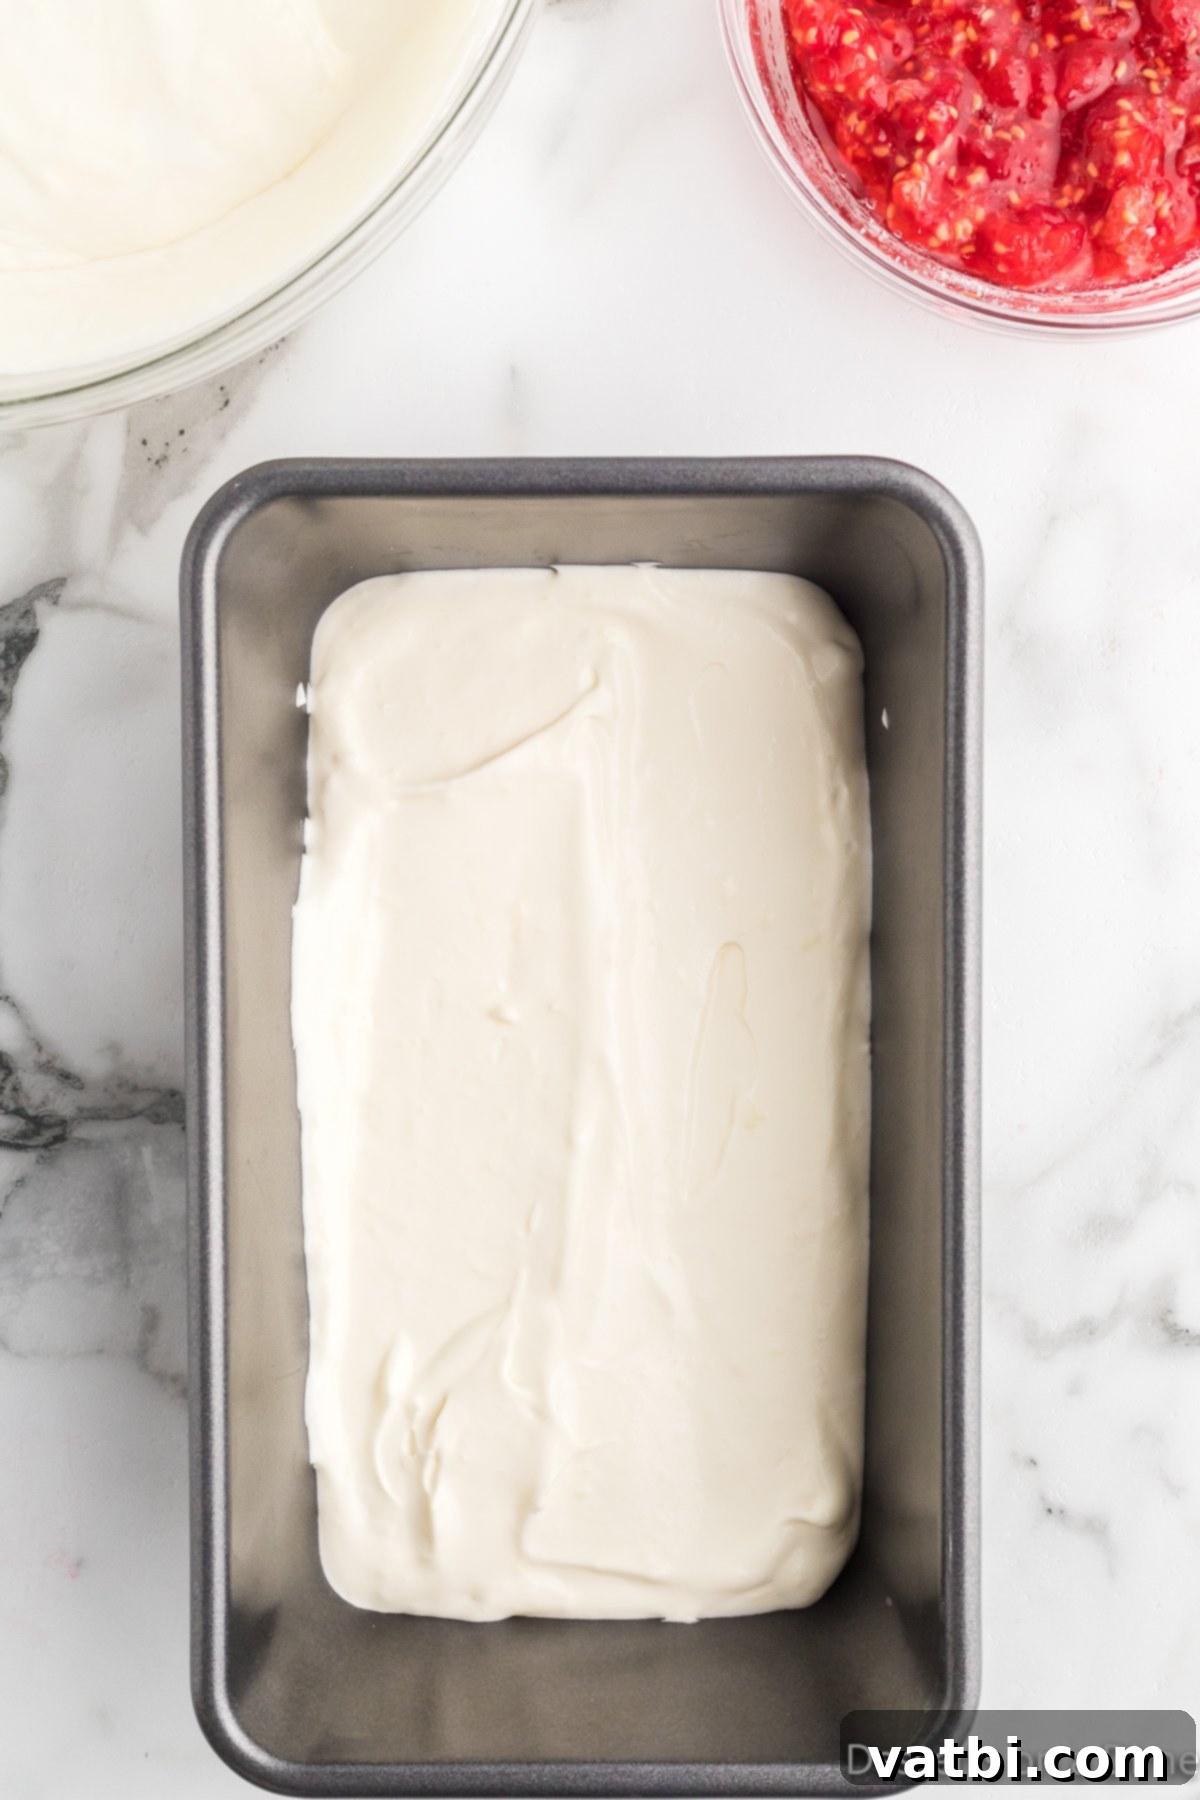
Step 5. First Layer in Loaf Pan: Pour approximately half of the prepared creamy ice cream mixture into a standard 9×5 inch loaf pan. Spread it evenly across the bottom using a spatula or the back of a spoon. This will form the first foundational layer of your delicious ice cream.
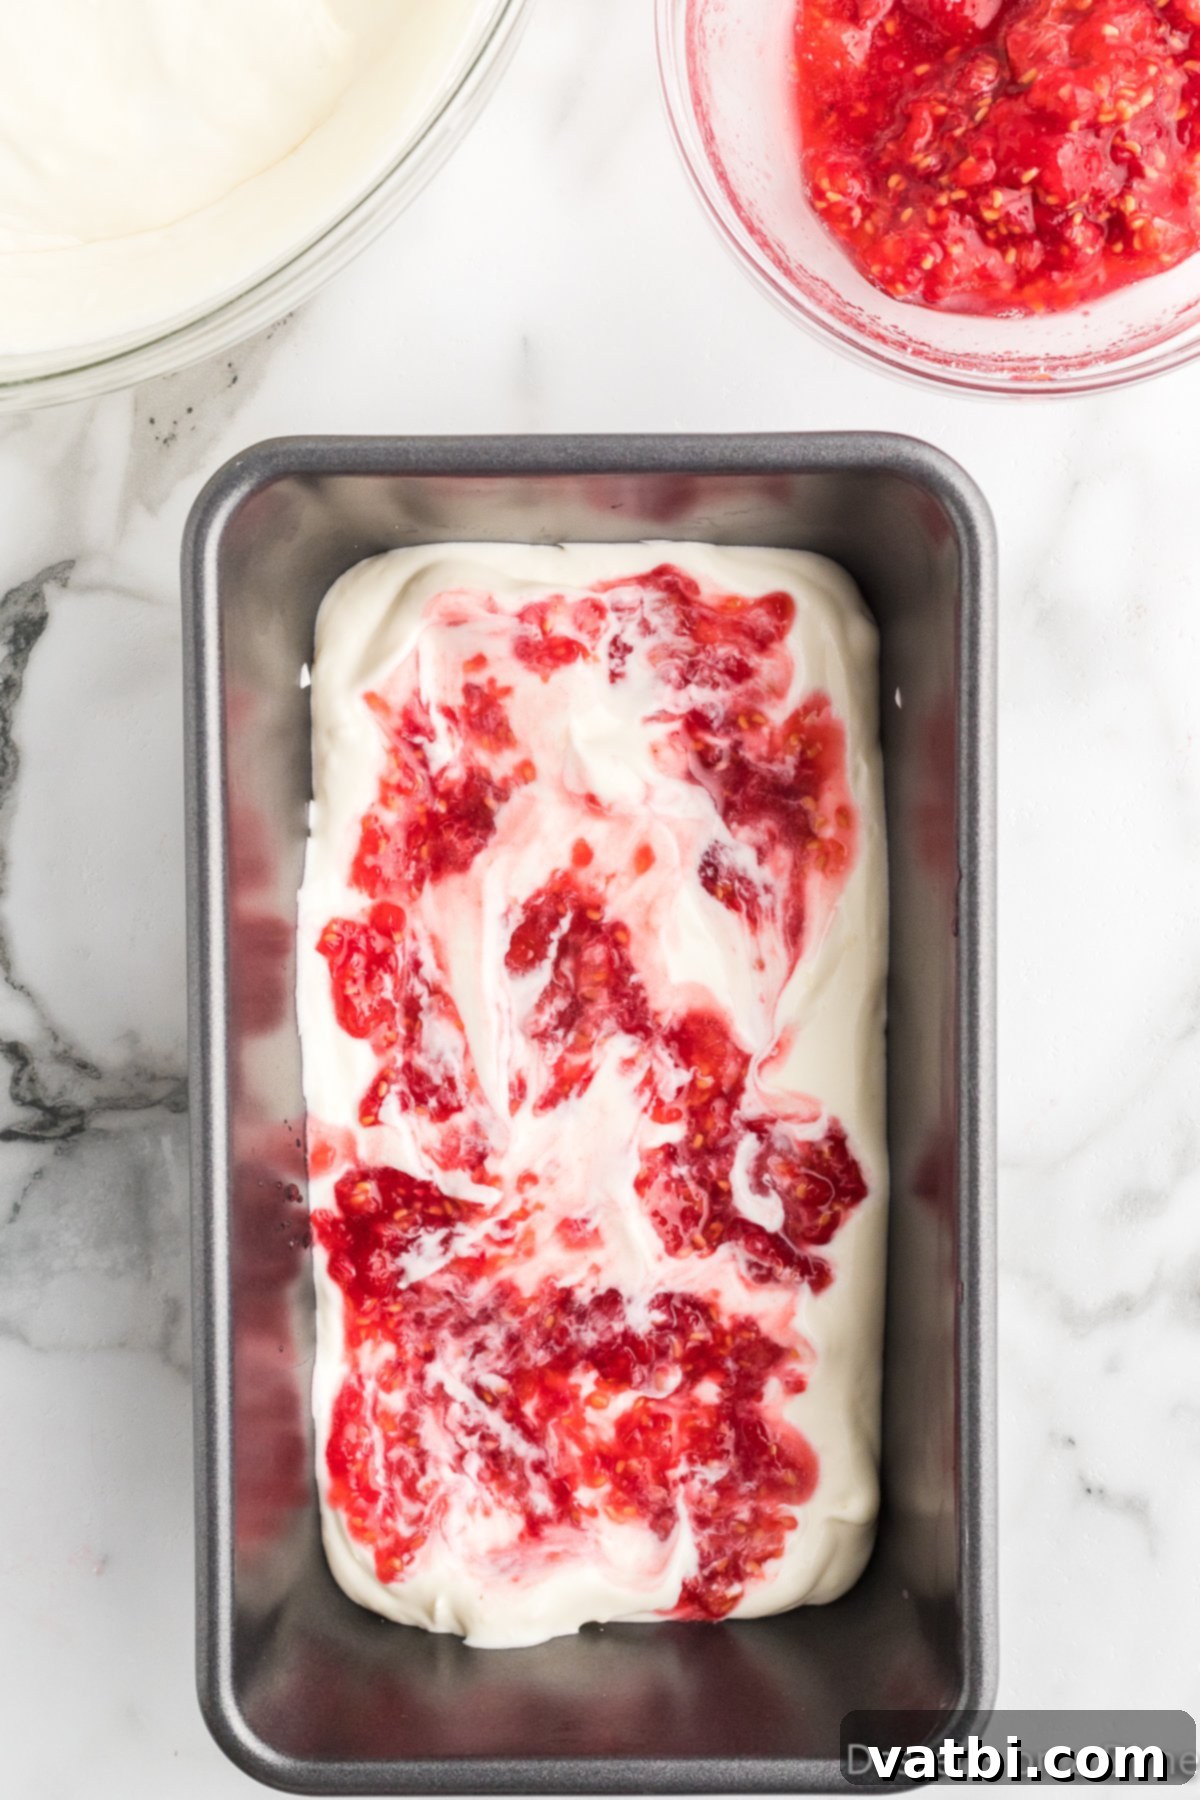
Step 6. Add First Raspberry Swirl: With a spoon, drizzle about half of your mashed raspberry puree evenly over the top of the first ice cream layer. You can create decorative swirls or simply spread it lightly. This will create those beautiful tangy ribbons throughout your ice cream.
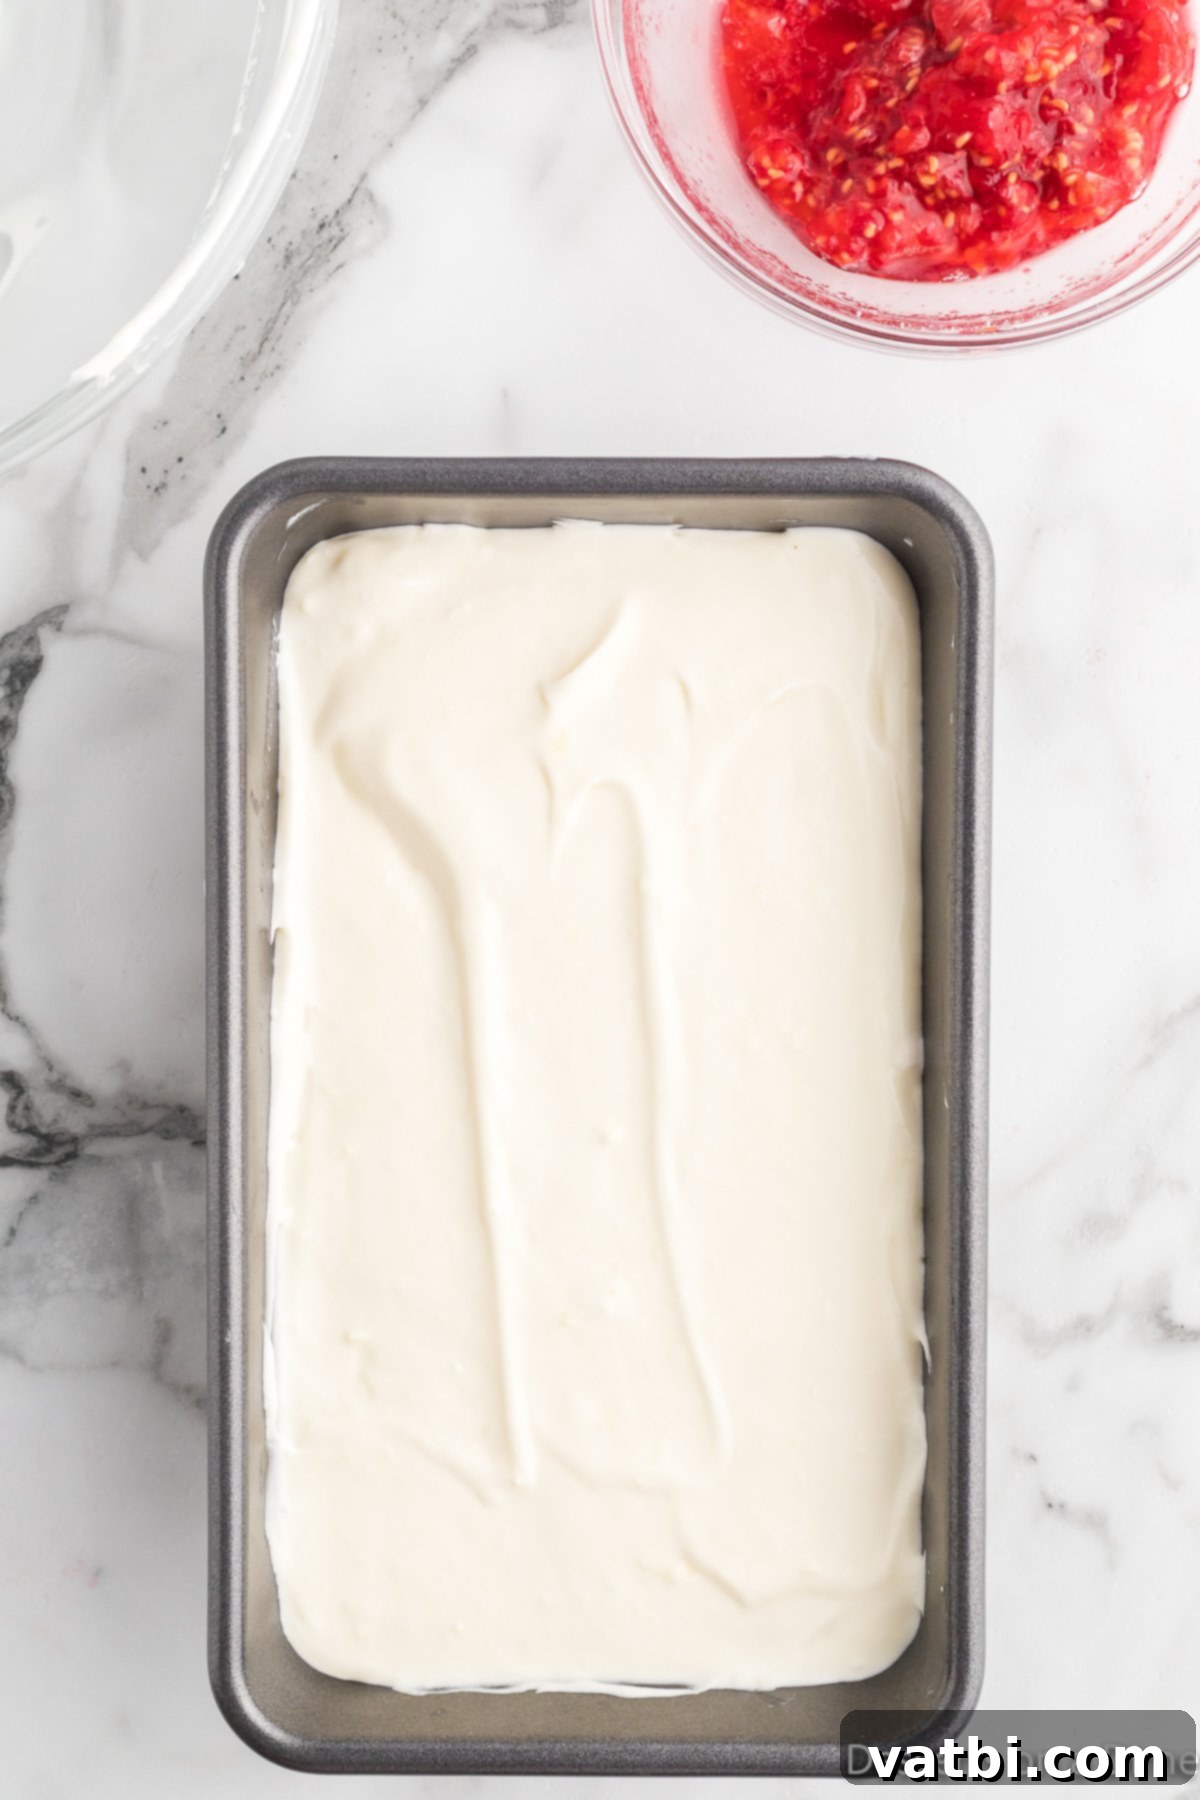
Step 7. Repeat the Layers: Now, carefully pour the remaining ice cream mixture over the raspberry layer in the loaf pan. Spread it out gently to cover the raspberry puree. This second layer ensures a rich, full-bodied ice cream with plenty of creamy goodness.
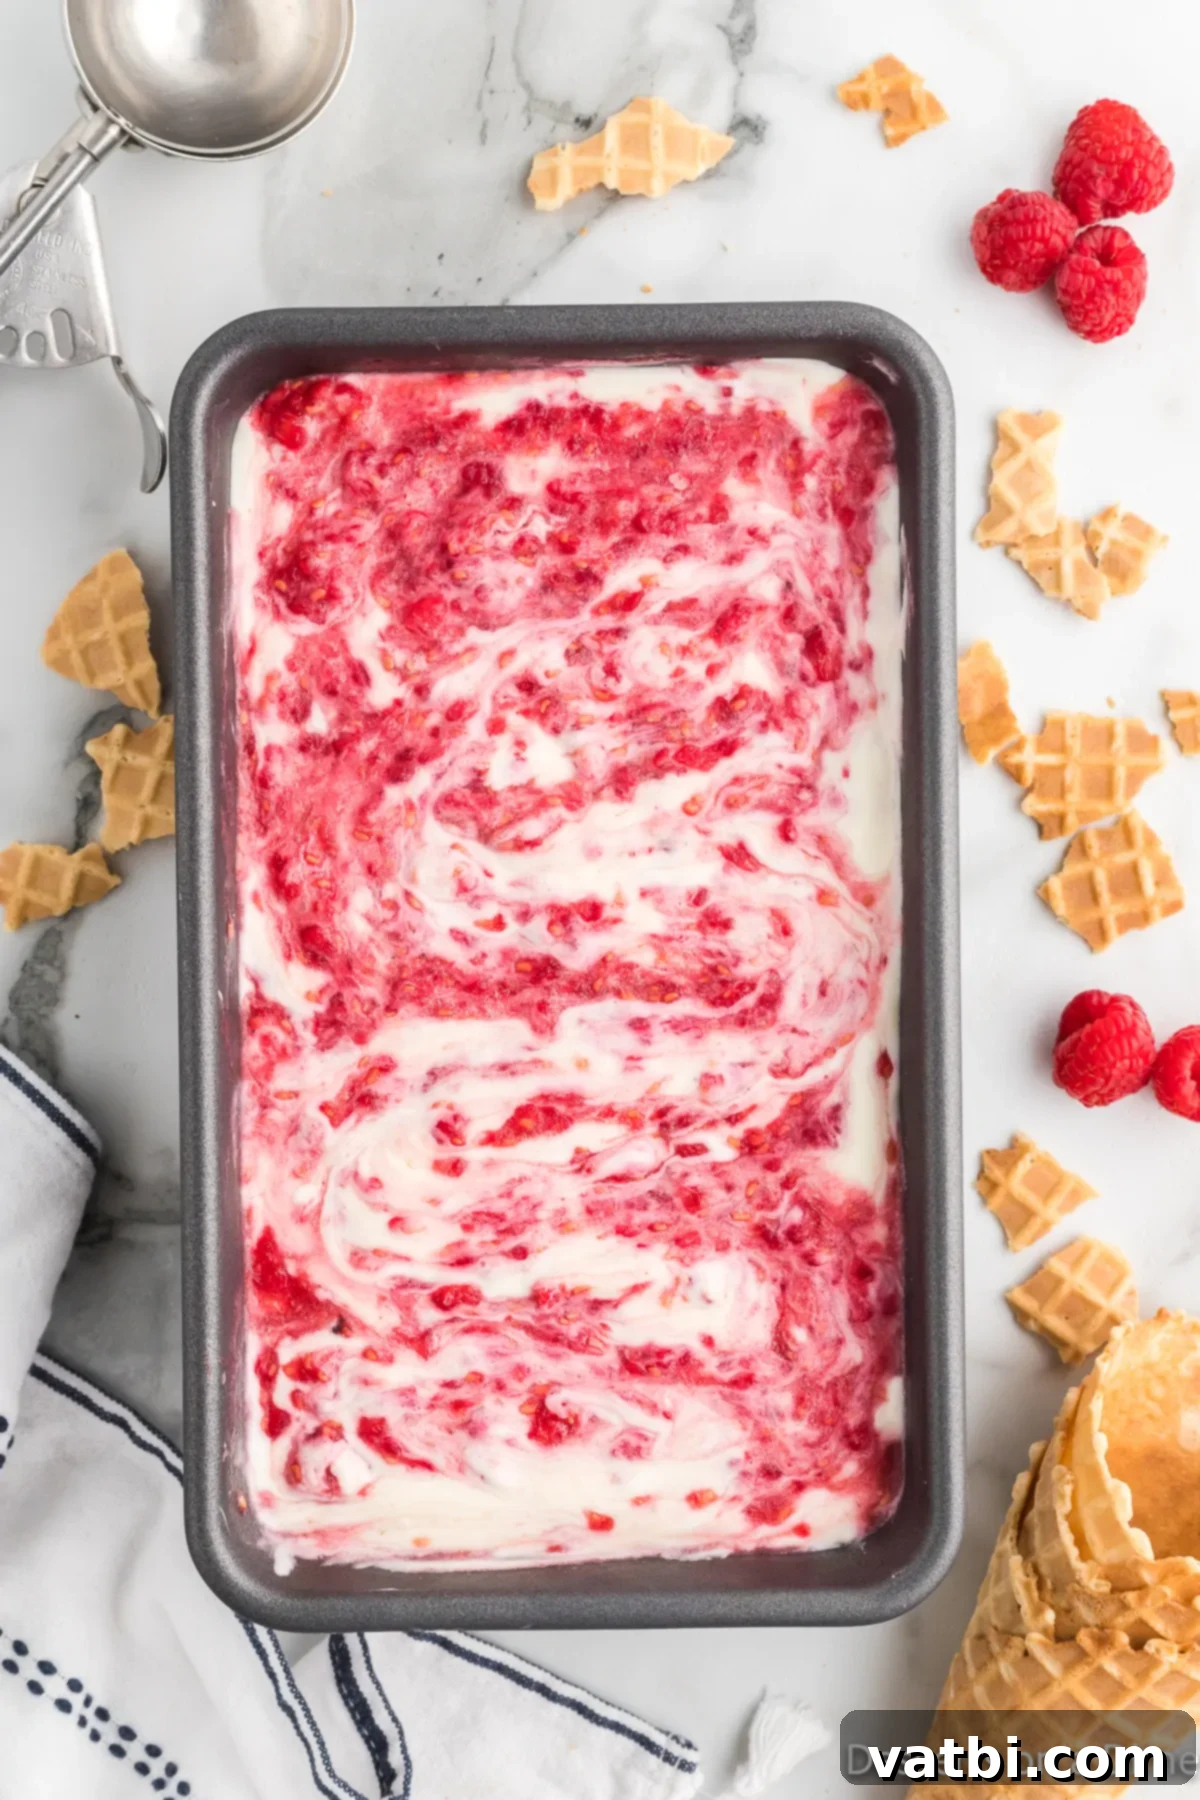
Step 8. Final Raspberry Swirl and Freeze: Drizzle the remaining raspberry puree over the top of the final ice cream layer. You can use a knife or skewer to gently swirl the raspberry through the top layer for an artistic finish. Cover the loaf pan tightly with plastic wrap, ensuring it touches the surface of the ice cream to prevent ice crystals. Freeze for at least 6 hours, or preferably overnight, until firm.
Storage and Pro Tips
Storage
Proper storage is key to maintaining the creamy texture and delicious flavor of your homemade White Chocolate Raspberry Ice Cream. Once fully frozen, you can store this ice cream in the loaf pan, tightly covered with plastic wrap, for up to one month in the freezer. To best prevent the formation of ice crystals and freezer burn, we highly recommend placing a layer of parchment paper directly on top of the ice cream’s surface before sealing it with plastic wrap and then an airtight lid if your pan has one. While it can last for a month, it rarely does in our homes because everyone devours it so quickly!
Pro Tips for the Best No-Churn Ice Cream
- Chill Your Bowl and Whisk: For an even faster and more effective whipping of the heavy cream, place your mixing bowl and whisk attachment (if using a stand mixer) or beaters (for a hand mixer) in the freezer for about 10-15 minutes before you begin. The colder the equipment, the quicker your cream will whip to soft peaks.
- Don’t Over-mix the Raspberry Swirl: When creating the raspberry ribbons, resist the urge to over-mix. A gentle swirl with a spoon or knife is all you need to achieve beautiful, distinct layers and pockets of raspberry flavor. Over-mixing will integrate the puree too much, diminishing the “swirl” effect.
- Layer for Beautiful Scoops: The instruction to repeat the ice cream and raspberry layers is important not just for flavor distribution but also for aesthetics. This layering technique ensures that every single scoop you serve will have that gorgeous, inviting swirl of creamy white chocolate ice cream and vibrant raspberry, making it as pleasing to the eye as it is to the palate.
- Quality Ingredients Matter: While simple, the quality of your ingredients, especially the white chocolate and fresh raspberries, will significantly impact the final flavor. Opt for good quality white chocolate and ripe, flavorful berries for the best result.
Frequently Asked Questions
Can I use frozen raspberries?
While fresh raspberries are highly recommended for the best flavor and texture in the puree, you can use frozen raspberries if absolutely necessary. Thaw them completely and drain any excess liquid before mashing them with sugar. The flavor might be slightly less intense, but it will still be delicious.
How do I prevent ice crystals in my homemade ice cream?
The main culprits for ice crystals are excess water content and exposure to air. To minimize them, ensure your heavy cream is very cold when whipped, don’t over-mix the raspberry puree into the base, and most importantly, cover the ice cream tightly. Place a layer of plastic wrap directly on the surface of the ice cream, pressing it down to eliminate air pockets, then cover the pan with an airtight lid or another layer of plastic wrap. This minimizes air exposure and helps maintain a smooth texture.
What kind of loaf pan should I use?
A standard 9×5 inch metal loaf pan works perfectly. You can also use other freezer-safe containers, as long as they have a lid and can hold approximately 8 cups of liquid. Ensure it’s deep enough to accommodate the layers without overflowing.
Can I make this recipe ahead of time?
Absolutely! This no-churn ice cream is an excellent make-ahead dessert. Since it requires a minimum of 6 hours (and preferably overnight) to freeze, it’s perfect for preparing a day or two in advance of when you plan to serve it. This allows ample time for it to firm up and for the flavors to fully meld.
This White Chocolate Raspberry Ice Cream is incredibly easy to make and proves that you don’t need an expensive ice cream machine to create a truly spectacular frozen dessert. We encourage you to try this yummy ice cream recipe today! Once you’ve enjoyed a scoop (or two!), please come back and leave a star rating and comment. We love hearing from you and seeing your creations!
More Delicious Raspberry Desserts
Bars
Raspberry Cheesecake Brownies
Ice Cream
Raspberry Sorbet
Oven Baked Desserts
Raspberry Cobbler Recipe
More Easy No-Churn Ice Cream Recipes
If you’ve enjoyed the simplicity and deliciousness of this no-churn method, you’re in luck! There’s a whole world of effortless homemade ice cream waiting for you to discover. Here are some of our other favorite no-churn recipes that are just as easy to make and equally satisfying:
- Pistachio Ice Cream
- Copycat Cherry Garcia Ice Cream
- Strawberry Cheesecake Ice Cream
- No-Churn Chocolate Ice Cream
- Strawberry Shortcake Ice Cream
Pin
No-Churn White Chocolate Raspberry Ice Cream
Ingredients
- 2 cups heavy whipping cream, very cold
- 1 cup fresh raspberries
- 2 Tablespoons granulated sugar
- 1 can sweetened condensed milk, 14 oz
- 2 tsp pure vanilla extract
- 4 oz white chocolate, finely chopped
Instructions
-
In a small bowl, stir together the fresh raspberries and granulated sugar. Use a fork to gently mash the raspberries until most large pieces are broken up, and the juices are released. Set aside.
-
Place the finely chopped white chocolate in a separate microwave-safe bowl. Heat in 20-second intervals, stirring well after each, until completely melted and smooth. Allow it to cool slightly.
-
In a large mixing bowl, use an electric hand mixer (or stand mixer with whisk attachment) to whip the very cold heavy cream until it forms soft peaks.
-
To the whipped cream, add the sweetened condensed milk, the cooled melted white chocolate, and vanilla extract. Mix on low speed until all ingredients are just combined and the mixture is smooth. Be careful not to overmix.
-
Pour half of the ice cream mixture into a 9×5 inch loaf pan, spreading it evenly. Drizzle half of the mashed raspberry puree over this layer. Gently repeat with the remaining ice cream mixture and then drizzle the rest of the raspberry puree on top. Use a knife or skewer to create a gentle swirl pattern.
-
Cover the loaf pan tightly with plastic wrap, pressing it directly onto the surface of the ice cream to prevent ice crystals. Freeze for a minimum of 6 hours, or ideally overnight, until firm and ready to scoop.
-
Serve chilled and enjoy your homemade no-churn white chocolate raspberry ice cream!
Recipe Notes
For quicker whipping, chill your mixing bowl and whisk attachments in the freezer for 10-15 minutes before preparing the cream.
Nutrition Facts
Pin This Now to Remember It Later
Pin Recipe
