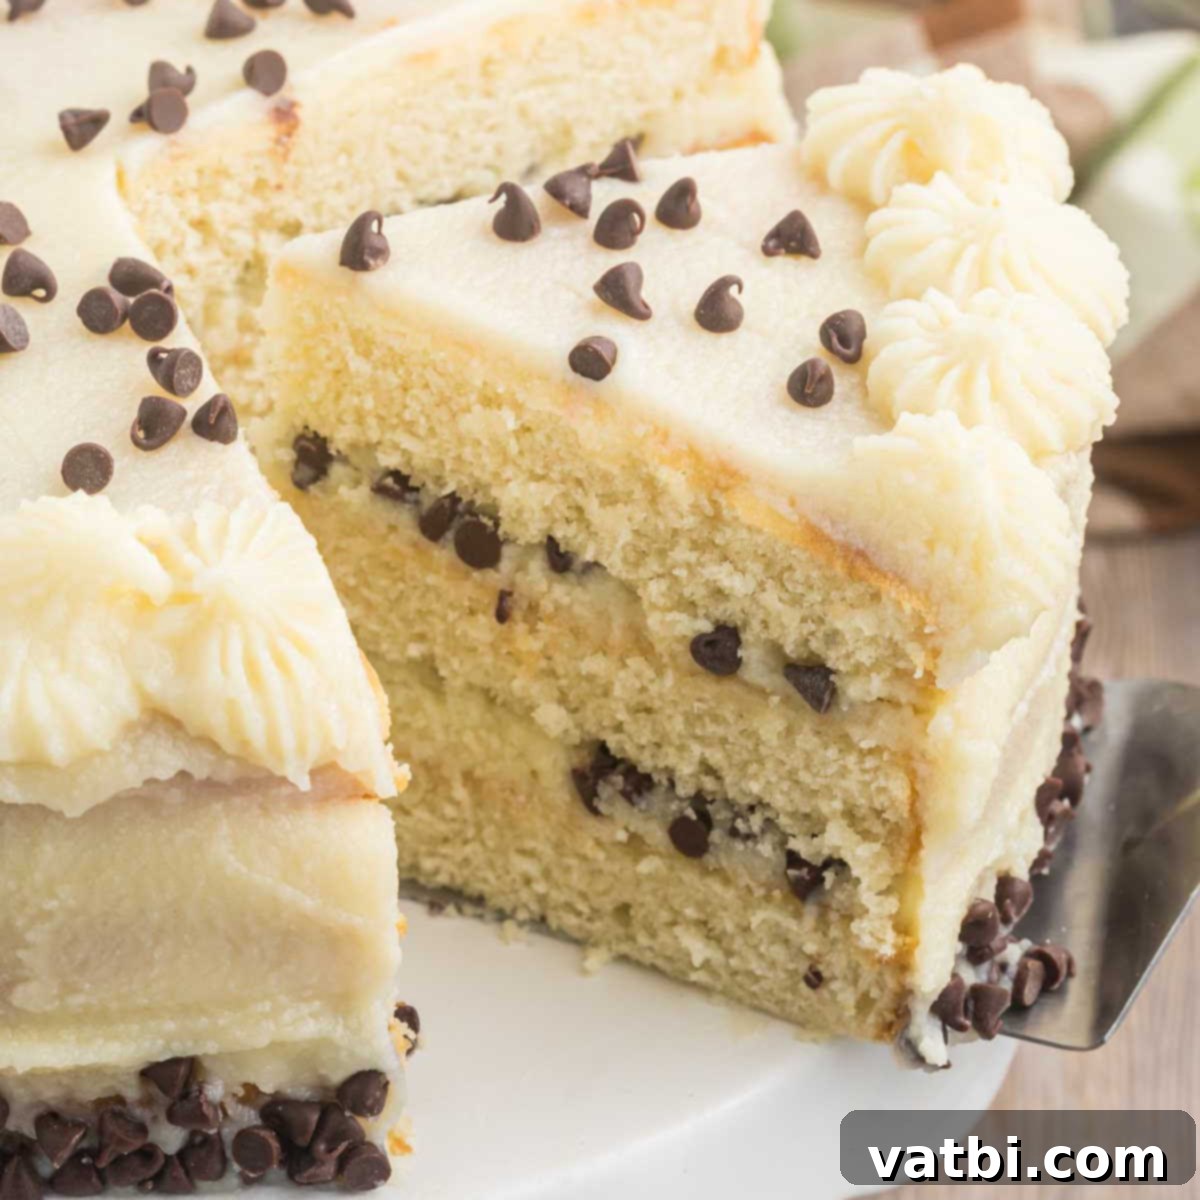
The Ultimate Homemade Cannoli Cake: Rich, Moist, and Irresistibly Delicious!
Indulge in the exquisite flavors of Italy with this spectacular Cannoli Cake recipe, a delightful twist on a classic Italian dessert. This homemade cake captures all the delicious essence of traditional cannoli, transformed into a moist, multi-layered masterpiece. Topped generously with the creamiest, most authentic cannoli cream frosting, this cake is guaranteed to be a showstopper at any gathering. Its rich taste and stunning presentation make it perfect for special occasions, yet it’s surprisingly simple enough to bake and enjoy all year round.
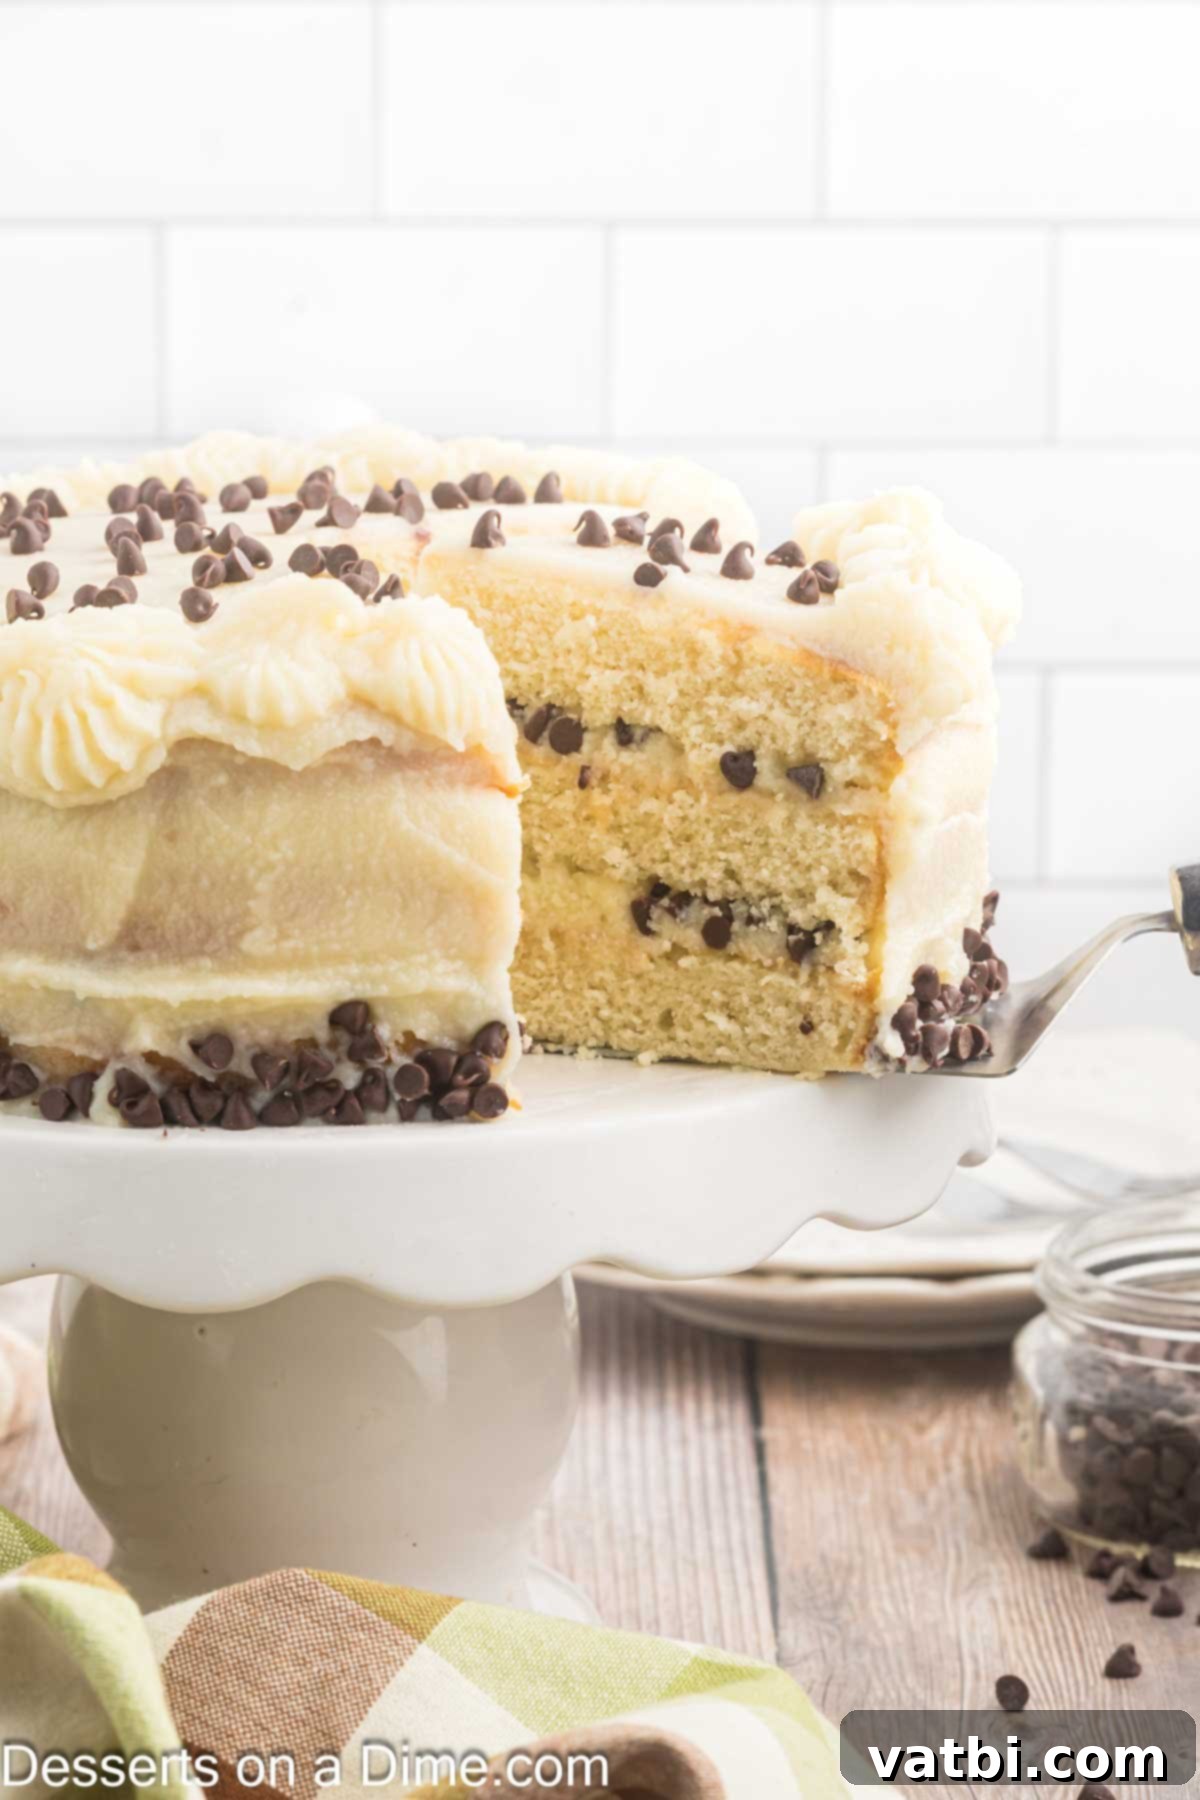
As a passionate baker, I consider this decadent Cannoli Cake one of my absolute favorite Italian Christmas Desserts, though its appeal extends far beyond the holiday season. The magic truly lies in its frosting, which is crafted to taste just like homemade cannoli filling – a luscious blend that is absolutely amazing. I’ve been perfecting this recipe for years, and it’s always a huge hit with family and friends. If you adore the unique flavors of cannoli, you’ll also love exploring other delightful variations like Cannoli Poke Cake, Cannoli Pie Recipe, and the ever-popular Cannoli Dip Recipe, but this cake truly elevates the experience.
Table of contents
- Why We Love This Recipe
- Key Ingredients
- Cake Ingredients
- Frosting Ingredients
- Equipment Needed
- Step By Step Baking Instructions
- Proper Storage
- Expert Baking Tips
- Frequently Asked Questions
Why We Love This Recipe
This Cannoli Cake is more than just a dessert; it’s an experience. The entire cake, with its impressive layers and decadent frosting, looks absolutely stunning, making each slice a work of art. Despite its elegant appearance, the recipe is surprisingly straightforward and very simple to follow, even for novice bakers. It’s the perfect cake to bring to any event when you want to truly impress your guests without spending hours in the kitchen.
Beyond its beauty, this cake boasts an incredibly moist crumb and the perfect balance of sweetness. The cake layers are tender and flavorful, providing a wonderful contrast to the rich, airy cannoli cream frosting. The combination of textures and tastes creates a harmonious dessert that is both comforting and sophisticated. It truly delivers on all fronts: visual appeal, delightful texture, and unforgettable flavor.
Key Ingredients
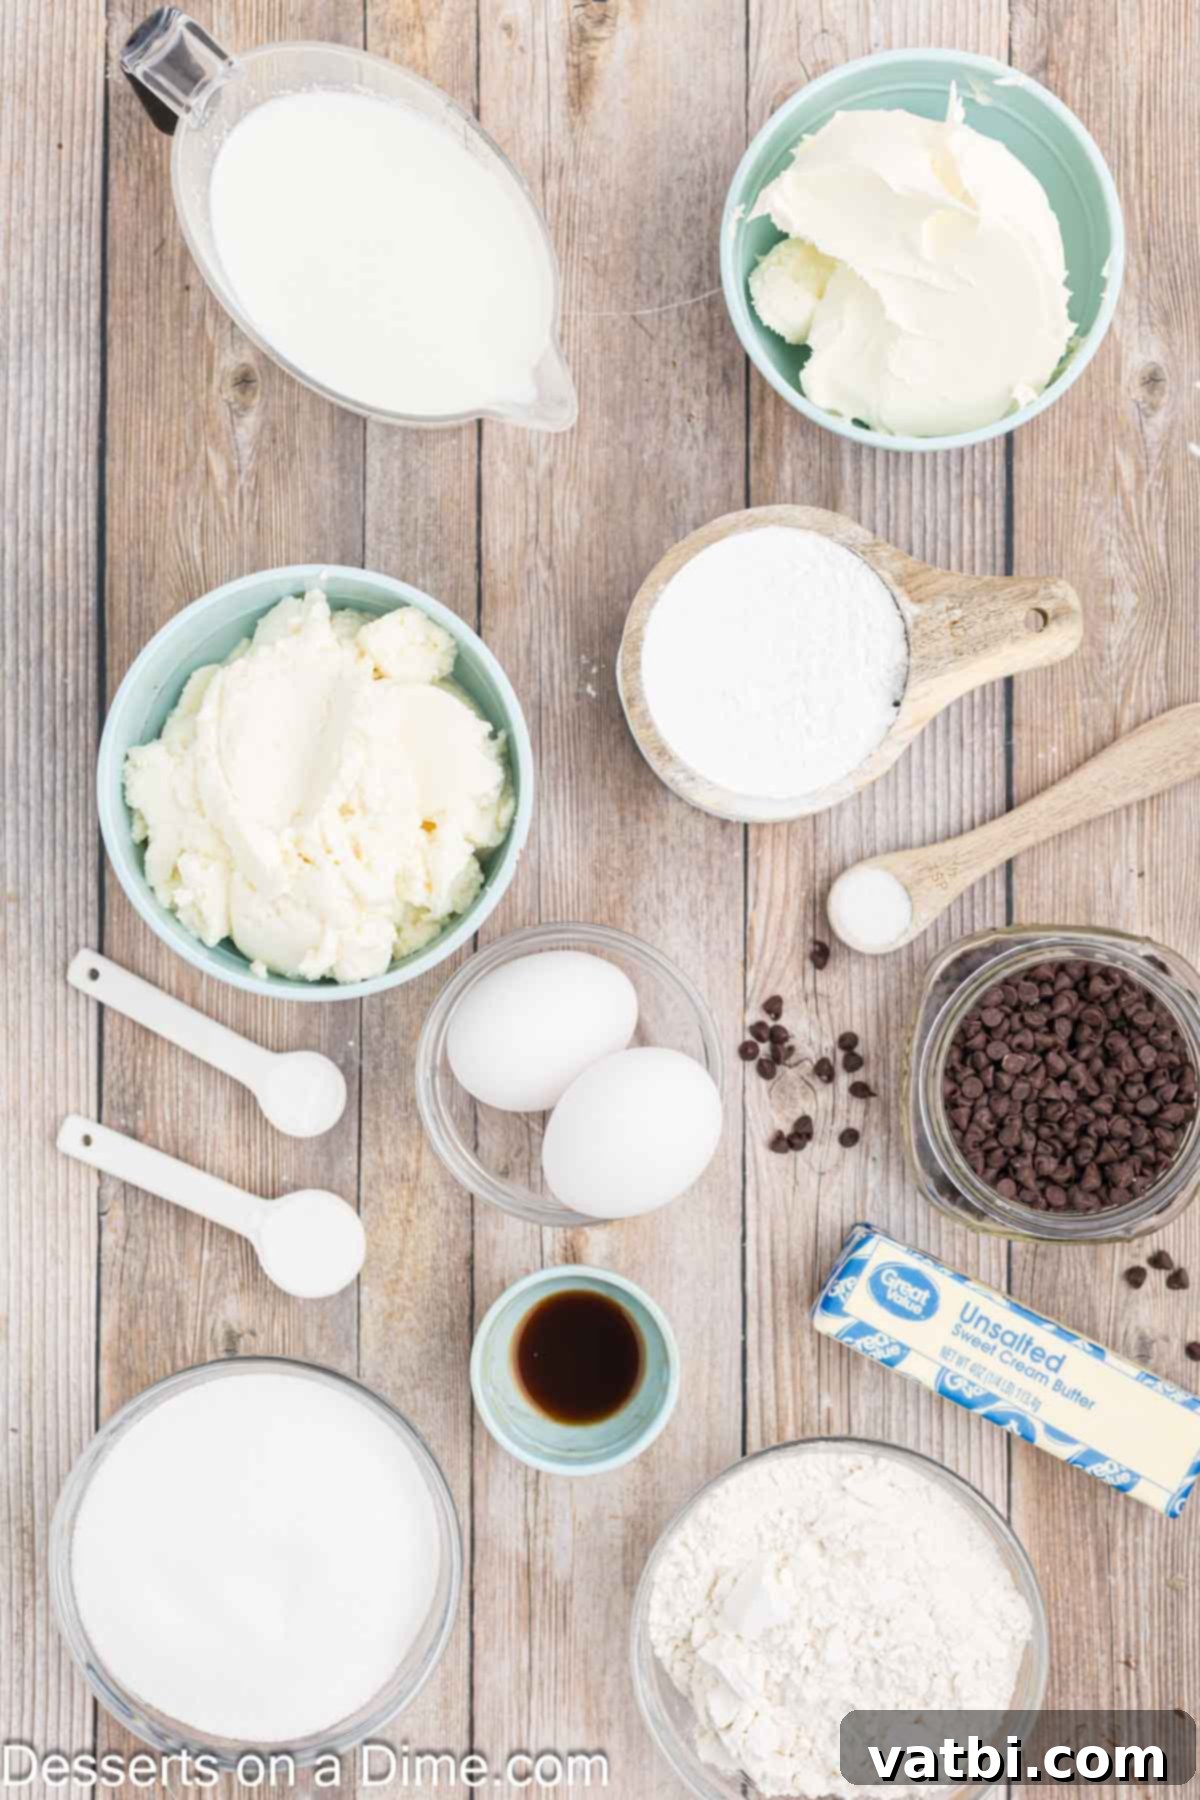
Crafting the perfect Cannoli Cake starts with understanding the role of each ingredient. Quality and proper preparation are key to achieving that authentic Italian dessert flavor and exquisite texture.
For the Cake
- All-purpose flour. Accurate measurement is crucial for the cake’s structure. Always spoon the flour into the measuring cup and level it off with a straight edge rather than scooping directly from the bag. This prevents compacting the flour and adding too much, which can result in a dry, dense cake.
- Baking Powder and Baking Soda. These leavening agents work together to give the cake its light and airy texture. Baking soda, an alkaline ingredient, reacts with acidic components like buttermilk to produce carbon dioxide, creating lift. Baking powder is a complete leavening agent that contains both an acid and a base, providing additional rise. If you run out of baking soda, you can try one of the Best Baking Soda Substitutes, but results may vary slightly.
- Unsalted butter. Using unsalted butter allows you to control the overall salt content in the recipe, ensuring a balanced flavor profile. Make sure your butter is softened to room temperature for optimal creaming with sugar, which incorporates air and contributes to a tender crumb.
- Large eggs. Just like butter, eggs should be at room temperature before using. Room temperature eggs emulsify more easily with the butter and sugar mixture, resulting in a smoother, more uniform batter and a finer cake texture.
- Vanilla Extract. For the best flavor, always use good quality pure vanilla extract. It adds a warm, aromatic depth that complements the other ingredients beautifully. Avoid artificial vanilla if possible.
- Buttermilk. This acidic dairy product is vital for the cake’s moisture and tender crumb. Its acidity reacts with the baking soda, enhancing the cake’s rise. If you don’t have buttermilk on hand, you can easily make a homemade substitute by adding 1 tablespoon of white vinegar or lemon juice to a liquid measuring cup, then filling the rest with regular milk to equal 1½ cups. Let it sit for 5-10 minutes until it slightly curdles. Learn more about What is Buttermilk.
For the Frosting
- Whole Milk Ricotta Cheese. This is the heart of authentic cannoli cream. The frosting is undoubtedly best with the whole milk variety, as it provides a richer, creamier texture and a superior flavor compared to part-skim options. It’s crucial to drain the ricotta thoroughly to remove excess moisture, preventing a watery frosting.
- Mascarpone Cheese. This Italian cream cheese adds incredible richness, a velvety texture, and a slight tang that perfectly balances the sweetness. Allow it to soften at room temperature so it will be easy to combine smoothly with the other frosting ingredients without lumps. Be careful not to overmix, as mascarpone can become watery if beaten too vigorously for too long.
- Powdered Sugar. Also known as confectioners’ sugar, this provides sweetness and helps stabilize the frosting. Always sift the powdered sugar before using to ensure there aren’t any lumps, resulting in a perfectly smooth and pipeable frosting.
- Mini chocolate chips. The miniature size is absolutely perfect for incorporating into the frosting layers and for sprinkling on top as a garnish. They provide delightful bursts of chocolate without overpowering the delicate cream. Regular-sized chocolate chips can also be used but might create a slightly different texture.
Find the complete list of ingredients with precise measurements at the bottom of the page in the recipe card.
Equipment Needed
Having the right tools can make all the difference in your baking process. For this Cannoli Cake, here’s what you’ll need:
- Stand Mixer or Hand Mixer: Essential for creaming butter and sugar, mixing the cake batter, and whipping the frosting to perfection.
- Measuring Cups and Spoons: For accurate ingredient proportions.
- Mixing Bowls: Several bowls will be needed for dry ingredients, wet ingredients, and the frosting components.
- Rubber Spatula: Great for scraping down the sides of the bowl and folding ingredients gently.
- Three 8-inch Round Cake Pans: To bake your beautiful, even cake layers.
- Parchment Paper (optional but recommended): For lining the bottom of the cake pans, ensuring easy release and preventing sticking.
- Wire Cooling Racks: For cooling your baked cake layers completely.
- Serrated Knife: Ideal for leveling the cake layers cleanly.
- Offset Spatula or Icing Knife: For spreading the frosting smoothly between layers and on the outside of the cake.
- Paper Towels or Cheesecloth: Crucial for properly draining the ricotta cheese.
Step By Step Baking Instructions
Follow these detailed steps to create a showstopping Cannoli Cake that tastes as good as it looks.
For the Cake:
- Step 1. Preheat your oven to 350 degrees Fahrenheit (175°C). Prepare your three 8-inch circle cake pans by thoroughly greasing them with butter or baking spray, then lightly flouring them. Tap out any excess flour. This crucial step ensures your cake layers won’t stick.
- Step 2. In a large mixing bowl, whisk together all of your dry cake ingredients: the all-purpose flour, baking powder, baking soda, and salt. Make sure these are well combined for even leavening throughout the cake. Set this bowl of dry ingredients aside.
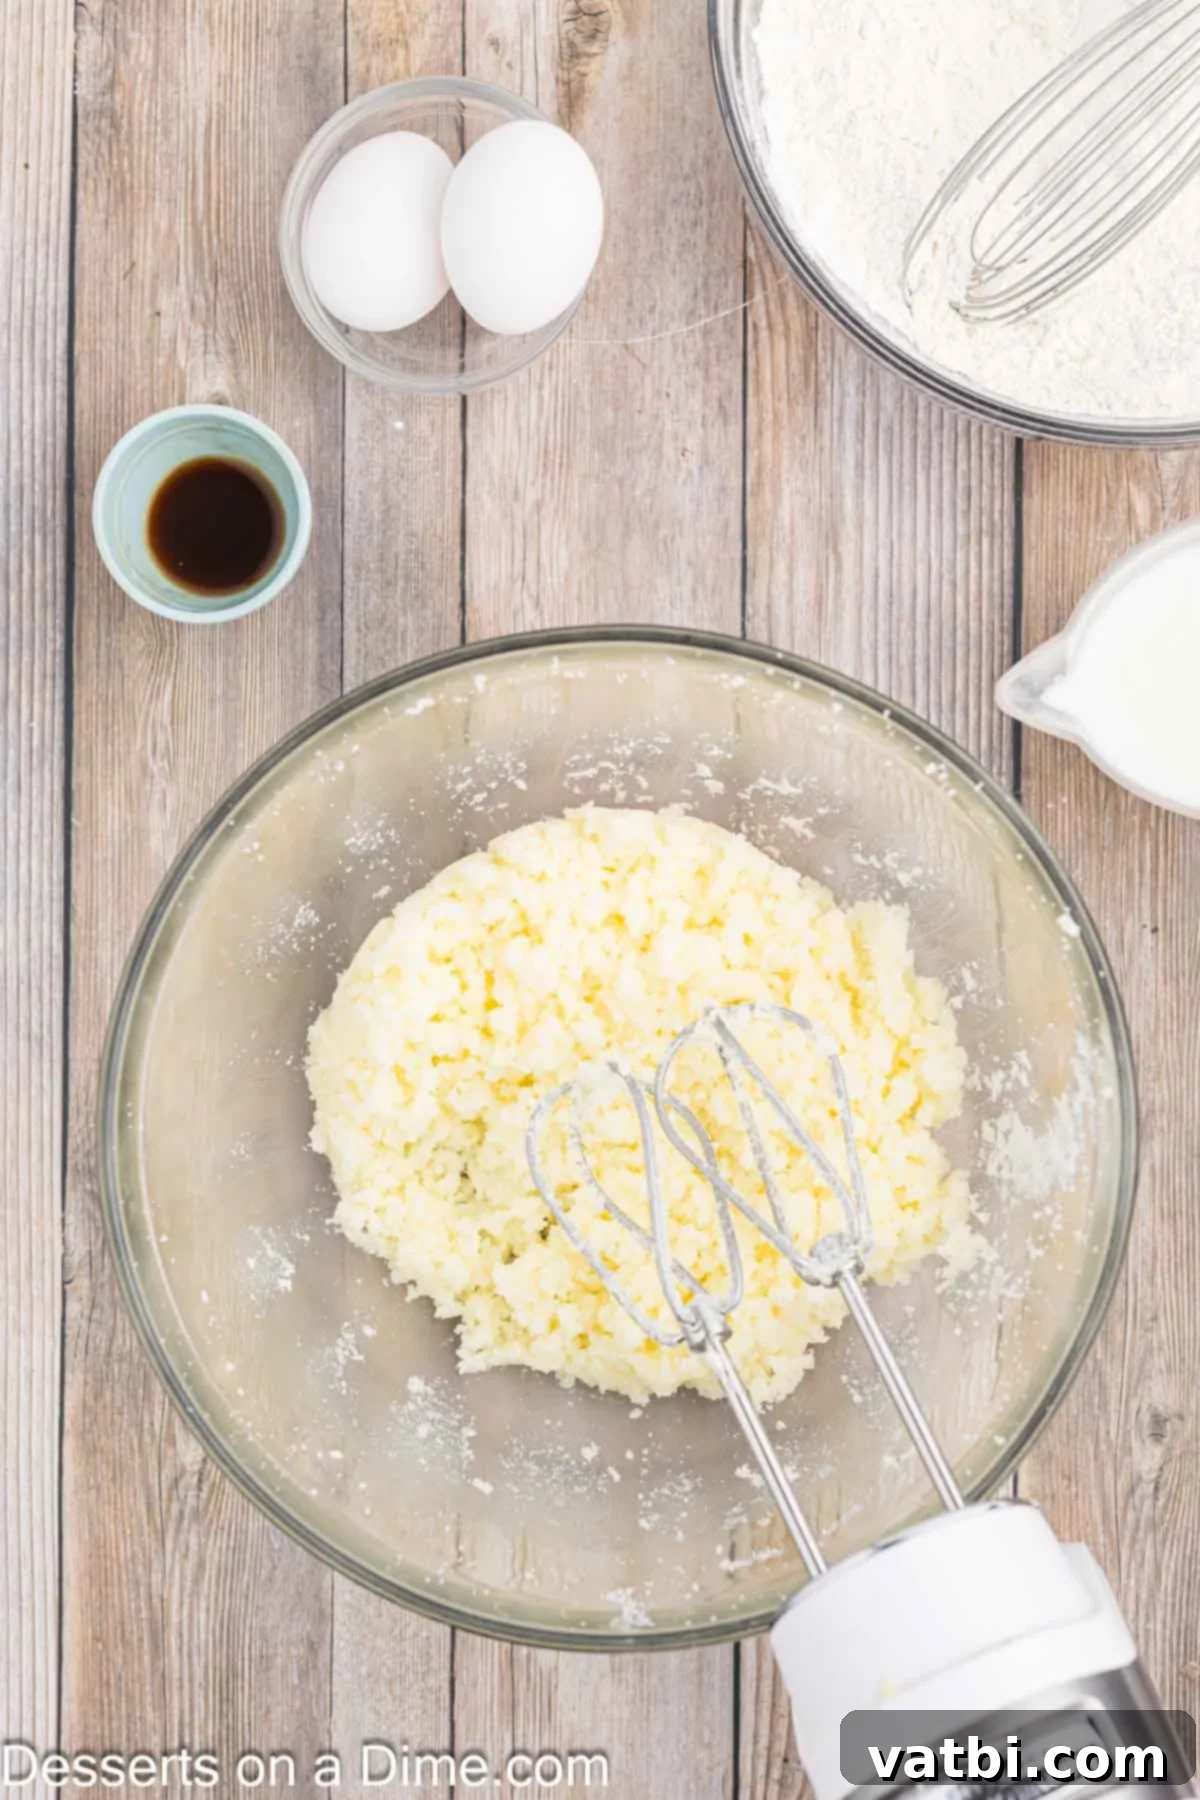
Step 3. In a separate, large bowl (preferably the bowl of a stand mixer fitted with a paddle attachment), add the softened unsalted butter and granulated sugar. Beat on medium speed for 3-4 minutes until the mixture is visibly lightened in color and fluffy. This process incorporates air, which is vital for a tender cake crumb. Remember to scrape down the sides of the bowl occasionally to ensure everything is evenly mixed.
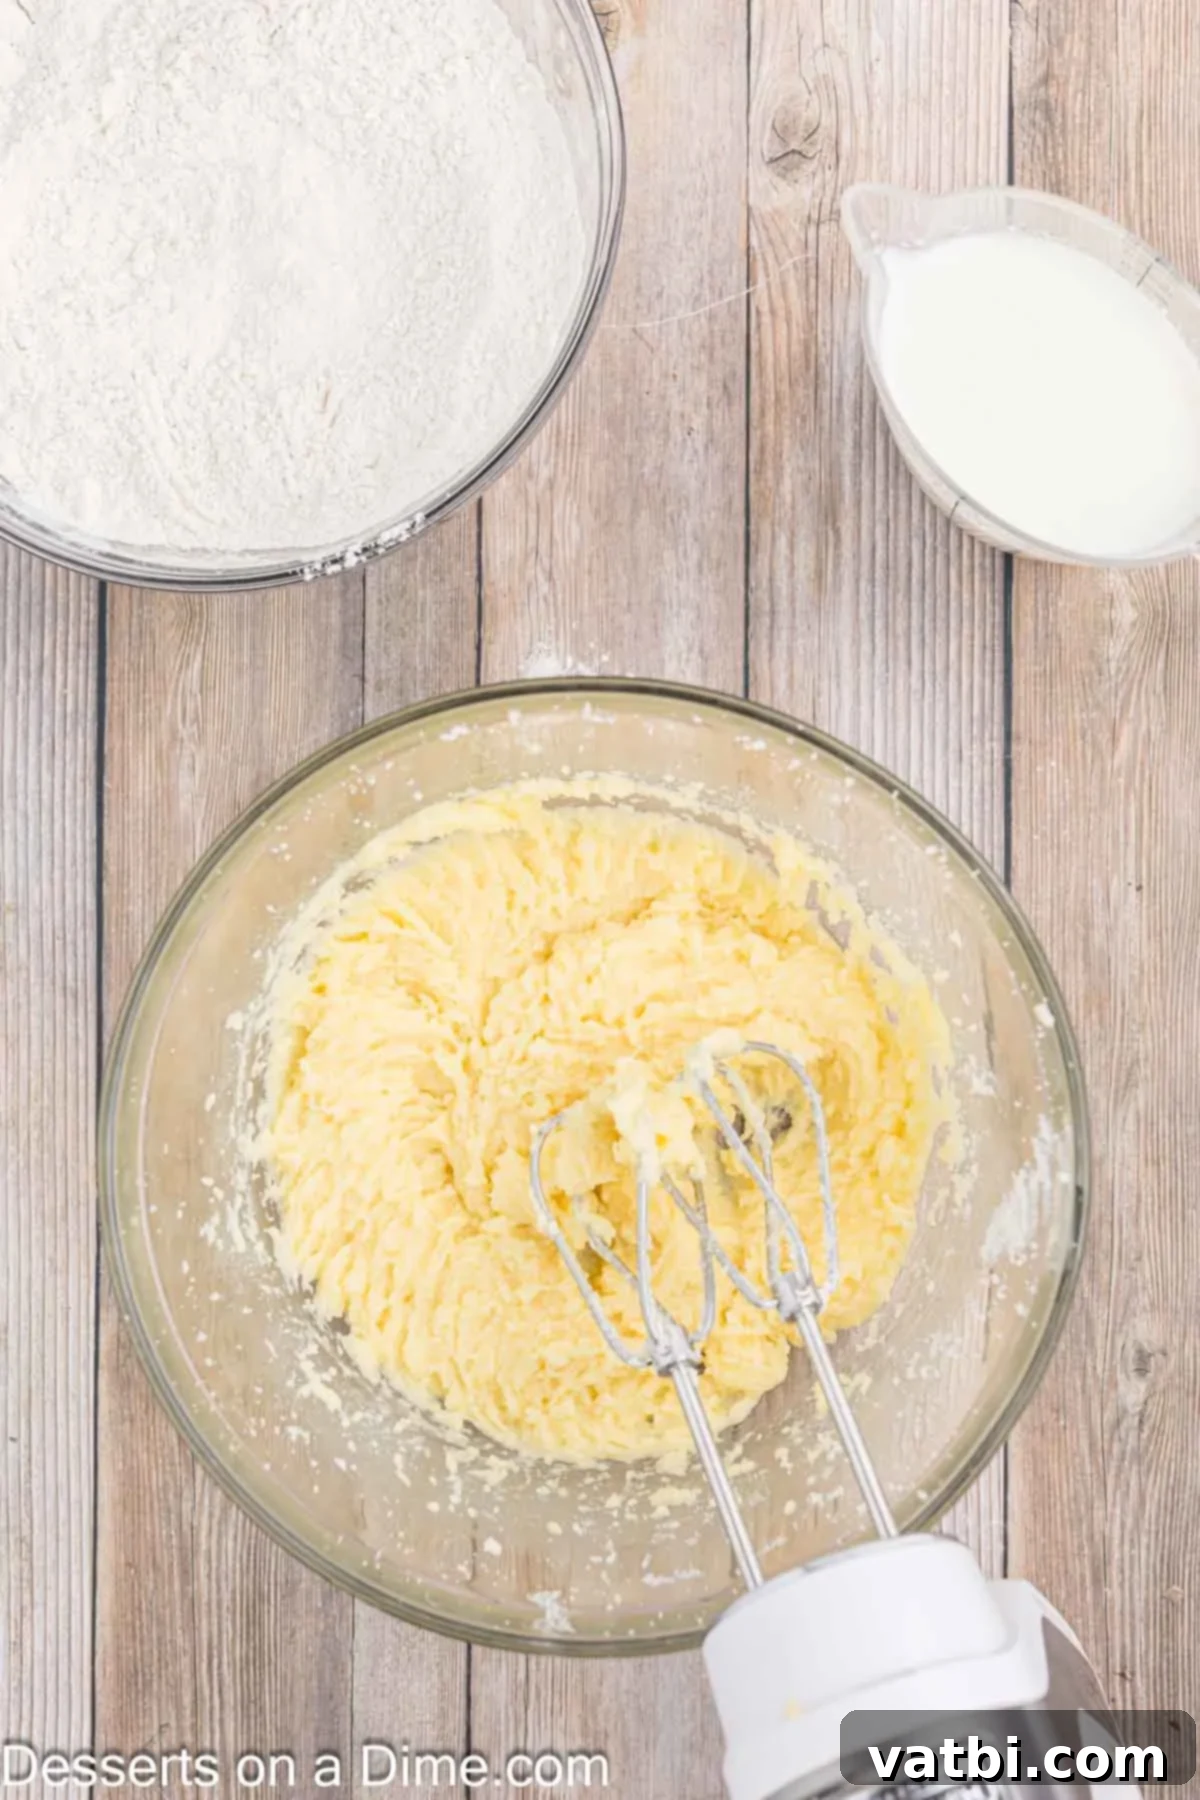
Step 4. Once the butter and sugar are perfectly creamy, add the room temperature large eggs one at a time, mixing well after each addition until fully incorporated. Then, stir in the pure vanilla extract. Continue to mix until everything is just combined, being careful not to overmix.
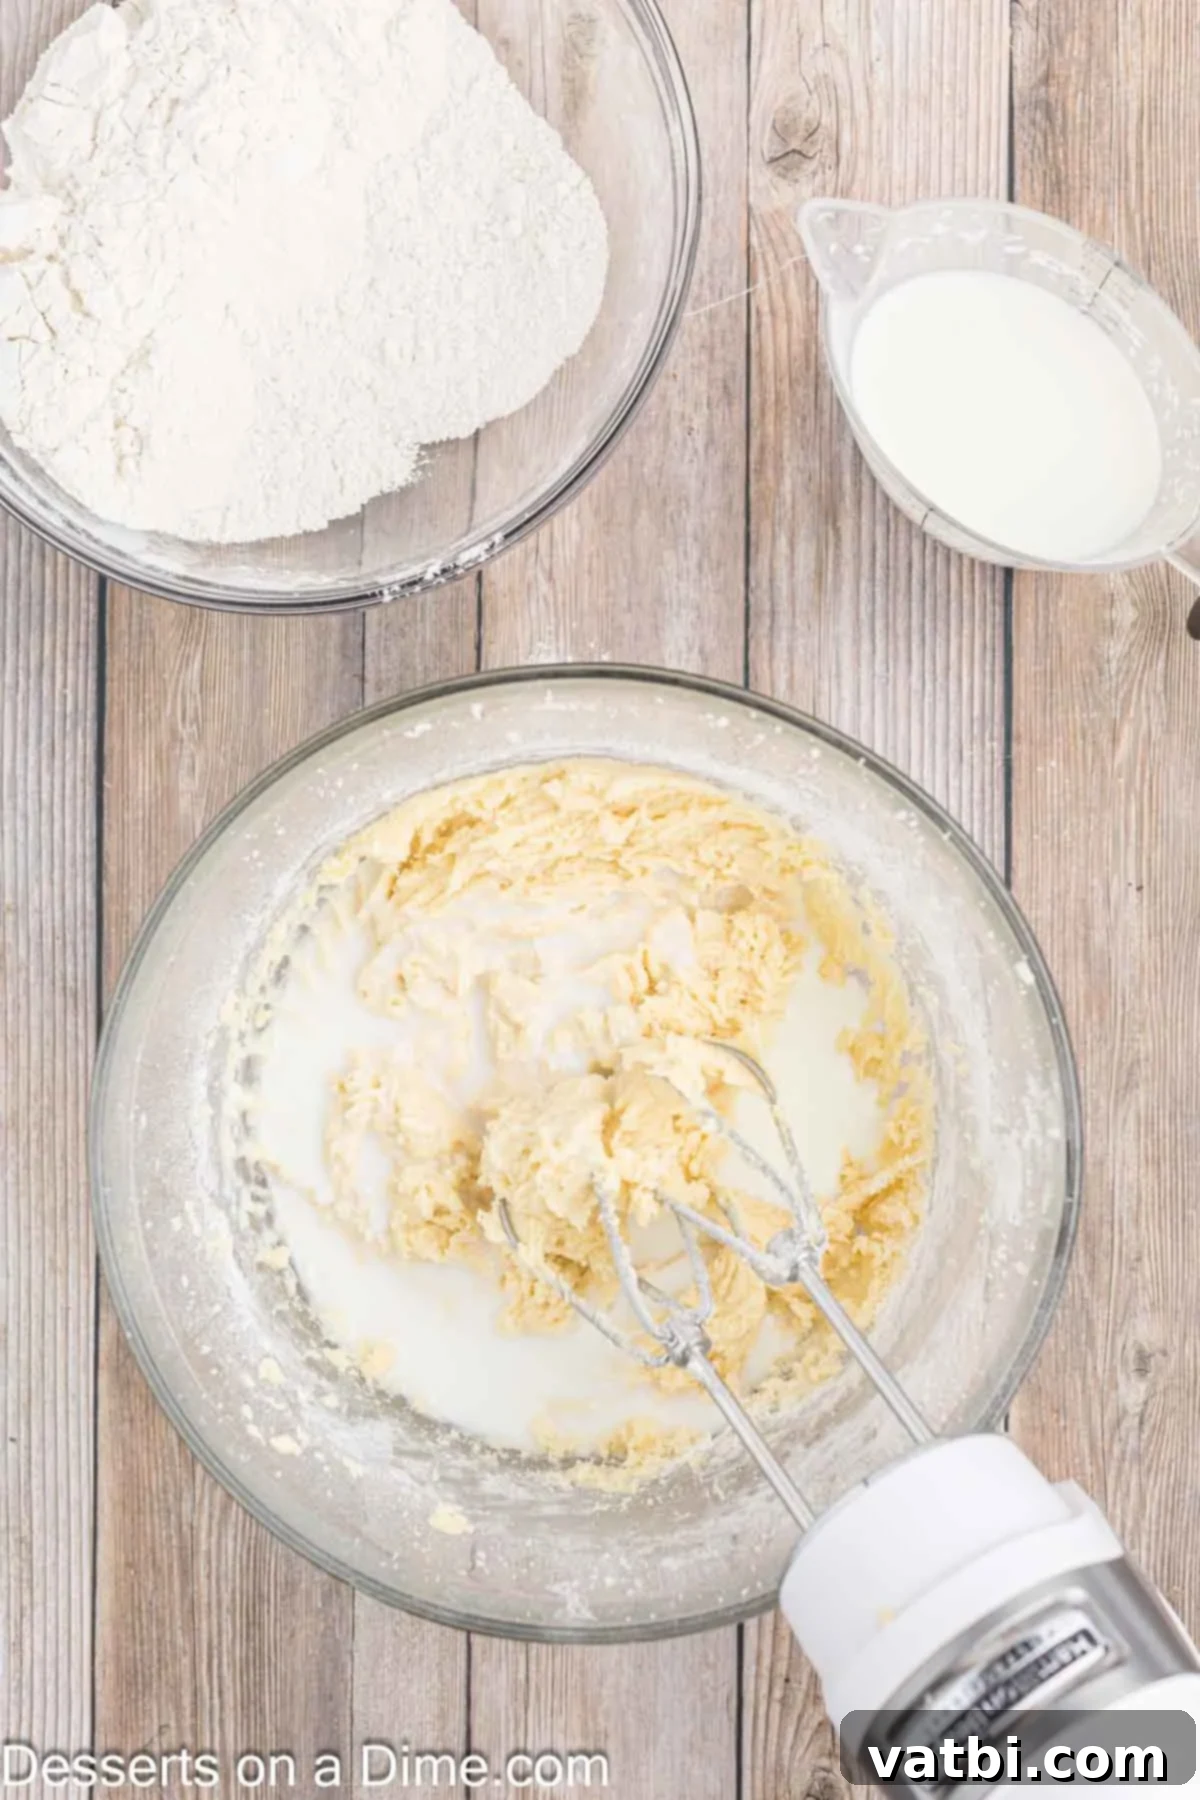
Step 5. Now it’s time to combine the wet and dry ingredients. Gradually add about half of the reserved flour mixture to the butter mixture, mixing on low speed until just combined. Overmixing at this stage can develop gluten too much, leading to a tough cake. Then, pour in half of the buttermilk and mix until just incorporated.
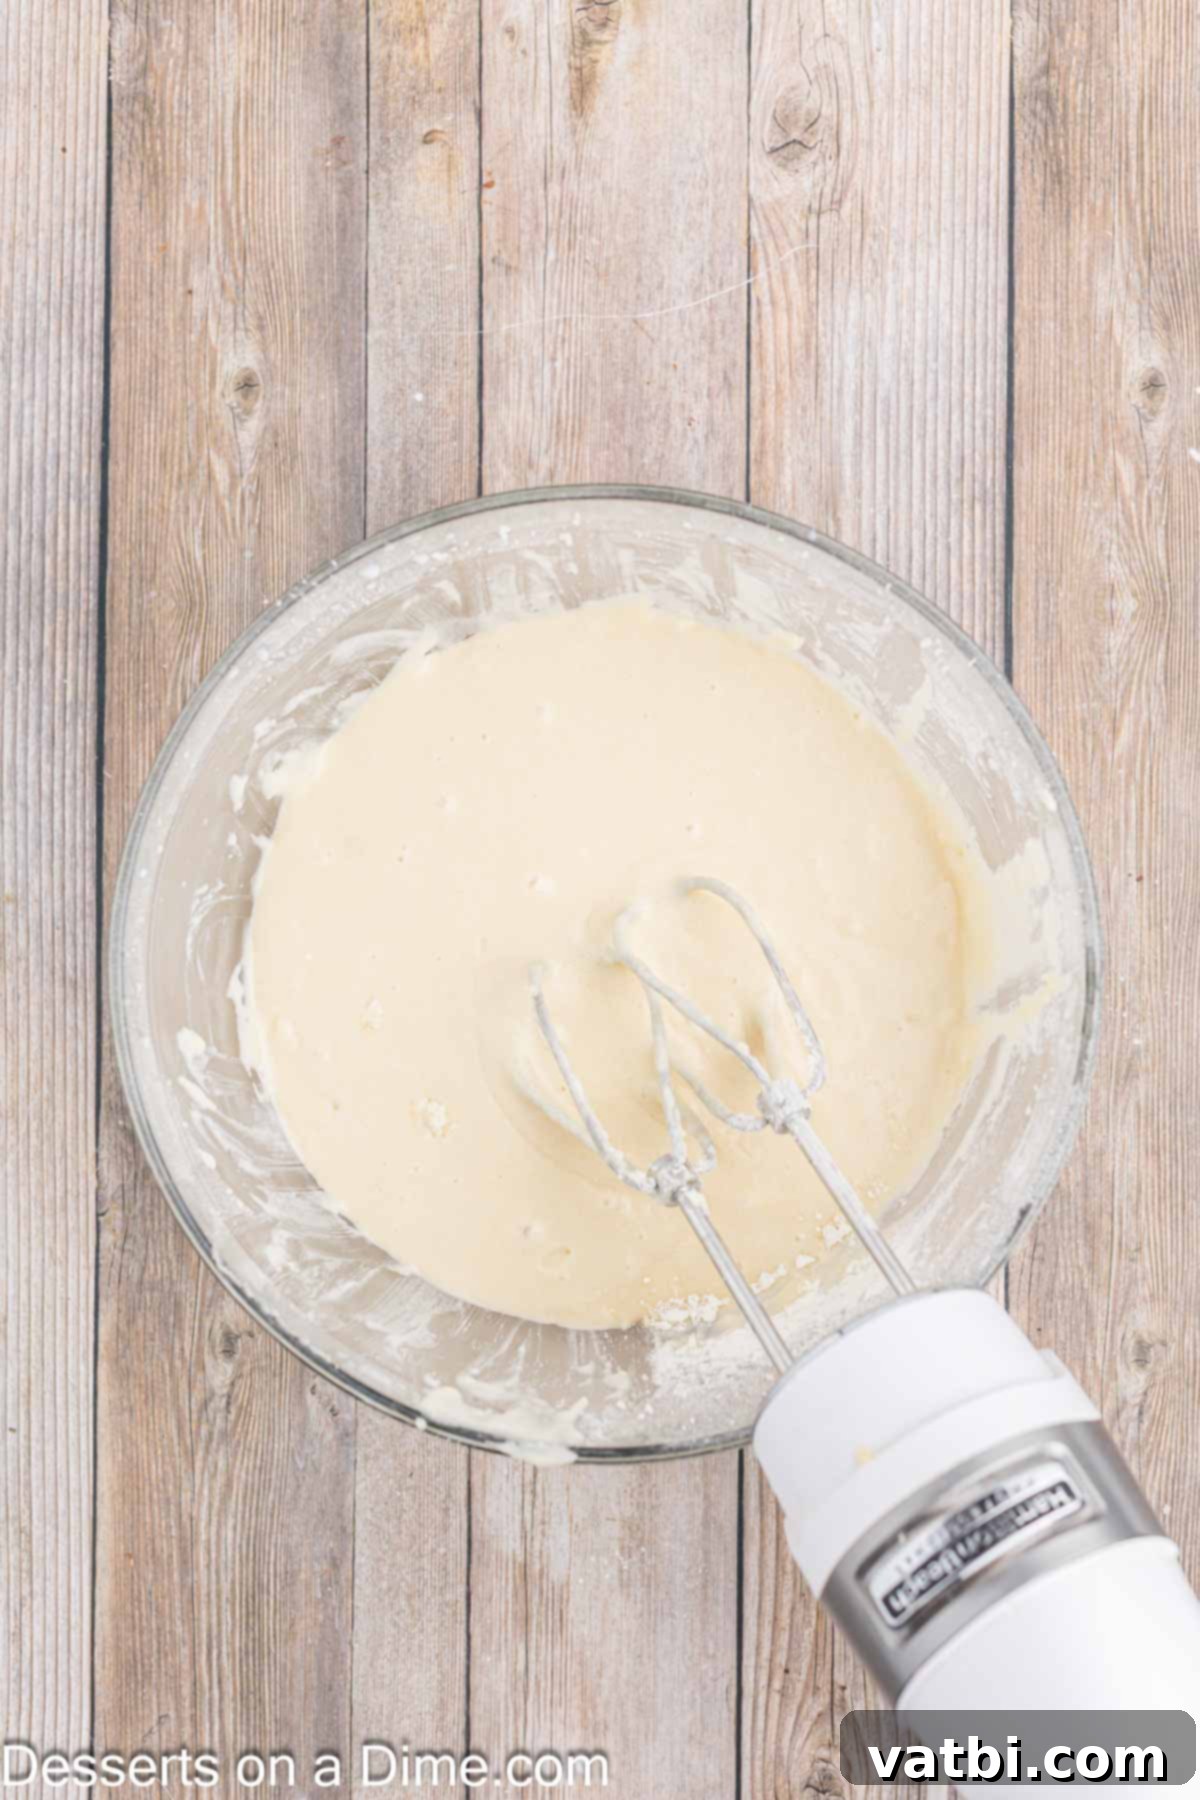
Step 6. Repeat the process: add the remaining flour mixture and mix on low speed until just combined, followed by the remaining buttermilk. Mix until the batter is smooth and no streaks of flour remain. Divide the cake batter evenly among your three prepared cake pans. Bake for 28-35 minutes, or until a wooden toothpick inserted into the center of a cake comes out clean. This indicates it’s fully cooked. Let the cakes cool in their pans for 10 minutes to allow them to set, then carefully invert them onto a wire rack to cool completely before frosting.
For the Frosting:
- Step 7. This step is CRUCIAL for a thick, stable cannoli frosting: you must remove as much moisture as possible from the ricotta cheese. Place the whole milk ricotta cheese in a fine-mesh sieve lined with several layers of paper towels or a cheesecloth. Place another layer of paper towels/cheesecloth on top, then press firmly down on the ricotta cheese to squeeze out all the excess liquid. You can even place a heavy plate or can on top and let it drain for at least 30 minutes, or ideally, refrigerate it overnight. The drier the ricotta, the better your frosting will be.
- Step 8. Transfer the well-drained ricotta cheese to a large mixing bowl. Add the softened mascarpone cheese, sifted powdered sugar, and vanilla extract. Using an electric mixer (handheld or stand mixer), beat on low speed until all the ingredients are just combined and smooth. Be careful not to overmix, especially with the mascarpone, as it can separate and become watery if beaten too vigorously or for too long. The frosting should be thick, creamy, and spreadable.
To Assemble the Cake:
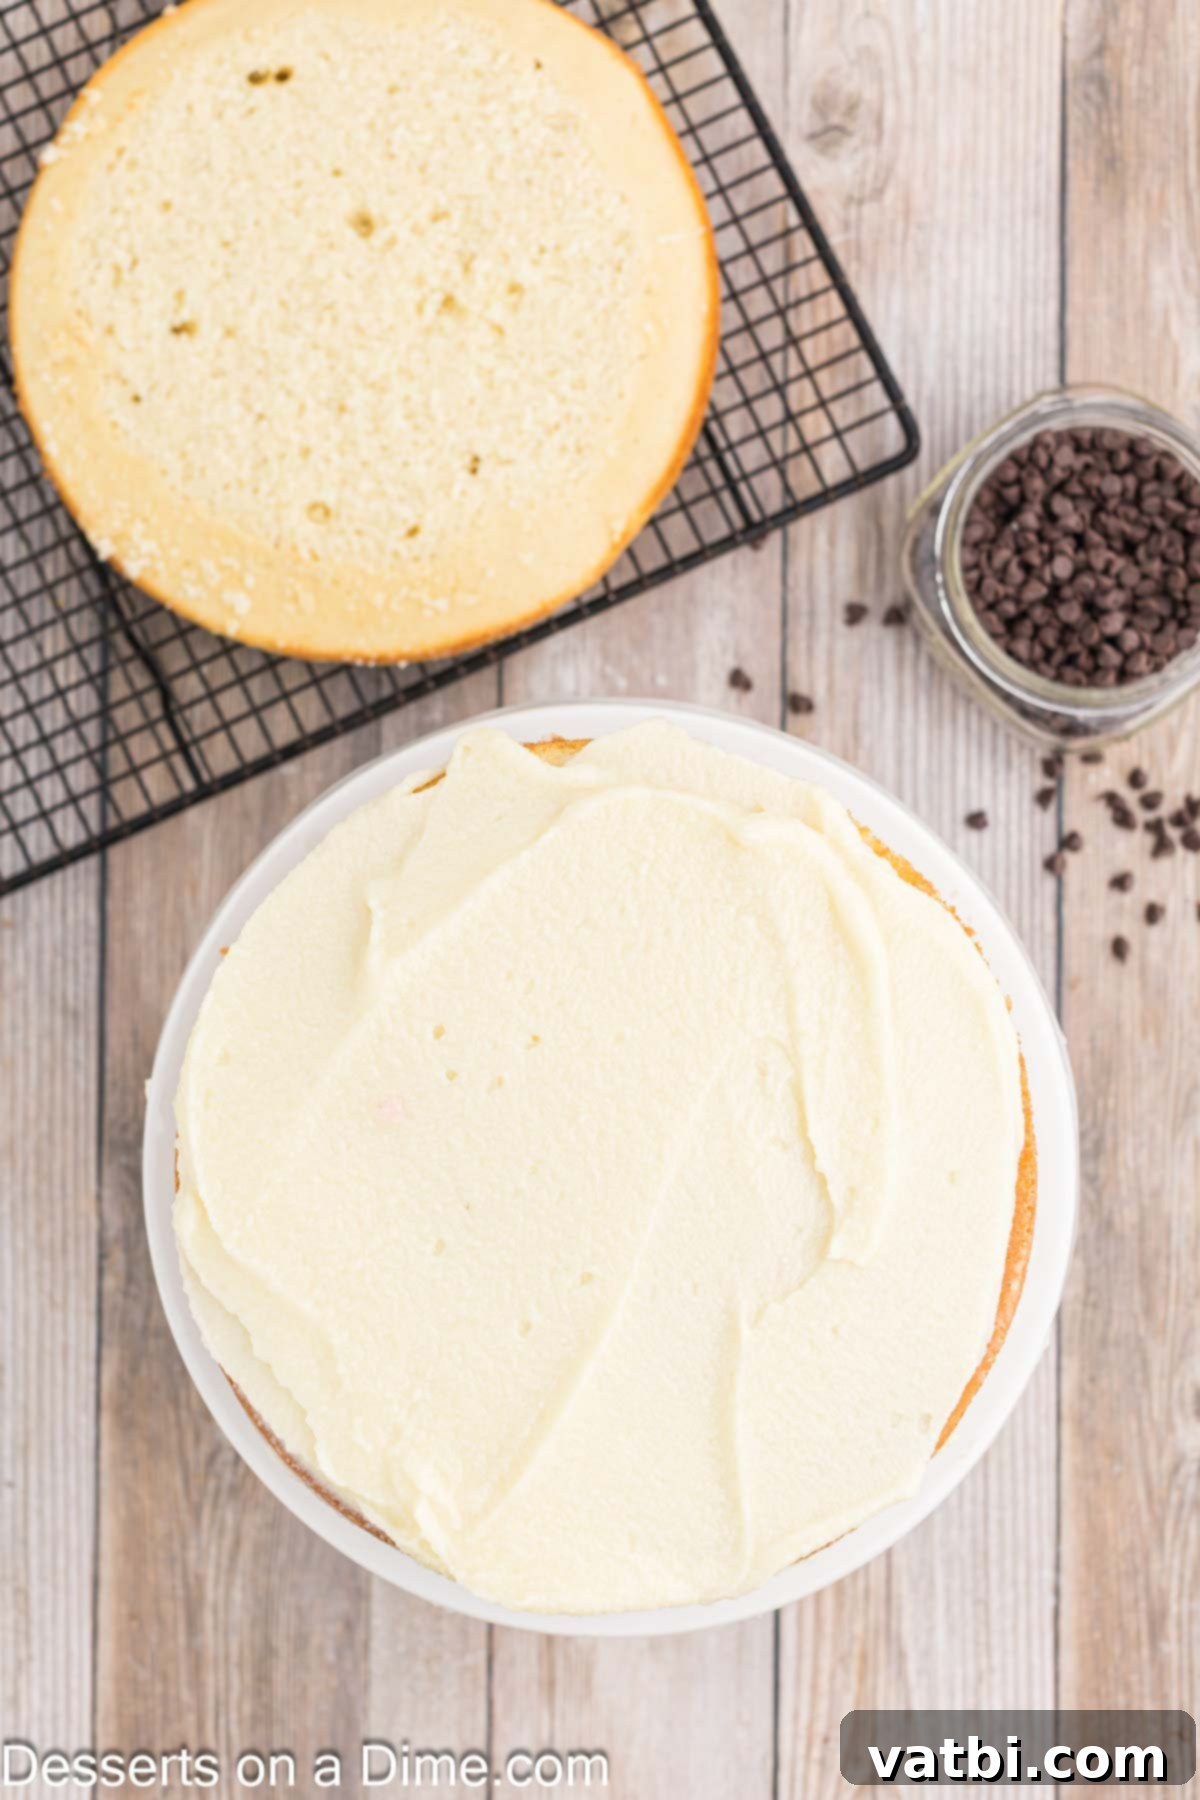
Step 9. Once the cake layers are completely cool, use a long serrated knife to carefully level the tops of the cakes. This involves slicing off the rounded portion to create flat surfaces, which ensures a stable and professional-looking layered cake. Place one of the leveled cake layers on your chosen serving platter or cake stand.
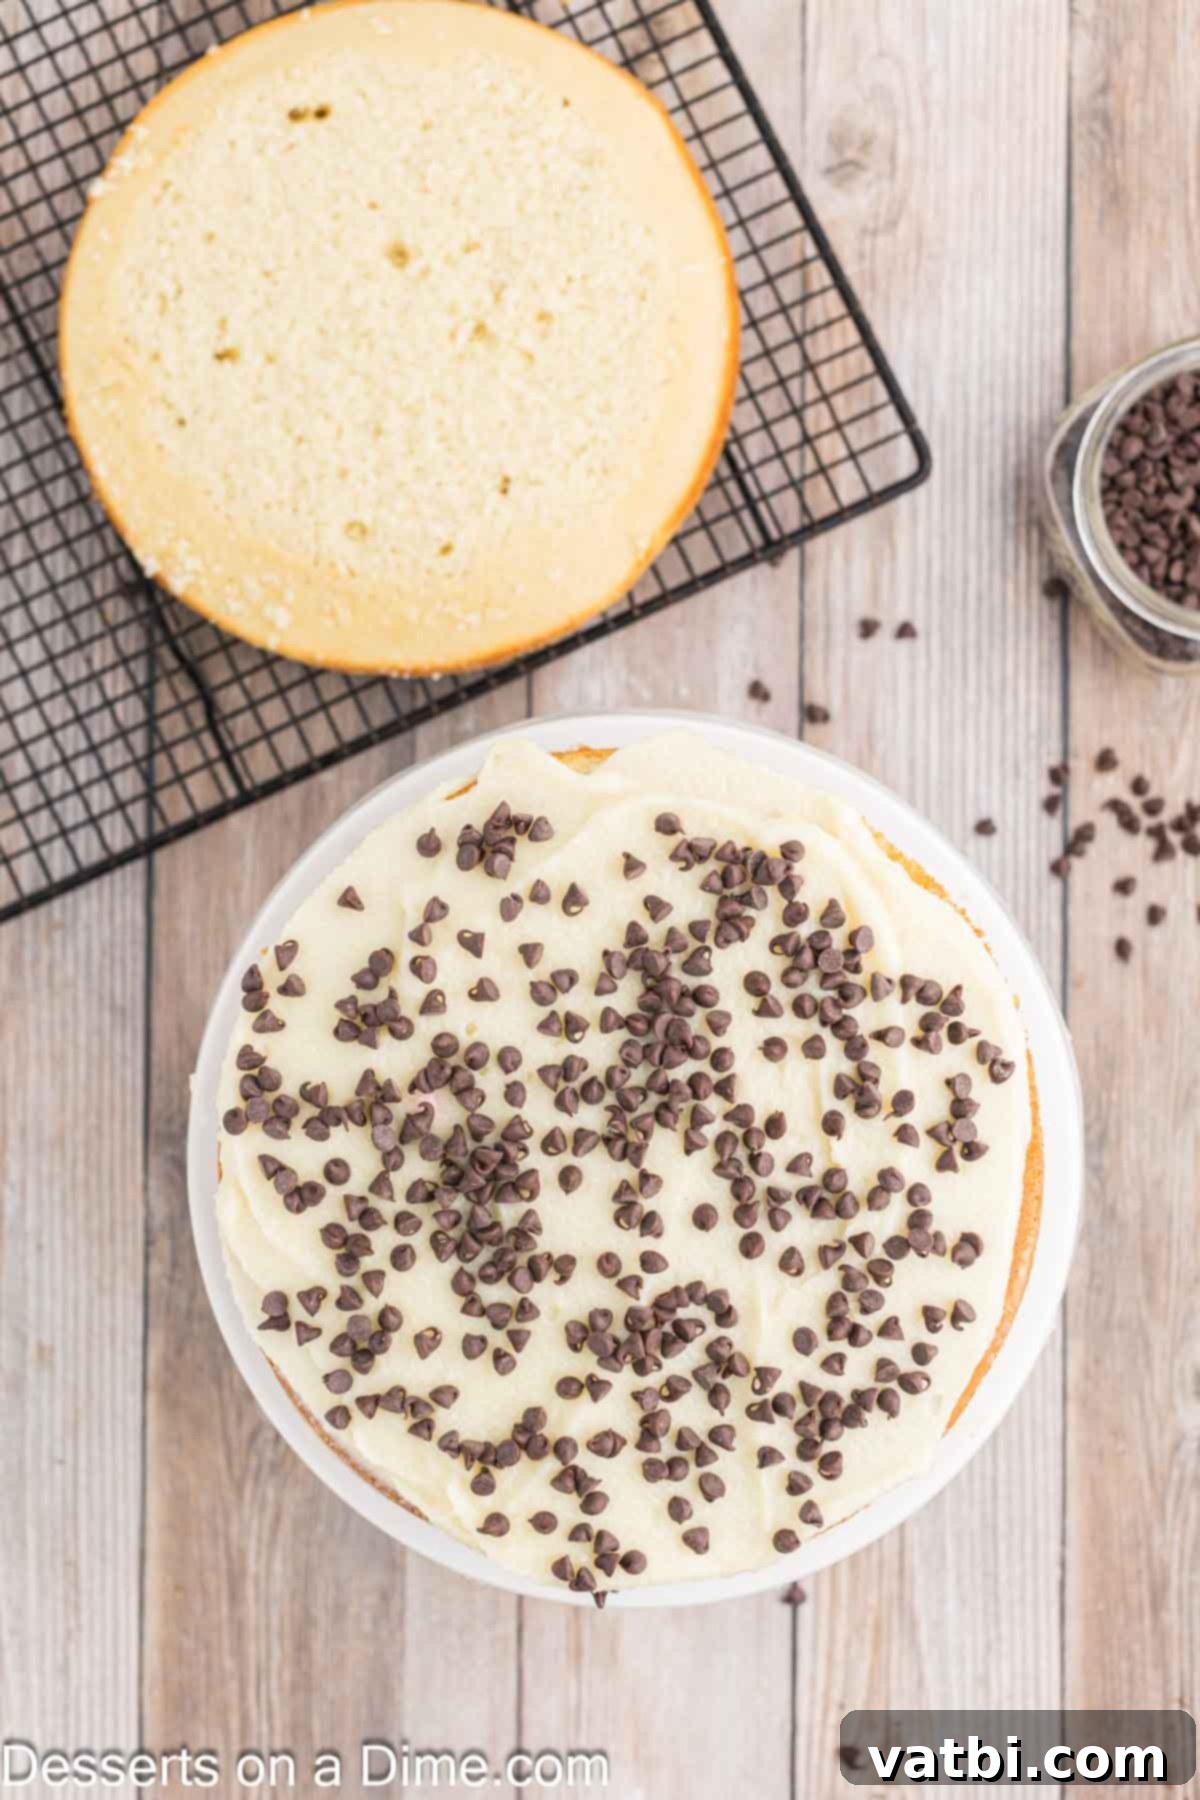
Step 10. Generously spread a layer of your prepared cannoli frosting over the first cake layer. Aim for an even thickness. Then, sprinkle approximately ¼ cup of mini chocolate chips over the frosting. This creates delicious pockets of chocolate in every bite.
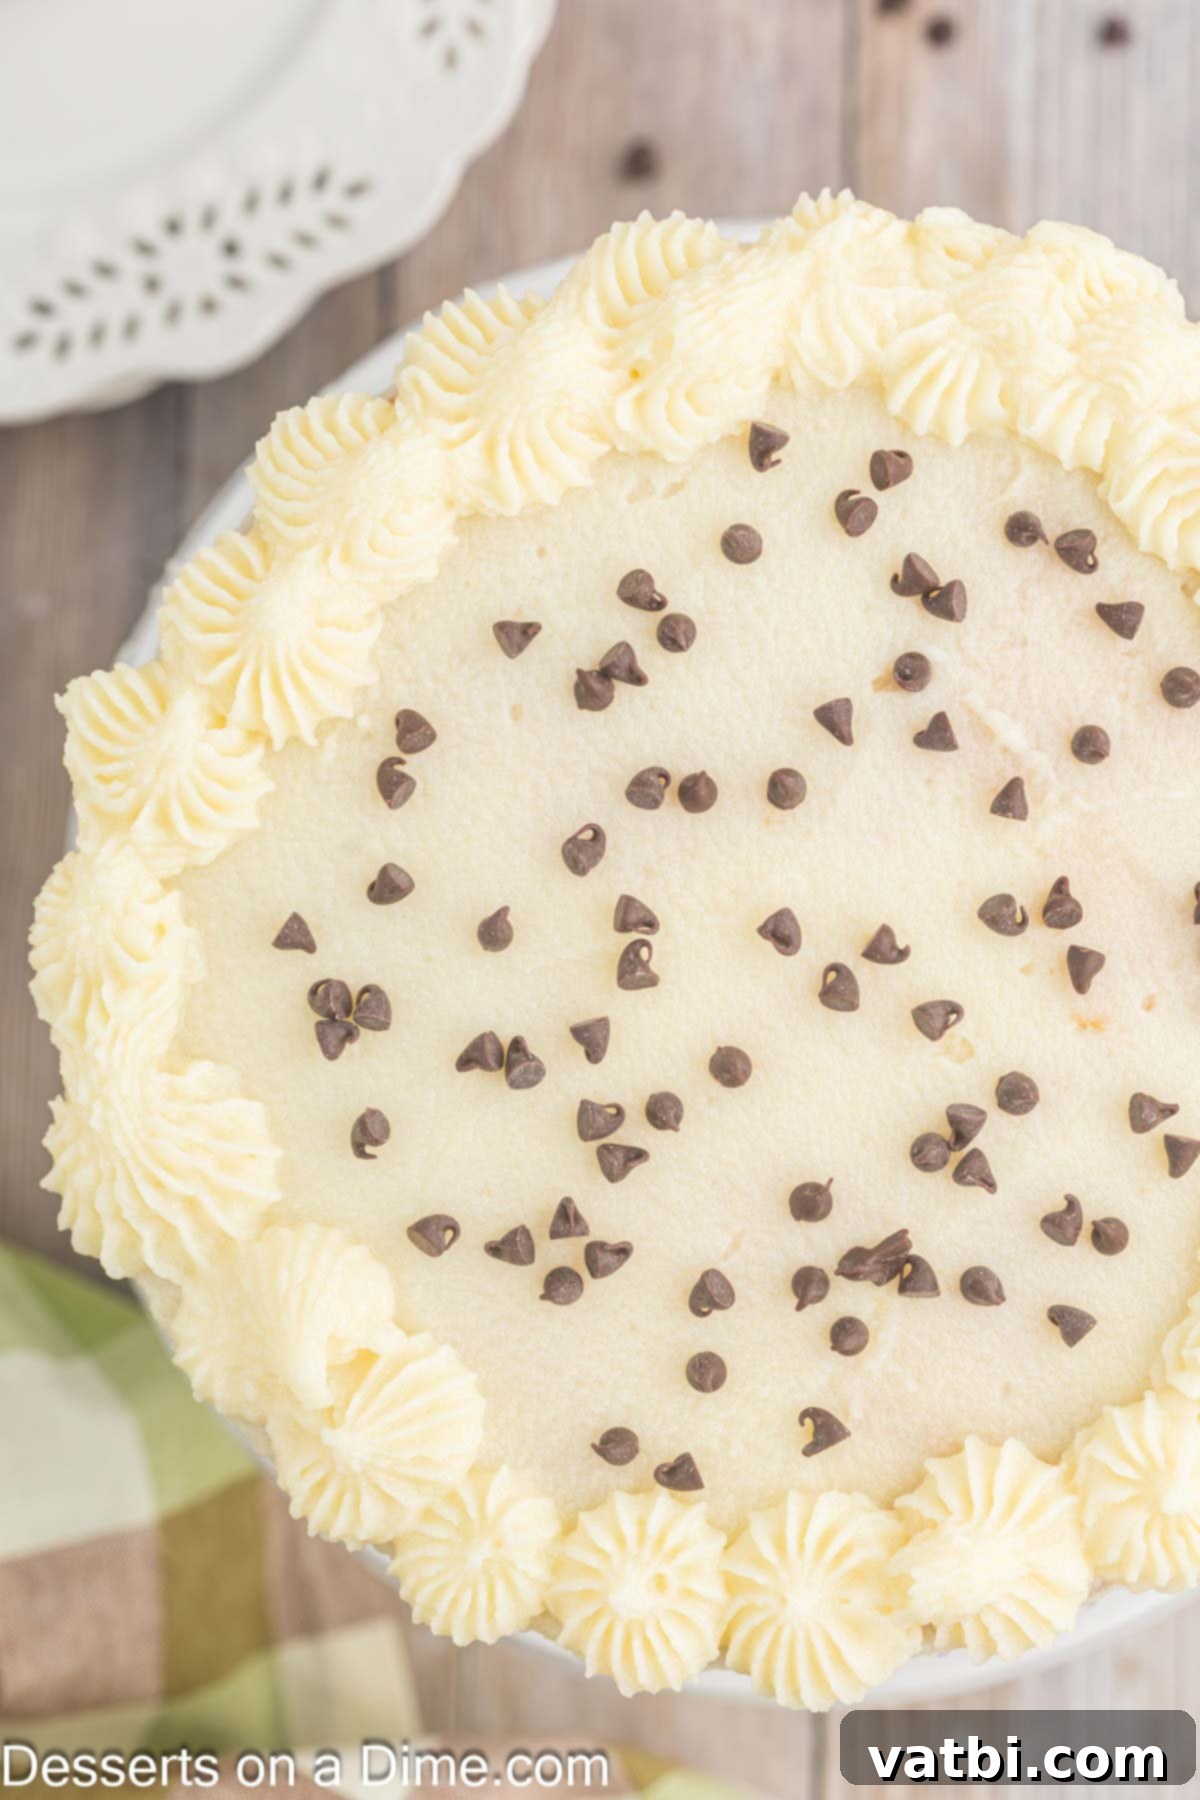
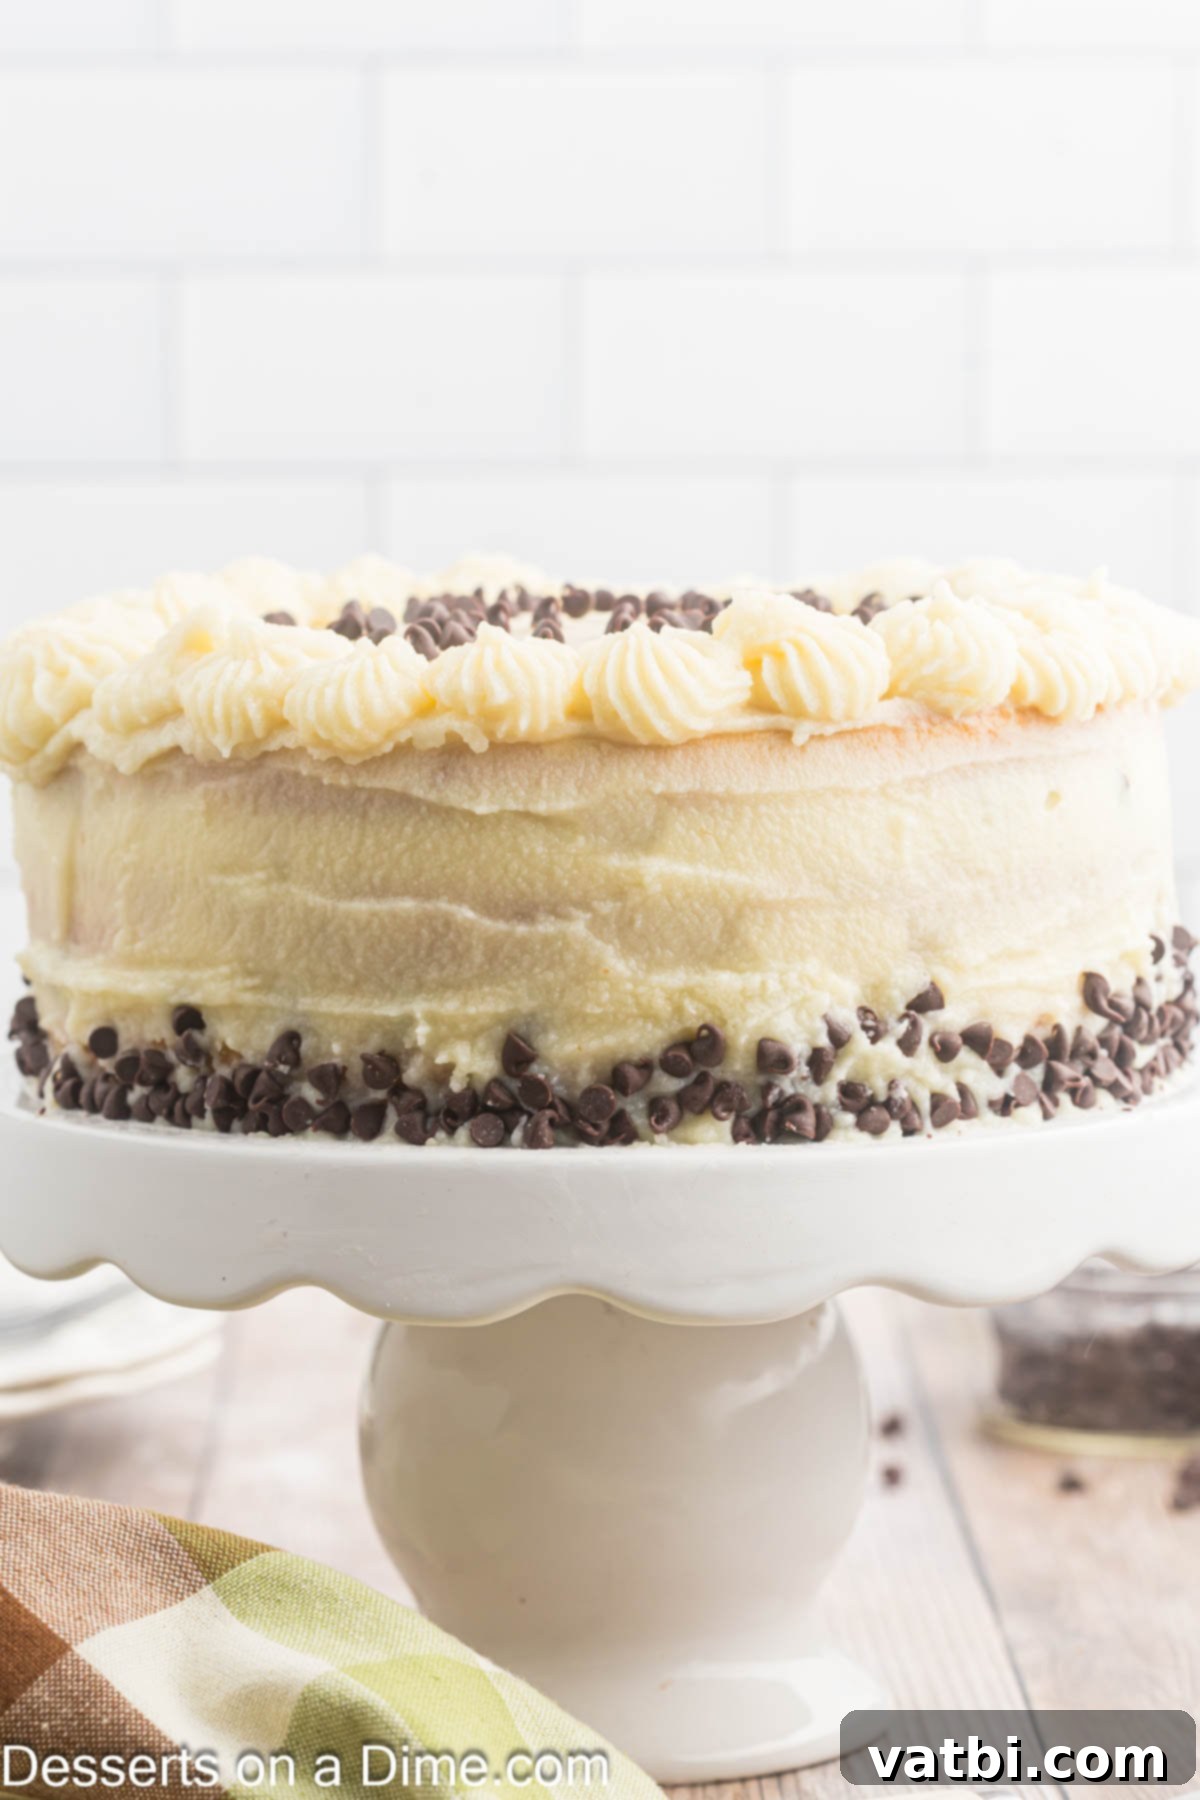
Step 11. Repeat the layering process with the next two cake layers, spreading frosting and sprinkling mini chocolate chips between each. Once all layers are stacked, apply a thin “crumb coat” of frosting all over the top and sides of the cake. This traps any loose crumbs. Chill the cake in the refrigerator for about 15-20 minutes to set the crumb coat. Then, apply the remaining frosting more thickly and evenly to the top and sides of the cake for a smooth finish. Finally, sprinkle the remaining mini chocolate chips generously on top as a beautiful and tasty garnish.
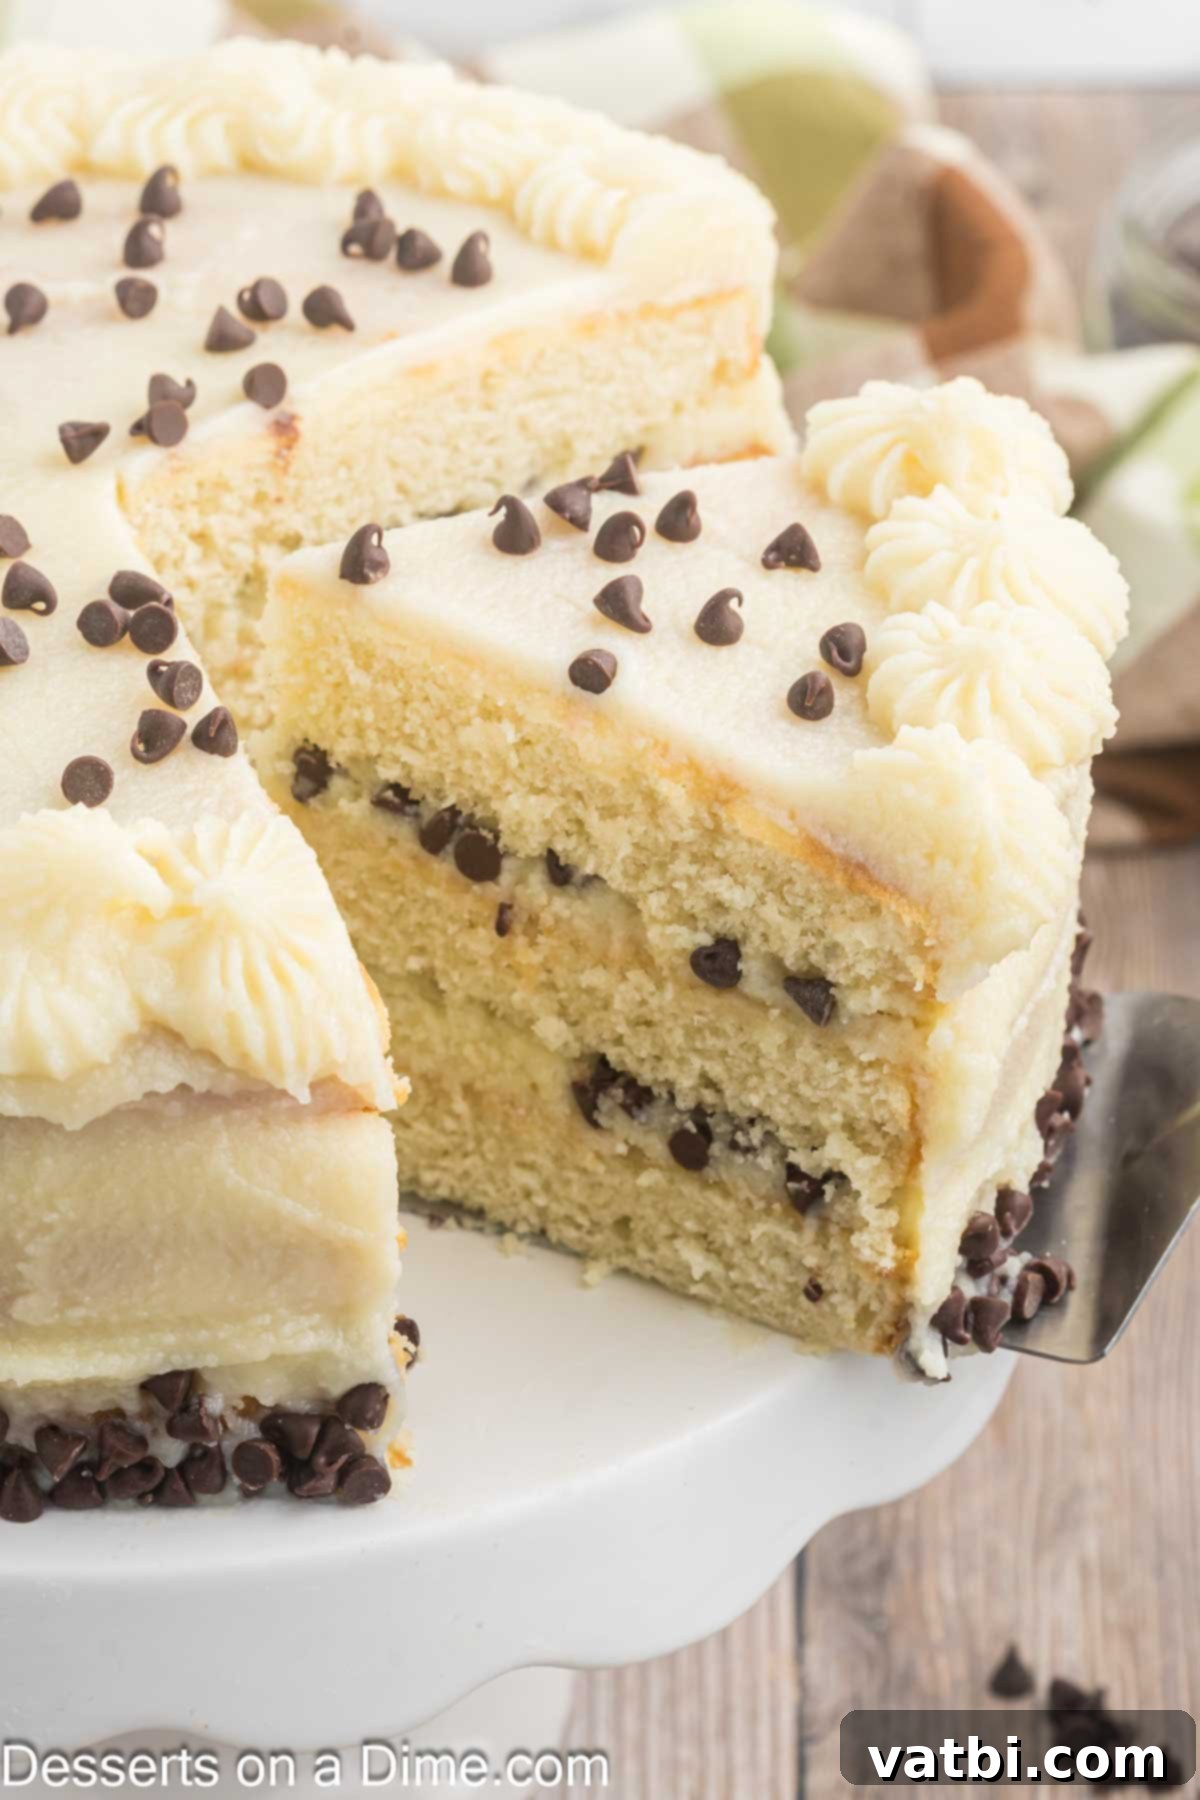
Step 12. For the cleanest slices and to allow the flavors to meld, it’s best to refrigerate the assembled cake for at least an hour before serving. Then, finally, slice and enjoy this wonderful, flavorful cake that truly embodies the essence of Italian cannoli!
Proper Storage
Due to the dairy-based frosting, it’s essential to store any leftover Cannoli Cake in the refrigerator. Cover it tightly with plastic wrap or place it in an airtight cake container to prevent it from drying out or absorbing other food odors. Stored correctly, your delicious cake will remain fresh and enjoyable for up to 5 days. We do not recommend freezing this cake, as the ricotta cheese in the frosting can change texture upon thawing, often becoming grainy or watery, which detracts from the delightful creaminess.
Expert Baking Tips
Achieving a perfect Cannoli Cake is easy with these insider tips:
- Crumb Coat is Your Friend. This rich and creamy frosting is naturally on the softer side. To achieve a perfectly smooth and crumb-free outer layer, apply a thin “crumb coat” of frosting all over the cake after stacking the layers. Chill the cake in the refrigerator for 15-20 minutes until the crumb coat is firm. This traps any loose crumbs and creates a stable base for your final, thicker layer of frosting, ensuring a flawless finish.
- We Don’t Recommend Freezing. While many cakes freeze well, this Cannoli Cake is an exception. The high moisture content and delicate texture of the ricotta cheese in the frosting can become grainy and unpleasant after freezing and thawing. It’s best enjoyed fresh within a few days of baking.
- Allow to Cool Completely. Patience is paramount here! The cake layers must be completely cooled to room temperature before you even think about applying the frosting. If the cake is still even slightly warm, the soft cannoli frosting will melt, slide right off the layers, and create a messy situation. Plan ahead and ensure your cake layers have ample time to cool, ideally on a wire rack for at least 1-2 hours.
- Don’t Overmix the Filling. When preparing the frosting, mix until the ingredients are just combined and smooth. Overmixing, especially the mascarpone cheese, can cause it to break down, resulting in a watery, unstable frosting. Mix on low speed and stop as soon as the desired consistency is achieved.
- Increase the Powdered Sugar for a Thicker Frosting. If you prefer your frosting to be heavier and thicker, you can gradually add a little more powdered sugar (½ cup at a time) until you reach your desired consistency. Be sure to sift the extra sugar to avoid lumps. This can be helpful if your ricotta was particularly moist or if you live in a humid environment.
- Chill Before Slicing. For the cleanest, most beautiful slices, refrigerate the assembled and frosted cake for at least an hour (or even longer) before cutting. This allows the frosting to firm up, making it much easier to cut neat portions.
Frequently Asked Questions
Here are some common questions you might have about making this delicious Cannoli Cake:
- Can I use low-fat ricotta cheese for the frosting?
While technically possible, we highly recommend using whole milk ricotta cheese for the best results. Whole milk ricotta provides a richer flavor and a much creamier, more stable texture for the frosting. Low-fat varieties tend to be watery and lack the luxurious mouthfeel essential for authentic cannoli cream. - Can I make the cake layers ahead of time?
Yes! You can bake the cake layers a day or two in advance. Once completely cooled, wrap each layer tightly in plastic wrap and store them at room temperature (if not too hot) or in the refrigerator. This can help break up the baking and assembly process, making the recipe more manageable. - What if I don’t have buttermilk?
No problem! You can easily make a homemade buttermilk substitute. For 1½ cups of buttermilk, simply add 1½ tablespoons of white vinegar or lemon juice to a liquid measuring cup, then fill the rest of the cup with regular milk (any fat content will work, but whole milk is ideal) to the 1½ cup line. Stir it gently and let it sit for 5-10 minutes until it slightly curdles. It will work perfectly in this recipe. - Can I add other toppings or variations?
Absolutely! This cake is wonderfully versatile. Besides mini chocolate chips, you can experiment with chopped pistachios, candied orange peel, grated orange or lemon zest for a citrusy hint, or even a drizzle of chocolate ganache over the top. Feel free to customize it to your preference!
More Layer Cake Recipes
Cakes
Chocolate Mousse Cake
Cakes
Strawberry Crunch Cake
Cakes
Carrot Cake Recipe
Cakes
Rainbow Cake
This delicious Homemade Cannoli Cake recipe is a breeze to make and will impress everyone with its authentic Italian flavors and beautiful presentation. Give it a try, and don’t forget to leave a comment and a star rating below. We always love to hear your feedback!
Pin
Cannoli Cake
Ingredients
For the Cake:
- 2½ cups all-purpose flour
- 1 teaspoon baking powder
- 1/2 teaspoon Baking Soda
- ½ teaspoon salt
- 1 ¾ cups granulated sugar
- ⅔ cup unsalted butter softened
- 2 large eggs room temp
- 1 Tablespoon vanilla extract
- 1 1/2 cups buttermilk room temp
For the Frosting:
- 16 ounces Whole Milk Ricotta Cheese
- 16 Ounces Mascarpone Cheese softened
- 4 cups Powdered Sugar
- 1 Tablespoon vanilla extract
- 1 cup mini chocolate chips divided
Instructions
For the Cake:
-
Preheat the oven to 350 degrees Fahrenheit. Thoroughly grease and flour 3 8-inch circle cake pans.
-
In a large bowl, whisk together the flour, baking powder, baking soda and salt until well combined. Set aside the dry ingredients.
-
Place the softened butter and granulated sugar in the bowl of a stand mixer. Beat on medium speed for 3-4 minutes until the mixture is light, fluffy, and pale in color, scraping down the sides as needed.
-
Add the room temperature eggs one at a time, mixing well after each addition. Stir in the vanilla extract and mix until just combined.
-
Gradually add approximately half of the flour mixture to the wet ingredients and mix on low speed until just combined. Then, add in half of the buttermilk and mix until incorporated.
-
Repeat with the remaining flour and buttermilk, mixing until everything is just combined and the batter is smooth. Be careful not to overmix.
-
Divide the cake batter evenly among the three prepared cake pans.
-
Bake for 28-35 minutes, or until a wooden toothpick inserted into the center of a cake comes out clean.
-
Allow the cakes to cool in their pans for 10 minutes on a wire rack.
-
After 10 minutes, use a knife to carefully loosen the cakes from the pan edges. Invert them onto the wire rack to cool completely before topping with the frosting. This is crucial for preventing frosting melt.
For the Frosting:
-
Place the whole milk ricotta cheese between 2 layers of paper towels or cheesecloths in a fine-mesh sieve. Press firmly down on the ricotta cheese to remove as much moisture as possible. You can also place a heavy object on top and refrigerate for 30 minutes to a few hours for more thorough draining.
-
Transfer the well-drained ricotta cheese to a mixing bowl. Add in the softened mascarpone cheese, sifted powdered sugar, and vanilla extract.
-
Mix with an electric mixer on low speed until all the ingredients are just combined and smooth. Be careful not to overmix, as mascarpone can become watery if beaten too vigorously.
To Assemble the cake:
-
Once completely cool, cut the rounded portion off the top of each cake layer with a serrated knife to make them level and flat.
-
Place one leveled cake layer on a serving platter or cake stand. Spread a generous layer of frosting over the cake and sprinkle with approximately ¼ cup of mini chocolate chips.
-
Repeat this layering process with the next two cake layers, spreading frosting and mini chocolate chips between each.
-
Apply a thin crumb coat of frosting to the top and sides of the stacked cake. Chill for 15-20 minutes. Then, frost the top and sides of the cake smoothly and evenly with the remaining frosting.
-
Sprinkle the remaining mini chocolate chips generously on top of the cake for a beautiful finish.
-
Refrigerate the assembled cake for at least 1 hour for the frosting to set. Then, the cake is ready to slice, serve and enjoy!
Recipe Notes
This frosting is soft so you might need to apply a thin crumb coat of frosting first, chill, and then apply the final layer to ensure a smooth, crumb-free finish on the sides and top of the cake.
Nutrition Facts
Pin This Now to Remember It Later
Pin Recipe
