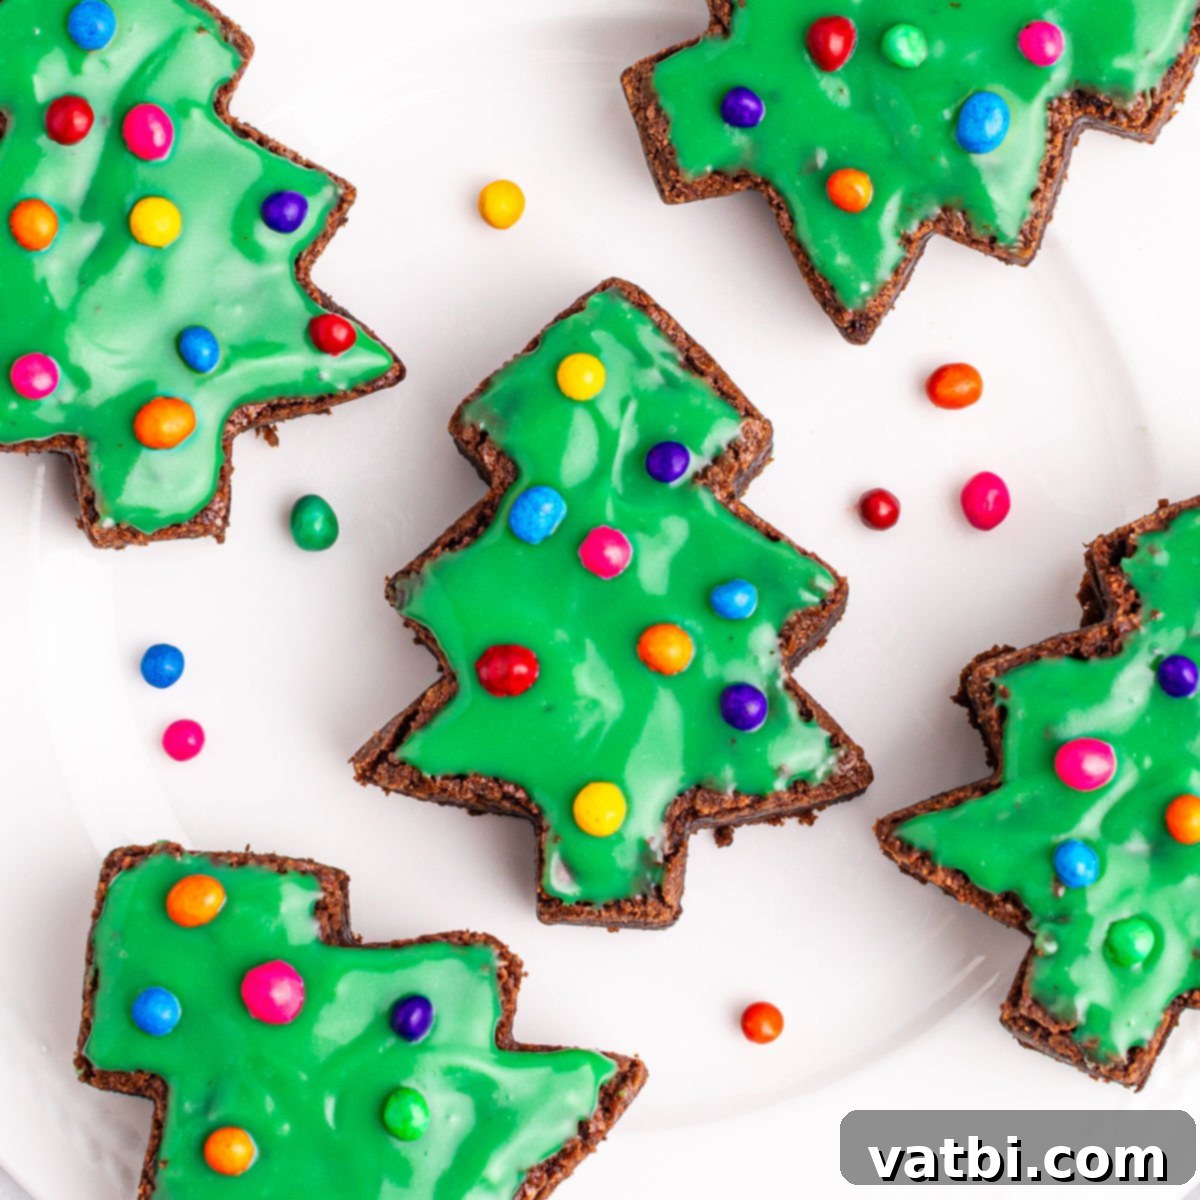
Homemade Little Debbie Christmas Tree Brownies: Your Go-To Festive Copycat Recipe
There’s something truly magical about the holiday season, and for many, that magic is intrinsically linked with classic treats like the Little Debbie Christmas Tree Brownies. Their festive shape, rich chocolate flavor, and delightful green frosting evoke a sense of nostalgia and holiday cheer. This year, why not bring that joy into your own kitchen with our incredibly easy and satisfying Little Debbie Christmas Tree Brownies copycat recipe? You’ll be amazed at how simple it is to recreate these beloved snack cakes at home, making them perfect for holiday gatherings, gifting, or simply enjoying with your family.
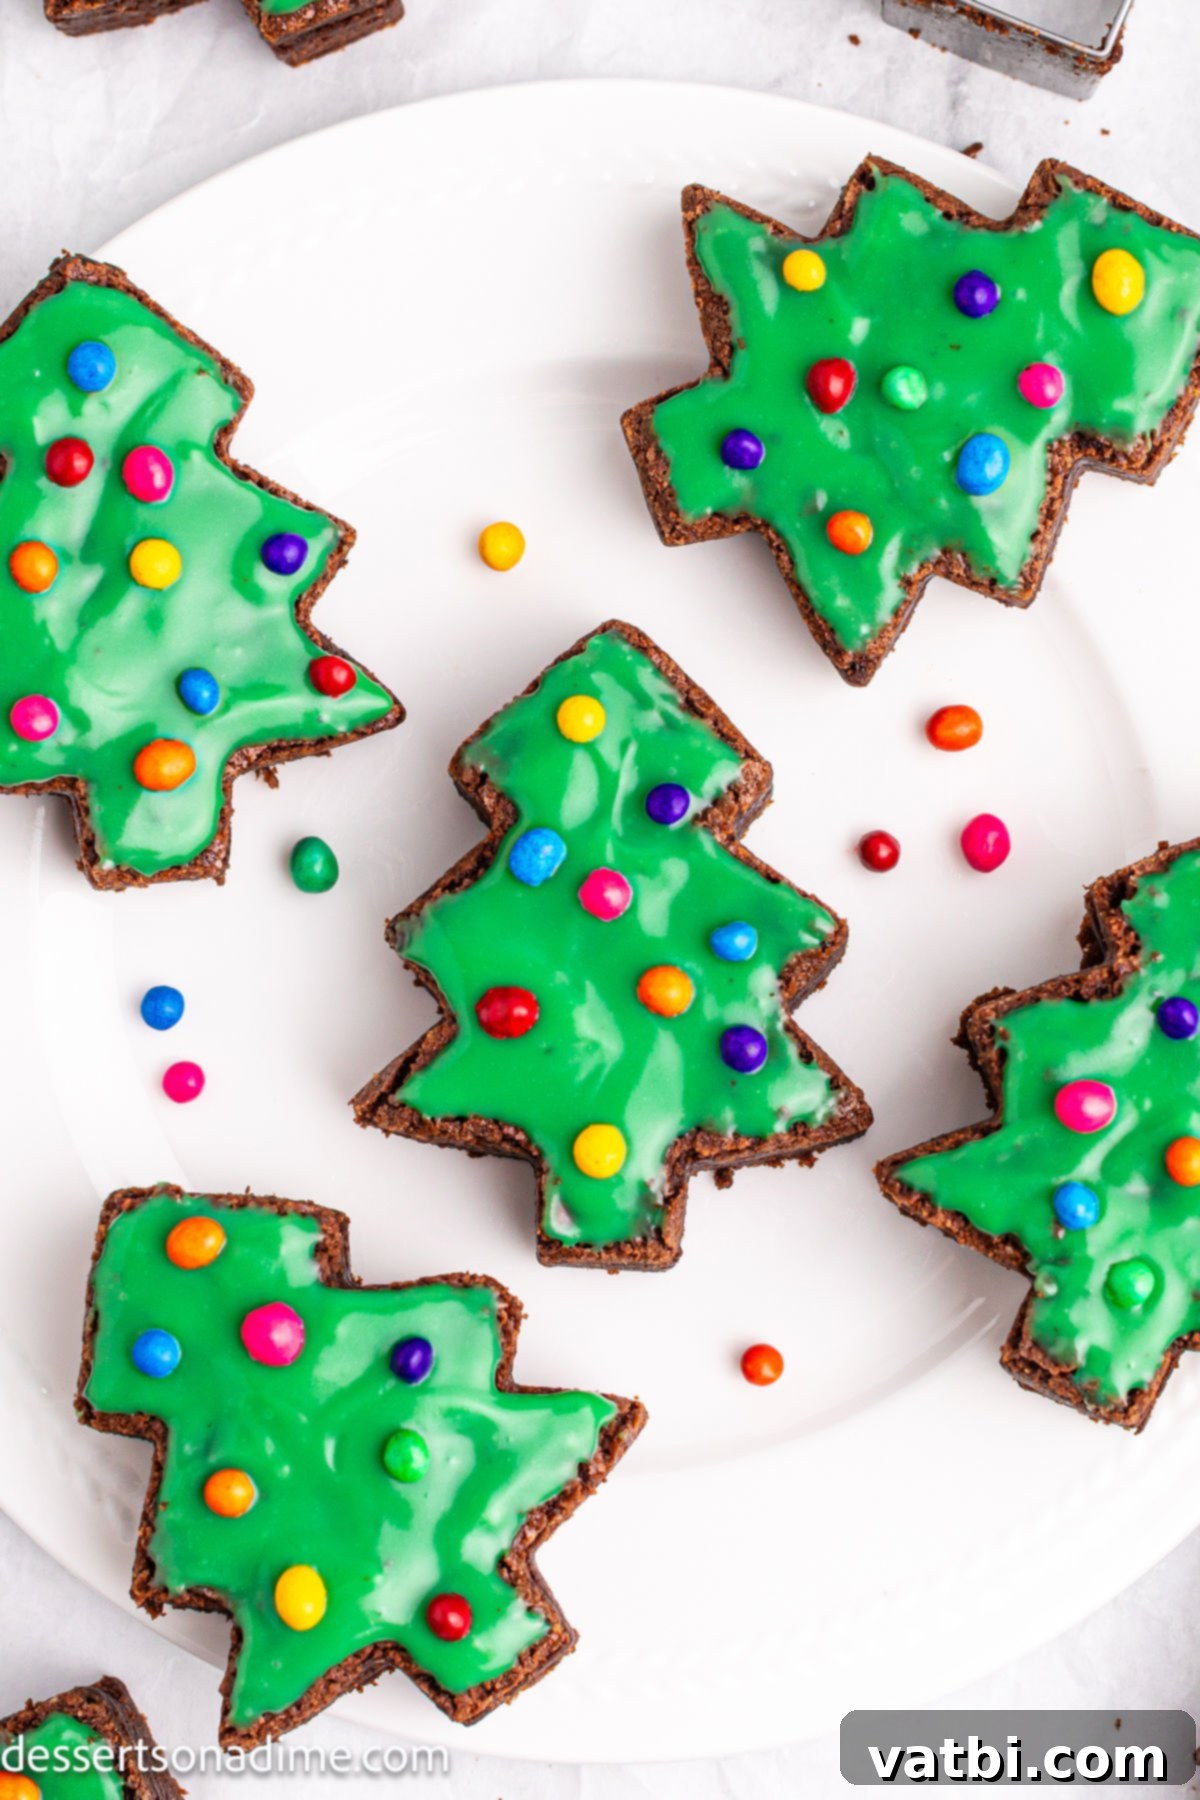
If you’re a fan of the original Little Debbie Brownies, then prepare to fall in love with these Christmas Tree Brownies. Our family has been making various Little Debbie-inspired Christmas treats for years, from Little Debbie Christmas Tree Dip to Little Debbie Christmas Tree Cakes Ice Cream. These festive brownies are a cherished tradition, bringing smiles and delicious memories every holiday season. They are remarkably easy to prepare with our detailed, step-by-step instructions, ensuring even novice bakers can achieve perfect results. Beyond these brownies, don’t forget to explore other favorites like Little Debbie Christmas Tree Cake Balls and Little Debbie Christmas Tree Cheesecake for a full spread of holiday delights.
What’s in this Post: Copycat Little Debbie Christmas Tree Brownies
- Why You Will Absolutely Love This Copycat Recipe
- Essential Ingredients for Your Festive Brownies
- Creative Variations to Customize Your Christmas Tree Brownies
- Simple Step-by-Step Instructions for Perfect Holiday Treats
- Expert Pro Tips for Baking and Decorating Success
- Frequently Asked Questions About Christmas Tree Brownies
- Explore More Delicious Festive Christmas Treats
- Full Recipe Card: Copycat Little Debbie Christmas Tree Brownies
Why You Will Absolutely Love This Copycat Recipe
There are countless reasons why these homemade Little Debbie Christmas Tree Brownies are destined to become a staple in your holiday baking repertoire. Beyond their undeniable cuteness, they offer a delightful combination of flavor, fun, and convenience:
- Nostalgic Homemade Goodness: Recreating your favorite store-bought snacks at home allows you to enjoy that familiar, comforting taste with the added satisfaction of homemade quality. You control the ingredients, ensuring a fresh and delicious treat every time. It’s a wonderful way to relive childhood memories or create new ones.
- Festive and Fun for All Ages: These brownies aren’t just delicious; they’re incredibly festive! Their Christmas tree shape and vibrant green frosting immediately scream “holiday season.” They are a joy to make with kids, turning baking into a memorable family activity. Imagine the laughter and creativity as you decorate each little tree with colorful sprinkles.
- Incredibly Delicious Flavor Profile: Each bite delivers a rich, fudgy chocolate brownie base perfectly complemented by the creamy, sweet green topping. The mini candy-coated chocolate chips add a delightful texture and an extra pop of color, making these brownies irresistible. The balance of chocolate and sweet frosting is truly a winning combination.
- Economical and Customizable: Making brownies from scratch, or even using a high-quality mix, is often more budget-friendly than buying multiple boxes of snack cakes. Plus, you have the freedom to customize the flavors and decorations, tailoring them to your exact preferences, whether that’s a different sprinkle type or a hint of peppermint.
- Perfect for Holiday Parties and Gifting: These charming brownies are ideal for holiday dessert tables, potlucks, and school parties. Their individual portions make them easy to serve, and their festive look is always a conversation starter. Pack them in festive boxes or cellophane bags for thoughtful homemade gifts that friends, neighbors, and teachers will adore.
Essential Ingredients for Your Festive Brownies
Creating these delightful Christmas Tree Brownies requires just a few simple ingredients, most of which you likely already have in your pantry. We’ll divide them into two categories: the fudgy brownie base and the vibrant green topping, ensuring you have everything you need for a smooth baking experience.
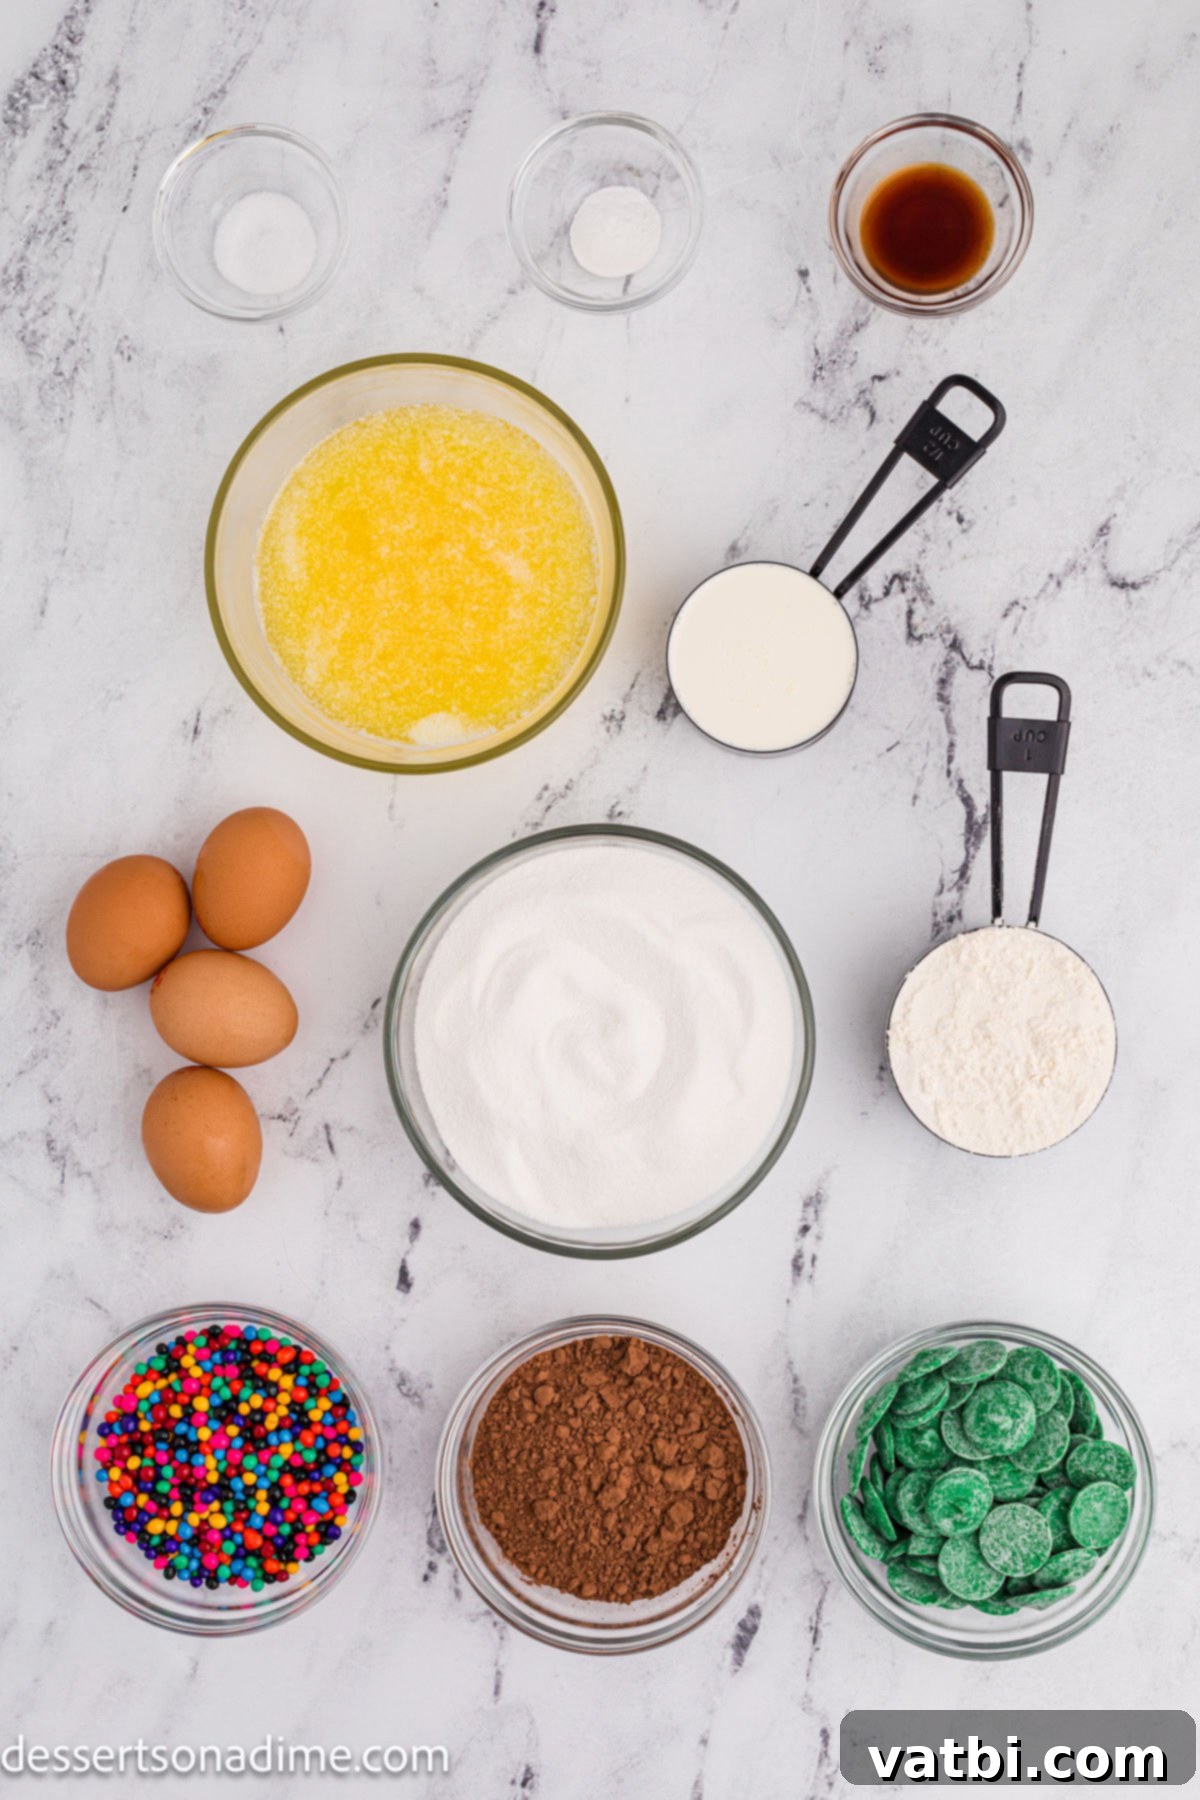
For the Brownies:
- Granulated Sugar: This provides the primary sweetness and contributes to the wonderfully chewy texture that defines a great brownie.
- Unsweetened Cocoa Powder: The undisputed star for that rich, deep chocolate flavor. Opt for a high-quality brand for the best and most intense chocolate experience.
- All-Purpose Flour: Forms the essential structure of our brownies. Remember, gentle mixing is key once the flour is added to prevent gluten development and tough brownies.
- Salt: A crucial ingredient! Just a half teaspoon enhances the chocolate flavor, balances the sweetness, and brings out the best in all other ingredients.
- Baking Powder: We use just enough to give the brownies a slight lift and a tender crumb, ensuring they aren’t too dense or too cakey.
- Large Eggs: These act as a binder, adding moisture, richness, and contributing significantly to the fudgy, chewy consistency we all love in a brownie.
- Butter, Melted: The fat component that delivers incredible richness and a truly decadent, fudgy texture. Unsalted butter is generally preferred in baking to give you control over the overall salt content.
- Vanilla Extract: A non-negotiable flavor enhancer that beautifully elevates and complements the deep chocolate notes in the brownies.
For the Topping:
- Green Candy Melts: These are essential for achieving the Little Debbie brownies’ signature bright green, smooth, and firm coating. They melt beautifully and set quickly.
- Heavy Whipping Cream: When combined with the candy melts, it transforms them into a luscious, pourable ganache-like topping that’s easy to spread and creates a smooth finish.
- Mini Candy Coated Chocolate Chips: These little gems mimic the colorful sprinkles on the original snack cakes, adding a fun, festive touch and a satisfying textural contrast.
You’ll find the complete ingredient list with precise measurements in the recipe card at the bottom of this post. It’s always a good practice to gather and measure all your ingredients before you begin baking, a technique known as “mise en place,” for a more organized and enjoyable process!
Creative Variations to Customize Your Christmas Tree Brownies
While this recipe perfectly replicates the classic Little Debbie Christmas Tree Brownies, there’s always room for a little creativity and customization. These variations allow you to personalize your festive treats or simplify the process even further, depending on your preferences and time constraints:
- Start with a Brownie Mix: Feeling pressed for time during the busy holiday season? No problem! Feel free to use a high-quality store-bought brownie mix instead of making them from scratch. Simply prepare the mix according to the package directions, bake, cool, and then proceed with our instructions for cutting and decorating the Christmas tree shapes. This is a fantastic shortcut that doesn’t compromise on fun!
- Sprinkle Swap for Extra Flair: The mini candy-coated chocolate chips give an authentic touch, but you can easily substitute them with other festive sprinkles. Consider classic green and red sprinkles, a shimmering holiday sprinkle mix, or even edible glitter for an extra sparkle. White nonpareils can create a “snowy” effect, or silver and gold sprinkles can add a touch of elegance.
- Quick Frosting Alternative: If melting candy melts feels like an extra step you’d like to skip, store-bought green frosting is a convenient alternative for the topping. You can simply warm it slightly in the microwave (if it’s too thick) to make it more spreadable, or use vanilla frosting and tint it green with a few drops of food coloring. This option saves time without sacrificing flavor.
- Go Gluten-Free with Ease: For those with dietary restrictions, adapting this recipe is straightforward. Simply swap the regular all-purpose flour for a good quality gluten-free flour blend. It’s advisable to choose a blend that already contains xanthan gum, or add about ½ teaspoon per cup of flour, to ensure the brownies maintain good structure and texture. All other ingredients are naturally gluten-free.
- Experiment with Different Cookie Cutter Shapes: While Christmas trees are classic for this recipe, feel free to get creative with other holiday-themed cookie cutters. Stars, bells, gingerbread men, or even simple circles can make for a diverse and appealing platter of treats. Just remember that the size of your cutter will impact the total yield.
- Add a Peppermint Twist: For a refreshing and distinctly holiday flavor, consider adding 1/2 teaspoon of peppermint extract to your brownie batter alongside the vanilla. You could also add a drop or two to your green topping mixture. For decoration, crushed candy canes sprinkled on top instead of chocolate chips would provide a beautiful minty crunch and festive color.
Simple Step-by-Step Instructions for Perfect Holiday Treats
Creating your own batch of delightful Little Debbie Christmas Tree Brownies is an enjoyable process. Follow these clear and concise steps, complete with helpful images, to guide you to a perfect, festive result that will impress everyone.
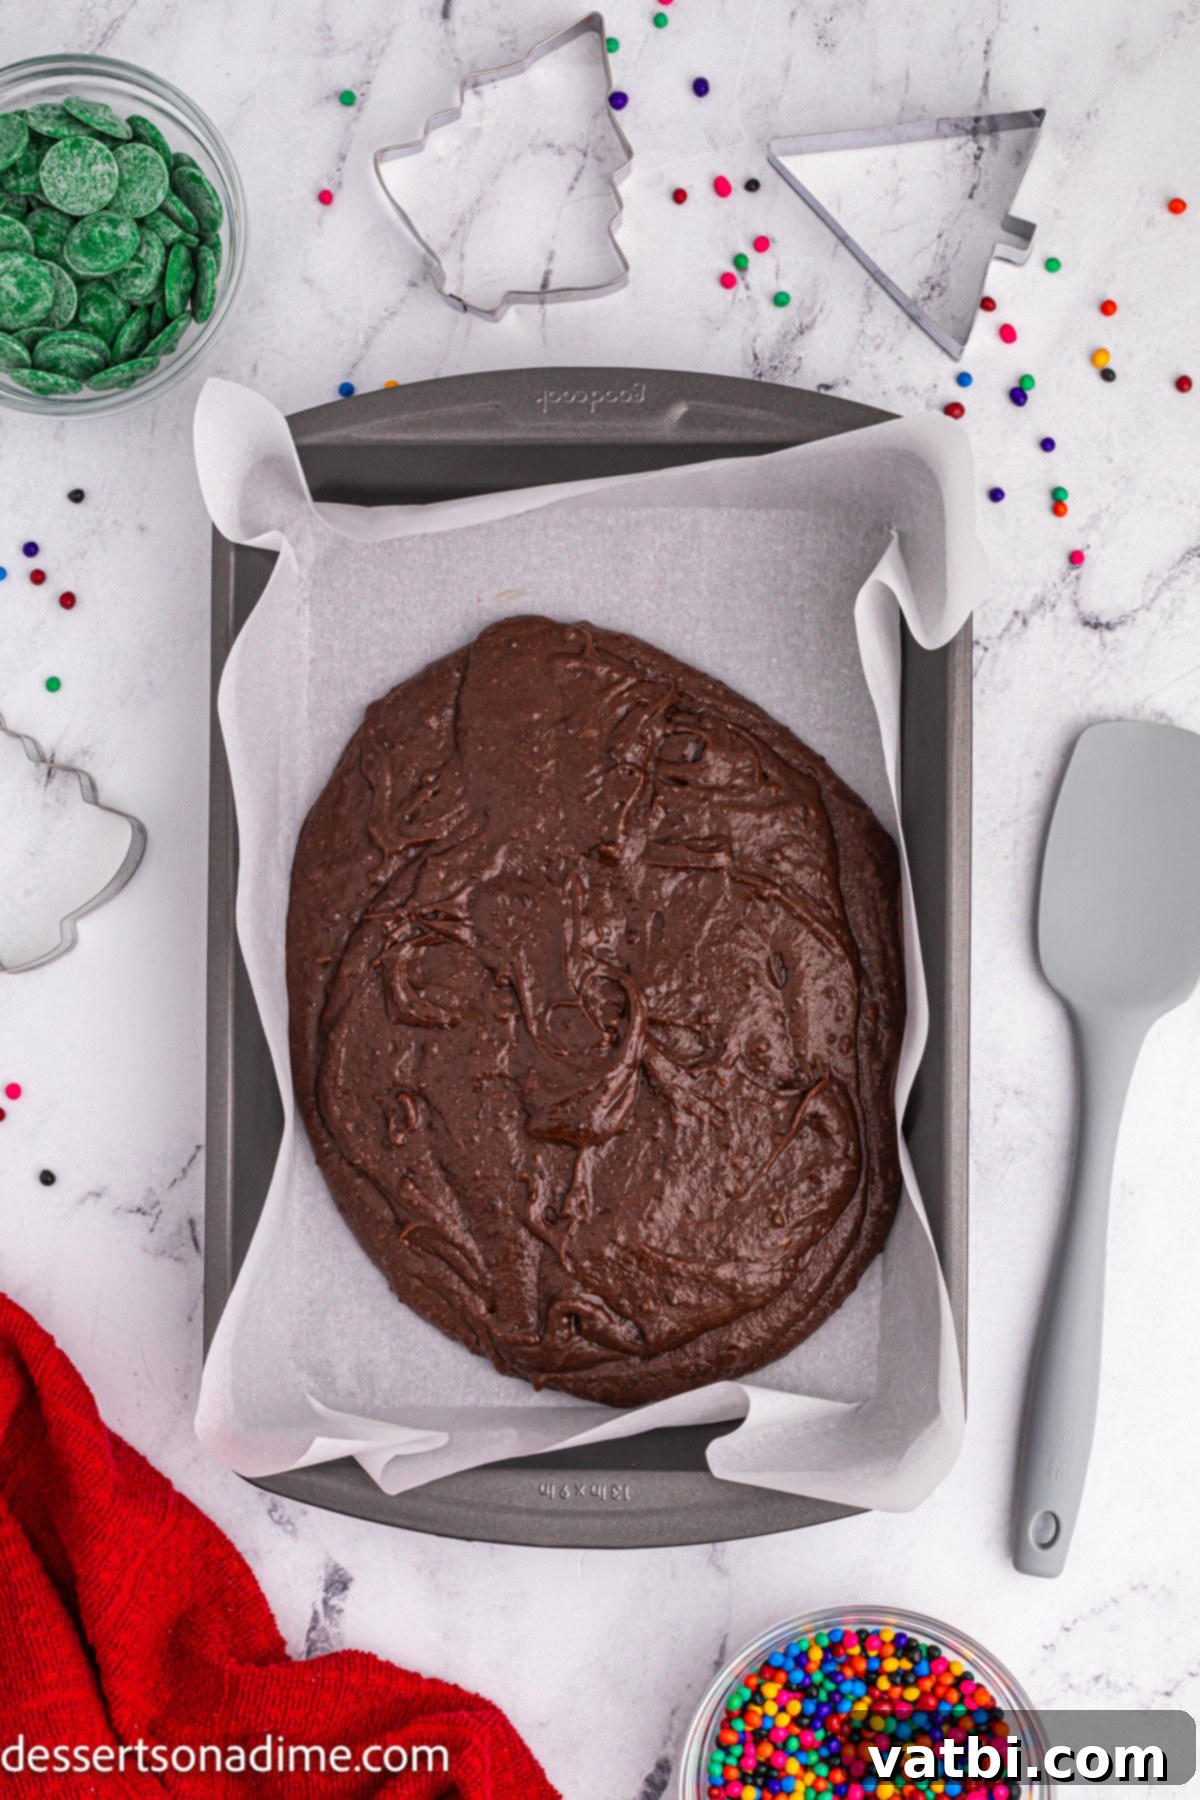
Step 1. Prepare the Batter: Begin by preheating your oven to 325 degrees Fahrenheit (160°C). Then, line a 9×13 inch baking pan with parchment paper, allowing the paper to overhang on the longer sides. This will create “handles” that make lifting the baked brownies out of the pan incredibly easy. In a large mixing bowl, combine all the brownie ingredients: granulated sugar, unsweetened cocoa powder, all-purpose flour, salt, baking powder, large eggs, melted butter, and vanilla extract. Stir everything together by hand using a wooden spoon or spatula until the ingredients are just combined and no dry streaks of flour are visible. It’s crucial not to overmix the batter; overmixing can develop gluten, leading to tougher, less fudgy brownies. Once mixed, spread the batter evenly into your prepared baking dish.
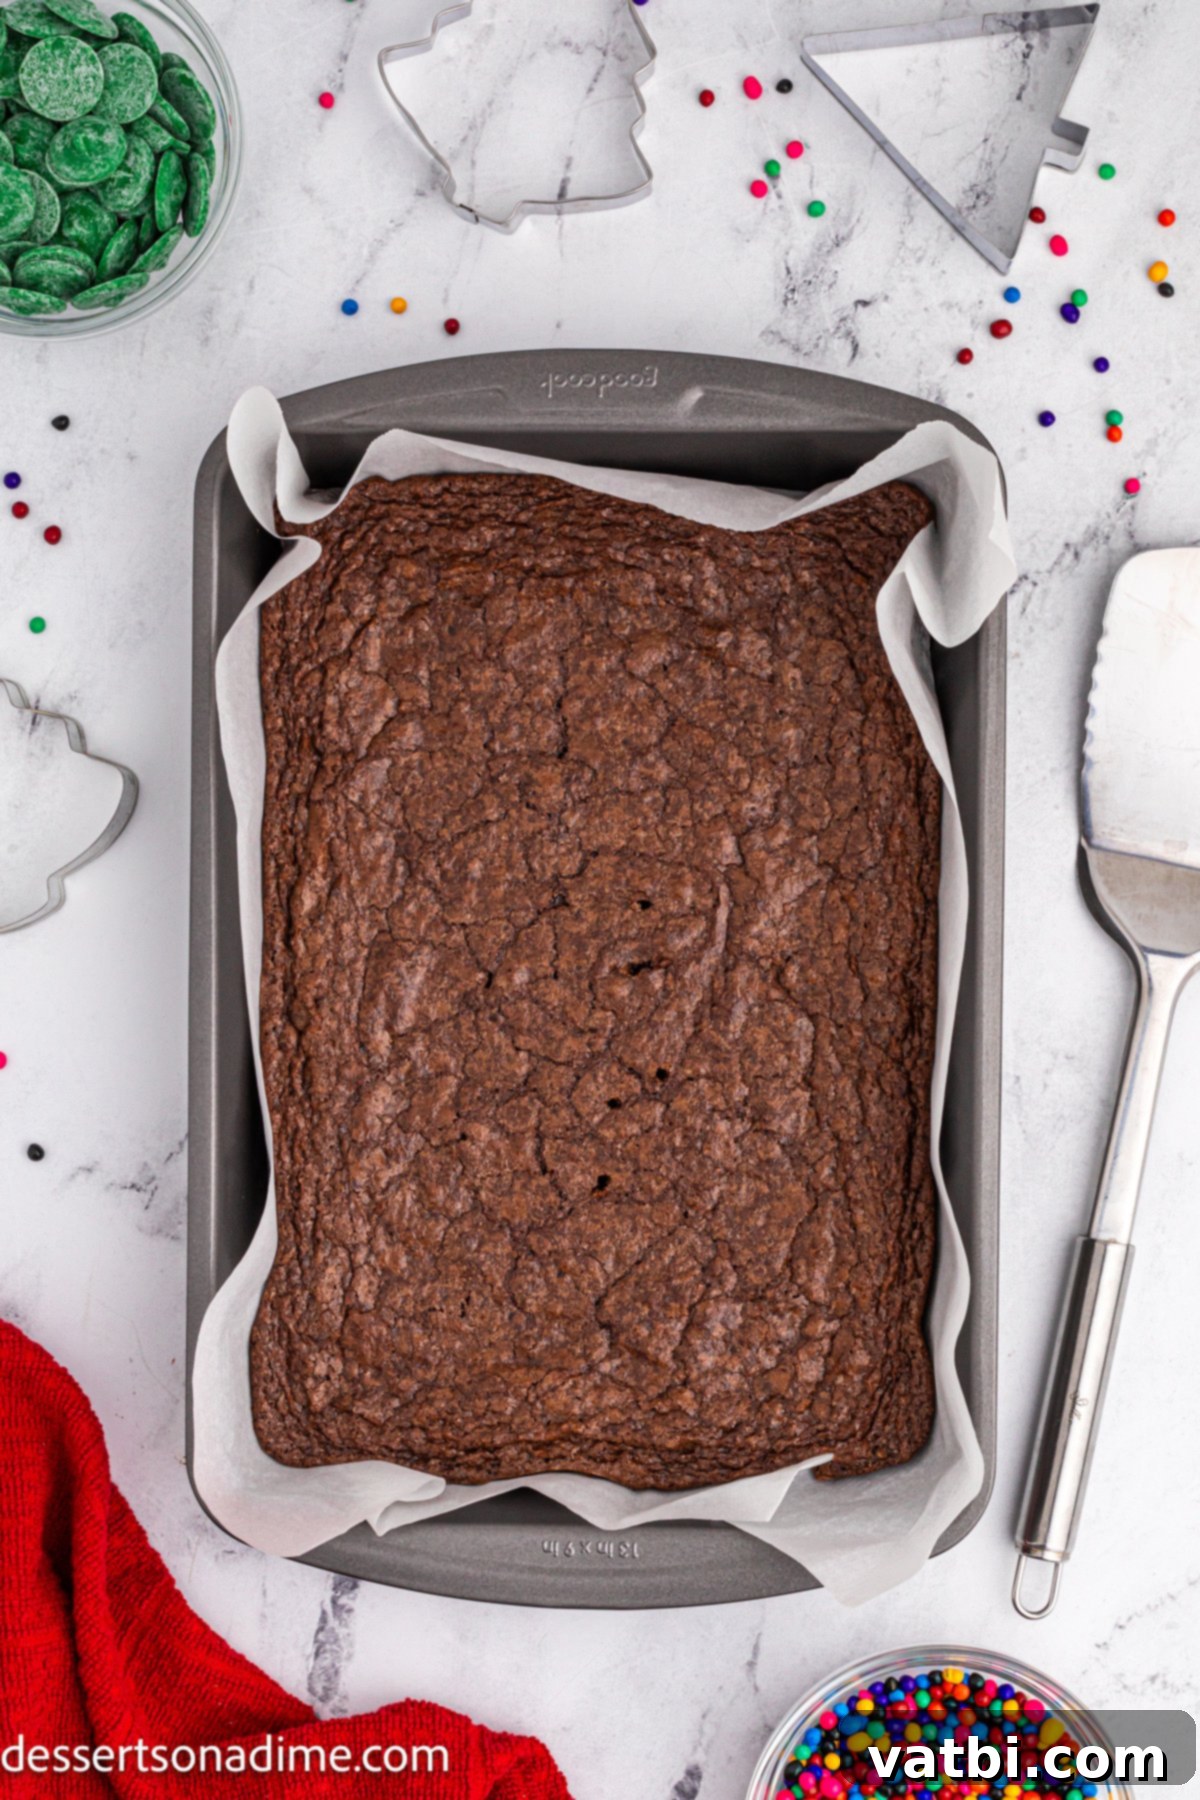
Step 2. Bake to Perfection: Place the baking dish into your preheated oven and bake for approximately 20 to 25 minutes. Baking times can vary slightly depending on your oven, so keep an eye on them. To test for doneness, gently insert a toothpick into the center of the brownies. If it comes out with moist crumbs attached but no wet batter, your brownies are perfectly baked. If it comes out completely clean, they might be slightly overbaked, but still delicious. If it comes out with wet batter, continue baking for a few more minutes and retest. Once baked, remove the pan from the oven and allow the brownies to cool completely in the pan on a wire rack. This patience is crucial for achieving clean, neat cuts in the next step!
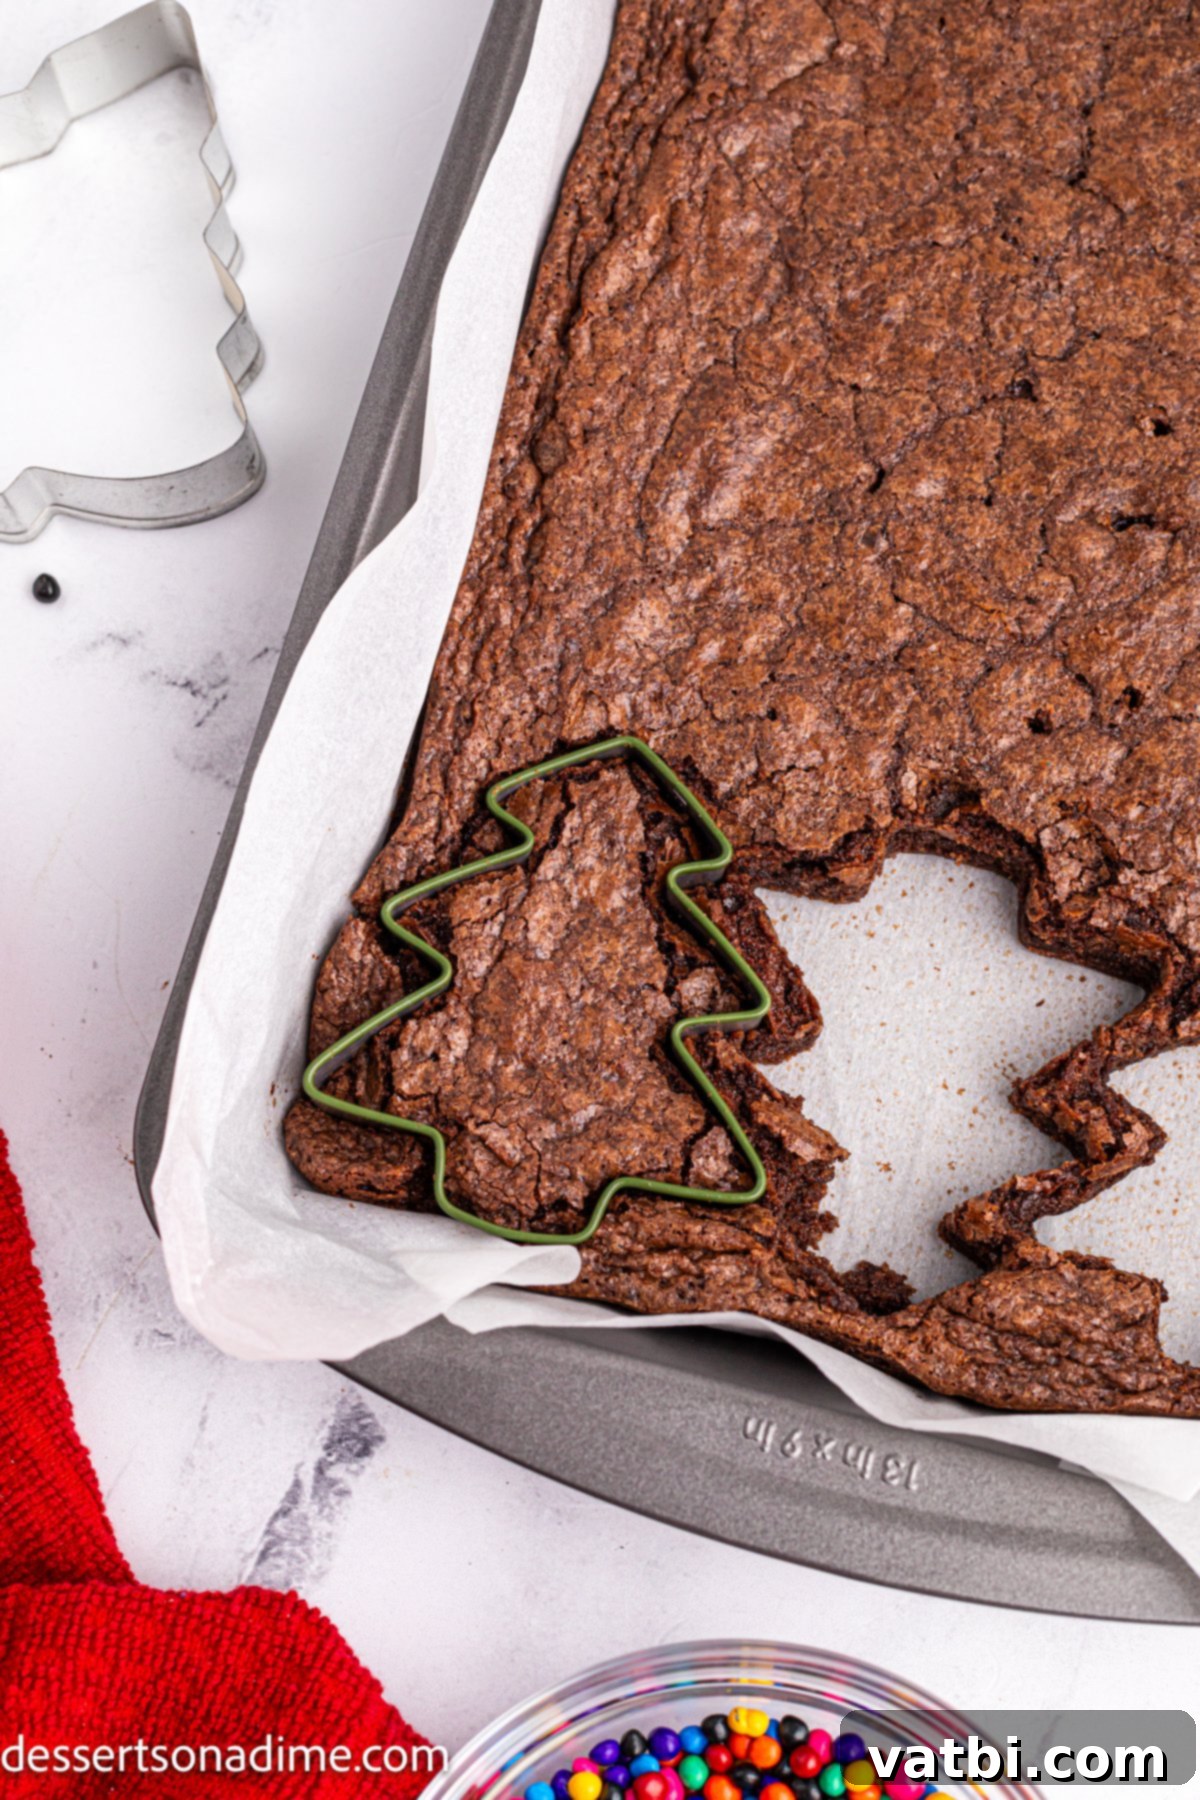
Step 3. Cut Your Christmas Trees: Once the brownies have cooled completely – and we mean *completely* – gently lift the entire slab of brownies out of the pan using the parchment paper handles. Transfer the brownie slab to a clean cutting board or a flat surface. Now, take a small Christmas tree-shaped cookie cutter (approximately 2-3 inches tall works best) and firmly press it into the brownie to cut out individual trees. Try to arrange your cuts as closely as possible to maximize the number of brownie trees you get from the batch. Don’t worry about the scraps; they make for a delicious chef’s treat!
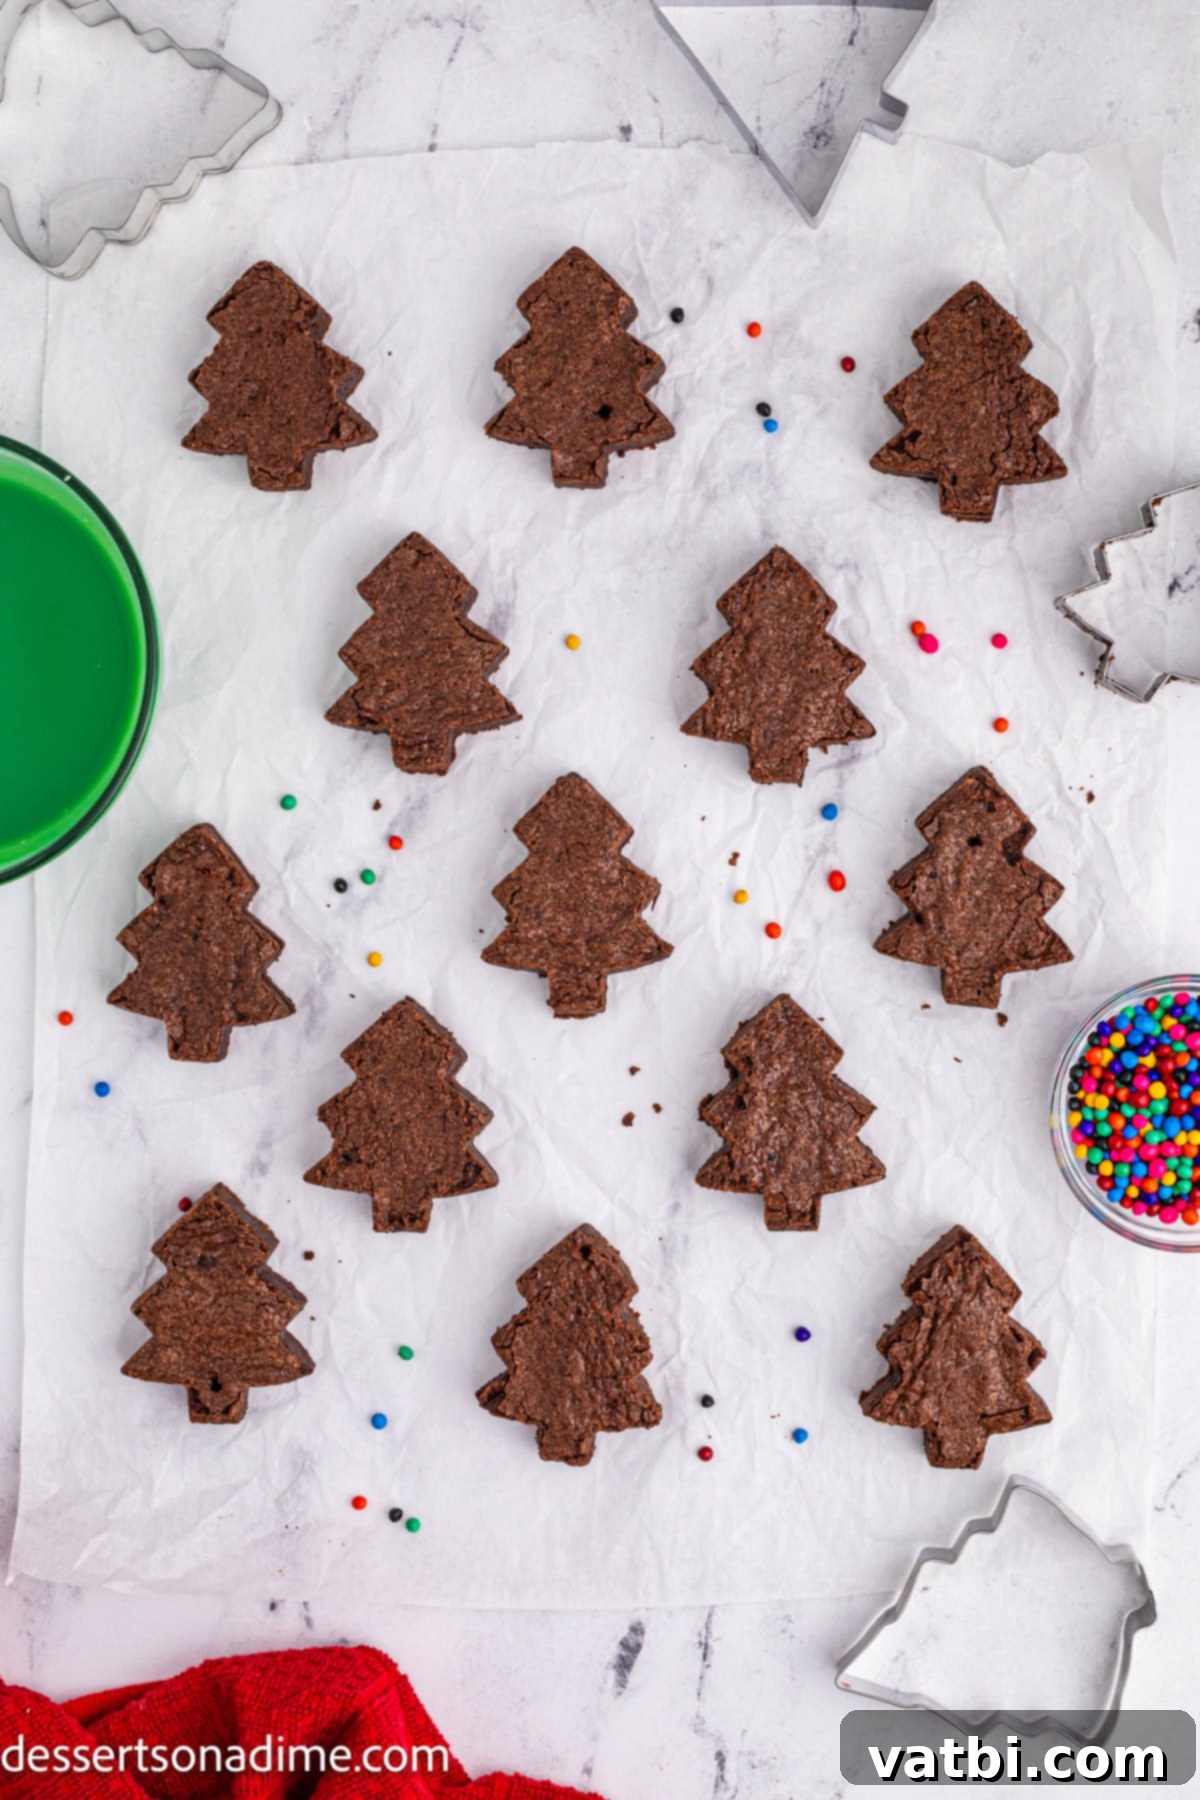
Step 4. Continue Cutting: Carefully remove the excess brownie scraps from around the cut trees. You can save these delicious trimmings for snacking, or repurpose them into other treats like brownie crumbles for ice cream. Continue cutting out Christmas tree shapes until you’ve utilized most of the brownie slab. As you cut, if any brownie residue starts to stick to your cookie cutter, wipe it clean with a damp paper towel to ensure each subsequent cut is as neat and defined as possible. Once cut, arrange the individual brownie trees on a wire rack set over a baking sheet or on a parchment-lined tray, spaced slightly apart, ready for the topping application.
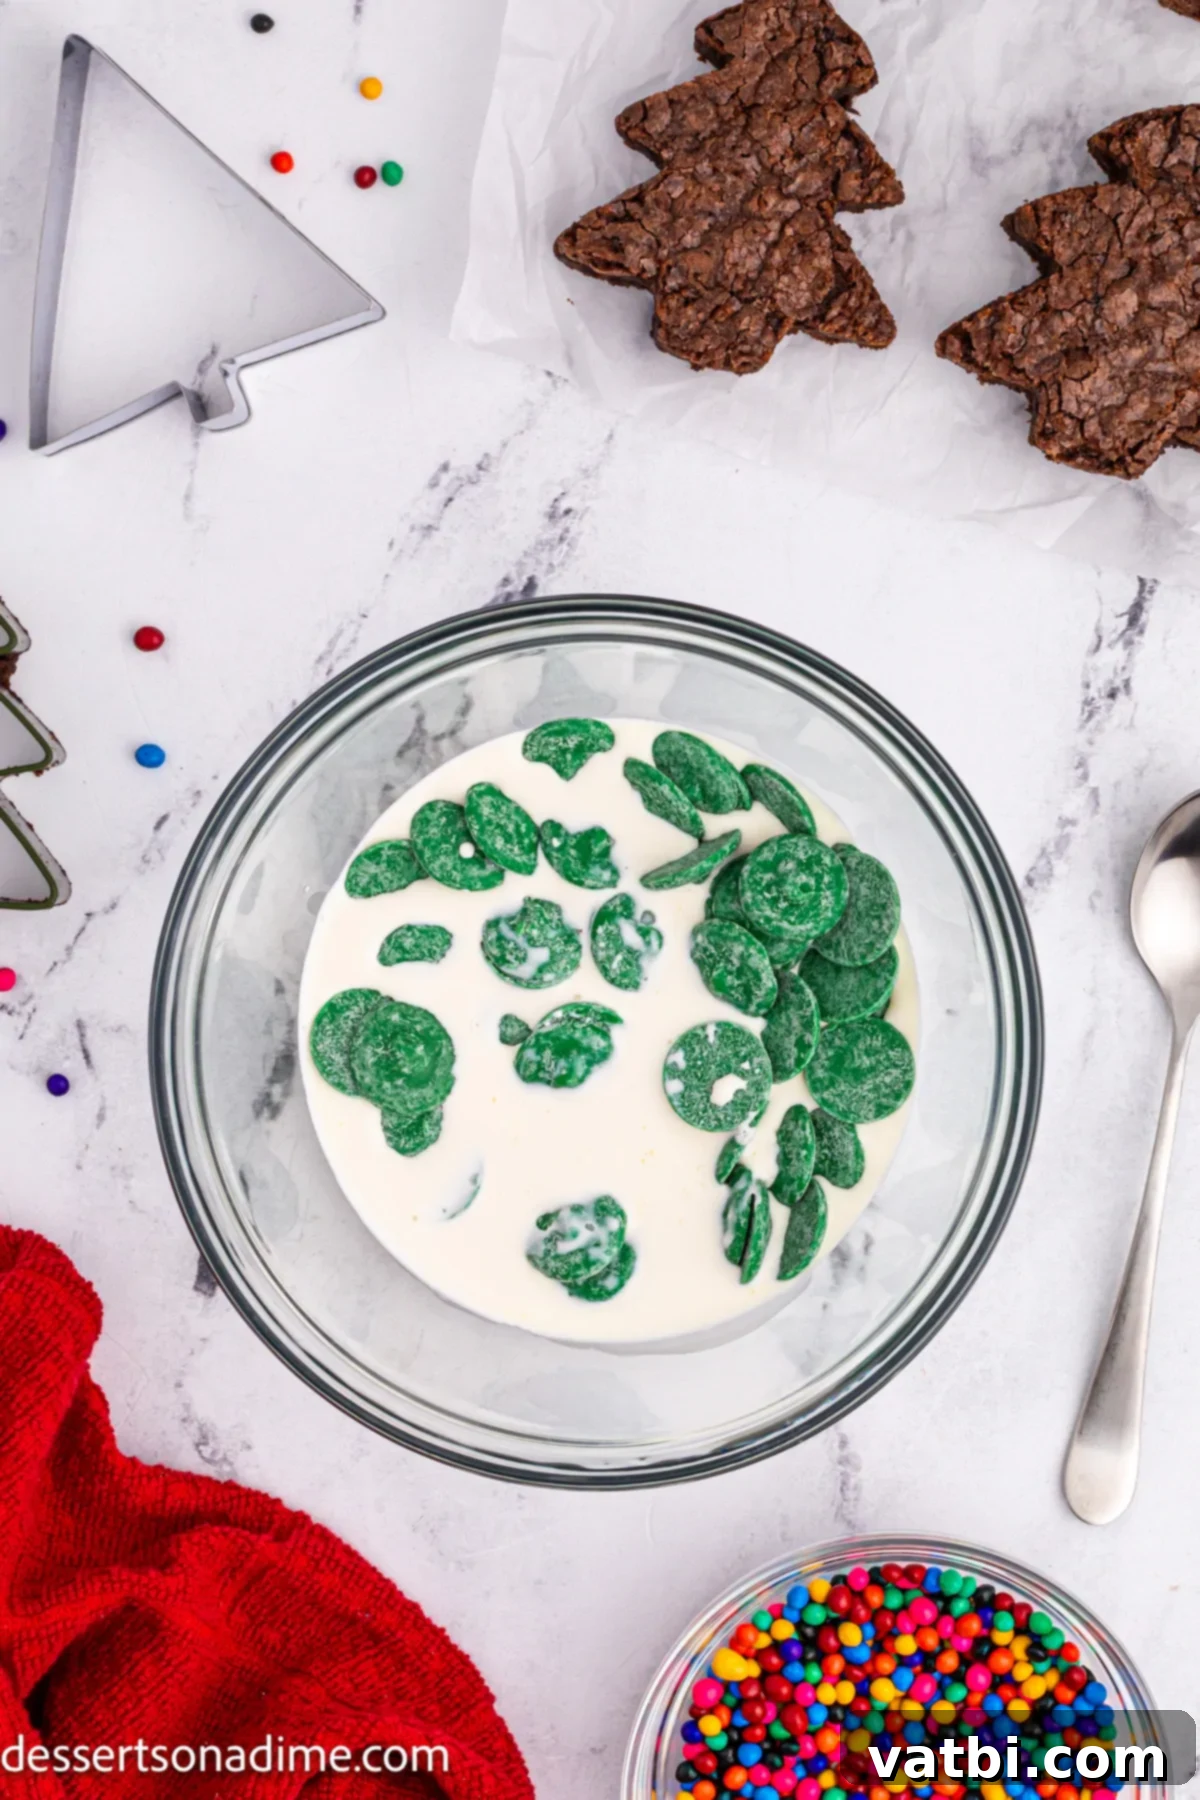
Step 5. Prepare the Green Topping: In a microwave-safe bowl, combine the green candy melts and heavy whipping cream. This combination will create a smooth, ganache-like consistency. Microwave the mixture in short, 30-second intervals, stirring thoroughly after each increment. This gradual melting process prevents the candy melts from seizing or burning, ensuring a smooth, glossy topping. Continue until the candy melts are fully melted and the mixture is completely smooth and free of lumps. Be careful not to overheat, as this can cause the mixture to become grainy.
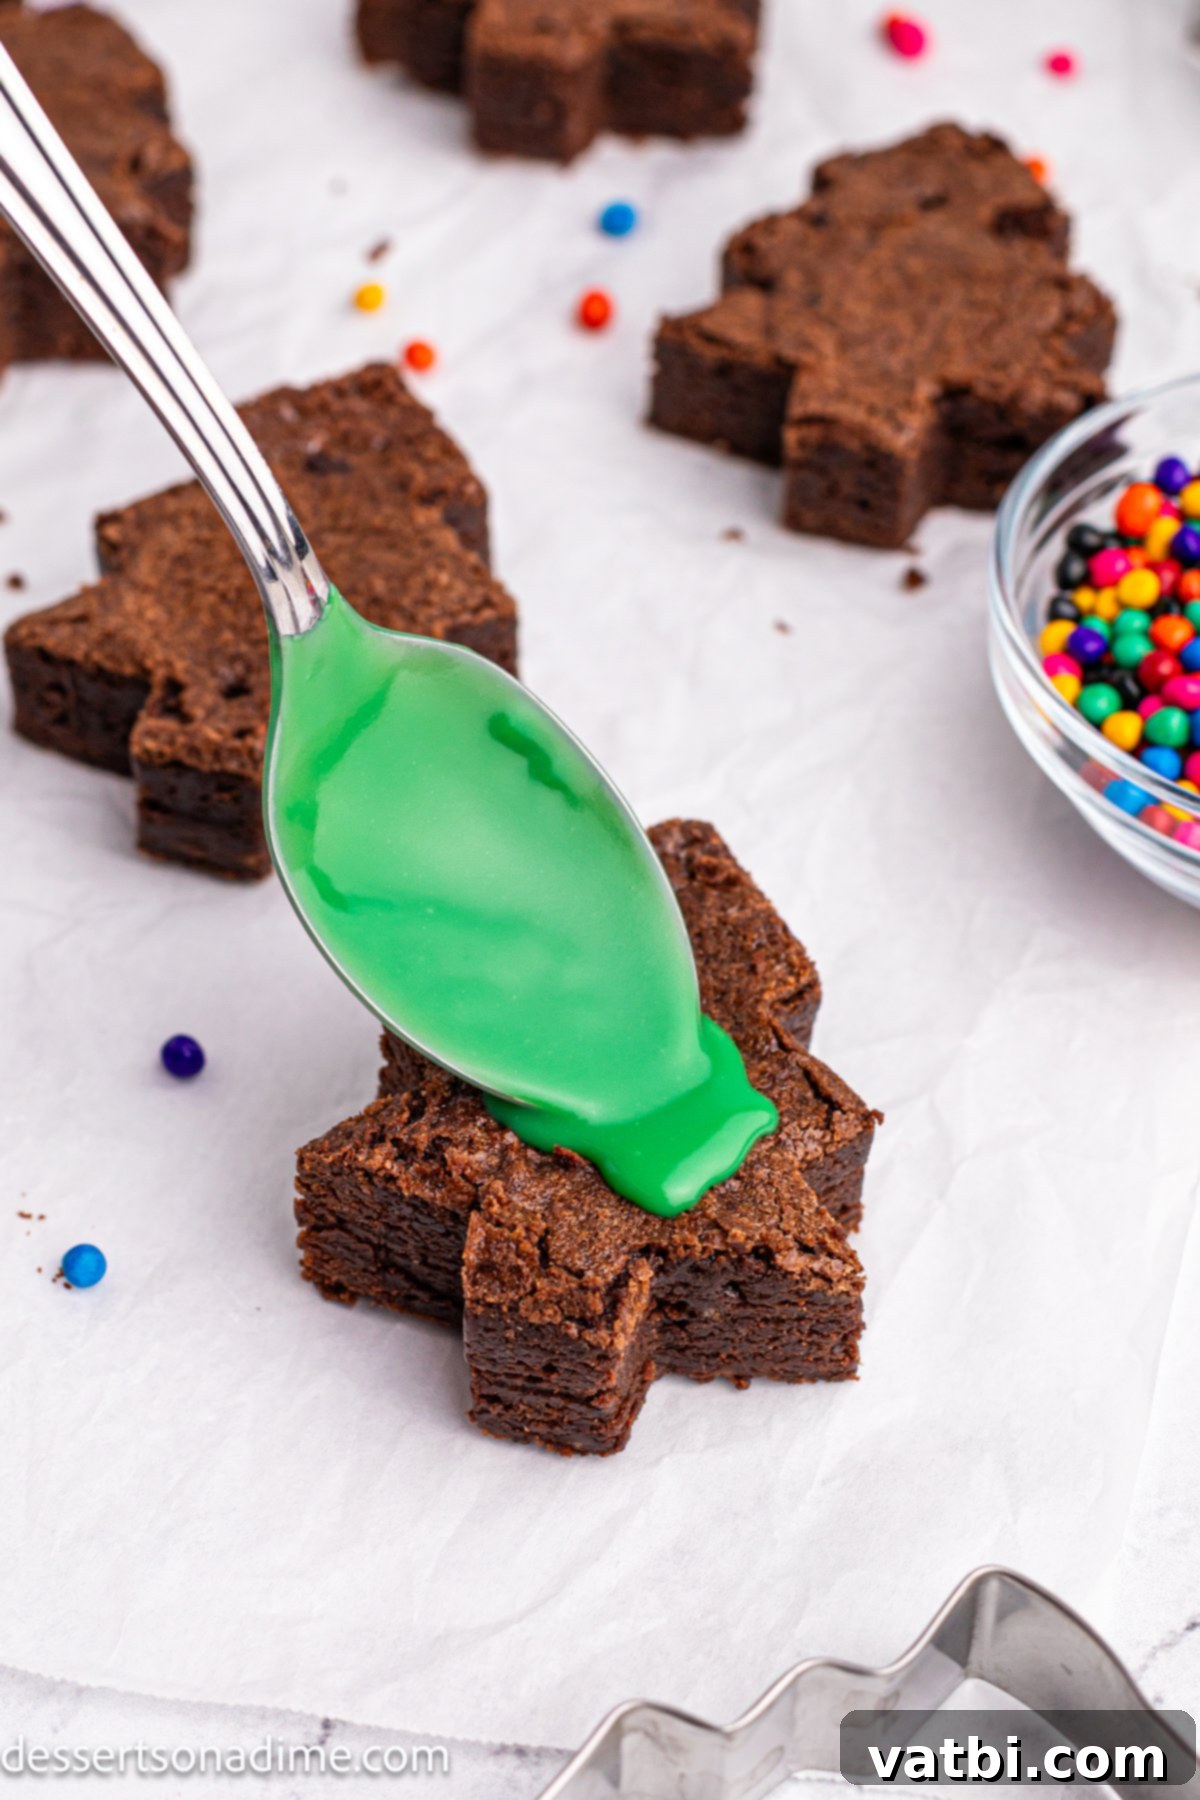
Step 6. Coat the Brownies: Once your green topping mixture is smooth, allow it to cool for about 5 minutes. This cooling period is important because it allows the mixture to thicken slightly, preventing it from being too runny and dripping excessively off the brownies. Once it’s a good pourable consistency, use a spoon to carefully pour and spread the green topping over the top of each Christmas tree brownie. Ensure each brownie is fully covered with a thin, even layer. You can gently tap the wire rack or tray to help the topping settle smoothly and evenly across the surface.
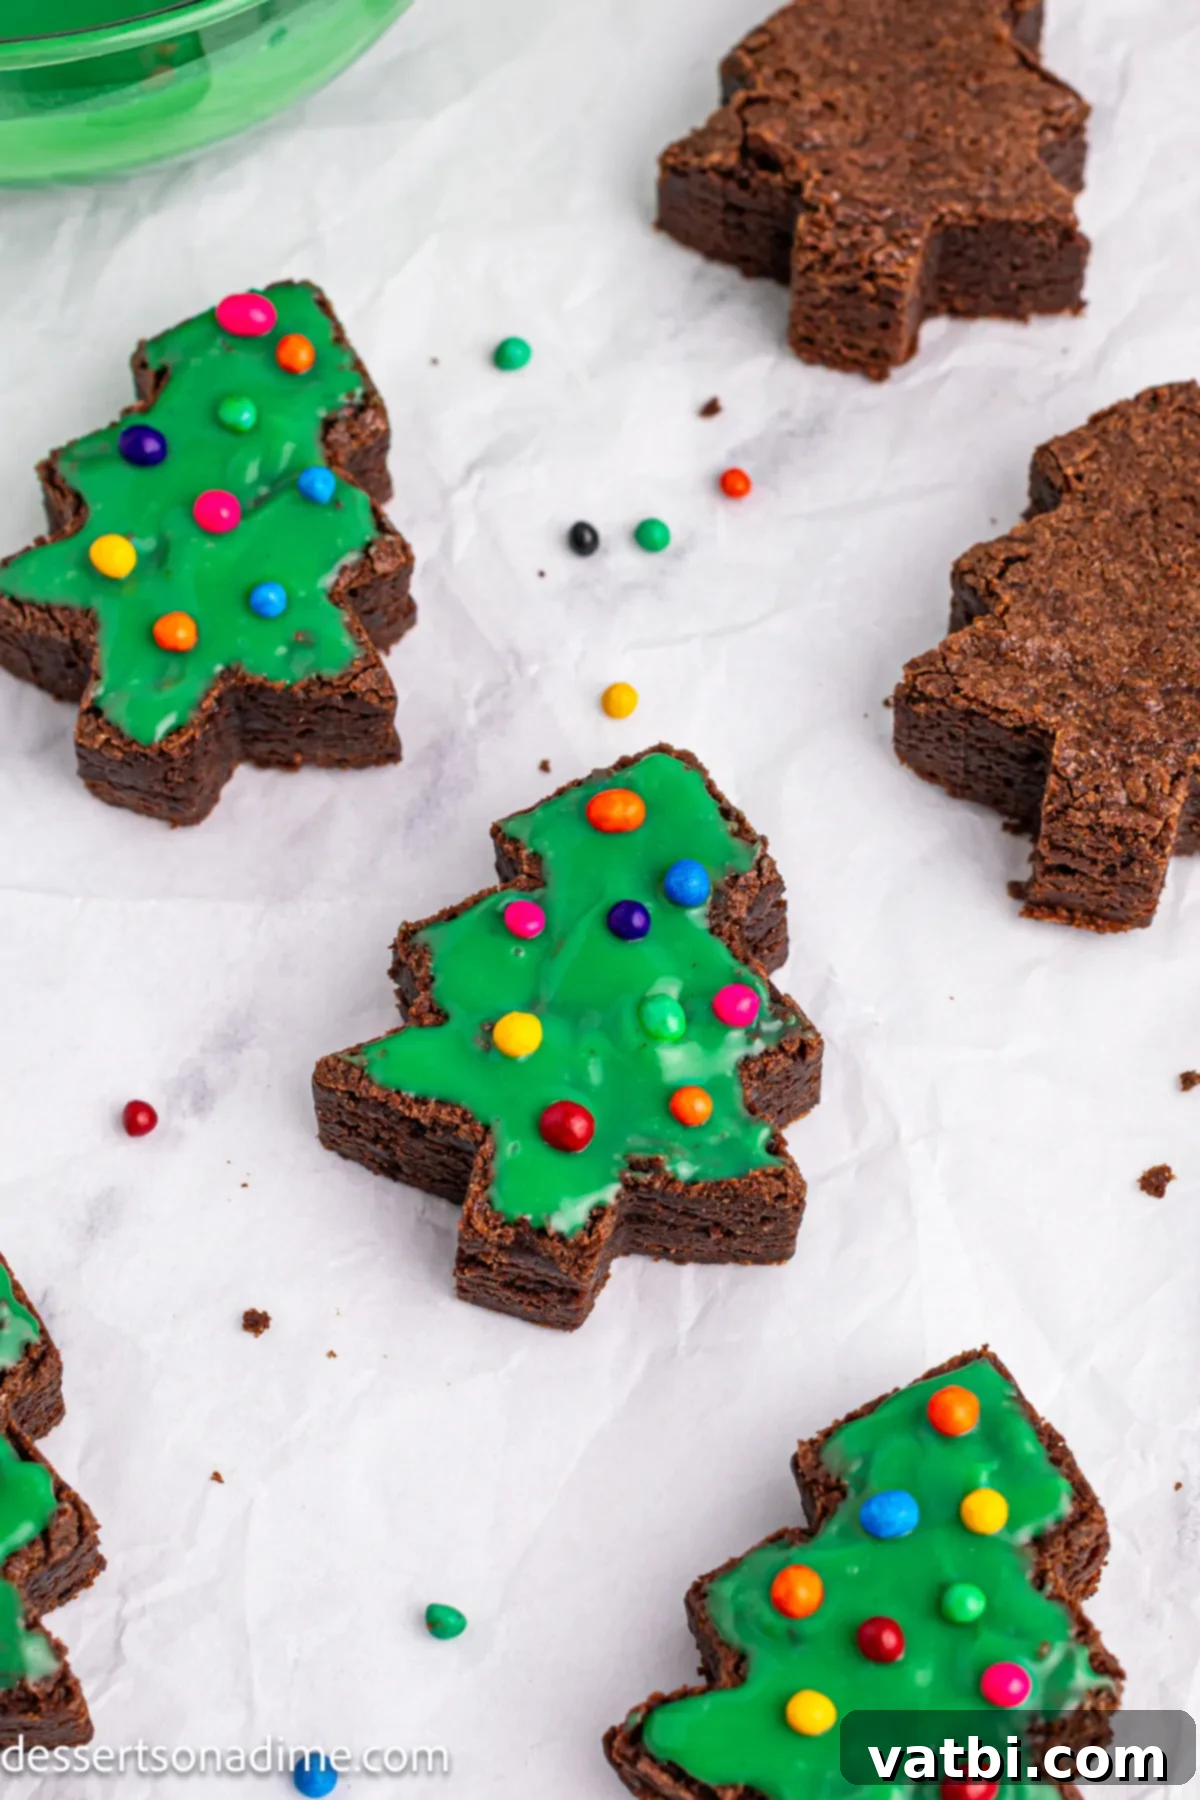
Step 7. Decorate with Sprinkles: Immediately after coating each brownie with the green topping, and before it has a chance to set, generously sprinkle the mini candy-coated chocolate chips over the top of each Christmas tree. These sprinkles are key to achieving that iconic Little Debbie look. If needed, you can gently press them into the still-wet topping to ensure they adhere well. Work quickly, as the candy melt topping will begin to firm up relatively fast.
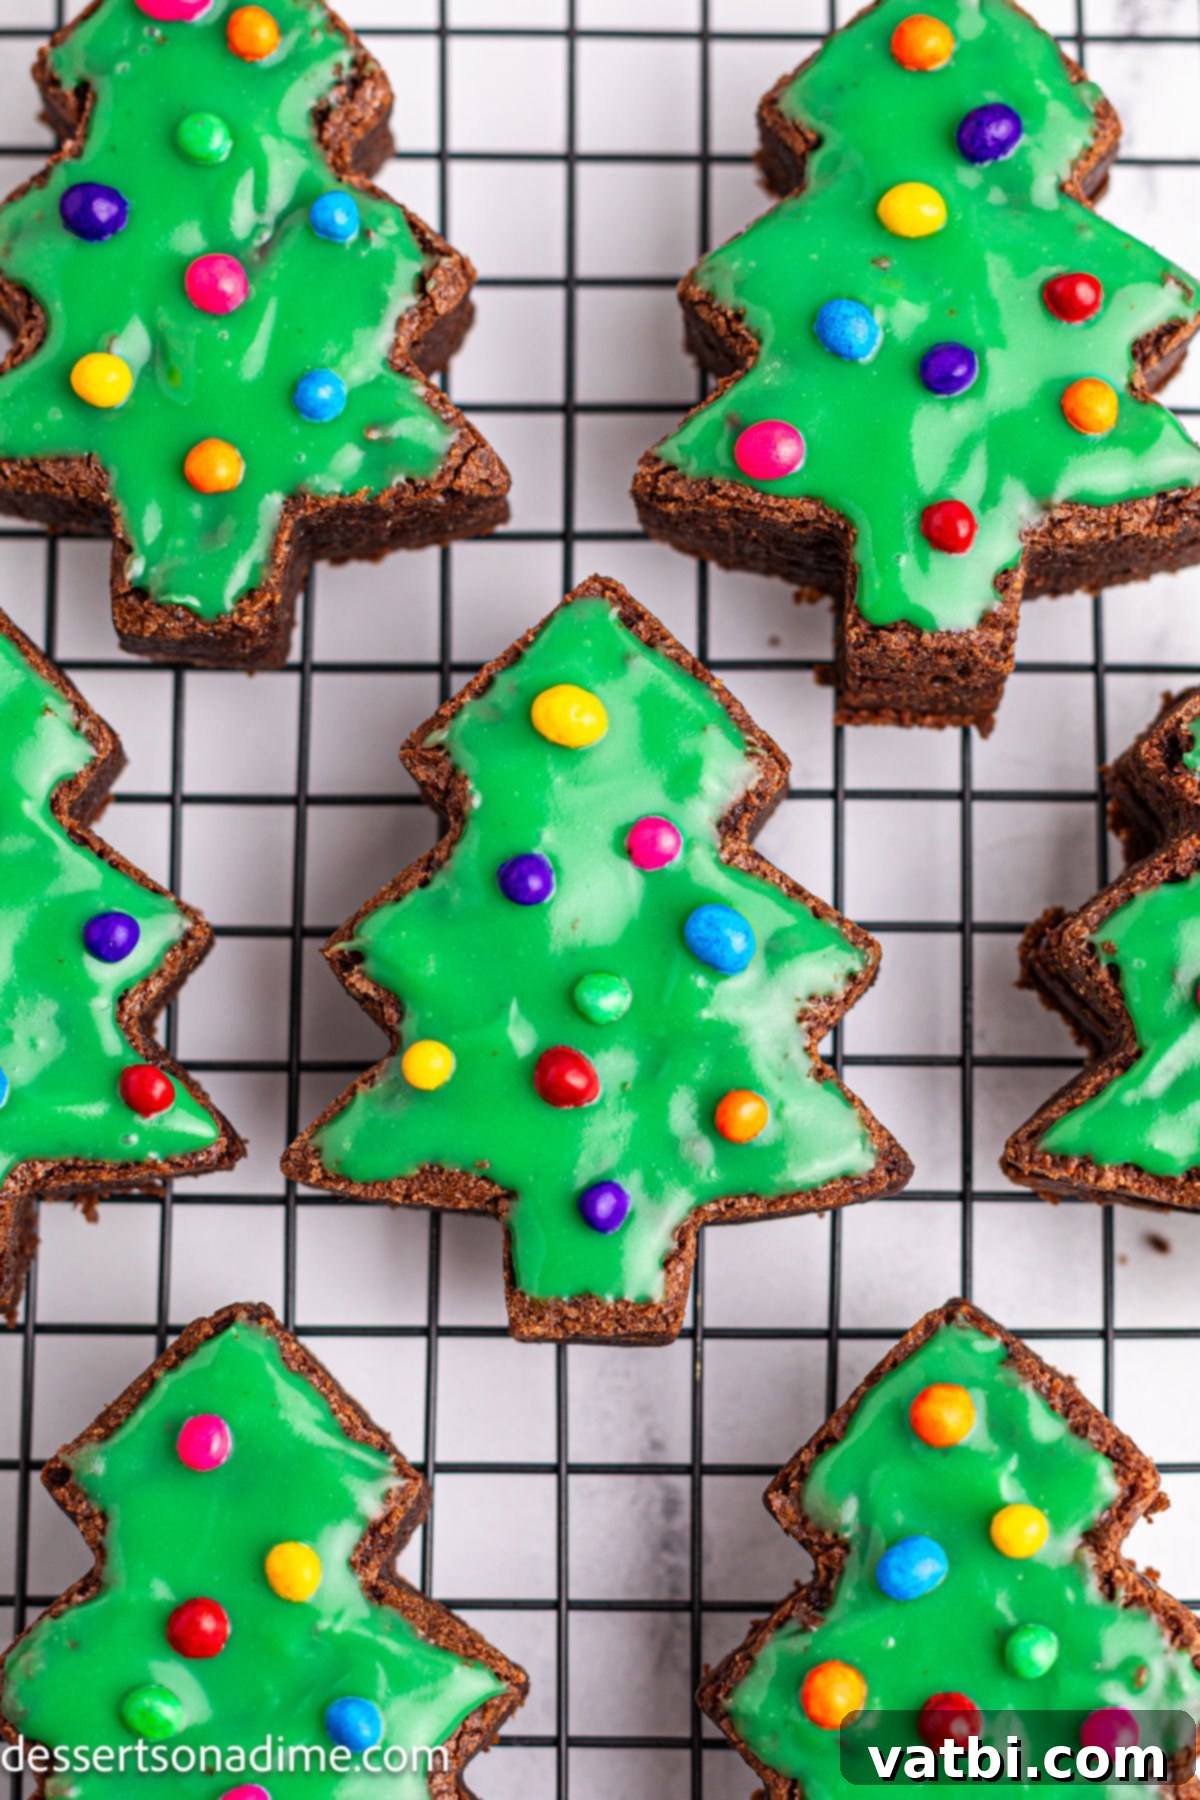
Step 8. Allow to Set: Once all your brownies are coated and beautifully decorated with sprinkles, let them sit undisturbed. The best place for them is on the wire rack at room temperature for 1 to 2 hours. This crucial step allows the green topping to fully set and harden, ensuring a clean, non-sticky finish and making them easy to handle, stack, and serve. Once the topping is firm to the touch, your festive Christmas Tree Brownies are ready to be served and enjoyed by all!
Expert Pro Tips for Baking and Decorating Success
Achieving bakery-quality Little Debbie Christmas Tree Brownies at home is easier than you think, especially with these insider tips to guide you through the baking and decorating process, ensuring perfect results every time:
- Don’t Overdo the Coating: While it’s tempting to pile on a thick layer of the green topping, a thin, even layer is actually best. You want just enough to completely cover the brownie and give it that signature vibrant color, but not so much that it becomes overly sweet or drips excessively off the sides. A light, smooth hand will ensure a cleaner, more professional look and a better balance of flavors.
- Parchment Paper is Your Best Friend: This is a golden rule for many baking projects! Always line your baking pan with parchment paper, making sure to leave an overhang on at least two opposite sides. This simple step serves as “handles” that make lifting the entire baked brownie slab out of the pan incredibly easy once it’s cooled. It prevents sticking and makes the subsequent cutting process much, much smoother and cleaner.
- Cool Completely Before Cutting: This tip cannot be stressed enough! Attempting to cut warm or even slightly warm brownies will almost certainly result in crumbling, tearing, and sticky cookie cutters, leading to messy, unappealing shapes. Allow the brownies to cool *completely* at room temperature, which can take 1-2 hours, or for even faster and cleaner results, chill them in the refrigerator for about 30 minutes before cutting.
- Clean Your Cookie Cutter Often: For the sharpest, cleanest possible edges on your Christmas tree shapes, make it a habit to wipe your cookie cutter with a damp cloth or paper towel between every few cuts. Brownie residue can quickly build up on the cutter, leading to blurry or ragged edges. A clean cutter ensures crisp, well-defined shapes for every brownie.
- Microwave with Caution for Topping: When you’re melting the candy melts and heavy cream for your topping, always use short intervals (30 seconds at a time) and stir thoroughly after each one. Candy melts are prone to seizing if they get too hot, turning into a thick, grainy, unusable mess. Low and slow heating is the best approach to achieve a smooth, glossy, and perfectly pourable topping.
- Work Quickly Once Topping is Ready: Once your green topping is melted and has cooled slightly to the ideal consistency, it’s time to work relatively quickly to pour and spread it over the brownies. Candy melts begin to set as they cool, so you want to get all your brownies coated before the topping becomes too stiff or difficult to work with. Having your brownies arranged and ready beforehand will help immensely.
Frequently Asked Questions About Christmas Tree Brownies
Here are some common questions you might have about making and storing your festive brownies, ensuring you get the most out of your homemade holiday treats:
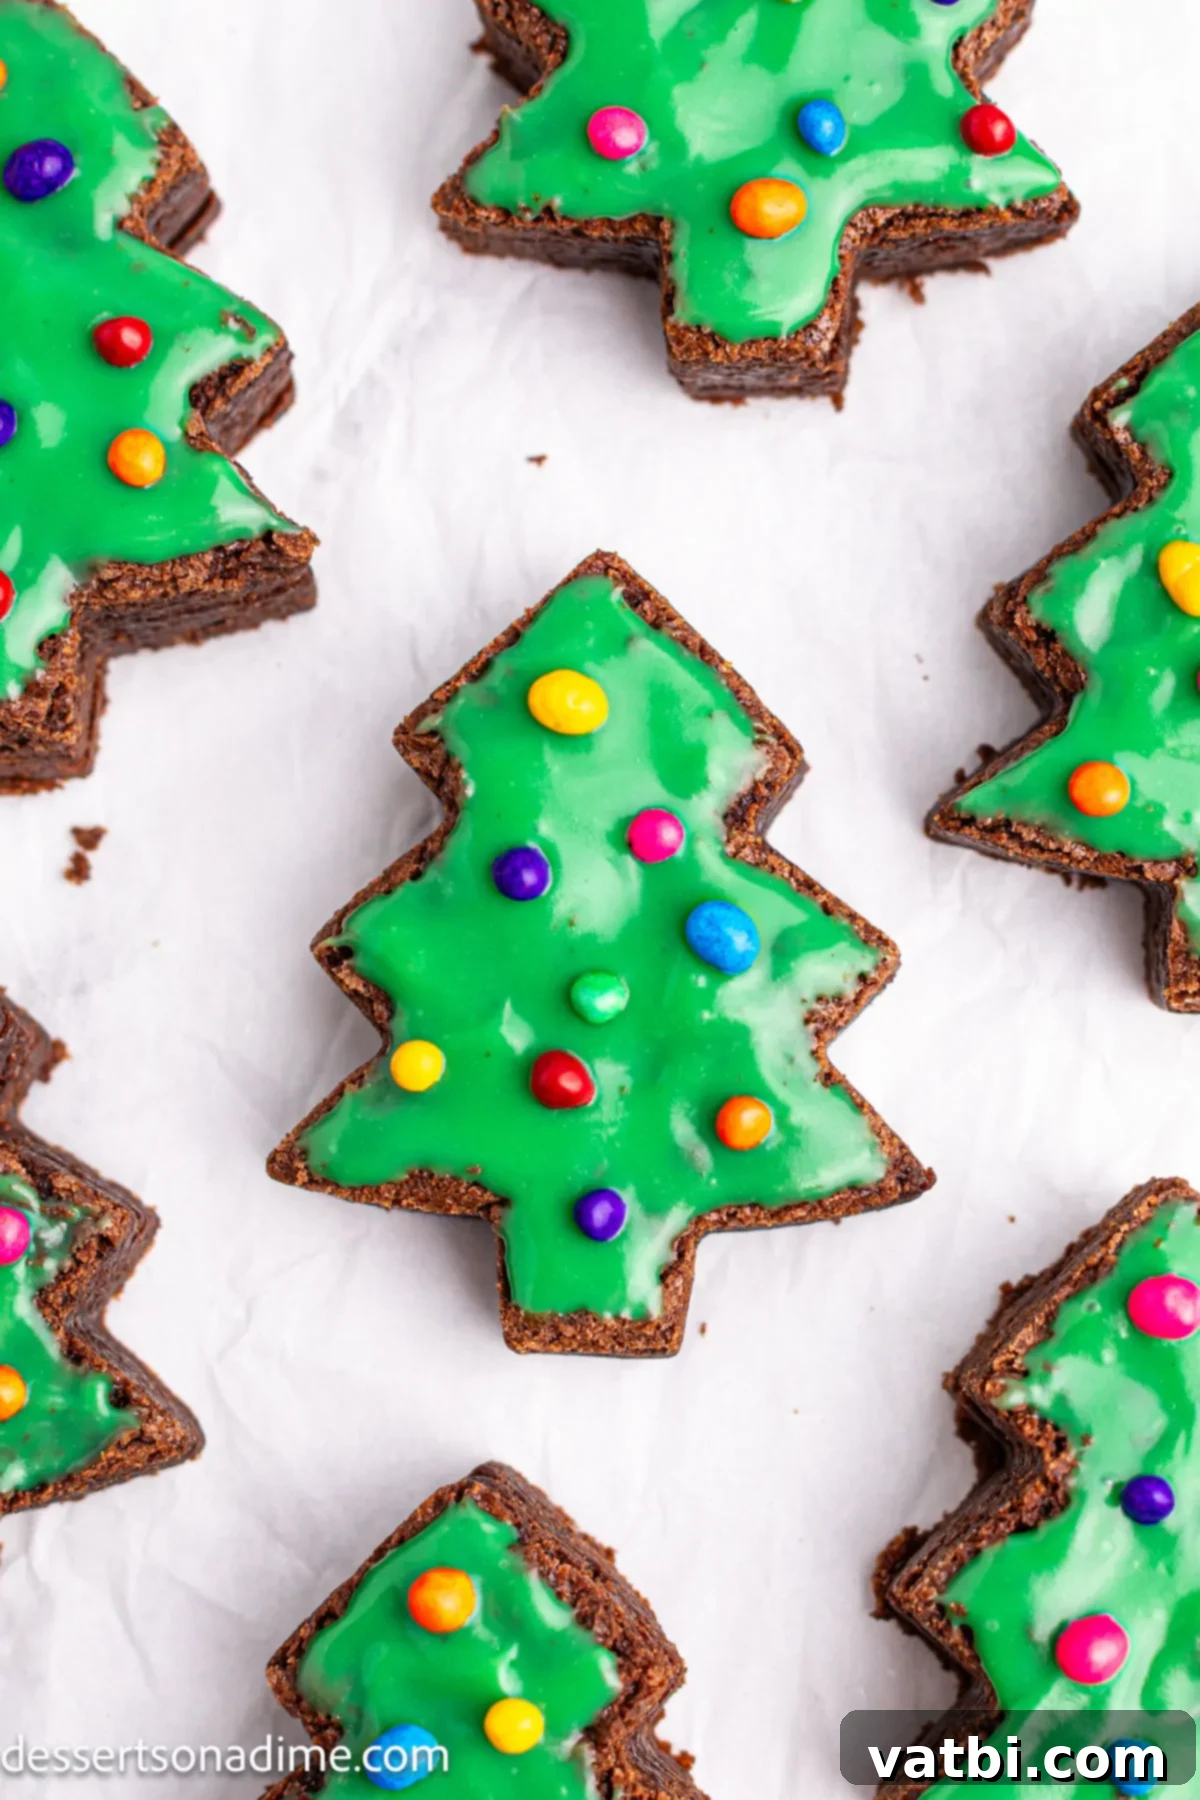
For optimal freshness, flavor, and texture, it’s best to store your finished Little Debbie Christmas Tree Brownies at room temperature. Simply place them in an airtight container on your kitchen counter. This will help maintain their fudgy consistency and prevent the topping from becoming too hard. When stored correctly, they will maintain their delicious quality for up to 1 week, making them a fantastic make-ahead holiday treat. There’s no need to refrigerate them, as cooler temperatures can sometimes alter their brownie texture, making them a bit drier or firmer than desired.
Yes, you can freeze brownies, but with a specific recommendation: it is generally best to freeze the plain, undecorated brownies rather than the fully decorated ones. If you freeze brownies that already have the candy melt topping and sprinkles, condensation can form on the surface as they thaw. This moisture can cause the sprinkles to bleed their festive colors into the green topping, and the candy coating itself might become sticky or lose its smooth, glossy finish. For the best results, bake and cut the brownies into tree shapes, then wrap them tightly individually in plastic wrap, followed by a layer of aluminum foil, before freezing. When you’re ready to serve, thaw the plain brownies at room temperature, then prepare and apply the green topping and sprinkles fresh for a perfect presentation.
The ultimate secret to achieving perfectly clean-cut brownies, especially when using cookie cutters, lies in ensuring they are absolutely and completely cool before you even think about touching them with a cutter. Warm brownies are too soft and pliable; they will tear, crumble, and stick to your cookie cutter, resulting in messy and uneven shapes. For extra precision and firmness, you can even chill the baked and cooled brownie slab in the refrigerator for 20-30 minutes before cutting. Additionally, keep a damp paper towel or a clean cloth nearby to wipe any brownie residue off your cookie cutter after every 2-3 cuts. This simple step prevents buildup that can lead to messy edges on subsequent cuts, ensuring each Christmas tree brownie is crisp and well-defined.
Absolutely! While green candy melts are chosen to give that classic, nostalgic Little Debbie Christmas Tree Brownie look, you are certainly encouraged to experiment with other festive colors to personalize your treats. Red, white, or even a mix of holiday-themed colors would look beautiful and vibrant. The key is to use candy melts (also known as melting wafers or compound chocolate), as they are specifically formulated to melt smoothly and set firmly at room temperature, giving that characteristic smooth and durable finish. If you wish to use white candy melts and tint them, make sure to use oil-based candy food coloring, as water-based food coloring can cause candy melts to seize and become unusable.
More Festive Christmas Treats to Explore
The holiday season is a perfect time to indulge in the joy of baking and creating sweet memories with loved ones. If you loved making these charming Christmas Tree Brownies, you’ll surely enjoy exploring these other delightful and festive recipes, perfect for sharing the holiday spirit:
- Christmas Tree Cupcakes: Transform ordinary cupcakes into miniature edible Christmas trees, complete with vibrant green frosting piped to resemble branches and adorned with tiny candy ornaments. These are incredibly whimsical and a hit with children and adults alike!
- Easy Christmas Cake Pops: These delightful bite-sized balls of cake and frosting are dipped in festive candy melts and decorated with sprinkles. They make excellent party favors, charming additions to a dessert platter, or fun edible gifts.
- Christmas White Chocolate Oreos: A deceptively simple yet elegant treat where classic Oreo cookies are dipped in luscious white chocolate and then artfully adorned with a variety of holiday sprinkles. They are quick to make, visually appealing, and always a crowd-pleaser.
- Meringue Christmas Trees: Light, airy, and delicately sweet, these meringue cookies are piped into charming little tree shapes. They have a delightful melt-in-your-mouth texture and look stunning and ethereal on any holiday dessert table or cookie tray.
- Christmas Chocolate Covered Strawberries: Elevate fresh strawberries by dipping them in rich chocolate and decorating them with festive colors, drizzles, and patterns. This offers a slightly healthier, yet equally indulgent, holiday dessert option that is both beautiful and delicious.
- Christmas Light Cookies: Get creative with sugar cookies decorated to look like strands of colorful Christmas lights. These are incredibly fun to decorate, allowing for artistic expression, and they add a bright, playful touch to your holiday cookie assortment.
We hope you thoroughly enjoy bringing the magic of these copycat Little Debbie Christmas Tree Brownies into your home this Christmas season. They’re more than just a treat; they’re an experience that will fill your home with wonderful aromas, festive cheer, and delicious memories. Don’t forget to gather your loved ones for a fun baking adventure, and please do come back and leave a comment once you’ve tried them – we’d absolutely love to hear about your delightful creations and how they brightened your holidays!
Pin
Copycat Little Debbie Christmas Tree Brownies
Ingredients
For the Brownies:
- 2 cups Granulated Sugar
- 2/3 cup Unsweetened Cocoa Powder
- 1 cup All-Purpose Flour
- ½ teaspoon Salt
- ½ teaspoon Baking Powder
- 4 Large Eggs
- 1 cup Butter Melted
- 2 teaspoons Vanilla Extract
For the Topping:
- 1 cup Green Candy melts
- ½ cup Heavy Whipping Cream
- Mini Candy Coated Chocolate Chips
Instructions
For the Brownies:
-
1. Prepare Oven and Pan: Preheat your oven to 325 degrees Fahrenheit (160°C). Line a 9×13 inch baking pan with parchment paper, allowing the paper to overhang on the longer sides for easy lifting. This prevents sticking and makes removing the cooled brownies effortless.
-
2. Mix Brownie Batter: In a large mixing bowl, combine the granulated sugar, unsweetened cocoa powder, all-purpose flour, salt, baking powder, large eggs, melted butter, and vanilla extract. Stir the ingredients by hand until they are just combined and no dry streaks of flour remain. Be careful not to overmix, as this can result in tougher brownies.
-
3. Pour and Spread: Pour the prepared brownie batter evenly into the parchment-lined 9×13 inch baking pan. Use an offset spatula or the back of a spoon to spread the batter into an even layer, ensuring consistent baking.
-
4. Bake Brownies: Bake in the preheated oven for 20-25 minutes. The brownies are done when a toothpick inserted into the center comes out with moist crumbs attached, but no wet batter. Do not overbake, as this can make the brownies dry.
-
5. Cool Completely: Remove the brownies from the oven and let them cool completely in the pan on a wire rack. This step is critical; if you try to cut them while warm, they will fall apart. Allow at least 1-2 hours for cooling, or even longer if your kitchen is warm.
-
6. Cut Tree Shapes: Once the brownies are fully cooled, use the parchment paper overhang to carefully lift the entire brownie slab out of the pan and place it on a clean cutting board. Take a small Christmas tree cookie cutter and cut out as many brownie shapes as possible, pressing firmly.
For the Topping:
-
7. Melt Topping Ingredients: In a microwave-safe bowl, combine the green candy melts and heavy whipping cream. Heat in 30-second intervals in the microwave, stirring well after each interval, until the candy melts are fully melted and the mixture is smooth and glossy. Avoid overheating.
-
8. Apply Topping: Let the melted green topping mixture cool slightly for about 5 minutes to thicken. Then, use a spoon to carefully pour and spread the mixture evenly over the top of each Christmas tree brownie. You can place the brownies on a wire rack over a baking sheet to catch any drips.
-
9. Decorate: Immediately after applying the green topping to each brownie, sprinkle generously with the mini candy-coated chocolate chips. Work quickly before the topping sets.
-
10. Set and Serve: Allow the decorated brownies to sit undisturbed for 1-2 hours at room temperature. This will give the green topping ample time to set completely, ensuring they are firm and easy to handle. Once set, your festive brownies are ready to serve and enjoy!
