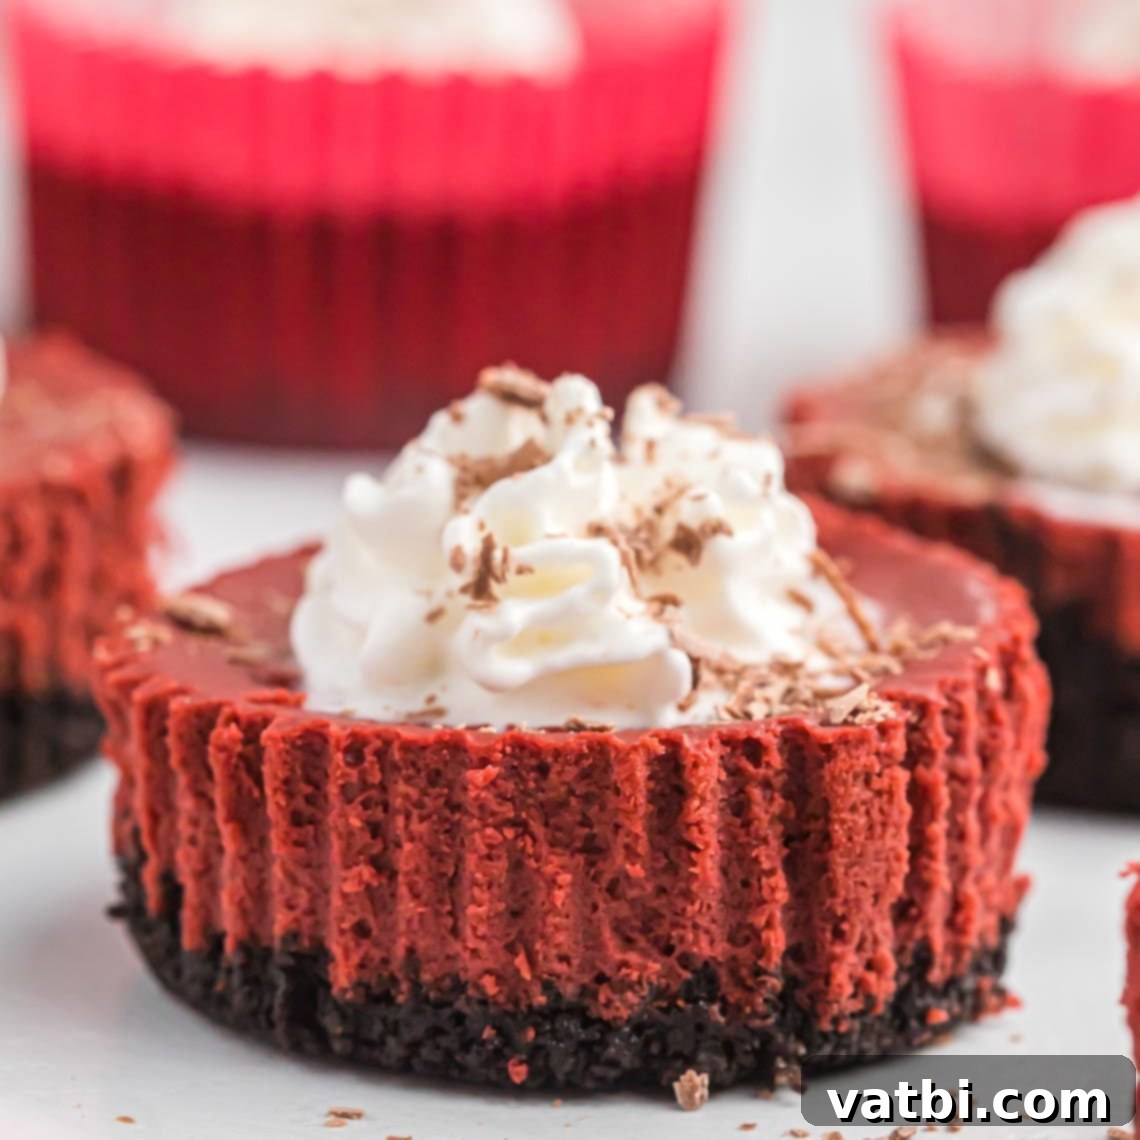
Indulge in Bliss: The Ultimate Mini Red Velvet Cheesecake Recipe
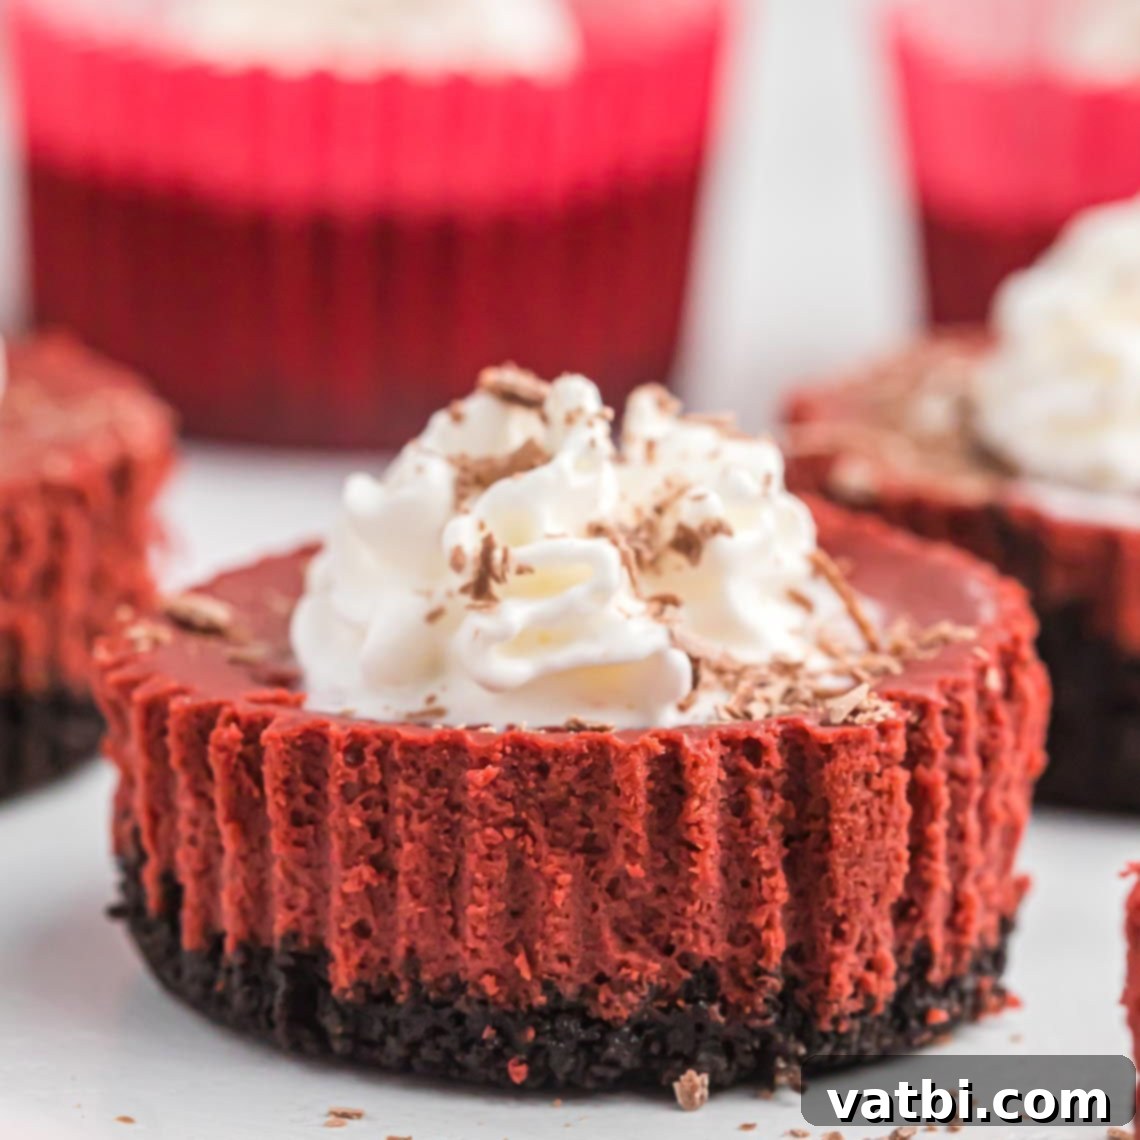
Prepare for an unforgettable dessert experience with our irresistible Mini Red Velvet Cheesecake recipe. These are truly the perfect bite-sized delights, offering a luxurious twist on a classic favorite. Each mini cheesecake boasts a rich, creamy red velvet filling atop a delightful Oreo crust, crowned with fluffy whipped cream and elegant chocolate shavings. Whether you’re planning a romantic Valentine’s Day surprise, a festive holiday gathering, or simply craving a decadent treat, these Red Velvet Cheesecake Bites are guaranteed to impress every palate.
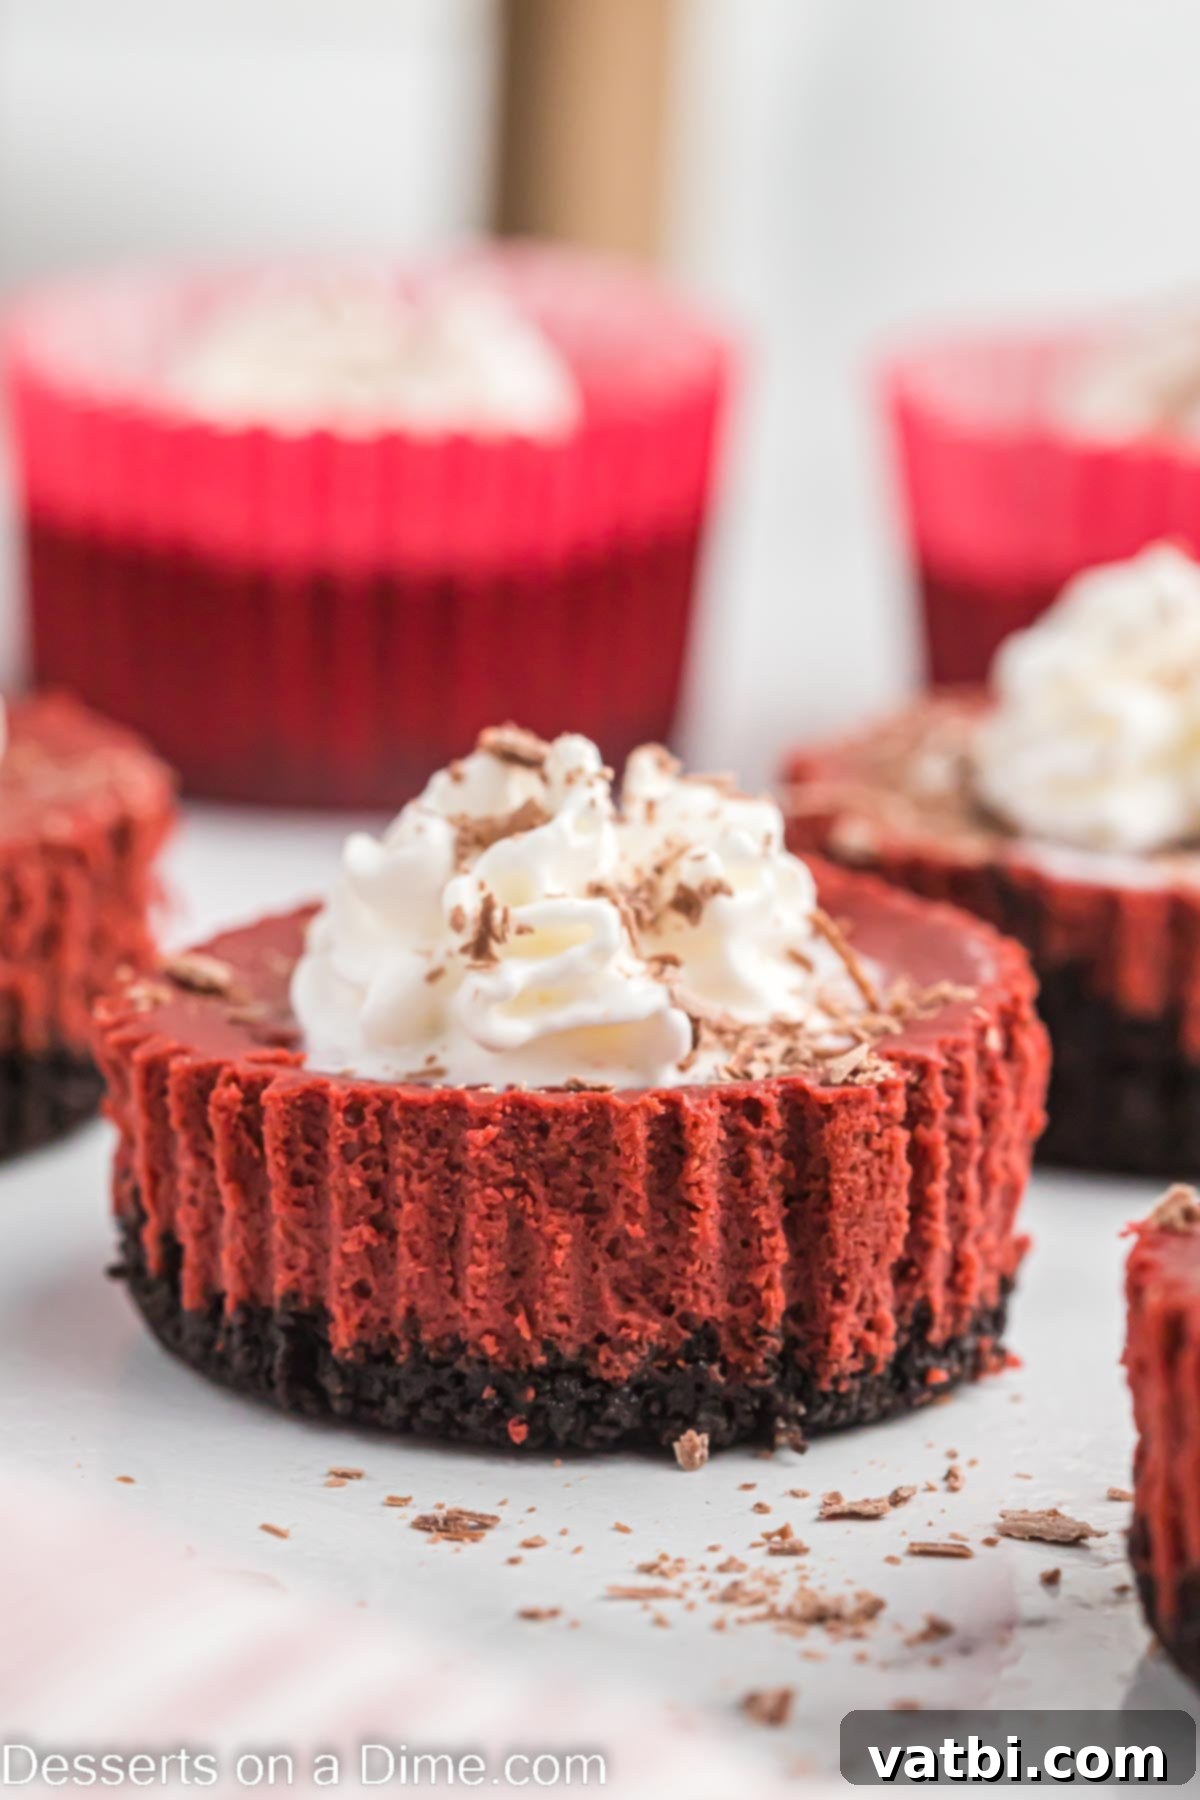
Why choose between a classic Red Velvet Cake and a rich, velvety Cheesecake when you can have the best of both worlds in one perfect bite? This recipe masterfully combines the iconic cocoa-infused, vibrant red flavor of red velvet with the smooth, tangy indulgence of cheesecake. The result is a truly decadent dessert that’s surprisingly easy to make and ideal for individual servings. Imagine the convenience of grab-and-go treats at your next party or the elegant presentation on your dessert table without the fuss of slicing a large cake. It’s no wonder this ranks among the Best Red Velvet Desserts you’ll ever make!
These individual cheesecakes simplify serving, making them a fantastic choice for any event. No need for plates and knives—guests can simply pick up their personal cheesecake and enjoy. The visual appeal of these crimson beauties is undeniable, especially when topped with a cloud of whipped cream and delicate chocolate curls. For an extra special touch, consider serving them alongside Red Velvet Ice Cream.
If you’re a fan of red velvet, you might also enjoy exploring other delightful variations such as our Whoopie Pie Recipe, festive Red Velvet Cake Pops, and the playful Red Velvet Puppy Chow. Each offers a unique way to enjoy this beloved flavor.
Table of contents
- Why We Love This Recipe
- Crust
- Cheesecake
- Topping
- Substitutions and Additions
- How to Make Mini Red Velvet Cheesecake
- Storage
- Can You Make In Advance?
- Pro Tips
- More Red Velvet Desserts
- More Cheesecake Recipes
Why This Easy Mini Red Velvet Cheesecake Recipe Will Be Your New Favorite
There are countless reasons to fall in love with this Mini Red Velvet Cheesecake recipe. It’s the perfect dessert for virtually any occasion, adding a touch of elegance and festivity without demanding hours of your time. Whether you’re celebrating Valentine’s Day with its romantic red hue, bringing a festive treat to Christmas dinner, or simply looking for a standout birthday dessert, these cheesecakes fit the bill beautifully.
The beauty of this recipe lies in its simplicity and impressive results. You don’t need to be a seasoned baker or possess any specialized culinary gadgets to achieve perfection. The steps are straightforward, making it an accessible recipe for cooks of all skill levels. Everyone can create these beautiful and delicious mini cheesecakes, and they will consistently turn out perfectly smooth, creamy, and bursting with flavor. The individual serving size also prevents any mess or uneven slicing, ensuring every guest gets a flawless dessert.
Serving these mini cheesecakes will undoubtedly make you feel like a gourmet pastry chef. Despite their sophisticated appearance and rich taste, no one will ever guess how incredibly easy and budget-friendly this recipe truly is. They offer a luxurious dessert experience without the high cost or complexity often associated with such treats. Get ready for compliments and requests for the recipe!
Key Ingredients for Your Perfect Mini Red Velvet Cheesecakes
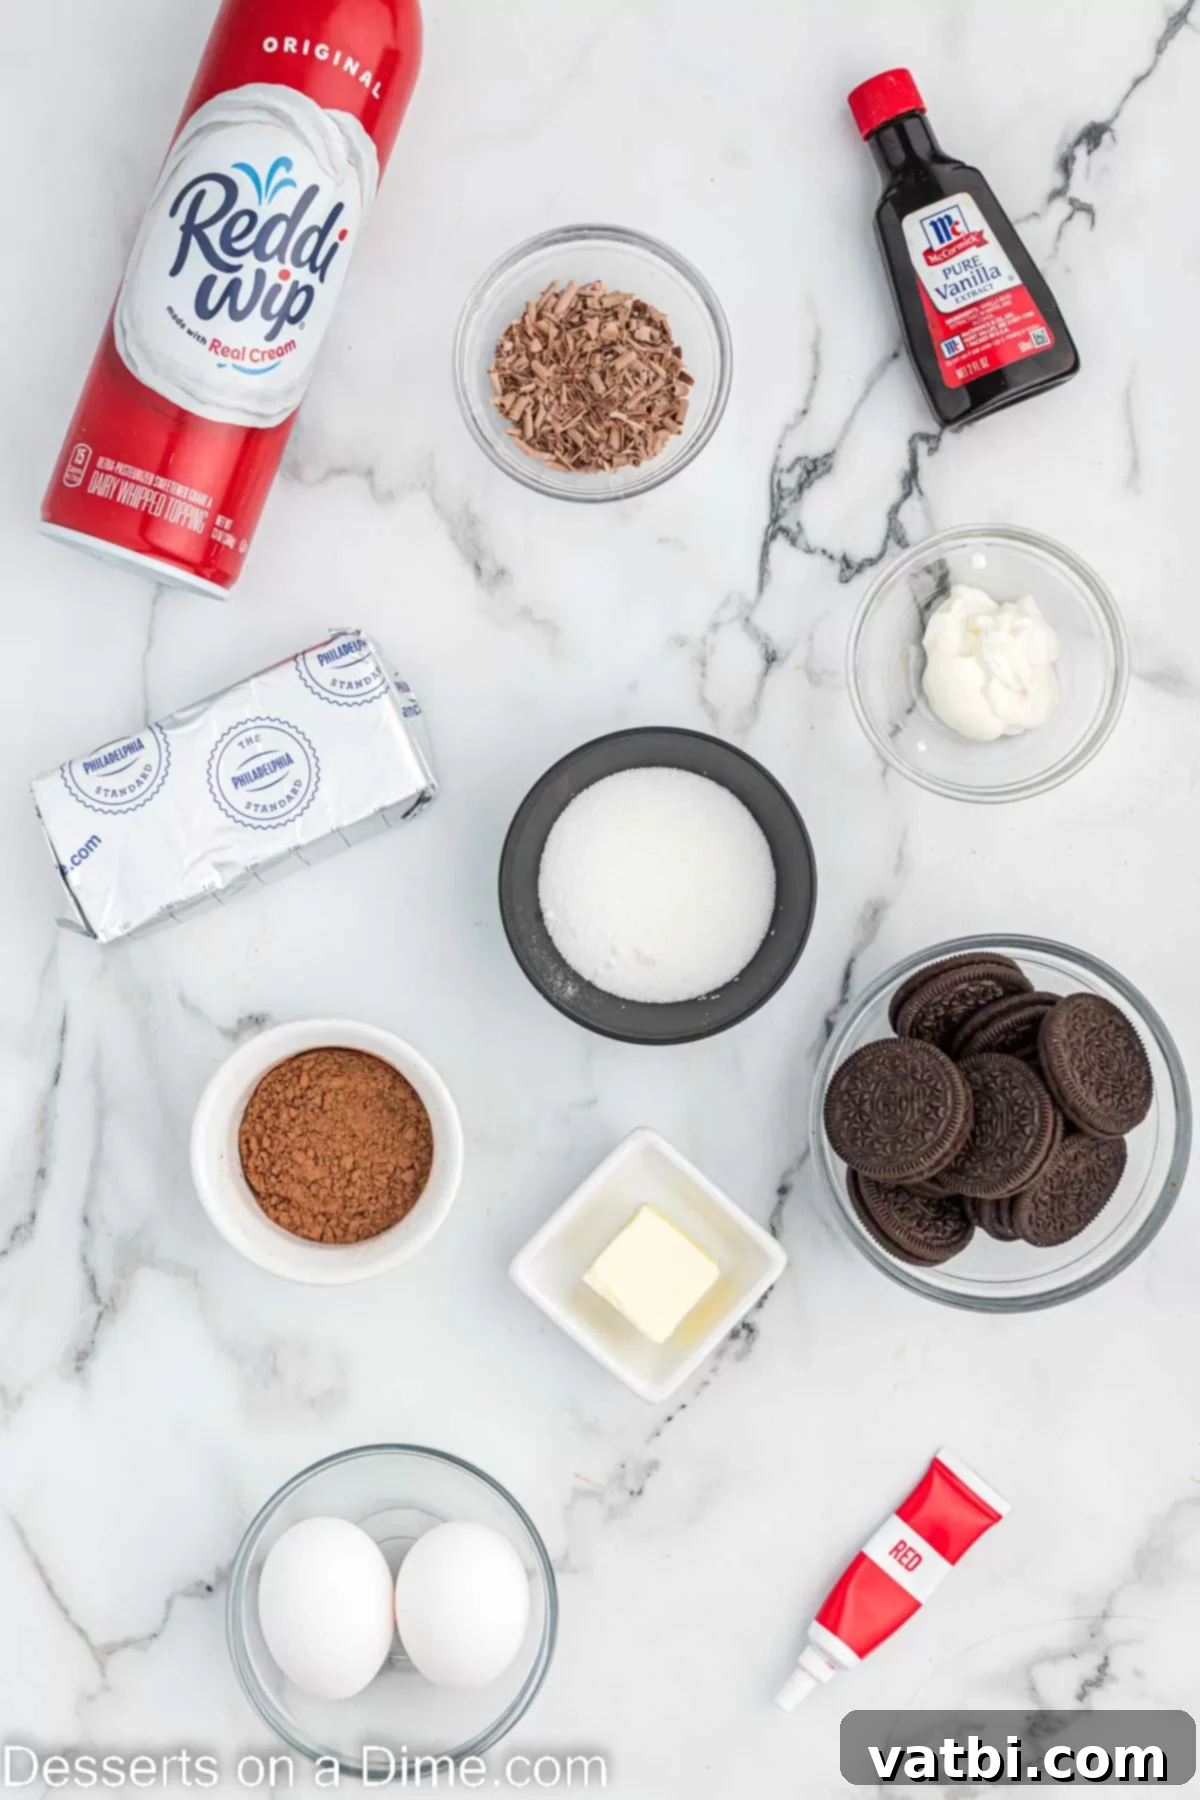
Crust Essentials
- Chocolate Sandwich Cookies. For the best results and a classic flavor, we recommend using regular Oreo Cookies. Avoid “double stuffed” varieties as the extra cream can make the crust too soft and less stable. Crushing them finely ensures a uniform and compact crust.
- Butter. Always opt for unsalted, real butter. Melting it thoroughly and combining it with the crushed cookies forms the perfect binder for a sturdy and flavorful crust.
Luscious Cheesecake Filling Ingredients
- Cream cheese. This is the star of your cheesecake! Ensure your cream cheese is completely softened to room temperature. This is crucial for achieving a smooth, lump-free batter that bakes evenly and has that signature creamy texture.
- Sour Cream. Full-fat sour cream is highly recommended here. It adds a delightful tang that balances the sweetness and contributes significantly to the cheesecake’s rich, moist, and smooth consistency.
- Unsweetened Cocoa Powder. A good quality unsweetened cocoa powder, like Hershey’s, is essential for imparting that classic subtle chocolate flavor characteristic of red velvet. It also deepens the red color.
- Vanilla extract. For an authentic and superior flavor, always use pure vanilla extract. Imitation vanilla simply won’t provide the same depth and warmth.
- Red Food Coloring. This is what gives your mini cheesecakes their iconic, vibrant red velvet color. You can adjust the amount to achieve your desired shade, but a little goes a long way.
- Granulated Sugar. Provides the perfect level of sweetness, ensuring the cheesecake is rich but not overly cloying.
- Large Eggs. Eggs act as a binder and help set the cheesecake, contributing to its smooth and firm texture. Make sure they are at room temperature as well for optimal mixing.
Elegant Topping Options
- Whipped Cream. For effortless elegance, we love using store-bought whipped cream like Reddi-Whip for serving. You can also whip your own heavy cream for a homemade touch.
- Chocolate Shavings. This optional but highly recommended garnish adds a touch of sophistication and extra chocolate flavor to each cheesecake, making them truly irresistible.
A complete, detailed list of ingredients with precise measurements can be found in the recipe card at the bottom of the page.
Creative Substitutions and Delicious Additions
One of the best things about this Mini Red Velvet Cheesecake recipe is how adaptable it is. Feel free to customize it to your taste or what you have on hand:
- Cream cheese frosting. For an extra layer of decadence and a true red velvet cake experience, consider topping each cheesecake bite with a swirl of rich homemade cream cheese frosting. It’s an incredibly rich option that takes these treats to the next level.
- Food coloring. If you prefer a more natural approach or don’t have red food coloring, you can certainly omit the red dye. The cheesecakes will still have a delicious, subtle chocolate flavor with a beautiful light brown hue, tasting just as wonderful.
- Mini Chocolate Chips. Stir a handful of mini chocolate chips into the cheesecake mixture before baking for delightful pockets of melted chocolate in every bite. This adds an extra texture and flavor dimension.
- Crust Variations. While traditional Oreo cookies create a fantastic base, don’t hesitate to get creative with your crust! Other delicious options include crushed graham crackers for a classic cheesecake base, vanilla wafers for a lighter flavor, shortbread cookies for a buttery crust, or even chocolate chip cookies for a different kind of indulgence. Experiment to find your favorite!
- Topping Ideas. Beyond chocolate shavings, there are many ways to finish your mini cheesecakes. Try a sprinkle of mini chocolate chips, white chocolate chips for a color contrast, or colorful sprinkles. Pink and red sprinkles would be especially charming and festive for a Valentine’s Day celebration. A fresh raspberry or a small strawberry on top also adds a lovely fresh element.
Step-by-Step Guide: Crafting Your Mini Red Velvet Cheesecakes
Making these mini cheesecakes is simpler than you might think! Follow these detailed steps for a perfect batch:
- Step 1. Prepare your oven and muffin pan. Begin by preheating your oven to 350 degrees F (175 degrees C). Line a standard 12-cup muffin pan with cupcake liners. This makes for easy removal and serving of your individual cheesecakes.
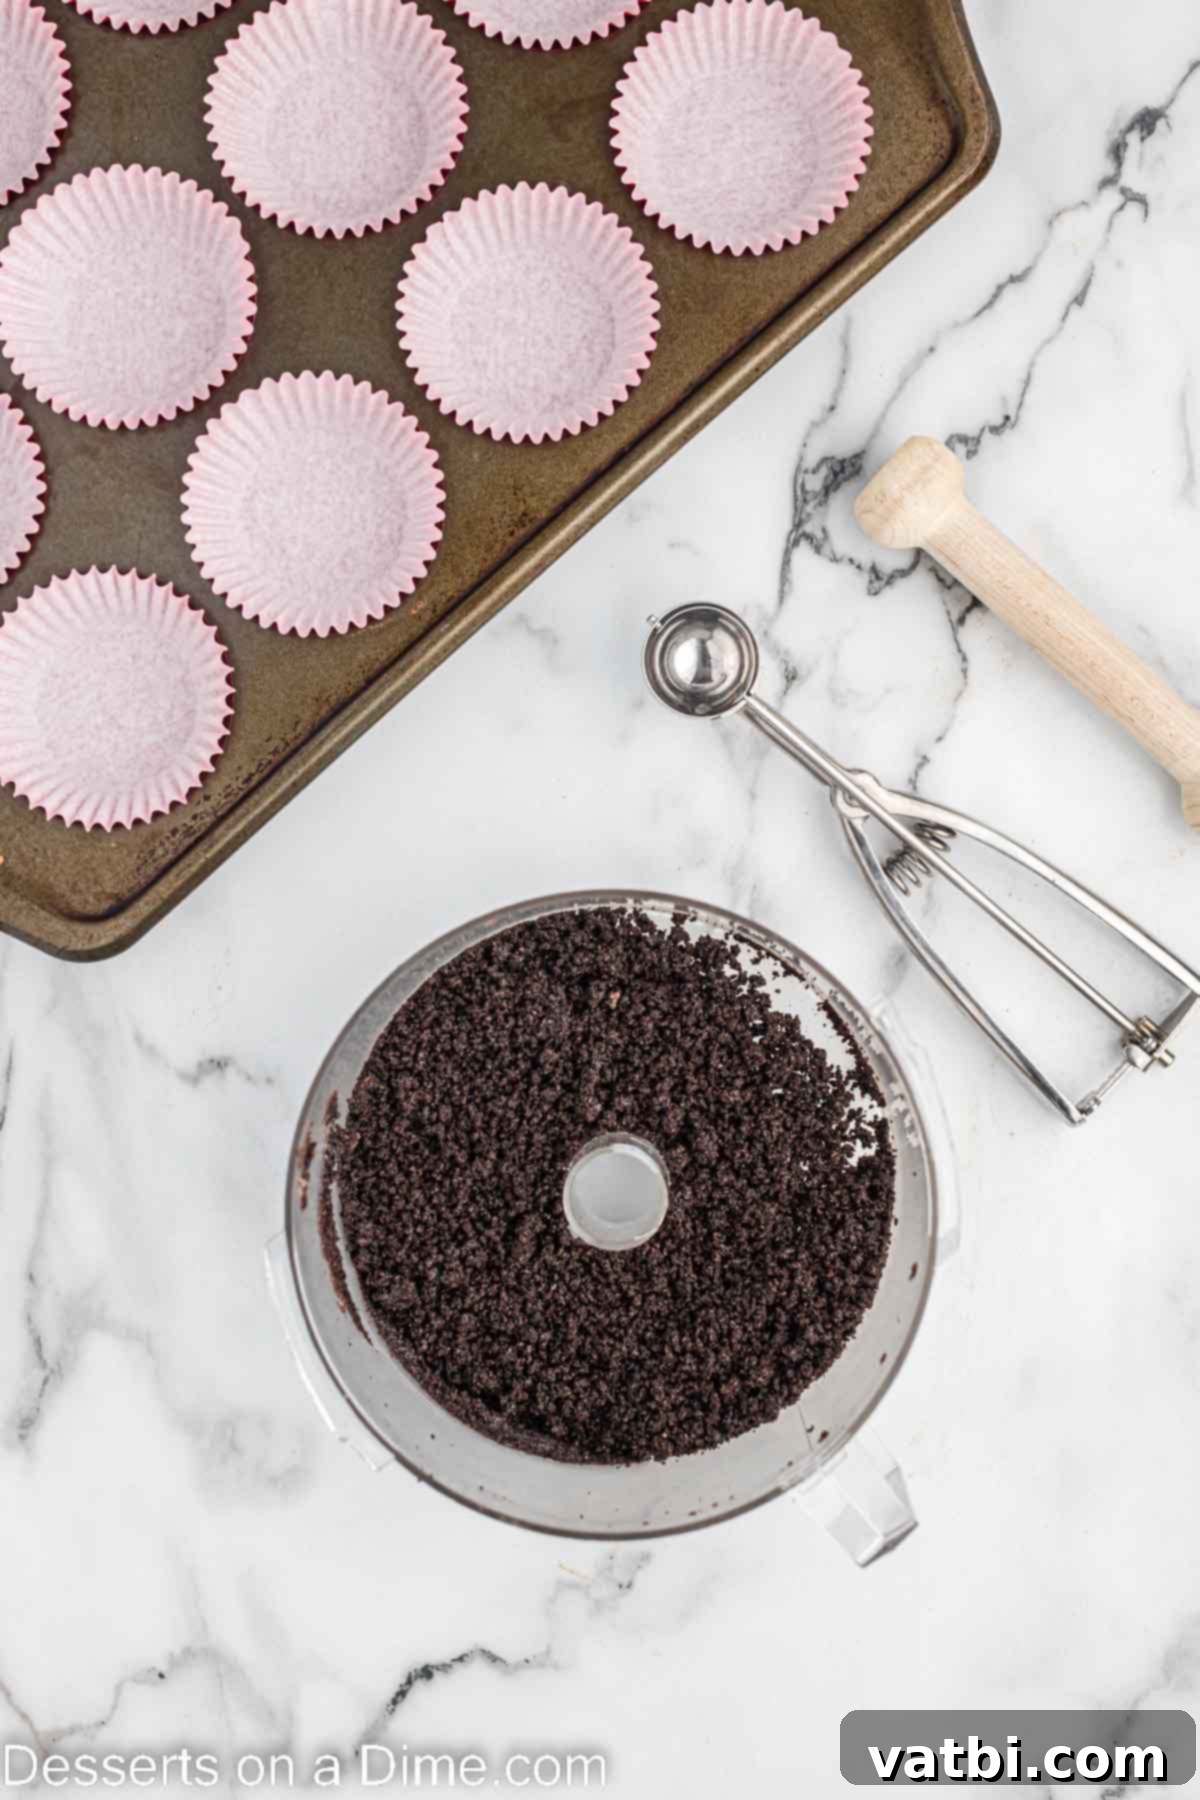
Step 2. Create the delicious Oreo crust. Place the chocolate sandwich cookies (Oreos) into a food processor. Process until the cookies are finely crushed into small, even crumbs. Next, pour in the melted butter and blend again until the crumbs are thoroughly moistened and resemble wet sand. This ensures a cohesive crust.
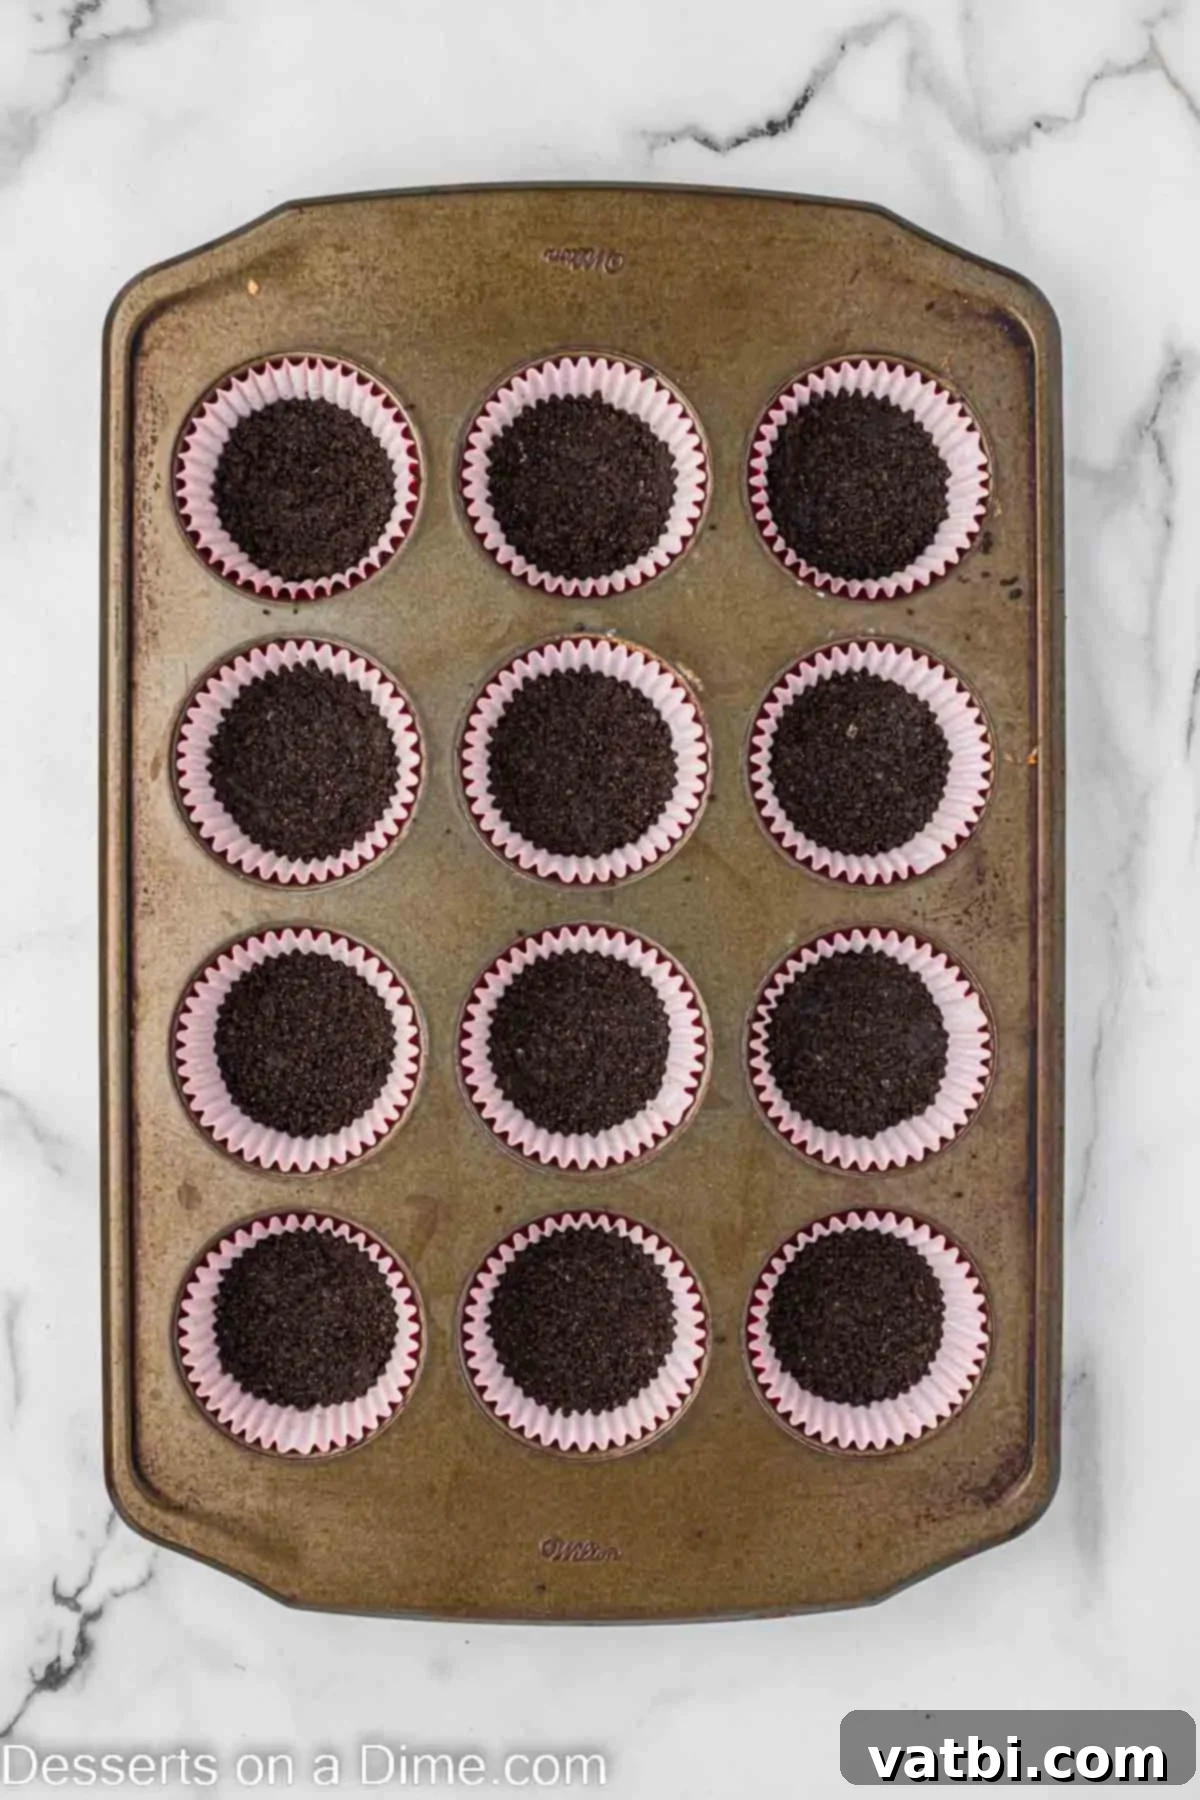
Step 3. Form and pre-bake the crusts. Using a small cookie scoop or a tablespoon, place an equal amount of the cookie crumbs into the bottom of each prepared cupcake liner. Use the bottom of a glass or another flat object to firmly press the crumbs down, forming an even and compact crust. Bake these crusts in the preheated oven for 5 minutes. This helps to set the crust and prevents it from becoming soggy once the filling is added.
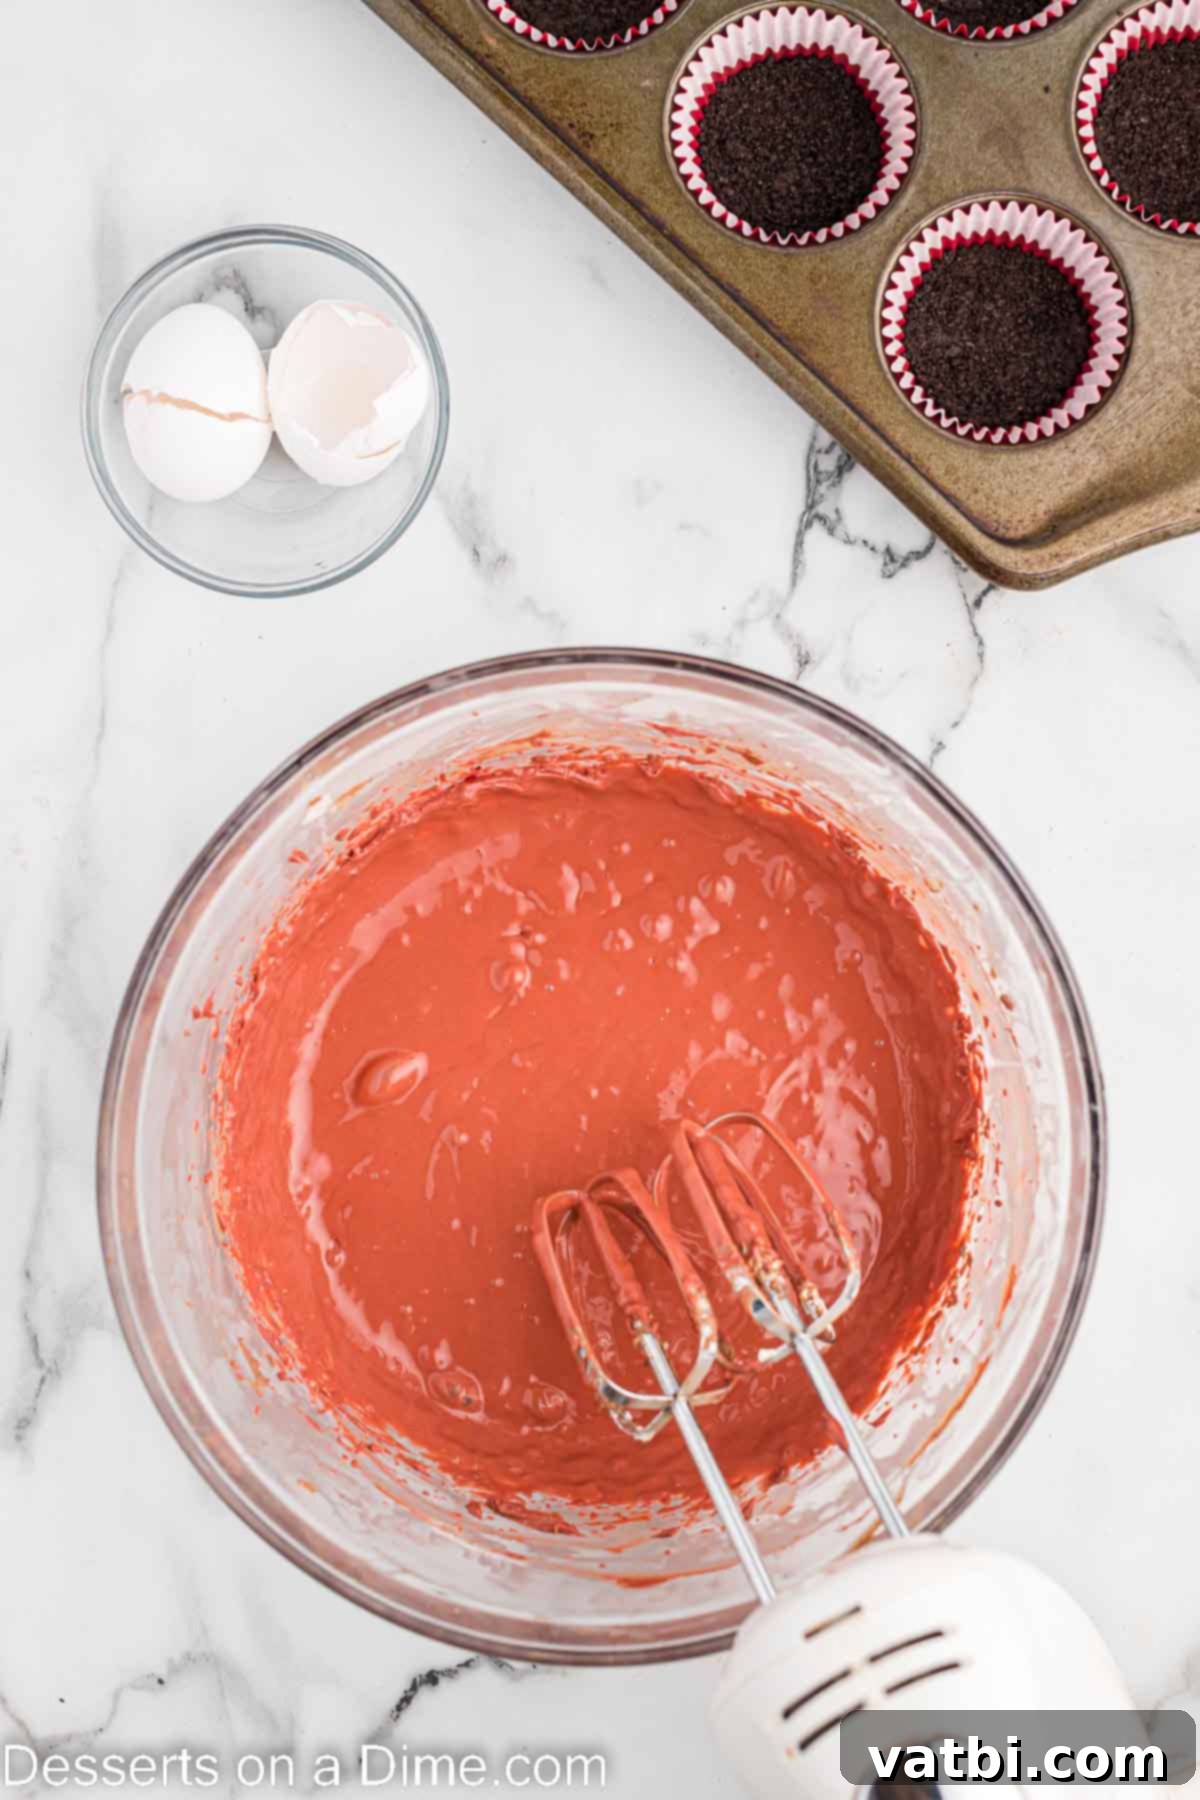
Step 4. Prepare the creamy cheesecake filling. In a medium mixing bowl, using an electric mixer, beat the softened cream cheese and sour cream together until the mixture is completely smooth and free of lumps, typically 2-3 minutes. Scrape down the sides of the bowl as needed. Then, add the cocoa powder, granulated sugar, and vanilla extract, mixing until just combined and smooth. Finally, beat in the large eggs, one at a time, mixing only until each egg is incorporated. Be careful not to overmix at this stage, as overmixing can introduce too much air, which can lead to cracks in your cheesecakes.
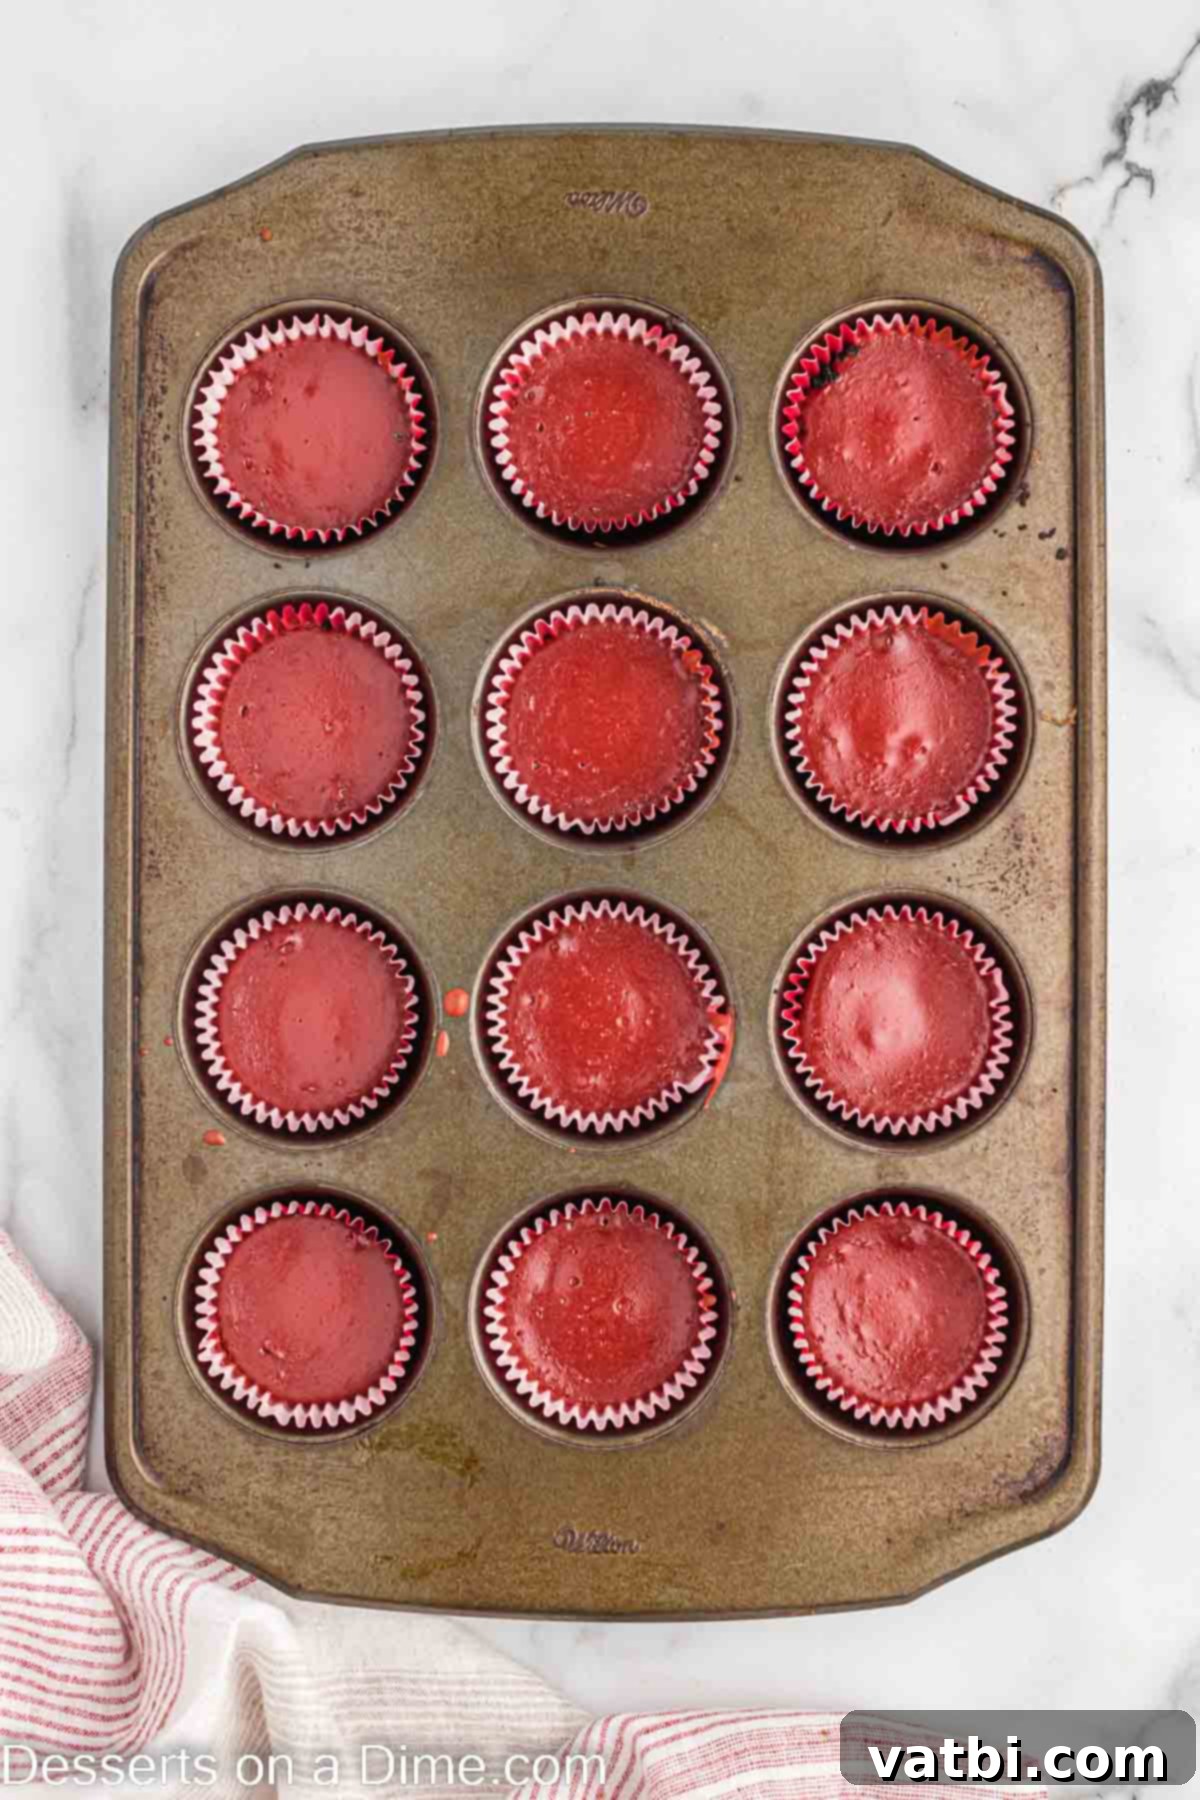
Step 5. Fill the crusts with cheesecake batter. Carefully spoon or pour the red velvet cheesecake batter on top of the pre-baked Oreo crusts in each cupcake liner. Fill each cup approximately two-thirds full, ensuring an even distribution among all 12 liners. A small cookie scoop or an ice cream scoop can help with precise measurements.
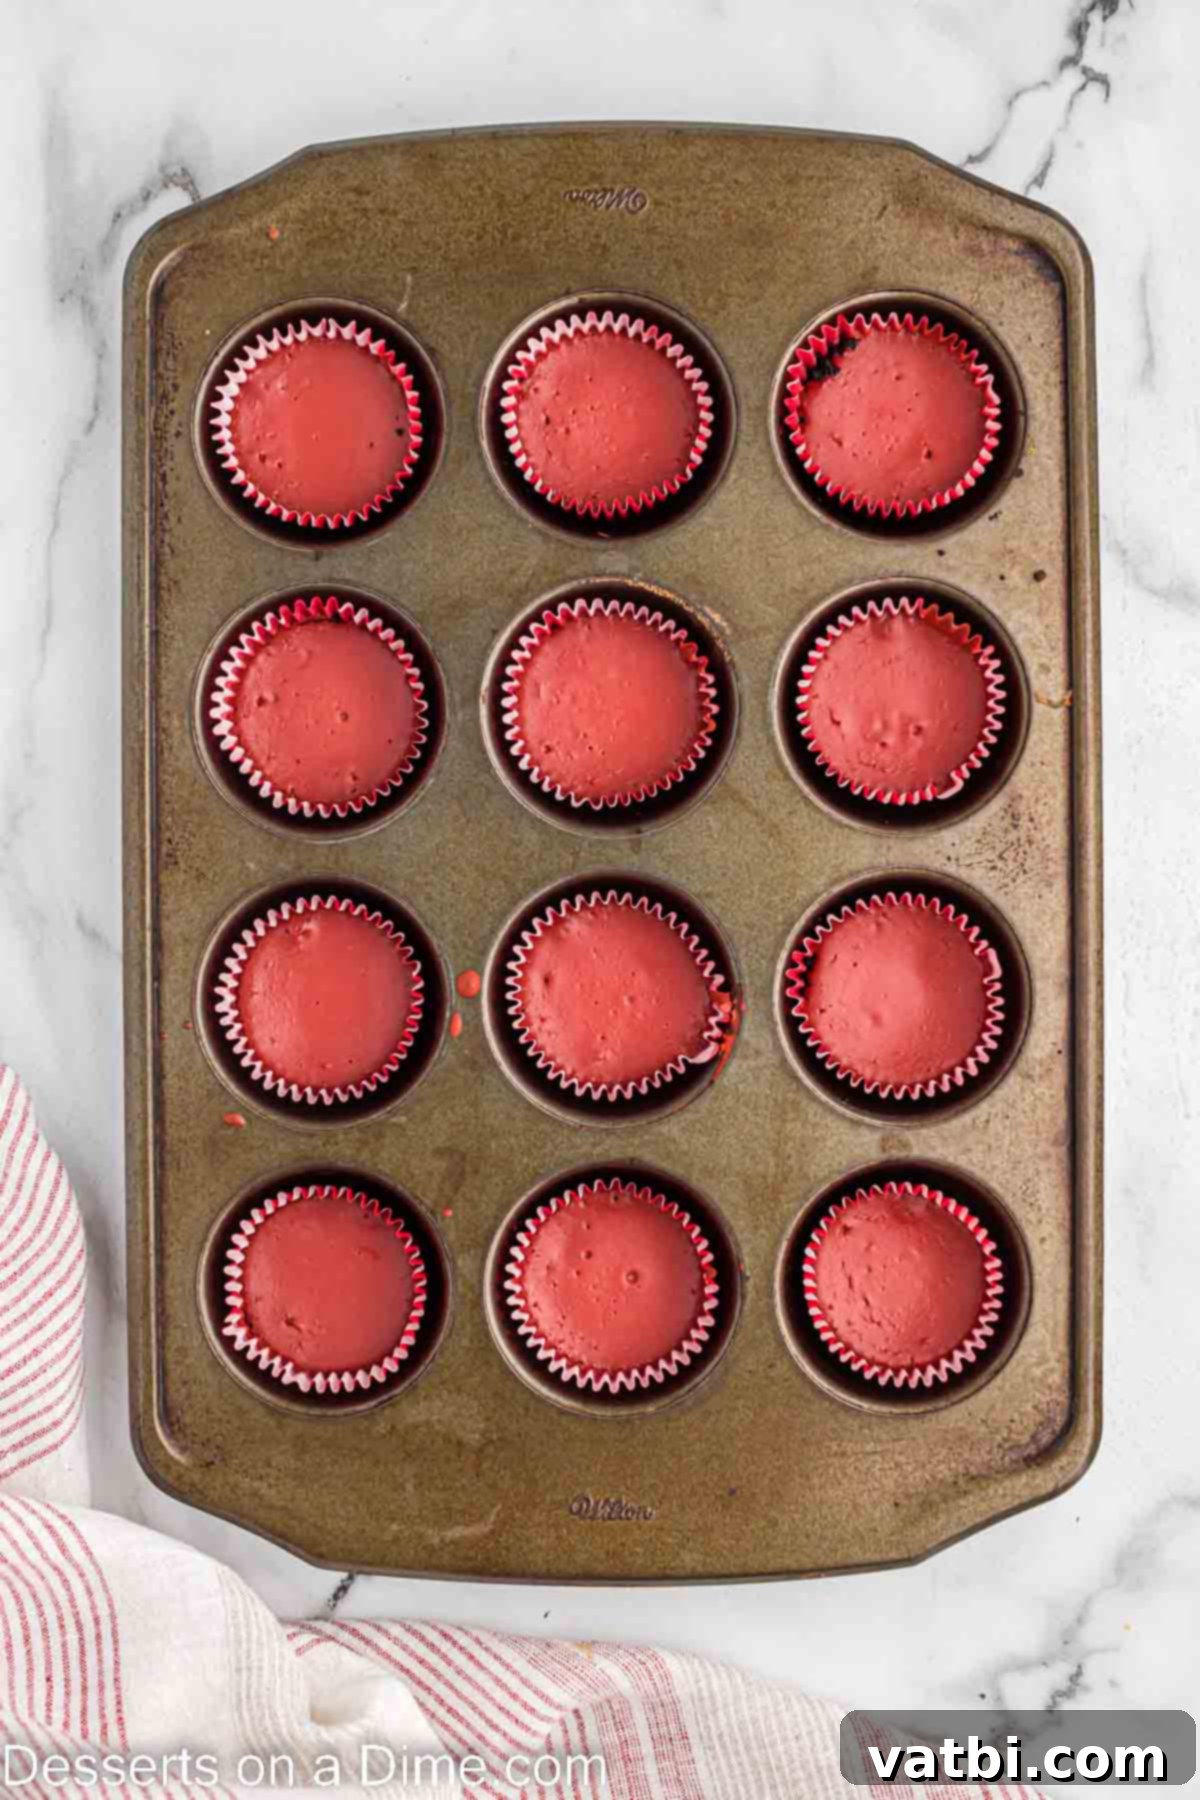
Step 6. Bake until just set. Place the muffin pan into the preheated oven and bake for 14-16 minutes. The key is to bake them just until the center of the cheesecake is only slightly jiggly when gently shaken. It will continue to set as it cools. Do not overbake, as this can lead to a dry texture and potential cracking.
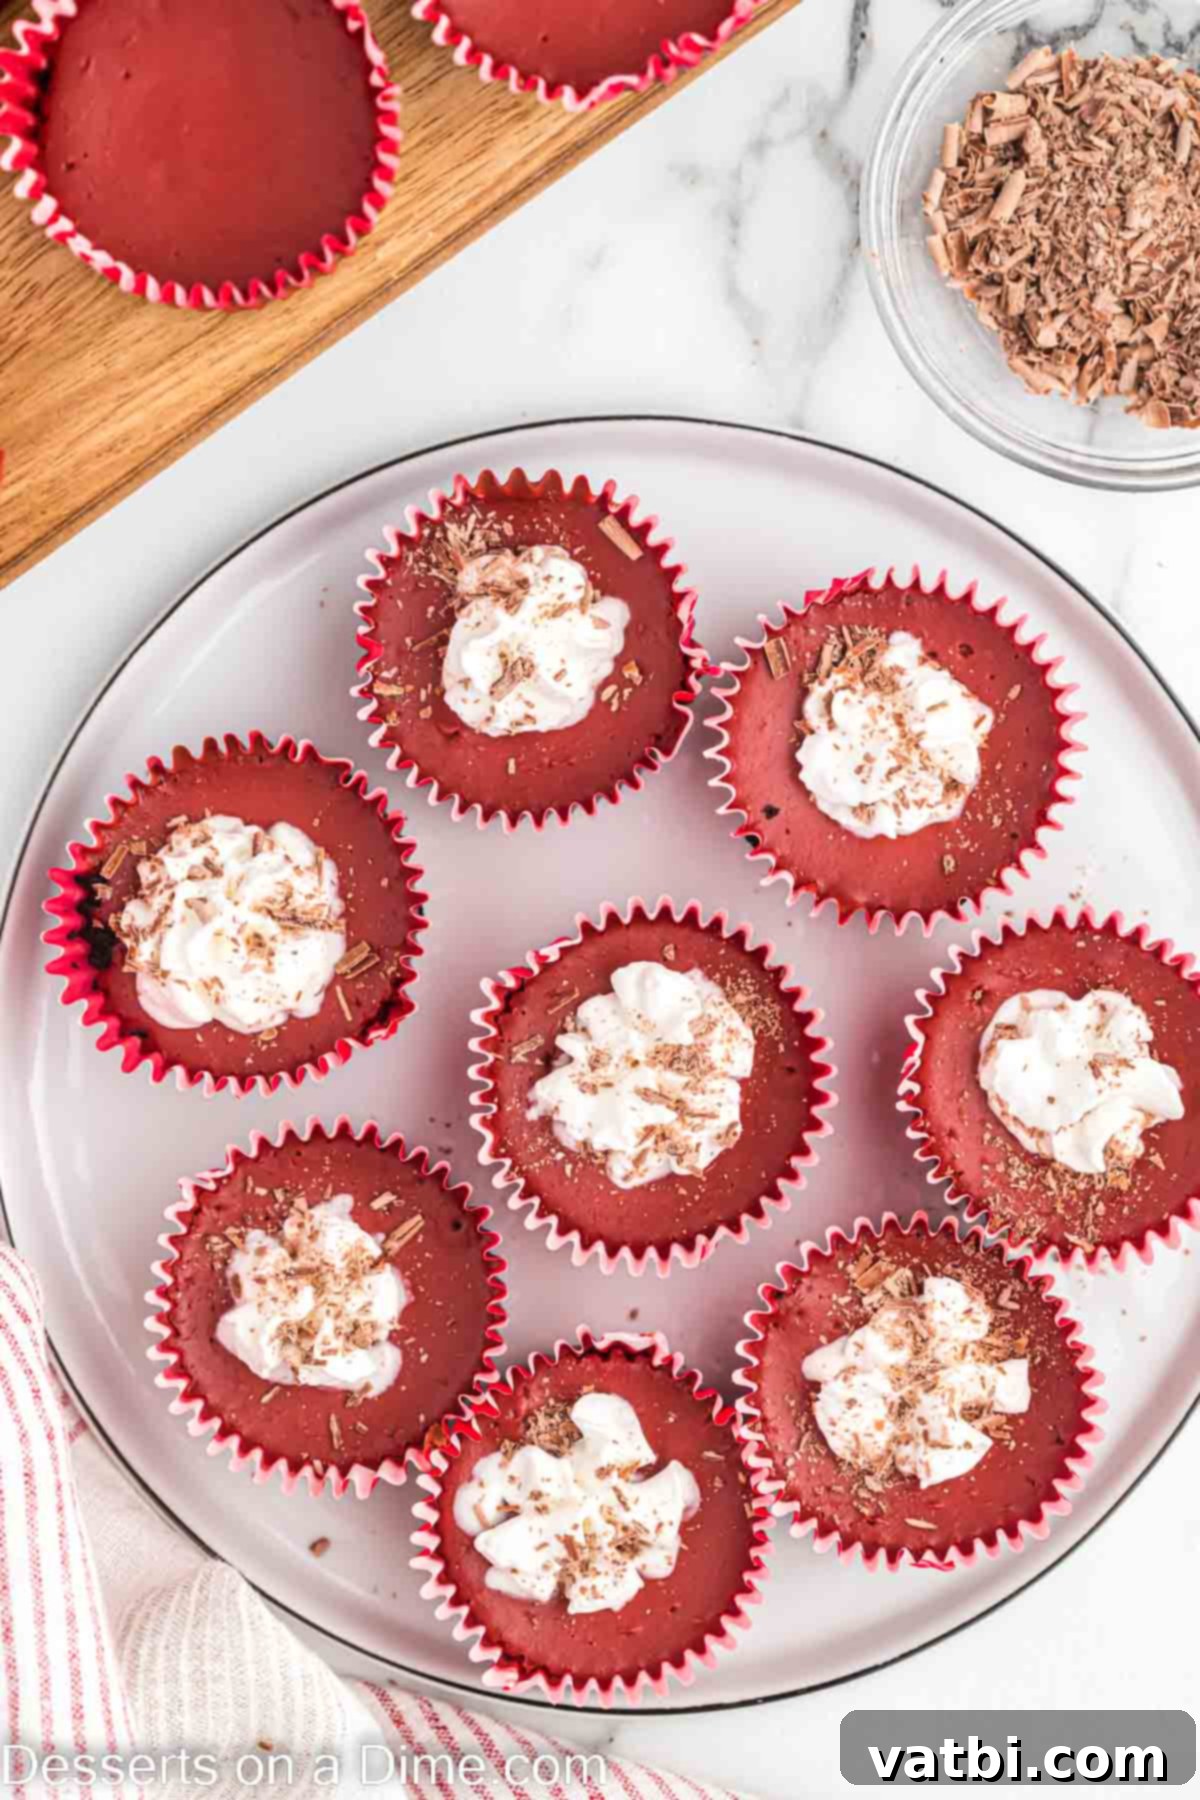
Step 7. Cool, chill, and serve. Once baked, remove the mini cheesecakes from the oven and allow them to cool completely to room temperature in the muffin pan (this usually takes about 1 hour). After cooling, transfer the pan to the refrigerator and chill the cheesecakes for at least 2 hours. This chilling period is crucial for the cheesecake to fully set and achieve its perfect creamy texture. When you’re ready to serve, carefully remove them from their liners, top each with a generous swirl of whipped cream and a sprinkle of chocolate shavings, then enjoy your delightful creation!
Storage Solutions for Your Mini Red Velvet Cheesecakes
Proper storage ensures your mini cheesecakes remain fresh and delicious for days, or even weeks:
Store any leftover Mini Red Velvet Cheesecakes in an airtight container in the refrigerator for up to 5 days. If you’re preparing these cheesecakes in advance for a party or event, we highly recommend waiting to add the whipped topping and chocolate shavings until just before serving. This prevents the topping from deflating or becoming watery during storage, ensuring optimal freshness and presentation.
For prolonged storage, these delightful treats can be frozen for up to 2 months. To freeze, allow the baked and cooled cheesecake bites to chill thoroughly in the refrigerator first. Then, place them (without any toppings) in a single layer on a baking sheet and freeze until firm. Once firm, transfer them to an airtight freezer-safe container or a heavy-duty freezer bag, separating layers with parchment paper to prevent sticking. When you’re ready to enjoy them, simply allow the cheesecakes to thaw in the refrigerator overnight. Add your desired toppings just before serving.
Planning Ahead: Can You Make Mini Red Velvet Cheesecakes in Advance?
Absolutely! This recipe is incredibly forgiving and perfect for make-ahead preparation, saving you precious time when entertaining. You can easily prepare these mini cheesecakes up to 4 days in advance without compromising on taste or texture.
After baking and cooling completely to room temperature, place the cheesecakes (still in their liners if you prefer, or carefully removed) into an airtight container. Refrigerate them until you’re ready to serve. Just before presentation, add your whipped topping and delicate chocolate shavings to each cheesecake. This smart preparation method allows you to focus on other party details or simply enjoy a stress-free dessert presentation.
Expert Tips for Perfect Mini Red Velvet Cheesecakes
Achieving bakery-quality mini cheesecakes at home is easy with a few simple tricks:
- Embrace room temperature ingredients. This is perhaps the most crucial tip for any cheesecake recipe. Ensure your cream cheese, sour cream, and eggs are all at room temperature before you begin mixing. This allows them to combine smoothly and effortlessly, preventing lumps and resulting in a uniformly creamy, silken cheesecake batter and a superior final texture.
- Prevent overbaking. Oven temperatures can vary significantly, so keep a close eye on your cheesecakes. The key is to bake them just until the center is only slightly jiggly. They will continue to set as they cool. Overbaking can lead to a dry, crumbly filling and can also cause cracks on the surface of your cheesecakes.
- Master chocolate shavings. For elegant chocolate shavings, use a vegetable peeler on a block of chocolate (either semi-sweet, dark, or white, depending on your preference). Hold the chocolate firmly and run the peeler along the edge to create beautiful, delicate curls. It’s a simple yet effective way to add a professional touch.
- Consider a mini muffin pan. If you desire even smaller, bite-sized cheesecake treats, a mini muffin pan is an excellent choice. Remember to adjust the cooking time accordingly, as smaller cheesecakes will bake much faster than the regular size. Start checking for doneness a few minutes earlier.
- Patience during cooling. It’s tempting to top your cheesecakes right away, but resist the urge! The cheesecake must be completely cool to room temperature, and then thoroughly chilled in the refrigerator, before adding any whipped cream or chocolate. If the cheesecake is warm, the toppings will melt and slide right off, ruining your beautiful presentation.
- Select regular Oreo cookies for the crust. For the best and most stable crust, stick with regular chocolate sandwich cookies. The “double stuffed” variety contains too much cream filling, which can result in a crust that is too soft and doesn’t hold its shape as well after baking.
- Don’t skip the chilling time. The minimum 2-hour chilling time in the refrigerator is essential. This allows the cheesecake filling to fully set, develop its creamy texture, and become firm enough to handle and serve without falling apart.
Discover More Red Velvet Delights
- Cheesecake Factory Red Velvet Cheesecake
- Red Velvet Cupcake Recipe
- Red Velvet Sheet Cake Recipe
- Red Velvet Cake Balls
- Red Velvet Mug Cake Recipe
- Red Velvet Funnel Cake
Explore More Delicious Cheesecake Recipes
- Chocolate Chip Cookie Cheesecake Recipe
- Easy No Bake Cheesecake Recipe
- No Bake Blueberry Cheesecake Recipe
We encourage you to give this fabulous recipe for Mini Red Velvet Cheesecakes a try. It’s a showstopper that’s surprisingly simple to master. Once you make it, please take a moment to leave a comment and a star rating below – we’d love to hear about your experience and how much you enjoyed these decadent bites!
Pin
Mini Red Velvet Cheesecake
Ingredients
FOR THE CRUST:
- 10 Chocolate Sandwich Cookies regular Oreos, not double stuffed
- 2 Tablespoons Unsalted Butter melted
FOR THE CHEESECAKE:
- 8 ounces cream cheese softened full fat, at room temperature
- 1 Tablespoon Sour Cream full fat, at room temperature
- 1/3 cup sugar
- 3 Tablespoons Unsweetened Cocoa Powder
- 1 teaspoon vanilla extract pure vanilla recommended
- 2 Large Eggs at room temperature
- Red Food Coloring adjust to desired color depth
FOR TOPPING:
- Whipped Cream store-bought or homemade
- Chocolate Shavings for garnish (optional)
Instructions
-
Preheat your oven to 350 degrees F (175 C). Line a 12-cup muffin pan with paper cupcake liners, ensuring they fit snugly.
-
For the crust, place the regular Oreo cookies into a food processor and blend until fine crumbs form. Add the melted unsalted butter and pulse until well combined and the crumbs are moist. Spoon a small cookie scoop or 1-2 tablespoons of the crumb mixture into each cupcake liner. Use the bottom of a glass or a flat measuring cup to firmly press down on the crumbs, forming an even and compact crust. Bake the crusts in the preheated oven for 5 minutes; this helps prevent a soggy bottom.
-
In a medium mixing bowl, using an electric mixer, beat the softened cream cheese and sour cream until the mixture is completely smooth and creamy, about 2-3 minutes. Make sure there are no lumps.
-
Gradually mix in the cocoa powder, granulated sugar, and pure vanilla extract until the mixture is smooth and fully incorporated. Then, beat in the large eggs, one at a time, mixing only until each egg yolk is just combined. Avoid overmixing once the eggs are added. Add red food coloring, drop by drop, until your desired vibrant red color is achieved.
-
Divide the red velvet cheesecake batter evenly among the 12 cupcake cups, filling each one a little more than 2 tablespoons full, on top of the pre-baked Oreo crusts.
-
Bake for 14-16 minutes, or until the edges are set and the center of the cheesecake is only slightly jiggly when gently shaken. It will firm up completely as it cools. Do not overbake to ensure a creamy texture.
-
Remove the muffin pan from the oven and allow the mini cheesecakes to cool completely to room temperature in the pan (this takes about 1 hour). Once cooled, transfer the entire pan to the refrigerator and chill for at least 2 hours, or preferably longer, before serving. This is crucial for setting the cheesecake.
-
When ready to serve, carefully remove the mini cheesecakes from their liners. Top each one generously with whipped cream and a sprinkle of chocolate shavings for an elegant finish. Serve chilled and enjoy!
Recipe Notes
Ensure all cheesecake ingredients (cream cheese, sour cream, eggs) are at room temperature before mixing. This is vital for a smooth, lump-free batter and a perfectly creamy cheesecake texture.
For easy individual removal, consider baking in silicone cupcake liners or greasing paper liners slightly if they tend to stick.
Nutrition Facts
Pin This Now to Remember It Later
Pin Recipe
