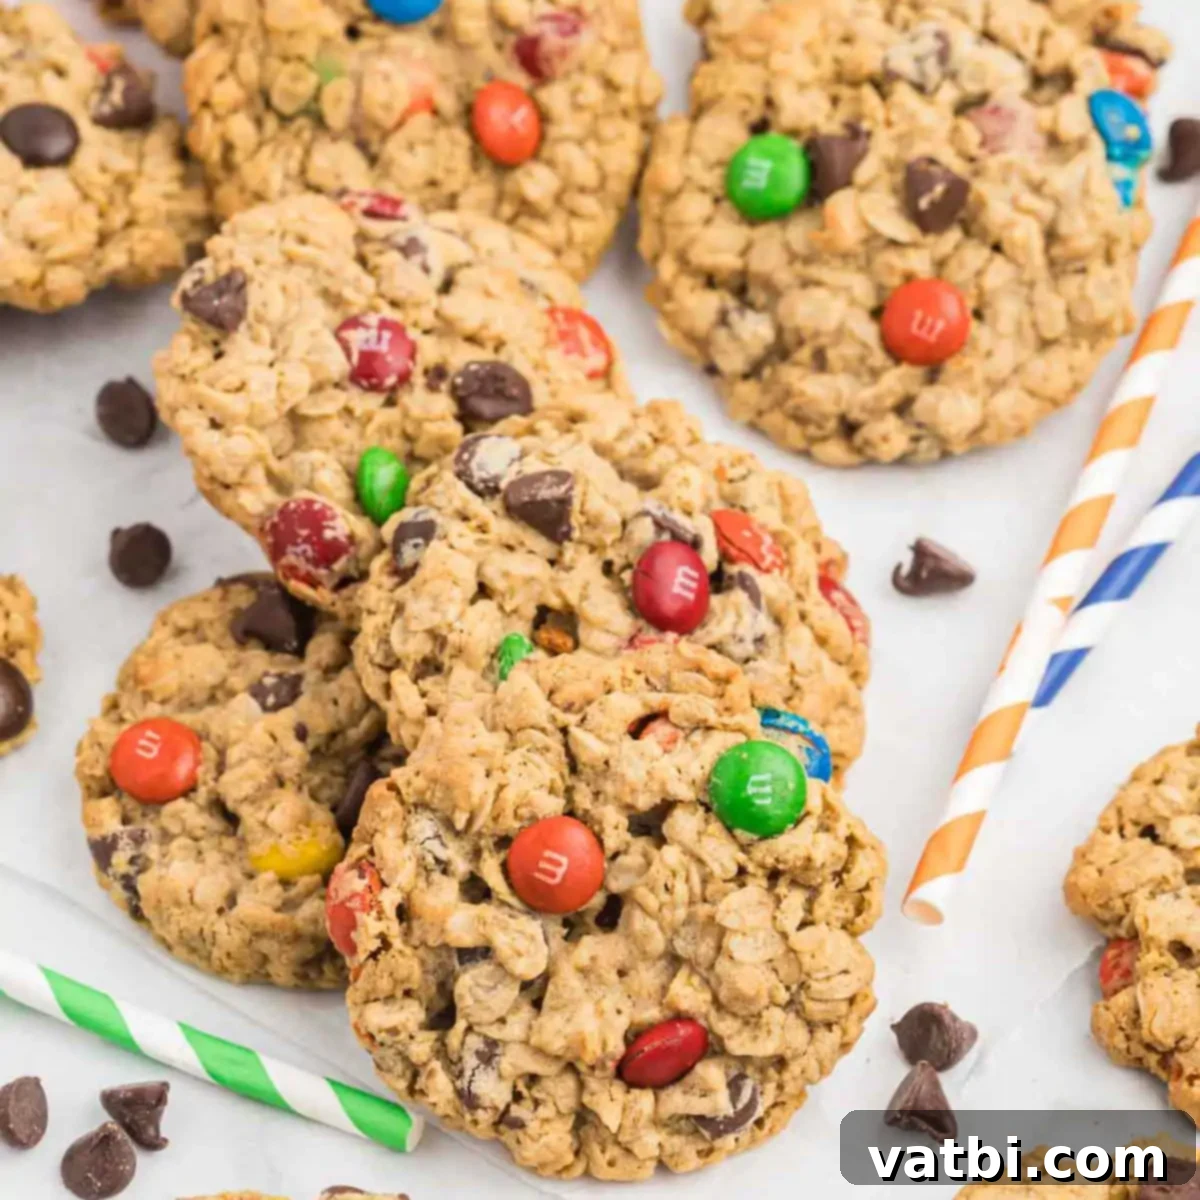
Irresistible Gluten-Free Monster Cookies: The Ultimate Chewy, Flavorful Recipe
Prepare to delight your taste buds with these truly irresistible Gluten-Free Monster Cookies. Far from your average cookie, each bite is a symphony of textures and flavors, loaded with creamy peanut butter, wholesome oats, rich chocolate chips, and colorful M&M’s. This recipe guarantees a wonderfully chewy texture and an explosion of deliciousness, making it arguably the best oatmeal cookie experience you can have, all while being completely gluten-free.
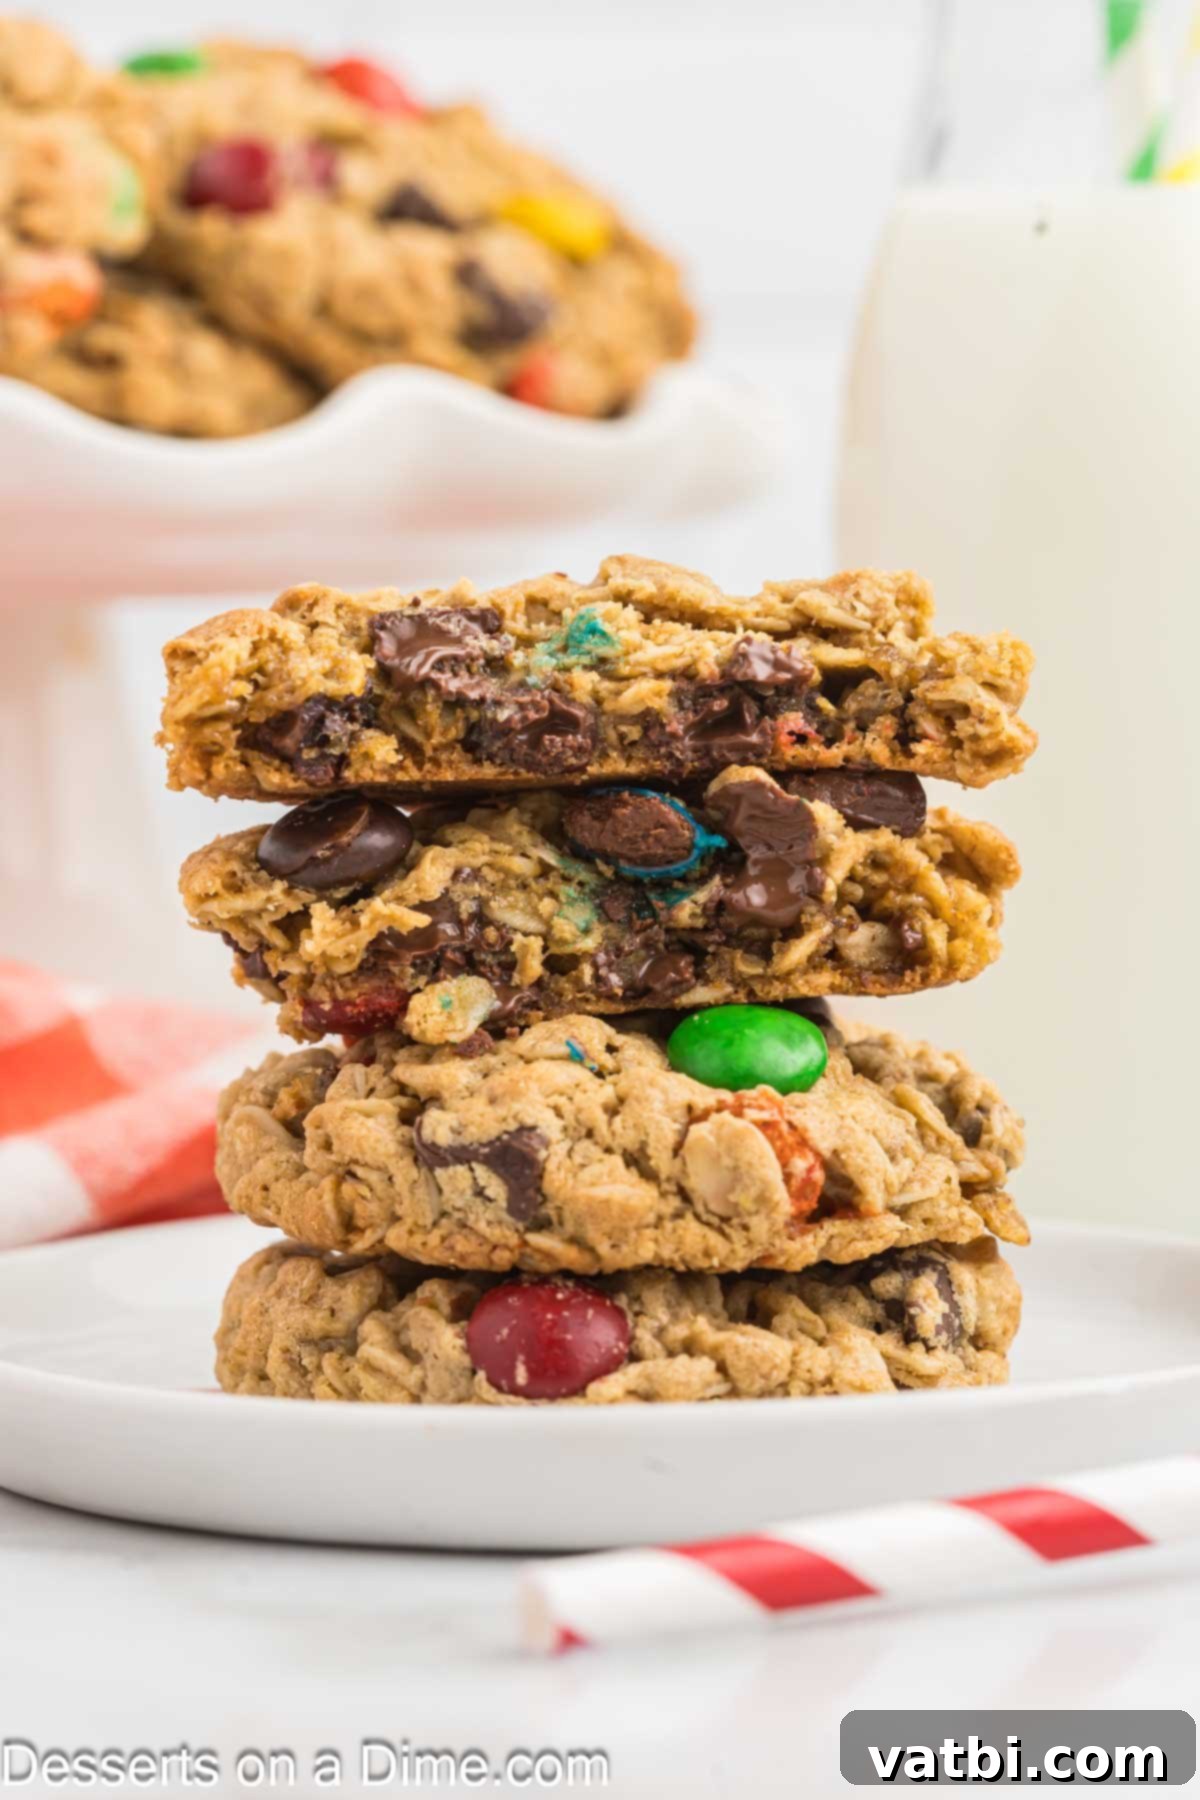
For those who adore the classic Monster Cookie Recipe but require a gluten-free alternative, your search ends here. This carefully crafted recipe captures all the beloved flavors and textures of the original, without any gluten. You’ll be amazed at how easily these come together and how utterly delicious they are. This cookie recipe is sure to become a cherished favorite in your household, perfect for satisfying sweet cravings or sharing with friends and family.
Our journey into delicious gluten-free baking isn’t new; we’ve been perfecting recipes like our Gluten-Free Shortbread Cookies for over 15 years, always striving for excellence. This new Monster Cookie recipe proudly joins our collection of amazing gluten-free treats and certainly doesn’t disappoint. If you’re looking for other delightful gluten-free options, be sure to try our incredibly moist and flavorful Gluten-Free Pumpkin Bread as well.
Table of Contents
- Why This Recipe Works
- Essential Ingredients for Gluten-Free Monster Cookies
- Ingredient Substitutions and Additions
- Step-by-Step Baking Instructions
- Storage Tips for Freshness
- Pro Baking Tips for Perfect Monster Cookies
- Frequently Asked Questions (FAQ)
- More Gluten-Free Desserts to Love
Why This Recipe Works: The Secret to the Best Gluten-Free Monster Cookies
This recipe isn’t just a gluten-free adaptation; it’s a triumph of flavor and texture that will make you forget it’s missing traditional flour. What makes these gluten-free monster cookies stand out? It’s the harmonious blend of carefully selected ingredients, each playing a crucial role in creating a truly exceptional cookie.
First, the generous amount of creamy peanut butter provides a rich, nutty base that contributes to both the flavor profile and the signature chewy texture. Paired with old-fashioned rolled oats, which are naturally gluten-free and give the cookies their delightful heartiness, you get a satisfying chew in every bite. The combination of brown and granulated sugars ensures the perfect balance of moisture and slight crispness around the edges, typical of a bakery-style cookie.
Then come the stars of the show: an abundance of semi-sweet chocolate chips and vibrant M&M’s. The chocolate chips melt beautifully, adding pockets of gooey sweetness, while the M&M’s introduce a fun crunch and a burst of color, making these cookies as appealing to the eye as they are to the palate. Unlike some gluten-free recipes that can feel dense or crumbly, this one yields a perfectly soft, moist interior that remains incredibly flavorful. You truly won’t miss the wheat flour, making this the go-to recipe for the absolute best gluten-free monster cookies.
Essential Ingredients for Gluten-Free Monster Cookies
Crafting these amazing cookies starts with high-quality ingredients, all easily found at your local grocery store. Here’s a detailed look at what you’ll need and why each component is important:
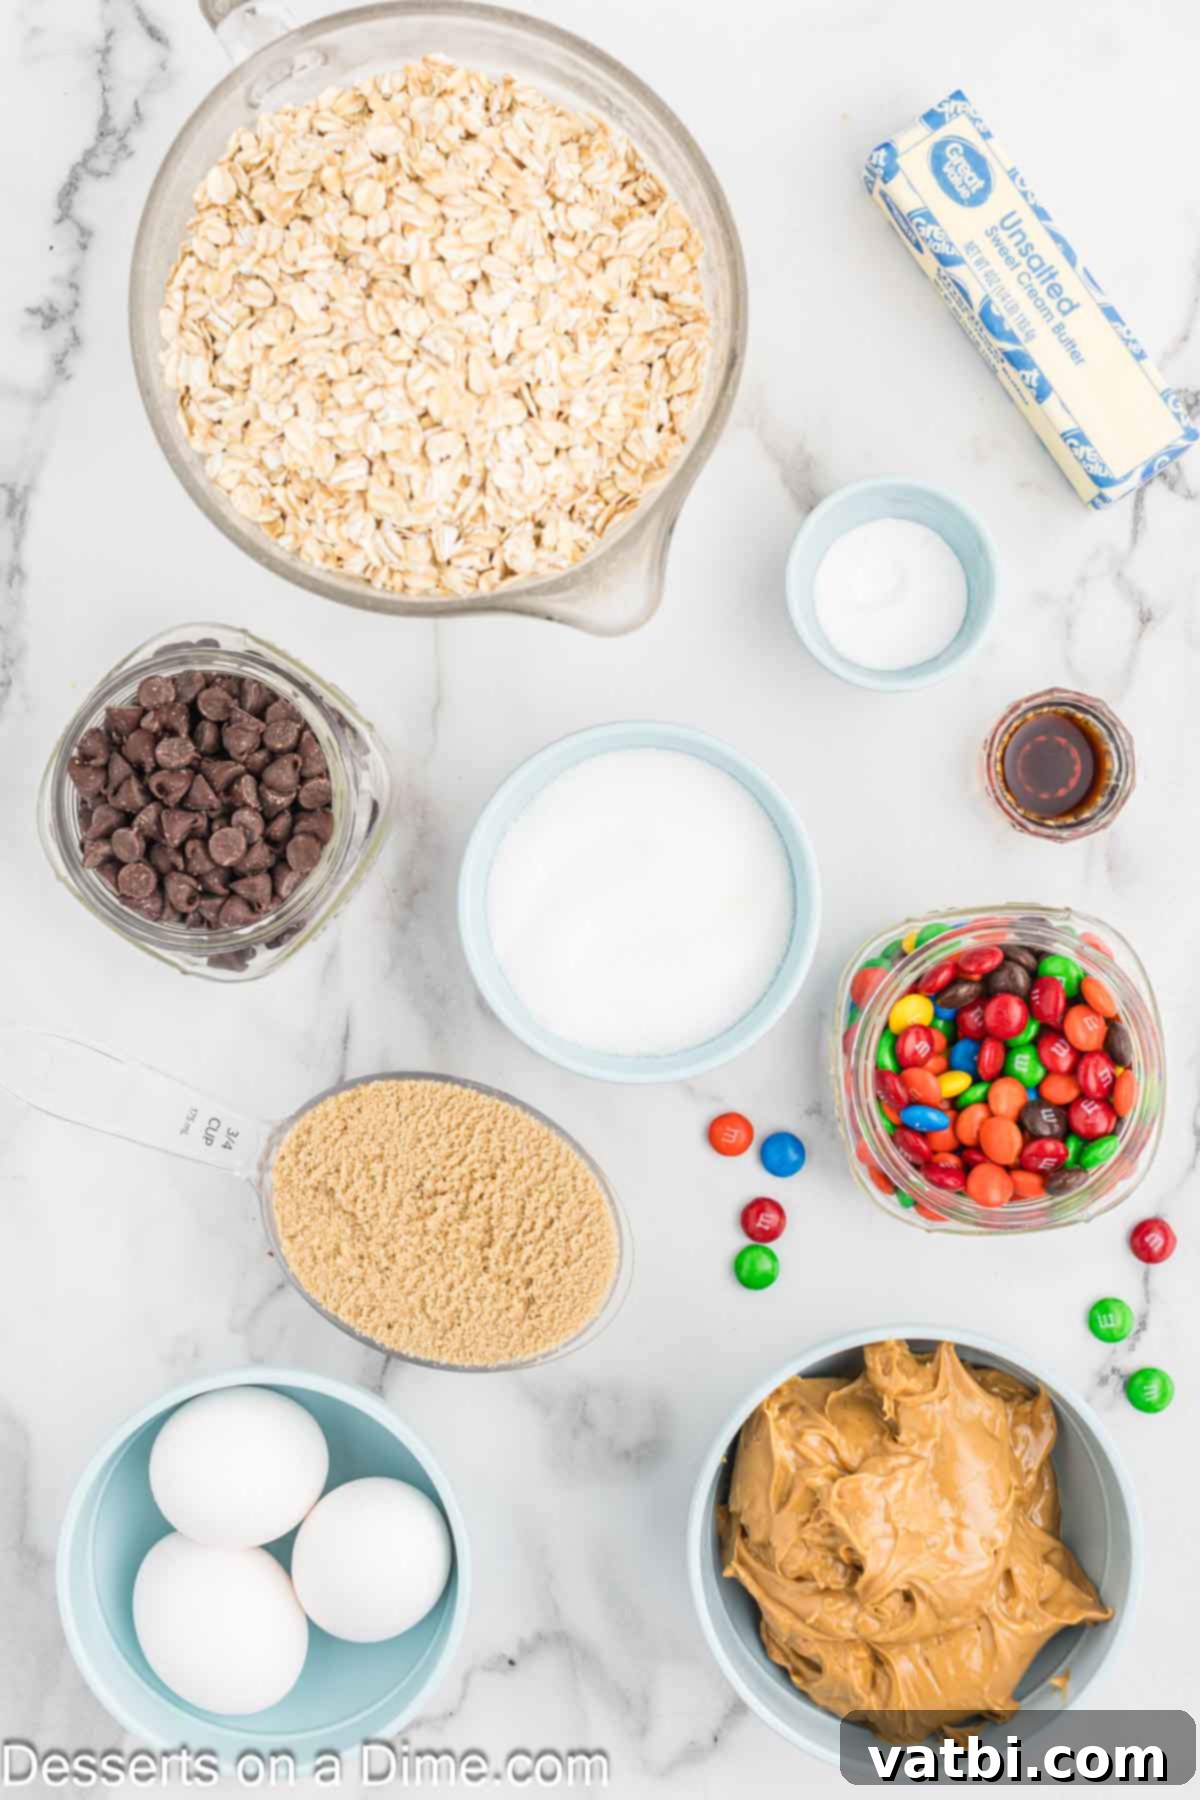
- Butter: Use unsalted butter, softened to room temperature. This is crucial for proper creaming with the sugars, which incorporates air into the dough for a lighter, more tender cookie texture.
- Peanut Butter: Creamy peanut butter is highly recommended for its smooth consistency, which helps bind the cookies together and provides that classic rich flavor. Brands like Jif or Skippy work wonderfully here. Avoid natural peanut butter that separates, as its oil content can affect the cookie’s structure.
- Brown Sugar: Packed brown sugar not only adds a wonderful caramel-like sweetness but also contributes significantly to the chewiness and moisture of the cookies. If you’re out, check out The Best Brown Sugar Substitutes.
- Granulated Sugar: A touch of white granulated sugar complements the brown sugar, helping to create those slightly crisp edges that are so delightful.
- Eggs: Large eggs act as a binder, providing structure and moisture to the cookie dough, ensuring they hold together and have a rich, tender crumb.
- Vanilla Extract: Pure vanilla extract enhances all the other flavors, adding a warm, aromatic depth that is essential for any great cookie.
- Baking Soda: This leavening agent helps the cookies rise slightly and spread, contributing to their soft texture. For alternatives, see Best Baking Soda Substitutes.
- Old Fashioned Rolled Oats: These are the backbone of the “oatmeal cookie” aspect, providing a substantial, chewy texture. It’s essential to use old-fashioned rolled oats, not quick-cooking or instant oats, as they absorb liquids differently and will result in a less chewy cookie. Crucially, if you have celiac disease or gluten sensitivity, ensure your oats are certified gluten-free to avoid cross-contamination.
- Semi-Sweet Chocolate Chips: These chips melt into delicious pockets of chocolate. Using semi-sweet helps to balance the overall sweetness of the cookies, preventing them from being overly cloying.
- M&M’s: Colorful and crunchy, M&M’s add a playful element and extra chocolatey goodness. Feel free to get creative and use seasonal M&M’s to match holidays or occasions throughout the year.
A complete, precise list of ingredients with measurements can be found in the recipe card at the bottom of this page.
Ingredient Substitutions and Additions for Custom Monster Cookies
One of the joys of baking is the ability to customize recipes to suit dietary needs or simply to try new flavor combinations. These gluten-free monster cookies are incredibly versatile!
- Dairy-Free Variation: To make these cookies dairy-free, you can easily substitute the butter with ghee or a high-quality dairy-free butter alternative (like Earth Balance sticks). Additionally, ensure you use dairy-free chocolate chips and M&M’s or another candy that is certified dairy-free.
- Nut Butter Alternatives: If you have a peanut allergy or simply prefer a different flavor, sunflower seed butter (like SunButter) is an excellent substitute for peanut butter. Almond butter or cashew butter can also be used, though they might alter the flavor slightly and may require a small adjustment to consistency depending on the brand.
- Alternative Mix-ins: Get creative with your additions!
- **Other Chocolate Types:** Try white chocolate chips, dark chocolate chunks, or even a mix of milk and semi-sweet.
- **Nuts:** Chopped walnuts, pecans, or almonds would add another layer of crunch and flavor.
- **Dried Fruit:** Raisins, dried cranberries, or chopped apricots can provide a chewy, fruity contrast.
- **Butterscotch or Toffee Bits:** For an extra decadent twist.
- **Shredded Coconut:** Adds a tropical hint and chewiness.
- Spices: A pinch of cinnamon or a dash of nutmeg can subtly enhance the warmth and complexity of the cookies, especially complementing the oats and peanut butter.
Step-by-Step Baking Instructions for Perfect Gluten-Free Monster Cookies
Making these gluten-free monster cookies is straightforward, even for novice bakers. Follow these simple steps for perfectly baked, chewy, and flavorful cookies every time.
- Step 1: Prepare Your Workspace. Begin by preheating your oven to 350 degrees Fahrenheit (175°C). While the oven heats up, line two baking sheets with parchment paper. Parchment paper not only prevents sticking but also aids in easy cleanup and helps the cookies bake more evenly.
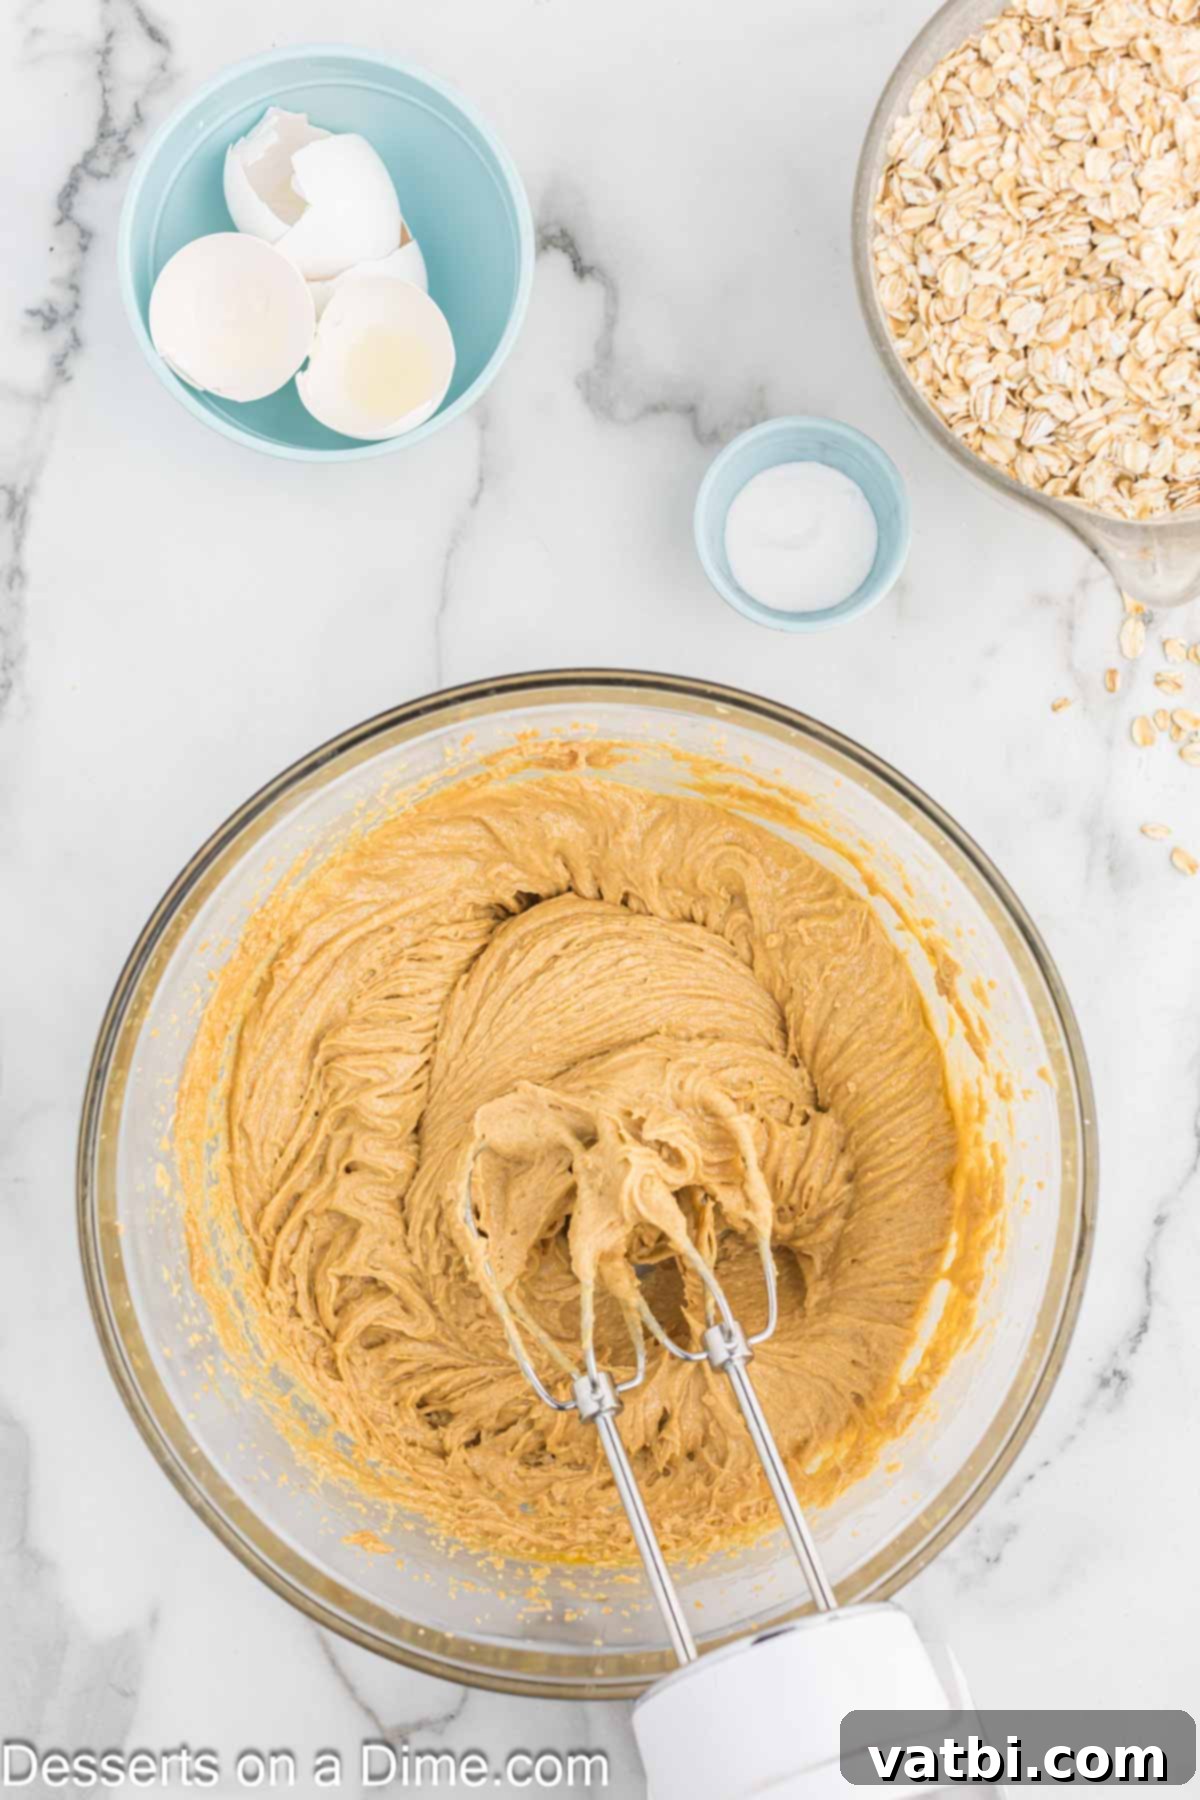
Step 2: Cream Wet Ingredients. In a large mixing bowl, combine the softened unsalted butter, creamy peanut butter, packed brown sugar, and granulated sugar. Using either a stand mixer with the paddle attachment or a hand mixer, blend these ingredients together until they are light, fluffy, and well combined. This creaming process incorporates air, which is essential for the cookie’s texture. Next, beat in the large eggs one at a time, followed by the pure vanilla extract, mixing until just combined after each addition. Be careful not to overmix.
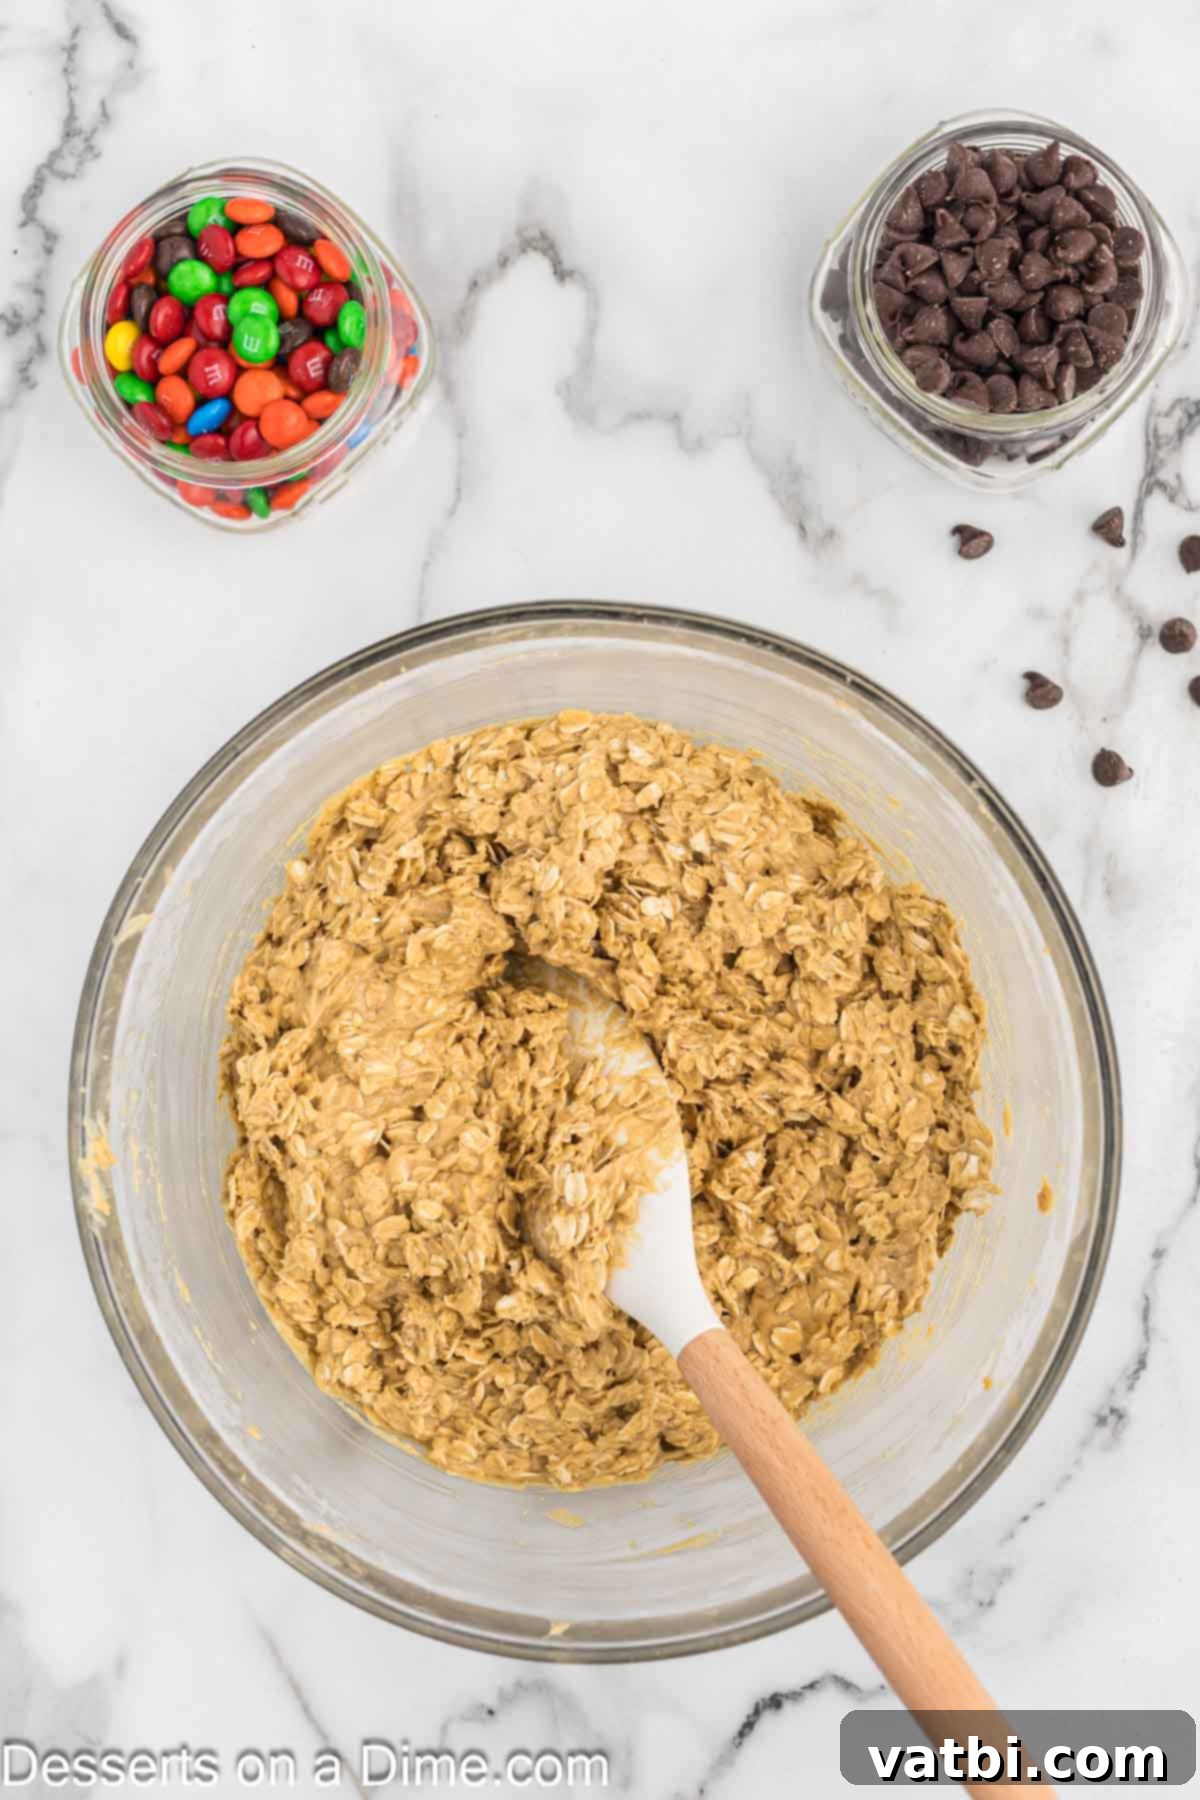
Step 3: Incorporate Oats and Baking Soda. Now it’s time to add the dry ingredients. Sprinkle in the baking soda and the old-fashioned rolled oats to the wet mixture. It’s important to stir these in gently. You can either mix them by hand with a sturdy spatula or use your mixer on the lowest speed. Mix only until the oats are just combined with the rest of the cookie dough. Overmixing at this stage can lead to a tougher cookie, even with gluten-free oats. Ensure the dry ingredients and wet ingredients are thoroughly integrated without excessive agitation.
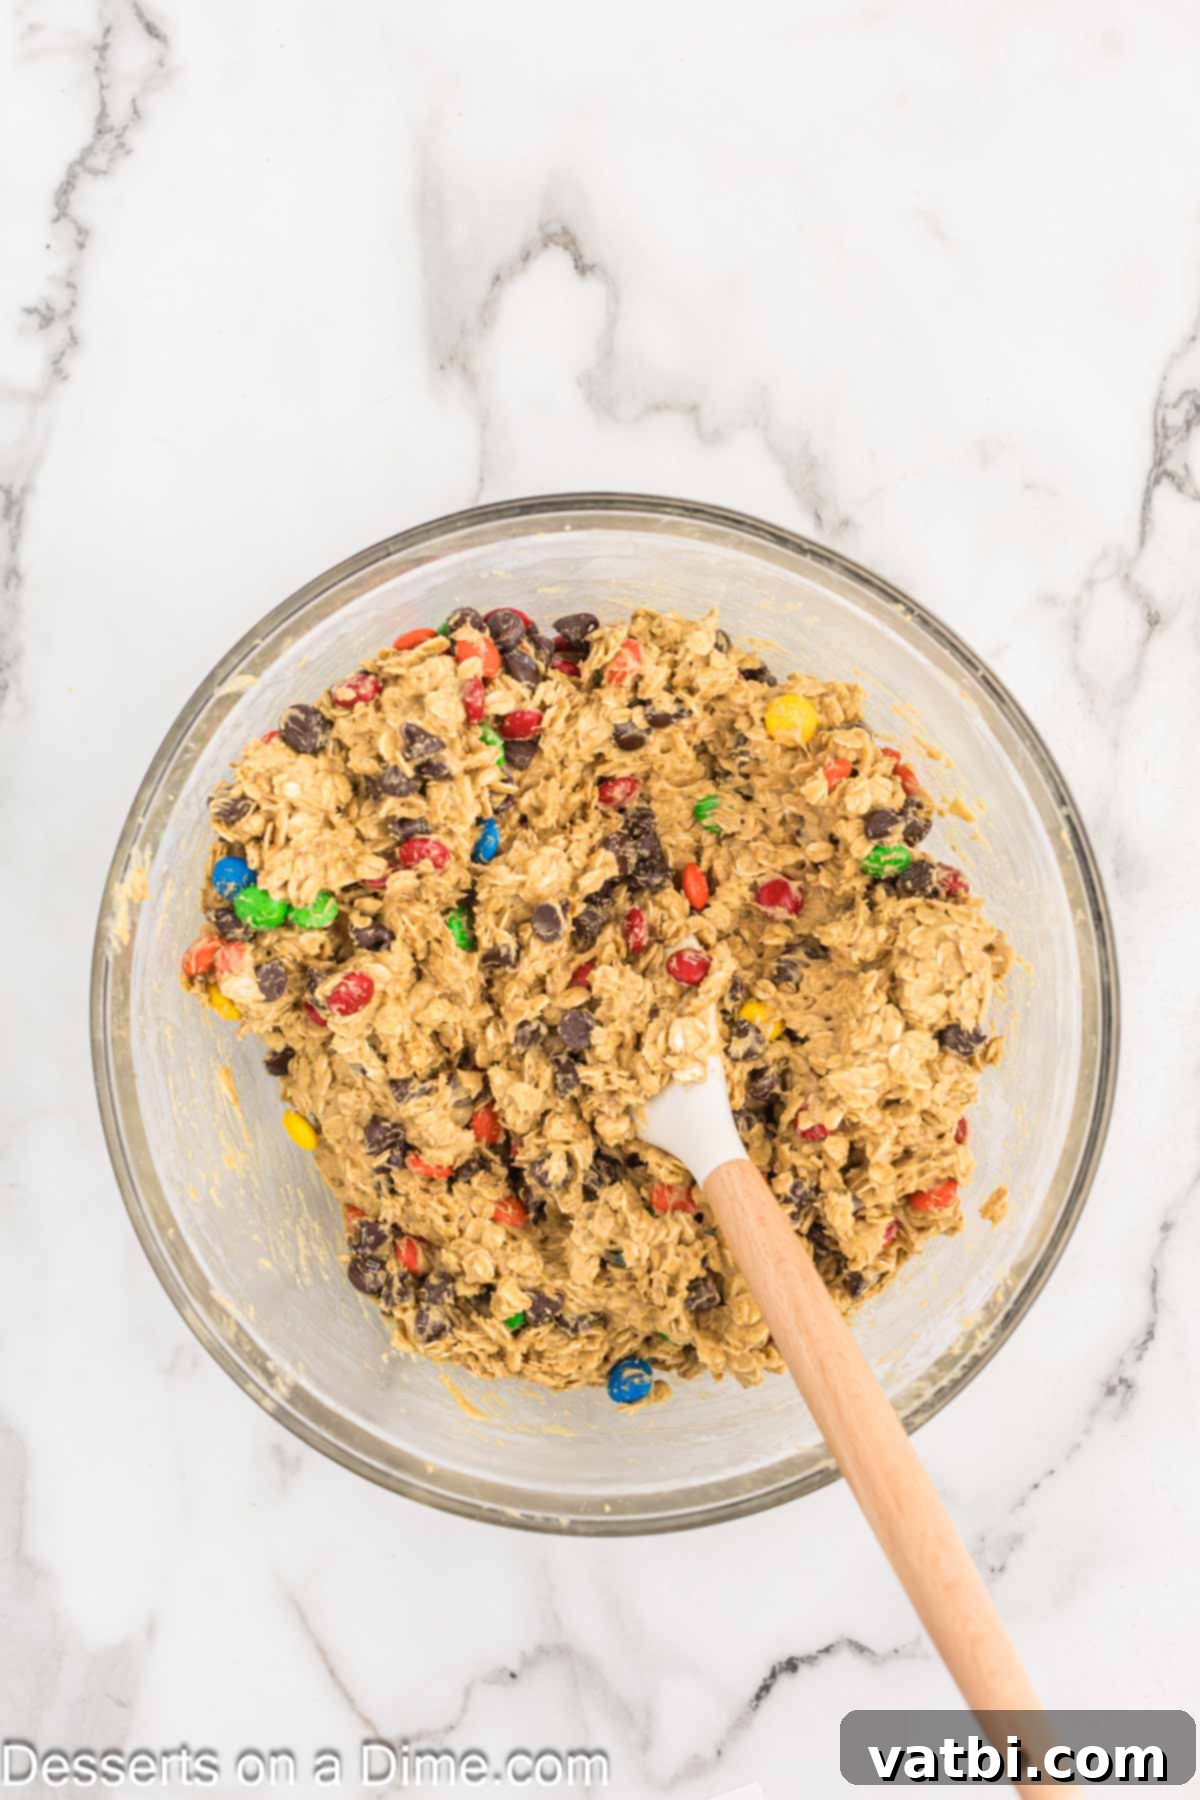
Step 4: Fold in the Fun Mix-ins. Gently stir in the semi-sweet chocolate chips and M&M’s. Use a spatula to fold them evenly throughout the dough, making sure every cookie ball will have a good distribution of these delightful additions. This step should be done by hand to avoid crushing the candies and to prevent overmixing the dough.
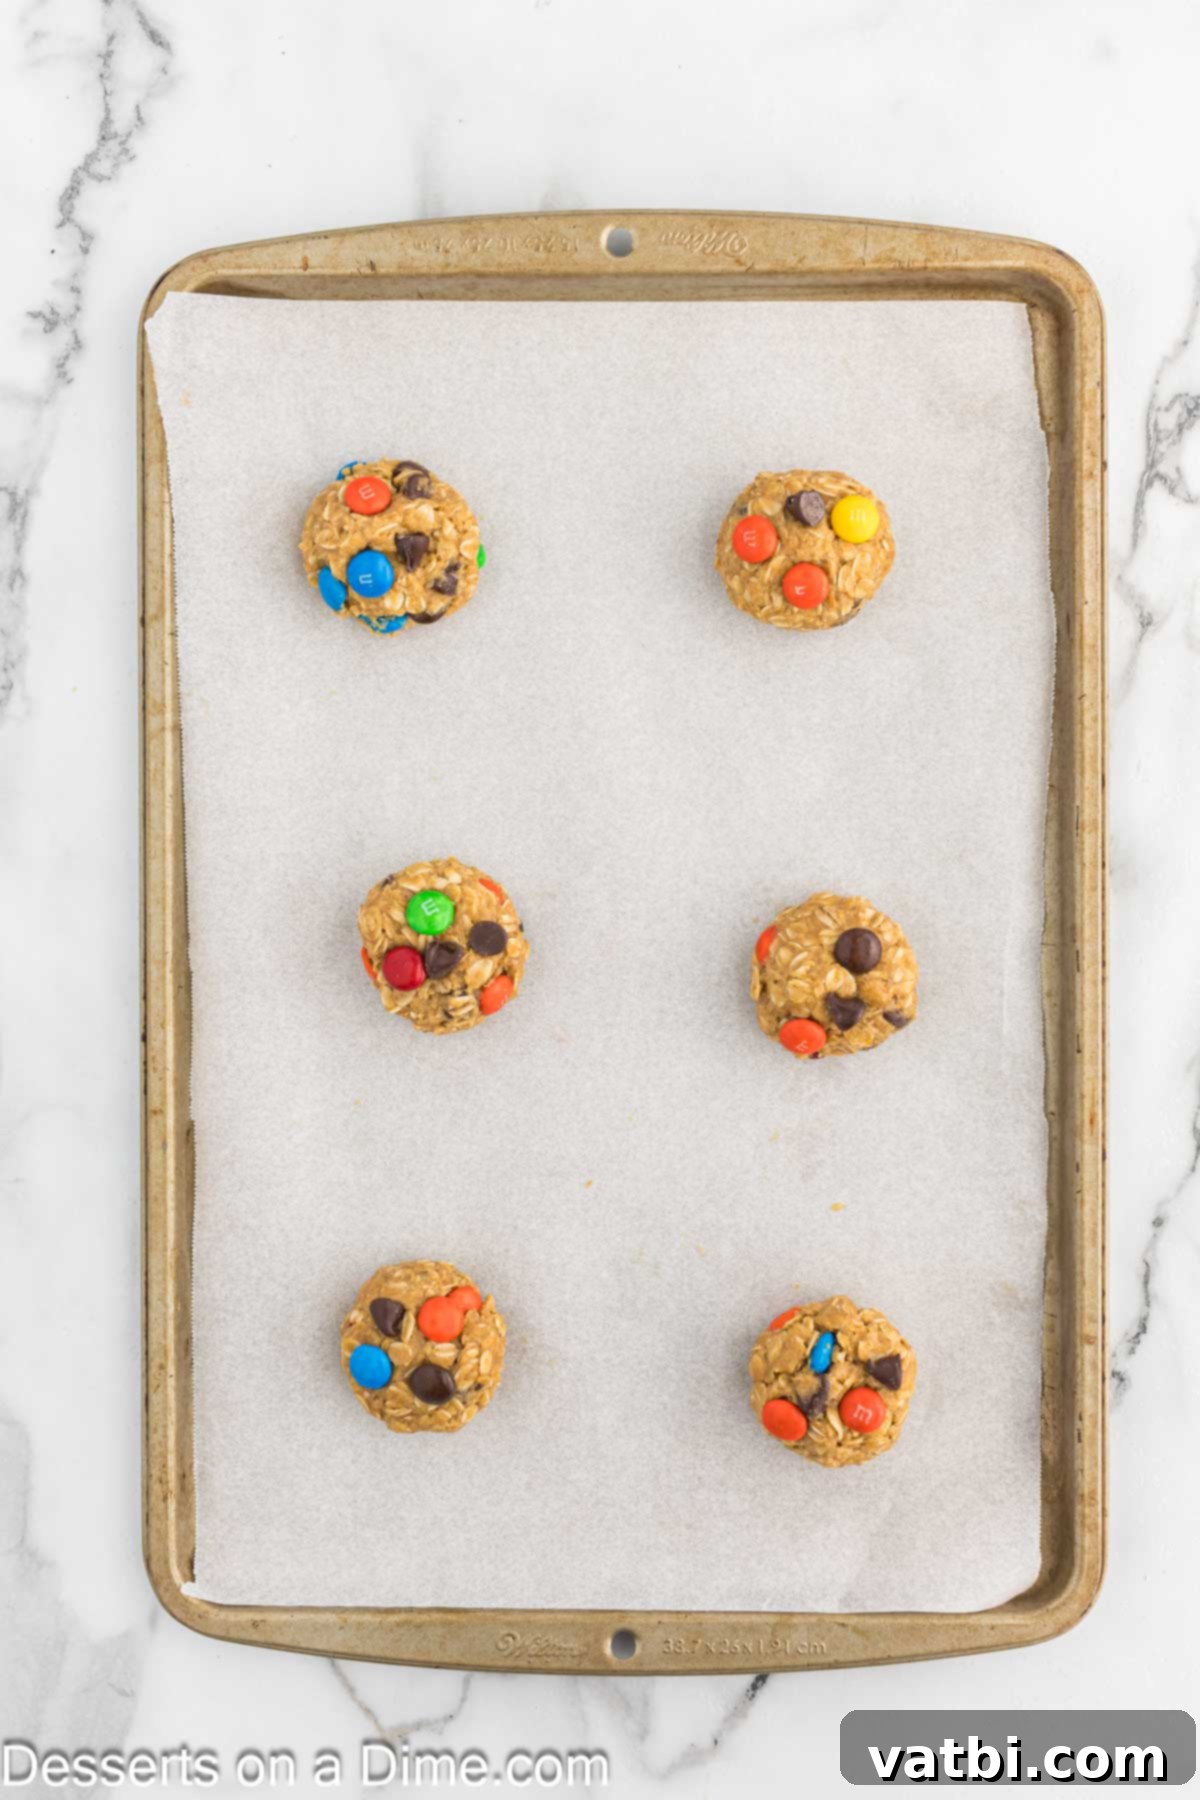
Step 5: Form and Space the Cookies. Using a medium cookie scoop (approximately 2 tablespoons), scoop uniform balls of cookie dough and place them onto the prepared baking sheets. Ensure there is enough space between each cookie, about 2-3 inches apart, to allow for proper spreading during baking without them merging together. Uniform sizing helps ensure they bake evenly.
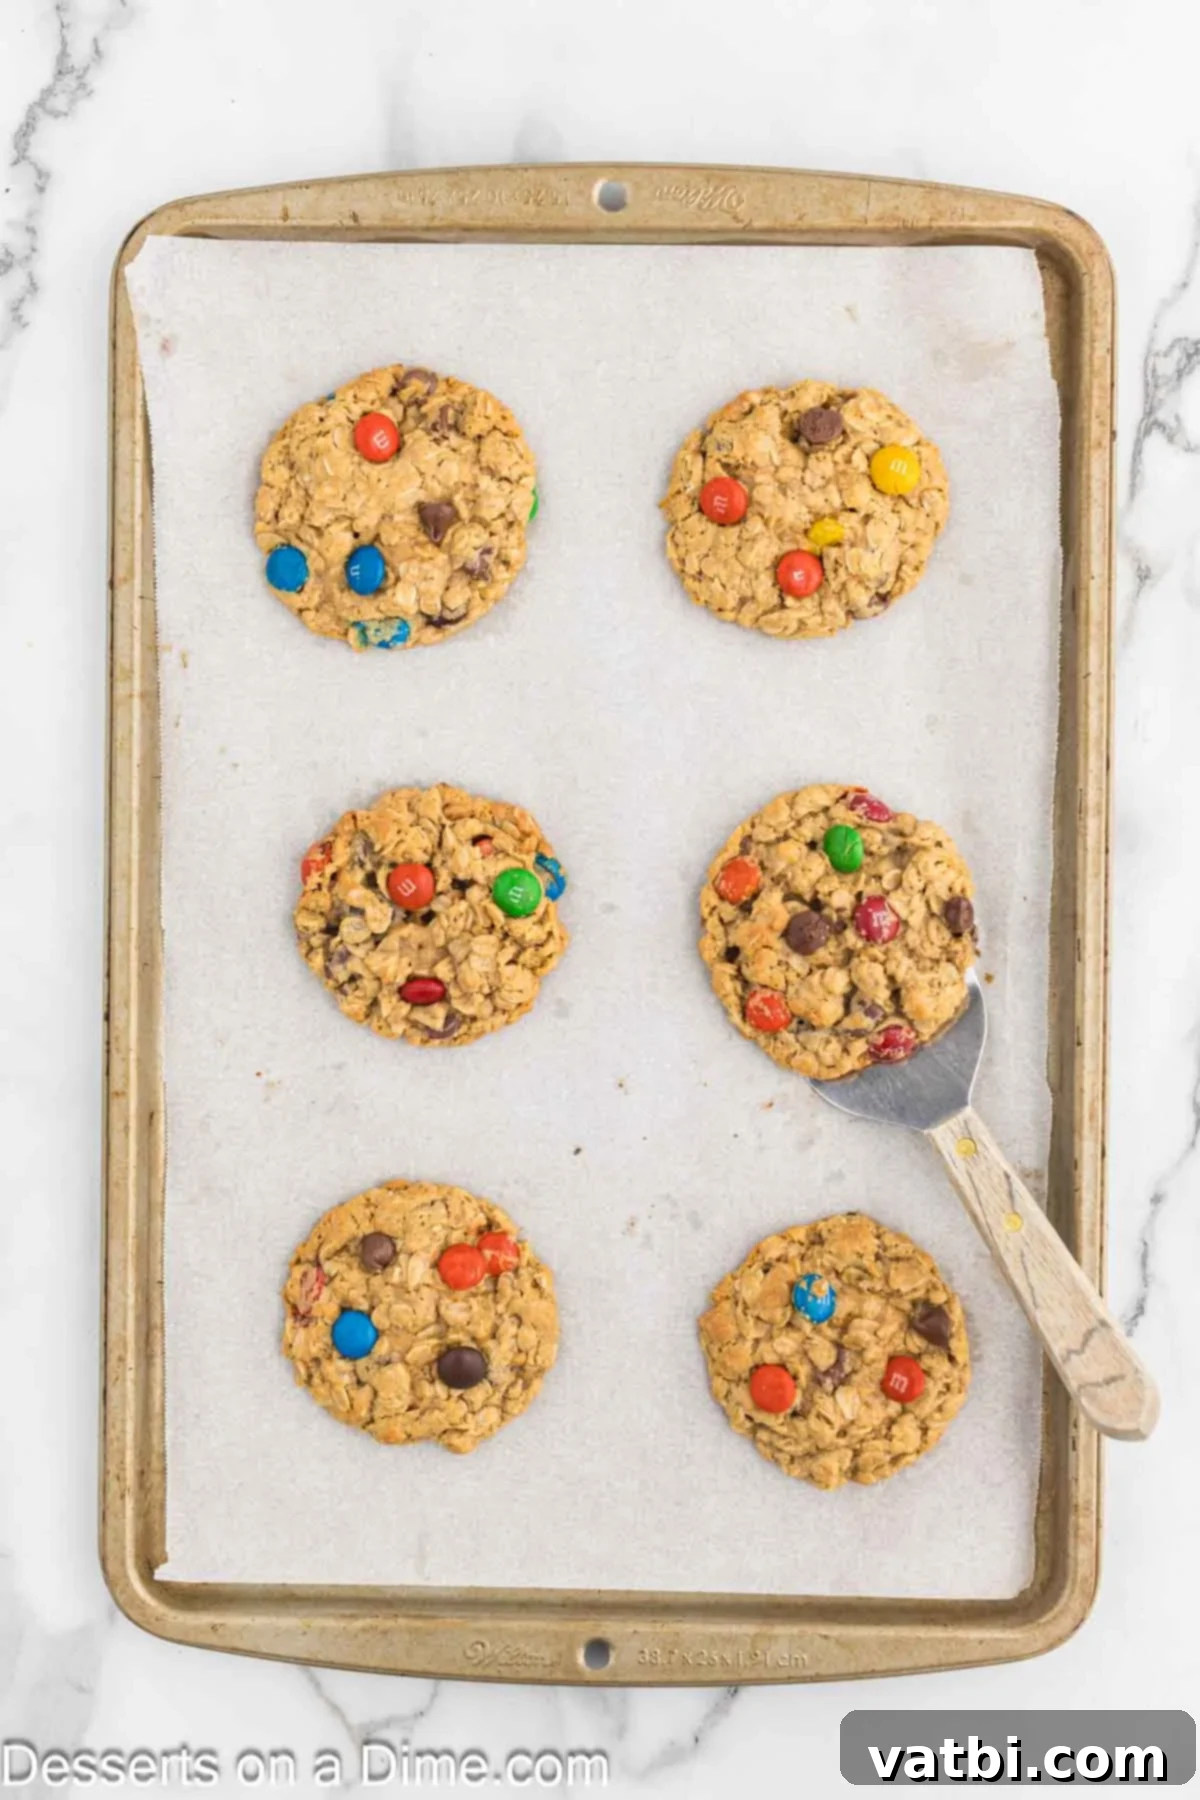
Step 6: Bake to Perfection. Transfer the baking sheets to your preheated oven. Bake the cookies for approximately 12-15 minutes. You’ll know they are done when the edges begin to turn a light golden brown, but the centers still look slightly soft and appear “just set.” Remember, cookies continue to cook slightly on the hot baking sheet even after being removed from the oven, so slightly underbaked centers will yield the chewiest result. Resist the urge to overbake!
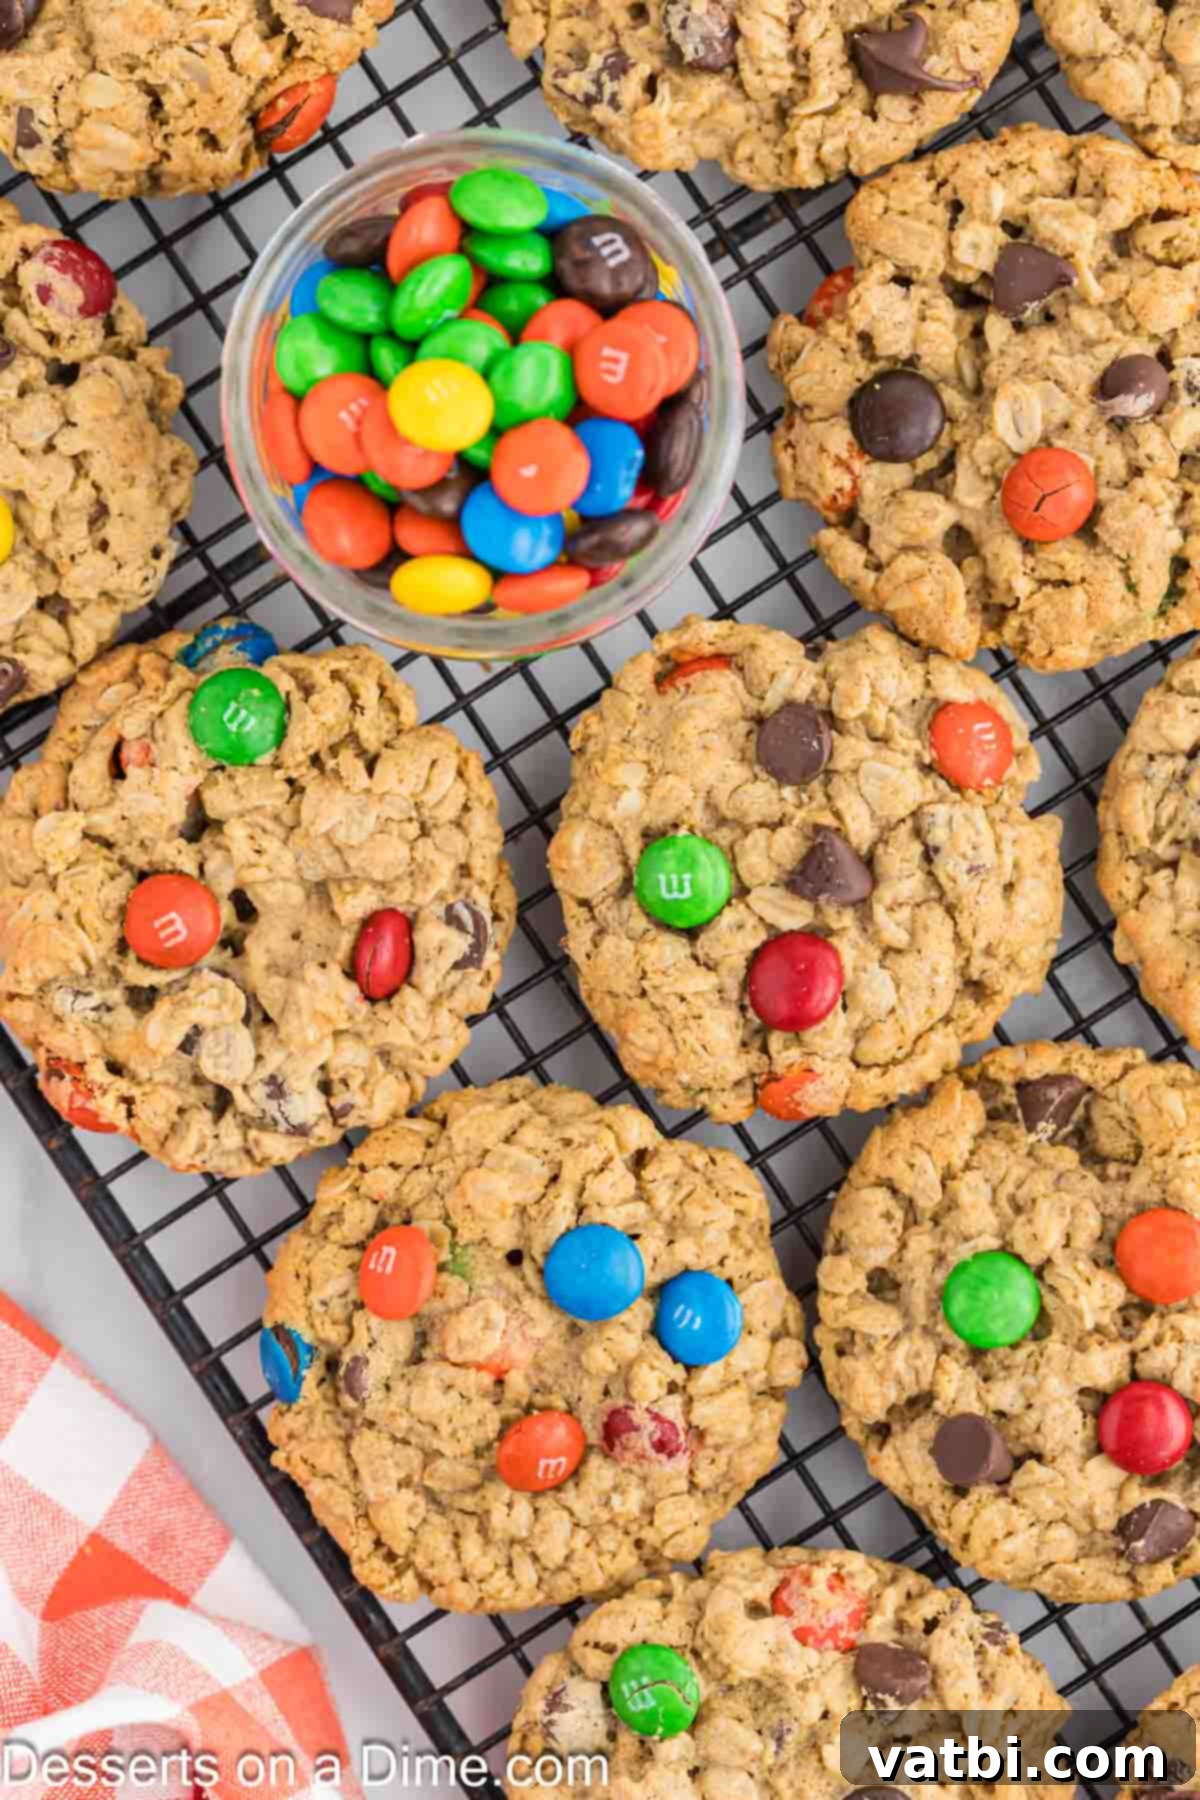
Step 7: Cool and Enjoy. Once baked, remove the cookies from the oven. Allow them to cool on the baking sheets for about 10-15 minutes. This crucial step allows them to firm up and prevents them from breaking when transferred. After this initial cooling period, carefully move the cookies to a wire rack to cool completely. Once fully cooled, they are ready to be served and enjoyed!
Storage Tips for Freshness
To keep your gluten-free monster cookies fresh and delicious for as long as possible, proper storage is key. Store any leftover cookies in an airtight container at room temperature. They will maintain their incredible chewiness and flavor for up to 1 week. For longer storage, consider freezing them.
Freezing Baked Cookies: Once fully cooled, place the cookies in a single layer on a baking sheet and freeze for about an hour until solid. Then transfer them to a freezer-safe bag or airtight container, separated by parchment paper to prevent sticking. They can be frozen for up to 3 months. Thaw at room temperature or warm briefly in the microwave for a fresh-baked feel.
Freezing Cookie Dough: You can also prepare the dough balls and freeze them unbaked. Scoop the dough onto a parchment-lined baking sheet and freeze until solid. Transfer the frozen dough balls to a freezer-safe bag. When you’re ready to bake, place them on a parchment-lined baking sheet and bake from frozen, adding a few extra minutes to the baking time until golden brown.
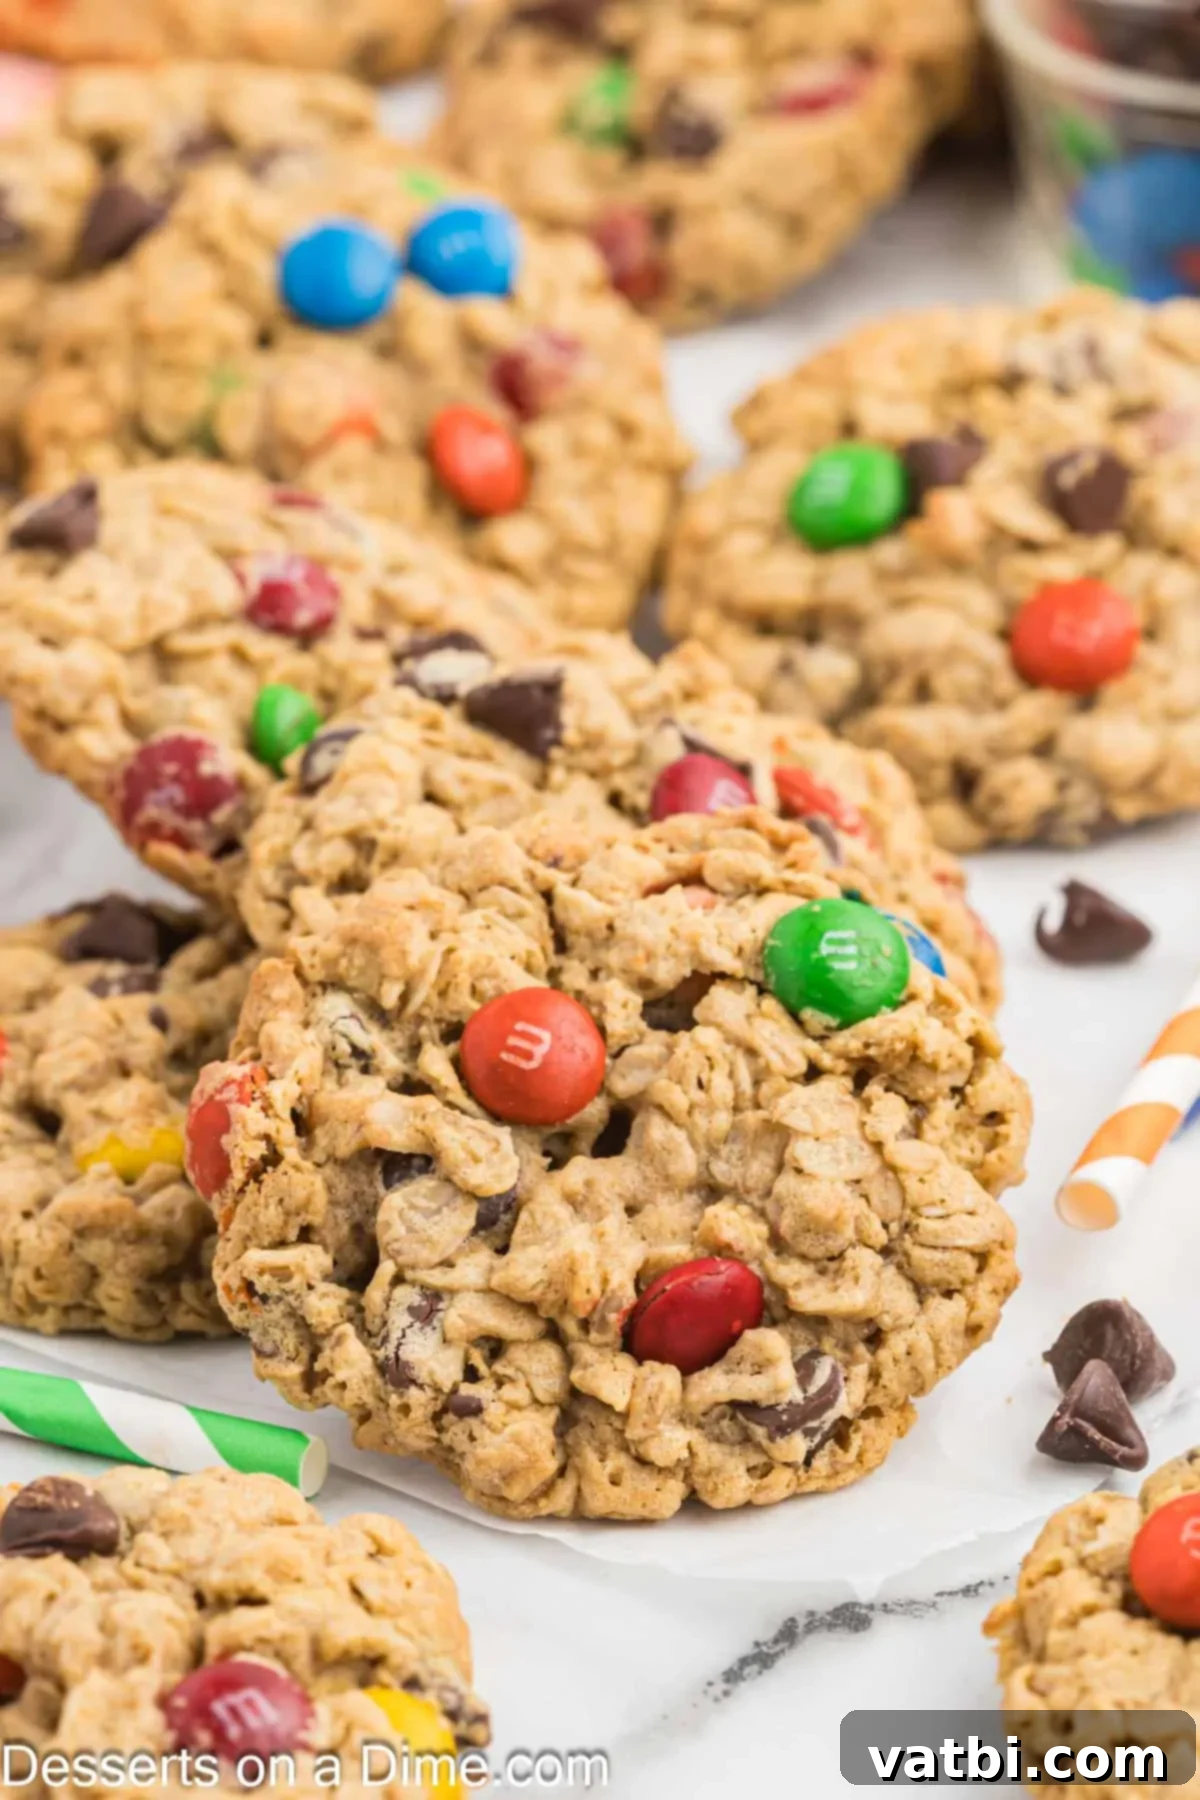
Pro Baking Tips for Perfect Monster Cookies
Achieving bakery-quality gluten-free monster cookies is easier than you think with these expert tips:
- Choose the Right Peanut Butter: This is a critical tip. Do not use all-natural peanut butter for this recipe. Its tendency to separate oils can lead to a greasy dough and cookies that don’t hold their shape properly. Stick with creamy, stabilized peanut butter brands like Jif or Skippy for the best results and structure.
- Gentle Mixing for Oats: When incorporating the old-fashioned oats, mix them in by hand with a spatula or use your stand mixer on the very lowest speed. Overmixing can toughen the cookies, even with gluten-free oats, by overworking the starches present in the oats. Just mix until they are evenly distributed.
- Avoid Overcooking: Keep a close eye on your cookies during the last few minutes of baking. They should have slightly browned edges, but the centers should still look soft and just set. They will continue to firm up as they cool on the baking sheet due to residual heat, so pulling them out when they look slightly underdone will ensure a perfectly chewy interior.
- Stick to Old-Fashioned Oats: While you might be tempted to use quick oats for convenience, it’s highly recommended to use old-fashioned rolled oats. Quick oats are cut thinner and absorb liquid much faster, which can result in a less chewy cookie and alter how much they spread. The thickness of old-fashioned oats is key for that signature monster cookie texture.
- Always Opt for Certified Gluten-Free Oats: For individuals with celiac disease or severe gluten sensitivities, this tip is non-negotiable. While oats are naturally gluten-free, they are often processed in facilities that also handle wheat, barley, and rye, leading to cross-contamination. Look for oats explicitly labeled “certified gluten-free” to ensure safety.
- Room Temperature Ingredients: Ensure your butter and eggs are at room temperature before you start mixing. Room temperature butter creams more smoothly with sugar, creating an airy base, and room temperature eggs emulsify better with the other ingredients, leading to a more consistent dough and a tender, uniform crumb.
- Use a Cookie Scoop: A cookie scoop (2 tablespoons size works well for these monster cookies) is your best friend for consistency. It helps create uniformly sized cookies, ensuring they all bake evenly at the same rate. This also makes the process much quicker and cleaner.
- Proper Cooling is Essential: Don’t rush the cooling process. Letting the cookies cool on the baking sheet for 10-15 minutes before transferring them to a wire rack allows them to set properly. This prevents them from falling apart and losing their shape.
Frequently Asked Questions (FAQ) About Gluten-Free Monster Cookies
Here are answers to some common questions about making and enjoying these delightful gluten-free monster cookies:
- Q: Can I use quick oats instead of old-fashioned rolled oats?
A: While you *can* use quick oats, it’s not recommended for the best texture. Quick oats are more processed and will absorb liquids differently, resulting in a less chewy and potentially flatter cookie. For that classic monster cookie chew, stick with old-fashioned rolled oats. - Q: Why are my gluten-free monster cookies flat?
A: Several factors can cause flat cookies. Ensure your butter wasn’t too soft or melted (it should be softened, but still cool to the touch). Make sure your baking soda is fresh and active. Also, an oven that isn’t preheated to the correct temperature or a lack of proper chilling time (though not explicitly required for this recipe, it can help) can contribute to spreading. Using the right type of peanut butter (stabilized, not natural) is also key for structure. - Q: Can I freeze the cookie dough?
A: Absolutely! This is a great way to prep ahead. Scoop the dough into balls and place them on a parchment-lined baking sheet. Freeze until solid, then transfer the frozen dough balls to a freezer-safe bag or container for up to 3 months. When ready to bake, place them on a baking sheet and bake from frozen, adding a few extra minutes to the baking time (usually 2-4 minutes more). - Q: How can I make these cookies dairy-free?
A: To make them dairy-free, substitute the butter with an equal amount of ghee or a good quality dairy-free butter alternative (like Earth Balance sticks). Additionally, ensure that your chocolate chips and M&M’s (or other candies) are certified dairy-free. - Q: Do I need to chill the dough?
A: This particular recipe doesn’t strictly require chilling the dough, as the ratio of fats to dry ingredients is designed to prevent excessive spreading. However, if you find your cookies spreading too much, or if your kitchen is very warm, chilling the dough for 30 minutes to an hour can certainly help them maintain their shape better during baking.
More Gluten-Free Desserts to Love
All Recipes Dessert
45 Gluten-Free Thanksgiving Desserts
All Recipes Dessert
35 Gluten-Free Thanksgiving Pies
Simple Gluten-Free Desserts
45 Gluten-Free Christmas Desserts
Now it’s truly your turn to bake up a batch of these incredibly satisfying gluten-free cookie recipes. We are confident you will absolutely love these gluten-free chocolate chip cookies, packed with all the monster cookie goodness. Please, once you’ve tried them, come back and share your experience! We would love for you to leave a star rating and a comment below to let us know what you think.
Pin
Gluten-Free Monster Cookies
15 minutes
15 minutes
10 minutes
40 minutes
36 cookies
American
Dessert, Snack
234
Carrie Barnard
Ingredients
-
1/2
cup
Unsalted Butter
softened at room temperature -
1 1/2
cups
Creamy Peanut Butter -
1 1/2
cup
packed brown sugar -
1/2
cup
Granulated Sugar -
3
large eggs -
1
teaspoon
pure vanilla extract -
2
teaspoons
baking soda -
4 1/2
cups
Certified Gluten-Free Old Fashioned Rolled Oats -
1
cup
semi-sweet chocolate chips -
1
cup
M&M’s
or other chocolate candies
Instructions
-
Preheat the oven to 350 degrees Fahrenheit (175°C) and line 2 baking sheets with parchment paper.
-
In a large mixing bowl, combine the softened butter, creamy peanut butter, brown sugar, and granulated sugar with a hand mixer or stand mixer until light, fluffy, and smooth.
-
Add in the eggs one at a time, followed by the pure vanilla extract, mixing until just combined after each addition.
-
Add in the baking soda and old-fashioned rolled oats. Stir in by hand with a spatula or on the lowest speed with your mixer until the oats are just combined. Do not overmix.
-
Gently fold in the semi-sweet chocolate chips and M&M’s by hand until evenly distributed.
-
Use a medium cookie scoop (approximately 2 tablespoons) to portion the mixture into uniform balls and place them onto the prepared baking sheets, spaced 2-3 inches apart.
-
Bake for 12-15 minutes, or until the edges are light golden brown and the centers are just set but still look soft. Remember, they will continue to cook on the hot baking sheet.
-
Allow the cookies to cool on the baking sheet for 10-15 minutes before carefully transferring them to a wire rack to cool completely.
-
Once fully cooled, your delicious gluten-free monster cookies are ready to serve and enjoy!
Recipe Notes
Store leftover cookies in an airtight container at room temperature for up to 1 week to maintain their freshness and chewiness. For longer storage, see our tips above for freezing baked cookies or raw dough.
Nutrition Facts
Calories
234
kcal
,
Carbohydrates
28
g
,
Protein
5
g
,
Fat
12
g
,
Saturated Fat
5
g
,
Polyunsaturated Fat
2
g
,
Monounsaturated Fat
4
g
,
Trans Fat
0.1
g
,
Cholesterol
22
mg
,
Sodium
140
mg
,
Potassium
144
mg
,
Fiber
2
g
,
Sugar
18
g
,
Vitamin A
114
IU
,
Vitamin C
0.03
mg
,
Calcium
31
mg
,
Iron
1
mg
