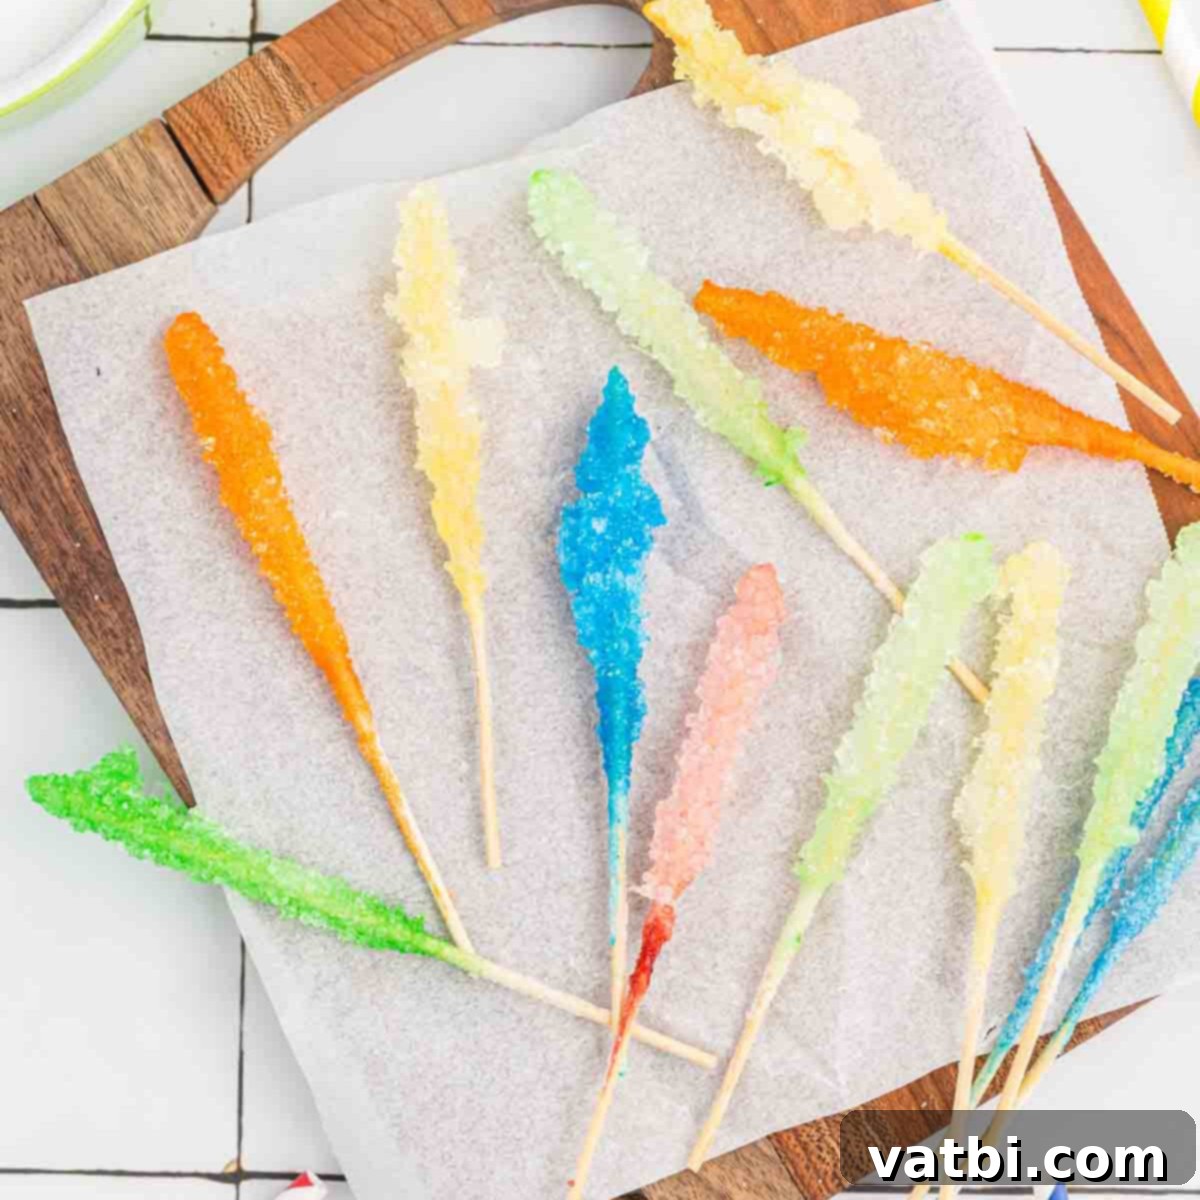
How to Make Rock Candy at Home: The Ultimate Guide to Sparkling Sugar Crystals
Discover the magic of growing your own edible crystals with this easy-to-follow guide on how to make rock candy! This delightful project is not just a treat for your taste buds, but also a fascinating science experiment that both kids and adults will adore. Get ready to impress your family and friends by crafting beautiful, sparkling sugar crystals right in your own kitchen. It’s a fun, engaging activity that yields a delicious reward, making it perfect for a weekend project or a unique homemade gift.
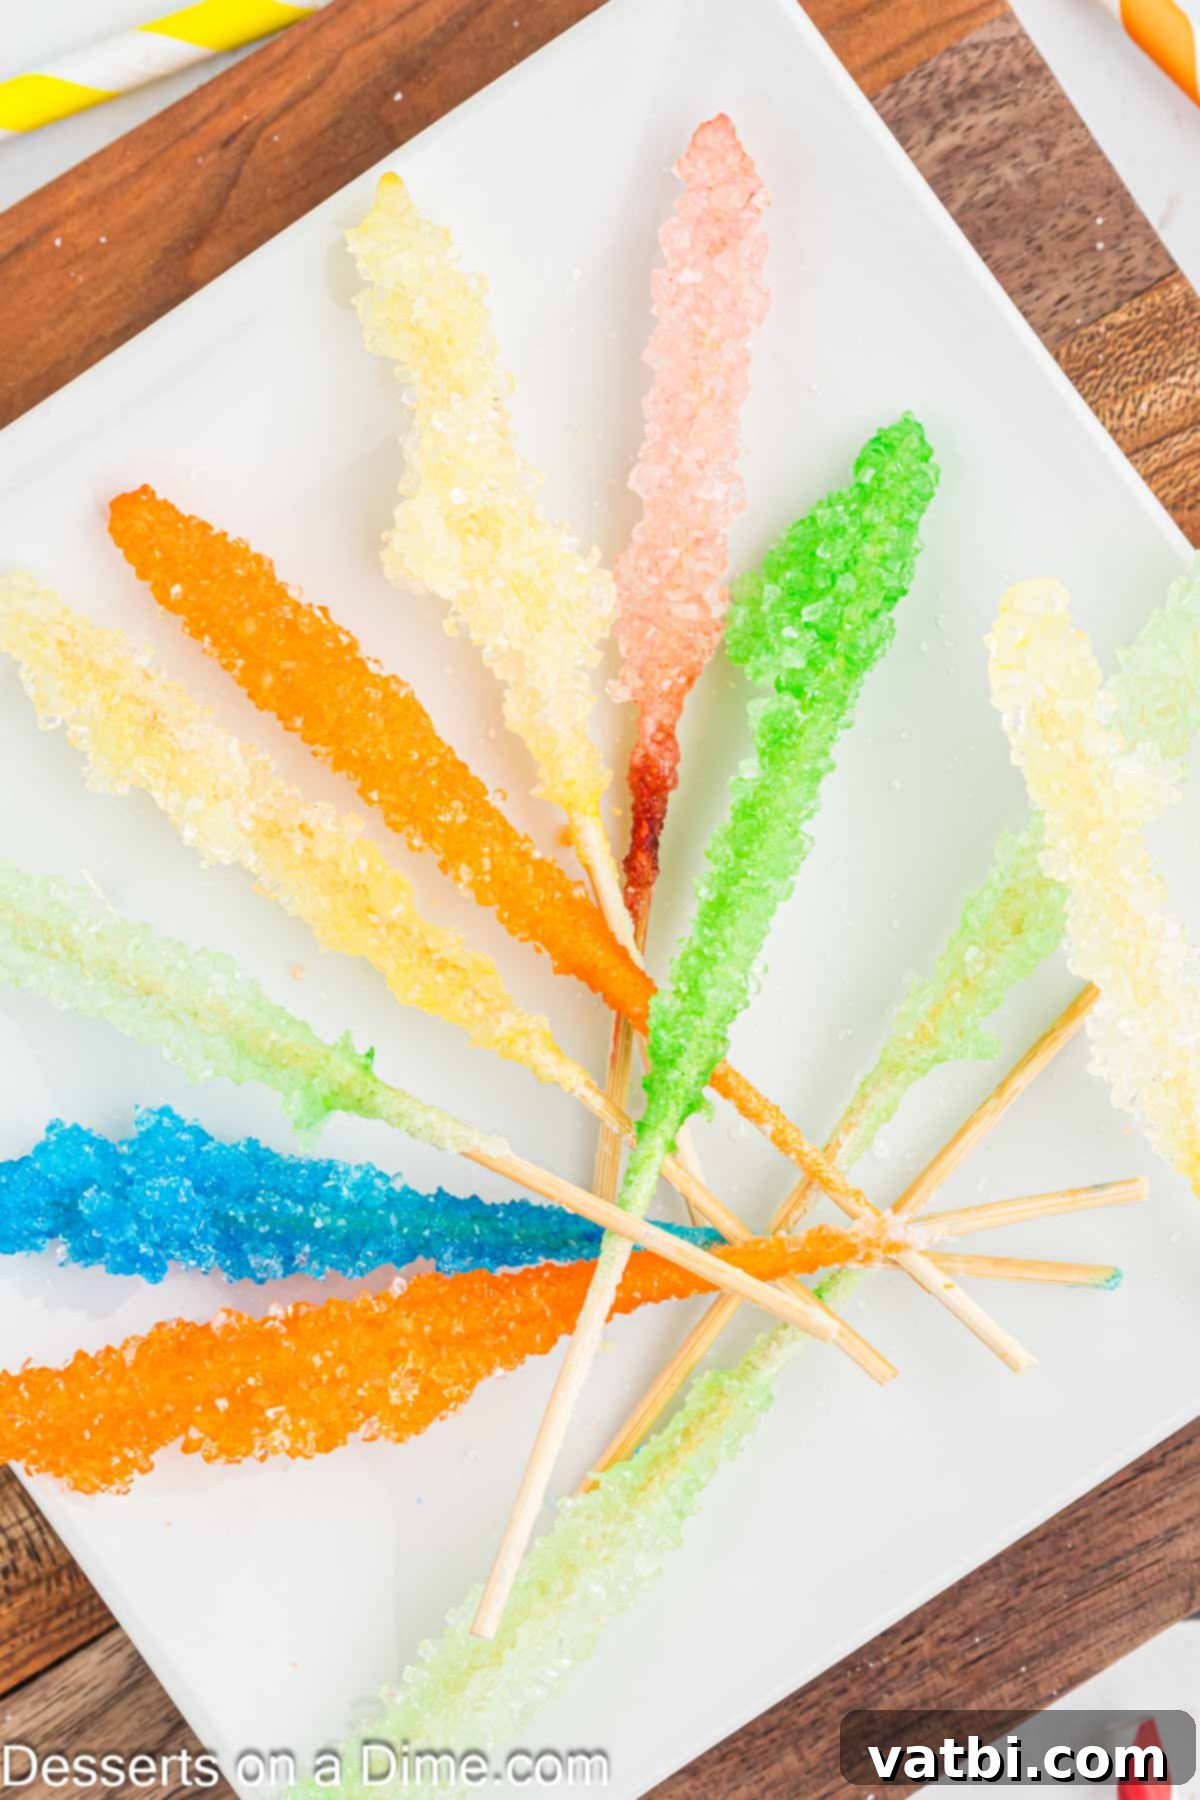
Homemade rock candy is a nostalgic favorite that brings a touch of whimsy to any occasion. While it might seem like a complex process reserved for candy stores, you’ll be surprised at how simple it is to create these crystalline confections in your own home. My family has always loved finding this unique treat, and after years of experimenting with various candy recipes, rock candy became a must-try. This guide breaks down the process into easy, manageable steps, ensuring a successful and enjoyable experience for everyone involved.
Making rock candy from scratch is a fantastic way to combine culinary creativity with scientific discovery. While it does involve several stages, each step is straightforward and accessible, even for beginner candy makers. Watching the sugar crystals slowly form and grow over several days is truly captivating – it’s a hands-on learning experience that culminates in a sweet reward. We had an absolute blast choosing vibrant colors and exciting flavors for our batches, turning each creation into a unique masterpiece. If you enjoy making homemade sweets, you might also love our Old Fashioned Divinity Candy Recipe and our Hard Candy Recipe, which are also big hits with the family.
Table of Contents
- Why You’ll Love This Homemade Rock Candy Recipe
- What is Rock Candy?
- Essential Supplies for Making Rock Candy
- Simple Ingredients You’ll Need
- Exciting Rock Candy Variations
- Step-by-Step: How to Make Rock Candy
- Expert Tips for Perfect Rock Candy
- Proper Storage for Your Rock Candy
- More Easy Candy Recipes to Try
Why You’ll Love This Homemade Rock Candy Recipe
There are countless reasons to fall in love with making your own rock candy. This isn’t just another dessert; it’s an experience that brings people together and sparks curiosity. Here’s why this recipe stands out:
- Engaging Family Activity: This recipe is a fantastic way to spend quality time with the entire family. From mixing the sugar solution to selecting colors and watching the crystals grow, every step is interactive and enjoyable. Everyone, young and old, finds the process as much fun as eating the final product.
- A Sweet Science Experiment: Rock candy offers a unique educational opportunity. It beautifully demonstrates the principles of supersaturation and crystallization in a tangible, exciting way. Children can observe the fascinating process of sugar molecules forming into large, geometric crystals, turning your kitchen into a delicious science lab.
- Customizable and Creative: The possibilities for customization are endless! You can create rock candy in virtually any color and flavor imaginable, making it perfect for themed parties, holidays, or simply catering to individual preferences. This allows for immense creativity and personal expression.
- Simple Ingredients, Impressive Results: Despite its elaborate appearance, rock candy requires only a few basic ingredients – primarily sugar and water. This makes it an economical and accessible project, proving that you don’t need fancy components to achieve spectacular results.
- Delicious and Versatile: Beyond being a delightful standalone treat, homemade rock candy can be used to sweeten beverages like tea or coffee, decorate cakes and cupcakes, or even as a whimsical garnish for cocktails. Its pure, sweet flavor is always a crowd-pleaser.
What is Rock Candy?
DIY rock candy is a type of confectionery formed by allowing sugar crystals to grow on a string or stick from a supersaturated sugar solution. Essentially, it’s large, pure sugar crystals. Because it’s made almost entirely of granulated sugar, it naturally boasts a clear, sweet flavor. While often served on a stick, it can also form freestanding crystals. This sweet treat is highly versatile and can be enjoyed in various ways: by itself as a crunchy sweet, dissolved into drinks for a touch of sweetness and visual appeal, or used as an elegant topping for desserts.
The science behind rock candy is surprisingly simple yet captivating. It relies on the principle of supersaturation. When you heat water and dissolve a very large amount of sugar into it – more than would typically dissolve at room temperature – you create a supersaturated solution. As this solution slowly cools, the sugar molecules can no longer remain fully dissolved. They begin to crystalize out of the solution, clinging to “seed” crystals (the sugar coating on your stick or string) and growing larger over time. The slow cooling and undisturbed environment are crucial for forming large, well-defined crystals rather than fine grains. This process, while requiring patience over several days, is what makes homemade rock candy such a rewarding and educational endeavor. With just a few basic ingredients and supplies, this project is a perfect hands-on science lesson right in your kitchen.
Essential Supplies for Making Rock Candy
Before you begin your rock candy adventure, gather these essential supplies. Having everything ready will ensure a smooth and enjoyable candy-making process:
- Wooden Skewers: These provide the perfect surface for your sugar crystals to grow. Their natural texture helps the initial sugar coating adhere, promoting larger crystal formation.
- Clean Glass Jars with Lids: Mason jars or other clear glass containers are ideal. The transparency allows you to observe the exciting crystal growth process, and the lids help to keep the solution clean and prevent rapid evaporation, which is key for proper crystallization.
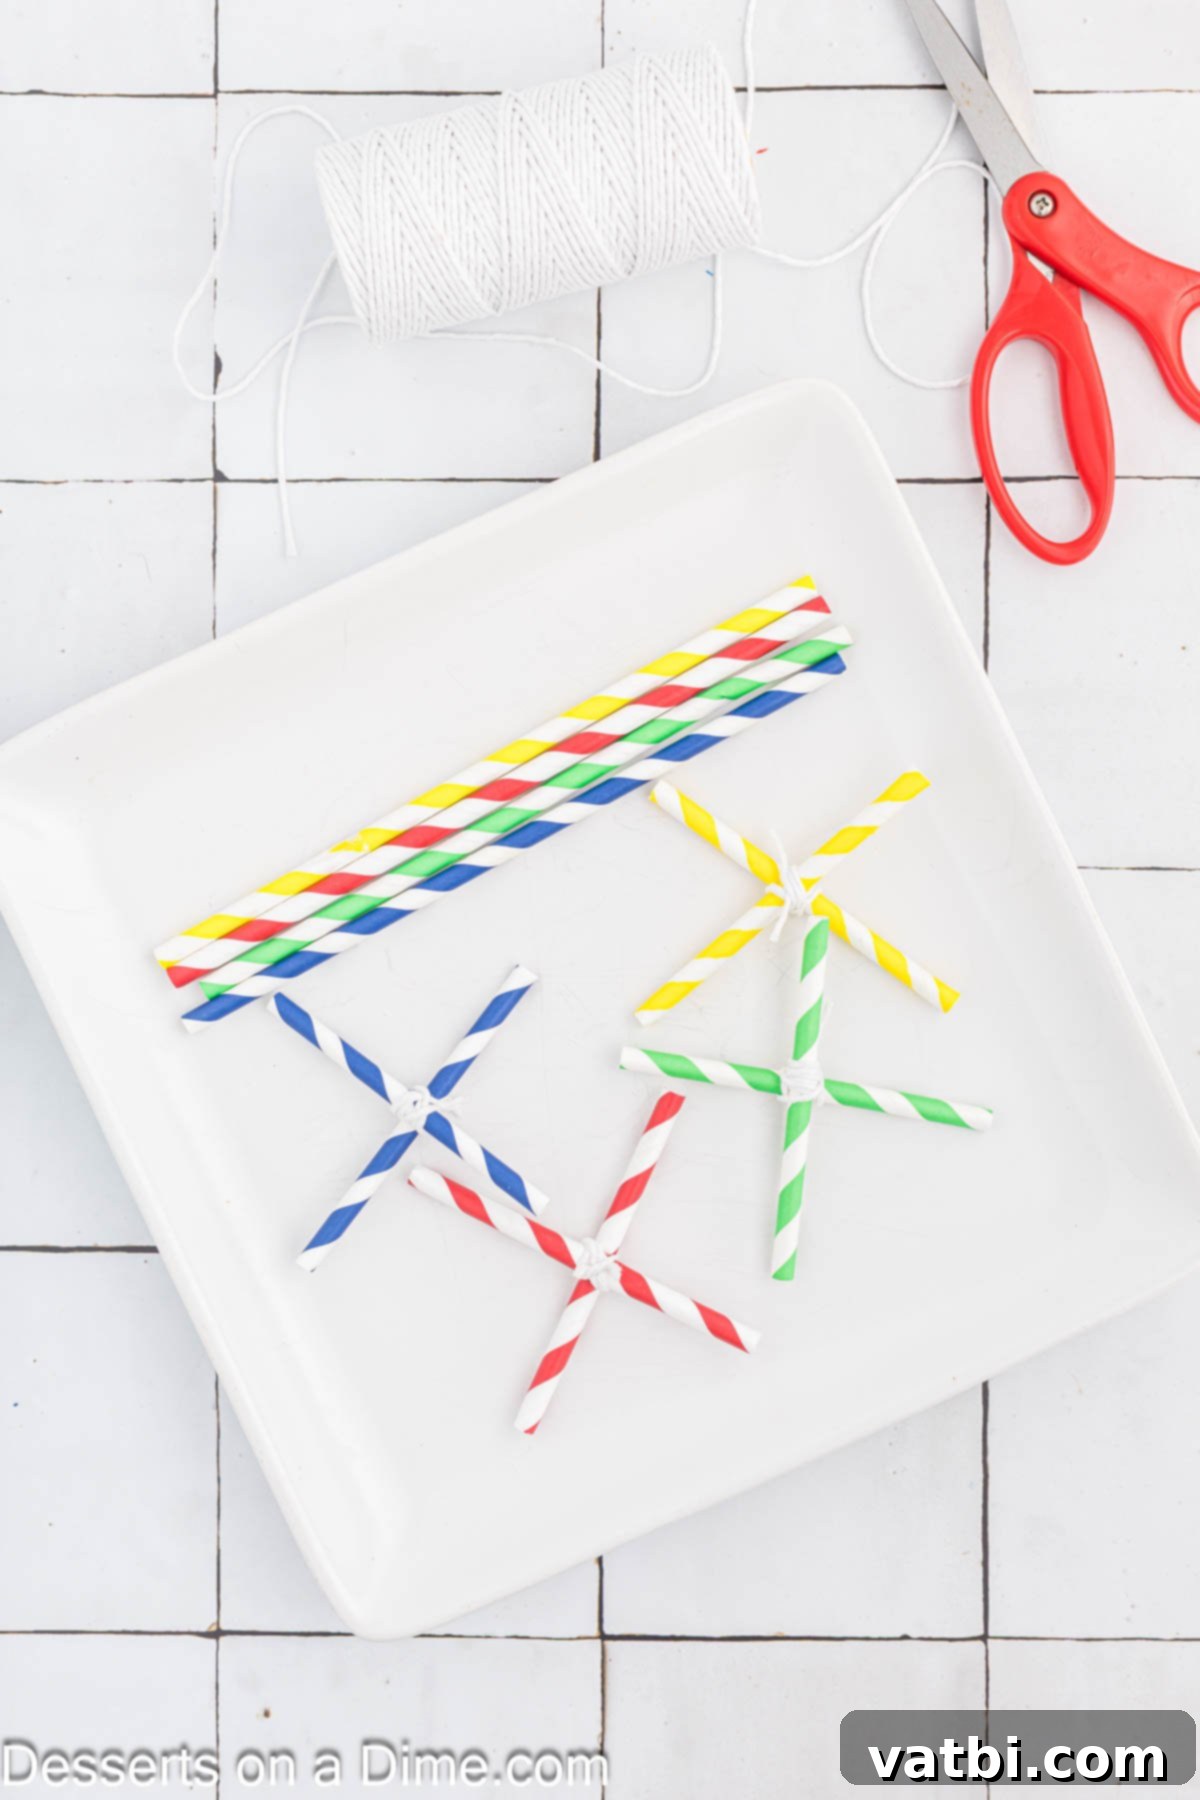
- Straws: These are surprisingly handy. You’ll use them to tie the strings or skewers, allowing them to suspend in the sugar solution without touching the bottom or sides of the jar.
- Baker’s Twine (or cotton string): This sturdy string is used to securely tie your skewers or “seed” strings to the straws, ensuring they remain in the optimal position for crystal growth.
- Saucepan: A medium-sized saucepan is needed to heat and dissolve your sugar and water mixture to create the supersaturated solution.
Simple Ingredients You’ll Need
The beauty of rock candy lies in its simplicity. You only need a handful of basic ingredients to create these glittering treats:
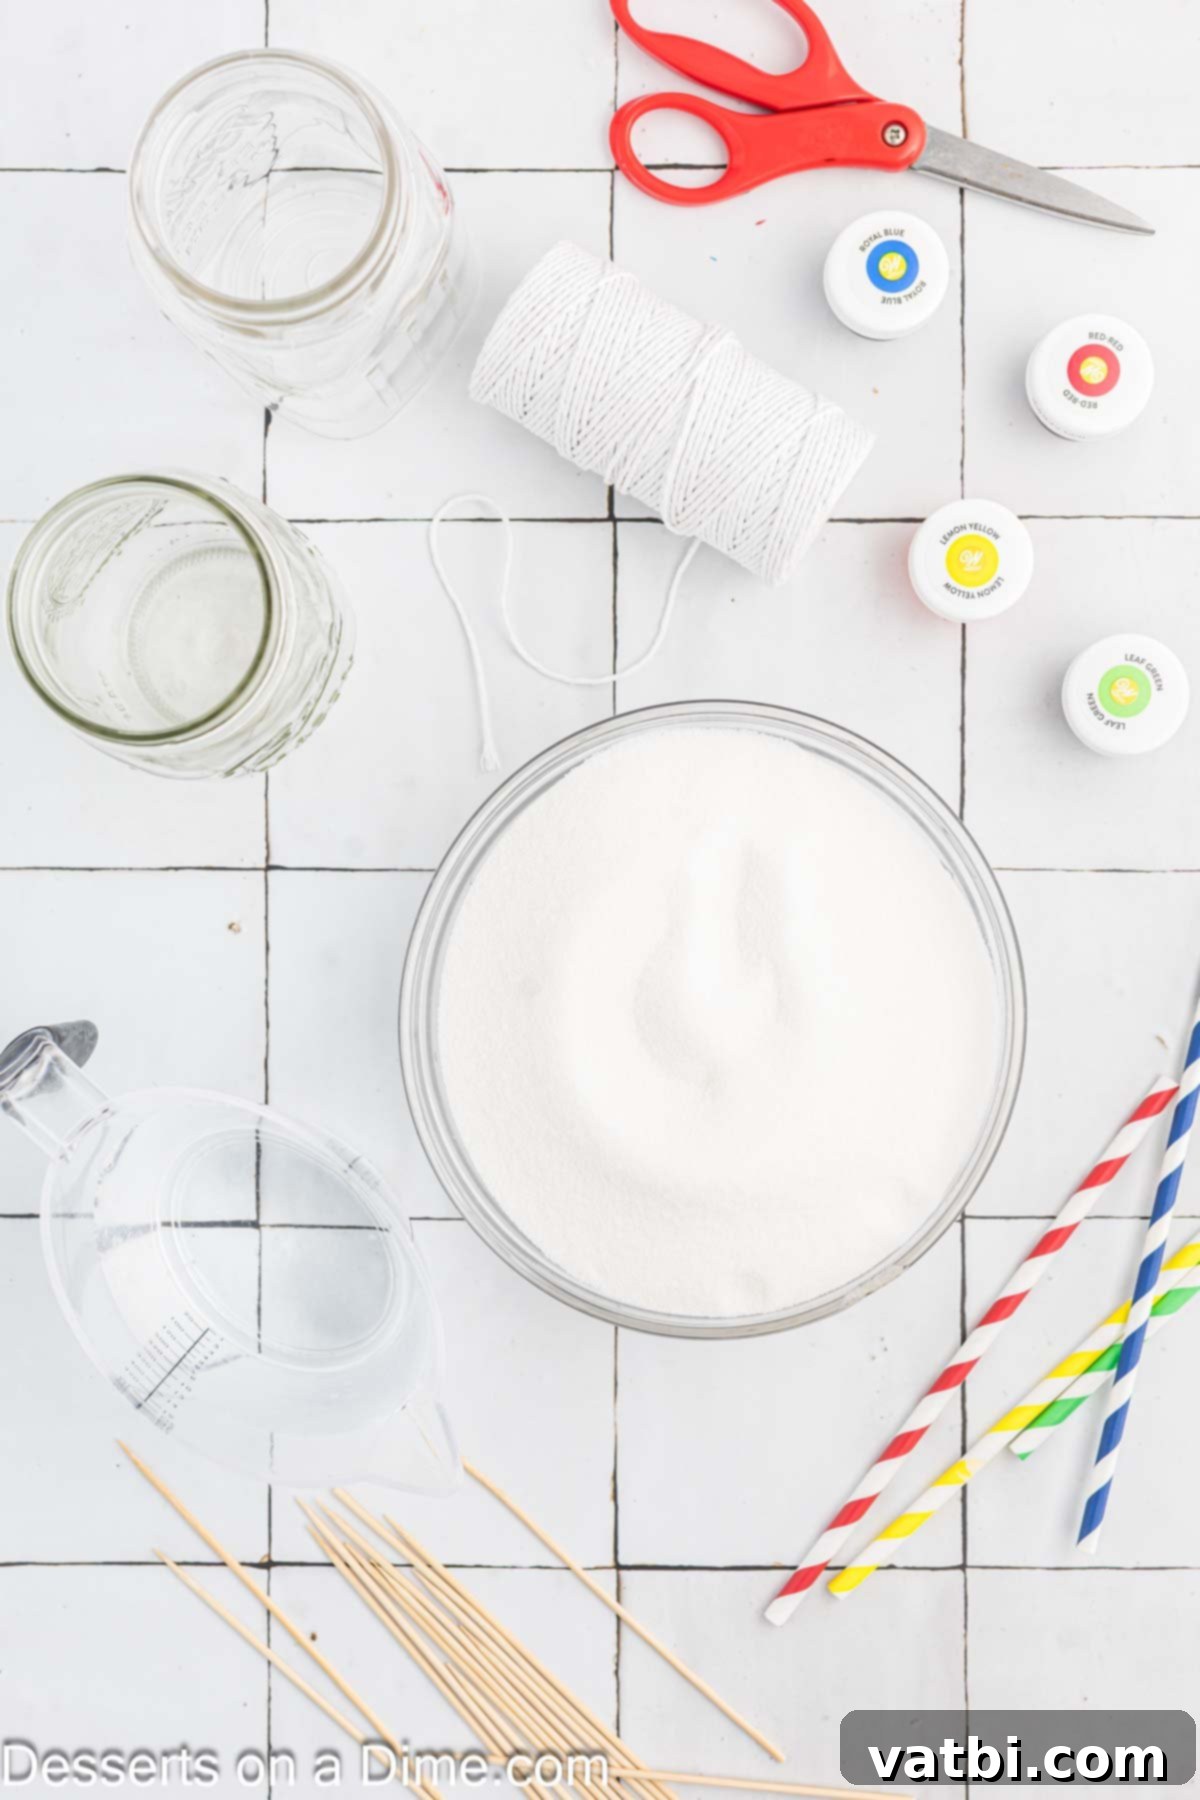
- Granulated Sugar: This is the star of our show! Rock candy is pure sugar, so you’ll need a generous amount of standard white granulated sugar. Ensure it’s fresh and free of clumps for the best results.
- Water: Used to dissolve the sugar and create the supersaturated solution. Tap water is perfectly fine for this recipe.
- Food Coloring (Optional): While naturally clear, adding a few drops of food coloring transforms your rock candy into a vibrant, eye-catching treat. Gel food colorings often provide more intense hues with fewer drops.
- Flavoring Oil or Extract (Optional): Enhance your rock candy with a variety of delicious flavors. Flavoring oils are generally more concentrated than extracts, so use them sparingly. Extracts like vanilla, peppermint, or fruit flavors work wonderfully.
The complete, precise measurements for these ingredients can be found in the detailed recipe card at the bottom of this article.
Exciting Rock Candy Variations
One of the most enjoyable aspects of making homemade rock candy is the endless possibilities for customization. Get creative with colors and flavors to tailor your candy for any occasion or preference:
- Dusted with Powdered Sugar: For an extra soft and melt-in-your-mouth texture, once your rock candy is completely dry, place it in a zip-top bag with a few tablespoons of powdered sugar and shake gently to coat. This adds a delicate finish and a subtle extra sweetness.
- Cinnamon Spice: Infuse your rock candy with the warm, comforting flavor of cinnamon. A few drops of cinnamon oil added to the sugar solution will create a festive treat, perfect for Christmas or other winter holidays. Pair with red or orange food coloring for a seasonal look.
- Blue Raspberry Bliss: Combine blue food coloring with raspberry extract for a vibrant and tangy blue raspberry rock candy. This is a kid-favorite flavor and looks fantastic.
- Fruity Delights: Experiment with various fruit extracts:
- Strawberry Extract: Pairs beautifully with red food coloring for a classic strawberry flavor. Cherry extract is also a delicious alternative.
- Lemon or Orange Extract: These citrusy flavors are always a hit with kids and add a refreshing zing. Use yellow or orange food coloring accordingly.
- Grape Extract: Combine with purple food coloring for a fun grape-flavored treat.
- Minty Fresh: For a refreshing twist, add peppermint extract to your sugar solution. This is especially lovely during the winter months. Wintergreen or spearmint extracts are also excellent choices for a cool, crisp flavor. Consider using green or light blue food coloring.
- Tropical Escape: Try coconut, pineapple, or mango extracts for a taste of the tropics. Pair with bright colors like yellow, orange, or light blue.
- Gourmet Flavors: For a more sophisticated touch, consider extracts like almond, coffee, or even a hint of rose water.
Remember to always start with a small amount of flavoring and add more to taste, as some oils and extracts are quite potent. Have fun experimenting and discovering your favorite combinations!
How to Make Rock Candy: A Step-by-Step Guide
Creating beautiful, sparkling rock candy is a patient but rewarding process. Follow these detailed steps to ensure perfectly grown sugar crystals.
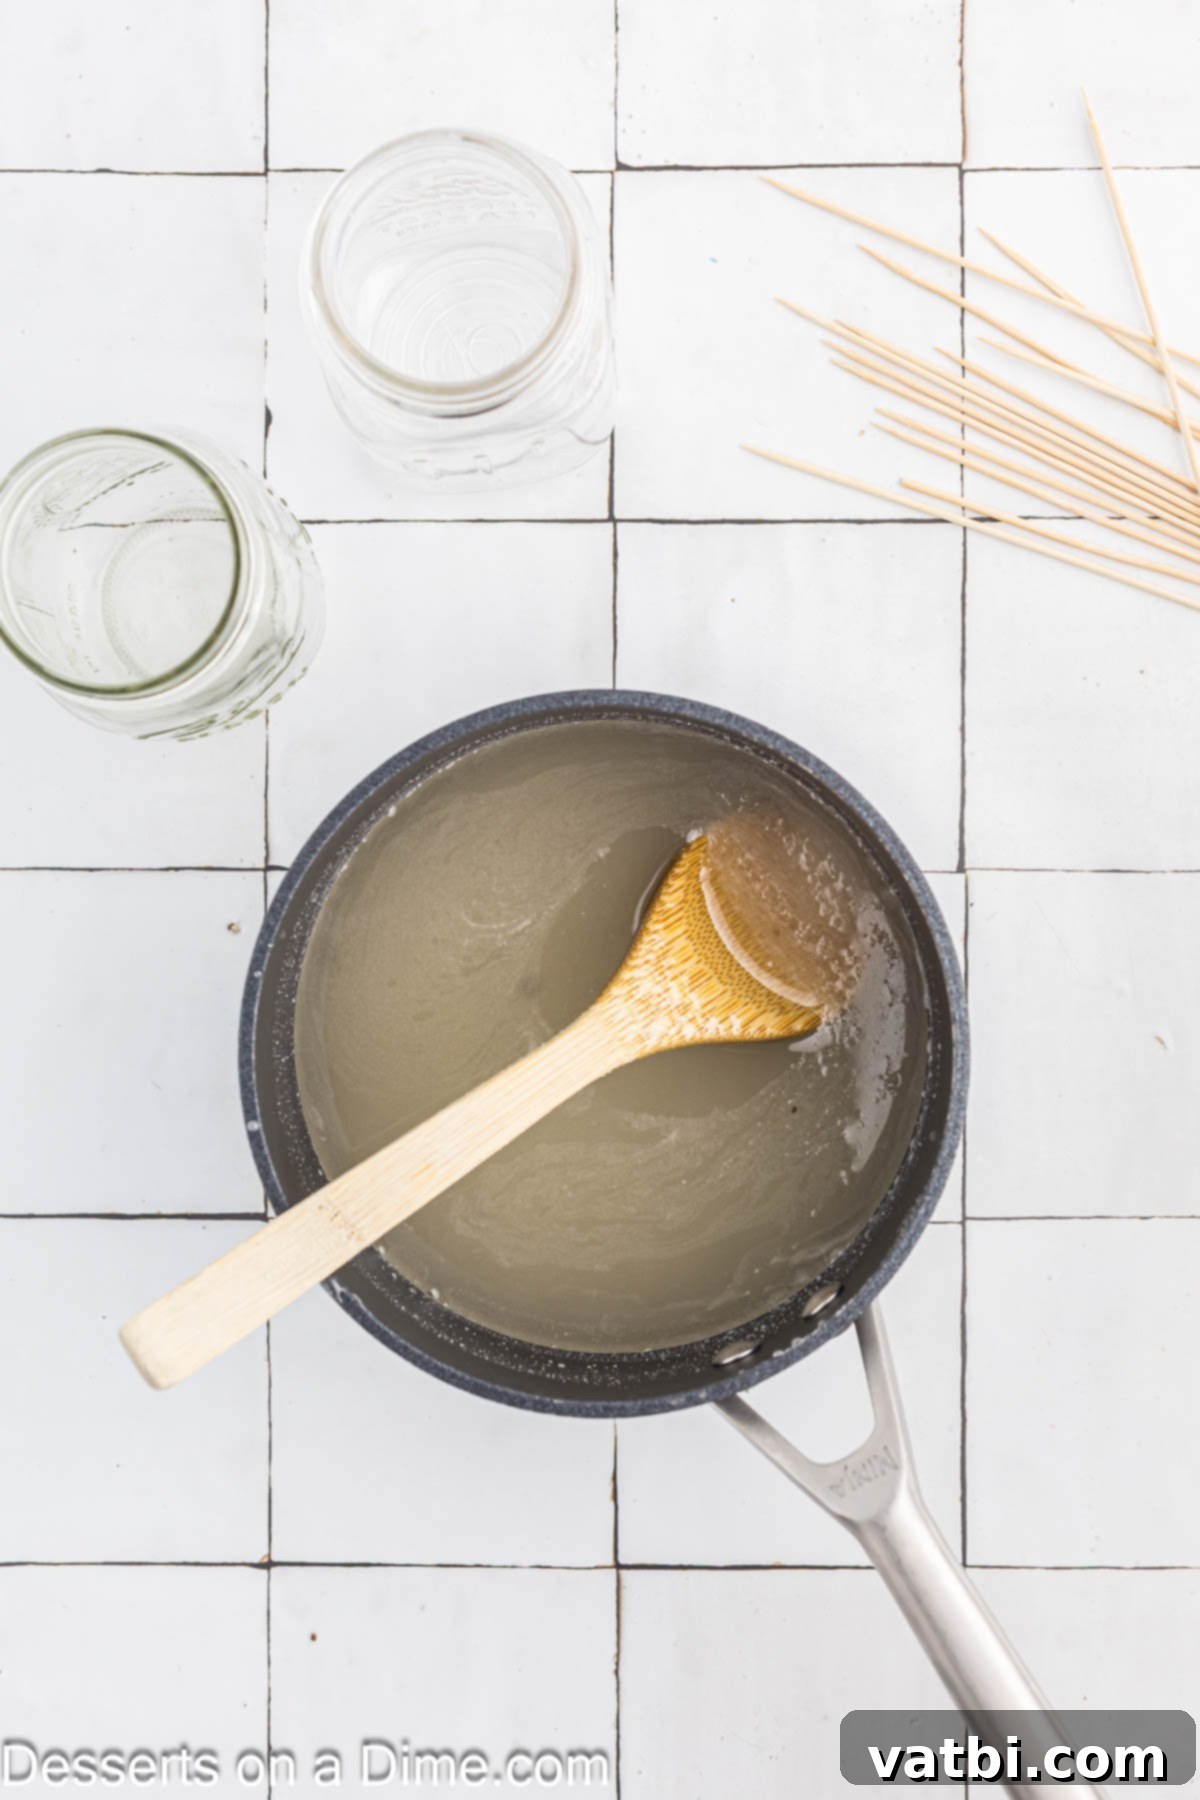
Step 1: Prepare the Sugar Solution. Begin by combining the granulated sugar and water in a medium saucepan. Place the pan over high heat and stir continuously. The goal is to dissolve as much sugar as possible into the water. Continue stirring until the mixture reaches a rolling boil, which is a vigorous boil that cannot be stirred down. It’s crucial not to boil the sugar solution for too long, as this can cause the sugar to caramelize or the candy to harden prematurely during the growth phase. Constant stirring ensures even dissolving and prevents burning.
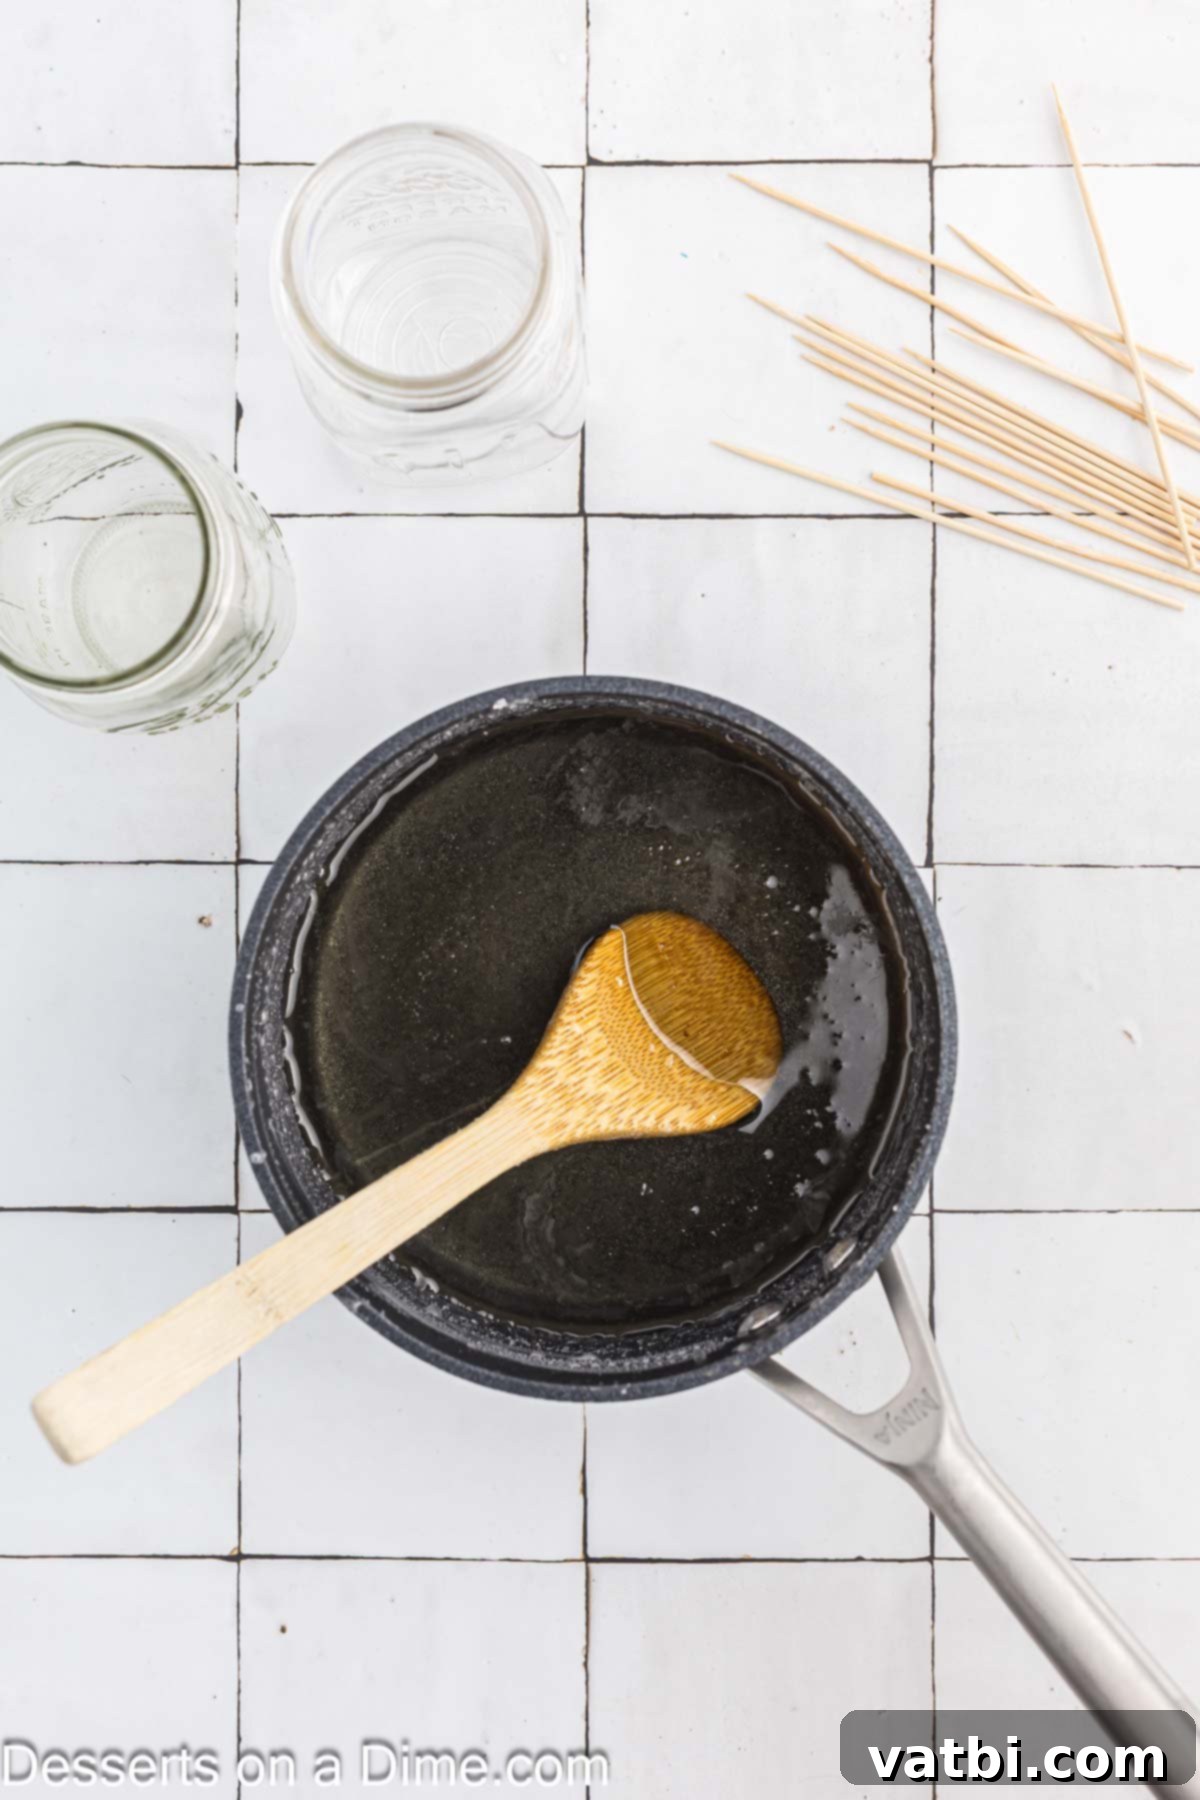
Step 2: Dissolve the Sugar Completely. Once the mixture reaches a rolling boil, remove the sugar syrup from the heat immediately. Continue to stir the hot liquid vigorously until all the sugar granules are completely dissolved. This step is vital for creating a truly supersaturated solution. You’ll notice the mixture becoming perfectly clear and slightly thicker as the last of the sugar dissolves. Patience here will pay off with better crystal formation.
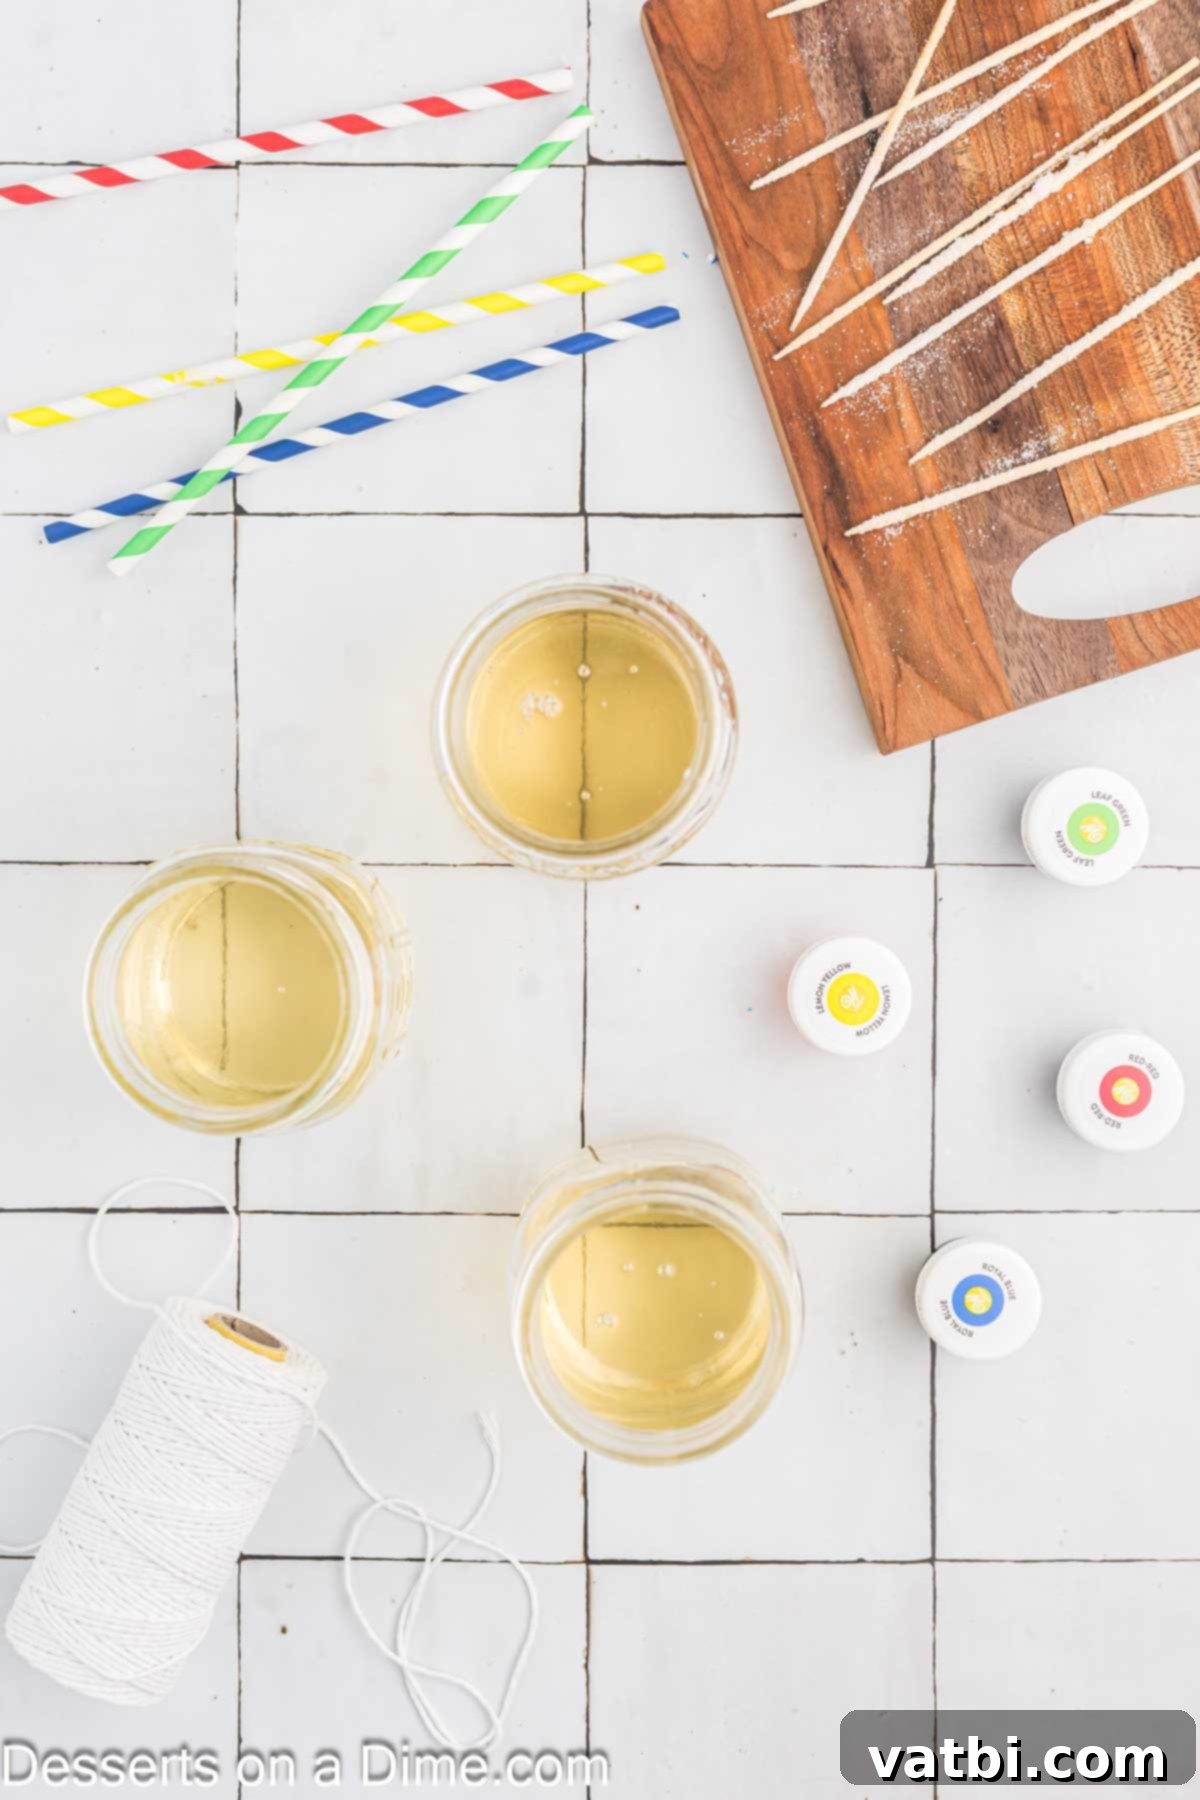
Step 3: Cool the Sugar Solution. Carefully pour the hot sugar mixture into your clean glass jars, filling them almost to the top. Immediately place these jars into the refrigerator to cool slightly. Monitor the mixture closely; we want it to cool down to roughly room temperature, not become completely cold. Cooling for about 30 minutes to an hour, depending on jar size, is usually sufficient. This gradual cooling prevents the sugar from crystallizing too quickly and ensures optimal conditions for crystal growth on your skewers.
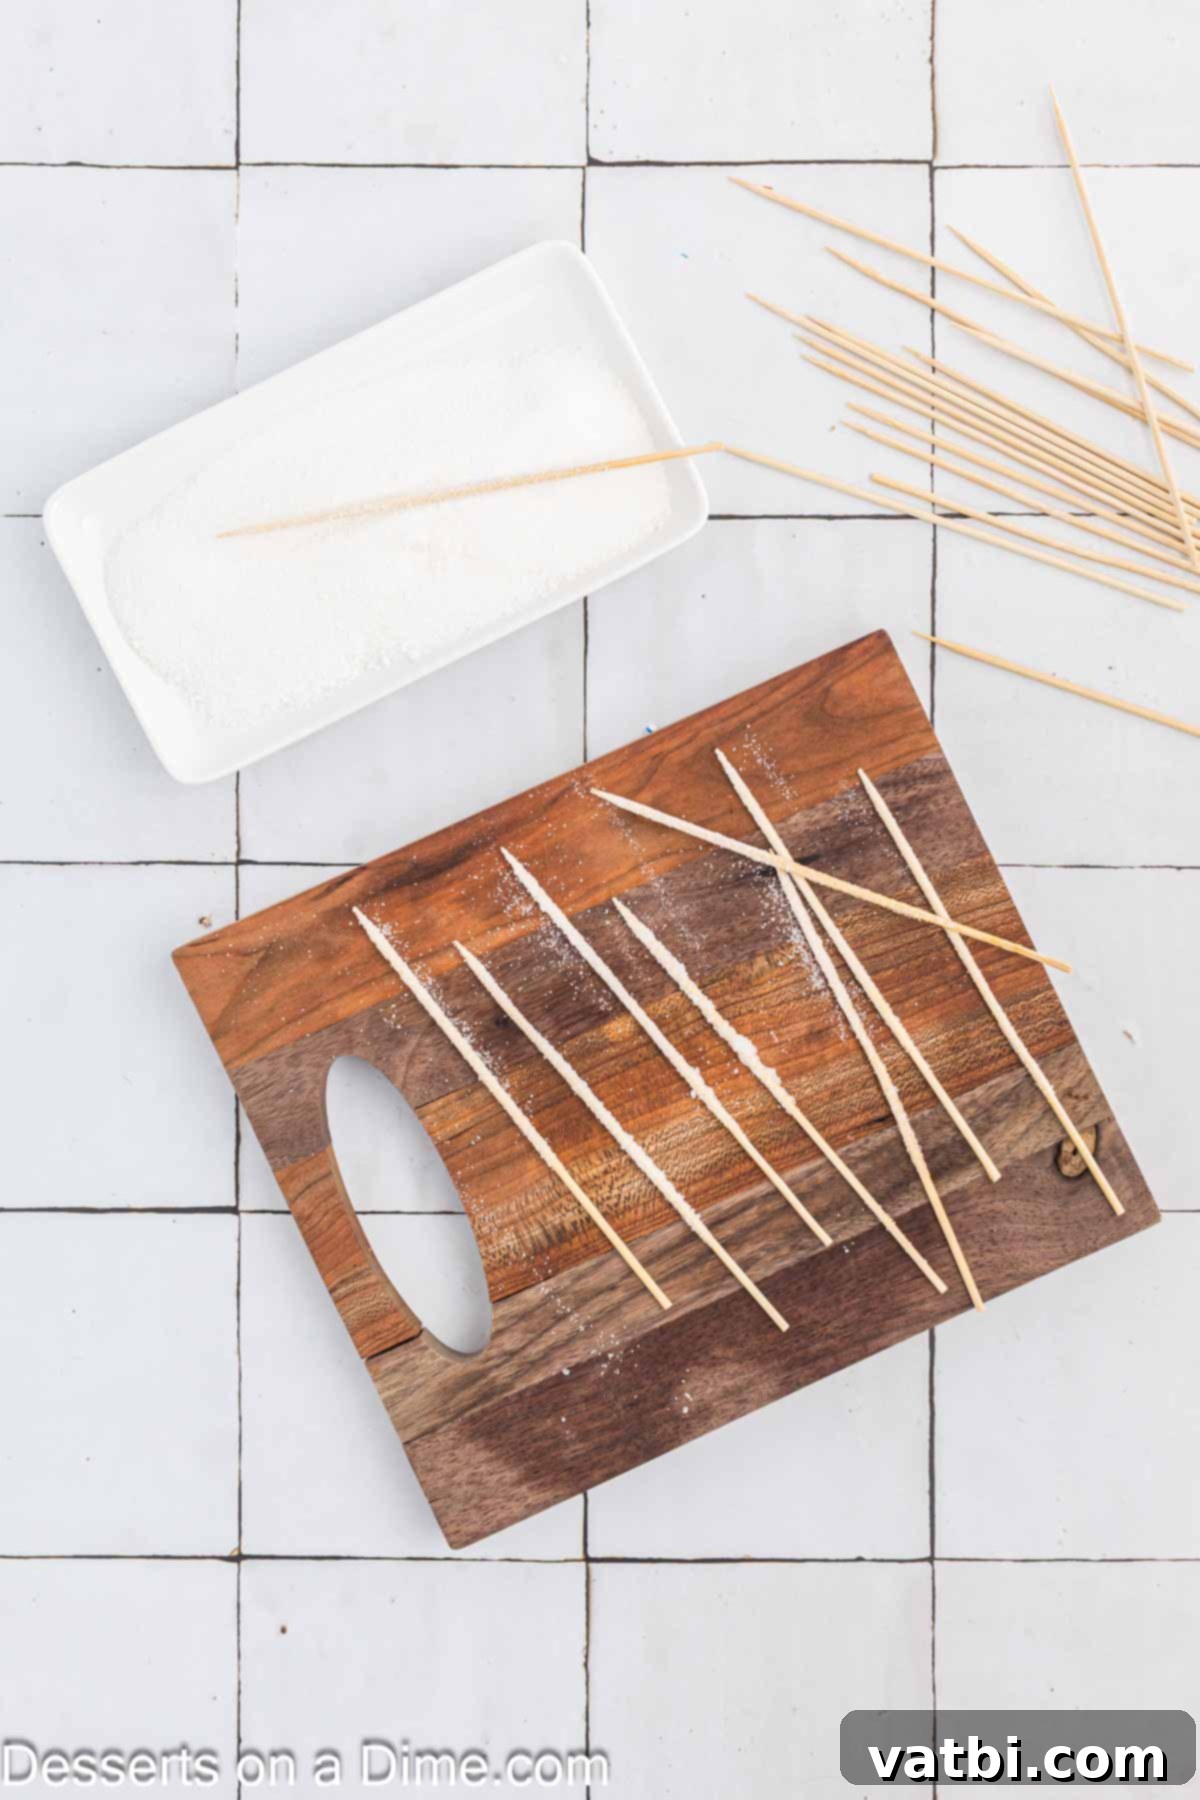
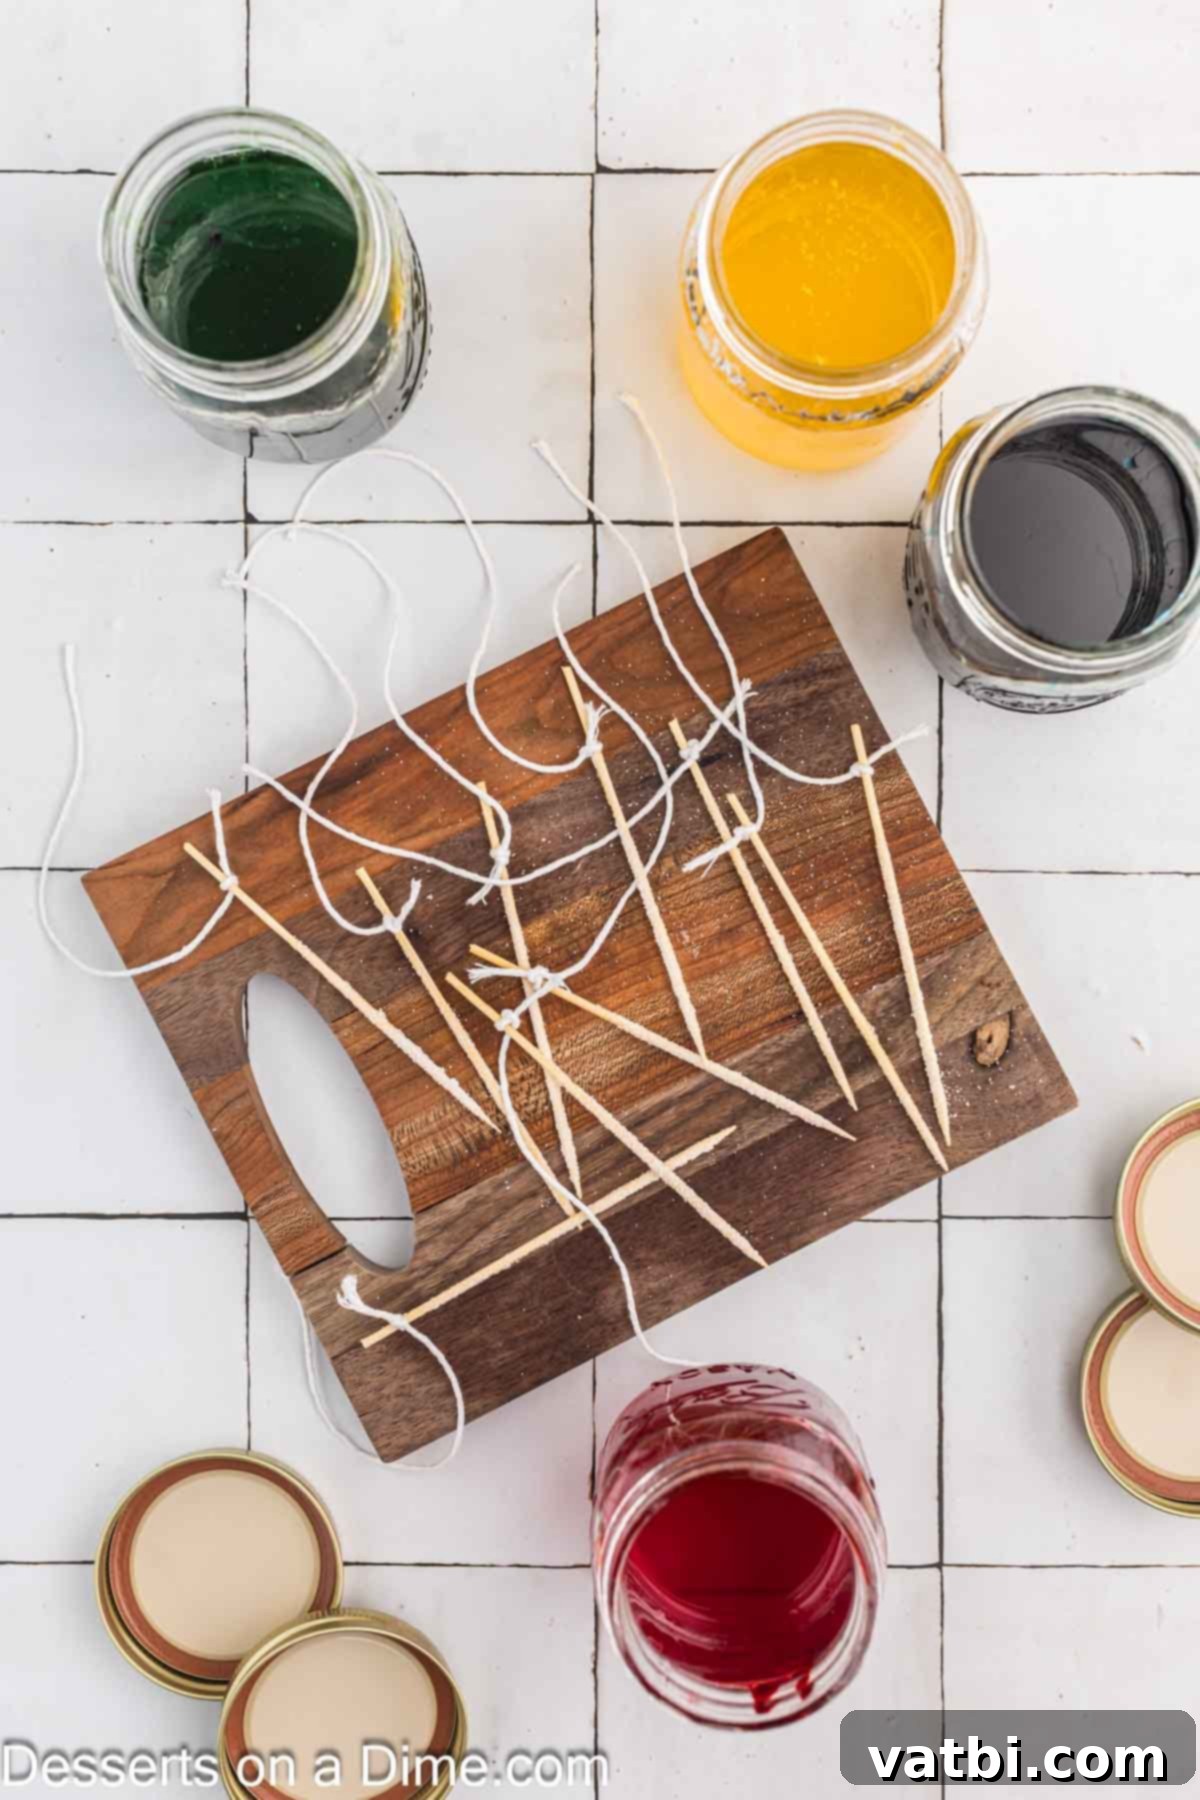
Step 4: Prepare the Skewers (Seed Crystals). While your sugar solution is cooling, prepare your wooden skewers. Dampen each skewer stick with a tiny bit of water, then roll them generously in granulated sugar until they are well coated. Set these sugar-coated skewers aside to dry completely. This vital step creates “seed” crystals, providing a surface for the sugar from the solution to cling to and initiate larger crystal growth. Without this coating, crystals might form randomly in the jar or not at all on your stick, so don’t skip it!
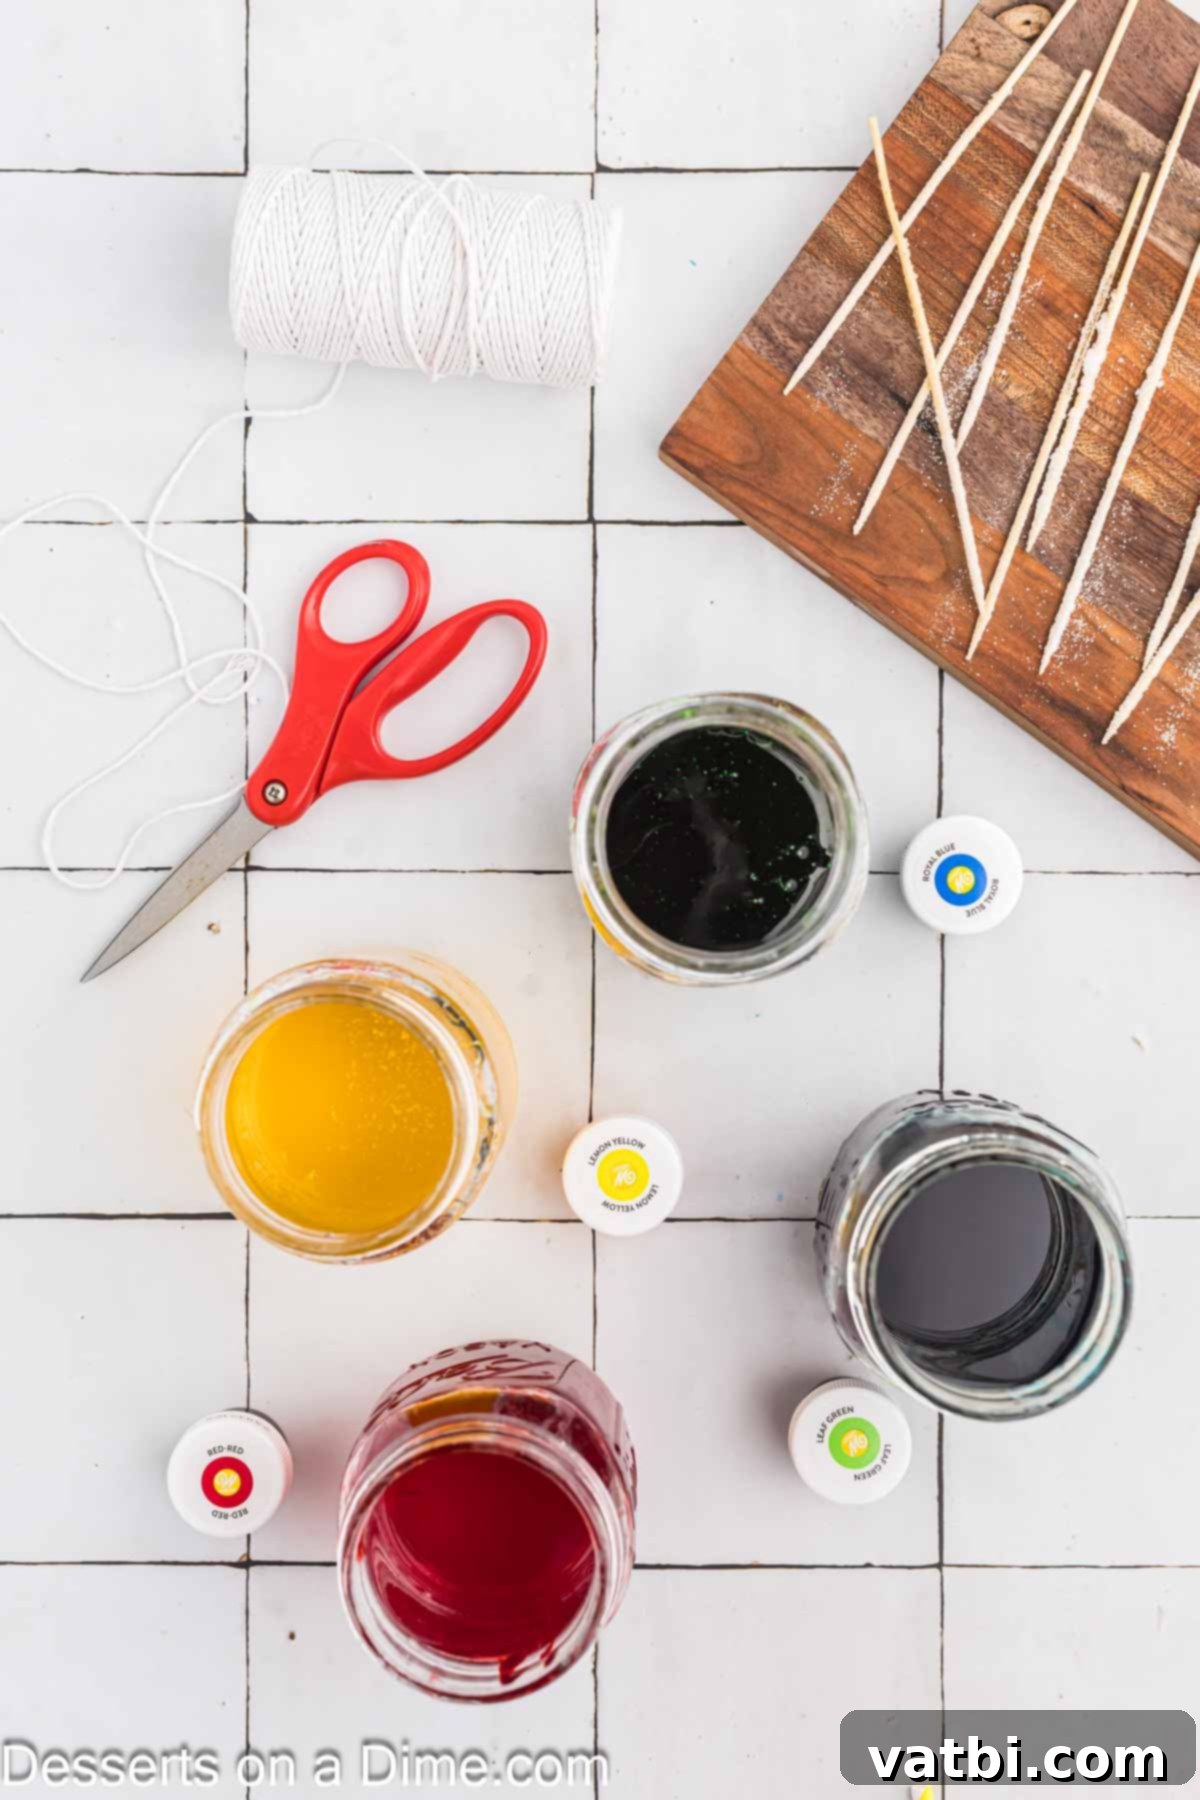
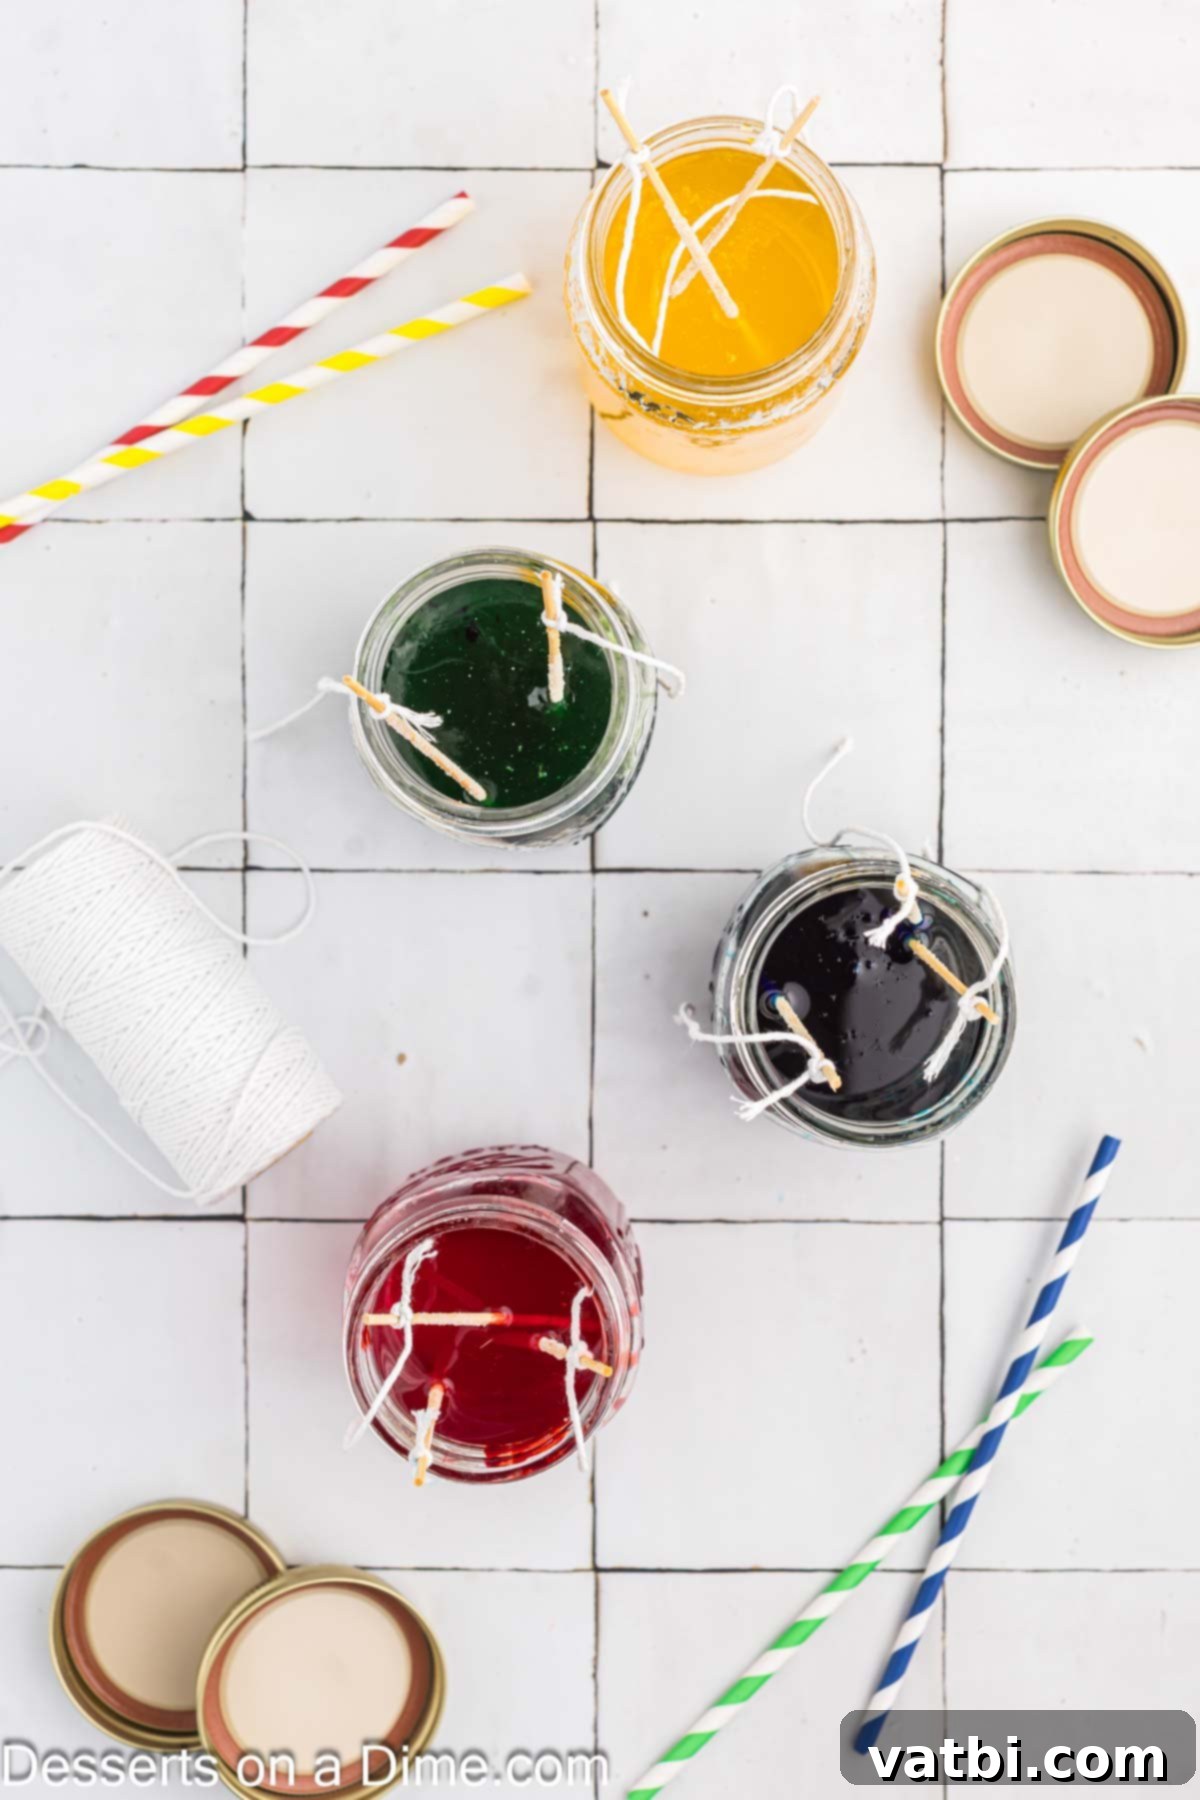
Step 5: Add Color and Flavor. Once the sugar solution in the jars has reached near room temperature, remove them from the refrigerator. Now is the time to add any optional food coloring or flavoring. A few drops of food coloring can create stunning visual effects, and a small amount of flavoring oil or extract will infuse your candy with delicious taste. Stir gently to combine. Next, tie a length of baker’s twine to the top of each prepared skewer. Carefully dangle each skewer into the sugar mixture, ensuring it hangs freely without touching the bottom or sides of the jar.
Step 6: Let the Crystals Grow! With your skewers suspended, carefully hold the twine ends along the rim of the jar and screw the lid on tightly. The lid will help secure the strings in place and prevent dust or debris from entering, while also slowing down evaporation. Place the jar in a cool, undisturbed location where it won’t be moved or jostled. Now comes the most patient part: waiting! Sugar crystals typically begin to grow after several days. The longer you wait, generally between 3 to 10 days, the larger and more pronounced your rock candy crystals will become. Resist the urge to disturb them during this crucial growth period.
Step 7: Harvest the Crystals. Once your sugar crystals have grown to your desired size and appearance, they are ready to be harvested from the solution. Carefully unscrew the jar lid and gently lift out the skewer, marveling at the beautiful rock candy that has formed. Some crystals might have formed on the sides or bottom of the jar; this is normal and indicates a successful supersaturated solution. You can carefully break these away if they obstruct removal.
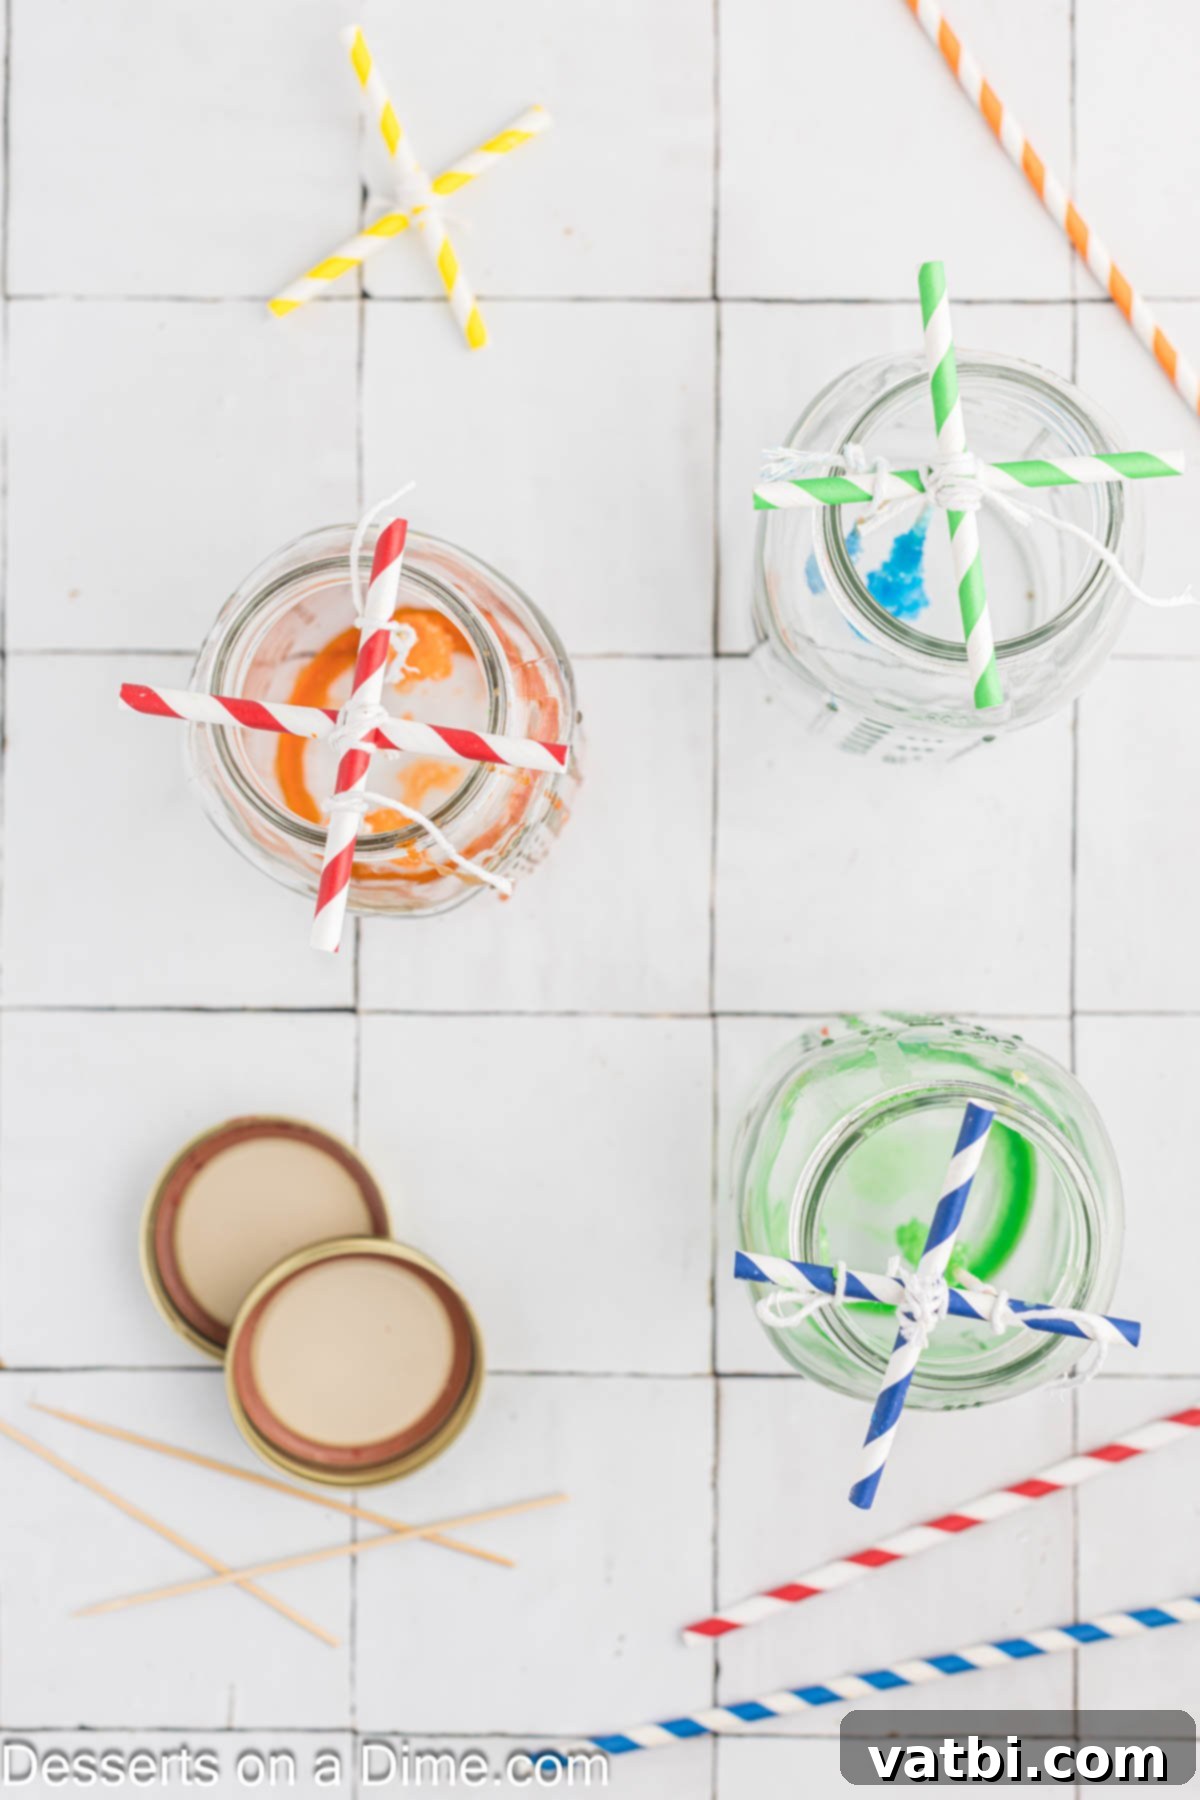
Step 8: Set Up for Drying. To dry your newly formed rock candy, create a simple drying rack. Tie two straws together in an “X” shape and balance this over the opening of a clean, empty jar. This setup will allow the candy to air dry without touching any surfaces. Carefully remove each rock candy stick from its growing jar and gently dab off any excess liquid with a paper towel. Then, tie the strings from your candy sticks onto the straw “X,” allowing the rock candy to hang suspended inside the clean jar.
Step 9: Allow to Dry Completely. Arrange all your rock candy sticks on the straw “X” drying rack. Make sure that none of the candy sticks are touching each other, as this can cause them to stick together as they dry. Allow them to hang undisturbed for at least 24 hours, or until they are completely dry and no longer sticky to the touch. This drying process prevents them from becoming soft or tacky once removed from the drying rack.
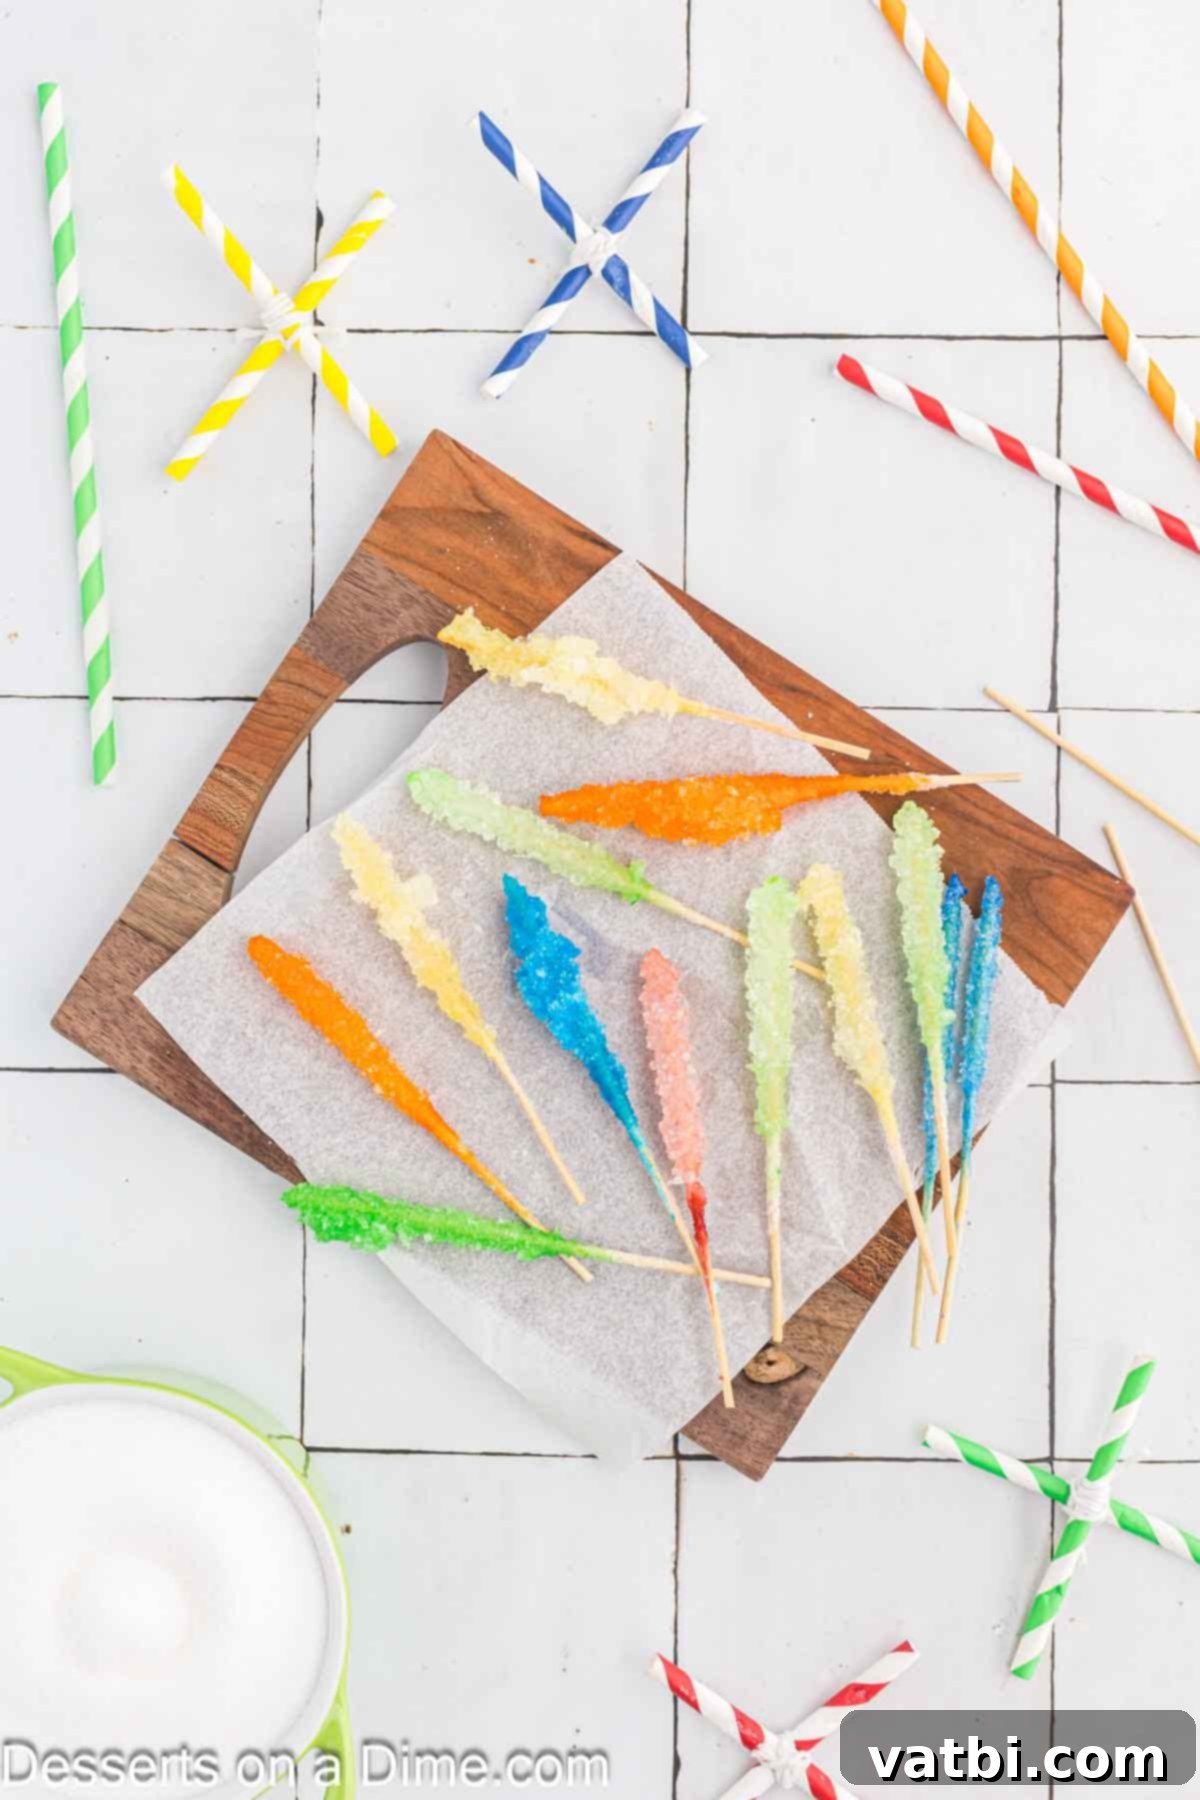
Step 10: Enjoy Your Homemade Rock Candy! Once your rock candy is thoroughly dry and sparkling, it’s ready to be enjoyed! Savor the satisfying crunch and sweet flavor of your homemade creation. This is the moment to appreciate your patience and effort. You can serve them immediately, use them to adorn beverages, or wrap them individually for gifts. The process from start to finish is truly a testament to the wonders of sugar and water!
Expert Tips for Perfect Rock Candy
Achieving perfectly formed rock candy is simpler with a few insider tricks. Keep these expert tips in mind for the best possible results:
- Managing Sugar Crystals in the Jar: It’s common for sugar crystals to form on the sides and even across the top of your glass jars during the growth period. This is a sign of a successful supersaturated solution! You can gently break these larger crystals to carefully extract your rock candy sticks. However, be extremely careful not to dislodge the delicate crystals growing on your skewers, as this can ruin their formation.
- Cleaning the Jars After Use: Once you’ve harvested your rock candy, the leftover sugar solution and clinging crystals can make cleaning the jars tricky. The easiest method is to let the jars soak in hot water for a period. The hot water will dissolve the remaining sugar crystals, making them much easier to wash clean. For stubborn areas, a stiff brush or sponge can help.
- Twine as an Alternative to Skewers: If you don’t have wooden skewers, baker’s twine or plain cotton string can be used instead. To make this work, tie a small, heavy item like a life saver candy or a clean nut to one end of the string to act as a weight. Suspend this weighted string into the sugar mixture instead of the skewers. While this method does work and still yields lovely crystals, we’ve found that wooden skewers generally provide a more consistent and robust surface for crystal growth, often resulting in larger and more uniformly shaped rock candy.
- No Candy Thermometer Needed: Despite being a candy recipe, there’s no need for a specialized candy thermometer for this project. The critical factor is simply ensuring all the sugar is completely dissolved in the boiling water and then allowing the solution to cool slowly and undisturbed. This makes the recipe even more accessible for home cooks.
- Opt for Glass Containers: When making rock candy, we highly recommend using clean glass jars over plastic cups. Glass is non-reactive and provides a smooth, stable surface, which is ideal for observing crystal growth. Plastic can sometimes react with hot sugar, and its surfaces may not be as conducive to even crystal formation. Clear glass also allows you to enjoy the visual marvel of the crystals forming day by day.
- Patience is Key: The most important tip of all! Rock candy takes time to grow. Rushing the process or constantly disturbing the jars will prevent large crystals from forming. Allow the recommended 3-10 days for the sugar to work its magic.
Proper Storage for Your Rock Candy
Once your beautiful homemade rock candy is fully dry, proper storage is crucial to maintain its crunchy texture and sparkling appearance. Rock candy needs to be stored in a dry place, away from any humidity. It’s important to never store it in the refrigerator, as the moisture and cold temperature can cause the crystals to become sticky and cloudy, or even melt. We recommend storing your rock candy in an airtight container, such as a glass jar or a sealed plastic bag, at room temperature. When stored correctly, homemade rock candy can last for approximately two weeks, making it an excellent treat to prepare ahead of time for parties or gifts. If you notice any stickiness, simply air dry it for a few more hours before packaging.
More Easy Candy Recipes to Try
If you enjoyed the sweet science of making rock candy, you’ll love these other simple and delicious candy recipes perfect for home cooks:
- Divinity Candy Recipe: A classic fluffy, melt-in-your-mouth meringue-based candy.
- Homemade Peanut Brittle Recipe: A delightful crunchy, caramelized treat packed with peanuts.
- 2 Ingredient Chocolate Bark: Incredibly simple and versatile, perfect for quick desserts or gifting.
- Popcorn Balls Recipe: A fun and sticky nostalgic treat, ideal for parties.
- Cream Cheese Mints Recipe: Sweet, refreshing, and beautifully customizable for any event.
- Homemade Mounds Bar Recipe: Recreate your favorite coconut and dark chocolate candy bar at home.
Making rock candy at home is a wonderfully rewarding experience that combines the joy of cooking with the fascination of science. It’s a project that promises delicious results and creates lasting memories. If you’re looking for a fun, educational, and tasty activity for the kids (or for yourself!), give this sparkling sugar candy a try. We encourage you to come back and share your experiences and creations in the comments section below – we love hearing from you and seeing your beautiful rock candy!
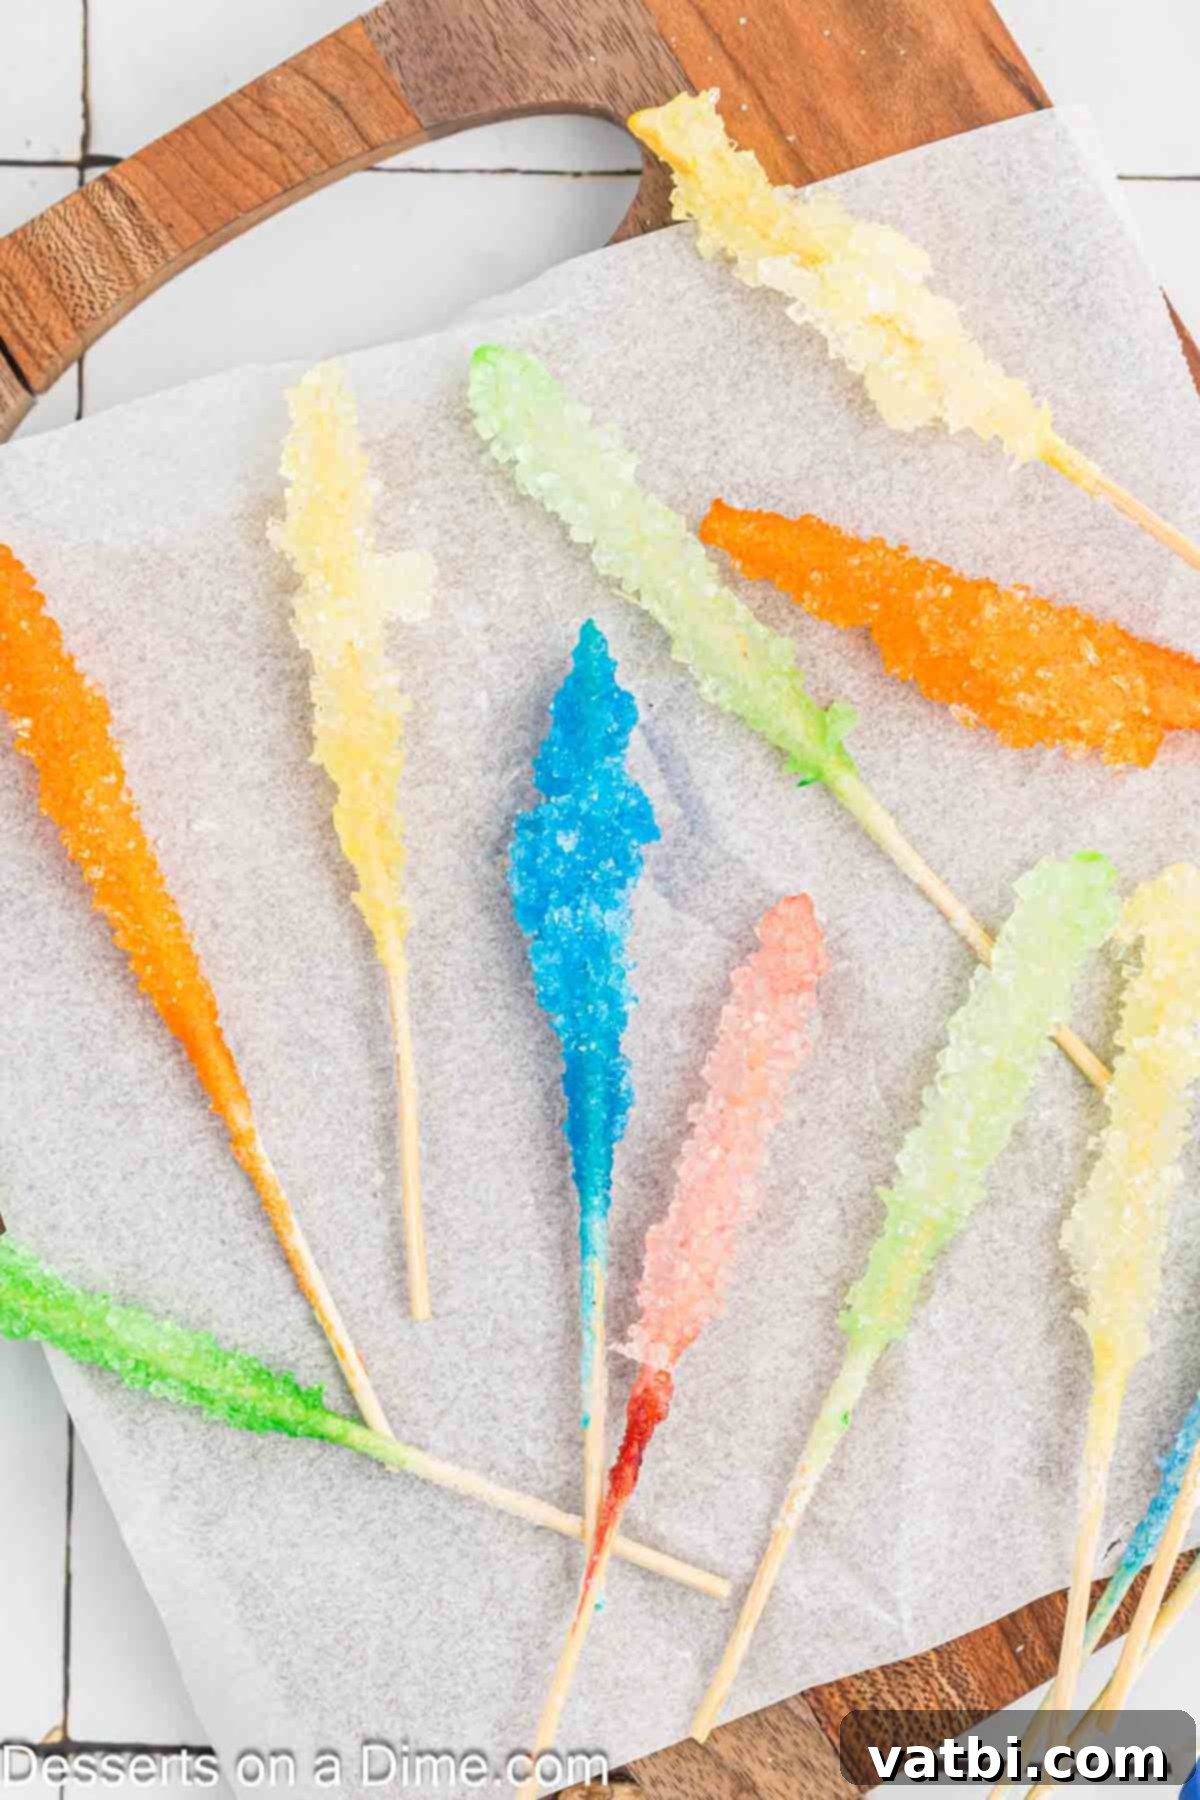
How to Make Rock Candy
Ingredients
- 3 cups Granulated Sugar
- 1 cup Water
- Food Coloring optional
- 1/2 teaspoon Flavoring Oil or Extract optional
Instructions
-
Add sugar and water to a pan and heat over high heat, stirring constantly until it reaches a rolling boil. Be careful not to boil it too long or the candy will start to harden. Keep Stirring!
-
Remove from heat and keep stirring until all of the sugar granules have dissolved. The mixture will suddenly get clearer when this happens.
-
Carefully pour the hot sugar mixture into your jars and put in the refrigerator to cool a bit. This usually takes 30 minutes to one hour depending on the size of your jars. We don’t want the mixture to be cold, just about room temperature.
-
While your mixture is cooling, prepare your wooden skewers by getting them damp and rolling them in sugar. Once they have a coating of dry sugar on them, put them aside to dry. This sugar coating will give our sugar mixture something to attach itself to and help us have bigger sugar crystals in our rock candy!
-
When they cool to near room temperature, remove the jars from the refrigerator. If you are adding flavoring or food coloring do that step now.
-
Tie baker’s twine to your picks and dangle them into the sugar mixture, try to keep them from touching the bottom or each other. Once you get the picks placed where you want them in the jar, hold their strings along the sides of the jar screw the top on to hold the strings in place.
-
Set the jar aside somewhere where it won’t be disturbed and wait 3 -10 days for the sugar crystals to grow, the longer you wait the larger the crystals will get.
-
When the crystals grow to a good size, they are ready to dry. Tie two straws into an X and balance it on top of a clean jar. Carefully remove the rock candy sticks from their jars and tie their strings onto the straw X’s. Don’t let them touch each other, let them hang in the jar from the X until they are dry.
-
Once they are dry they are ready to eat!
