The Ultimate Homemade Mrs. Fields Chocolate Chip Cookies: An Authentic Copycat Recipe
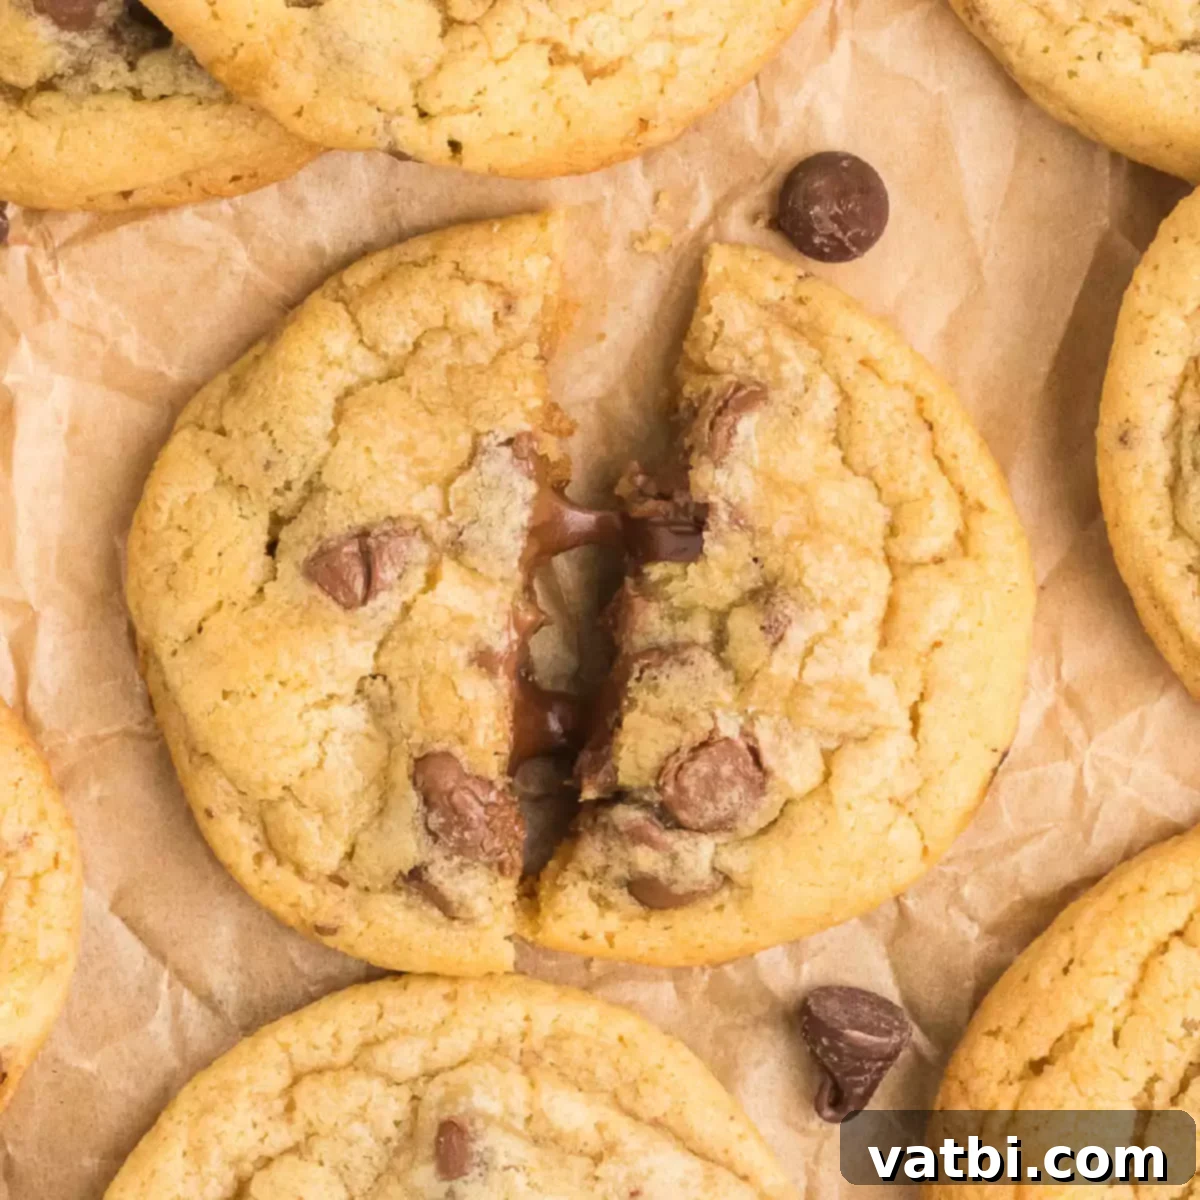
There’s nothing quite like the warm, gooey, and utterly delicious experience of biting into a freshly baked Mrs. Fields chocolate chip cookie. For many, a trip to the mall wasn’t complete without indulging in these iconic treats. Now, you can recreate that beloved bakery experience right in your own kitchen with this incredibly easy and authentic Mrs. Fields Chocolate Chip Cookie Recipe. Not only will you love saving money, but you’ll also cherish the convenience of enjoying these perfect cookies whenever a craving strikes, straight from your oven. Imagine the aroma filling your home and the delight of sharing these warm, buttery masterpieces with family and friends.
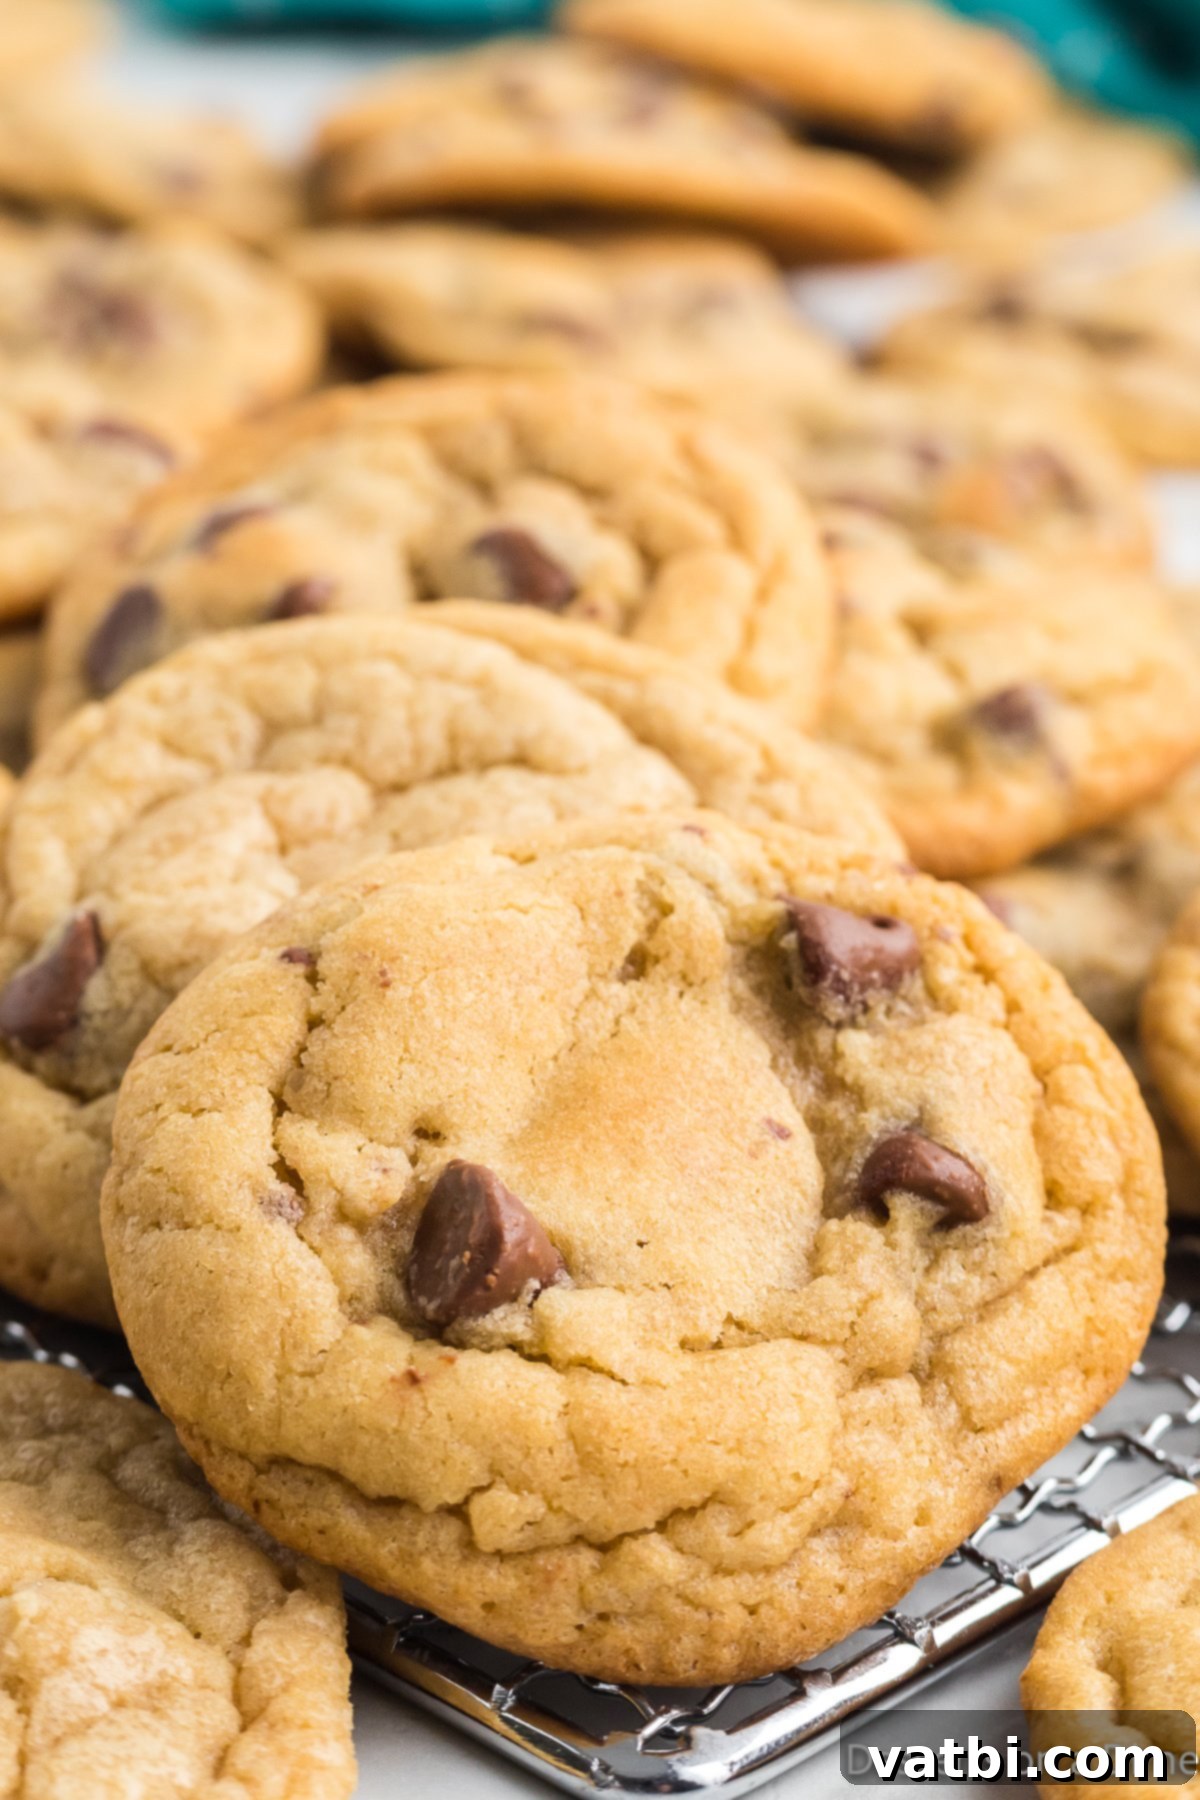
This copycat Mrs. Fields Chocolate Chip Cookie recipe is meticulously crafted to deliver that signature buttery flavor and abundance of perfectly melted chocolate. Growing up, heading to the mall was a cherished weekend pastime, and securing one of Mrs. Fields’ legendary cookies was always my absolute top priority. That distinct soft center and slightly crisp edge, combined with rich chocolate, created an unforgettable taste sensation. While those nostalgic mall visits are cherished memories, I now find immense joy in mastering this cookie recipe at home. It stands proudly alongside other homemade favorites like our Cowboy Cookies Recipe, the decadent Chocolate Chip Pizookie Recipe, and the surprisingly delicious Snickers Cookies Recipe, proving that homemade treats are truly the best. Each batch of these Mrs. Fields copycats brings back those happy memories, but with the added satisfaction of having baked them myself.
If you’re a fan of classic chocolate chip flavors, you might also like to make our Toll House Chocolate Chip Cookie Bars for a different format. And for those seeking a healthier, low-carb indulgence, our Keto Chocolate Chip Mug Cake offers a guilt-free treat. But for that authentic Mrs. Fields experience, keep reading!
Table of contents
- Why We Love These Cookies
- Ingredients
- Variations
- How to Make Mrs. Fields Chocolate Chip Cookies
- How to warm up
- Pro Tips
- Frequently Asked Questions
- More Chocolate Chip Cookies to Make
Why We Love These Cookies
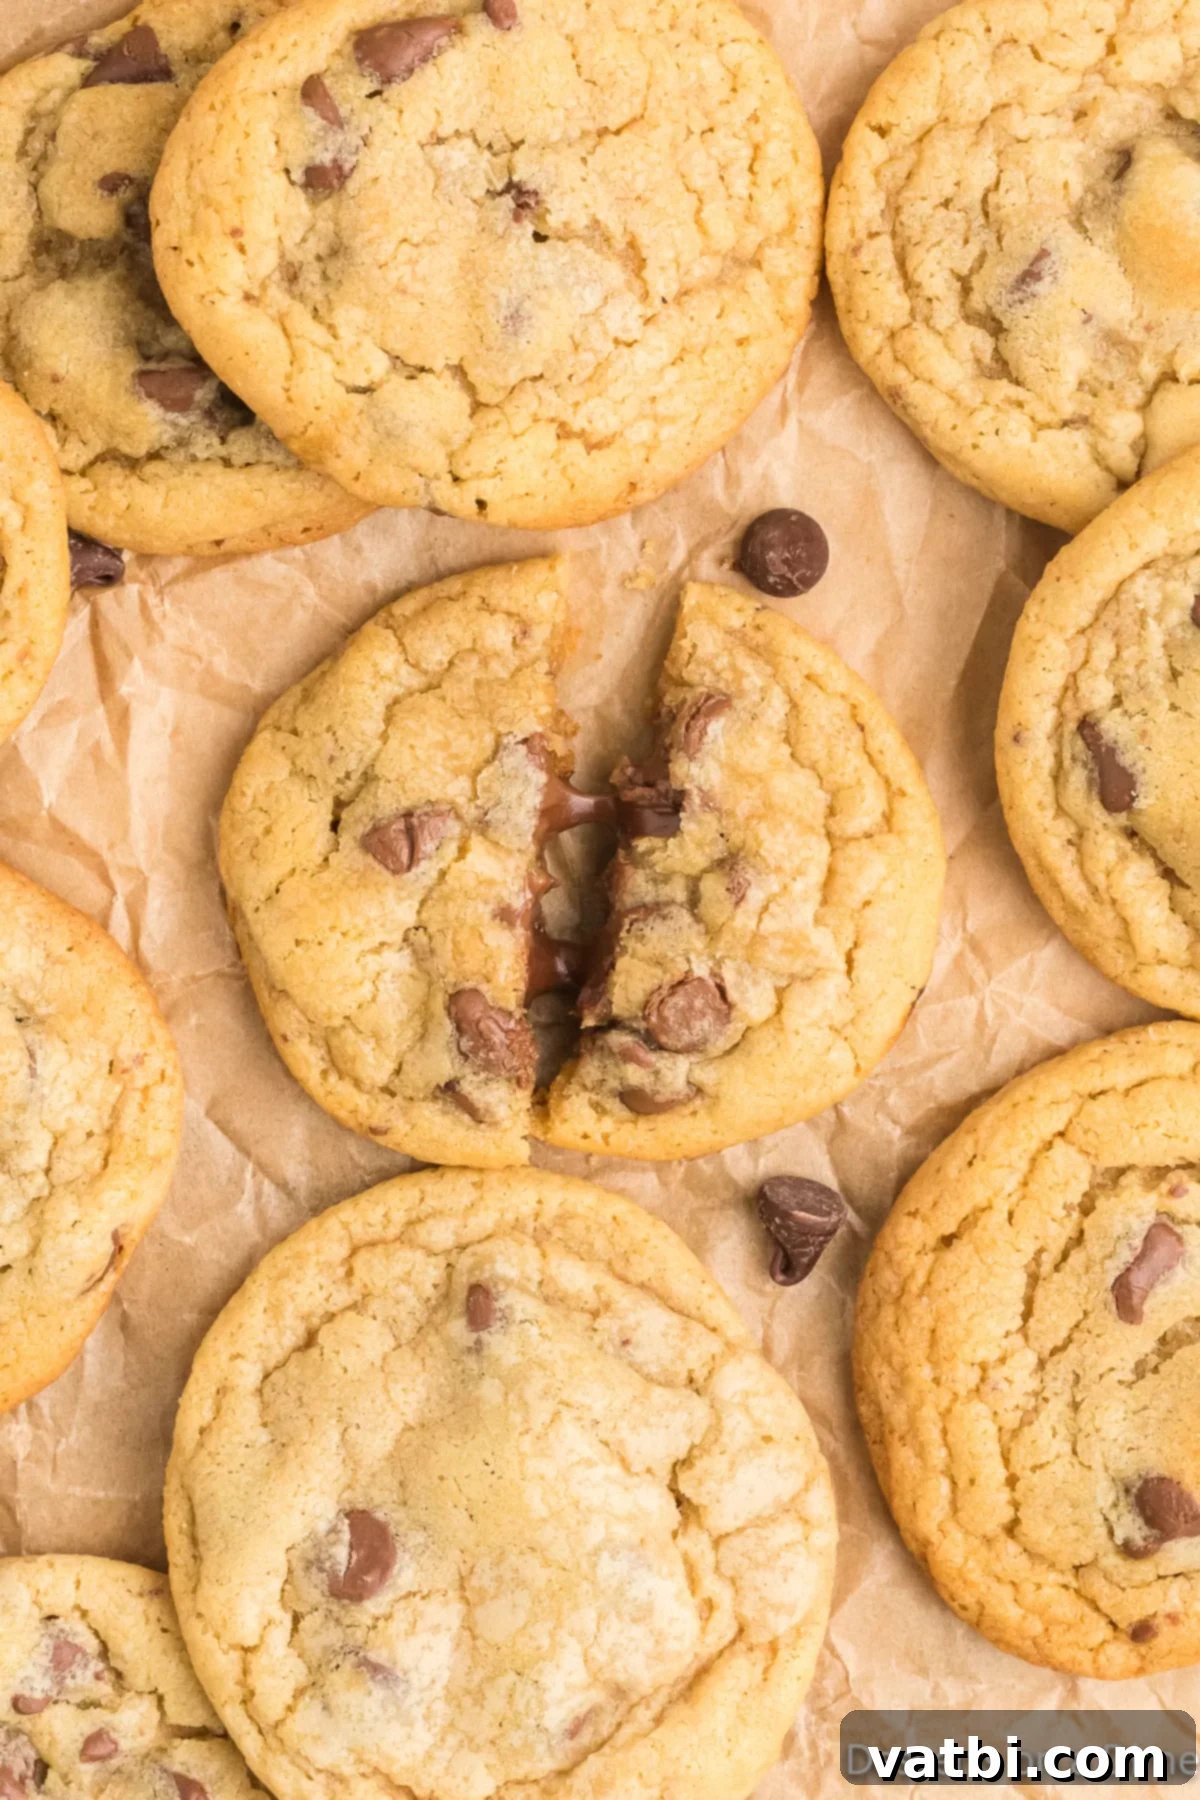
There’s a reason why Mrs. Fields cookies have captivated so many, and this copycat recipe captures every bit of that magic. These cookies are renowned for their incredibly soft, thick texture, always best when served warm. The perfect amount of chocolate chips ensures that every single bite is loaded with rich, melted goodness, creating an irresistible balance of sweetness and cocoa. What truly sets these cookies apart is their delightful textural contrast: a wonderfully soft, chewy center that melts in your mouth, perfectly complemented by slightly crispy, golden-brown edges. This combination makes each bite utterly decadent and satisfying. The taste is profoundly chewy, flavorful, and simply delicious! You will absolutely adore discovering the “secret” to replicating this iconic cookie in your own home. For another fantastic chewy cookie, also try our Chocolate Crinkle Cookies.
Ingredients
Crafting the perfect Mrs. Fields copycat cookie starts with understanding the role of each ingredient. Quality ingredients, prepared correctly, are key to achieving that signature flavor and texture. Here’s a detailed look at what you’ll need and why it matters:
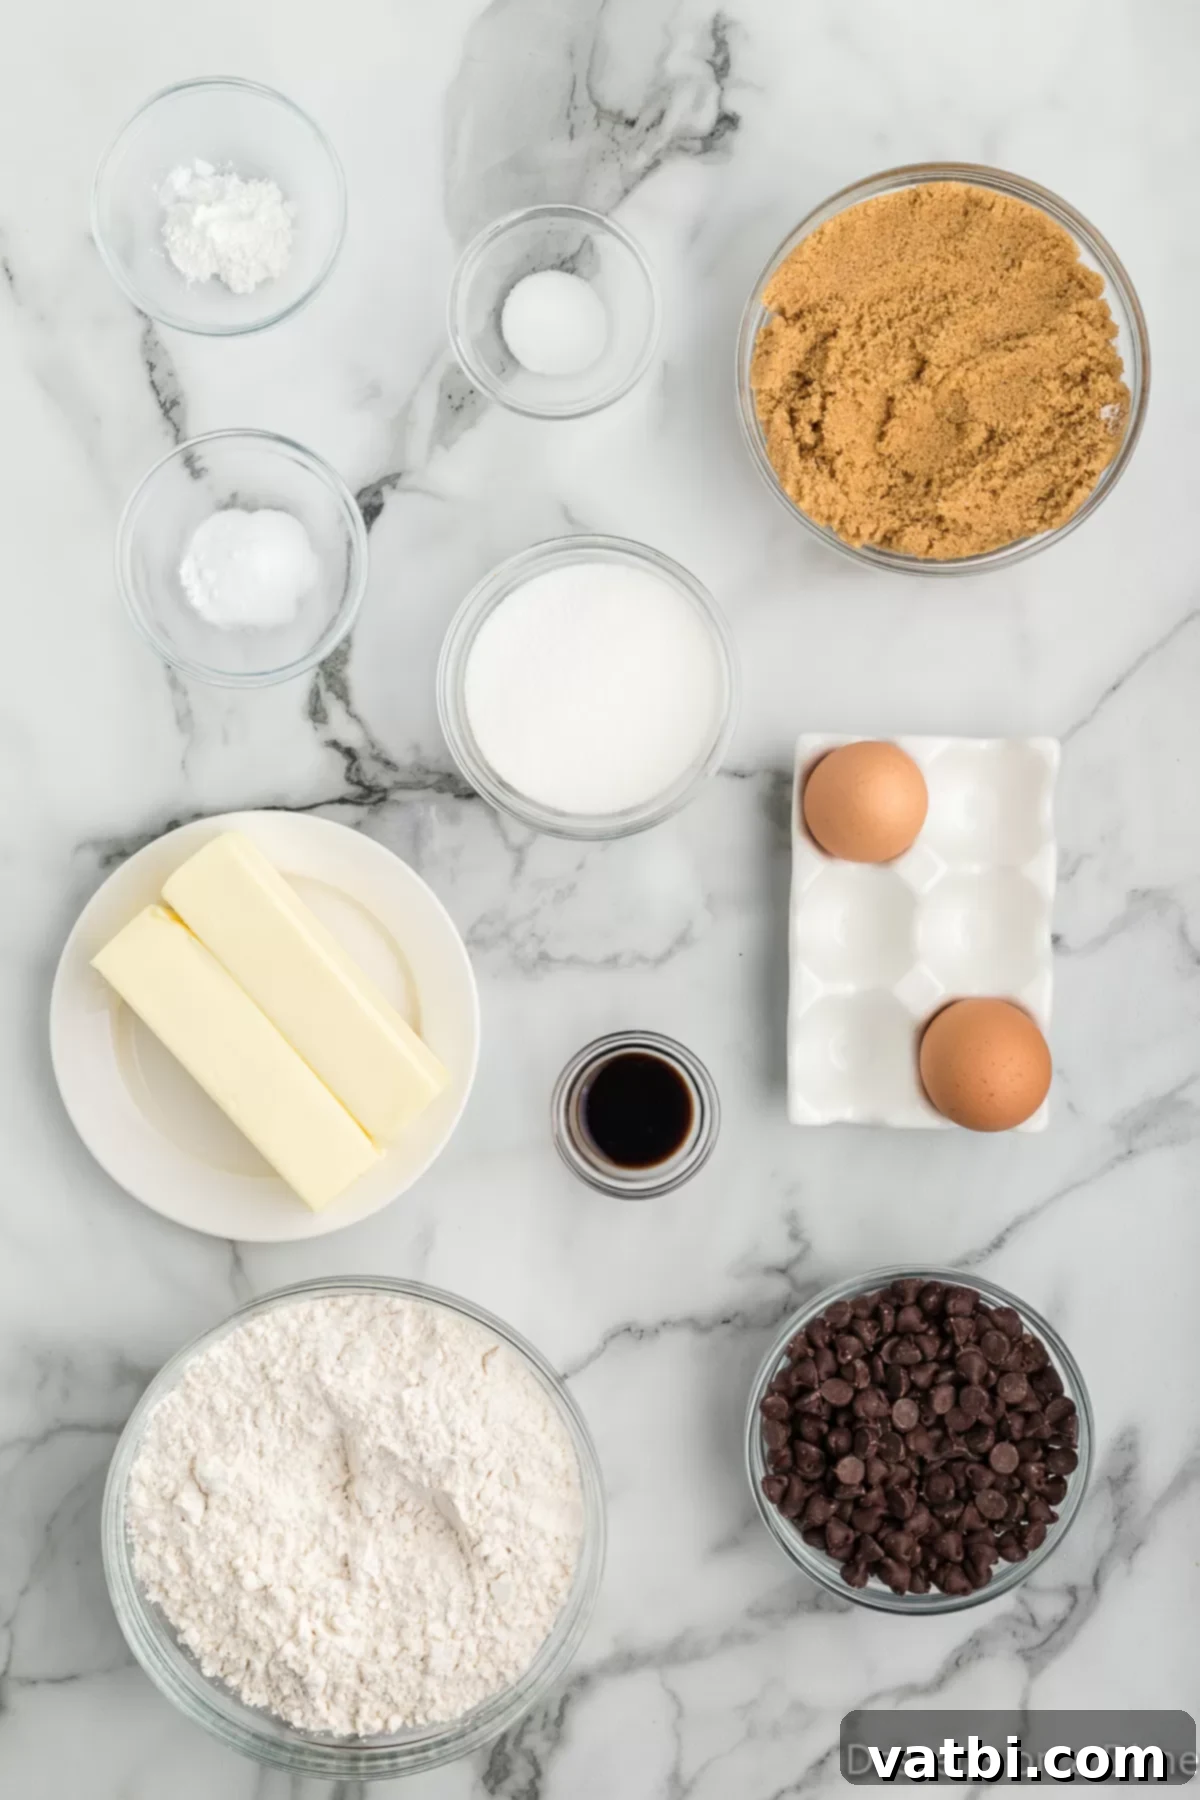
- Unsalted Butter. It’s crucial to soften the butter at room temperature. This isn’t just a suggestion; it allows the butter to cream properly with the sugars, incorporating air into the mixture. This aeration is vital for the cookies’ light yet chewy texture and prevents lumps in the batter. Using unsalted butter gives you control over the salt content in your recipe.
- Brown Sugar. Packed brown sugar is essential for achieving the characteristic chewiness and rich, moist texture of these cookies. The molasses in brown sugar adds depth of flavor and moisture that granulated sugar alone cannot provide. When measuring, always make sure to firmly pack it into your measuring cup. You can even try our Homemade Brown Sugar Recipe for an even fresher taste.
- Granulated Sugar. While brown sugar provides chewiness, granulated sugar contributes to the crispy edges and helps the cookies spread slightly. The combination of both sugars is key to the overall texture balance.
- Pure Vanilla Extract. Do not skimp on quality here! Pure vanilla extract offers a rich, aromatic flavor that imitation vanilla simply cannot match. It enhances the chocolate and buttery notes, making the cookies truly sing.
- Large Eggs. Eggs act as a binder, provide structure, and add moisture to the dough. Using large eggs ensures the right balance for the recipe.
- All-Purpose Flour. Proper measuring of flour is critical to avoid dry, crumbly cookies. Instead of scooping directly from the bag (which can compact the flour), spoon the flour into the measuring cup and then level it off with a straight edge. This method prevents using too much flour, which can lead to a tough cookie.
- Salt. A small amount of salt enhances all the other flavors in the cookie, balancing the sweetness and making the chocolate taste even richer.
- Baking Soda. This leavening agent reacts with the acidic brown sugar to help the cookies spread and achieve a soft, tender crumb. You can learn about Best Baking Soda Substitutes if needed.
- Baking Powder. Used in conjunction with baking soda, baking powder provides additional lift, contributing to the thick, puffy center of the cookies.
- Semi-Sweet Chocolate Chips. Semi-sweet chocolate chips are often preferred in classic chocolate chip cookies because their slight bitterness beautifully balances the sweetness of the dough, creating a more complex and satisfying flavor profile. High-quality chocolate chips melt wonderfully, creating those irresistible pockets of melted chocolate throughout the cookie.
The complete ingredient list with precise measurements can be found in the detailed recipe card at the bottom of this page. Always ensure your ingredients are fresh for the best results!
Variations
While the classic Mrs. Fields chocolate chip cookie is perfect as is, feel free to get creative and personalize your batch with these delicious variations:
- Nuts. For an added crunch and earthy flavor, incorporate your favorite chopped nuts into the flour mixture. Walnuts or macadamia nuts are popular choices that pair wonderfully with chocolate. Pecans or almonds could also be a delightful addition.
- Chocolate. Don’t limit yourself to just semi-sweet chocolate chips!
- Add white chocolate chips for a different, creamy sweetness that contrasts beautifully with the brown sugar dough.
- Combine milk chocolate chips for a sweeter, more classic profile.
- Experiment with dark chocolate chips for a richer, more intense cocoa experience.
- For gourmet texture, chop up your favorite chocolate bar (milk, dark, or even a flavored bar) into bits and fold them in. This often creates lovely puddles of melted chocolate.
- Try a mix of different chocolate chips – a combination of semi-sweet, milk, and dark can add wonderful complexity.
- Toffee Bits. Stir in some toffee bits for a buttery, caramel-like crunch and flavor.
- Sprinkles. For a festive touch, especially around holidays or birthdays, fold in some colorful sprinkles with the chocolate chips.
- Oatmeal. While not traditional for Mrs. Fields, a small amount of quick oats can add a delightful chewiness and subtle texture.
- Different Extracts. Beyond vanilla, consider a hint of almond extract for a nutty aroma, or a touch of peppermint extract for a festive twist (especially with dark chocolate).
How to Make Mrs. Fields Chocolate Chip Cookies
Making these copycat cookies is a rewarding process, and following these steps carefully will ensure you achieve that perfect Mrs. Fields texture and taste. Precision in baking leads to delicious results!
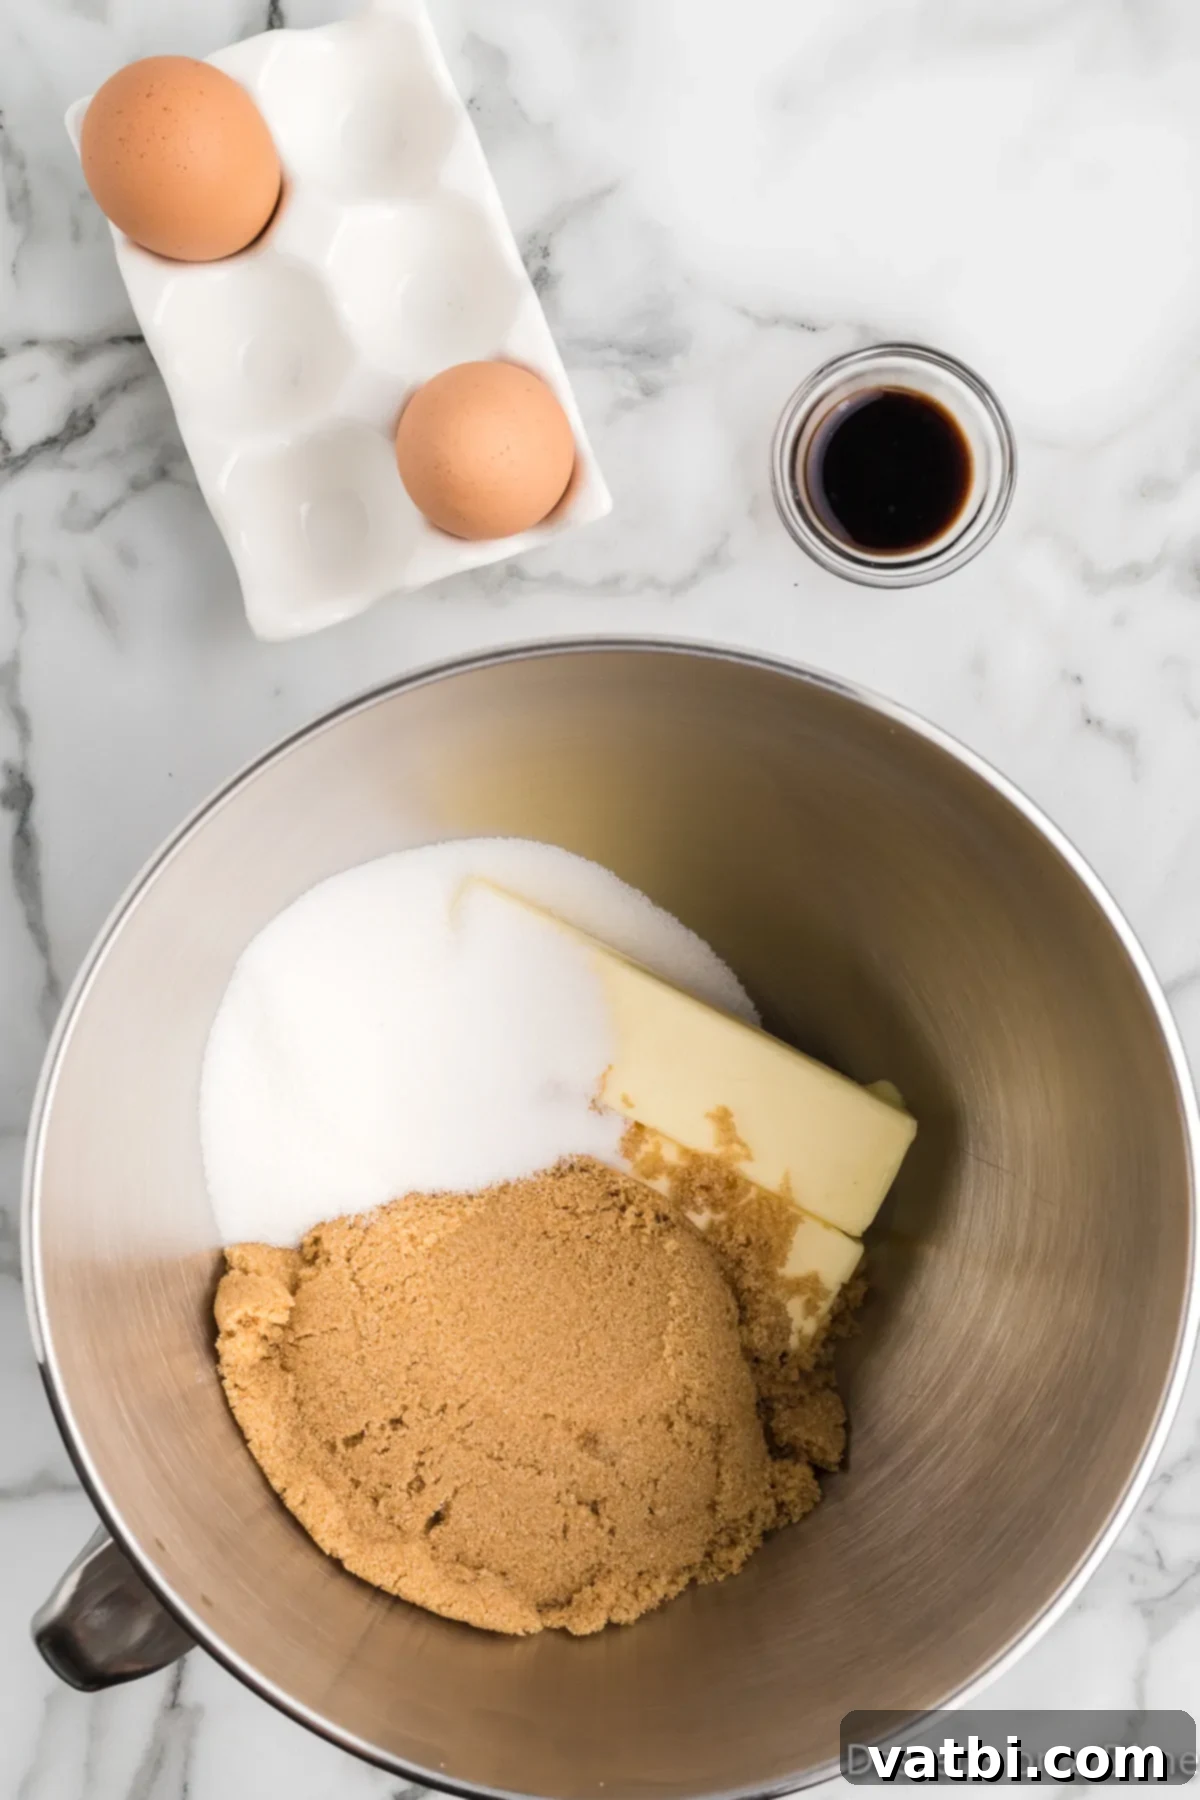
Step 1. Cream Wet Ingredients: In a large mixing bowl, begin by creaming together the softened unsalted butter, granulated sugar, packed brown sugar, large eggs, and pure vanilla extract. I highly recommend using a stand mixer with the paddle attachment for this step, as it provides consistent and powerful mixing, but a handheld electric mixer will also work effectively. Beat the mixture on medium-high speed until it becomes light, fluffy, and noticeably pale in color, typically taking 2-3 minutes. This creaming process is crucial as it incorporates air, which contributes to the cookies’ light texture and rise.
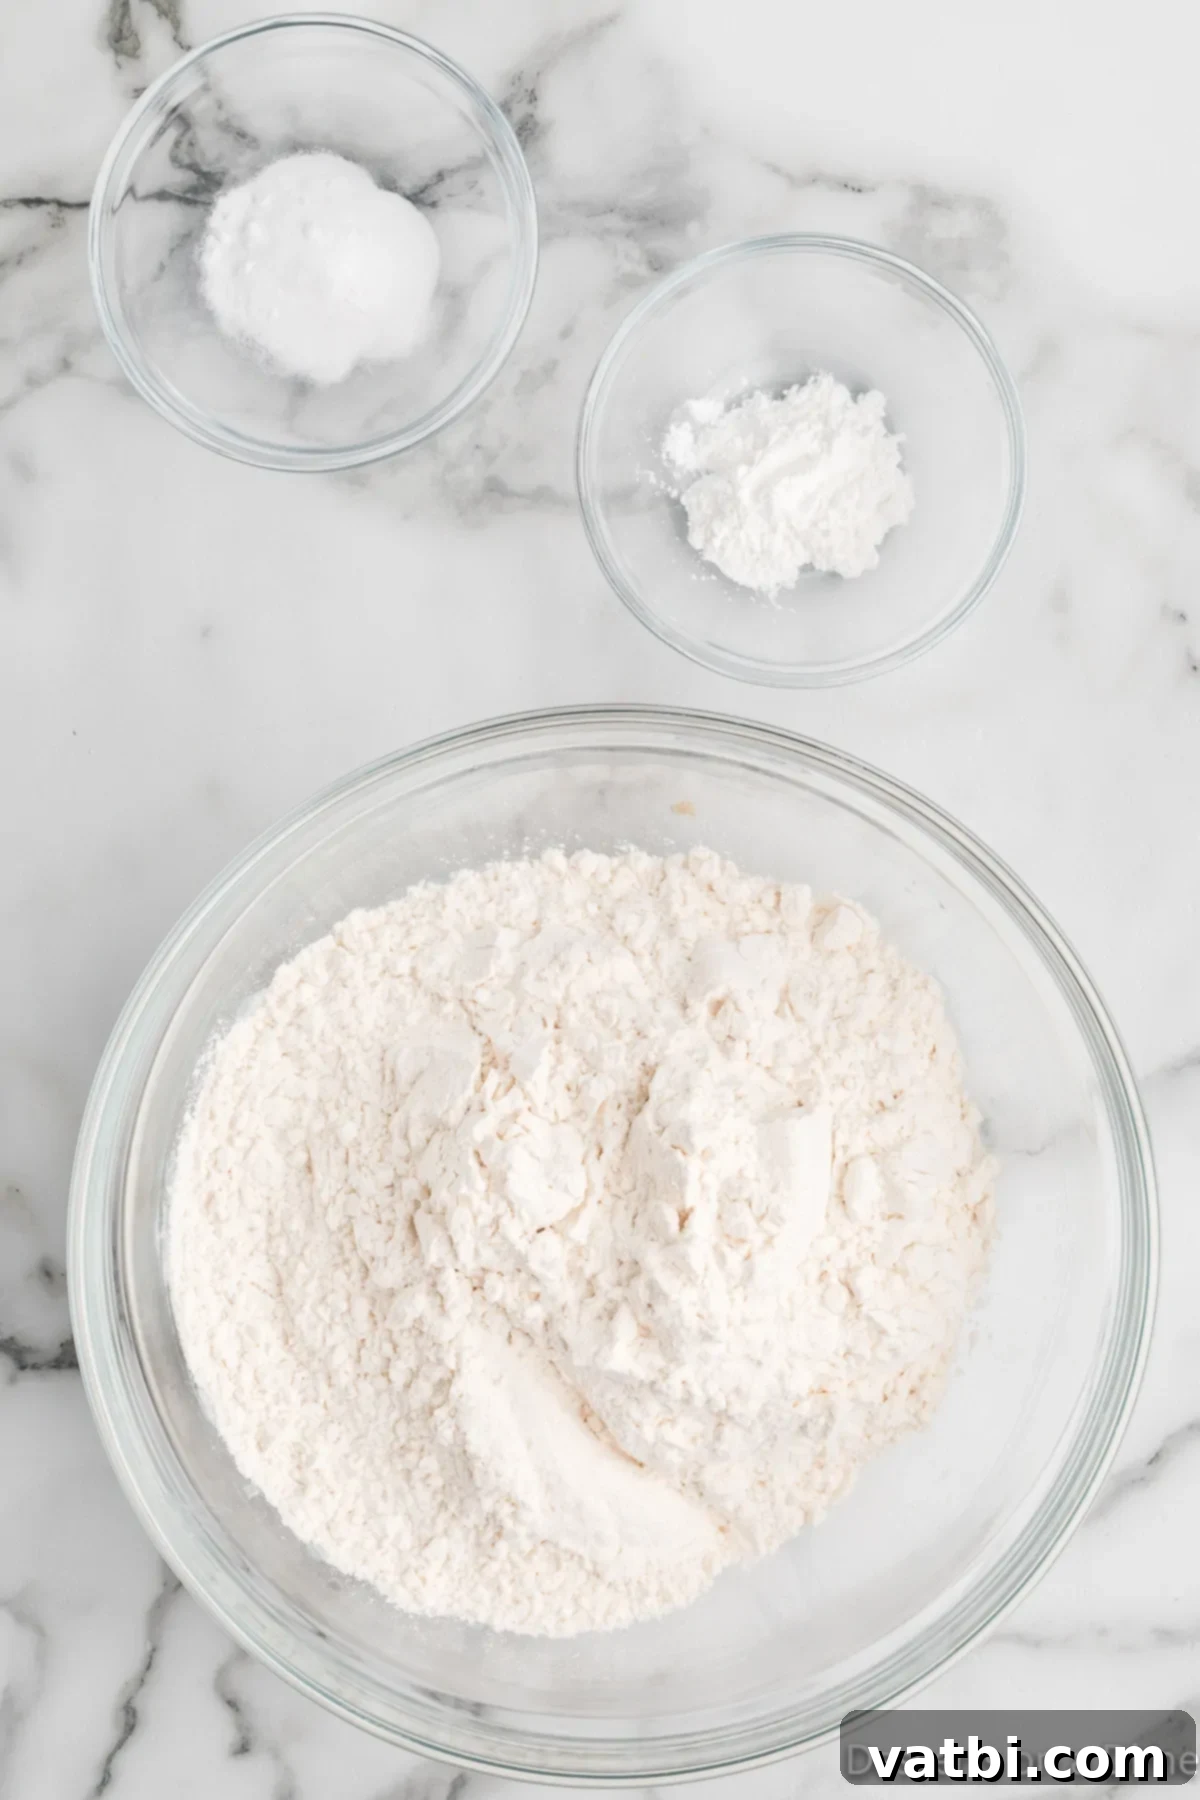
Step 2. Combine Dry Ingredients: In a separate medium or large bowl, whisk together the all-purpose flour, salt, baking soda, and baking powder. Whisking ensures that the leavening agents and salt are evenly distributed throughout the flour, preventing pockets of unmixed ingredients and ensuring a uniform rise and flavor in your cookies. This step is often overlooked but is very important for consistent results.
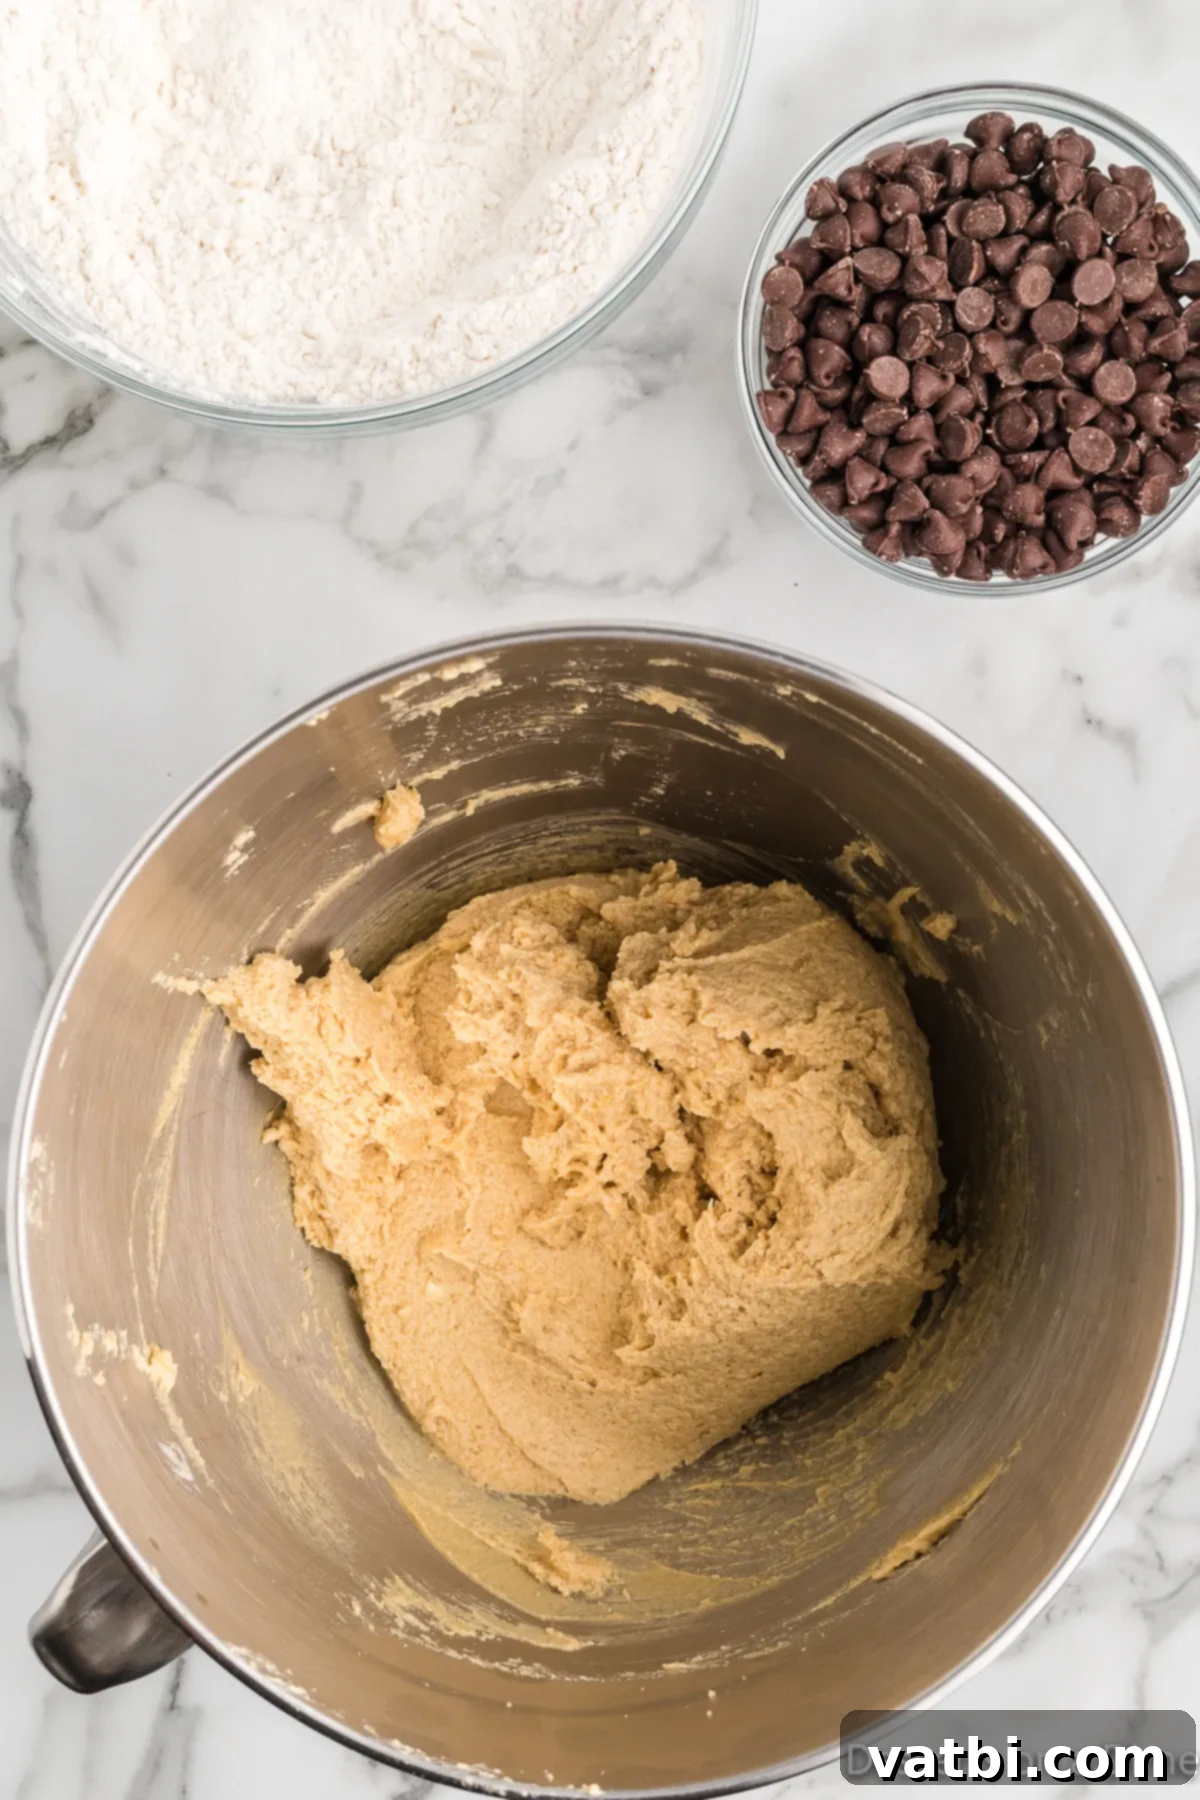
Step 3. Mix Wet and Dry: Gradually add the dry ingredients to the wet ingredients in the stand mixer bowl. Use an electric mixer on low to medium speed and mix only until just combined. It’s absolutely crucial not to overmix the dough. Overmixing develops the gluten in the flour, which can lead to tough, dense cookies instead of the desired soft and chewy texture. Stop mixing as soon as you no longer see streaks of dry flour.
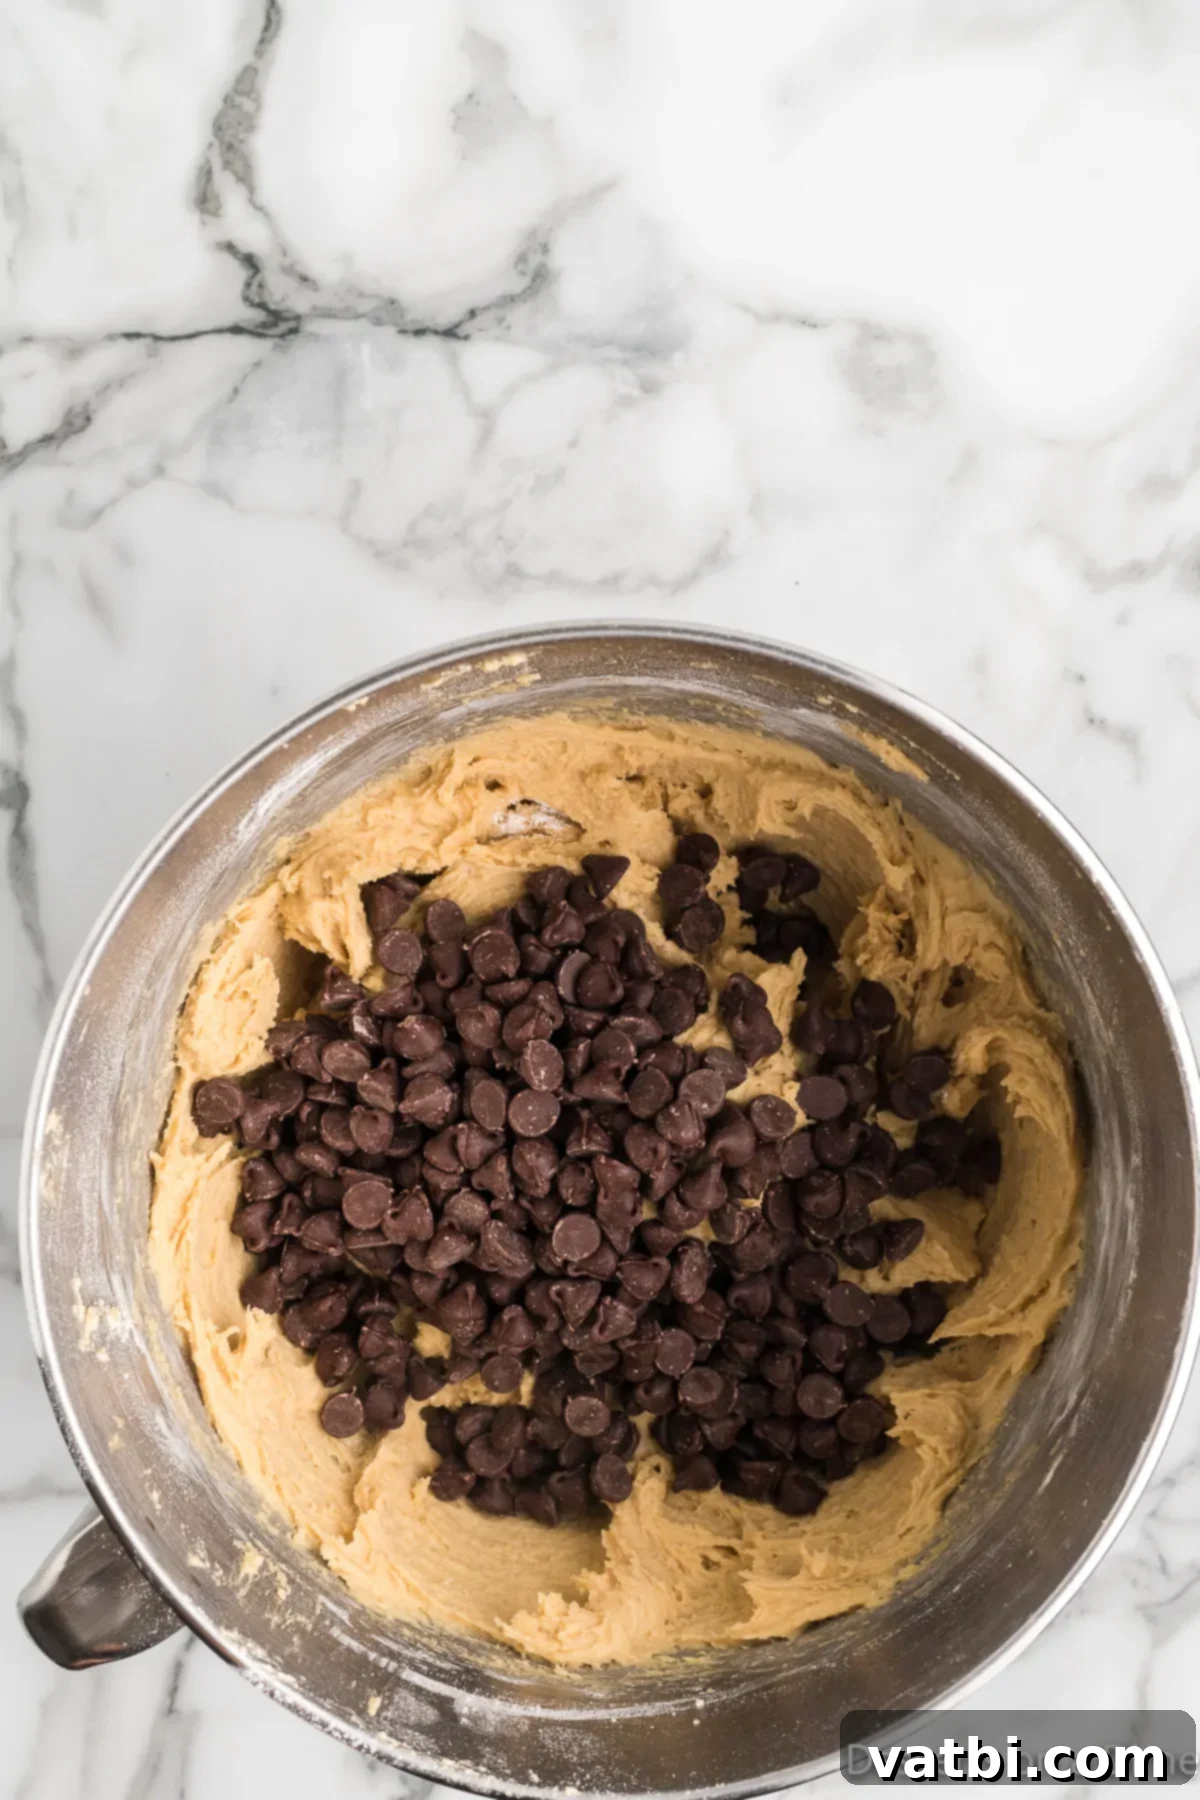
Step 4. Fold in Chocolate Chips & Chill Dough: Remove the bowl from the mixer and, using a sturdy spatula, gently blend in the semi-sweet chocolate chips by hand. Folding them in ensures they are evenly distributed without overworking the dough. Once the chocolate chips are incorporated, cover the cookie dough and refrigerate it for at least 1 hour, or preferably longer (up to 24 hours). This chilling step is vital: it allows the flavors to meld, the flour to fully hydrate, and, most importantly, it prevents the cookies from spreading too much and becoming flat during baking, resulting in that wonderfully thick and chewy texture.
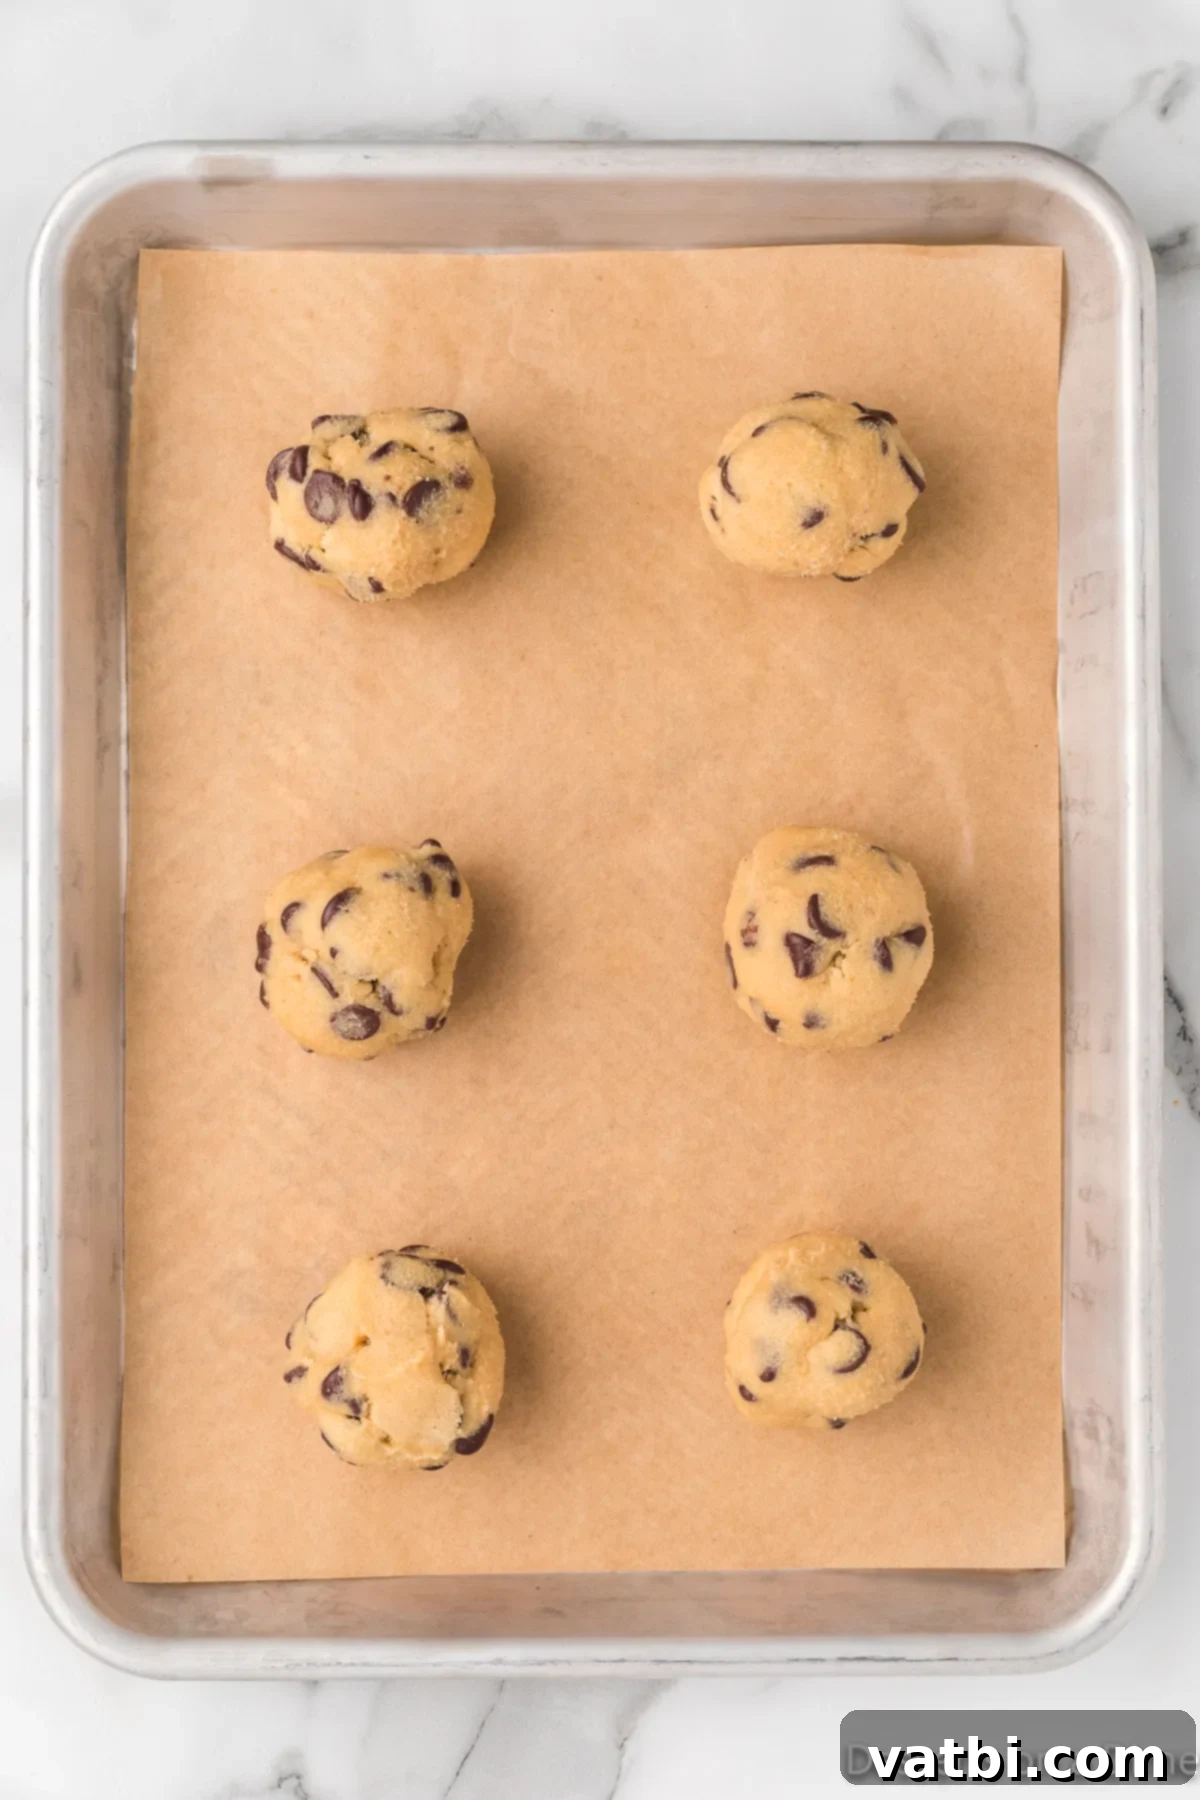
Step 5. Scoop & Prepare for Baking: Once the dough is chilled, preheat your oven to 350°F (175°C). Line your baking sheets with parchment paper or silicone baking mats for easy release and even baking. Using a large cookie scoop (approximately ¼ cup size) or simply rolling the dough into balls about the size of a golf ball, scoop even portions of dough. Place them on the prepared baking sheet, ensuring they are about 2 inches apart to allow for proper spreading without merging during baking.
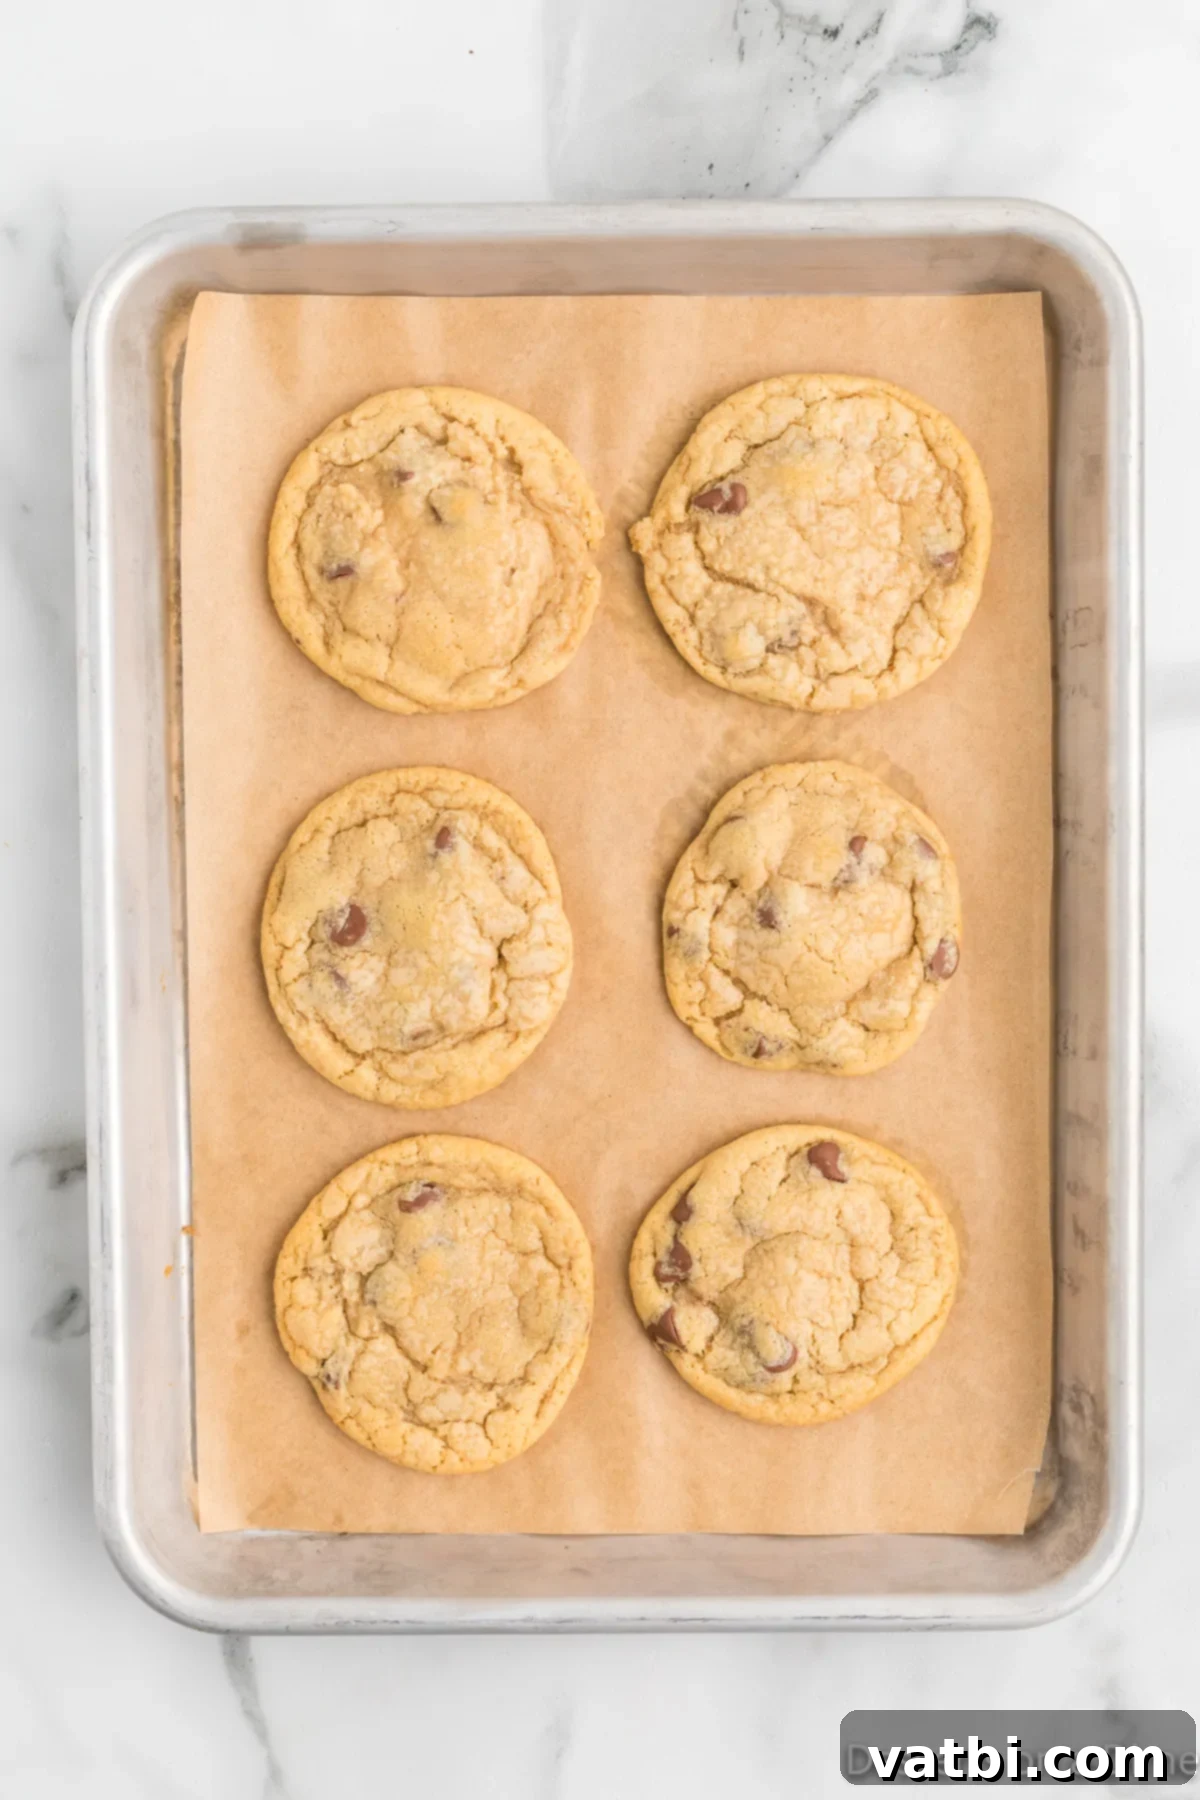
Step 6. Bake & Cool: Bake the cookies in the preheated oven for 10-13 minutes. Keep a close eye on them; the edges should be lightly golden brown, but the centers should still look slightly soft and underdone. It’s crucial not to overcook them, as they will continue to firm up and cook through as they cool on the baking sheet. Once removed from the oven, allow them to rest on the hot baking sheet for 5 minutes before carefully transferring them to a wire rack to finish cooling completely. This resting period on the baking sheet helps the cookies set without becoming dry.
How to Warm Up Mrs. Fields Chocolate Chip Cookies
There is truly nothing better than a warm chocolate chip cookie, with its chocolate chips melty and its center delightfully gooey. If you’re lucky enough to have leftovers and prefer to enjoy that “fresh from the oven” experience again, follow these simple tips for reheating:
- Microwave – This is the quickest way to get a warm, soft cookie. Place a single chocolate chip cookie on a microwave-safe plate and microwave for approximately 10-15 seconds. Be careful not to overheat, as this can make the cookie dry or tough. The goal is just to melt the chocolate and soften the cookie slightly.
- Oven or Air Fryer – If you prefer your cookie to have slightly crispy edges and a uniformly warm center, reheating in the oven or air fryer is an excellent choice. Preheat your oven or air fryer to about 325°F (160°C). Place the cookies on a baking sheet (or directly in the air fryer basket) and heat for about 2-4 minutes, depending on your appliance and how warm you prefer them. This method revives the texture beautifully.
Serve your warm cookies with a glass of cold milk, a scoop of vanilla ice cream, or a drizzle of chocolate sauce for an extra special treat!
Pro Tips for Perfect Mrs. Fields Cookies
Achieving bakery-quality cookies at home is all about the details. These professional tips will help you master this Mrs. Fields copycat recipe and ensure every batch is perfect:
- Room Temperature Ingredients – This is perhaps the most crucial tip for baking success. We strongly recommend starting with softened butter, eggs, and even vanilla extract at room temperature. Softened butter creams effortlessly with sugars, creating a light and airy base (an emulsion) that traps air. Cold butter won’t cream properly, leading to a denser cookie. Room temperature eggs also emulsify better into the batter, resulting in a smoother, more uniform dough.
- Mixing Ingredients – For the best results and a properly aerated dough, use a stand mixer with a paddle attachment or a high-quality handheld electric mixer. While mixing, scrape down the sides of the bowl frequently to ensure all ingredients are thoroughly combined. However, remember the golden rule: mix only until just combined when adding dry ingredients to prevent over-developing gluten.
- Large Scoops – To make these cookies closely resemble the generously sized Mrs. Fields originals, use a large cookie scoop, approximately ¼ cup in volume. Alternatively, roll the dough into balls roughly the size of a golf ball. Larger cookies tend to be thicker and chewier in the center, characteristic of the iconic bakery treat.
- Baking Cookies – Bake your cookies until the edges are golden brown and the centers still look slightly soft and gooey. Do not overcook them! This is essential for maintaining that signature chewy texture. Cookies continue to cook from residual heat (carry-over baking) even after they are removed from the oven.
- Prepare Baking Sheets – Always line your baking sheets with parchment paper or silicone baking mats. This makes cleanup incredibly easy, prevents sticking, and helps the cookies bake more evenly without excessive spreading. It also ensures consistent heat distribution across the bottom of the cookies.
- Don’t Crowd the Pan. Place cookie dough balls about 2 inches apart on the baking sheet. Overcrowding can lead to uneven baking and cookies that merge into one another.
- Invest in Quality Chocolate. Since chocolate is a star ingredient, using high-quality semi-sweet chocolate chips (or chunks) will significantly elevate the flavor of your cookies.
Frequently Asked Questions about Mrs. Fields Chocolate Chip Cookies
Yes, we highly recommend chilling the cookie dough for at least 1 hour, and ideally longer (up to 24 hours). This step is not merely optional; it’s a critical technique for several reasons. Chilling the dough allows the butter to re-solidify, which in turn helps to create a thick, chewy texture and prevents the cookies from spreading too much and becoming flat during baking. Furthermore, chilling allows the flour to fully hydrate and the flavors to meld and deepen, resulting in a more complex and delicious cookie. It’s a small step that makes a huge difference in achieving that signature Mrs. Fields texture.
To keep your freshly baked cookies at their best, store leftover cookies in an airtight container at room temperature. They will remain wonderfully fresh and soft for up to 1 week. A fantastic trick to keep them extra soft and to stay fresh is to place a half-slice of plain bread in the container with the cookies. The cookies will absorb moisture from the bread, maintaining their chewy texture. Just be sure to replace the bread every couple of days to prevent mold.
Absolutely! These Chocolate Chip Cookies freeze exceptionally well, offering you two convenient options depending on your preference. Freezing allows you to enjoy fresh-baked cookies any day of the week with minimal effort.
Option 1: Freeze Cookie Dough (Our Preferred Method)
After forming the cookie dough into individual balls, arrange them on a baking sheet lined with parchment paper and flash freeze for 1 to 2 hours, or until solid. Once frozen, transfer the solid dough balls to freezer-safe bags or airtight containers. They can be stored in the freezer for up to 3 months. This method is incredibly convenient: simply pull out as many dough balls as you need, place them on a baking sheet, and bake from frozen. Just note that frozen cookies will need a few extra minutes (typically 2-5 minutes) in the oven to bake through completely.
Option 2: Freeze Baked Cookies
If you prefer to bake a large batch and store them, allow the cookies to cool completely after baking. Then, place parchment paper in between layers of cookies to prevent them from sticking together. Store them in a freezer-safe container or bag. Baked cookies can be frozen for up to 3 months. To enjoy, simply thaw them at room temperature, or warm them briefly in the microwave or oven for that fresh-baked feel.
For more detailed guidance, get all the step-by-step instructions on how to freeze cookie dough.
Yes, absolutely! This recipe is incredibly versatile and can easily be customized with various mix-ins based on your preferences or what you have on hand. While we’ve used classic semi-sweet chocolate chips, feel free to get creative. You can easily substitute them with dark chocolate chips for a more intense cocoa flavor, or milk chocolate chips for a sweeter, creamier profile. Beyond different types of chocolate, consider adding:
– Nuts: Chopped walnuts, pecans, or macadamia nuts add a lovely crunch and earthy flavor.
– Toffee bits: For a buttery, caramel-like sweetness.
– M&M’s: Especially fun for colorful, kid-friendly cookies.
– Coconut flakes: For a tropical twist.
– Dried fruits: Such as cranberries or cherries, can add a chewy, fruity element.
Feel free to combine different mix-ins to truly make this cookie recipe your own unique creation!
More Delicious Chocolate Chip Cookies to Make
If you can’t get enough of chocolate chip cookies, here are even more delightful recipes to explore:
- Air Fryer Chocolate Chip Cookies
- Cherry Chocolate Chip Cookies
- Crumbl Chocolate Chip Cookie Recipe
- Strawberry Chocolate Chip Cookies
- Chocolate Chip Walnut Cookies
- Chocolate Chip Cake Mix Cookies
More Copycat Desserts You’ll Love
Craving more of your favorite treats but want to make them at home? Explore these other fantastic copycat dessert recipes that allow you to recreate iconic flavors from popular bakeries and restaurants in your own kitchen:
All Recipes Dessert
Copycat Thin Mint Cookies
Cakes
Swiss Roll Cake Recipe
Cakes
Starbucks Lemon Loaf Recipe
There’s an undeniable joy and satisfaction that comes from recreating beloved bakery treats in your own home. These homemade Mrs. Fields Chocolate Chip Cookies offer not just a delicious dessert, but a comforting trip down memory lane, with the added bonus of freshness and quality you control. They’re perfect for any occasion – a quick snack, a special dessert, or simply to brighten a gloomy day. So, gather your ingredients, follow our detailed guide, and enjoy these decadent cookies at home. Make them today, and don’t forget to leave a comment once you do to share your experience!
Pin
Mrs. Fields Chocolate Chip Cookie Recipe
Ingredients
- 1 cup Unsalted Butter softened
- 1/2 cup Granulated Sugar
- 1 1/2 cup Brown Sugar packed
- 2 Large Eggs
- 2 teaspoons Vanilla Extract
- 2 1/2 cups All Purpose Flour
- 1/2 teaspoon Salt
- 1 teaspoon Baking Soda
- 1 teaspoon Baking Powder
- 12 ounces Semi-Sweet Chocolate Chips
Instructions
-
In a large mixing bowl, cream together the softened butter, sugar, brown sugar, eggs and vanilla extract with a stand up mixer or hand held mixer.
-
In a separate bowl, whisk together the flour, salt, baking soda and baking powder.
-
On low speed, add the dry ingredients into the wet ingredients and beat together until just combined. Be careful not to over mix.
-
Mix the chocolate chips into the cookie dough.
-
Refrigerate the cookie dough for at least 1 hour. This will keep the cookies from getting flat.
-
Preheat the oven to 350 degrees F.
-
Use a large cookie scoop, ¼ cup measuring cup or roll the cookie dough into balls that are approximately the size of golf balls. Place them on a baking sheet approximately 2 inches apart.
-
Bake in the oven for 10-13 minutes until the edges are golden brown. Be careful not to over cook. The cookies will continue to cook as they sit.
-
Remove the cookies from the oven. Let them rest on the baking sheet for 5 minutes. Then move them to wire racks to cool completely.
Nutrition Facts
Pin This Now to Remember It Later
Pin Recipe
