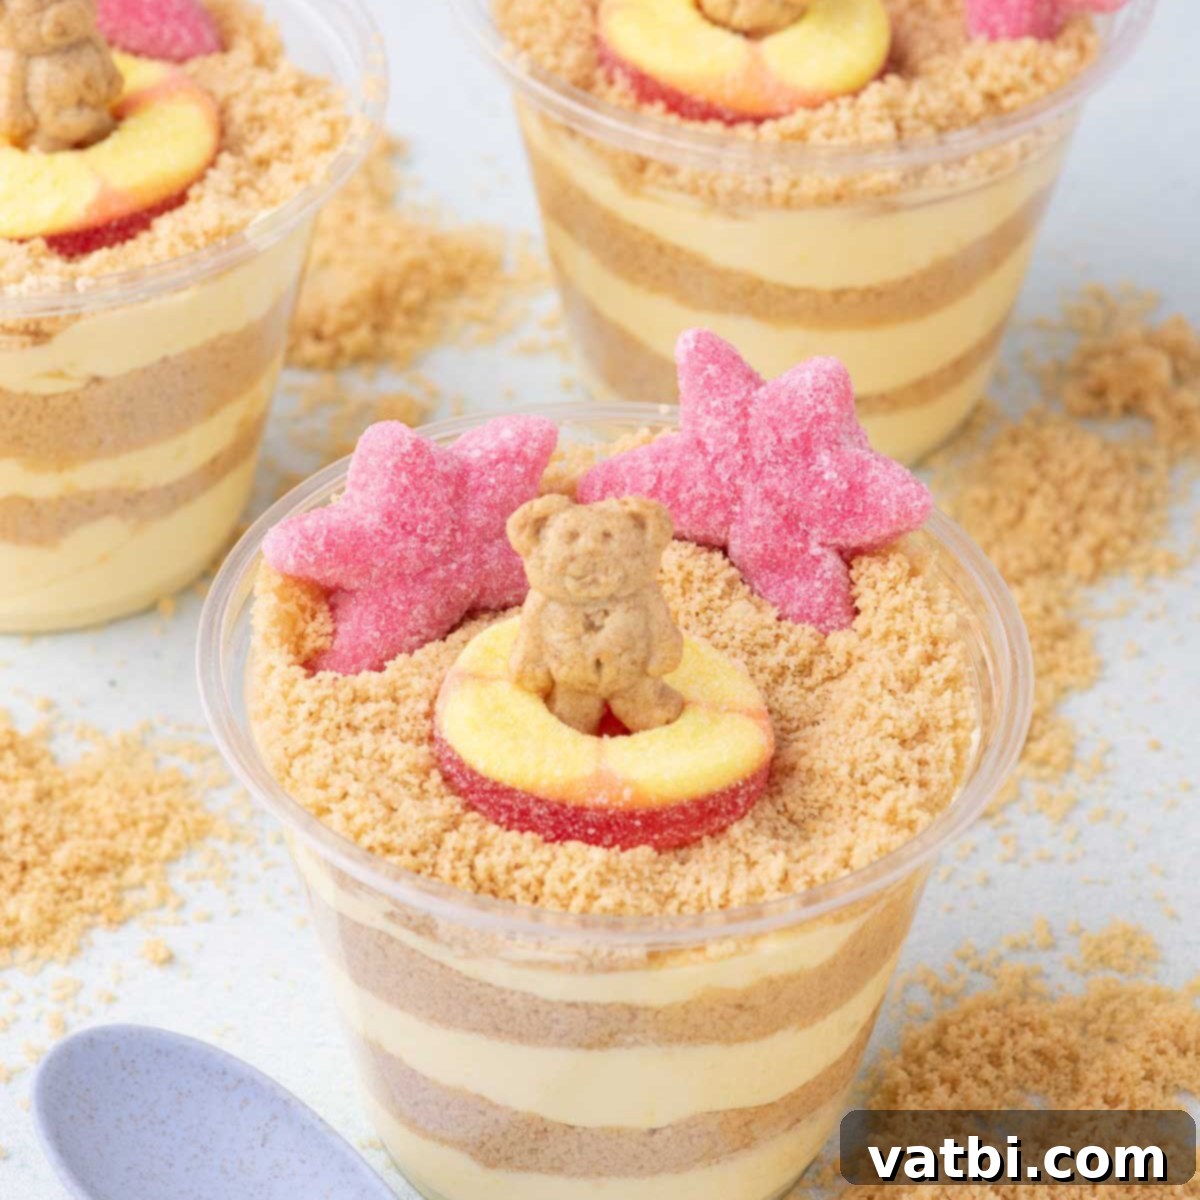
Irresistible Sand Pudding Cups: The Ultimate No-Bake Beach Party Dessert for Summer Fun
Sand Pudding Cups are the epitome of festive fun, making them absolutely perfect for any summer gathering, especially vibrant pool parties, beach-themed events, or simply a delightful warm-weather treat. These charming individual desserts combine a luscious, creamy pudding base with a playful beach scene topping, guaranteeing smiles and deliciousness in every spoonful. They are incredibly easy to make and universally loved, bringing a touch of coastal charm right to your table.
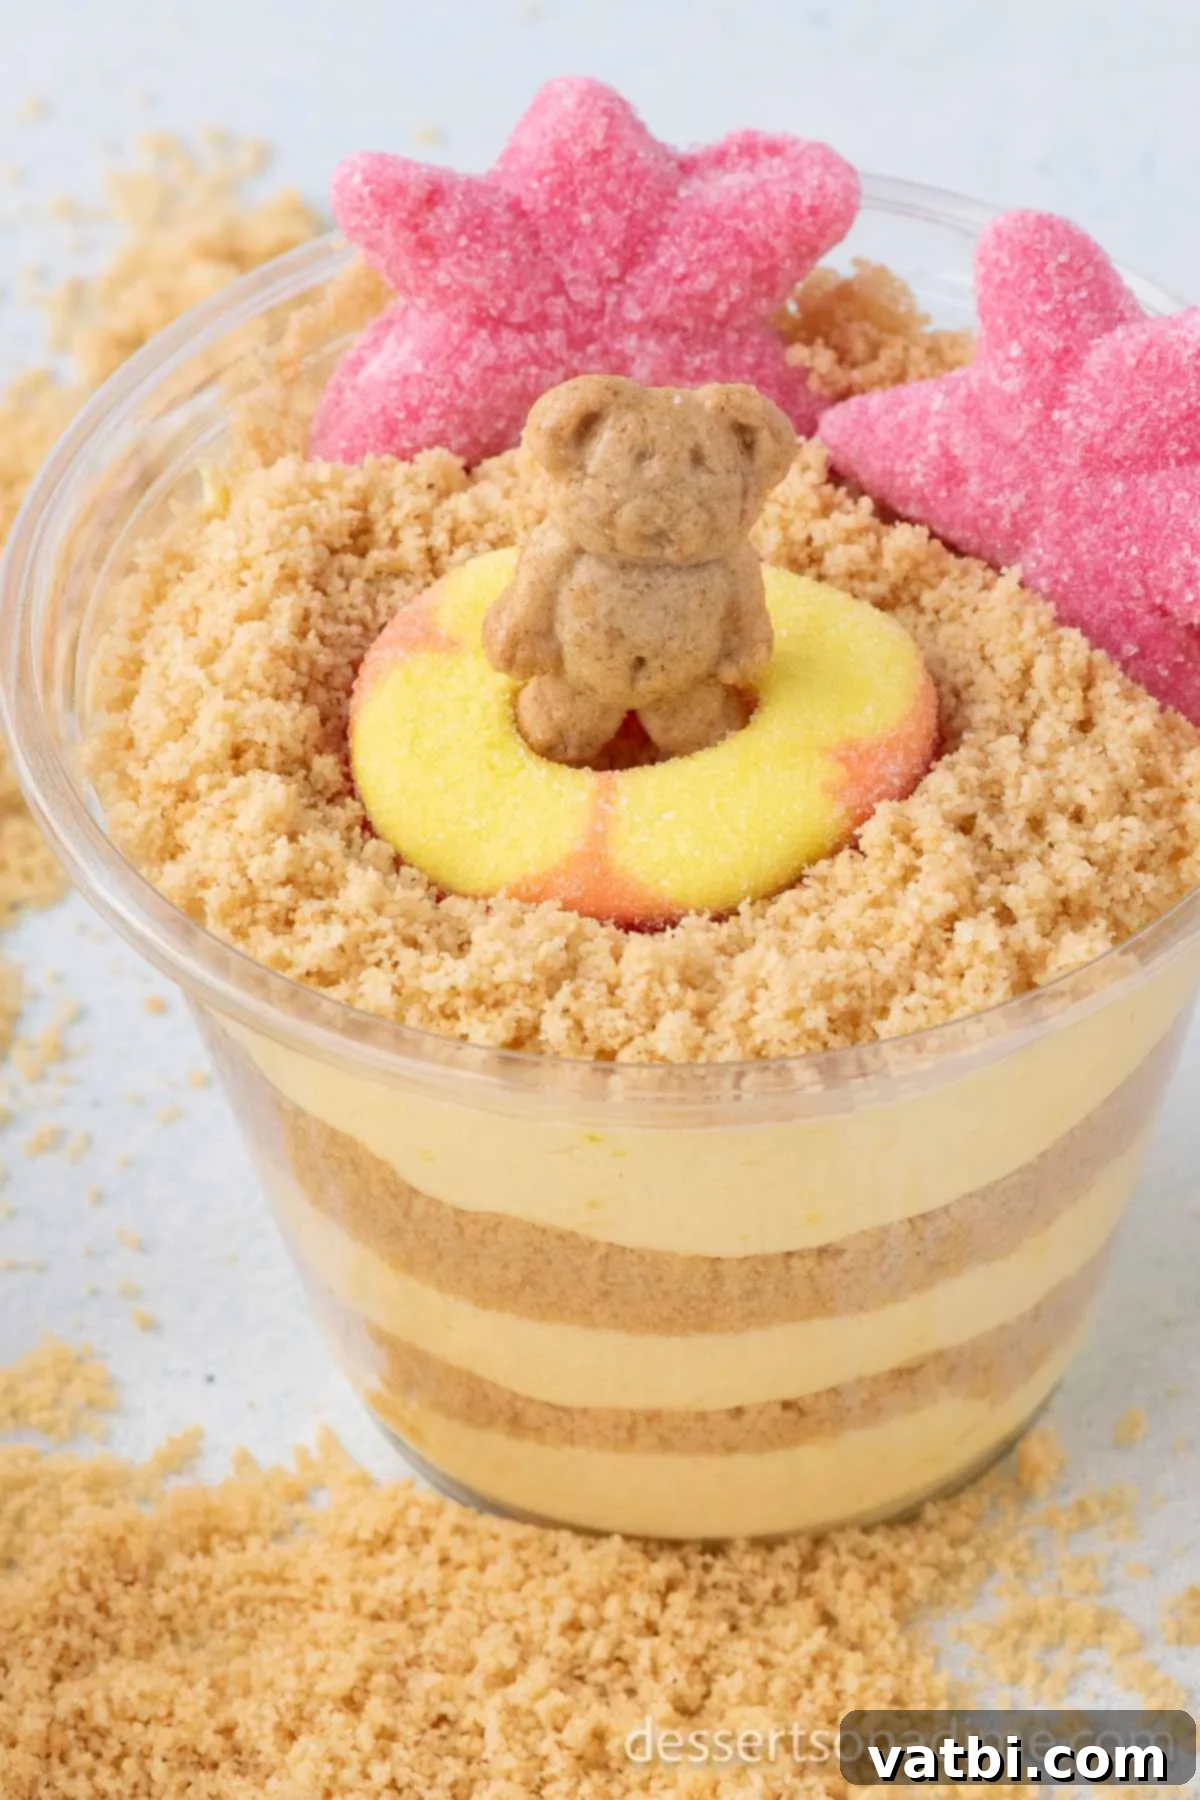
Crafting these delightful Sand Pudding Cups is a joyful and simple experience, resulting in an effortless no-bake dessert recipe that’s ideal for busy days or when you simply want a quick, impressive treat. The rich, creamy texture of the pudding beautifully complements the crunchy, sweet cookie crumbs, which are artfully designed to resemble beach sand. This clever combination transforms a simple dessert into a beach-inspired “sand pail” treat, bursting with delightful flavors. It stands out as an incredibly Easy Vanilla Pudding Dessert, adaptable and enjoyable for all ages.
Table of contents
- Why You’ll Adore This Sand Pudding Cup Recipe
- Essential Ingredients for Your Beachy Dessert
- Step-by-Step Guide to Making Sand Pudding Cups
- Storing Your Delicious Sand Pudding Cups
- Expert Tips for Perfect Sand Pudding Cups
- How Long Do Sand Pudding Cups Stay Fresh?
- Creative Topping Ideas to Enhance Your Beach Theme
- More Irresistible Pudding Cup Recipes to Explore
Why You’ll Adore This Sand Pudding Cup Recipe
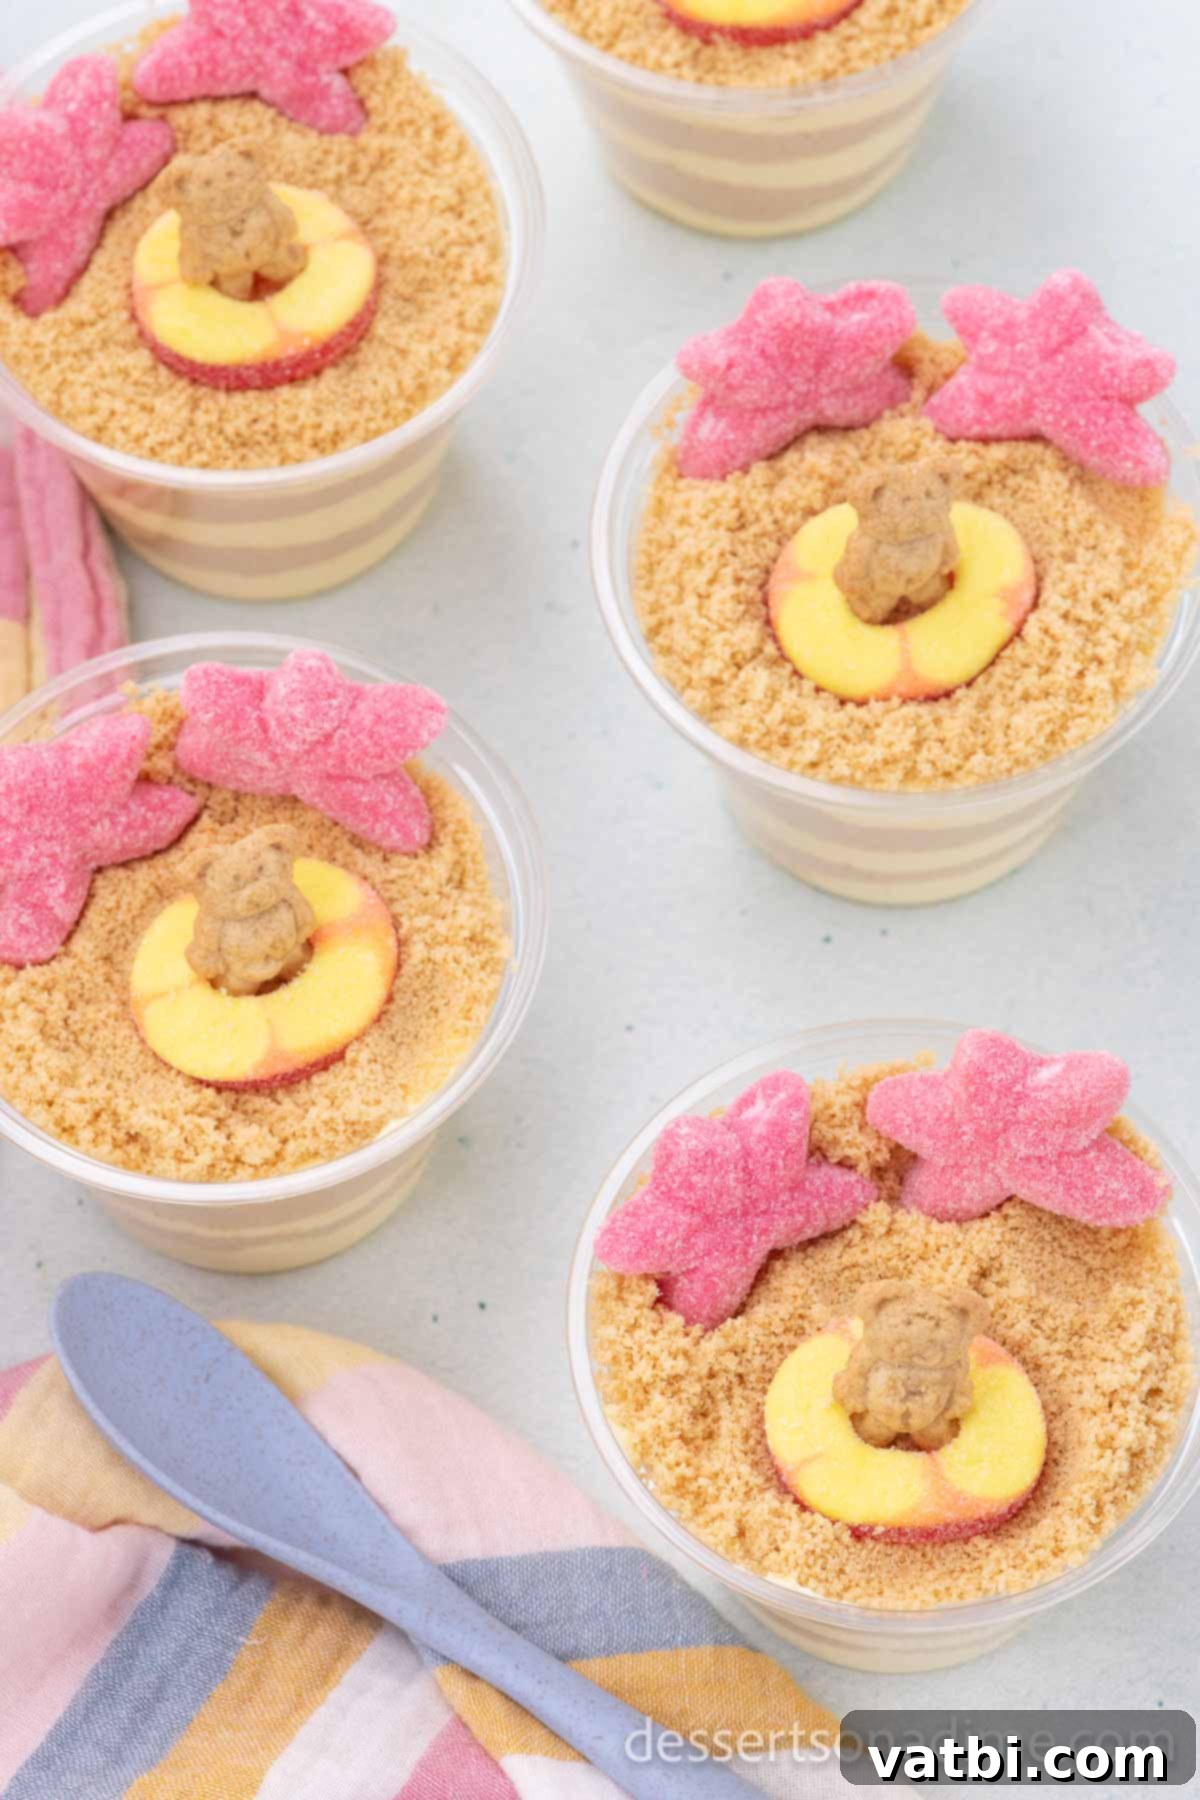
Beyond their incredible taste, these individual Sand Pudding Cups are simply adorable, making them a feast for both the eyes and the palate. The finely crushed cookies layered on top perfectly mimic soft beach sand, while an assortment of candy and playful Teddy Grahams seemingly “swimming” in the pudding complete the enchanting beach scene. This whimsical presentation is guaranteed to be a crowd-pleaser and the highlight of any celebration.
Children especially will be absolutely thrilled by these charming sand pudding cups. They are an ideal dessert for numerous occasions: perfect for celebrating the end of the school year, adding a whimsical touch to pool parties, delightful for birthday celebrations, or simply when you desire a truly cute and easy treat that brings joy to everyone. Their ease of preparation combined with their delightful appearance makes them a go-to for summer entertaining and family fun.
Essential Ingredients for Your Beachy Dessert
Creating these delightful Sand Pudding Cups requires just a handful of simple ingredients, most of which you likely already have in your pantry. Each component plays a crucial role in building the perfect texture and flavor for this fun, no-bake dessert.
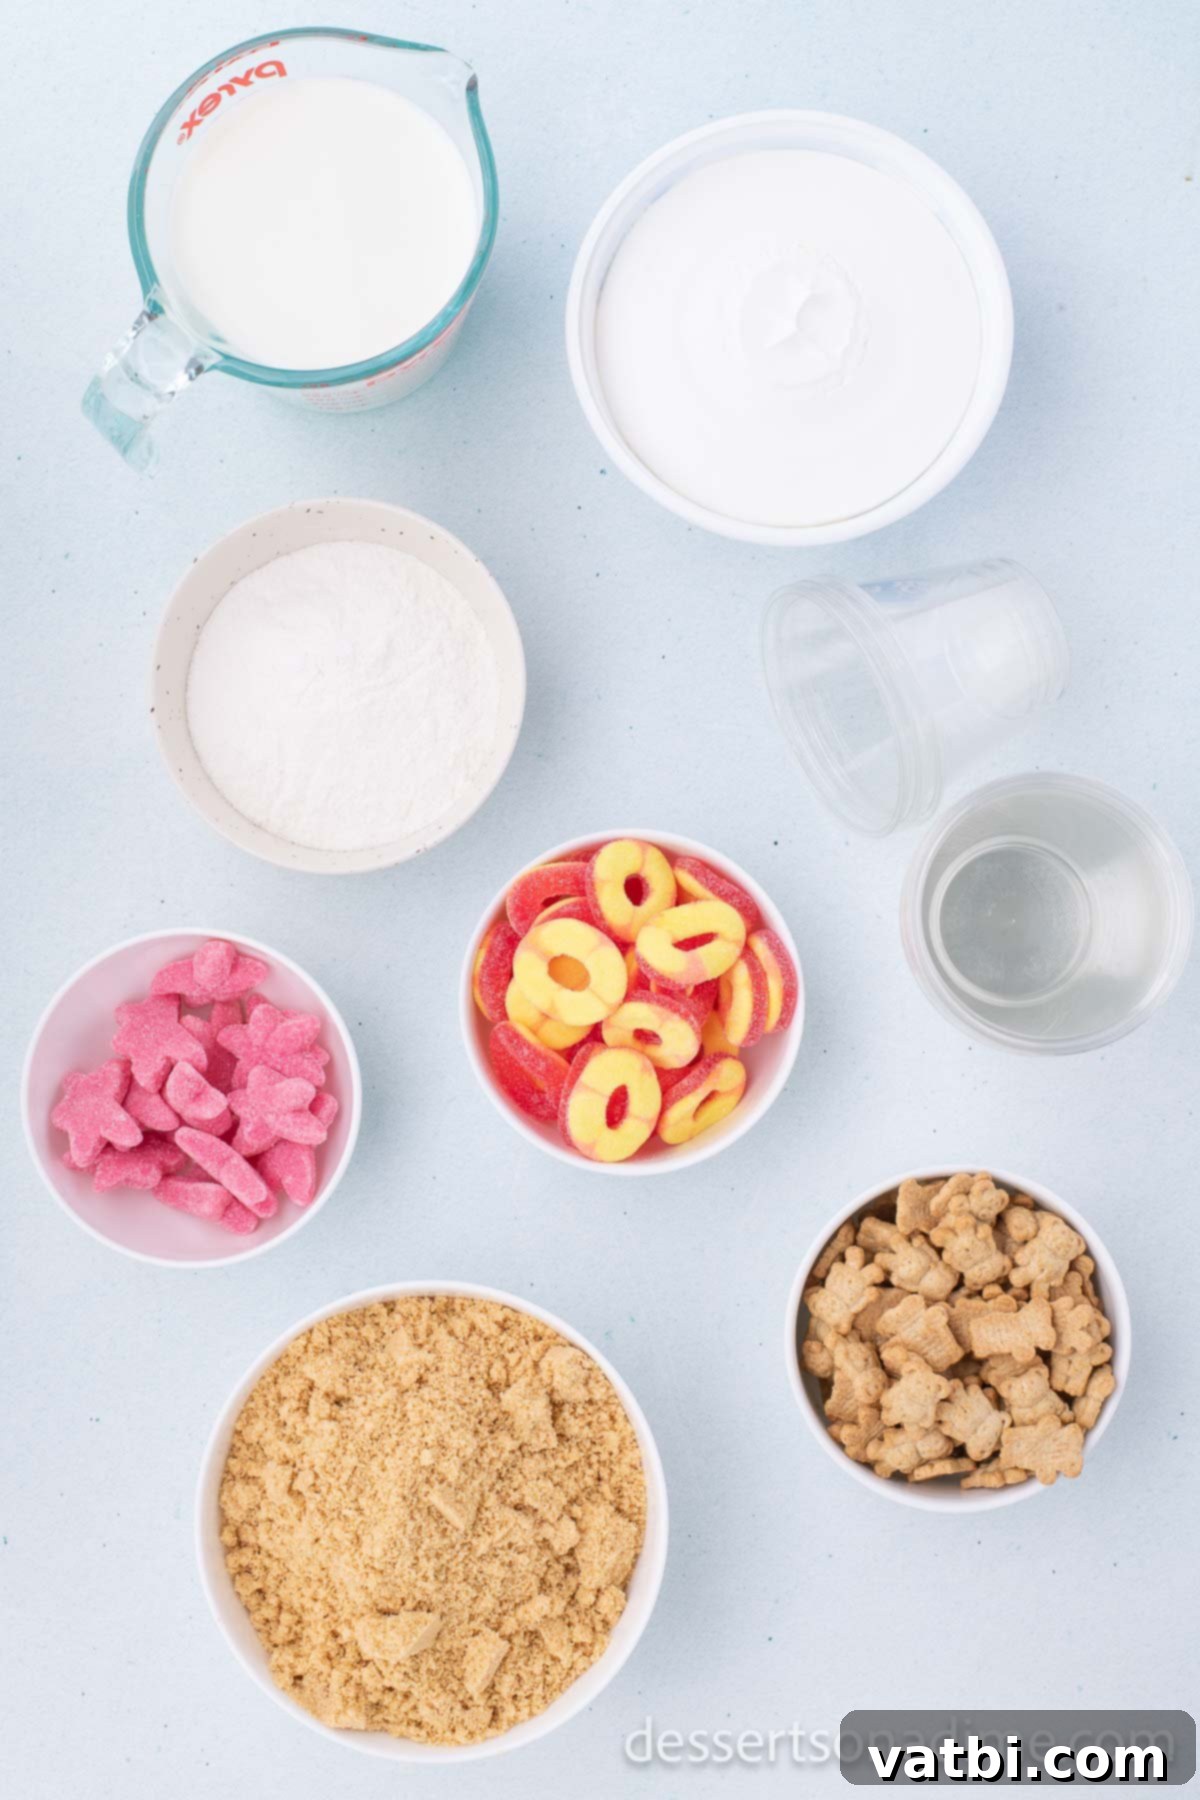
- Instant Vanilla or White Chocolate Pudding Mix – This forms the creamy base of your dessert. For an even more indulgent flavor, consider making our Homemade Vanilla Pudding from scratch. Ensure you use instant pudding, not cook-and-serve, for quick setting.
- Milk – Cold milk is essential for the instant pudding to set properly and quickly. Whole milk often yields the creamiest results, but 2% milk works well too.
- Whipped Topping – A generous amount of whipped topping adds lightness and airiness to the pudding mixture, making it incredibly smooth and delightful. You can opt for a convenient store-bought brand or elevate your dessert with our luscious Homemade Whipped Cream Recipe for a fresher taste.
- Golden Oreo Cookies – These are the star ingredient for creating the iconic “sand” effect. Their golden hue perfectly mimics beach sand, and once crushed, they provide a lovely crunchy contrast to the soft pudding.
- Assorted Candy for Toppings – Get creative with your beach scene! We recommend using playful candies such as Gummy Sea Creatures, Gummy Stars, or Gummy Shells. Additionally, Teddy Grahams are fantastic for creating the illusion of little bears “swimming” or lounging on the sand, adding an extra layer of charm and fun to each cup.
Step-by-Step Guide to Making Sand Pudding Cups
Creating these delightful Sand Pudding Cups is a straightforward process, making them an excellent no-bake dessert for cooks of all skill levels. Follow these simple steps for a perfect beach-themed treat every time.
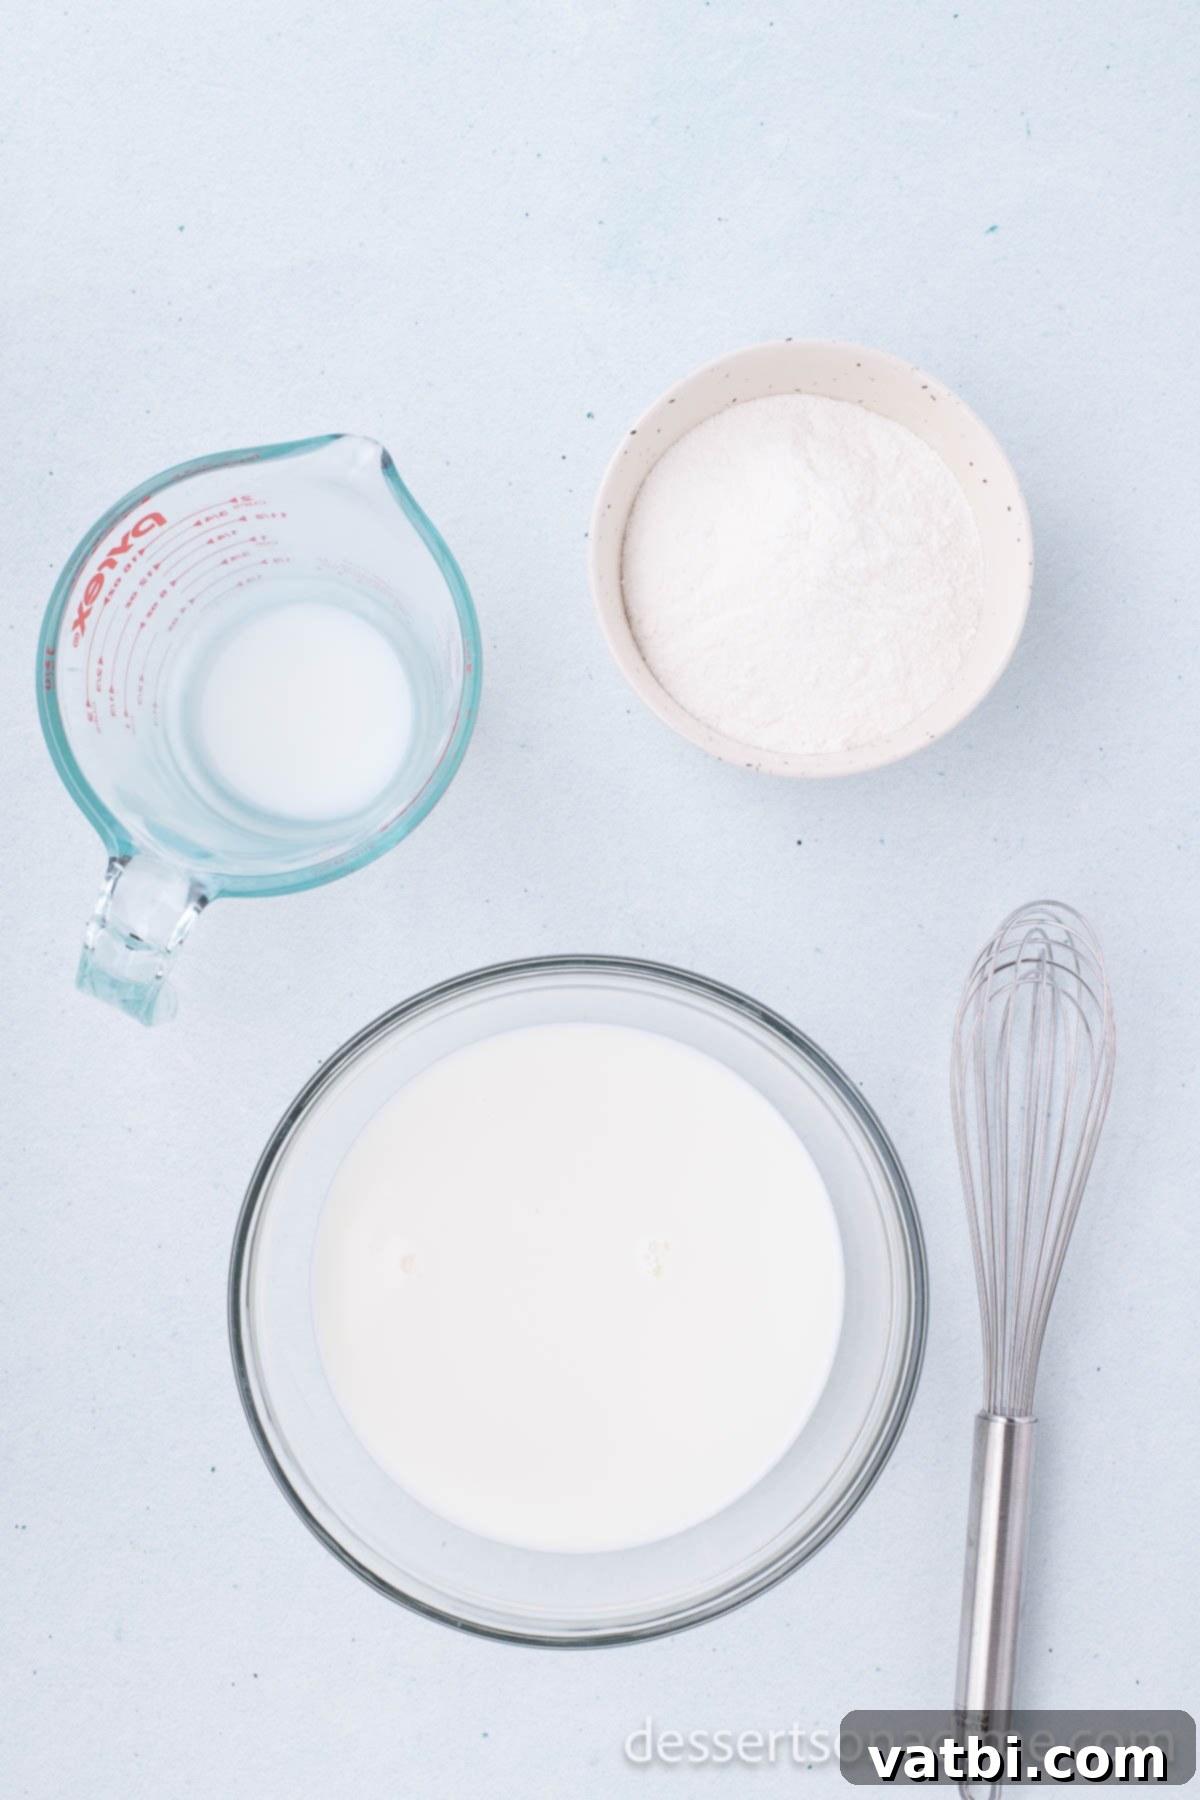
Step 1. Prepare the Pudding Base: In a medium-sized mixing bowl, pour in the cold milk. Sprinkle the instant pudding mix evenly over the top of the milk. Using a whisk, vigorously beat the mixture for about 2 minutes, or until the pudding is smooth and begins to thicken. It’s important to whisk well to ensure there are no lumps and the pudding activates properly.
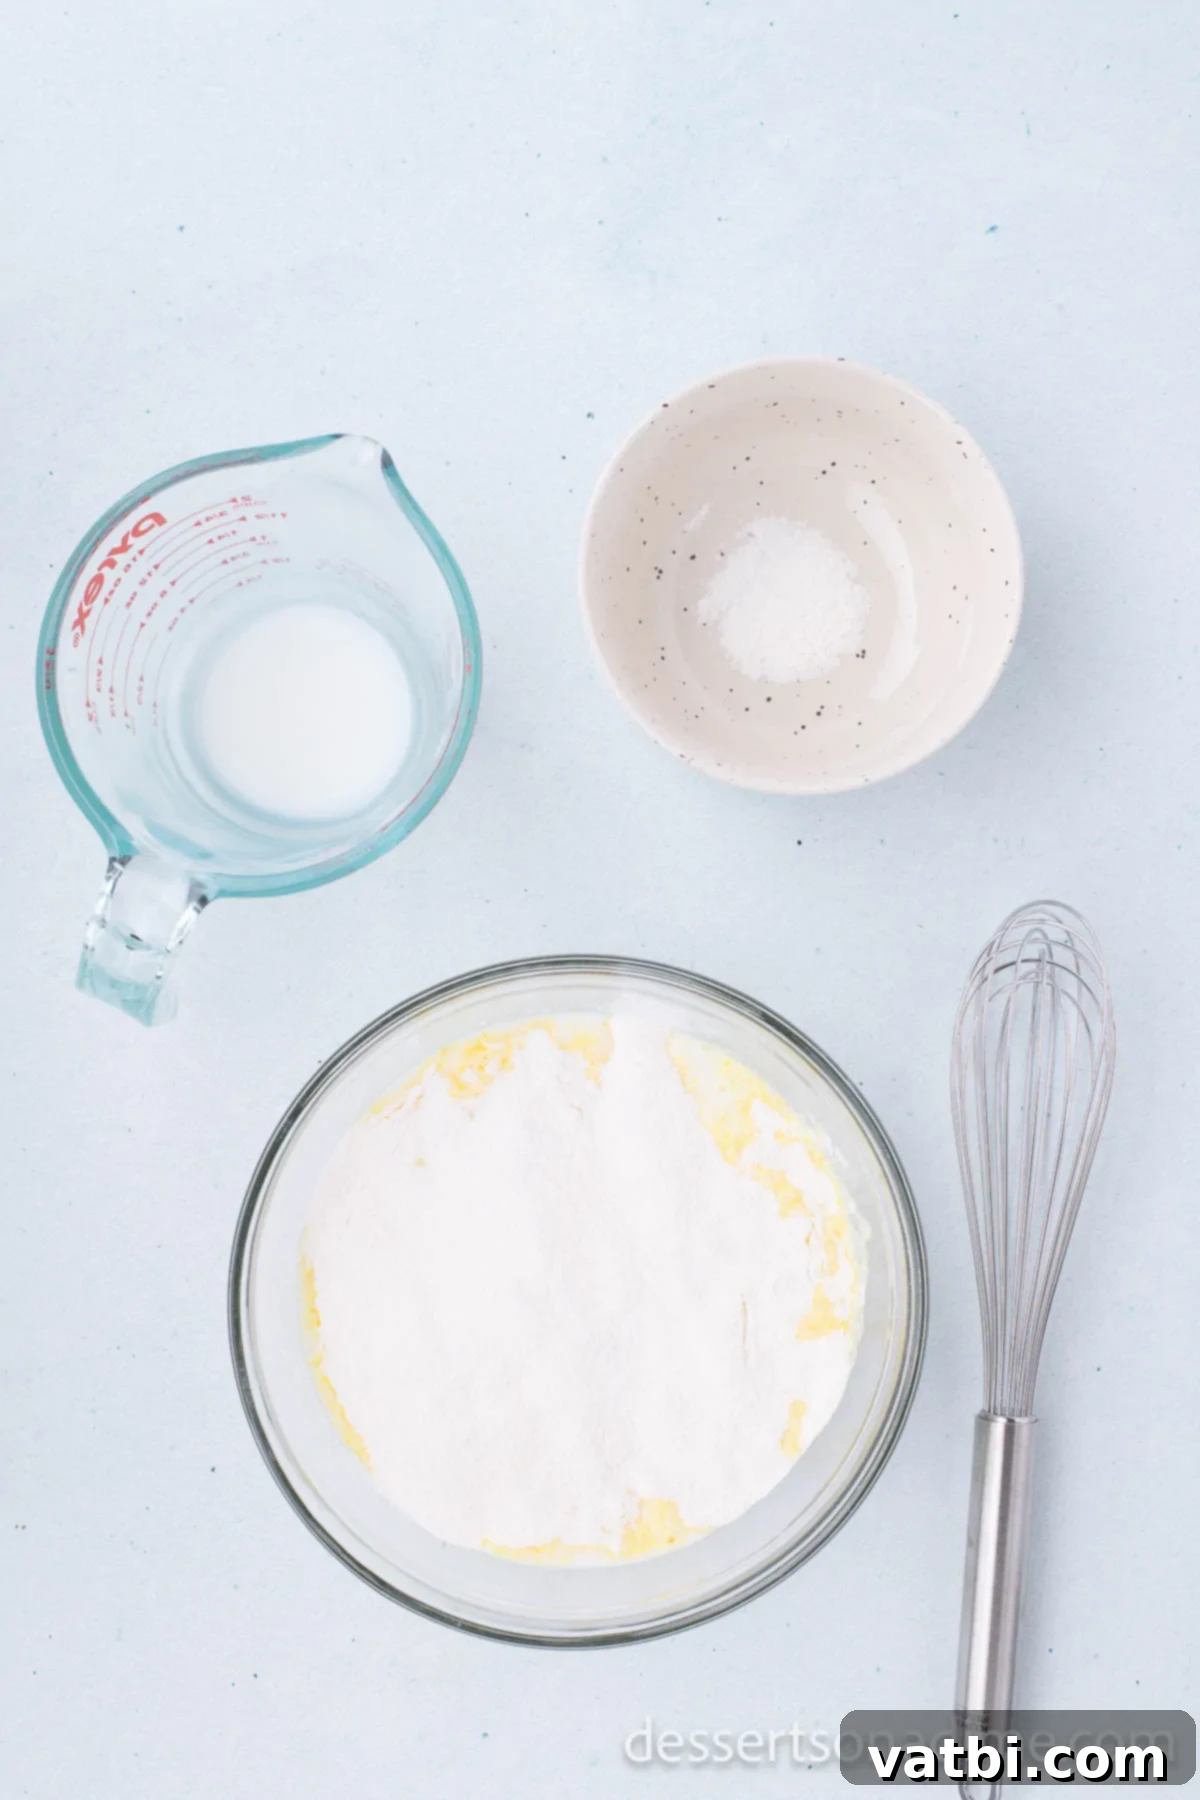
Step 2. Chill the Pudding: Once your pudding mixture is thoroughly combined and beginning to thicken, place the bowl in the refrigerator. Let it chill for approximately 10 minutes, or until it has set into a firm, yet creamy consistency. This brief chilling period is crucial for the pudding to achieve its ideal texture before the next step.
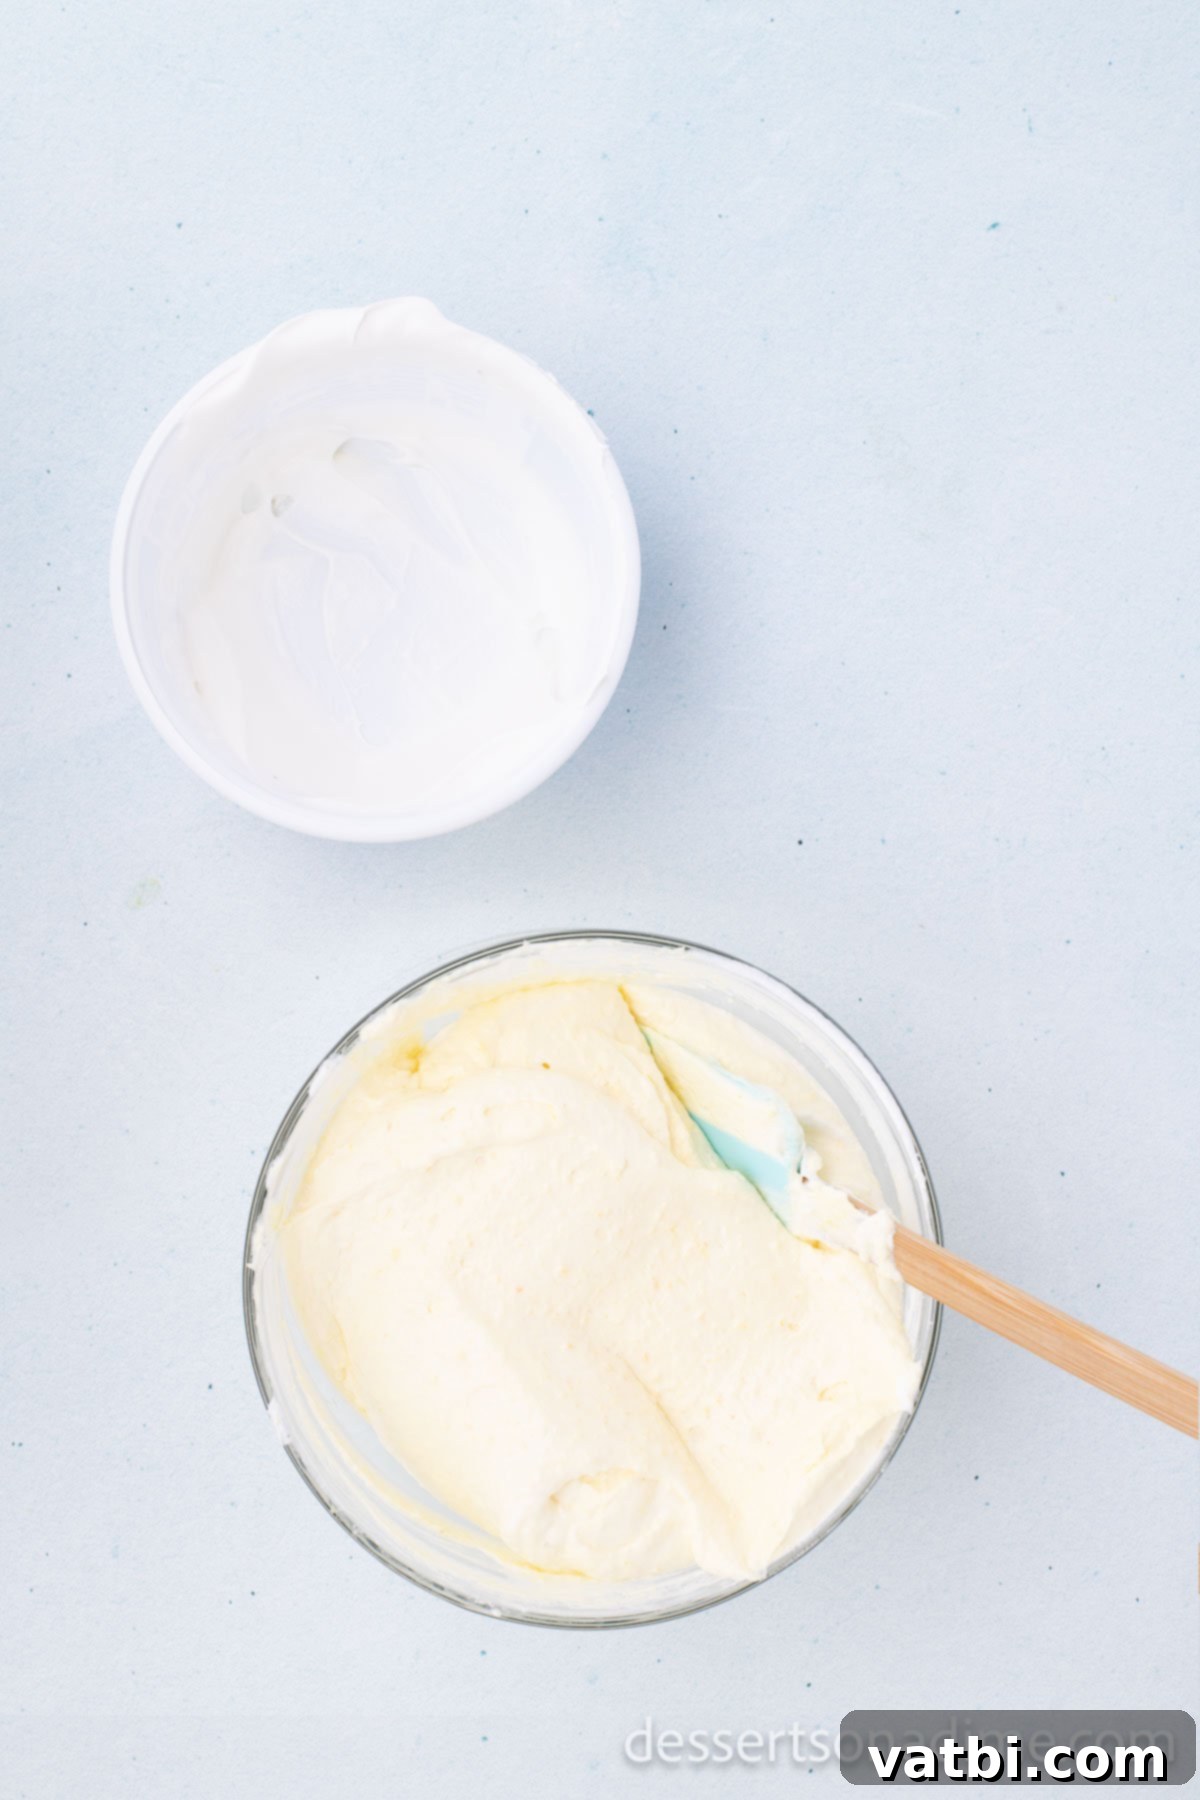
Step 3. Fold in Whipped Topping: Gently fold the thawed whipped topping into the set pudding mixture. Use a spatula to carefully incorporate it until the mixture is light, airy, and uniformly combined. Avoid overmixing, as this can deflate the whipped topping. Once fully blended, the mixture will be smooth and fluffy.
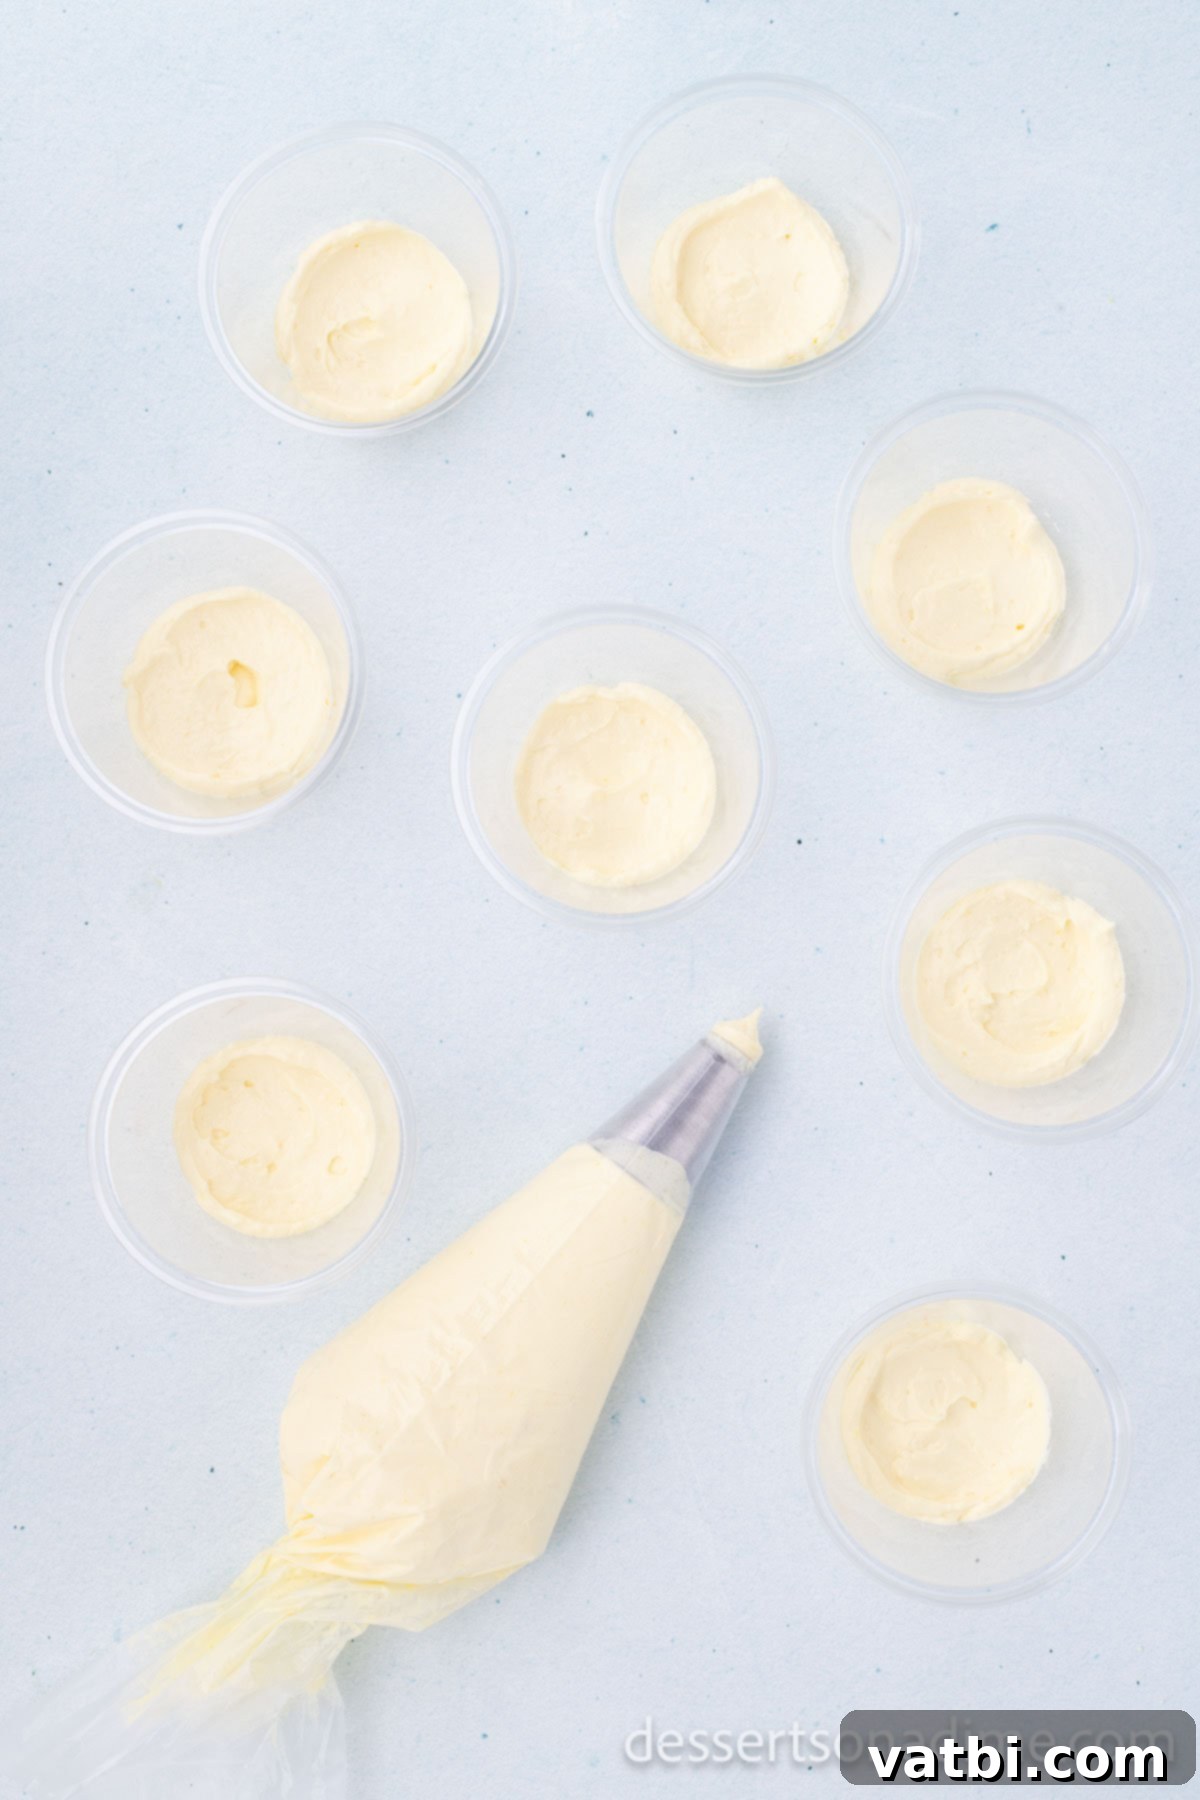
Step 4. Fill the Cups: Now it’s time to assemble! Spoon or pipe the creamy pudding mixture into your chosen glasses or individual plastic cups. For the best visual effect, consider filling them about two-thirds of the way, leaving room for the “sand” and other fun toppings.
Step 5. Create the Sand Layer: Take your Golden Oreo cookies and crush them thoroughly. A food processor works best for achieving a fine, sand-like texture quickly. Once crushed, sprinkle a generous layer of these cookie crumbs over the top of the pudding in each plastic cup to create your “beach sand.” You can also create alternating layers of pudding and cookie crumbs for an even more dynamic look.
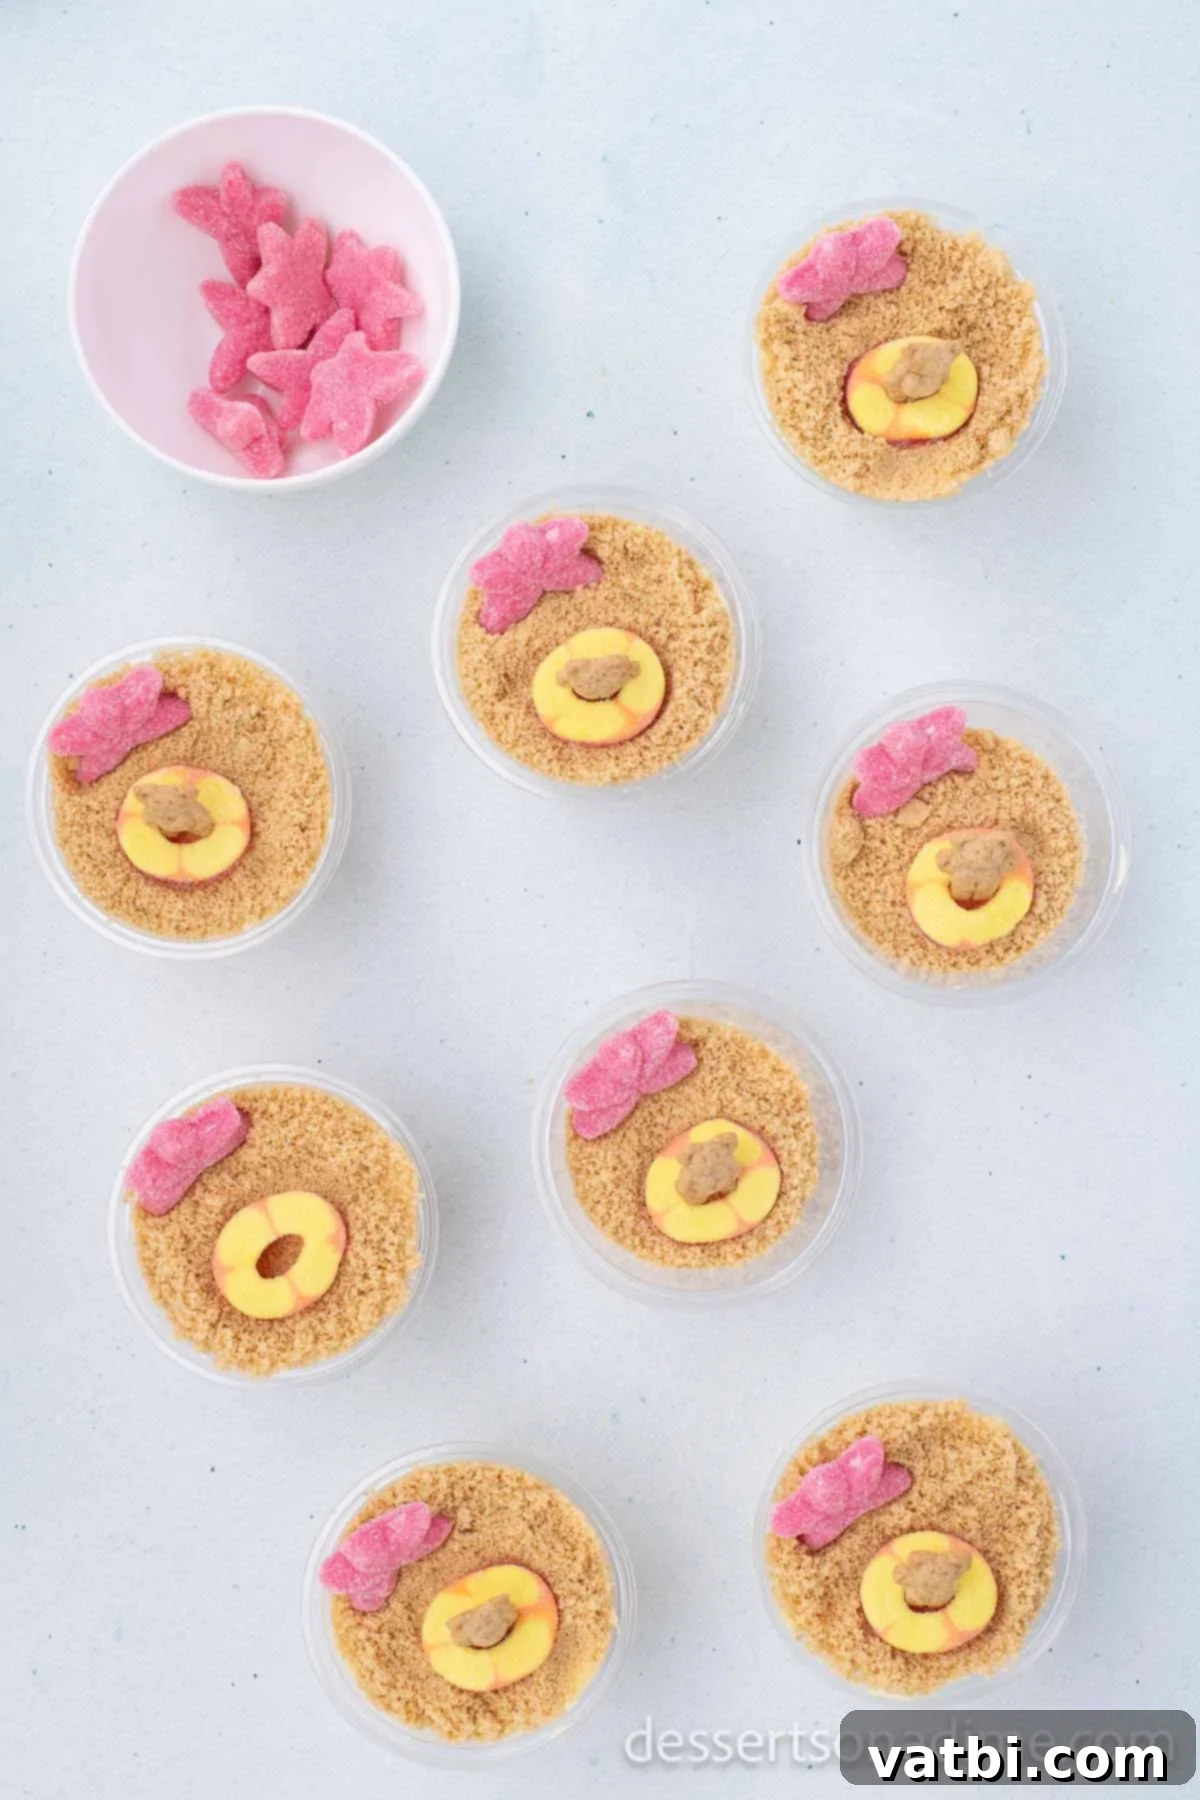
Step 6. Decorate Your Beach Scene: This is where the fun truly begins! Arrange your gummy candies – sea creatures, stars, or shells – on top of the cookie sand. Then, carefully place a Teddy Graham in each cup, positioning it as if it’s “swimming” or relaxing on a pool float (a gummy ring works perfectly for this). Serve immediately and watch everyone enjoy these adorable and delicious beach-themed treats!
Storing Your Delicious Sand Pudding Cups
Proper storage is key to keeping your Sand Pudding Cups fresh and delicious. If you find yourself with any delightful leftovers, simply cover each cup tightly with plastic wrap or an airtight lid. Store them in the refrigerator, and they will remain fresh and enjoyable for up to 5 days. This makes them a fantastic make-ahead dessert for parties and events, reducing stress on the day of the celebration.
Expert Tips for Perfect Sand Pudding Cups
Achieving the perfect Sand Pudding Cups is easy with these helpful tips and tricks. From crushing your cookies to creative variations, these suggestions will elevate your dessert to the next level.
- Effortless Cookie Crushing with a Food Processor – For the finest, most uniform “sand” texture, we highly recommend using a food processor. It’s incredibly quick, efficient, and ensures a consistent crumb that perfectly mimics real beach sand.
- No Food Processor? No Problem! Crush with a Rolling Pin – If you don’t have a food processor, don’t worry! Place the Golden Oreo cookies (or your chosen alternative) in a sturdy zip-top bag. Seal it tightly, removing as much air as possible, then use a rolling pin or a heavy object to crush the cookies until they reach your desired sand-like consistency. It’s a great way to get the kids involved too!
- Layering for Visual Appeal – To create a more dynamic and visually appealing dessert, consider layering your ingredients. Start with a small portion of the creamy pudding, followed by a layer of cookie crumbs, and then repeat until your cup is full. This creates beautiful stripes that resemble waves and sand.
- Keep the Cream Filling in Oreos – When crushing Golden Oreos, there’s no need to remove the cream filling. It adds a lovely richness and helps the crumbs clump together slightly, enhancing the sand-like texture.
- Achieve a Speckled Sand Look with Dark Oreos – For a more authentic, speckled sand appearance, try crushing in a few regular dark chocolate Oreos alongside your Golden Oreos. The contrast in colors will create a visually interesting “dirty sand” effect.
- Alternative Cookie Options: Vanilla Wafers or Graham Crackers – If Golden Oreos aren’t available or you prefer a different flavor profile, vanilla wafers are an excellent substitute. Their light color and delicate flavor make them perfect for creating a fine sand-like layer. Graham Crackers are another fantastic option, offering a slightly heartier texture and a classic flavor that pairs wonderfully with pudding.
- Cream Cheese Mixture Variation – For an even richer and tangier pudding base, consider adding a cream cheese mixture. Simply beat softened cream cheese with a little butter and powdered sugar until smooth, then gently fold it into your prepared pudding before adding the whipped topping. This creates a denser, cheesecake-like pudding layer.
- Ideal Serving Size: Clear Plastic Cups – Divide the mixture into 8 oz clear plastic cups. These are not only the perfect size for little hands, making them kid-friendly, but also allow the beautiful layers and beach scene decorations to be fully visible. This recipe typically yields about 15 sand cups, making them ideal for sharing at parties or larger gatherings.
How Long Do Sand Pudding Cups Stay Fresh?
These delightful Sand Pudding Cups are excellent for making ahead, which is a huge advantage when planning for parties or events. For optimal freshness and taste, we recommend preparing them no longer than 2 days in advance of when you plan to serve them. This ensures the pudding remains perfectly creamy and the cookie “sand” retains its delightful texture. Always store them covered in the refrigerator.
Creative Topping Ideas to Enhance Your Beach Theme
While classic gummy candies and Teddy Grahams are wonderful, don’t hesitate to get creative with your Sand Pudding Cup toppings to make each one a unique beach masterpiece! Here are some more fun ideas to inspire you:
- Mini Umbrellas: Small paper drink umbrellas instantly add a festive, tropical vibe to your beach scene.
- Swedish Fish: These iconic gummy candies are perfect for creating the illusion of fish swimming in the “water.”
- More Teddy Grahams: Use a variety of Teddy Graham poses – some standing, some “swimming,” some lounging – to create a bustling beach scene.
- Gummy Lifesavers: These can be used as mini “pool floats” for your Teddy Grahams or simply placed as colorful accents.
- Fresh Fruit Slices: For a touch of natural color and freshness, add thin slices of kiwi (for seaweed), blueberries (for tiny rocks), or small pieces of pineapple (for tropical vibes).
- Chocolate Rocks: Small candy rocks or chocolate-covered raisins can add an extra layer of realistic “beach pebbles.”
- Blue Food Coloring: A few drops of blue food coloring in a portion of the pudding mixture can create a distinct “ocean” layer, making your beach scene even more vivid.
More Irresistible Pudding Cup Recipes to Explore
If you loved making these Sand Pudding Cups, you’re in for a treat! The world of themed pudding cups is vast and wonderful. Here are some other fantastic pudding cup recipes from our collection that you’re sure to enjoy, perfect for different seasons and celebrations:
- Festive Easter Dirt Cups: A colorful and fun twist, ideal for spring celebrations.
- Joyful Christmas Dirt Cups: Get into the holiday spirit with these seasonal treats.
- The Best Classic Dirt Cups Recipe: A timeless favorite that’s always a hit, featuring gummy worms and crushed cookies.
- Discover even More Delightful Dessert Cup Recipes for every occasion and craving!
Don’t wait! Go ahead and make this incredibly easy and fun recipe for Sand Pudding Cups today. We’re confident you’ll love them! Once you’ve enjoyed your beachy treats, please take a moment to leave a comment and a star rating to let us know what you think!
Pin
Sand Pudding Cups
10 minutes
10 minutes
20 minutes
12
American
Dessert
184
Carrie Barnard
Ingredients
For the Sand Cups:
-
12
Golden Oreo Cookies
-
1
Box
Instant Vanilla Pudding Milk
(3.4 ounces) -
2
cups
Milk
-
8
ounces
Whipped Topping
(thawed)
For the Toppings:
-
24
Gummy Stars -
12
Gummy Rings -
12
Teddy Grahams
Instructions
-
Whisk together the pudding mix and the milk in a medium size bowl. Refrigerate for about 10 minutes or until set.
-
Then fold in the whipped topping until well combined. The refrigerate for about 20 minutes to chill the mixture.
-
While the pudding is chilling, place the golden Oreos in a food processor or blender until the cookies are crushed until fine.
-
Then assemble the cups!
-
Fill up small cups with the pudding mixture until their approximately ⅓ of the way full.
-
Top with a small amount of the crushed Oreos. Repeat these layers in all fo the cups.
-
Then top with the gummy stars, rings and Teddy Grahams. Enjoy!
Nutrition Facts
Calories
184
kcal
,
Carbohydrates
26
g
,
Protein
3
g
,
Fat
8
g
,
Saturated Fat
3
g
,
Polyunsaturated Fat
1
g
,
Monounsaturated Fat
2
g
,
Cholesterol
5
mg
,
Sodium
168
mg
,
Potassium
116
mg
,
Fiber
1
g
,
Sugar
14
g
,
Vitamin A
80
IU
,
Calcium
78
mg
,
Iron
1
mg
Pin This Now to Remember It Later
Pin Recipe
